Clothes
Mido Vest
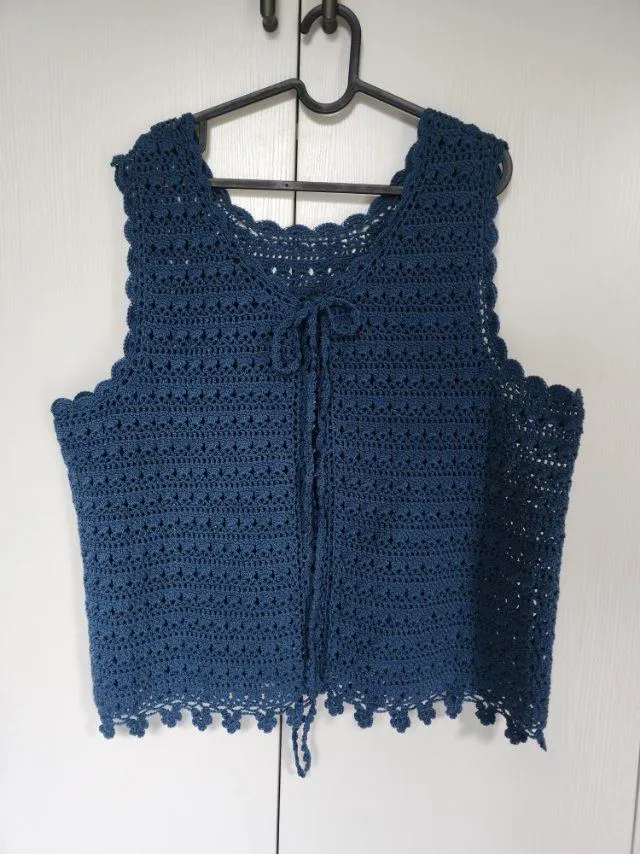
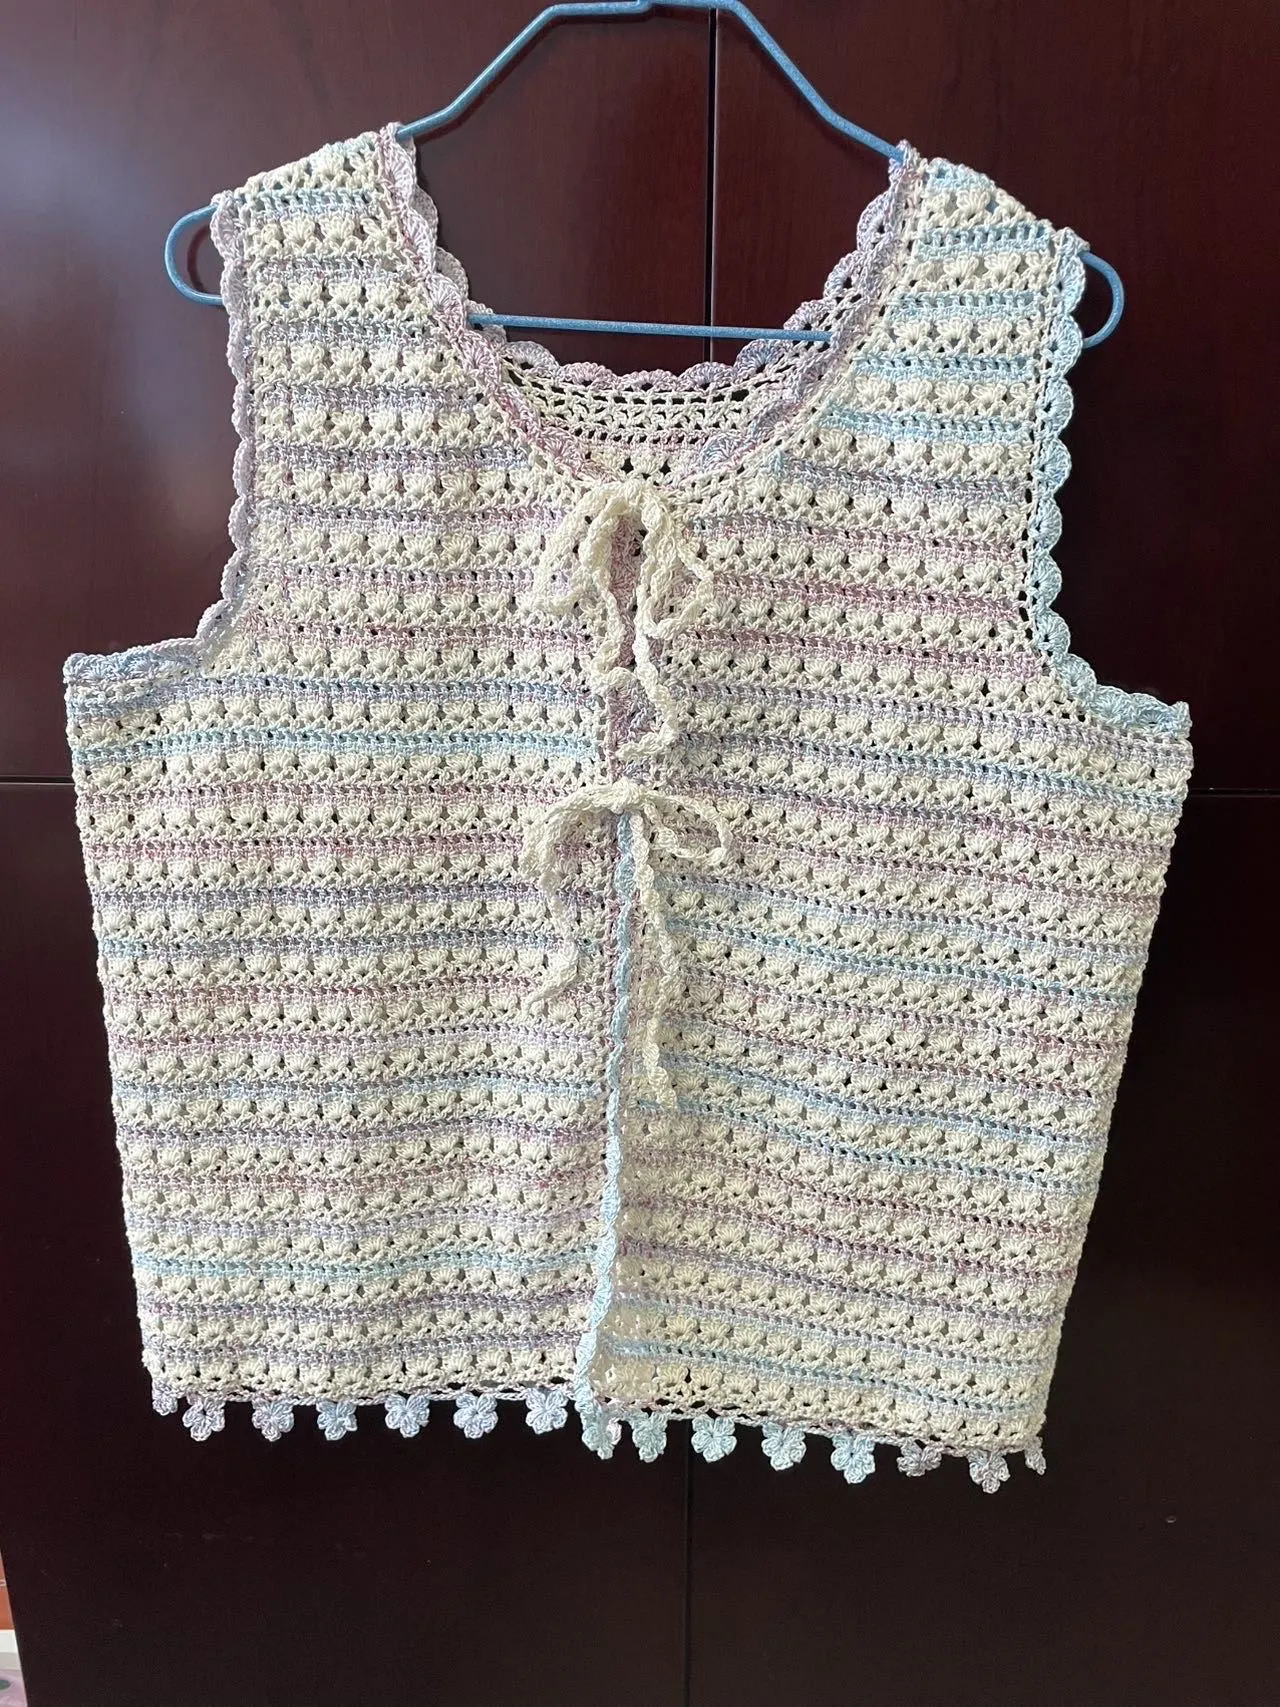
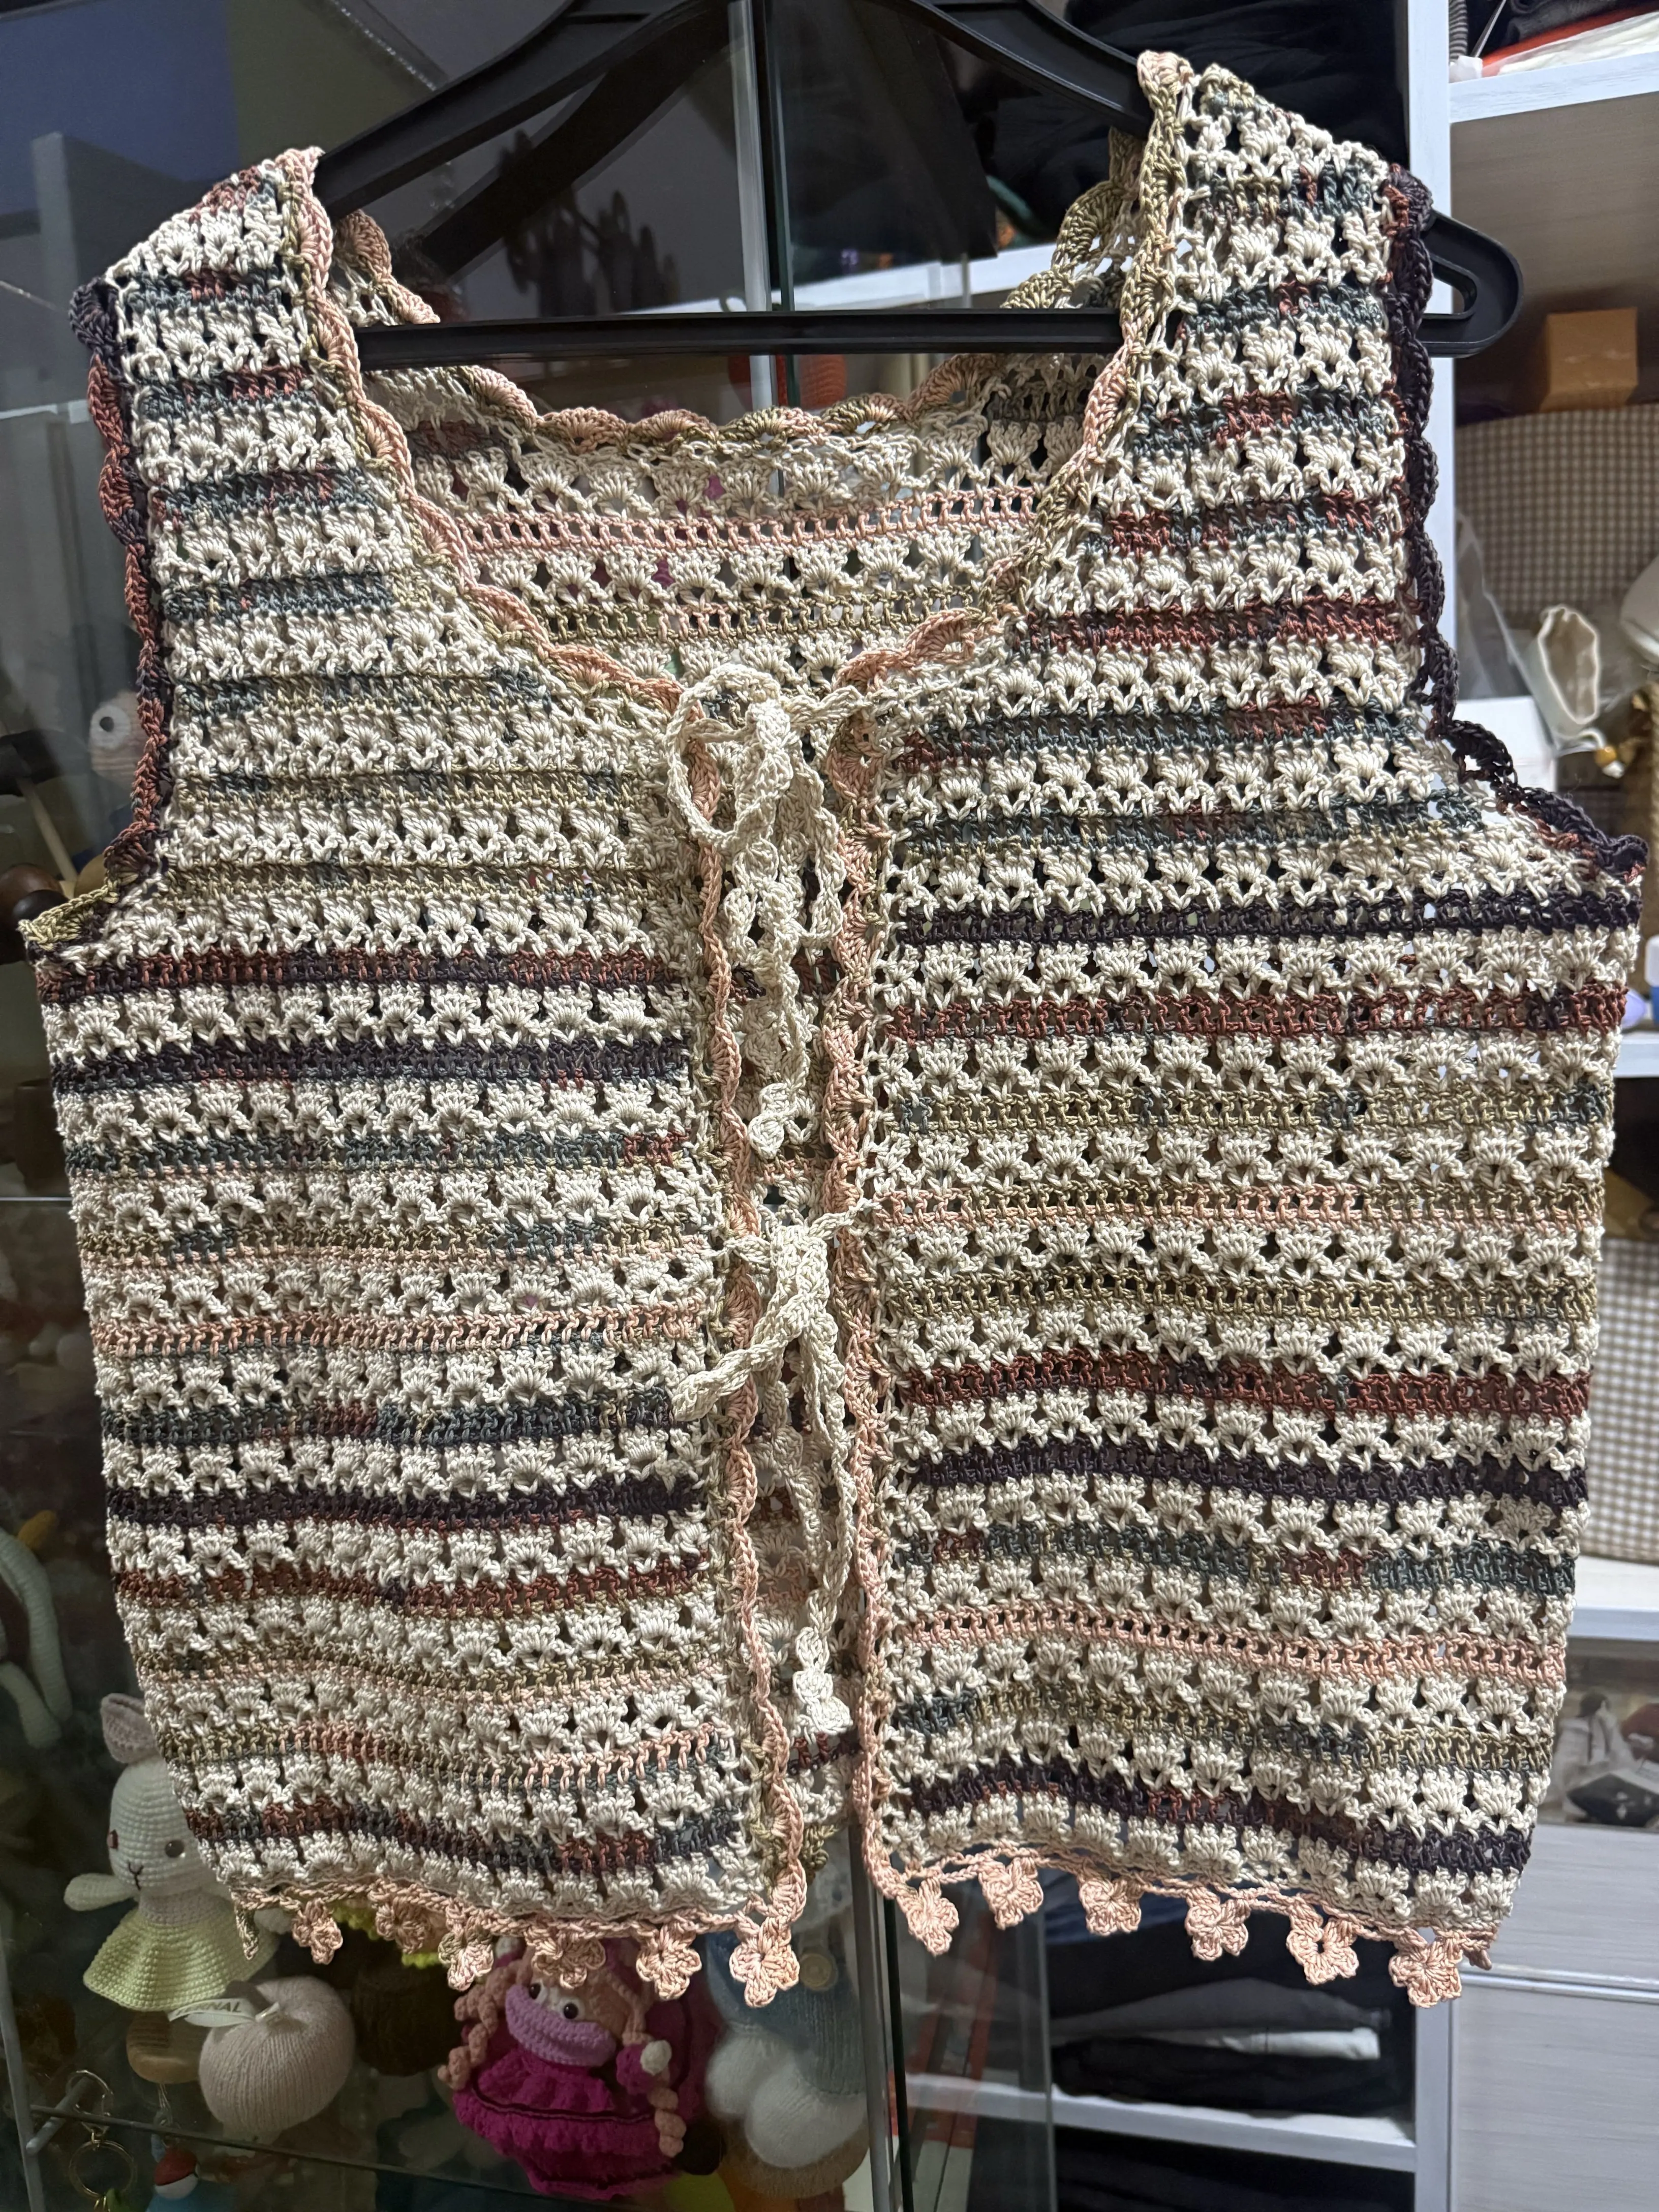
Project preview
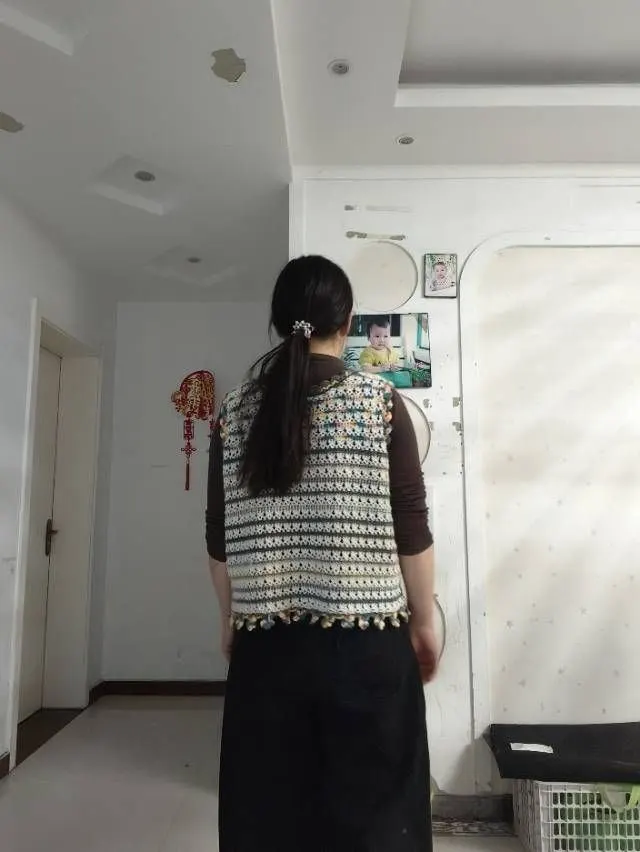
See the finished project
Pattern format
Instructions
Watch and follow
Video tutorial
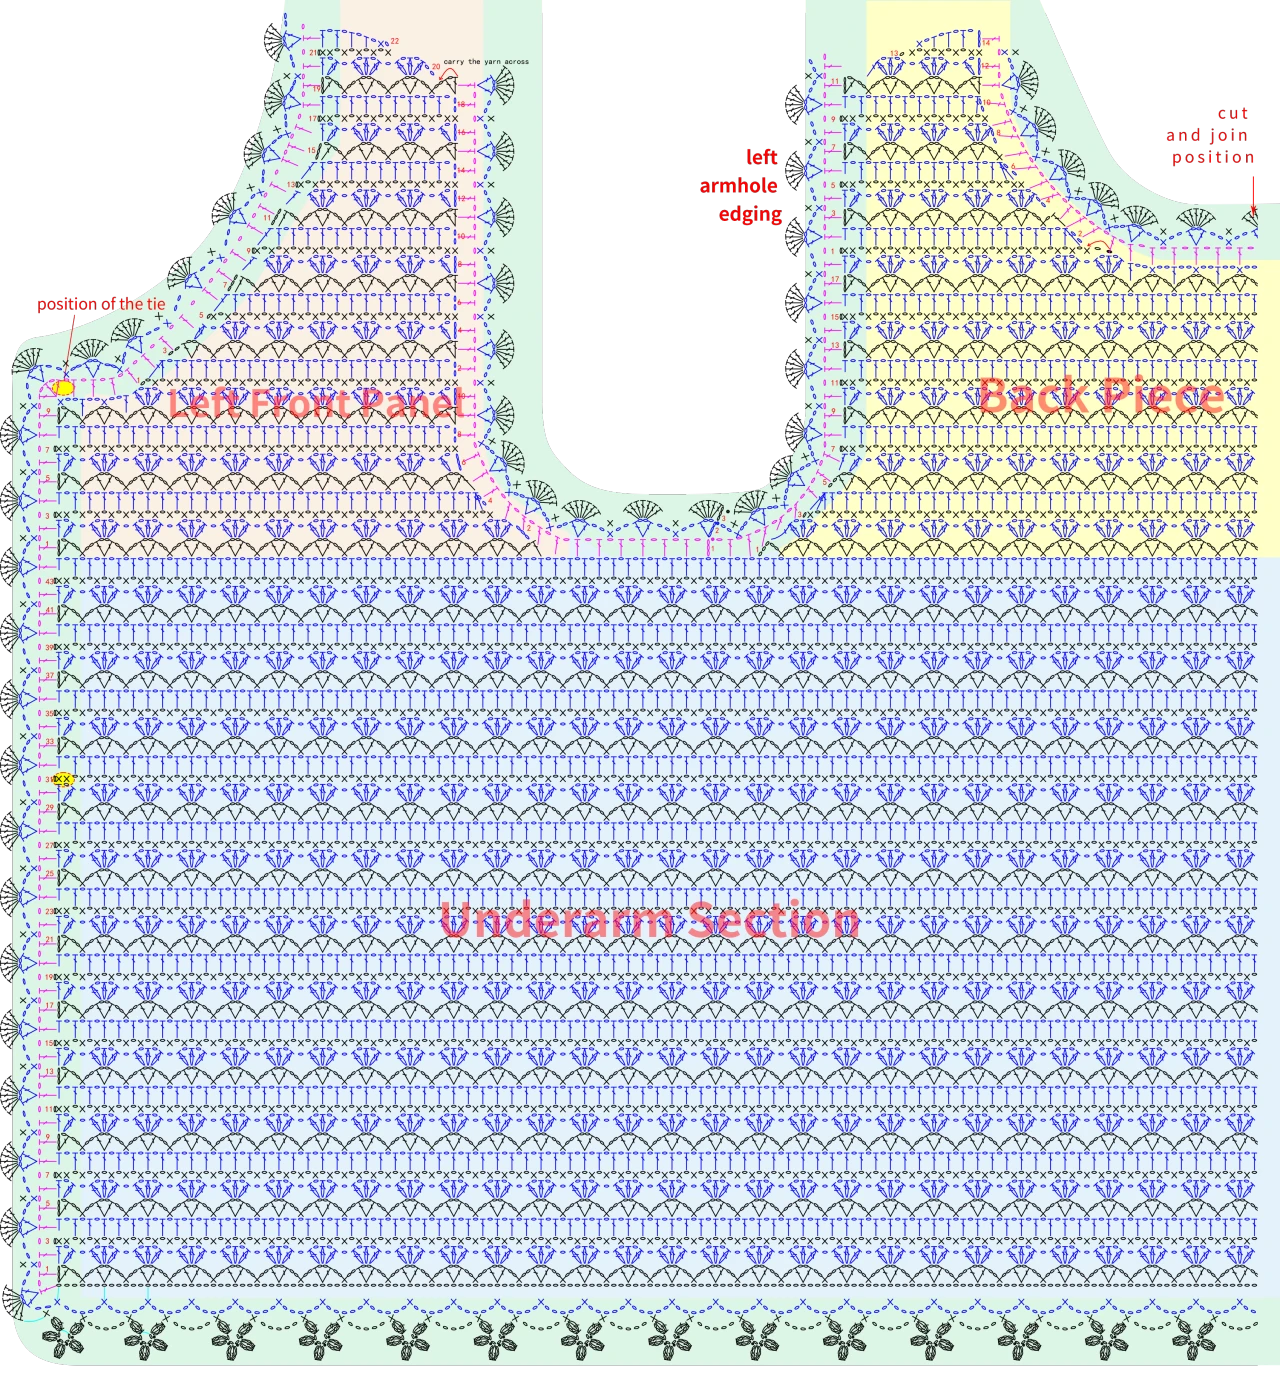
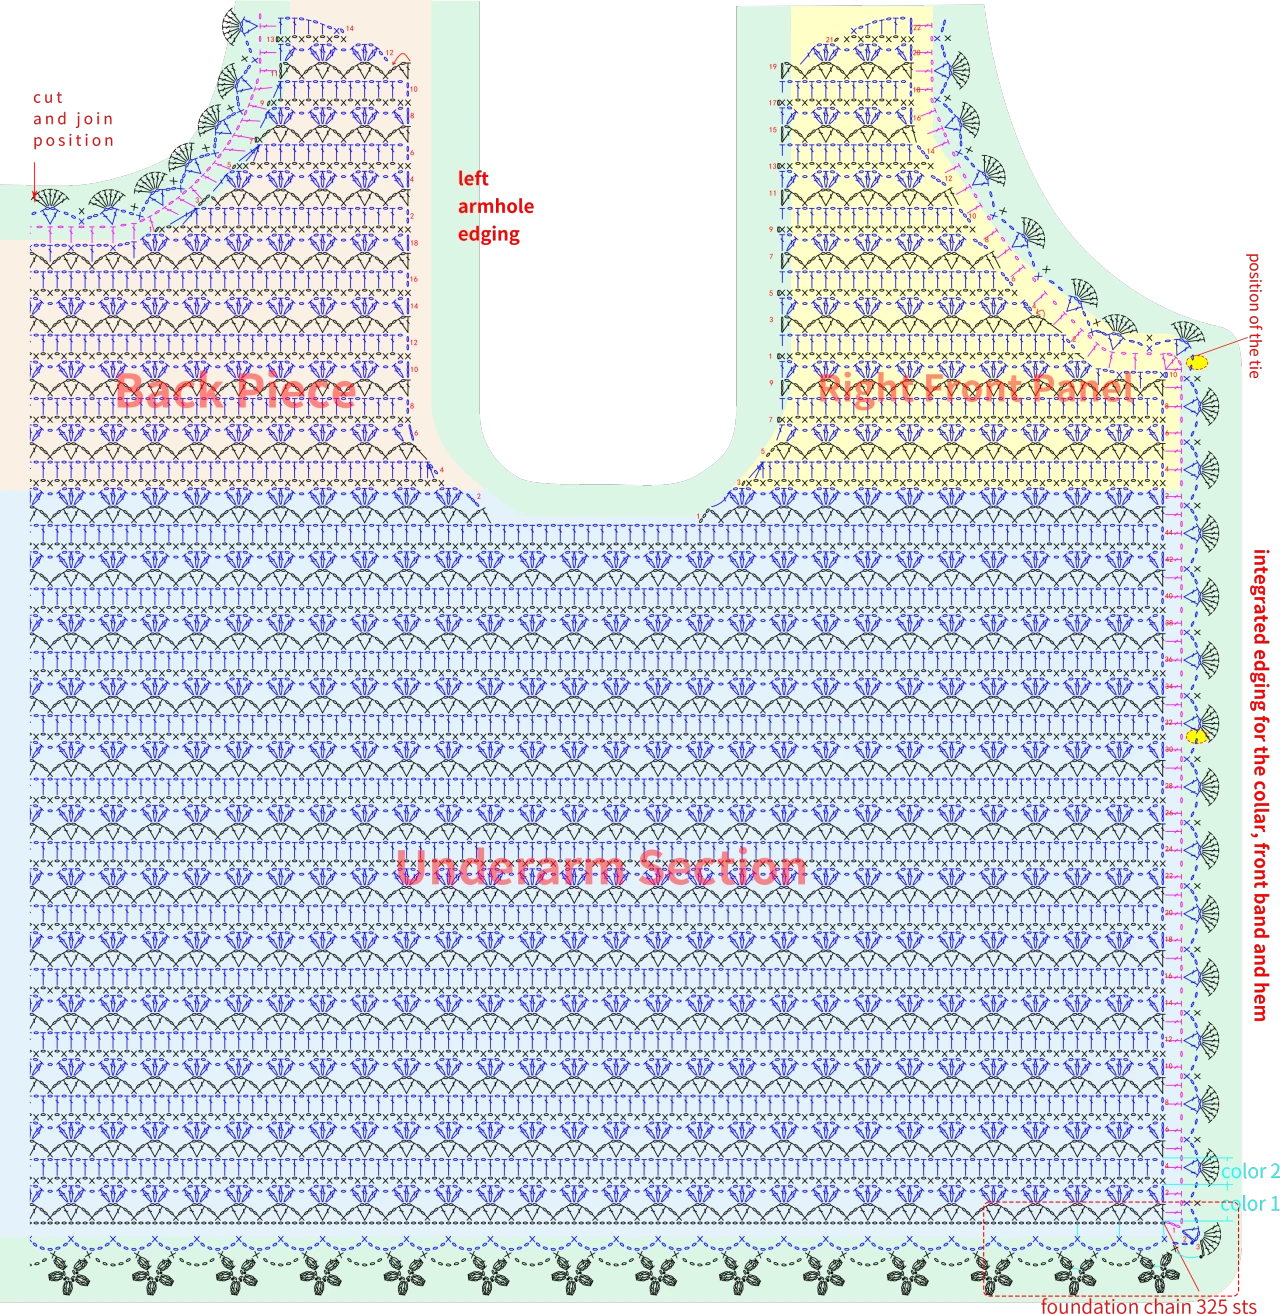
The vest includes the main piece, the edges and ties. The main piece consists of the underarm section, left front panel, right front panel, and back piece. The edges include the armhole edges, collar and front band, and the hem.
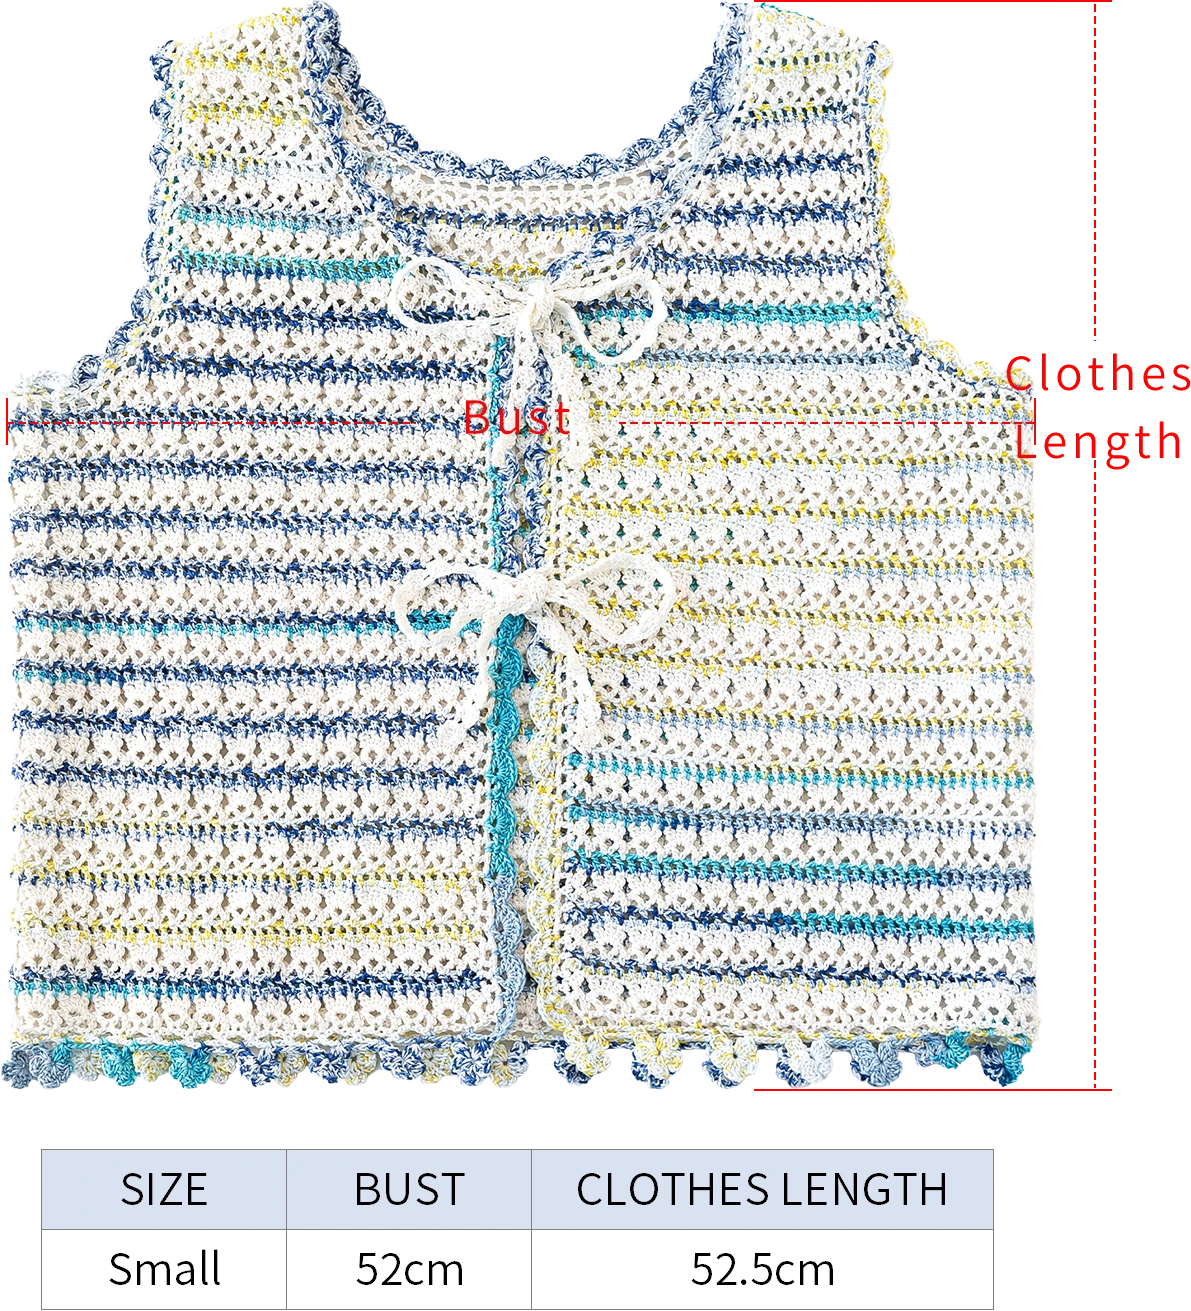
The handcrafted measurements may have an error of 1 to 2 cm. Due to variations in individual tension, the size of the sample is for reference only.
Materials: Susan's Family Combed 3# Lace
Fancy Dyed Lace
Hook: 3.0 mm crochet hook
Note: This pattern is making in Chinese crochet pattern terms, and the stitch name is written using American terminology. All measurements in charts are in cm.
The left and right sides refer to the actual left and right sides when worn.

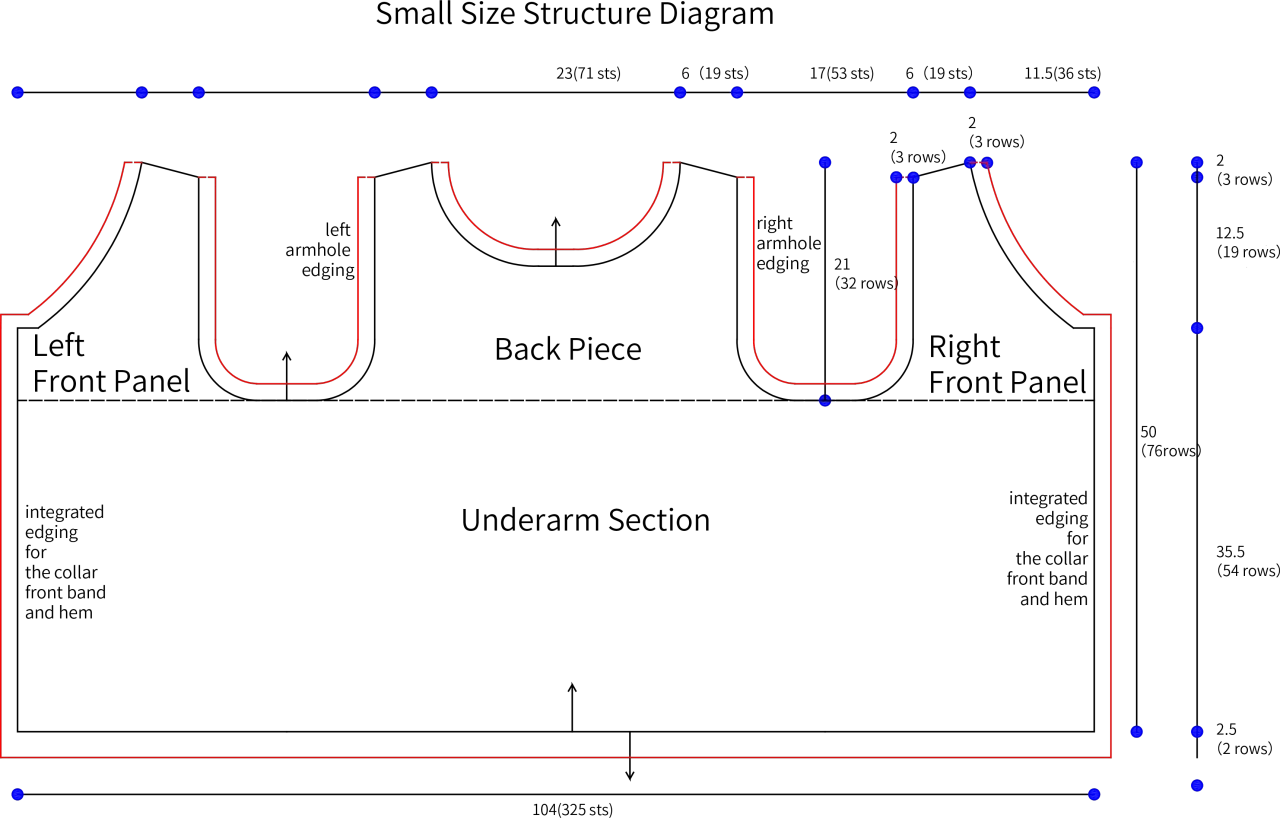
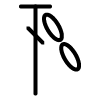
Chart Key





 =
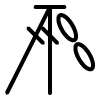
=
 =
=


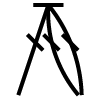
Part 1 Main Piece A SewingB
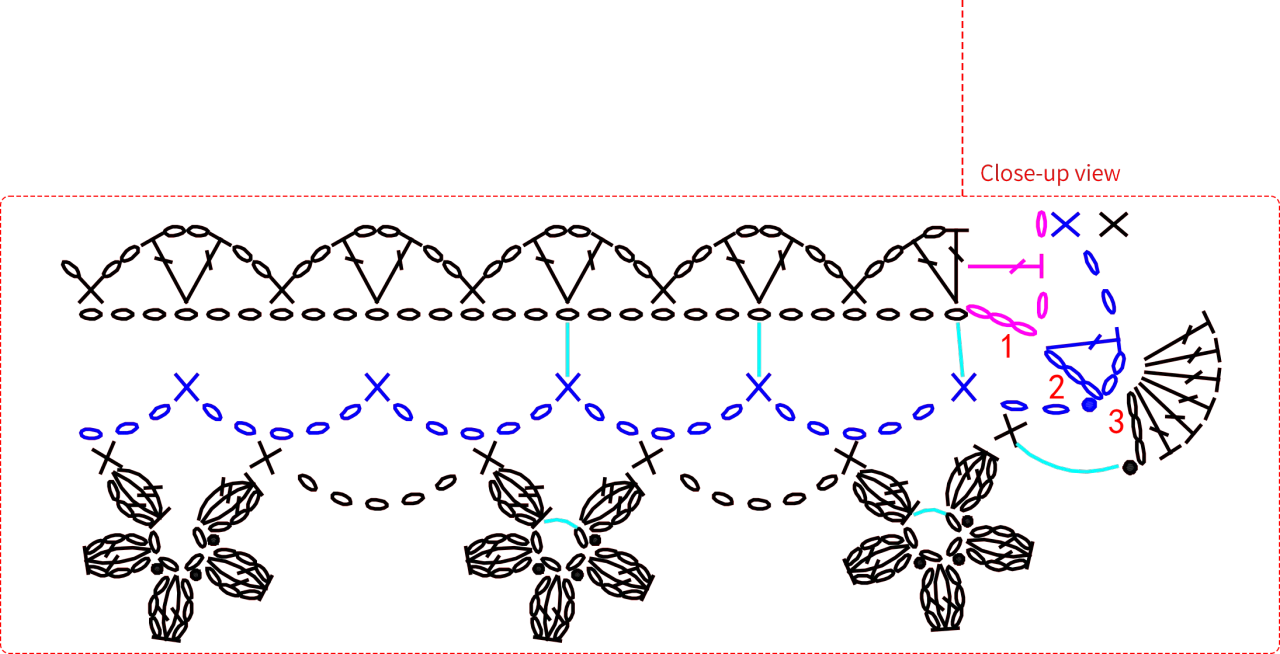
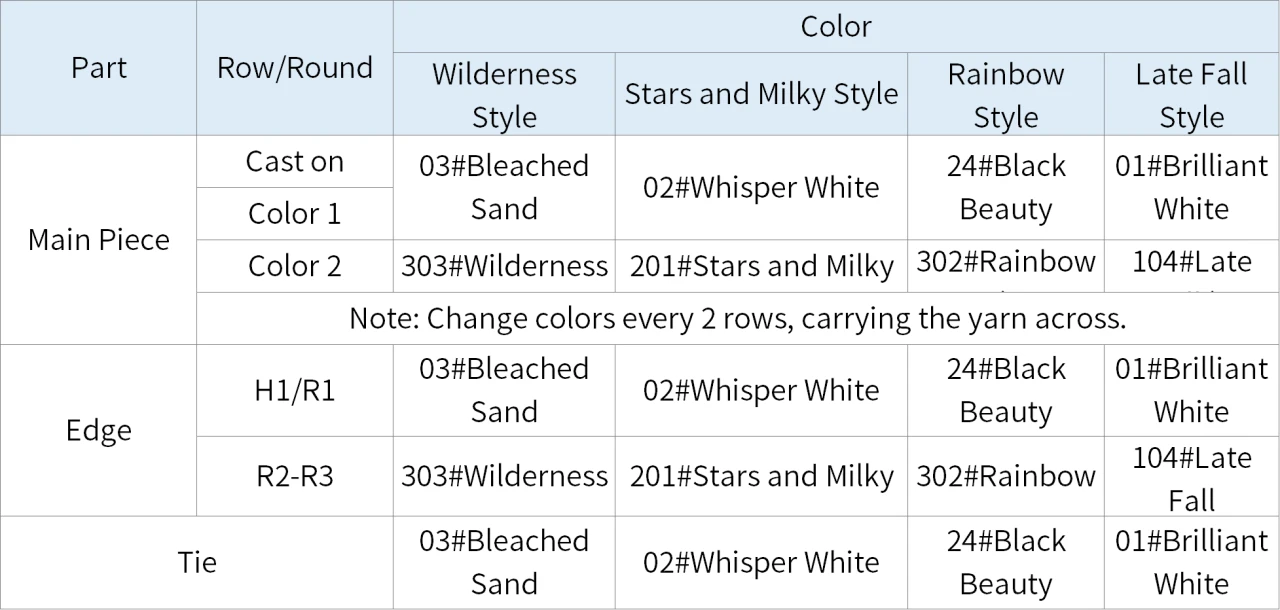
The main piece starts with a foundation chain and is worked back and forth. First, crochet the underarm section, then divide it into pieces and work the left front panel, back piece, and right front panel separately. After completing the main piece, sew the shoulders together. Finally, crochet the armhole edging, integrated edging for the collar, front band and hem separately. Please refer to the video demonstration for more details.
Underarm SectionA1 02' 21''
Left Front PanelA2 28' 05''
Back PieceA3 42' 05''
Right Front PanelA4 49' 25''
Shoulders SewingB 50' 14''
Left and Right Armhole EdgingC1 54' 36''
Edging for the Collar, Front Band and HemC2 64' 14''
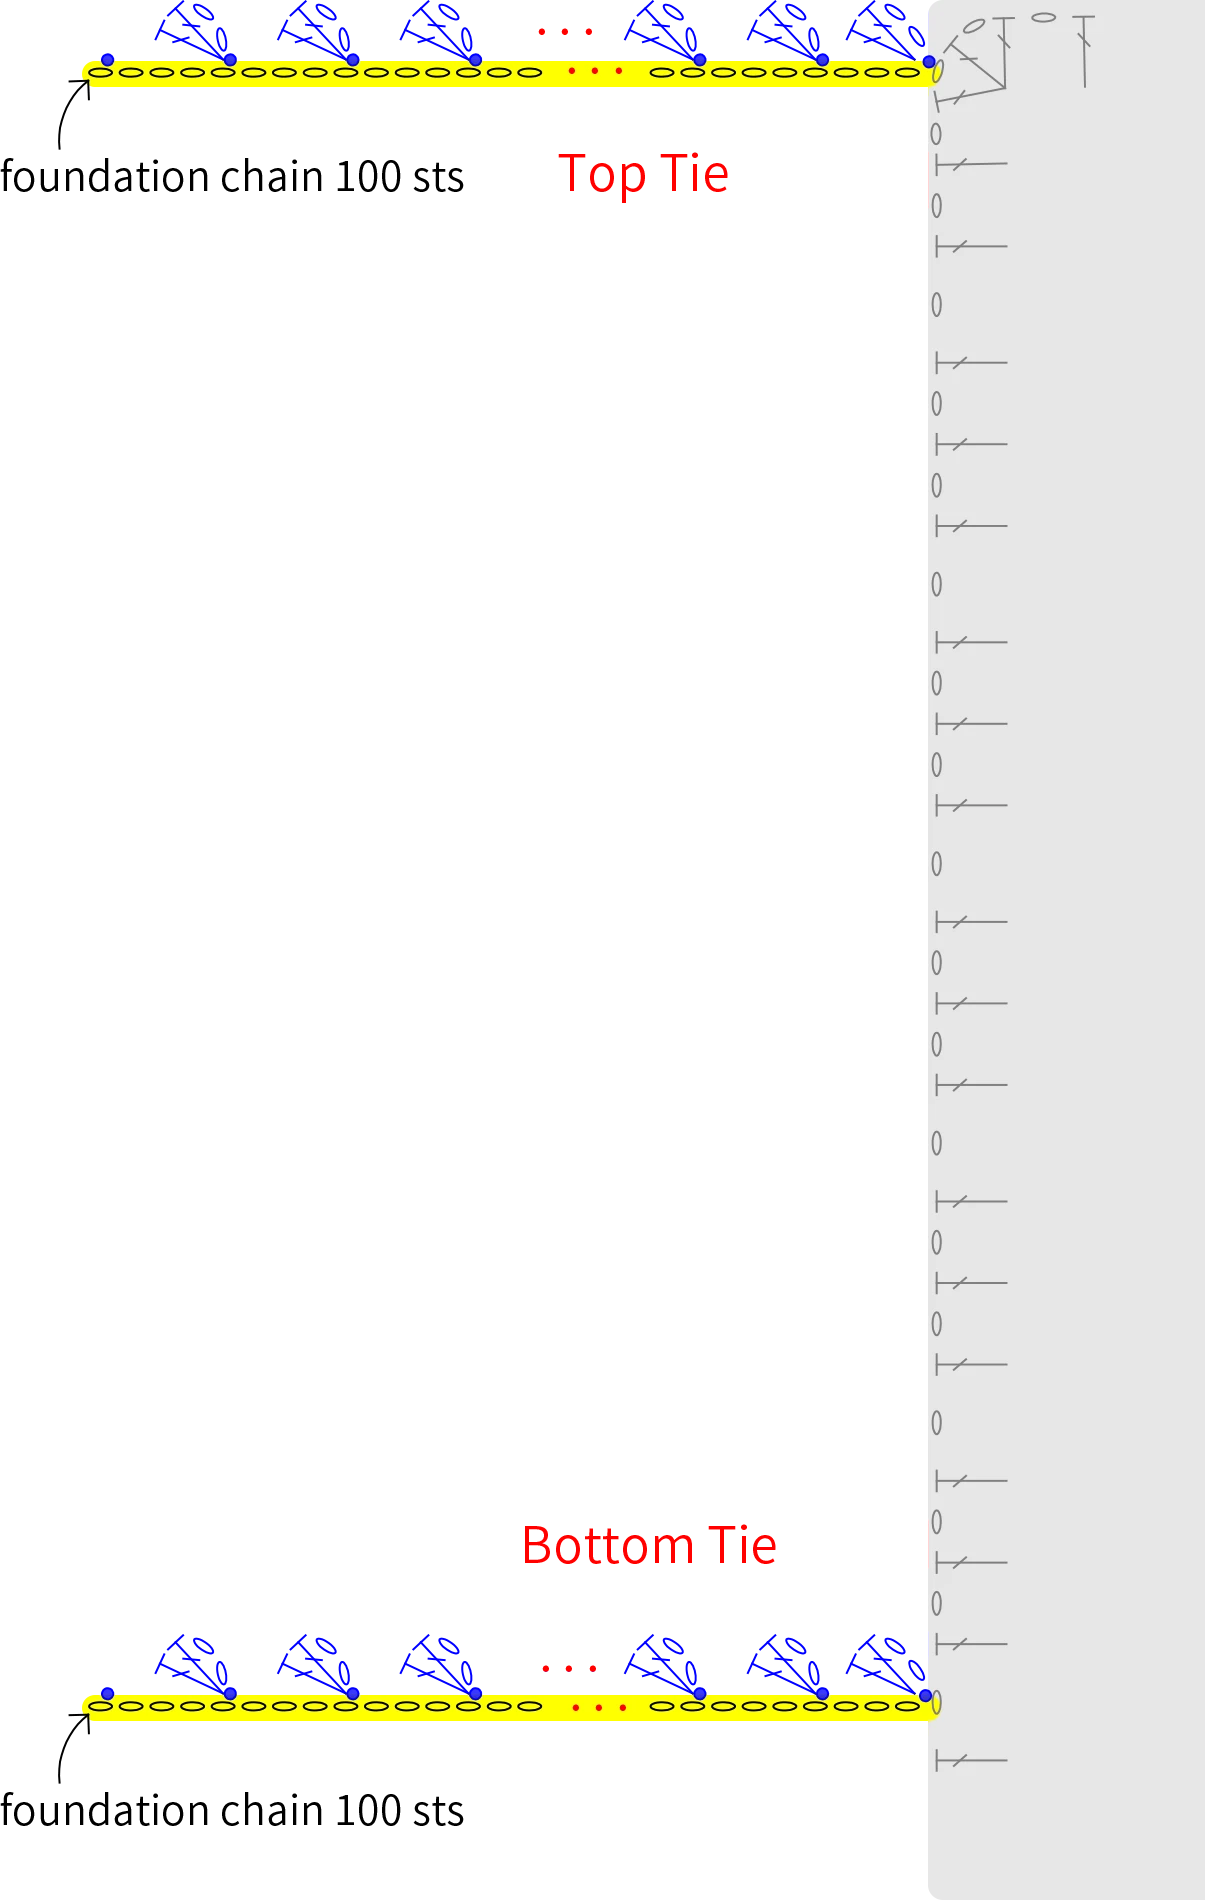
Part 2 TiesD 79' 12''
There are four ties, with two on each side. Please refer to the video demonstration for more details.
Made by the community