Bag
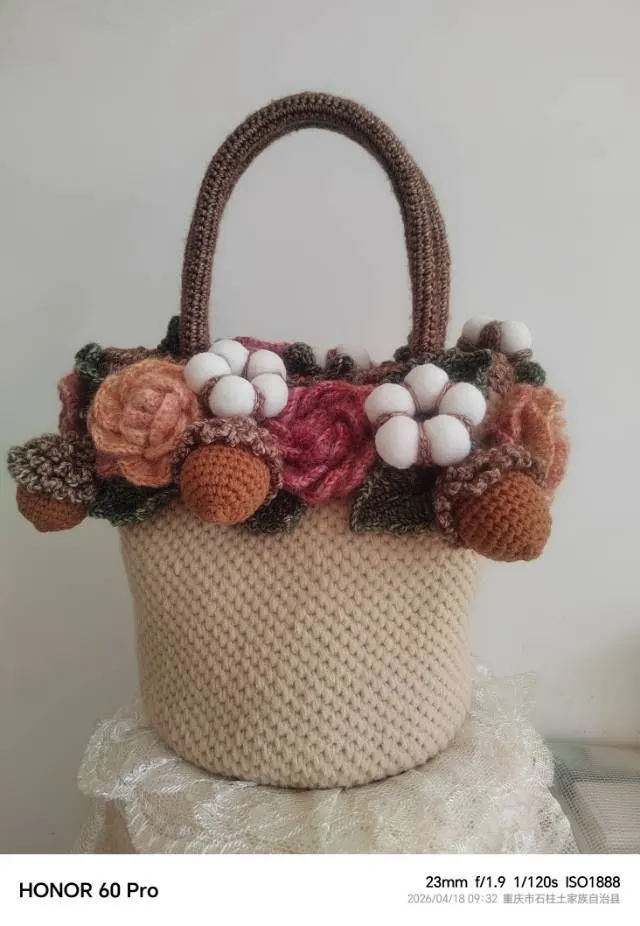
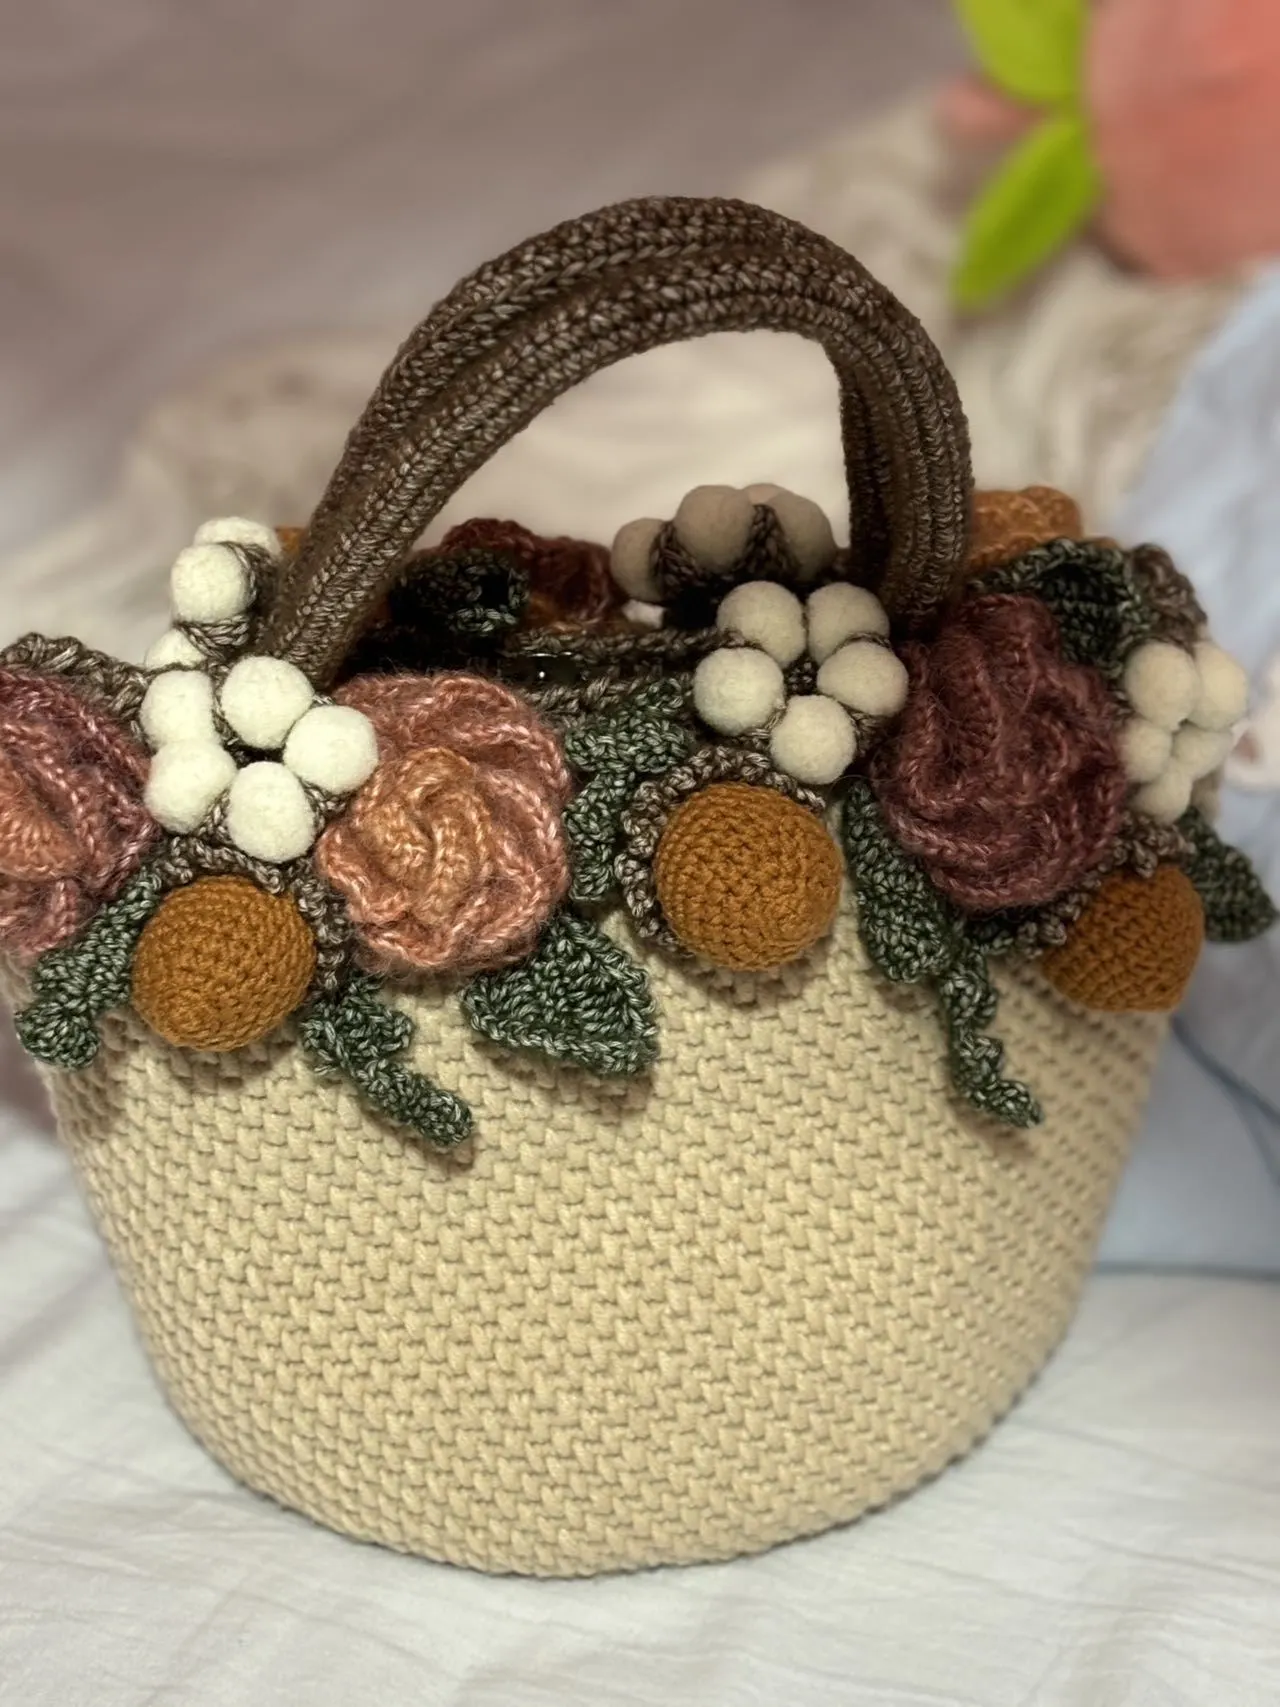
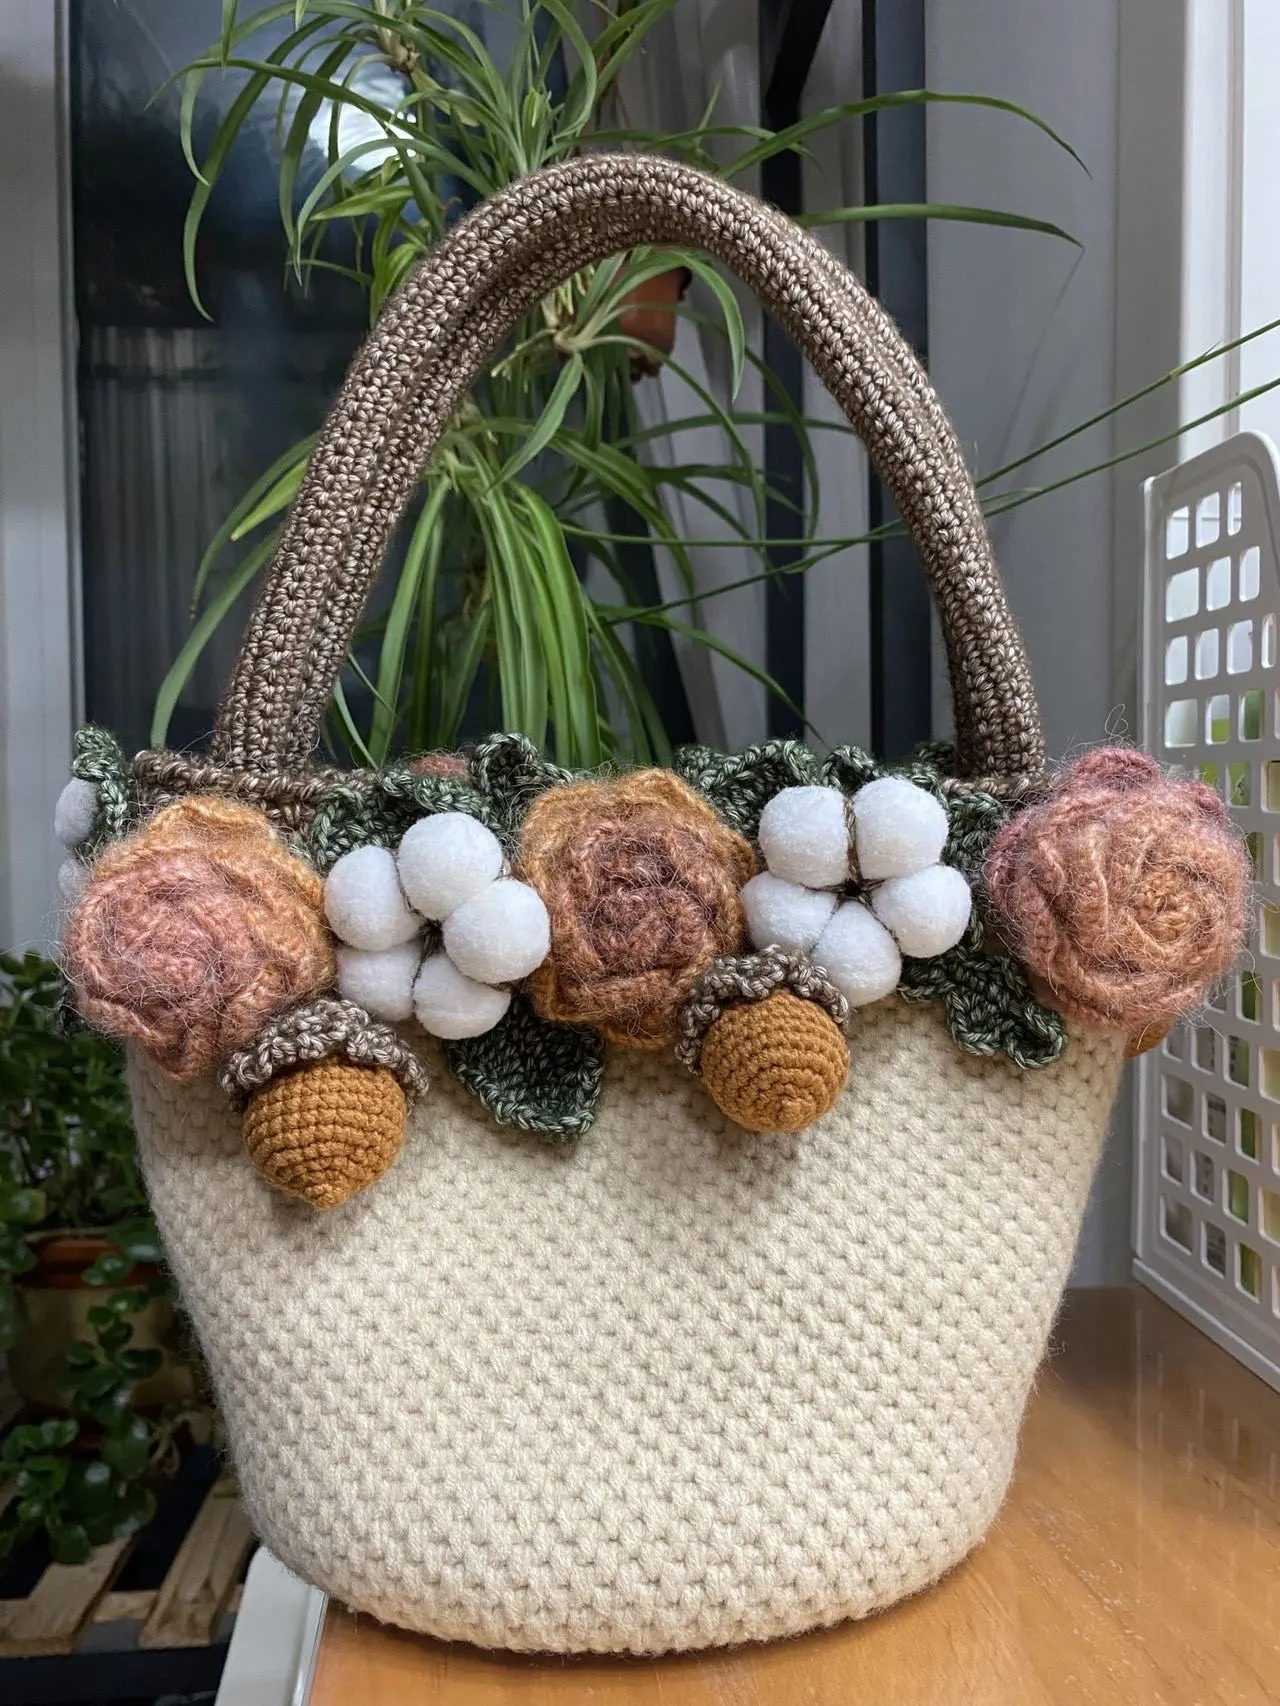
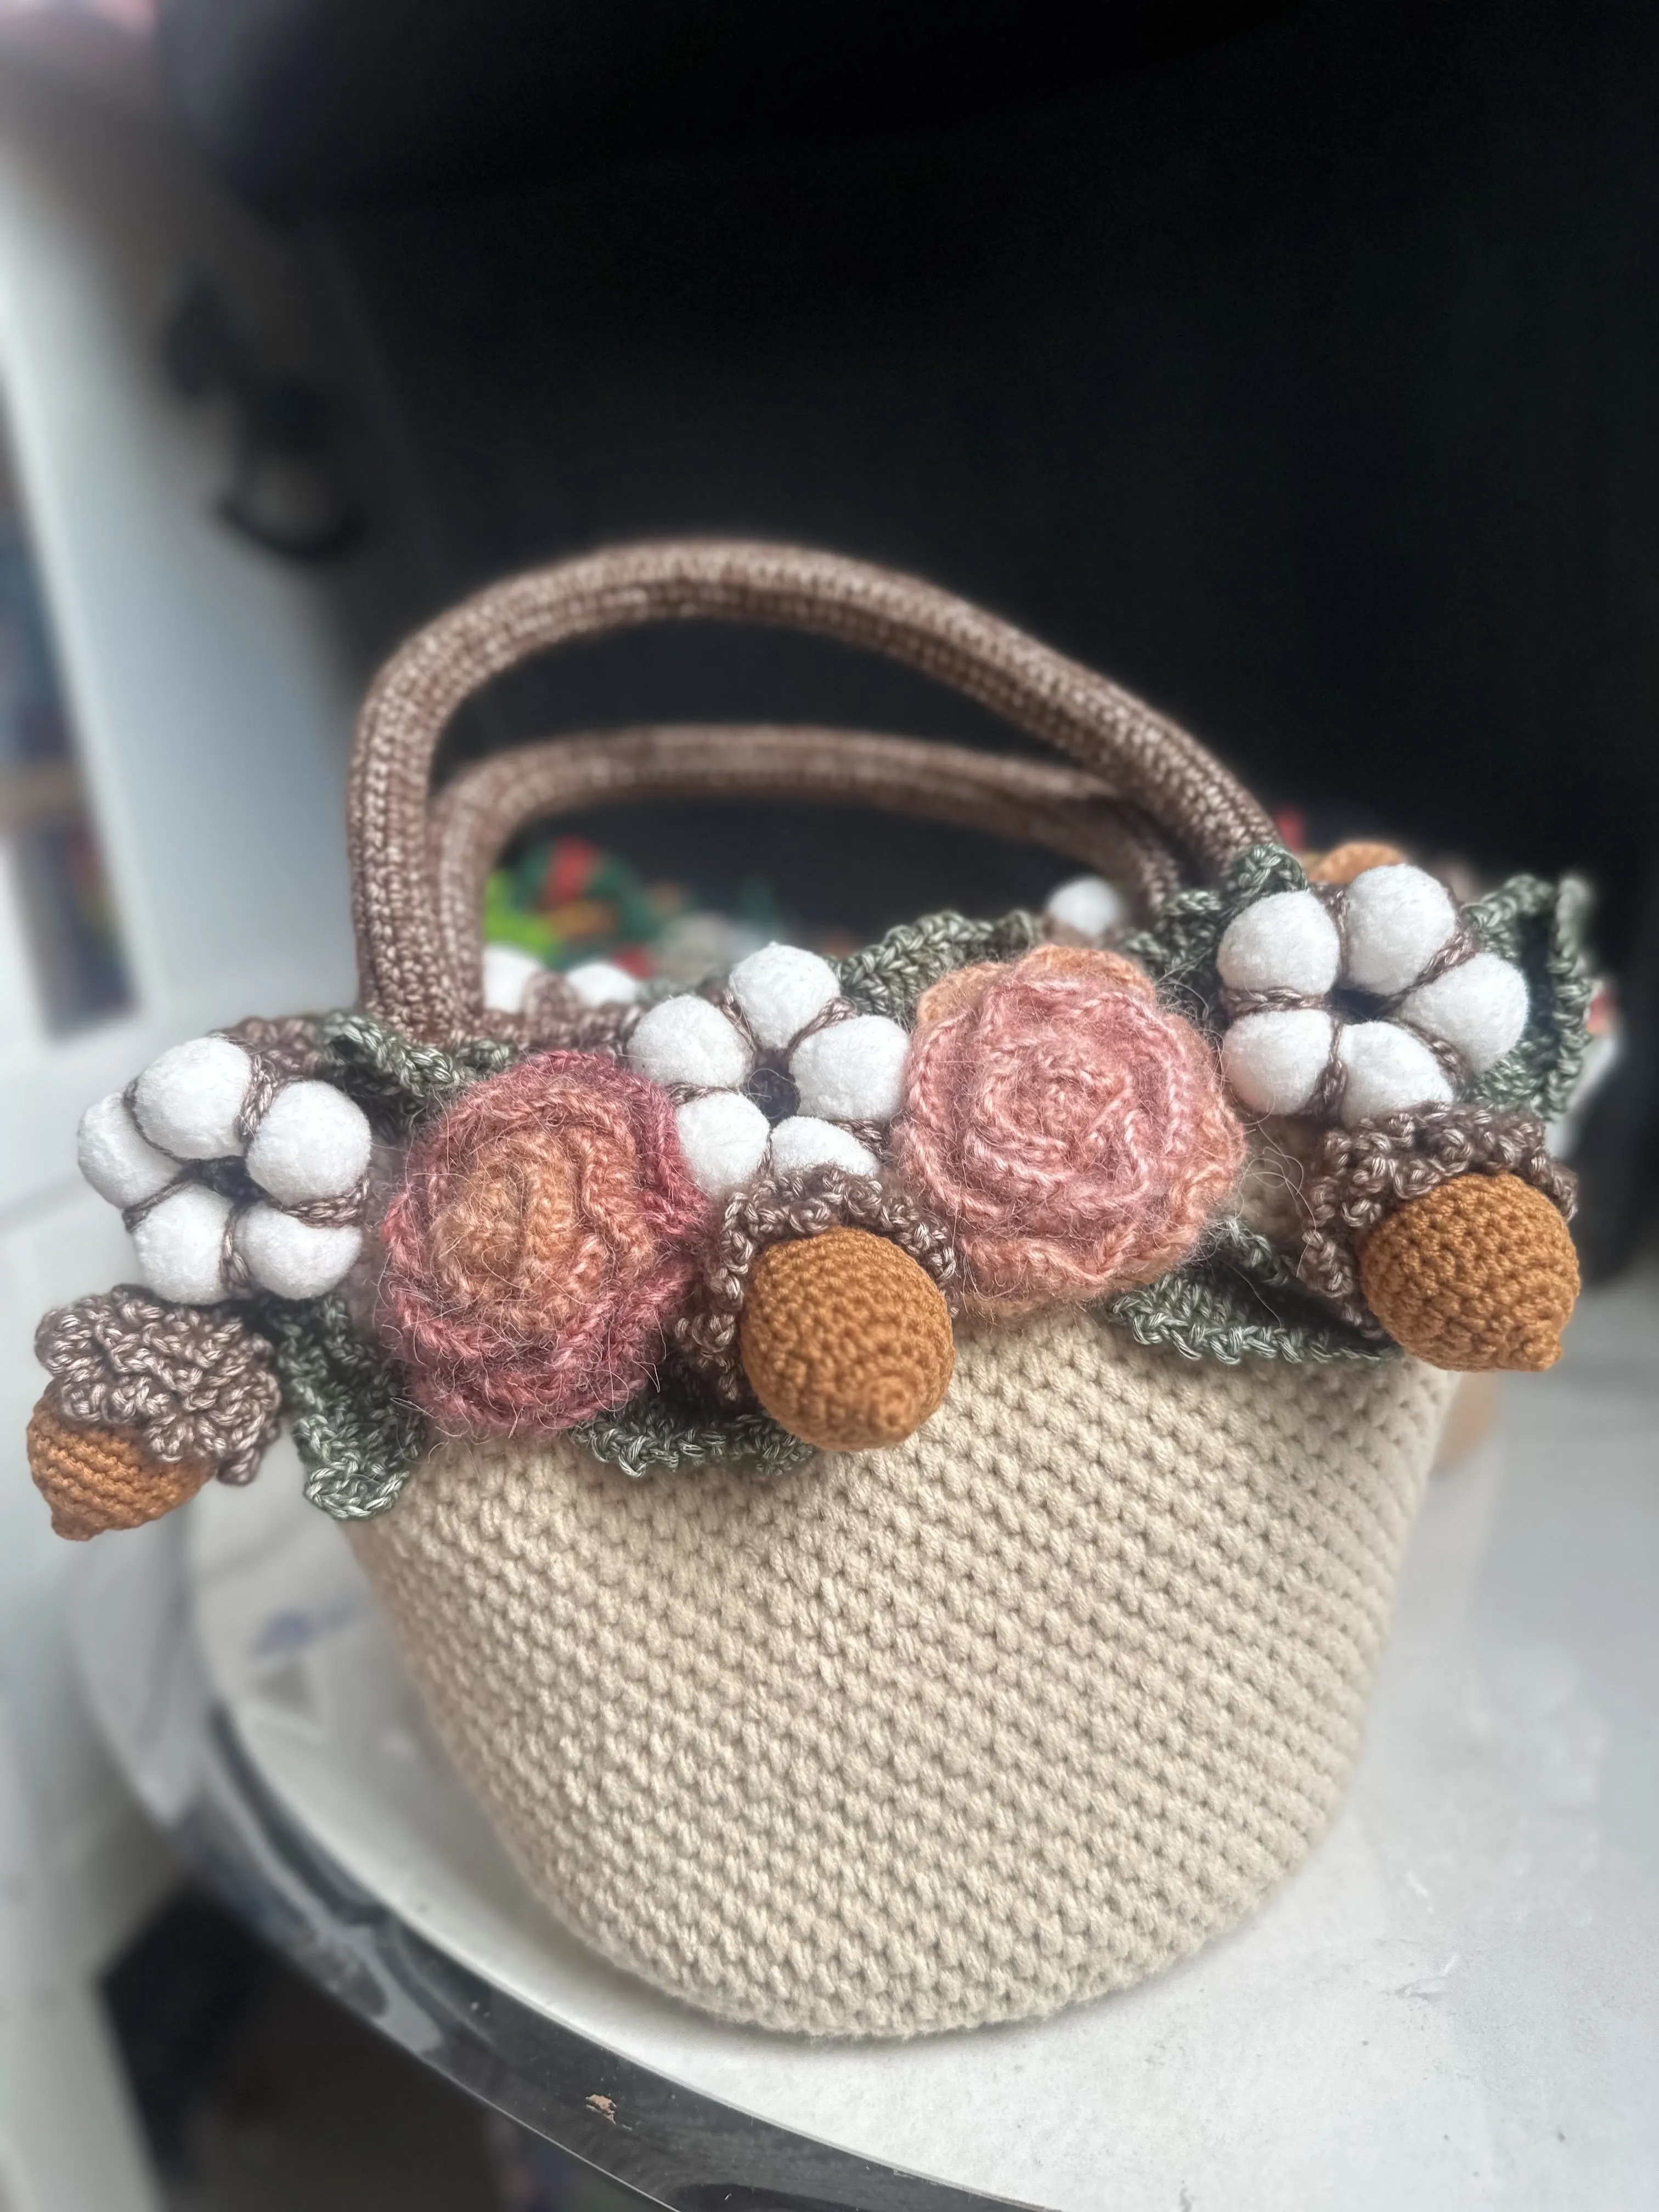
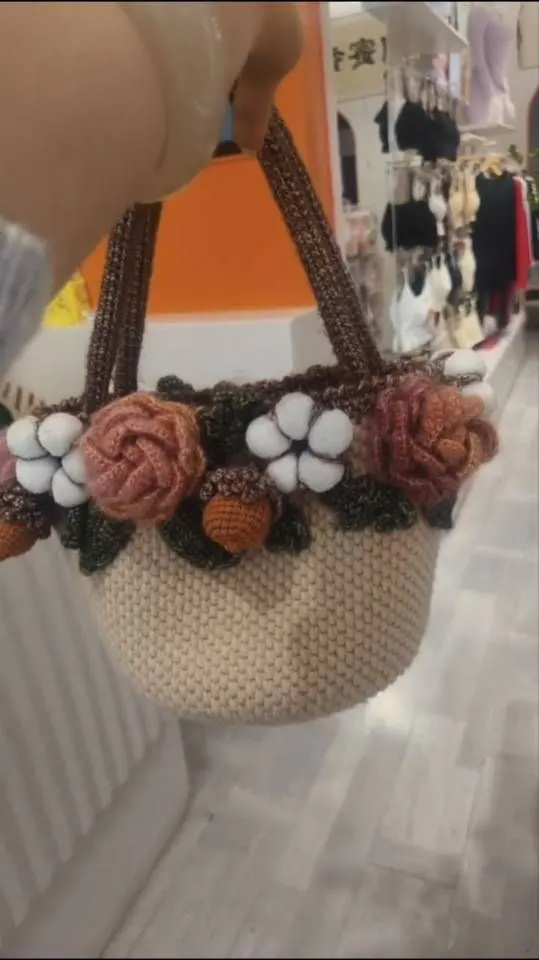
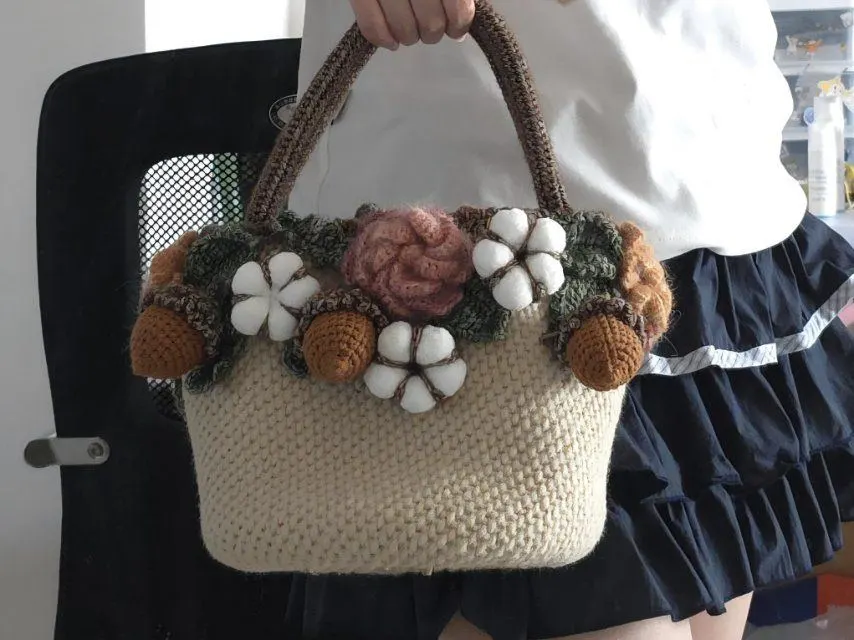
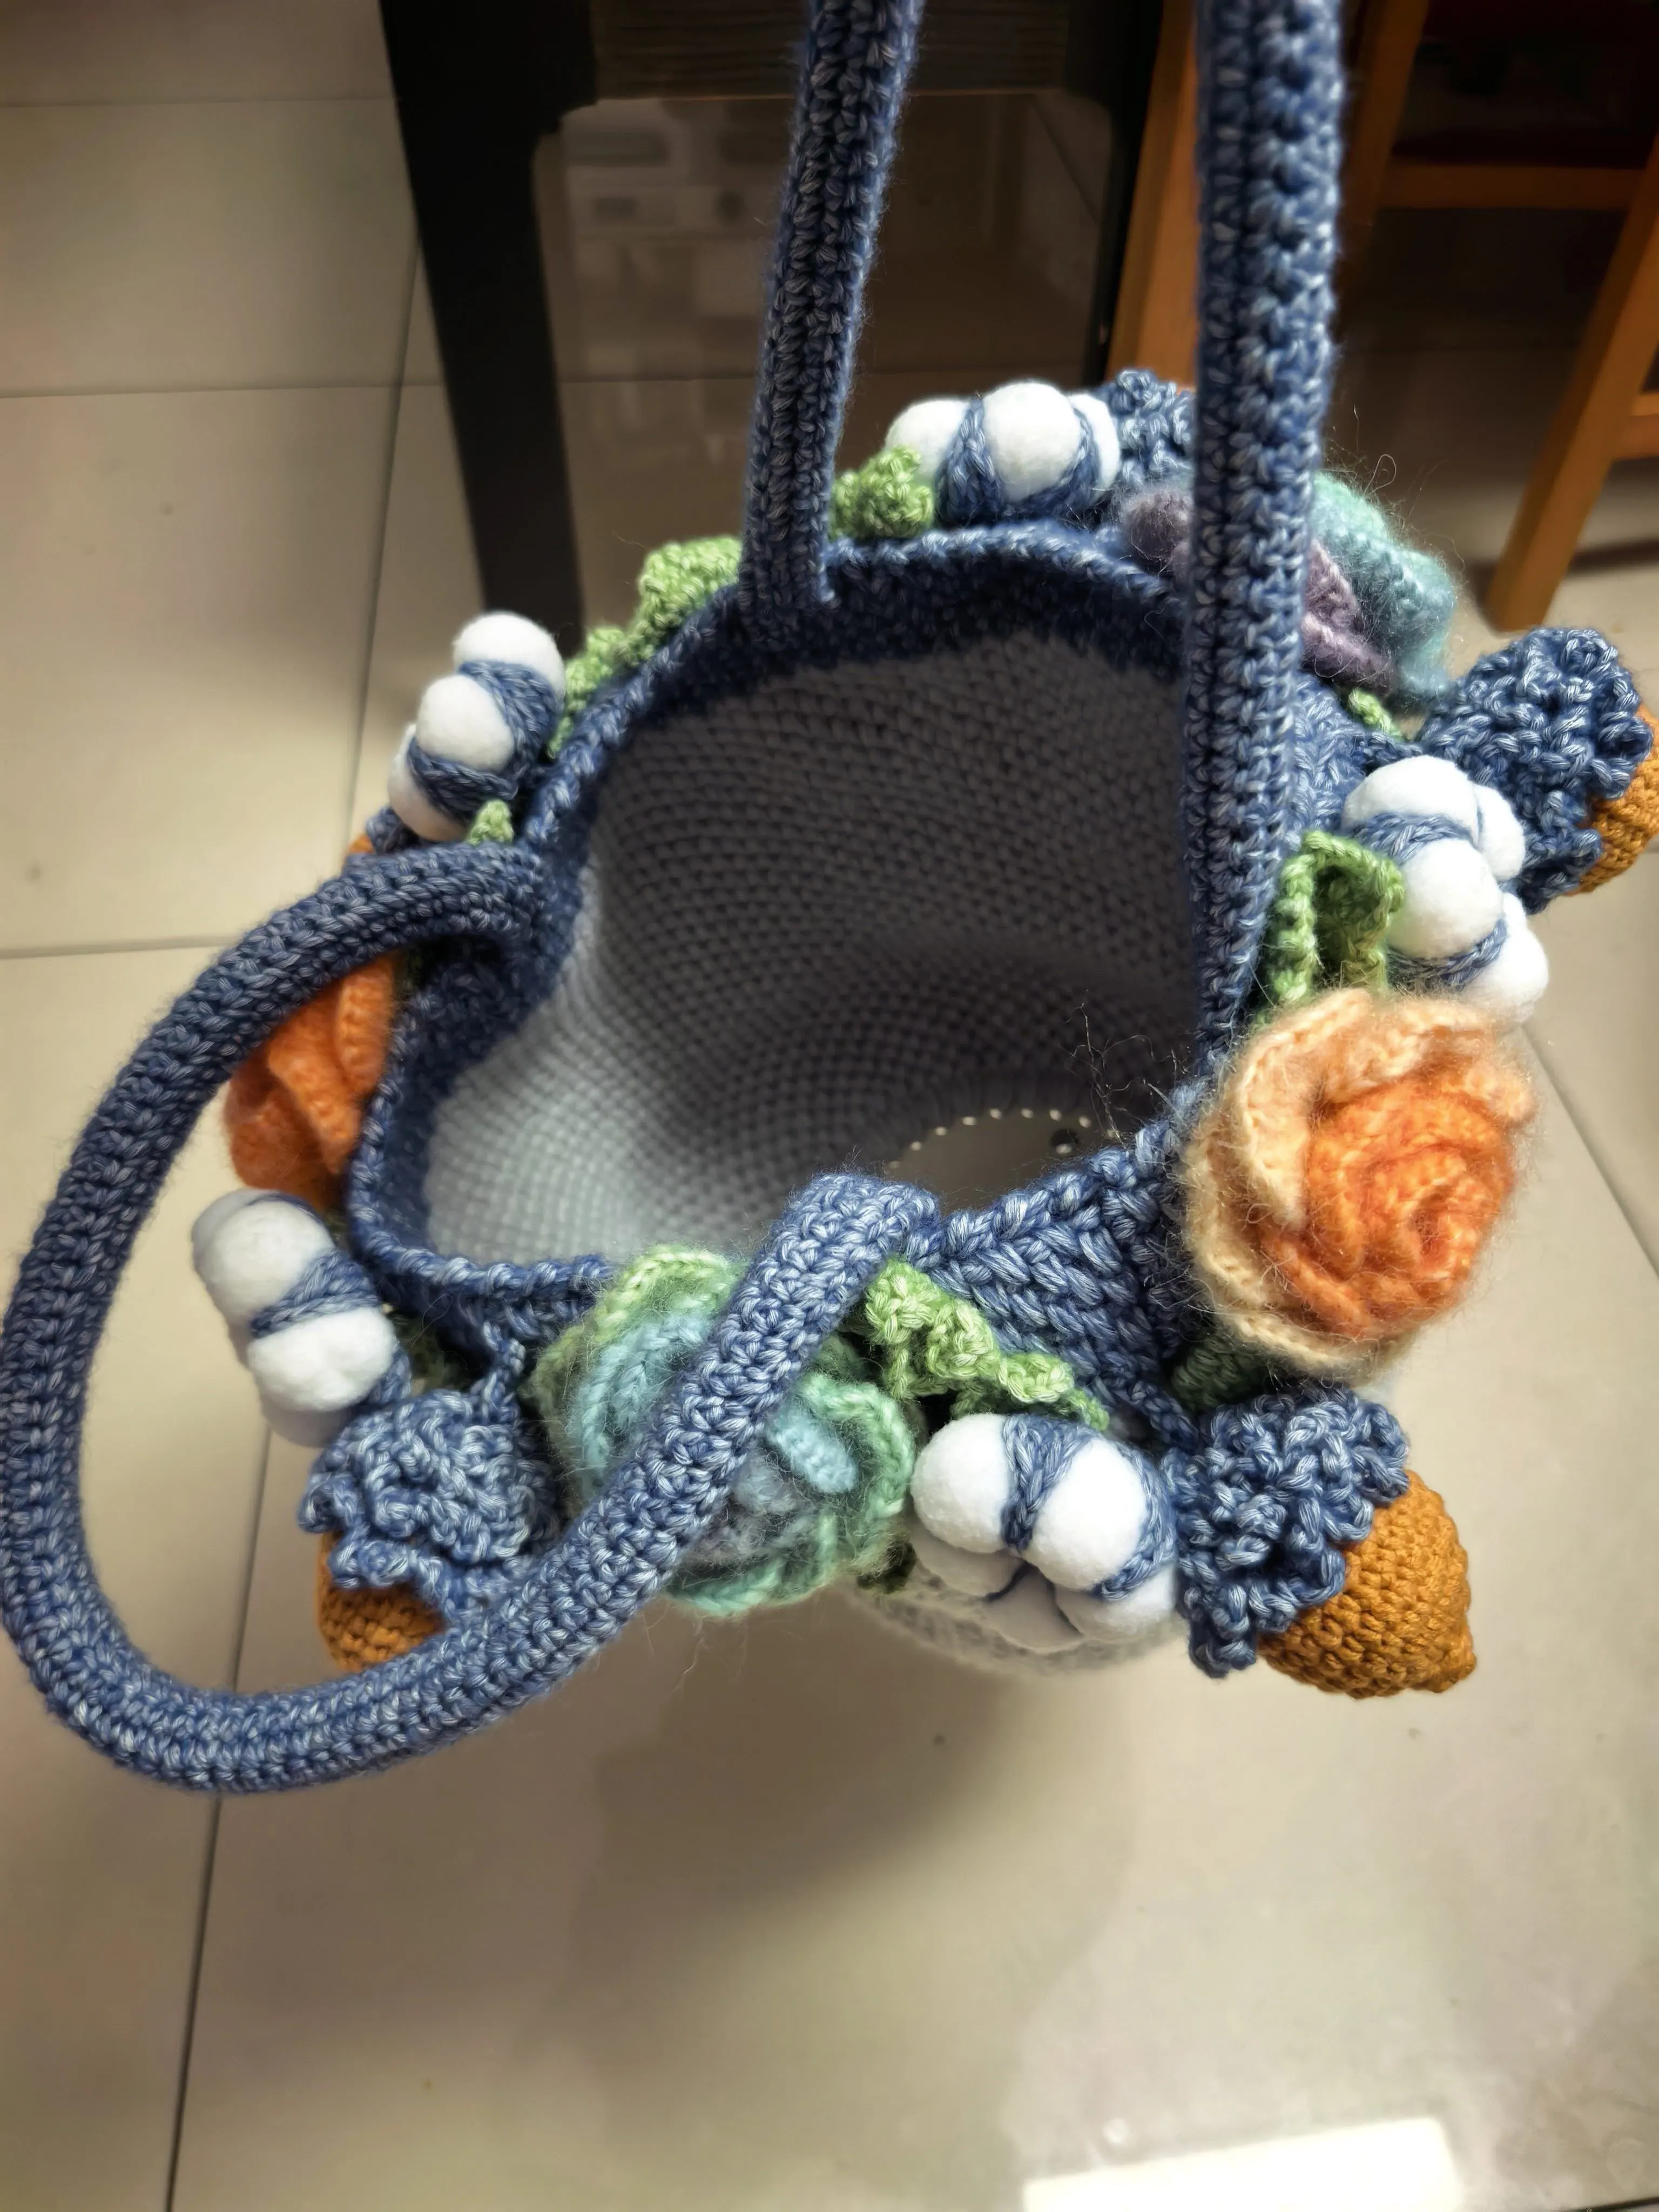
Autumn Harvest Basket Bag
Project preview
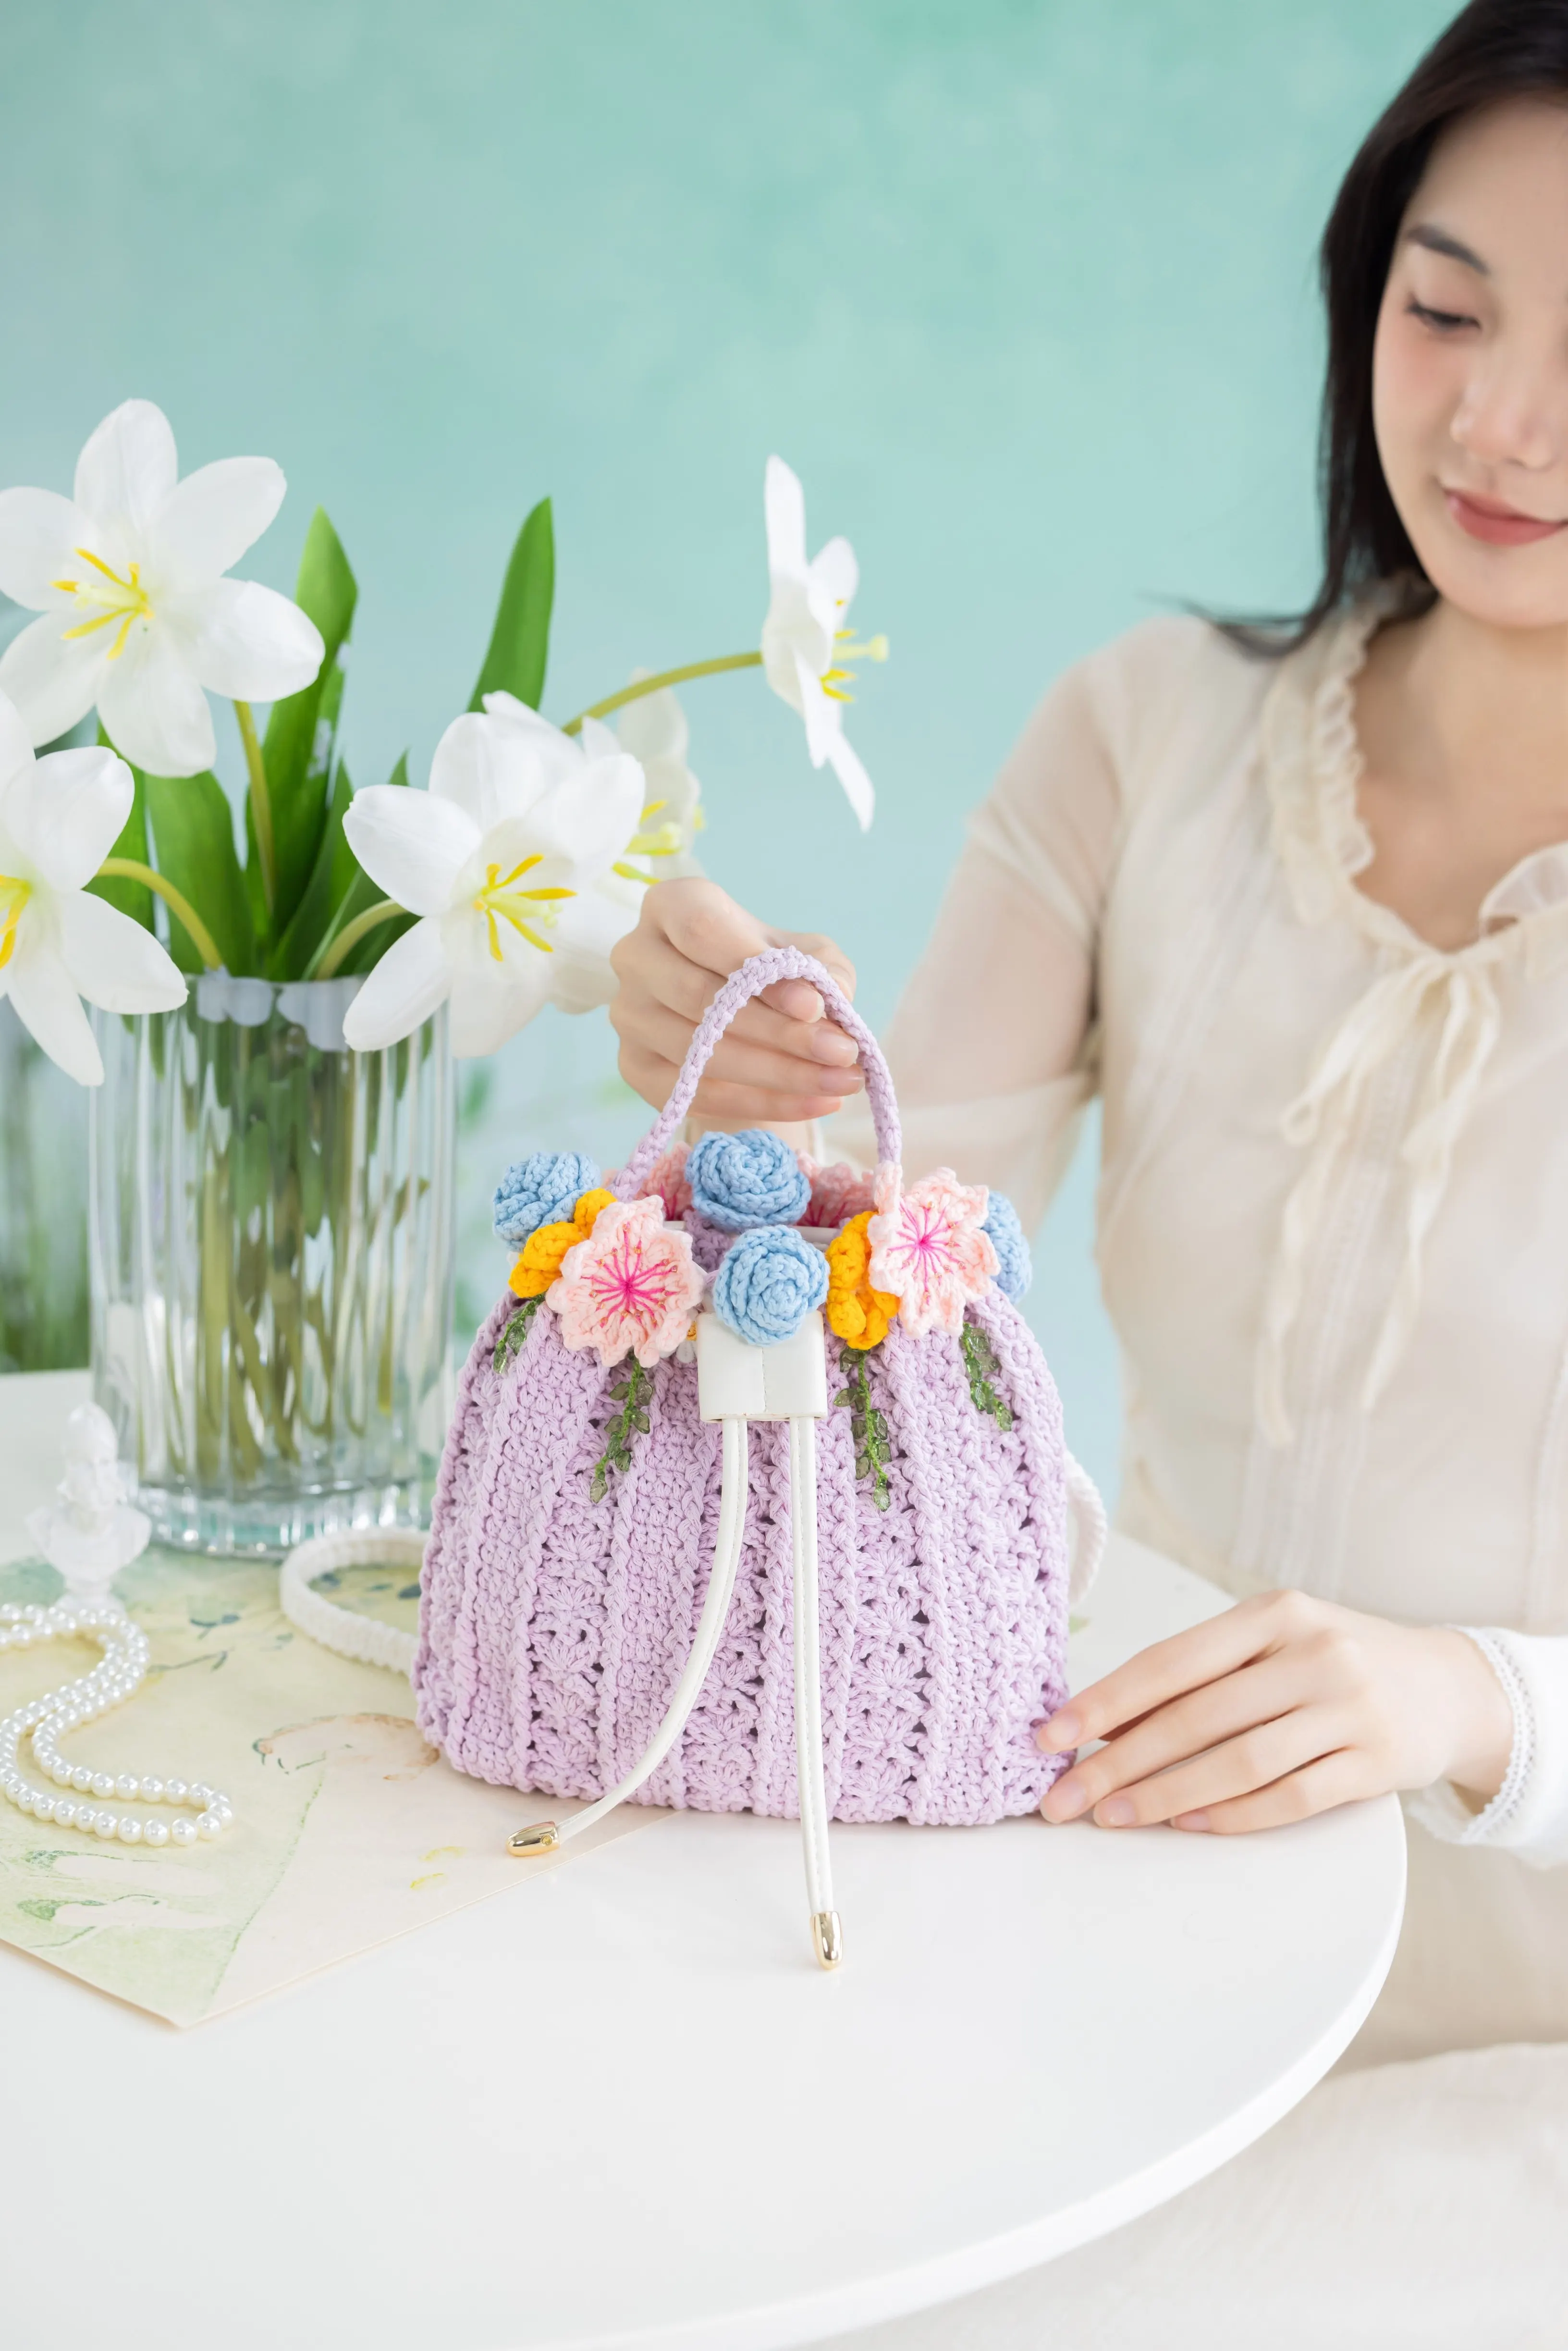
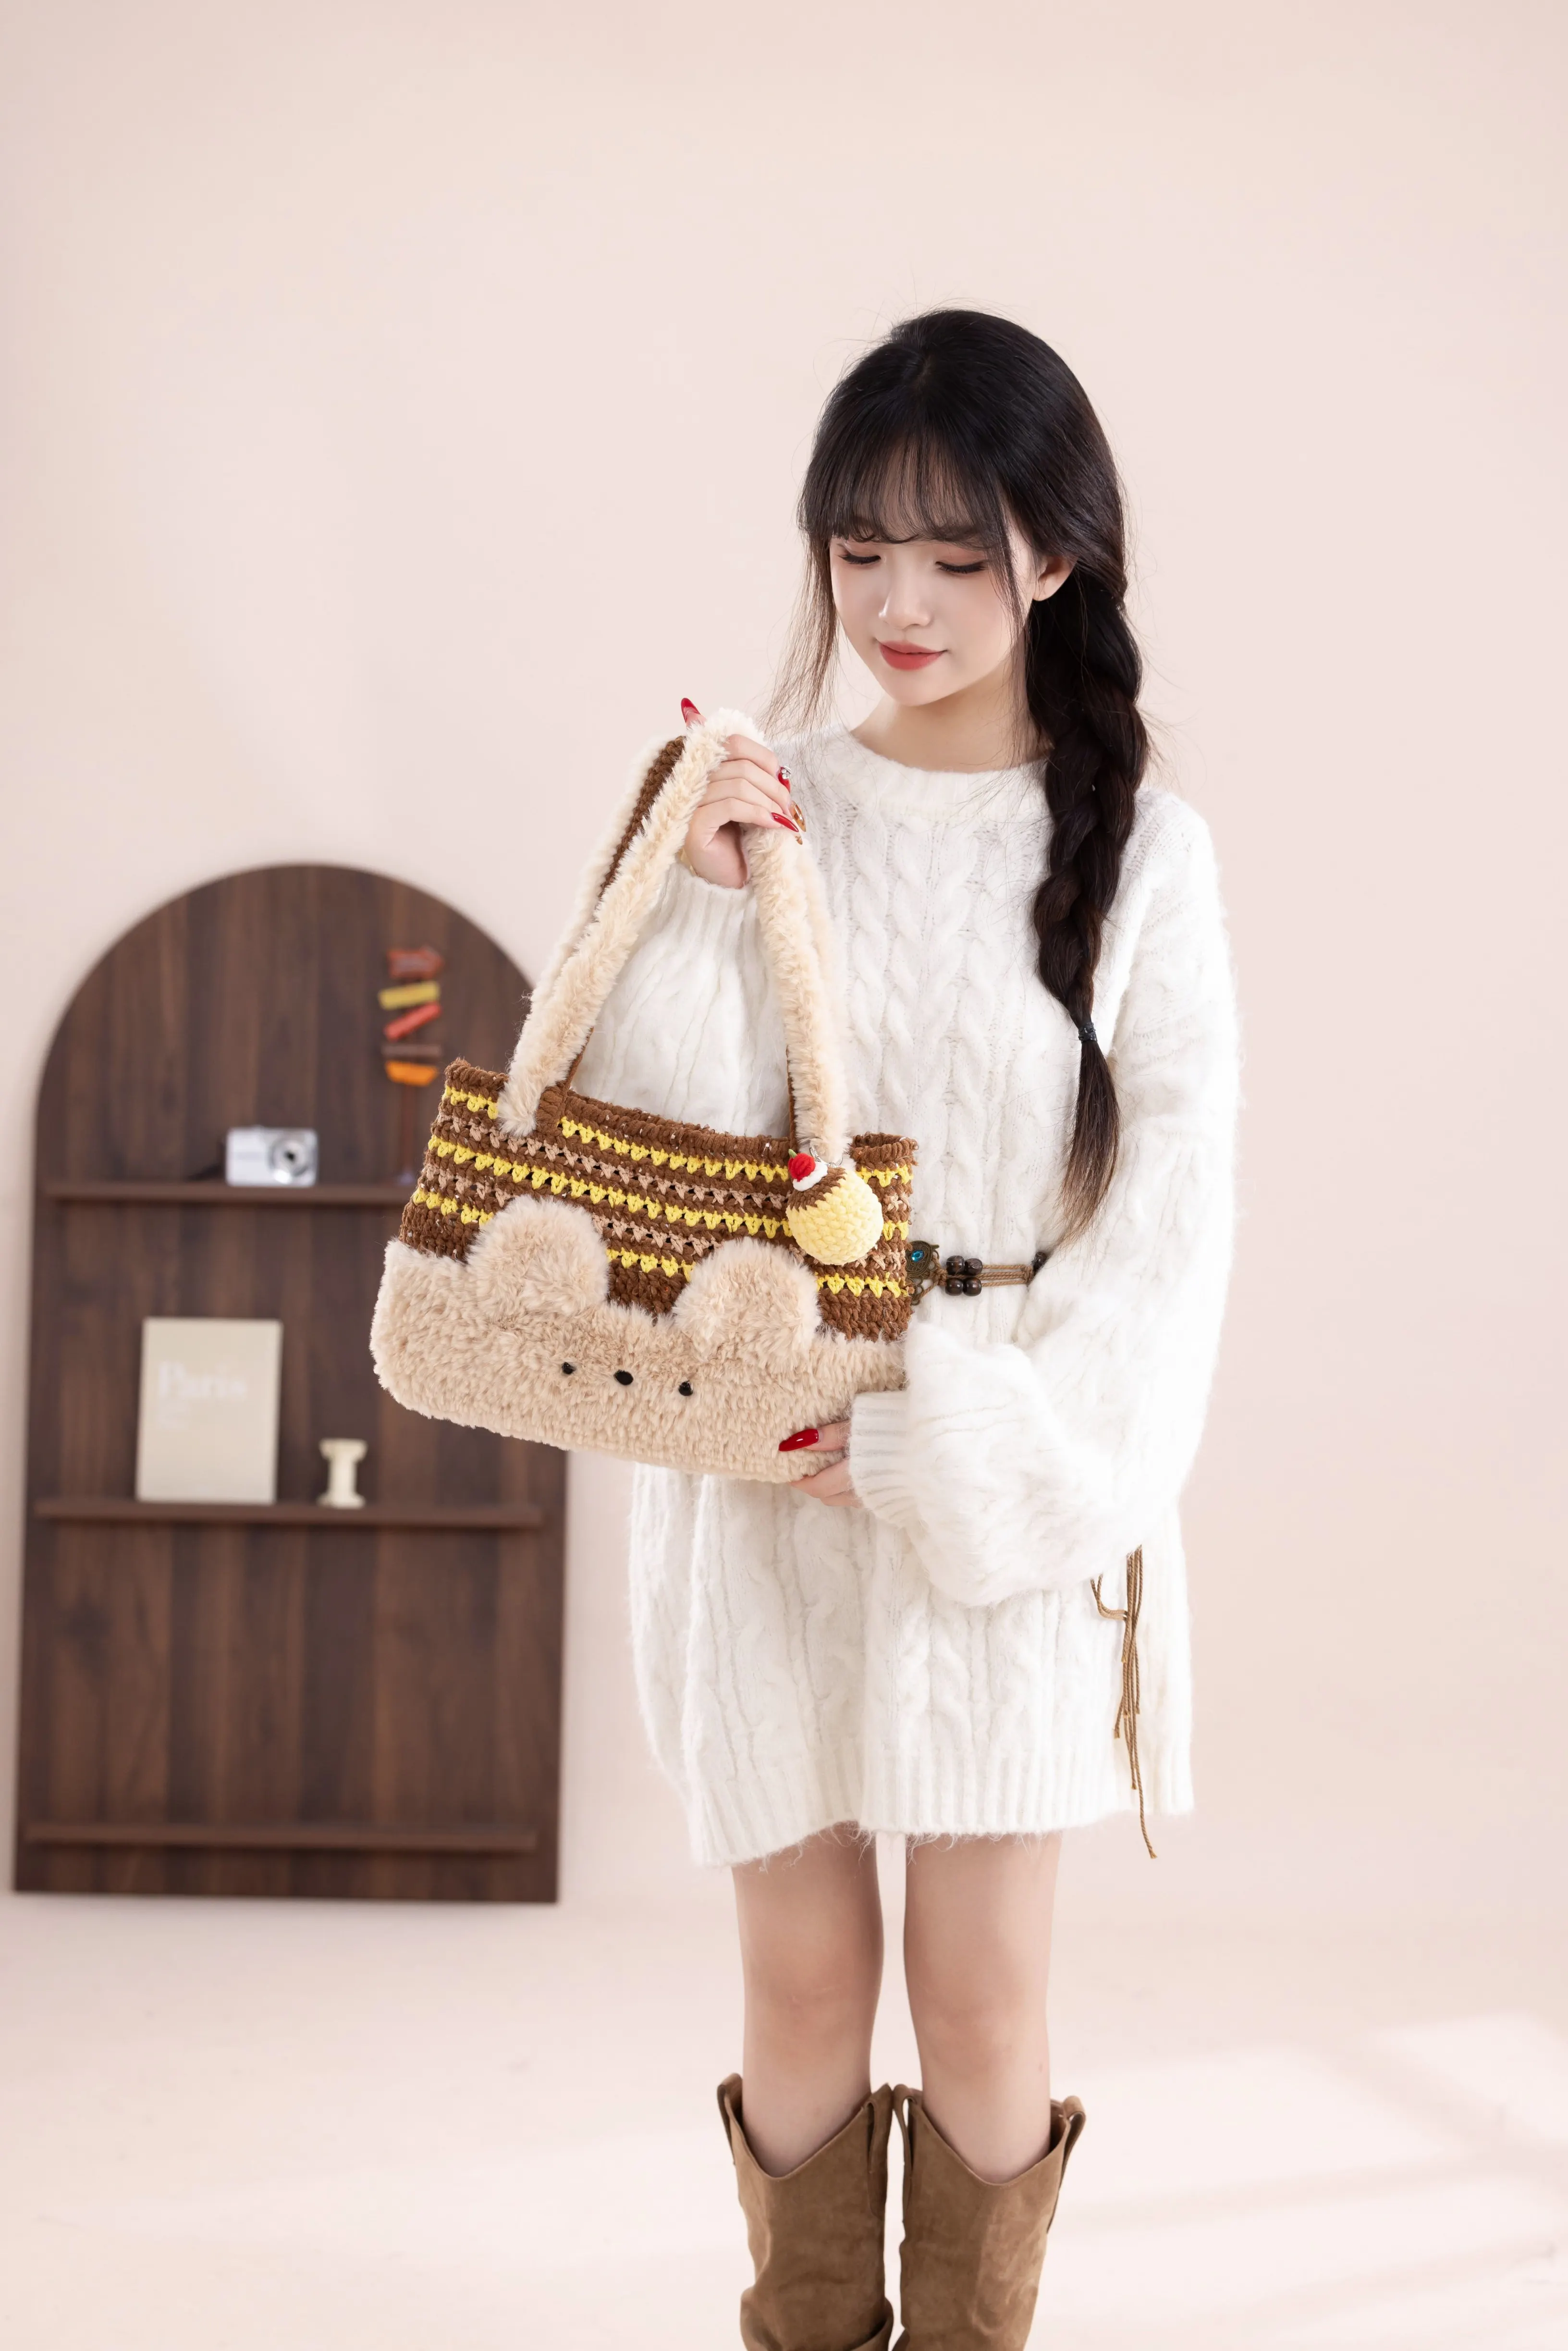
See the finished project
Pattern format
Instructions
Watch and follow
Video tutorial
This bag is divided into the base, the body, the strap, and the accessories. Start with the main part, then make and attach the accessories.
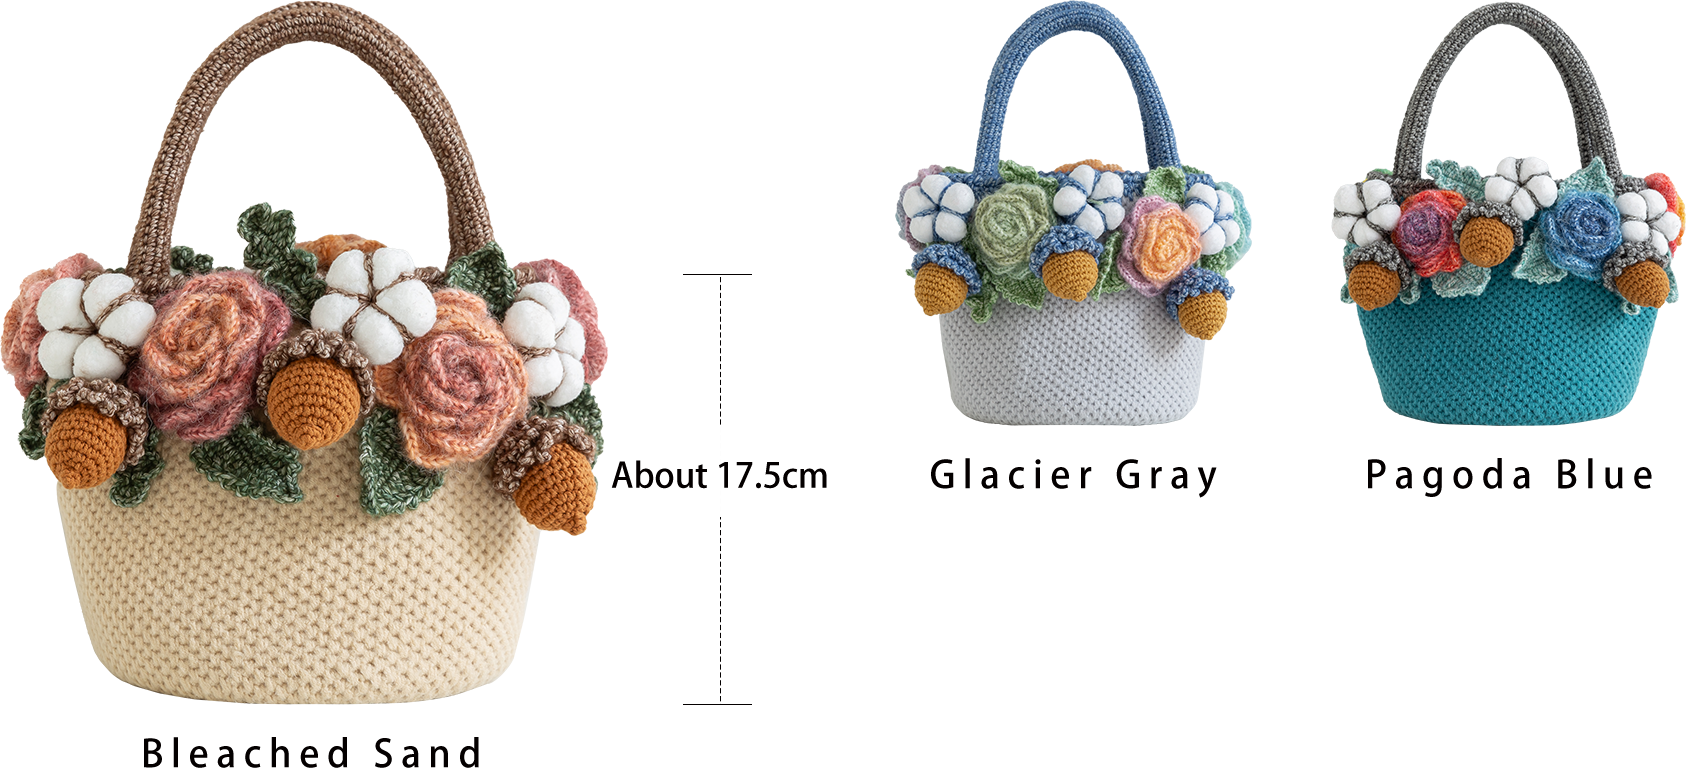
The handcrafted measurements may have an error of 1 to 2 cm. Due to variations in individual tension, the size of the sample is for reference only.
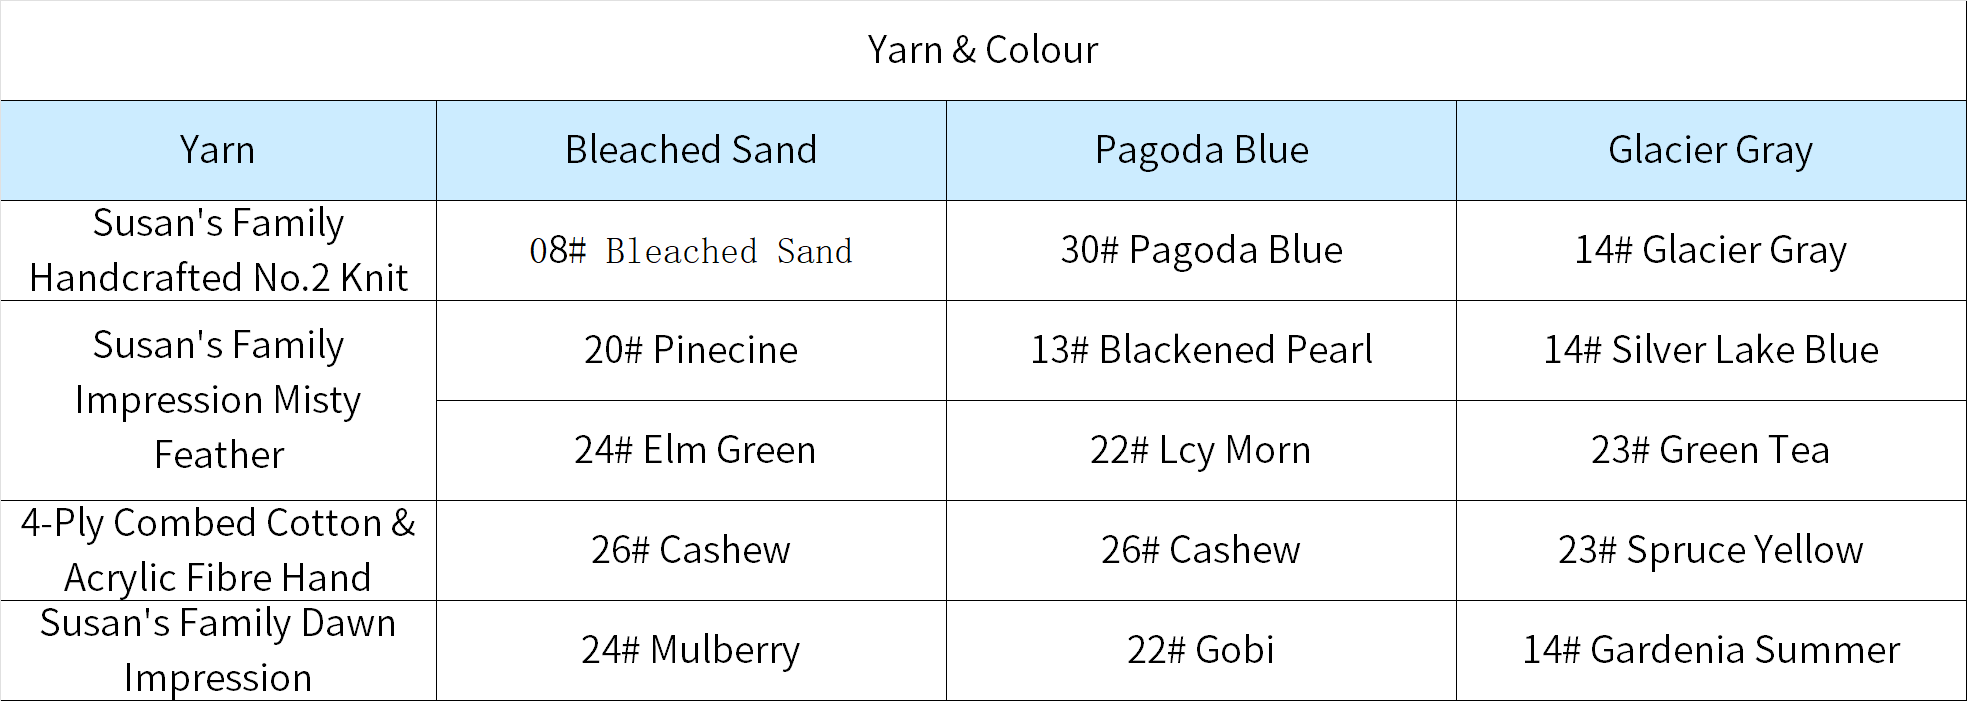
Materials: Susan's Family Handcrafted No.2 Knit Thread, Susan's Family Impression Misty Feather, Susan's Family 4-Ply Combed Cotton & Acrylic Fibre Hand Knitting Yarn, Susan's Family Dawn Impression
Hook: 3.0 mm crochet hook

Note: This pattern is making in Chinese crochet pattern terms, and the stitch name is written using American terminology. All measurements in charts are in cm.
Chart Key











Part 1 The Base and The BodyA 00' 34''
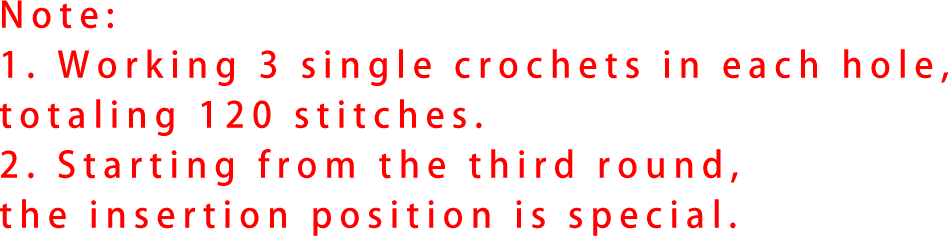
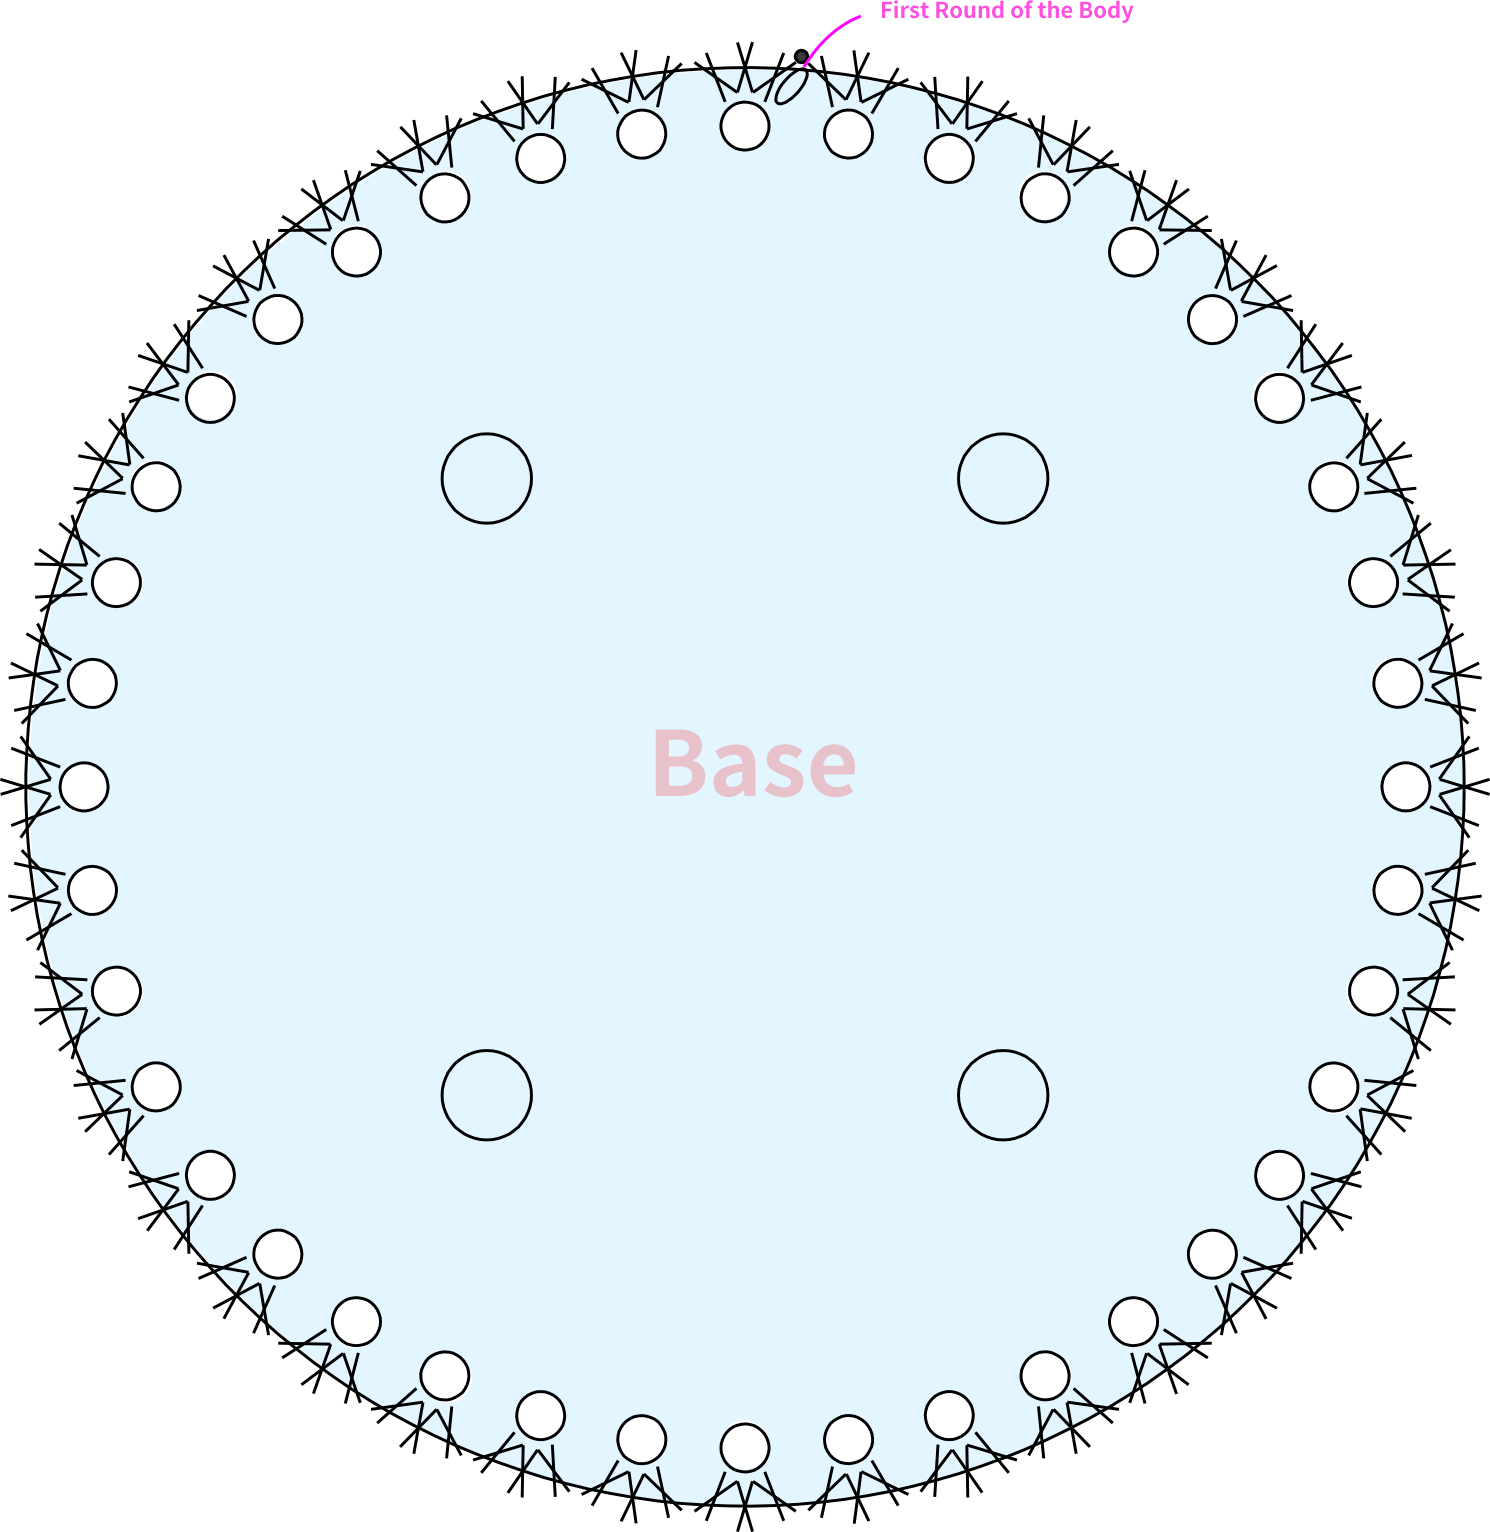
The base is pre-made, so there's no need to make it. The body is worked in rounds starting from the holes in the base. The last few rounds require color changes. Please refer to the video demonstration for specifics.
Base
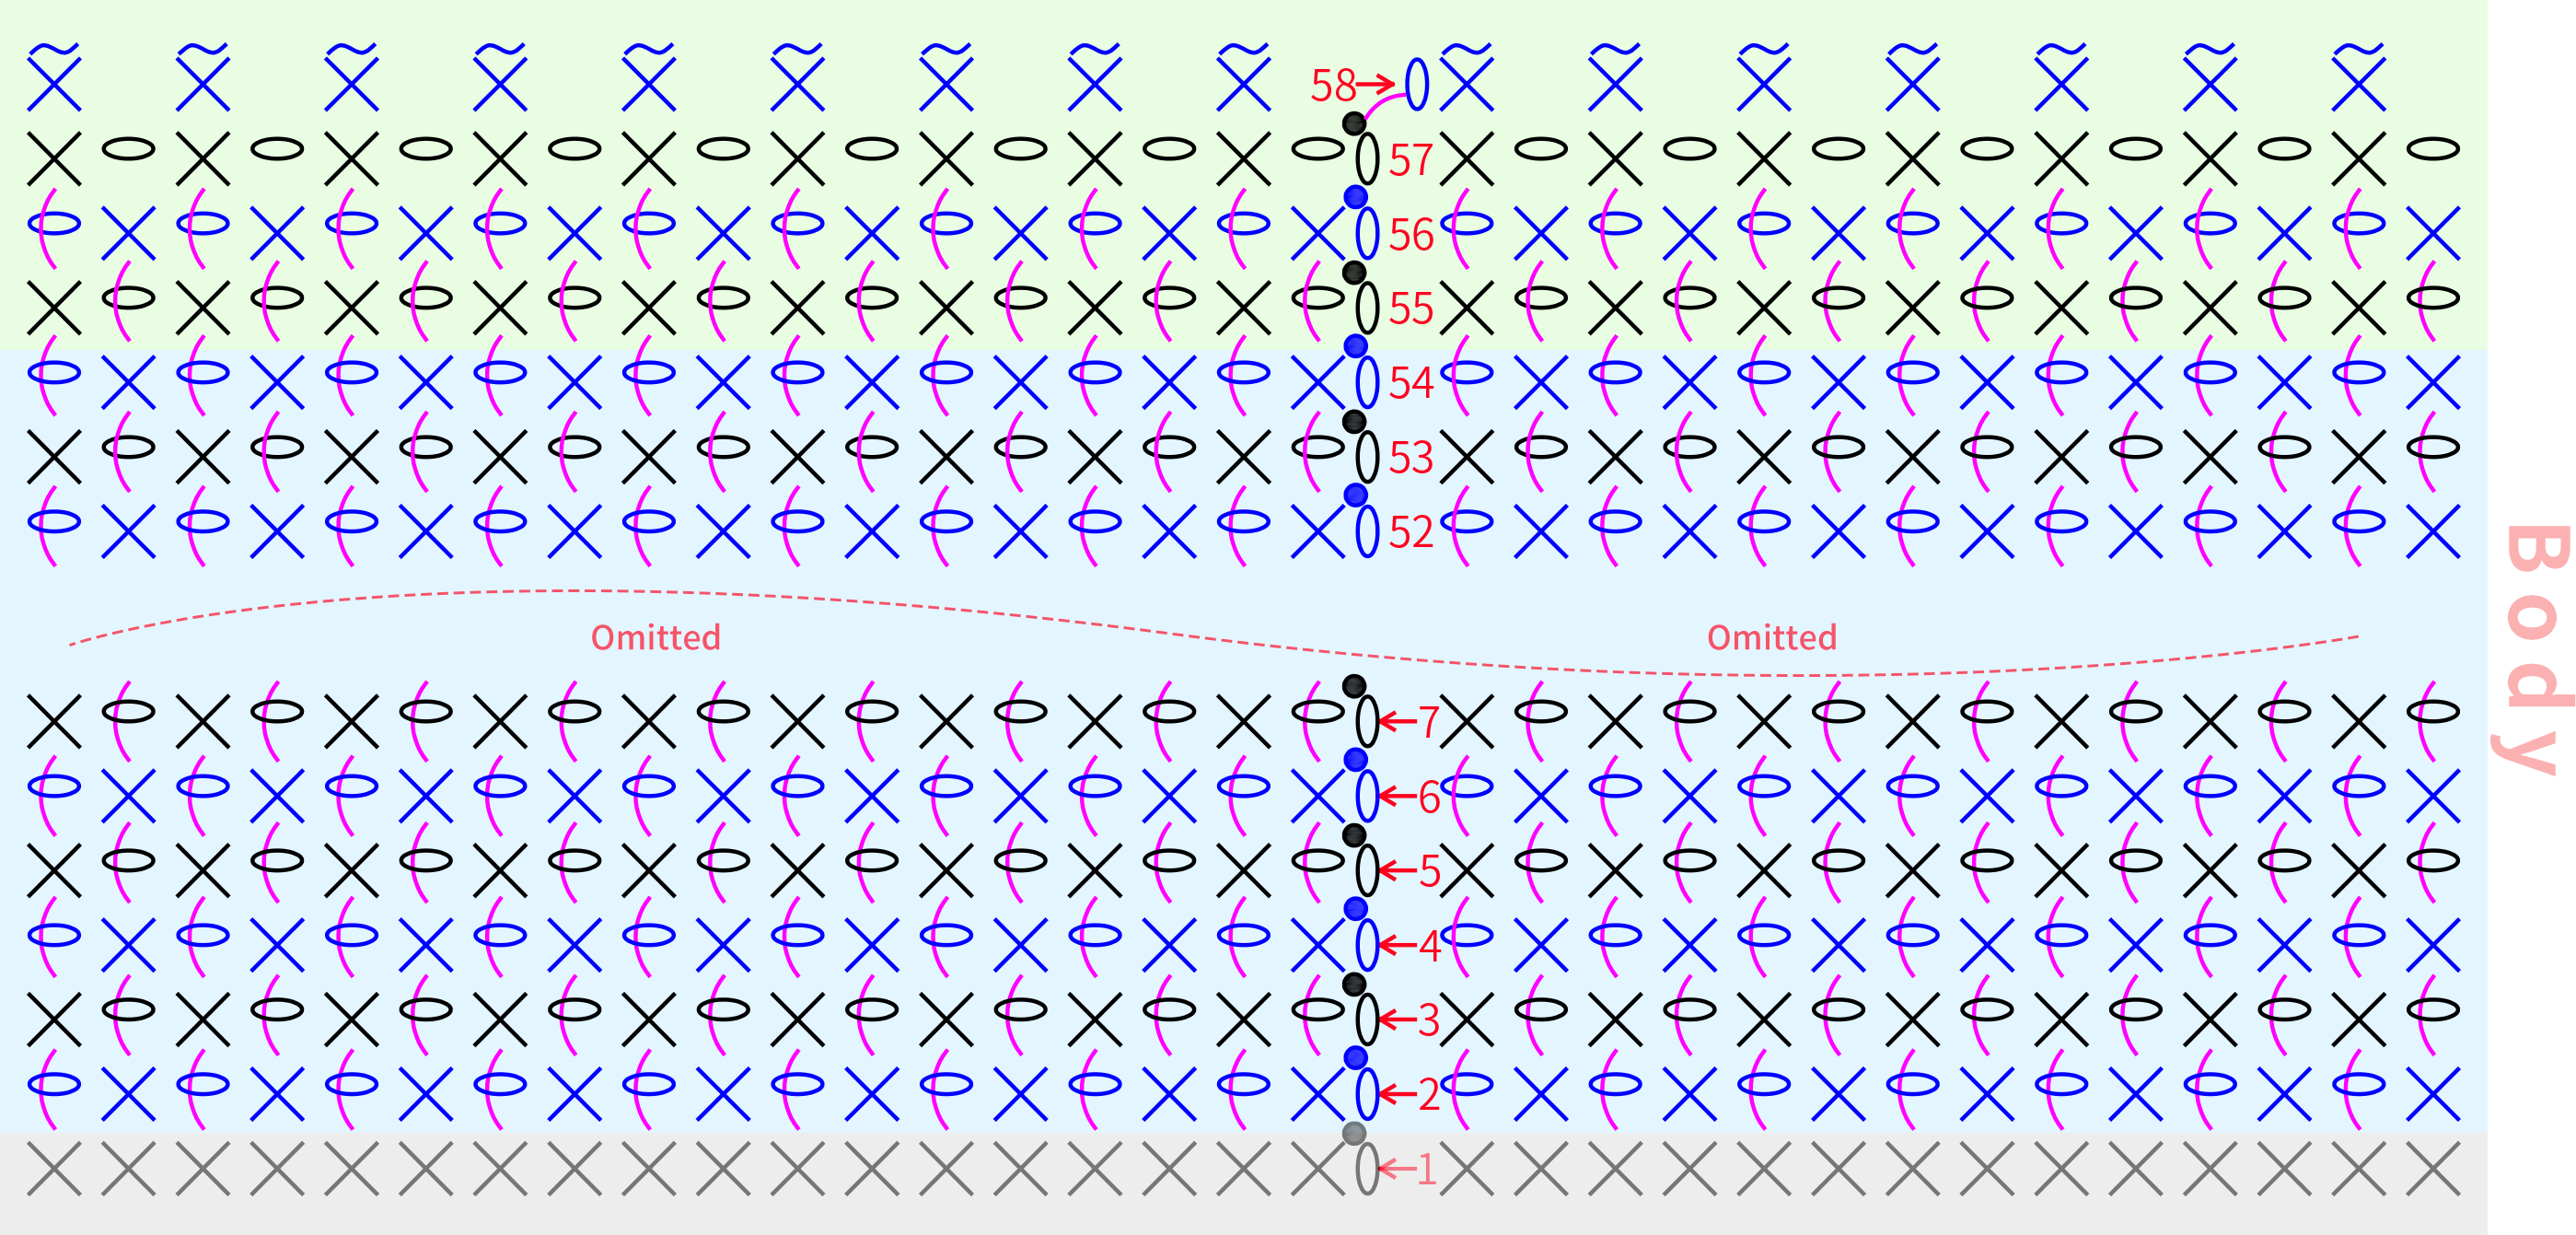
Body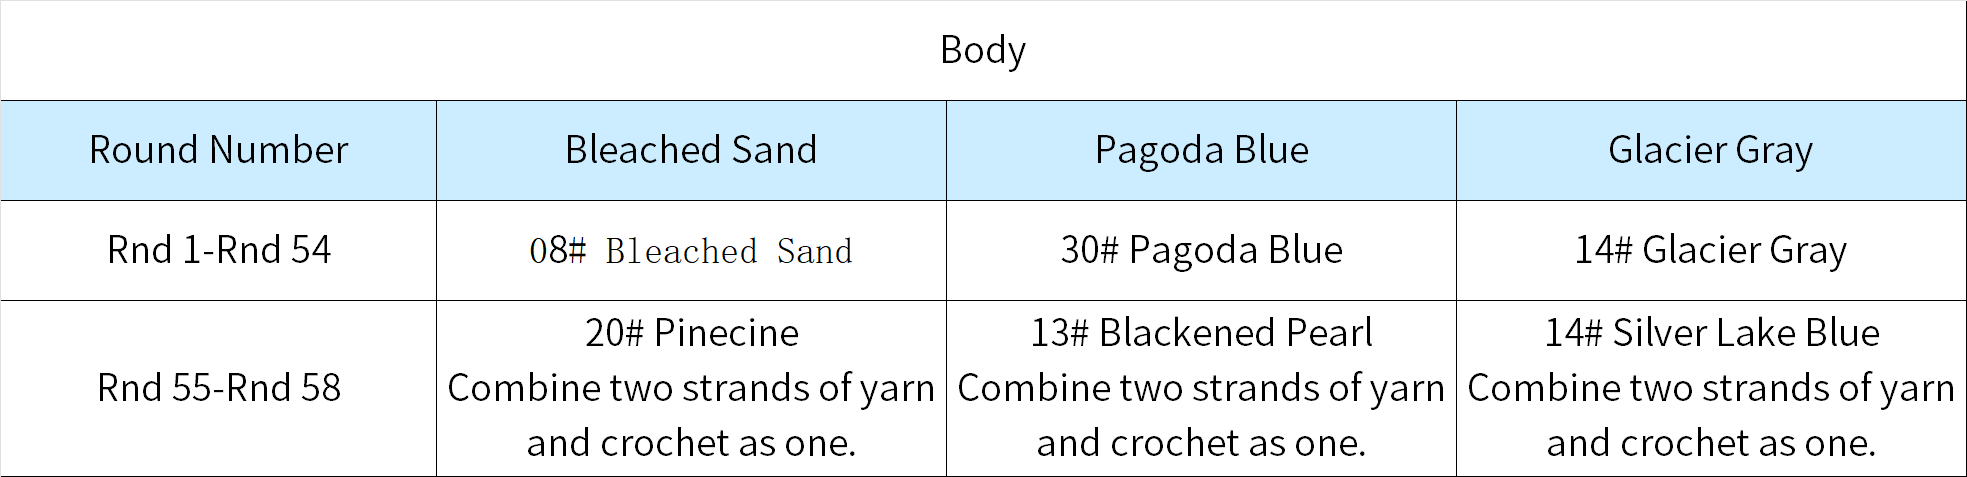
Part 2 The StrapB 14' 56''
There are two straps in total, each consisting of a strap piece and cotton cord. The cotton cord doesn't need to be crocheted. The strap piece starts with a foundation chain. Work back and forth in rows. When completed, sew it around the cotton cord. Please refer to the video demonstration for specifics.

Part 3 The AccessoriesC
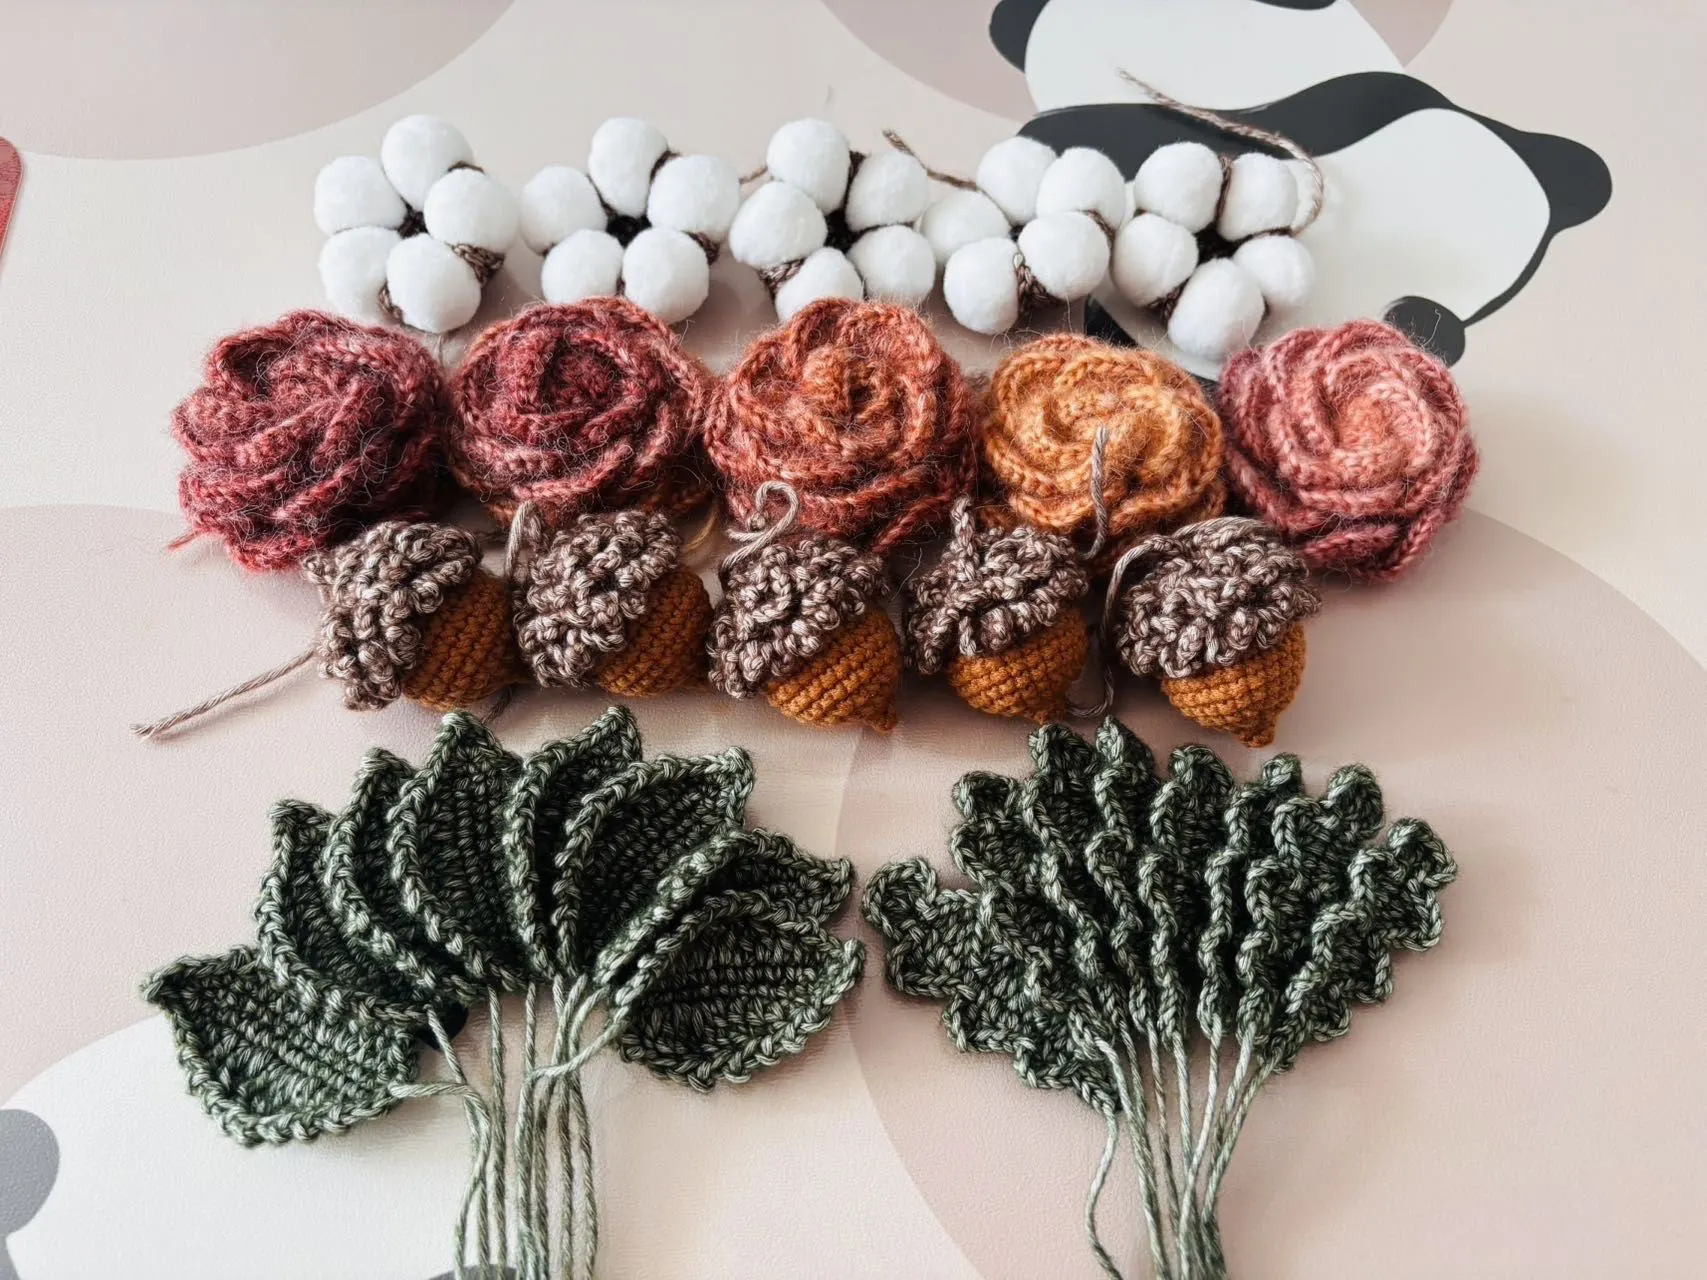
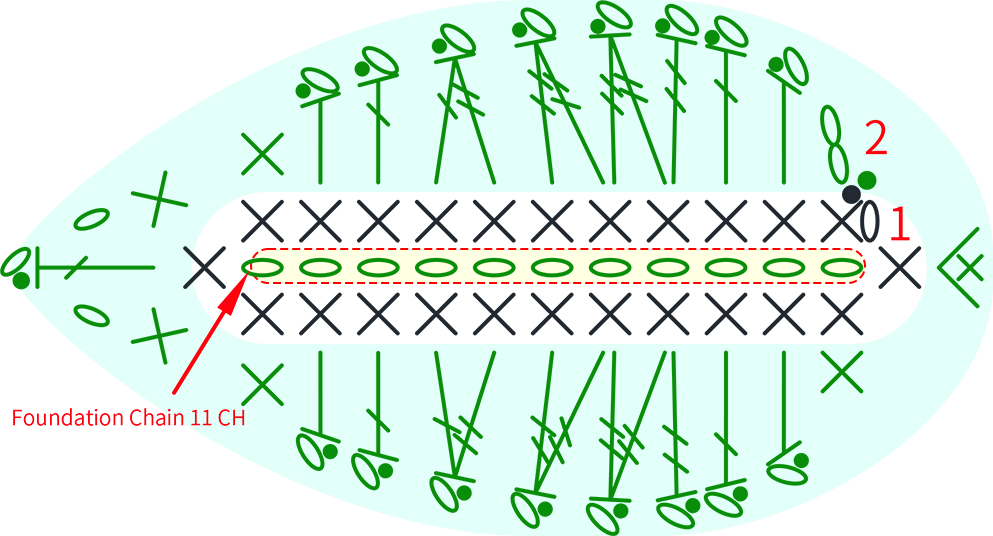
Including acorns, Leaf 1, Leaf 2, roses, and cotton. Crochet them individually first, then assemble everything at the end.
Step 1 AcornsC1 24' 22''
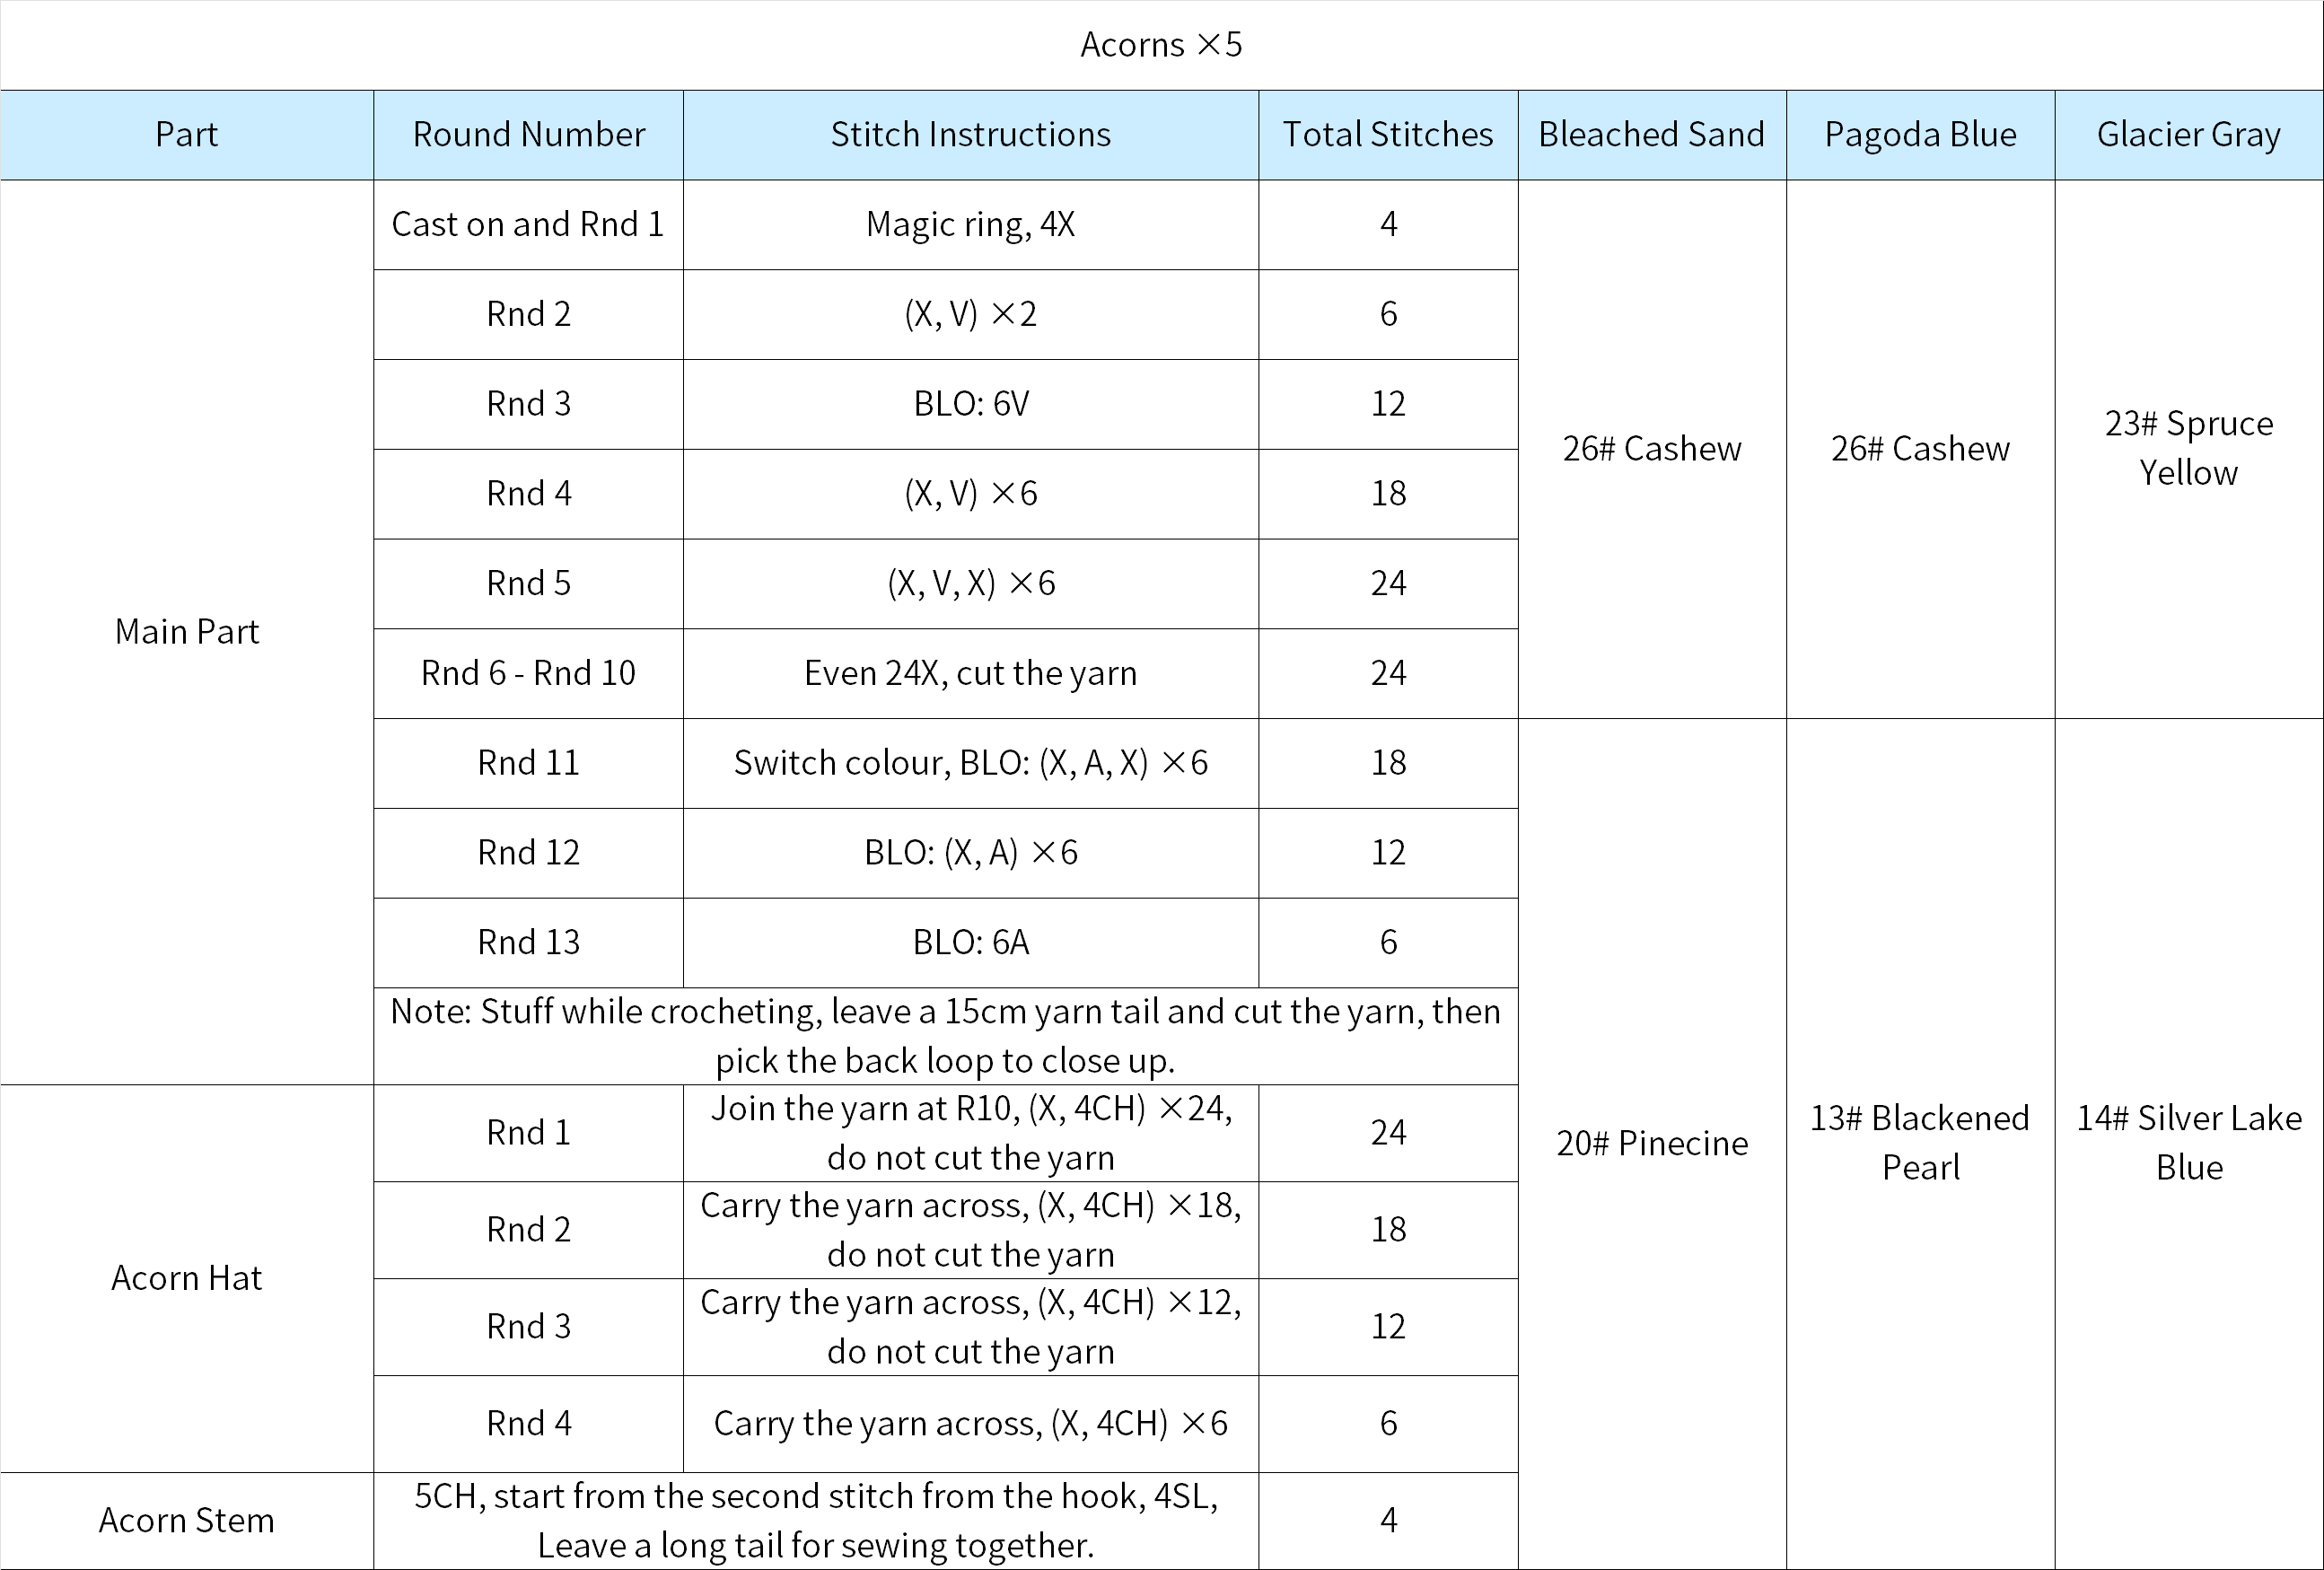
Step 2 Leaf 1C2 and Leaf 2C3 44' 41''



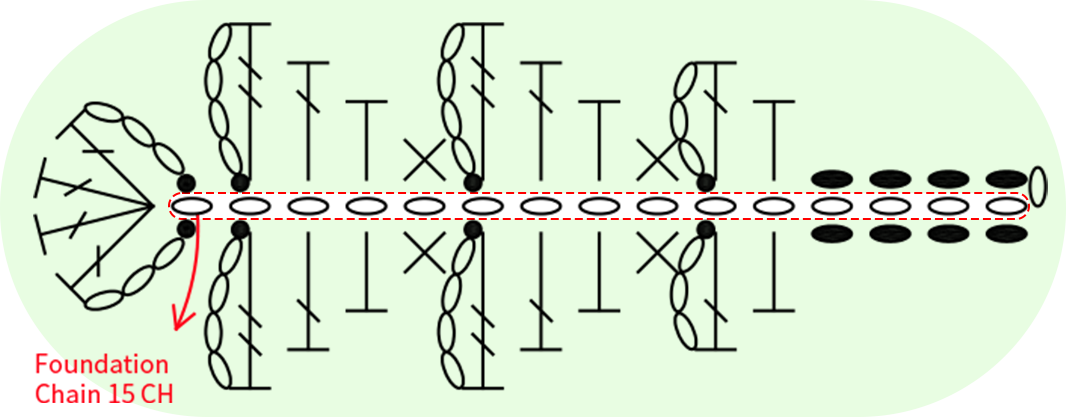
Step 3 RosesC4 60' 27''
The roses start with a chain stitch, then work back and forth. After completing, use a whip stitch to sew them into flowers. For details, please refer to the video demonstration.
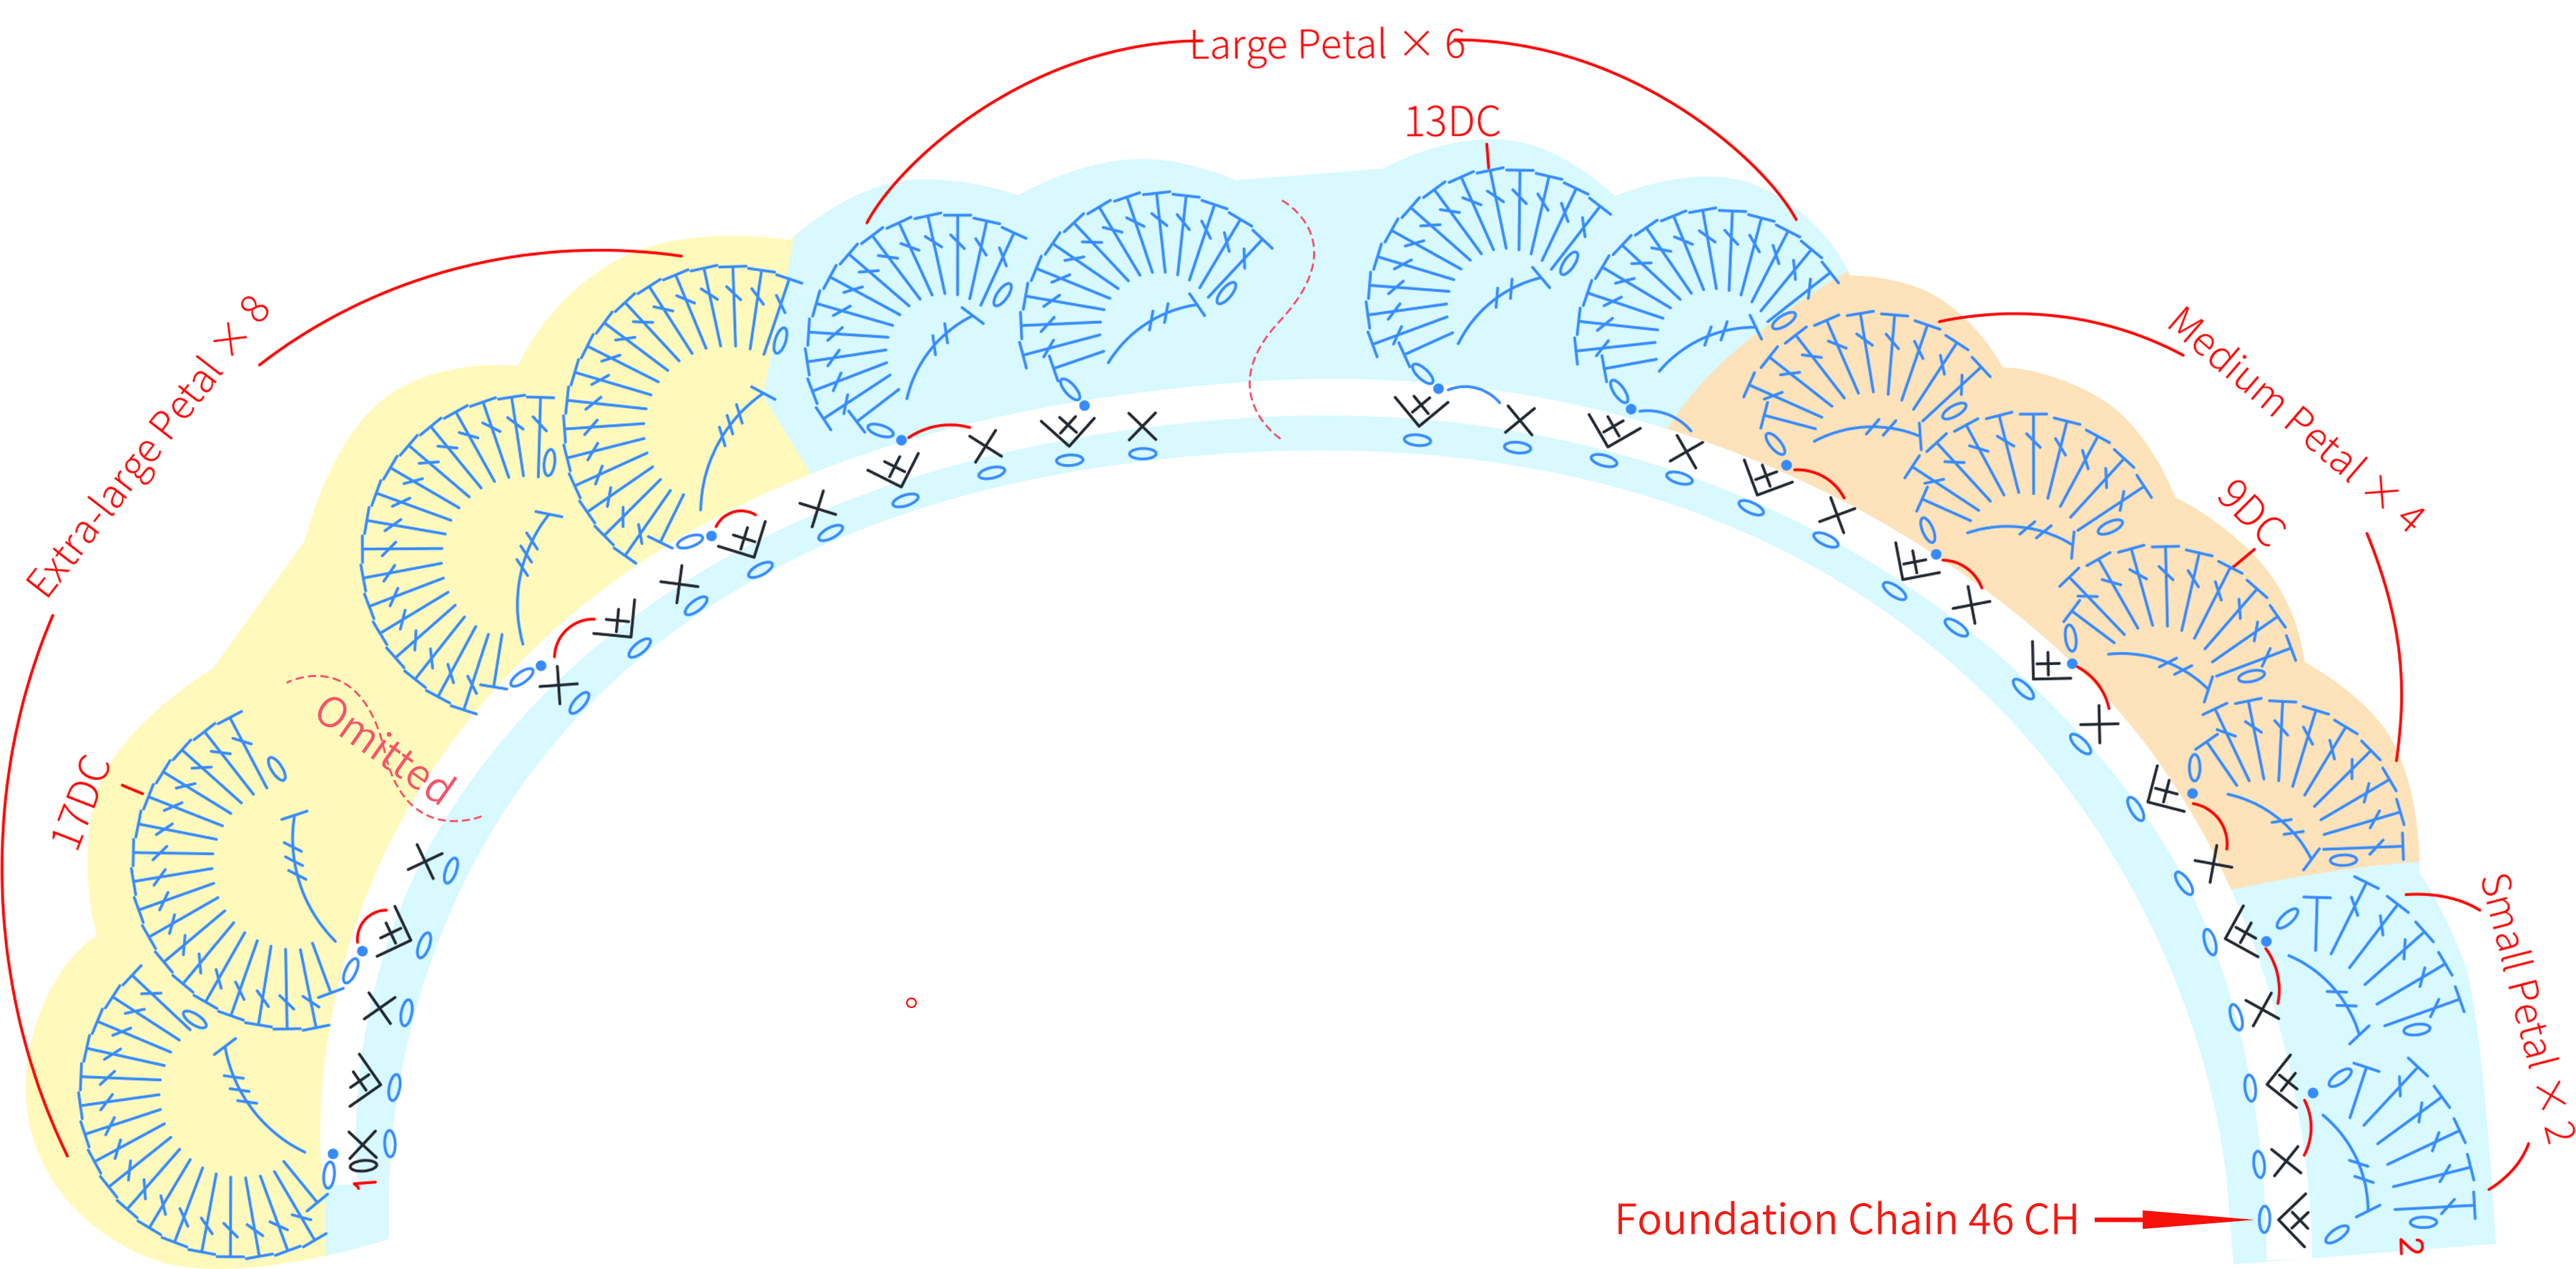

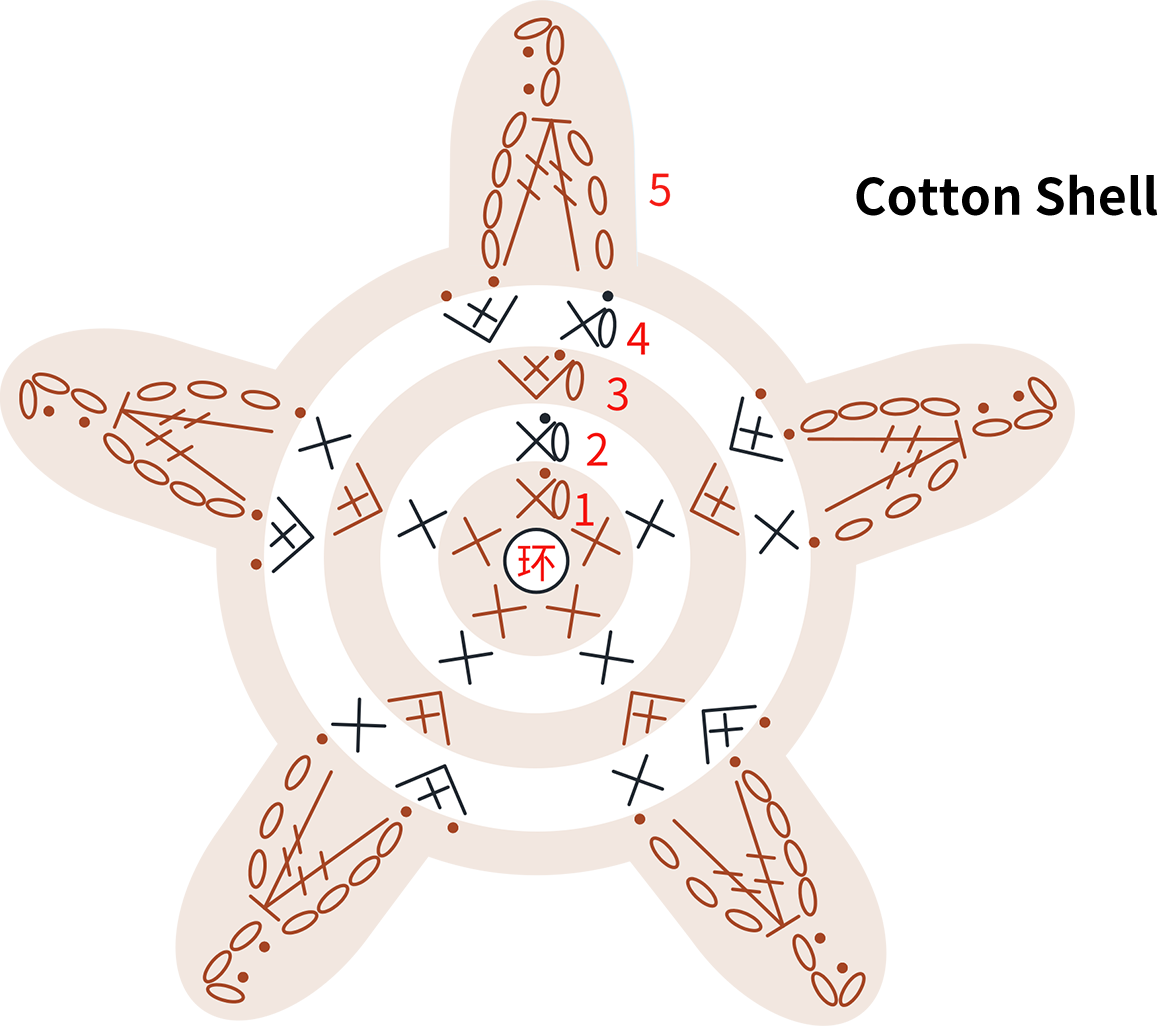
Step 4 Cotton C5 and Assemble EverythingC6 77' 19''
The finished product is consisting of an outer shell and a cotton ball. Start by completing the cotton ball. Then use the magic ring, work in rounds for the outer shell, assemble after completing. For details, please refer to the video demonstration.

Made by the community