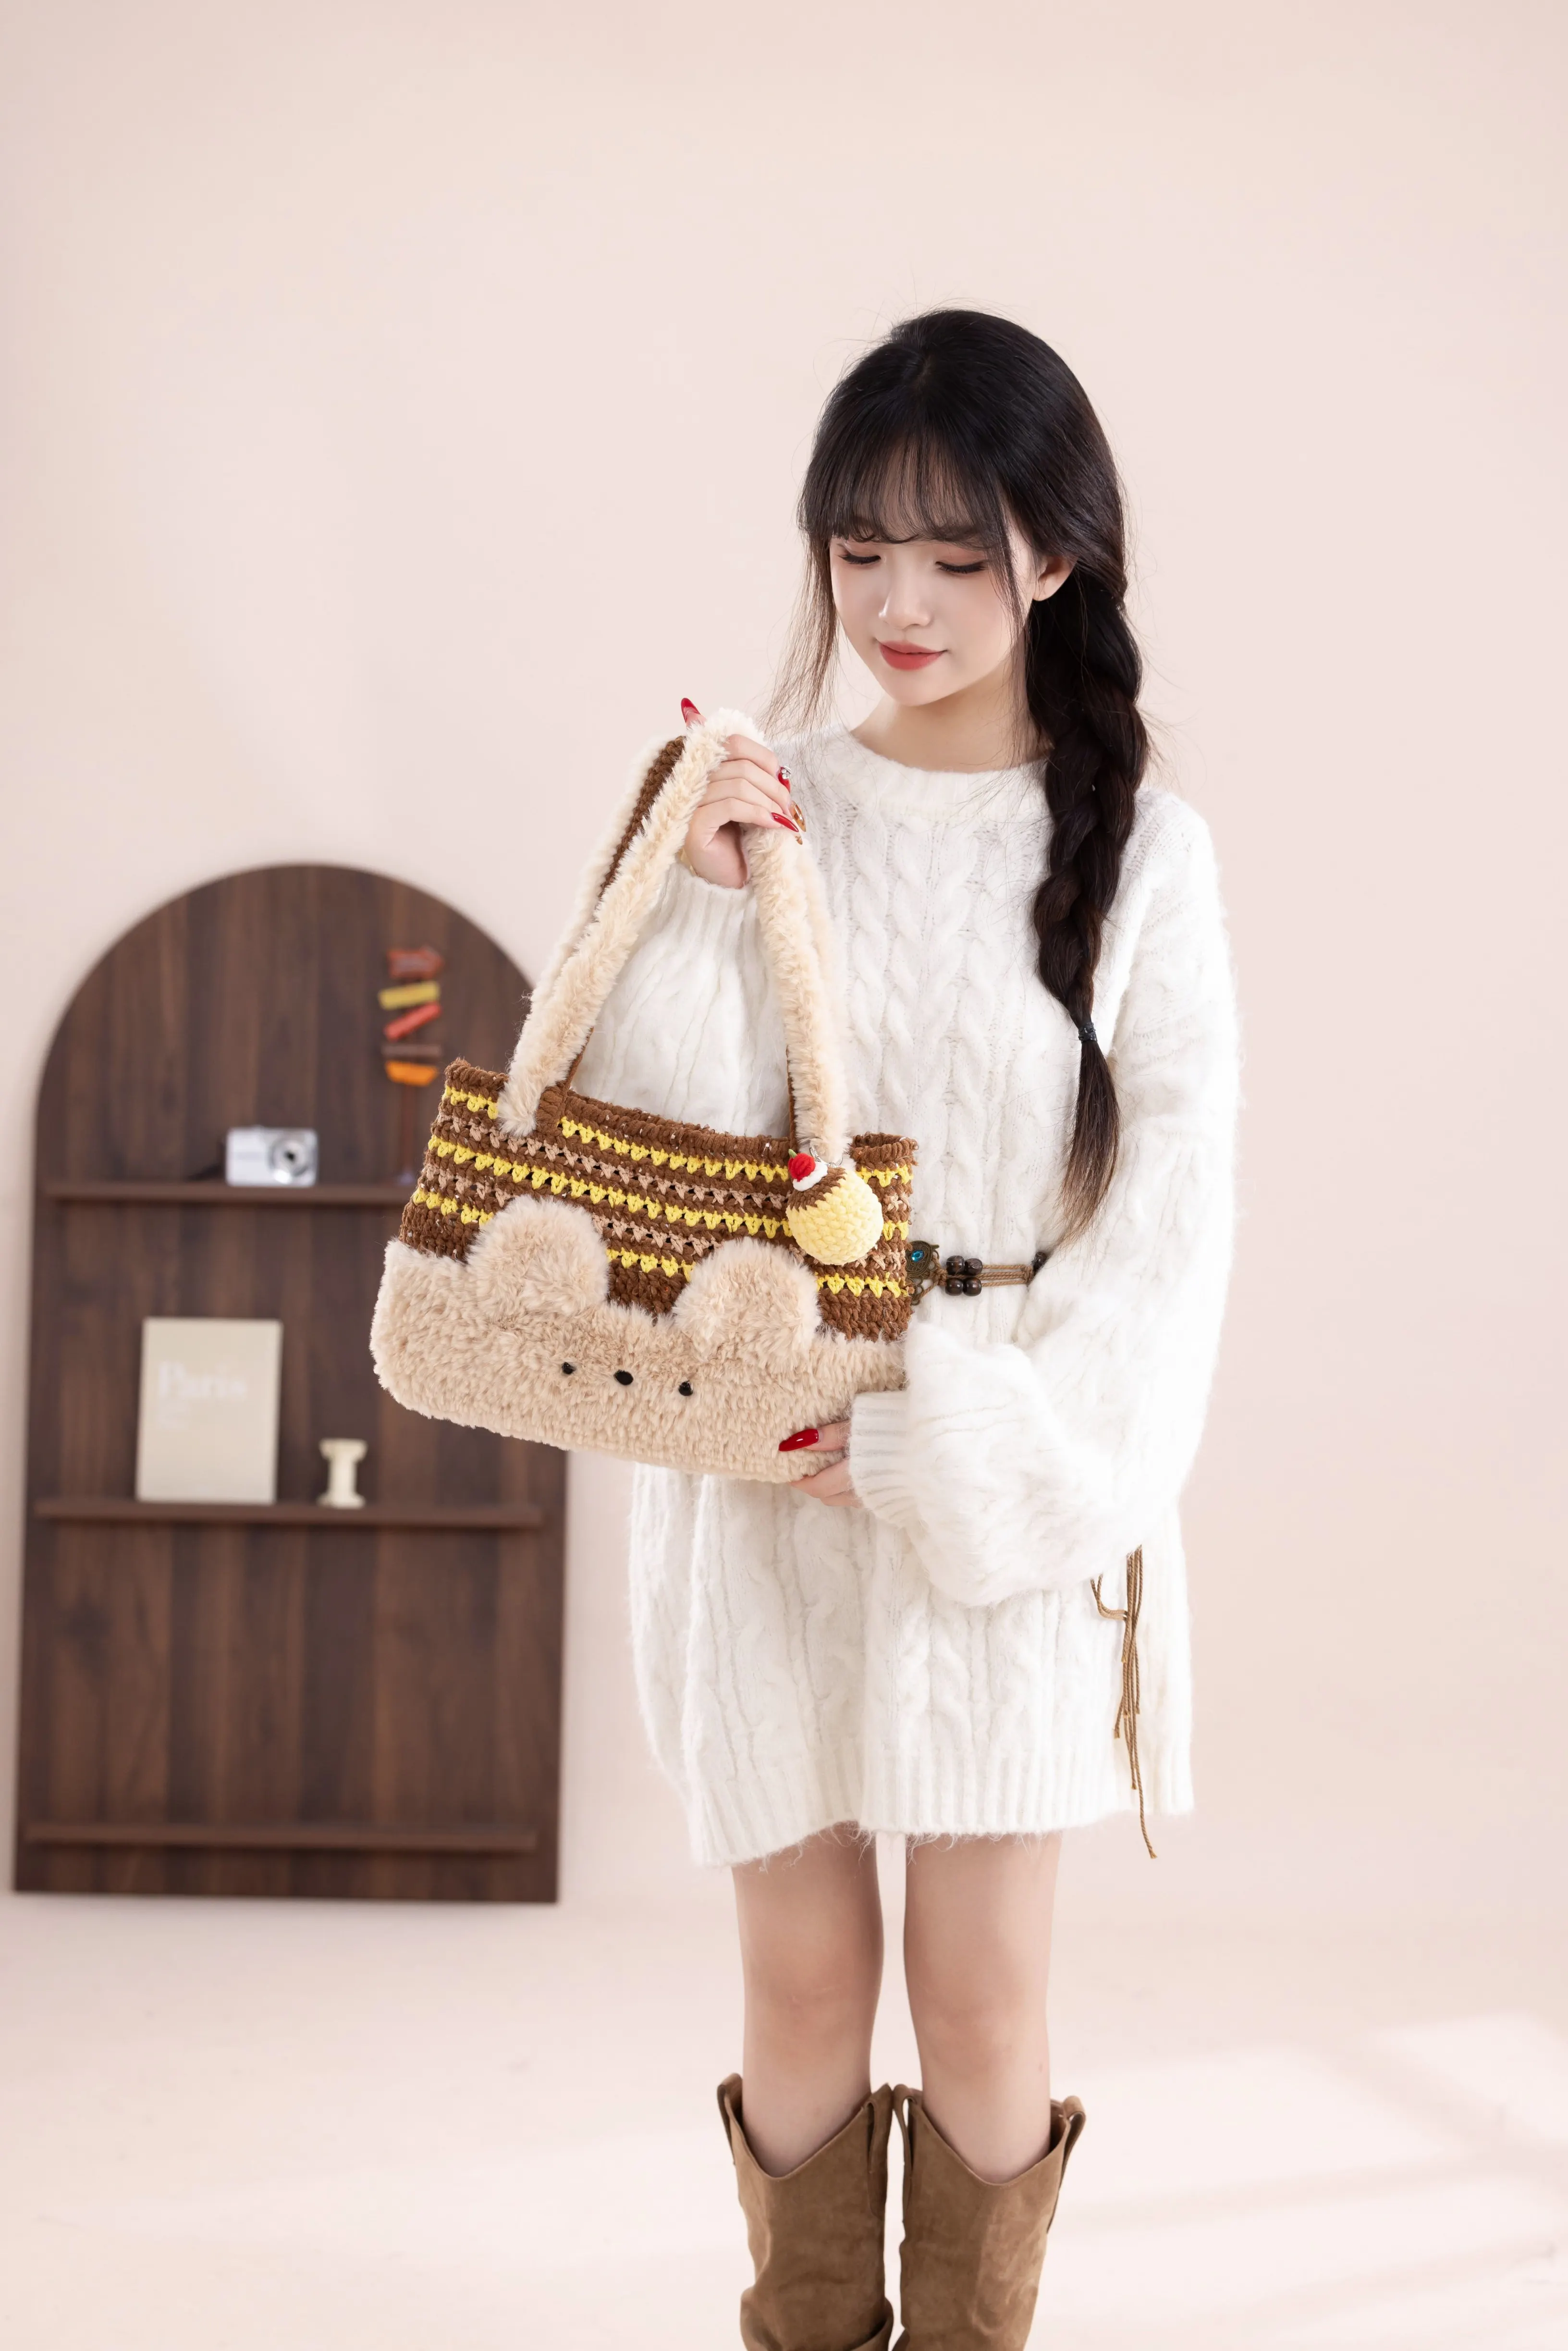
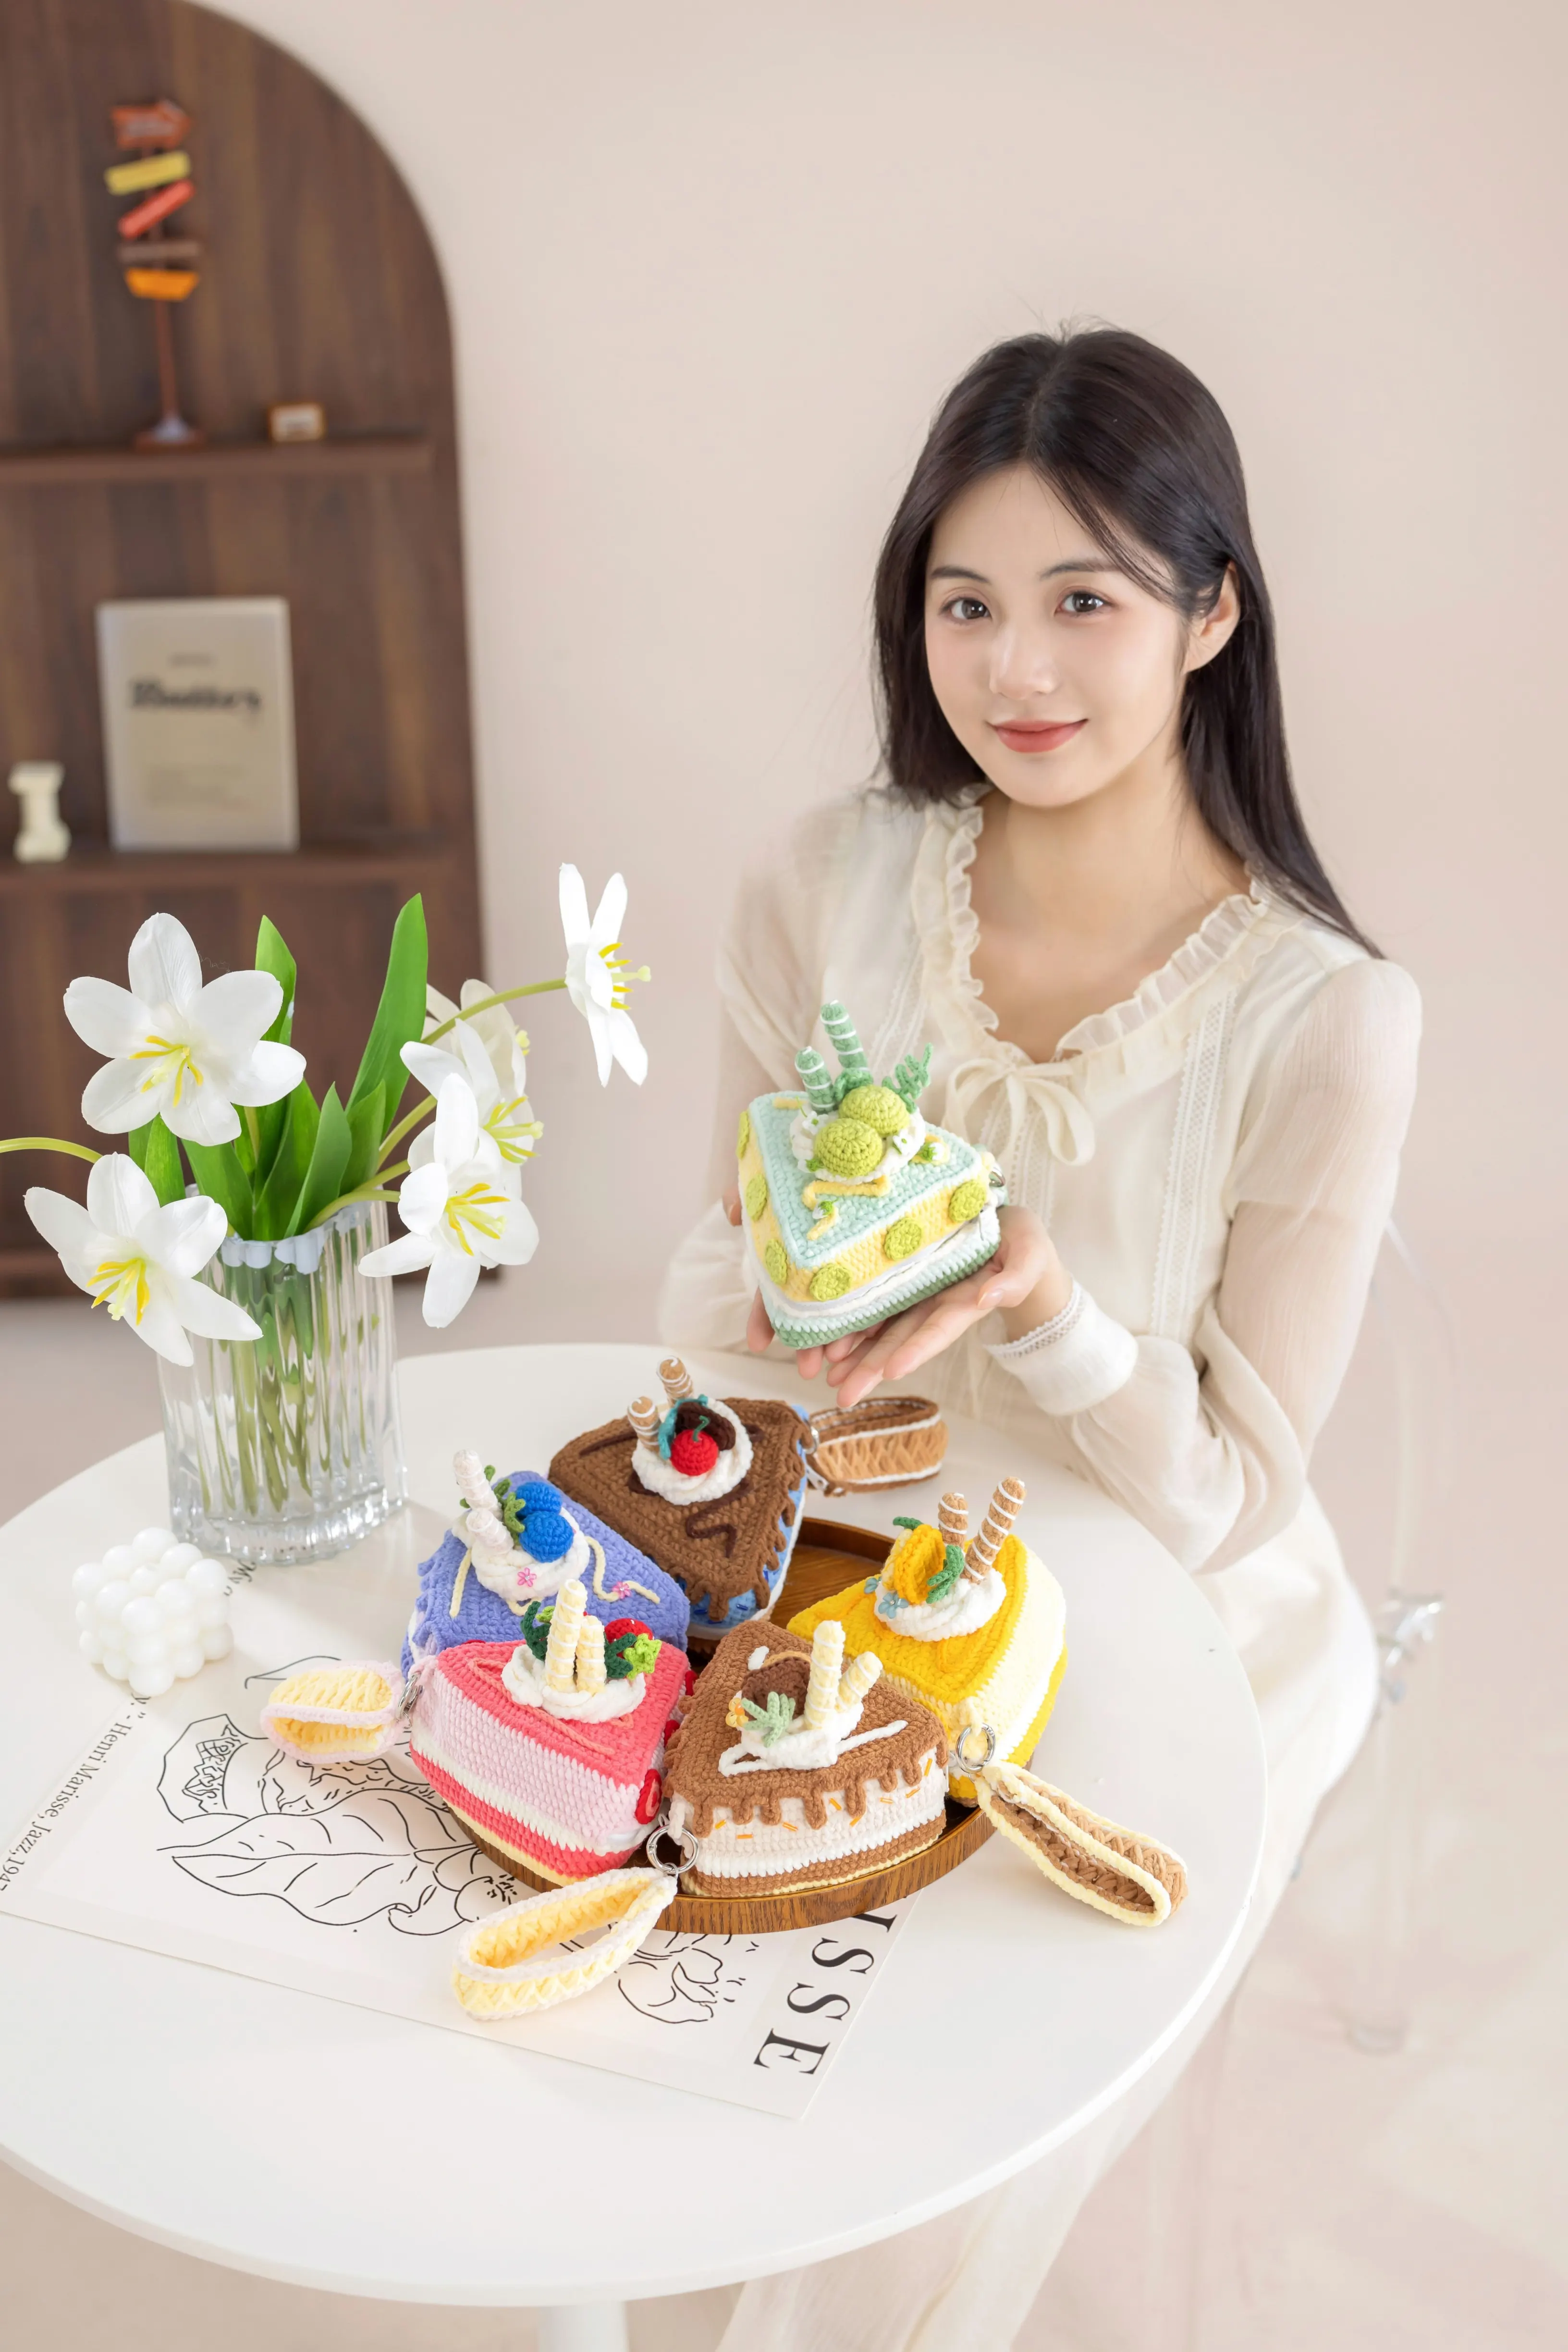
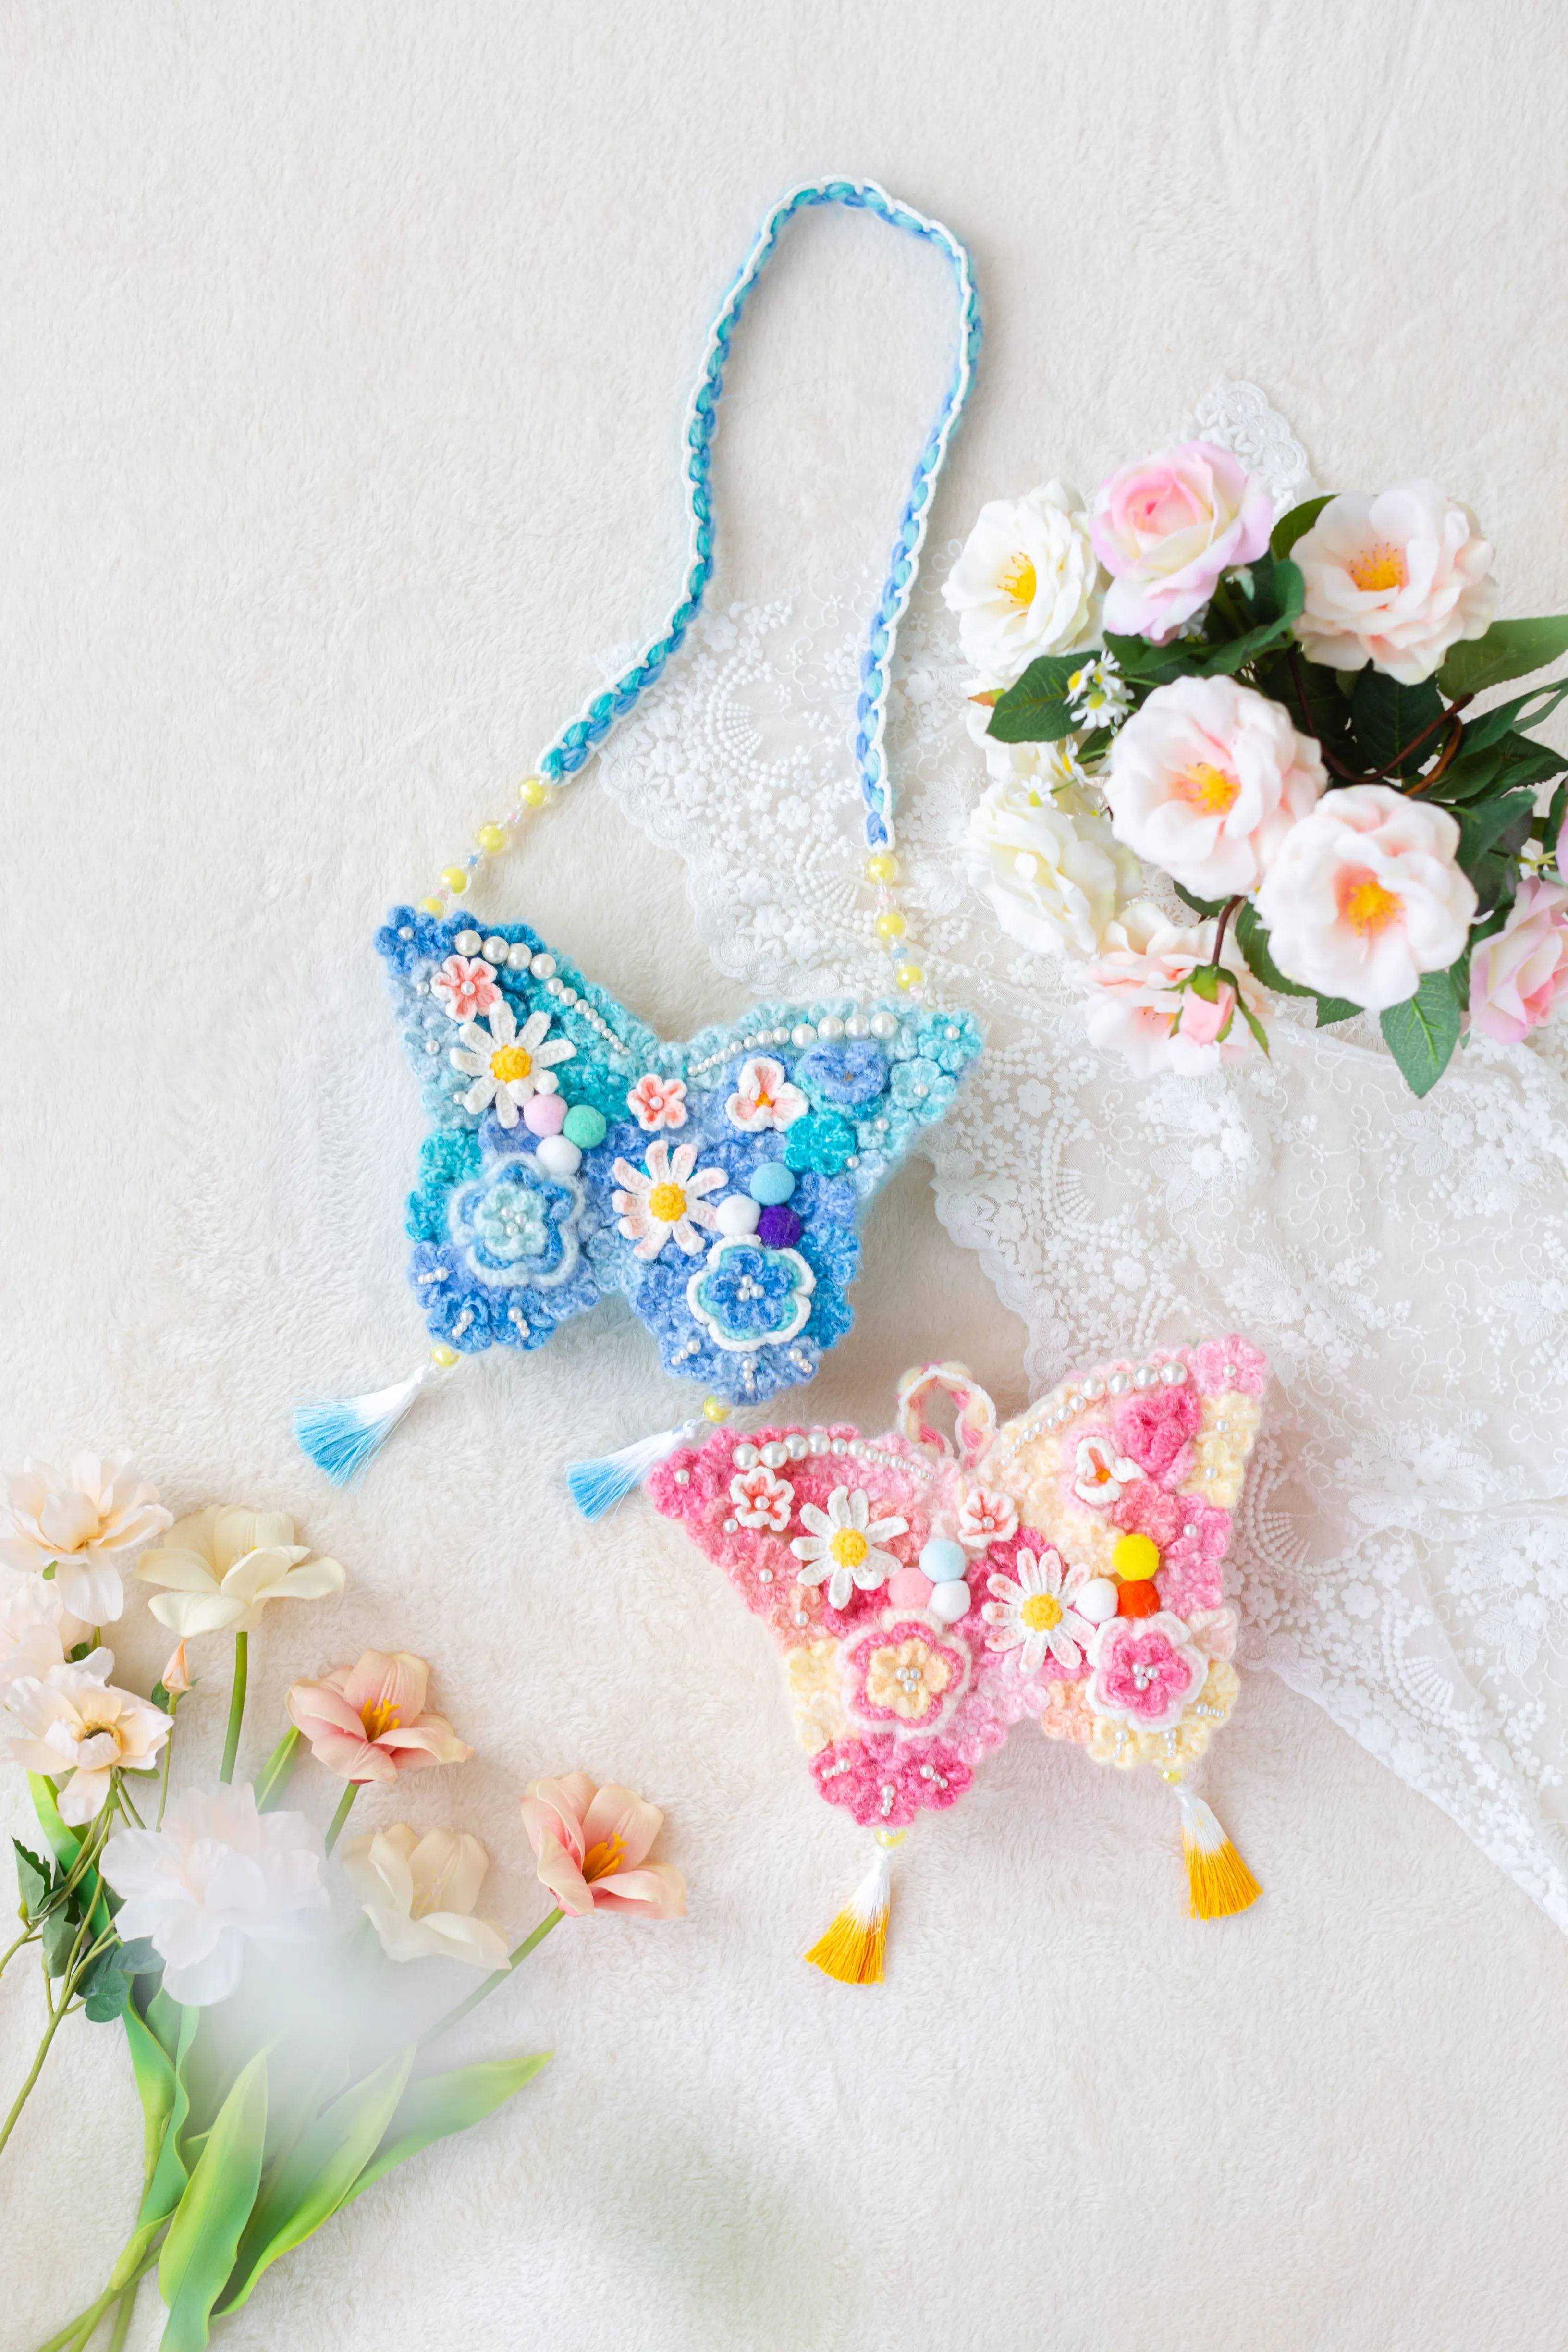
Bag
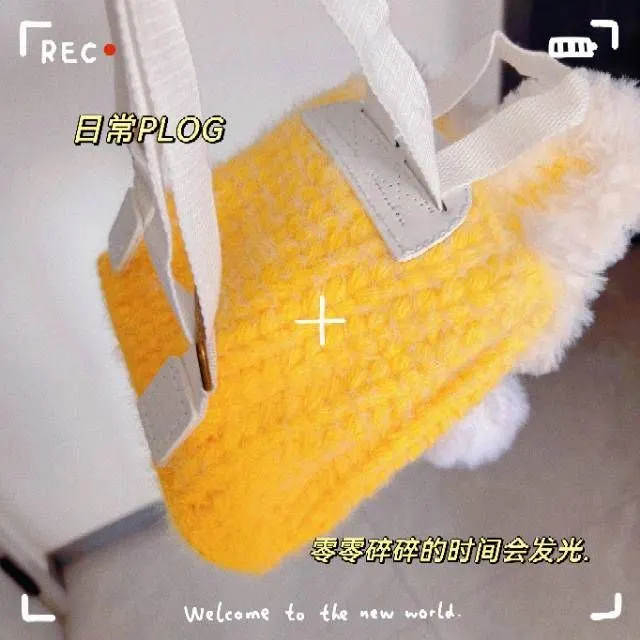
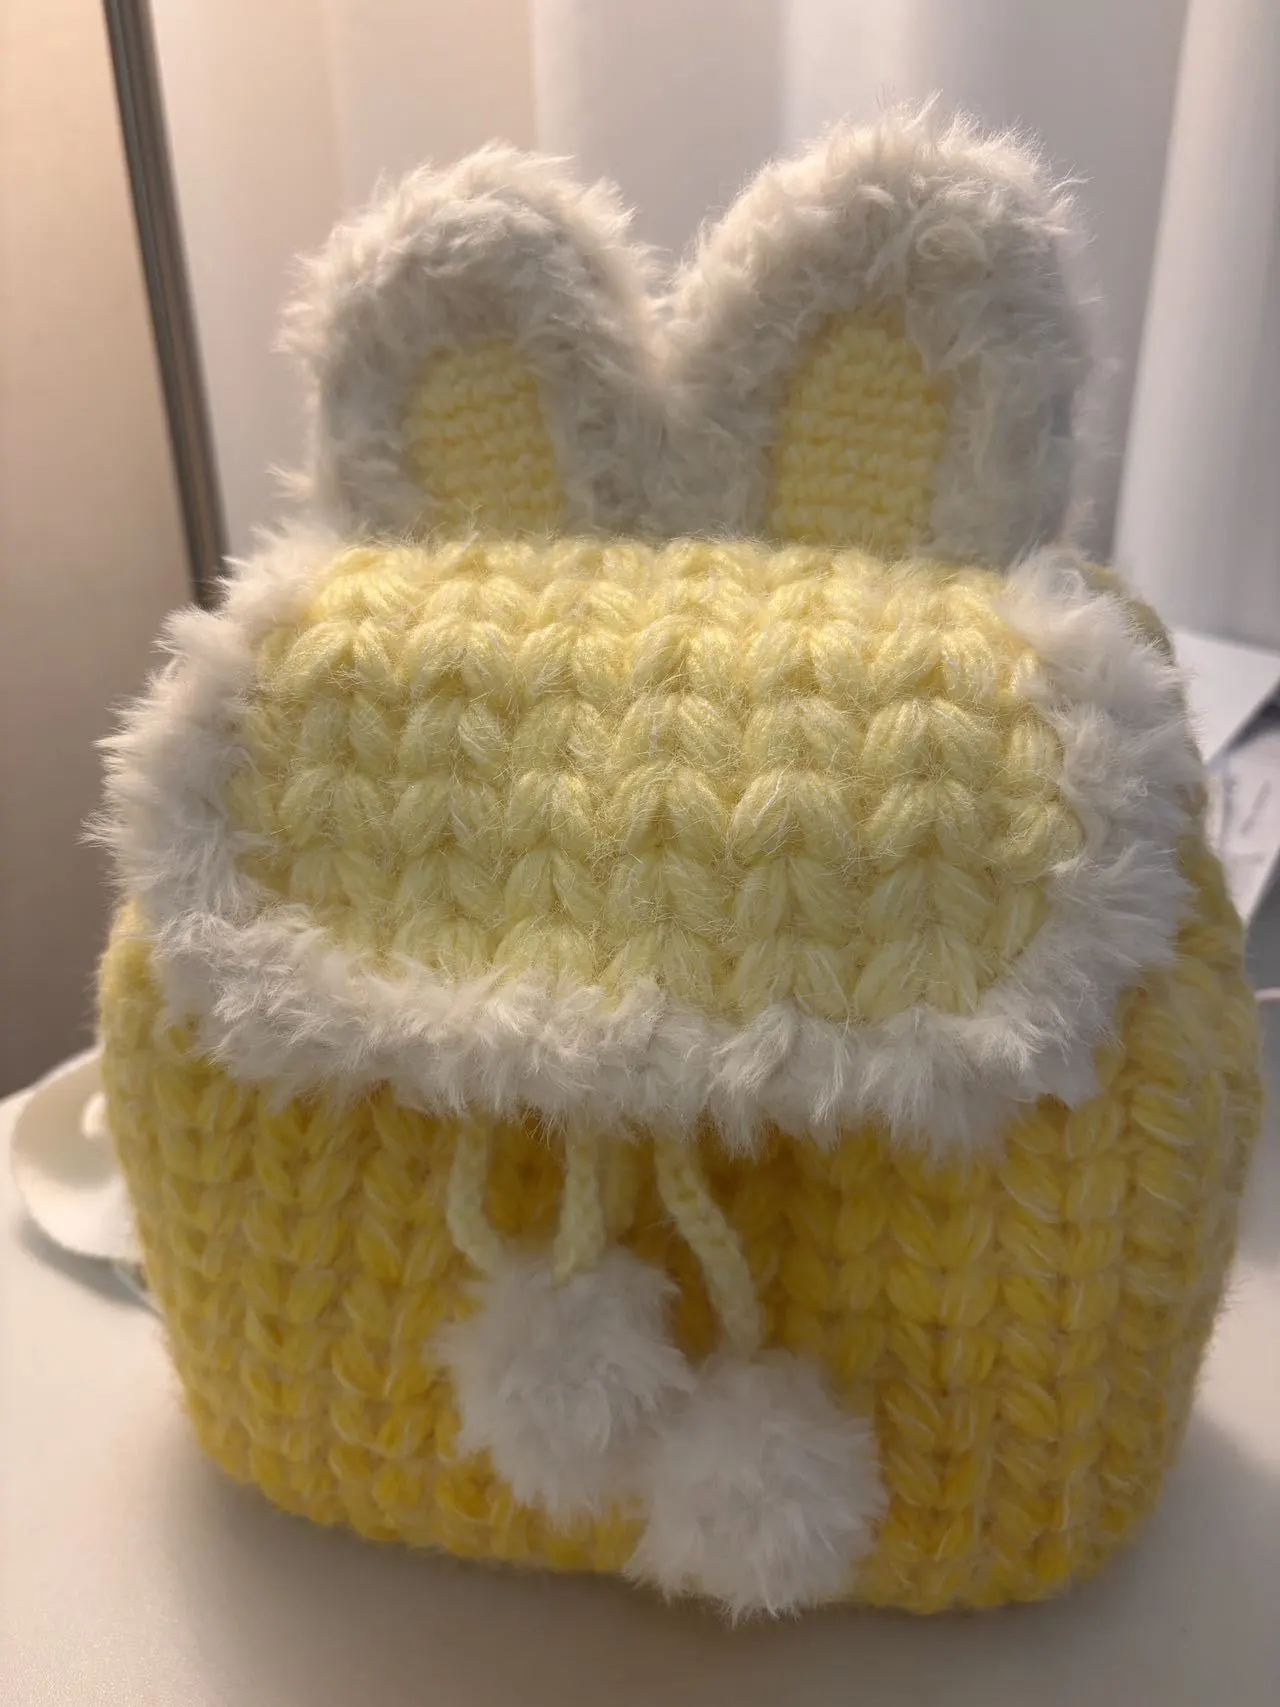
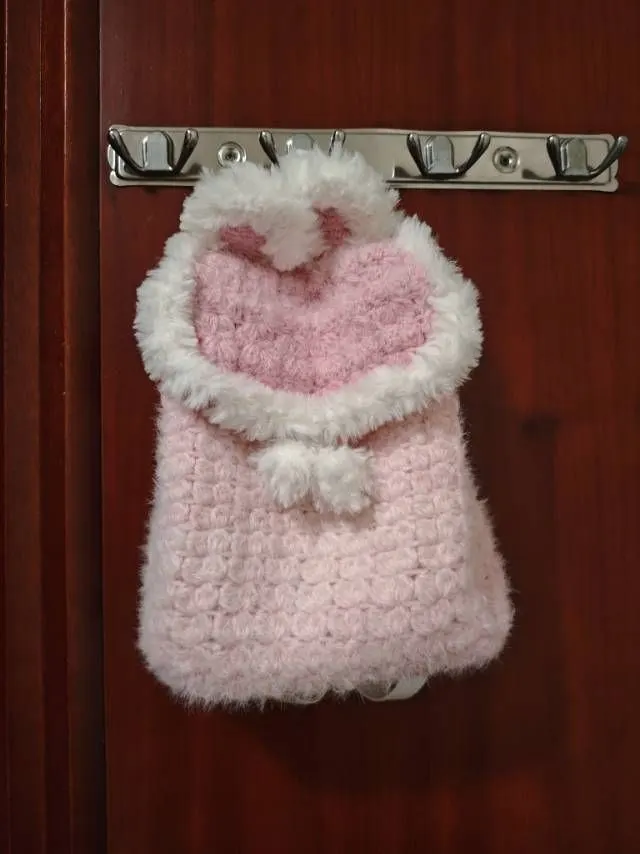
Bunny Packbag
Project preview
See the finished project
Pattern format
Instructions
Watch and follow
Video tutorial
| Style | Yarn | Color |
|---|---|---|
| Lemon Dream Version | Marshmallow-Faux Fur Yarn |  01#Whisper White x 1 01#Whisper White x 1 |
| Dreamplume |  01#Lemon Dream x 1 01#Lemon Dream x 1 | |
| Lemon Dream Version | Marshmallow-Faux Fur Yarn | 01#Whisper White x 1 |
| Dreamplume |  02#Peach Dream x 1 02#Peach Dream x 1 | |
| Latte Dream Version | Marshmallow-Faux Fur Yarn | 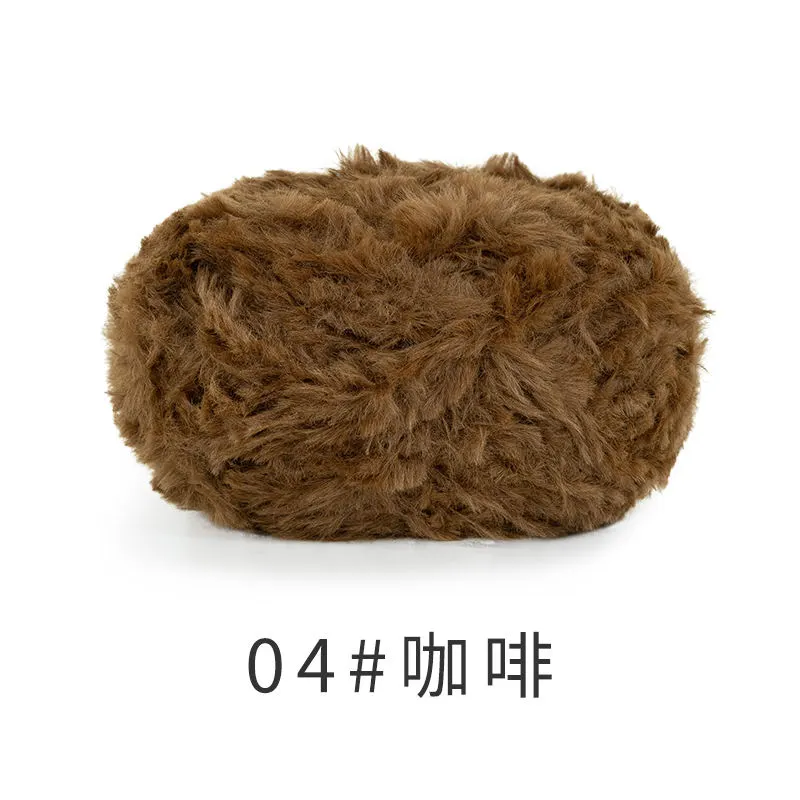 04#Tobacco Brown x 1 04#Tobacco Brown x 1 |
| Dreamplume |  15#Latte Dream x 1 15#Latte Dream x 1 | |
| Red Dream Version | Marshmallow-Faux Fur Yarn | 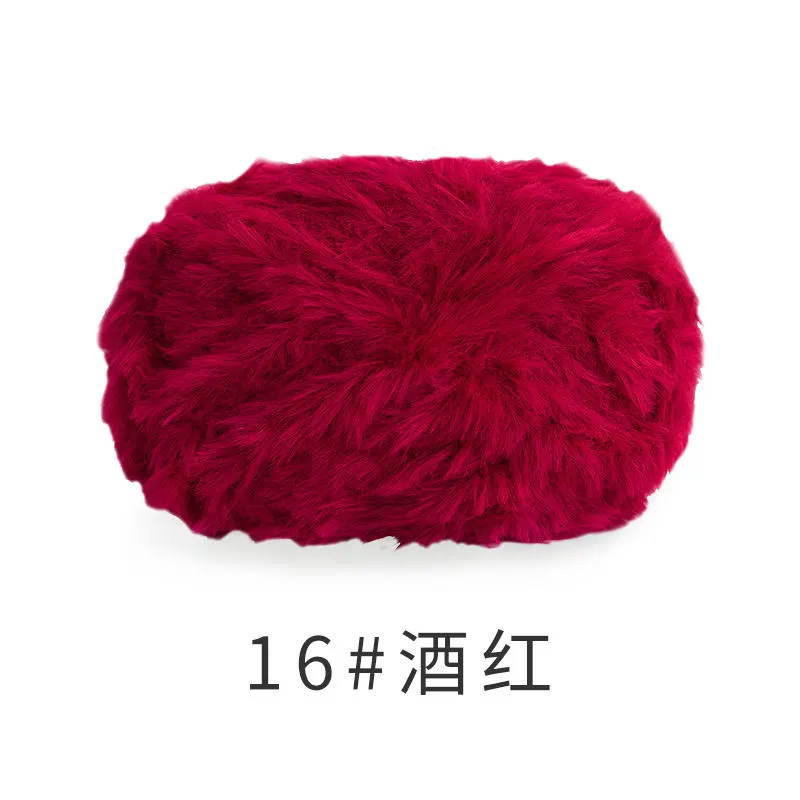 16#Haute Red x 1 16#Haute Red x 1 |
| Dreamplume |  12#Red Dream x 1 12#Red Dream x 1 |
Lemon Dream Version
01#Whisper White x 1Lemon Dream Version
01#Whisper White x 1Latte Dream Version
04#Tobacco Brown x 1Red Dream Version
16#Haute Red x 1This backpack is divided into the body, flap, and accessories. Start by crocheting the body, then don't cut the yarn to crochet the flap, and finally crochet and assemble the accessories.
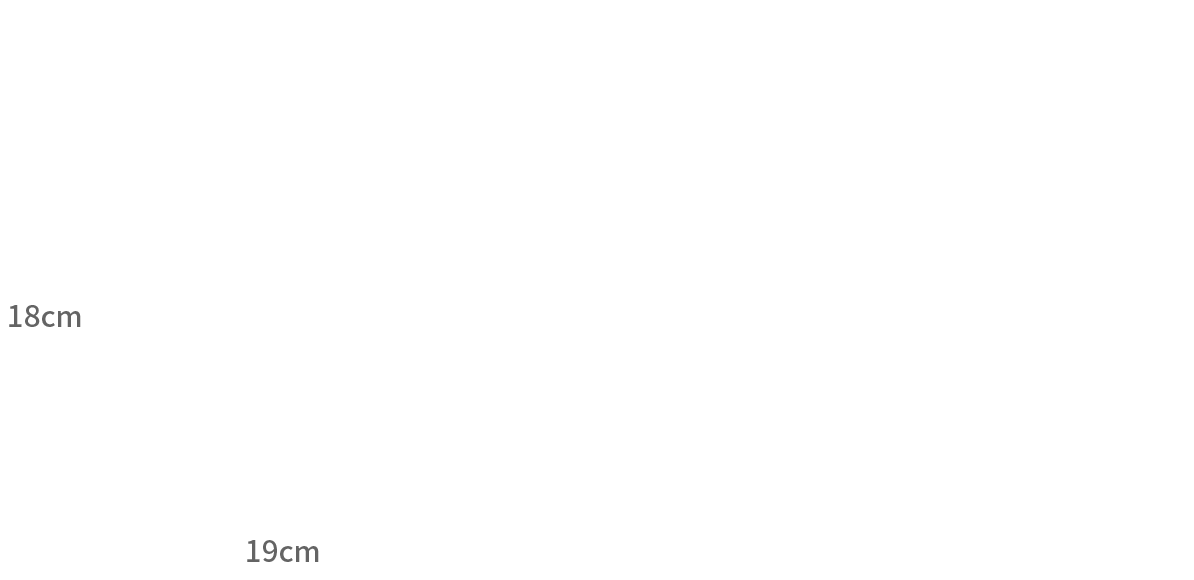
Note: Hand-measured, with a possible error of 1-2 cm.
Due to differences in individual tension, the sample size is for reference only.
Yarn: Dreamplume & Marshmallow-Faux Fur Yarn
Tools: Susan's Family 3.60 mm or Regular 3.50 mm Crochet Hook

Note: Since the starting color segment of variegated yarn varies, the crocheted effect will differ slightly. You can choose the starting color based on your preference or refer to the finished piece. When Dreamfeather crochets, she often starts with the darker color segment.
| Part | Yarn |
| Bag Body, Bag Flap, Ears, Drawstring | Dreamplume |
| Flap Edging, Ear Edging, Pom-pom | Marshmallow-Faux Fur Yarn |
| Securing the Strap, Securing the Magnetic Clasps | Sewing Thread |
Chart Key










Note:
1. This pattern is making in Chinese crochet pattern terms, and the stitch name is written using American terminology. All measurements in charts are in cm.

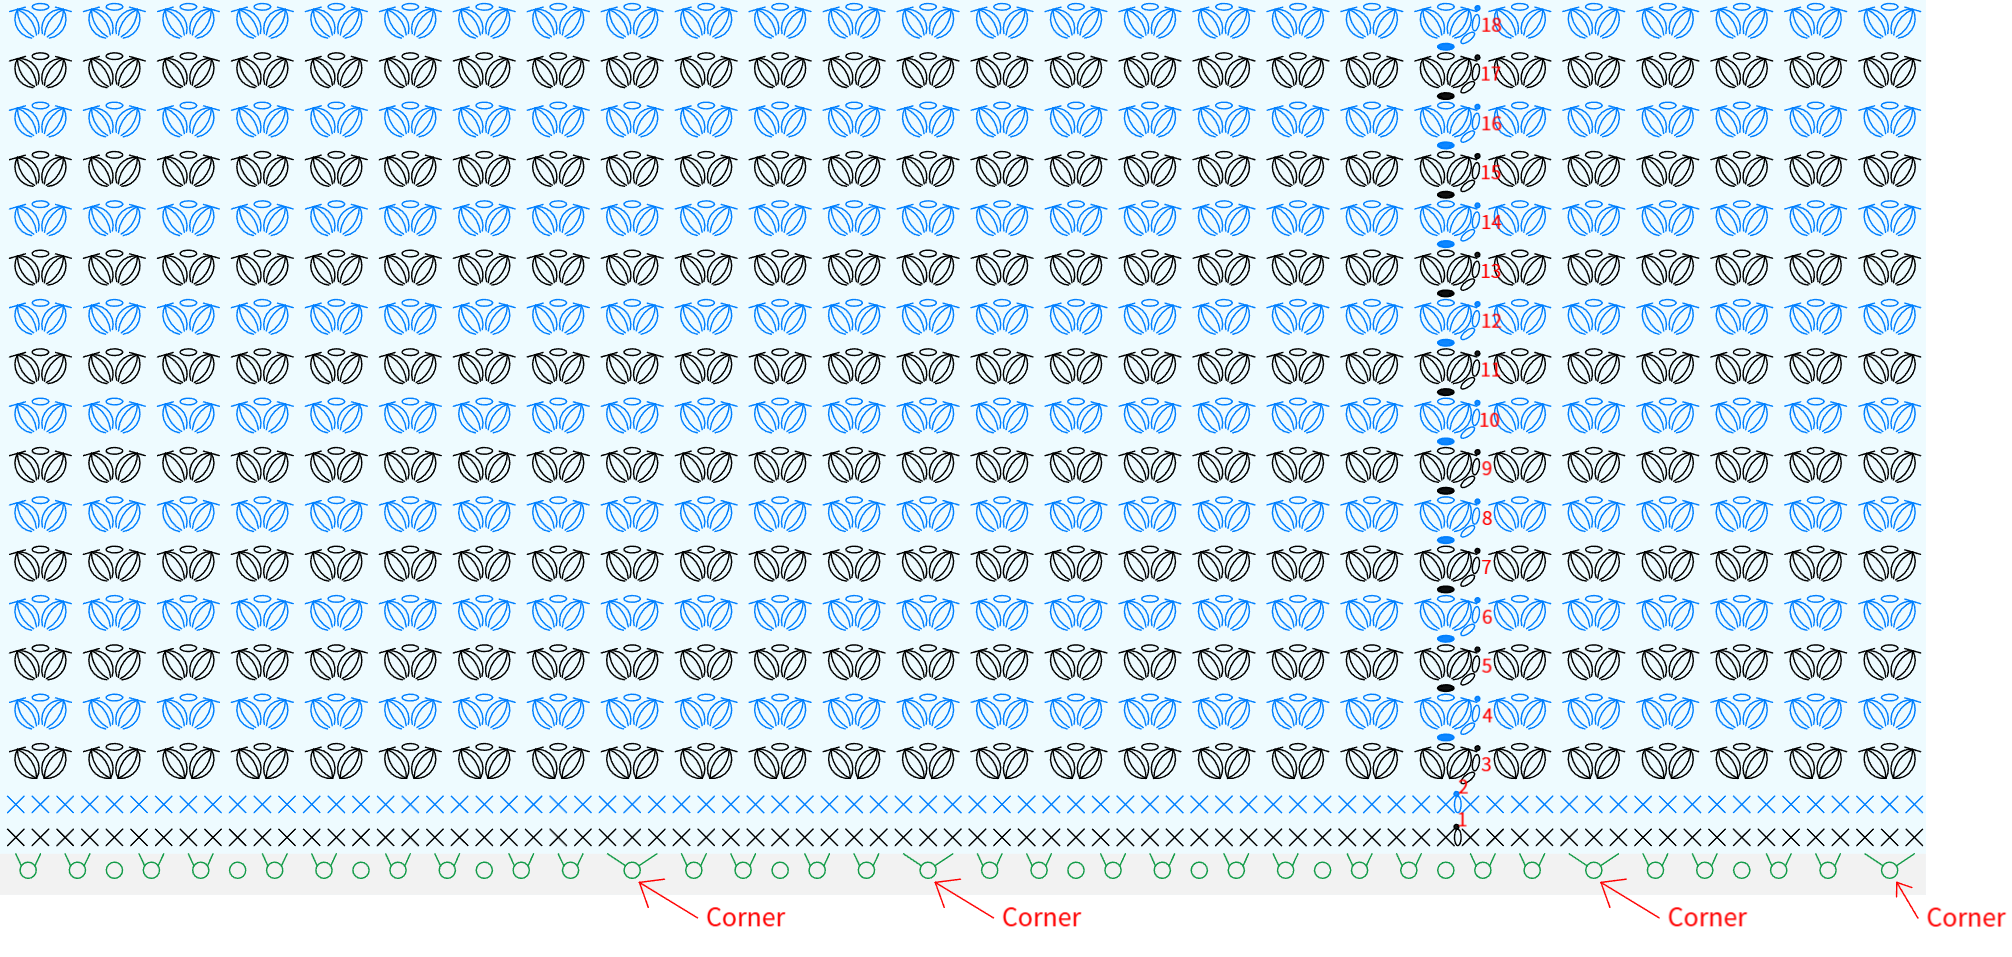
PART 1 Bag Body A 00' 24''
The bag body is crocheted in rounds counterclockwise on the finished bag base. Please refer to the video demonstration for details.
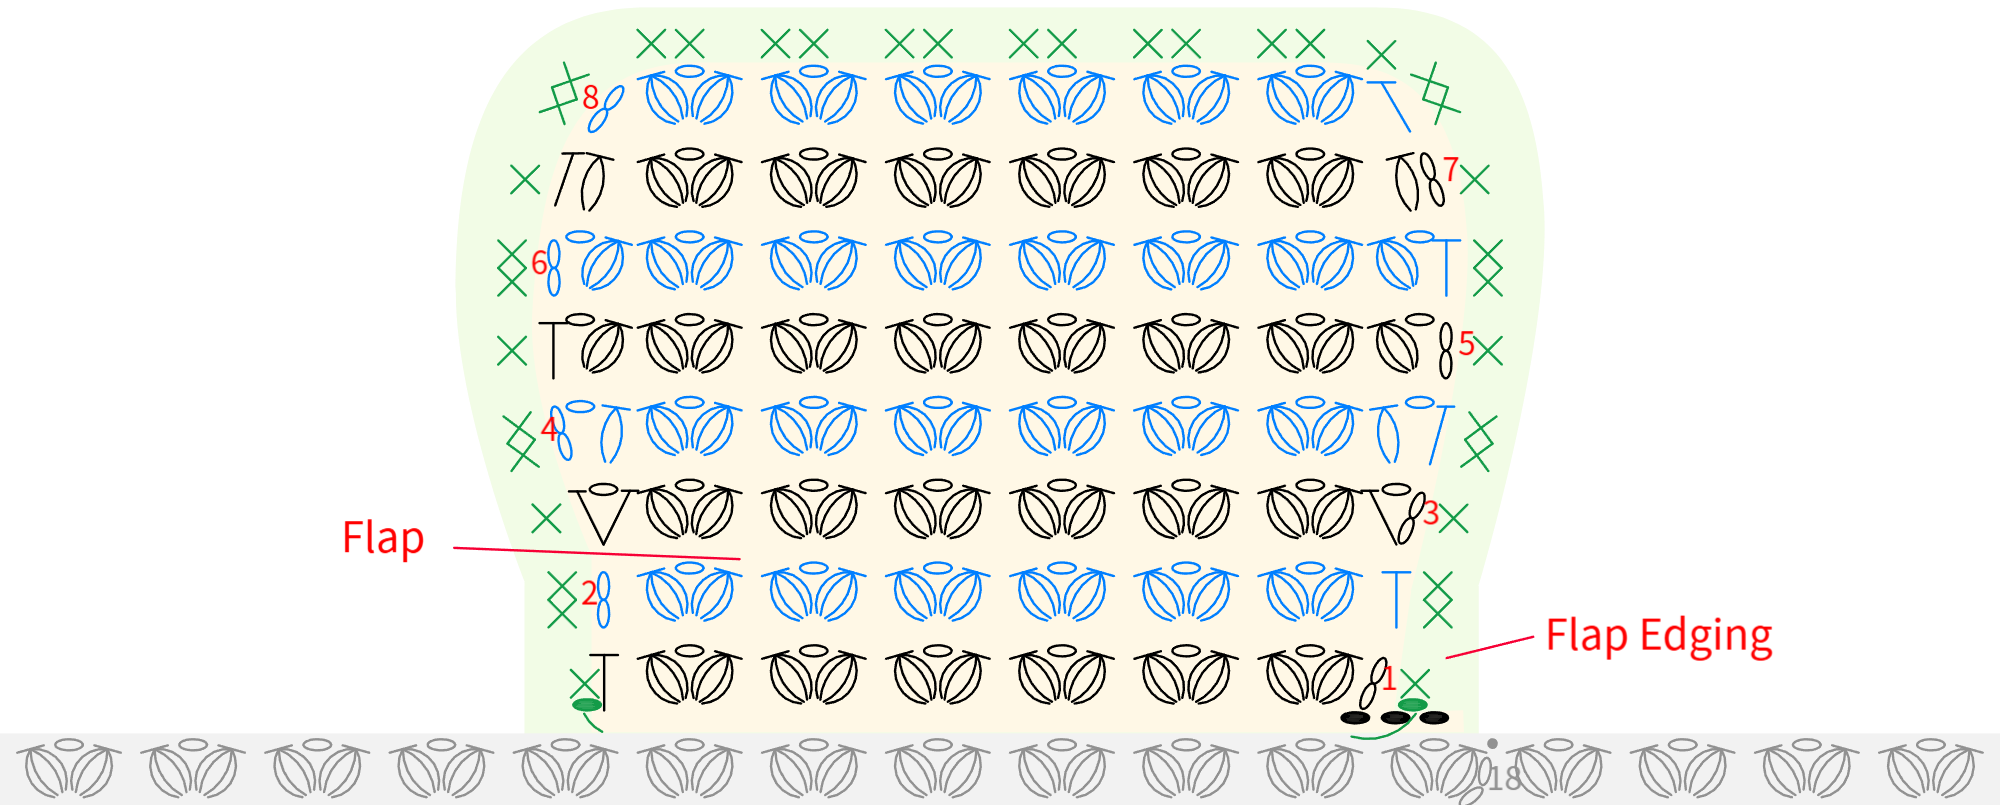
PART 2 Bag Flap B 19' 59''
The flap is worked back and forth. Once completed, switch to color 1 for the edging. Please refer to the video demonstration for details.
PART 3 Accessories C 34' 56''
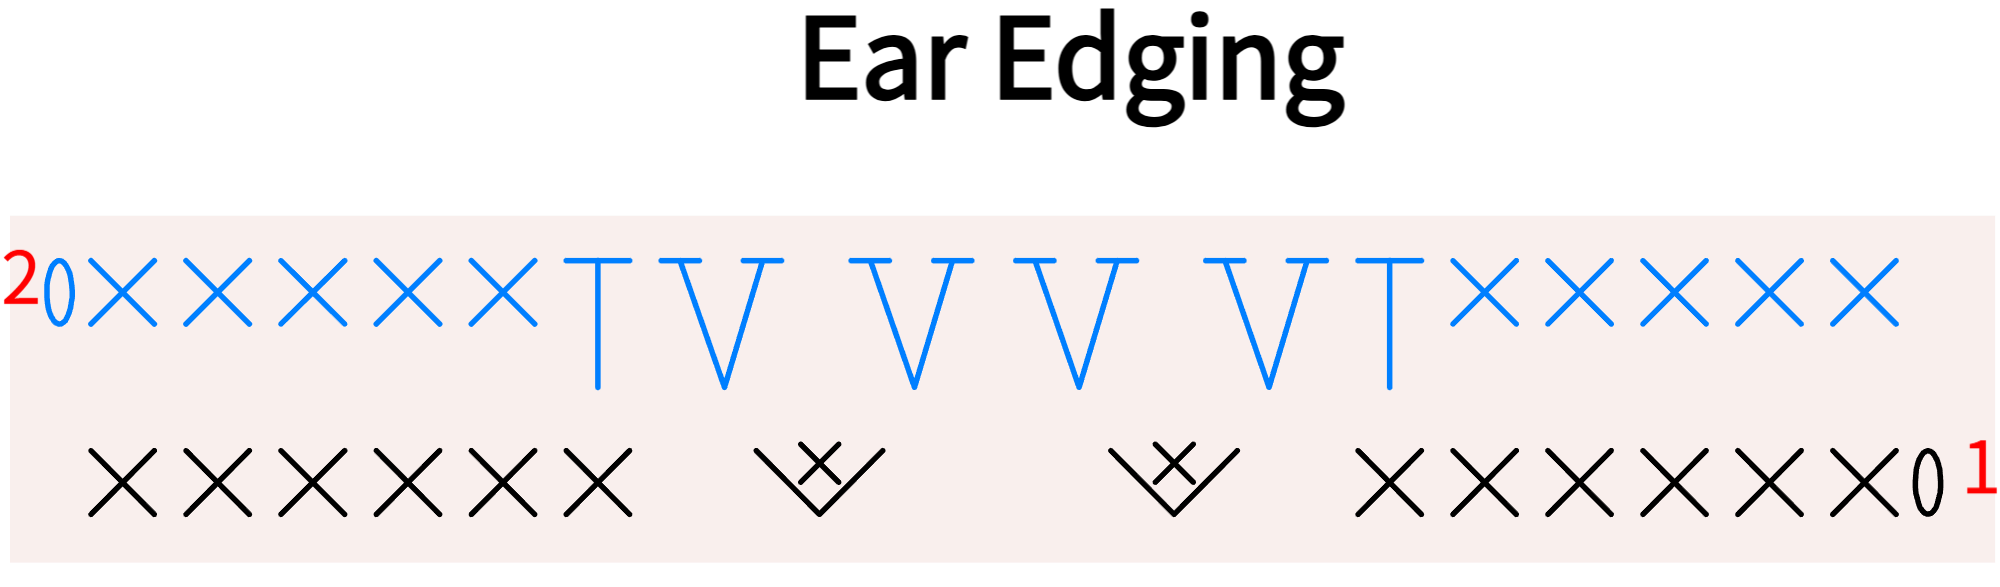
The accessories include ears, pom-poms, drawstrings, and bag straps. First, crochet the ears and sew them onto the flap once completed. Then crochet the pom-poms, followed by the drawstrings. Once all crocheting is done, assemble the accessories. For details, please refer to the video demonstration.
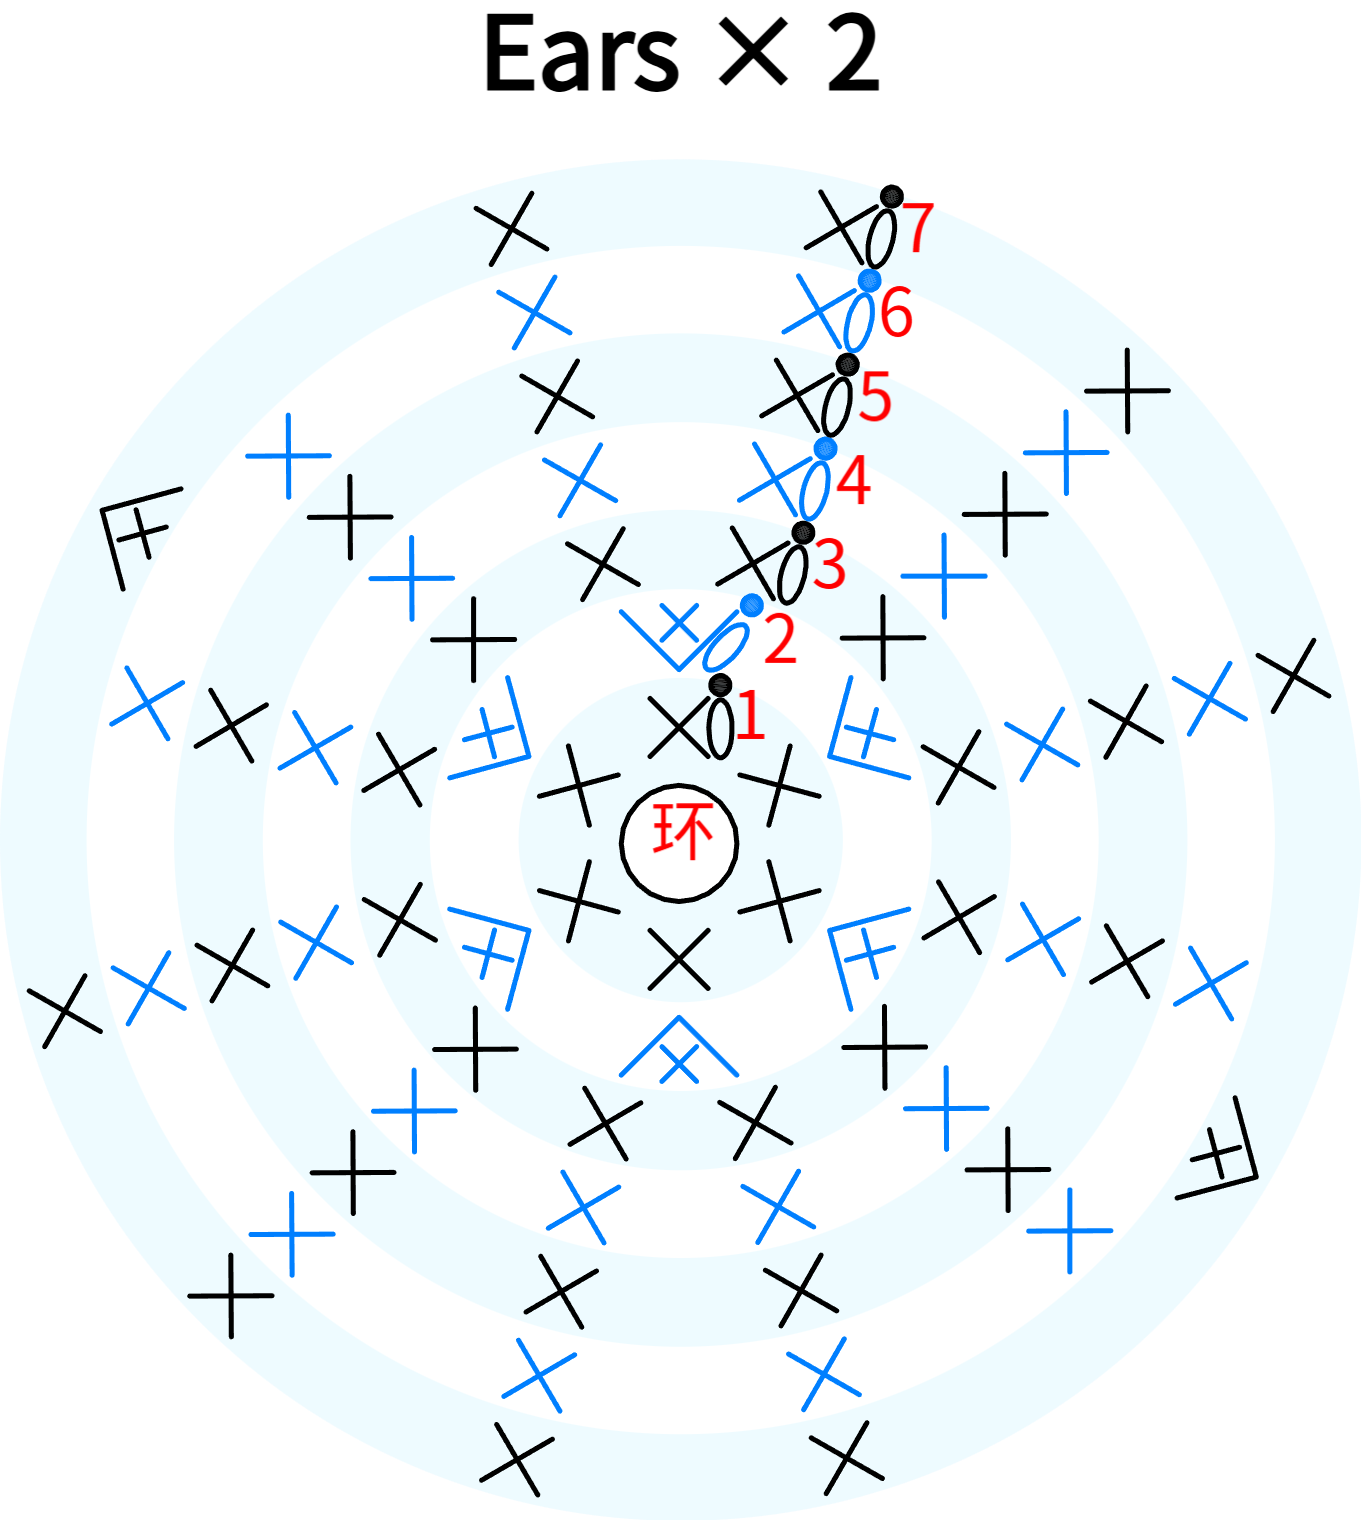
Note: After crocheting the ears, leave a 30cm yarn tail for sewing. Flatten them and use Marshmallow-Faux Fur Yarn to crochet 2 rows along the side.
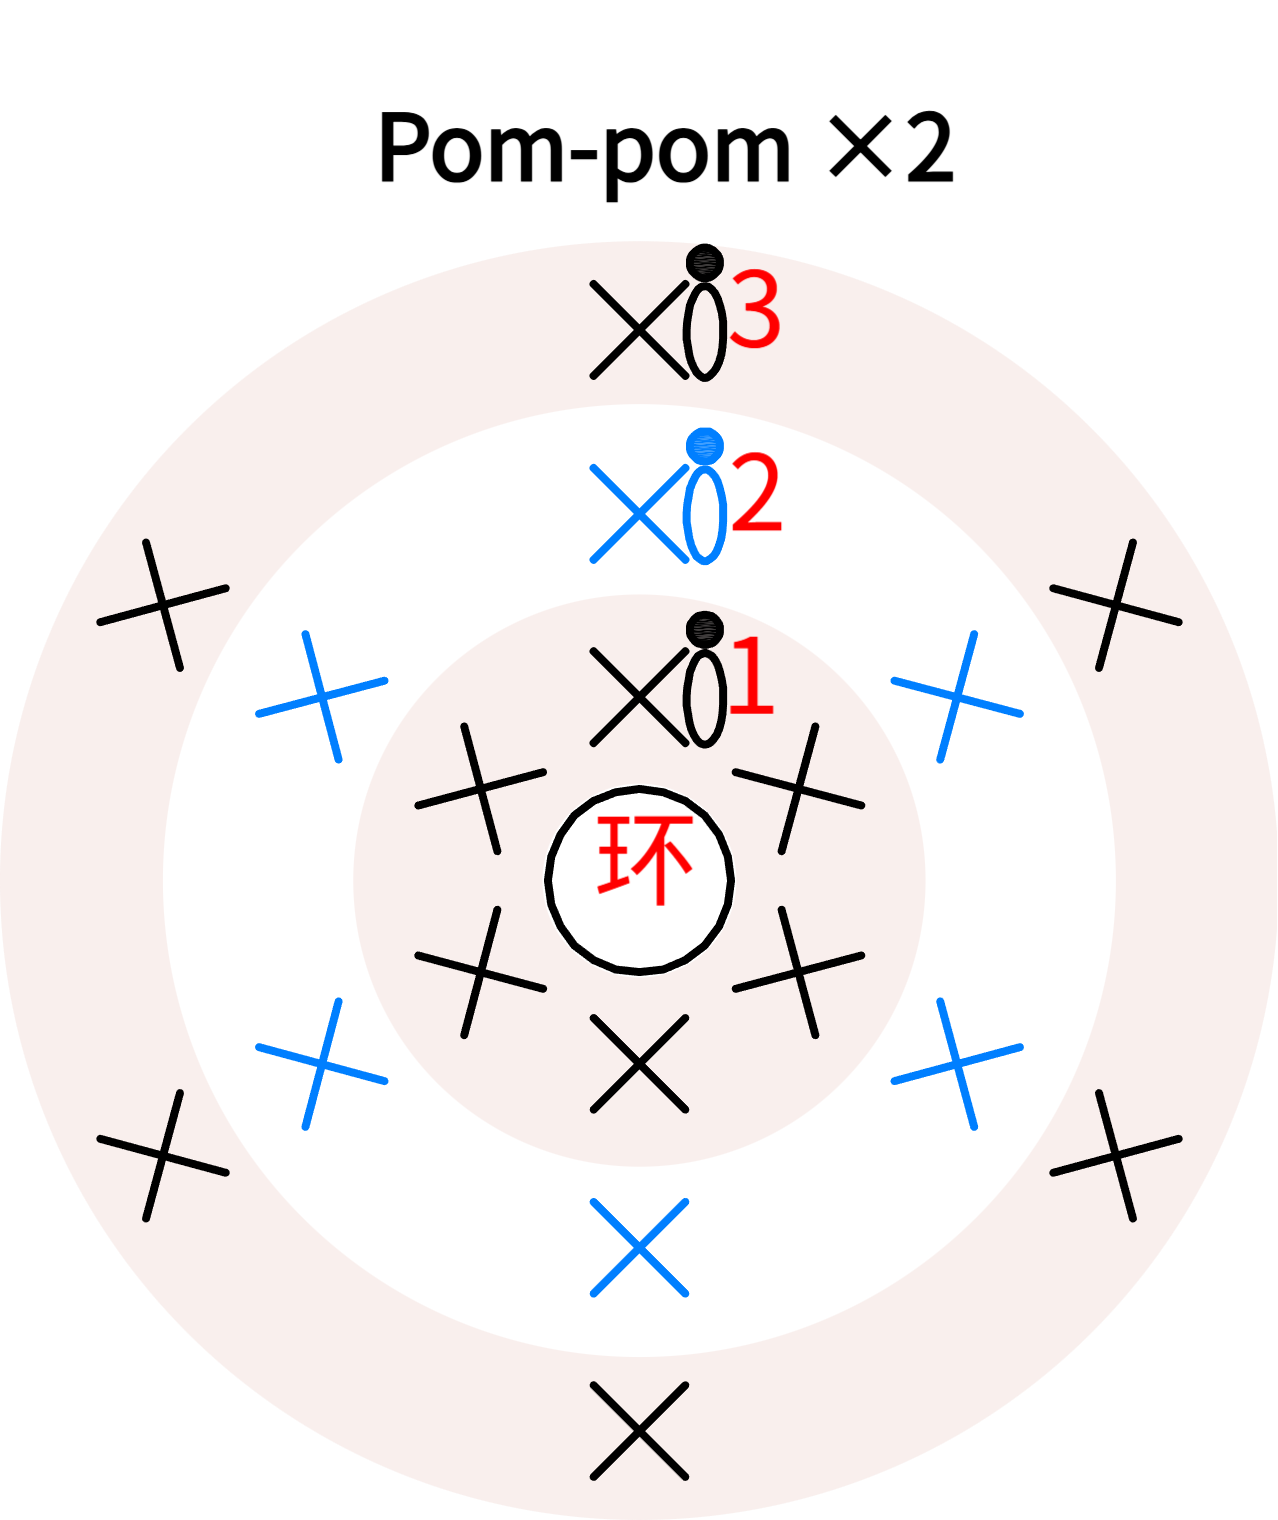
Note: After crocheting the pom-pom, leave a 20cm yarn tail for closing and sewing. For the drawstring, crochet a 70cm chain with yarn overs.
Made by the community