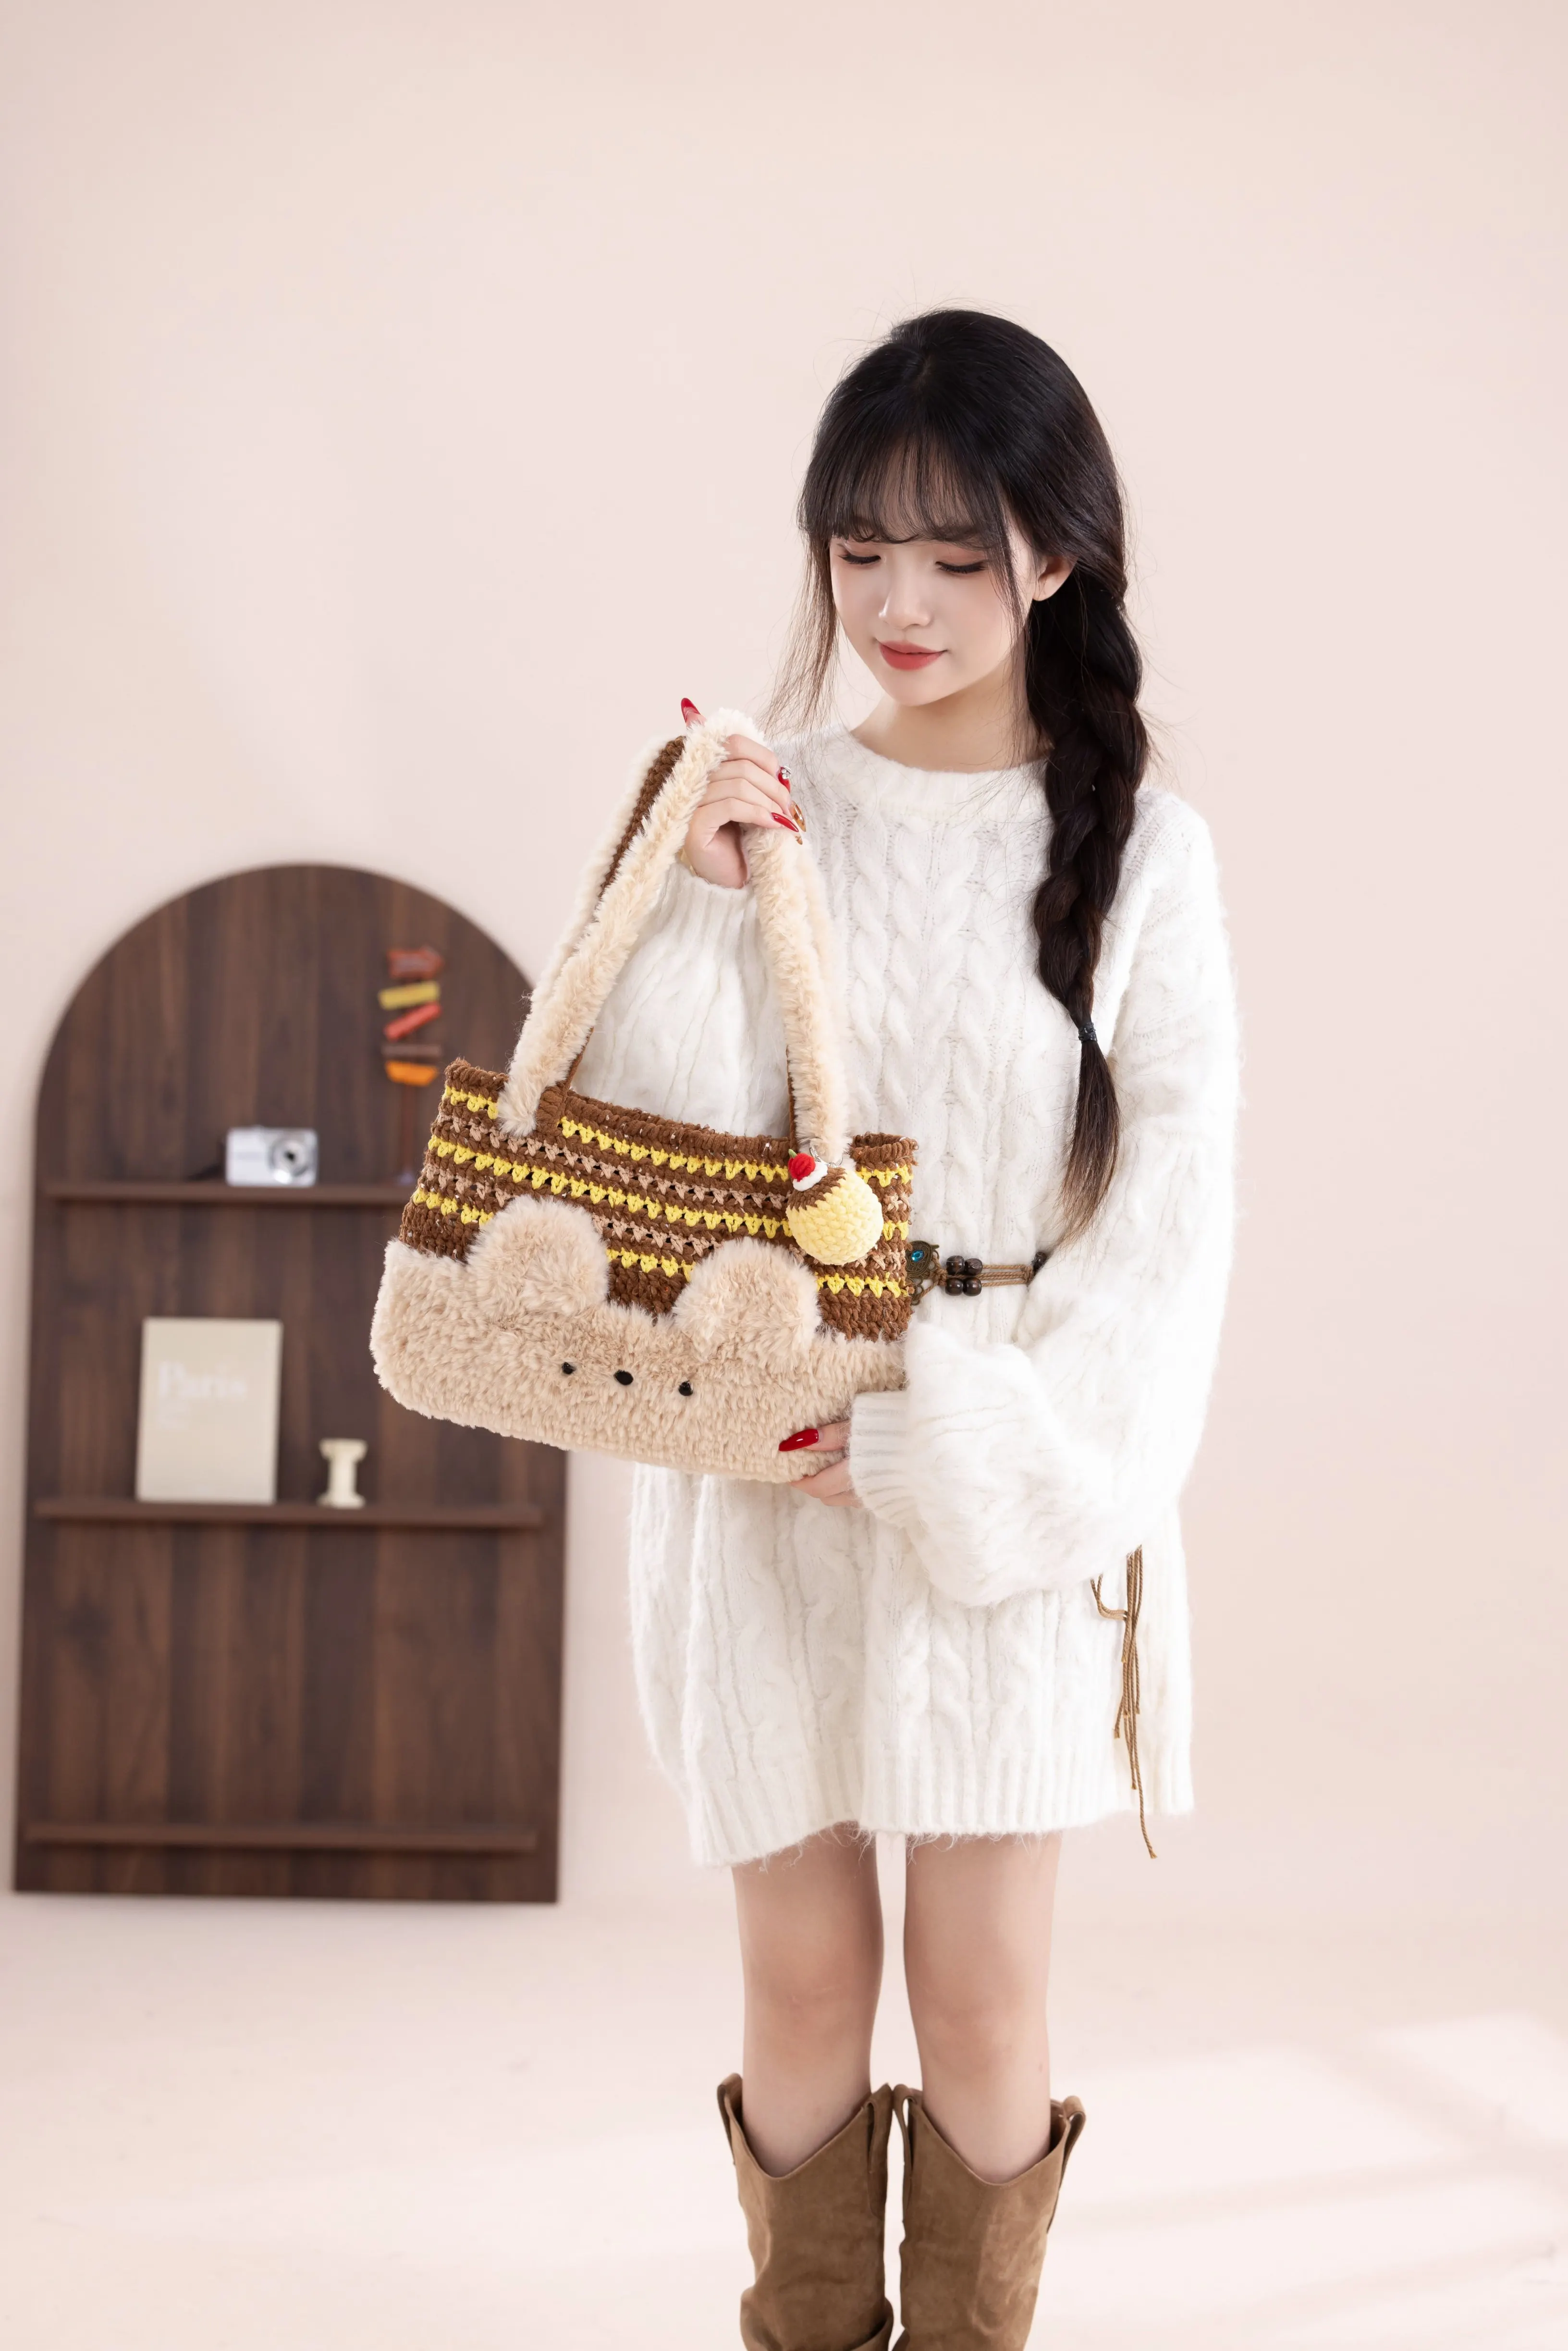
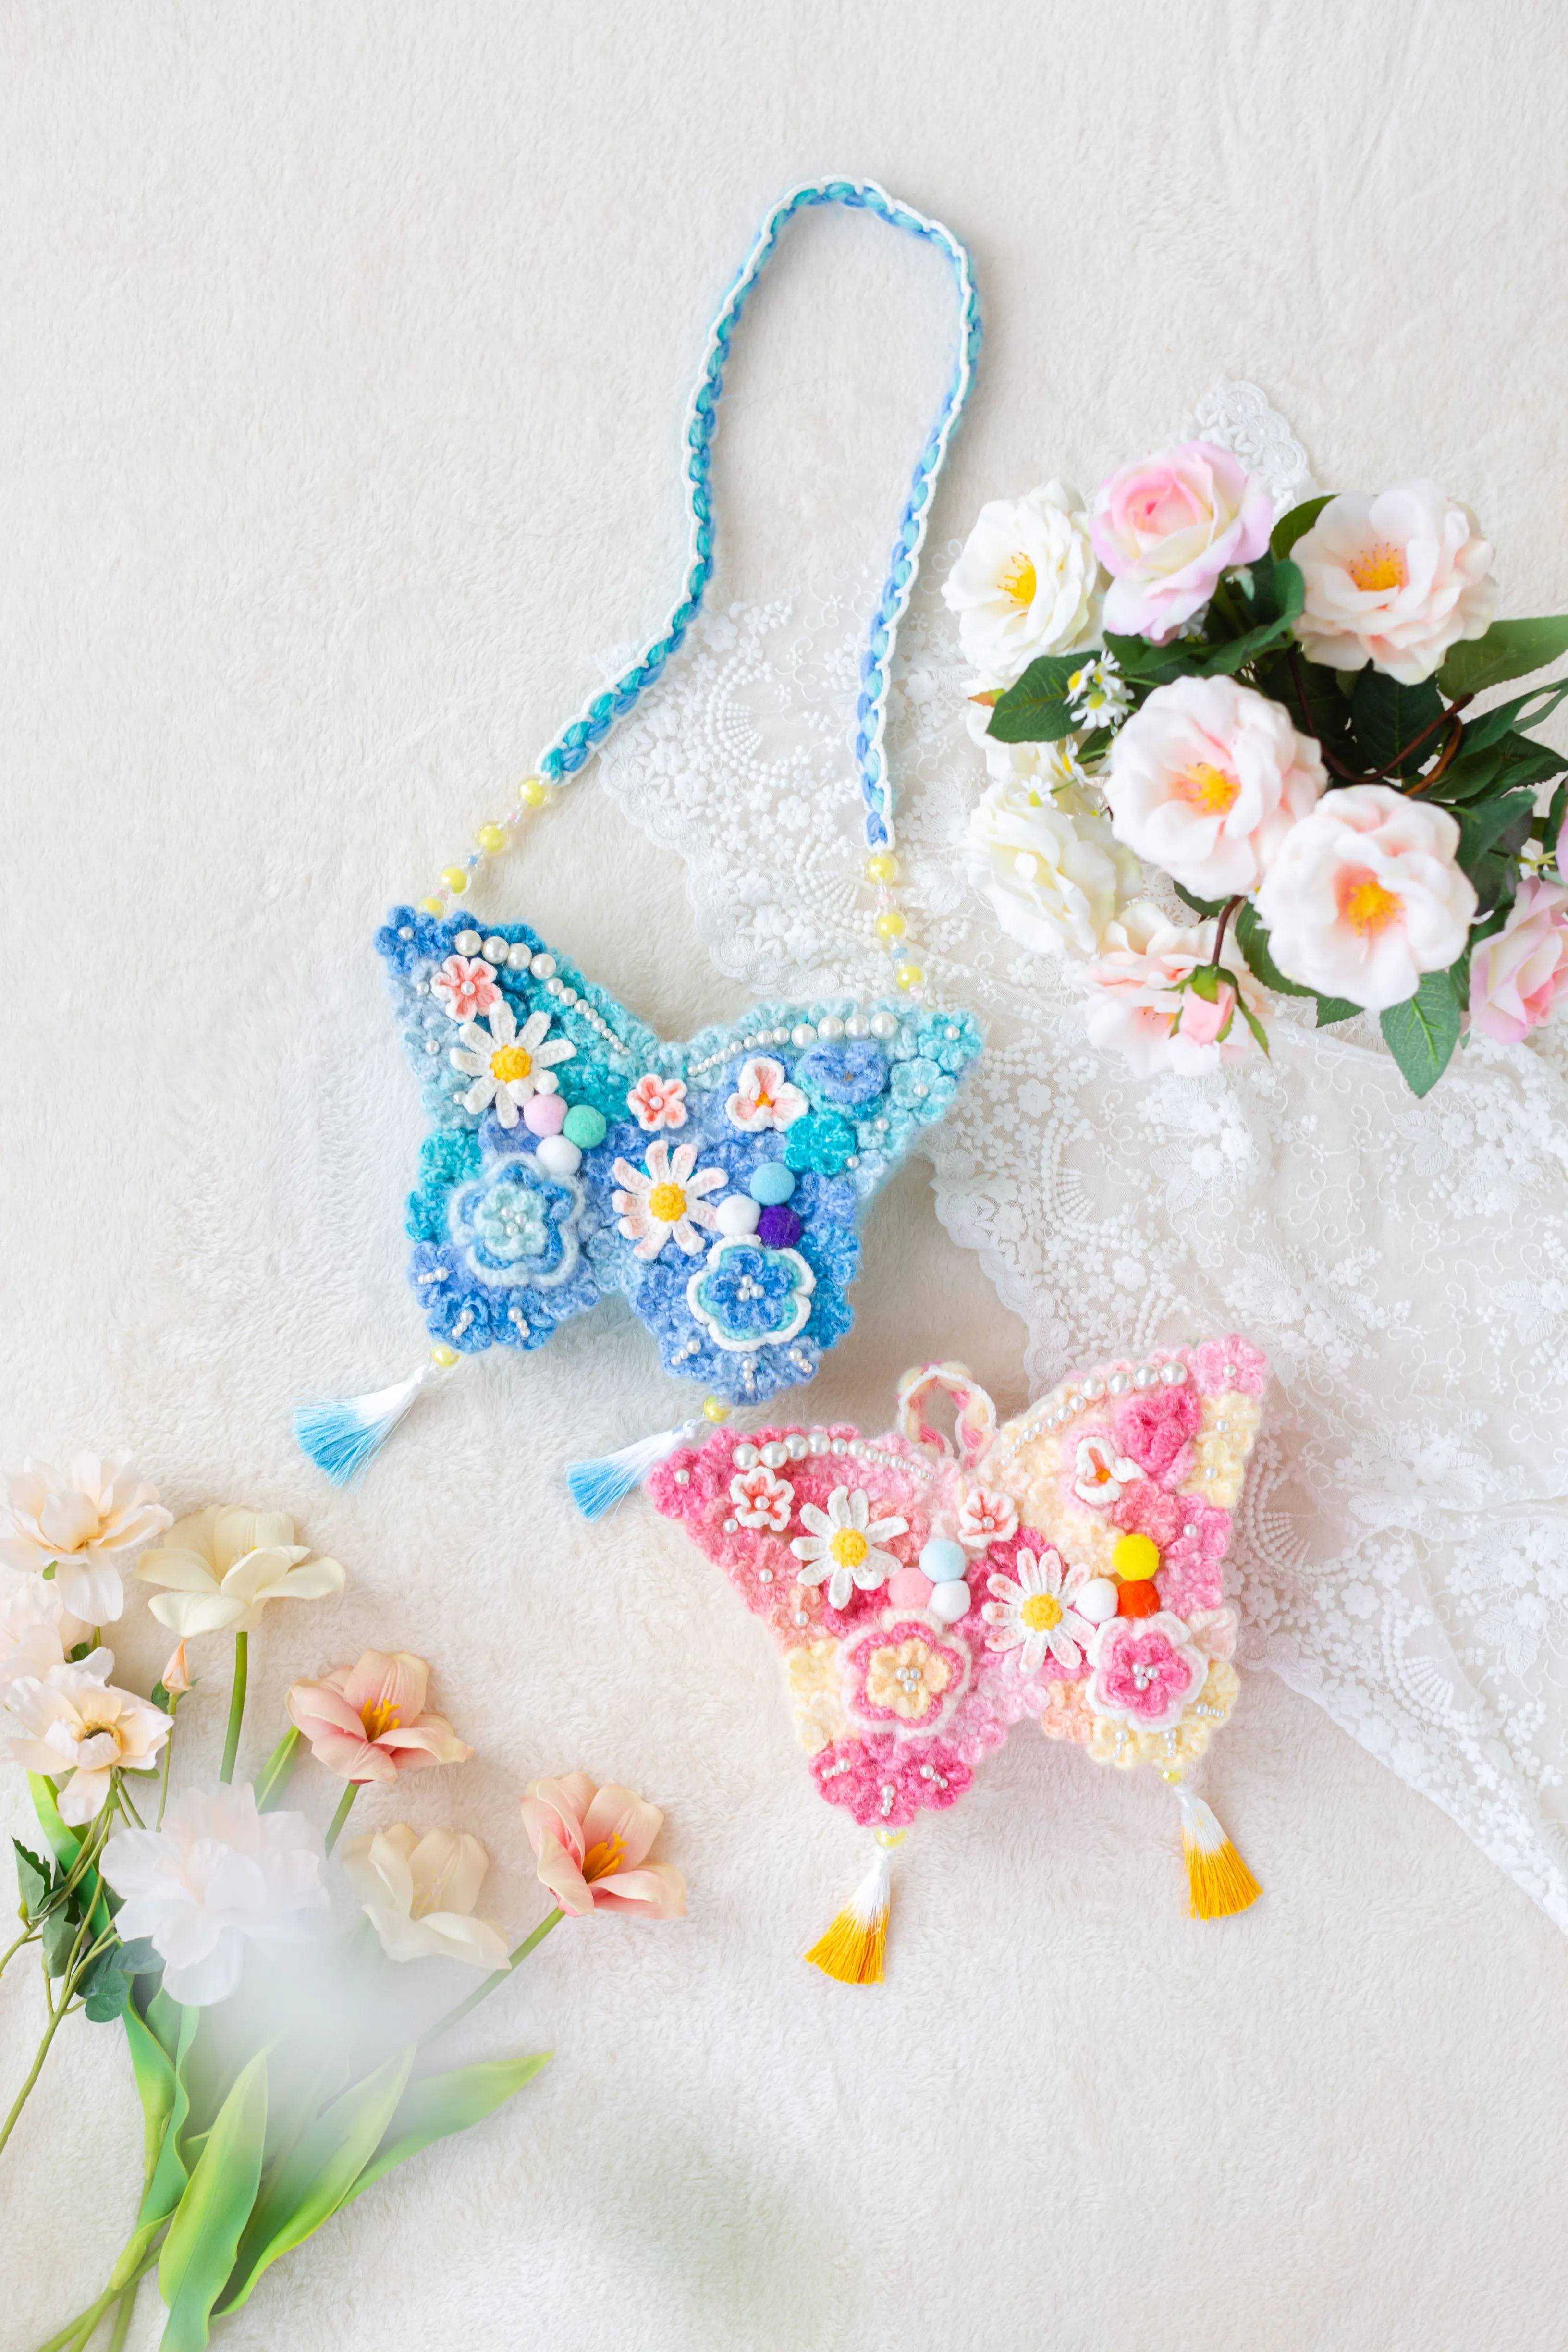
Bag
Candy Bag
Project preview
See the finished project
Pattern format
Instructions
Watch and follow
Video tutorial


This bag is made up of the main part and accessories. The main part includes four sections: the body, connecting parts, edging, and drawstring. The accessories include lace trim, TPU lining, zipper, leather label, and strap. First complete the crocheting and sewing of the main part, then attach the accessories.
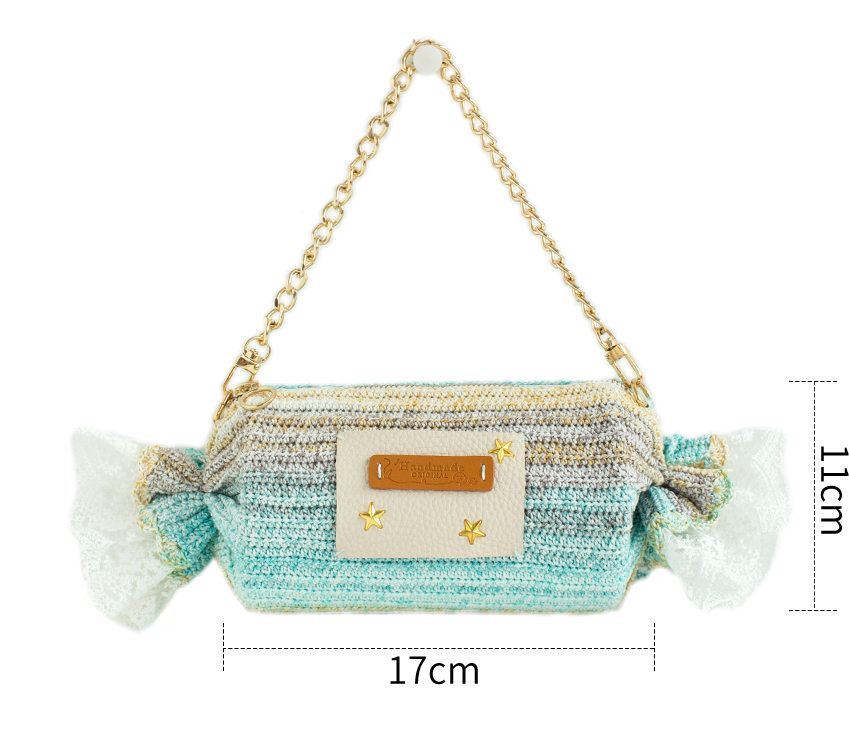
Materials: Fancy Dyed Lace
Tool: 1.75 mm Crochet Hook









Note: This pattern is making in Chinese crochet pattern terms, and the stitch name is written using American terminology. All measurements in charts are in cm.

Step 1 Bag Body 01' 33'' (Part 1)
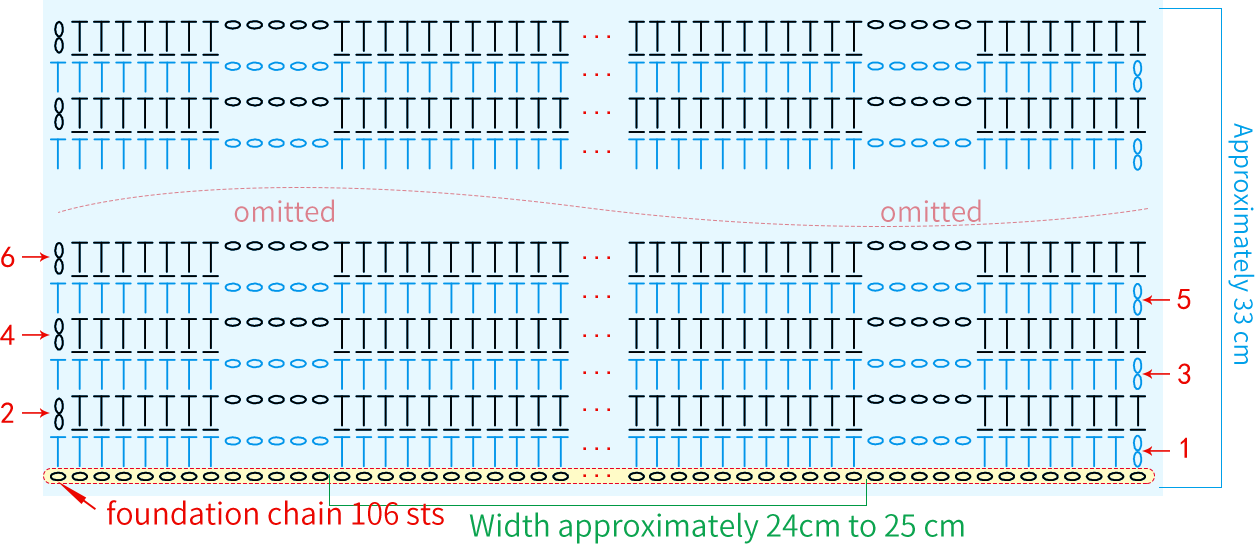
The body is started with a foundation chain, and then crocheted back and forth along H1. Please refer to the video demonstration for details.
Note:
- Due to the full chart being too large, the repeating sections are omitted in the chart;
- For the ridged-hdc, always work into the back loop of the stitch;
- After completing the first 2 rows, measure the width of the hdc section between the two chain on both sides. If it differs greatly from 24-25 cm, adjust your tension and re-crochet;
- The chart consists of 2 rows as one repeat. The total number of rows should be even. Do not fasten off the yarn when finished.
Step 2 Connecting Parts 28' 06'' (Part 1)
There are 4 connecting parts in total. Only one of them is directly continued from the main part and then the yarn is cut off. The other three parts are worked separately by joining new yarn at the corresponding positions. After completing the crocheting, connect the beginning and ending sections with their wrong sides facing each other, and sew them together from the right side using a whip stitch. Please refer to the video demonstration for details.
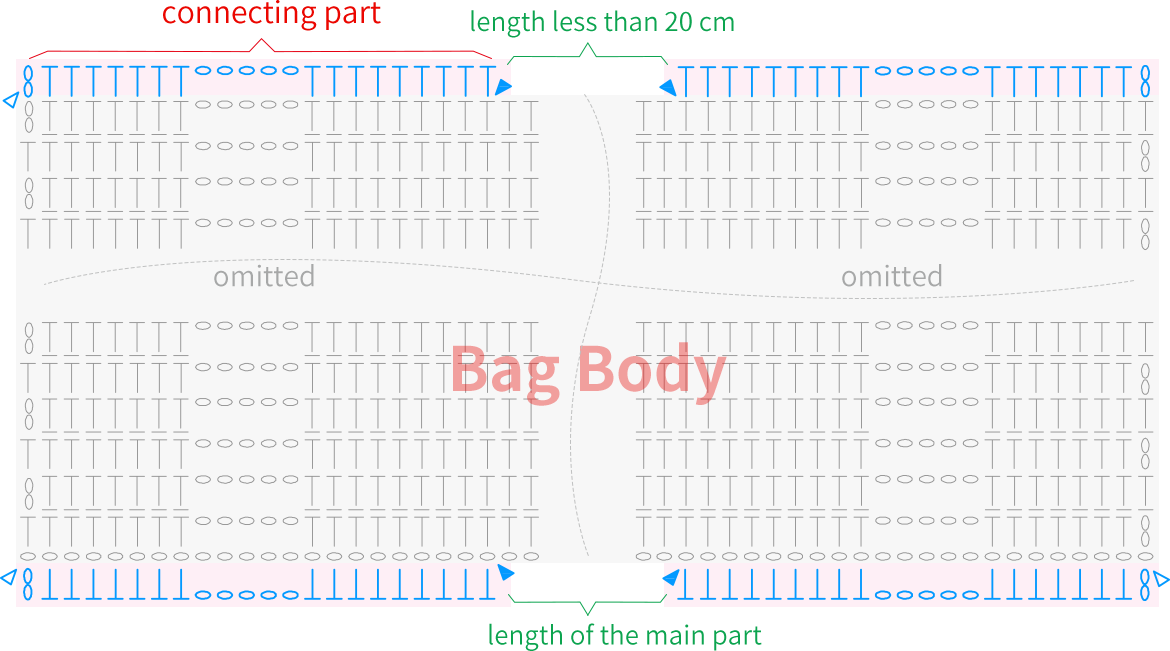
Note:
- The length of the main part between the ending positions of the connecting parts on the same side should be less than 20 cm. If it's longer than 20 cm, you may increase the stitch count in the connecting parts accordingly.
- All connecting parts must have the same number of stitches.
- After completing the two connecting parts at the end of the bag body, leave a yarn tail of about 20 cm for sewing on each. After completing the two connecting parts at the beginning of the bag body, leave a yarn tail of about 5 cm on each before cutting the yarn.
Step 3 Edging 43' 41'' (Part 1)
Join the yarn on the bag body and pick up stitches along the sides of it to crochet in round. Please refer to the video demonstration for details.

Note:
- Due to the full chart being too large, some repeated sections have been omitted in the diagram;
- The edging needs to be crocheted on both sides of the bag body.
Step 4 Drawstring 54' 28'' (Part 1)
Crochet two drawstrings separately. Chain to the desired length shown in the chart, then cut the yarn and weave in the ends. Attach them to the chain positions on the bag. Please refer to the video demonstration for details.

Step 5 58' 34'' (Part 1)
After completing the edging and drawstring, you'll need to sew lace trim onto both sides of the bag (45~50 cm per side). Then cut the pebble-grained leather (8.5×5.5 cm), sew on the leather label, and attach the star. Next, sew the pebble-grained leather onto the bag. Finally, sew the zipper onto the opening of the bag. Please refer to the video demonstration for details.
Step 6 Making a TPU lining 00' 04'' (Part 2)
Cut the transparent TPU lining according to the lining diagram. Then poke holes all around the TPU and crochet edging into the holes. Next, sew the TPU together using a whip stitch. Finally, sew and secure the joined lining onto the bag. Please refer to the video demonstration for details.
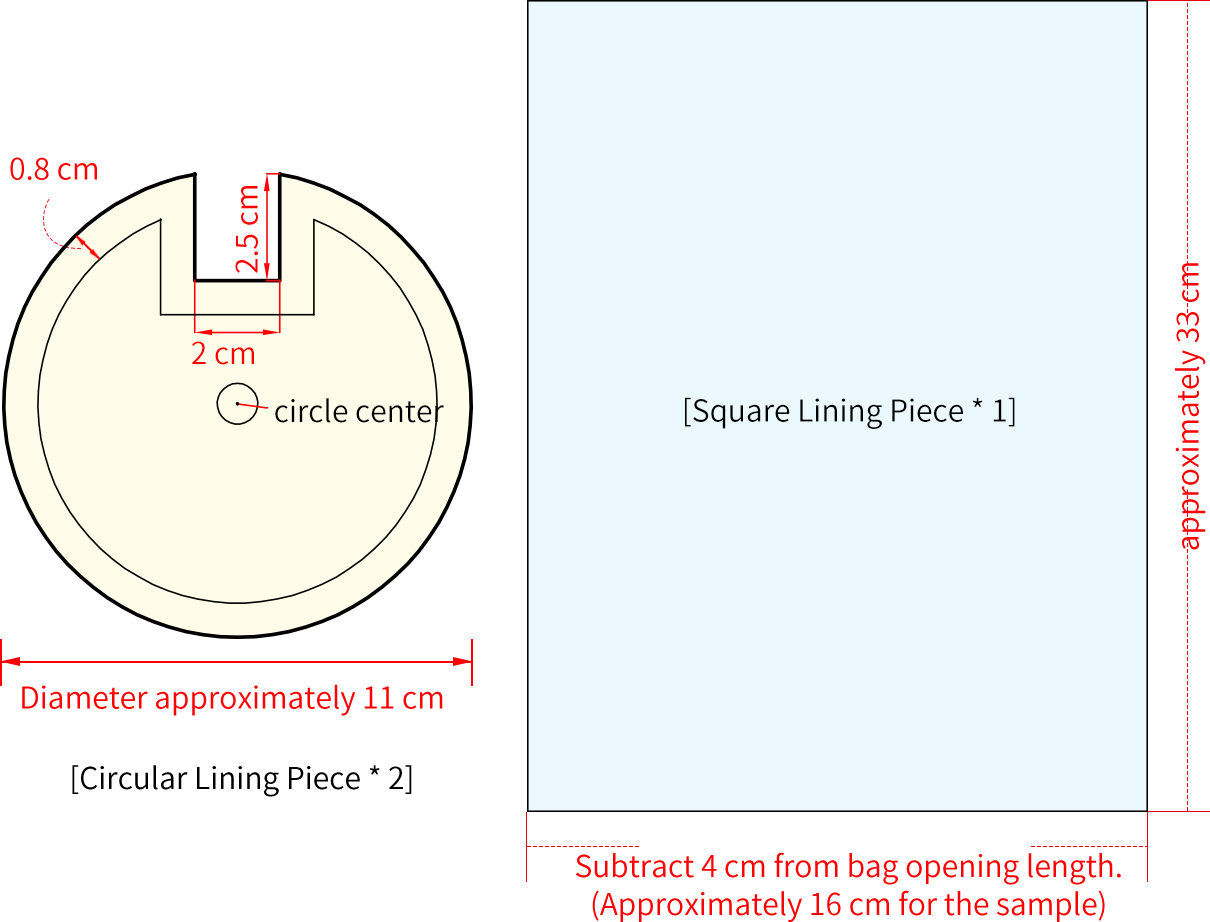
Note: The diagram above is not a pattern; you need to measure the corresponding dimensions according to the markings.
Step 7 45' 53'' (Part 2)
After completing the lining and attaching it, you'll need to sew on the D-ring and install the chain strap. Please refer to the video demonstration for details.