Home / Blanket
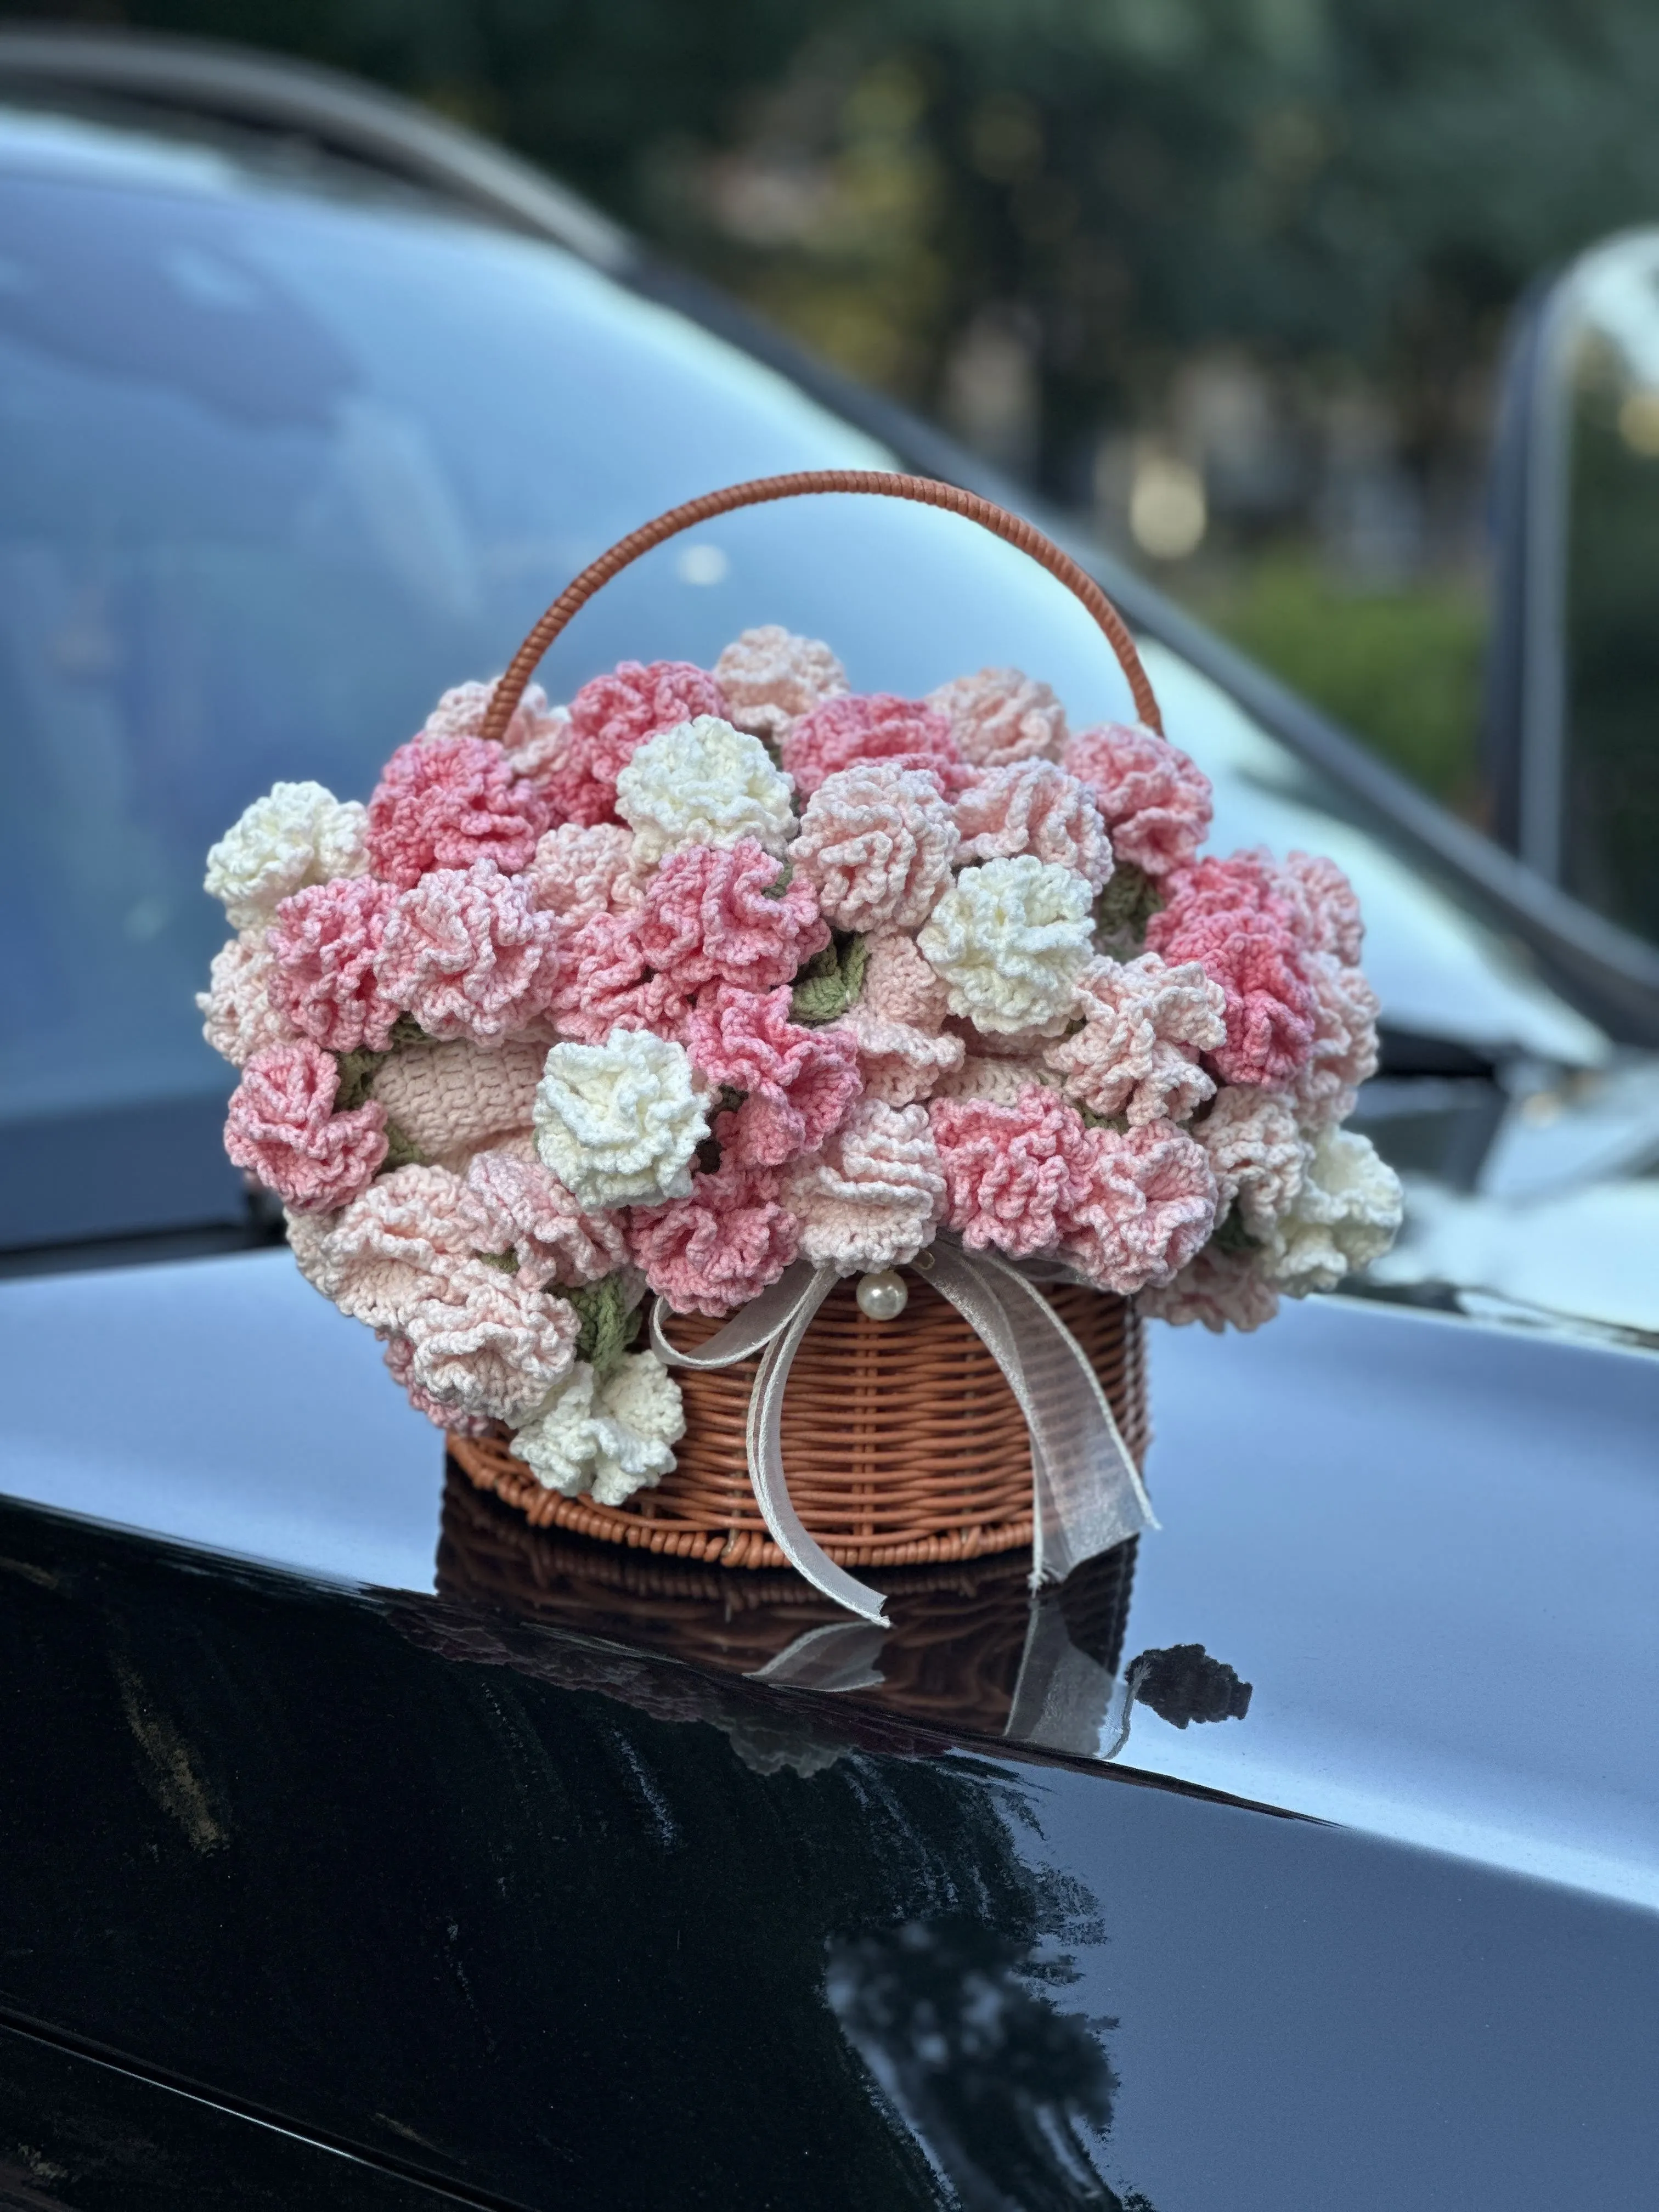
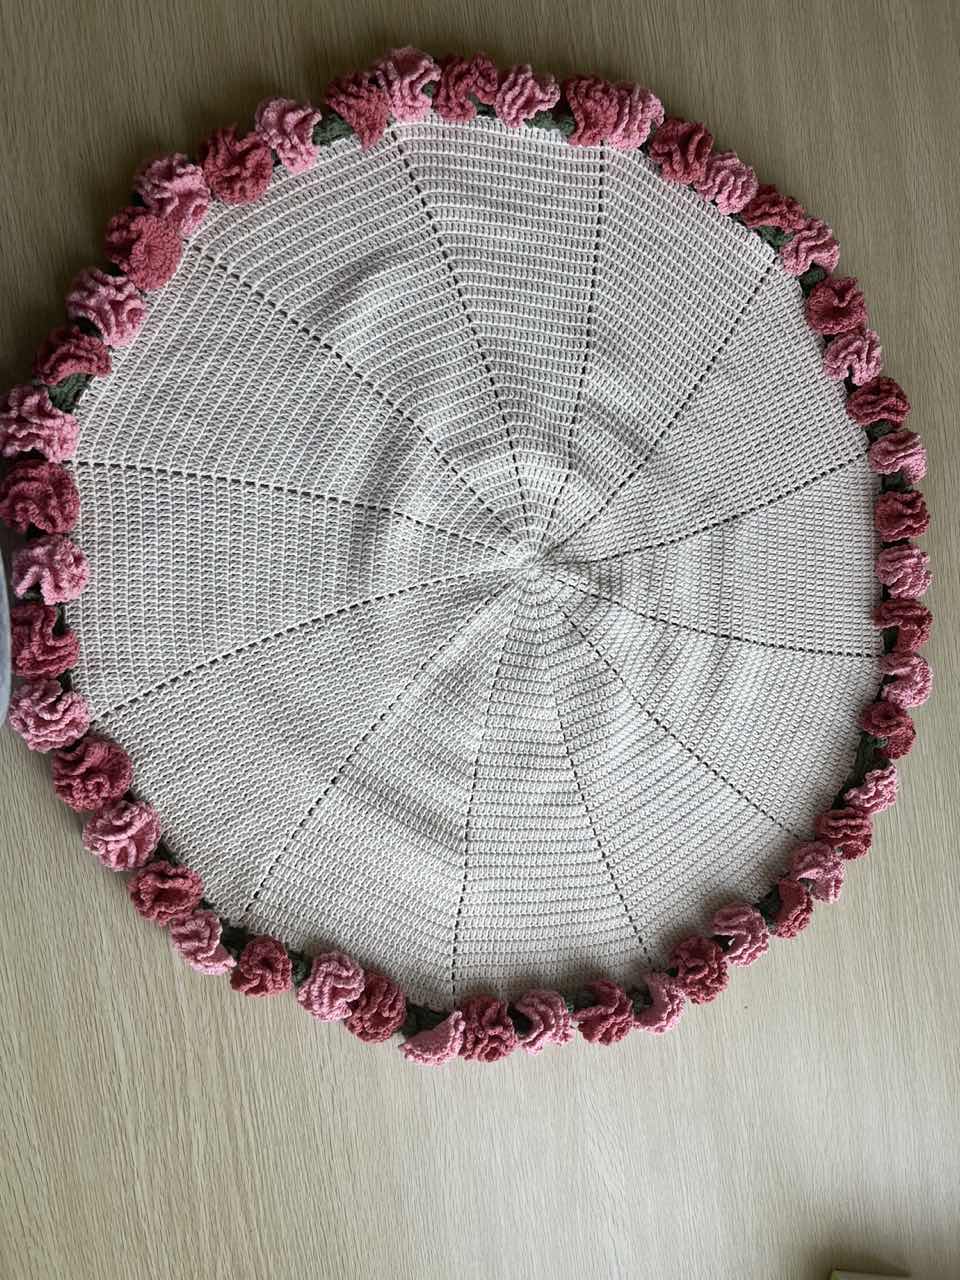
Carnation Bouquet Blanket
Project preview
See the finished project
Pattern format
Instructions
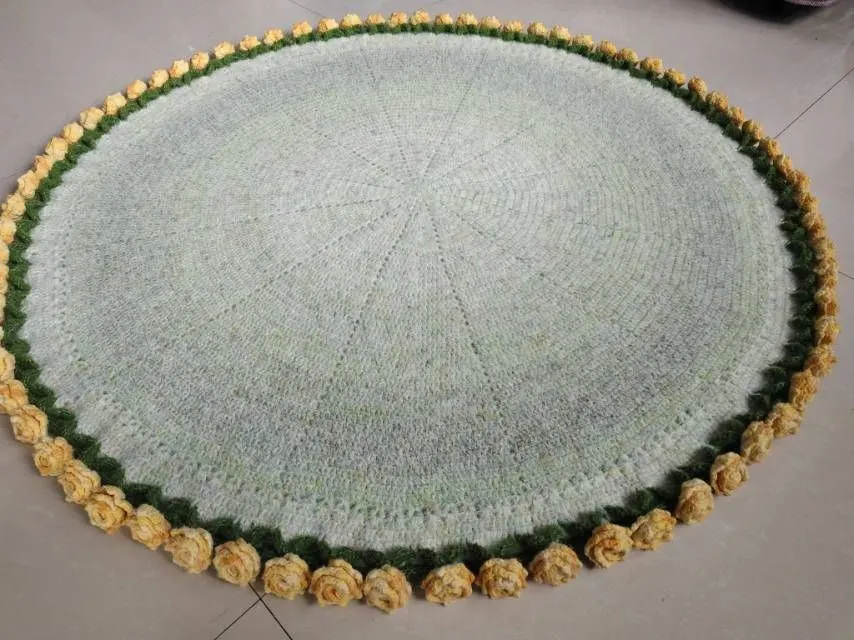
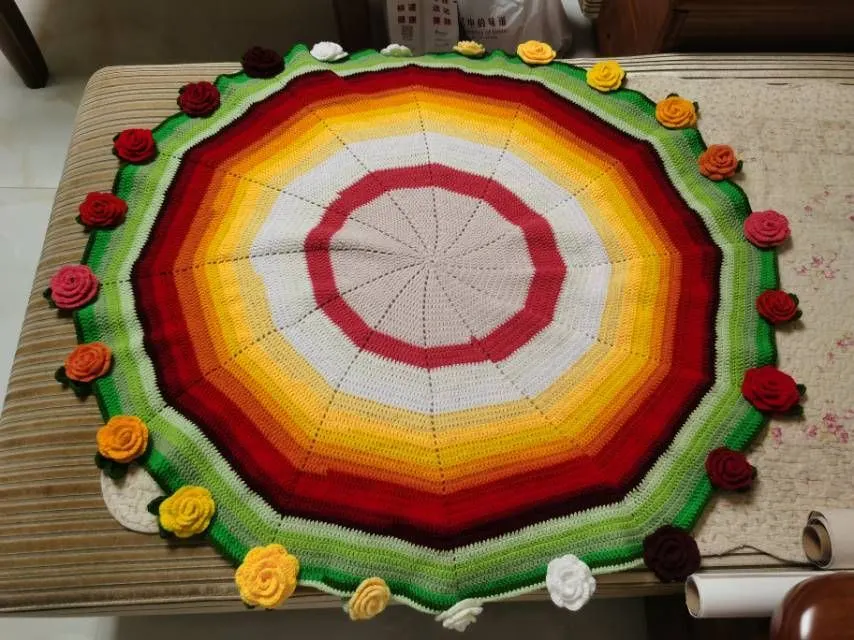
This blanket is divided into the main part, leaves edging, and carnation flowers. Crochet the main part first, then the leaves edging, followed by crocheting the carnation flowers.
Materials: 4-Ply Combed Cotton & Acrylic Fibre Hand Knitting Yarn
Crochet Hook: 3.00 mm Crochet Hook

ABBREVIATIONS
MRadjustable magic ring
Fdouble crochet
CHchain
FV = dc2-in-12 double crochets into the same stitch
Kskip
SLslip stitch
Xsingle crochet
Etreble crochet
Note:
This pattern is making in Chinese crochet pattern terms, and the stitch name is written using American terminology. All measurements in charts are in cm.
Part 1 The Main Part
(the general pattern for all different Bouquet Blanket)
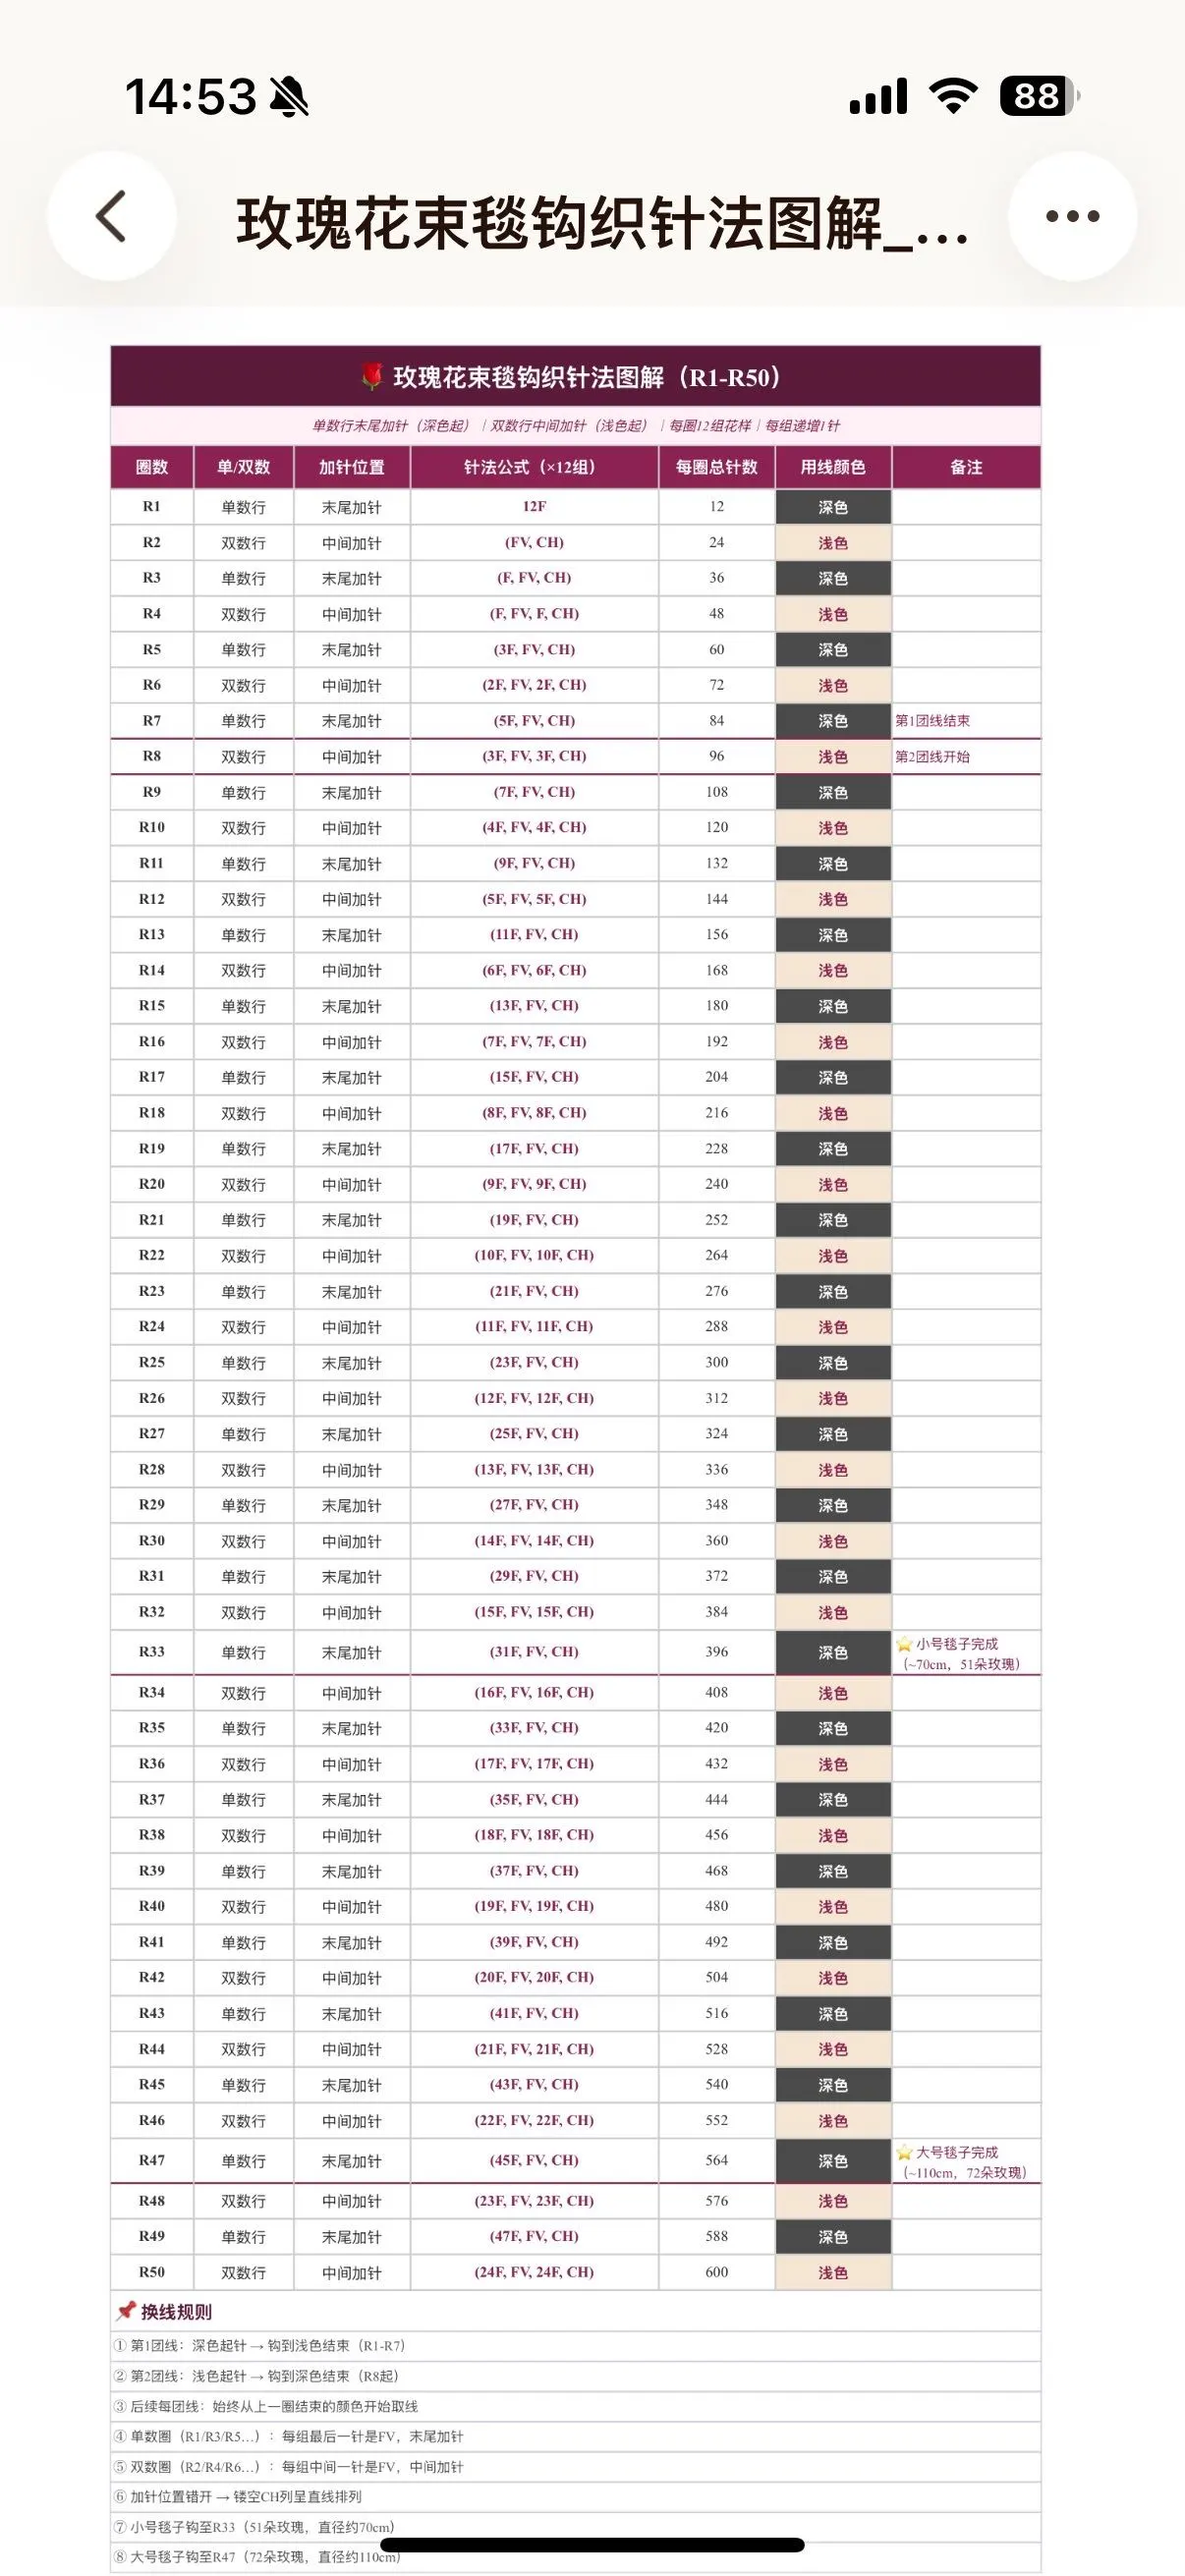
R1: MR, 12F
R2: (FV, CH)×12
R3: (F, FV, CH)×12
R4: (F, FV, F, CH)×12
R5: (3F, FV, CH)×12
R6: (2F, FV, 2F, CH)×12
R7: (5F, FV, CH)×12
Note:
1, The main part consists of 12 pattern repeats per round, with each repeat increasing by 1 st; each round has 12 more sts than the previous one.
2, On odd-numbered rows, increase in the last stitch of each repeat; on even-numbered rows, increase in the middle stitch of each repeat. Staggering the increases in this way ensures that the openwork aligns in a straight line. Follow this pattern consistently to complete the main part of the blanket.
The sample description:
4-Ply Cotton version:
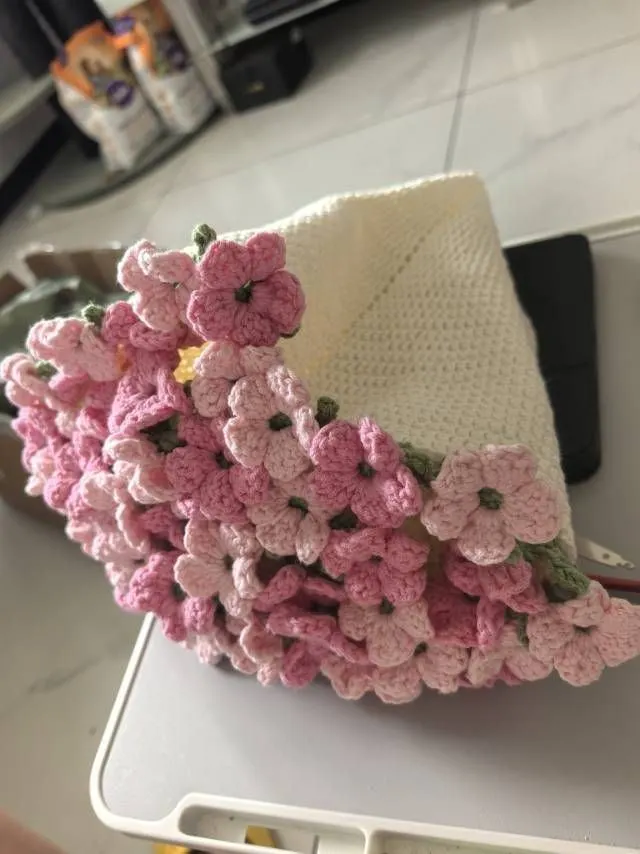
The small blanket is worked in 35 rounds, resulting in a diameter of approximately 70 cm and featuring 48 flowers;
The large blanket requires 50 rounds, yielding a diameter of approximately 100 cm and including 68 flowers.
Note: Since crocheters may have different tensions, there could be slight variations in the blanket size, the number of rounds, and the flowers count. The crochet technique stays consistent, so adjustments can be made based on your specific outcome.
Part 2 Leaves Edging
(This section is best understood when combined with video instruction.)
Work with green color yarn.
R1: join yarn in any st of the last round of the main part, then work a beginning chain and work: (X, 3CH, K2), K2 means skip 2 sts, repeat this group until completing the whole round, finish the last 3 chains, join with the first single crochet with a slip stitch.
R2: Work a turning chain, then work single crochet for the whole round (work 1 single crochet in each single crochet stitch, and 3 single crochets in each 3 chains space), join with the first single crochet with a slip stitch.
R3: 3X, 8CH, Dao2, work in back ridge of the chains in order (SL, X, T, 2F, T, X), to complete the first leaf. Continue from the first 3X, work 4X, CH (this is the position for attaching flowers later), 4X, 8CH, Dao2, work in back ridge in order (SL, X, T, 2F, T, X) to complete the second leaf. Work 1X.
This completes one group of leaves. After the last single crochet, repeat the sequence starting with 3 X, 8CH... Continue repeating this group of leaves around to complete the whole edging.
Part 3 Carnation flowers
Work with pink color yarn.
R1: MR, 10 X, join the round with a SL in the first st.
R2 (First Layer of Petals):
Round 1: Working into the front loop only: 2CH to start, then work 3F into each st — 30 double crochets total, SL into the first treble to join.
Round 2: 1CH to start, then work 1X into the first st, 3CH, Continue with 1X into the next st, 3CH. This sequence repeats as (X, 3CH). After completing the last 3CH, SL into the first st to join. Do not fasten off.
R3 (Second Layer of Petals):
Round 1: 3CH, turn the work, and return to the remaining 10 back loops from R2. Work 3F into each st —30 double crochets total. After completing the last double crochet, SL into the first st to join.
Round 2: 1CH to start, then work 1X into the first st, 3CH, Continue with 1X into the next st, 3CH. This sequence repeats as (X, 3CH). After completing the last 3CH, SL into the first st to join. Fasten off and weave in ends.
Attach the completed flower to the blanket.
Made by the community