Home / Pillow
Christmas Tree Pillow
Project preview
See the finished project
Pattern format
Instructions
Watch and follow
Video tutorial
| Style | Yarn | Color |
|---|---|---|
| Purple Version | Cloudlet | 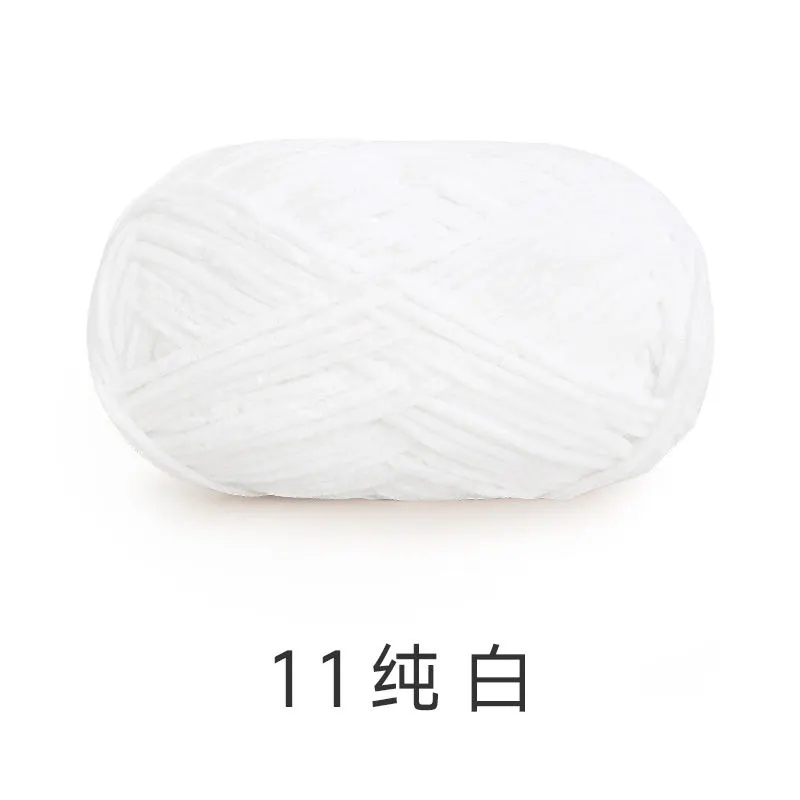 11#Bright White x 1 11#Bright White x 1 13#Winsome Orchid x 1 13#Winsome Orchid x 1 39#Bijou Blue x 1 39#Bijou Blue x 1 |
| CloudPlus |  03#Deep Periwinkle x 1 03#Deep Periwinkle x 1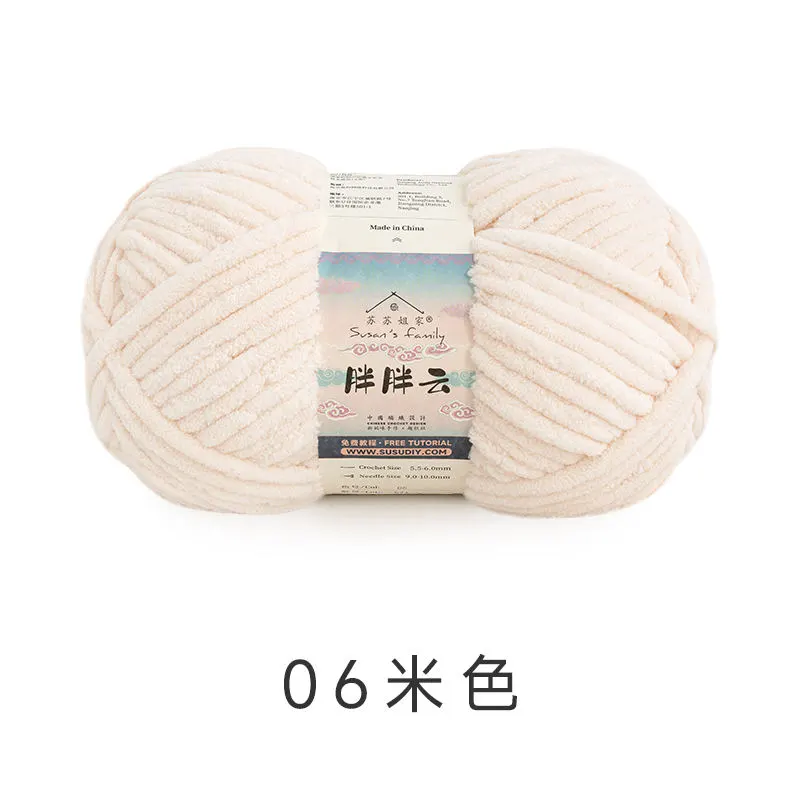 06#Antique White x 1 06#Antique White x 1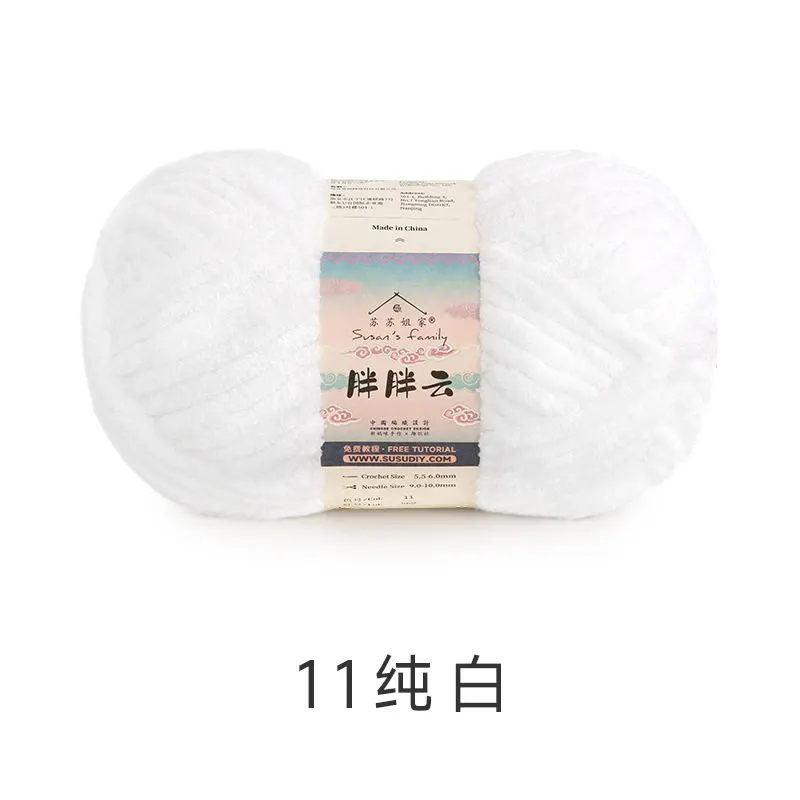 11#Bright White x 1 11#Bright White x 1 13#Winsome Orchid x 1 13#Winsome Orchid x 1 14#Sheer Lilac x 1 14#Sheer Lilac x 1 | |
| Red Version | Cloudlet |  08#Shell Pink x 1 08#Shell Pink x 1 12#Whisper White x 139#Bijou Blue x 1 12#Whisper White x 139#Bijou Blue x 1 |
| CloudPlus |  05#Spectra Yellow x 106#Antique White x 1 05#Spectra Yellow x 106#Antique White x 1 08#Shell Pink x 1 08#Shell Pink x 1 09#Spiced Coral x 1 09#Spiced Coral x 1 10#High Risk Red x 1 10#High Risk Red x 1 | |
| Green Version | Cloudlet | 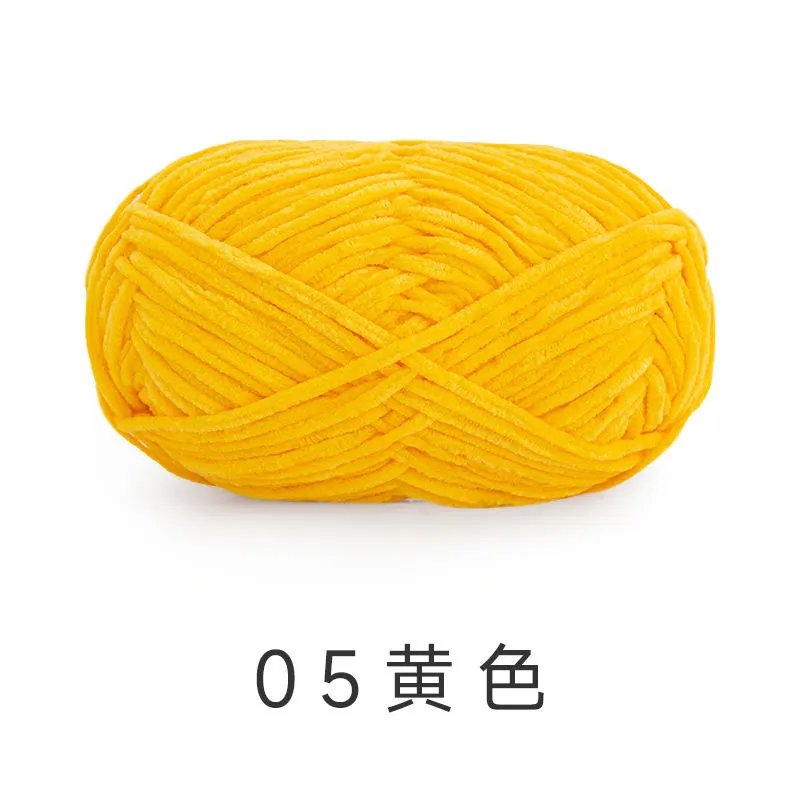 05#Spectra Yellow x 108#Shell Pink x 112#Whisper White x 1 05#Spectra Yellow x 108#Shell Pink x 112#Whisper White x 1 31#Black x 1 31#Black x 1 |
| 4-Ply Combed Cotton & Acrylic Fibre Hand Knitting Yarn |  09#Aspen Gold x 1 09#Aspen Gold x 1 | |
| CloudPlus | 05#Spectra Yellow x 110#High Risk Red x 1 12#Whisper White x 1 12#Whisper White x 1 17#Green Oasis x 1 17#Green Oasis x 1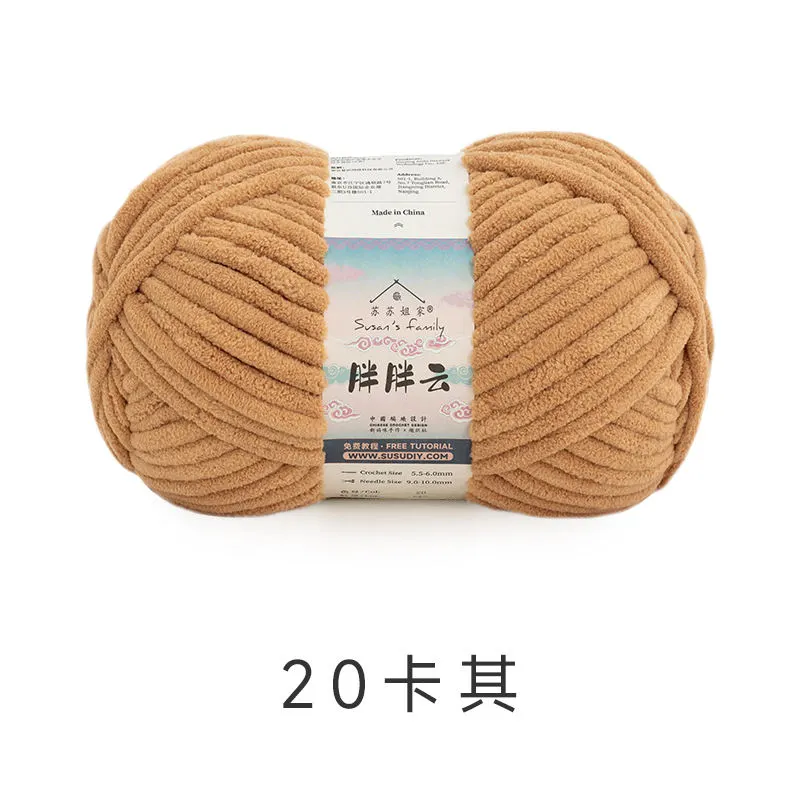 20# Khaki x 1 20# Khaki x 1 | |
| Colorful Version | Cloudlet | 05#Spectra Yellow x 111#Bright White x 139#Bijou Blue x 1 |
| CloudPlus |  02#Norse Blue x 110#High Risk Red x 112#Whisper White x 117#Green Oasis x 120# Khaki x 1 02#Norse Blue x 110#High Risk Red x 112#Whisper White x 117#Green Oasis x 120# Khaki x 1 |
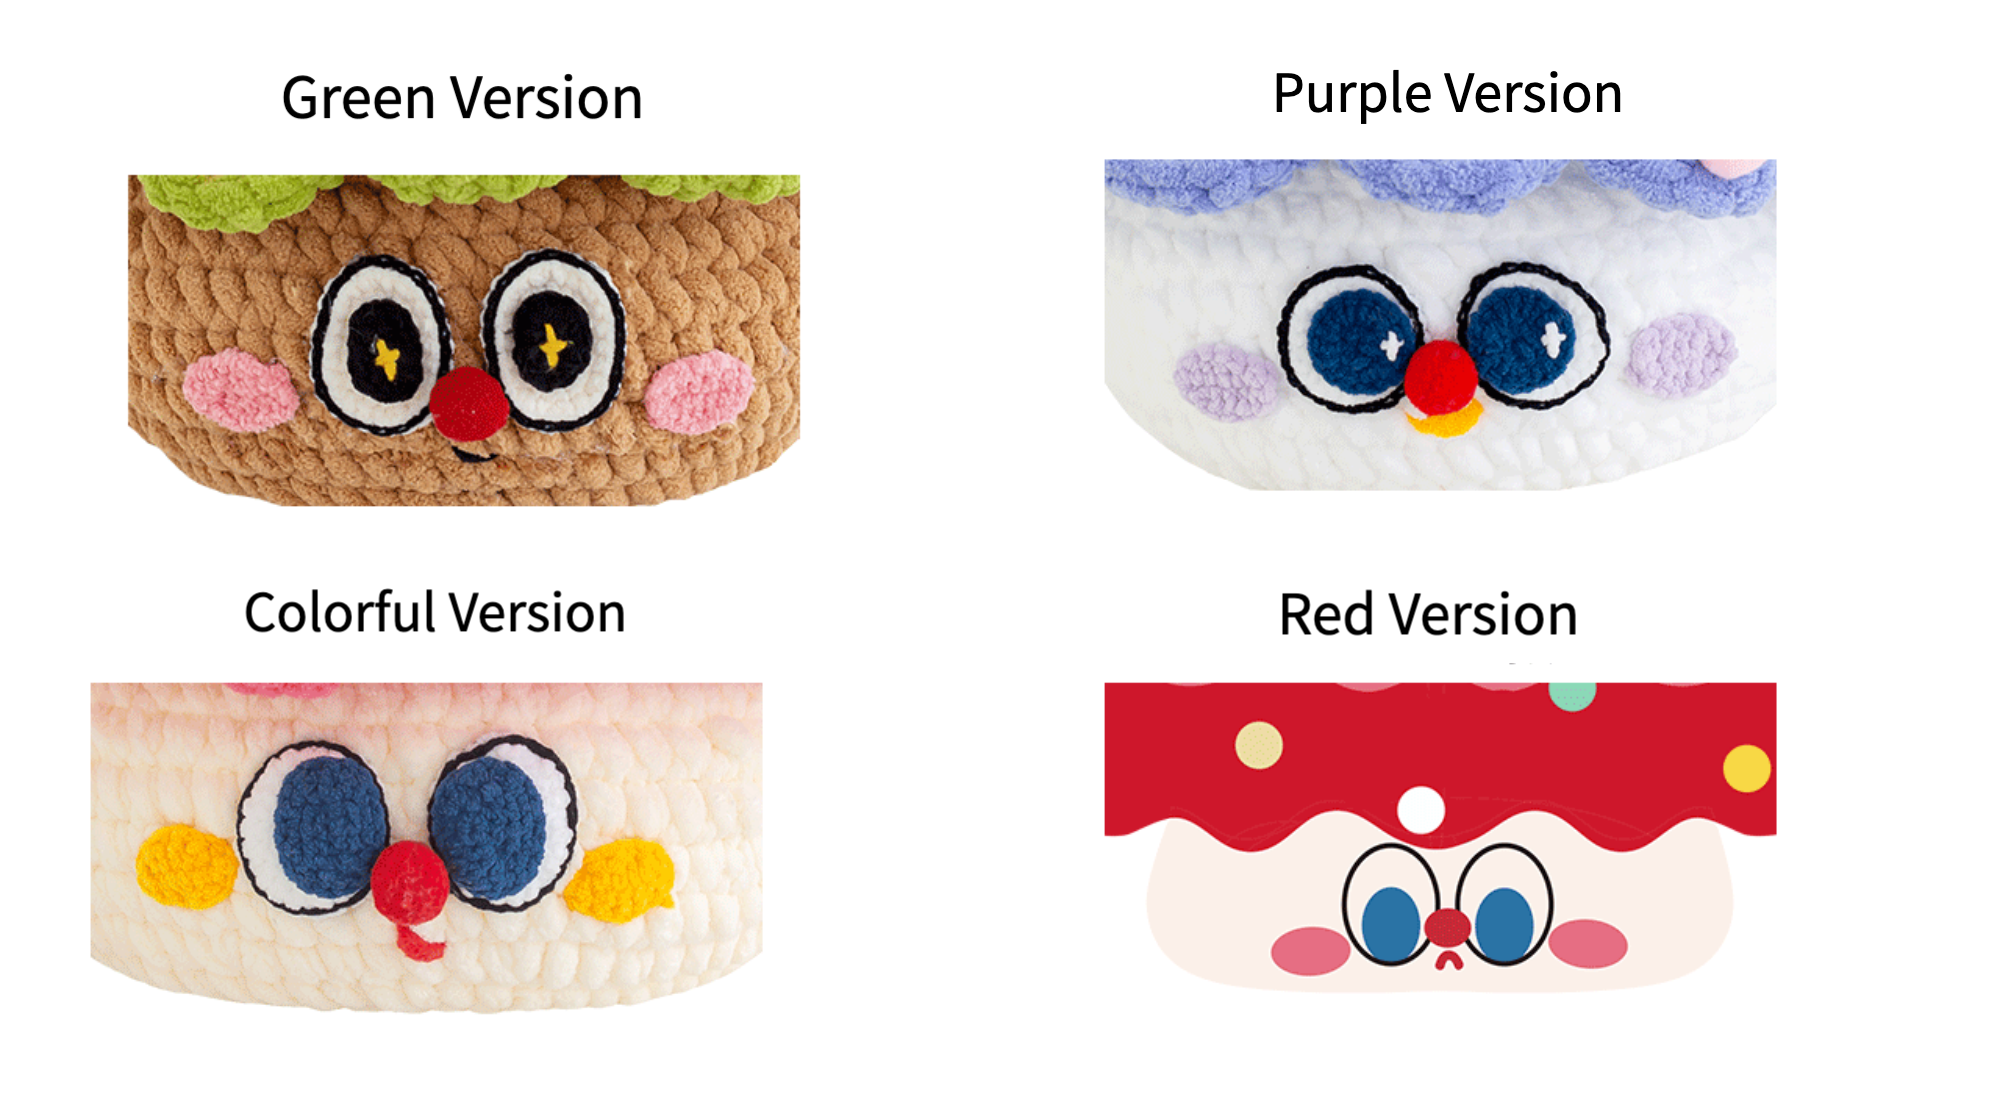
Purple Version
Red Version
Green Version
Colorful Version
This product consists of the main part, leaves, stars, and facial features. Start by making the main part, once completed, create the leaves and assemble them with the main part. Then make the stars and attach them to the top, finally create the facial features and attach them to the main part.
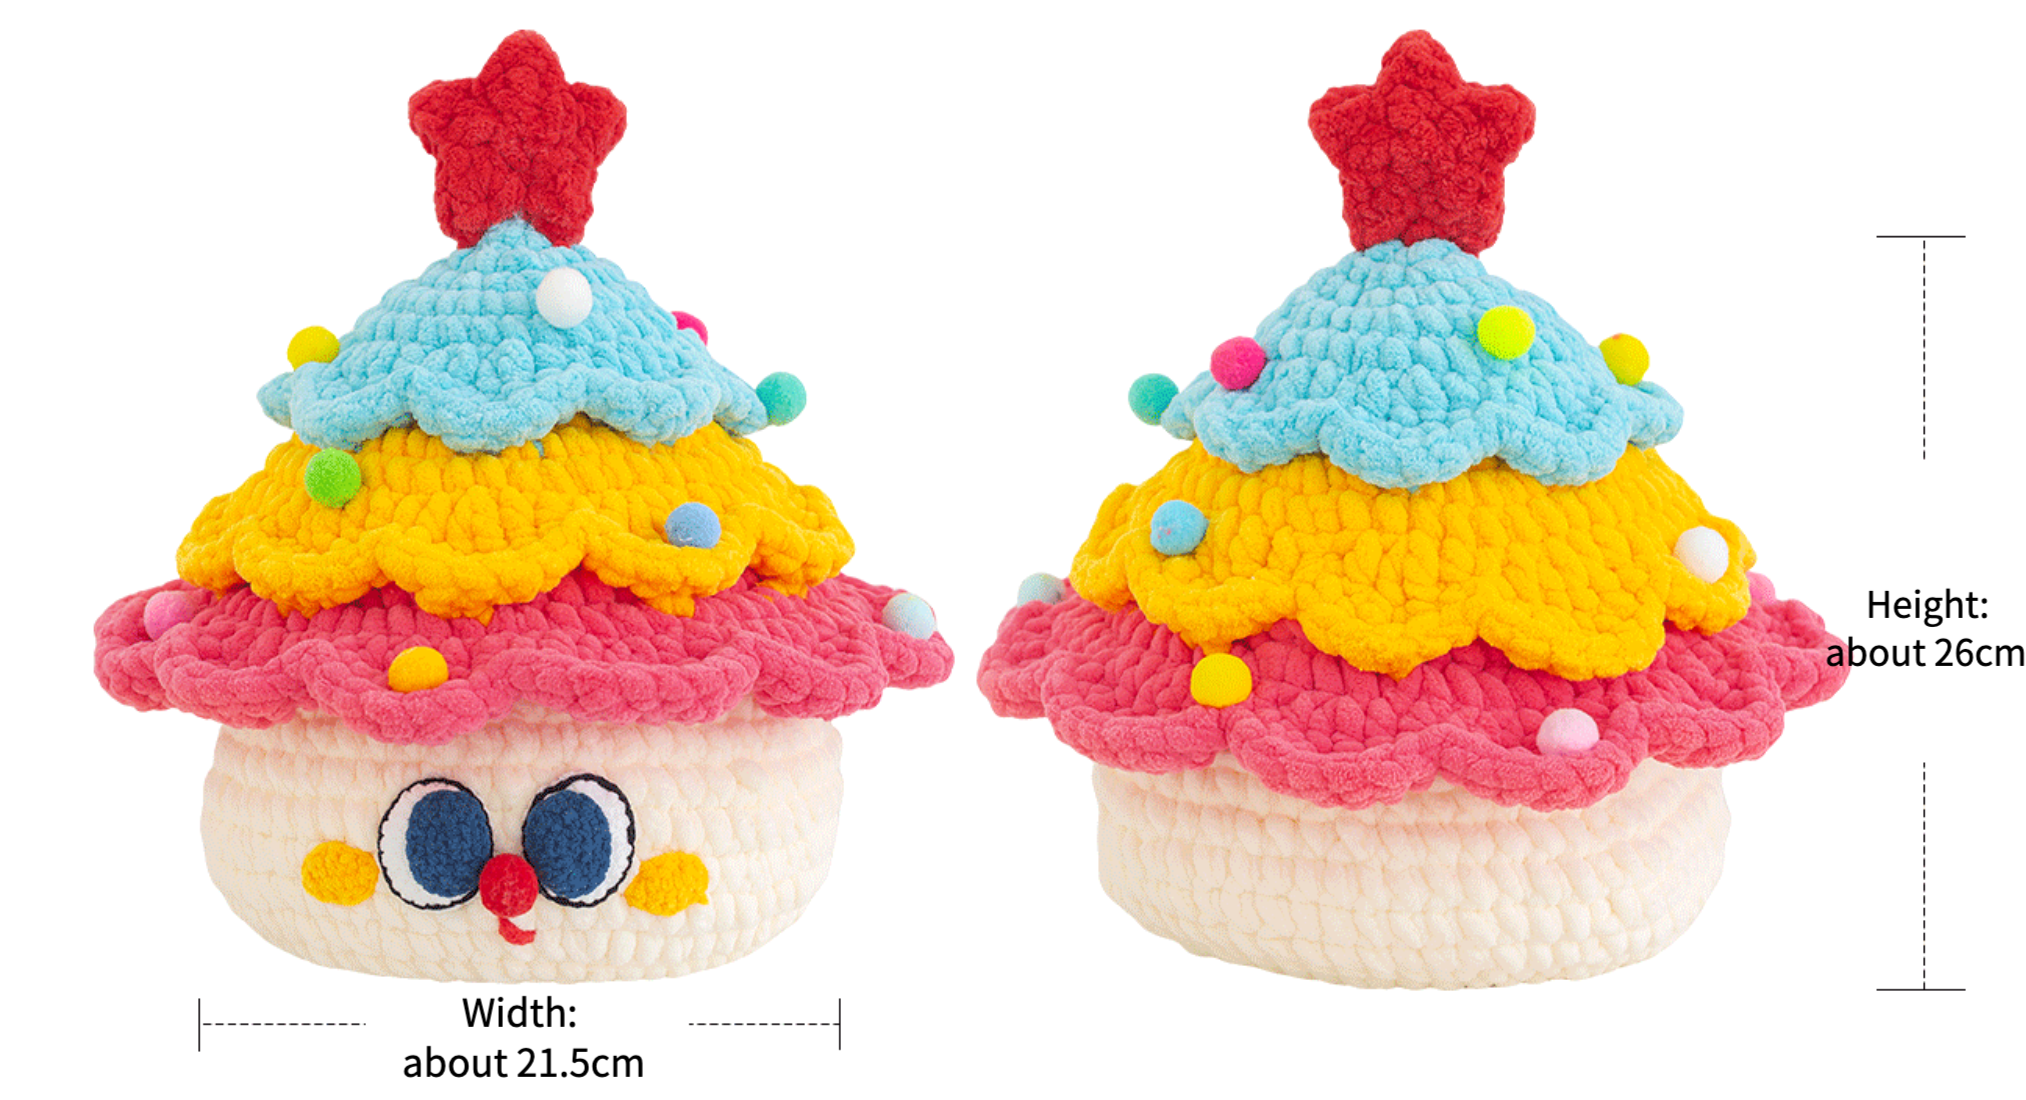
Note: Hand-measured, with a possible error of 1-2 cm. Due to varying tension among knitters, the sample size is for reference only.
Yarn: CloudPlus & Cloudlet & 4-Ply Cotton
Tools: 6.50 mm hook & 3.00 mm hook
Note: Use the 6.50 mm hook for CloudPlus, and the 3.00 mm hook for Cloudlet & 4-Ply Cotton.

ABBREVIATIONS
Note:
1. This pattern is making in Chinese crochet pattern terms, and the stitch name is written using American terminology. All measurements in charts are in cm.
2. When crocheting in rounds without further guidance, working in closed rounds, start each round with a set number of beginning chains and close with a slip stitch. The beginning chain preceding a single crochet and the slip stitch used for joining rounds are not included in the total stitches.
3. Due to the special yarn, it may be difficult to see the stitches clearly. It is recommended to practice with leftover yarn at home by following the video before starting with the actual yarn. Once you're comfortable, proceed with the designated yarn for the project.

PART1 Main PartA 00' 42''
The main part is divided into the bottom and the trunk. The bottom is started with the foundation chain, worked in rounds counterclockwise. There are 2 pieces for the bottom: one is finished with a cut yarn, the other remains uncut. Then they are overlapped and the trunk is continued upward. A circular mesh piece is added in the middle. For details, please refer to the video demonstration.
| Main Part | |||||||
| Part | Round/Row | Stitch Instructions | Total Stitches | Colorful Version | Green Version | Purple Version | Red Version |
| Bottom | Cast on and R1 | 2CH,dao 2,[8X] | 8 | CloudPlus 12#Whisper White |
CloudPlus 20# Khaki |
CloudPlus 11#Bright White |
CloudPlus 06#Antique White |
| R2 | 8V | 16 | |||||
| R3 | (X,V) *8 | 24 | |||||
| R4 | (V,2X) *8 | 32 | |||||
| R5 | (3X,V) *8 | 40 | |||||
| R6 | (2X,V,2X) *8 | 48 | |||||
| R7 | (5X,V) *8(Finished measurement is 9.5cm) | 56 | |||||
| Note: Crochet 2 pieces, cut the yarn for one piece, don't cut the yarn for the other piece. | |||||||
| Tree Body | R1 | Take the piece without cutting the yarn, place the 2 pieces wrong sides facing each other and pick up stitches to crochet. (3X,V,3X) *8,crochet the edging while adding the circular mesh |
64 | ||||
| R2—R4 | even 64X | ||||||
| R5 | (6X,A) *8 | 56 | |||||
| R6 | even 56X | ||||||
| H7 | 28X,leave the remaining stitches unworked | 28 | |||||
| Note: Leave a 50cm yarn tail at the end for sewing. | |||||||
PART 2 LeavesB 28' 27''
Crochet the leaf base and 3 layers of leaves separately from bottom up, then assemble them together with the main part. Finally, sew a zipper into the opening between the main part and leaf base. Check the video demo for details.
| Leaves | |||||||
| Part | Round/Row | Stitch Instructions | Total Stitches | Colorful Version | Green Version | Purple Version | Red Version |
| Leaf Base | Cast on and R1 | 2CH,dao 2,[8X] | 8 | CloudPlus 09#Spiced Coral |
CloudPlus 17#Green Oasis |
CloudPlus 03#Deep Periwinkle |
CloudPlus 10#High Risk Red |
| R2 | 8V | 16 | |||||
| R3 | (X,V) *8 | 24 | |||||
| R4 | (V,2X) *8 | 32 | |||||
| R5 | (3X,V) *8 | 40 | |||||
| R6 | (2X,V,2X) *8 | 48 | |||||
| R7 | (5X,V) *8 | 56 | |||||
| R8 | (3X,V,3X) *7,3X,V,X,A | 63 | |||||
| Note: Leave a 5-10 cm yarn tail when breaking the yarn. | |||||||
| 1st Layer | Cast on and R1 | 2CH,dao 2,[7X] | 7 | CloudPlus 09#Spiced Coral |
CloudPlus 17#Green Oasis |
CloudPlus 03#Deep Periwinkle |
CloudPlus 10#High Risk Red |
| R2 | 7V | 14 | |||||
| R3 | (X,V) *7 | 21 | |||||
| R4 | (V,2X) *7 | 28 | |||||
| R5 | (3X,V) *7 | 35 | |||||
| R6 | (2X,V,2X) *7 | 42 | |||||
| R7 | (5X,V) *7 | 49 | |||||
| R8 | (3X,V,3X) *7 | 56 | |||||
| R9 | (7X,V) *7 | 63 | |||||
| R10 | Take the leaf base piece, join together and crochet 63X, adding appropriate stuffing while edging. | ||||||
| H11 | {(SL,T,FV,F,T) *3,SL,T,F,FV,F,T} *3 | 75 | |||||
| R12 | {(SL,X,[T,F],F,[F,T],X) *3,SL,X,[T,F],2F,[F,T],X} *3 | 99 | |||||
| 2nd Layer | Cast on and R1 | 2CH,dao 2,[7X] | 7 | CloudPlus 05#Spectra Yellow |
CloudPlus 10#High Risk Red |
CloudPlus 14#Sheer Lilac |
CloudPlus 09#Spiced Coral |
| R2 | 7V | 14 | |||||
| R3 | (X,V) *7 | 21 | |||||
| R4 | (V,2X) *7 | 28 | |||||
| R5 | (3X,V) *7 | 35 | |||||
| R6 | (2X,V,2X) *7 | 42 | |||||
| R7 | (5X,V) *7 | 49 | |||||
| R8 | 48X,V | 50 | |||||
| H9 | (SL,T,FV,F,T) *10 | 60 | |||||
| R10 | (SL,X,[T,F],F,[F,T],X) *10 | 80 | |||||
| Note: Leave an 80cm yarn tail for sewing at the end. | |||||||
| 3rd Layer | Cast on and R1 | 2CH,dao 2,[8X] | 8 | CloudPlus 02#Norse Blue |
CloudPlus 05#Spectra Yellow |
CloudPlus 13#Winsome Orchid |
CloudPlus 08#Shell Pink |
| R2 | 8V | 16 | |||||
| R3 | (X,V) *8 | 24 | |||||
| R4 | (V,2X) *8 | 32 | |||||
| R5 | even 32X | ||||||
| H6 | (SL,T,FV,T) *8 | 40 | |||||
| R7 | (SL,X,[T,F],[F,T],X) *8 | 56 | |||||
| Note: Leave an 80cm yarn tail for sewing at the end. | |||||||
PART3 StarsC 60' 42''
| Star | ||||||
| Round | Stitch Instructions | Total Stitches | Colorful Version | Green Version | Purple Version | Red Version |
| Cast on and R1 | 2CH,dao 2,[5X] | 5 | CloudPlus 10#High Risk Red |
CloudPlus 12#Whisper White |
CloudPlus 05#Spectra Yellow |
CloudPlus 05#Spectra Yellow |
| R2 | [SL,T,ch1-picot,T] *5 | / | ||||
| Note: Make 2 pieces. For one piece, leave a 5-10cm yarn tail and break the yarn. For the other piece, leave a 50cm yarn tail. Place the two pieces with wrong sides facing each other, and pick up the half stitches along the edges to sew them together. After completing the sewing, attach it to the top of the leaf. | ||||||
PART4 Facial FeaturesD 71' 30''
The facial features consist of eyes, blush, nose, and mouth. Eyes are further divided into whites, eyelids, and pupils. Each part is made separately and then assembled. Once the facial features are attached, take out the pom-pom and stick it to any position on the leaf.
| Facial Features of Colorful Version | ||||
| Part | Round | Stitch Instructions | Total Stitches | Color |
| White *2 | Cast on and R1 | 6CH,dao 2,V,3T,W,3T,X | 12 | Cloudlet 11#Bright White |
| R2 | 2V,3X,3V,3X,V | 18 | ||
| R3 | (X,V) *2,3X,(X,V) *3,4X,V | 24 | ||
| Note: Leave a 40cm yarn tail at the end for sewing. | ||||
| Eyelid *2 | Take #21 Black Beauty of 4-Ply Cotton, split 2 strands, and work a round of slip stitches along the outer half loop of R3 of the eye white. | |||
| Pupil *2 | Cast on and R1 | 6CH,dao 2,V,3T,W,3T,X | 12 | Cloudlet 39#Bijou Blue |
| R2 | 2V,3X,3V,3X,V | 18 | ||
| Note: Leave a 20cm yarn tail at the end for sewing. | ||||
| Blush *2 | Cast on and R1 | 7CH,dao 2,V,T,2F,T,W,T,2F,T,X | 14 | Cloudlet 05#Spectra Yellow |
| Mouth | Take 10#High Risk Red of CloudPlus to embroider a vertical line below the nose (the nose is made by attaching a pom-pom) that's angled about one stitch wide. | |||
| Facial Features of Purple Version | ||||
| Part | Round | Stitch Instructions | Total Stitches | Color |
| White *2 | Cast on and R1 | 2CH,dao 2,[8X] | 8 | Cloudlet 11#Bright White |
| R2 | 8V | 16 | ||
| R3 | (X,V) *8 | 24 | ||
| Note: Leave a 40cm yarn tail at the end for sewing. | ||||
| Eyelid *2 | Take #21 Black Beauty of 4-Ply Cotton, split 2 strands, and work a round of slip stitches along the outer half loop of R3 of the eye white. | |||
| Pupil *2 | Cast on and R1 | 2CH,dao 2,[8X] | 8 | Cloudlet 39#Bijou Blue |
| R2 | 8V | 16 | ||
| Note: 1. Leave a 20cm yarn tail for sewing. 2. Take 11#Bright White of Cloudlet and sew an X-shaped single crochet on the Pupil for highlights. | ||||
| Blush *2 | Cast on and R1 | 7CH,dao 2,V,T,2F,T,W,T,2F,T,X | 14 | Cloudlet 13#Winsome Orchid |
| Mouth | Take 05#Spectra Yellow of CloudPlus and embroider a horizontal line below the nose, spanning 2 stitches to form a smile curve. | |||
| Facial Features of Green Version | ||||
| Part | Round | Stitch Instructions | Total Stitches | Color |
| White *2 | Cast on and R1 | 6CH,dao 2,V,3T,W,3T,X | 12 | Cloudlet 12#Whisper White |
| R2 | 2V,3X,3V,3X,V | 18 | ||
| R3 | (X,V) *2,3X,(X,V) *3,4X,V | 24 | ||
| Note: Leave a 40cm yarn tail at the end for sewing. | ||||
| Eyelid *2 | Take #21 Black Beauty of 4-Ply Cotton, split 2 strands, and work a round of slip stitches along the outer half loop of R3 of the eye white. | |||
| Pupil *2 | Cast on and R1 | 6CH,dao 2,V,3T,W,3T,X | 12 | Cloudlet 31#Black |
| Note: 1. Leave a 20cm yarn tail for sewing. 2. Take 09#Aspen Gold of 4-Ply Cotton to embroider an X-shaped single crochet on the Pupil for highlights. | ||||
| Blush *2 | Cast on and R1 | 7CH,dao 2,V,T,2F,T,W,T,2F,T,X | 14 | Cloudlet 10#High Risk Red |
| Mouth | Take 31#Black of Cloudlet and embroider two angled lines about 1.5cm long underneath the nose. | |||
| Facial Features of Red Version | ||||
| Part | Round | Stitch Instructions | Total Stitches | Color |
| White *2 | Cast on and R1 | 6CH,dao 2,V,3T,W,3T,X | 12 | Cloudlet 12#Whisper White |
| R2 | 2V,3X,3V,3X,V | 18 | ||
| R3 | (X,V) *2,3X,(X,V) *3,4X,V | 24 | ||
| Note: Leave a 40cm yarn tail at the end for sewing. | ||||
| Eyelid *2 | Take #21 Black Beauty of 4-Ply Cotton, split 2 strands, and work a round of slip stitches along the outer half loop of R3 of the eye white. | |||
| Pupil *2 | Cast on and R1 | 6CH,dao 2,V,3T,W,3T,X | 12 | Cloudlet 39#Bijou Blue |
| R2 | 2V,3X,3V,3X,V | 18 | ||
| Note: Leave a 20cm yarn tail at the end for sewing. | ||||
| Blush *2 | Cast on and R1 | 7CH,dao 2,V,T,2F,T,W,T,2F,T,X | 14 | Cloudlet 08#Shell Pink |
| Mouth | Take 10#High Risk Red of CloudPlus and embroider a curved line in a V shape across 2 stitches below the nose. | |||