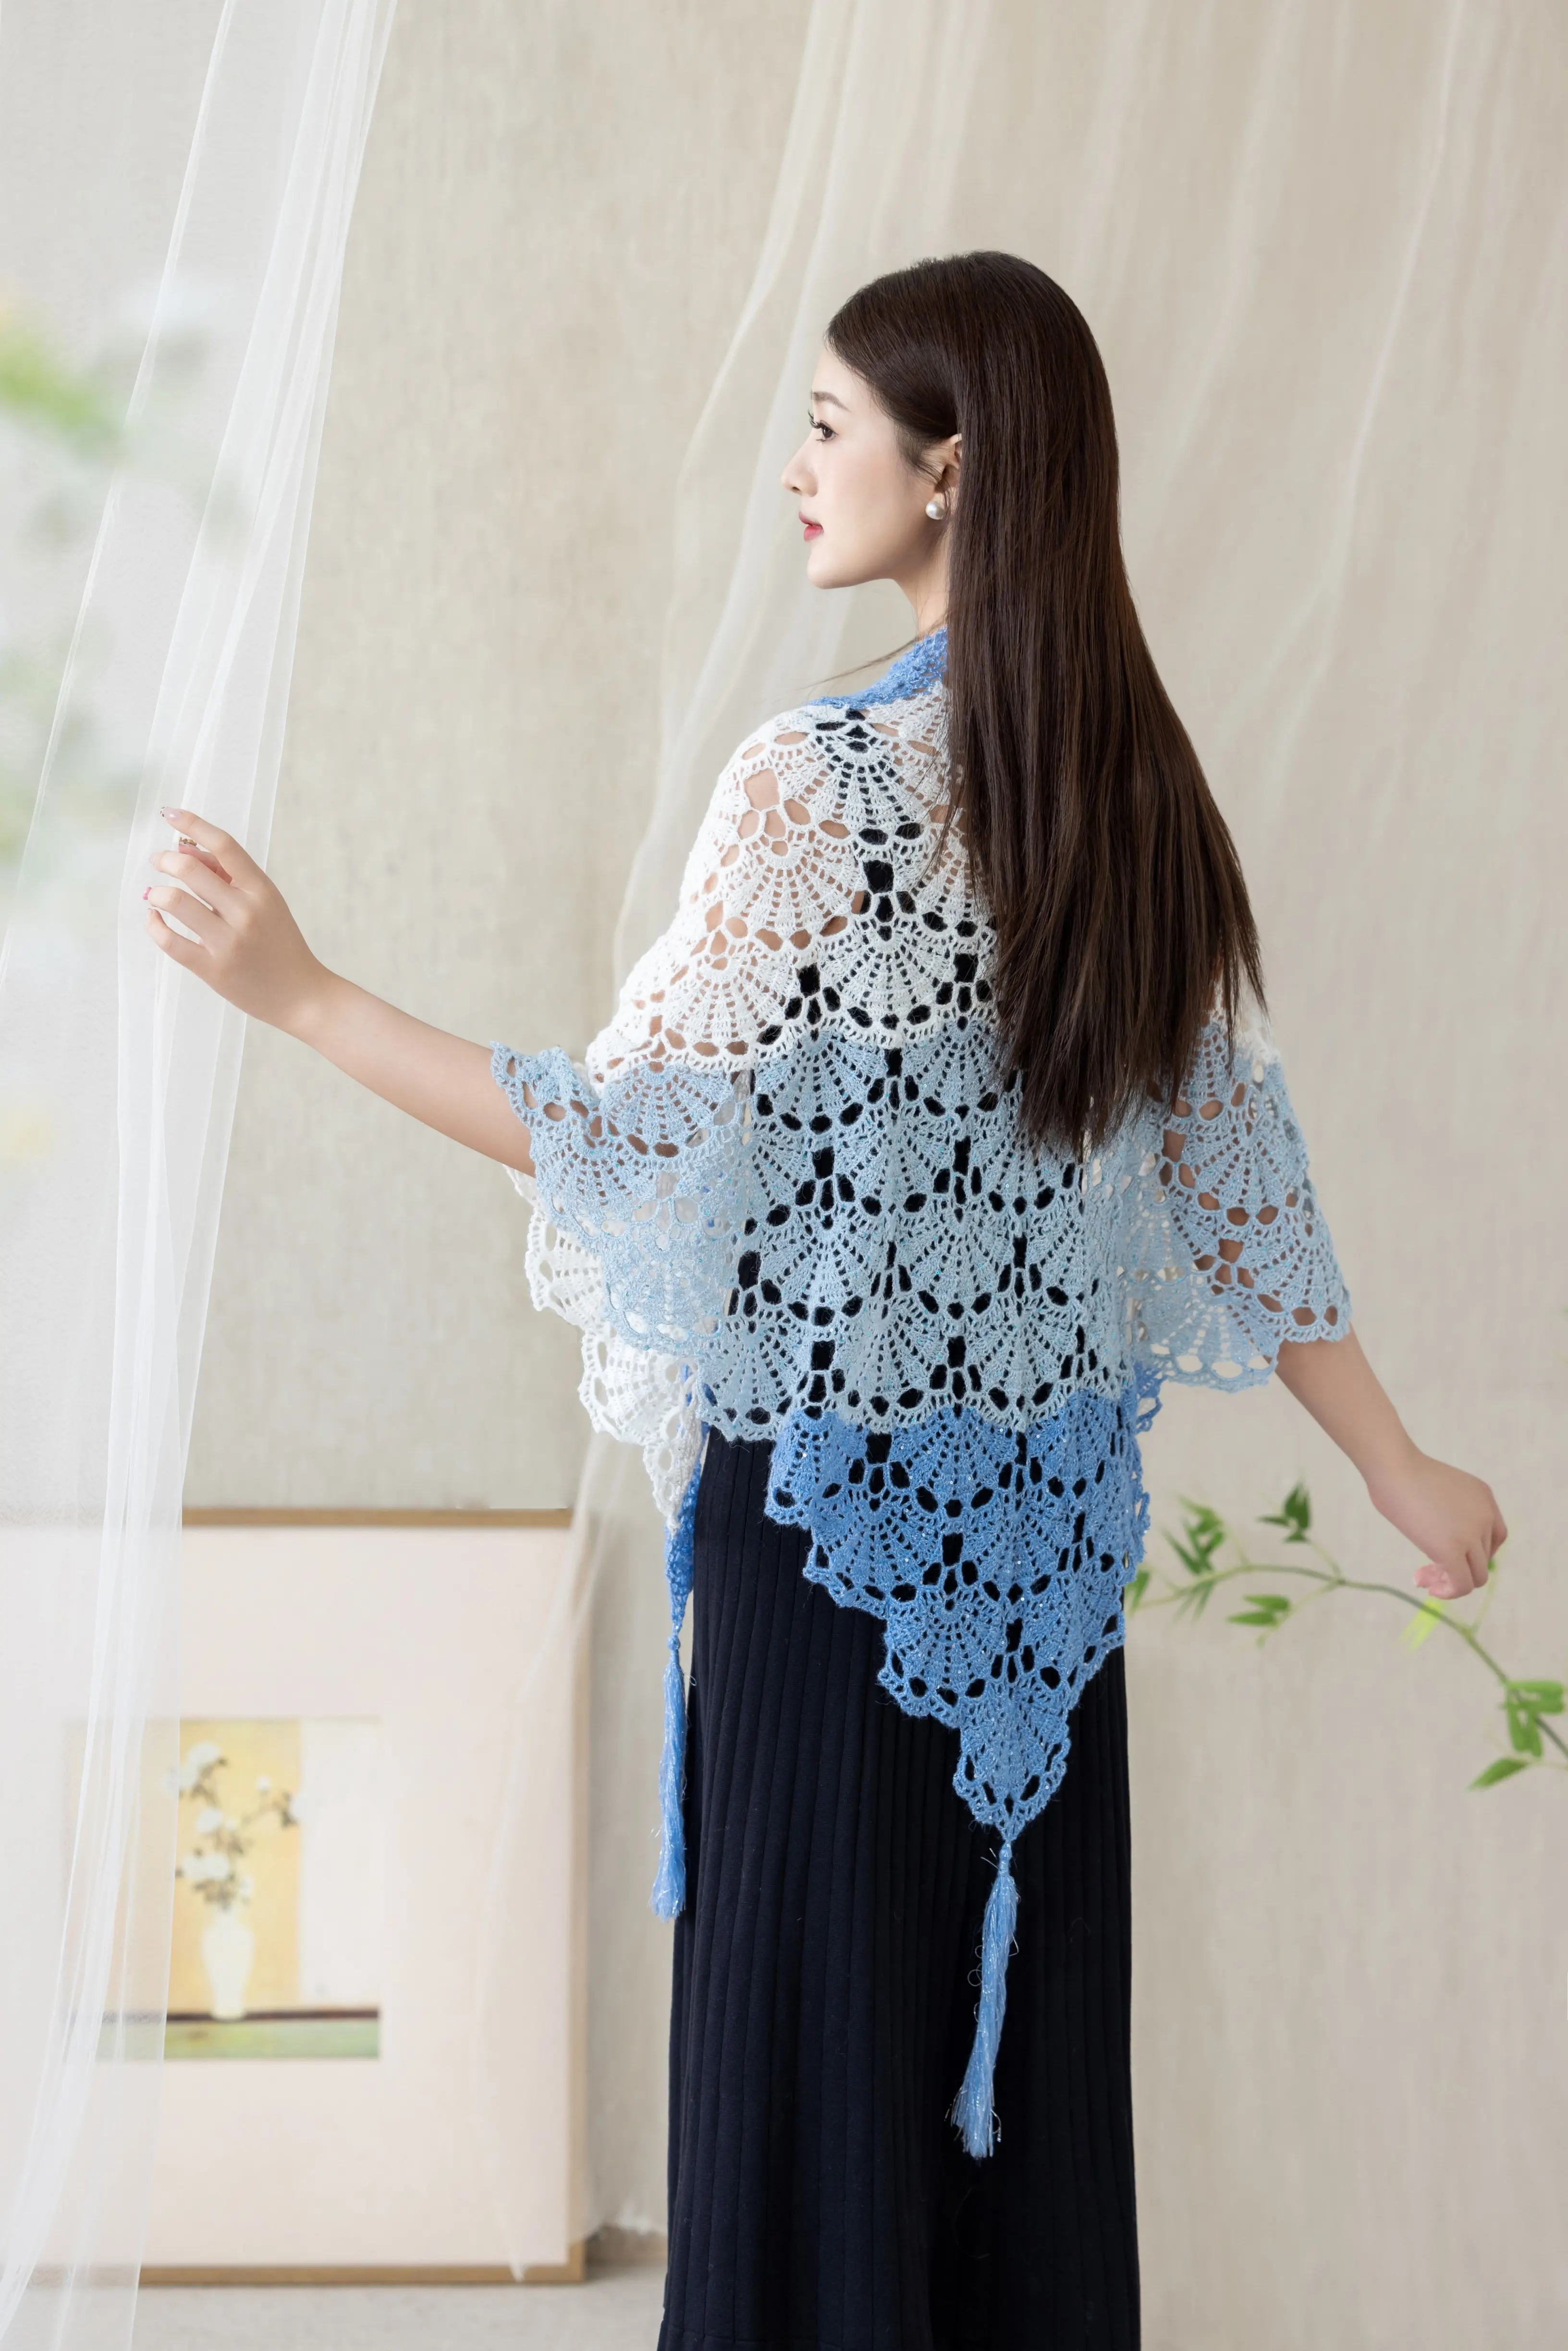
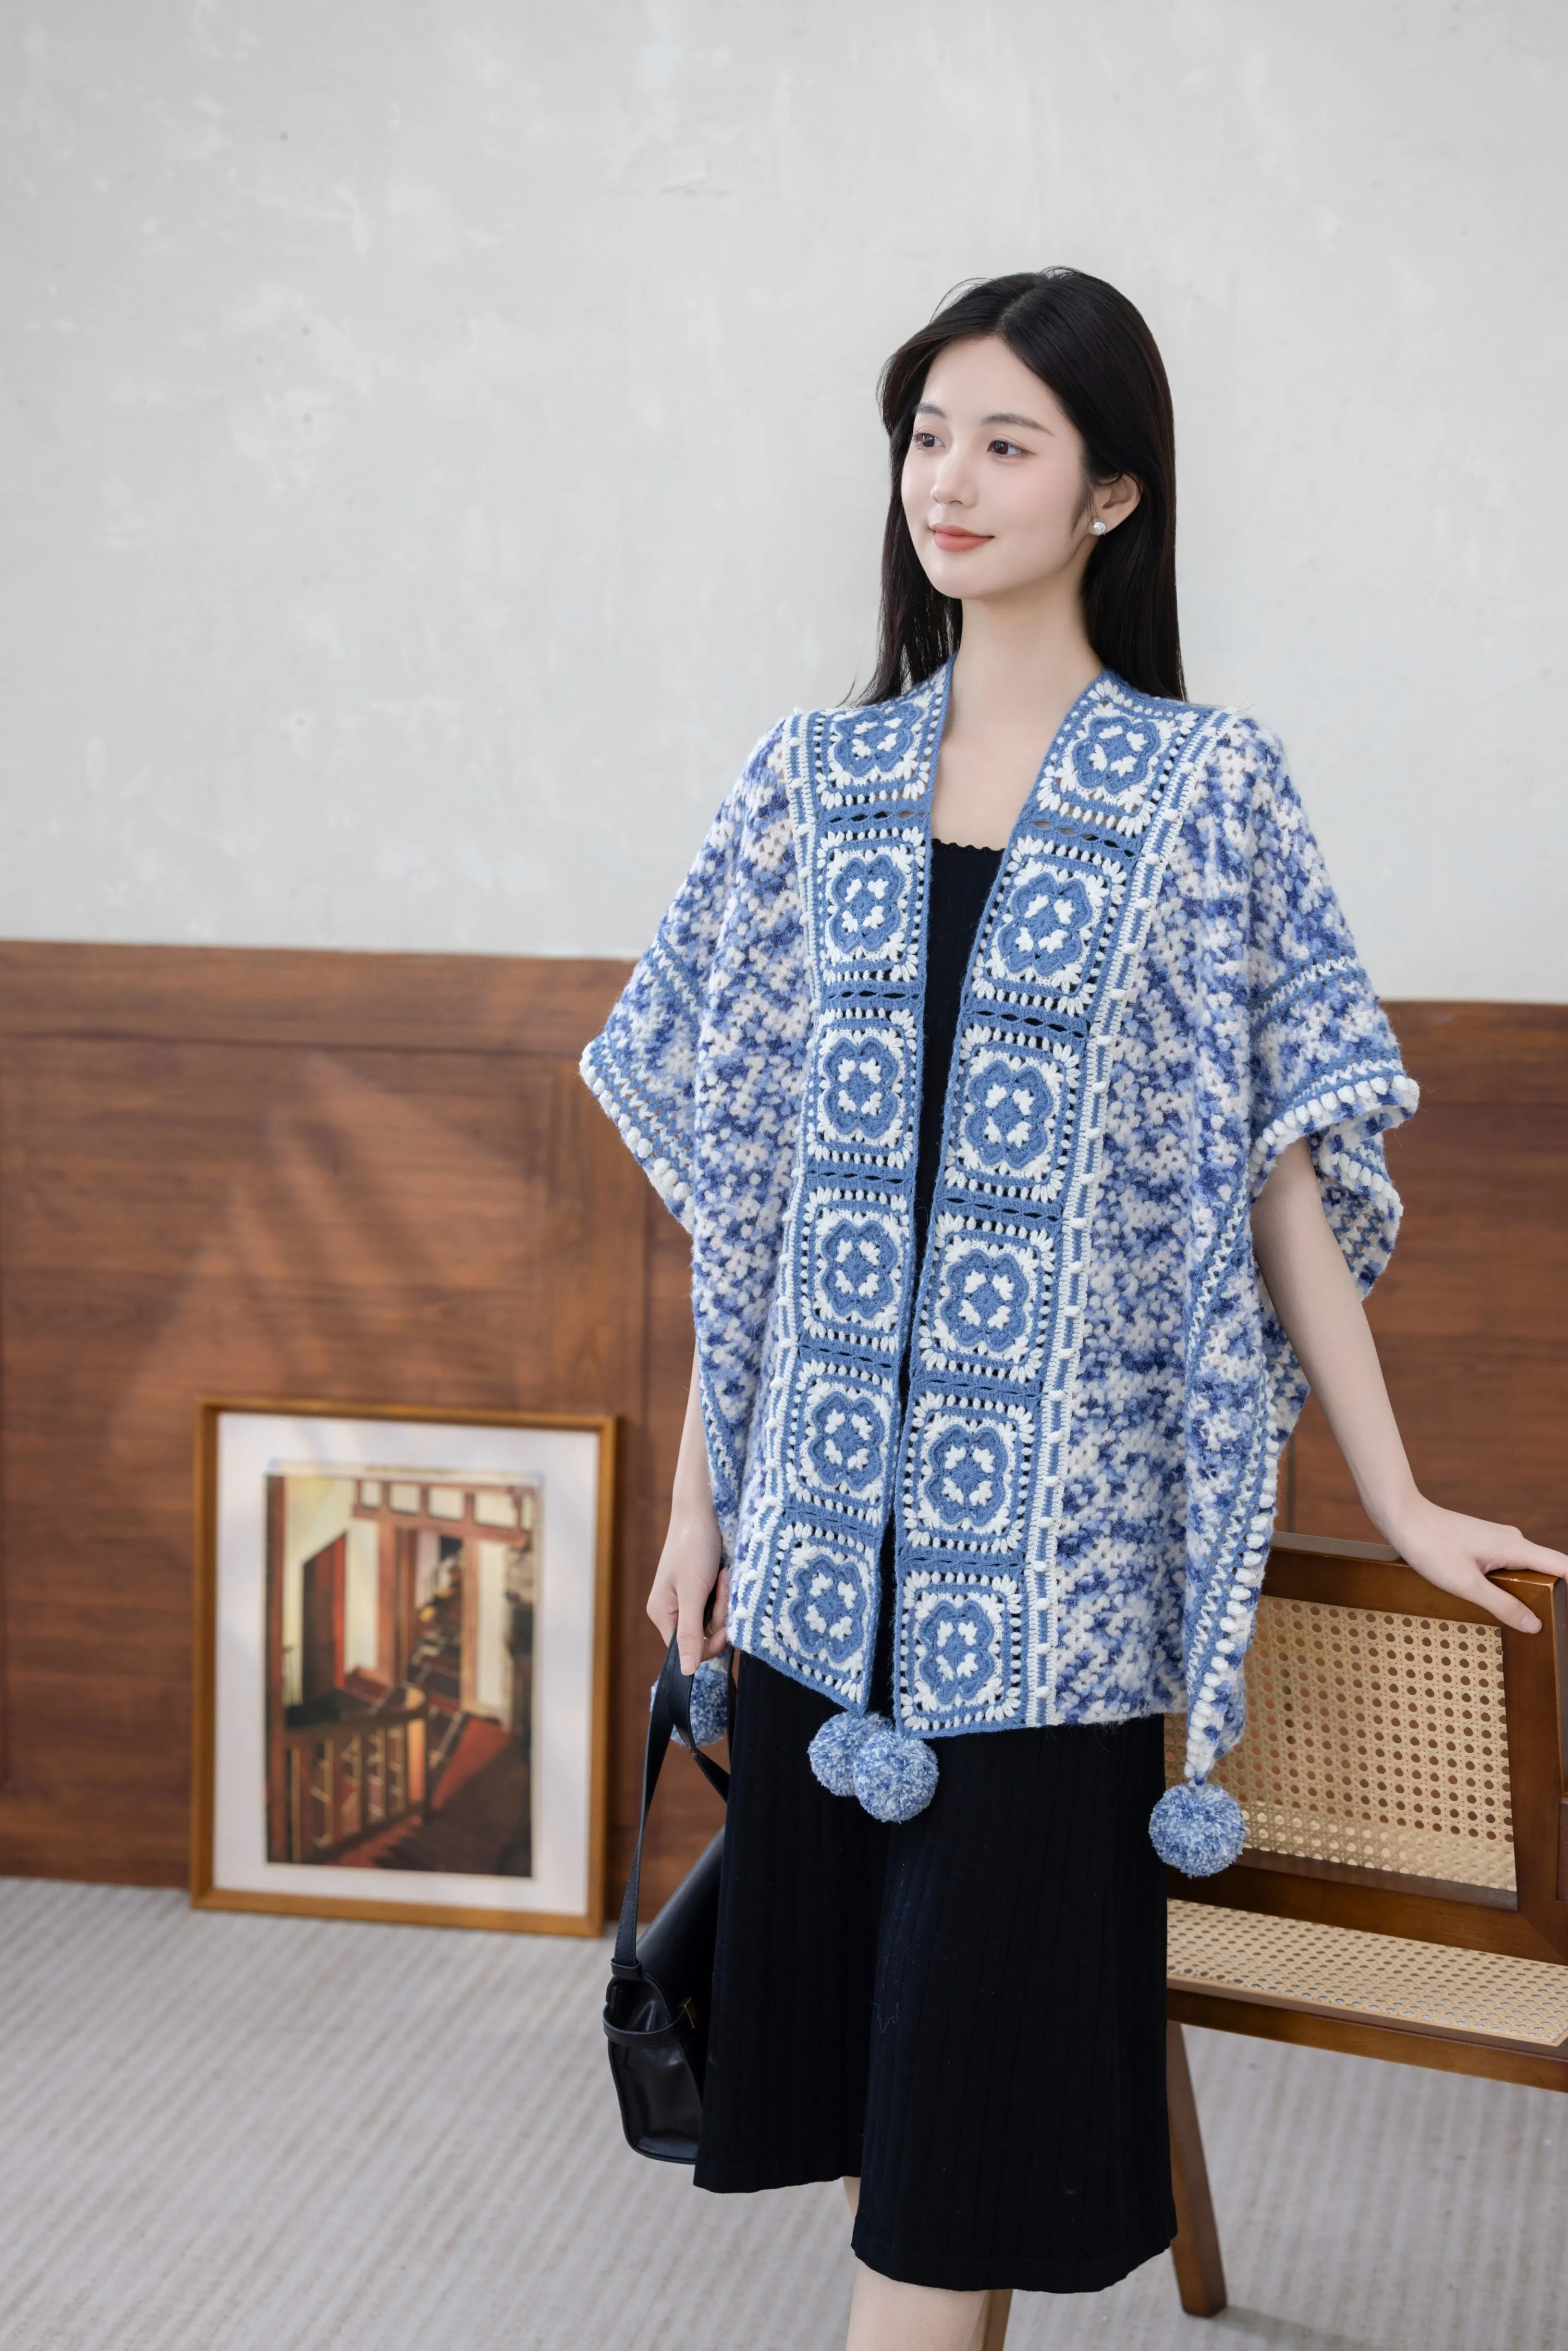
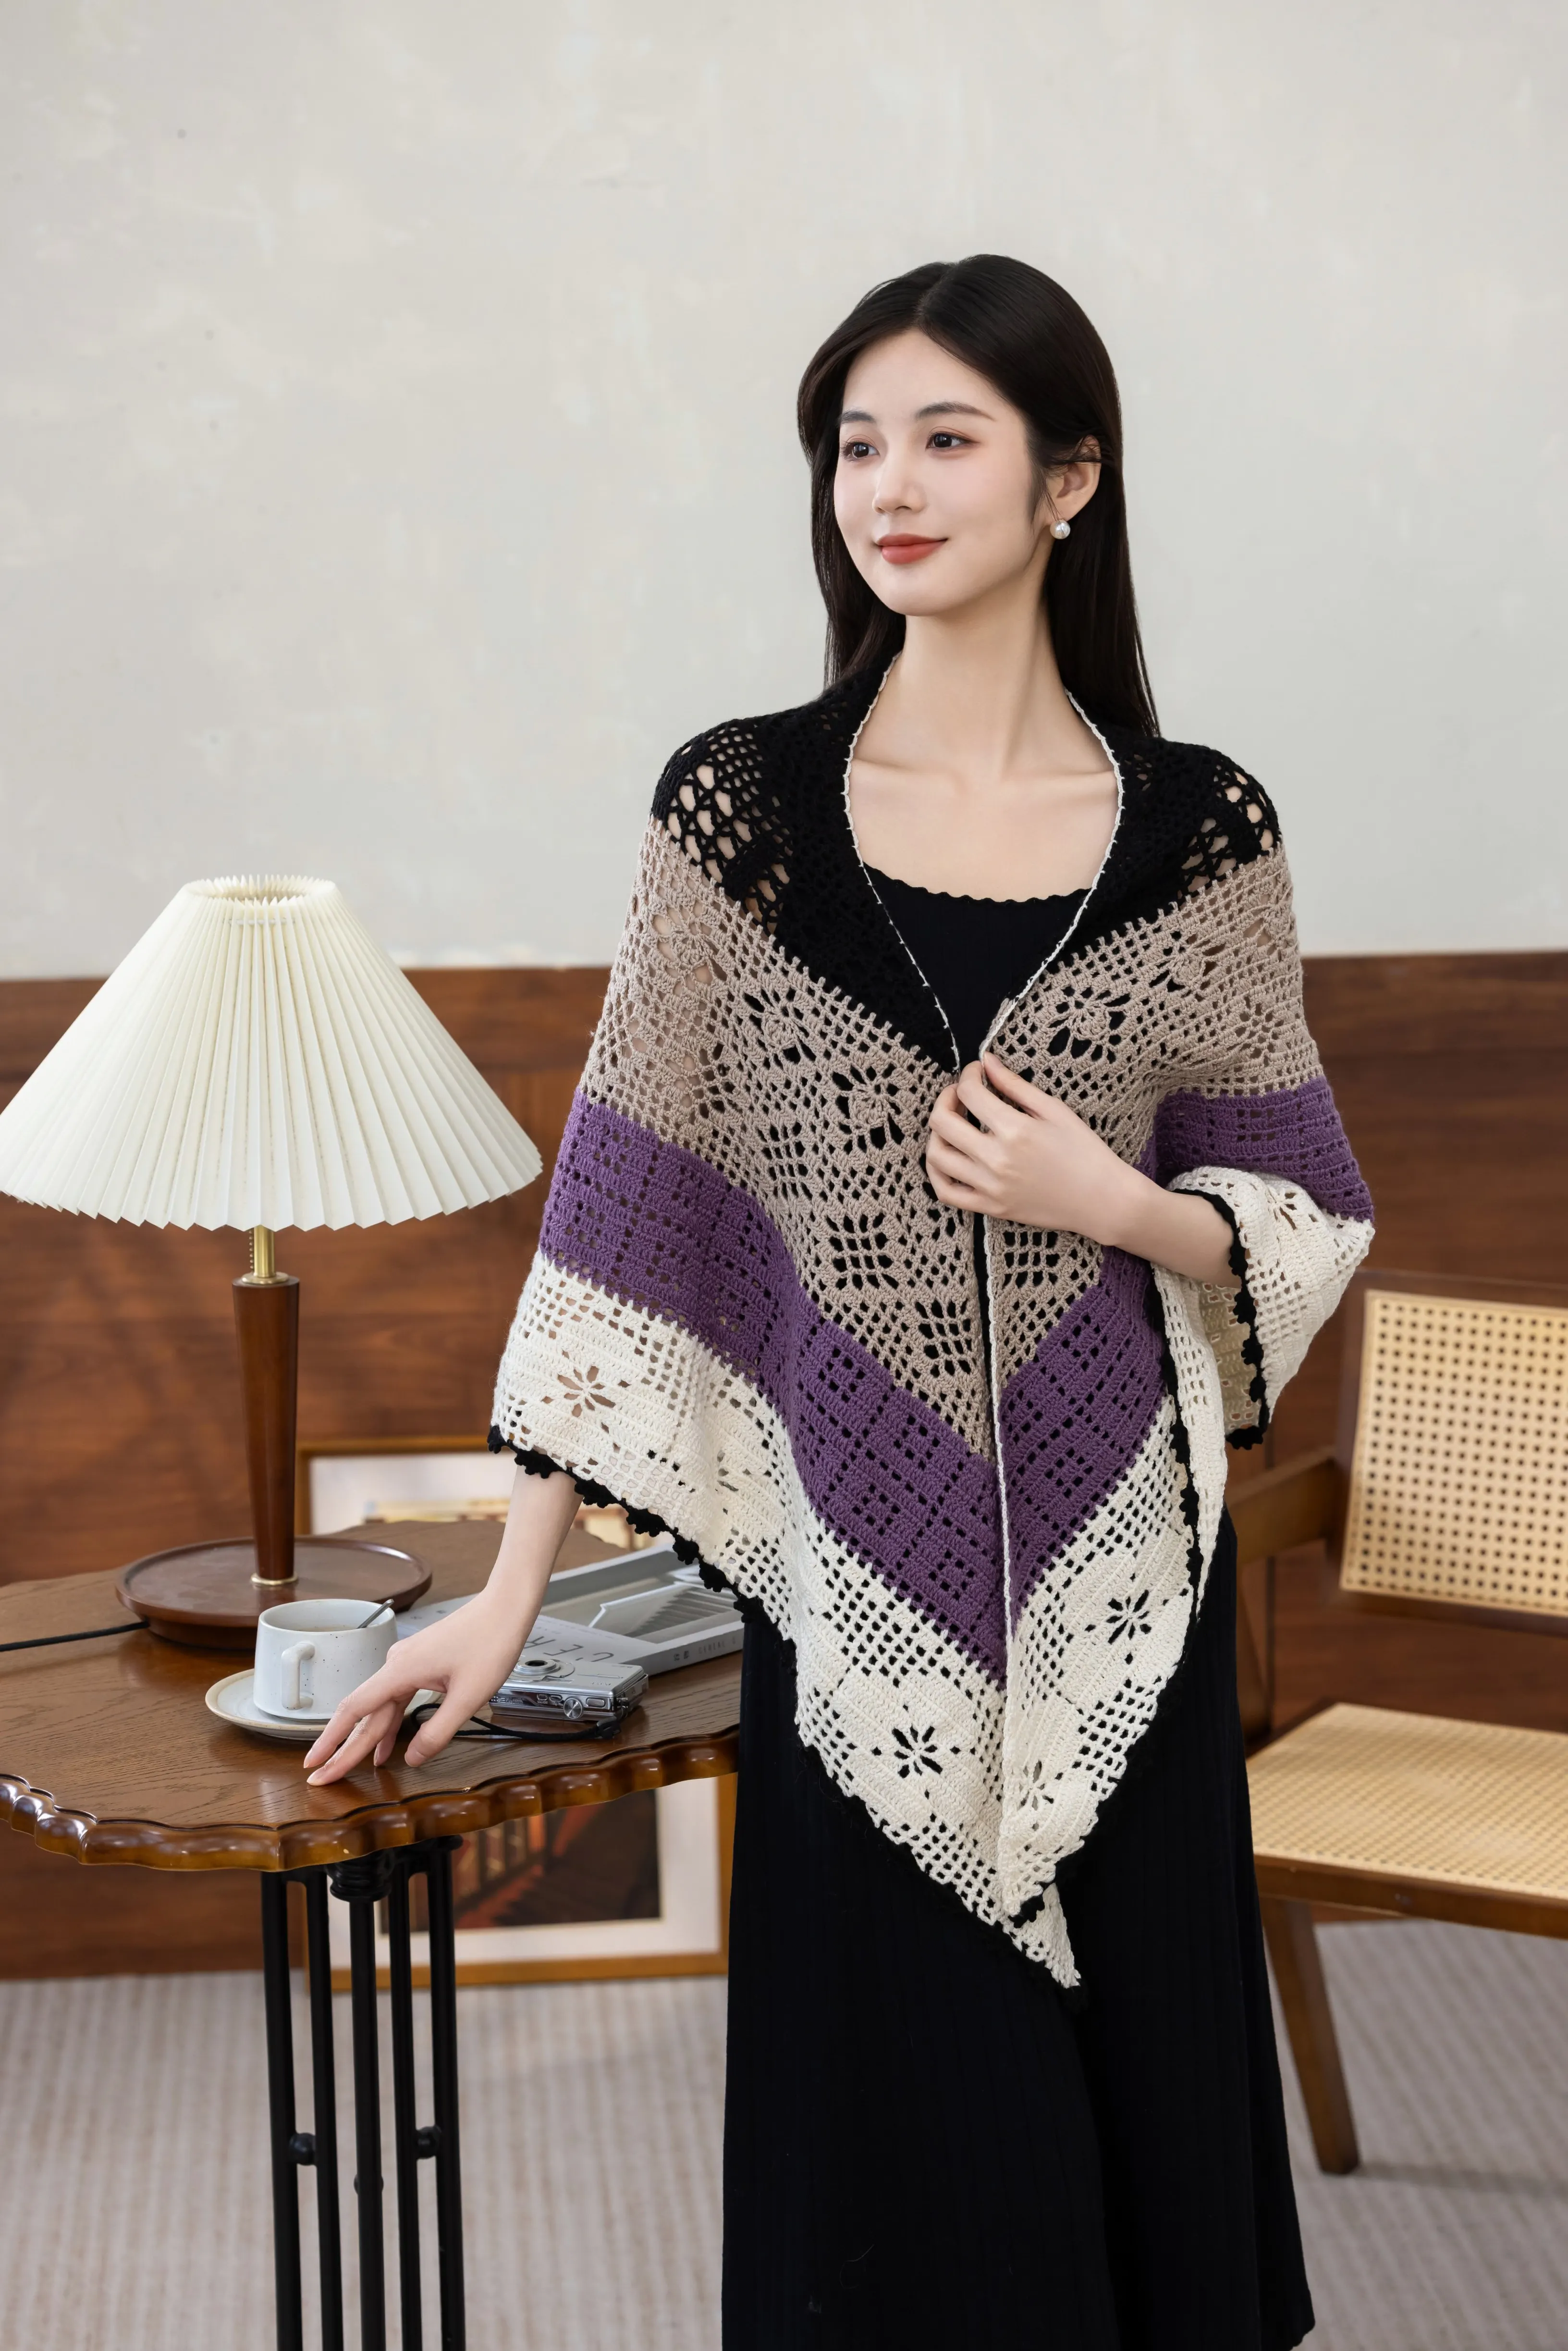
Accessories / Shawl
Clear Scent
Project preview
See the finished project
Pattern format
Instructions
Watch and follow
Video tutorial
| Style | Yarn | Color |
|---|---|---|
| Stream Moon Style | Combed 5# Lace Variegated |  508#Stream Moon x 7 508#Stream Moon x 7 |
| Frost Rain Style | Combed 5# Lace Variegated |  503#Frost Rain x 7 503#Frost Rain x 7 |
| Mint Lime Style | Combed 5# Lace Variegated |  504#Mint Lime x 7 504#Mint Lime x 7 |
| Peach Blossom Style | Combed 5# Lace Variegated |  505#Peach Blossom x 7 505#Peach Blossom x 7 |
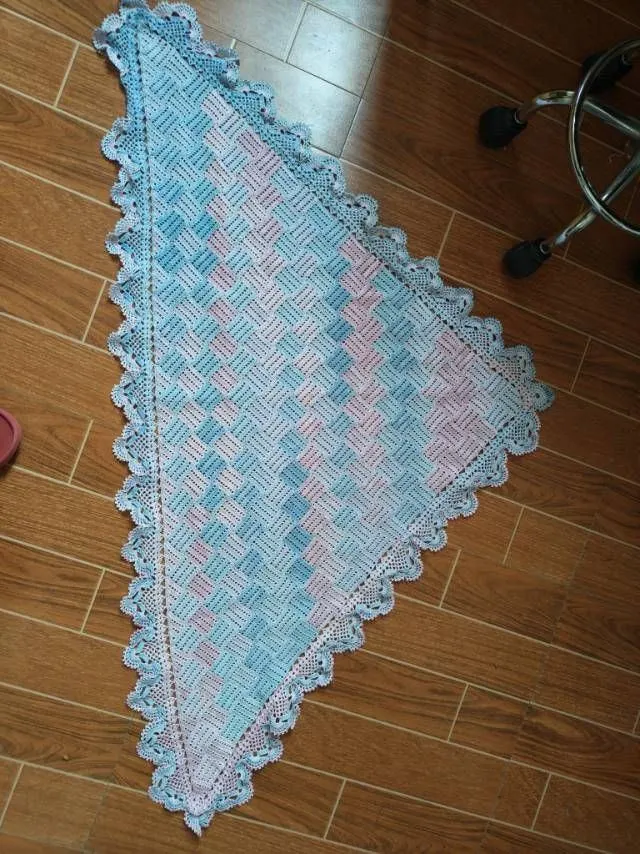
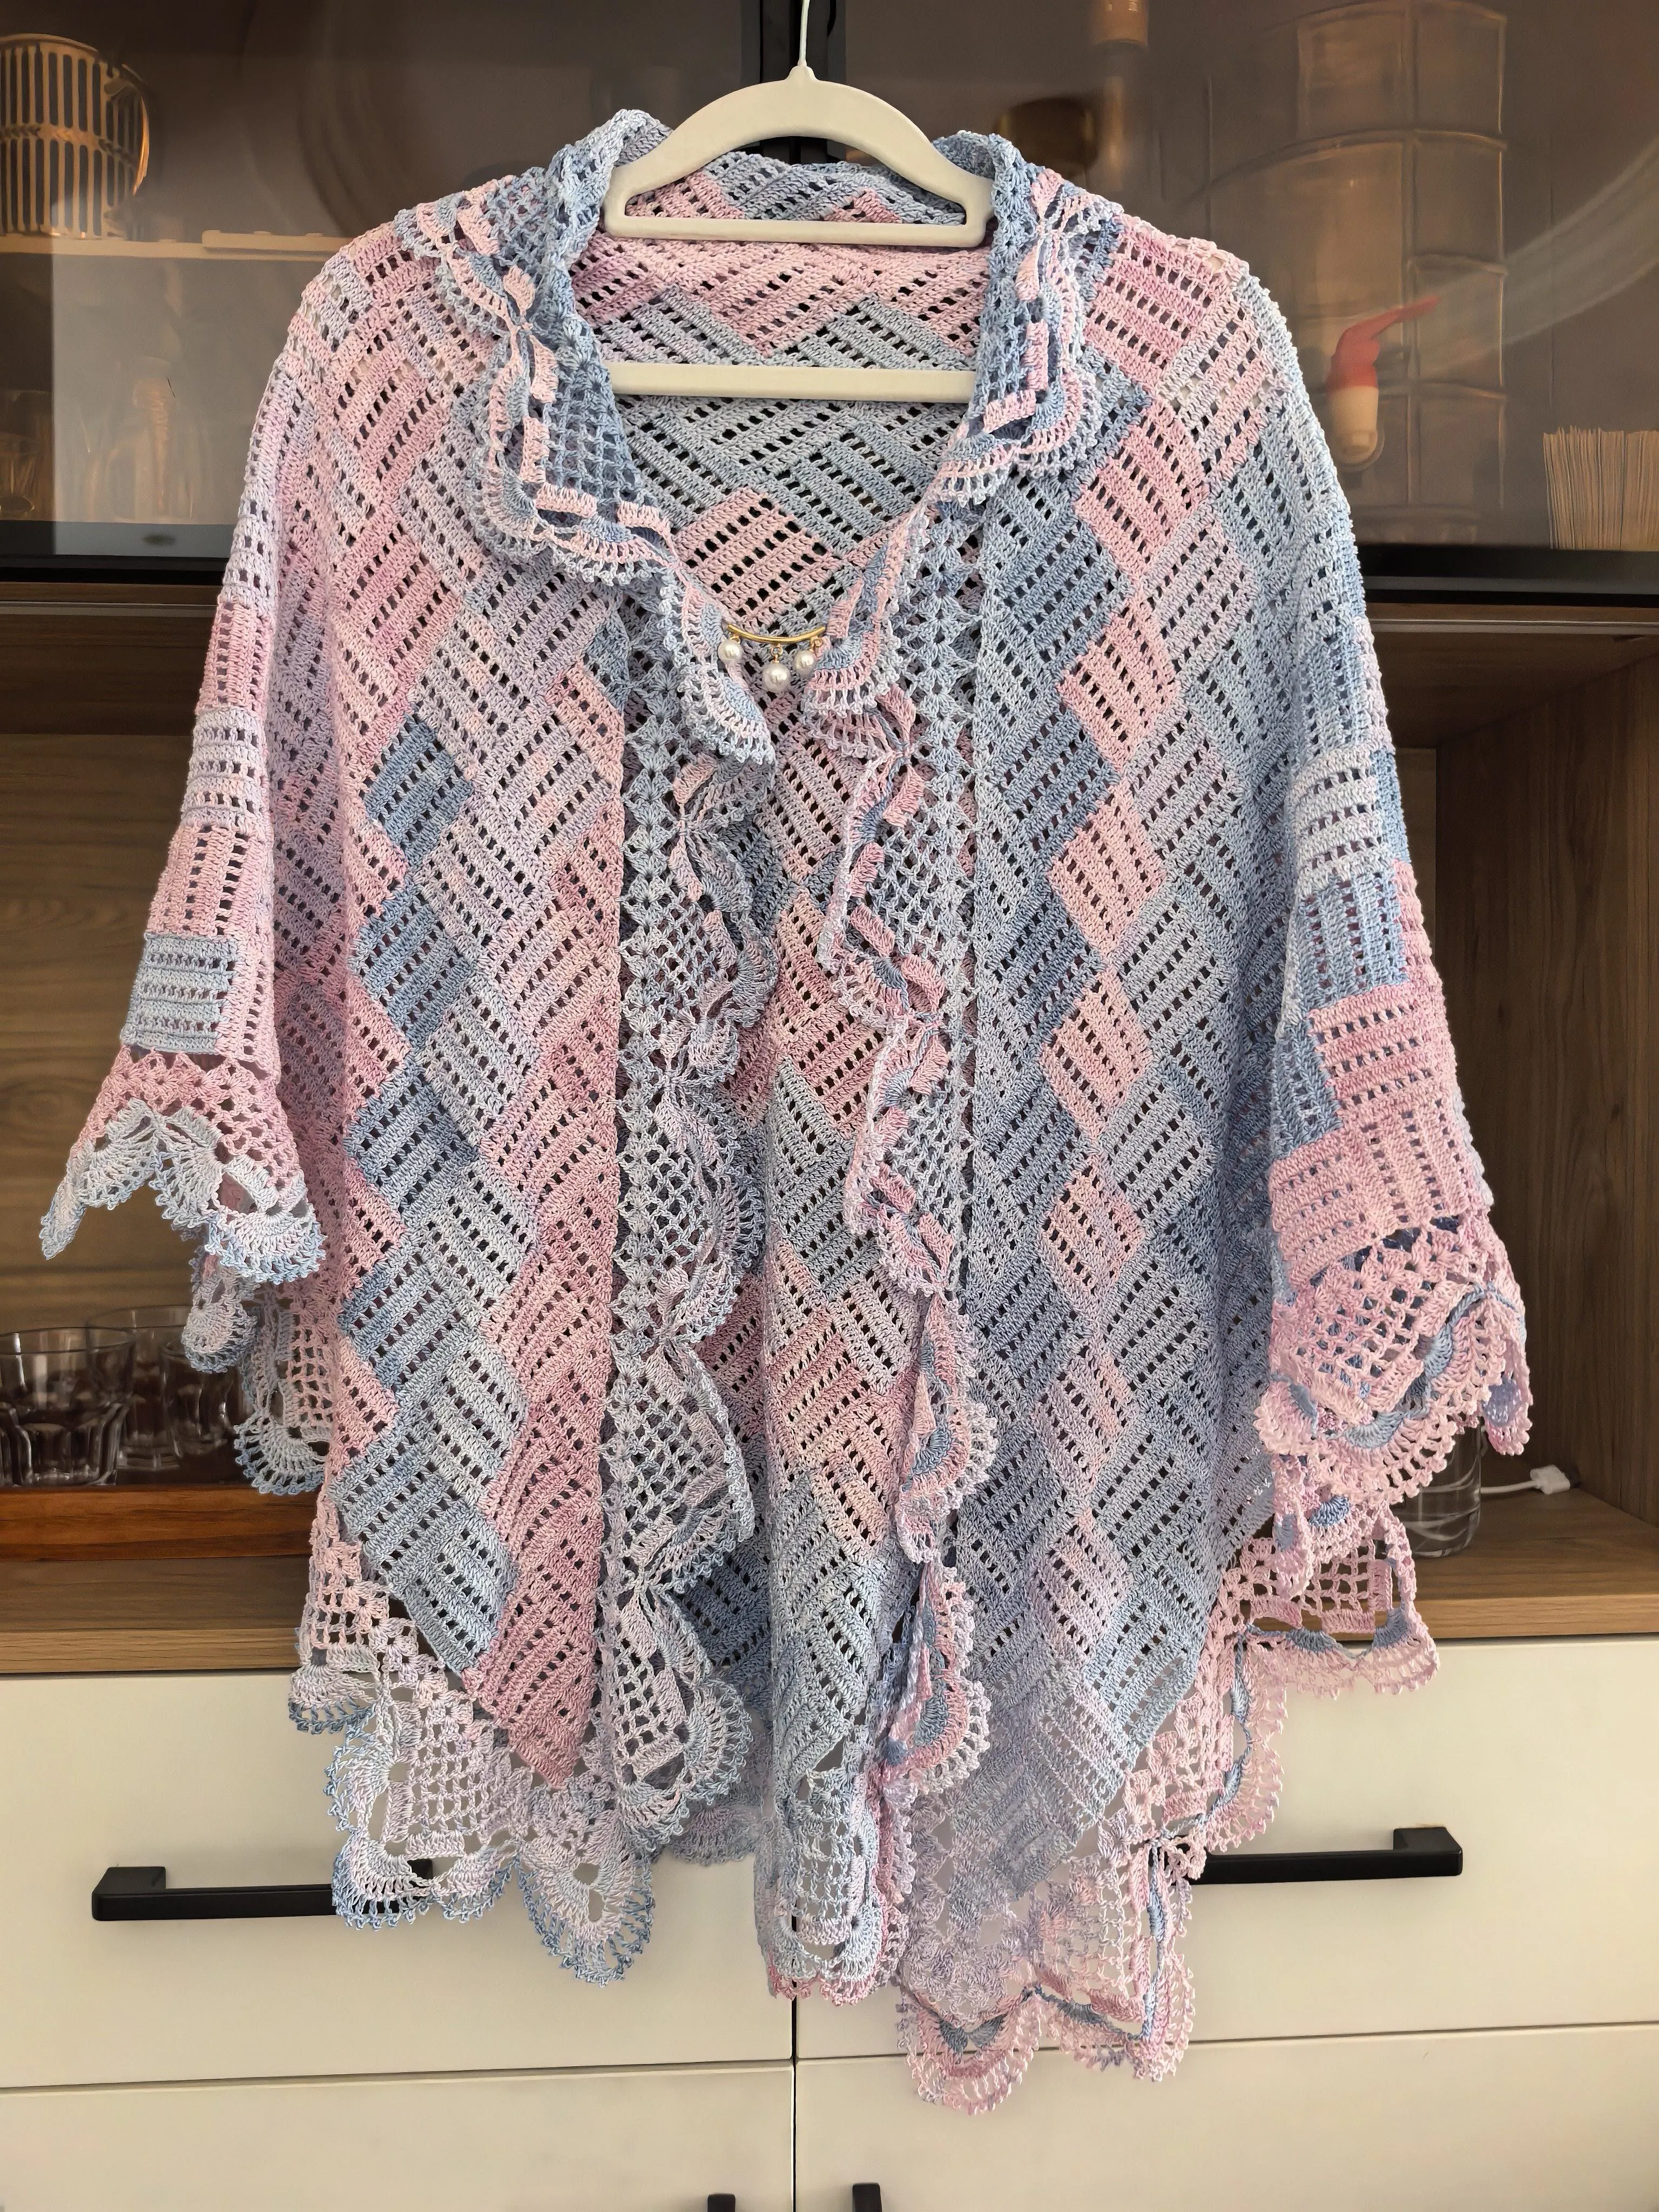
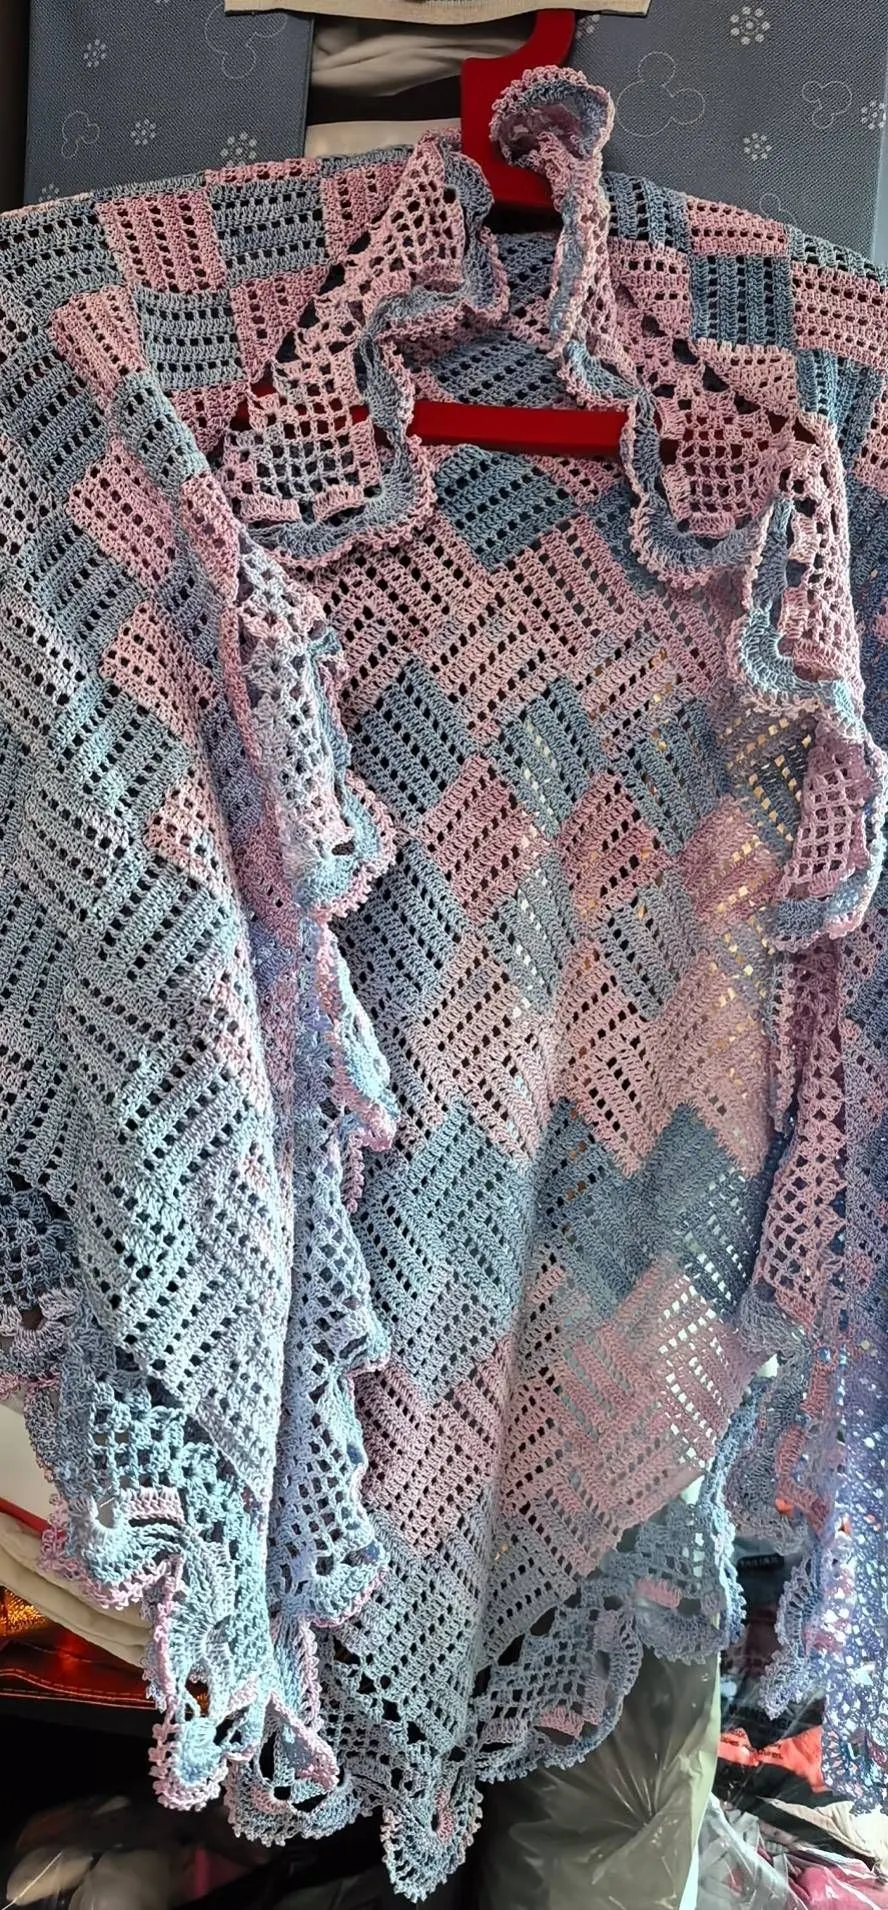
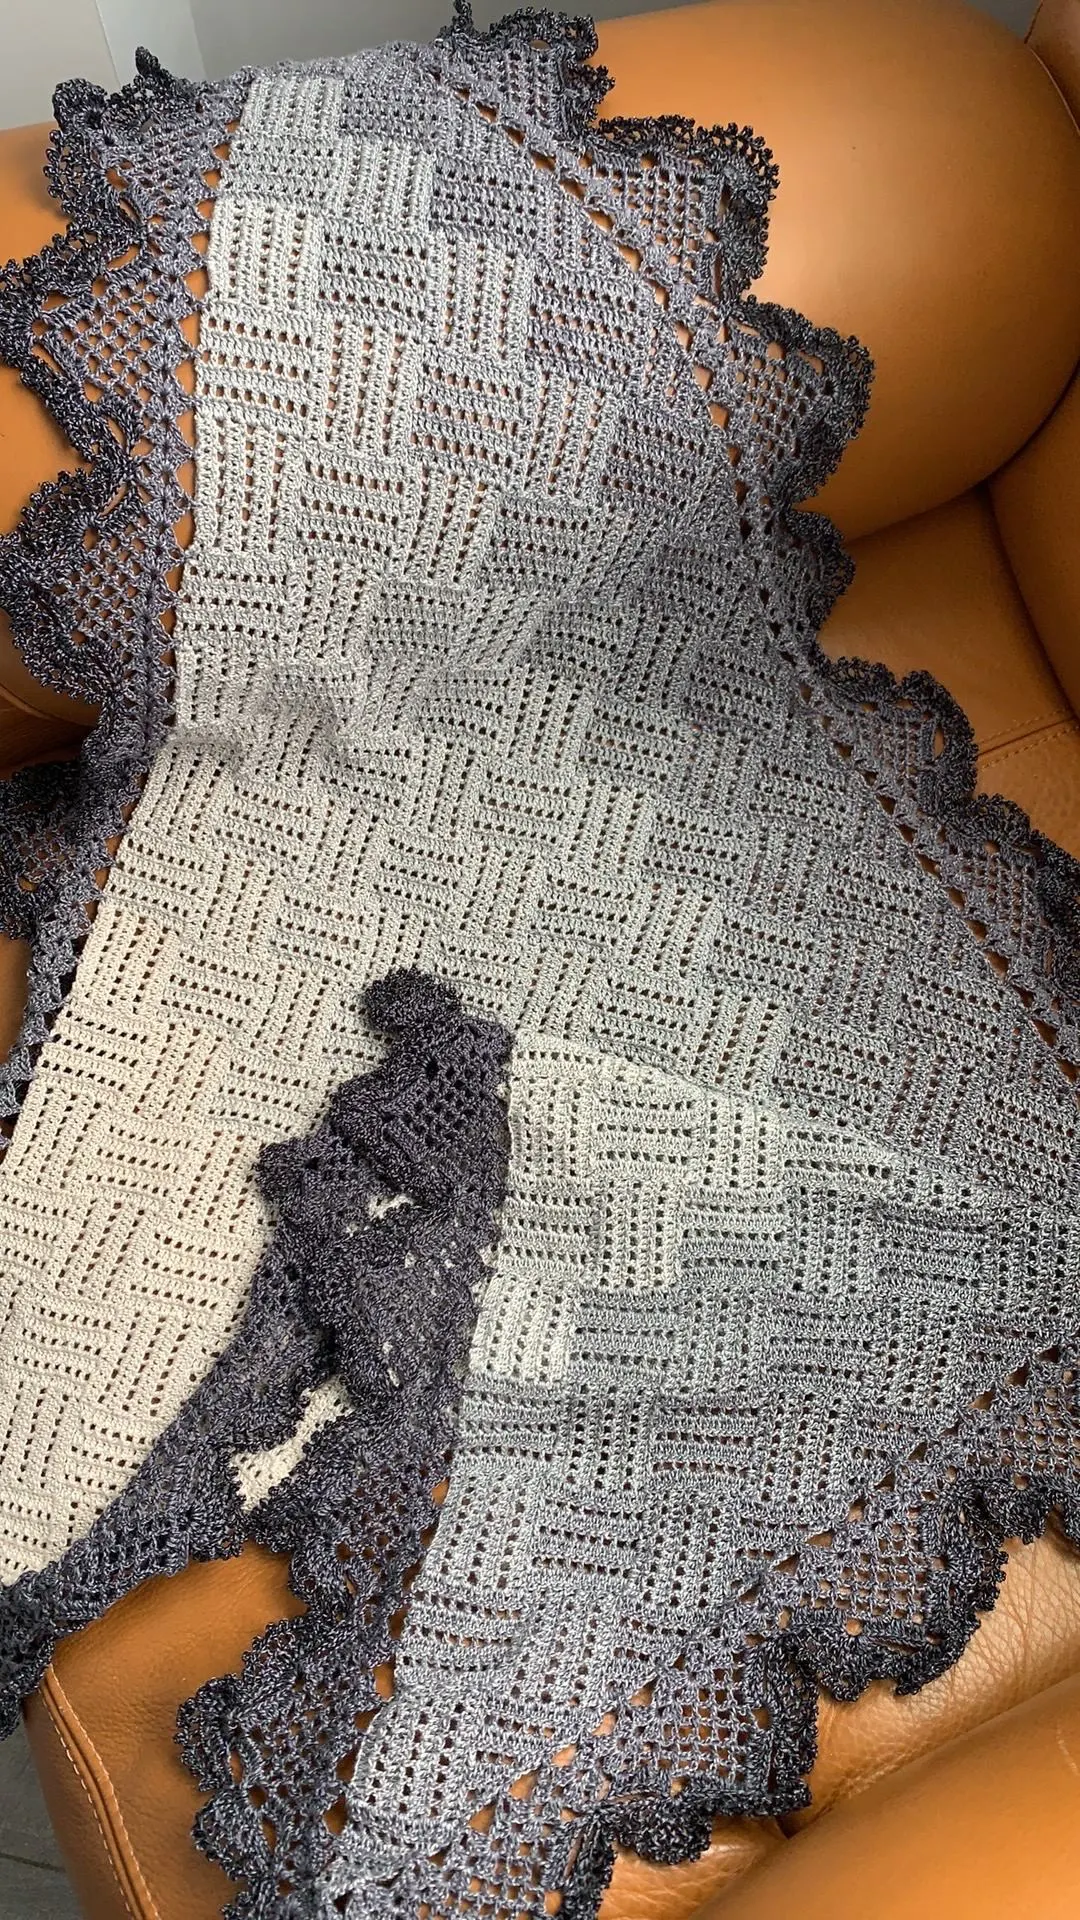
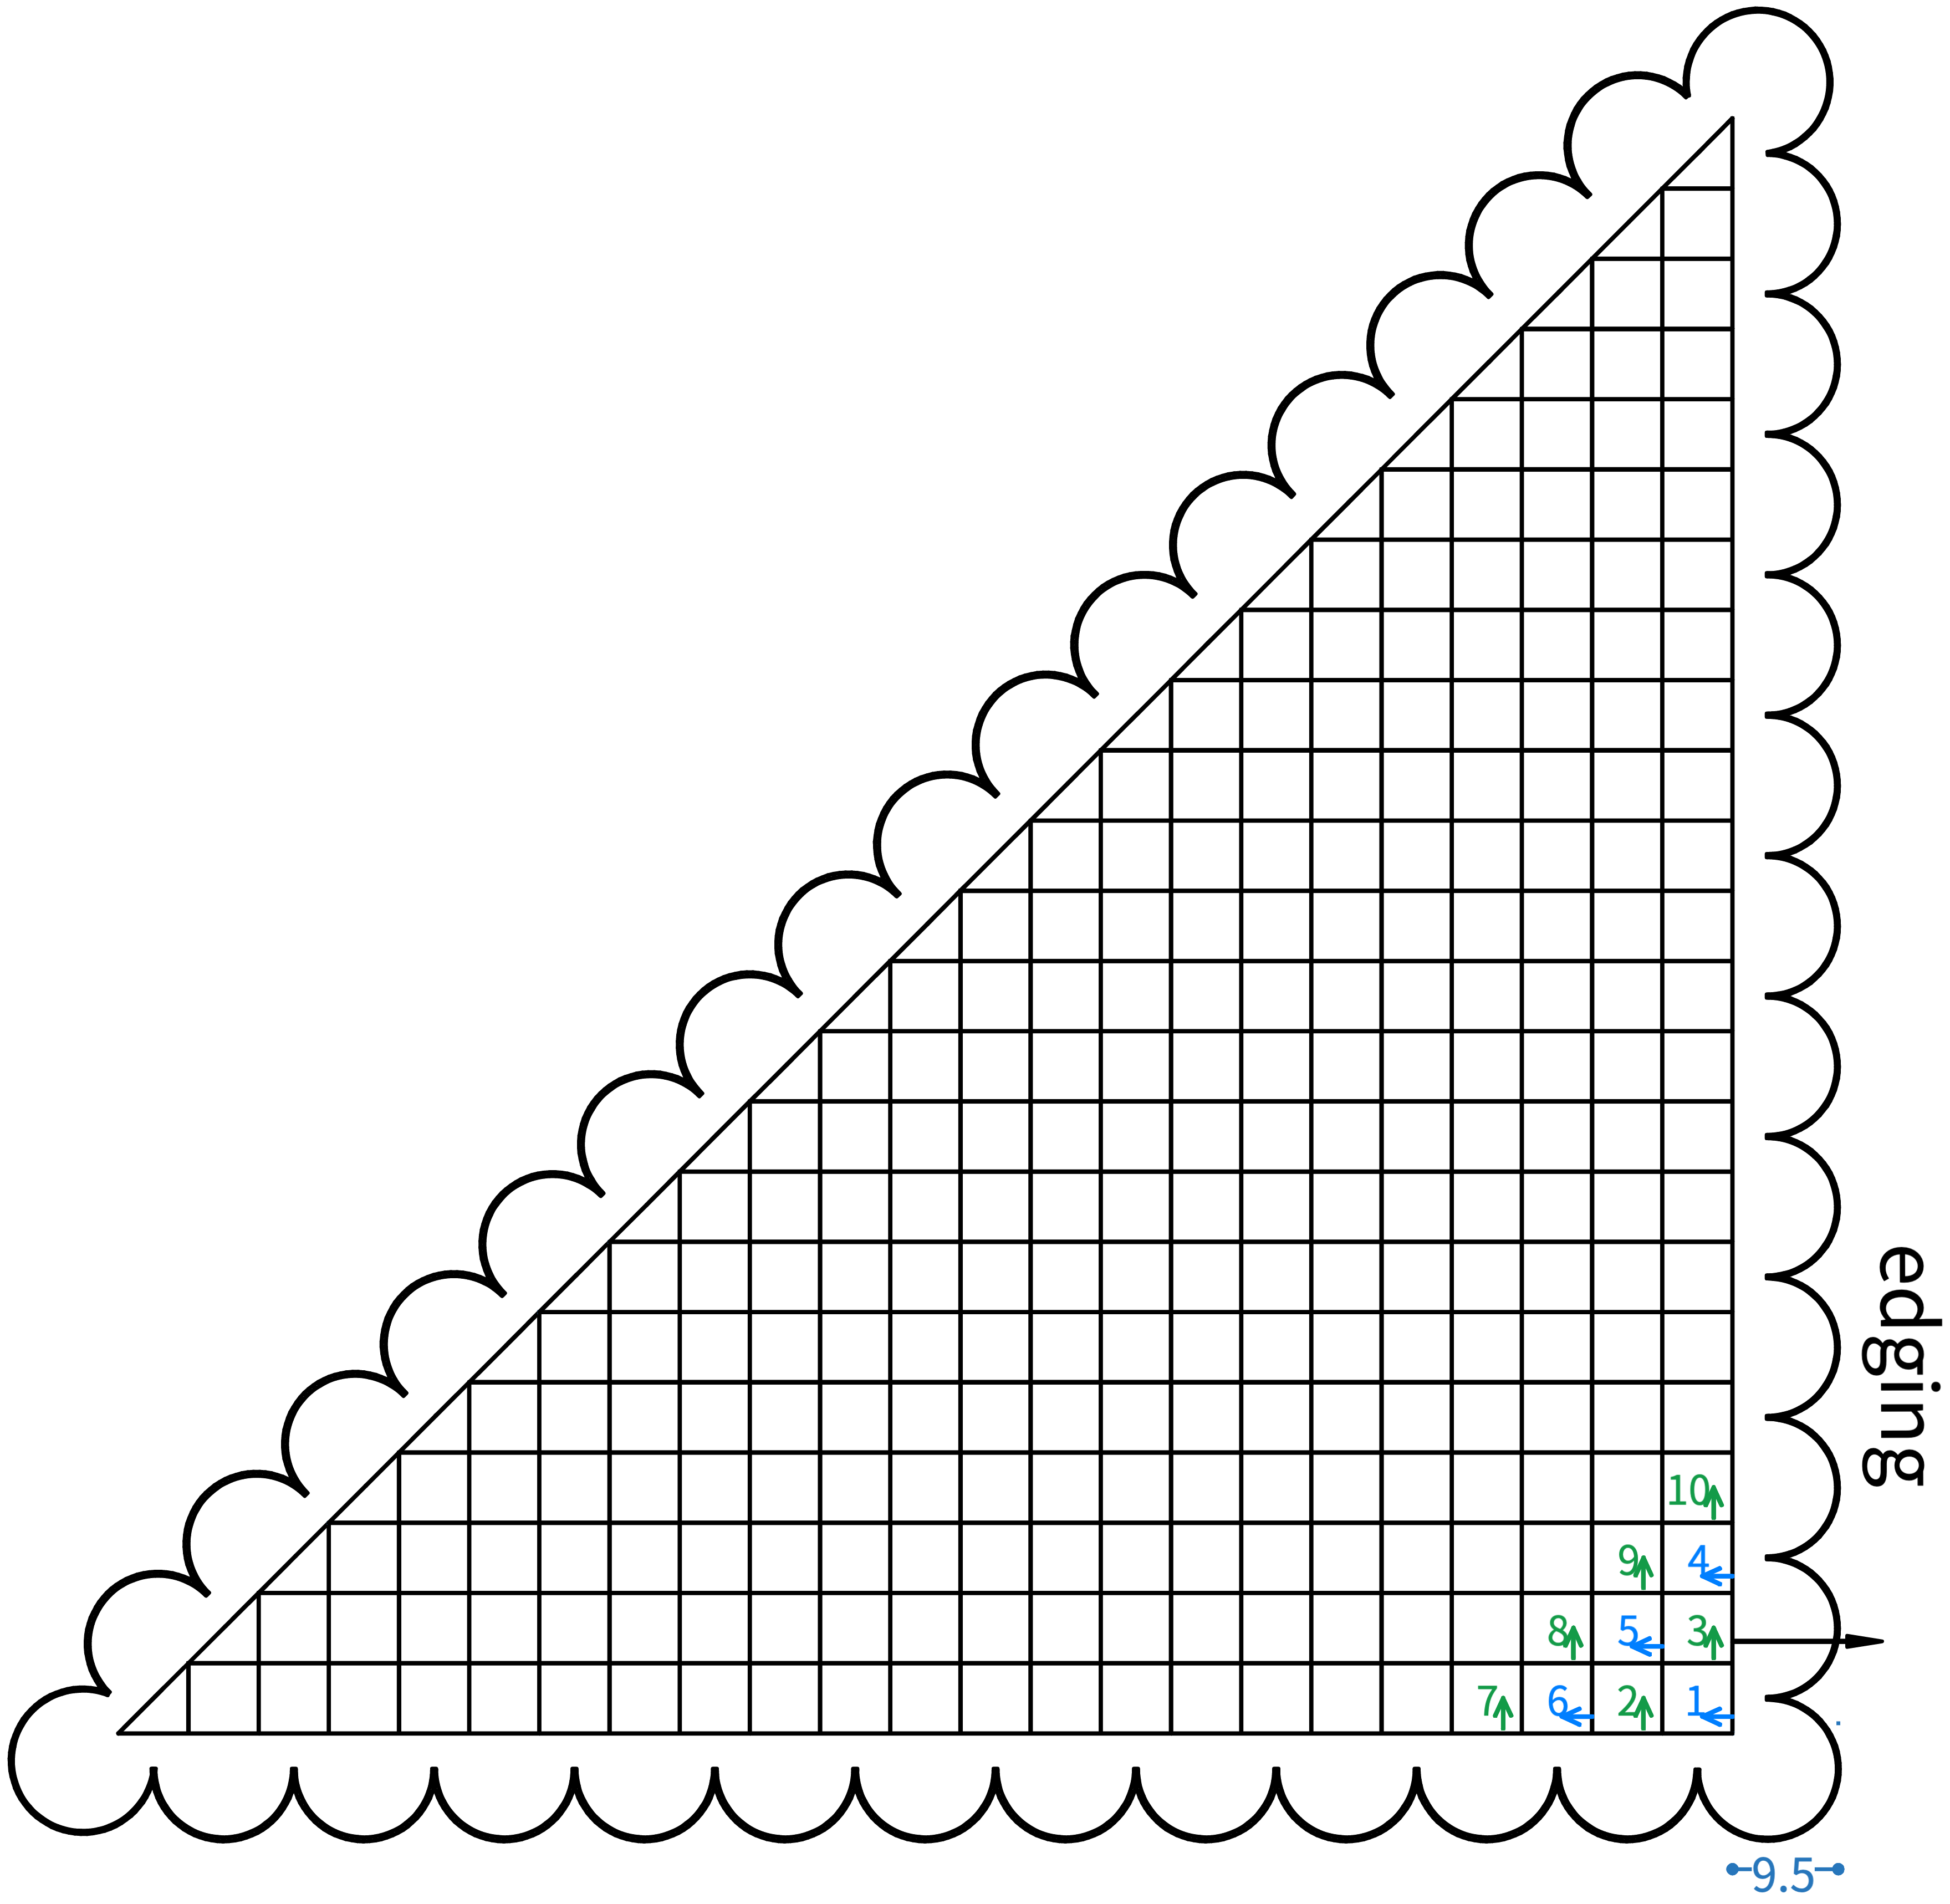
This shawl consists of a central triangular main part and an edging. Start crocheting the main part diagonally from the bottom right corner, working back and forth in rows. Once completed, crochet the border around the edges of the main part.
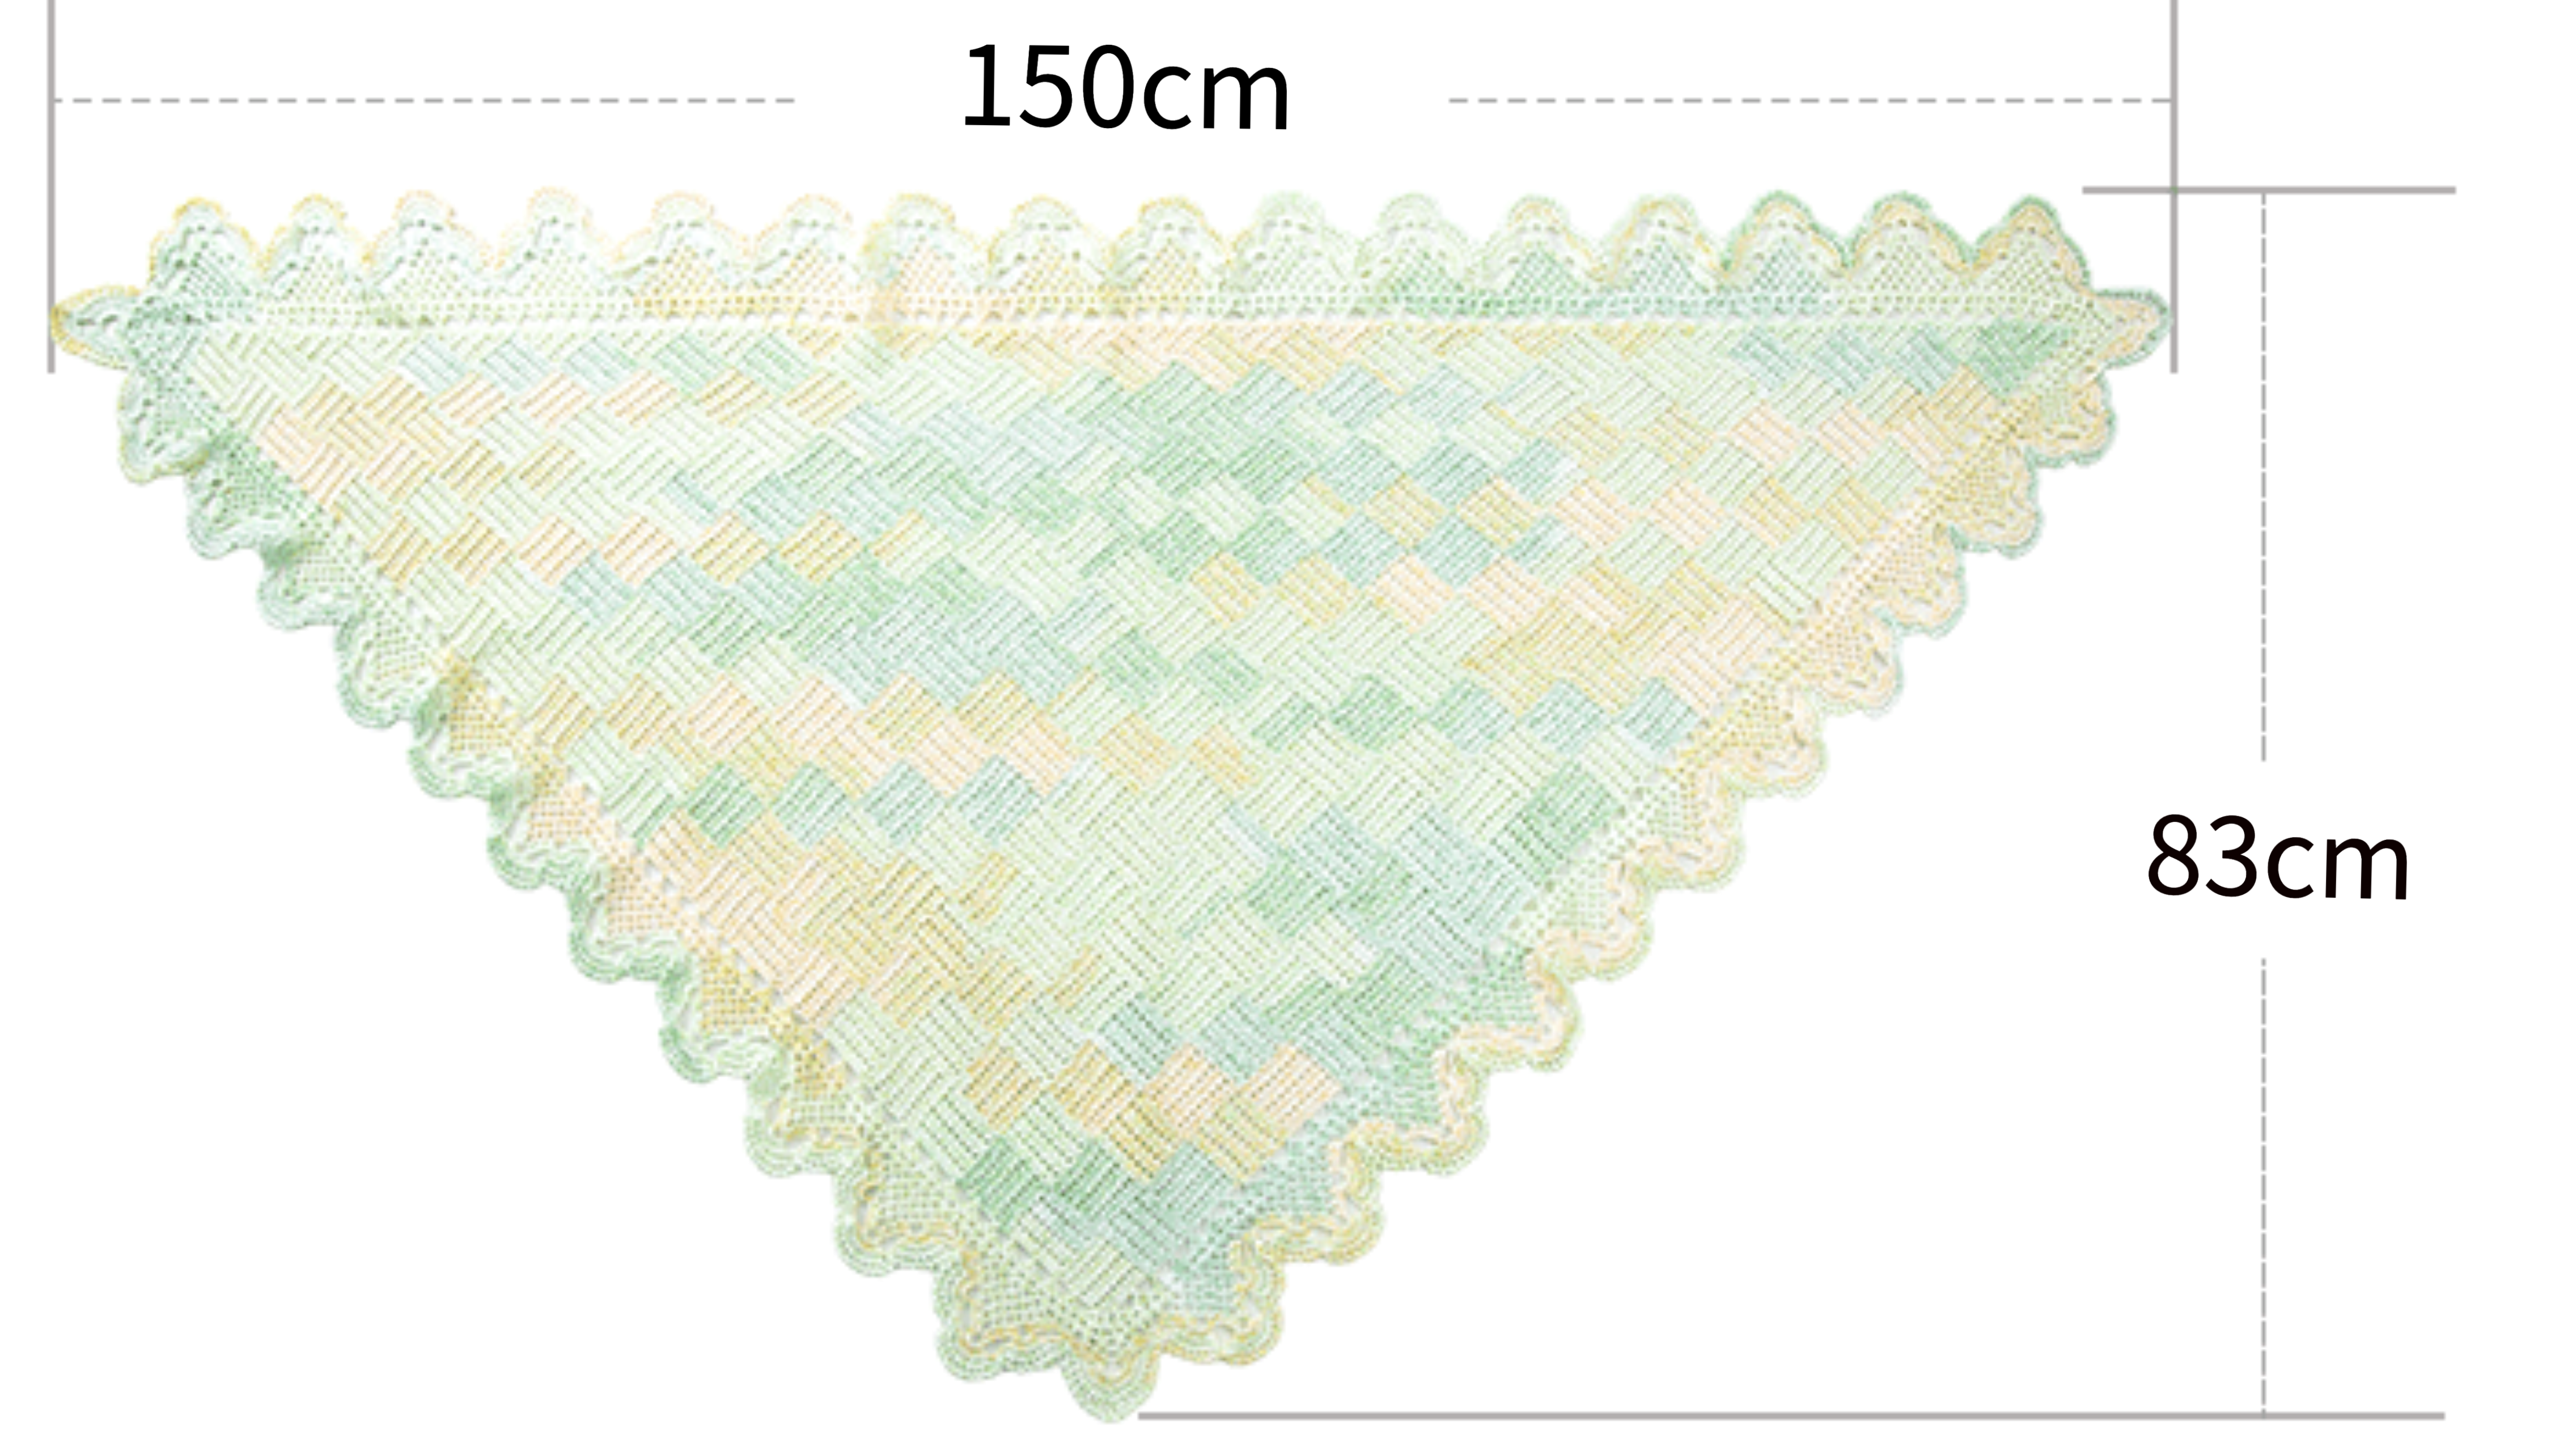
Note: The Handcrafted measurements may have an error of 1 to 2 cm. Due to variations in individual tension, the size of the sample is for reference only.
Yarn: Combed 5# Lace
Tools: 1.75mm regular crochet hook, or 1.8mm crochet hook.

Note: This product is crocheted with self-striping yarn. Since self-striping yarn has multiple color segments, the finished effect will vary depending on the starting position of the colors. You can refer to the finished product or choose your preferred color section to begin crocheting according to your preference.
Motif Arrangement Diagram








Note:
1. This pattern is making in Chinese crochet pattern terms, and the stitch name is written using American terminology. All measurements in charts are in cm.

PART 1 Main PartA 00' 44''
The main part consists of the first section (square piece) and the second section (triangle piece). Start by crocheting the first section—the square piece. Only the first square is worked completely; all subsequent squares are crocheted and joined simultaneously. The first square begins with a chain foundation and is worked back and forth in rows. Once the first section is completed, proceed to crochet the second section—the triangle piece. For details, please refer to the video demonstration.
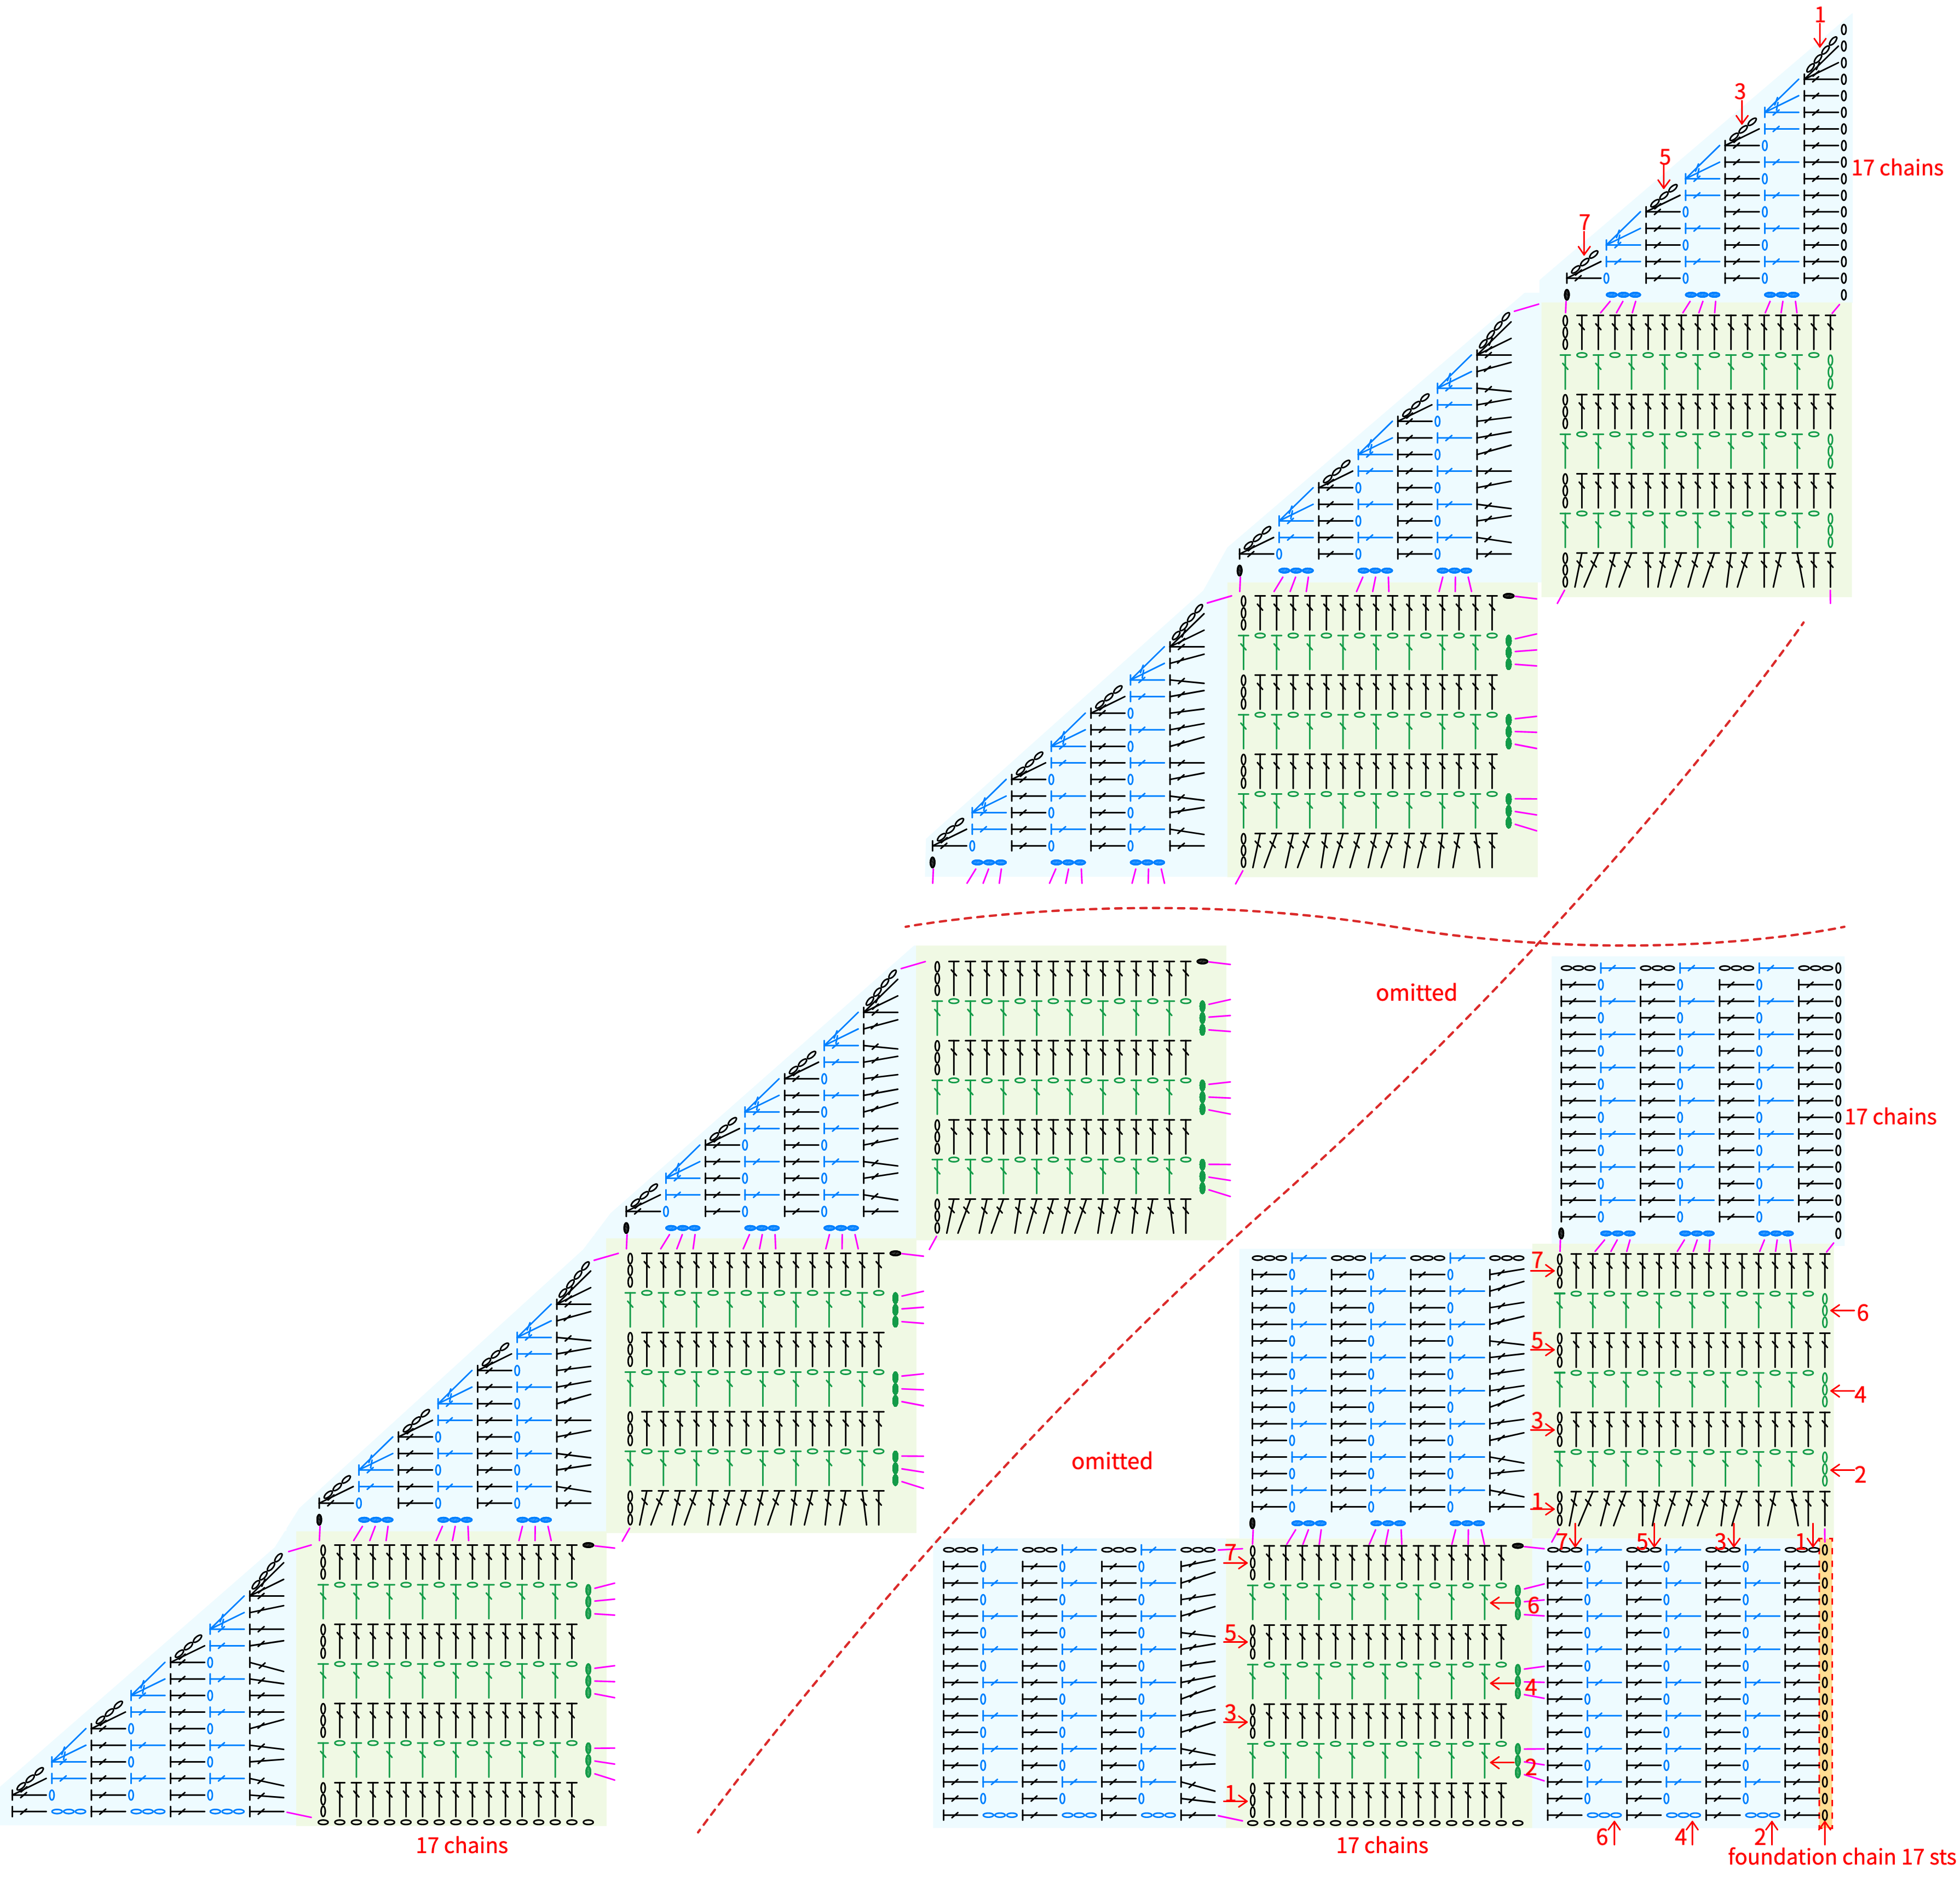
Note: After completing the last row of the first square piece, measure the size. It should be approximately 4cm in both width and height. If the size differs significantly, adjust your tension and re-crochet.
PART 2 EdgingB 19' 23''
The edging is divided into the first section and the second section. First, work back and forth along the main part's edges for the first section, then crochet in rounds counterclockwise for the second section. Please refer to the video demonstration for details.
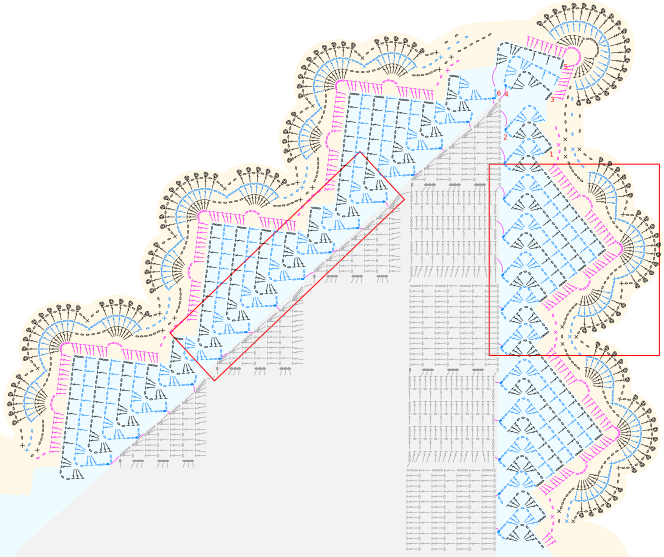
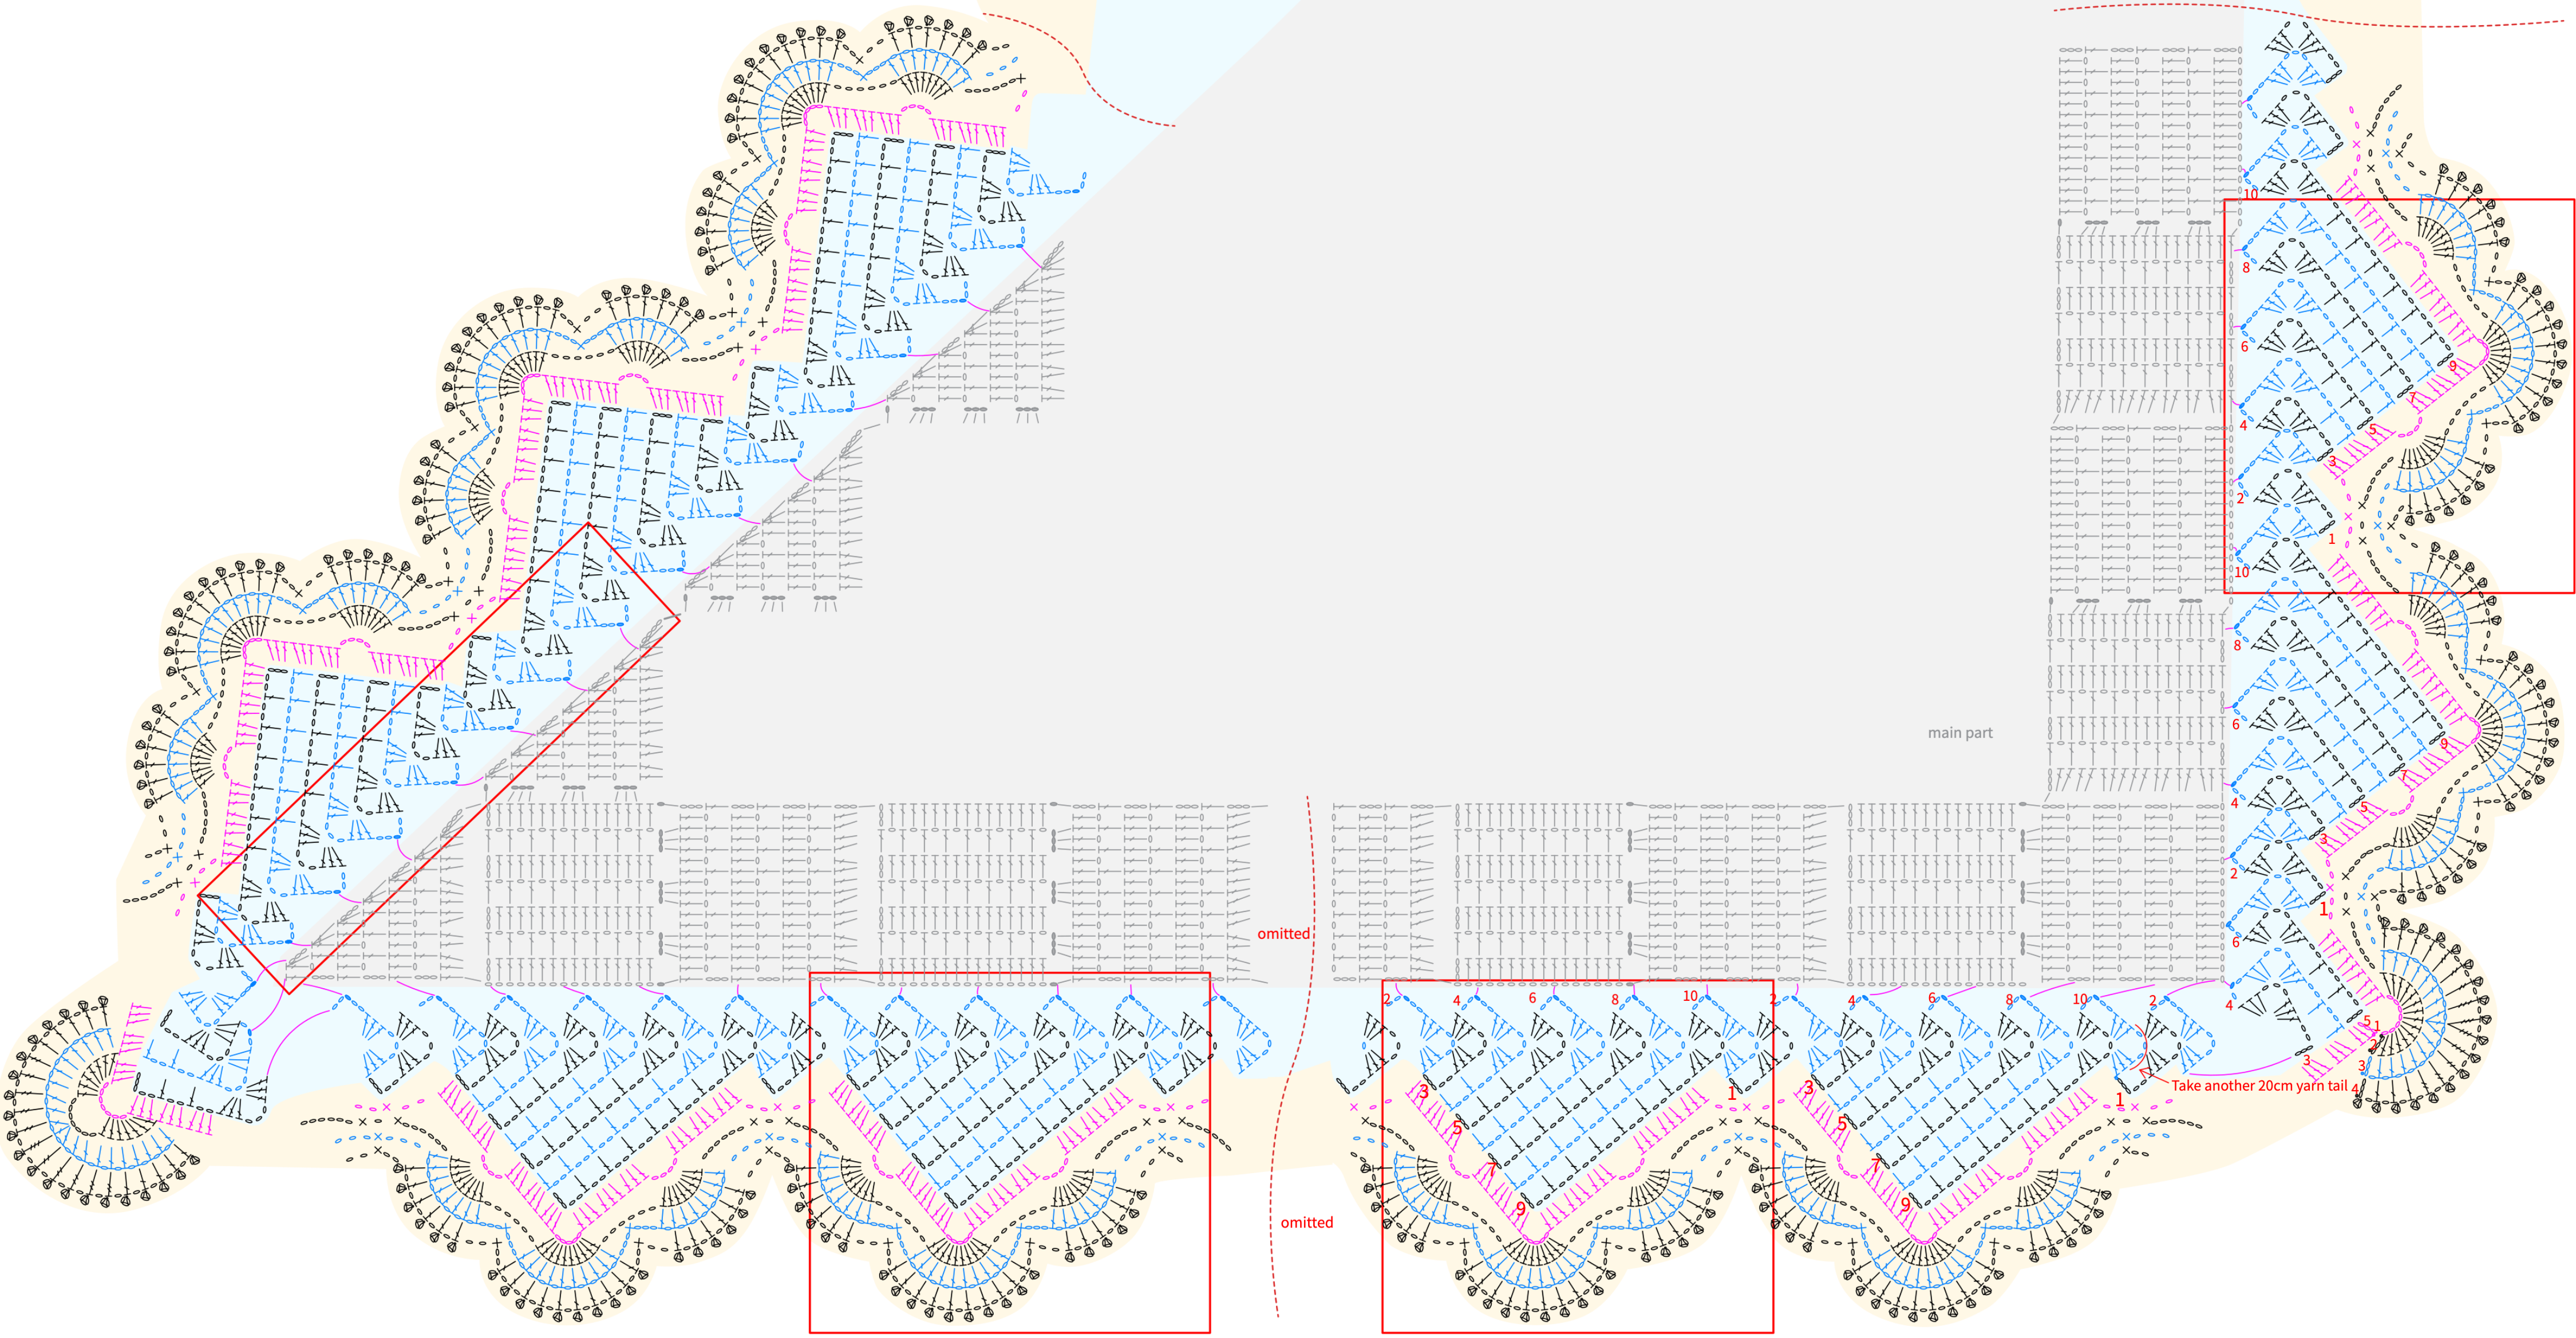
Note: For the first part of the edging, cut a 20cm yarn tail first. Finally, connect it with the stitches on the yarn tail. For details, please refer to the video demonstration.
Join P3-2
Remaining chart continues on P3-3
Made by the community