Clothes
Cold Brew Coffee
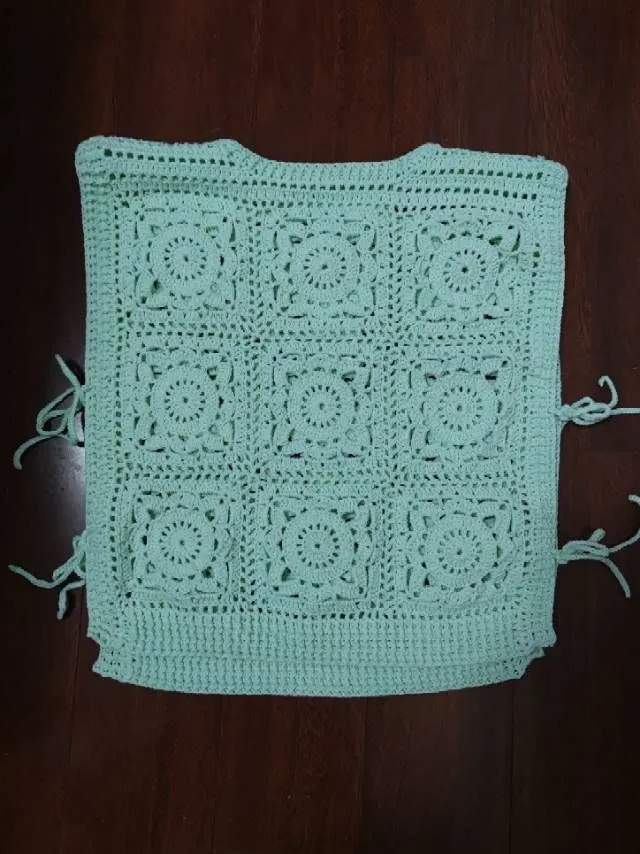
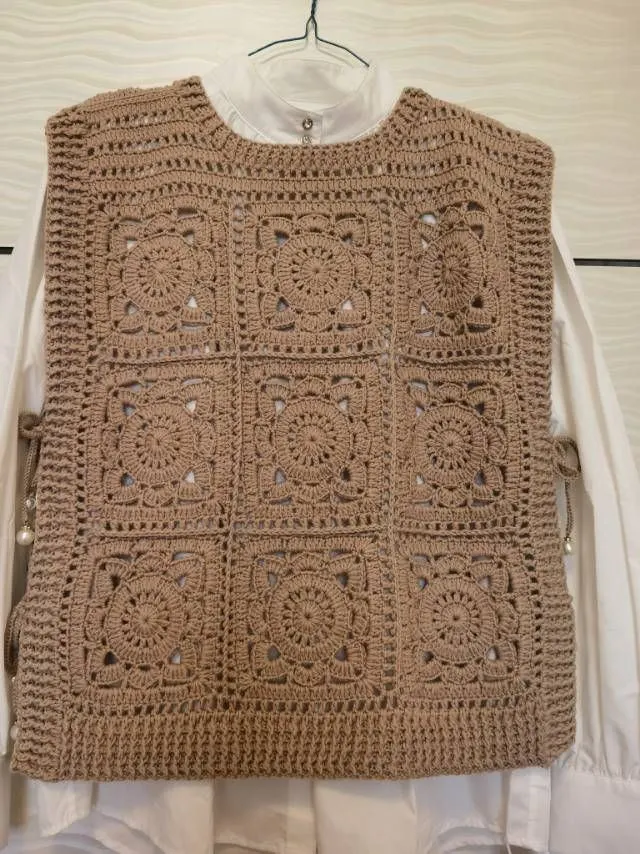
Project preview
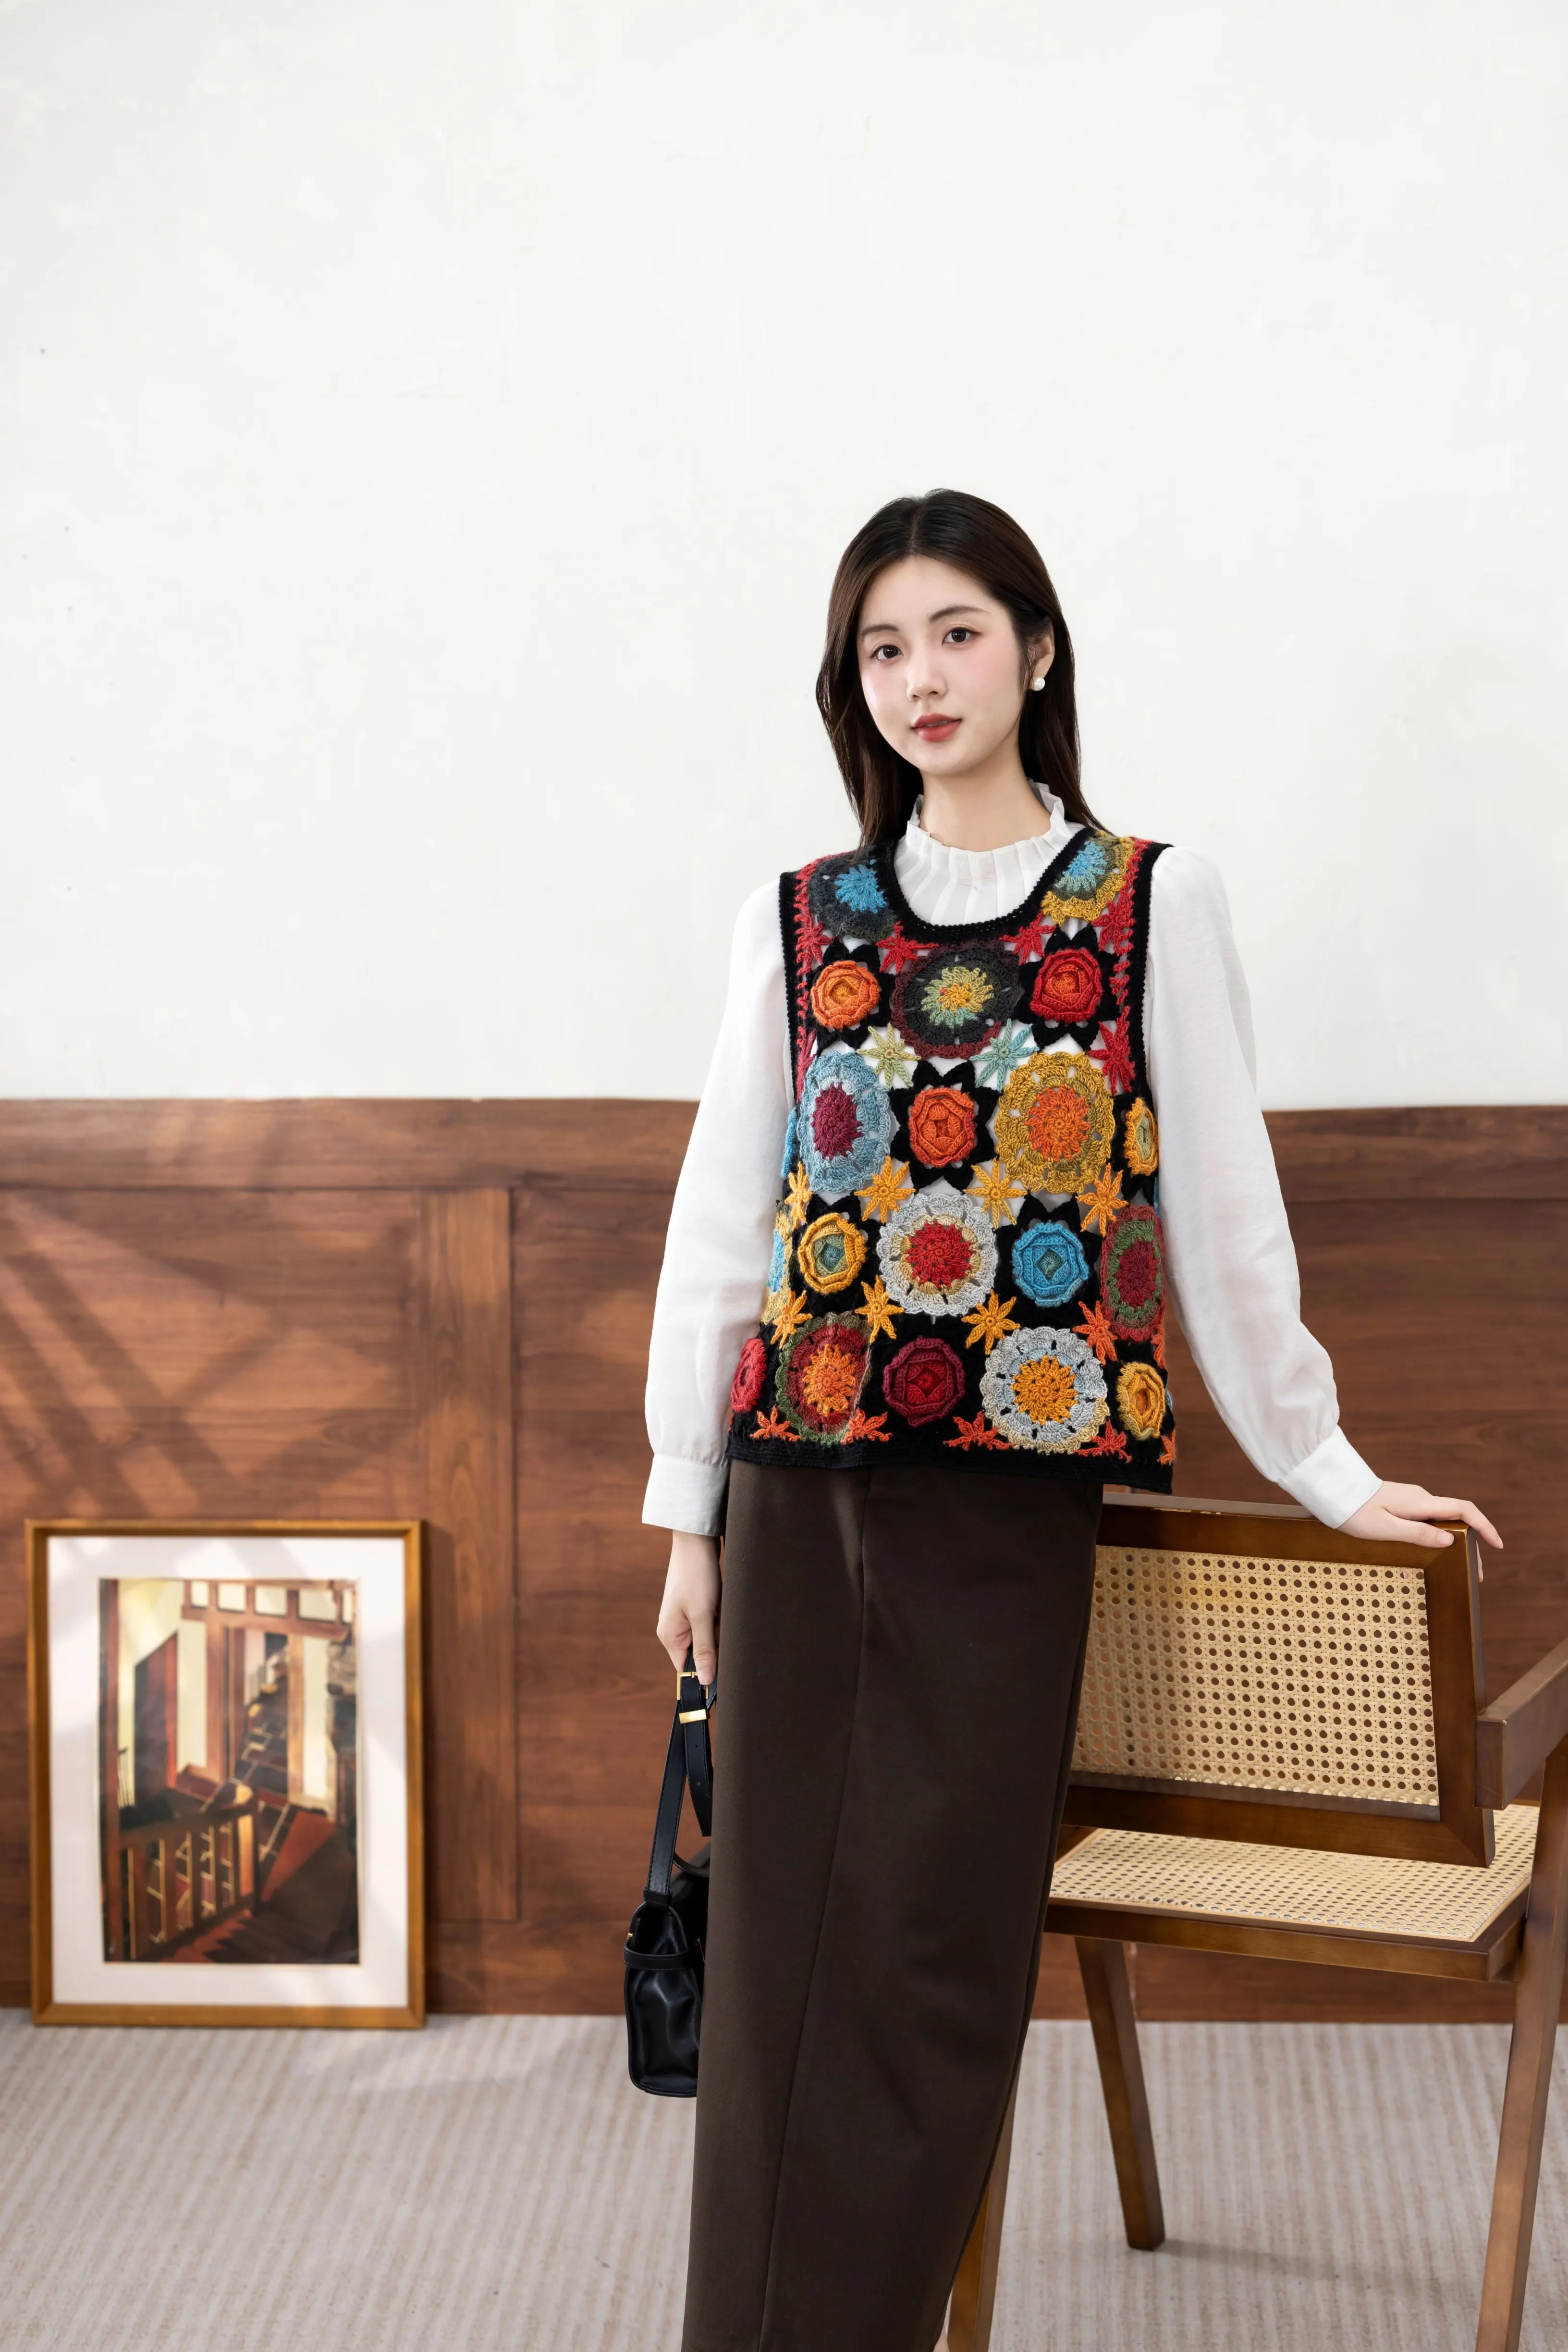
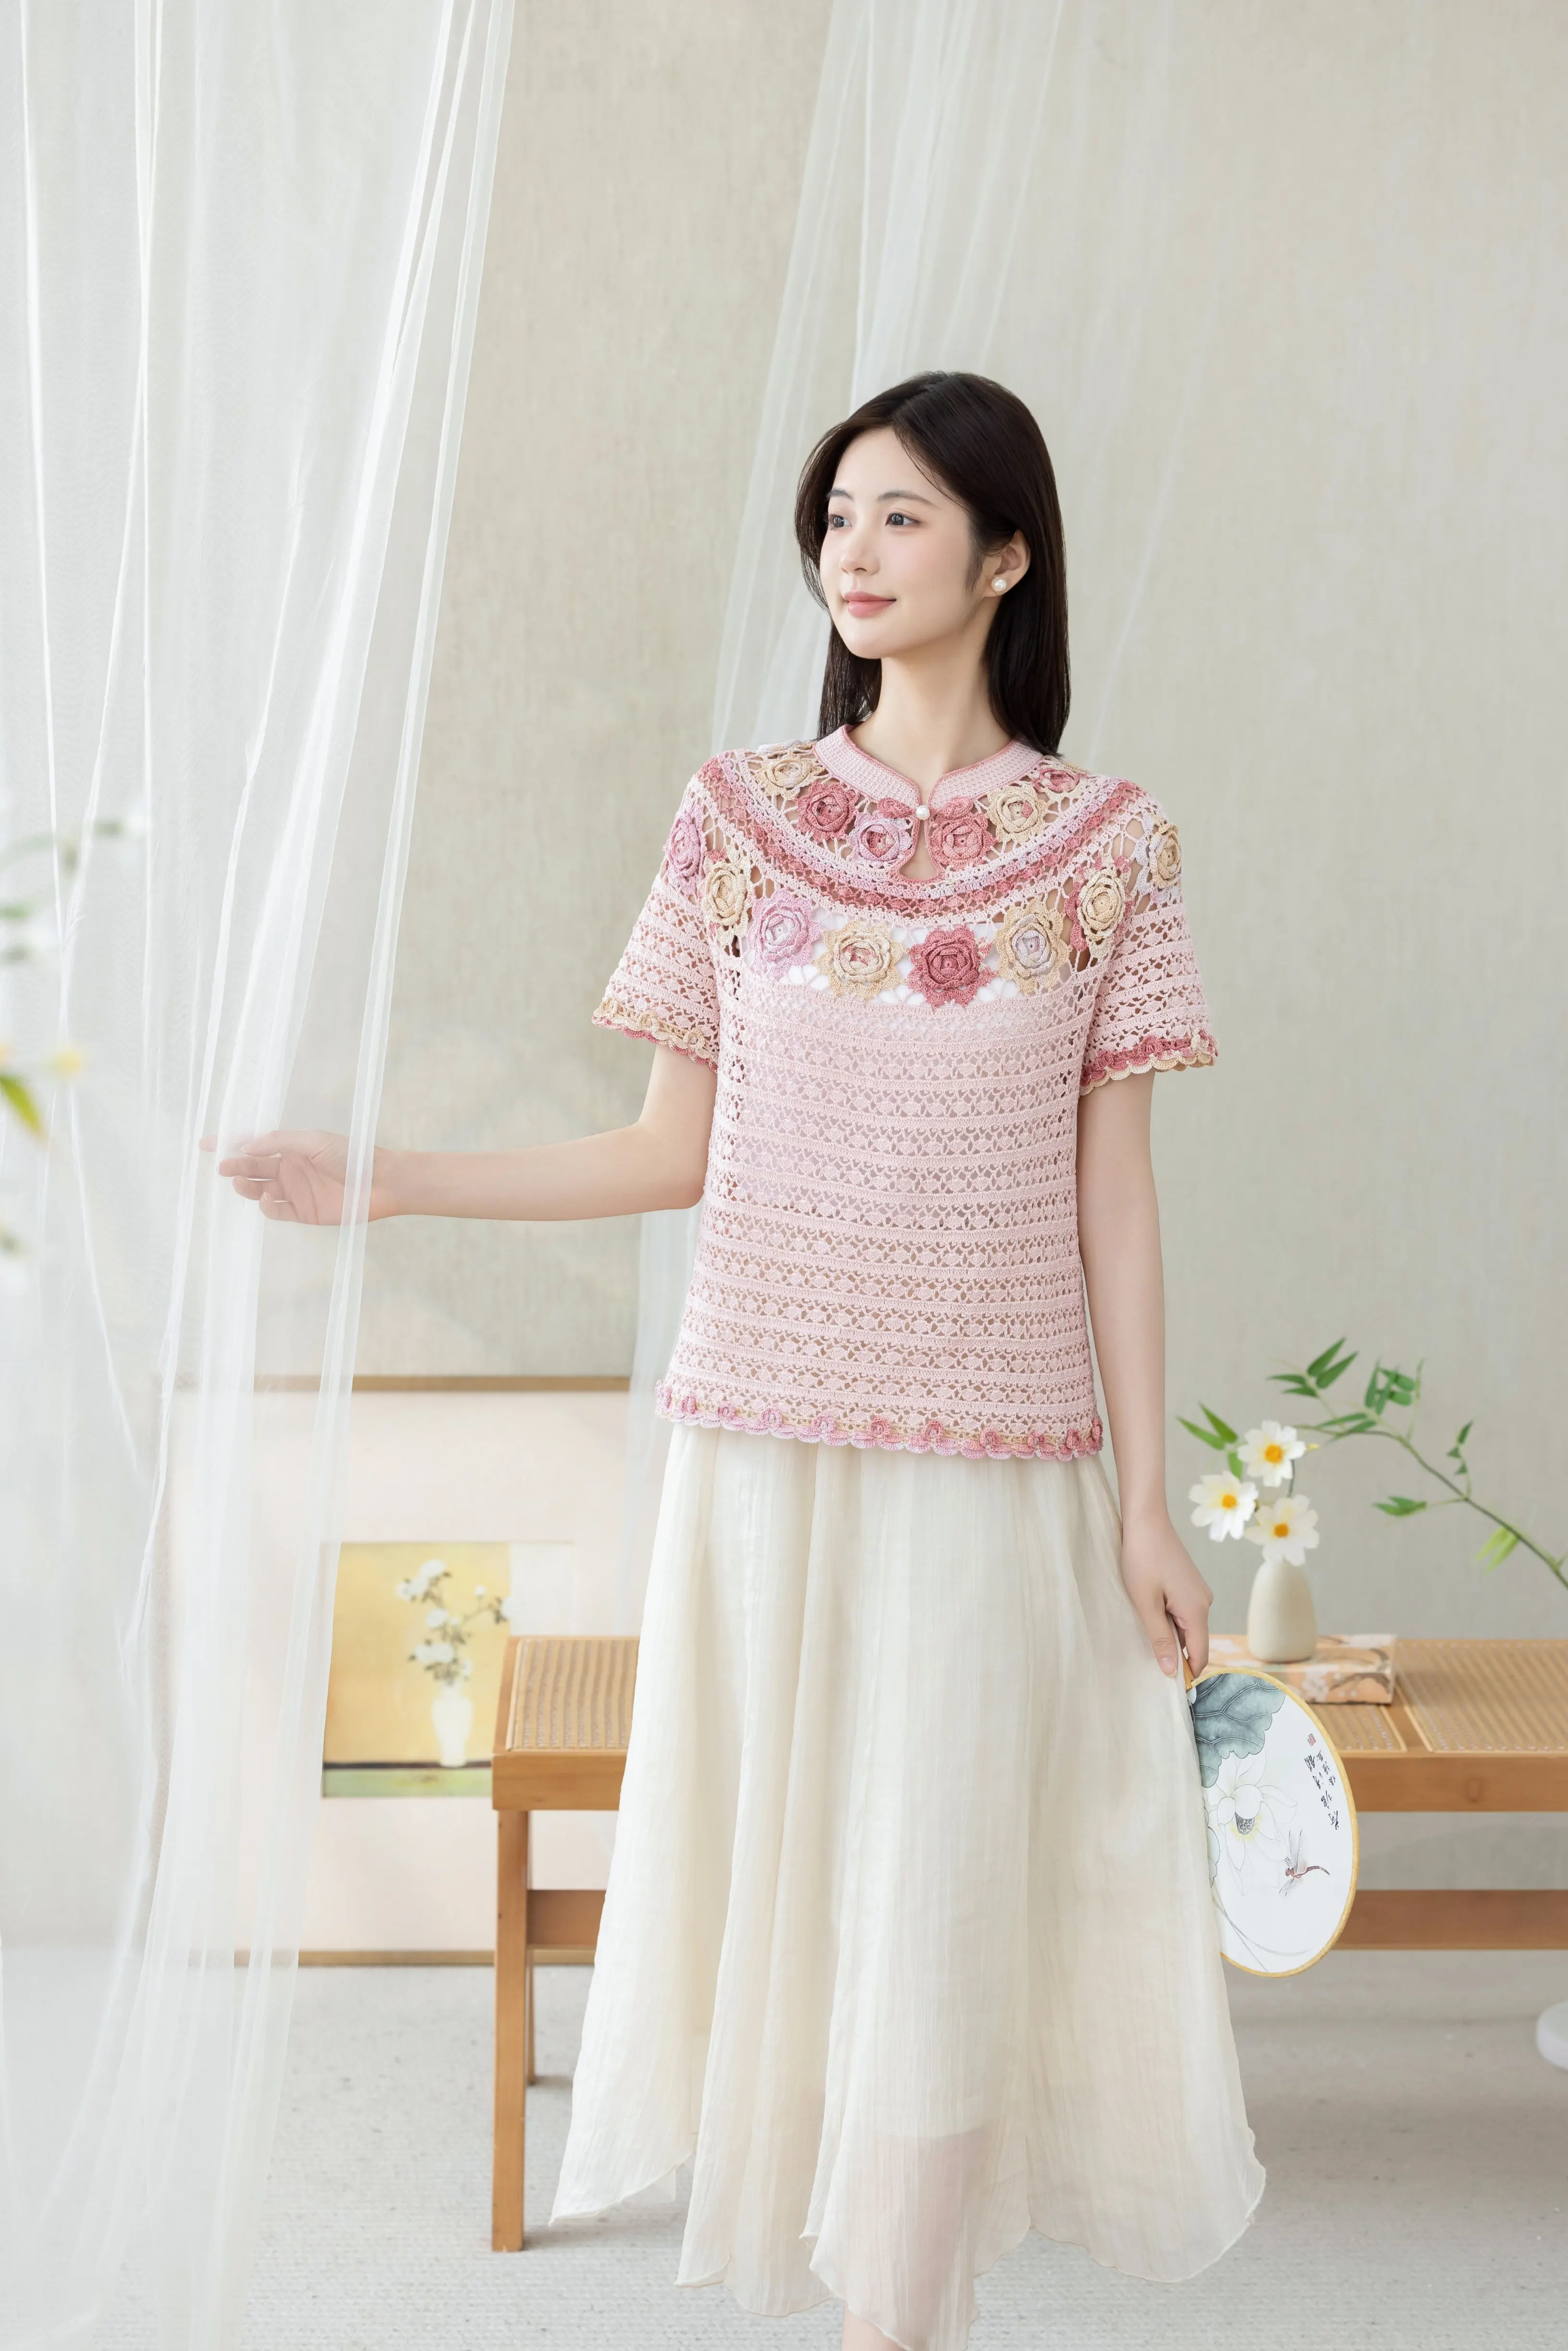
See the finished project
Pattern format
Instructions
| Style | Yarn | Color |
|---|---|---|
| Bombay Brown Style | Morandi 6# |  11#Bombay Brown |
| Ashley Blue Style | Morandi 6# |  19#Ashley Blue |
| Elm Green Style | Morandi 6# |  23#Elm Green |
Bombay Brown Style
11#Bombay BrownAshley Blue Style
19#Ashley BlueElm Green Style
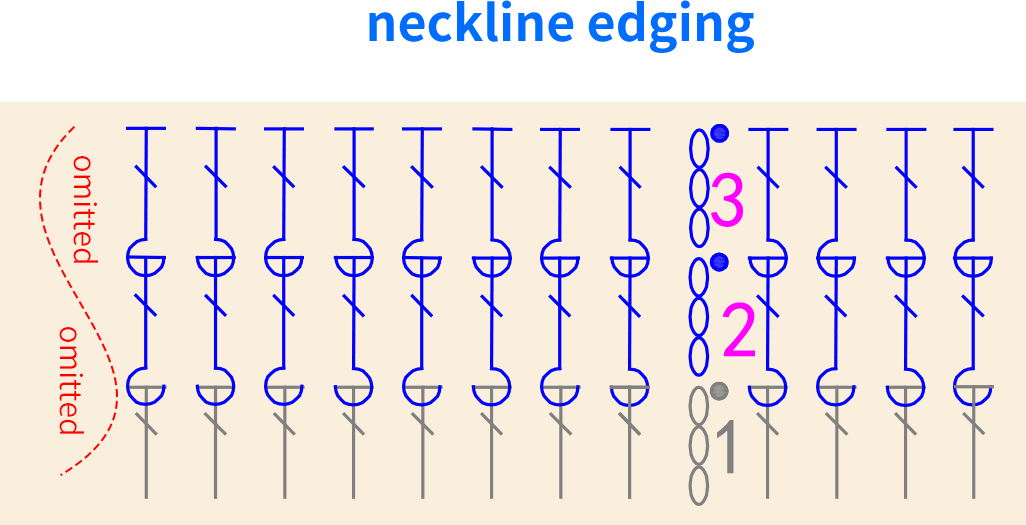
23#Elm GreenFirst, crochet the corresponding number of motifs. After completing them, connect the motifs. Then, crochet the front and back pieces along the connected motifs. Next, connect the shoulders of the front and back pieces. After that, crochet the neckline edging and the side edges along the connected front and back pieces. Finally, make the ties.
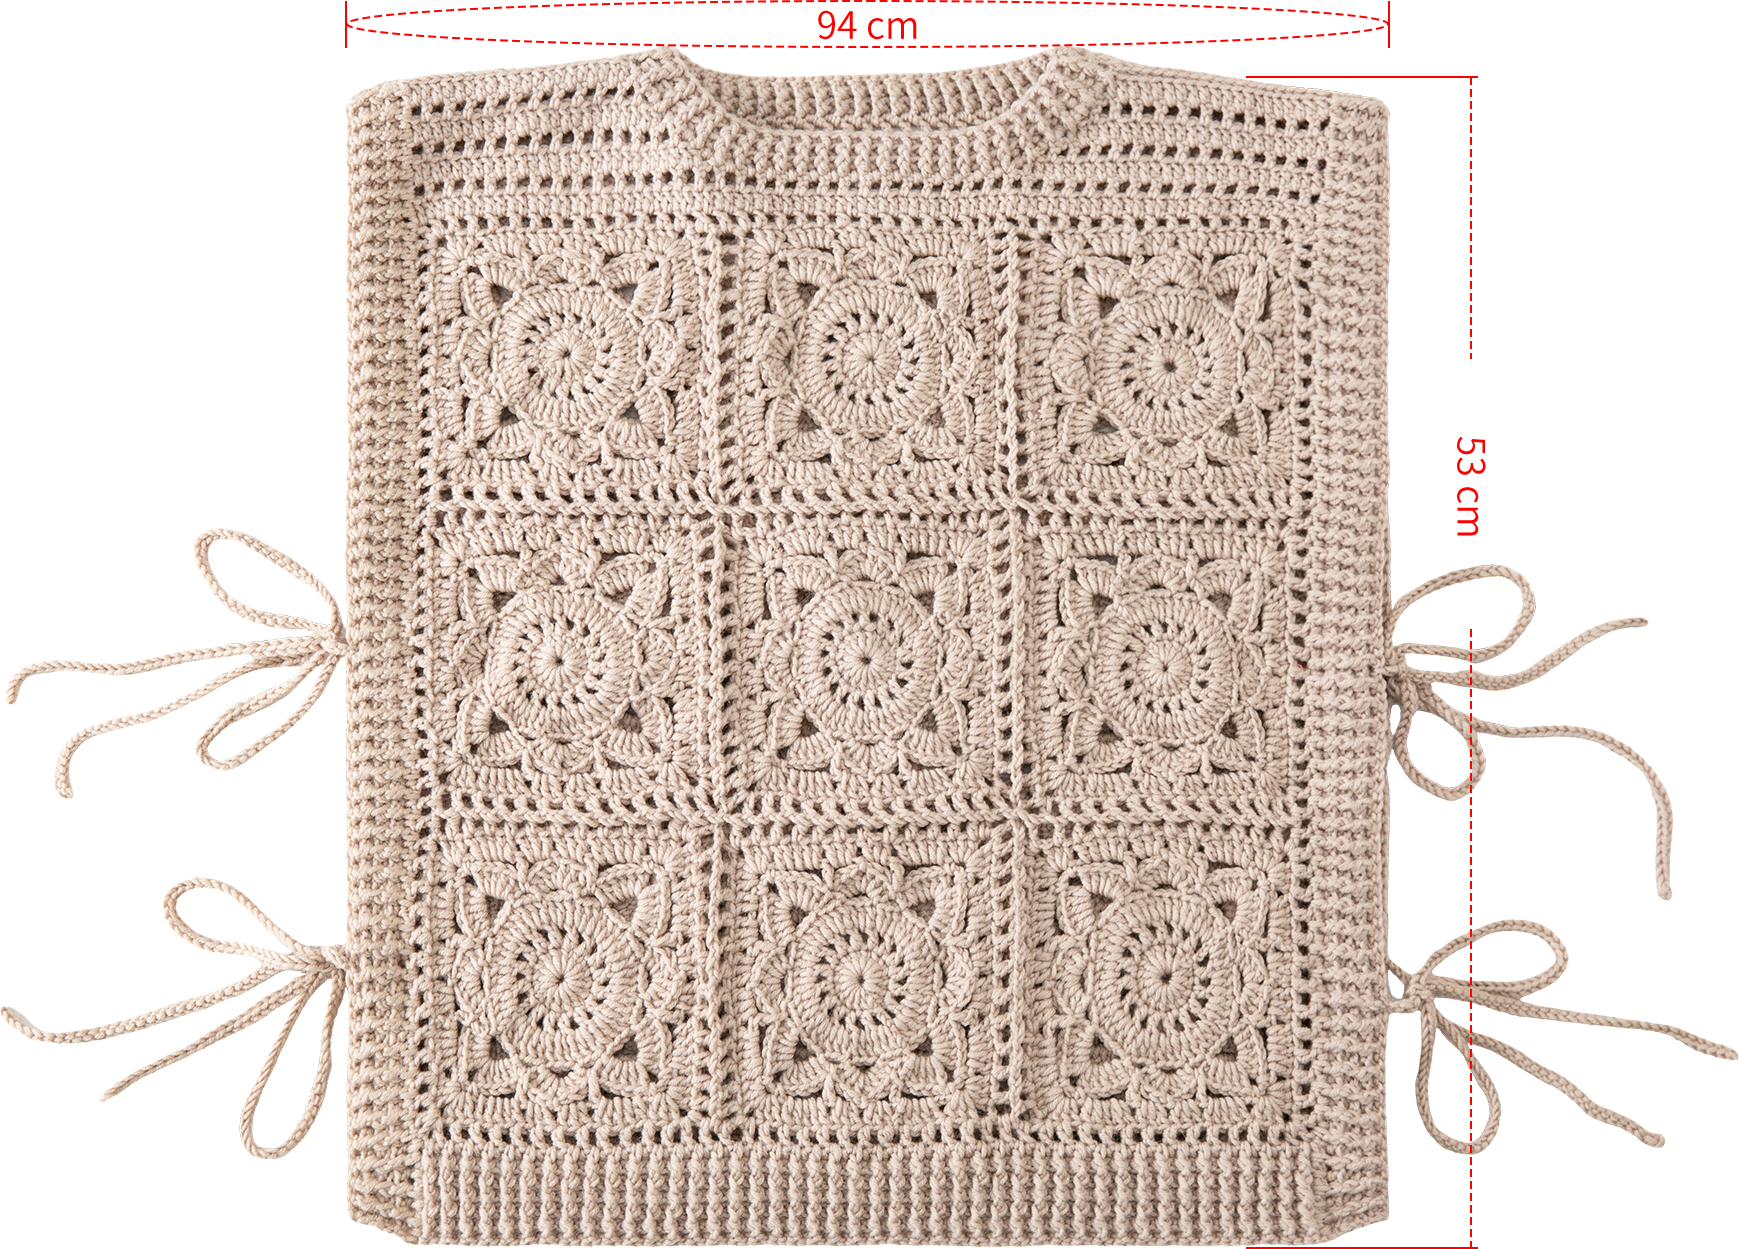
The handcrafted measurements may have an error of 1 to 2 cm.
Due to variations in individual tension, the size of the sample is for reference only.
Materials: Morandi 6#
Tools:3.60 mm & 3.50 crochet hook
Chart Key




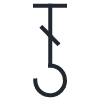
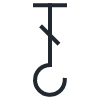
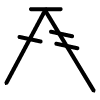

Note: 1. This pattern is making in Chinese crochet pattern terms, and the stitch name is written using American terminology. All measurements in charts are in cm.

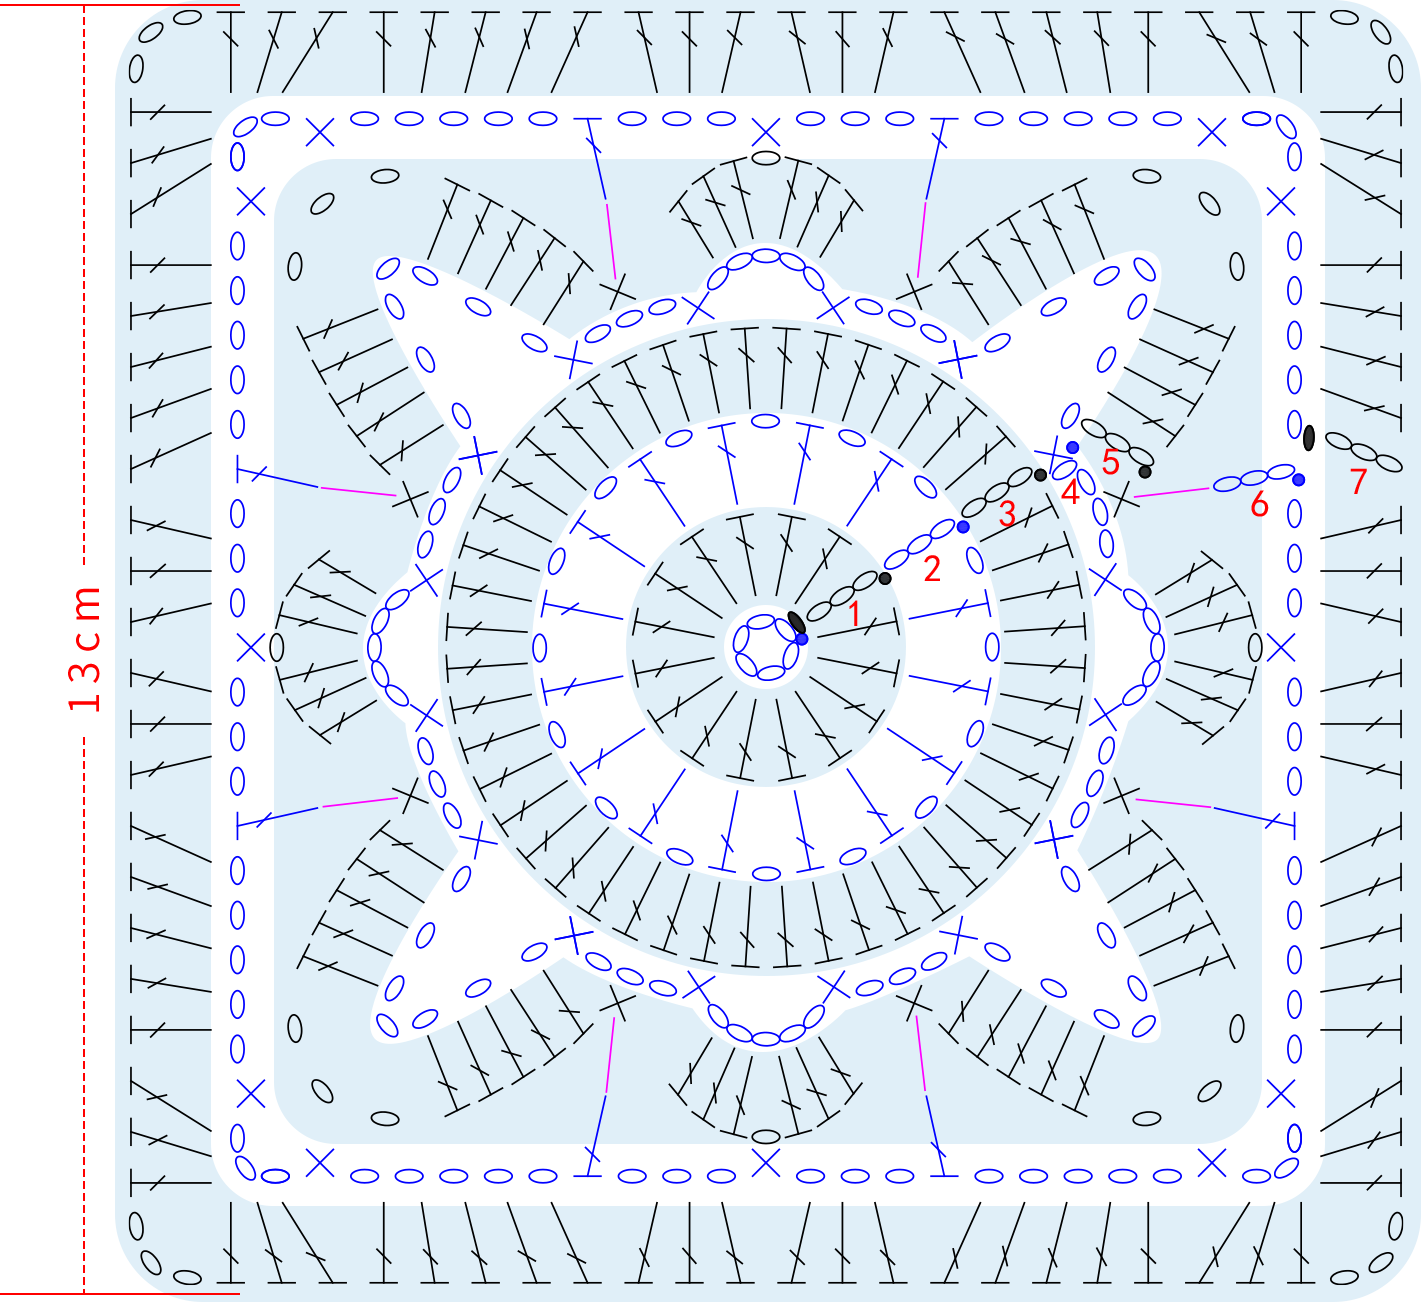
Part 1 Motifs (front pieces ×9, back pieces ×9)
The motif is started with a chain ring method and crocheted in rounds counterclockwise. After completing the crocheting, measure the motif's dimension. If it significantly differs from the size indicated on the chart, it's recommended to adjust your tension and crochet again.
Part 2 Back Piece
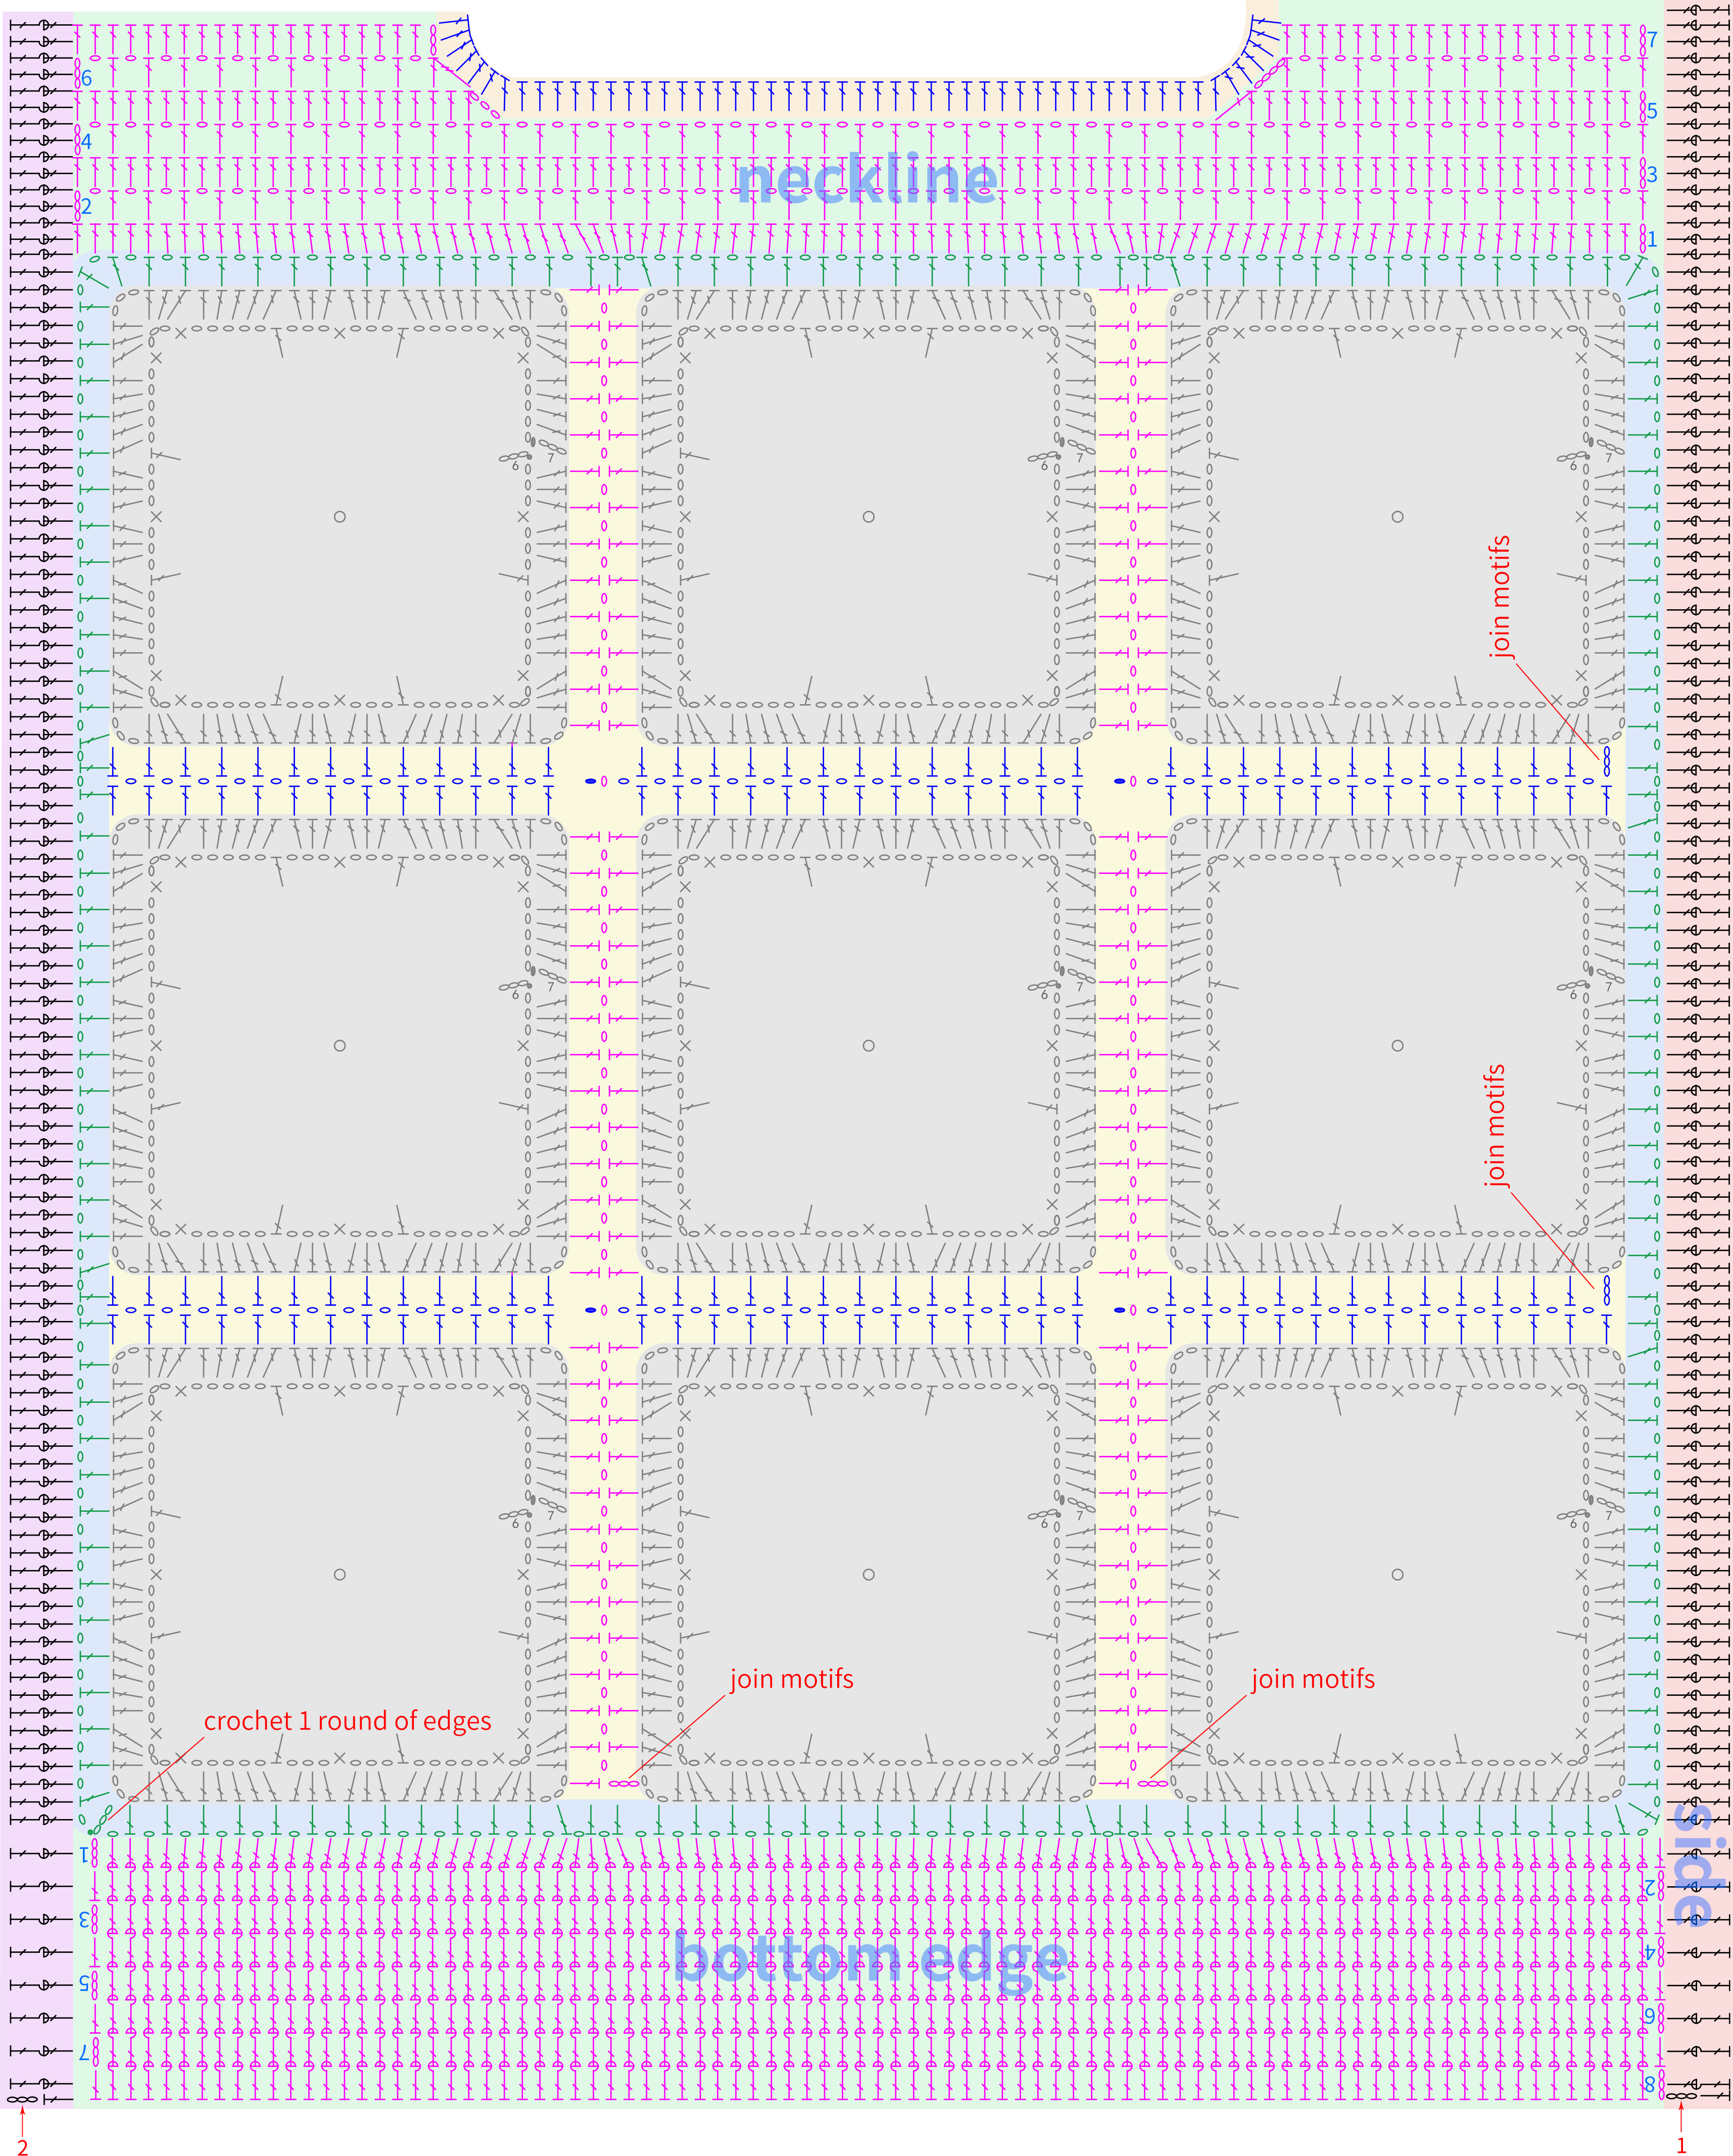
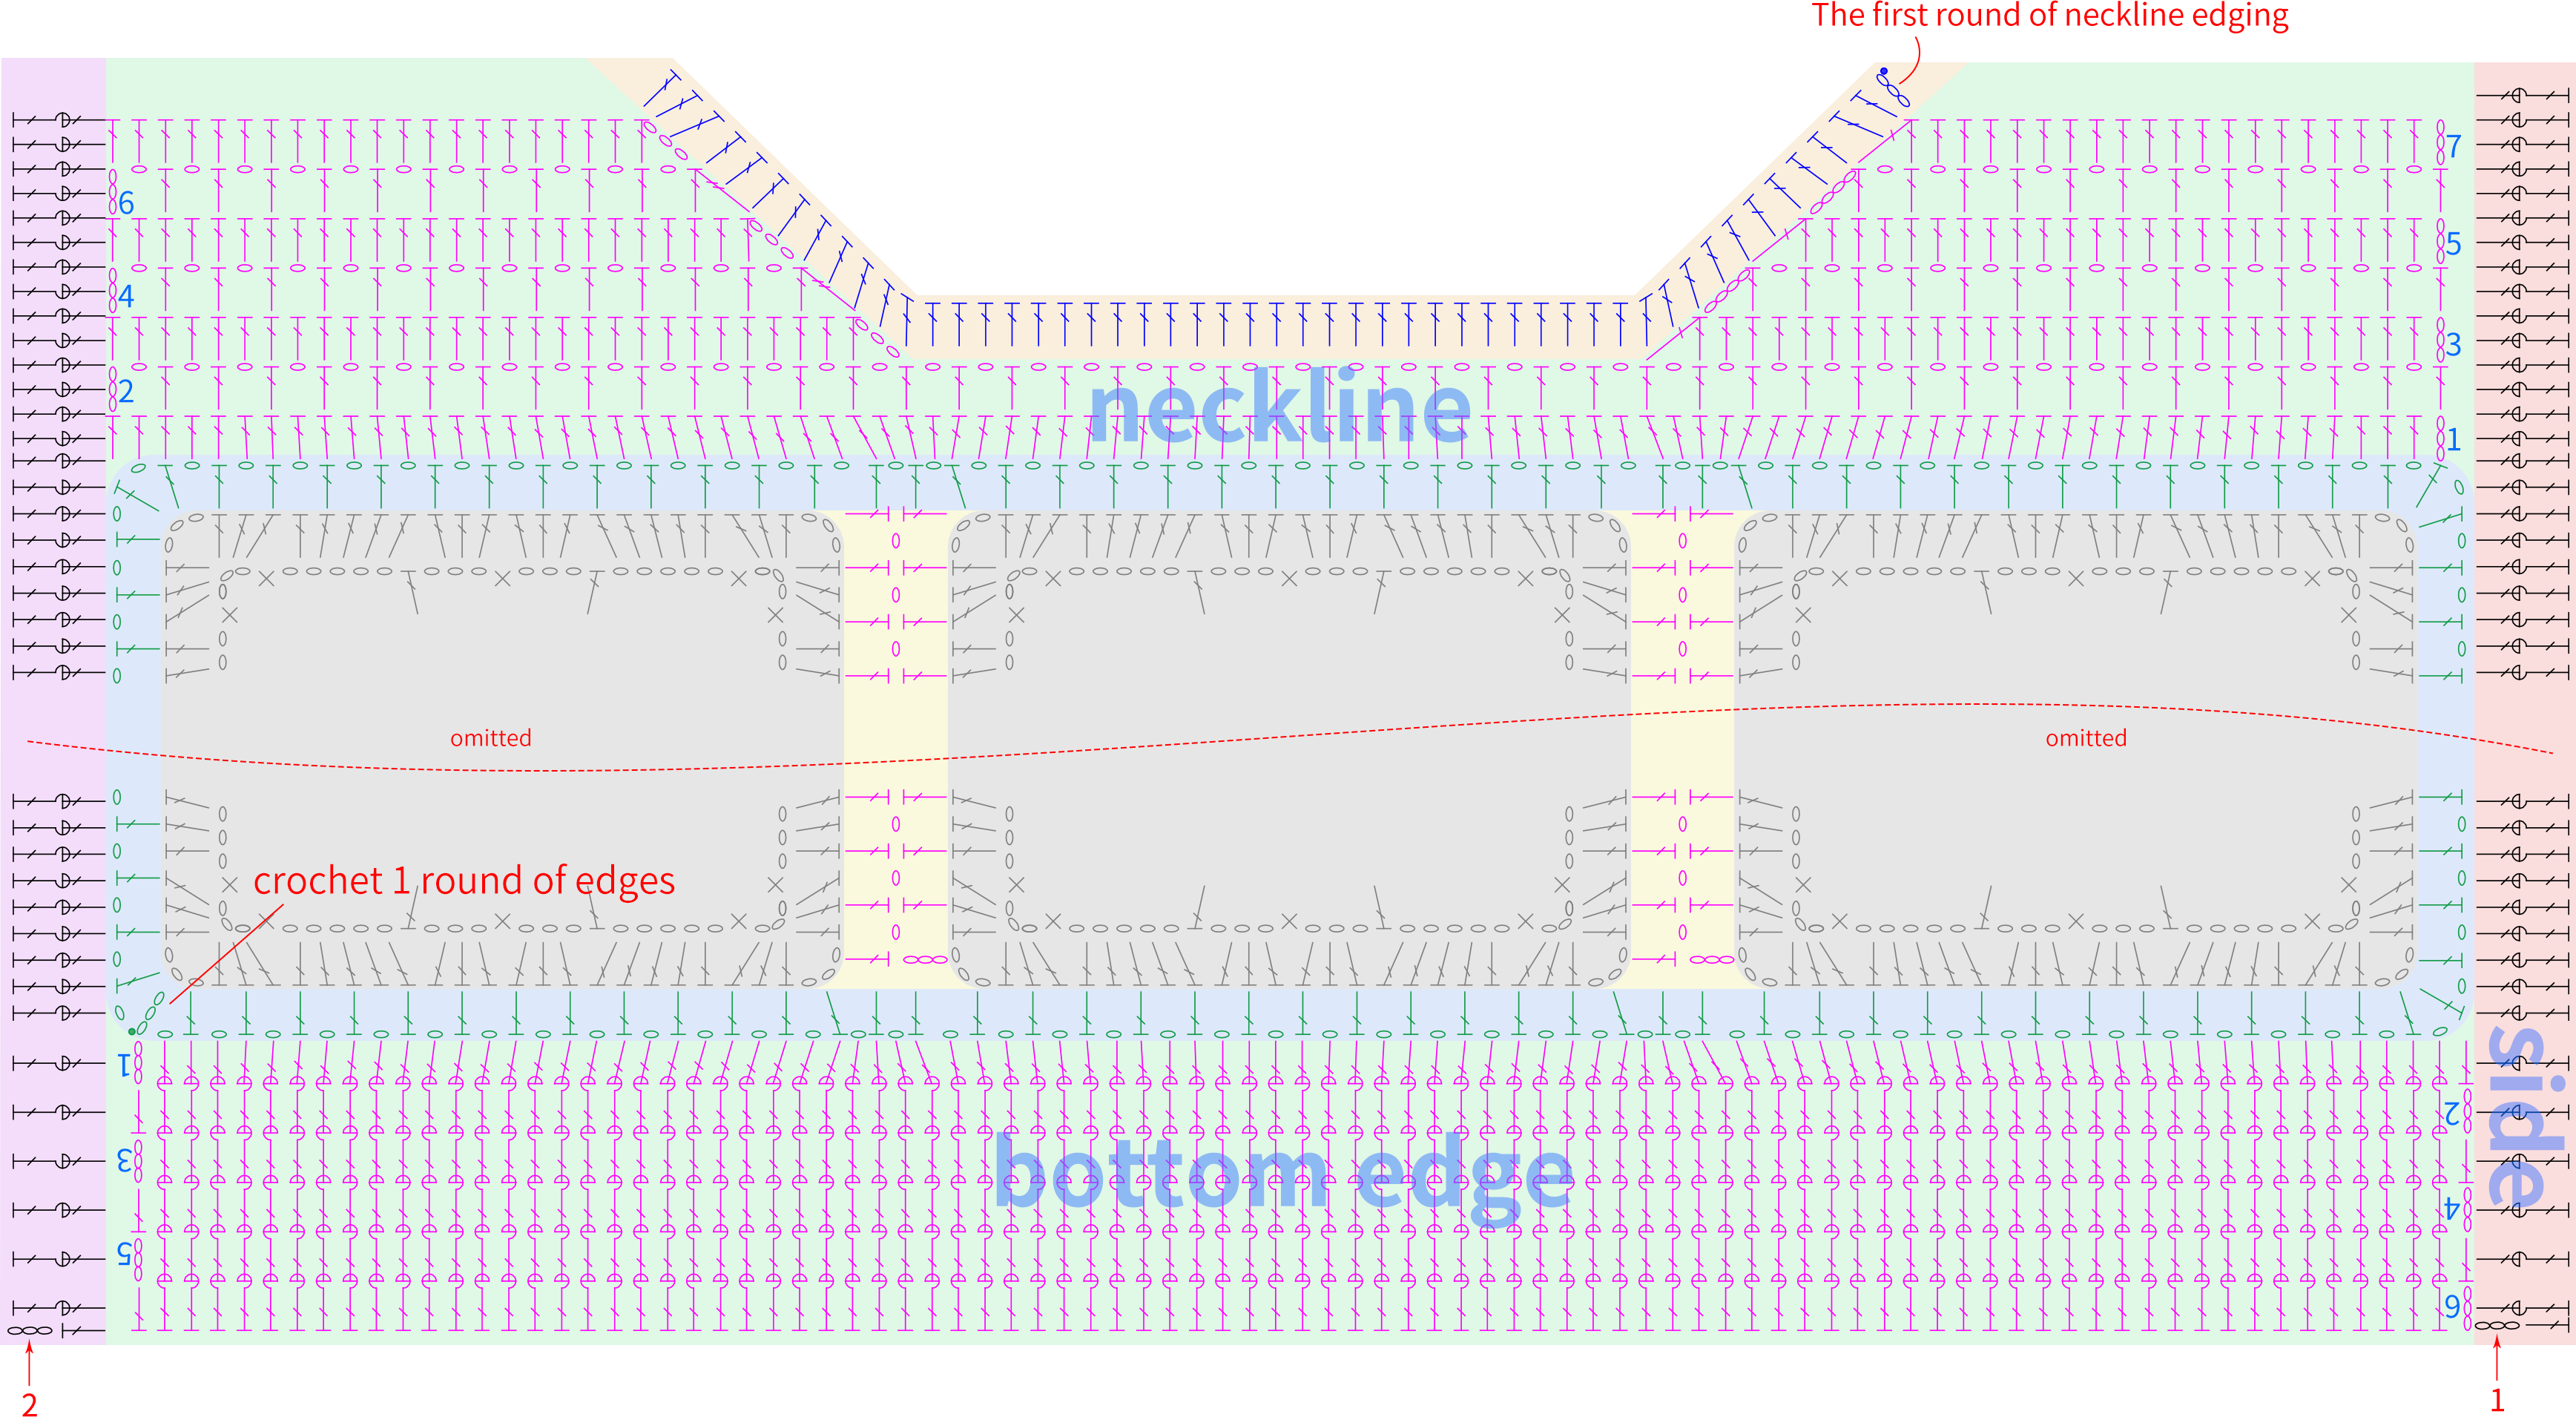
Note: After completing the crocheting of the neckline section, leave yarn tails separately for connecting.
Note: The front post double crochet is what you see from the right side. When crocheting on the wrong side, you need to work the opposite stitch as shown in the chart.
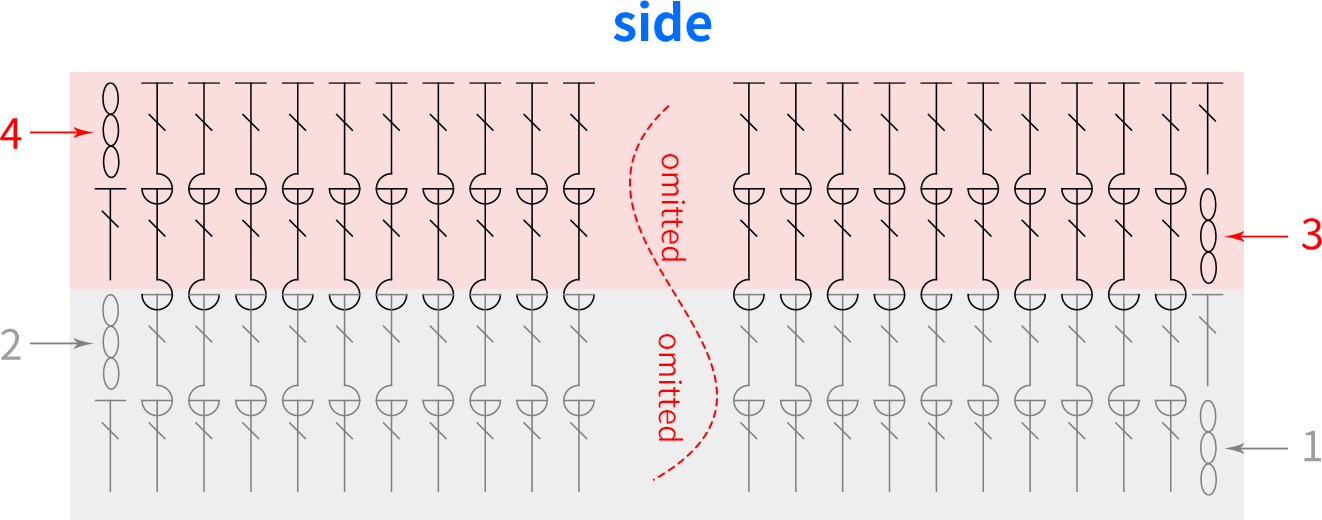
Note: The crocheting method for both sides is identical.
Part 3 Front Piece
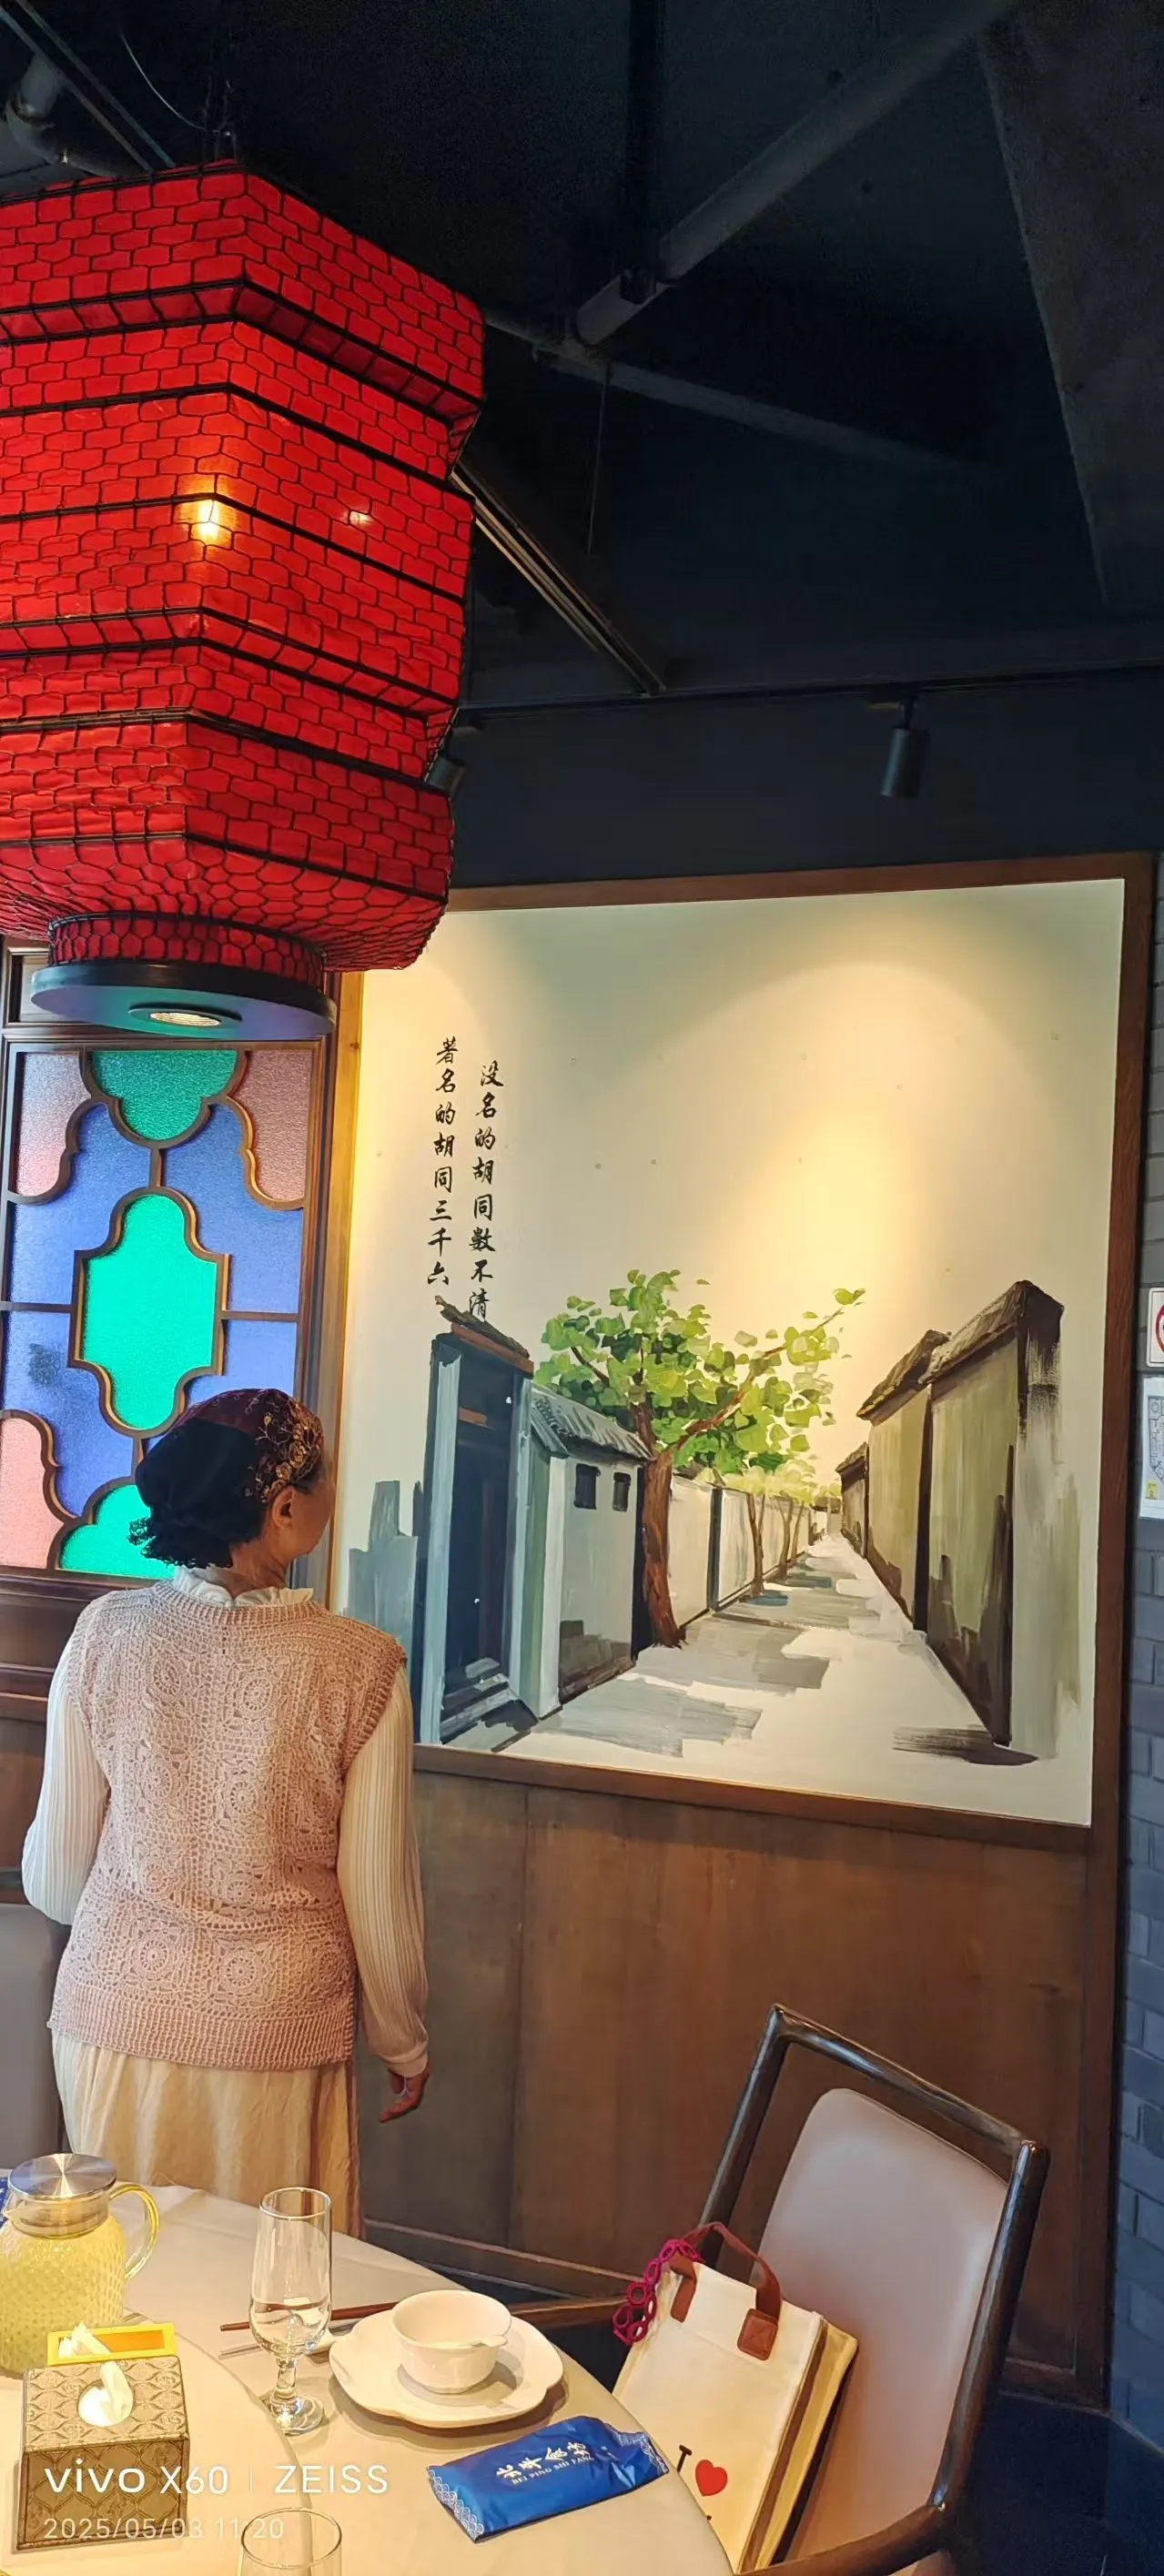
Made by the community