Clothes
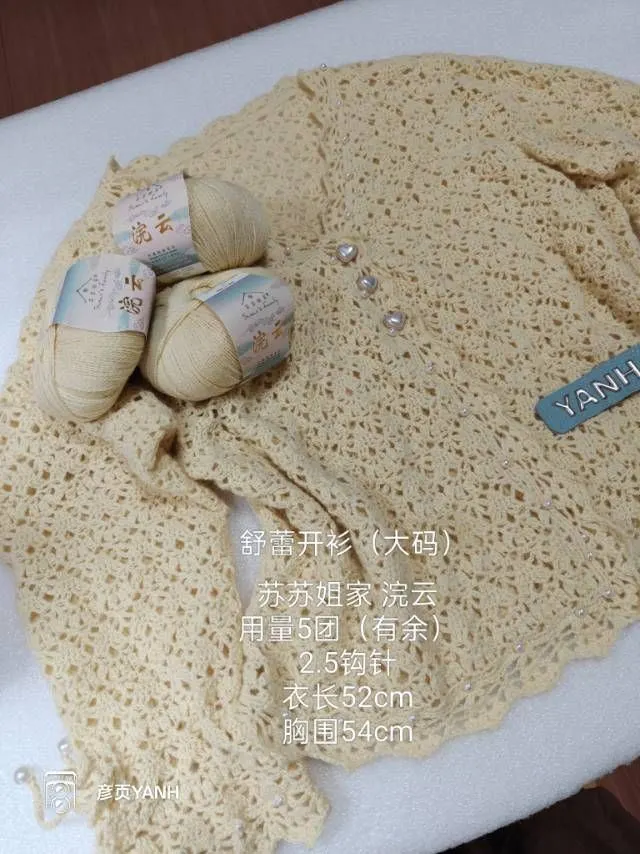
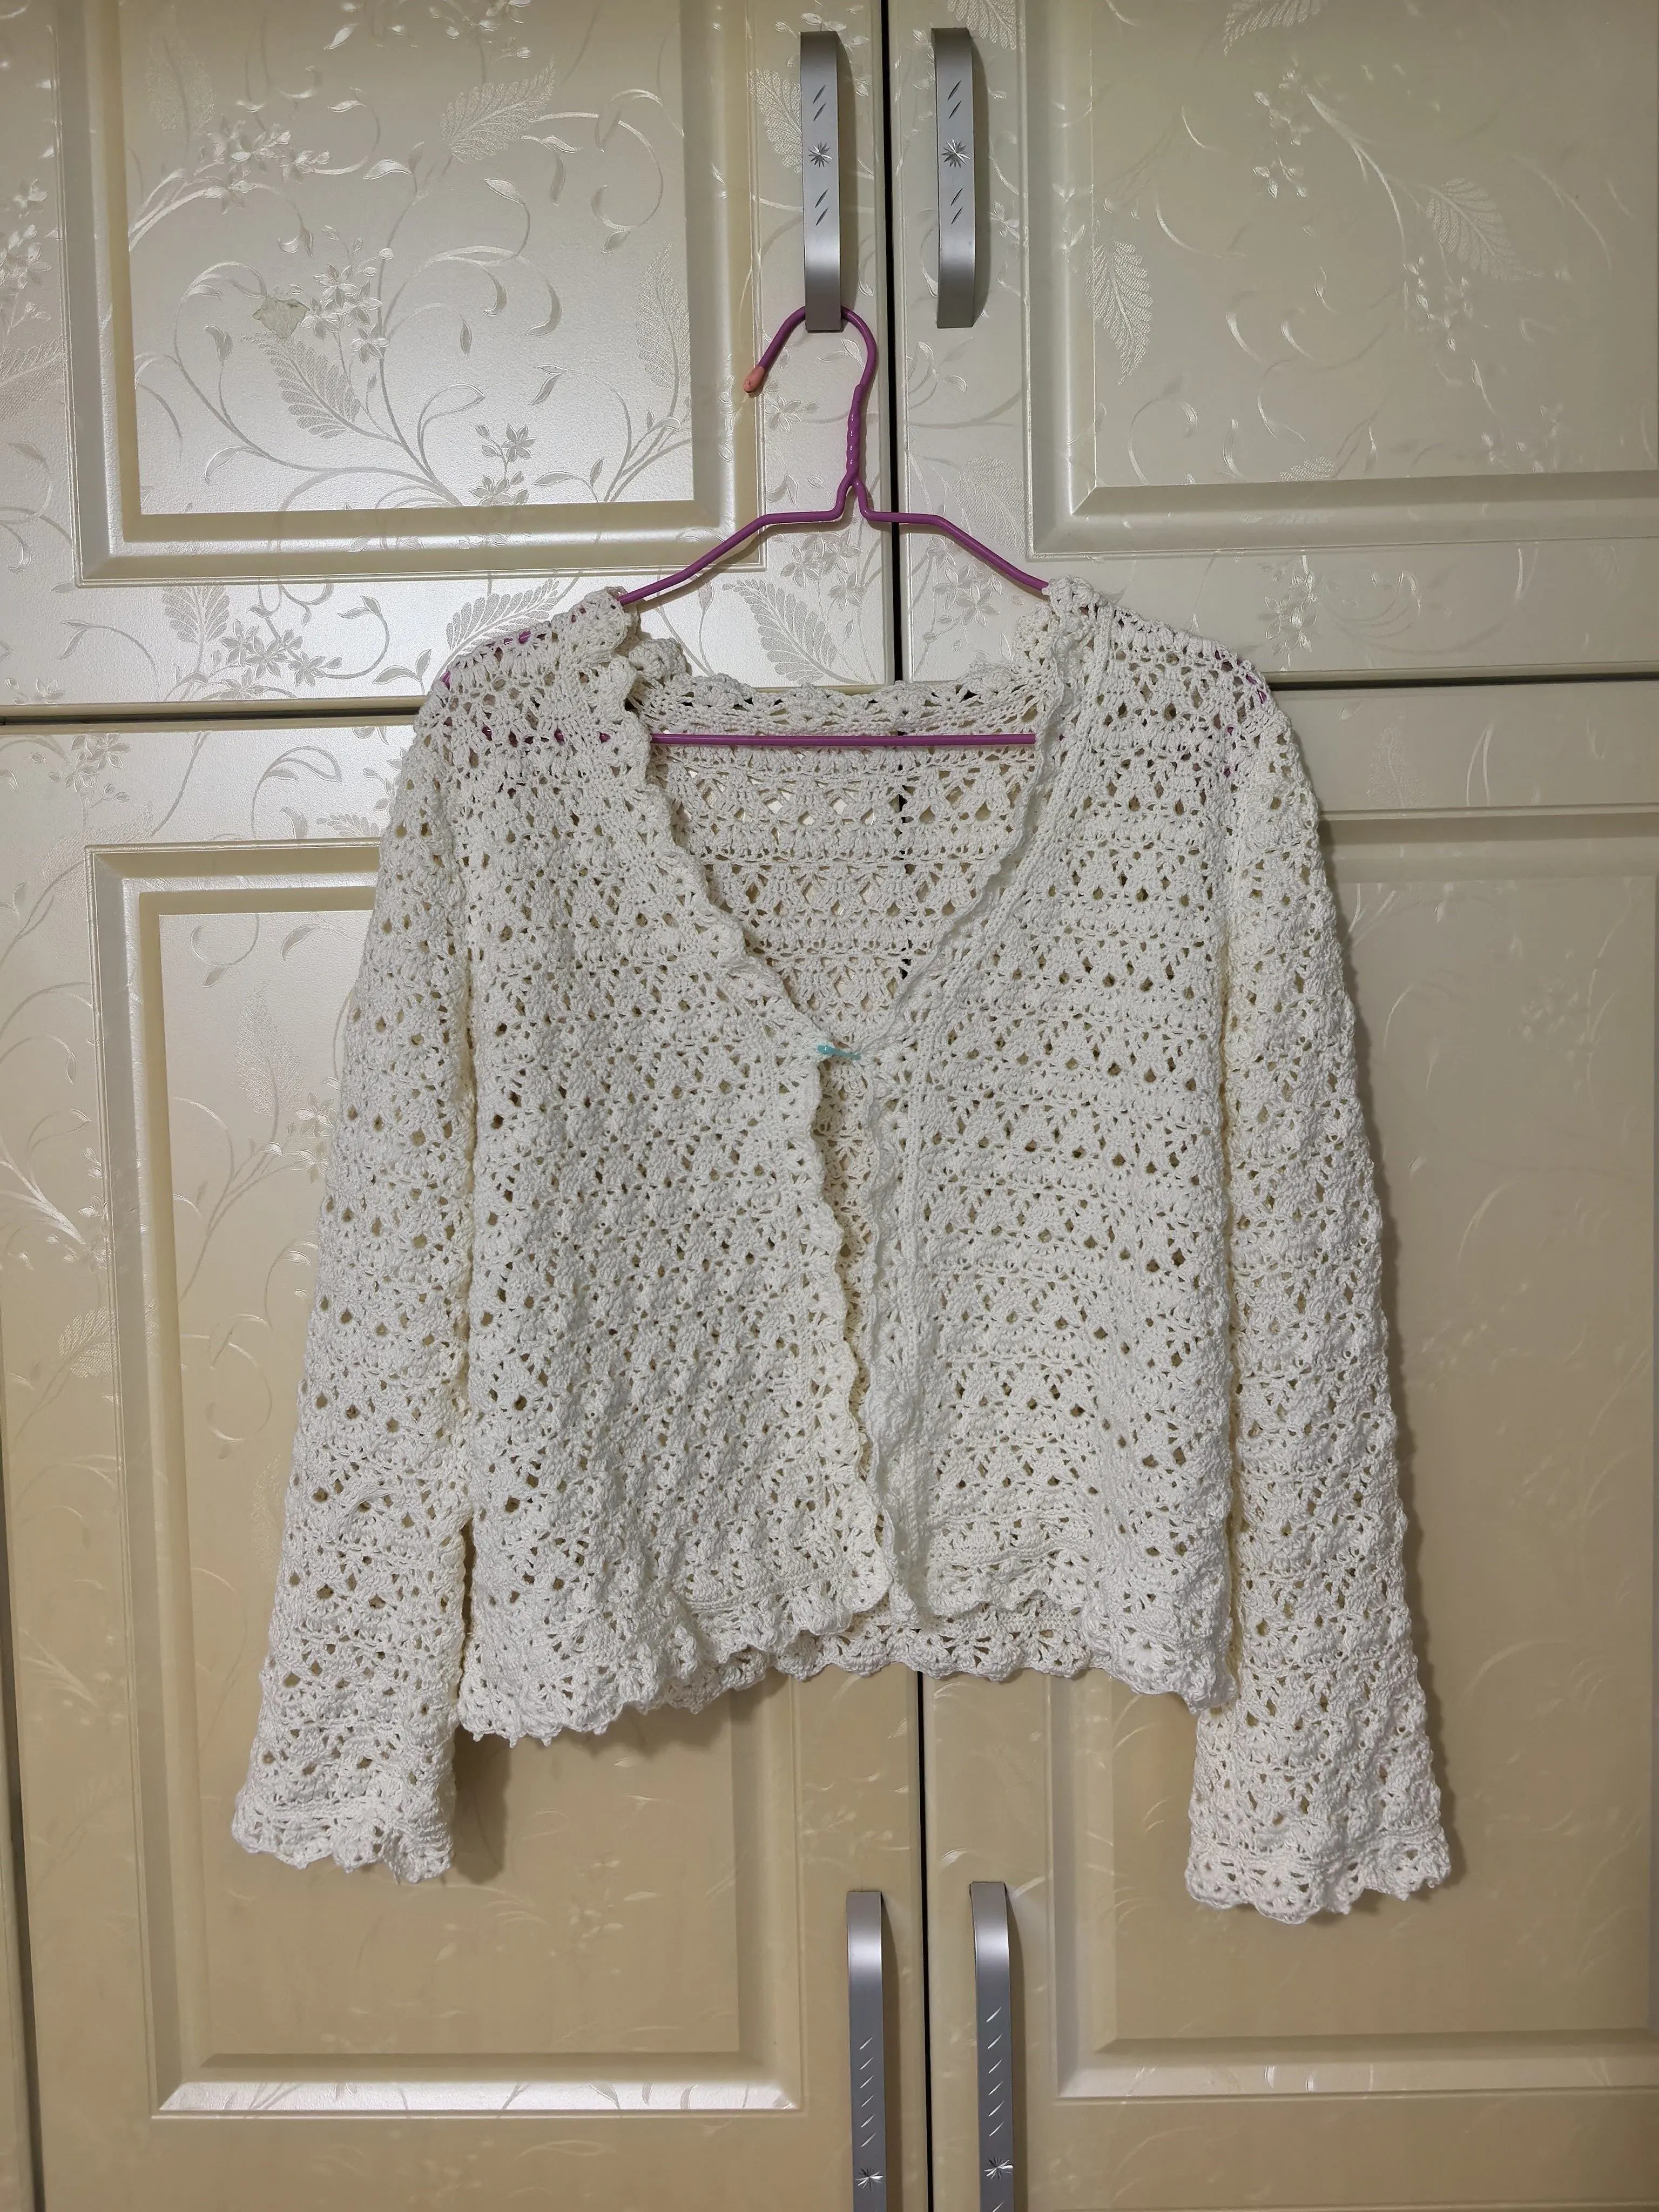
ComfortLace Cardigan
Project preview
See the finished project
Pattern format
Instructions
Watch and follow
Video tutorial
| Style | Yarn | Color |
|---|---|---|
| Whisper White Style | Alpaca | 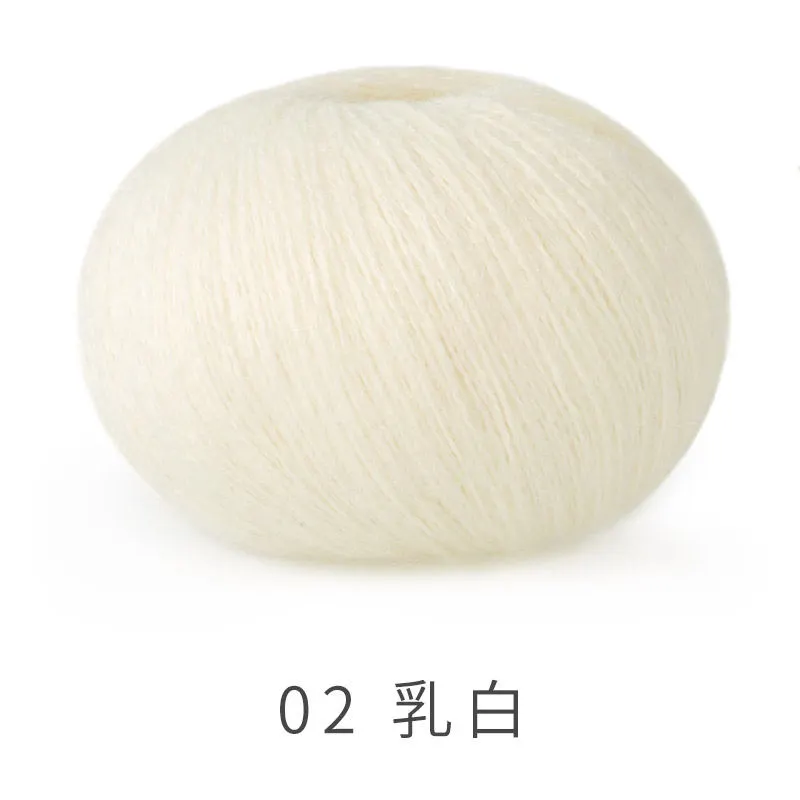 02#Whisper White x 5 02#Whisper White x 5 |
| Simply Taupe Style | Alpaca | 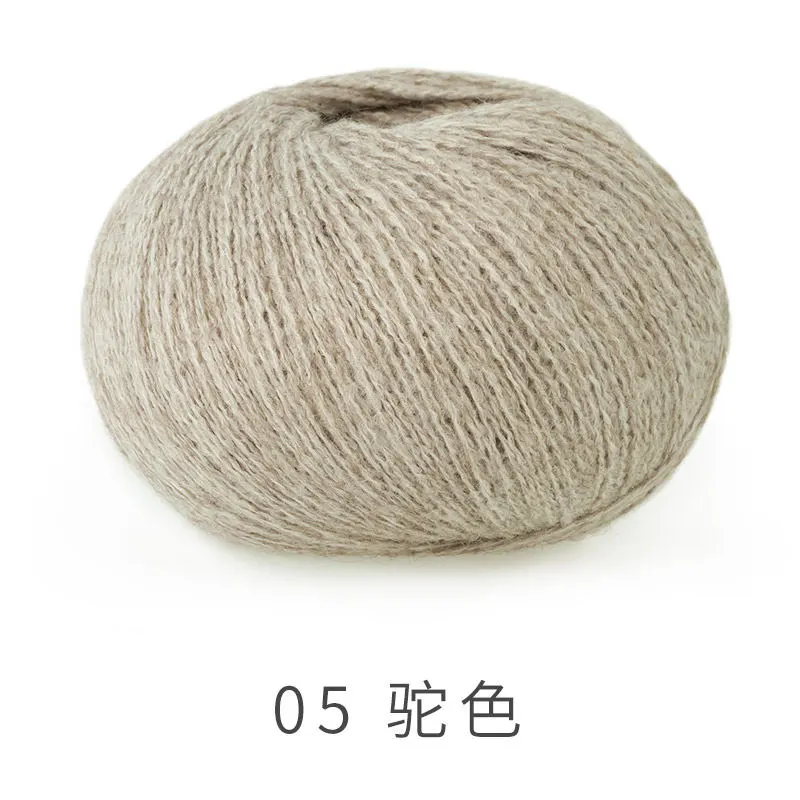 05#Simply Taupe x 5 05#Simply Taupe x 5 |
| Spiced Coral Style | Alpaca |  11#Spiced Coral x 5 11#Spiced Coral x 5 |
| Drizzle Gray Style | Alpaca | 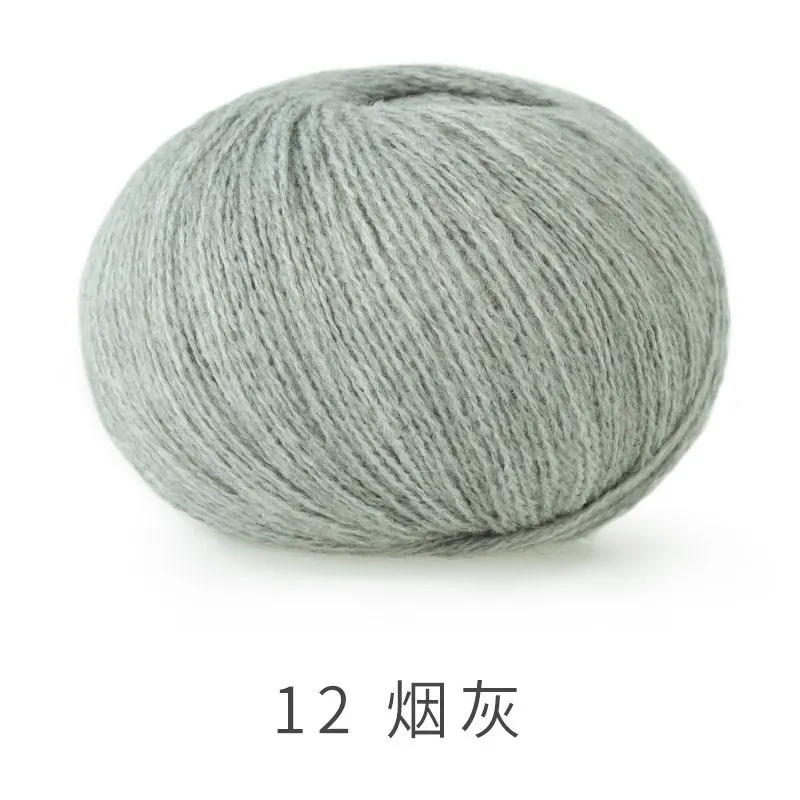 12#Drizzle Gray x 5 12#Drizzle Gray x 5 |
| Stone Green Style | Alpaca | 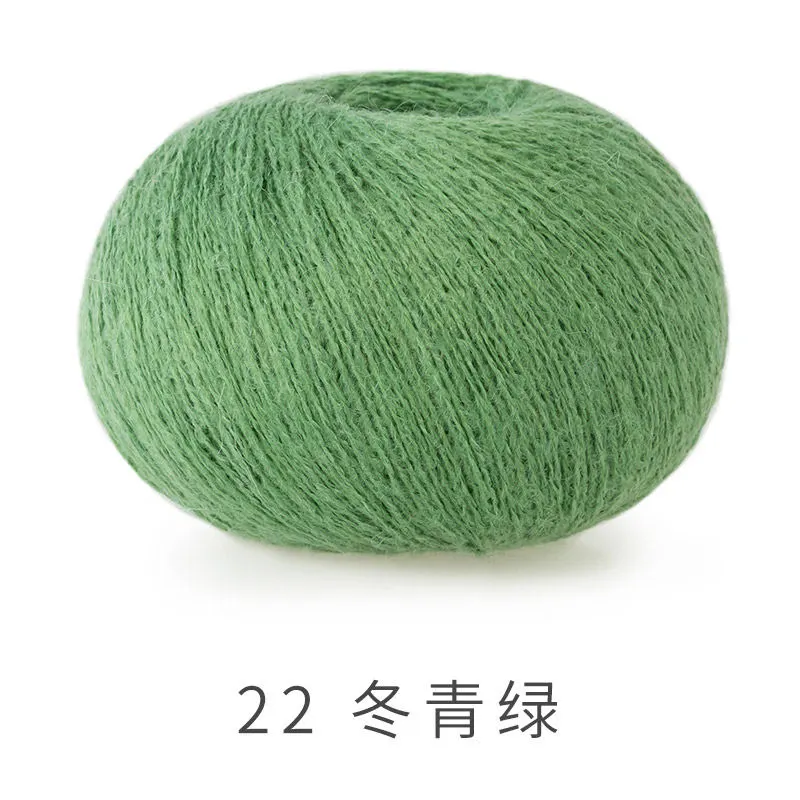 22#Stone Green x 5 22#Stone Green x 5 |
| Colony Blue Style | Alpaca |  26#Colony Blue x 5 26#Colony Blue x 5 |
| Snow White Style | Sequin Mahai |  03#Snow White x 4 03#Snow White x 4 |
| Pale Banana Style | Sequin Mahai |  07#Pale Banana x 4 07#Pale Banana x 4 |
| Peach Pearl Style | Sequin Mahai |  12#Peach Pearl x 4 12#Peach Pearl x 4 |
| Baby Blue Style | Sequin Mahai |  17#Baby Blue x 4 17#Baby Blue x 4 |
| Vaporous Gray Style | Sequin Mahai |  19#Vaporous Gray x 4 19#Vaporous Gray x 4 |
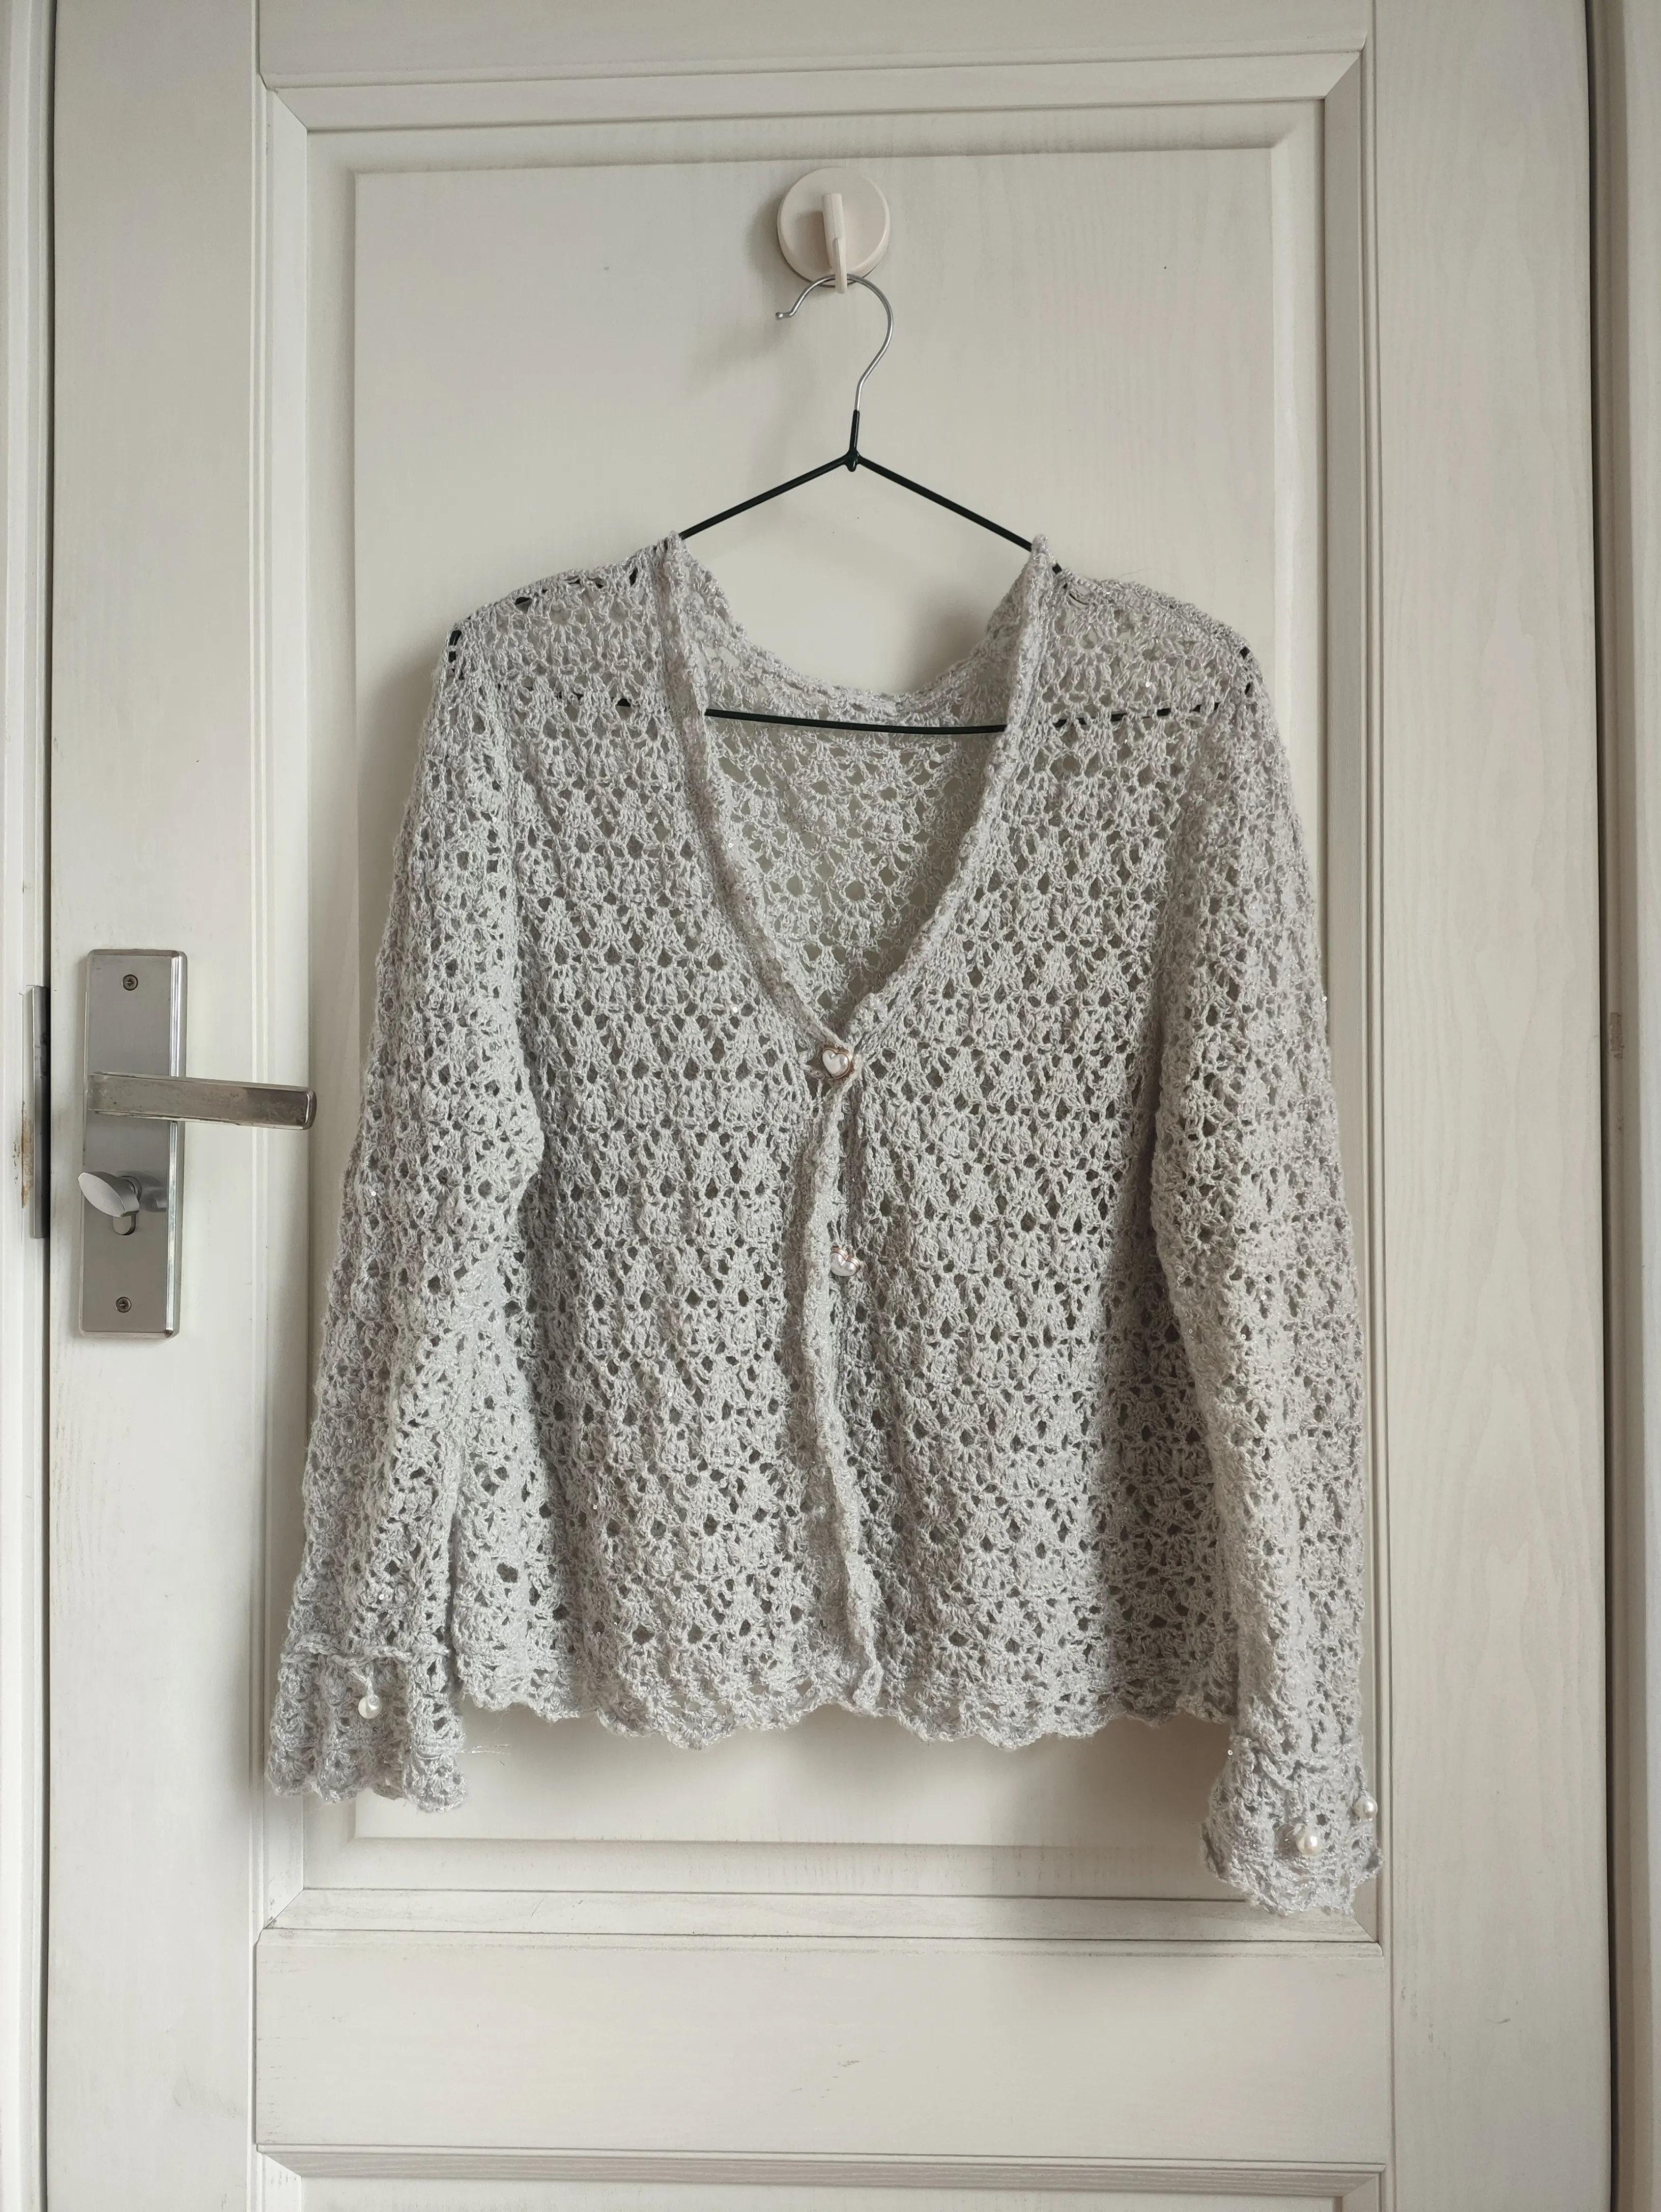
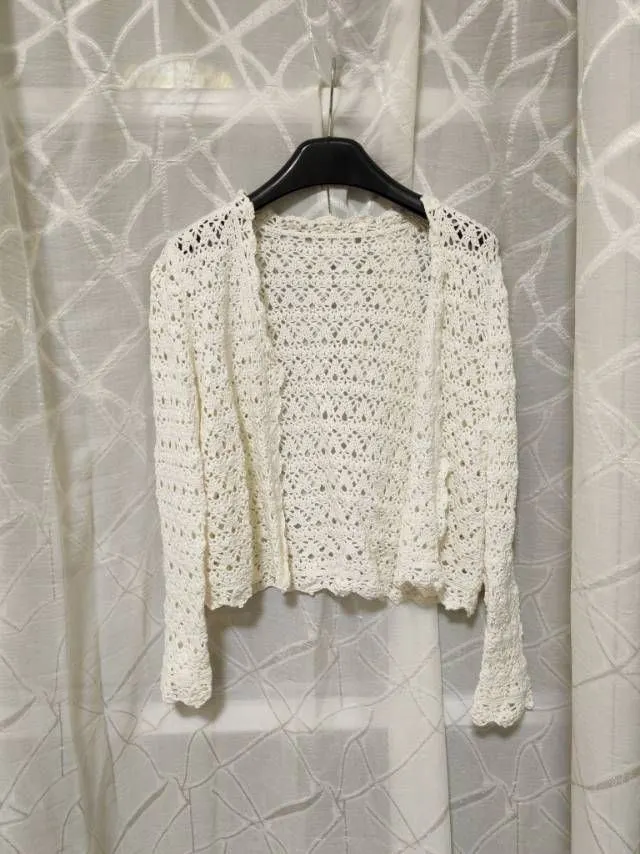
Whisper White Style
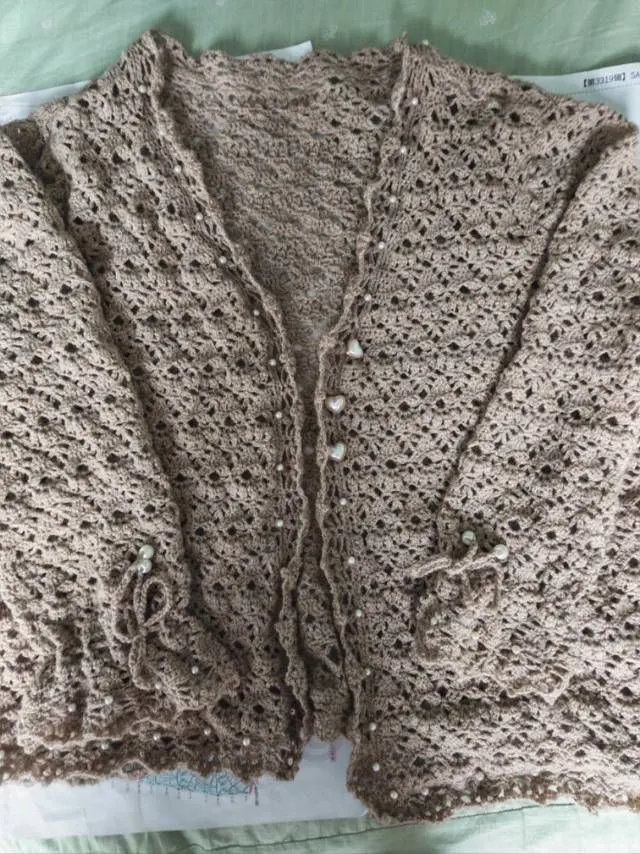
Simply Taupe Style
Spiced Coral Style
Drizzle Gray Style
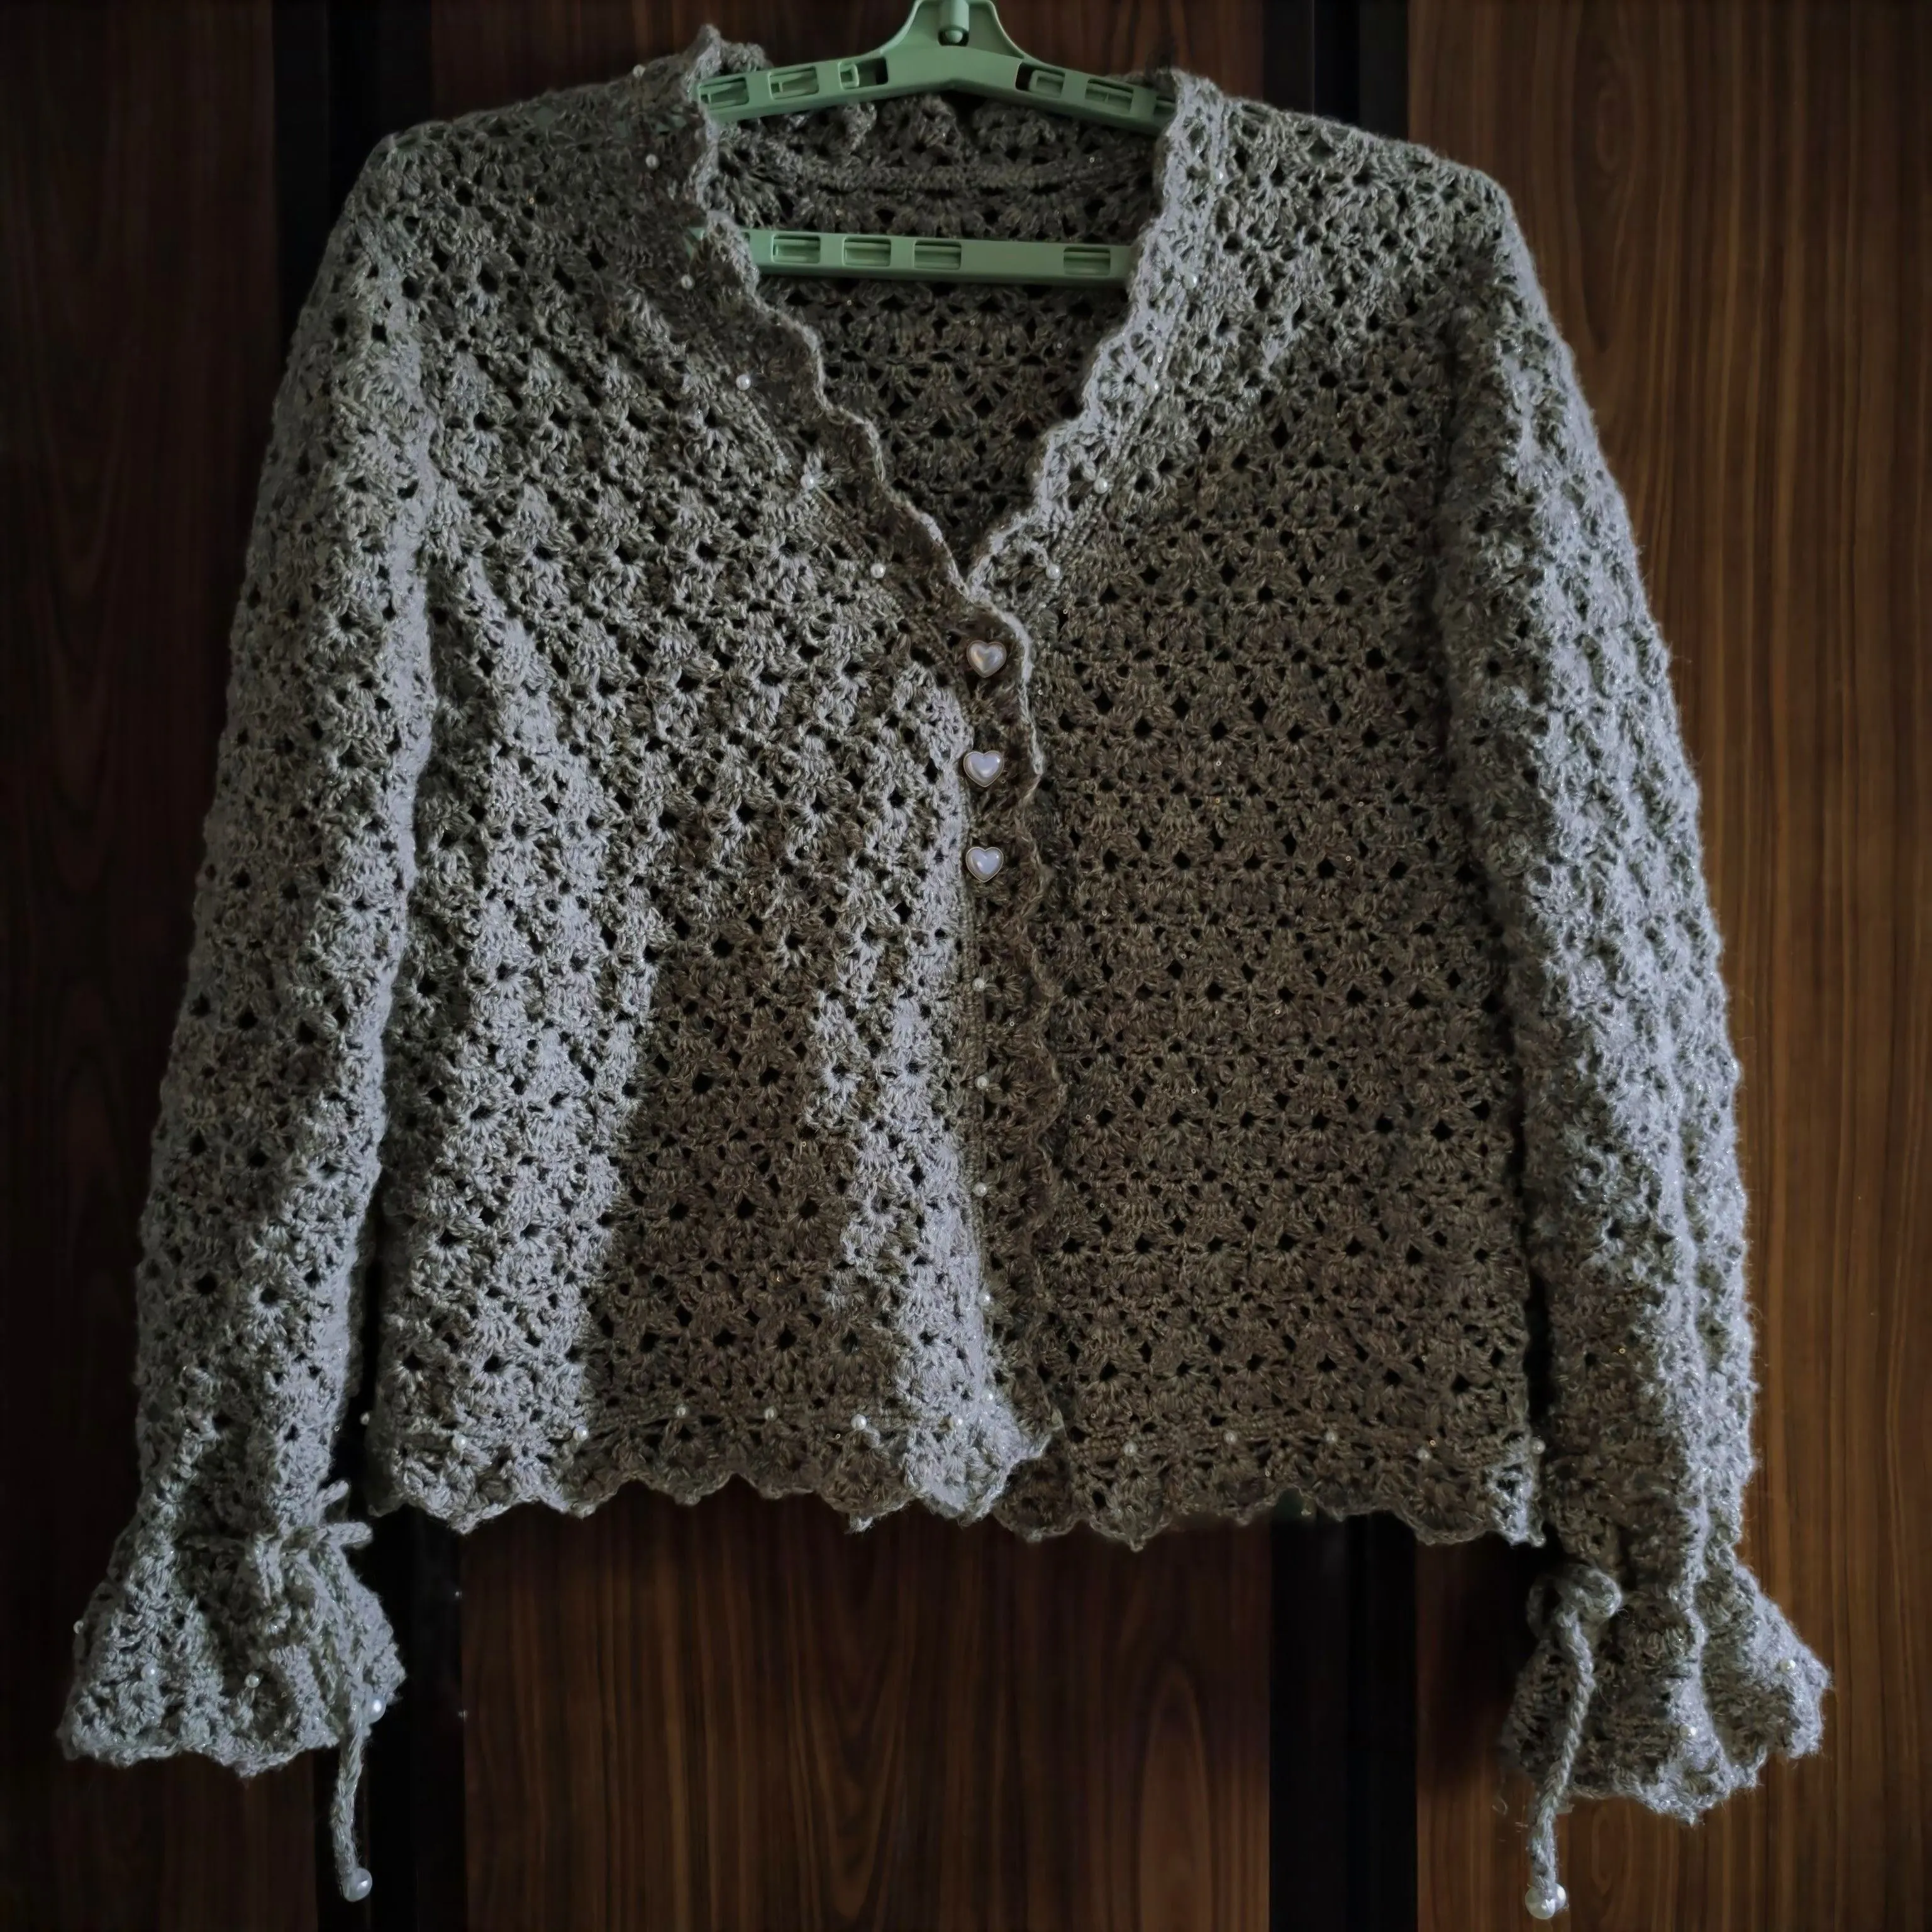
Stone Green Style
Colony Blue Style
Snow White Style
Pale Banana Style
Peach Pearl Style
Baby Blue Style
Vaporous Gray Style
The cardigan is divided into the back piece, left front piece, right front piece, sleeves, front band and decorations.
Note: The left and right here refer to the actual left and right when wearing.
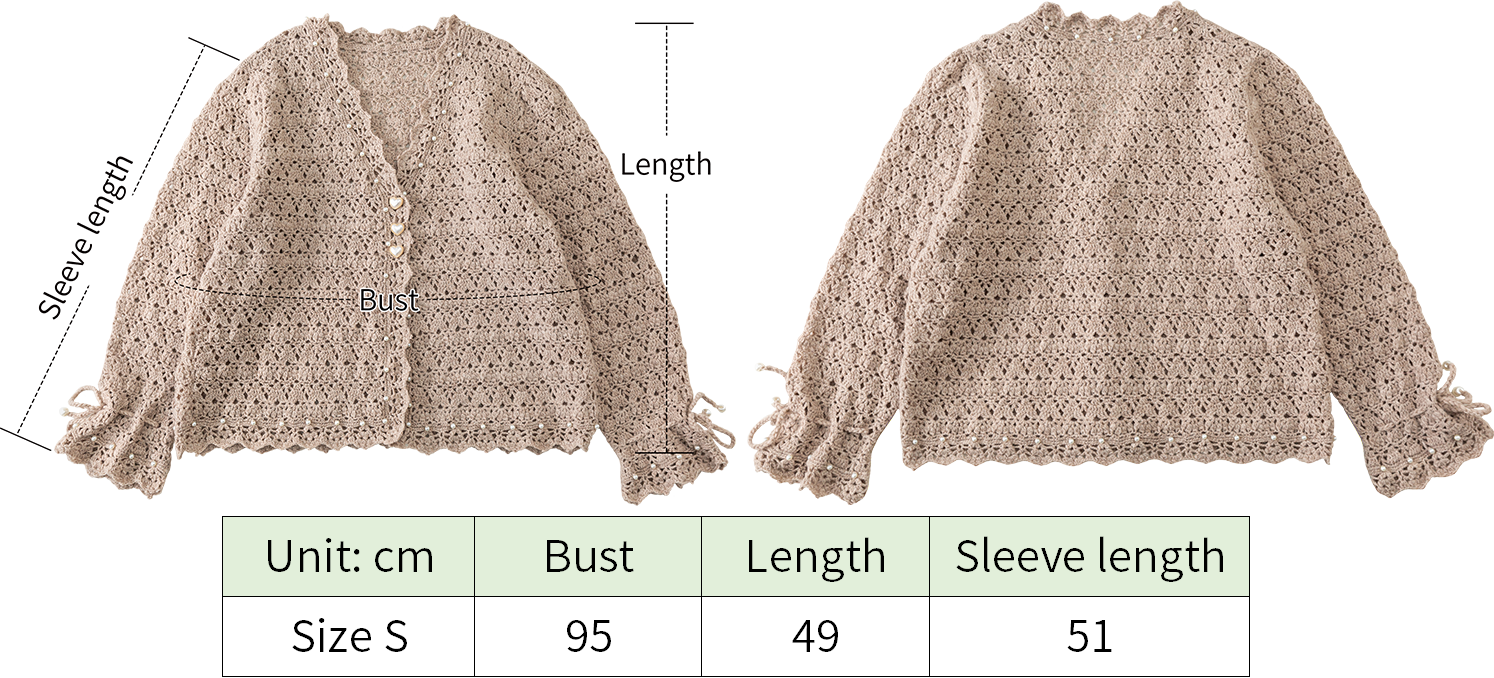
Due to variations in individual tension, the size of the sample is for reference only.
Materials & Crochet Hook:
Alpaca with 3.00 mm or Sequin Mohair with 2.50 mm
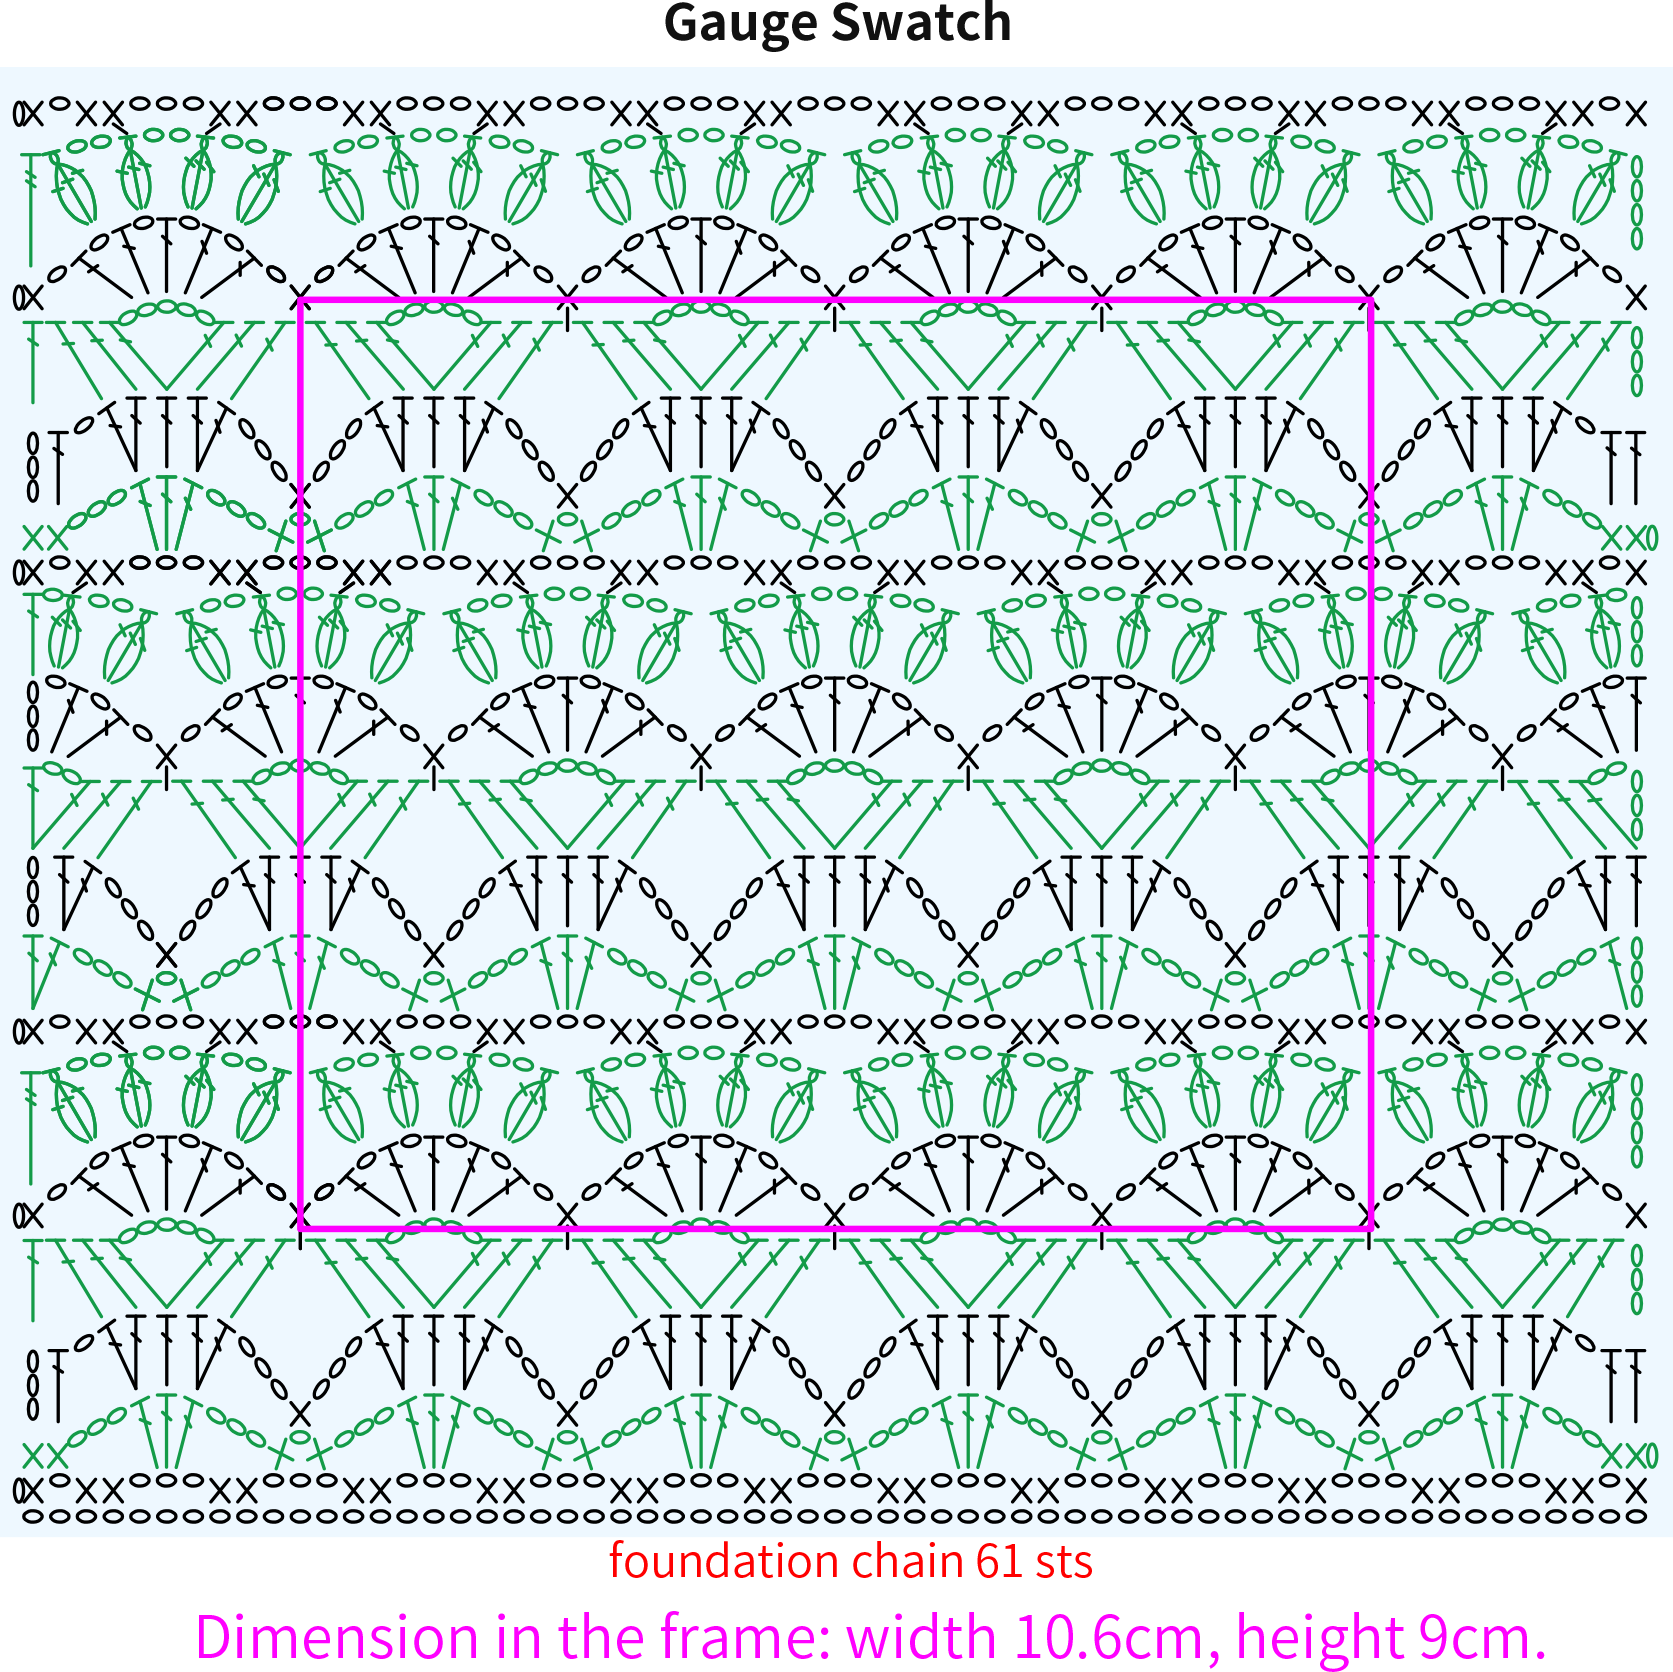

Chart Key













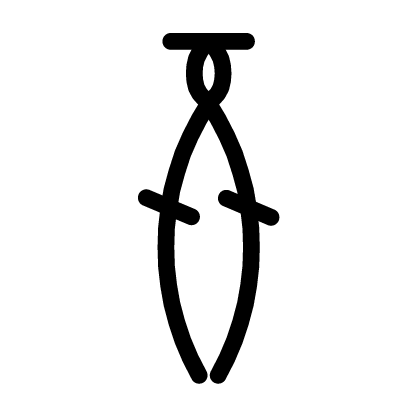

Note:
This pattern is making in Chinese crochet pattern terms, and the stitch name is written using American terminology. All measurements in charts are in cm.
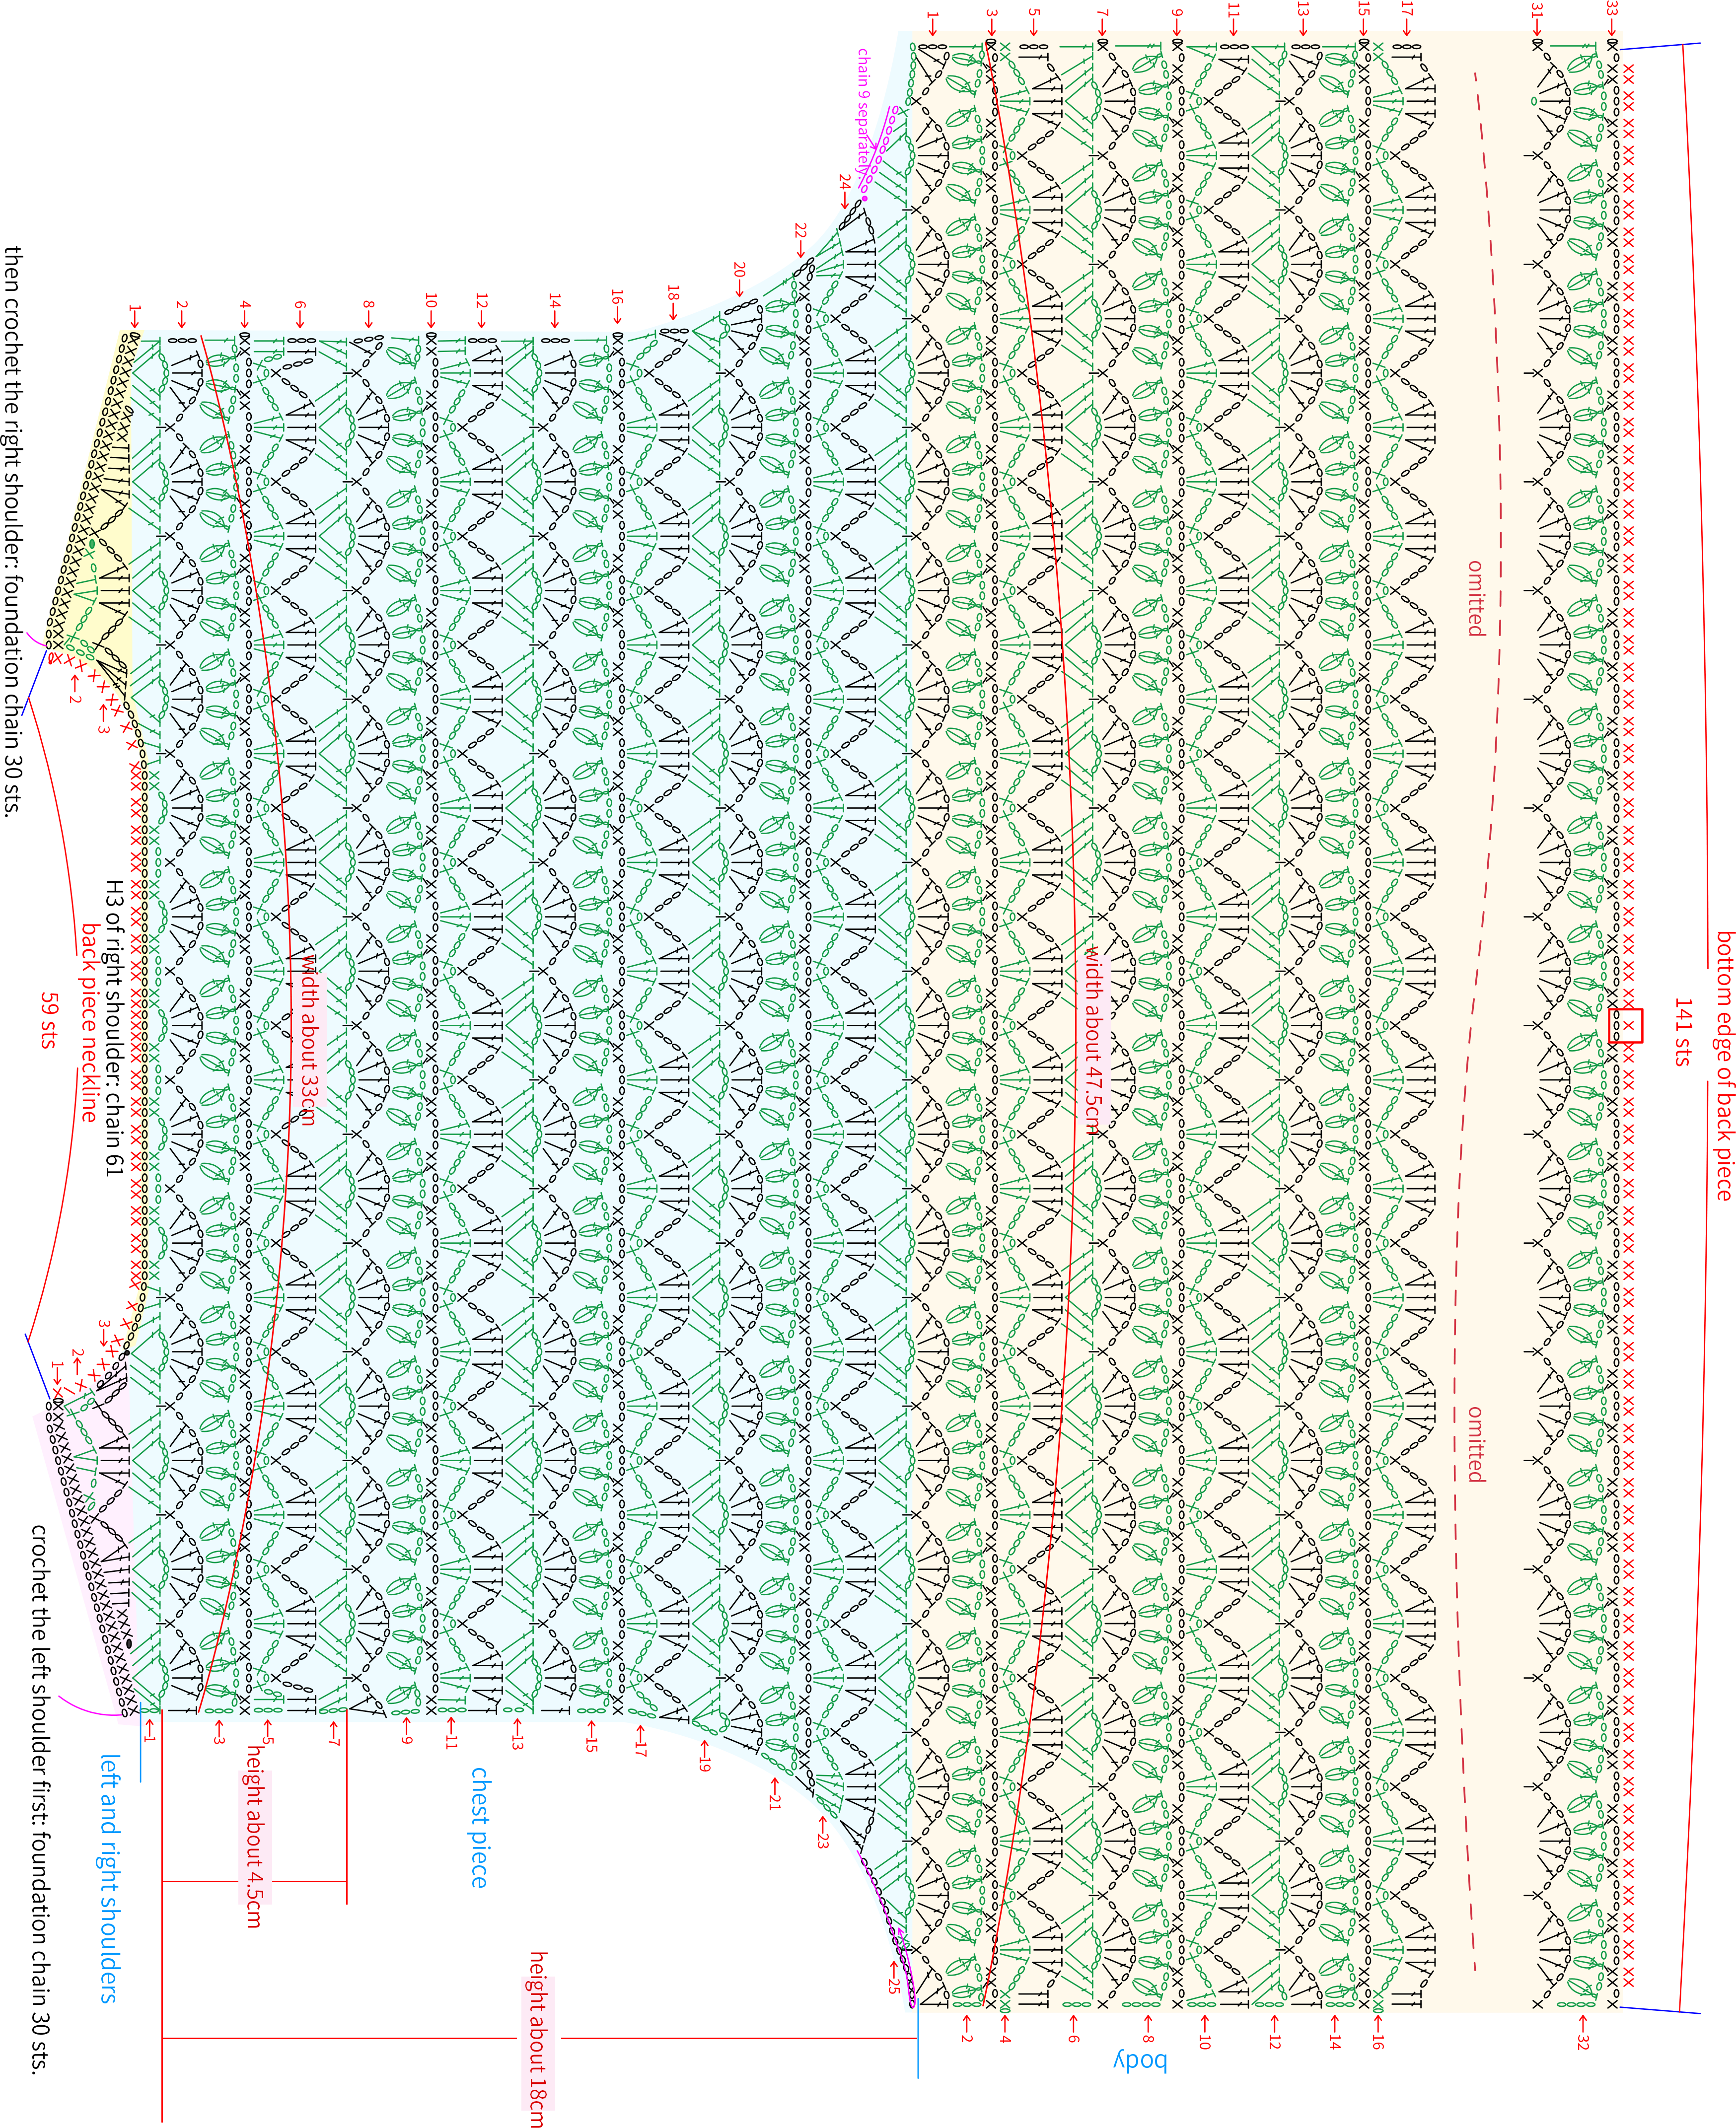
Part 1 Back PieceA 00' 35''
The back piece is divided into the left shoulder, right shoulder, chest piece, and body piece. When crocheting, work from top to bottom, starting with the left shoulder then the right shoulder. After that, crochet the chest piece and body piece on both shoulders. The overall pattern for the back piece is identical, but adjustments need to be made on the shoulders and sides of the chest piece to form the curve. Please refer to the video demonstration for specifics.
Note: After crocheting the first 3 rows of the chest piece, pay attention to measure the width. If there is a big difference, you need to adjust the tension of your hands, or switch to a different hook size and crochet again.
Note: H1 of the left and right shoulders is the wrong side of the back piece. The red stitches are R1 of the front band. When crocheting the first three rows of the left and right shoulders, you need to carry the yarn across. You can choose to carry the yarn or fasten off and join a new yarn according to your personal preference.
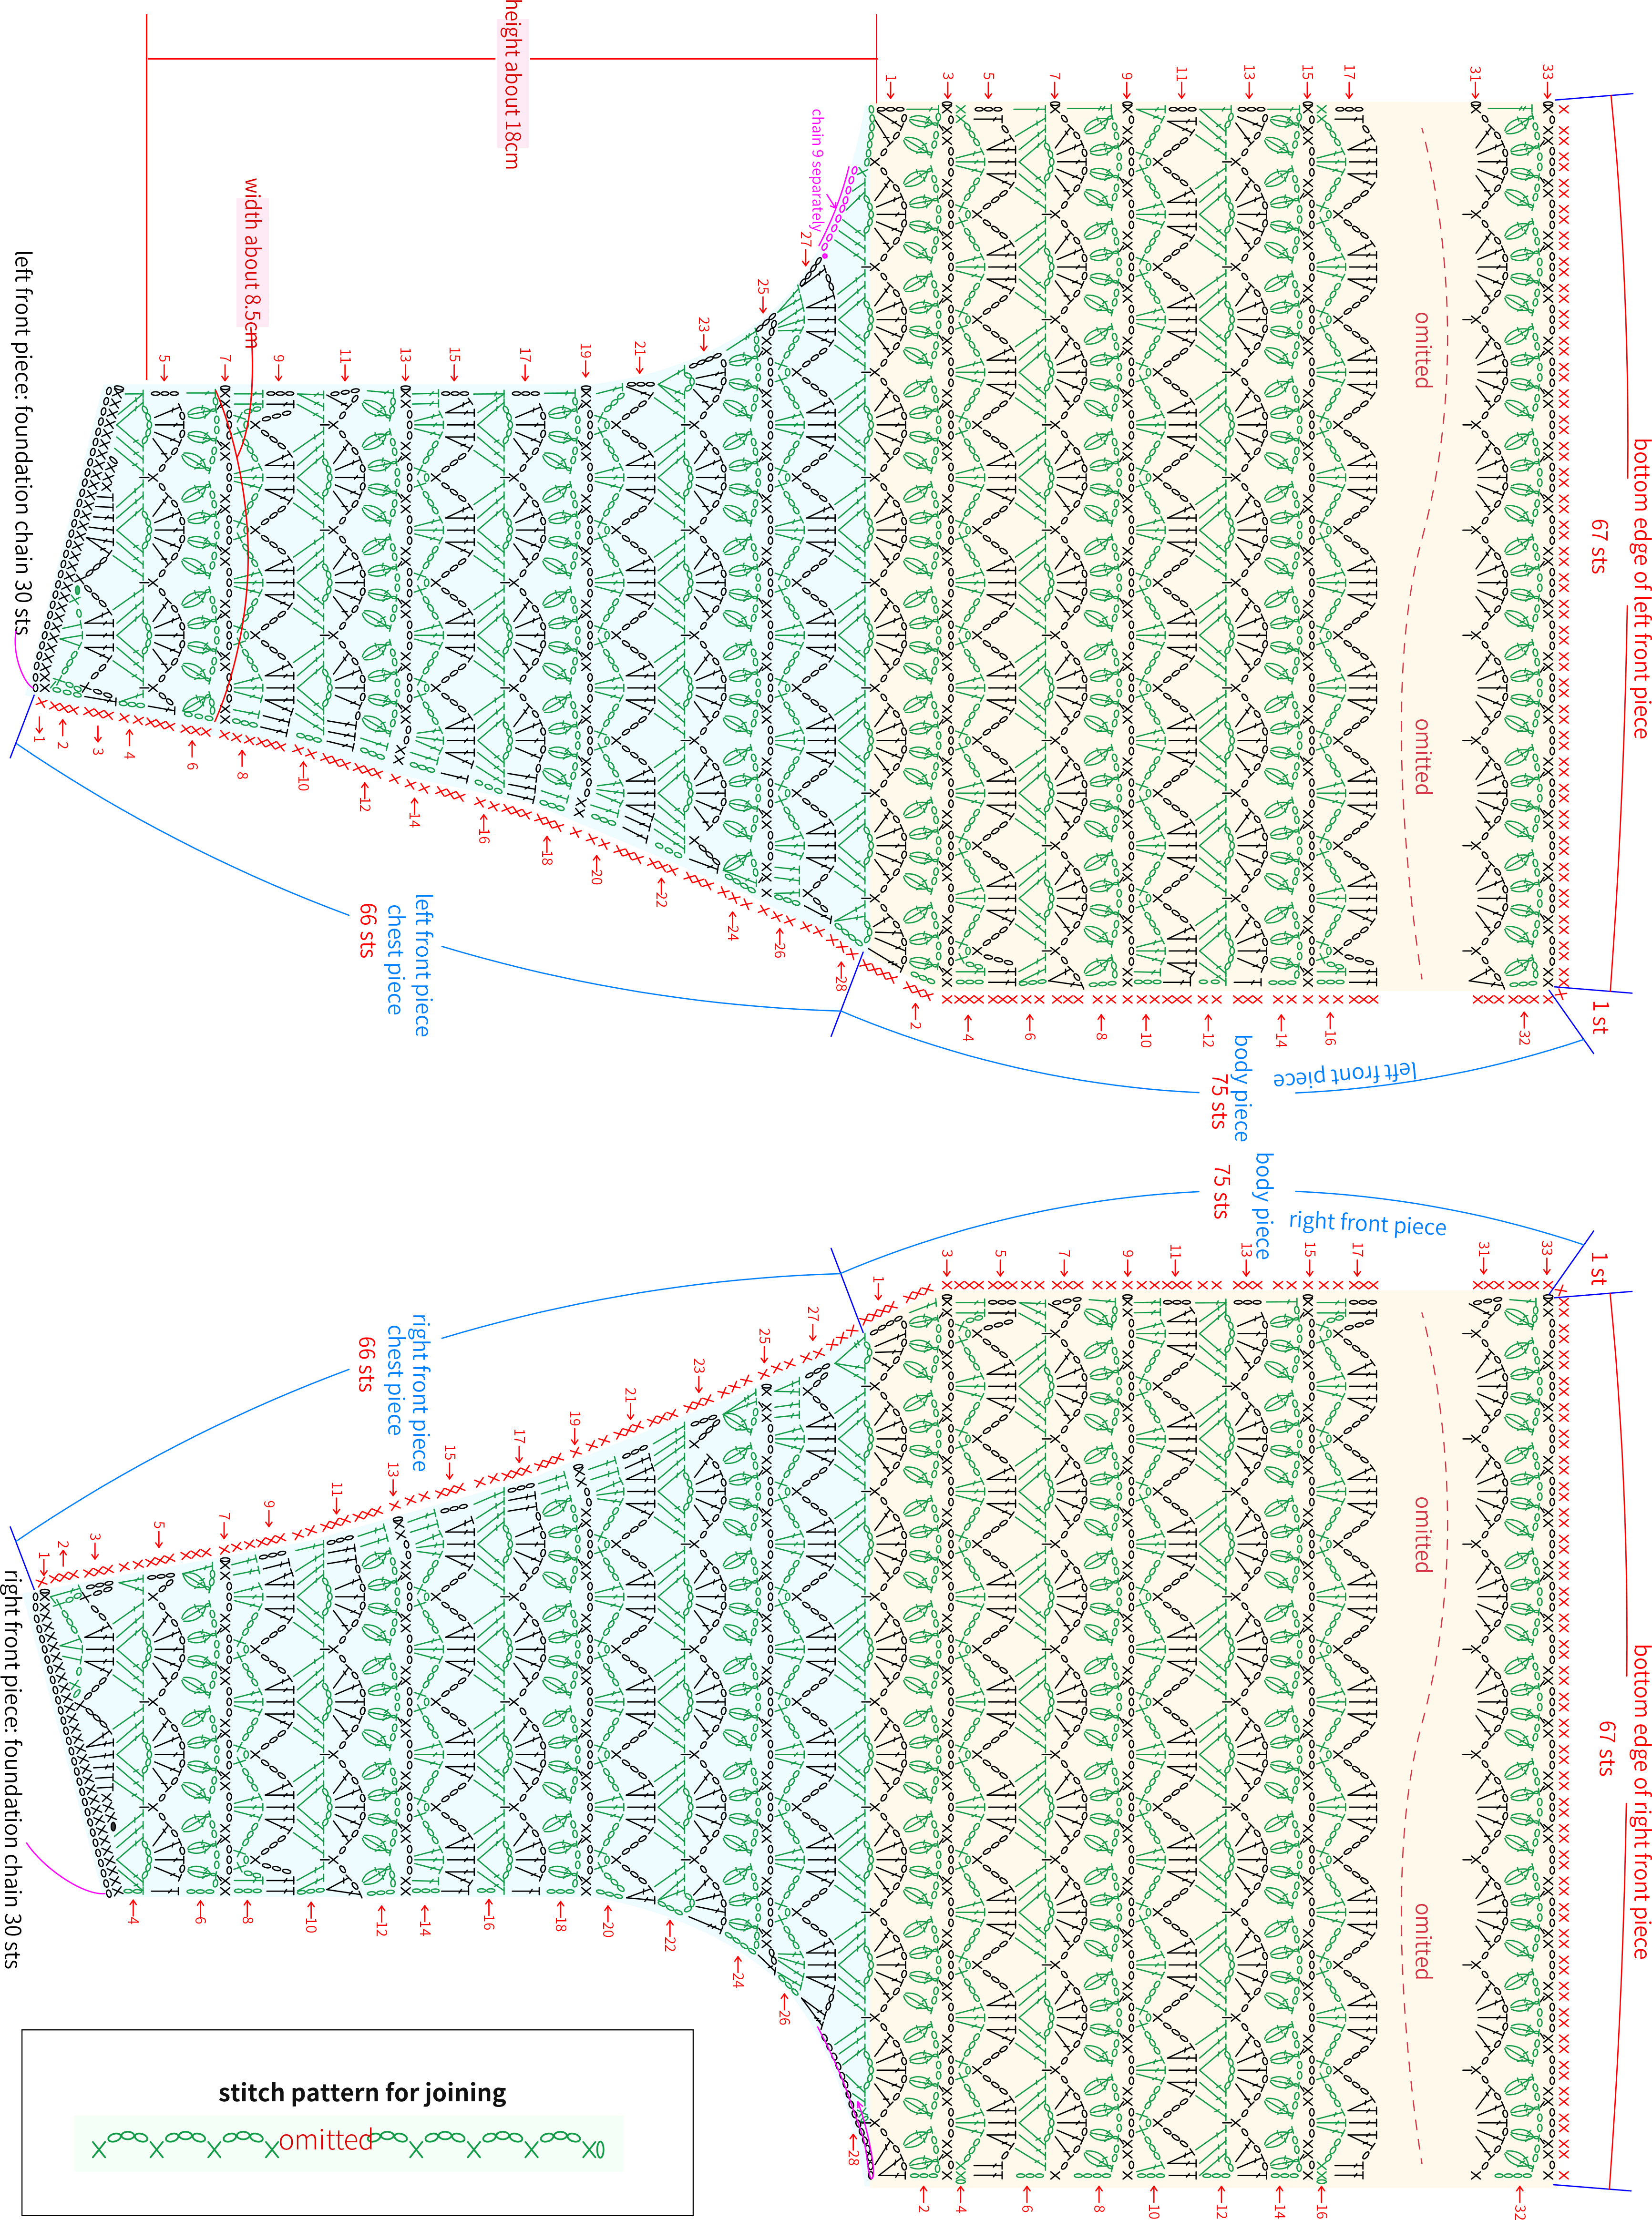
Part 2 Left and Right Front PiecesB 29' 42''
The front pieces and back piece are almost similar. Both start with foundation chain, then crochet back and forth, dividing into the chest piece and body piece. After completing them, join to the corresponding positions of the back piece.Please refer to the video demonstration for specifics.
Note: Compare with the back piece as you crochet to prevent size deviation.
Note: 1. When crocheting the first 3 rows, you need to carry the yarn across. 2. The red stitches are R1 of the front band.
Joining: Place the front pieces and back piece with right sides facing each other, then join the shoulders and side seams.
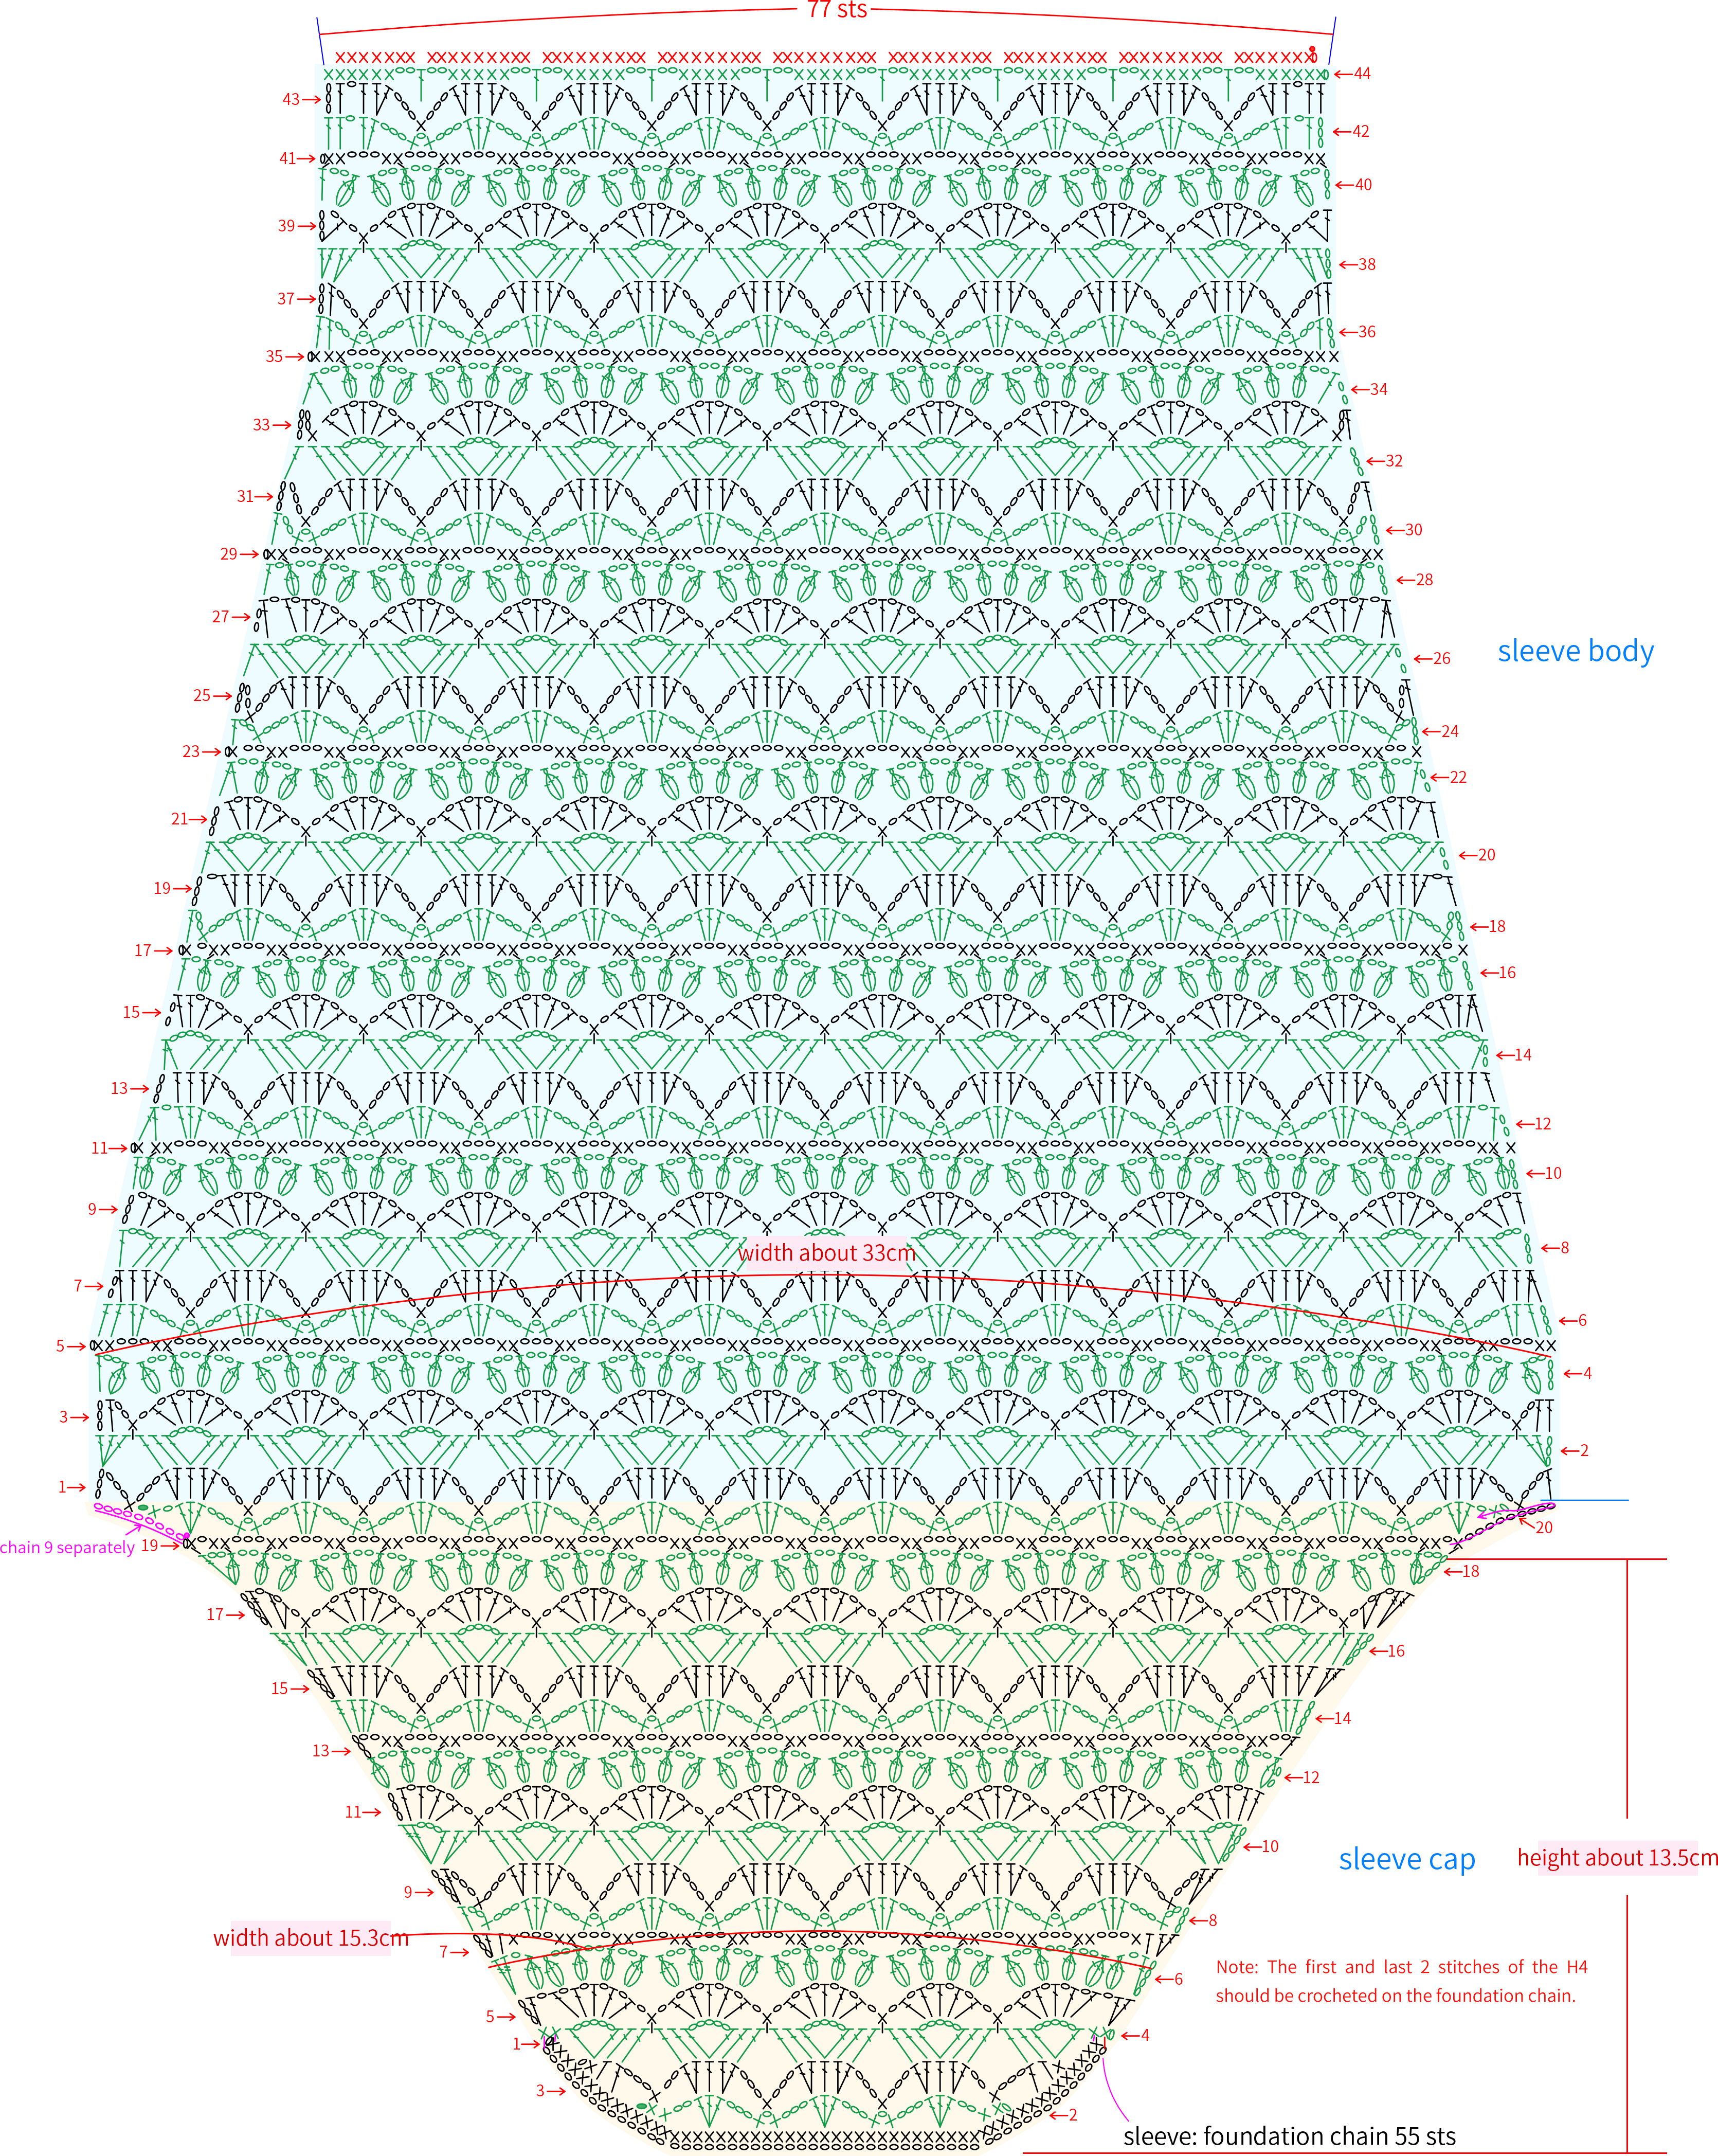
Part 3 SleeveC 33' 19''
There are 2 sleeves in total, and the crochet method is similar to that of the back piece. They are divided into sleeve cap, sleeve body, joining, and edging. First, complete the sleeve cap and sleeve body, then join the sleeve body. After that, at the armhole left by the back piece and the front pieces, join the sleeve cap. Then crochet the edging. Please refer to the video demonstration for specifics.
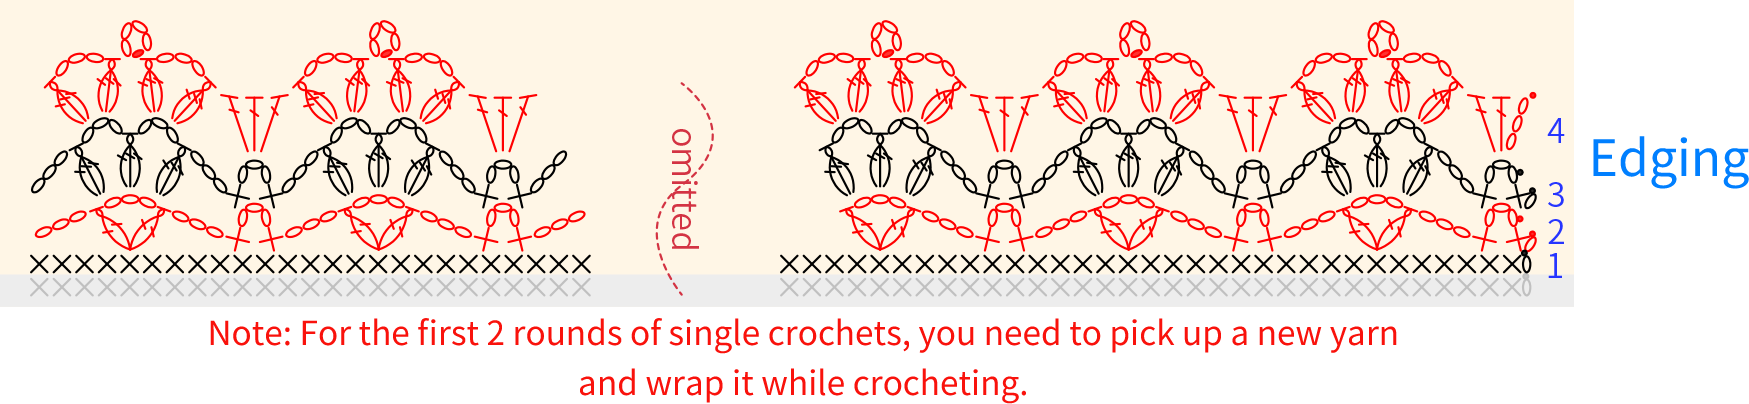
Part 4 Front BandD 48' 13''
The front band is crocheted in rounds after the left and right front pieces and the back piece have been joined together. The insertion point for R1 is indicated by red stitches on the back piece and the left and right front pieces. The crochet pattern is the same as the edging pattern for the sleeves. Please refer to the video demonstration for specifics.
Note: For the first 2 rounds of single crochets on the front band, you need to pick up another yarn and wrap it while crocheting.
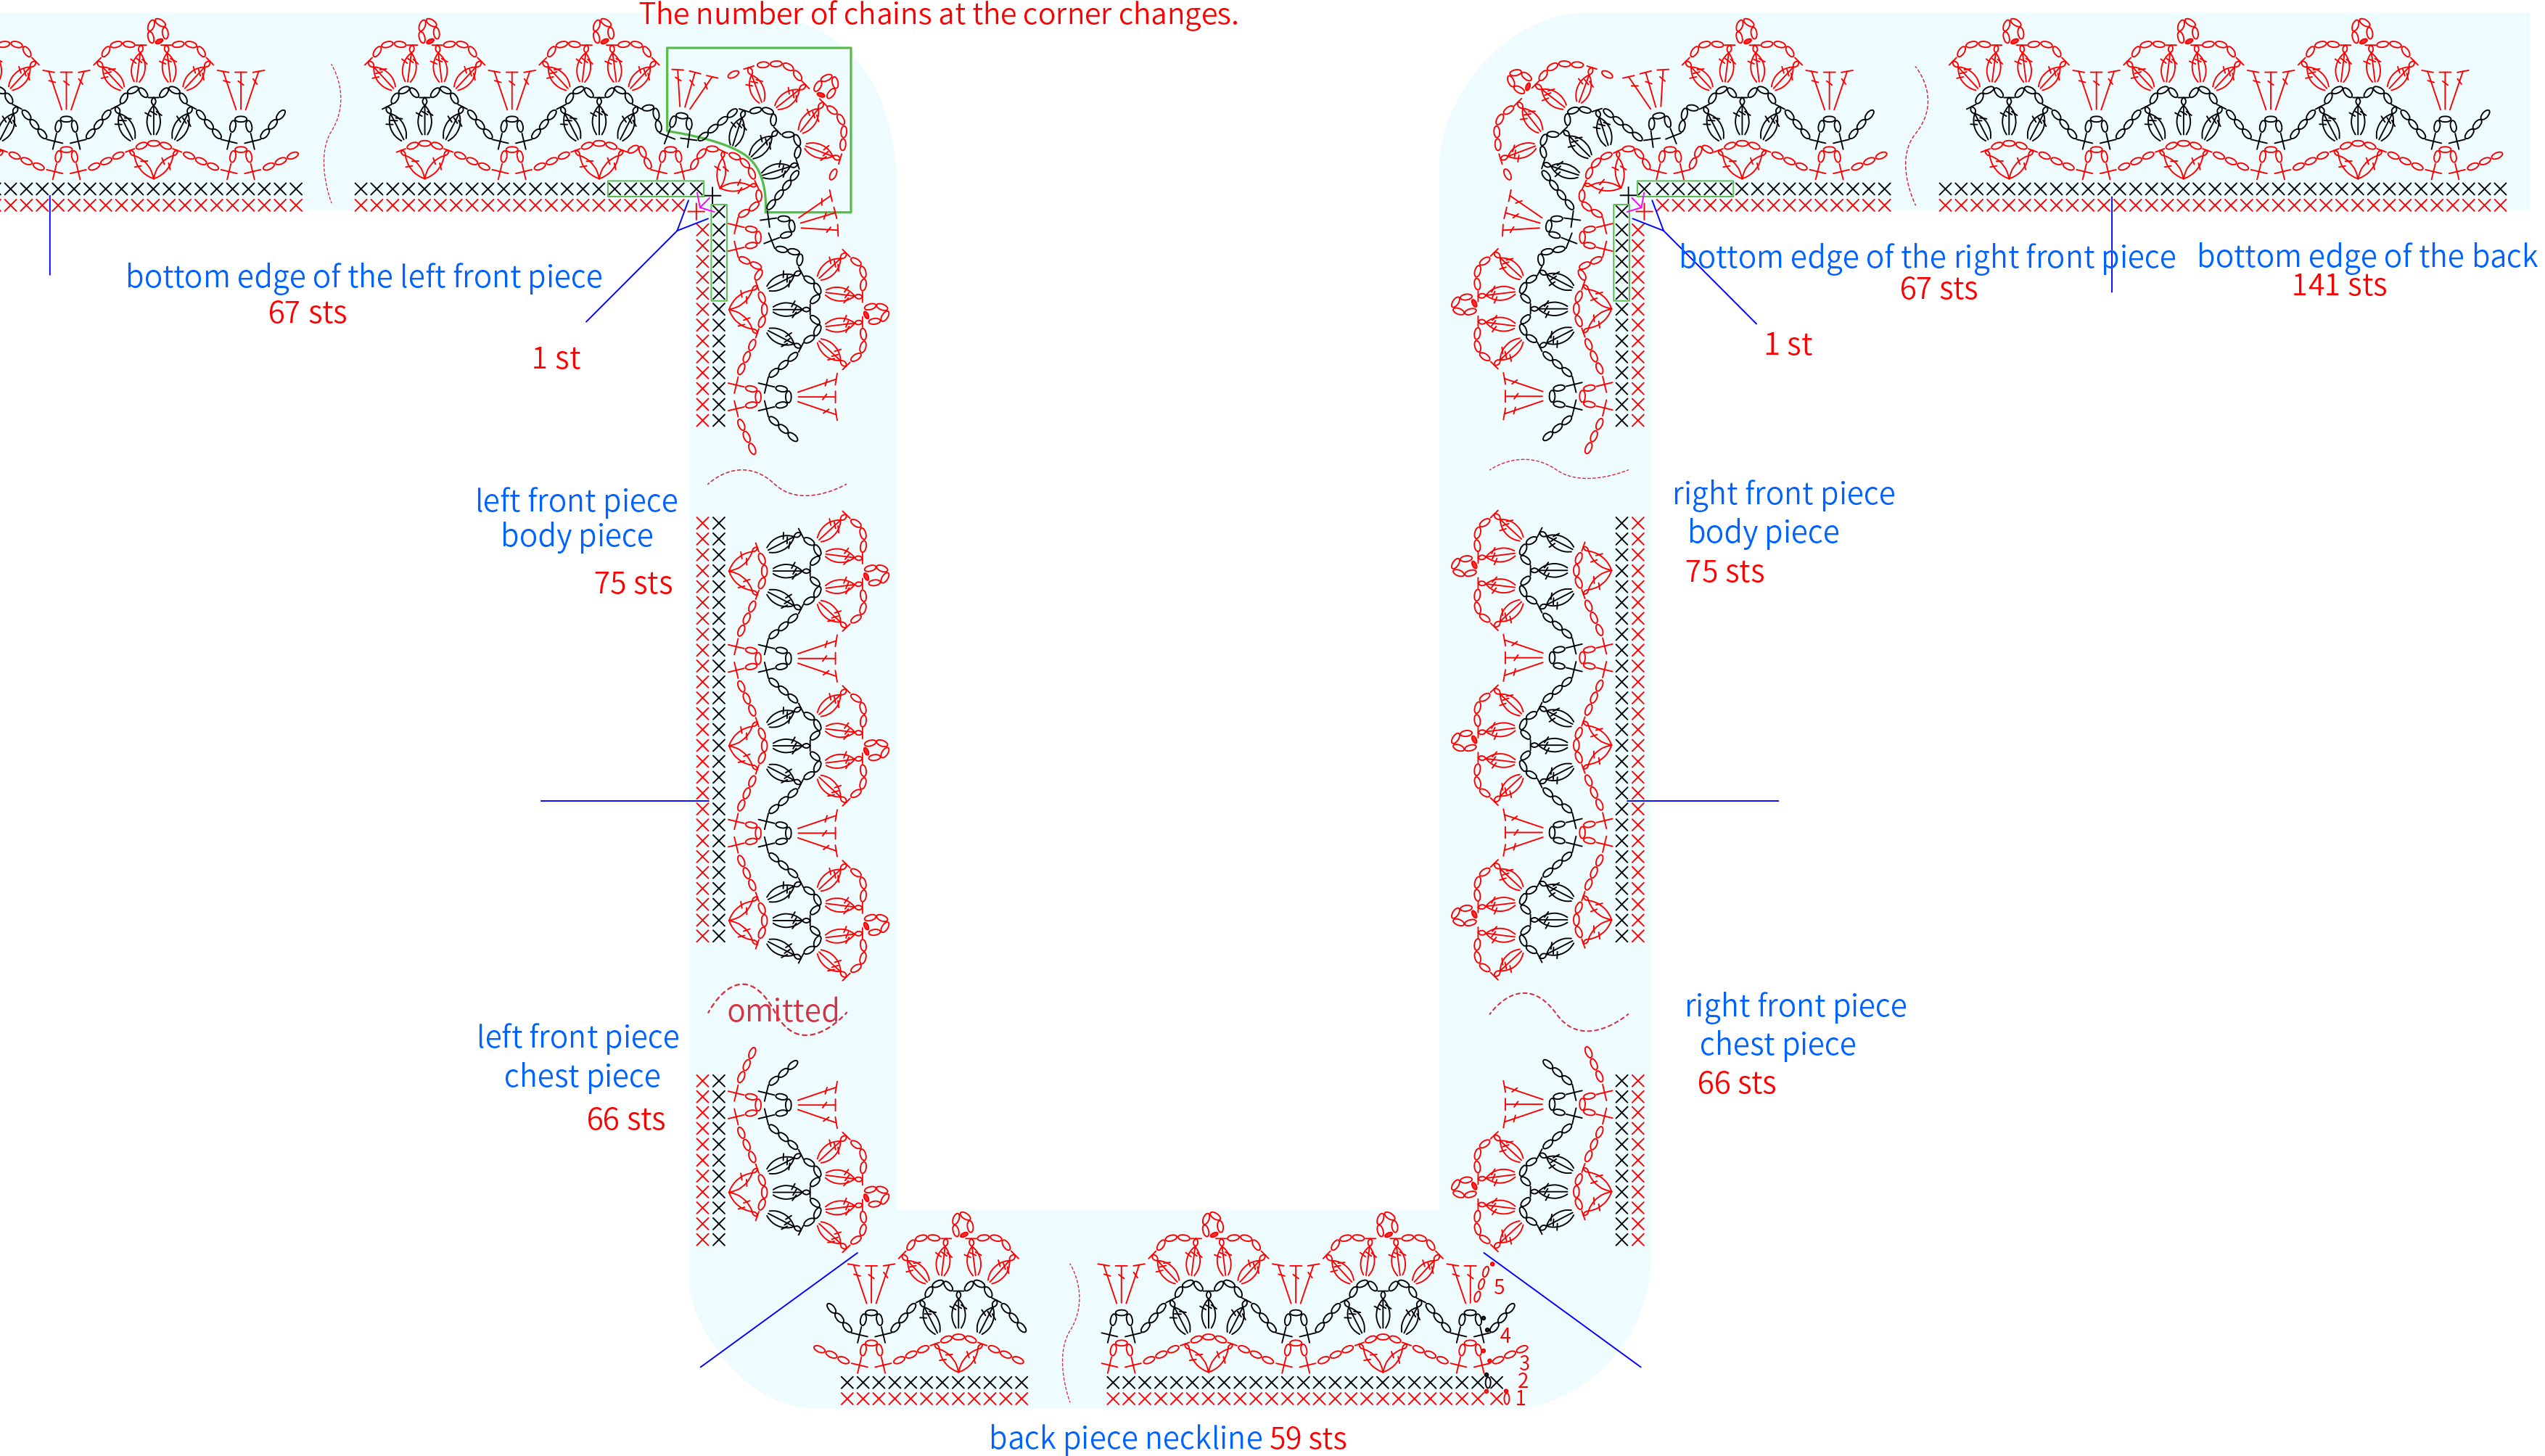
Part 5 DecorationE 49' 22''
The decorations include cuff decorations, cuff ties, front band decorations, and buttons. There are two cuff laces, each with a length of about 60cm. Please refer to the video demonstration for specifics.
Made by the community