Accessories / Shawl
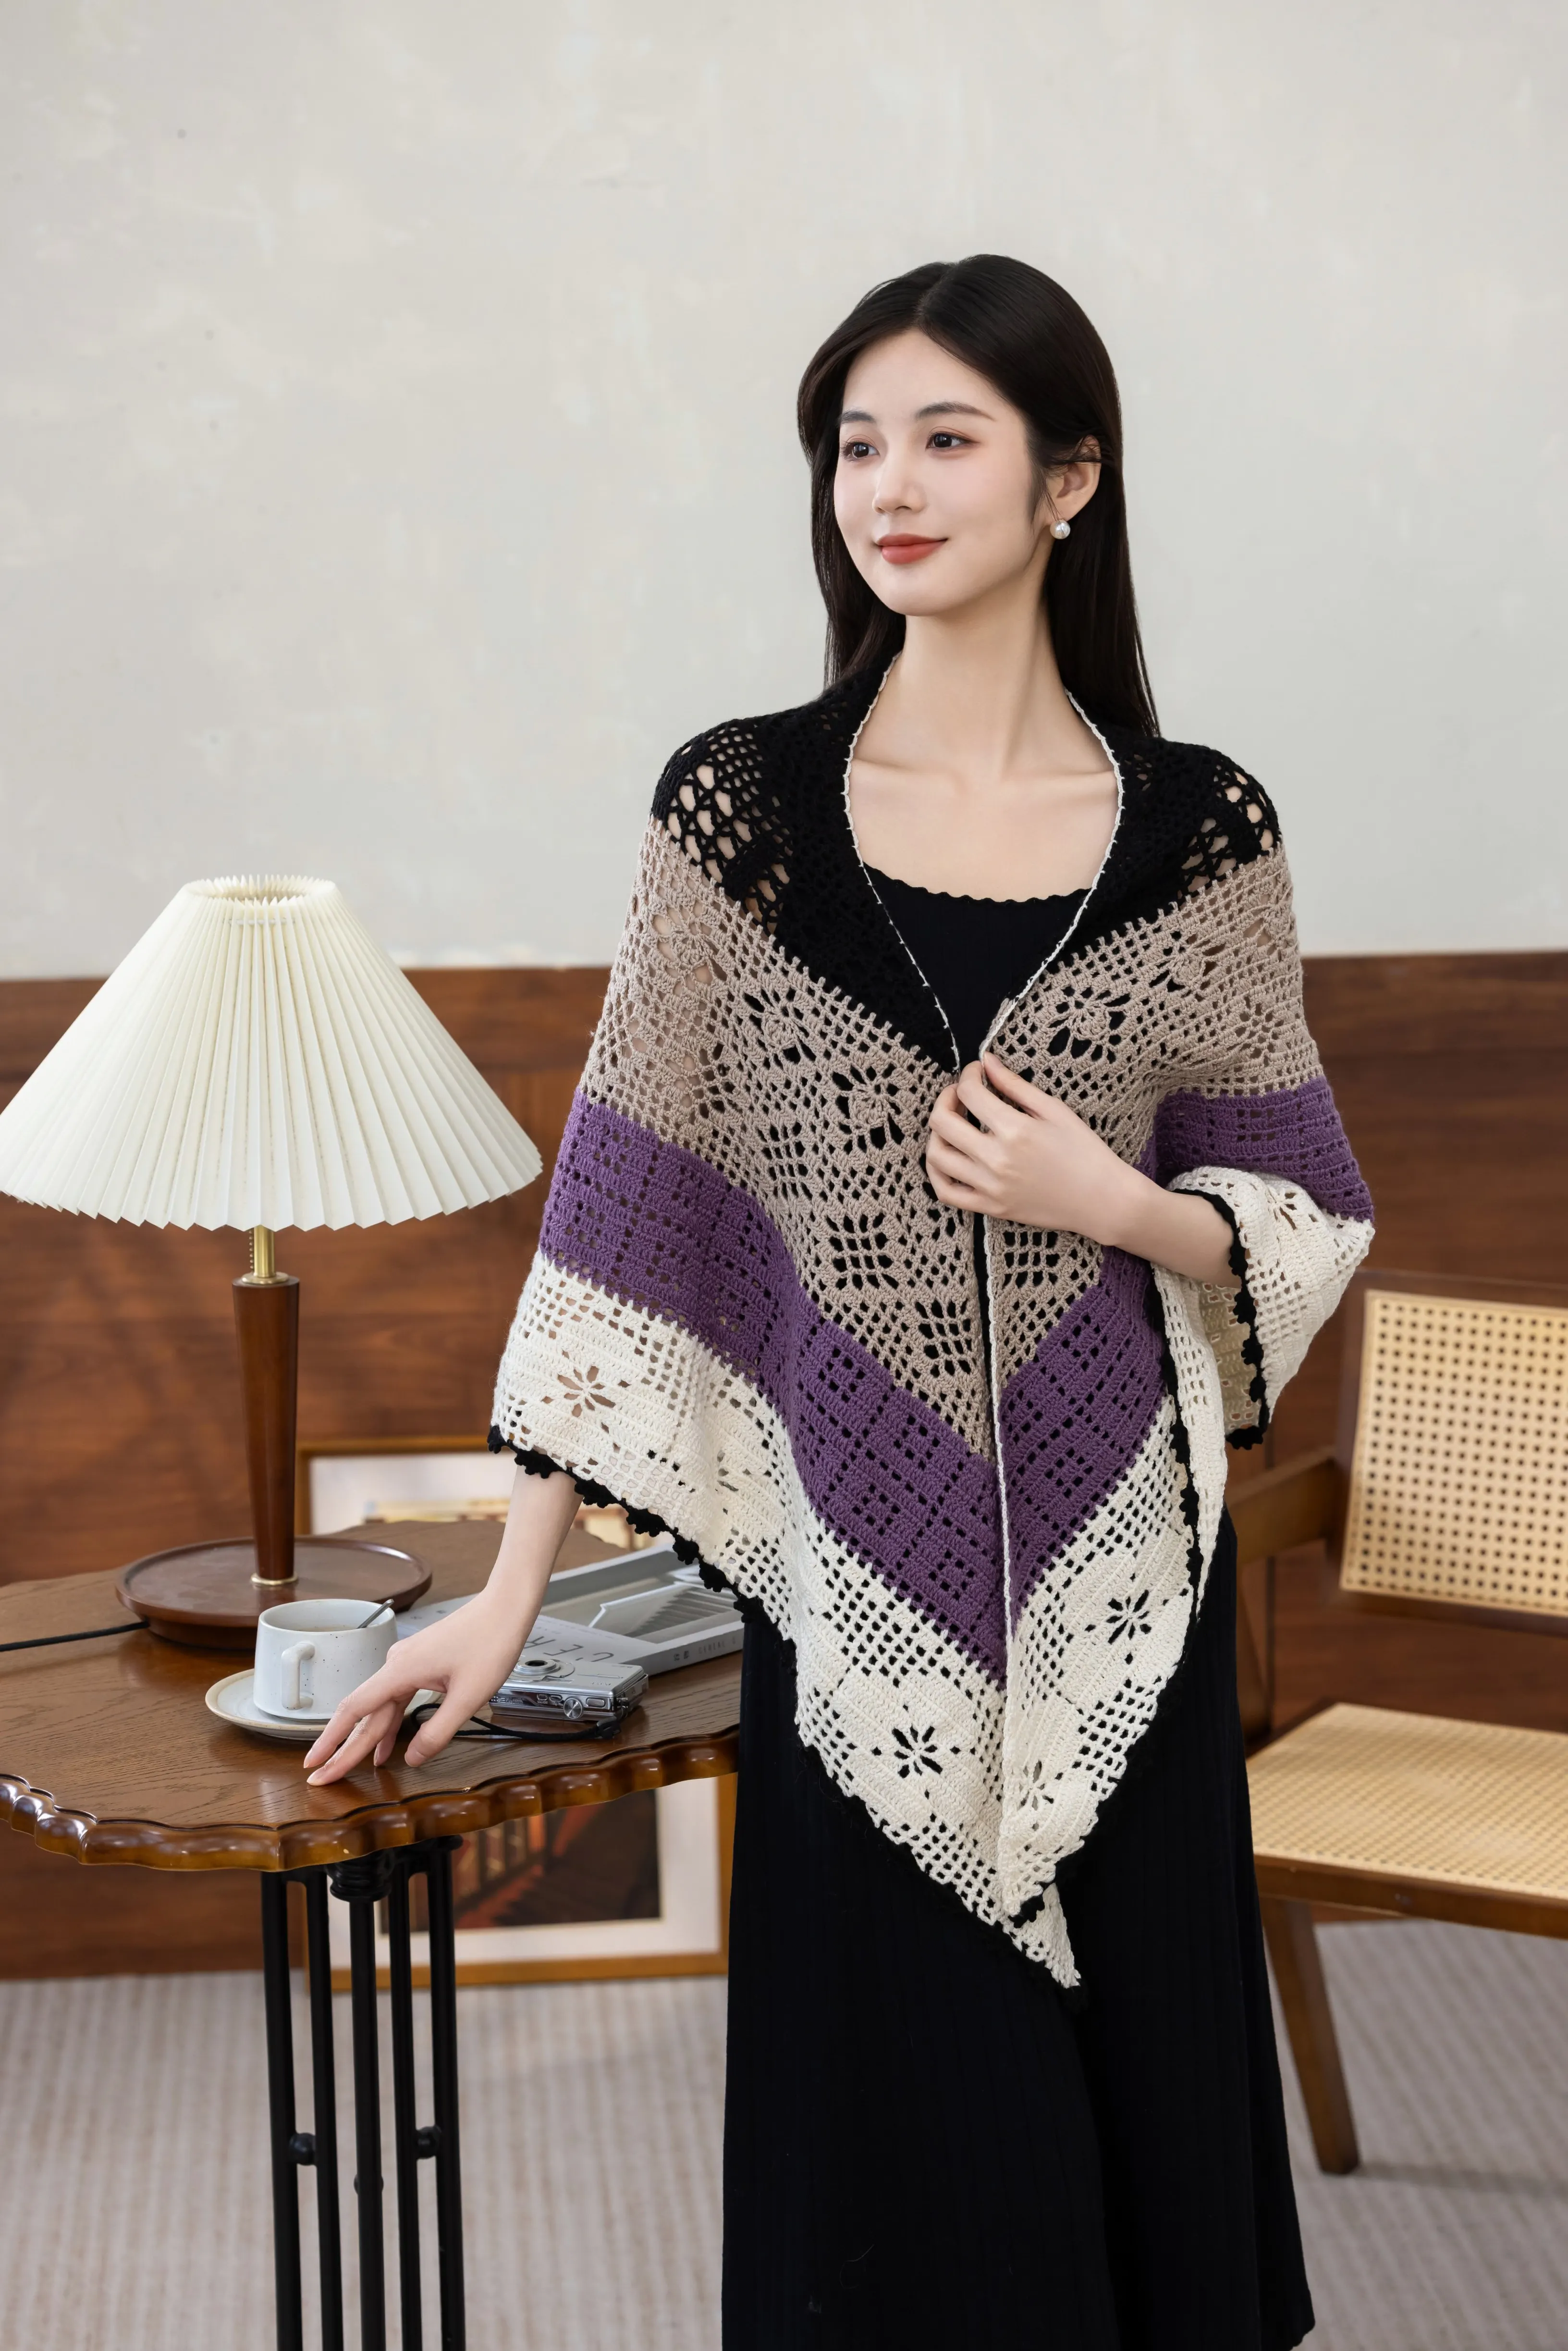
Datura Shawl
Project preview
See the finished project
Pattern format
Instructions
Watch and follow
Video tutorial
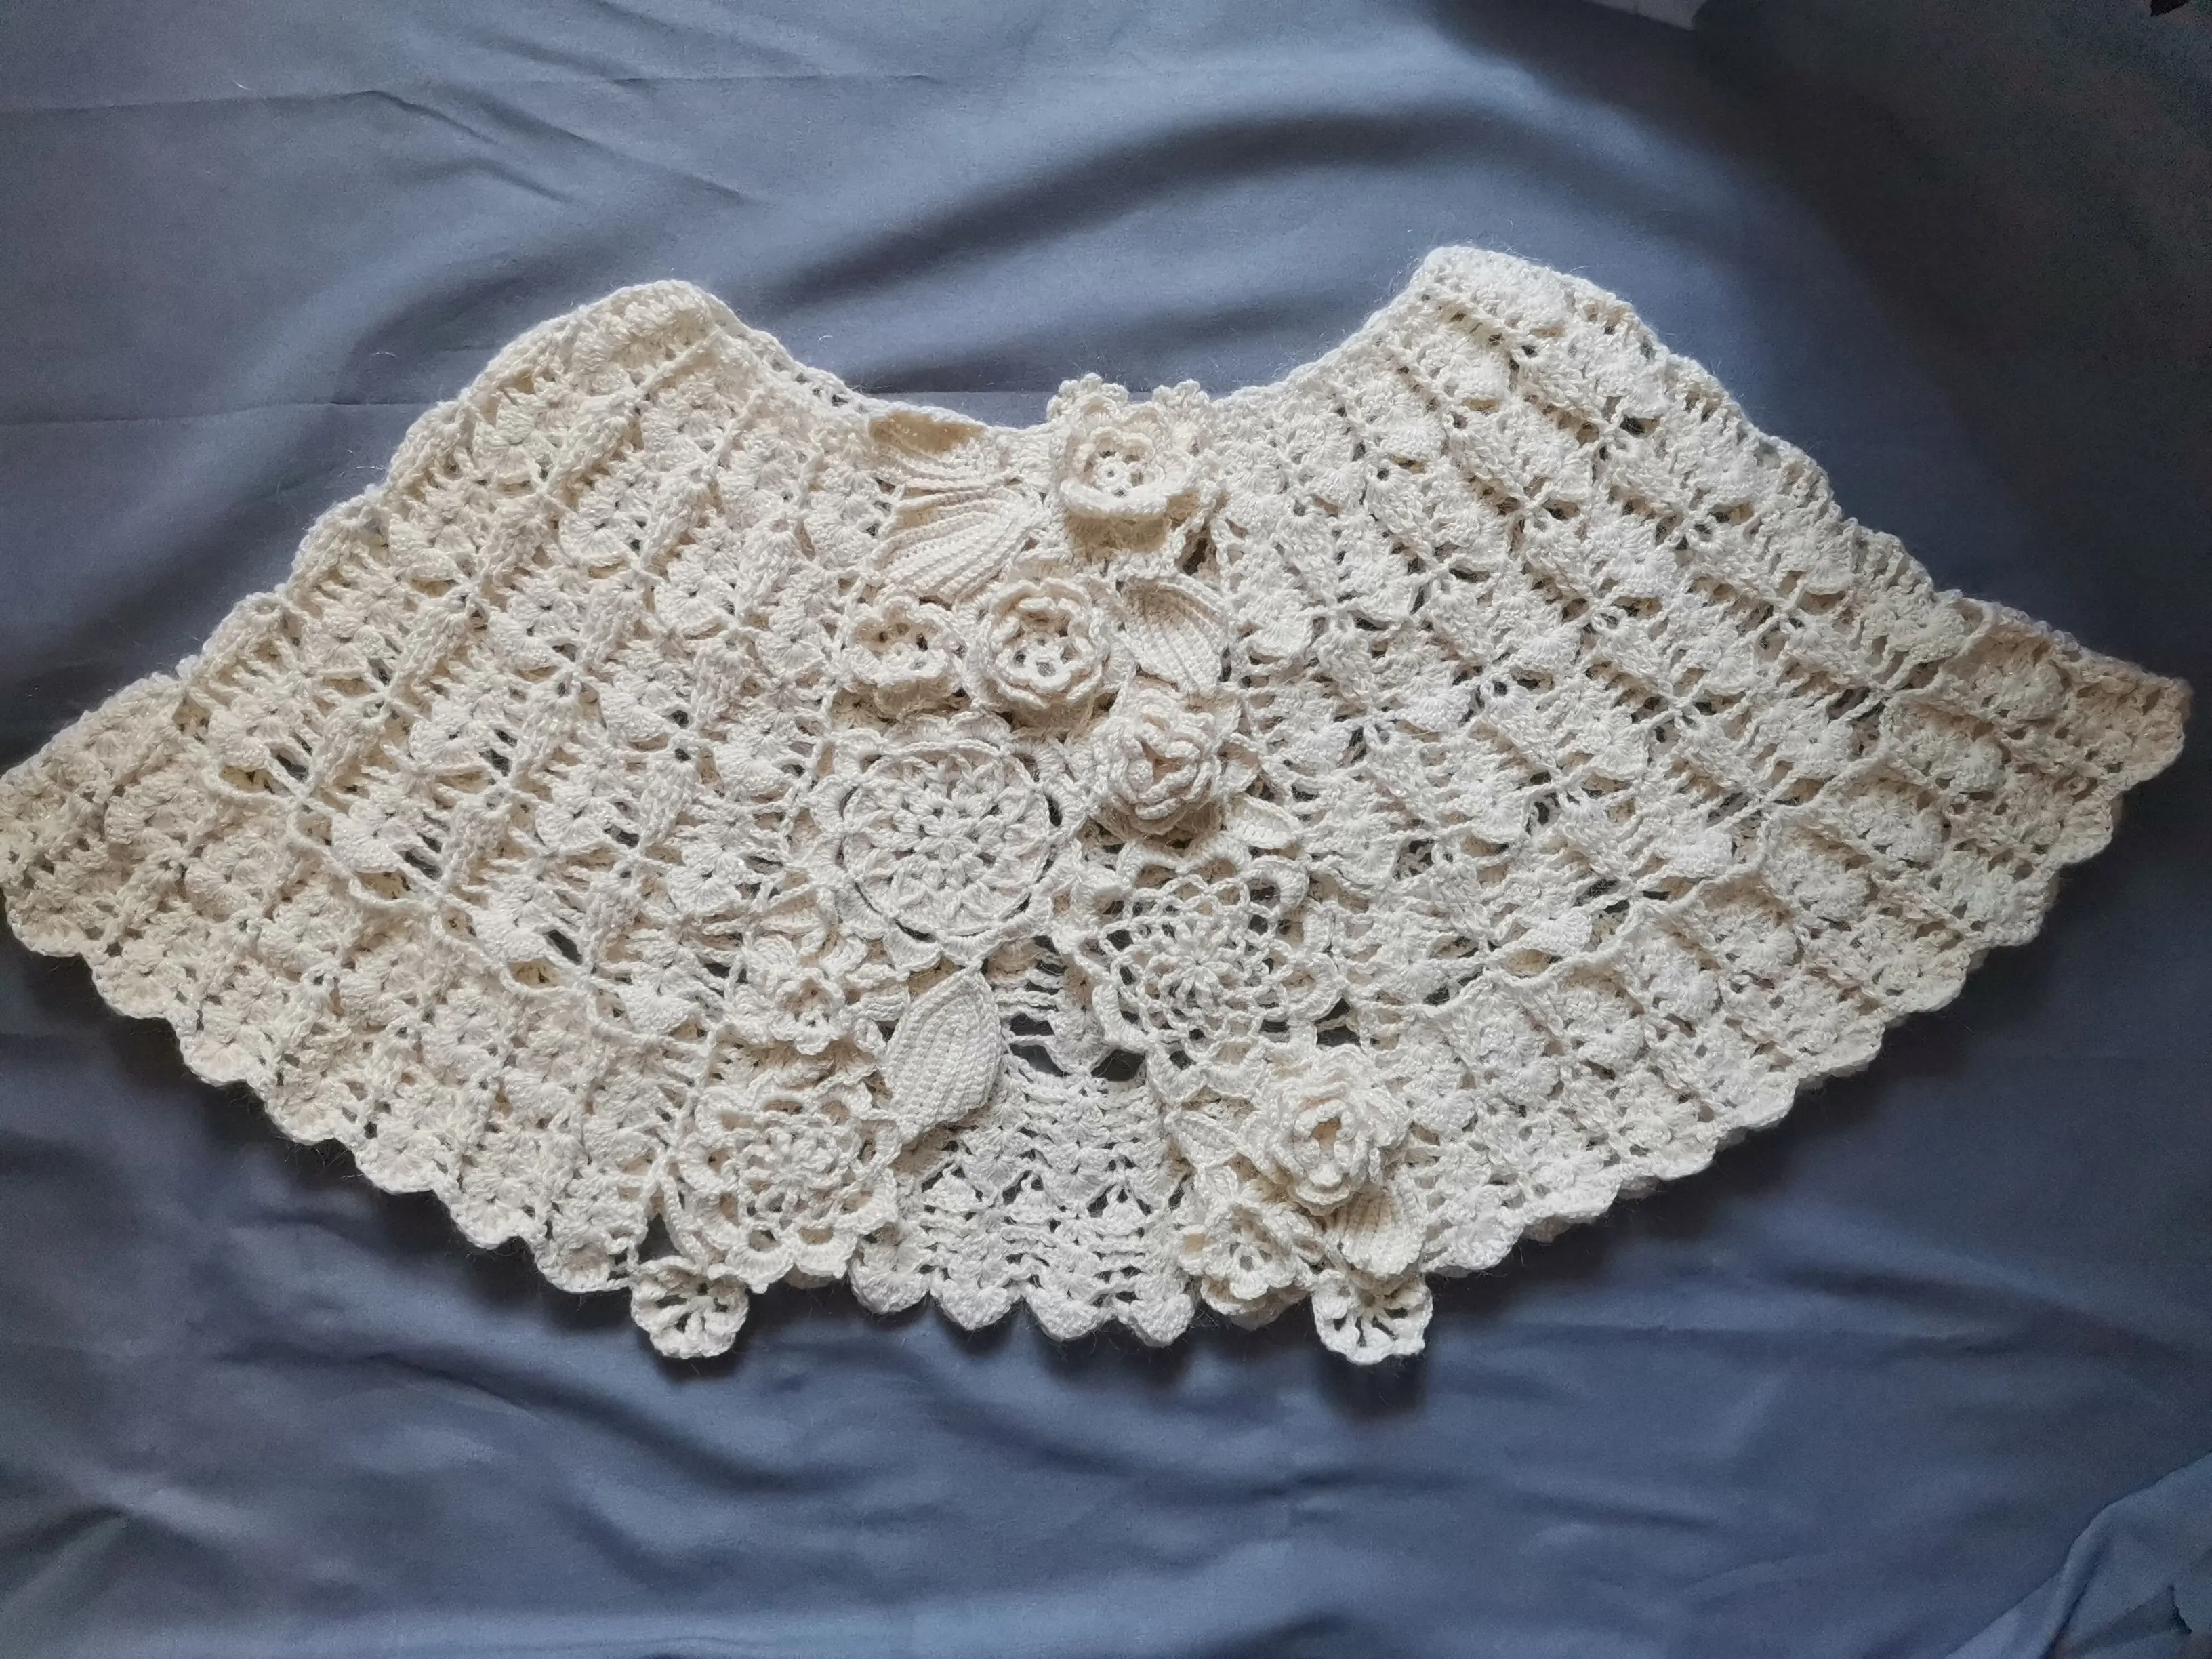
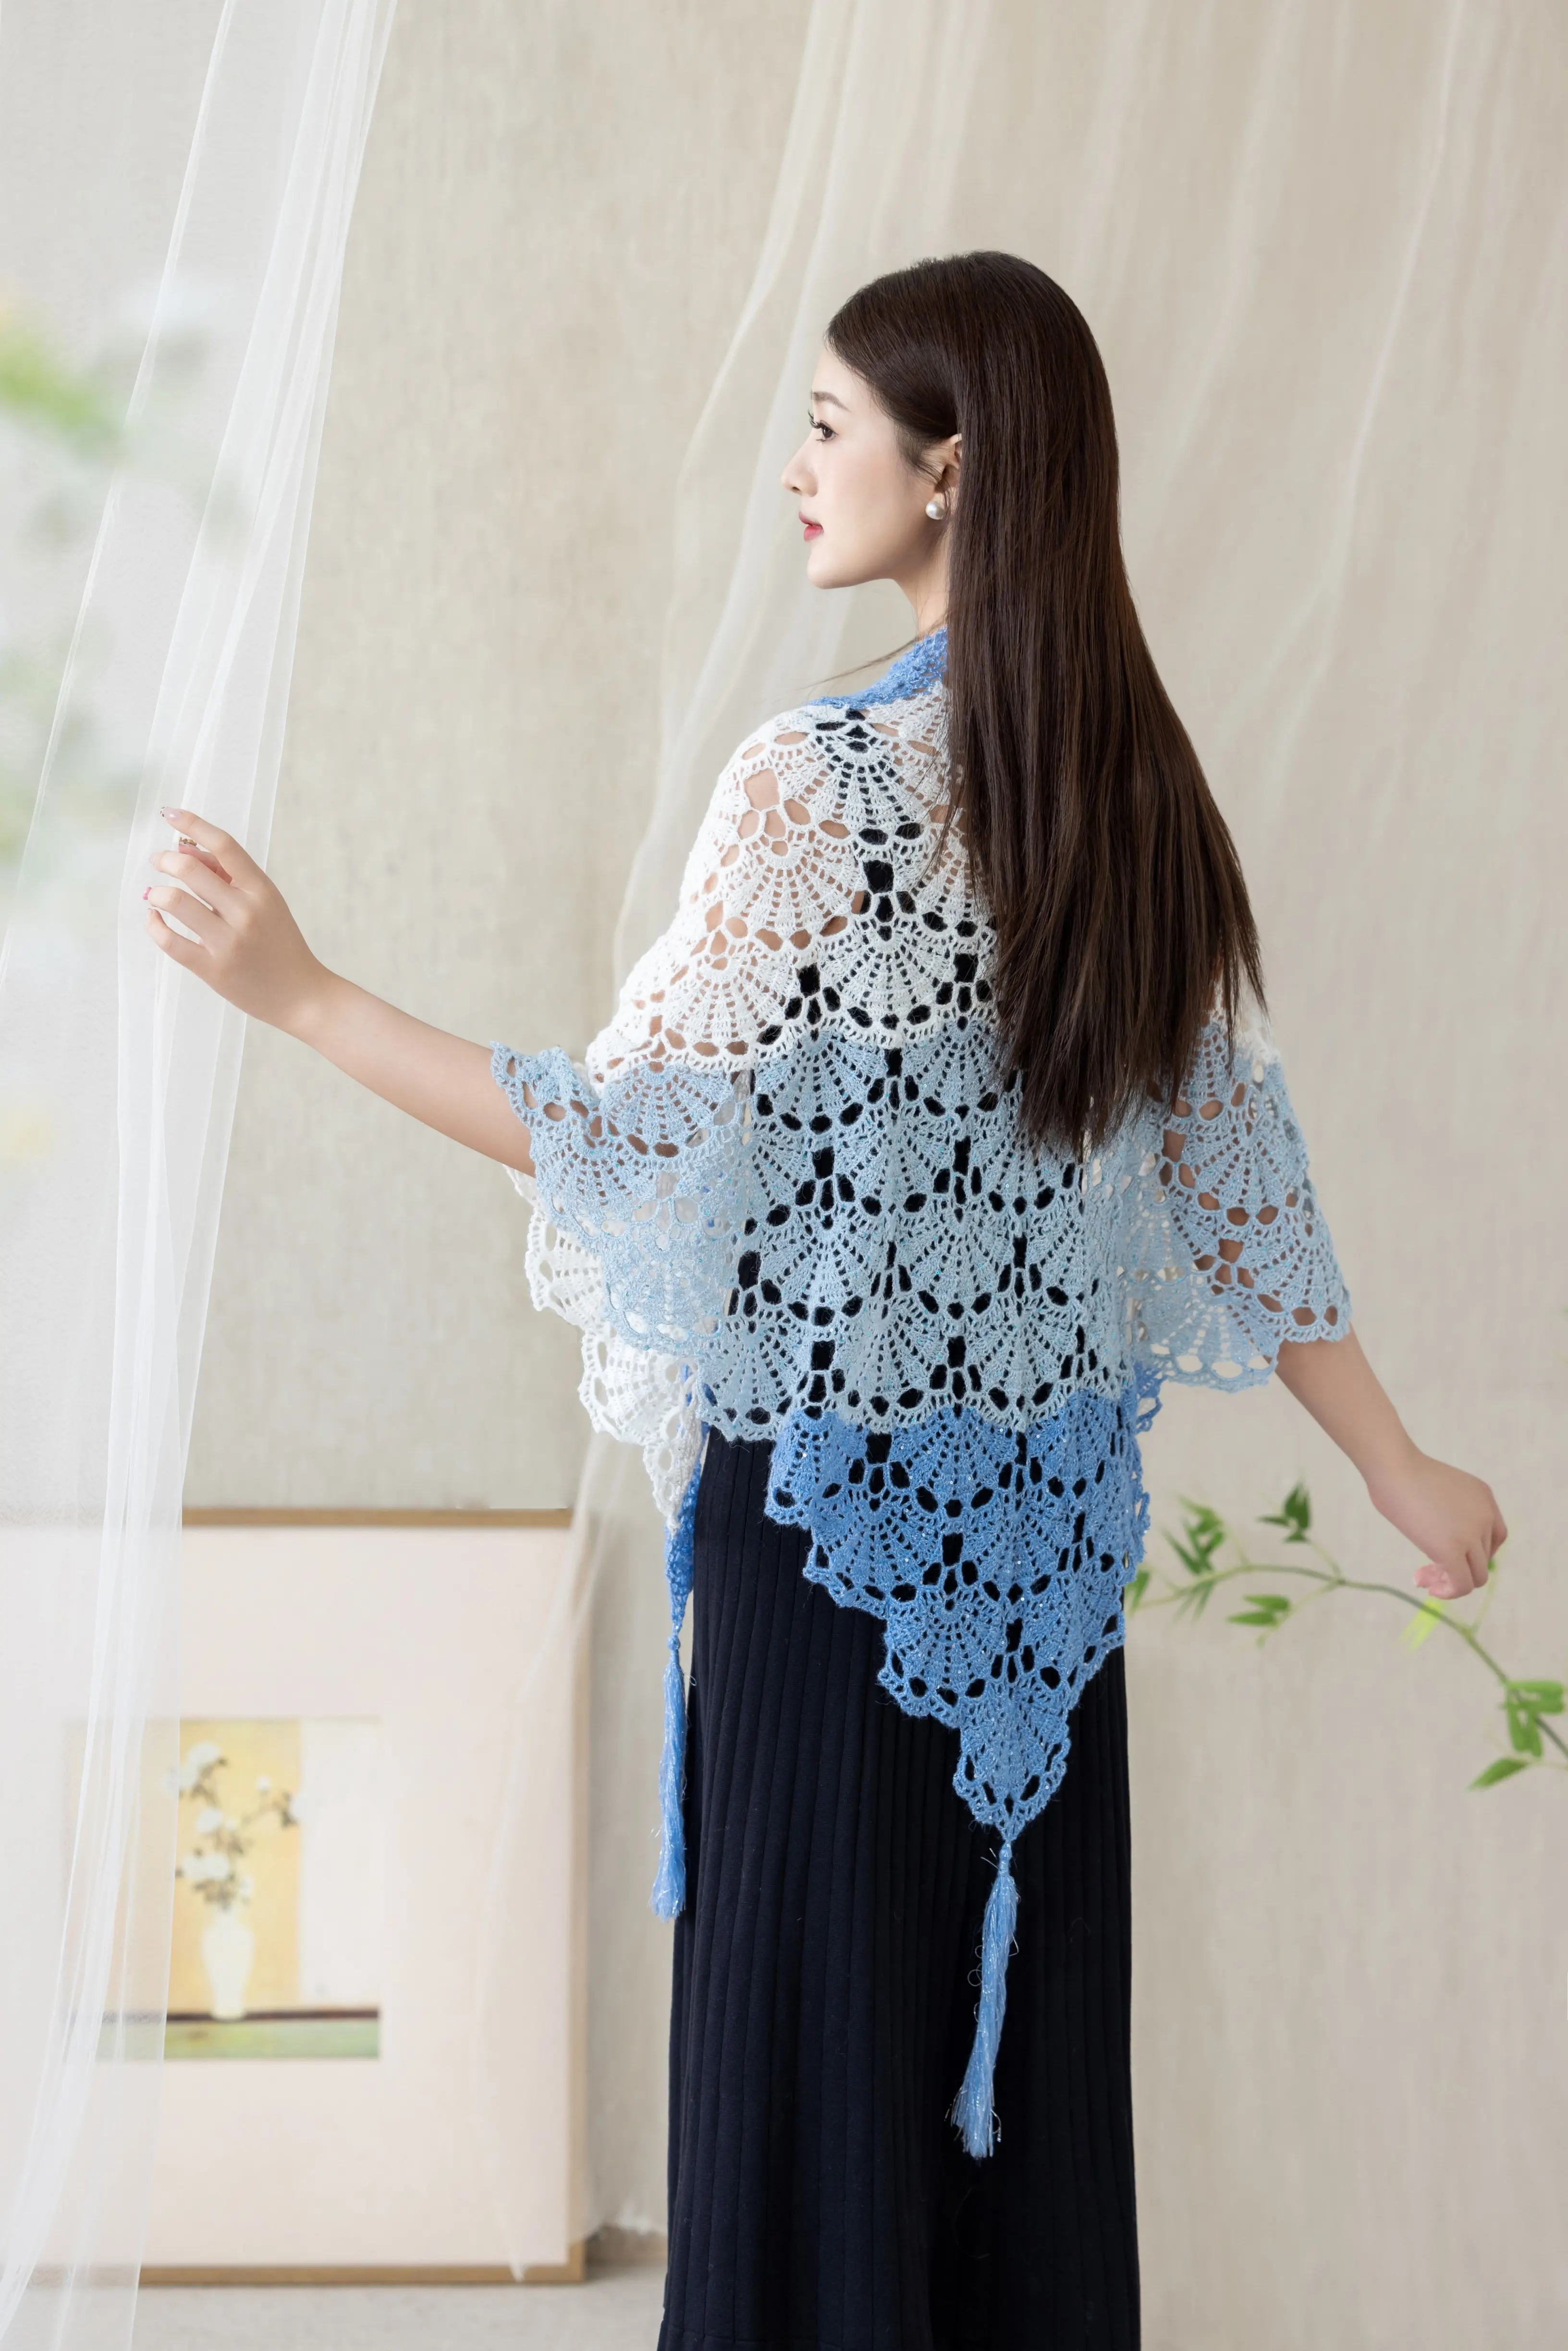
This shawl is divided into two parts: the main body and the motifs.

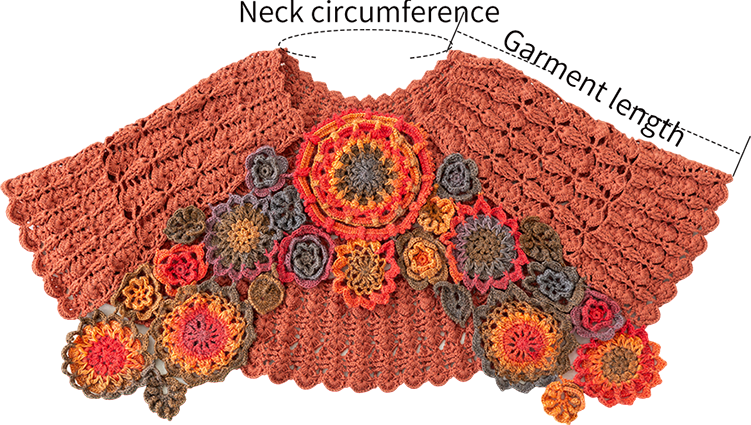
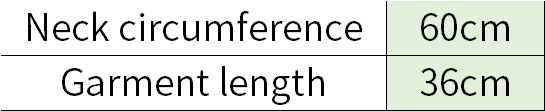
The handcrafted measurements may have an error of 1 to 2 cm. Due to variations in individual tension, the size of the sample is for reference only.
Materials: Susan's Family Morandi 4# and Monet Impression
Hook: 2.00 mm crochet hook

Chart Key








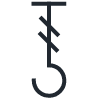














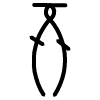
Note:
1,This pattern is making in Chinese crochet pattern terms, and the stitch name is written using American terminology. All measurements in charts are in cm.

Part 1 Main pieceA 00' 20''
The main part is divided into the main fabric piece and the edging. The main fabric piece is worked using the pattern cast-on method, working back and forth. After completing it, add the edging. Please refer to the video demonstration for details.
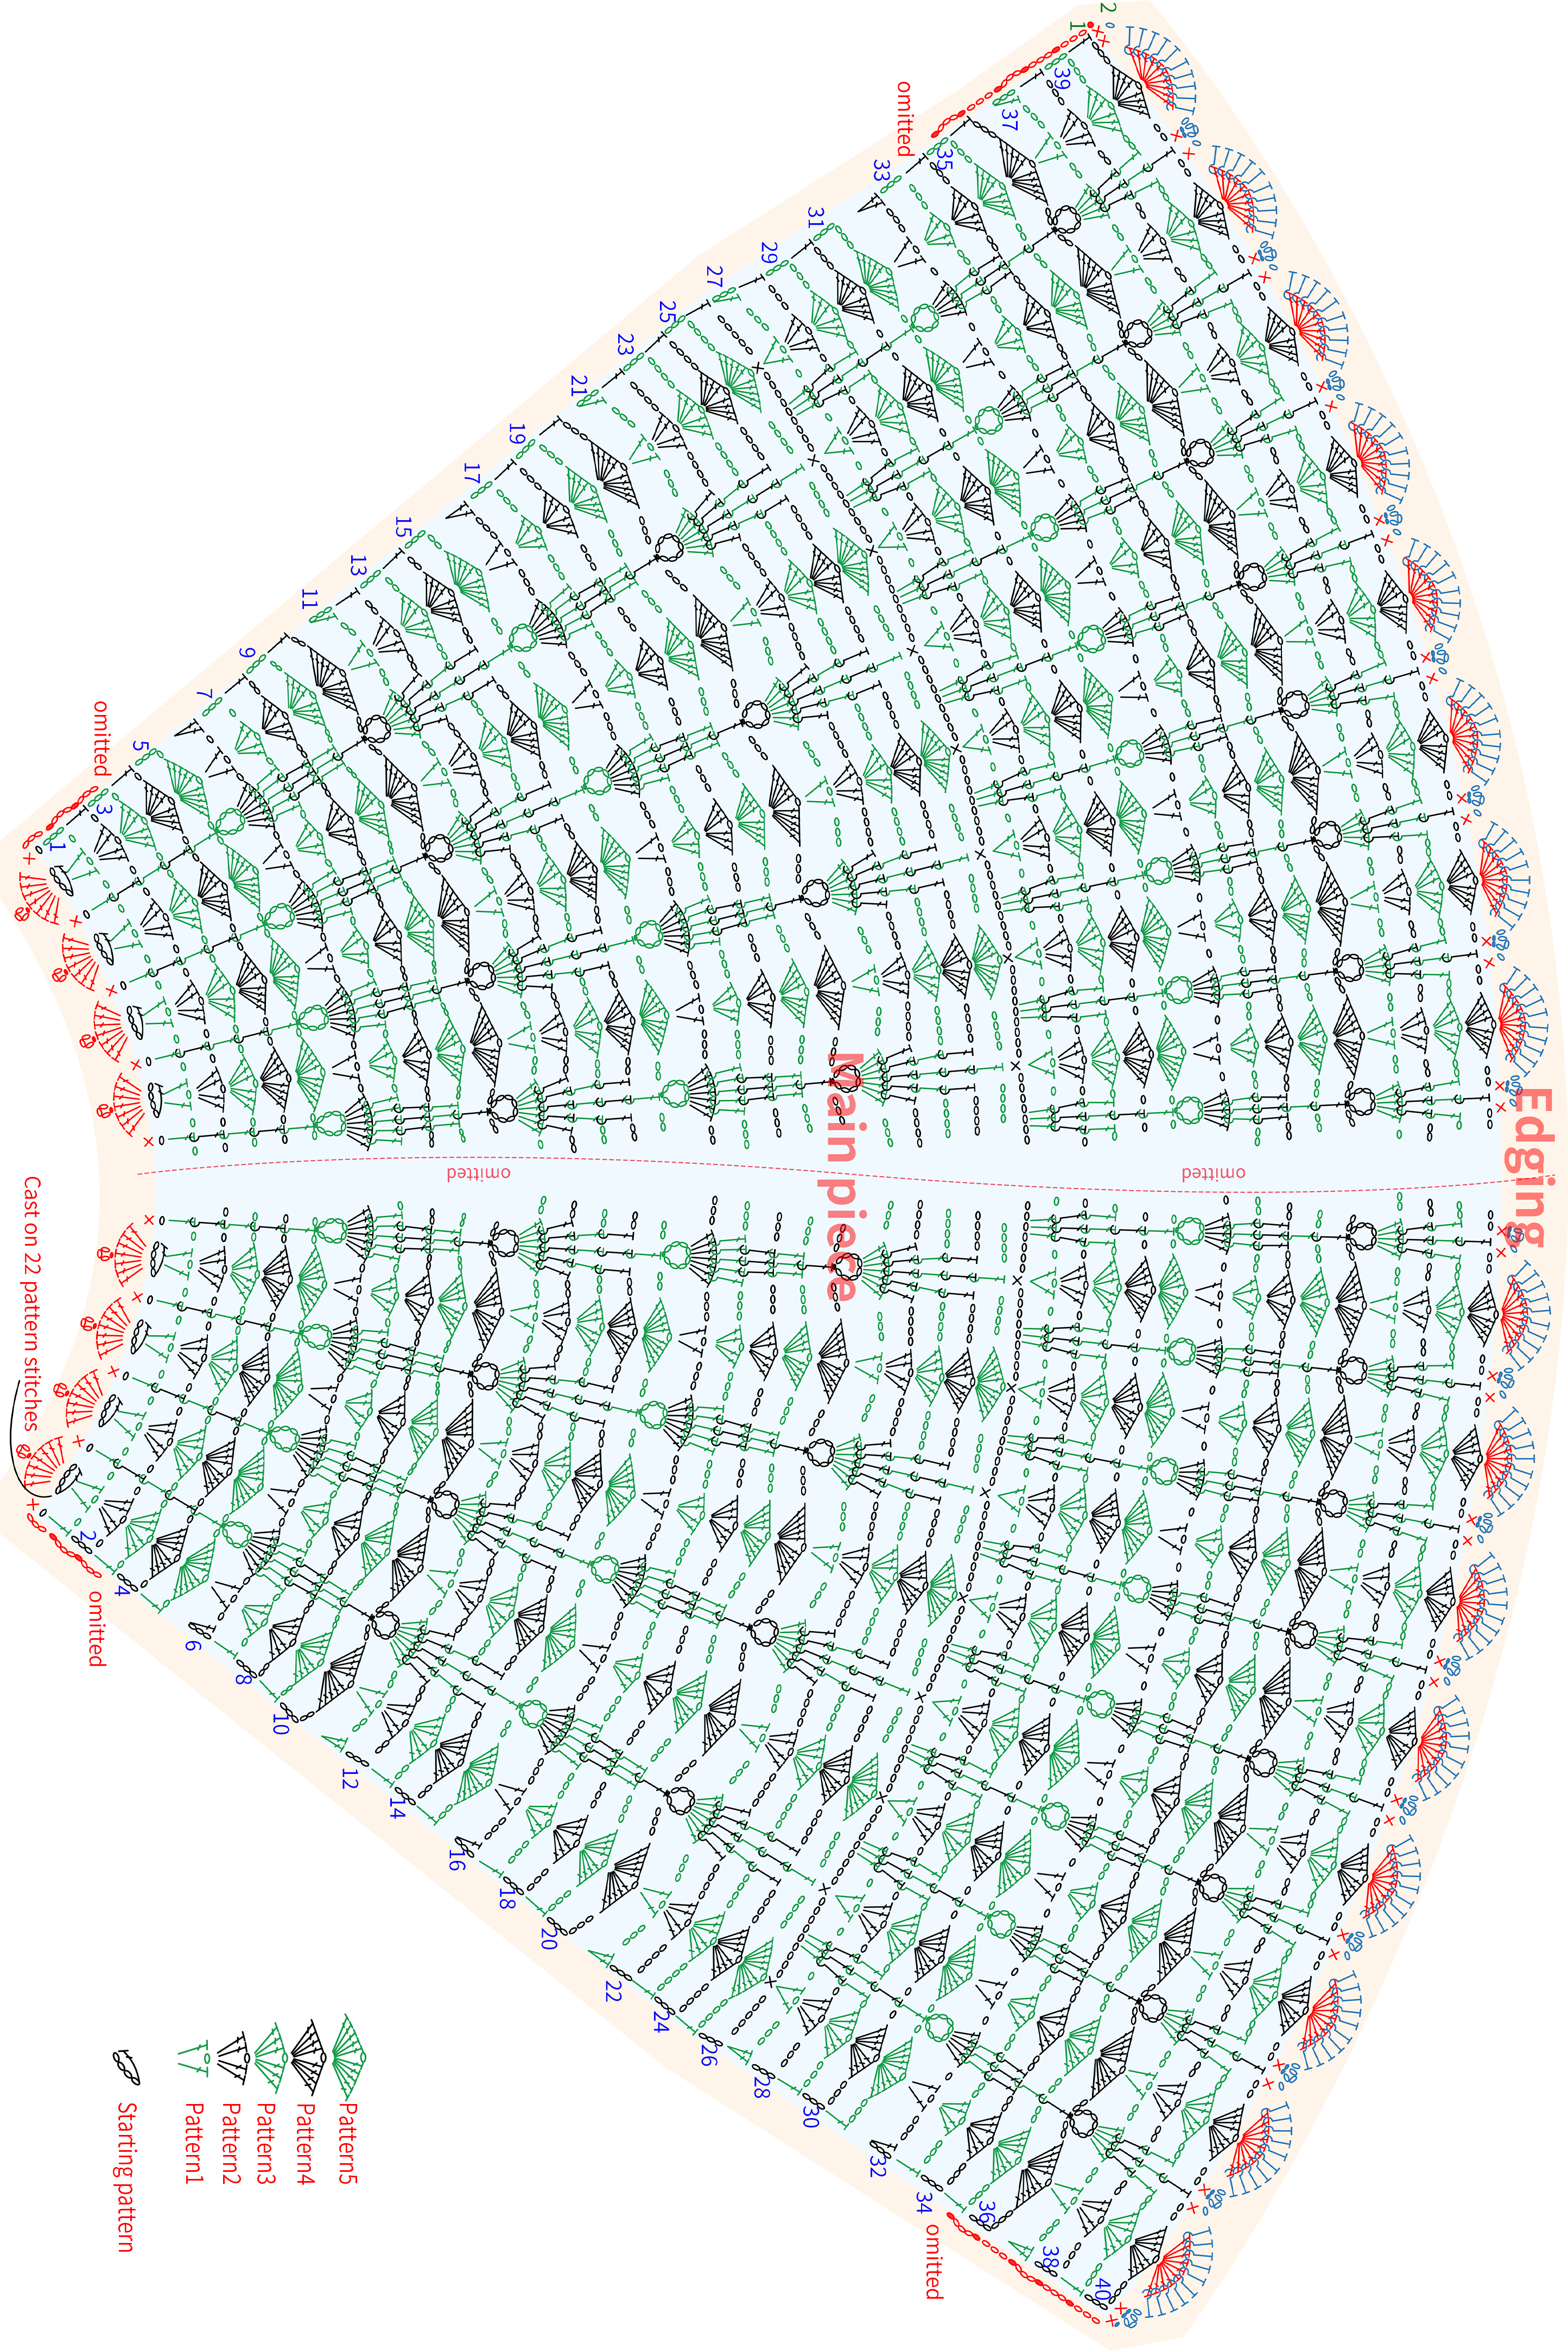
Note:
1. After completing the 5th row of the main piece, the height should be about 4.5 cm. If there's a significant difference, you need to adjust your tension and re-crochet to avoid affecting the finished measurement.
2. Since the pattern chart shows the texture on the right side of the fabric, when working on the wrong side, the front post stitch symbol corresponds to crocheting a back post stitch, and the back post stitch symbol corresponds to crocheting a front post stitch.
Part2 MotifB 33' 33''
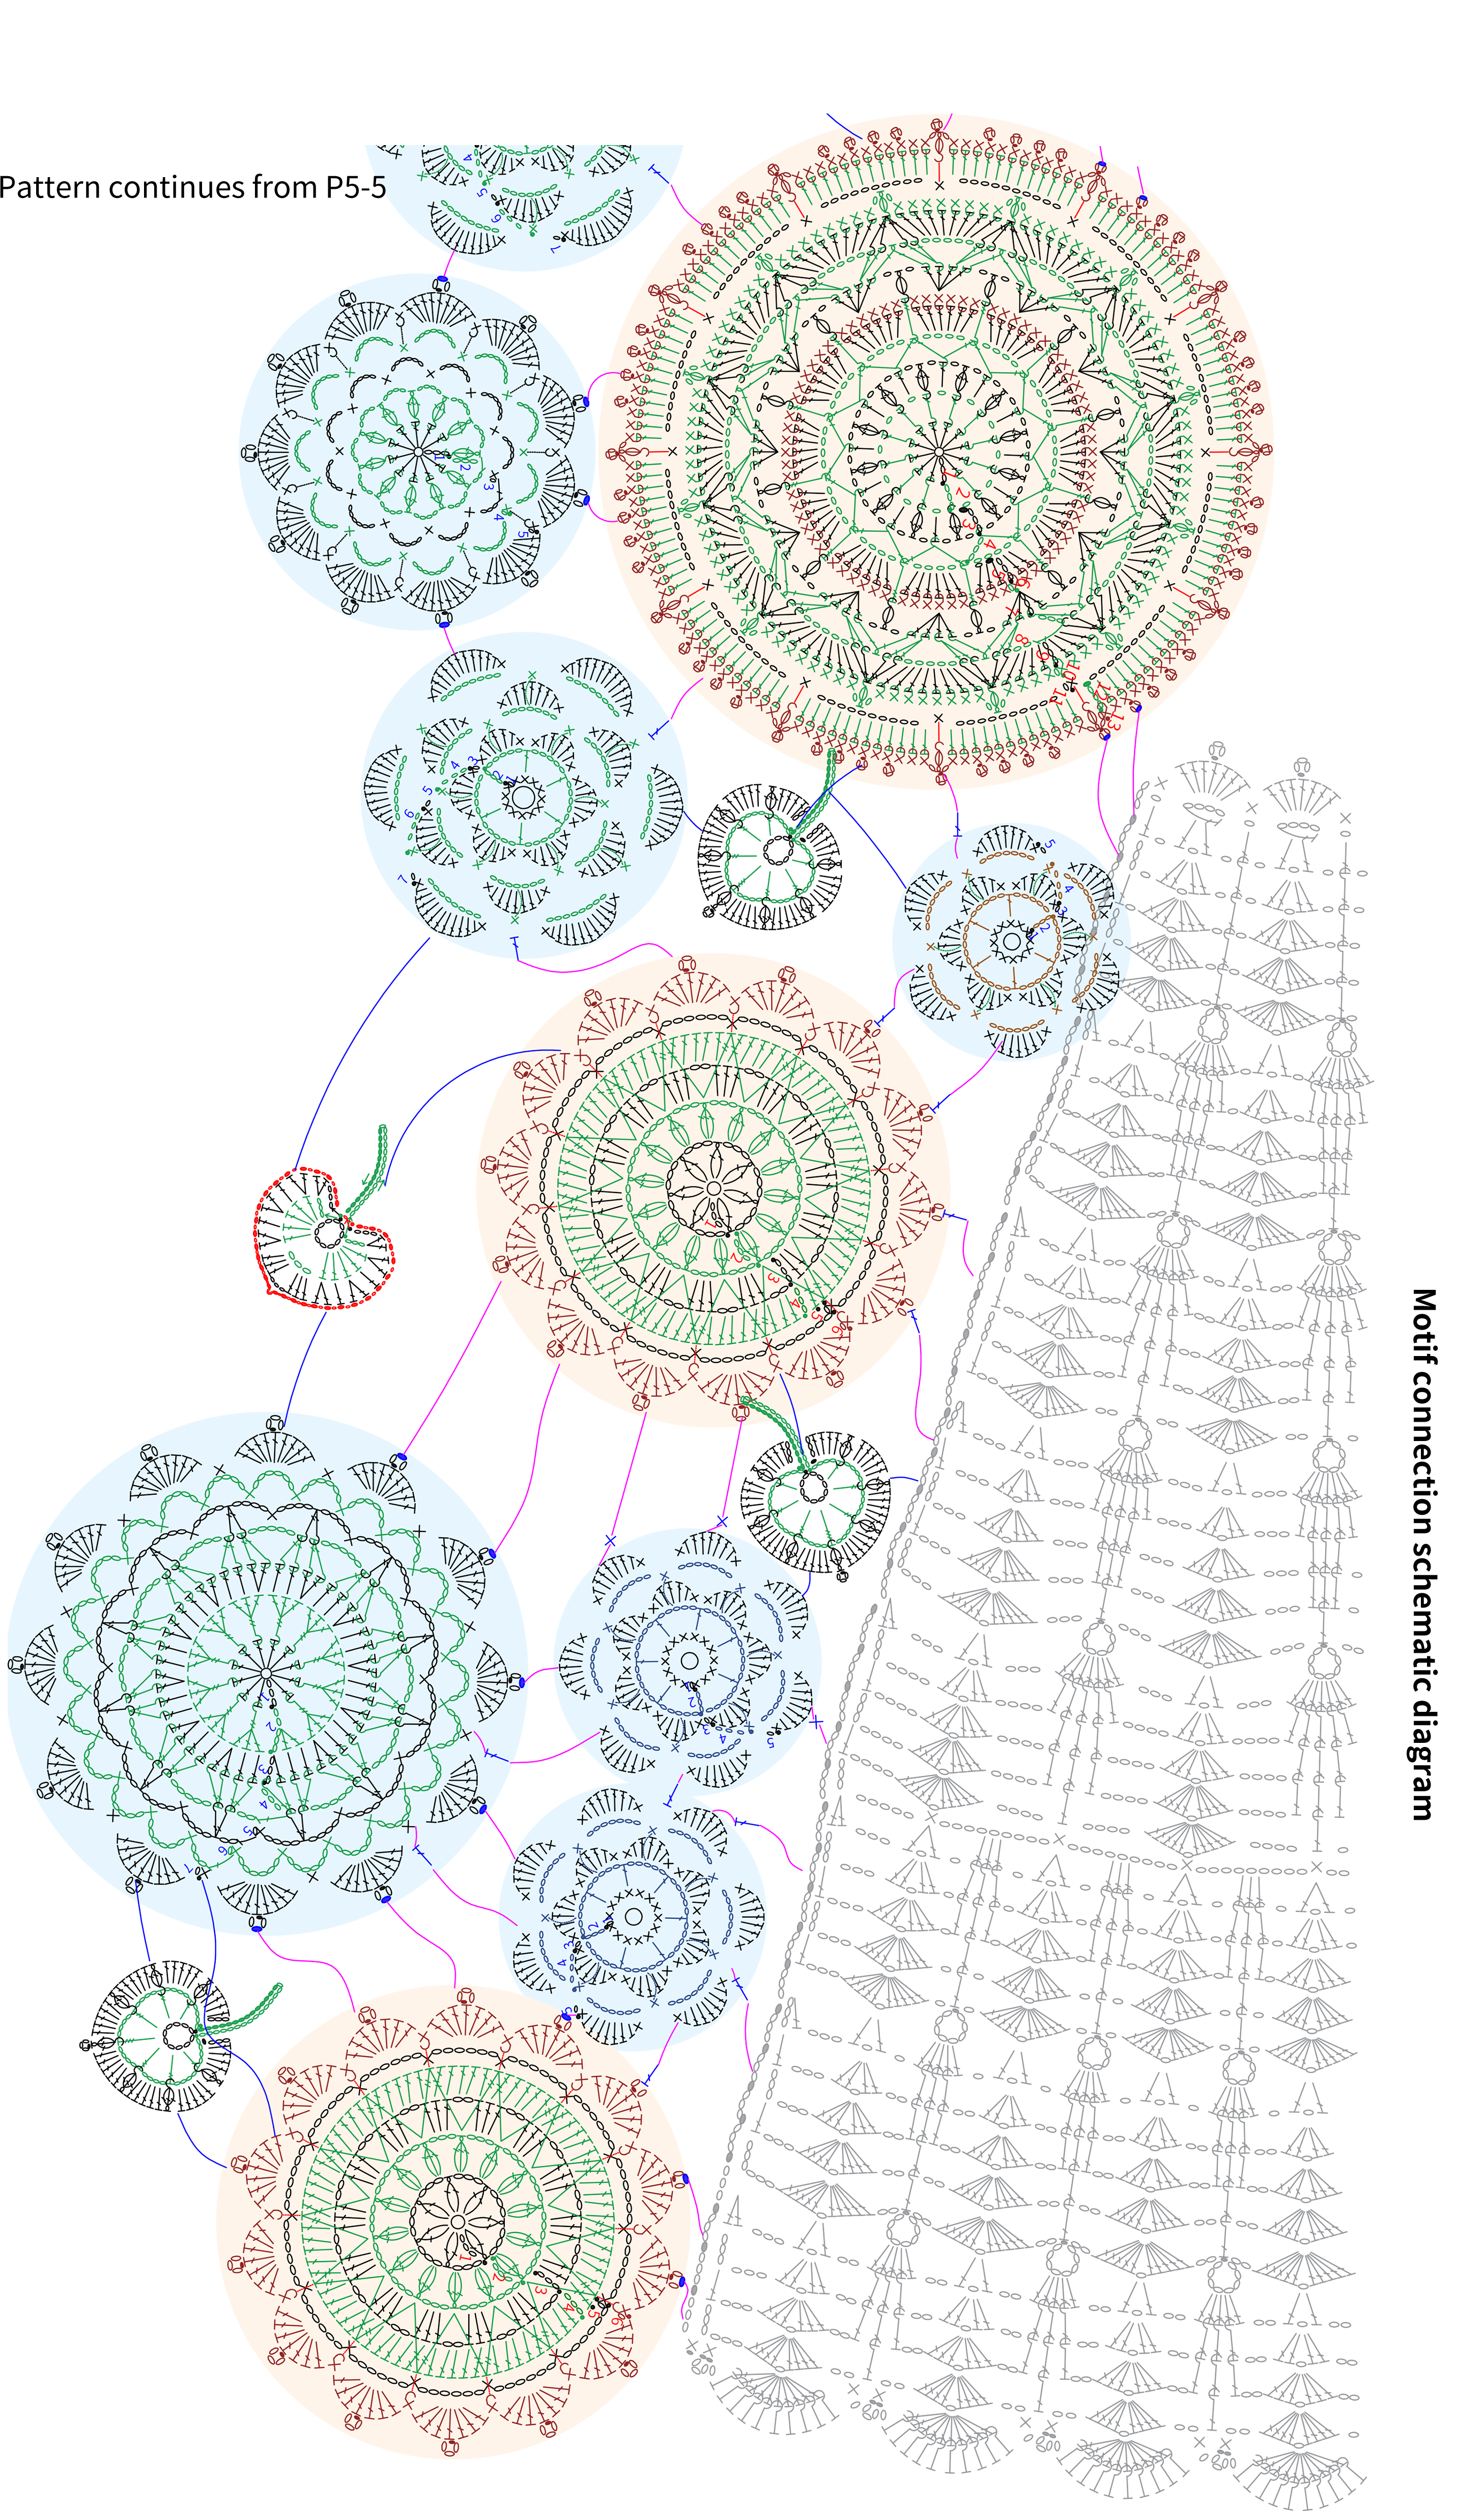
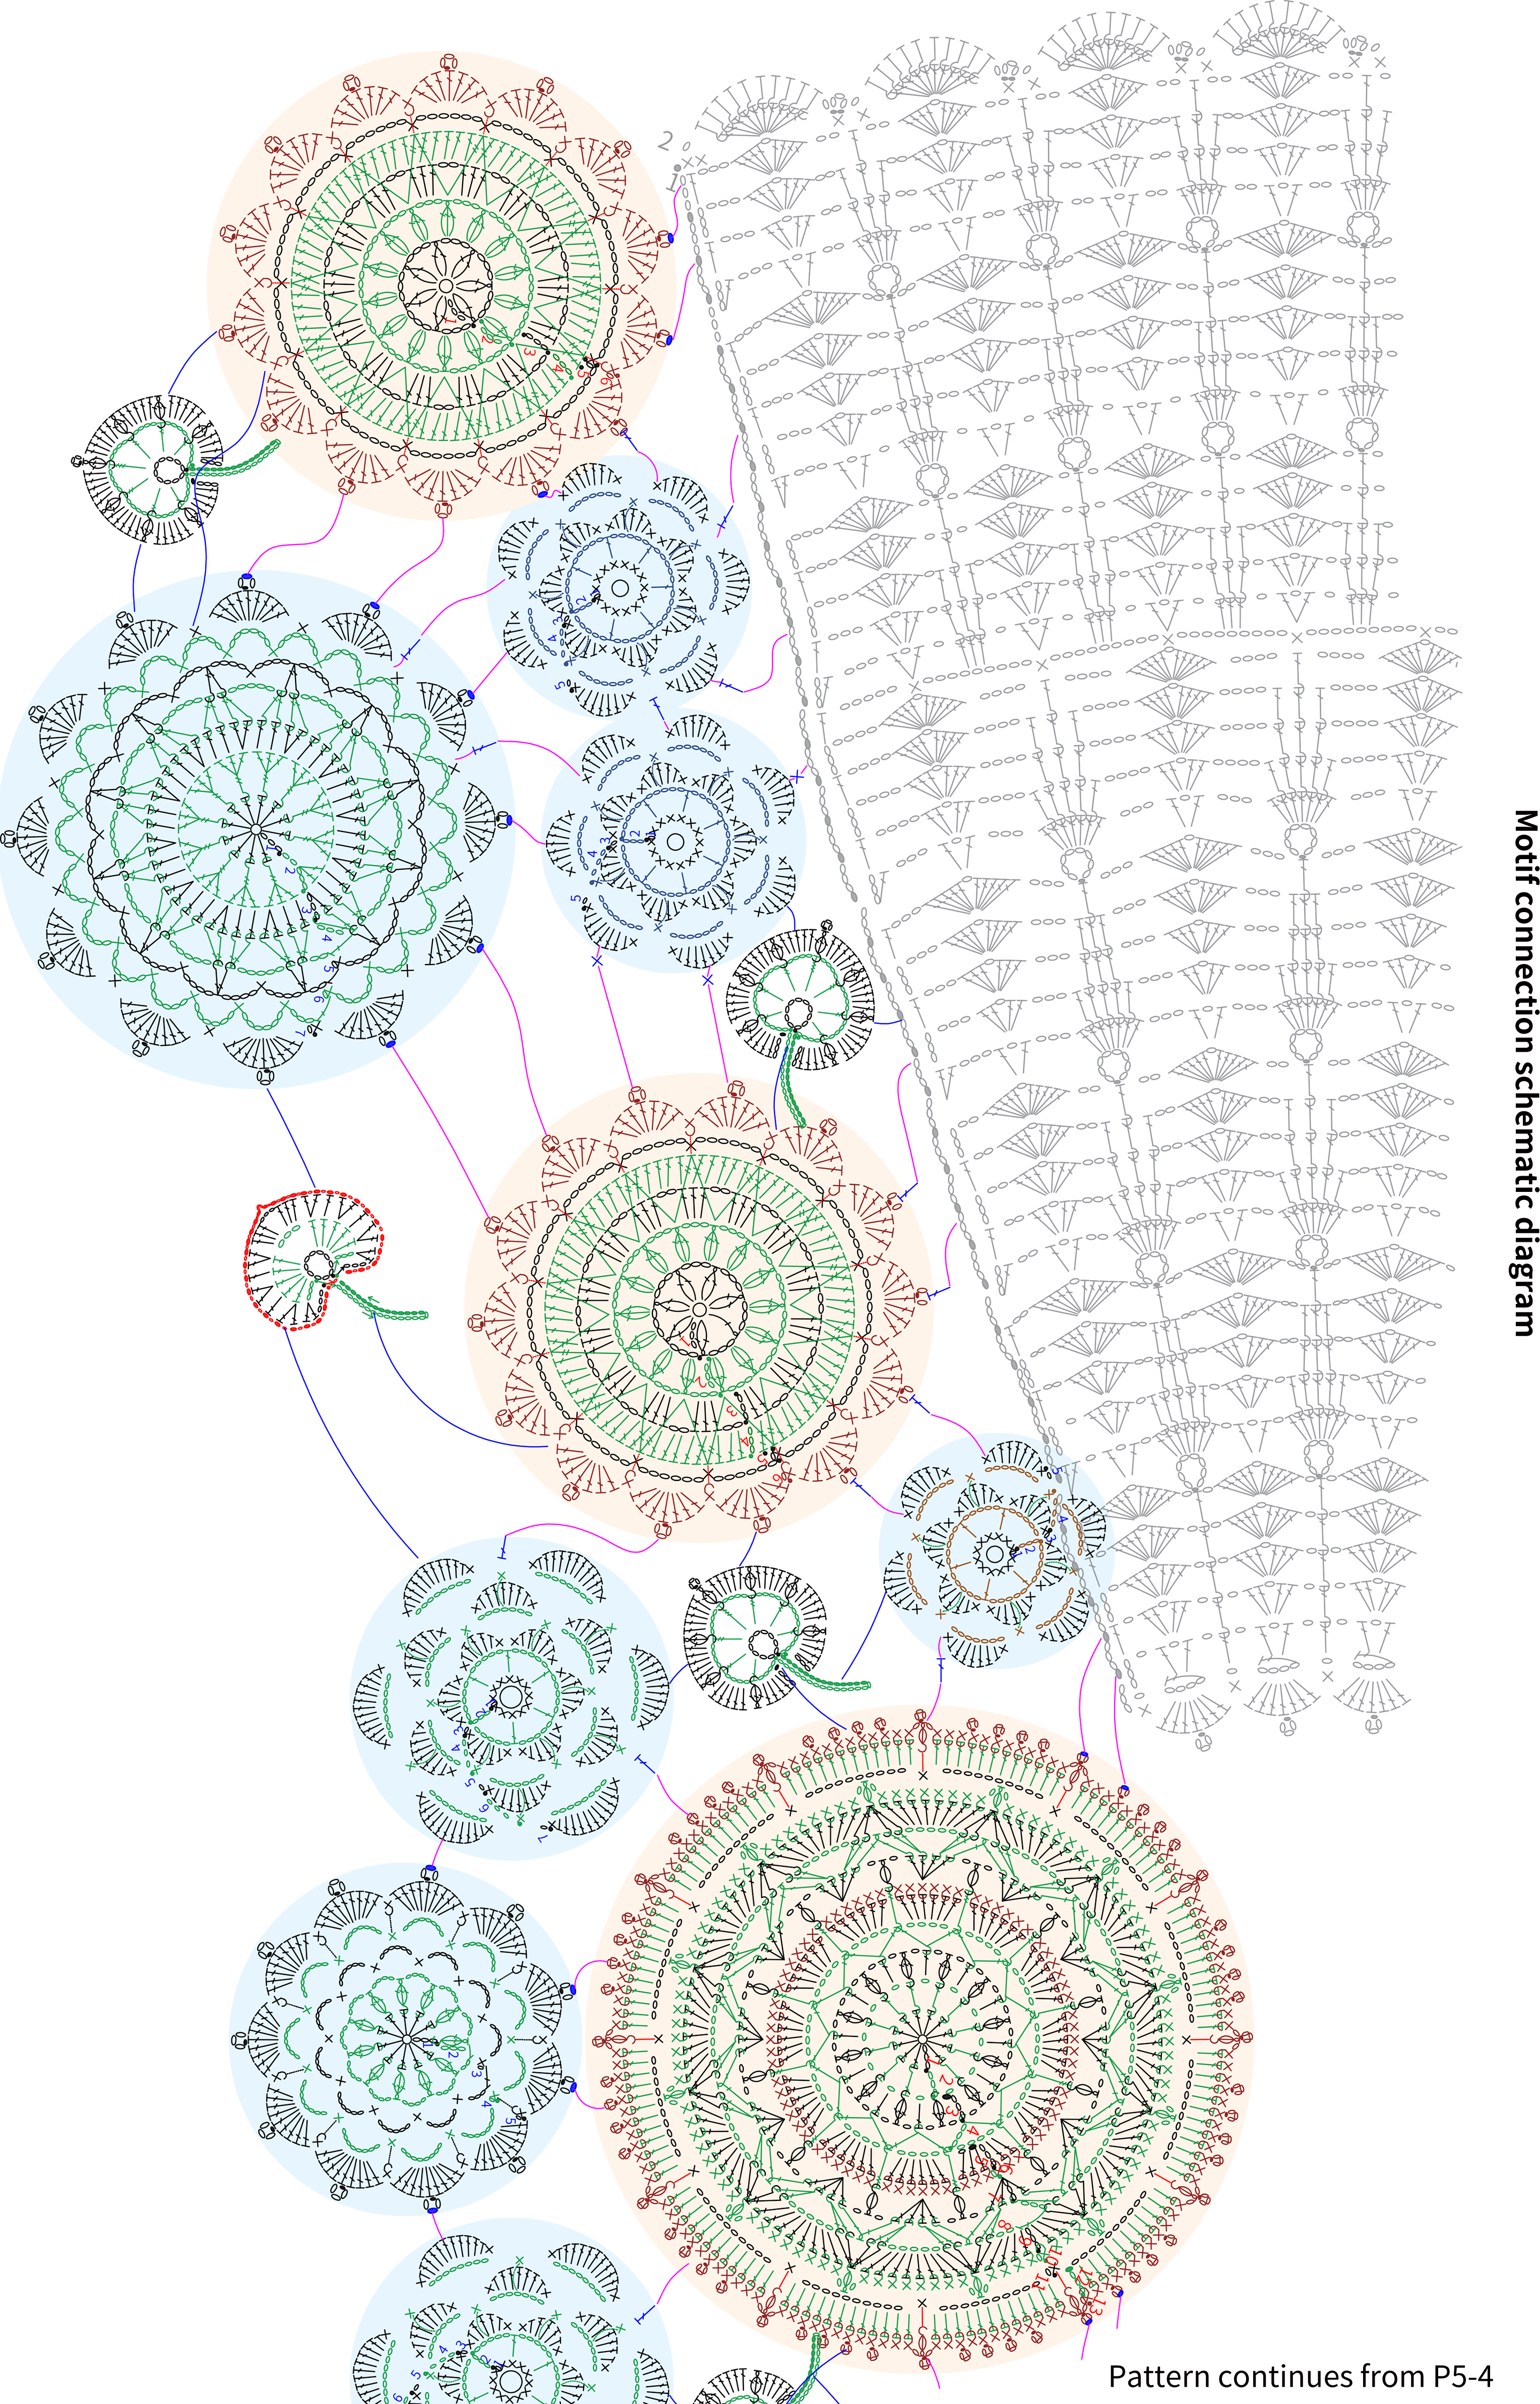
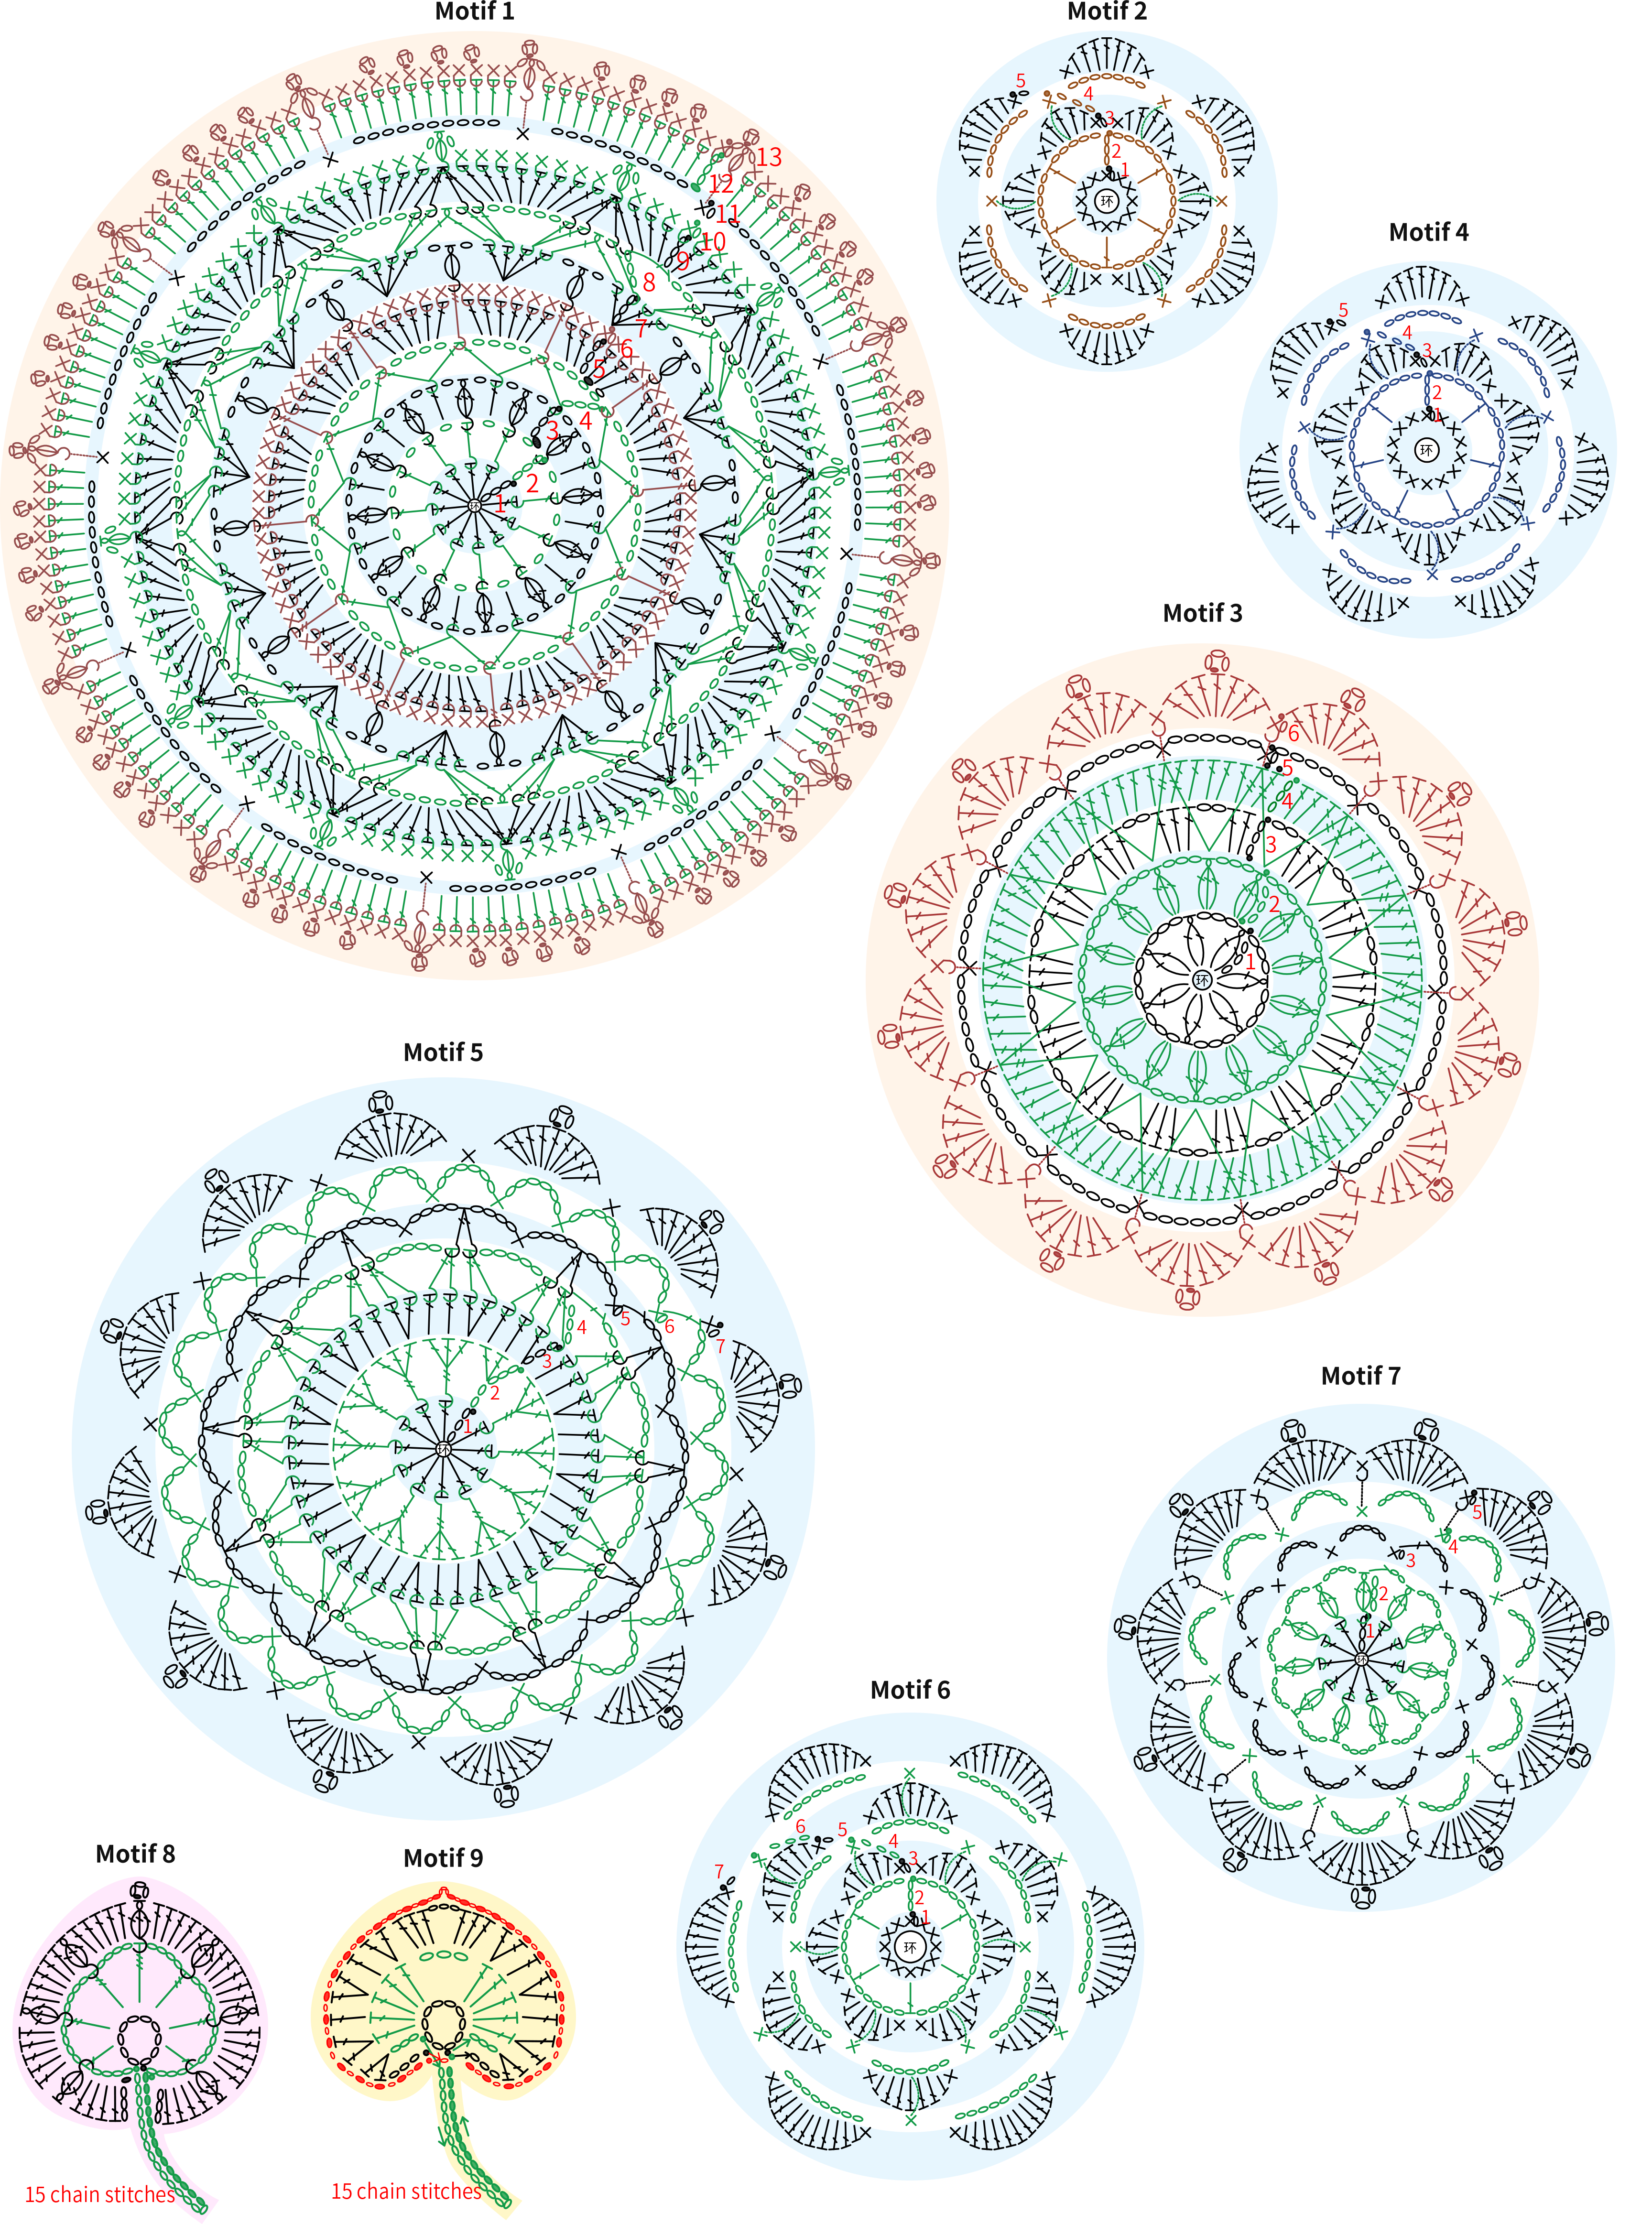
The motifs are connected in the order of Motif One, Two, Three, Four, Five, Six, and Seven, followed by Motif Eight and Nine. The first seven motifs start with a magic ring and are crocheted in rounds, with the last round worked and joined simultaneously. After completing Motif Eight and Nine, sew them onto the corresponding positions. Please refer to the video demonstration for more details.
Note:
1. After completing the 10th round of Motif One, the diameter should be about 13 cm. If there's a significant difference, pay attention to adjusting your tension and re-crocheting the last few rounds. For the 11th round, insert the hook into the back loop and pick up 2 strands of yarn. Refer to the video demonstration for the exact placement.
2. Some motifs are crocheted using variegated yarn. The effect will vary depending on which color segment you choose. Select according to your preference.
3. The connection position and method for the motifs can be referenced from the pattern chart, or adjusted based on the actual situation and personal preference. The final result should be symmetrical and aesthetically pleasing.
4. Leave a tail of about 30 cm at the end of Motif Two, Motif Eight, and Motif Nine for sewing together.
Made by the community