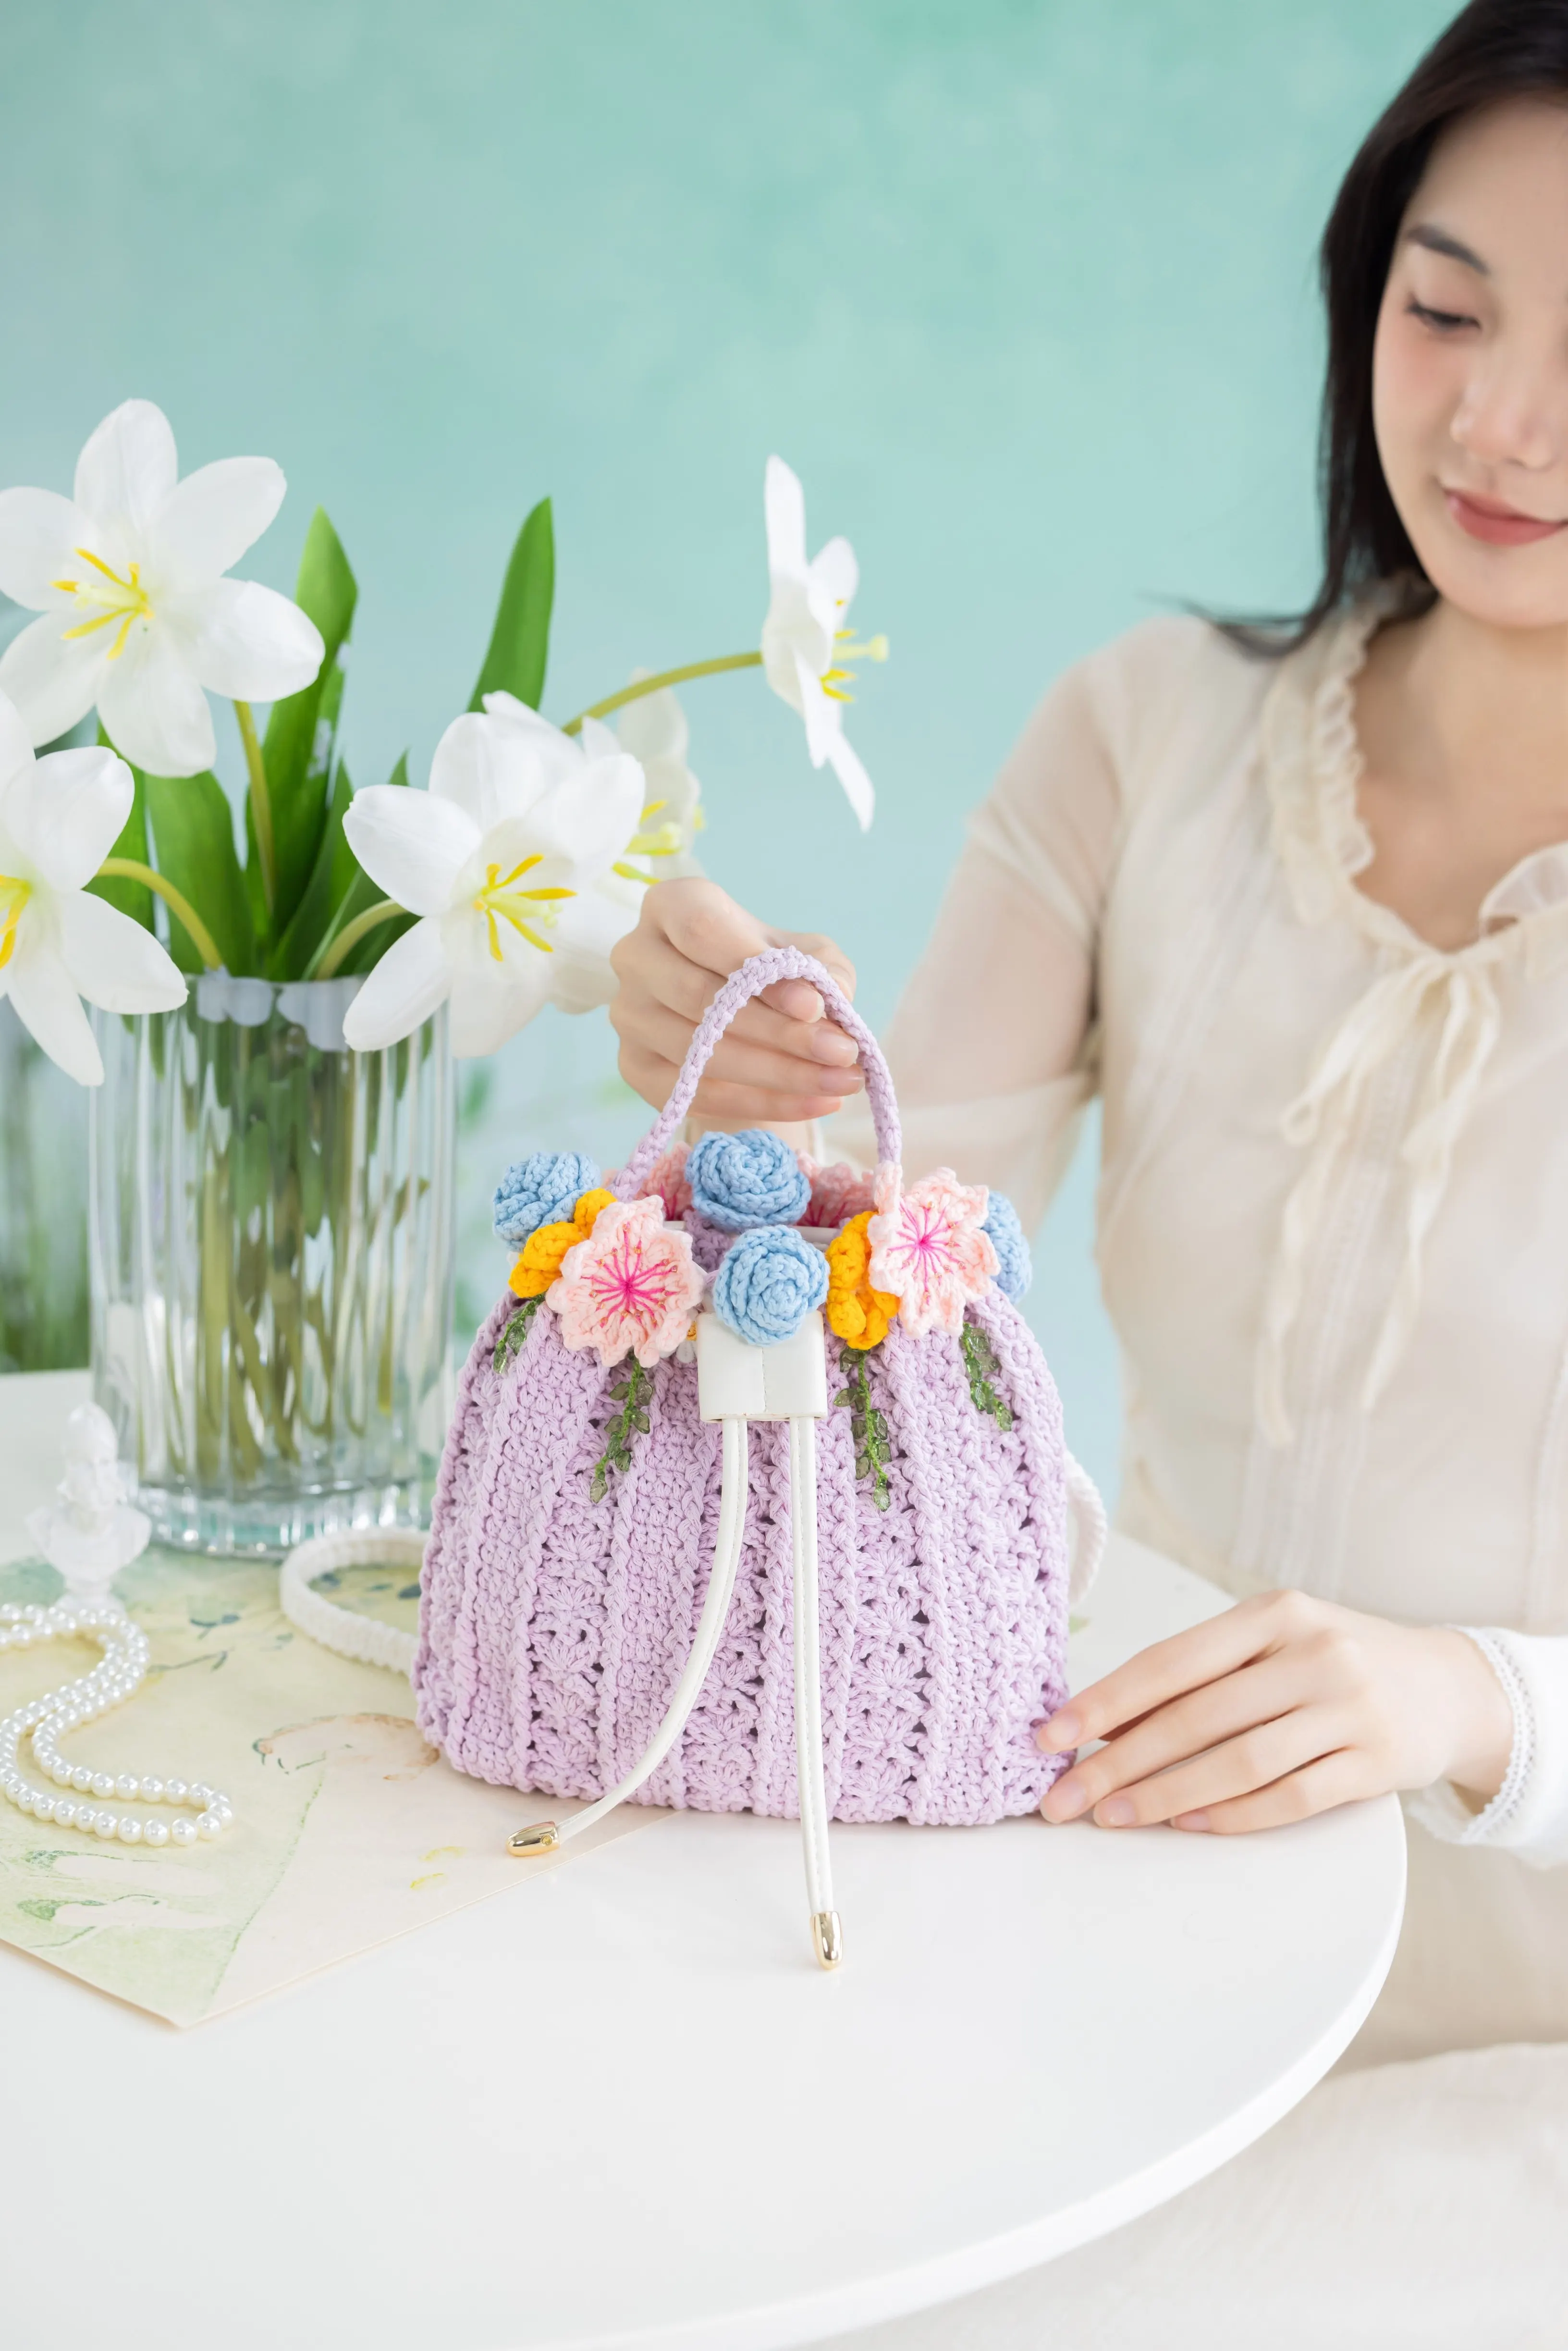
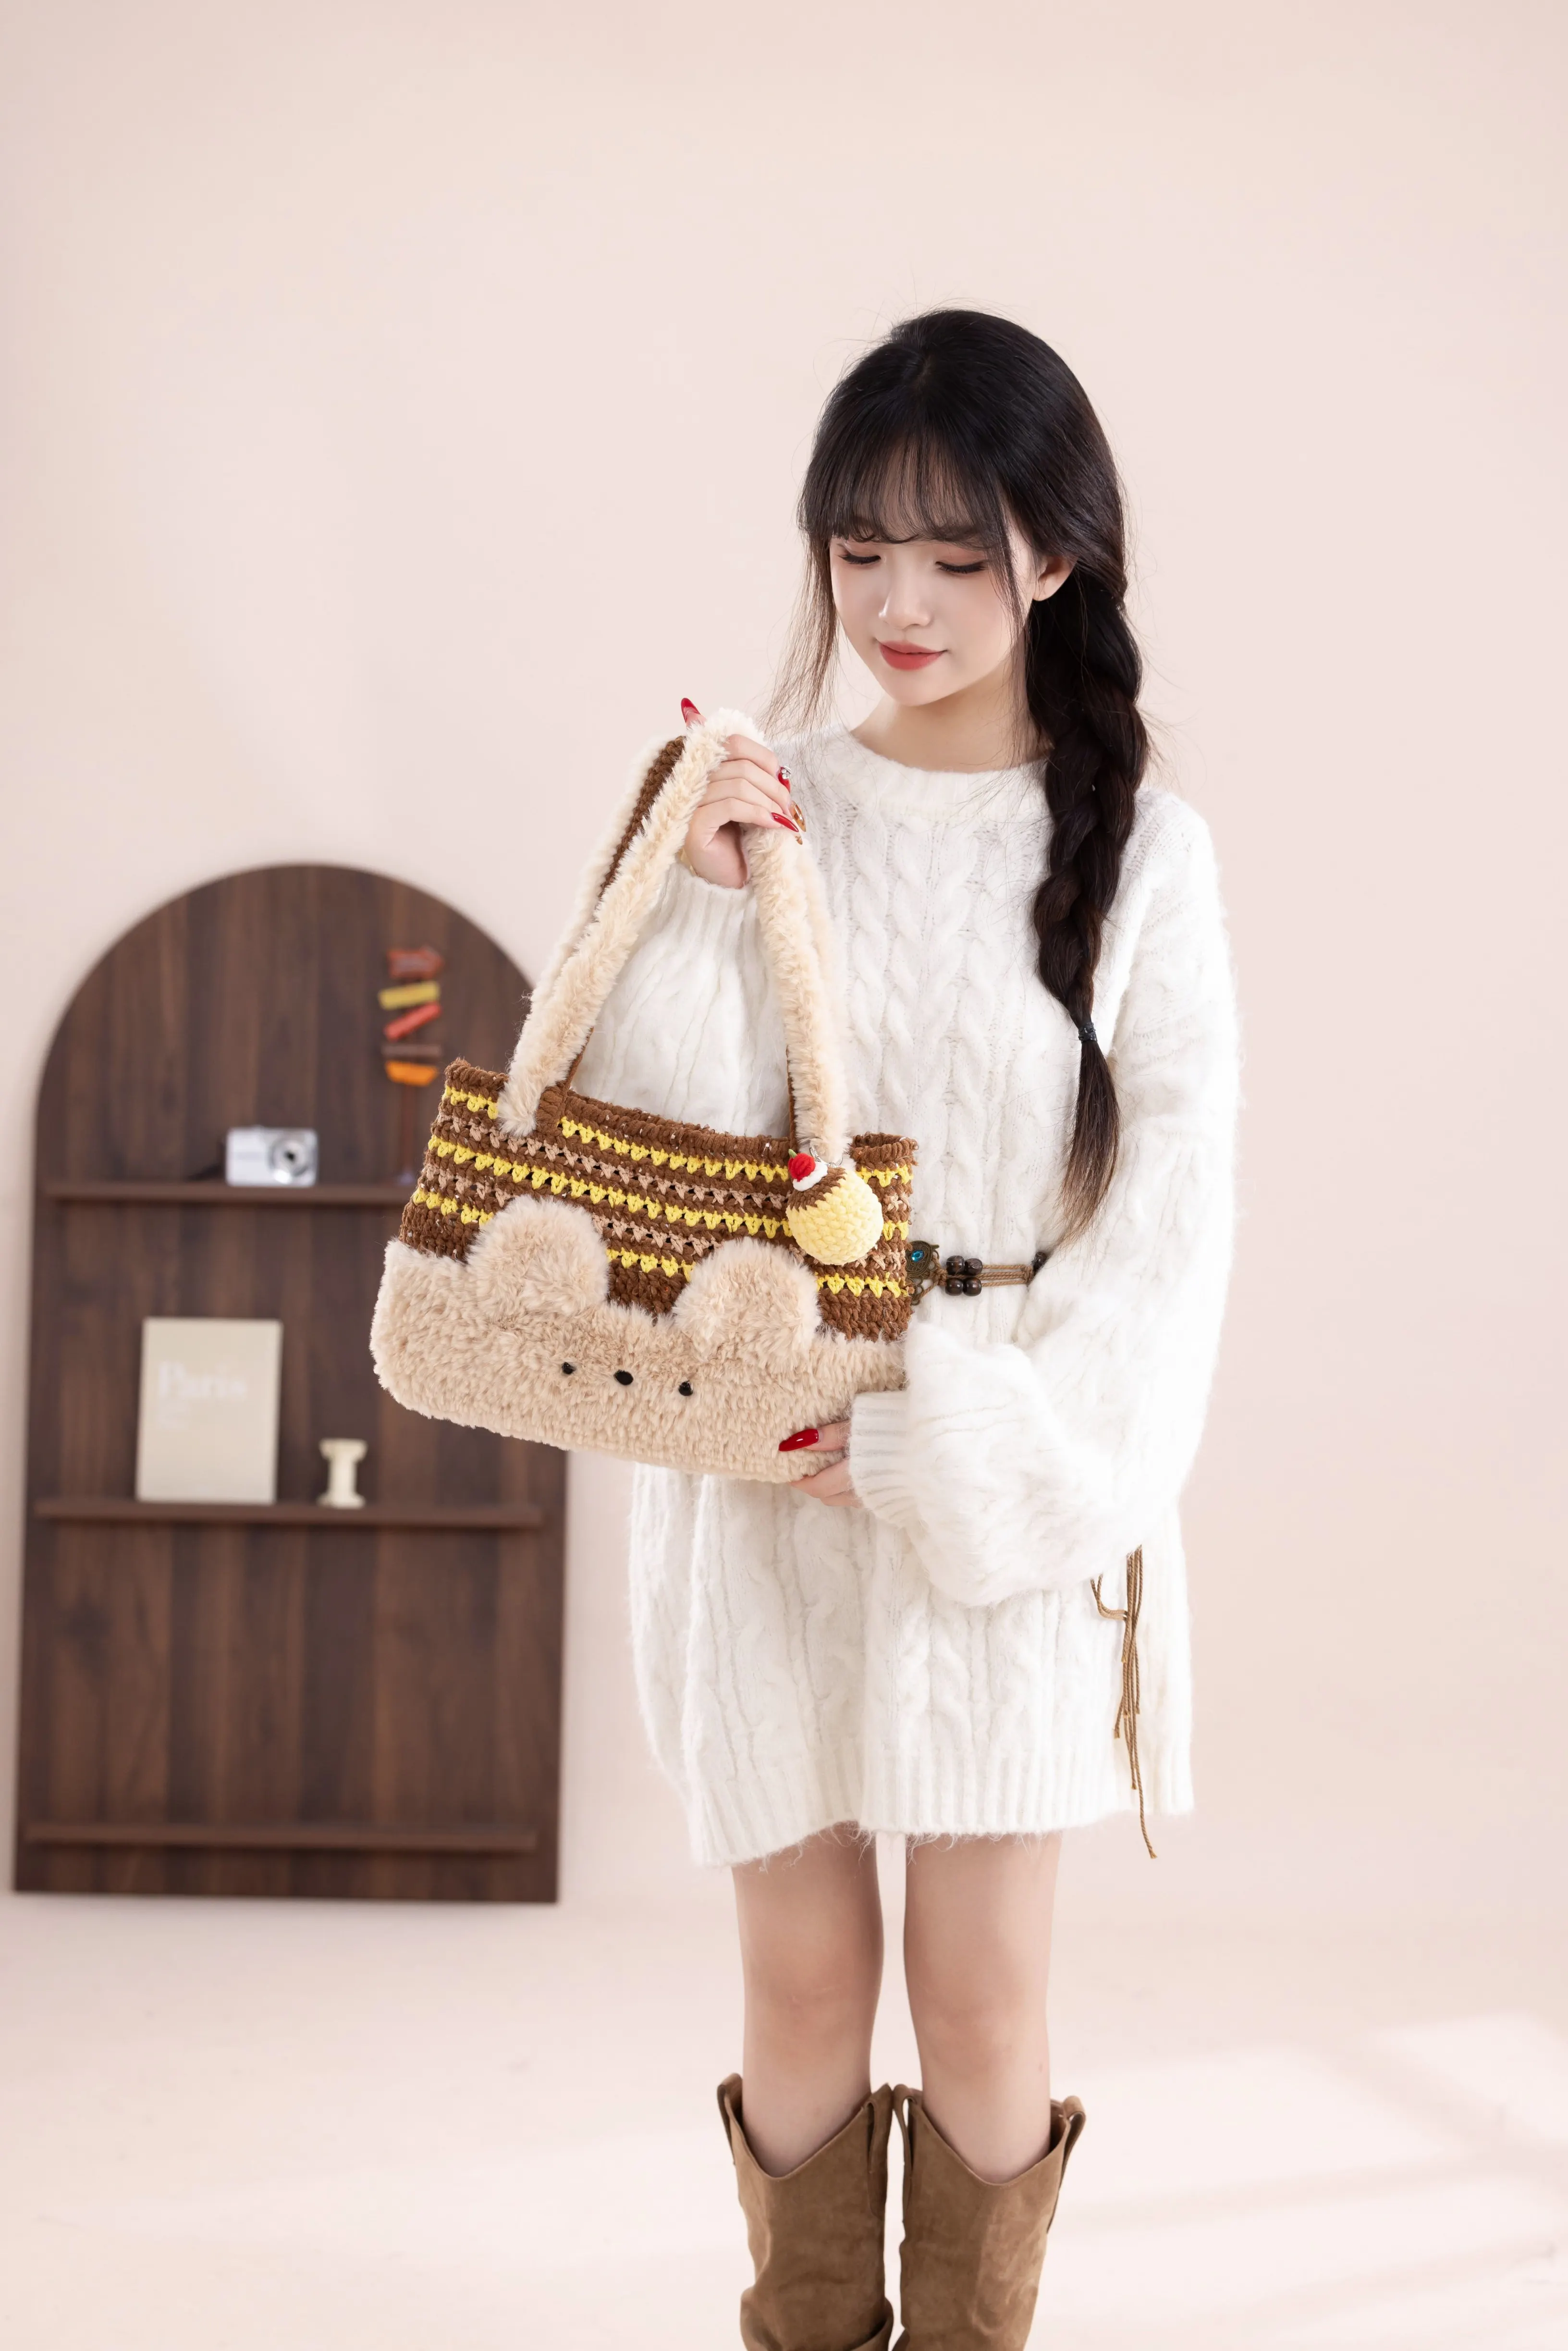
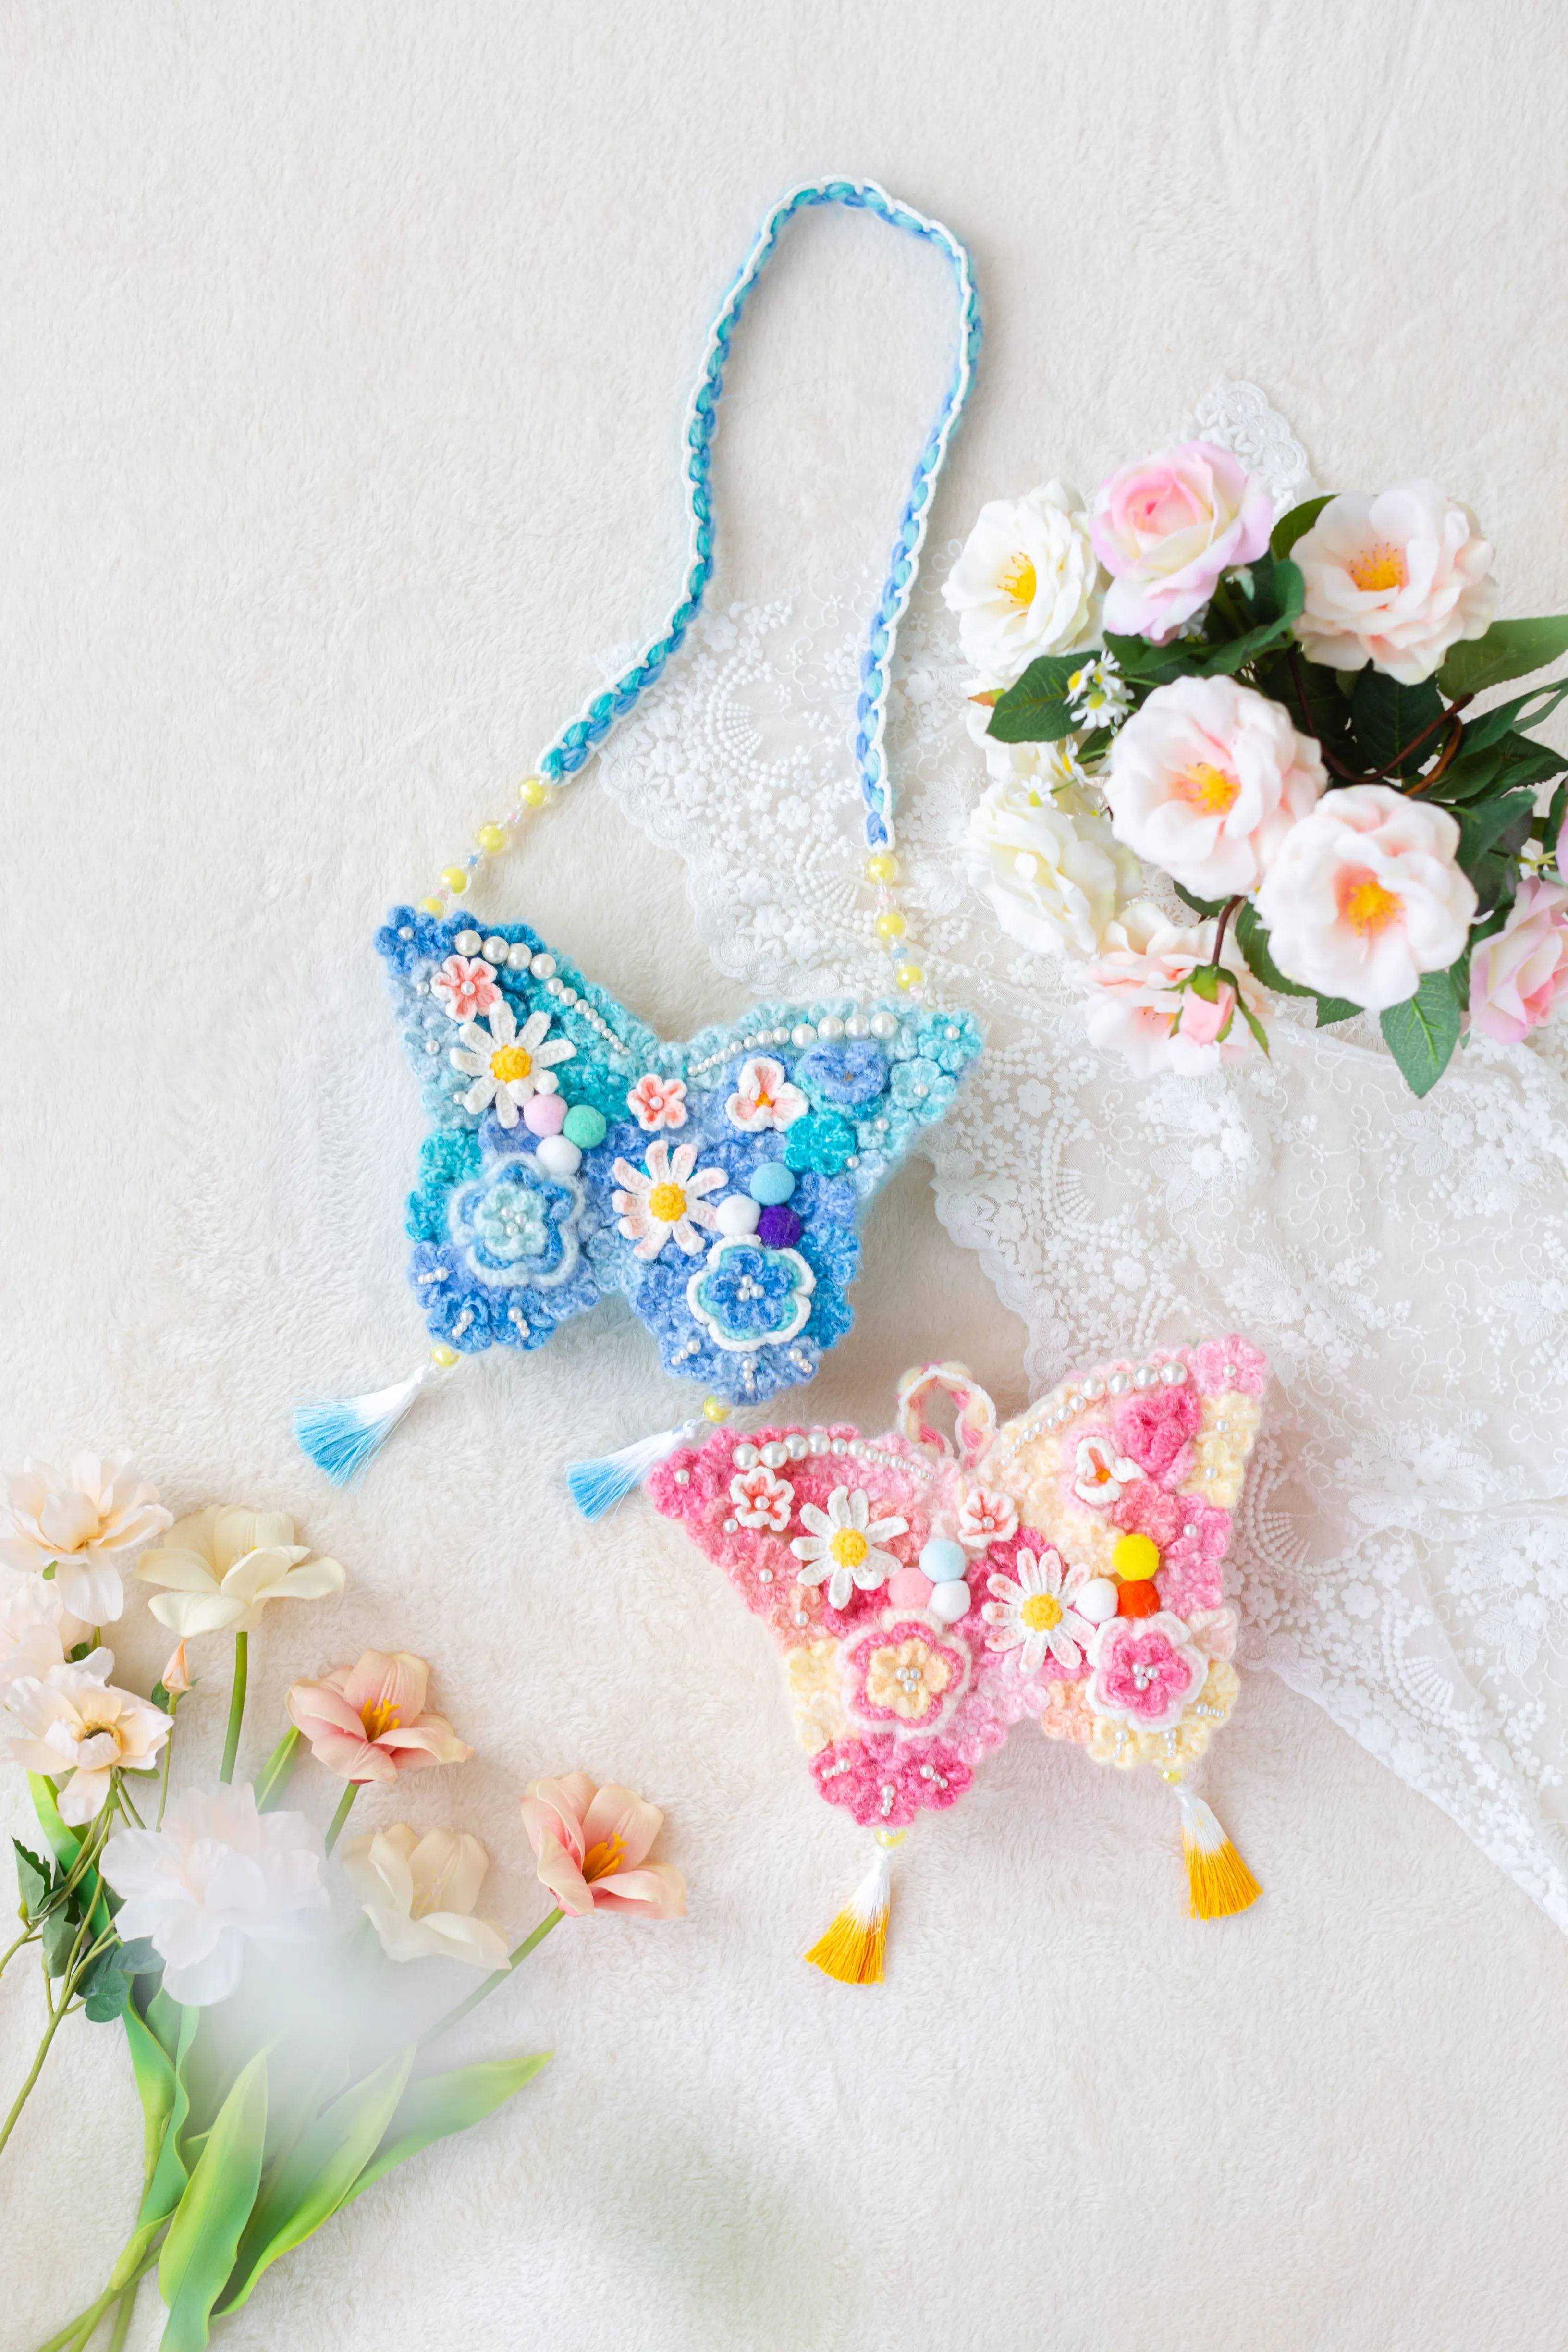
Bag
DoDo Bag
Project preview
See the finished project
Pattern format
Instructions
Watch and follow
Video tutorial
| Style | Yarn | Color |
|---|---|---|
| Spring Steep Version | Monet Impression |  26#Spring Steep x 2 26#Spring Steep x 2 |
| Spring Fiesta Version | Monet Impression |  29#Spring Fiesta x 2 29#Spring Fiesta x 2 |
| Neon Version | Monet Impression |  27#Neon x 2 27#Neon x 2 |
| Zither Strings Version | Monet Impression |  21#Zither Strings x 2 21#Zither Strings x 2 |
This bag consists of a large bag, a small bag, and accessories. First, complete the crocheting of the large bag. Then crochet the small bag. Finally, make the accessories and attach them.
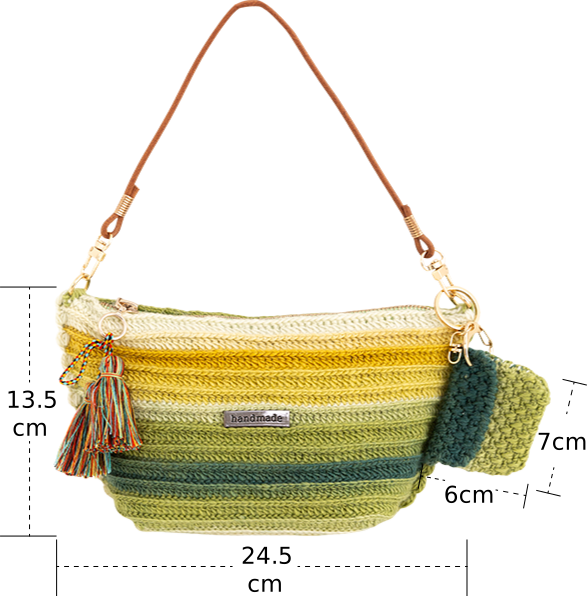
Note: Hand-measured with a 1-2 cm margin of error. Since everyone's tension varies, the sample size is for reference only.
Yarn: Susan's Family Monet Impression .
Tools: 3.0mm crochet hook.

Chart Key






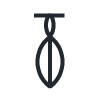
Note:
1. This pattern is making in Chinese crochet pattern terms, and the stitch name is written using American terminology. All measurements in charts are in cm.
2. This bag is worked with variegated yarn. Since variegated yarn features distinct color segments, the final appearance will differ depending on which color section you begin with. You may refer to the finished sample for guidance or select your preferred starting point along the yarn based on personal preference.
3. The chart shows the right side of the work. When working on the wrong side, work a front post stitch in place of each back post stitch shown on the chart.

PART 1 Large BagA 00' 45''
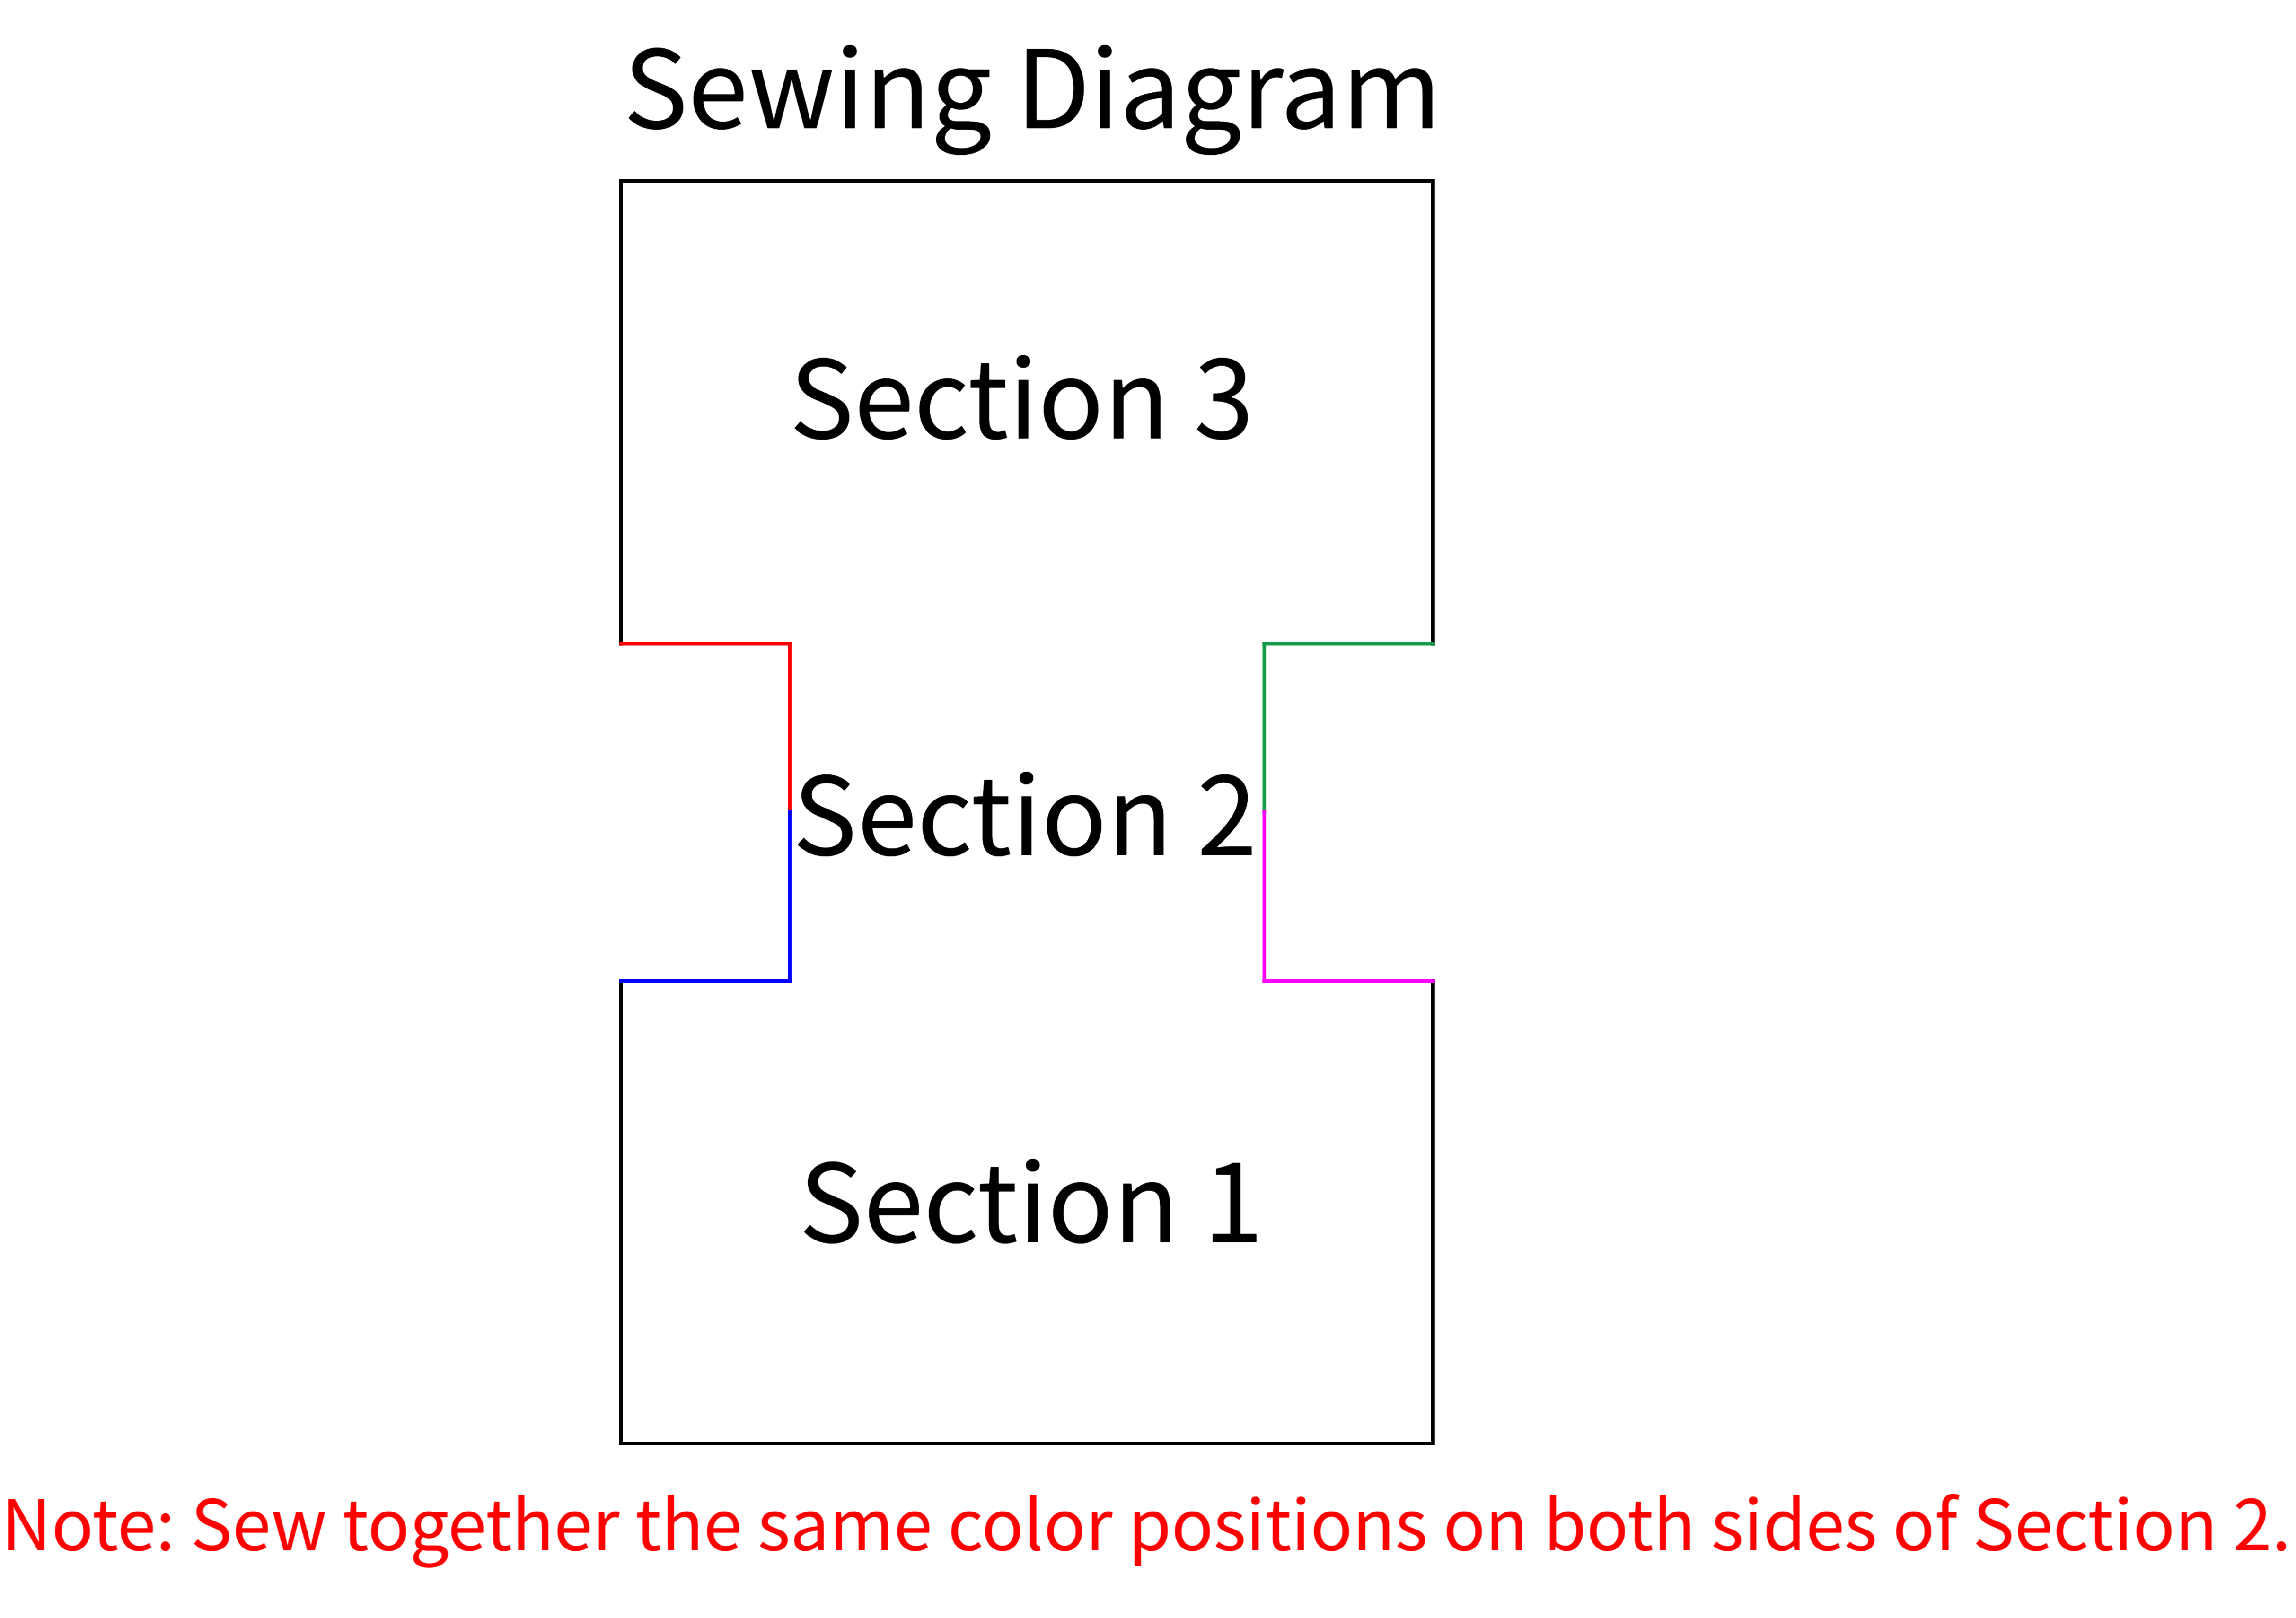
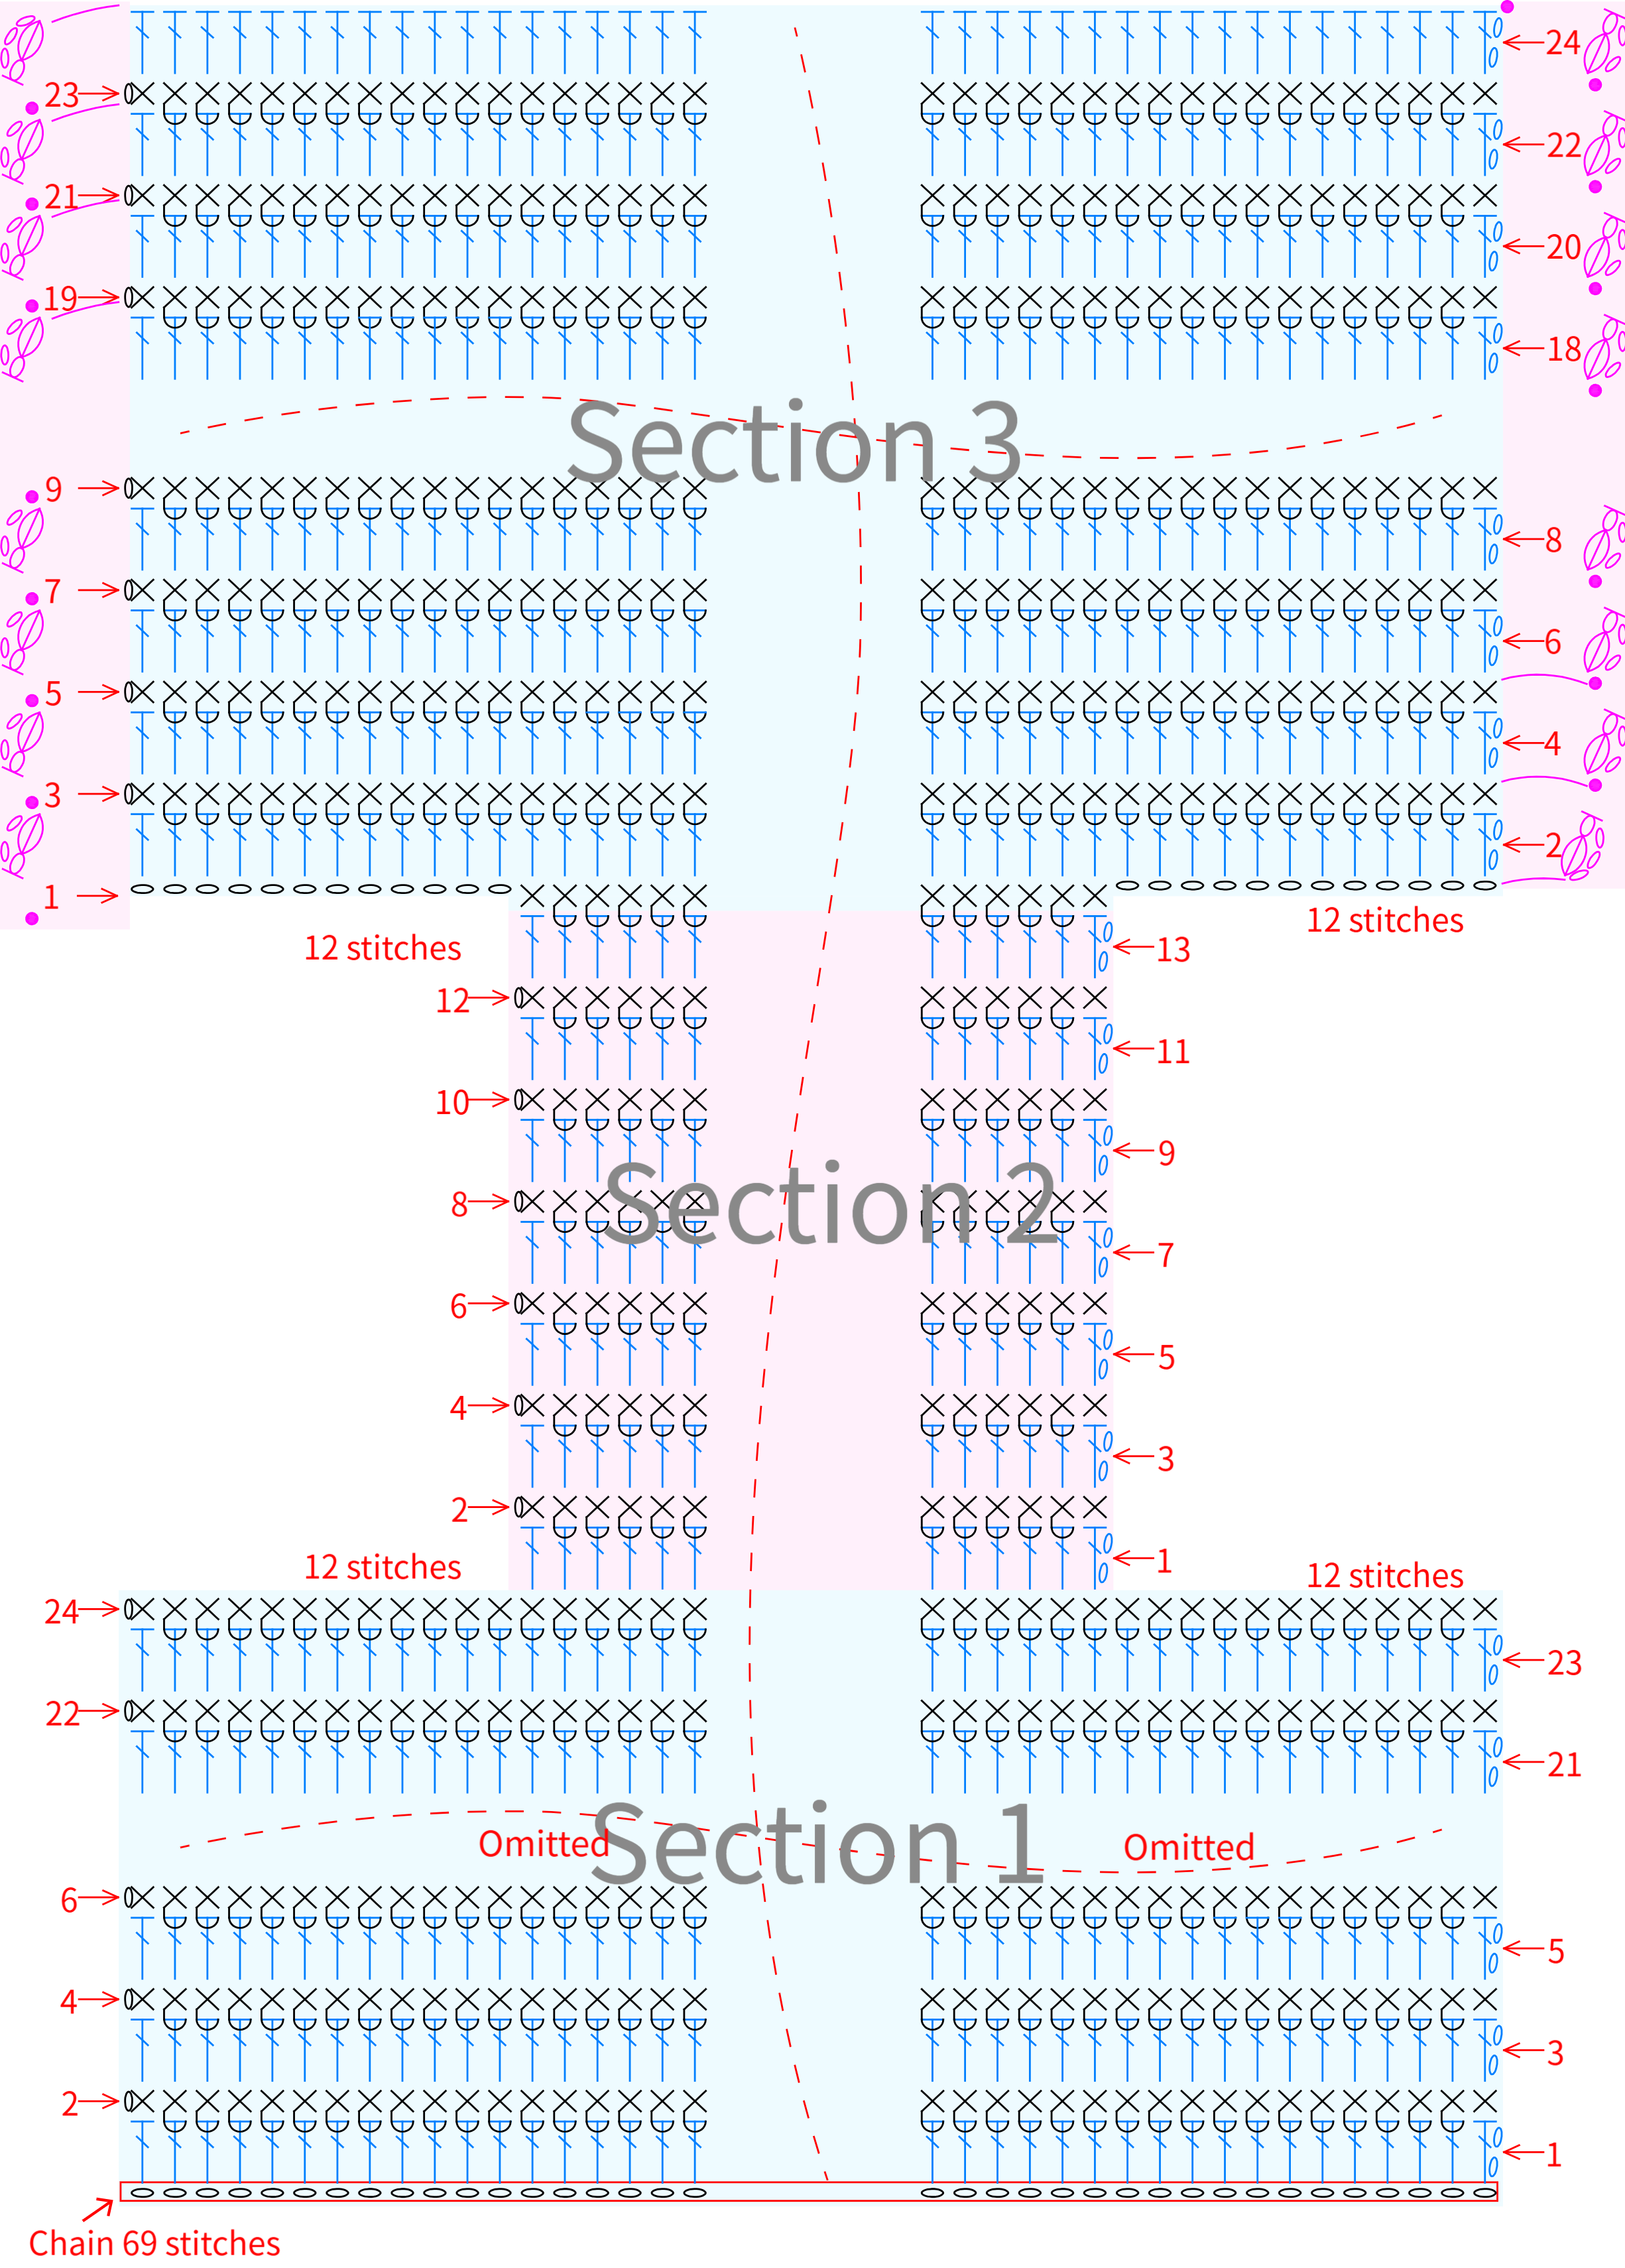
The large bag consists of the main part, sewing, and edging. The main part is divided into Section 1, Section 2, and Section 3. Start by crocheting the main part. After completing it, proceed with sewing. Fold the first and third sections together, Finally, add edging on both sides. Please refer to the video demonstration for more details.
Note:
1. After completing the first 4 rows, the height should be approximately 2.3 cm. If there's a significant difference, adjust your tension and re-crochet to avoid affecting the final size.
2. Once the main piece is done, cut out one lining fabric that's about 1 cm larger than the main piece for later use, then proceed with sewing and crocheting the edge. Refer to the sewing diagram for the seam placement.
3. When crocheting the edge, pick up and work through both the front and back pieces together.
PART 2 Small BagB 37' 23''
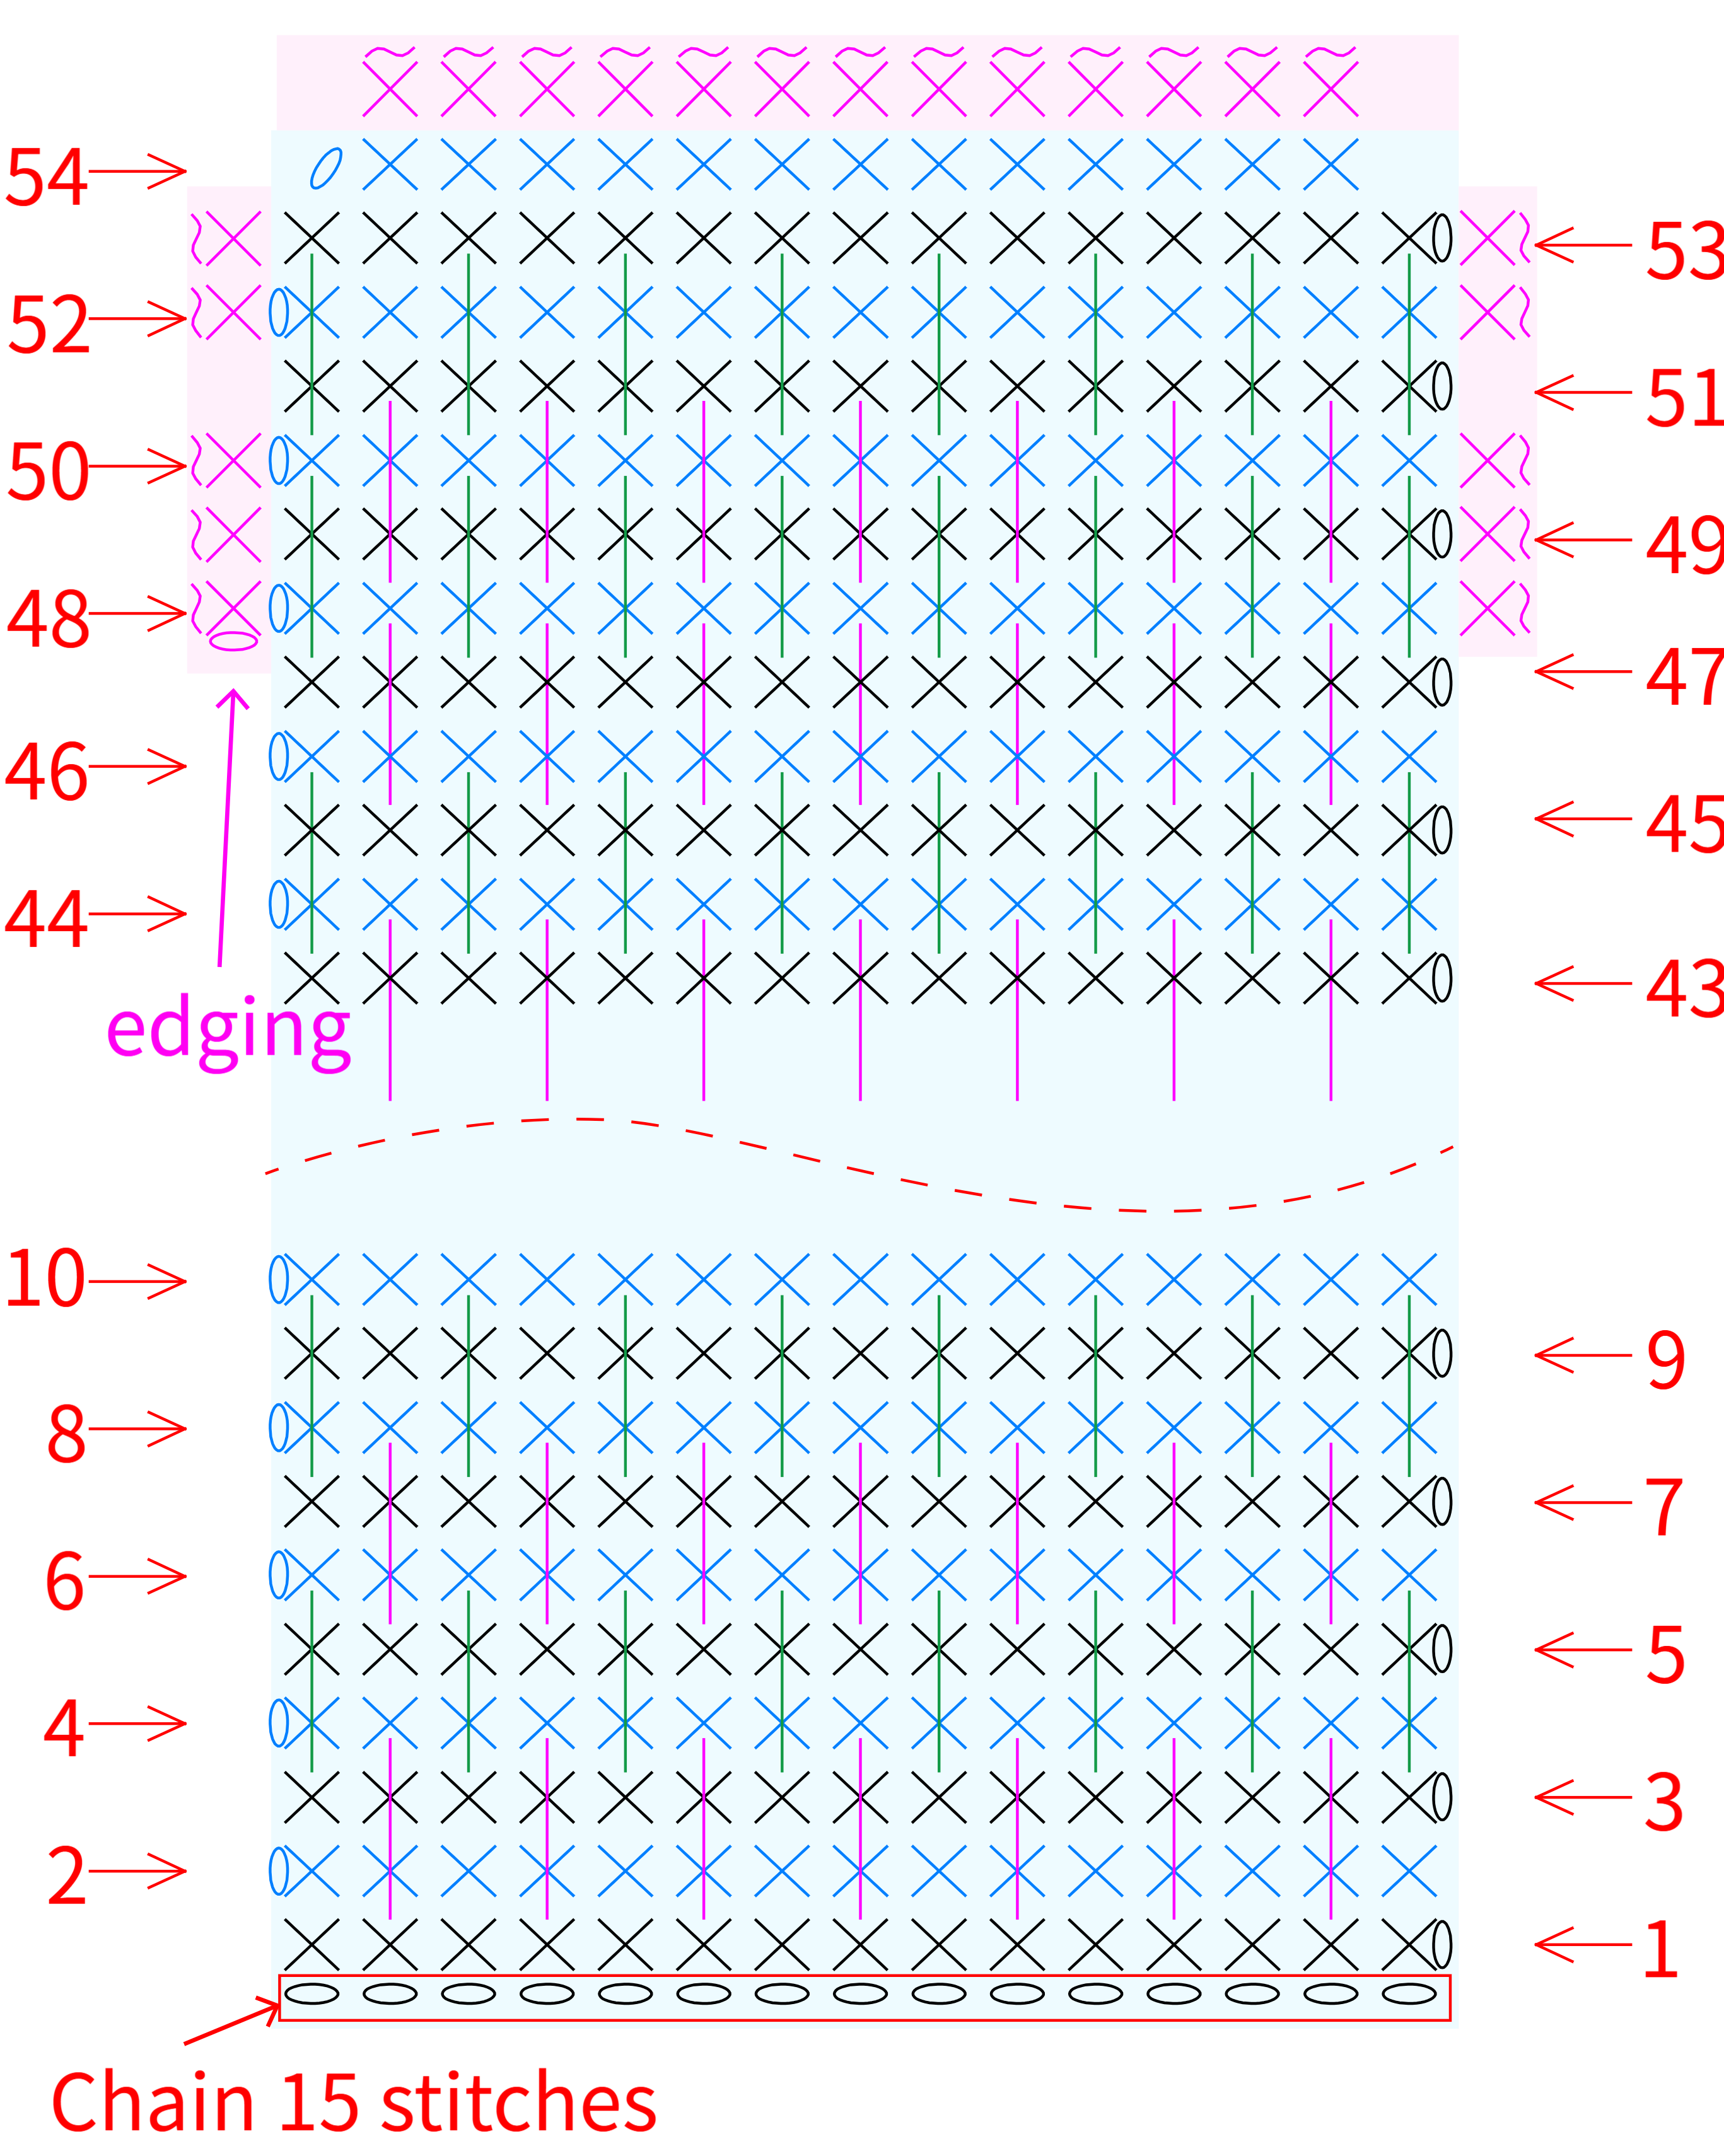
The small bag is crocheted by first working the main part, then sewing together. After completing that, you crochet the edging and finally attach the snap button. Please refer to the video demonstration for more details.
PART 3 AccessoriesC 65' 34''
The accessories include the zipper, lining, label, D-ring, keyring, strap, keychain, and tassel. First sew the zipper, then attach the label and sew the lining, next sew the D-ring, finally attach the remaining accessories. Please refer to the video demonstration for more details.
Made by the community