Accessories / Headwear
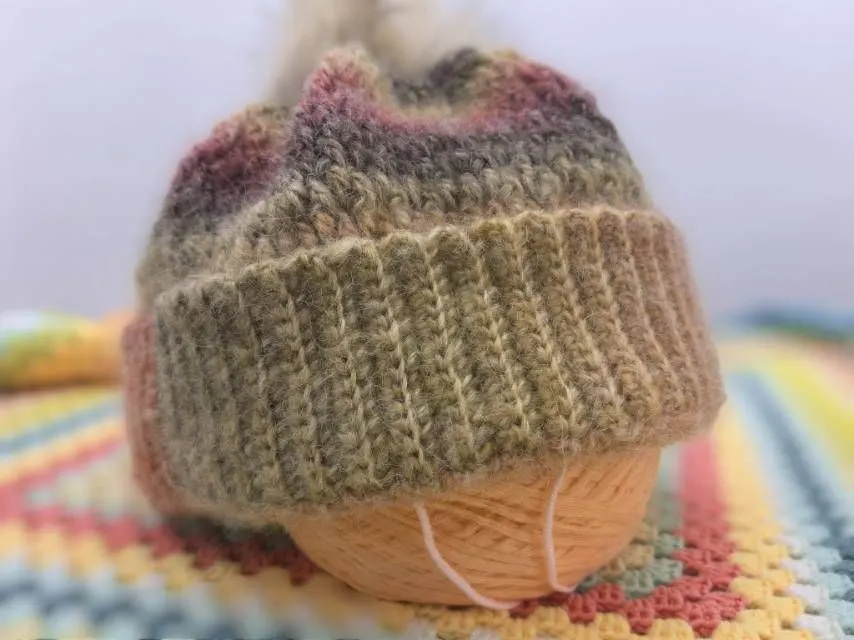
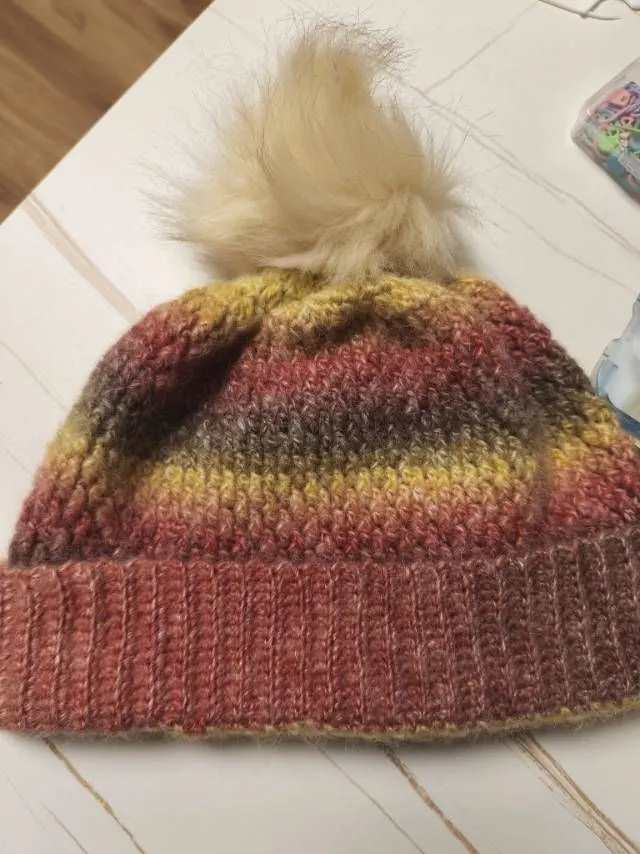
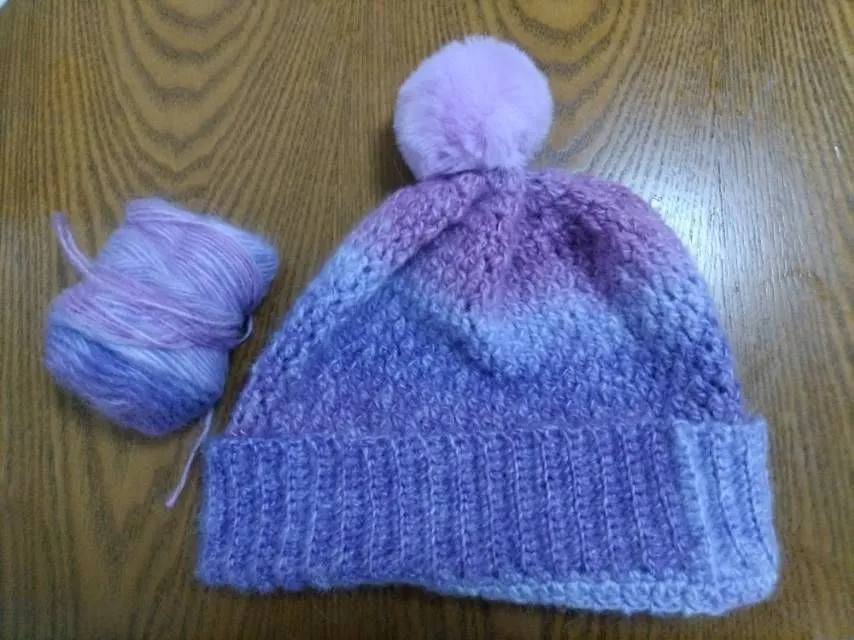
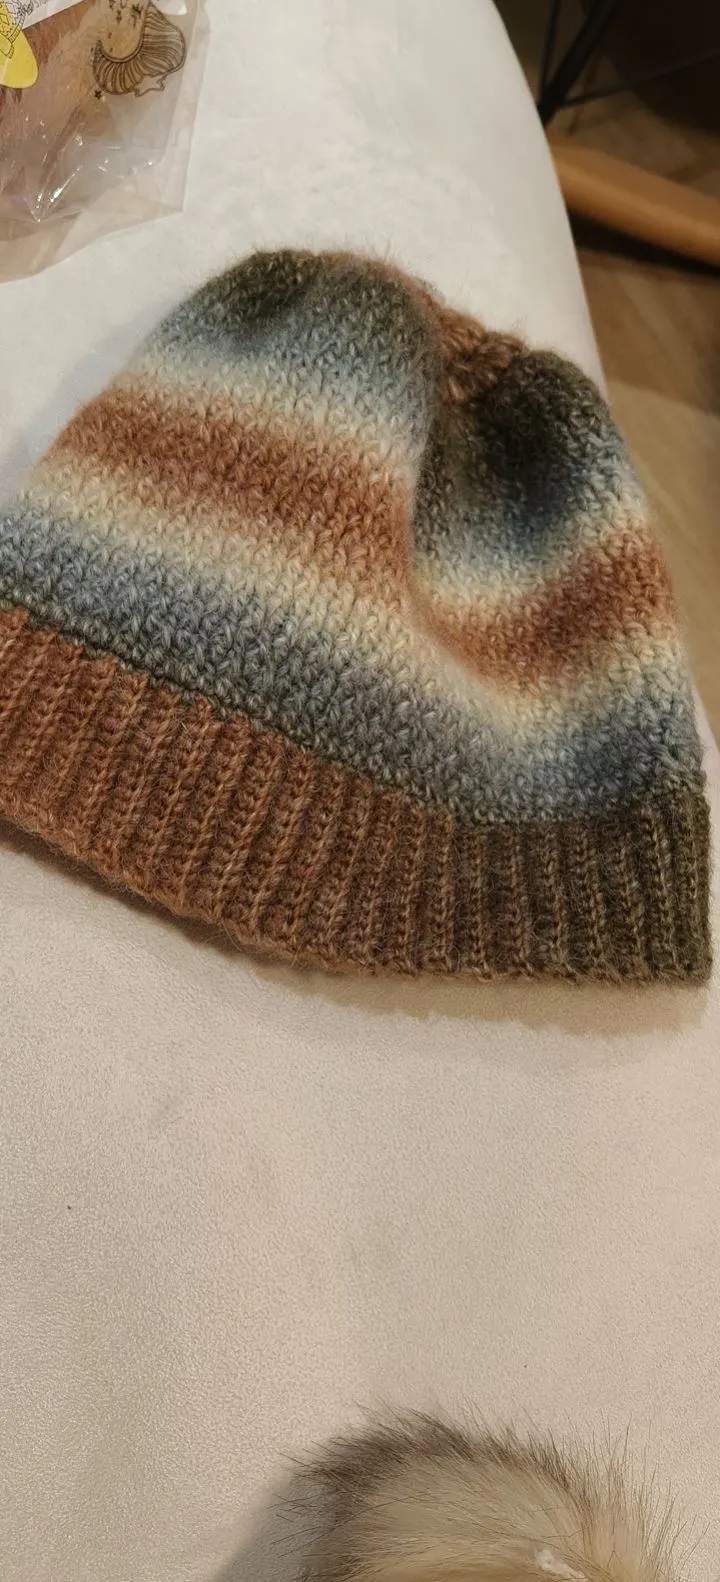
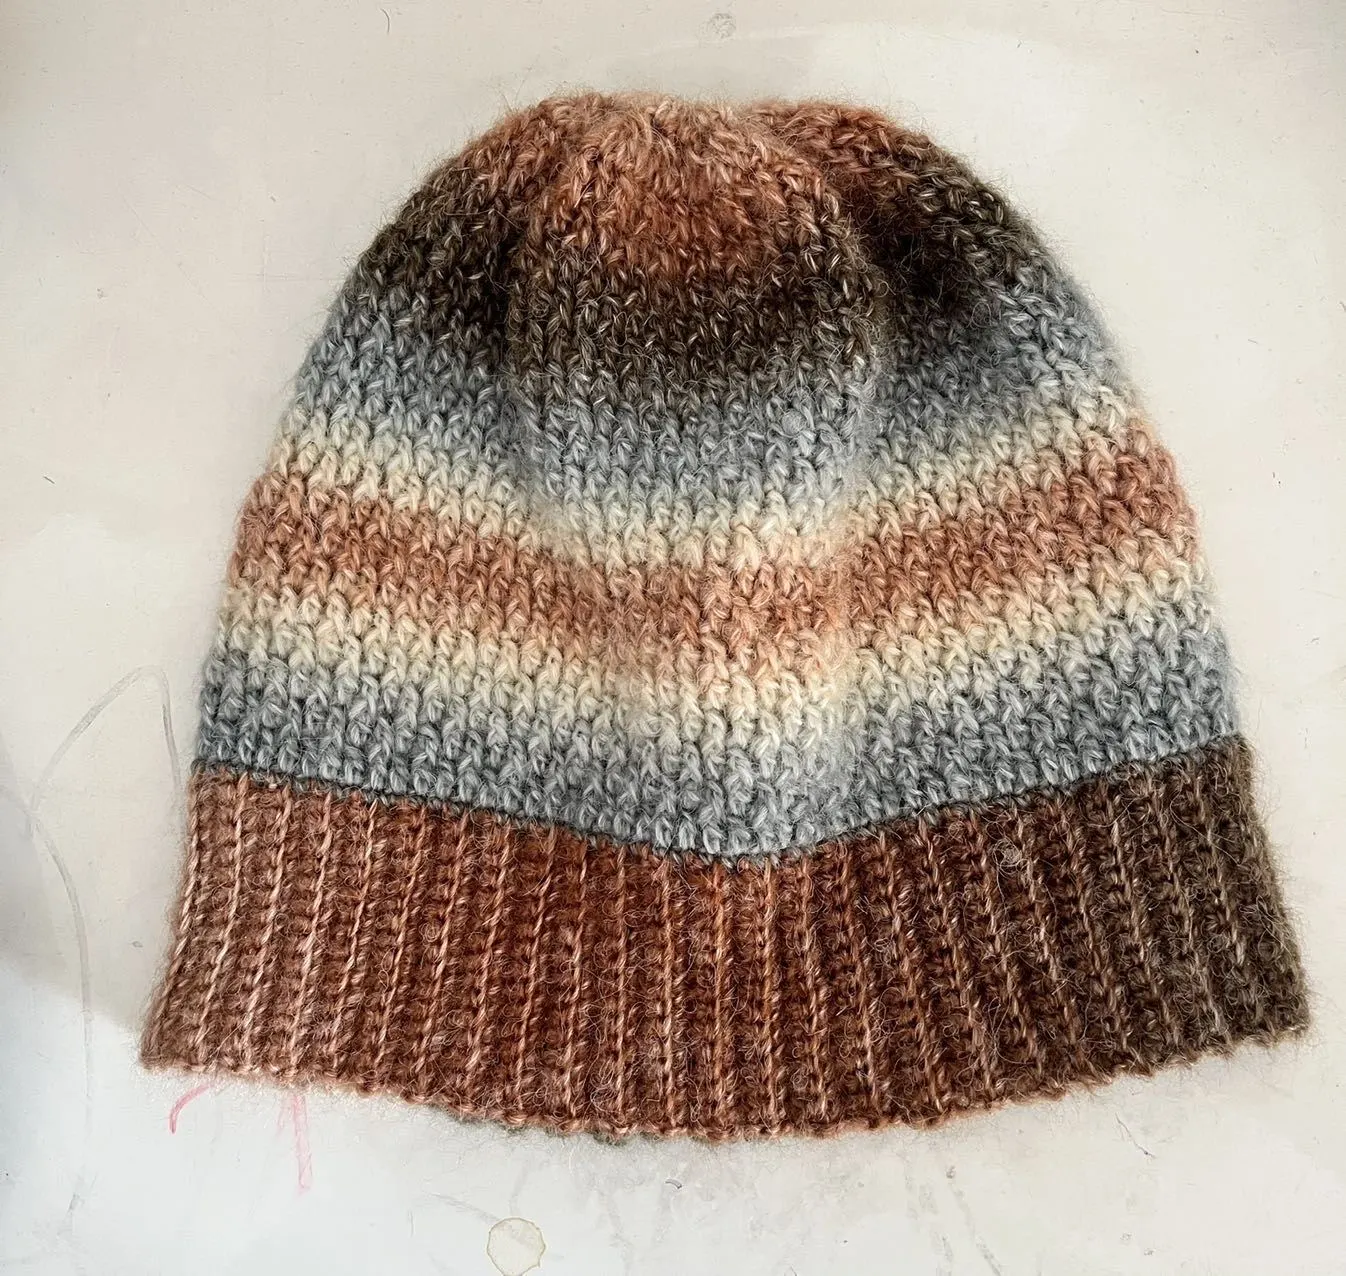
First Love Hat
Project preview
See the finished project
Pattern format
Instructions
Watch and follow
Video tutorial
| Style | Yarn | Color |
|---|---|---|
| Purple Mist Version | Dawn Impression |  11#Purple Mist x 1 |
| Fragments Version | Dawn Impression |  05#Fragments x 1 |
| Wild Winter Version | Dawn Impression |  21#Wild Winter x 1 |
| Dawn Version | Dawn Impression |  31#Dawn x 1 |
This hat is divided into three sections: the brim, the body, and the pom-poms. First, crochet the brim, then crochet the body, and finally attach the pom-poms.
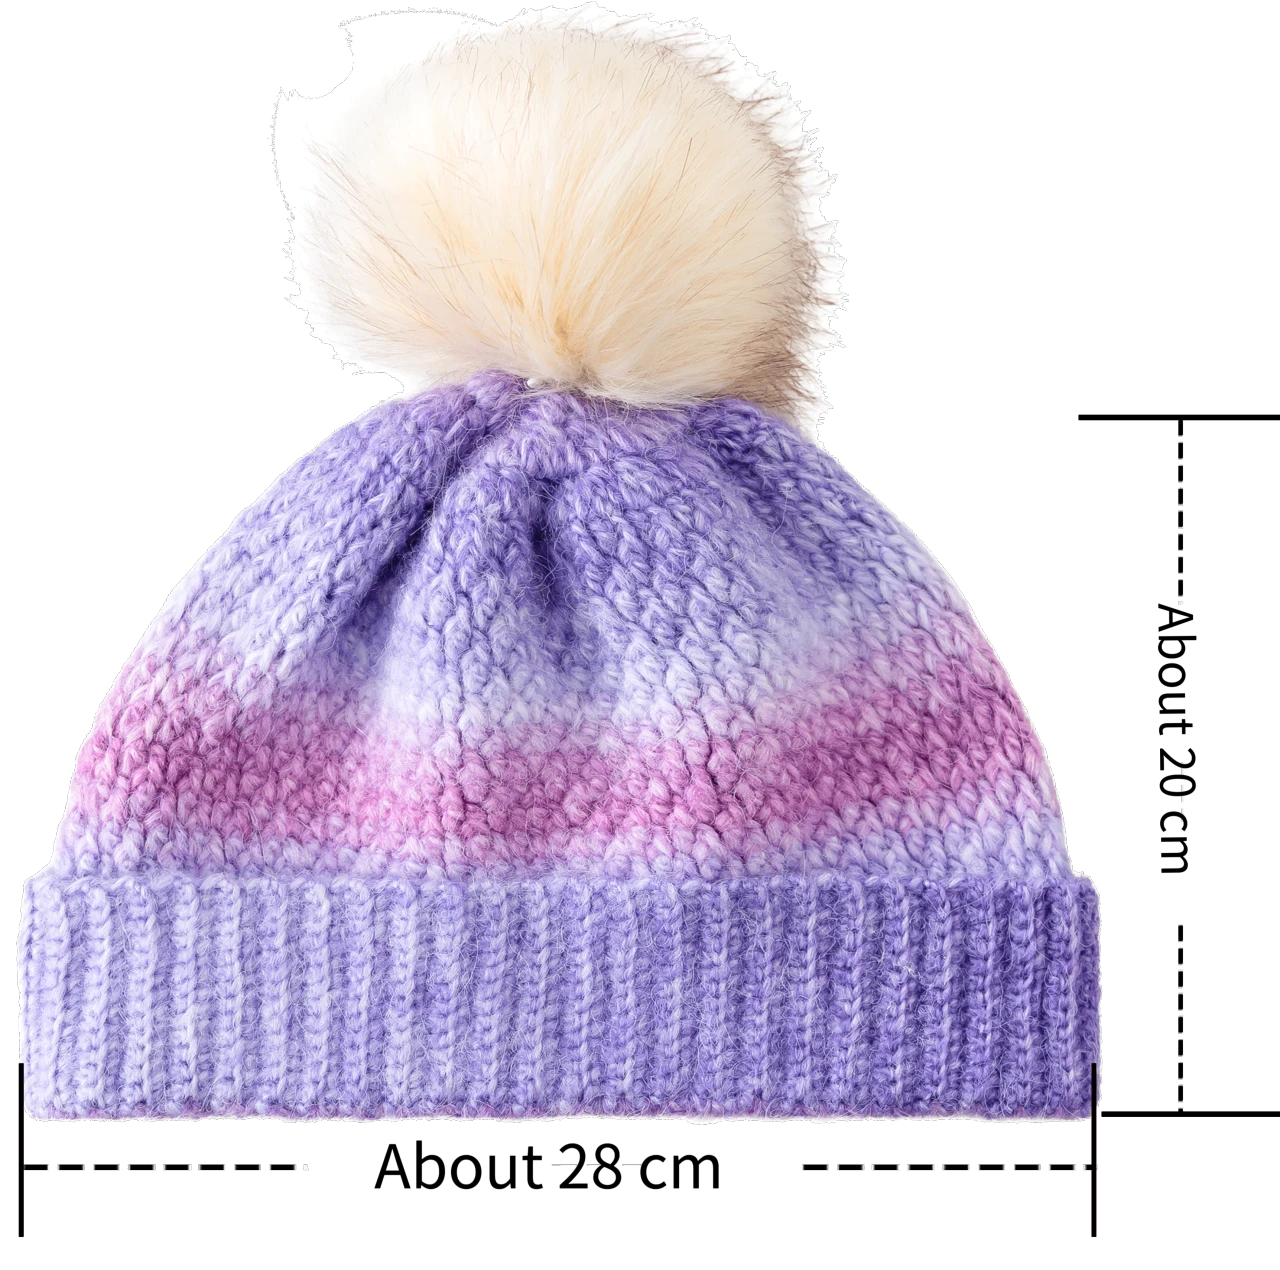
Note: Measurements are taken by hand, so there might be a 1-2 cm error.
Since everyone’s tension is different, the sample size is just for reference.
Yarn : Dawn Impression. Tool: 4.0 mm crochet hook.

Note: This project uses variegated yarn. Since the starting color section of variegated yarn can vary, the final look might differ slightly. Feel free to check out the finished product for reference or just pick the color section you like best to start crocheting.
Chart Key



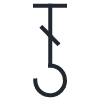



Note:
1. This pattern is making in Chinese crochet pattern terms, and the stitch name is written using American terminology. All measurements in charts are in cm.
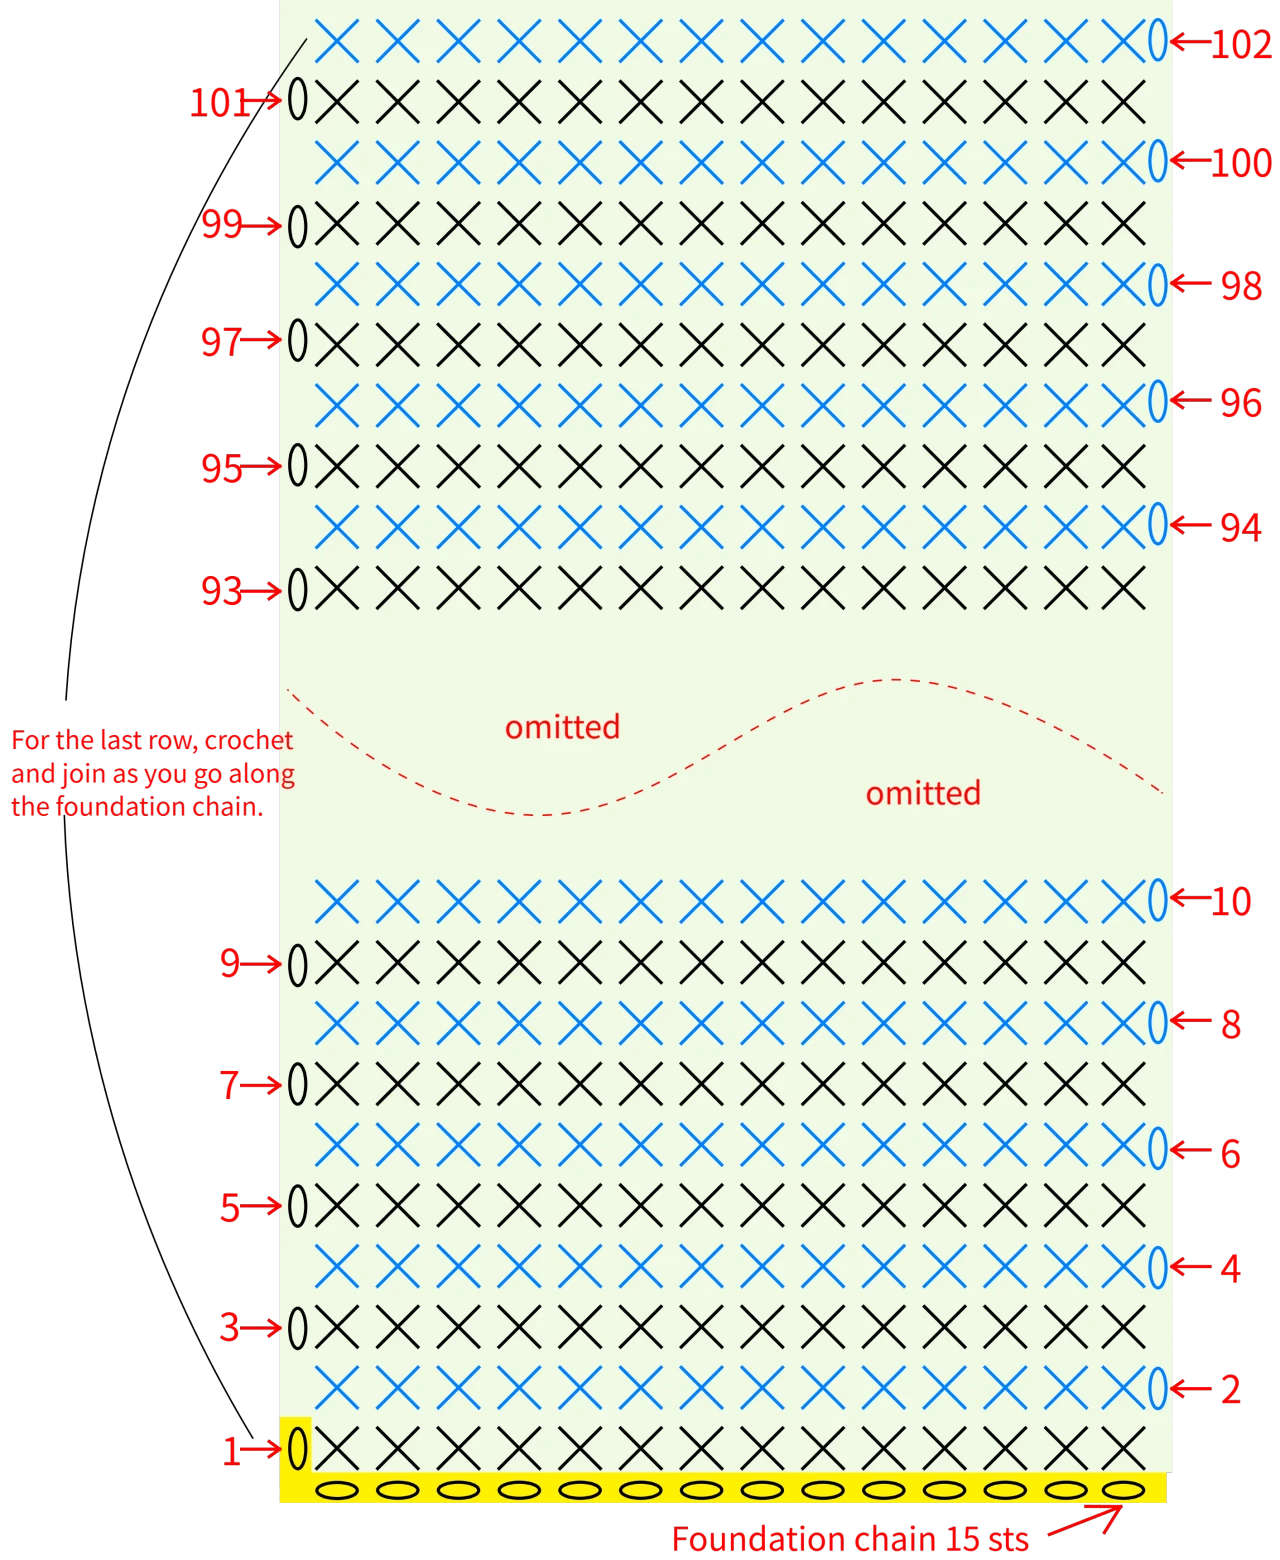
Part 1 Hat Brim
Start with a foundation chain method and crochet back and forth in rows. Please refer to the video demonstration for more details.
Note: Starting from row 2, crochet through the back loop of each single crochet.
Part 2 Hat Body
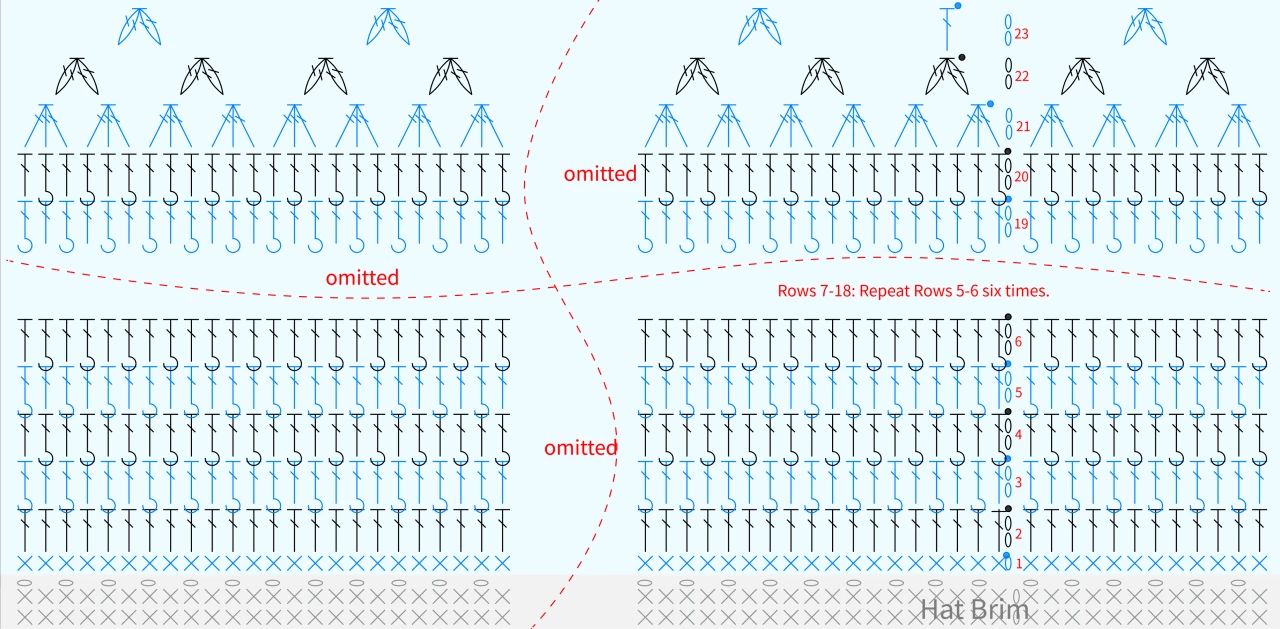
Next, crochet the body of the hat in rounds from the brim. When you're done, leave a 20 cm tail for sewing. Please refer to the video demonstration for more details.
Part 3 Attaching Pom-poms
Use the leftover yarn tails to sew on the buttons and attach the pom-poms. Please refer to the video demonstration for more details.
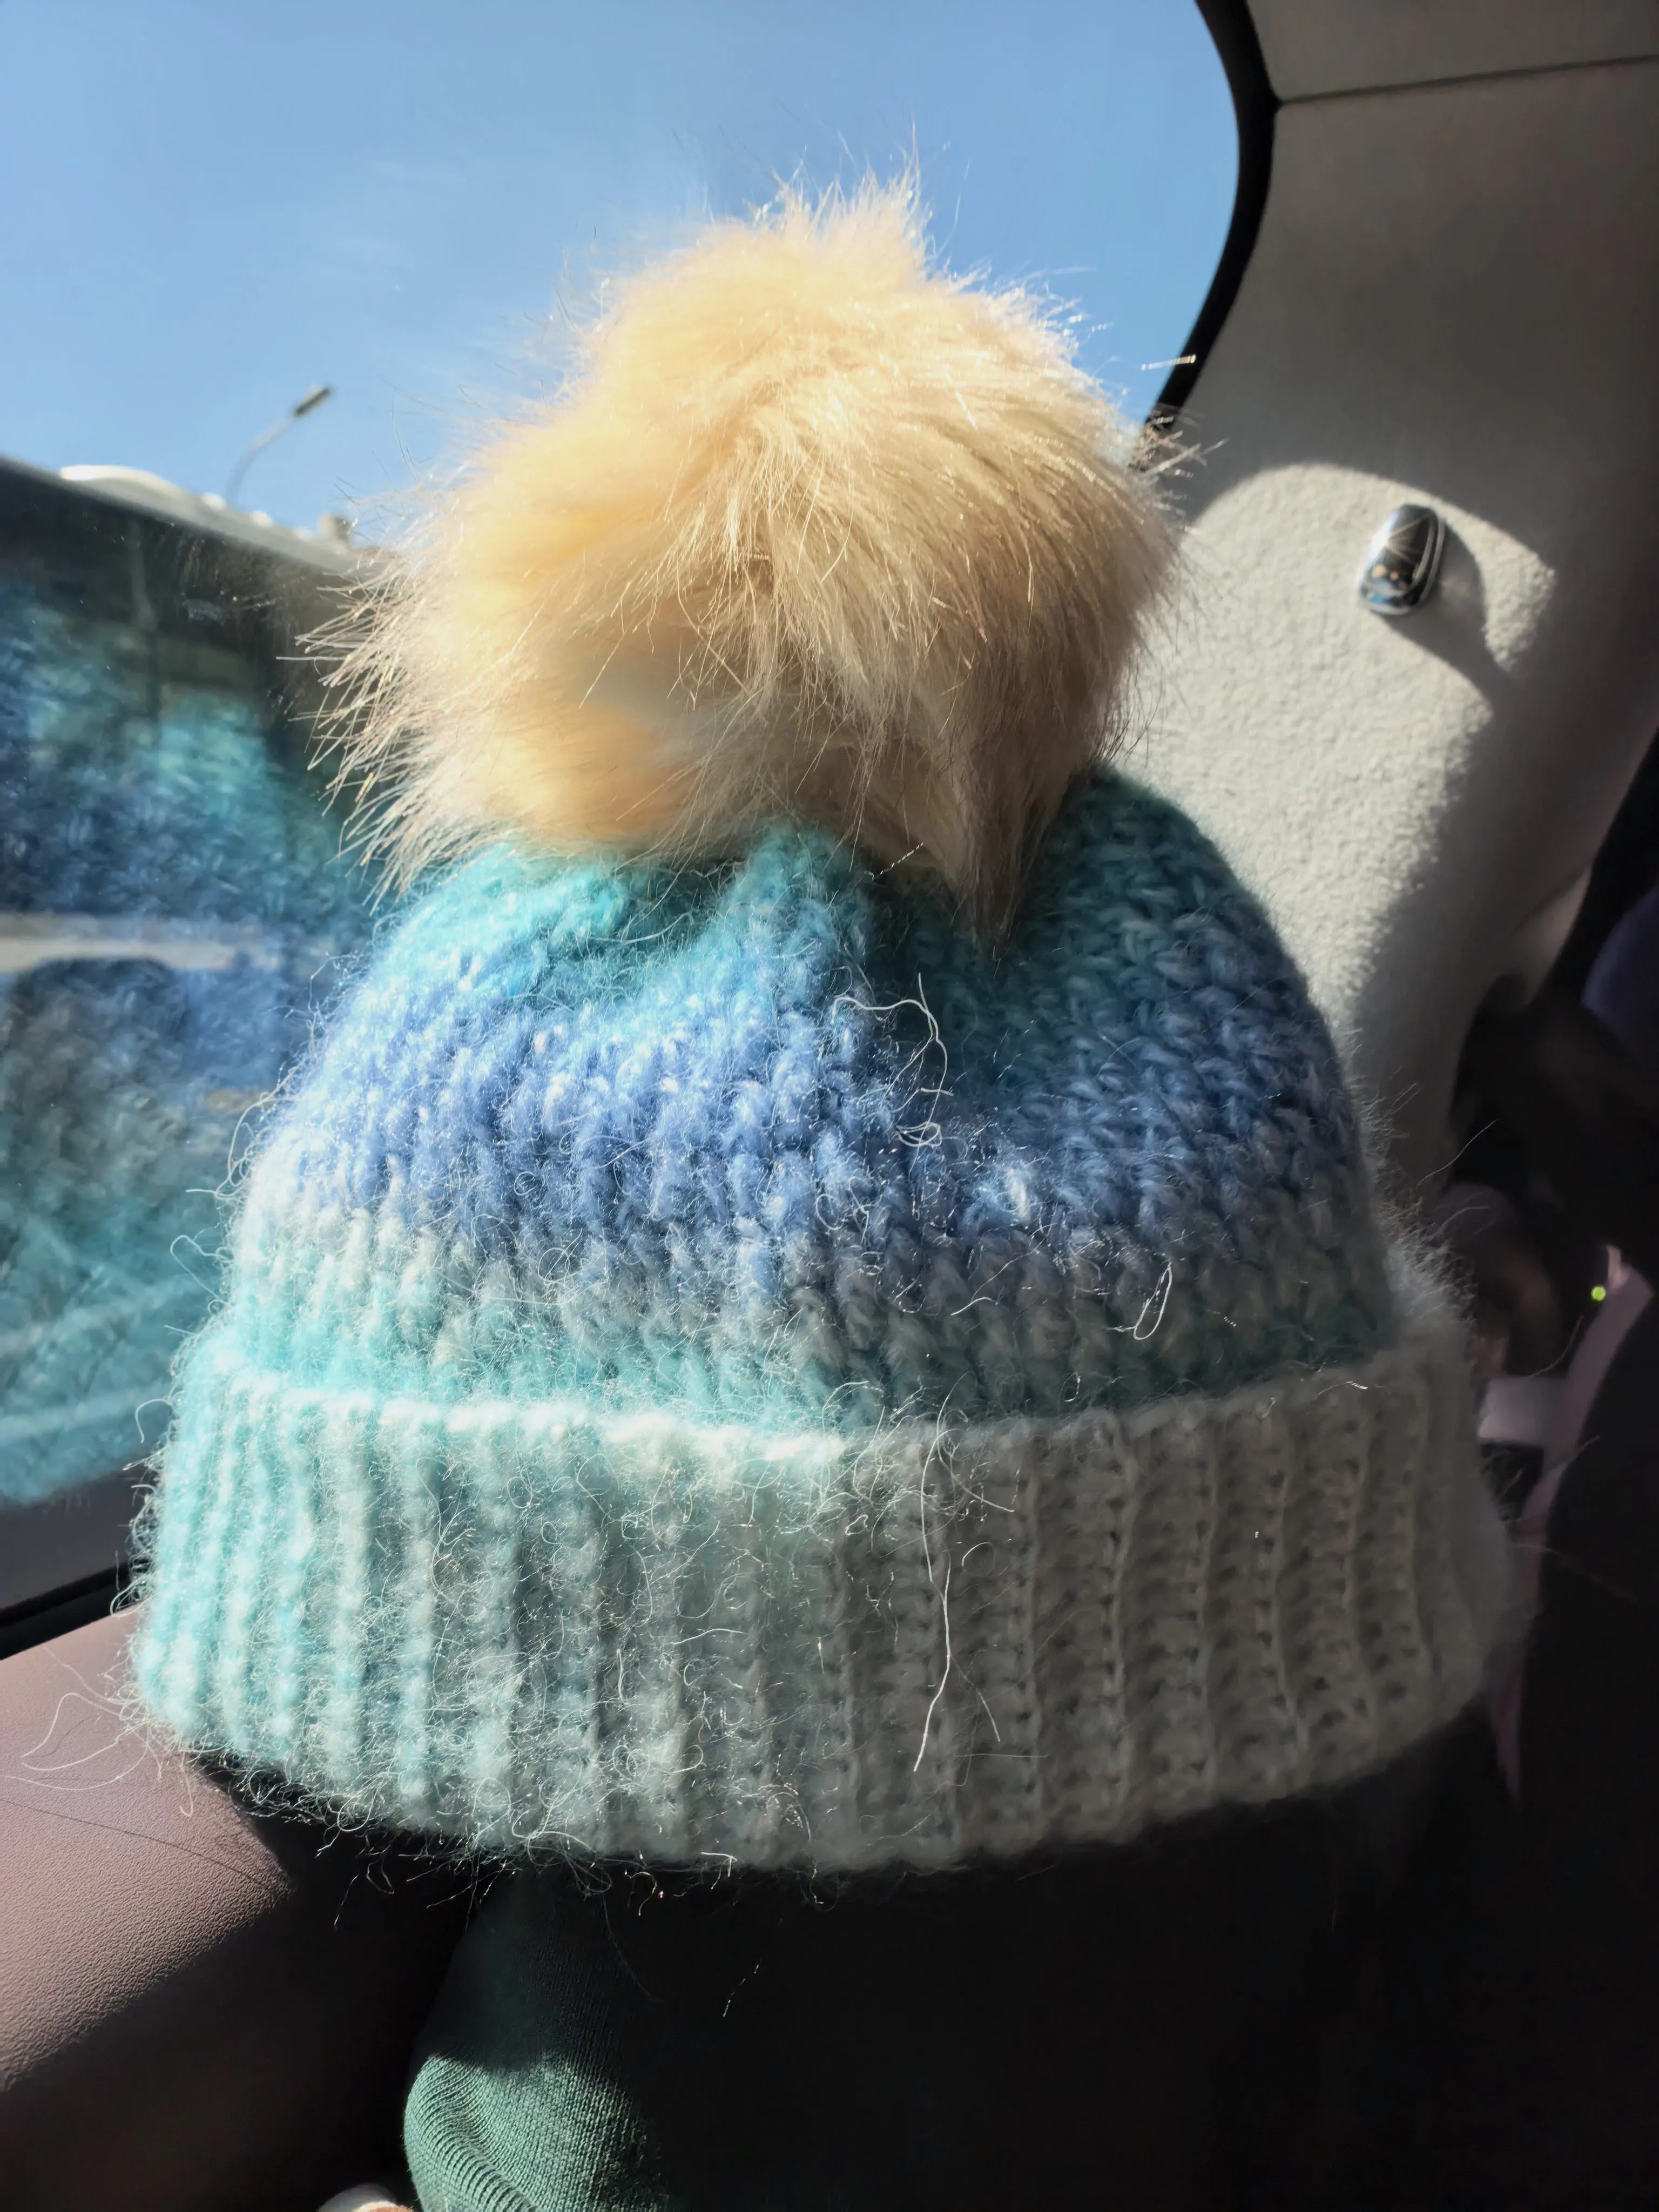
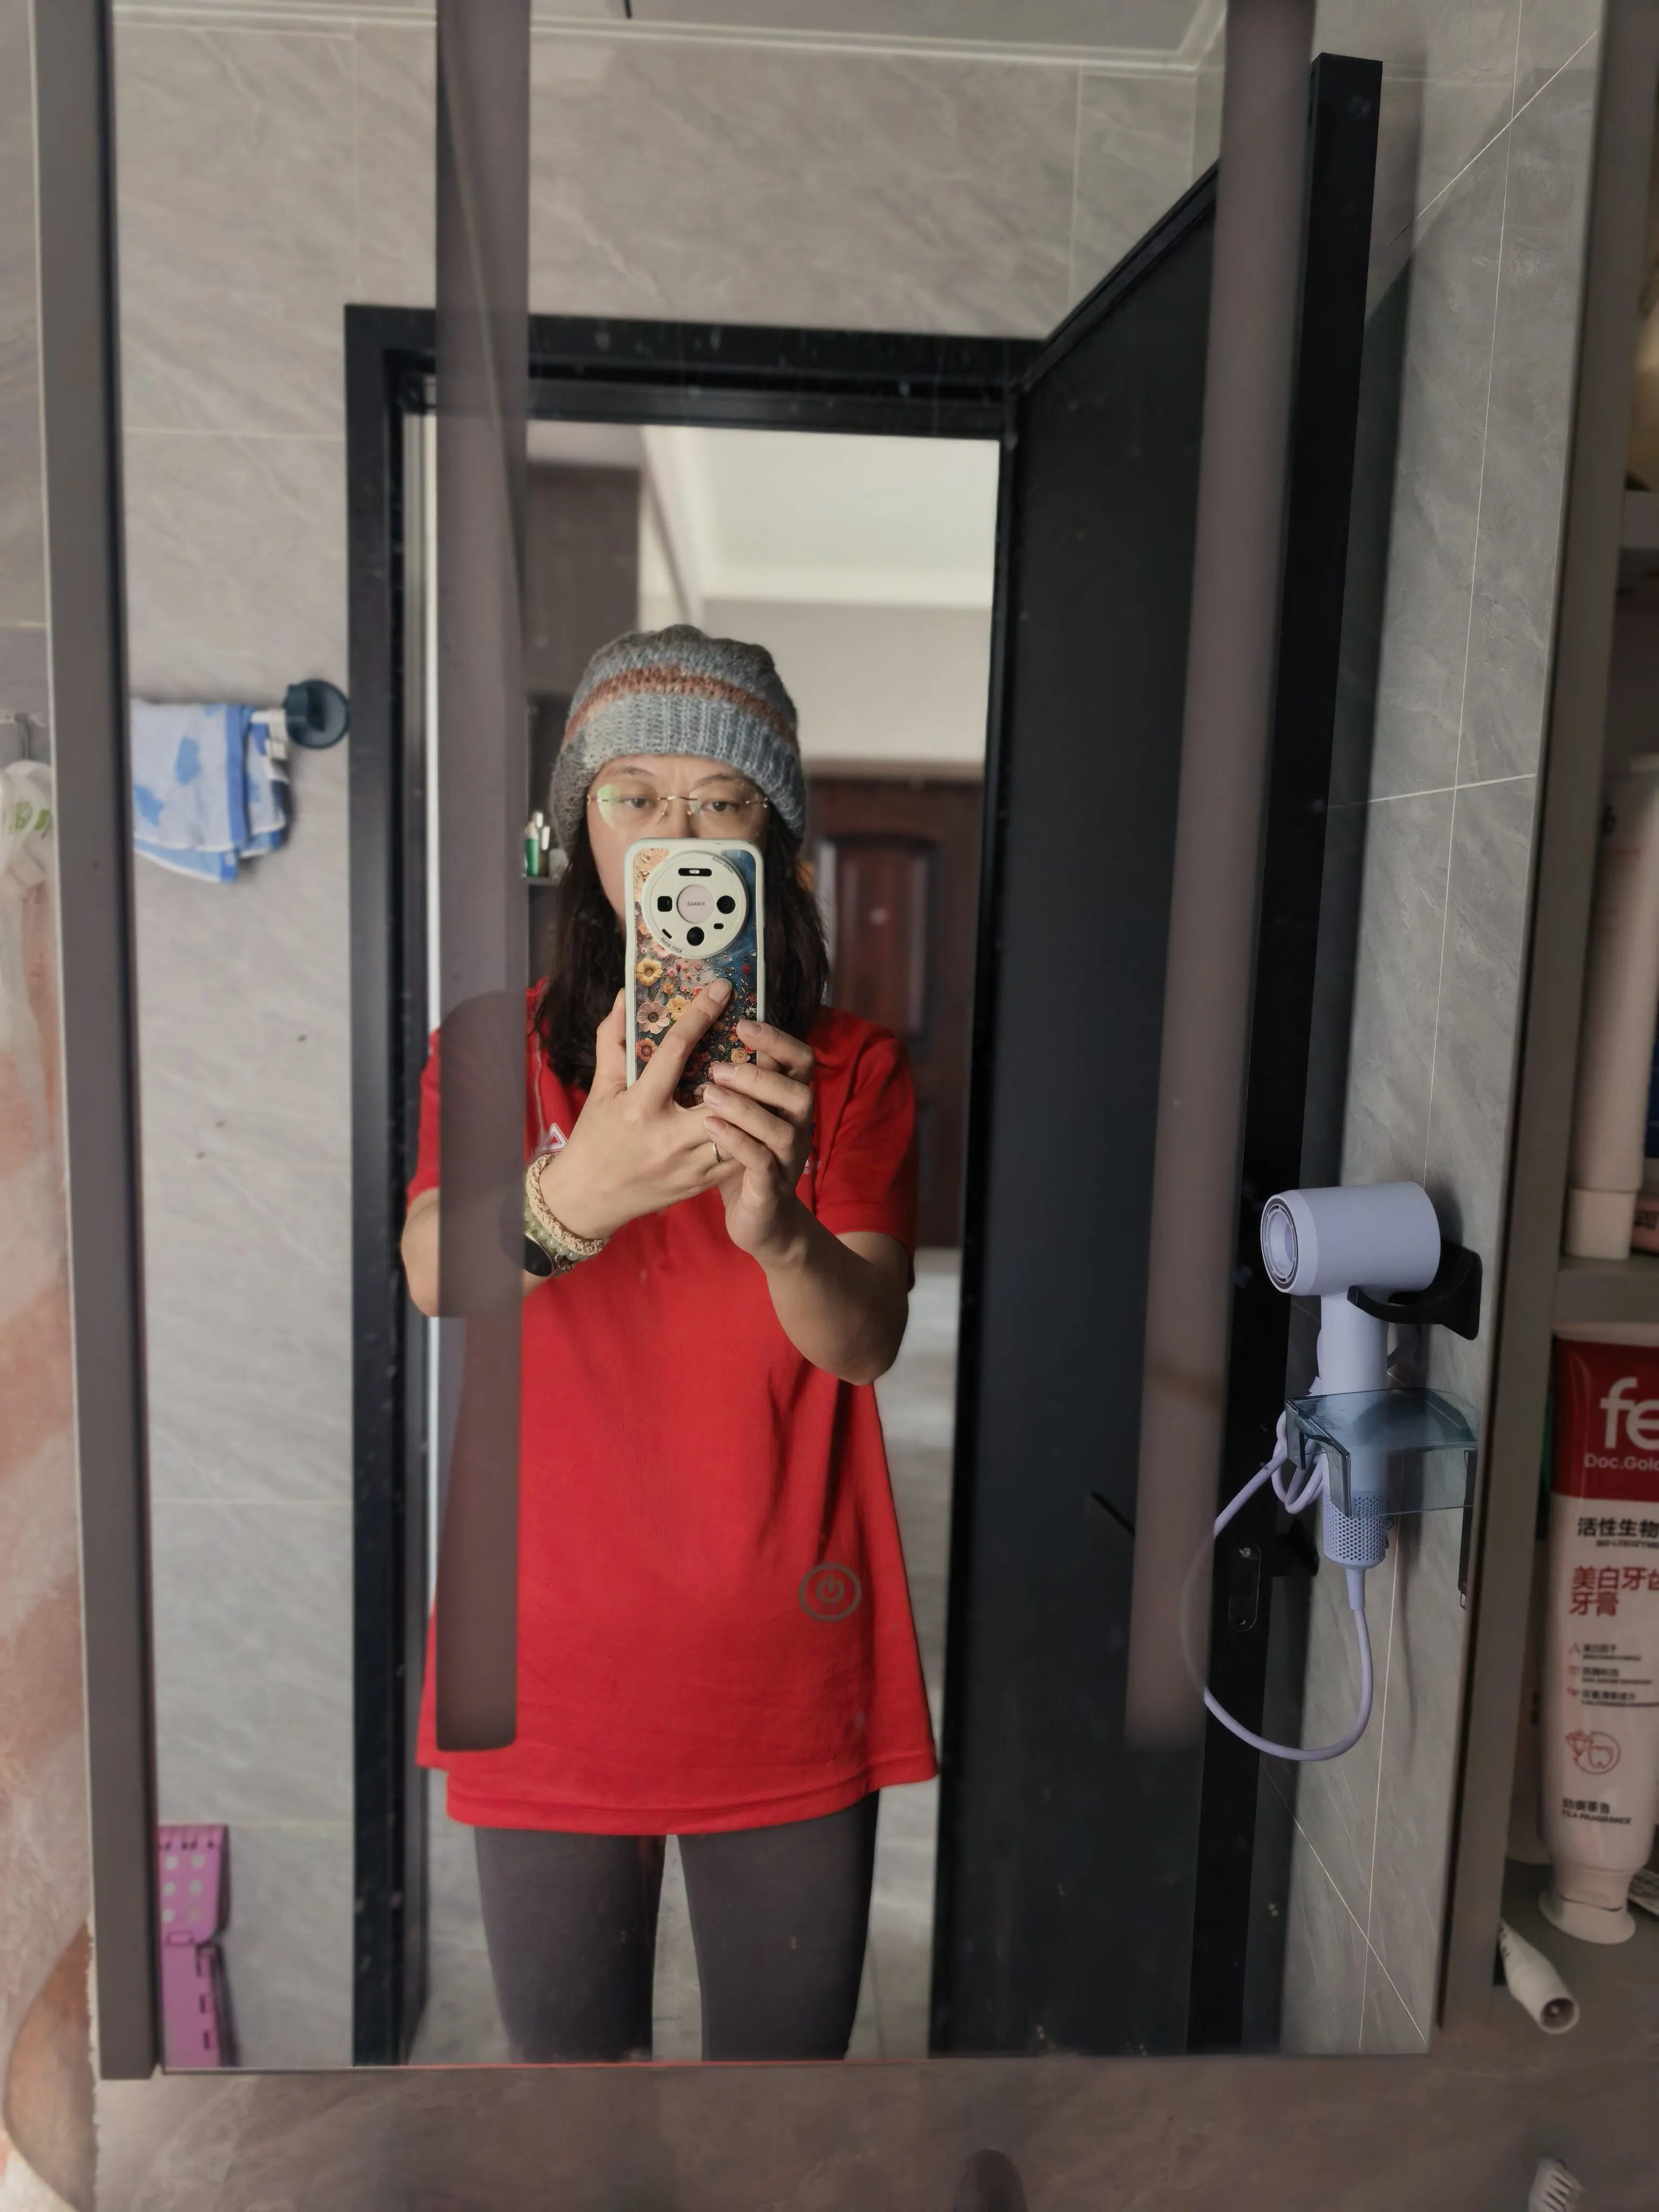
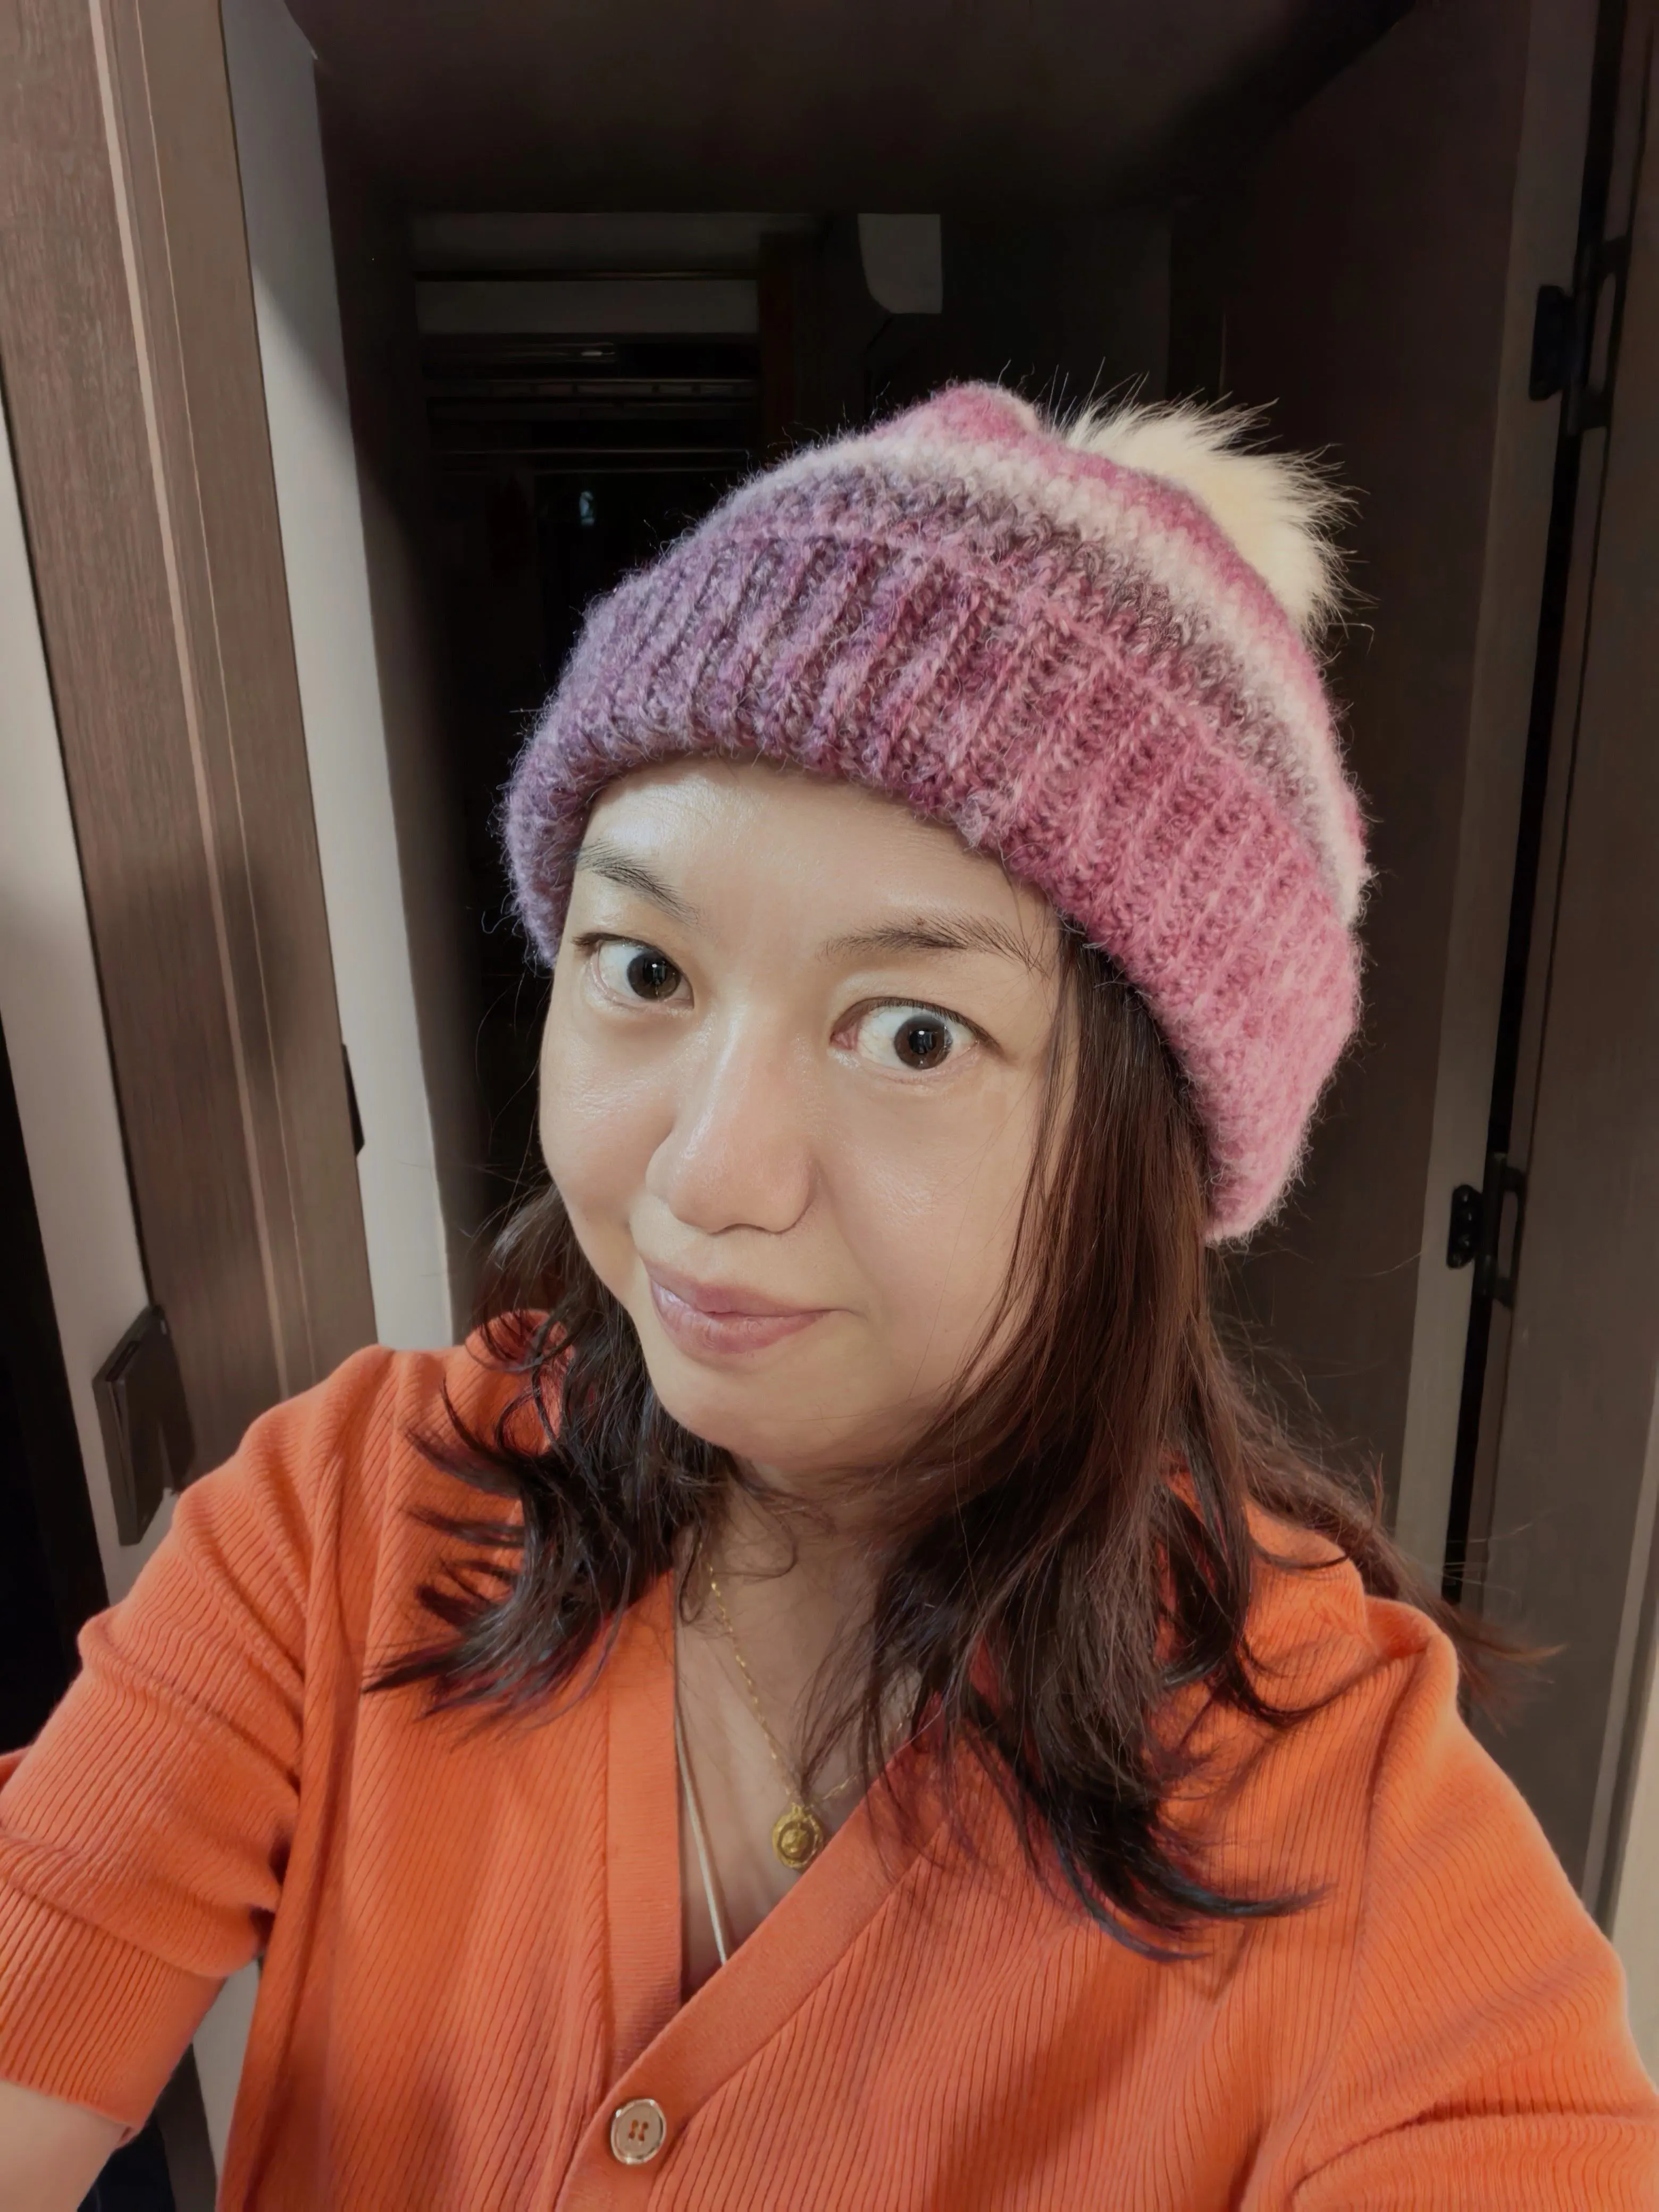
Made by the community