Clothes
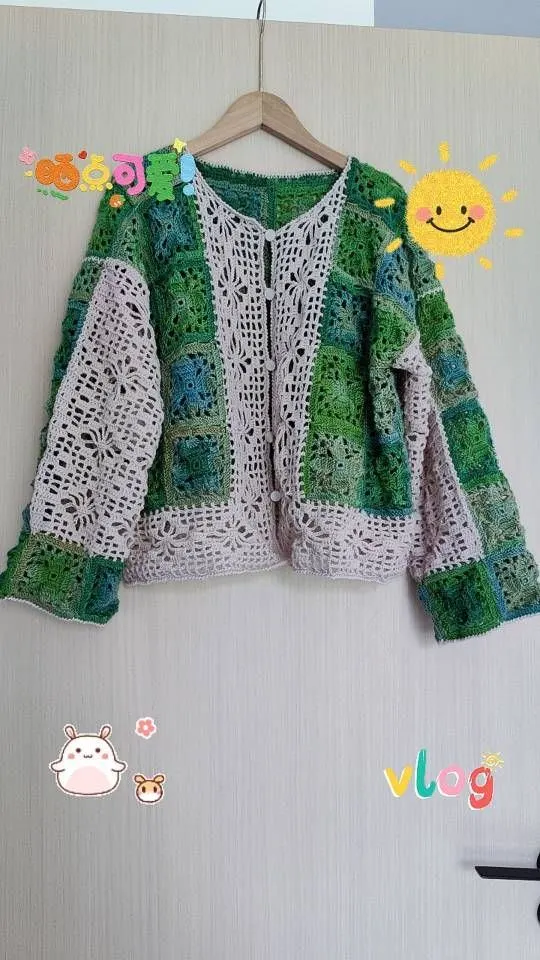
Jade Color Cardigan
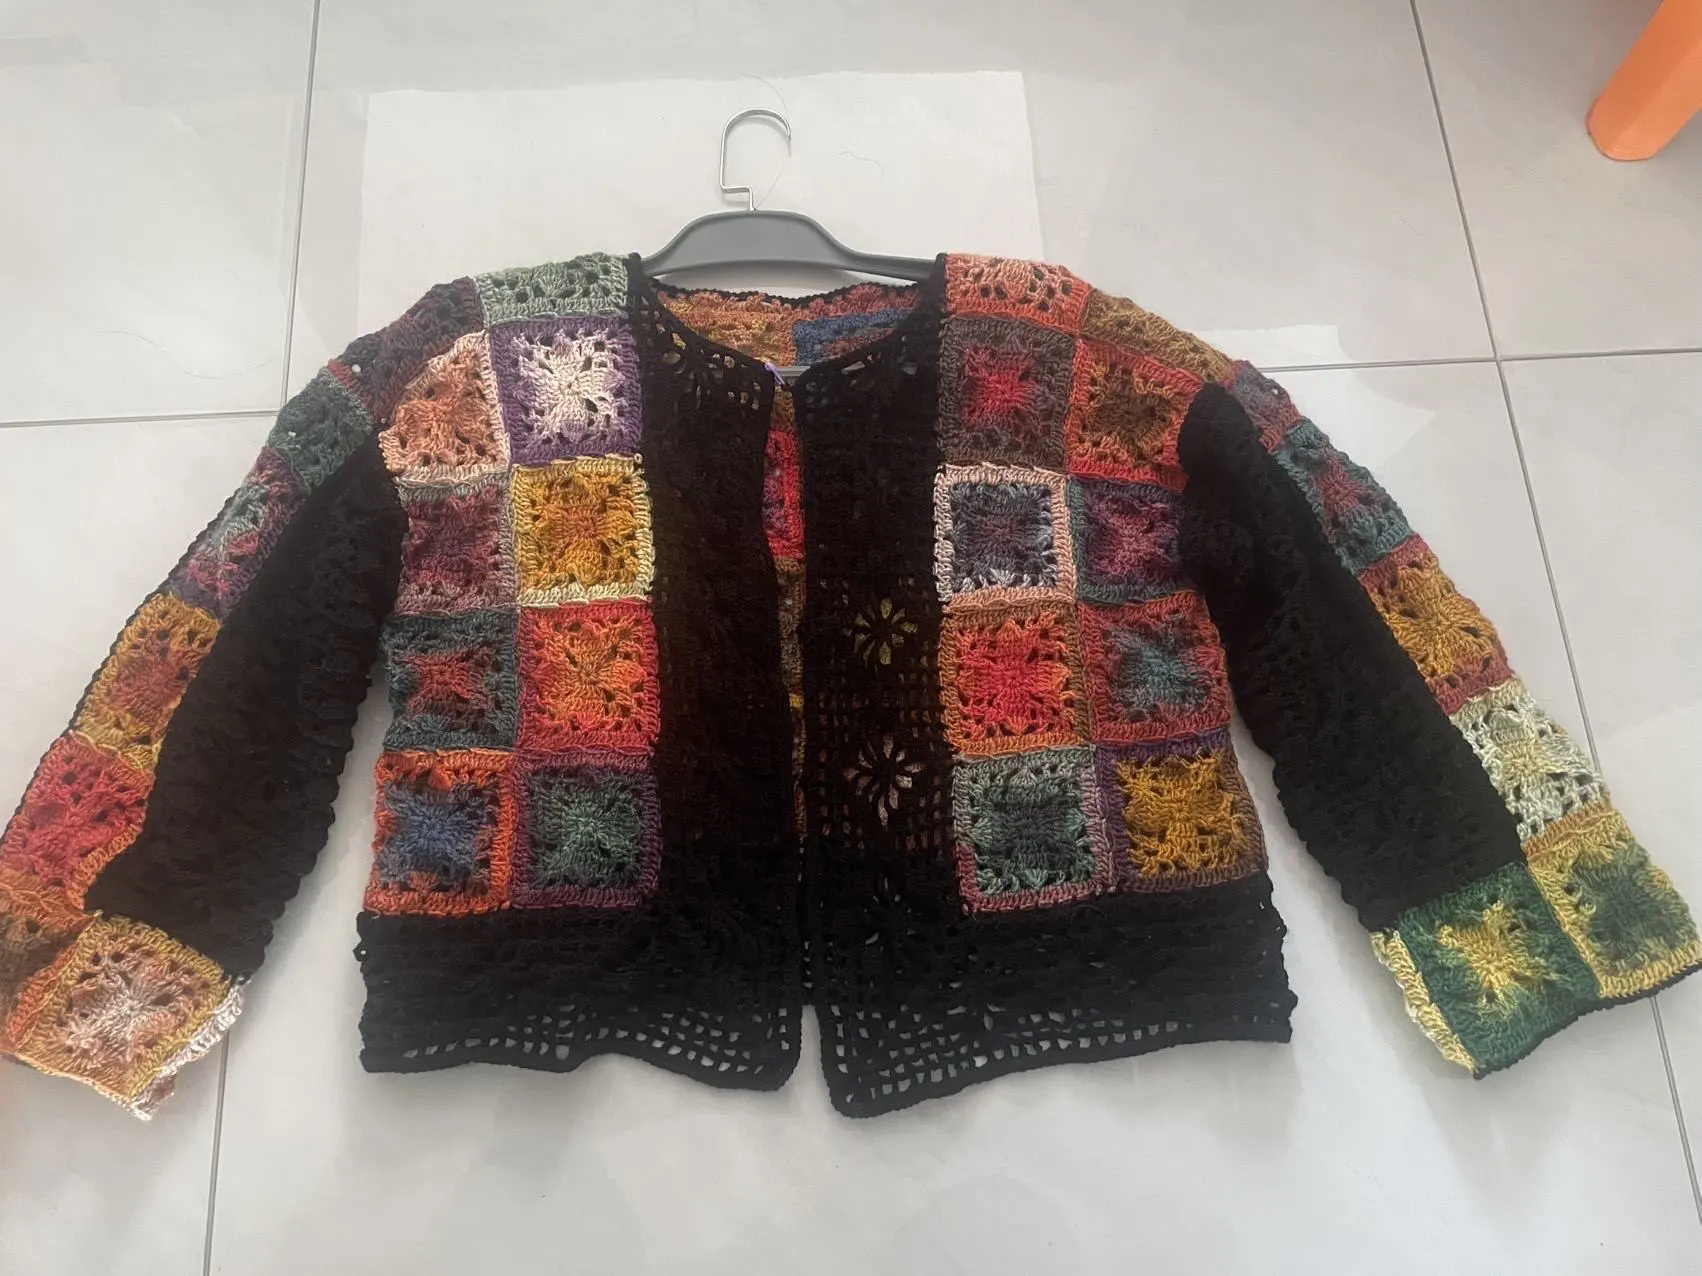
Project preview
See the finished project
Pattern format
Instructions
Watch and follow
Video tutorial
| Style | Yarn | Color |
|---|---|---|
| Spring Rain | Morandi 4# |  08#Linen x 5 08#Linen x 5 |
| Monet Impression | 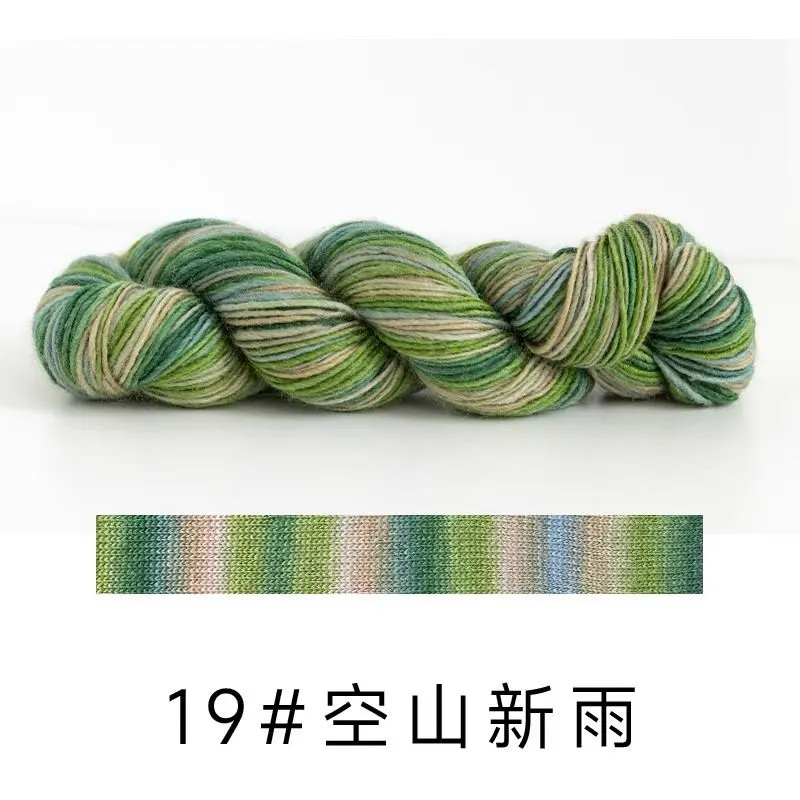 19#Spring Rain x 7 19#Spring Rain x 7 | |
| Florescence | Morandi 4# |  03#Mauve Mist x 5 03#Mauve Mist x 5 |
| Monet Impression |  13#Florescence x 7 13#Florescence x 7 | |
| Sunrise | Morandi 4# |  33#Whispering Blue x 5 33#Whispering Blue x 5 |
| Monet Impression |  04#Sunrise x 7 04#Sunrise x 7 | |
| Linlang | Morandi 4# | 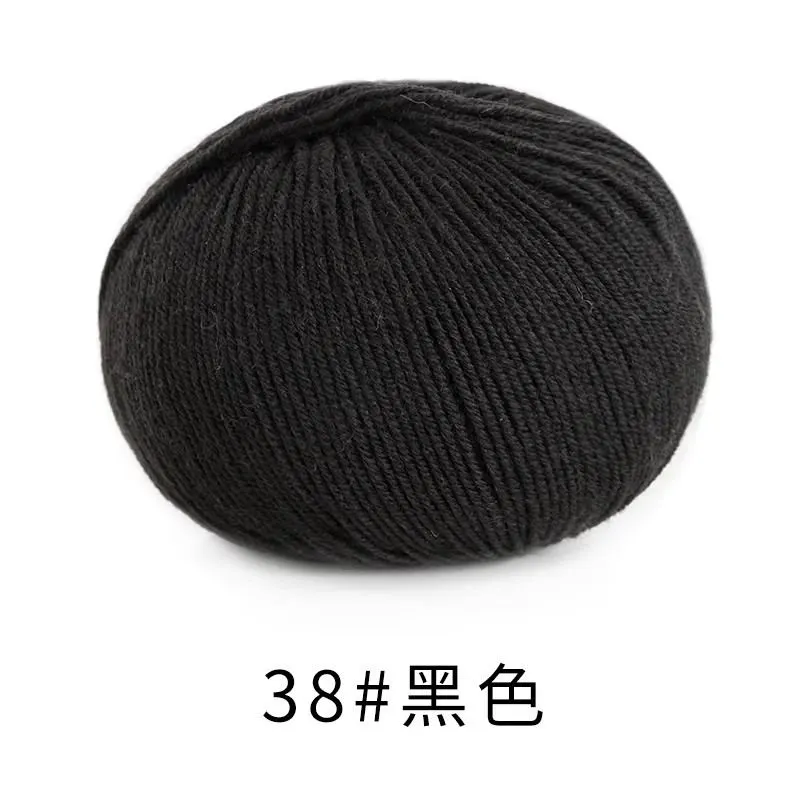 38#Black x 5 38#Black x 5 |
| Monet Impression | 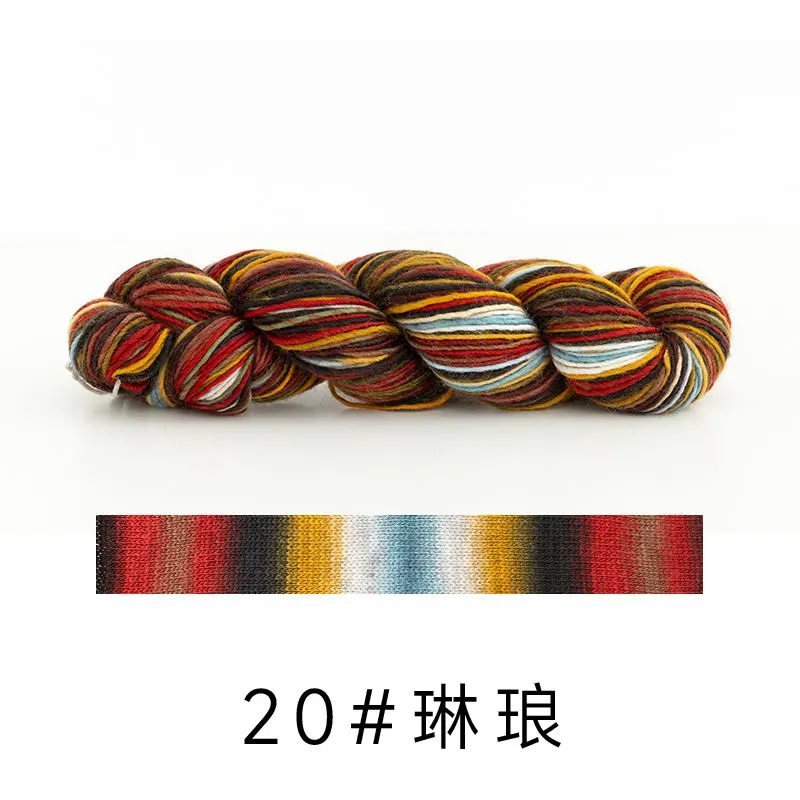 20#Linlang x 7 20#Linlang x 7 |
This garment consists of the front piece, back piece, edging, sleeves, and buttons. First, crochet the front and back pieces, then crochet the edging. After completing those, crochet the sleeves and attach them. Finally, sew on the buttons.
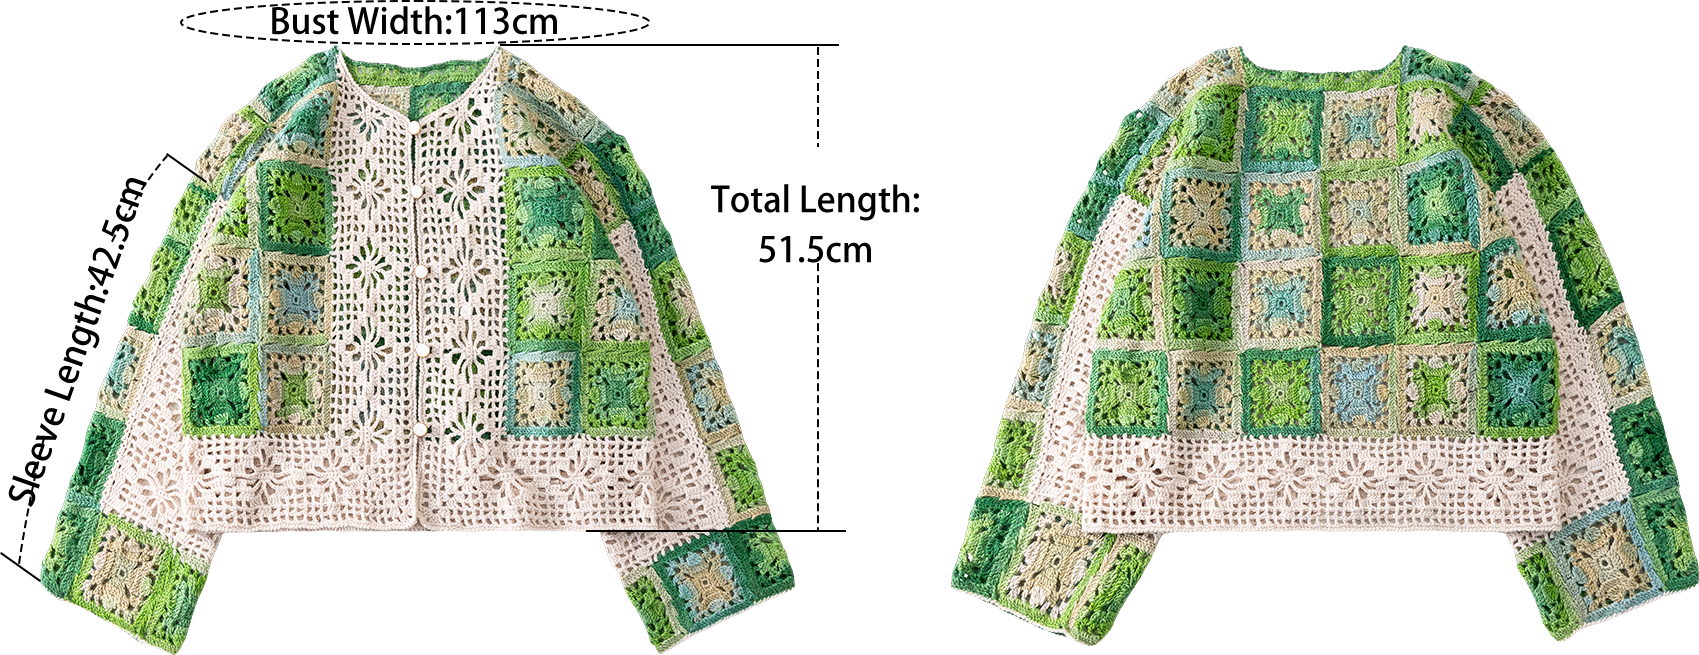
Due to variations in individual tension, the size of the sample is for reference only.
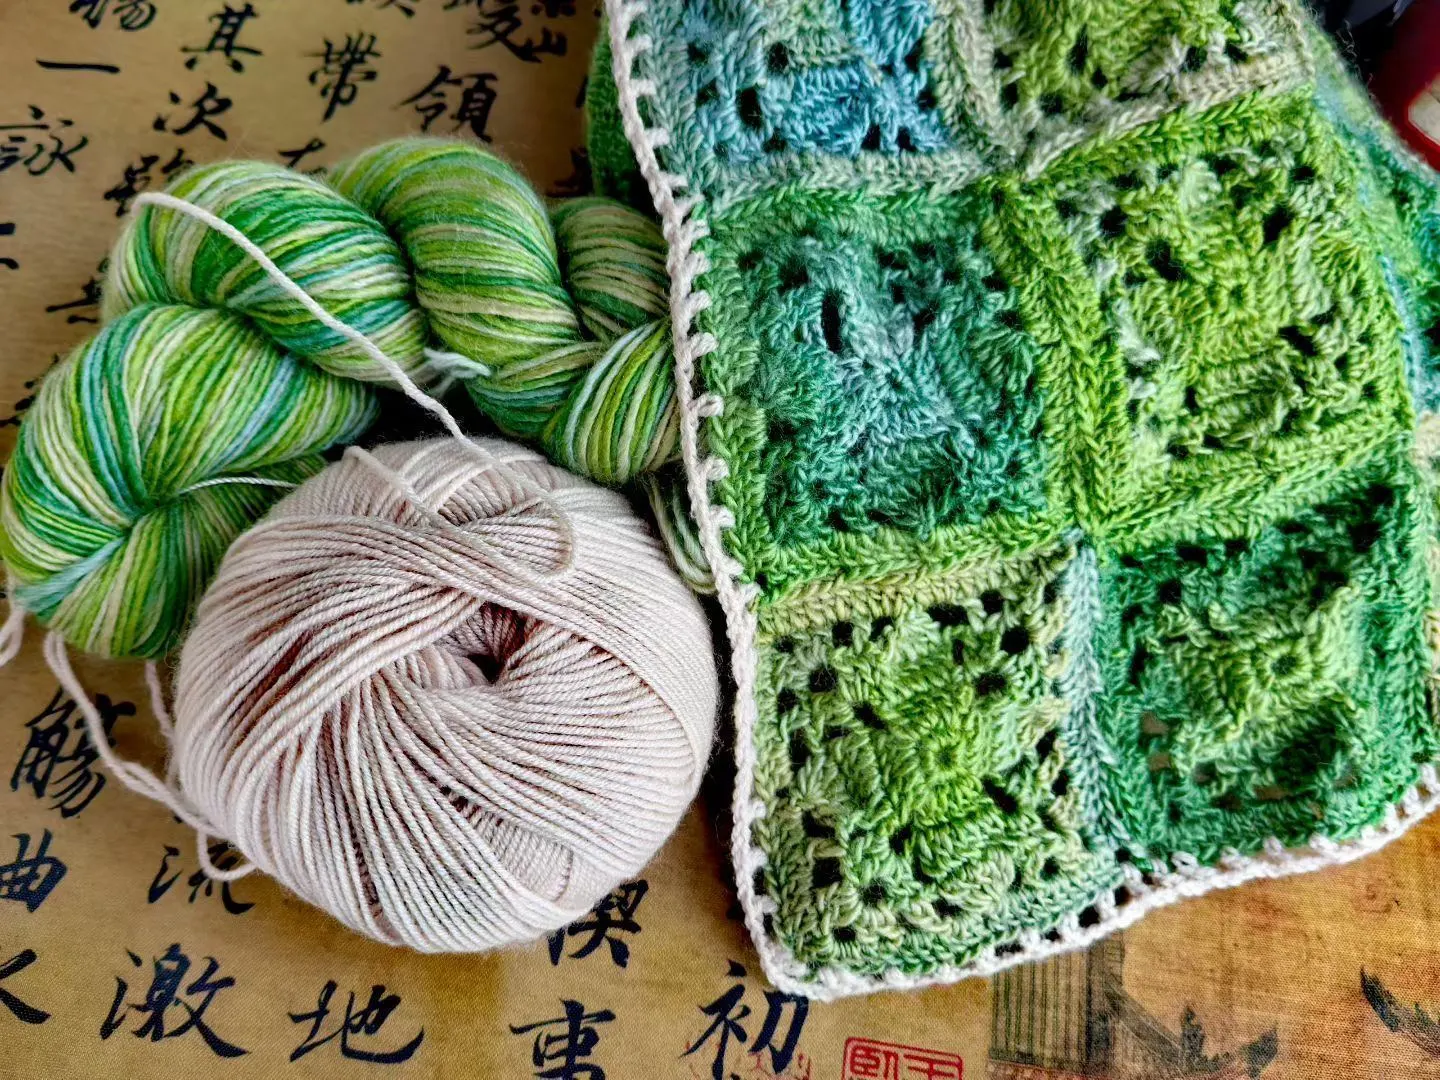
Materials: Morandi 4# and Monet Impression
Crochet Hook: 3.00 mm Crochet Hook
Note:
1. Identify the left and right of the fabric pieces based on the actual left and right when worn.
2. This pattern is making in Chinese crochet pattern terms, and the stitch name is written using American terminology. All measurements in charts are in cm.

Chart Key









| Part | Materials |
| Front and back pieces, chest piece, shoulder parts | Monet Impression |
| Edging | Morandi 4# |
| Part 1 of sleeves | Monet Impression |
| Part 2 of sleeves | |
| Cuff edging | Morandi 4# |
| Part 3 of sleeves | Morandi 4# |
| Buttonholes and sewing buttons | Morandi 4# |
Part 1 The front and back piecesA 00' 38''
The front and back pieces are divided into the body, bust section, and shoulders. Start by crocheting the body, which is made up of motifs. Except for the first motif that is fully crocheted, all subsequent motifs should be worked with the final round joined as you go. The motifs begin with a magic ring technique and are crocheted in rounds counterclockwise from the starting chain. After completing the body, continue to crochet upwards for the bust section and shoulders. For more details, please refer to the video demonstration.
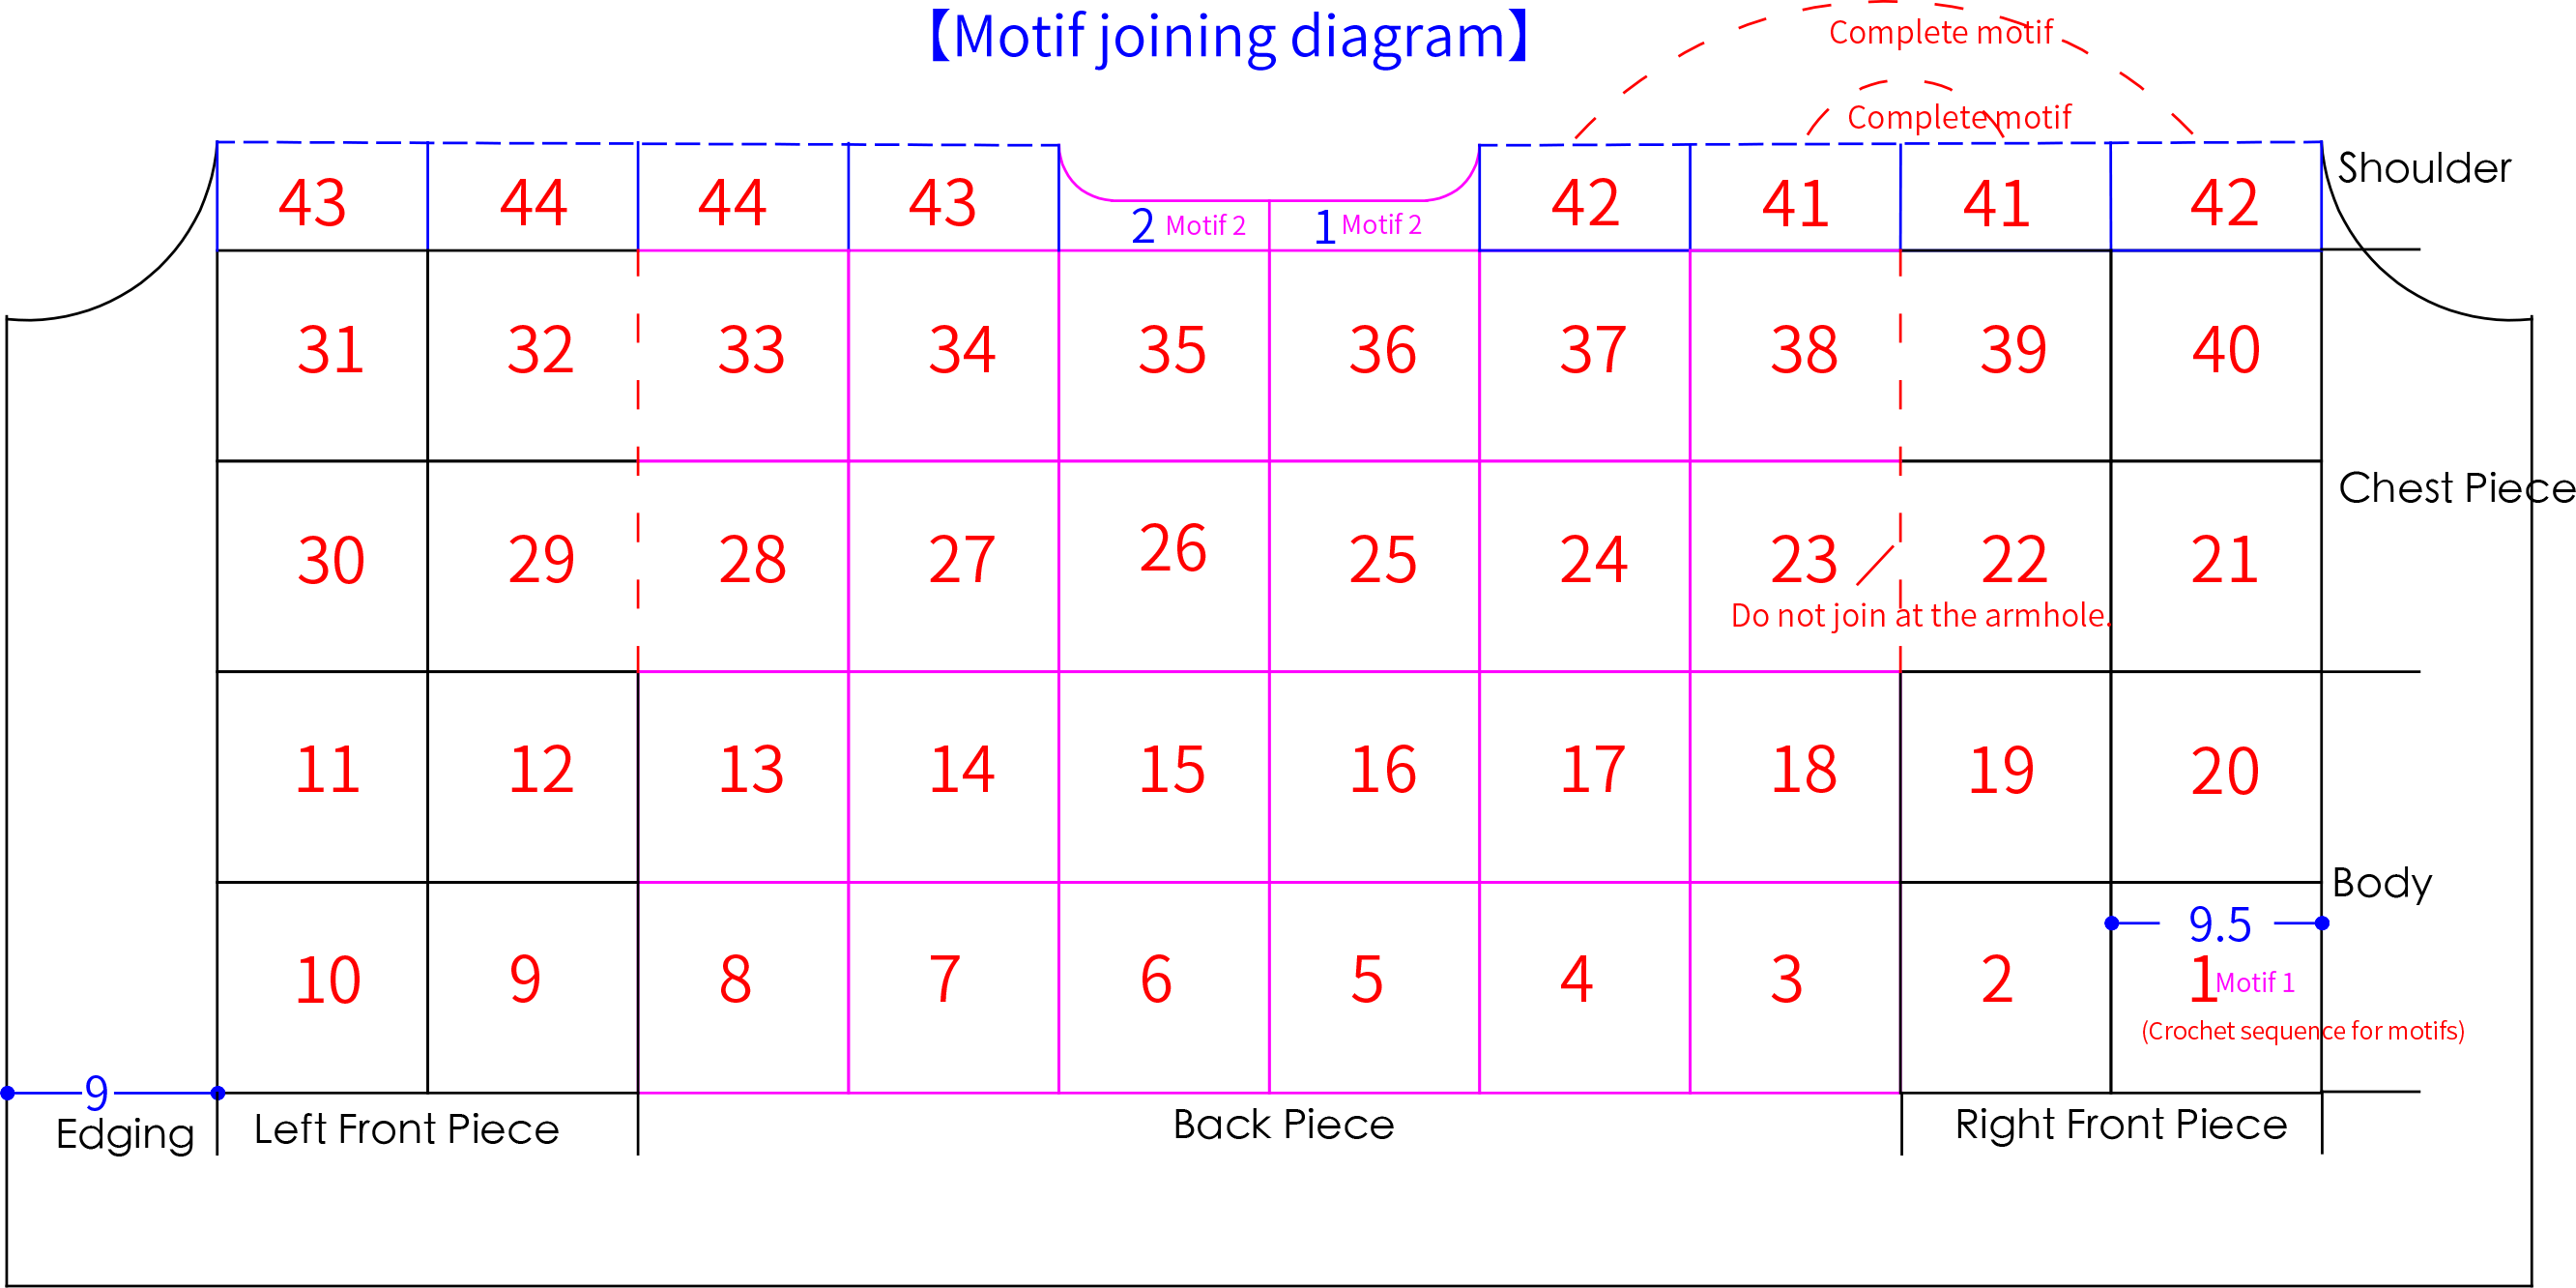
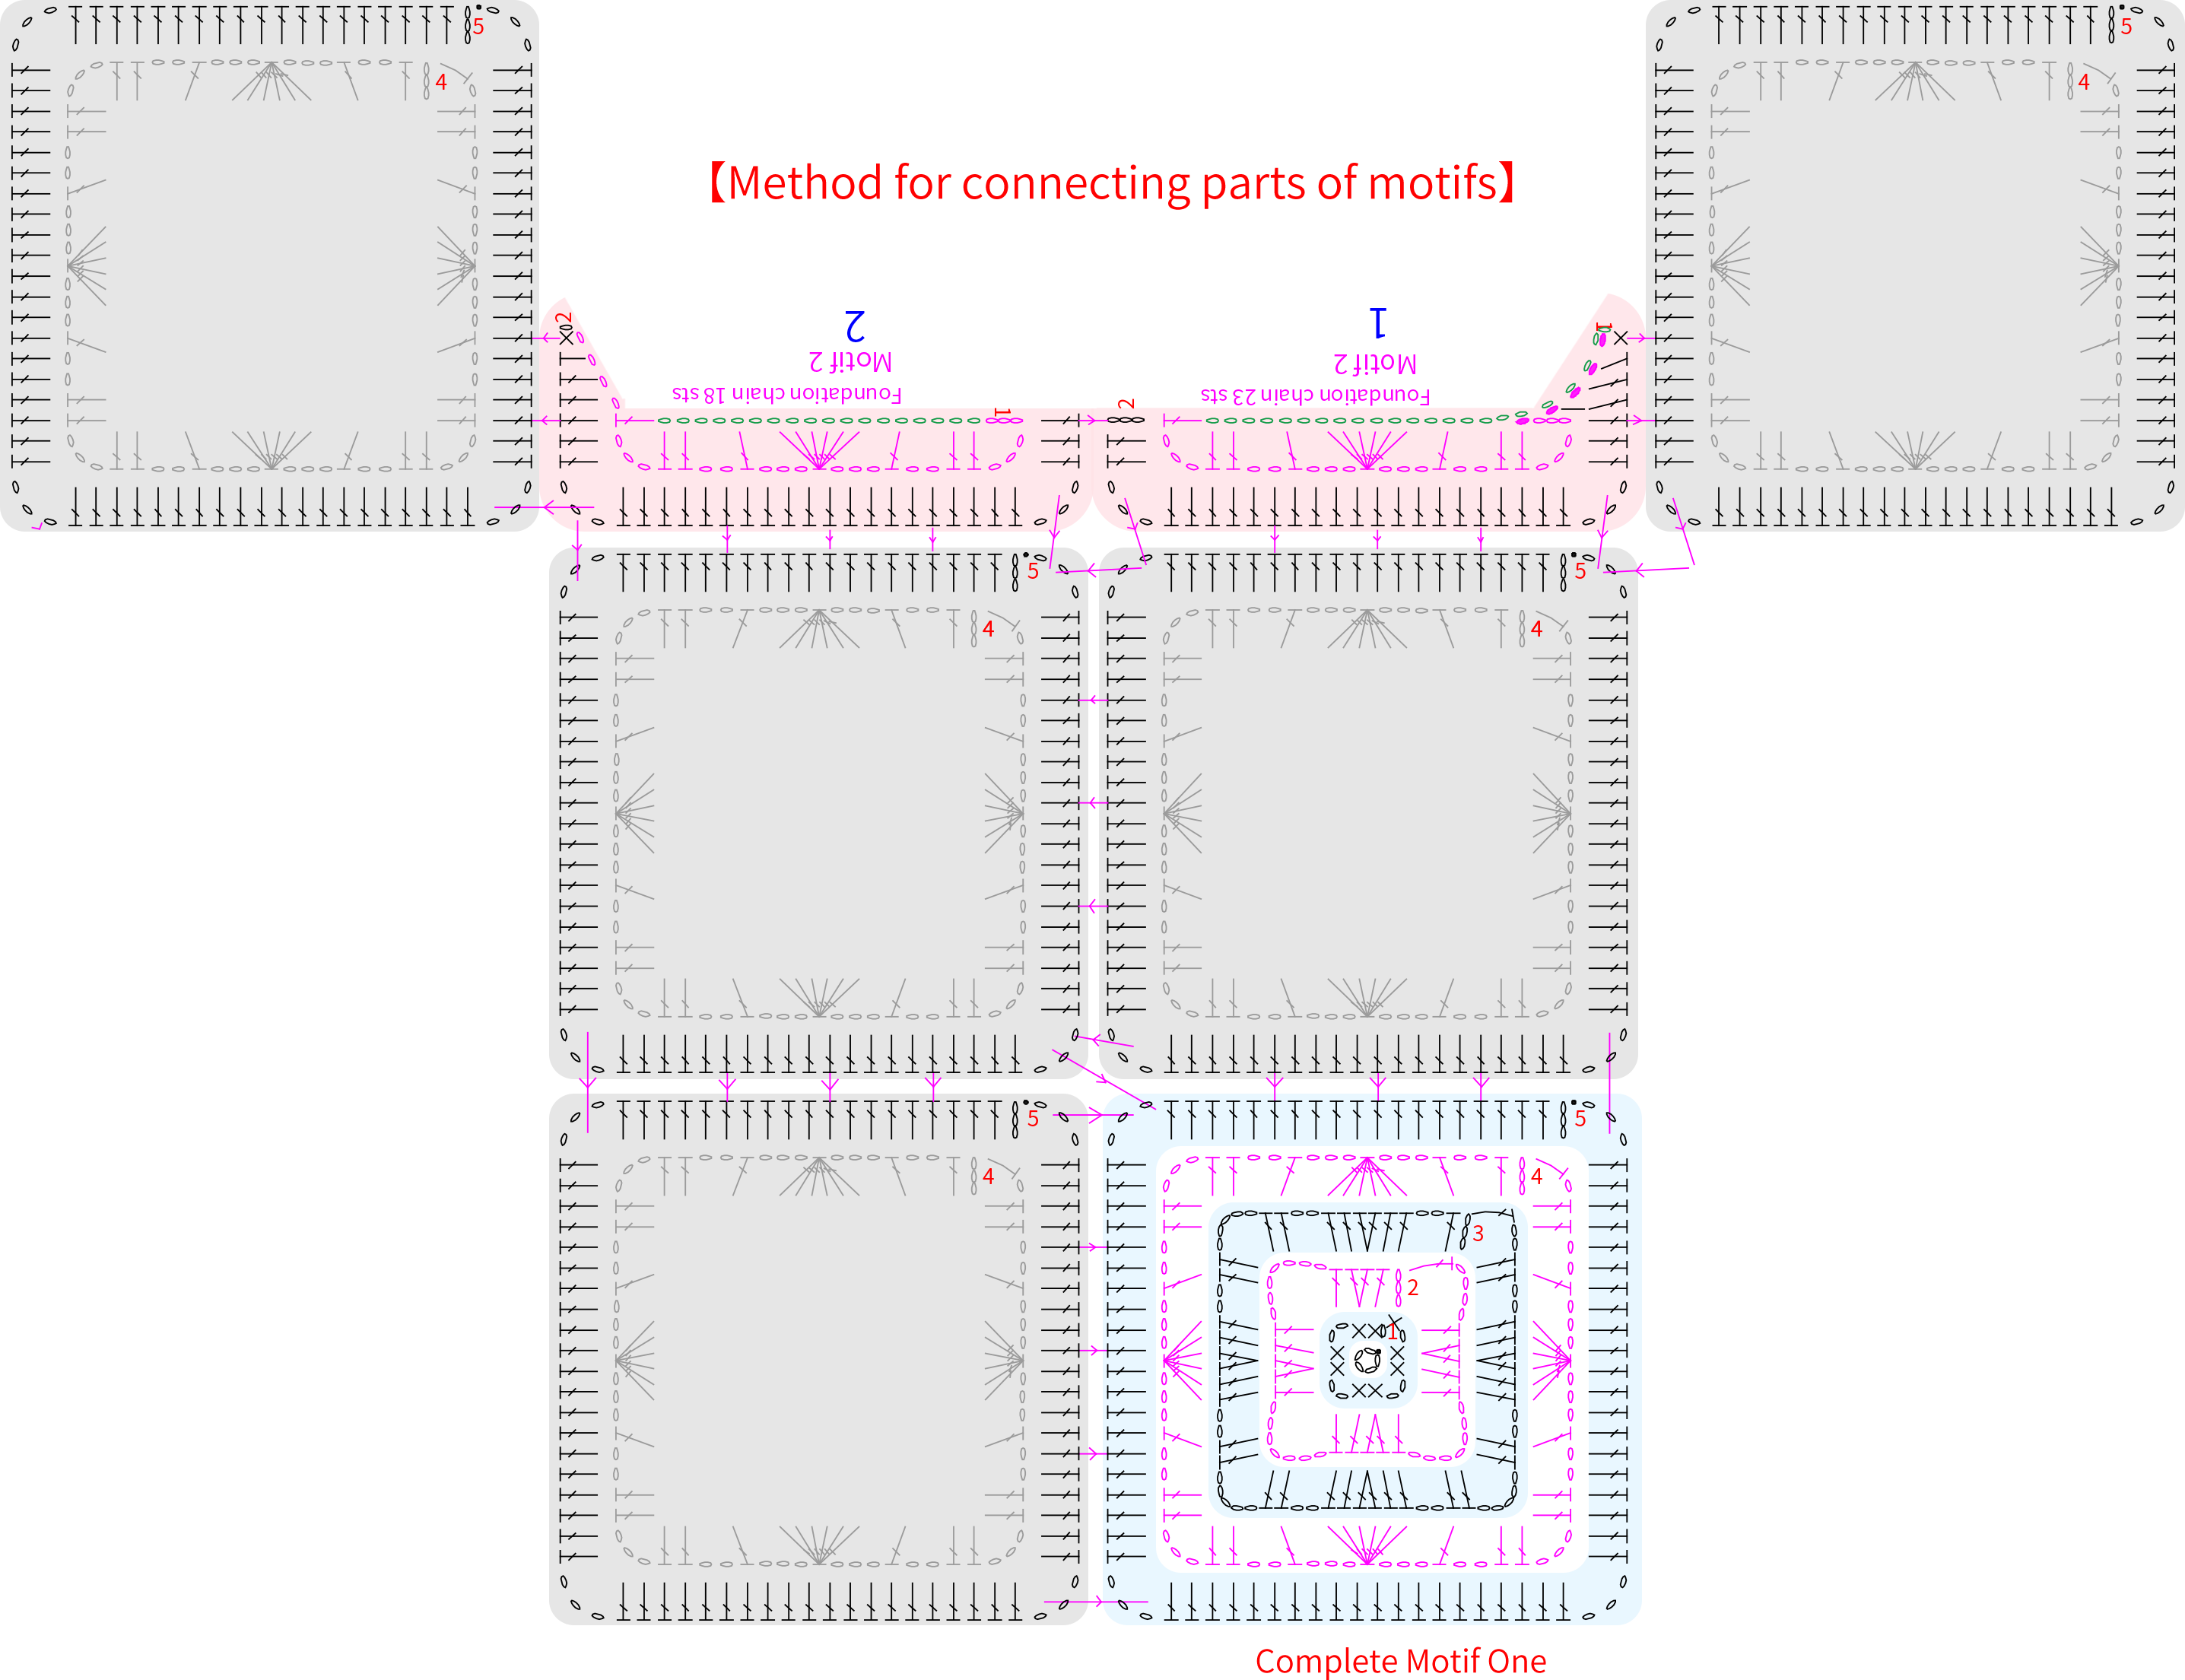
Note: The joining order of the motifs can be referenced from the chart or connected according to your preference. When connecting, you can join any two opposite sides. Mindful that for the armhole positions, you need to reserve two sides separately without connecting them.
Part 2 Edging B 54' 03''
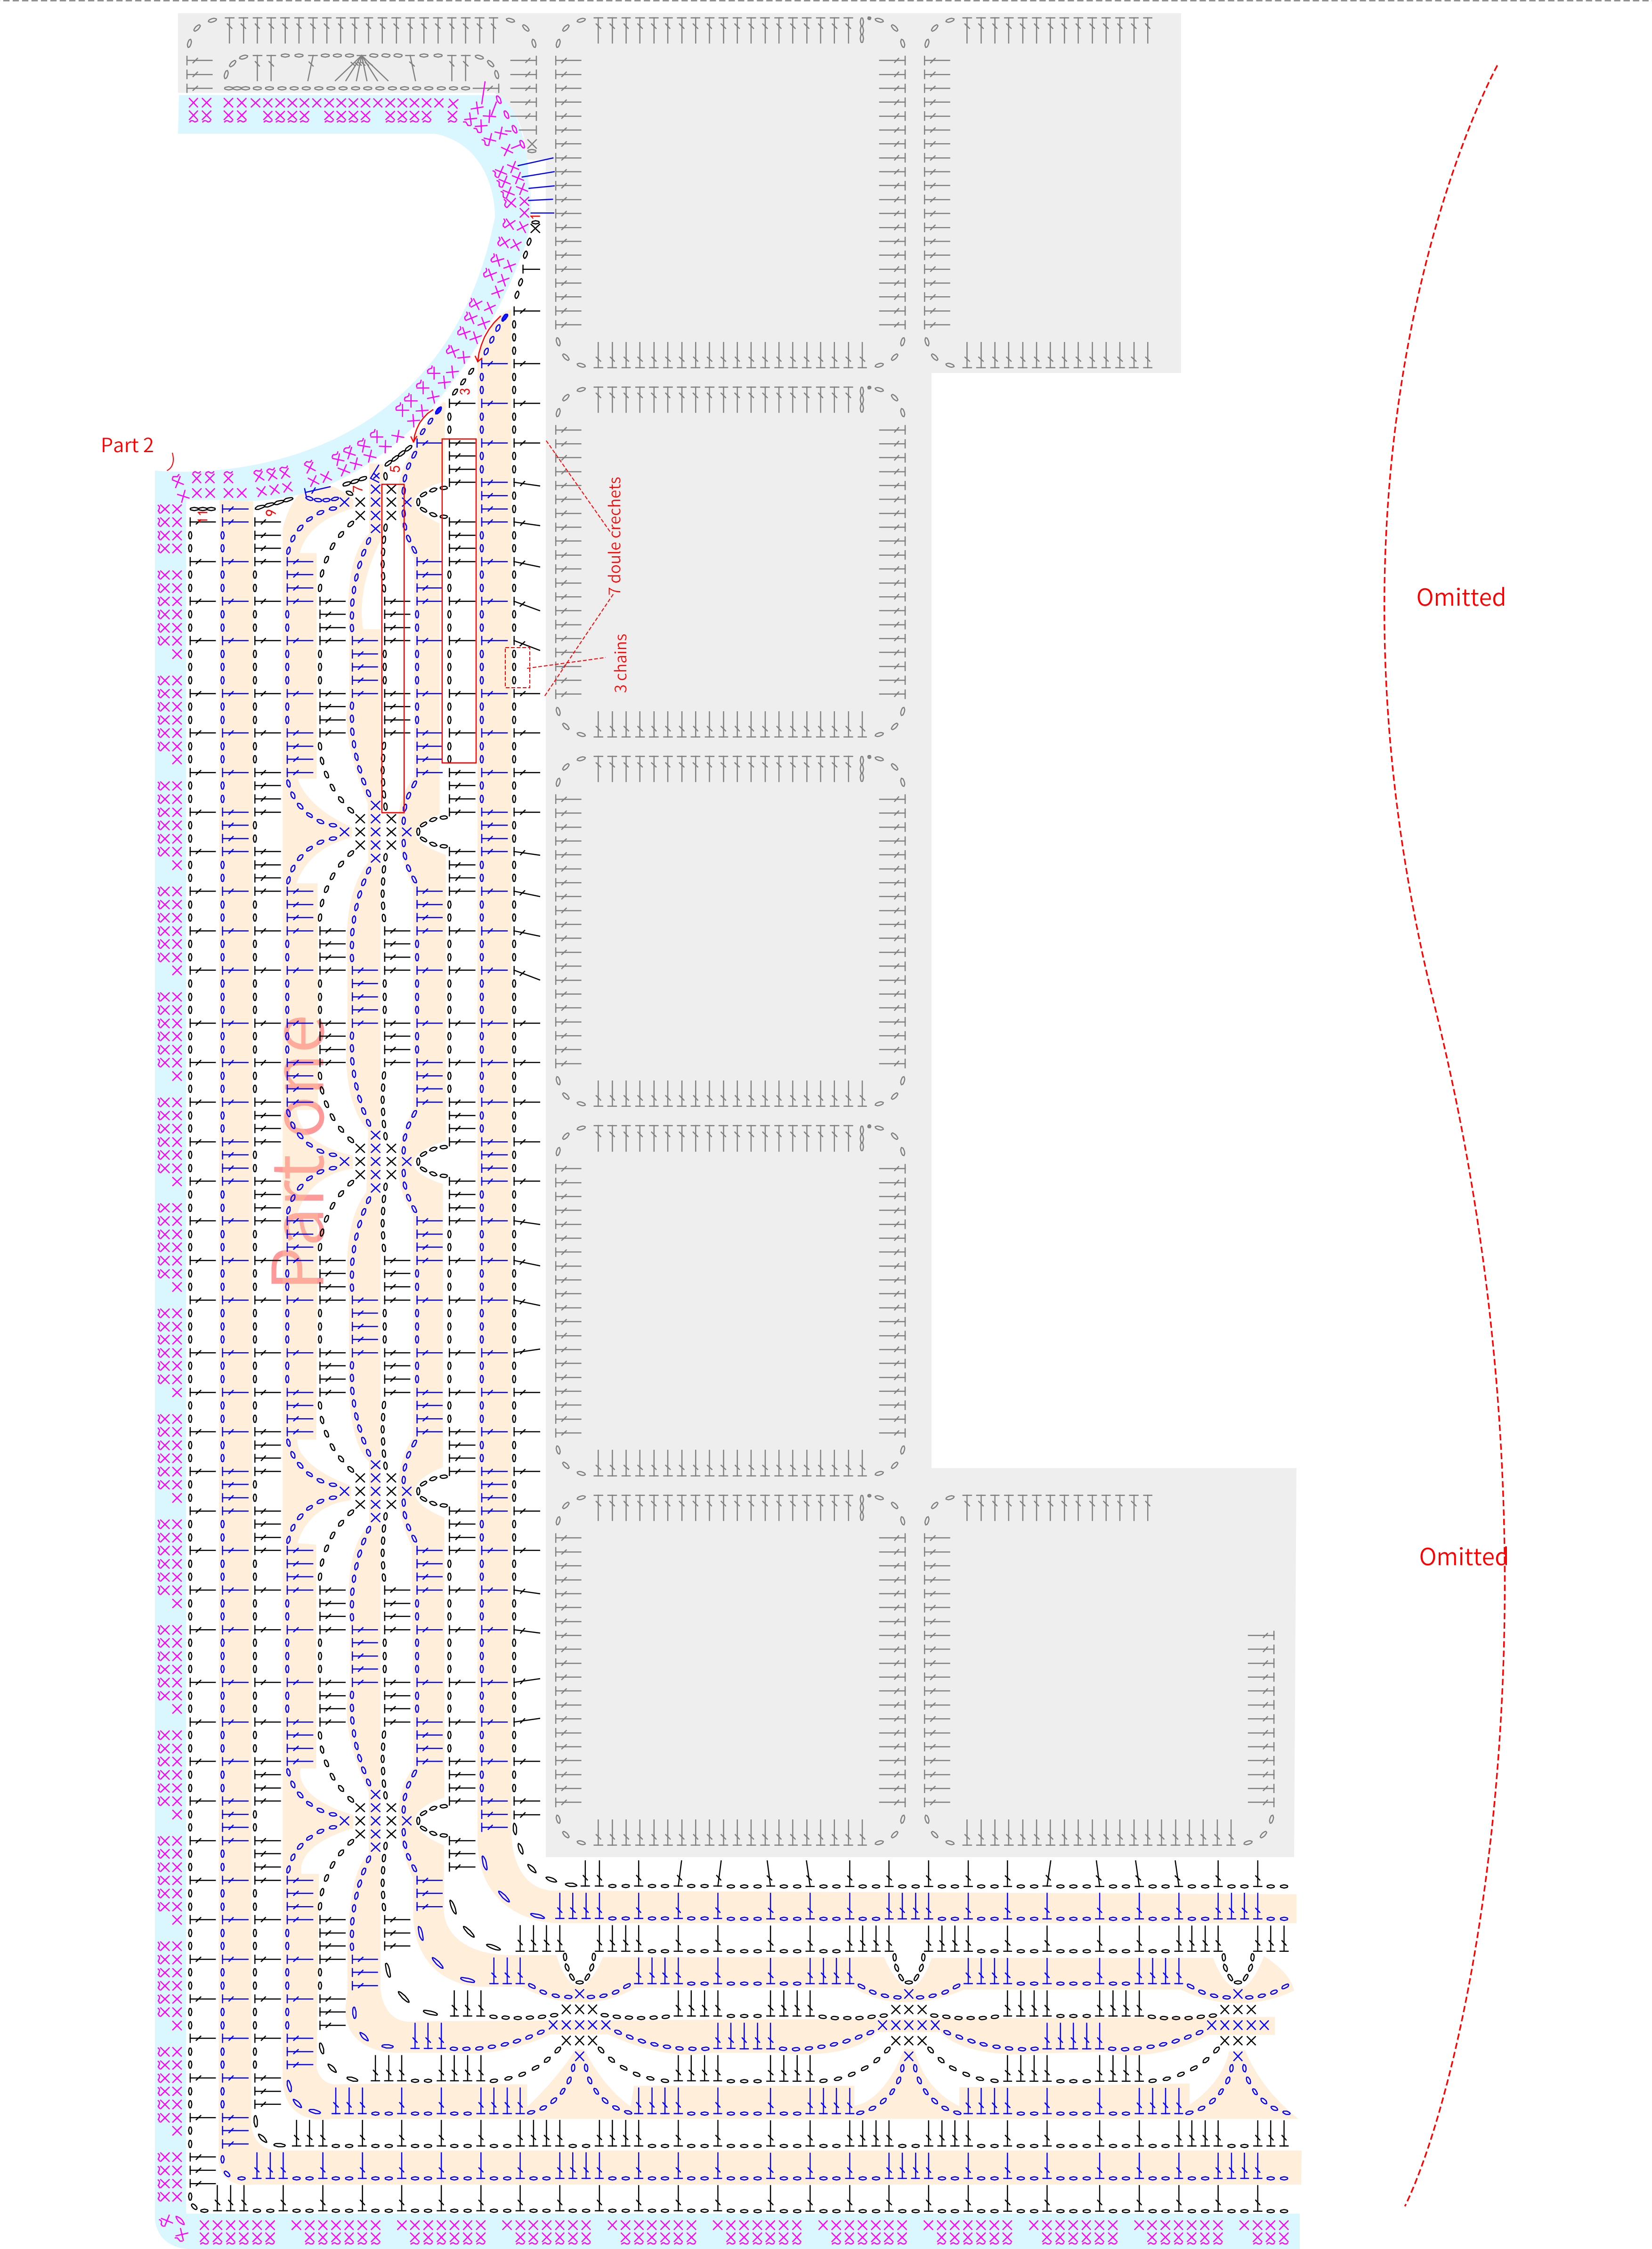
The edging is divided into two parts. First, crochet the first part along the hems of the front and back pieces, the front band, and the neckline. After finishing the first part, crochet the second part. For specific details, please refer to the video demonstration.
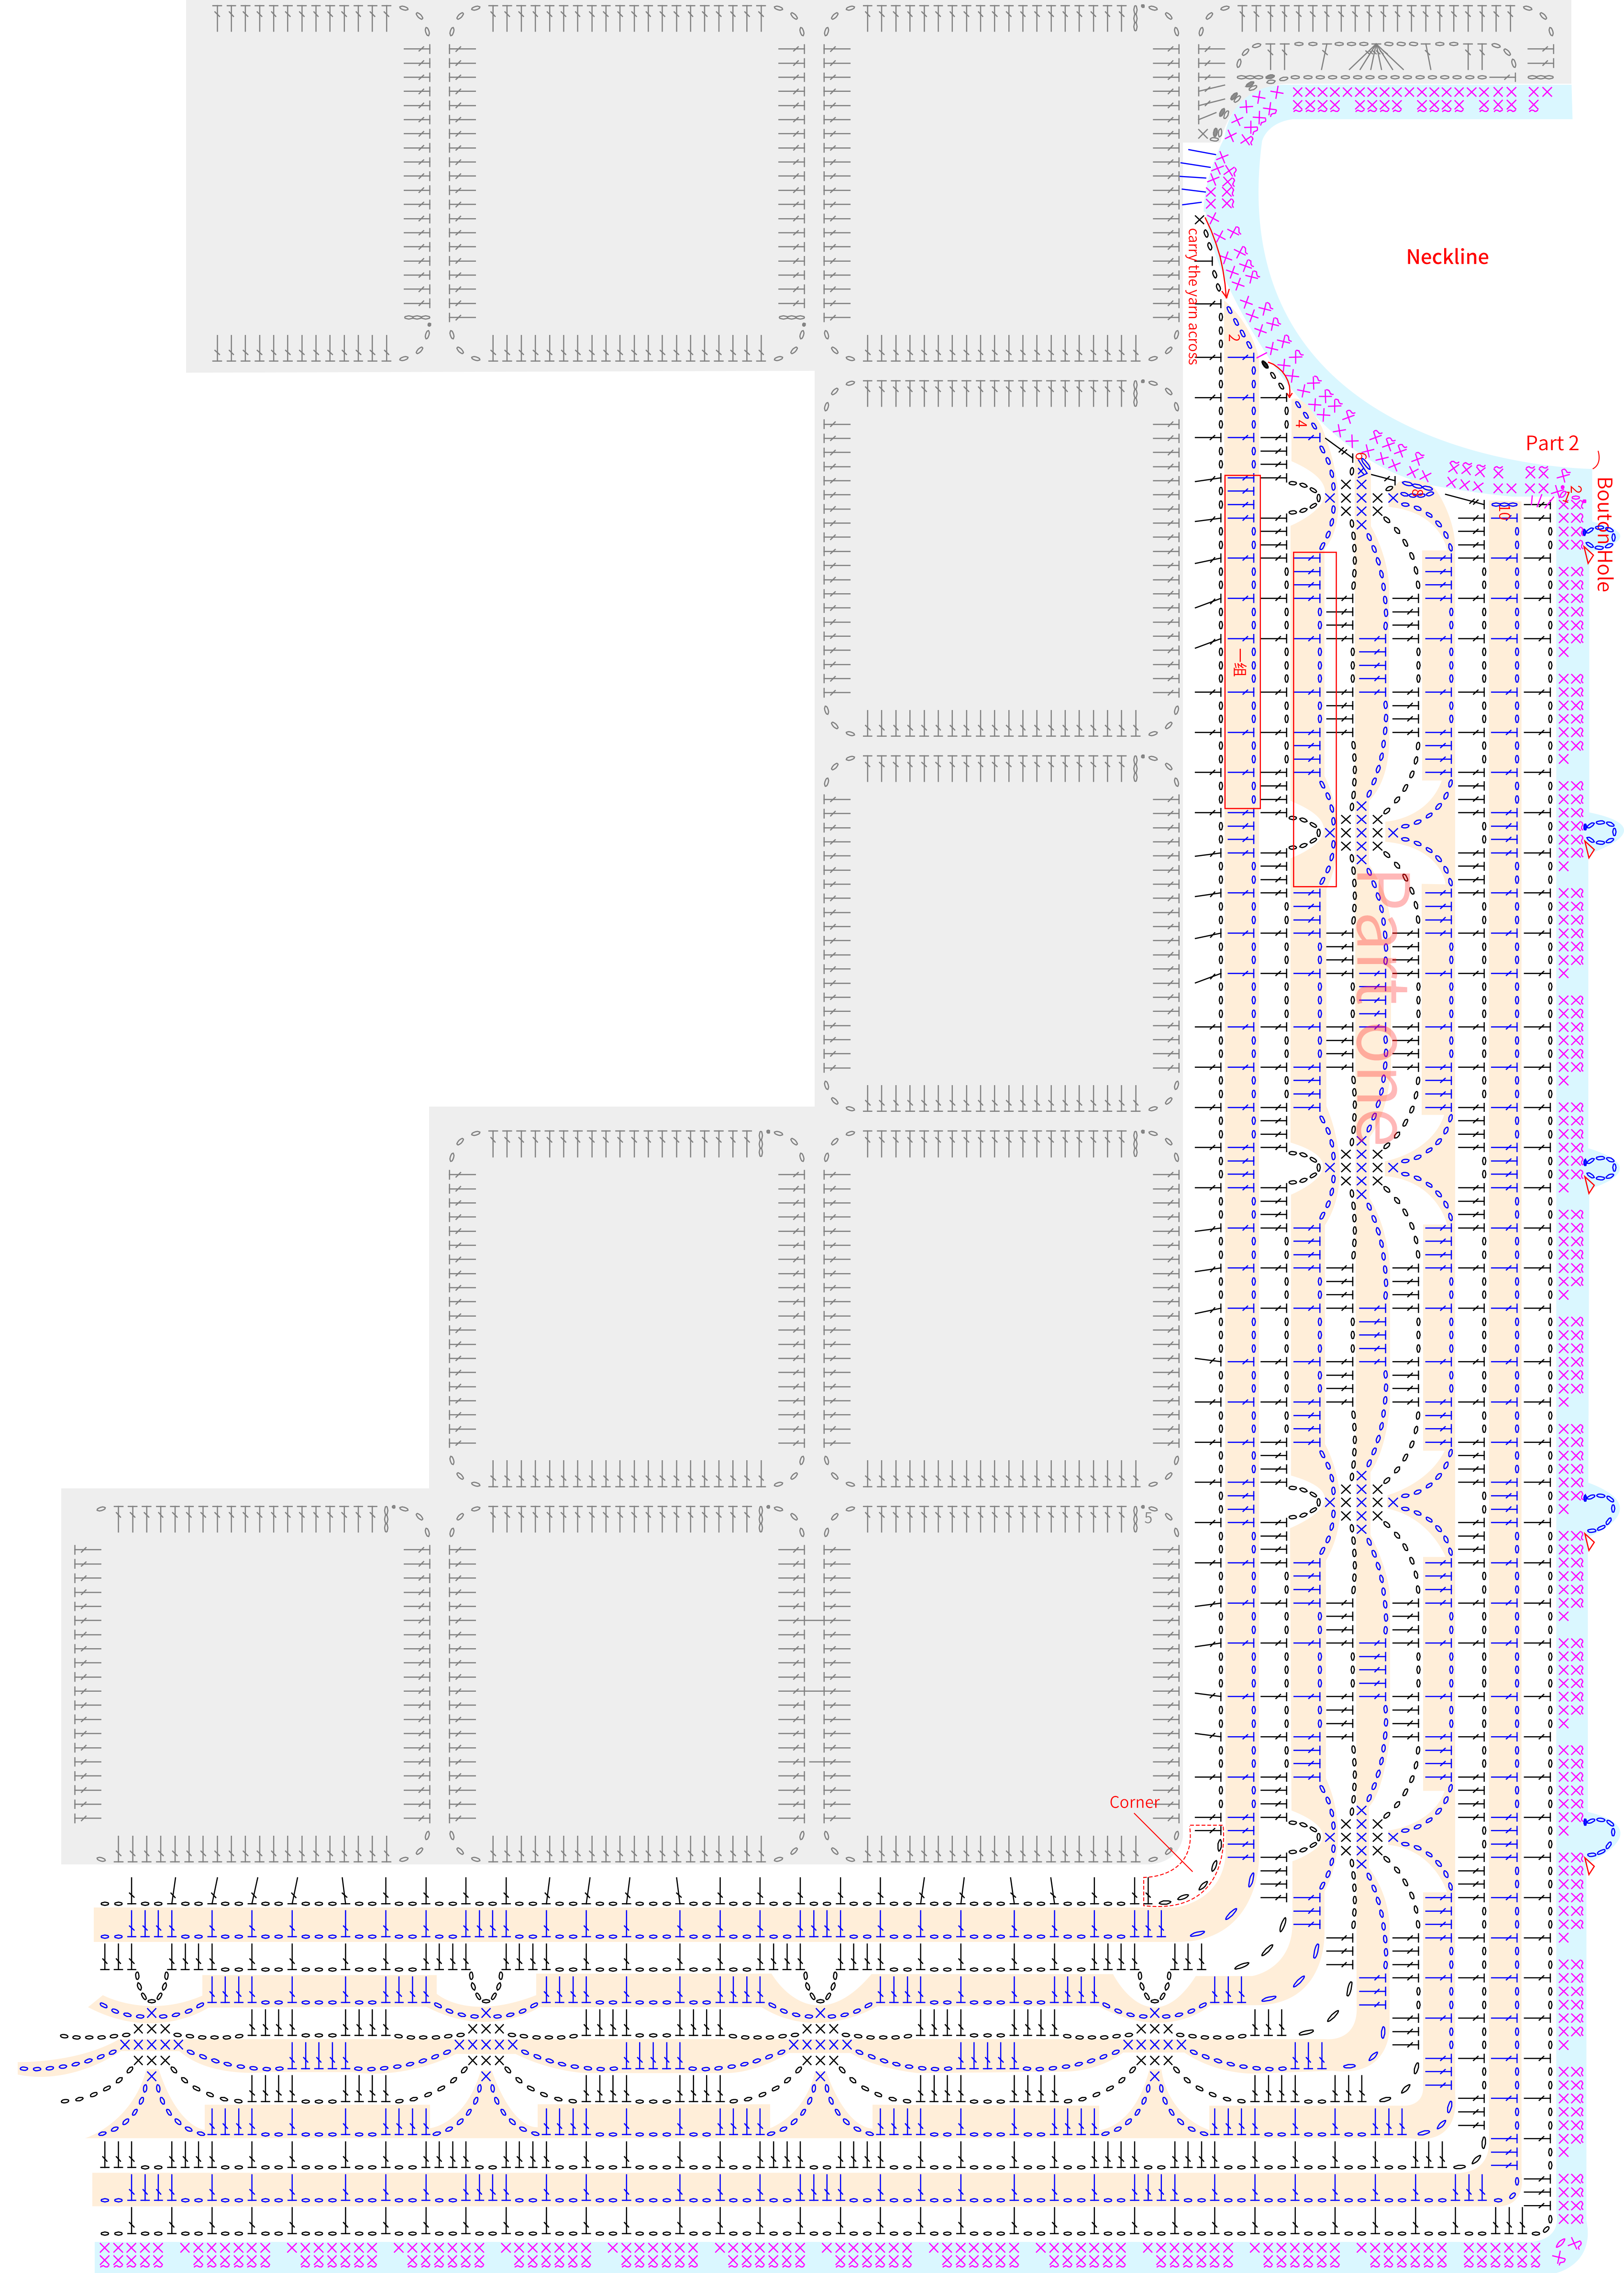
Note: For the first part of the edging, Row 1: Work 7 double crochets on each motif except for the start, end, and corner positions. Work 1 double crochet in each chain space. Between every 7 groups of 2 chains, work 1 group of 3 chains. After completing Row 1, there should be a total of 165 chain spaces (38 spaces on each front piece + 87 spaces on the back + 2 spaces for the corners).
Note: The chart demonstrates the buttonhole positions, and the insertion points are in the corresponding stitches of the first round.
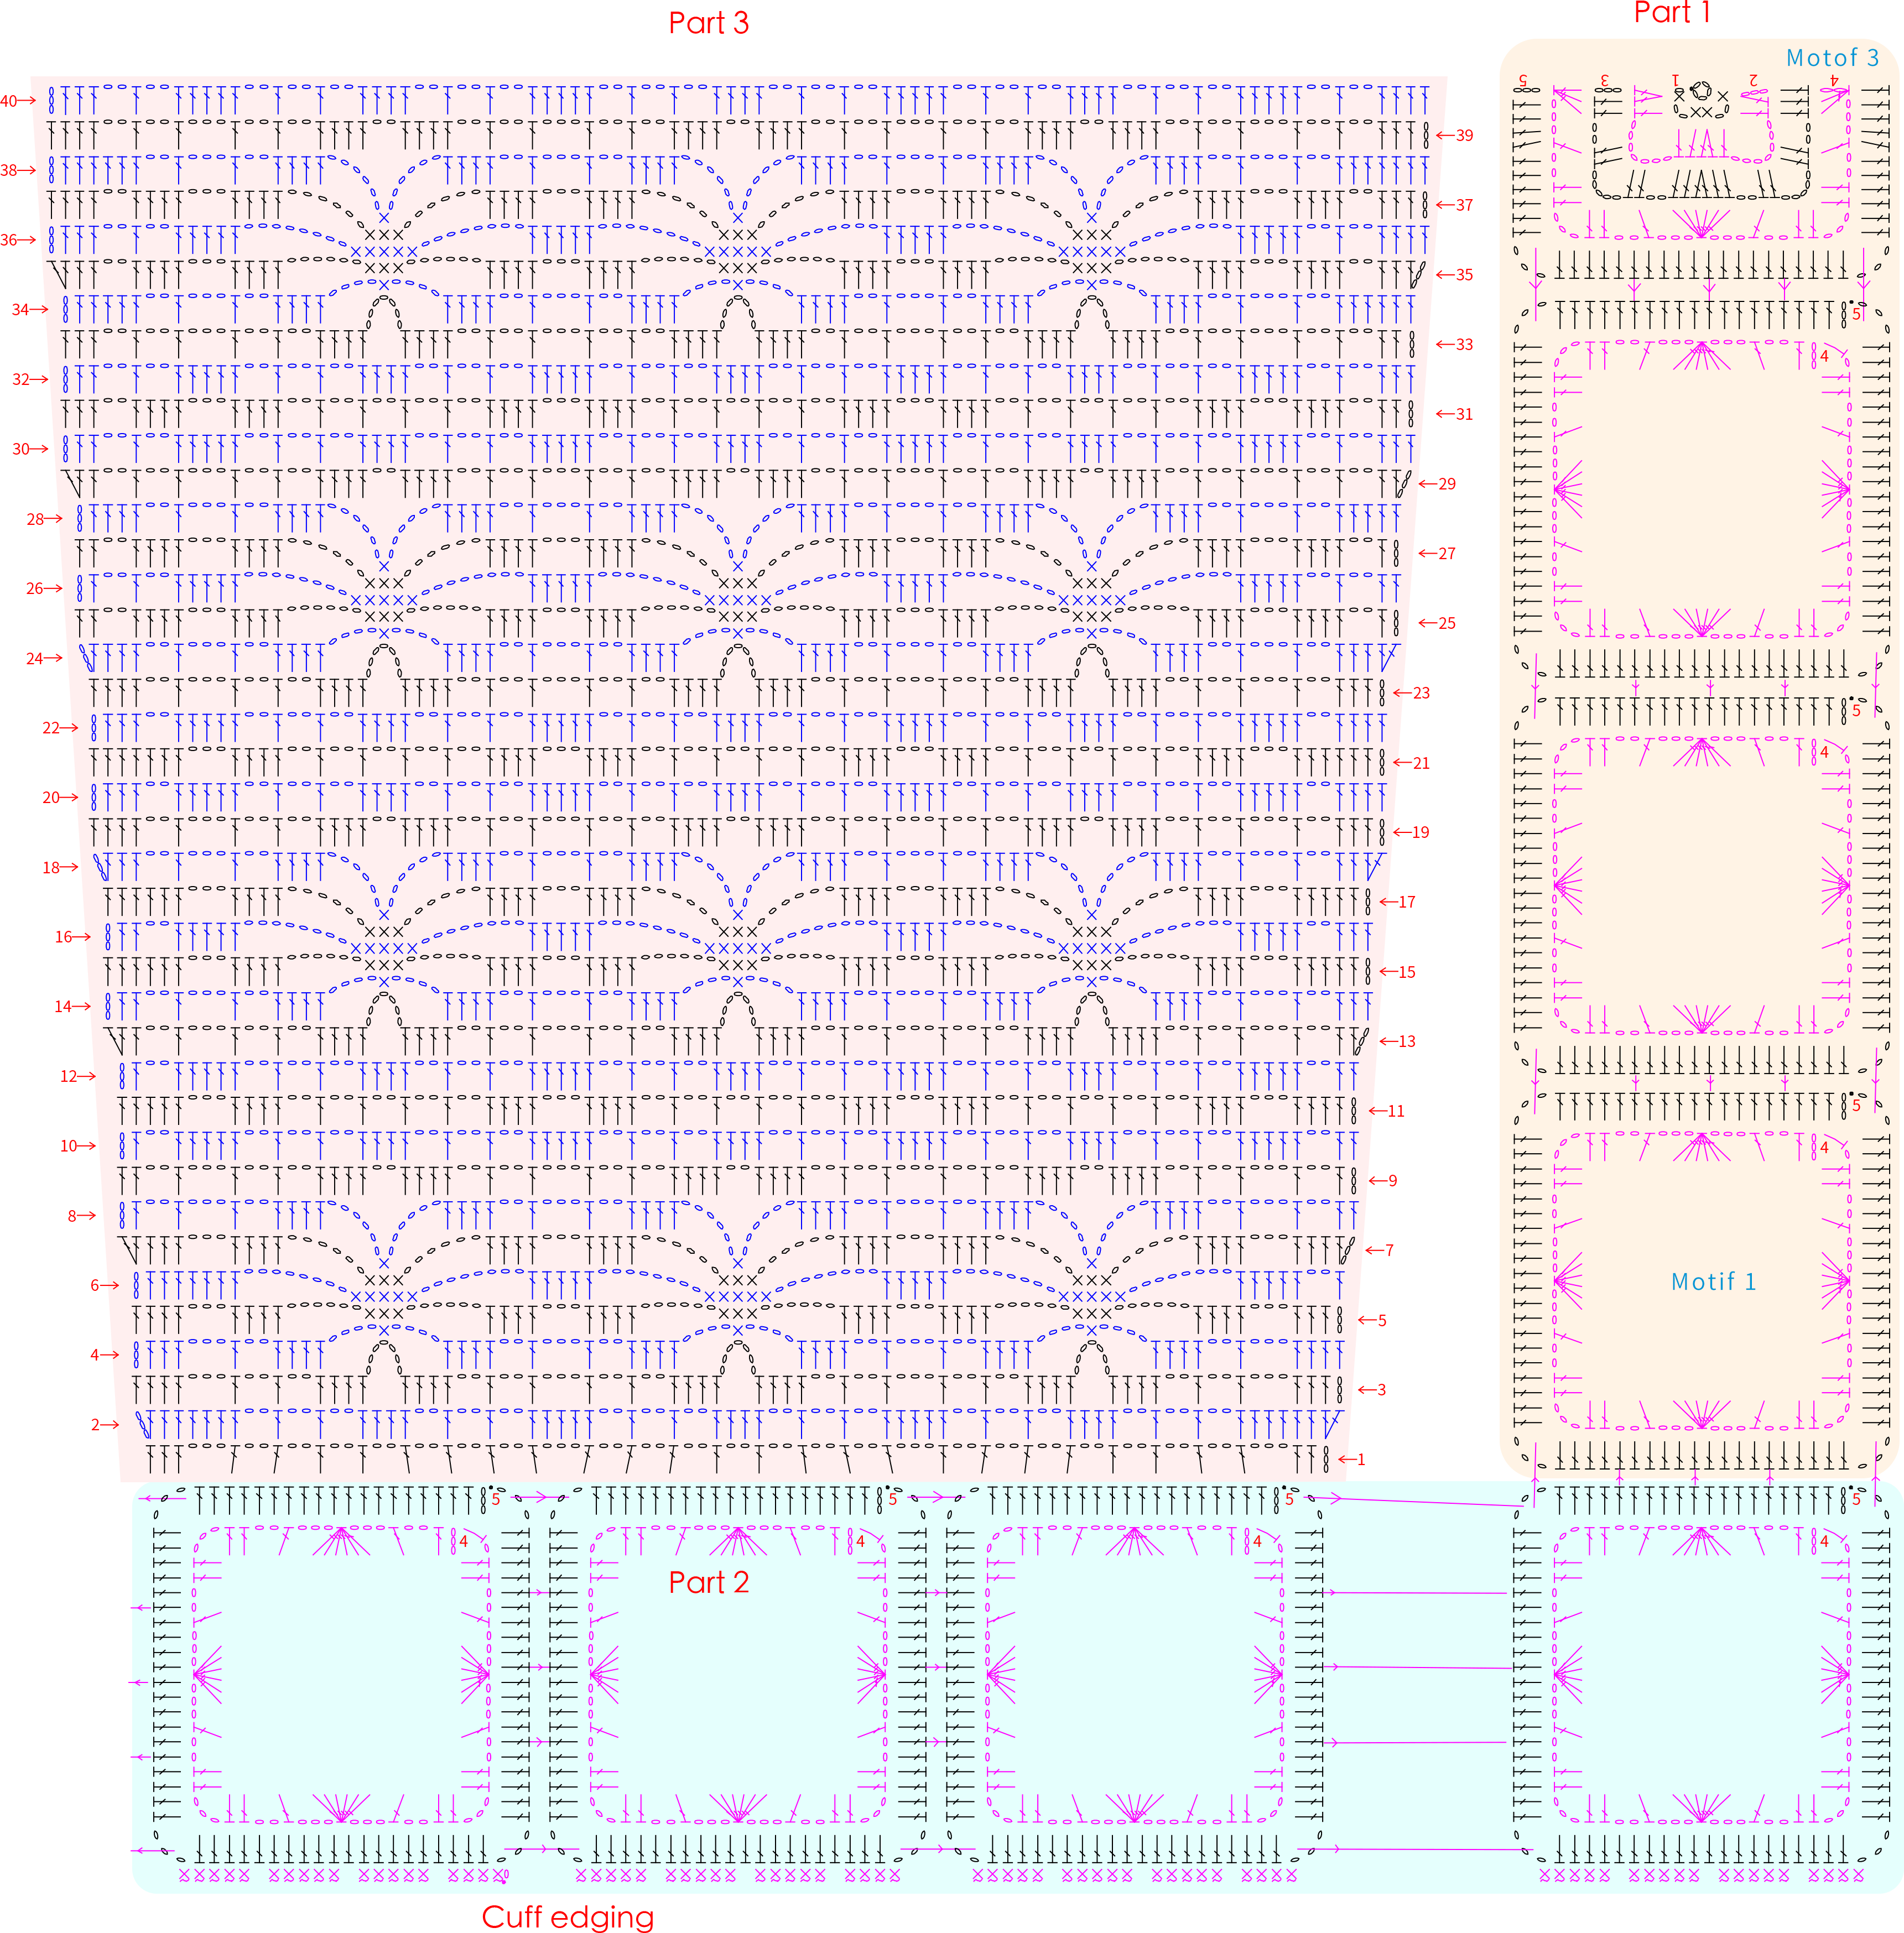
Part 3 SleevesC 76' 46''
There are two identical sleeves, divided into the first section, the second section, the cuffs edging, and the third section. First, crochet the first section, which consists of 3 motifs one and 1 motif three. After completing it, crochet the second section, which consists of 4 motifs one, working and joining along the side to form a tube. One of the motifs needs to be joined with the first motif one of the first section. After finishing, crochet the cuffs edging, and finally crochet the third section along the second section. Please refer to the video demonstration for details.
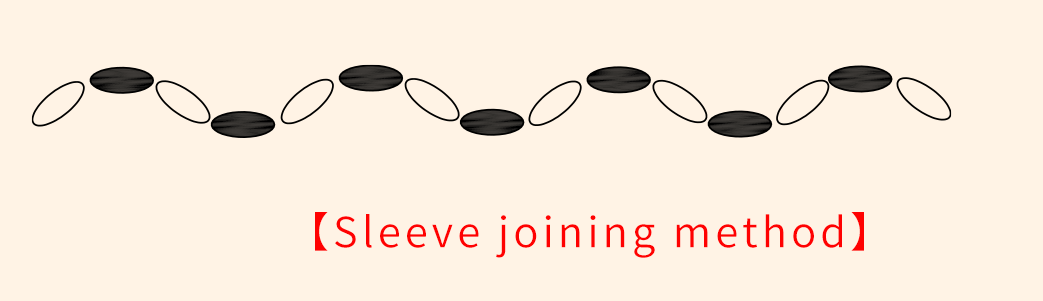
Part 4 ButtonsD 89' 07''
Lastly, it's time to attach the buttons. First, crochet the buttonholes in the right front band position, then sew the buttons onto the corresponding positions on the left front band. Please refer to the video demonstration for specifics.
Note: Refer to the edging placement for the buttonhole chart.
Made by the community