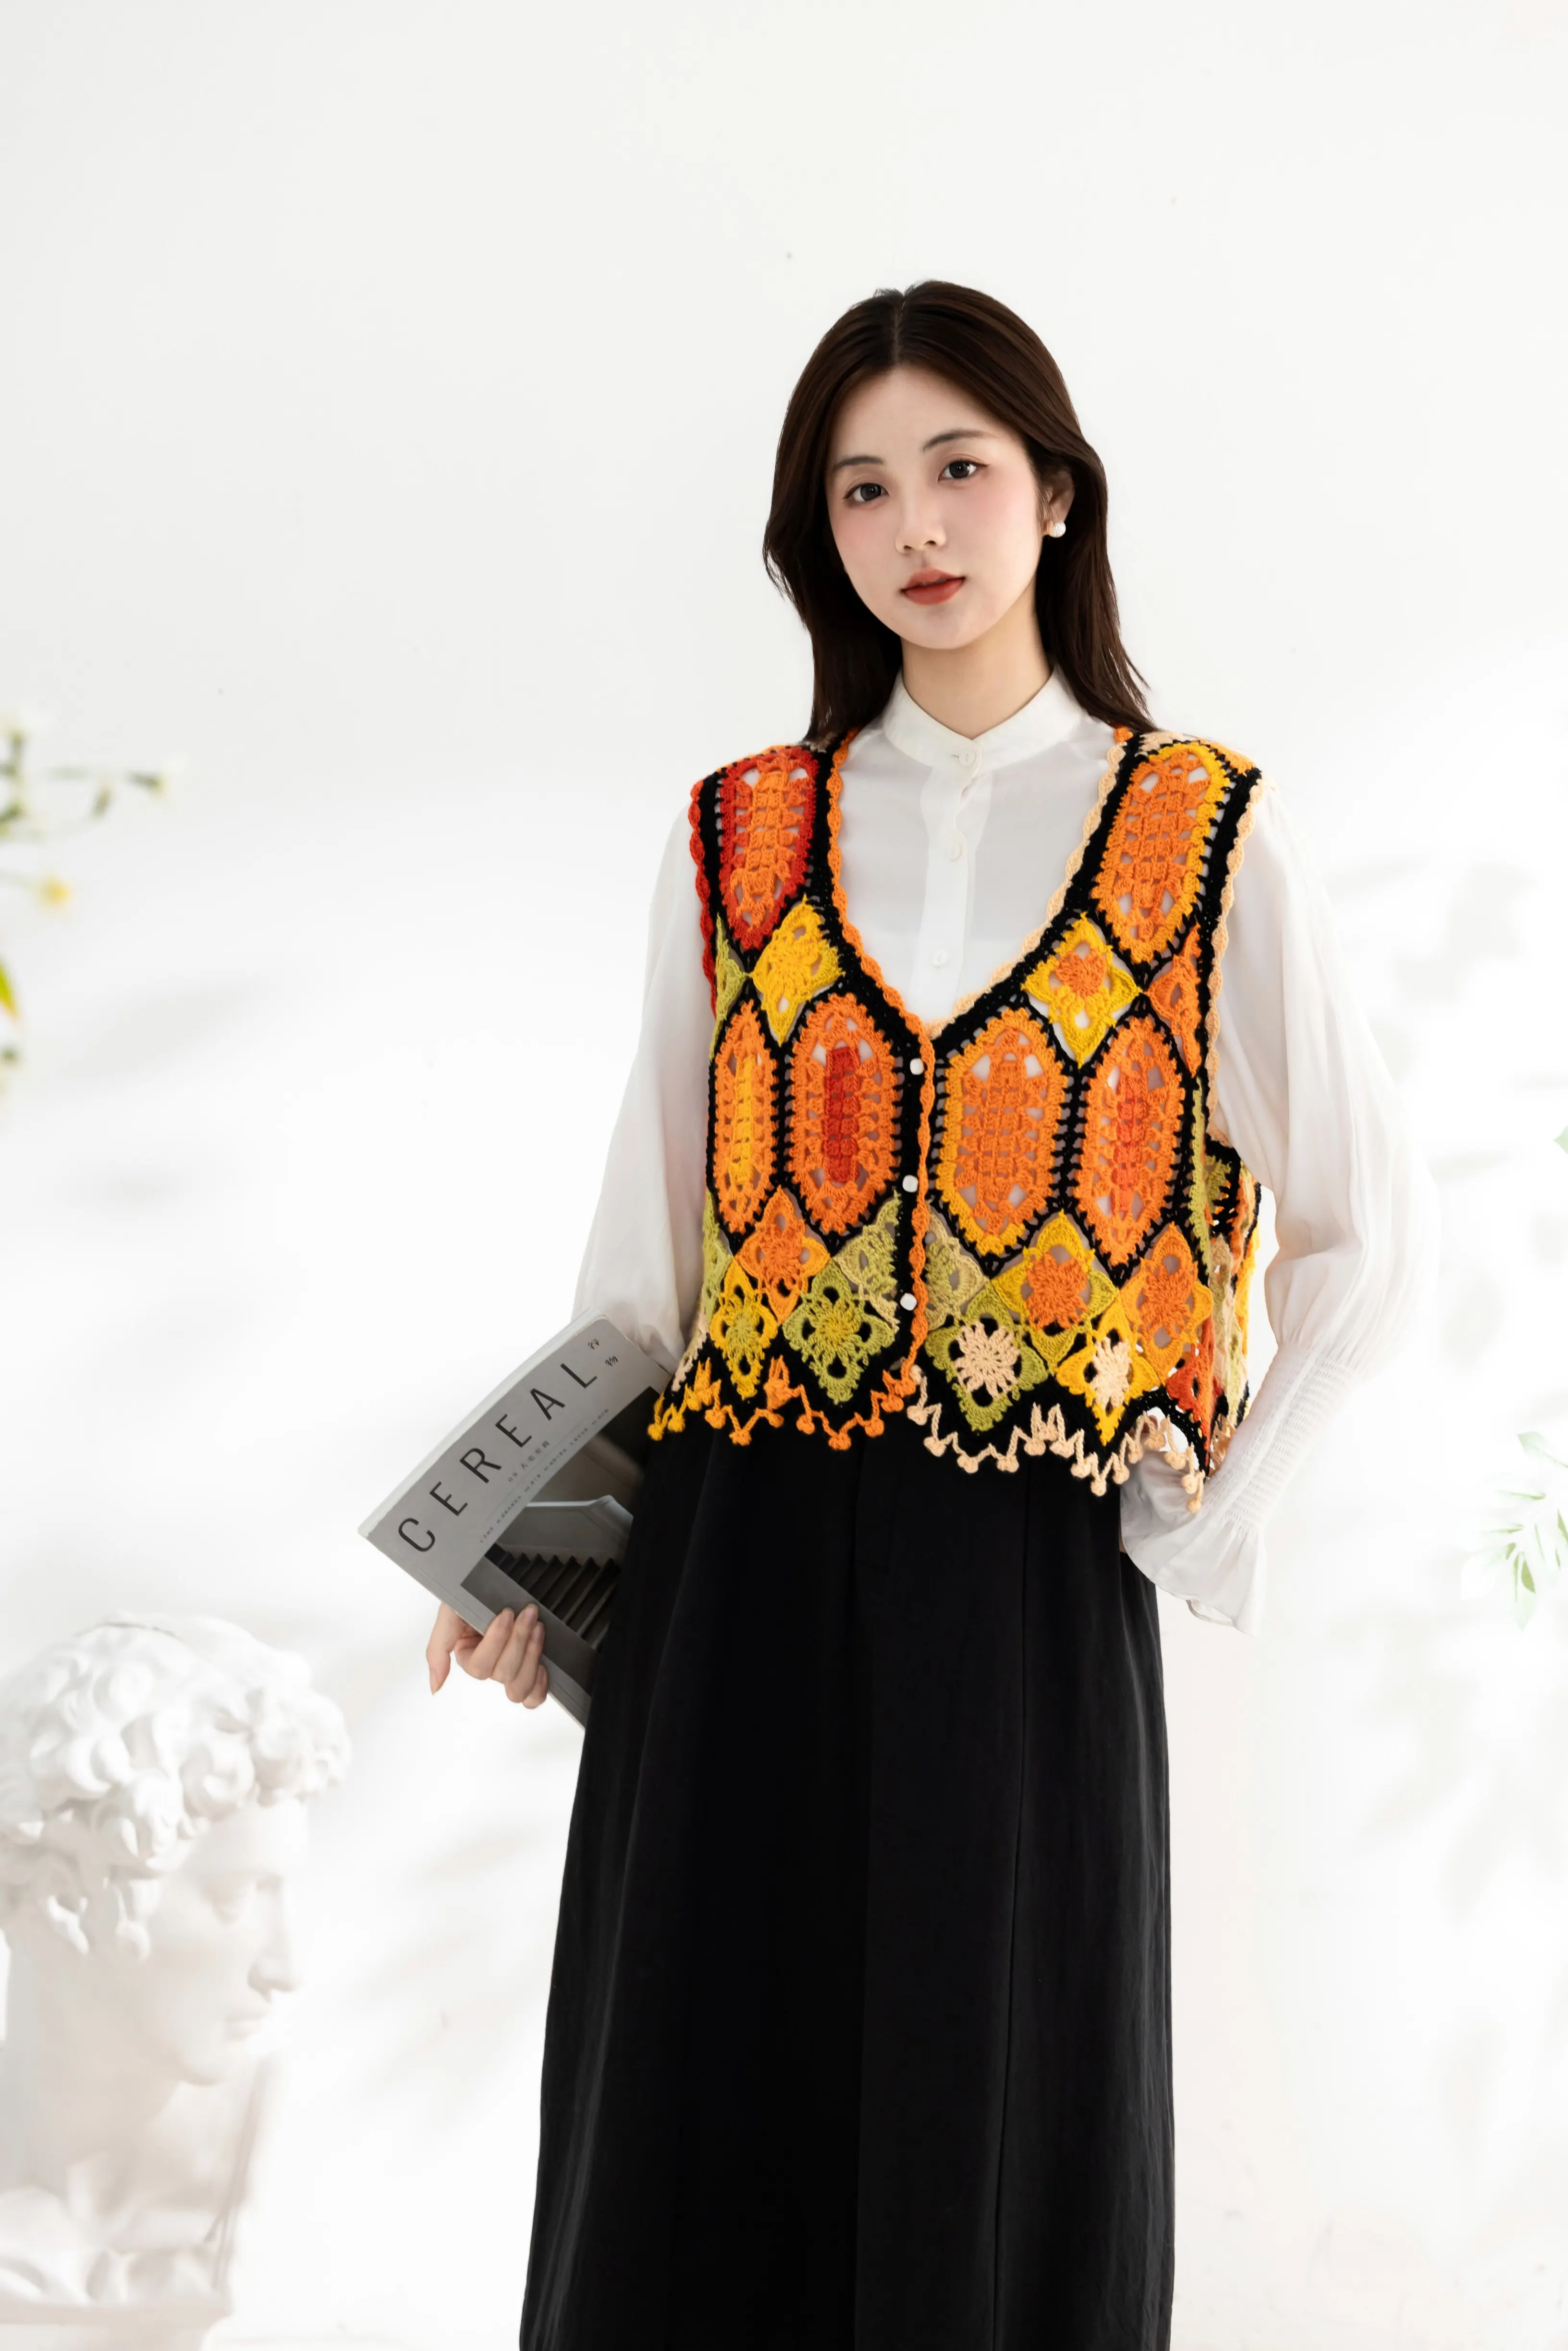
Clothes
Jinhe
Project preview
See the finished project
Pattern format
Instructions
Watch and follow
Video tutorial
| Style | Yarn | Color |
|---|---|---|
| Elm Green Version | Morandi 4# | 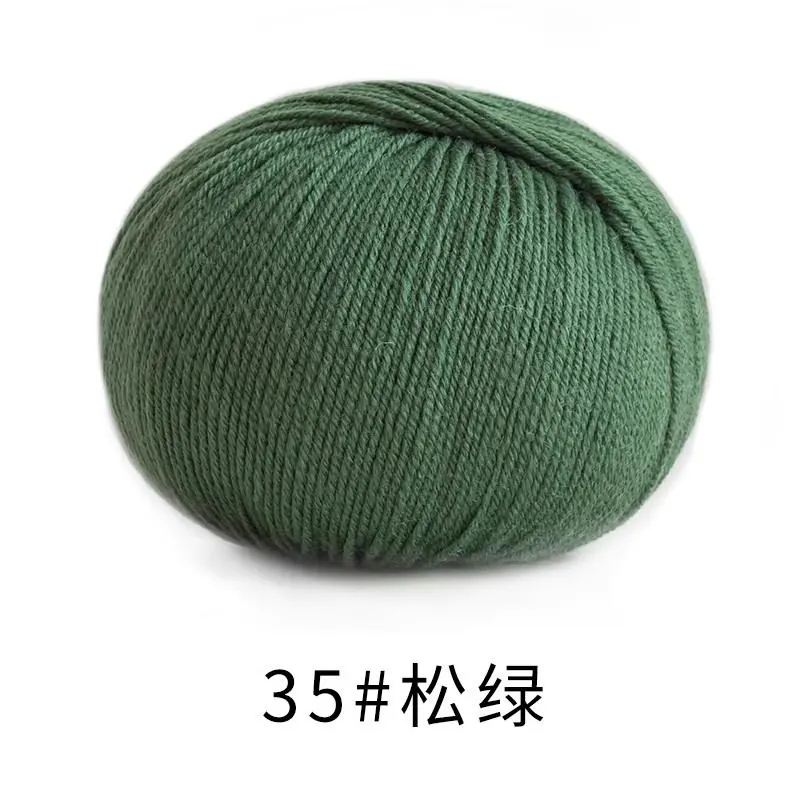 35#Elm Green x 8 |
| Monet Impression | 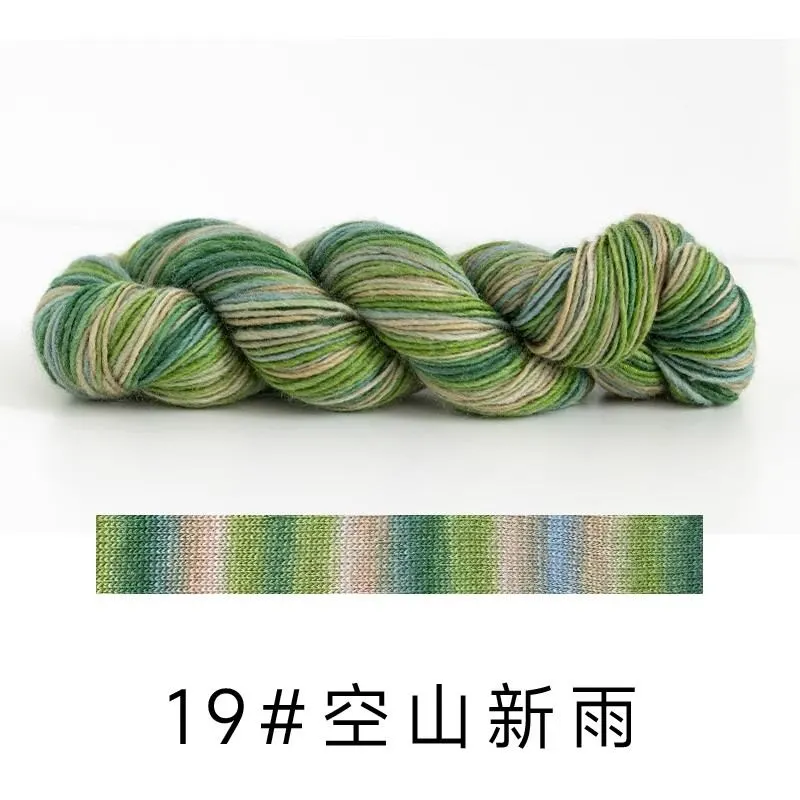 19#Spring Rain x 3 | |
| Aragon Version | Morandi 4# | 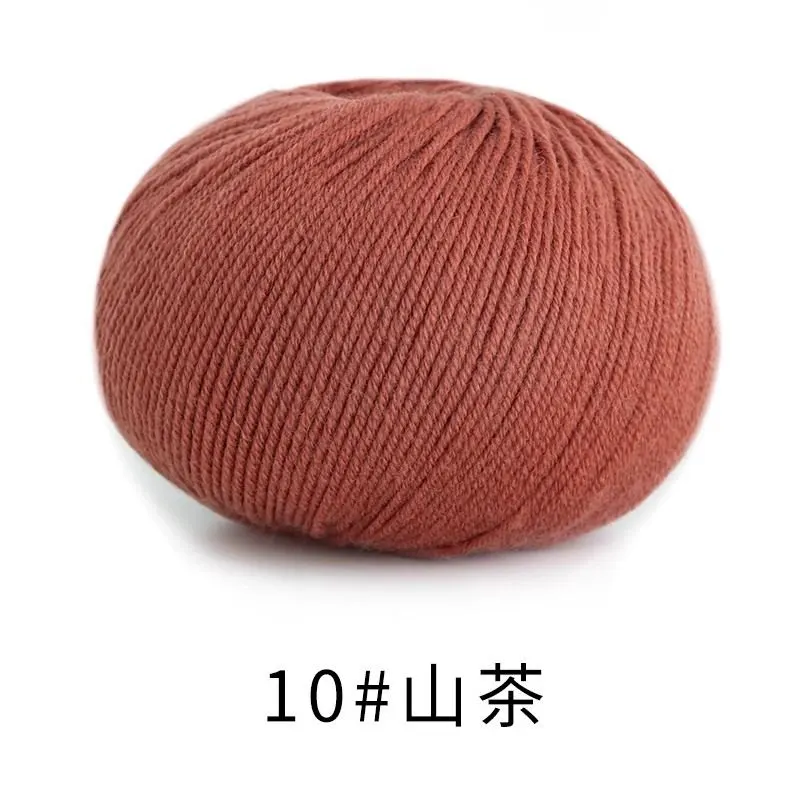 10#Aragon x 8 |
| Monet Impression | 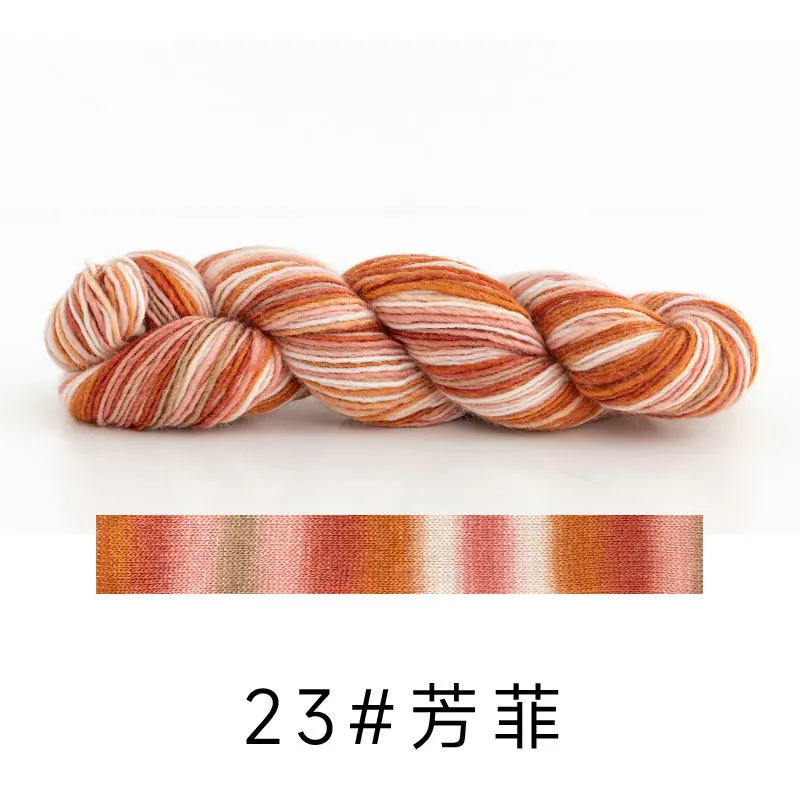 23#Blossom x 3 | |
| Black Version | Morandi 4# | 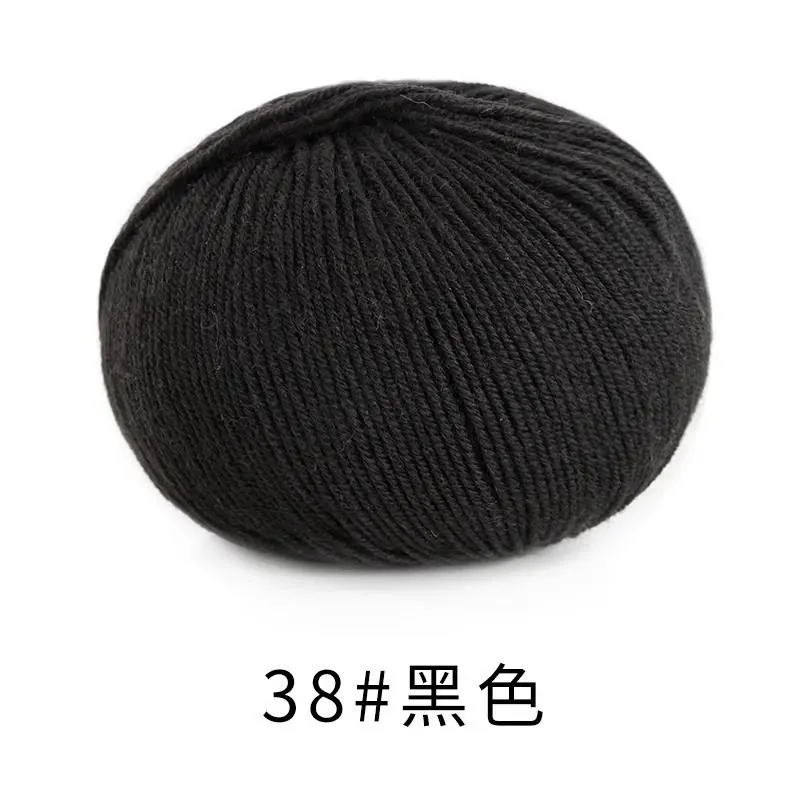 38#Black x 8 |
| Monet Impression | 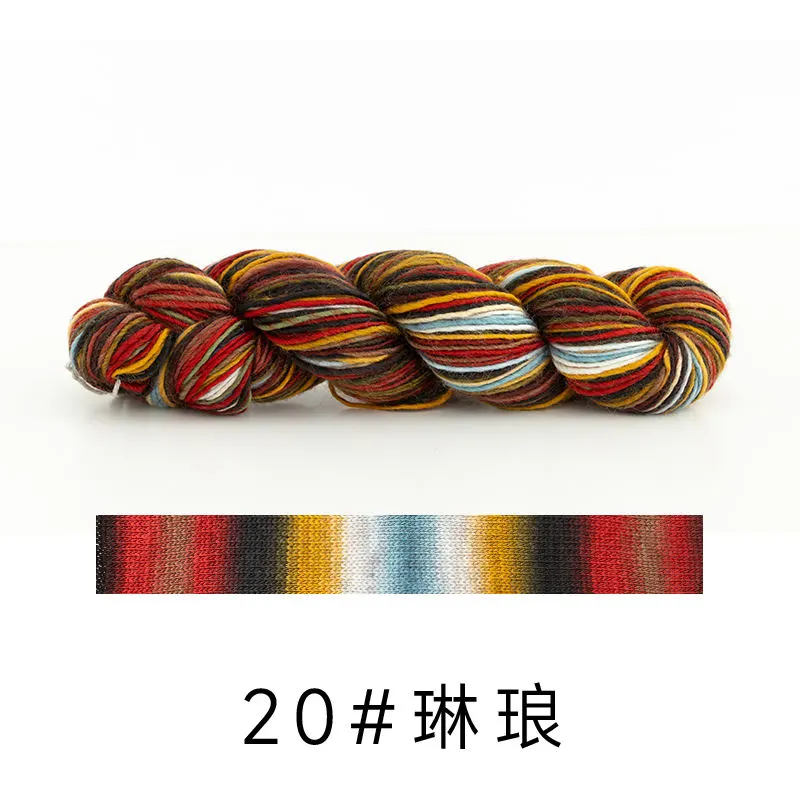 20#Linlang x 3 | |
| Antique White Version | Morandi 4# | 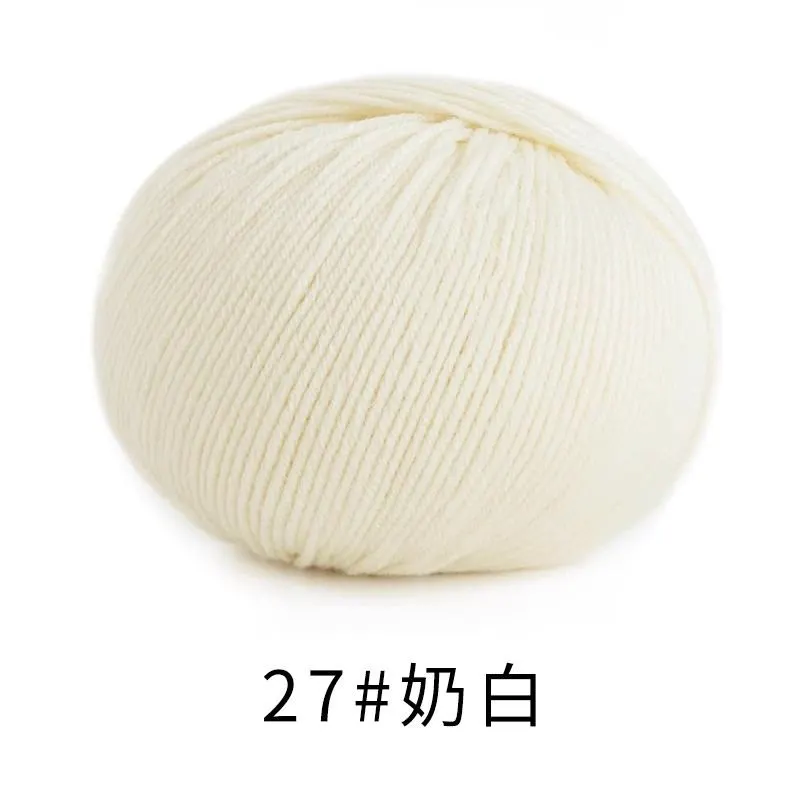 27#Antique White x 8 |
| Monet Impression | 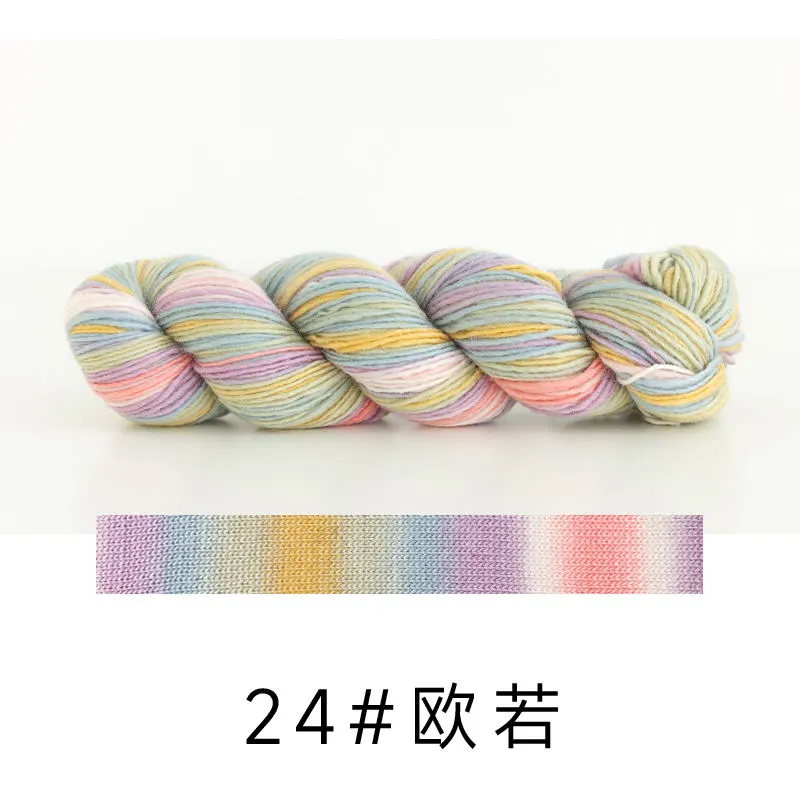 24#Aurora x 3 |
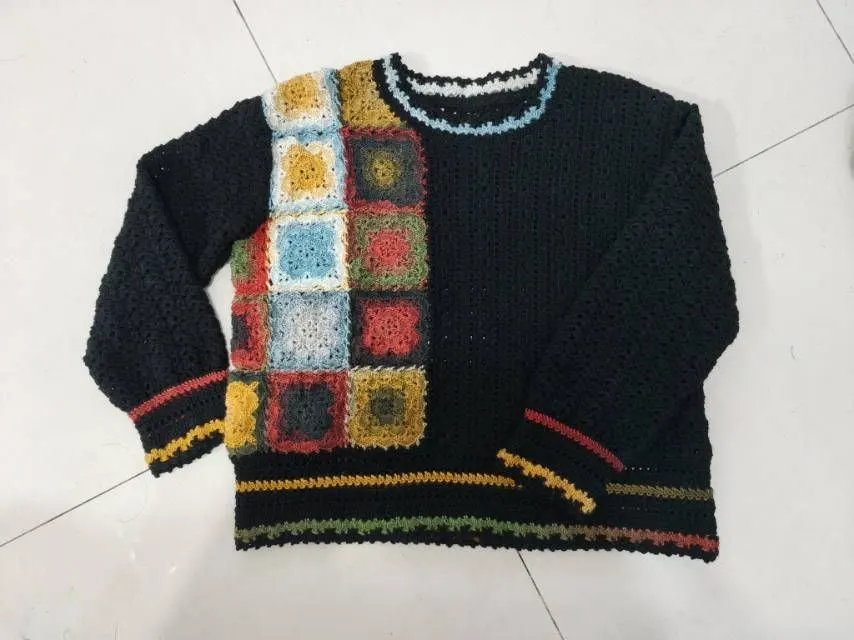
This top is divided into motifs, body, sleeves, collar, and bottom edge. Work and assemble them in order.
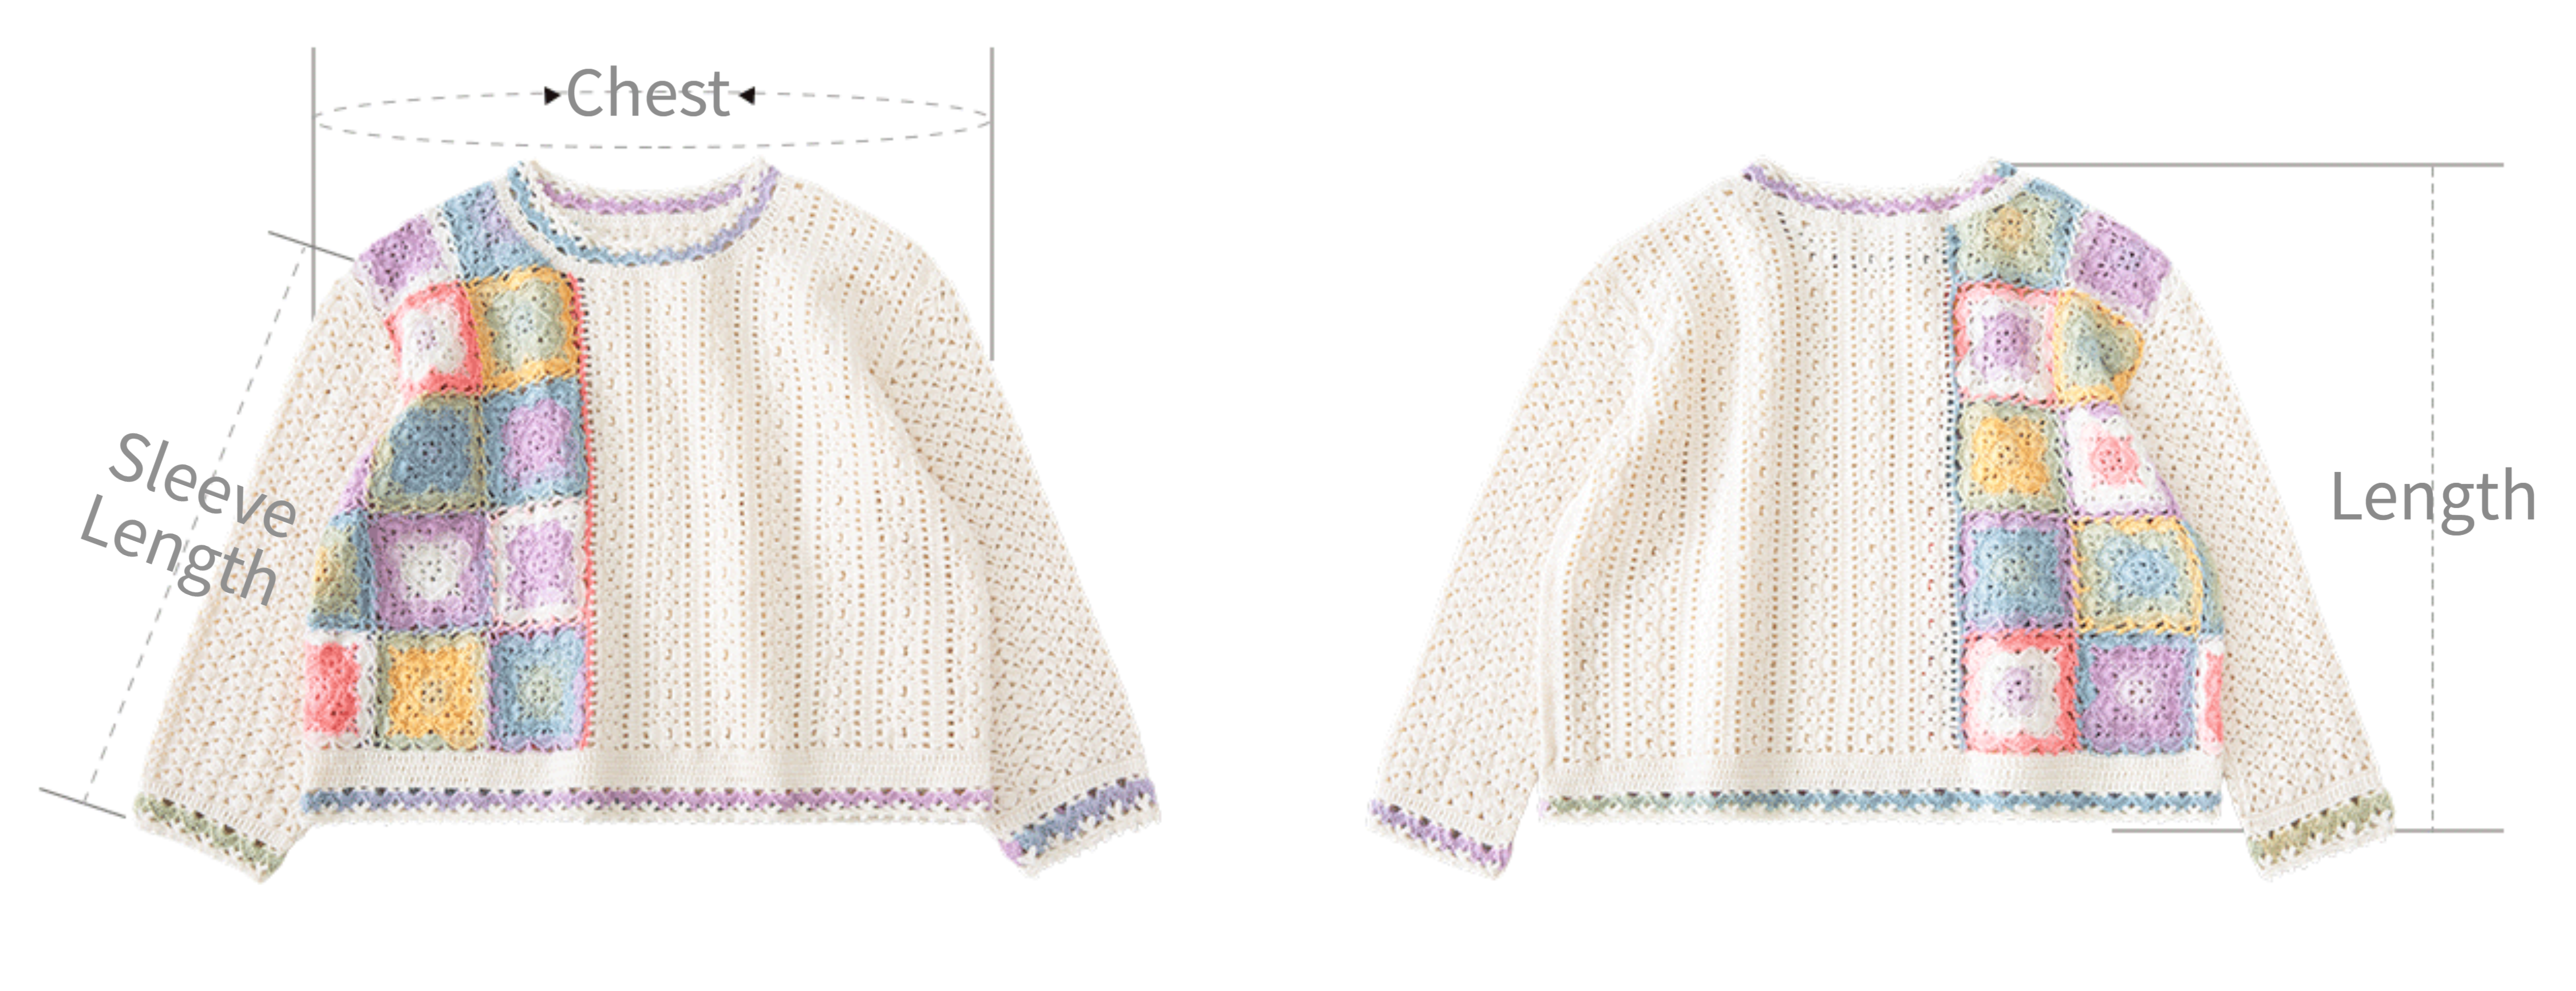
| Unit: cm | Chest | Length | Sleeve Length |
| Small Size | 110 | 51.5 | 45 |
Note: Hand-measured, with a margin of error of 1-2 cm. Due to differences in individual tension, the sample size is for reference only.
Yarn : Morandi 4# , Monet Impression.Tools : 3.0 mm crochet hook.

The tutorial demonstrates with the plus size as an example; please refer to the corresponding chart for other sizes.
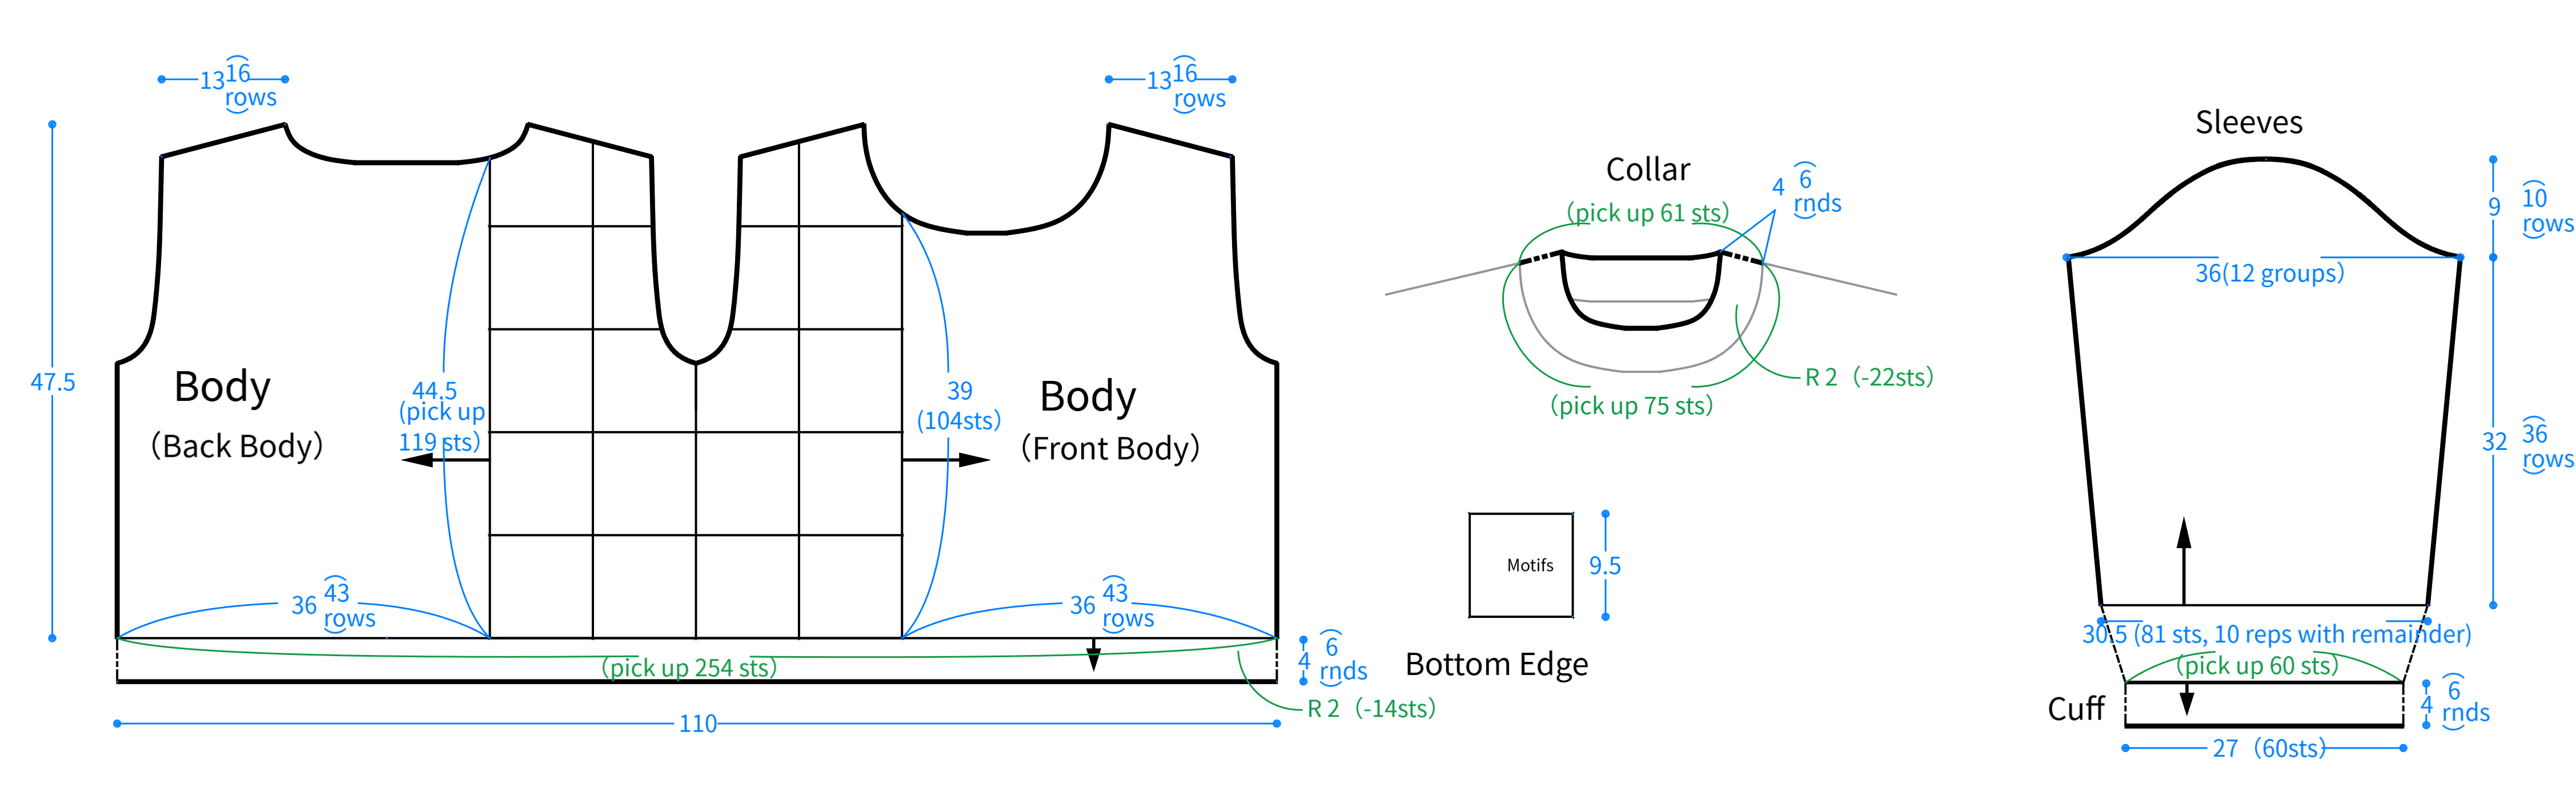
Schematic Diagram
Gauge Swatch
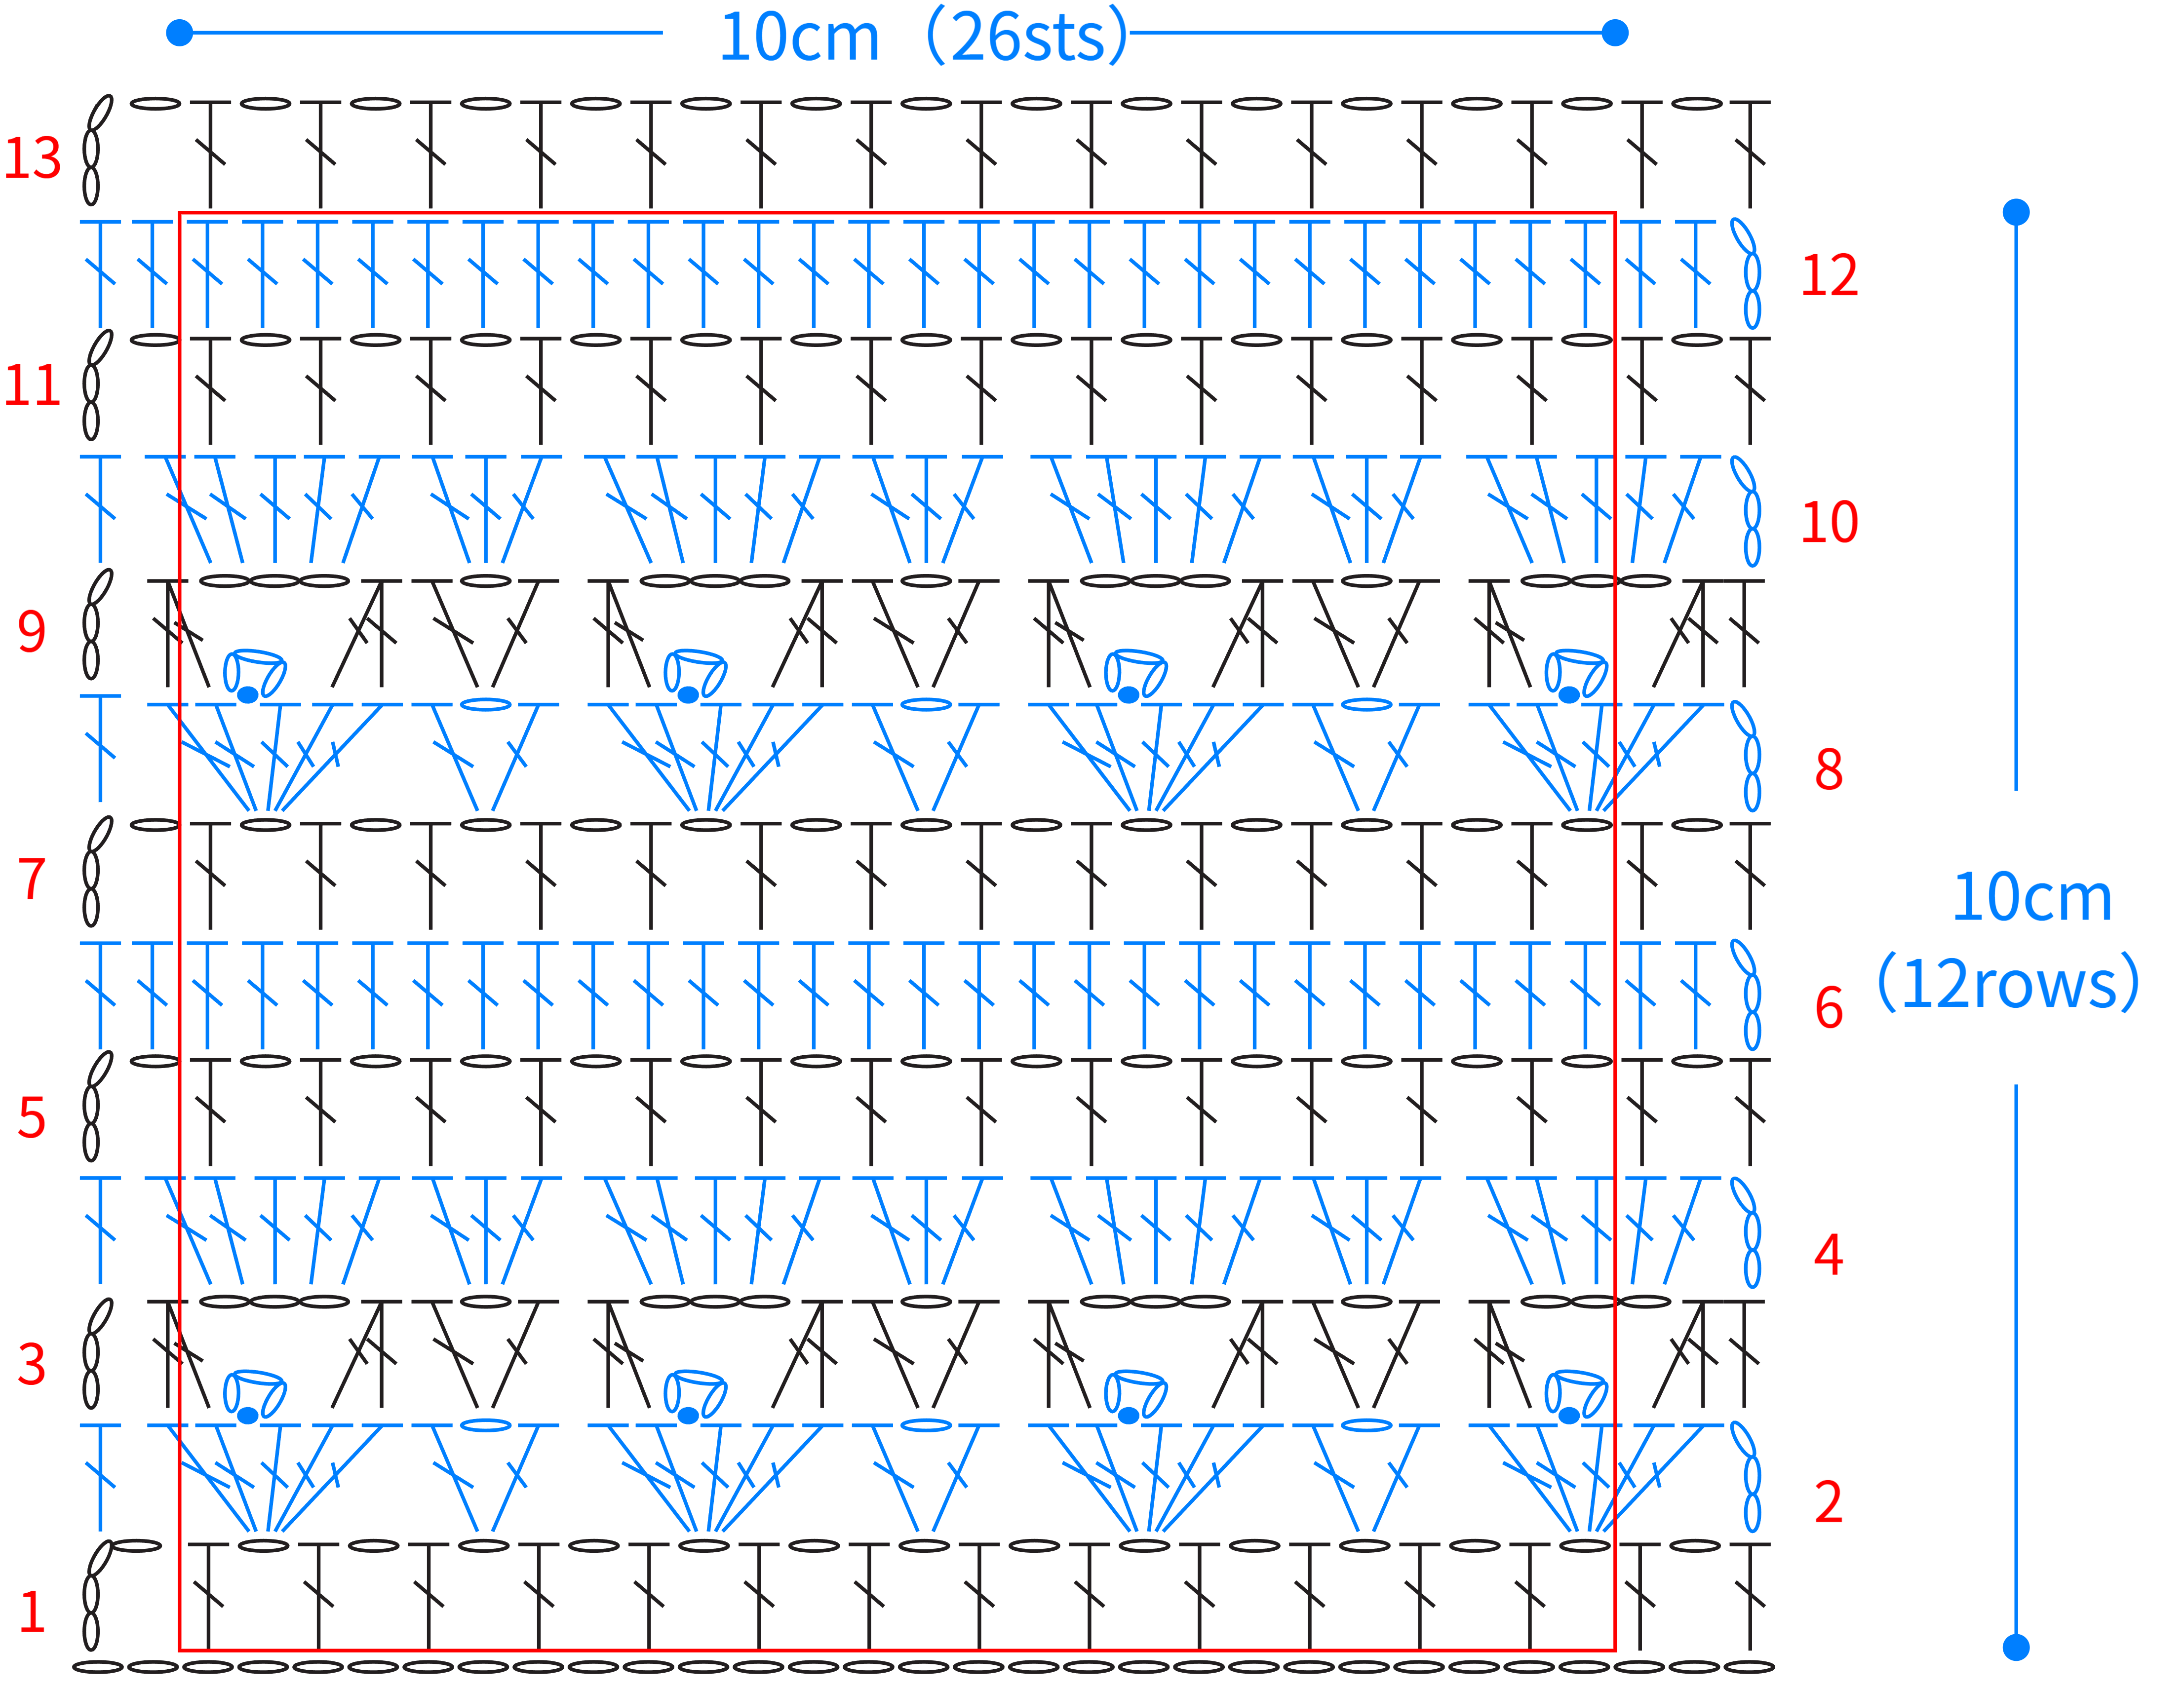
Chart Key



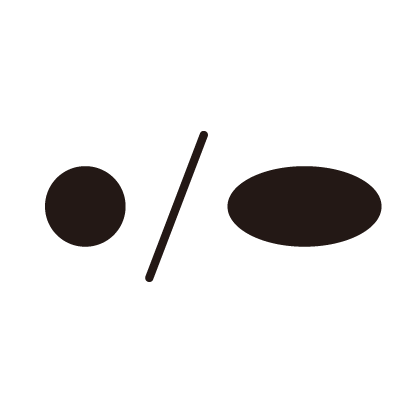

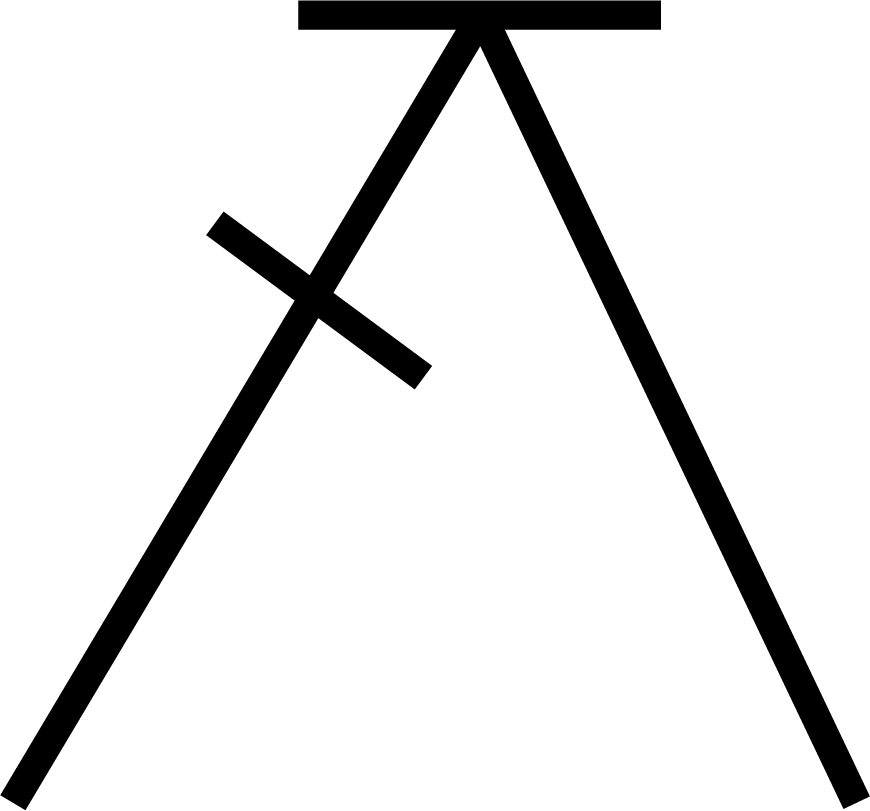




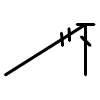
Note:
1. This pattern is making in Chinese crochet pattern terms, and the stitch name is written using American terminology. All measurements in charts are in cm.

| Part | Antique White Version | Black Version | Elm Green Version | Aragon Version | |
| Motifs | Monet Impression :24#Aurora | Monet Impression :20#Linlang | Monet Impression :19#Spring Rain | Monet Impression :23#Blossom | |
| Front Body , Back Body | R 1 | Monet Impression :24#Aurora | Monet Impression :20#Linlang | Monet Impression :19#Spring Rain | Monet Impression :23#Blossom |
| (Body) | Remaining rows | Morandi 4# :27#Antique White | Morandi 4# :38#Black | Morandi 4# :35#Elm Green | Morandi 4# :10#Aragon |
| Sleeves | Morandi 4# :27#Antique White | Morandi 4# :38#Black | Morandi 4# :35#Elm Green | Morandi 4# :10#Aragon | |
| Cuff , Collar , Bottom Edge | R 1 - 3 | Morandi 4# :27#Antique White | Morandi 4# :38#Black | Morandi 4# :35#Elm Green | Morandi 4# :10#Aragon |
| R 4 | Monet Impression :24#Aurora | Monet Impression :20#Linlang | Monet Impression :19#Spring Rain | Monet Impression :23#Blossom | |
| R 5 - 6 | Morandi 4# :27#Antique White | Morandi 4# :38#Black | Morandi 4# :35#Elm Green | Morandi 4# :10#Aragon | |
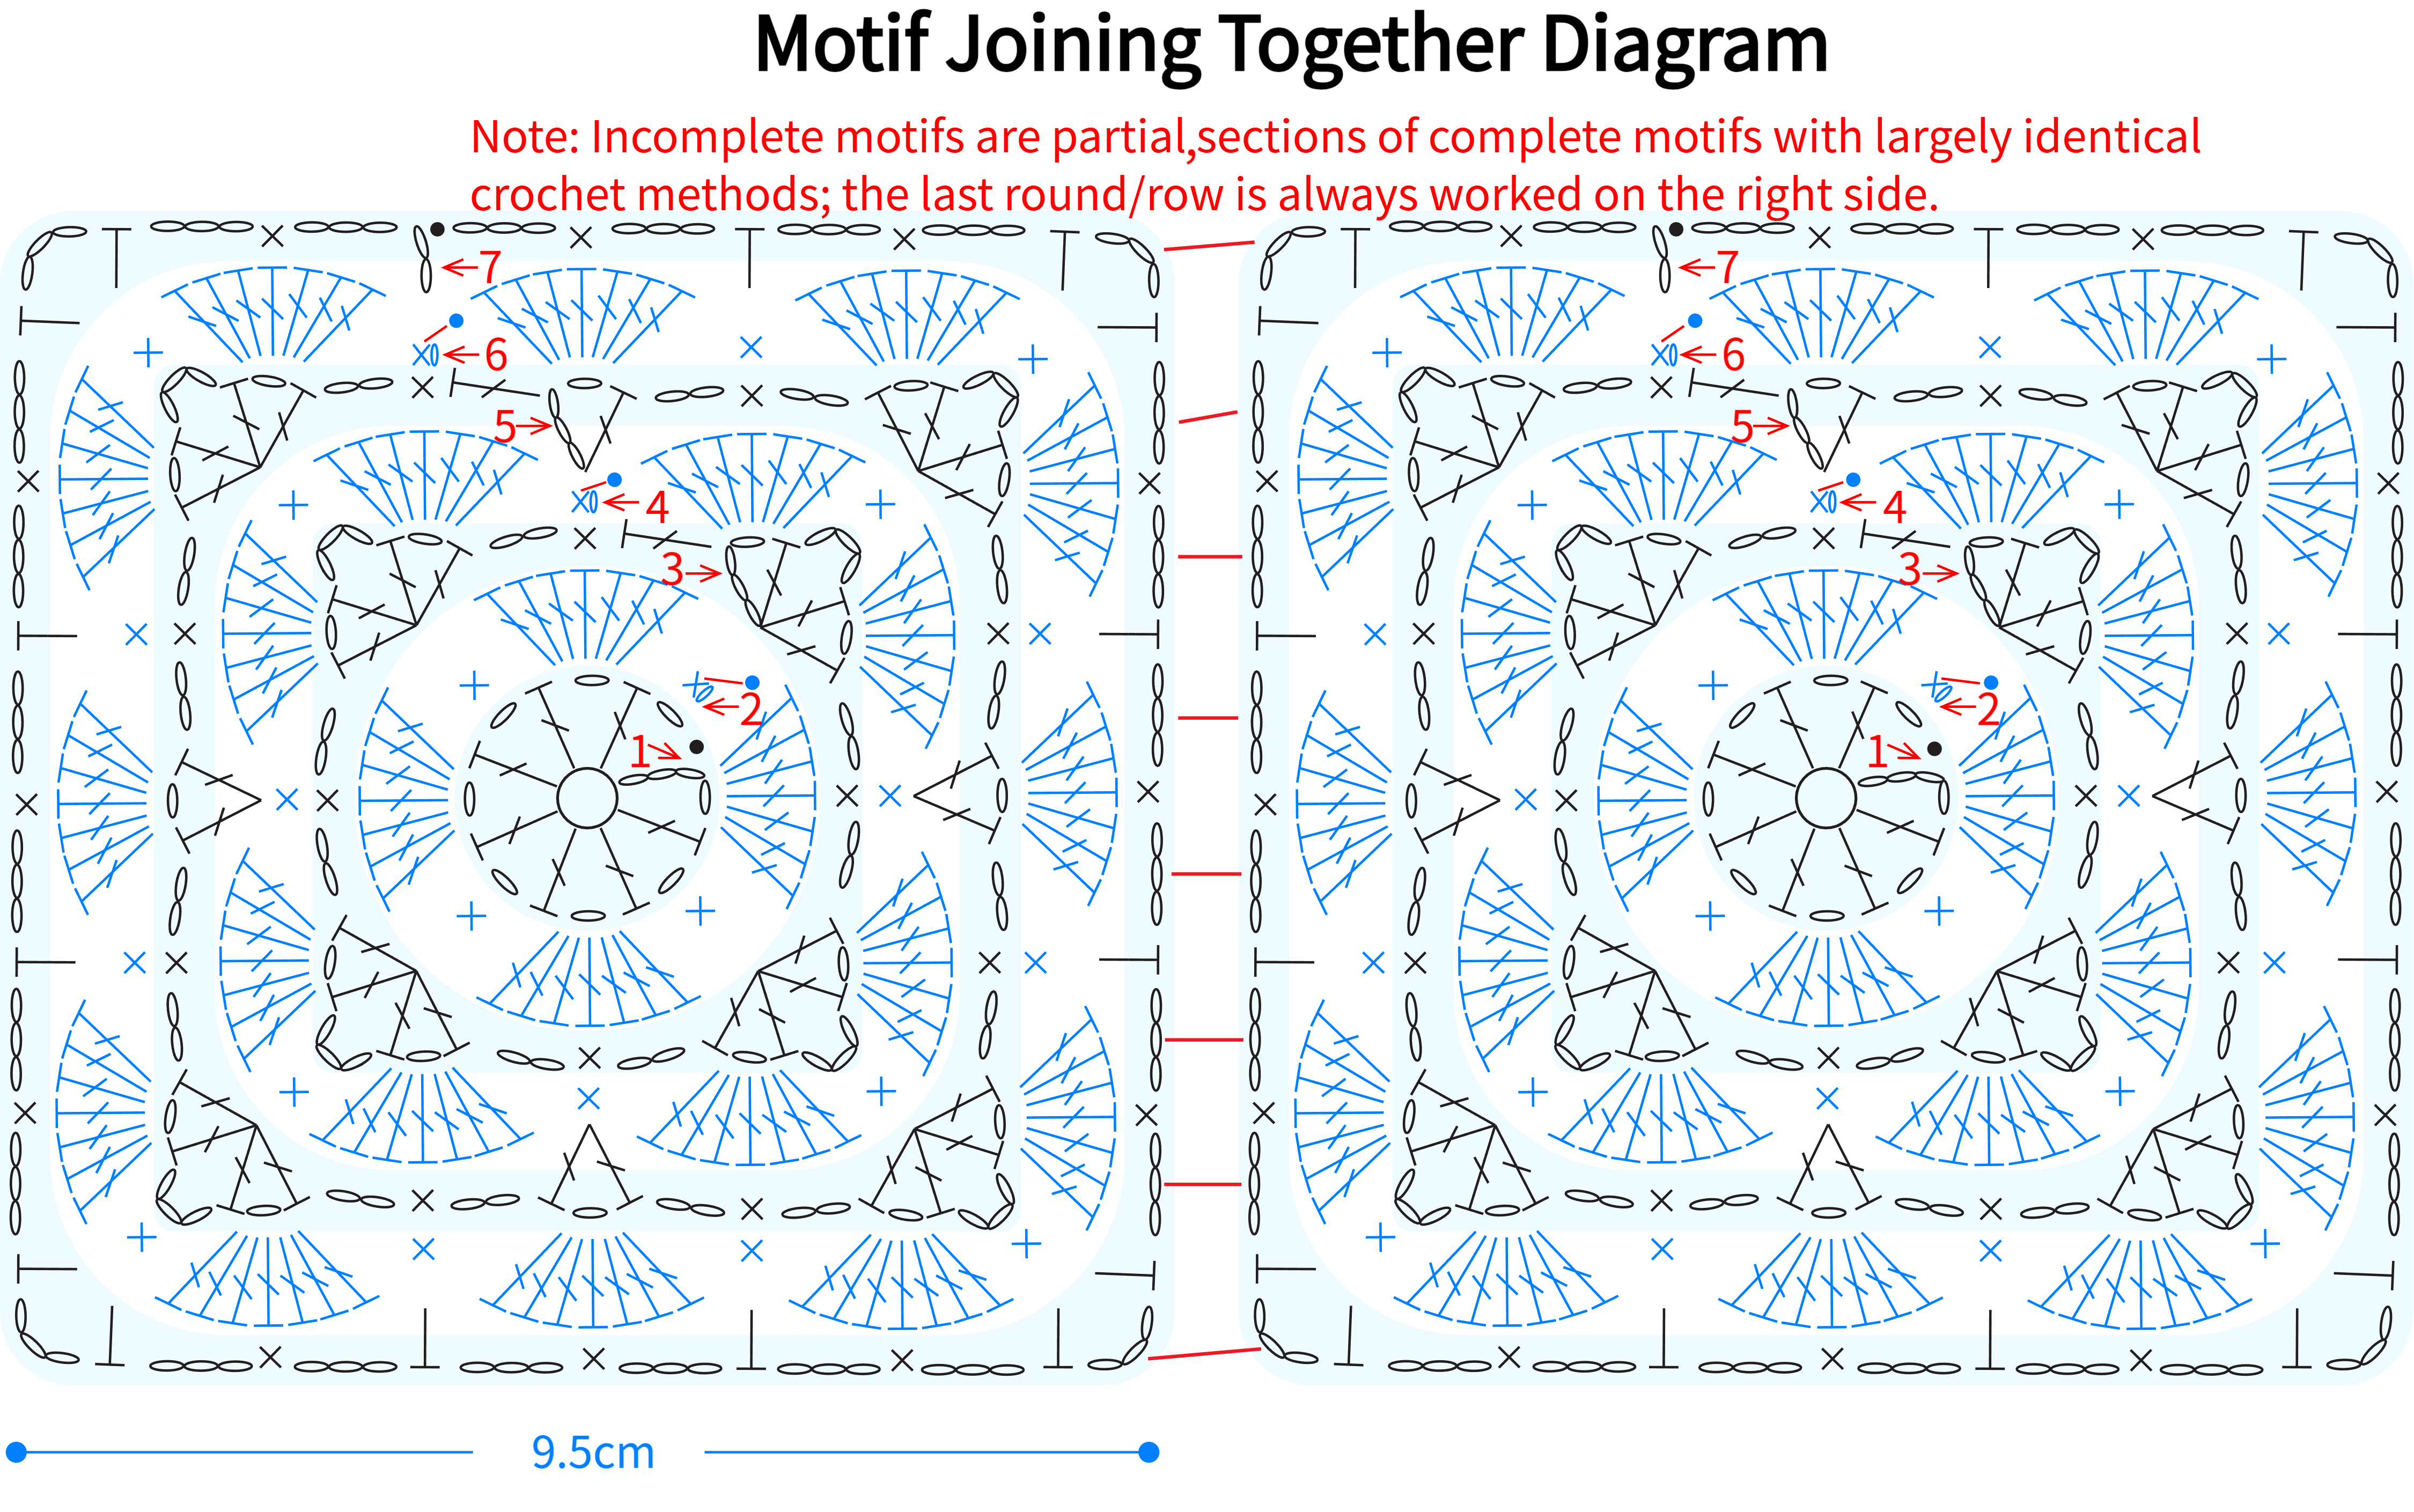
PART 1 Motifs A 00' 24''
Motifs are worked in the round from a magic ring, crocheting in rows. They are divided into complete and incomplete motifs. The diagram shows the complete motifs on the body part. Note that motifs are not divided into front and back pieces; all edges are worked and joined as you go. Please refer to the video demonstration for more details.
PART 2 Body B
The body is divided into front and back bodies. Work back and forth on the crocheted motifs. After finishing, sew the corresponding positions together by picking up two layers of fabric and alternating slip stitches and two chain stitches. Please refer to the video demonstration for more details.
STEP 1 Front Body B1 30' 45''
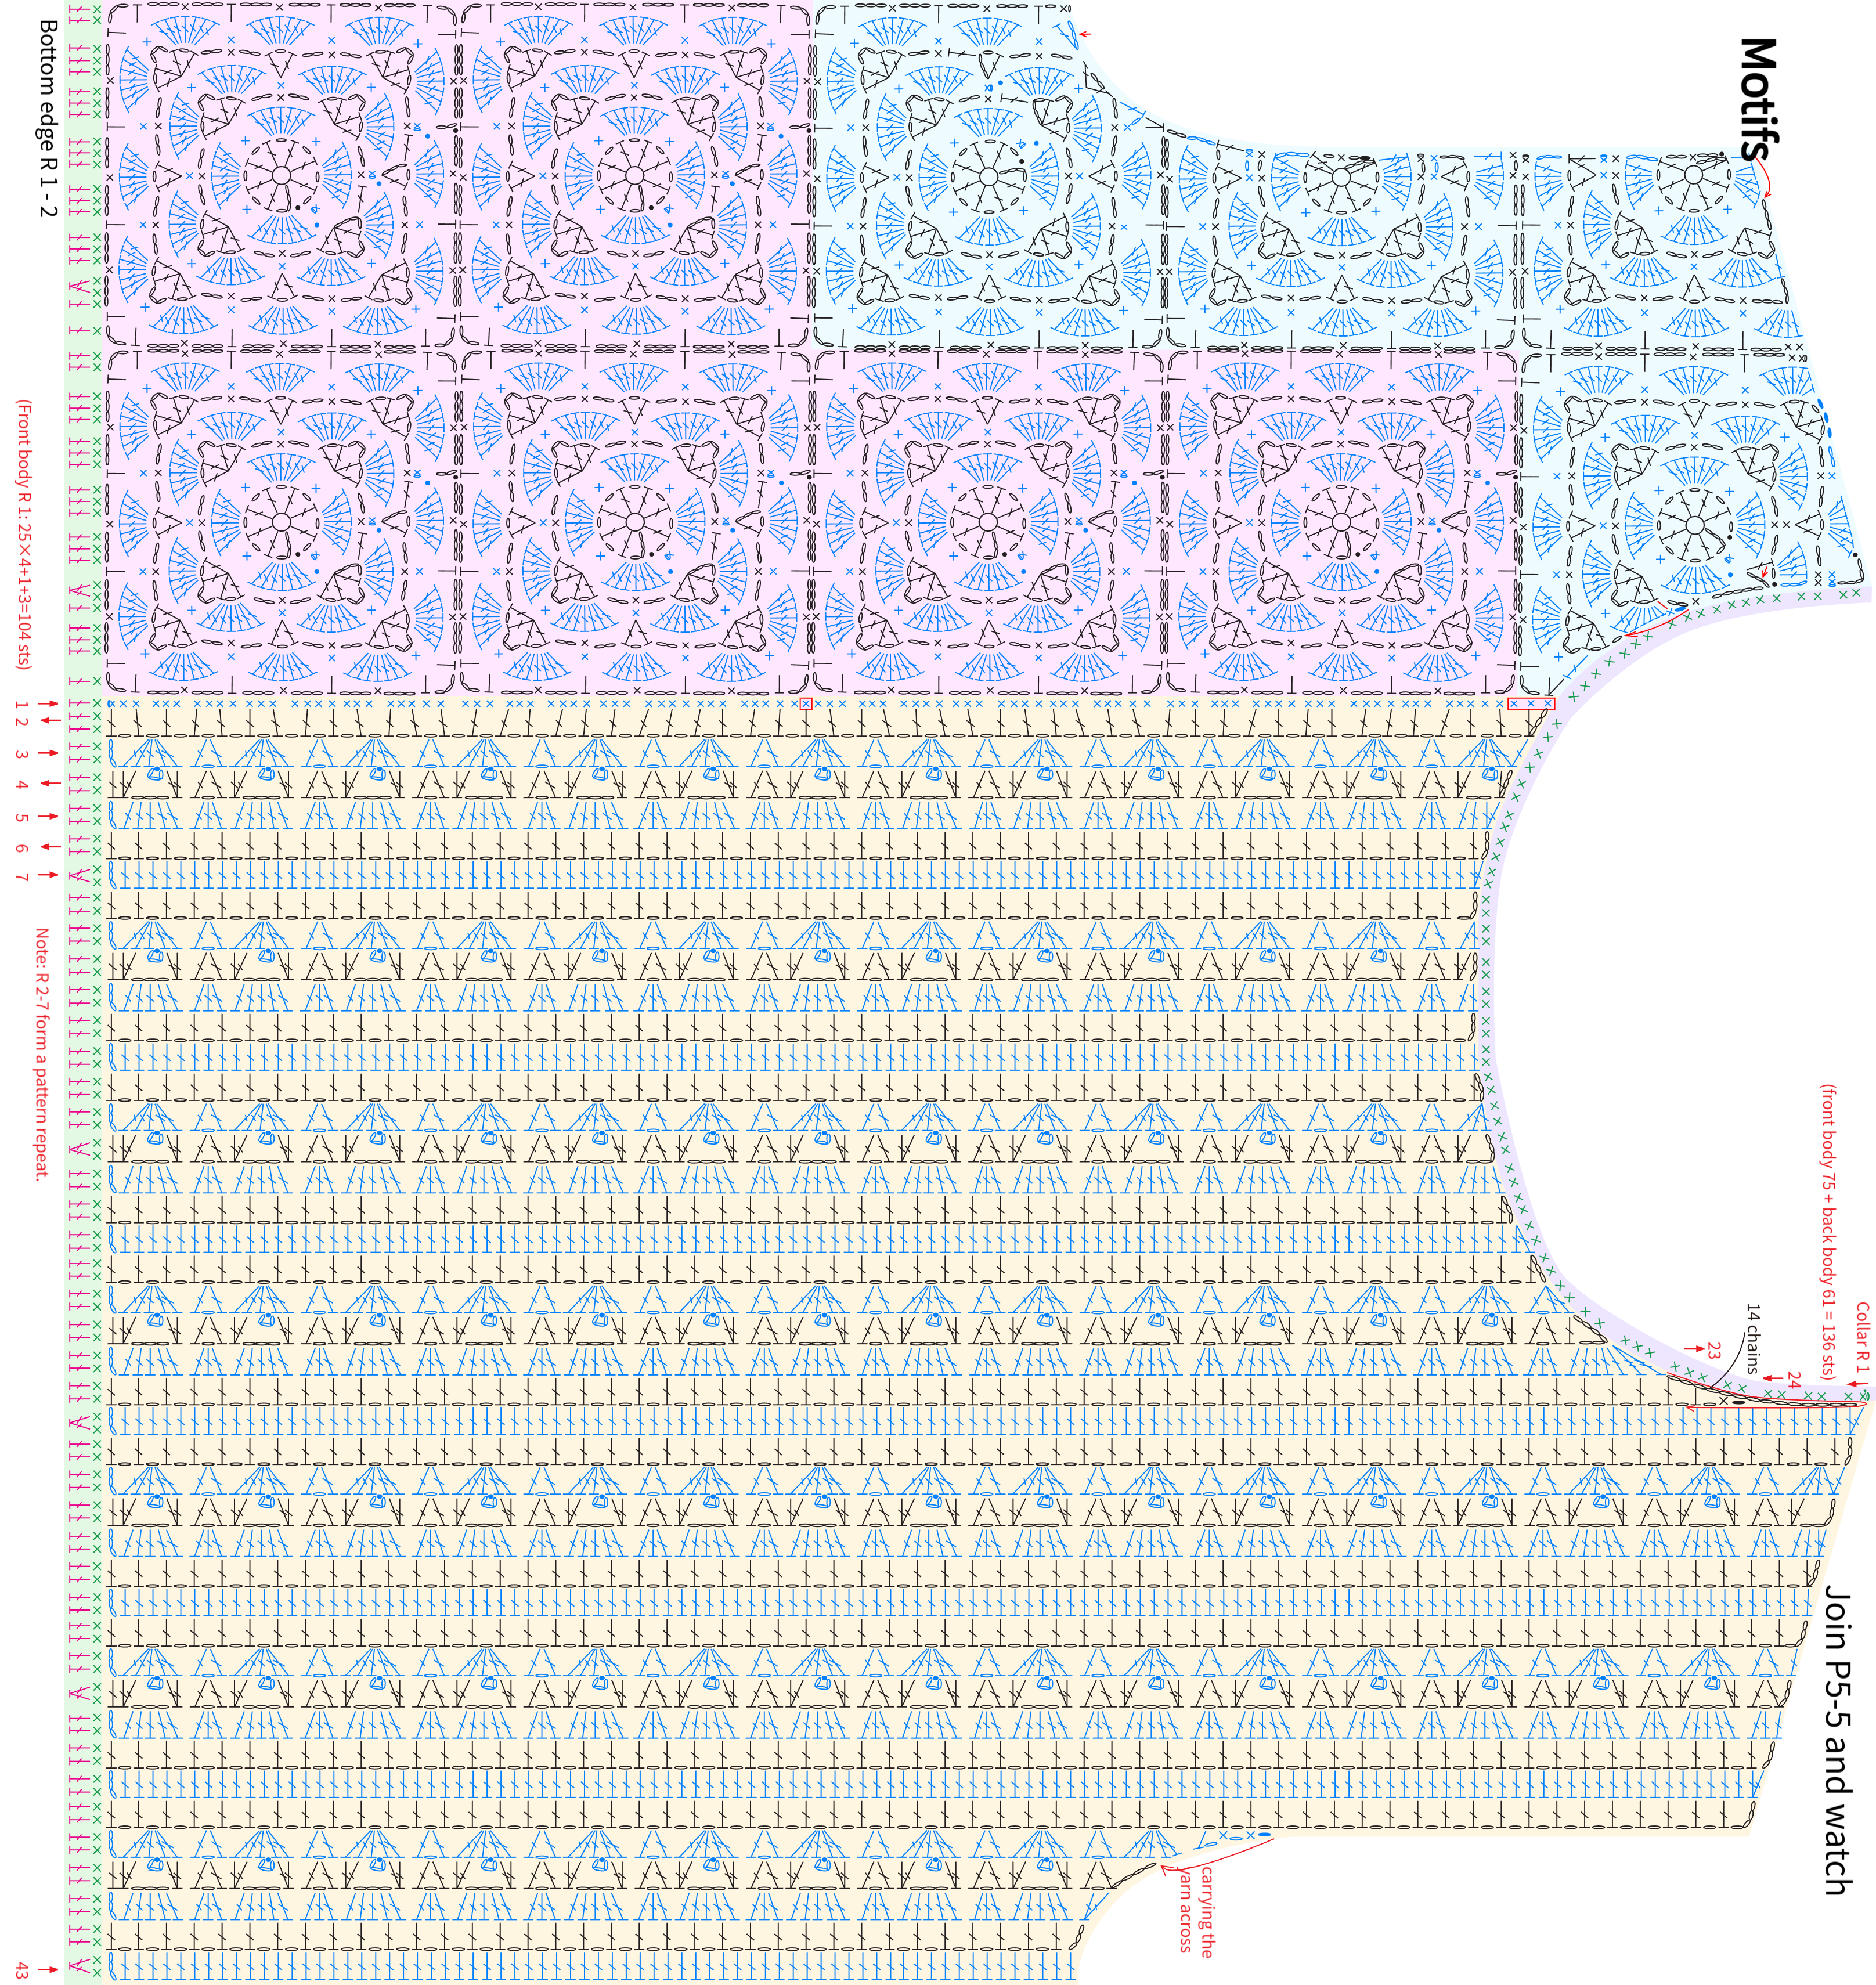
STEP 2 Back Body B2 50' 52''
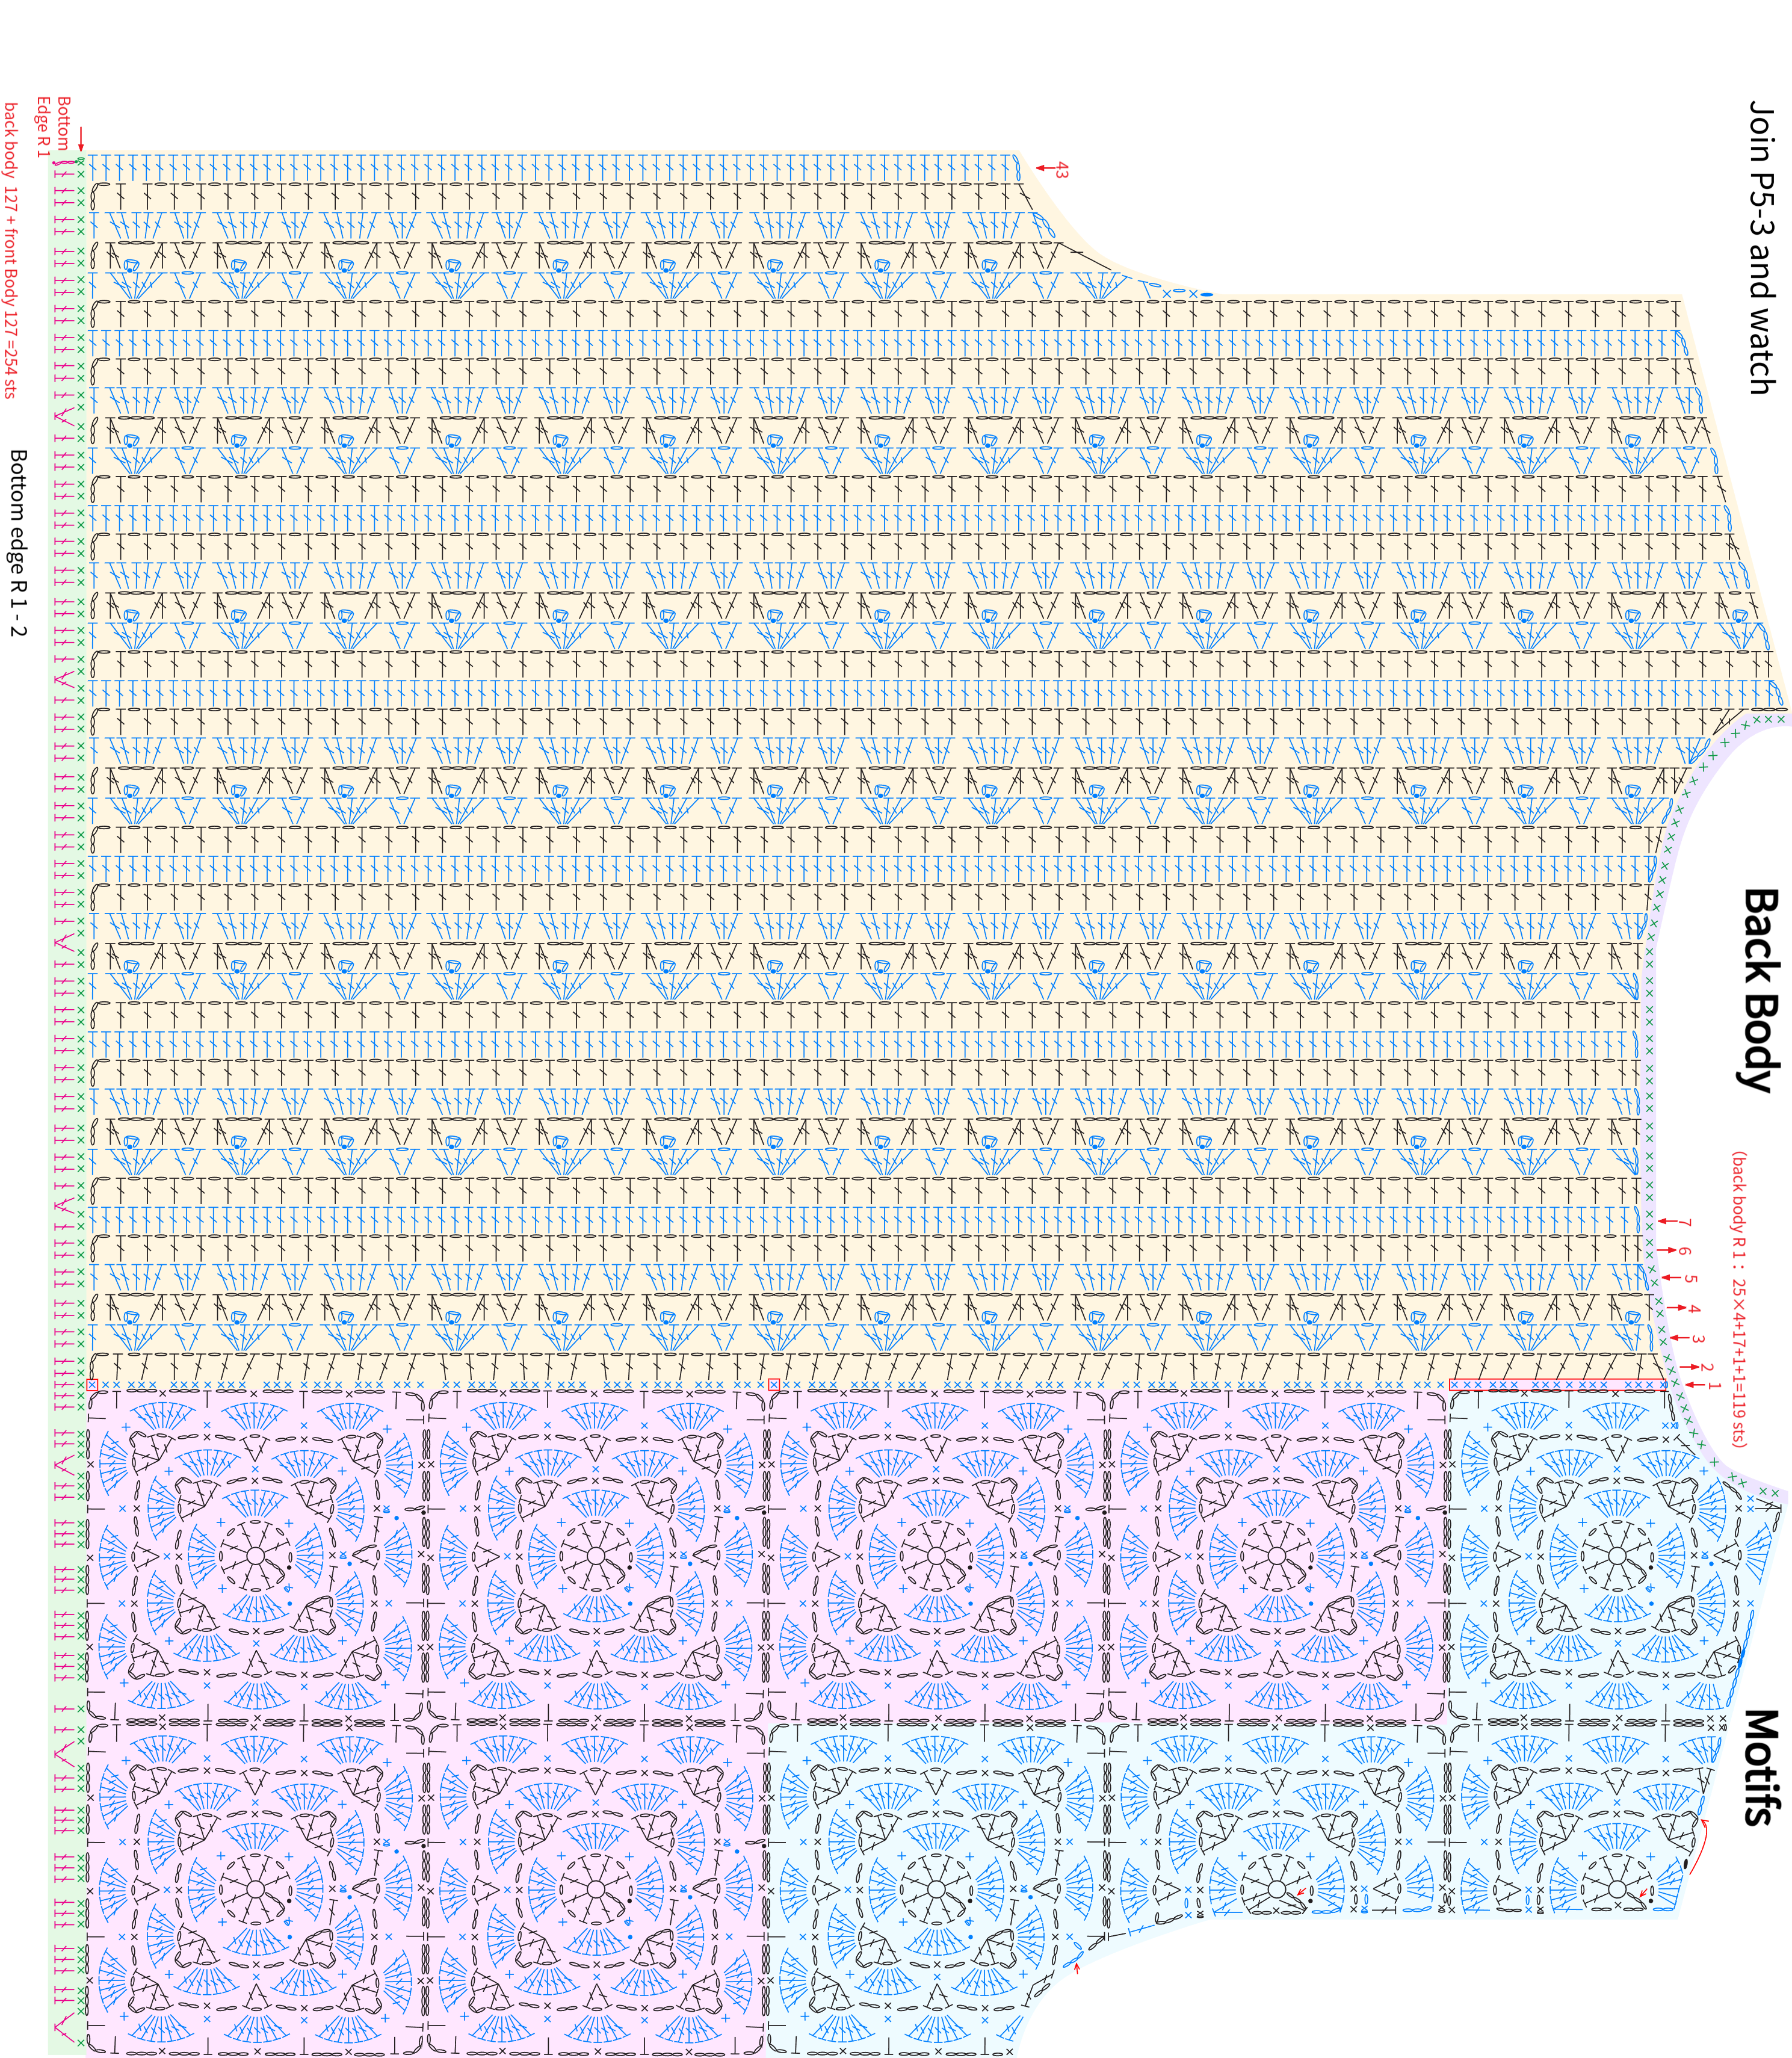
PART 3 Sleeves × 2 C 55' 03''
The sleeves are started with a foundation chain method and crocheted in rows. After completing each sleeve, sew them onto the side armholes of the body. Please refer to the video demonstration for more details.
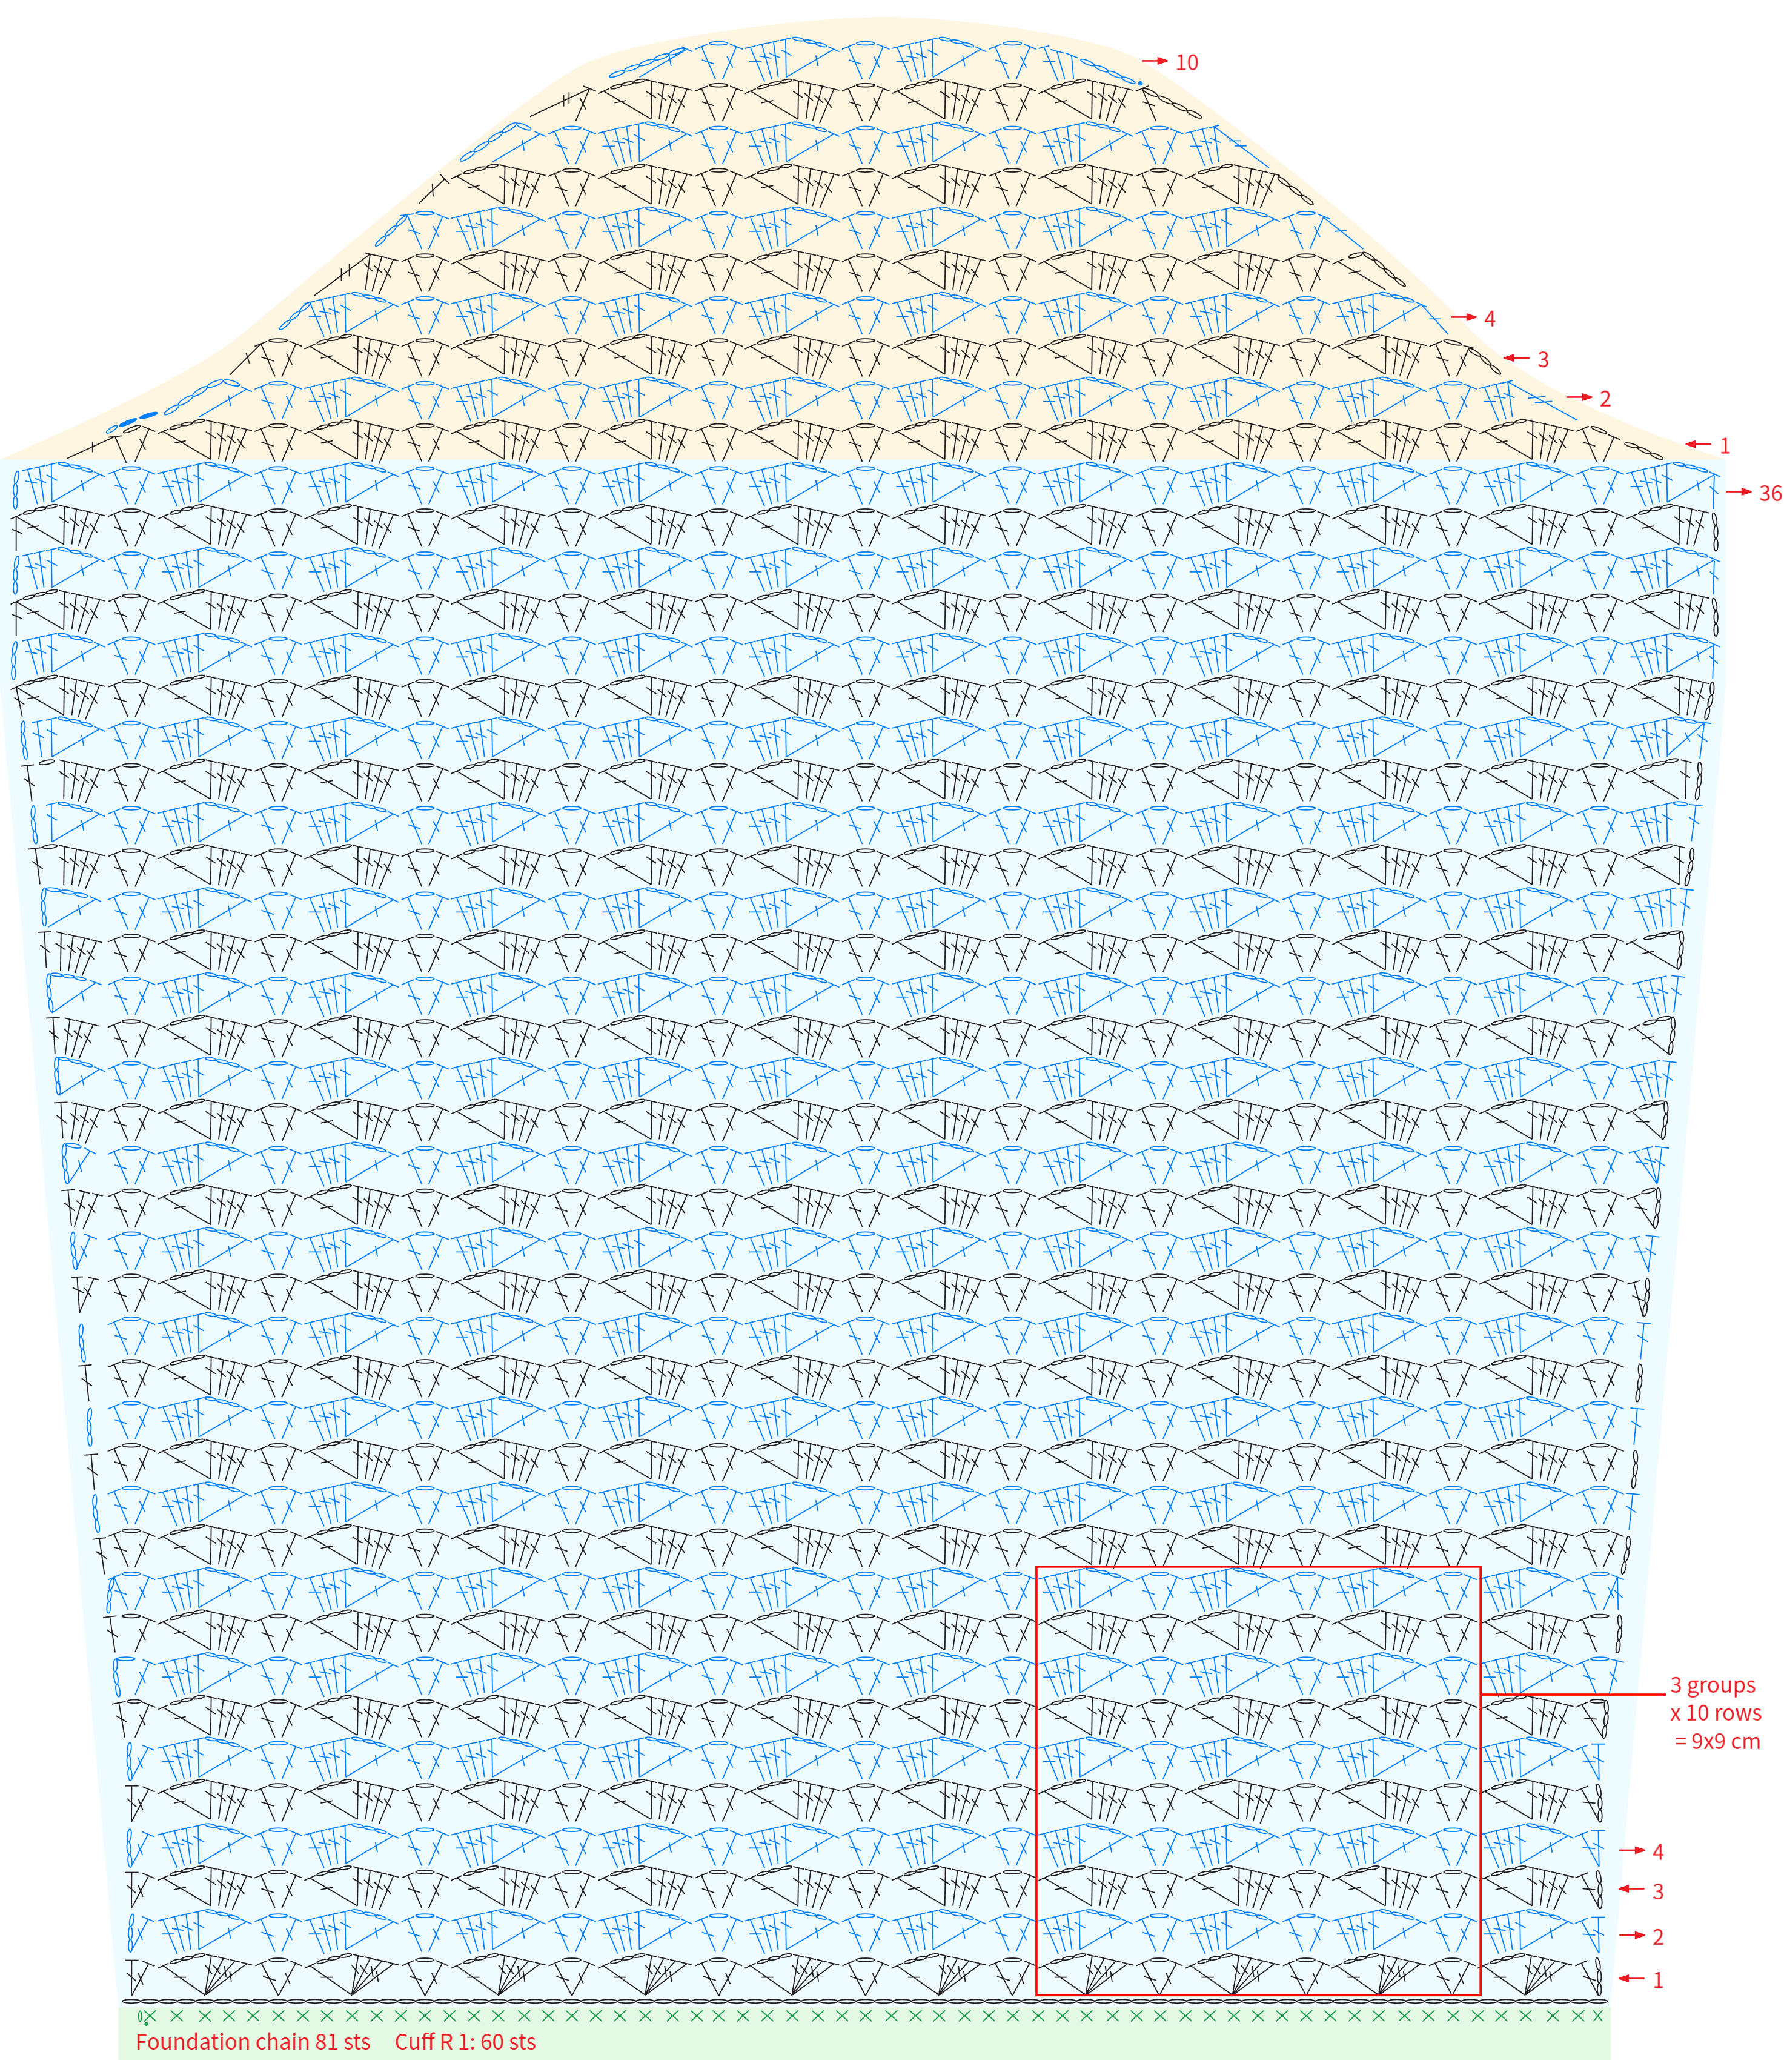
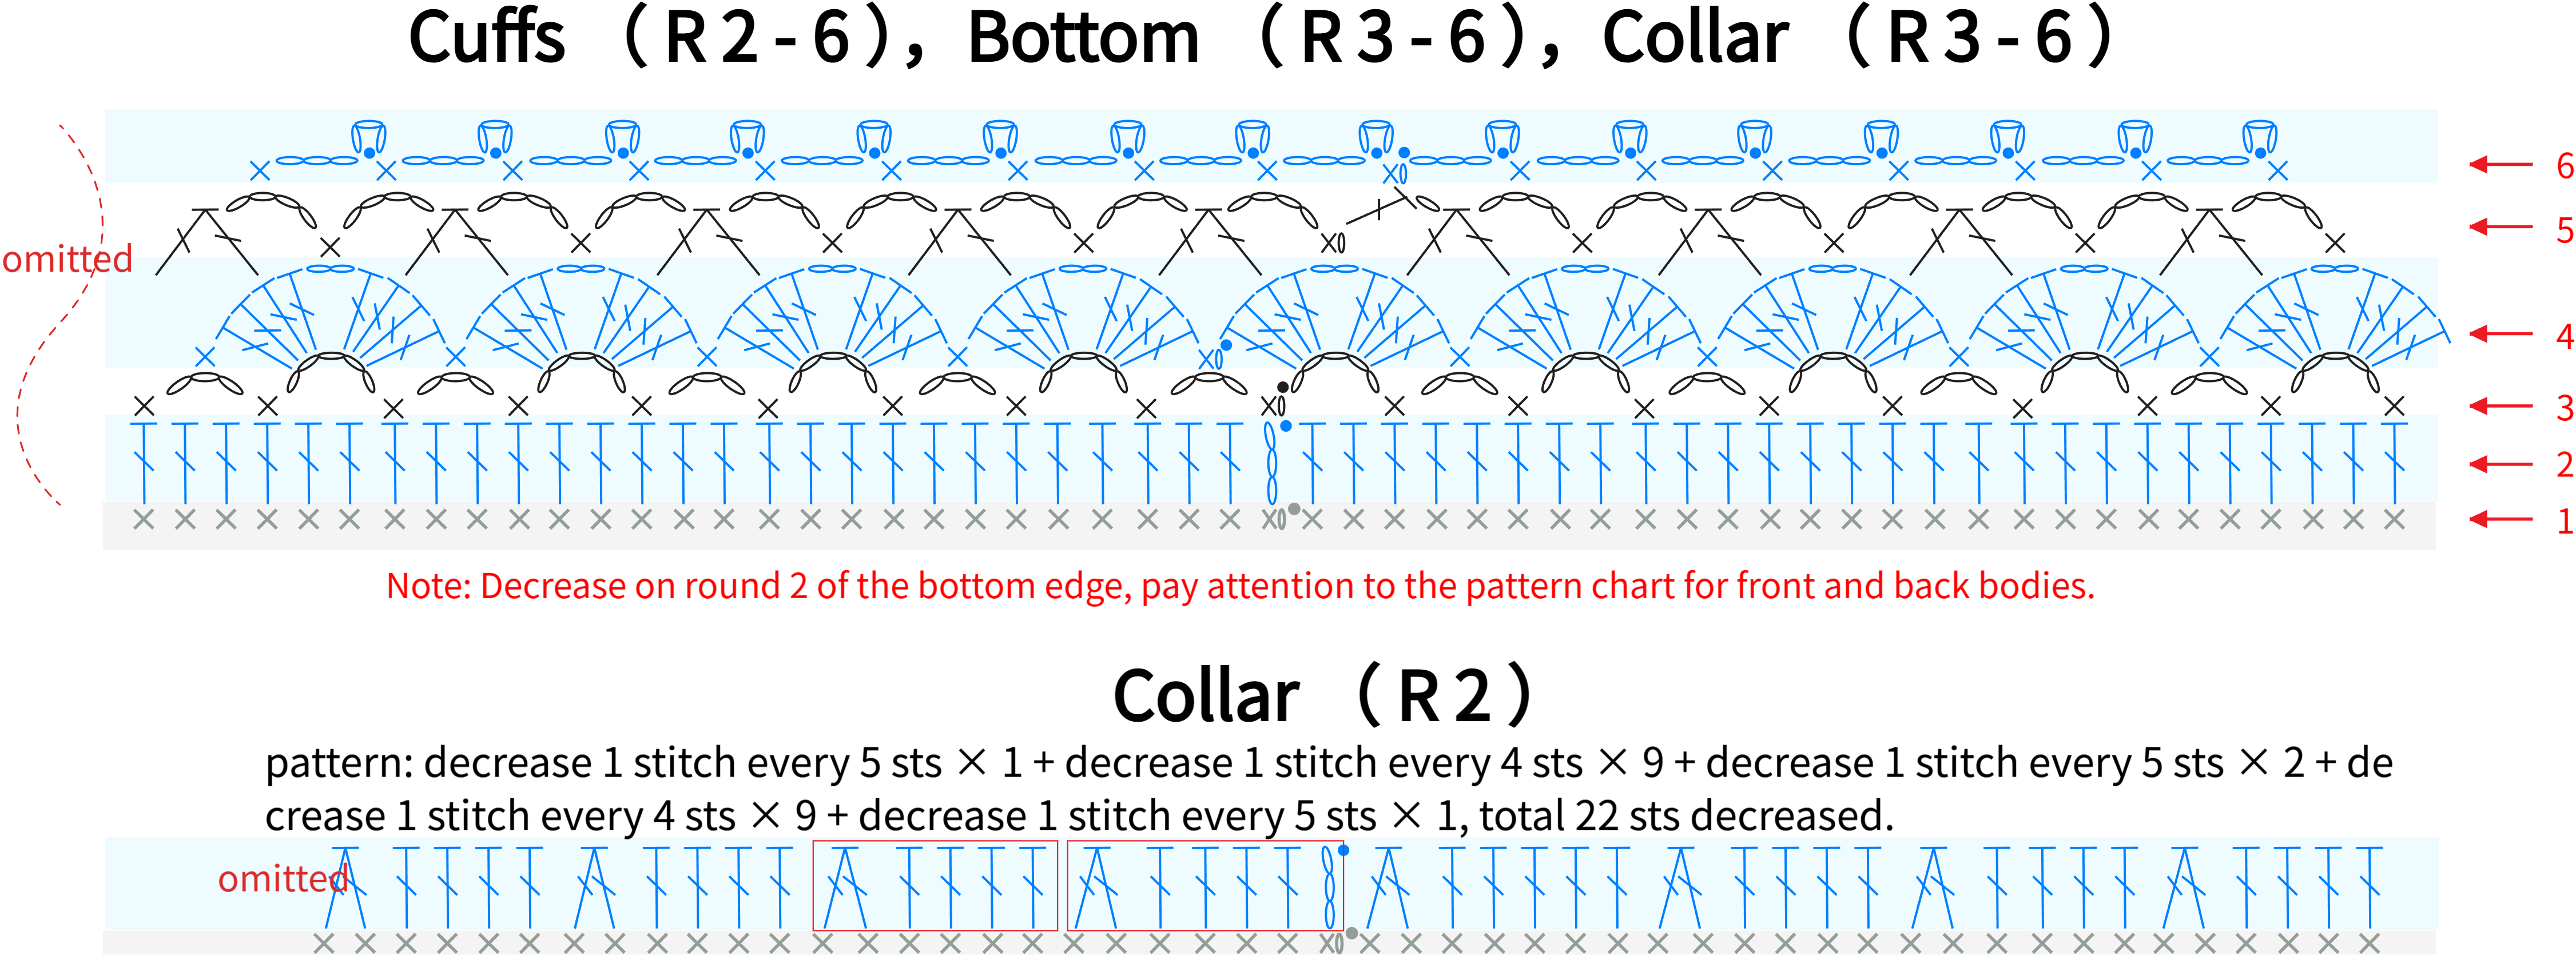
PART 4 Cuffs , Collar and Bottom Edge D 69' 01''
The cuffs, collar, and bottom edge are all crocheted in rounds at their respective positions. Note that the second round of the collar and bottom edge requires decreasing stitches. The first round of the cuffs and collar is shown in the corresponding sleeve and body diagrams, while the first to second rounds of the bottom edge are shown in the body diagram. Please refer to the video demonstration for more details.
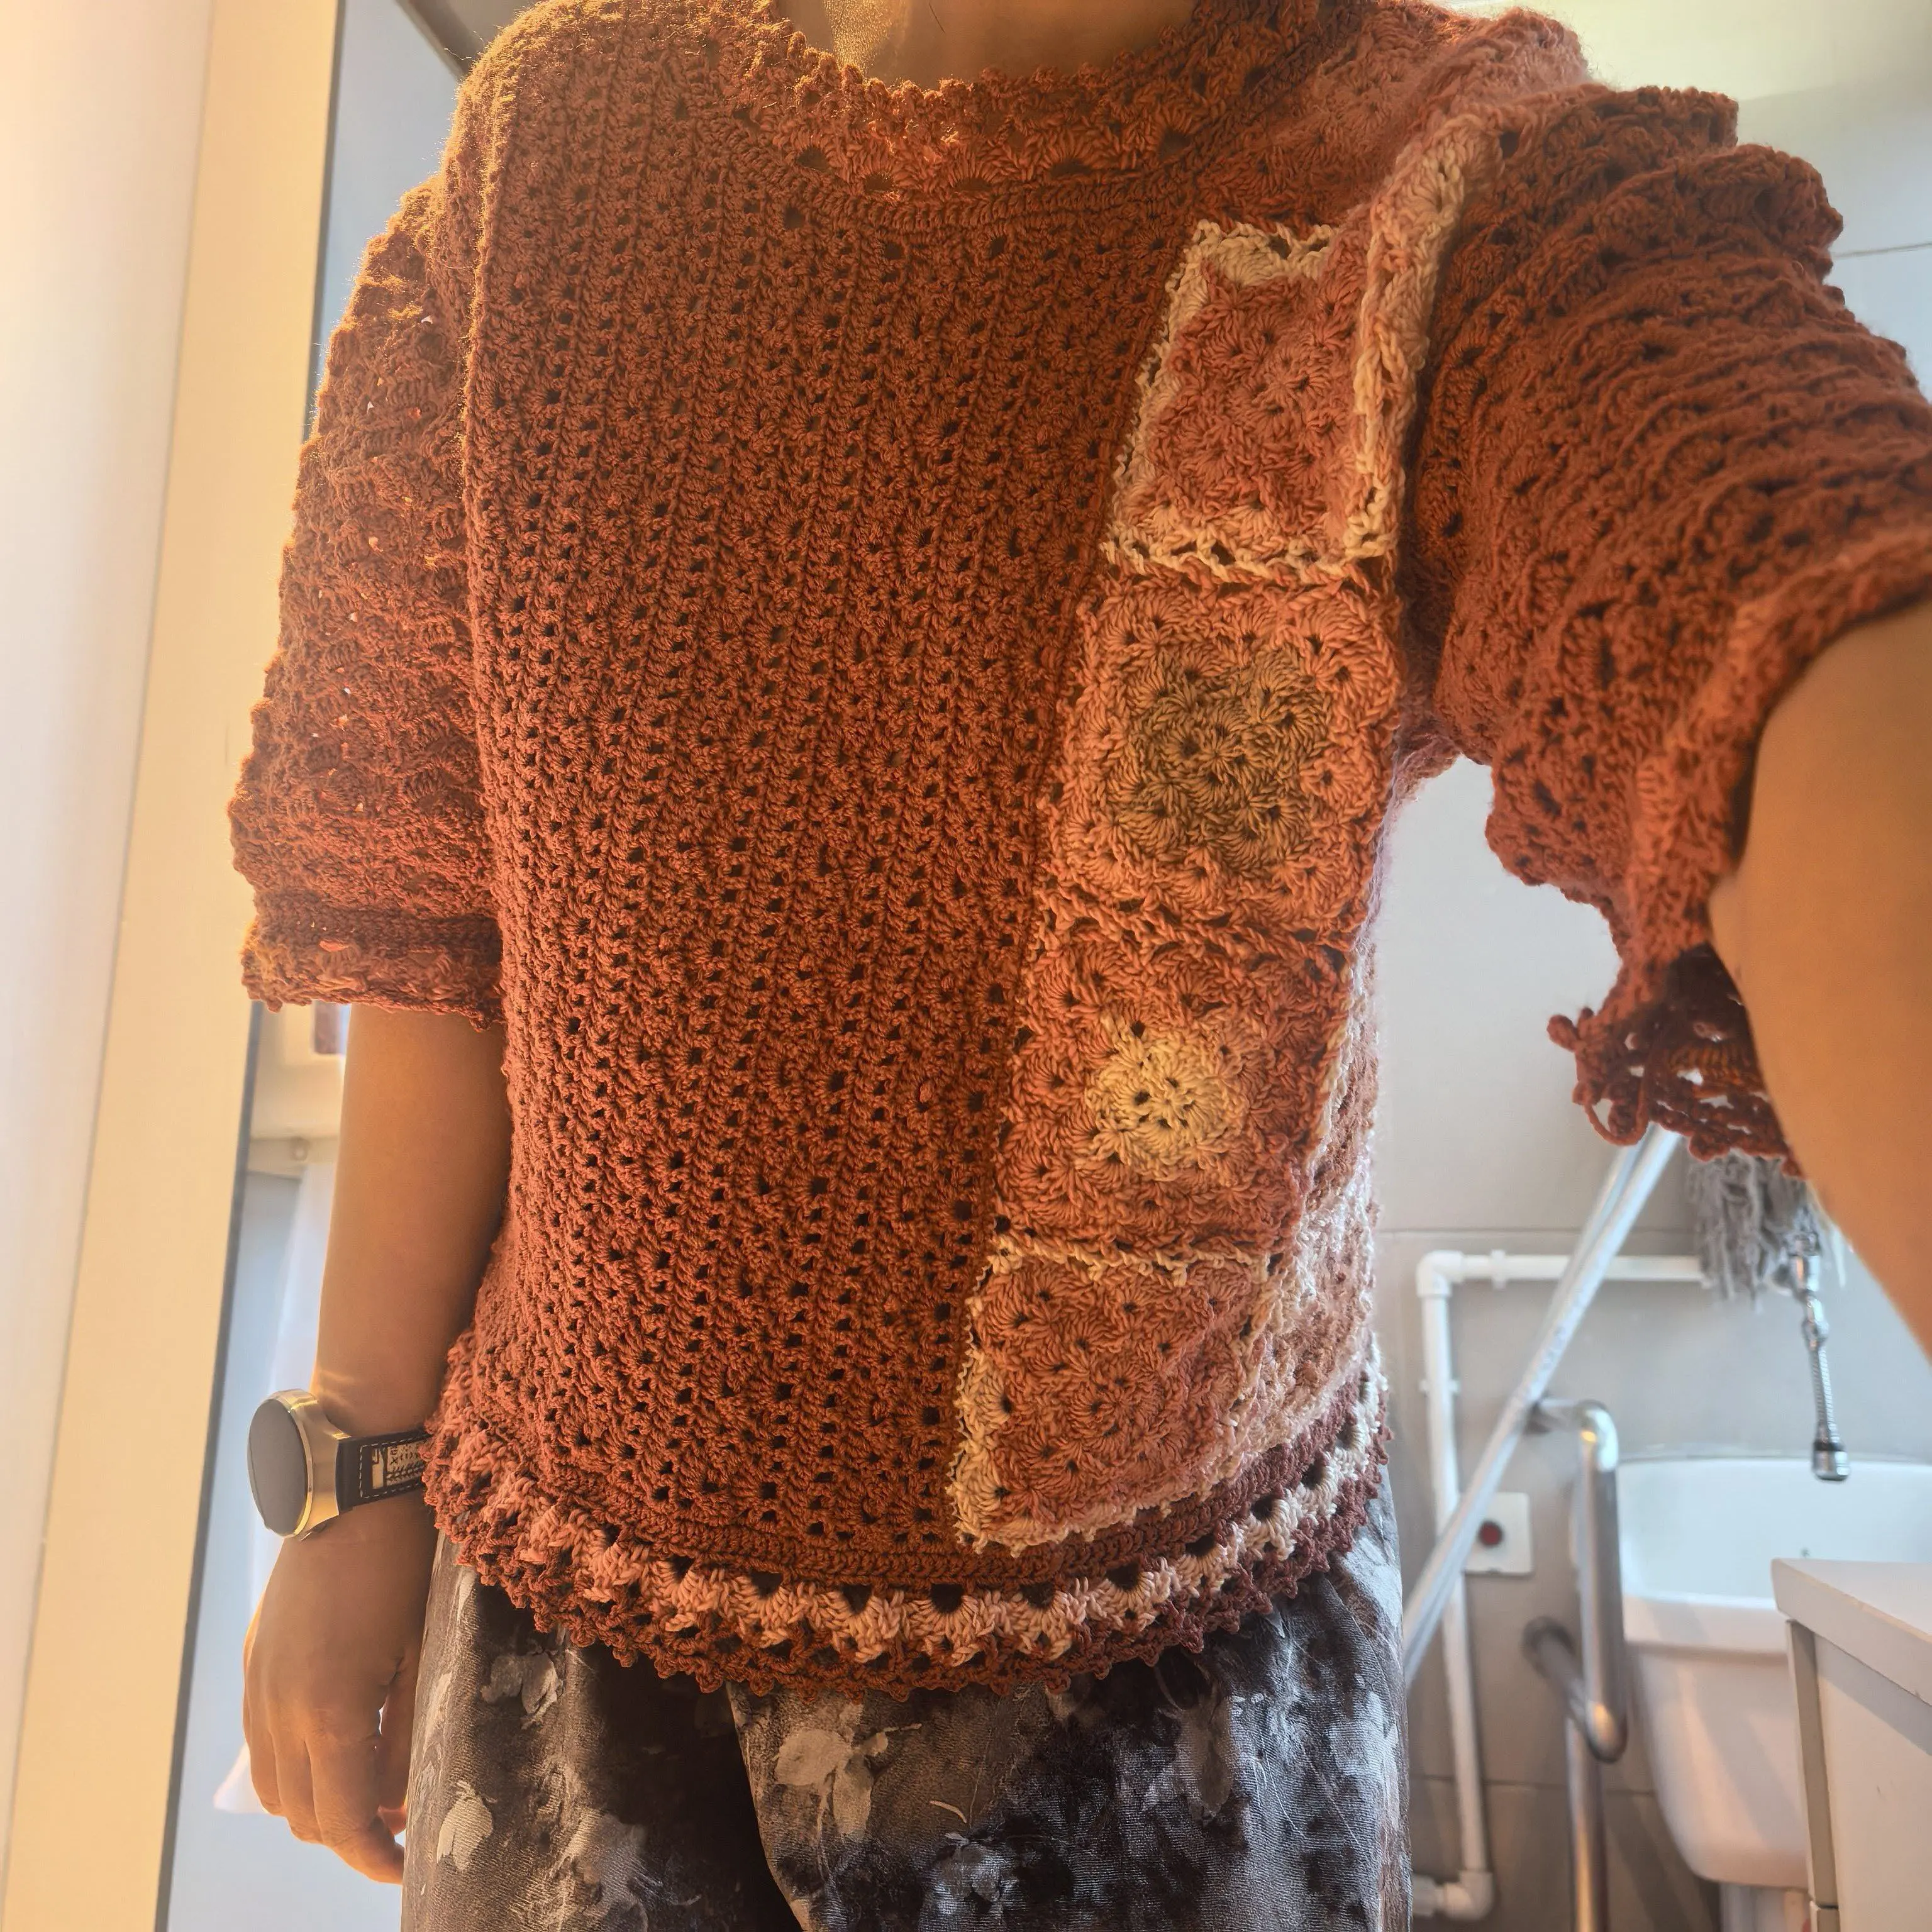
Made by the community