Home / Blanket
Joyful Breeze Intarsia Blanket
Project preview
See the finished project
Pattern format
Instructions
Watch and follow
Video tutorial
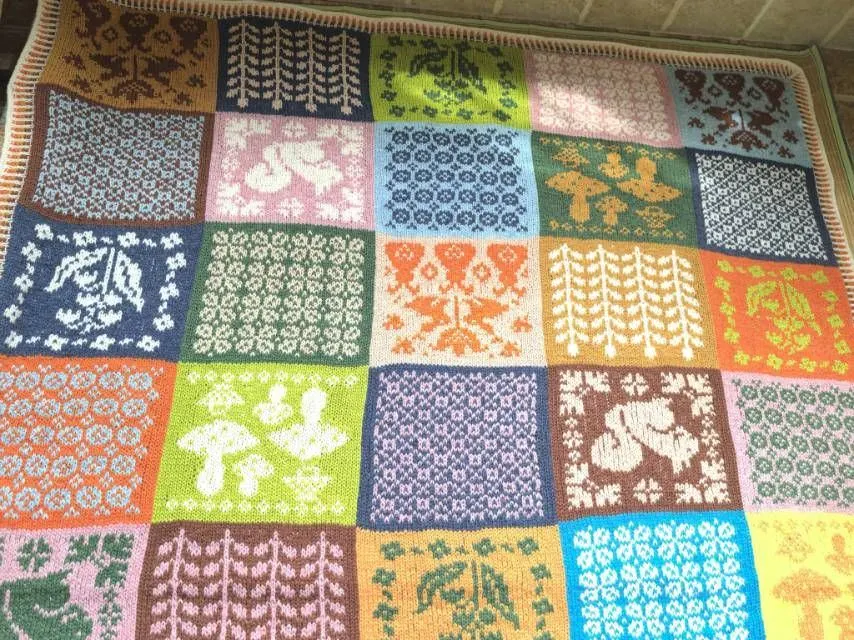
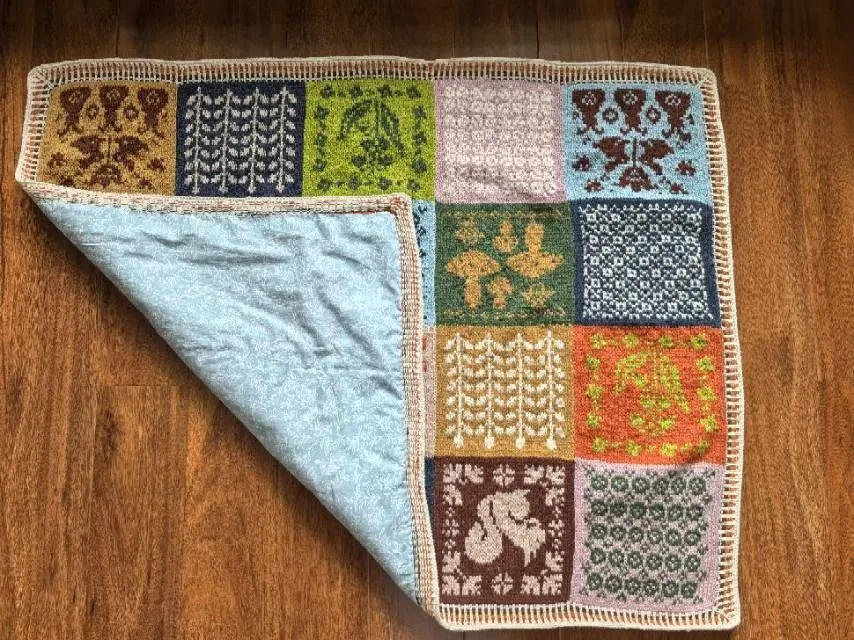
This blanket consists of three parts: the main piece, edging and lining. The main piece is made up of eight types of fabric pieces. First, crochet 5 rows of pieces, then sew them together. Next, pick up stitches around the edges to work the edging, and finally secure the lining in place.
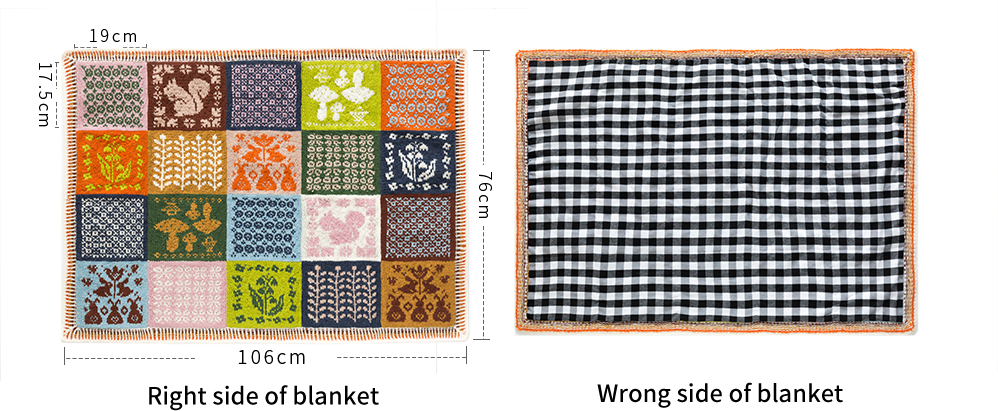
The handcrafted measurements may have an error of 1 to 2 cm. Due to variations in individual tension, the size of the sample is for reference only.
Materials: Susan's Family Shetland (2 strands of yarn held together)
Needle: 4.00 mm needle

Chart Key



Note:
1,This pattern is making in Chinese crochet pattern terms, and the stitch name is written using American terminology. All measurements in charts are in cm.
2,The chart represent the right side of fabric, so check the key to see how to work a certain symbol on the right side and on the wrong side.

Part 1 Main piece
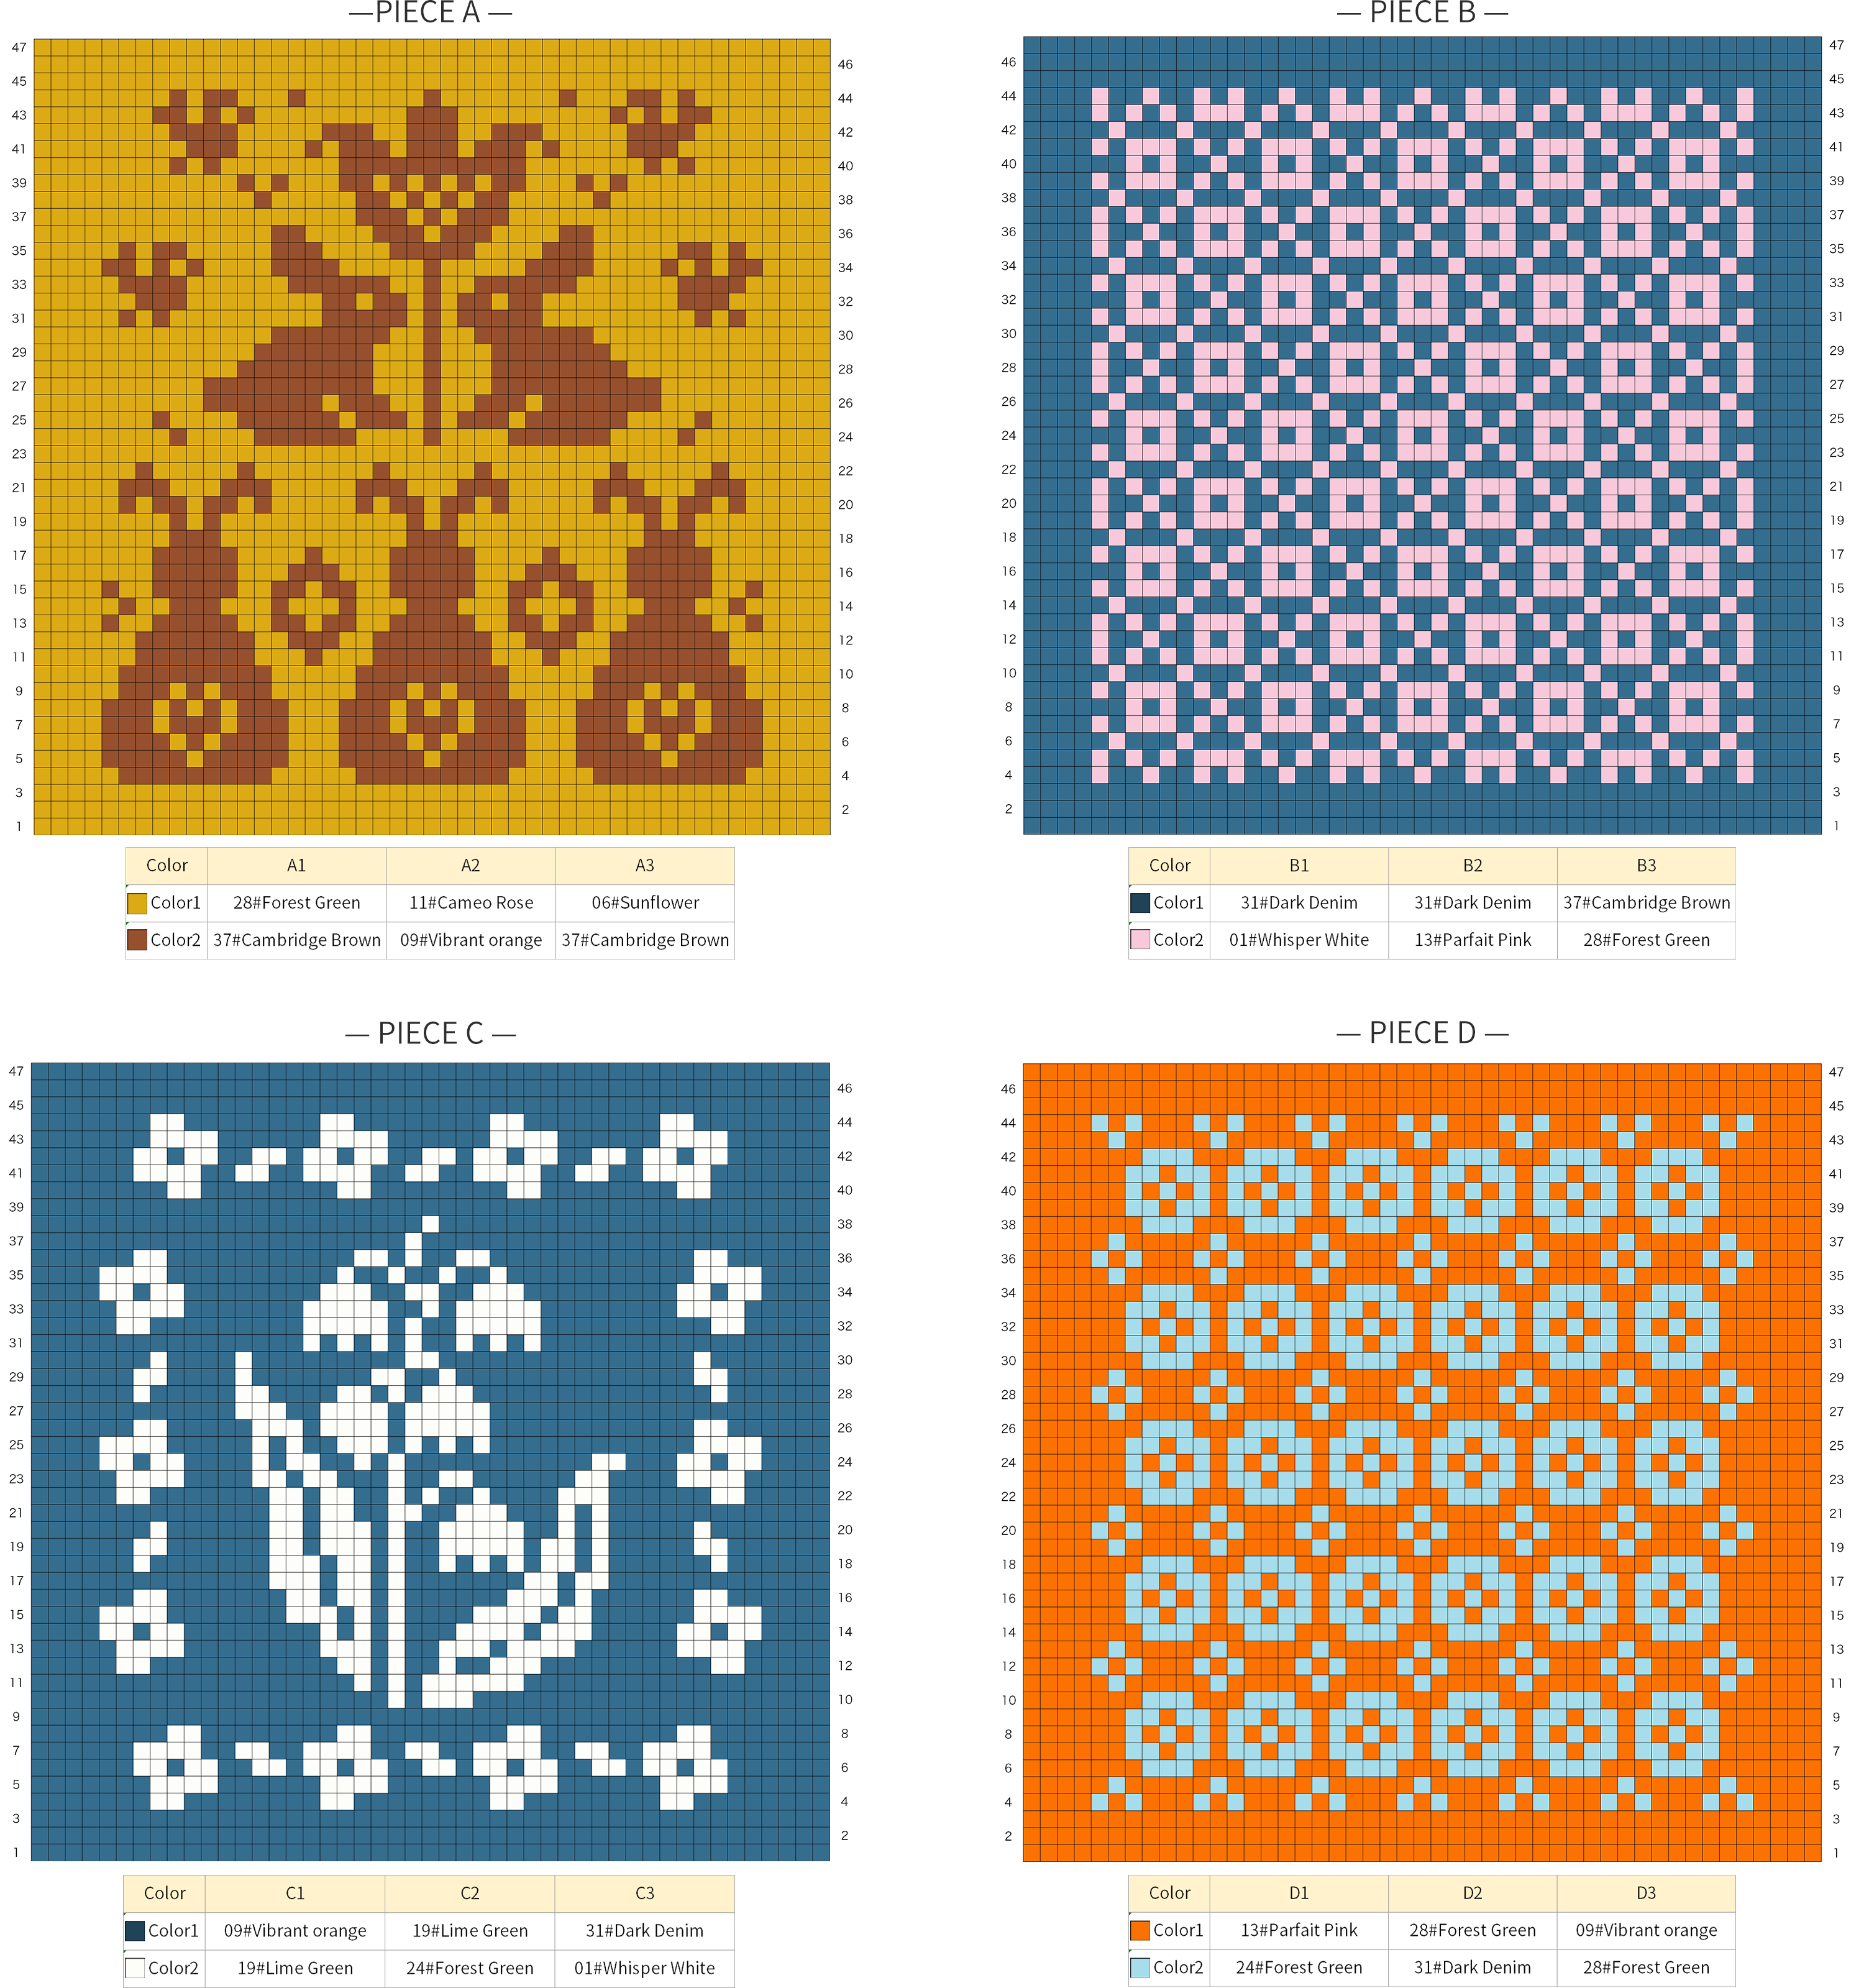
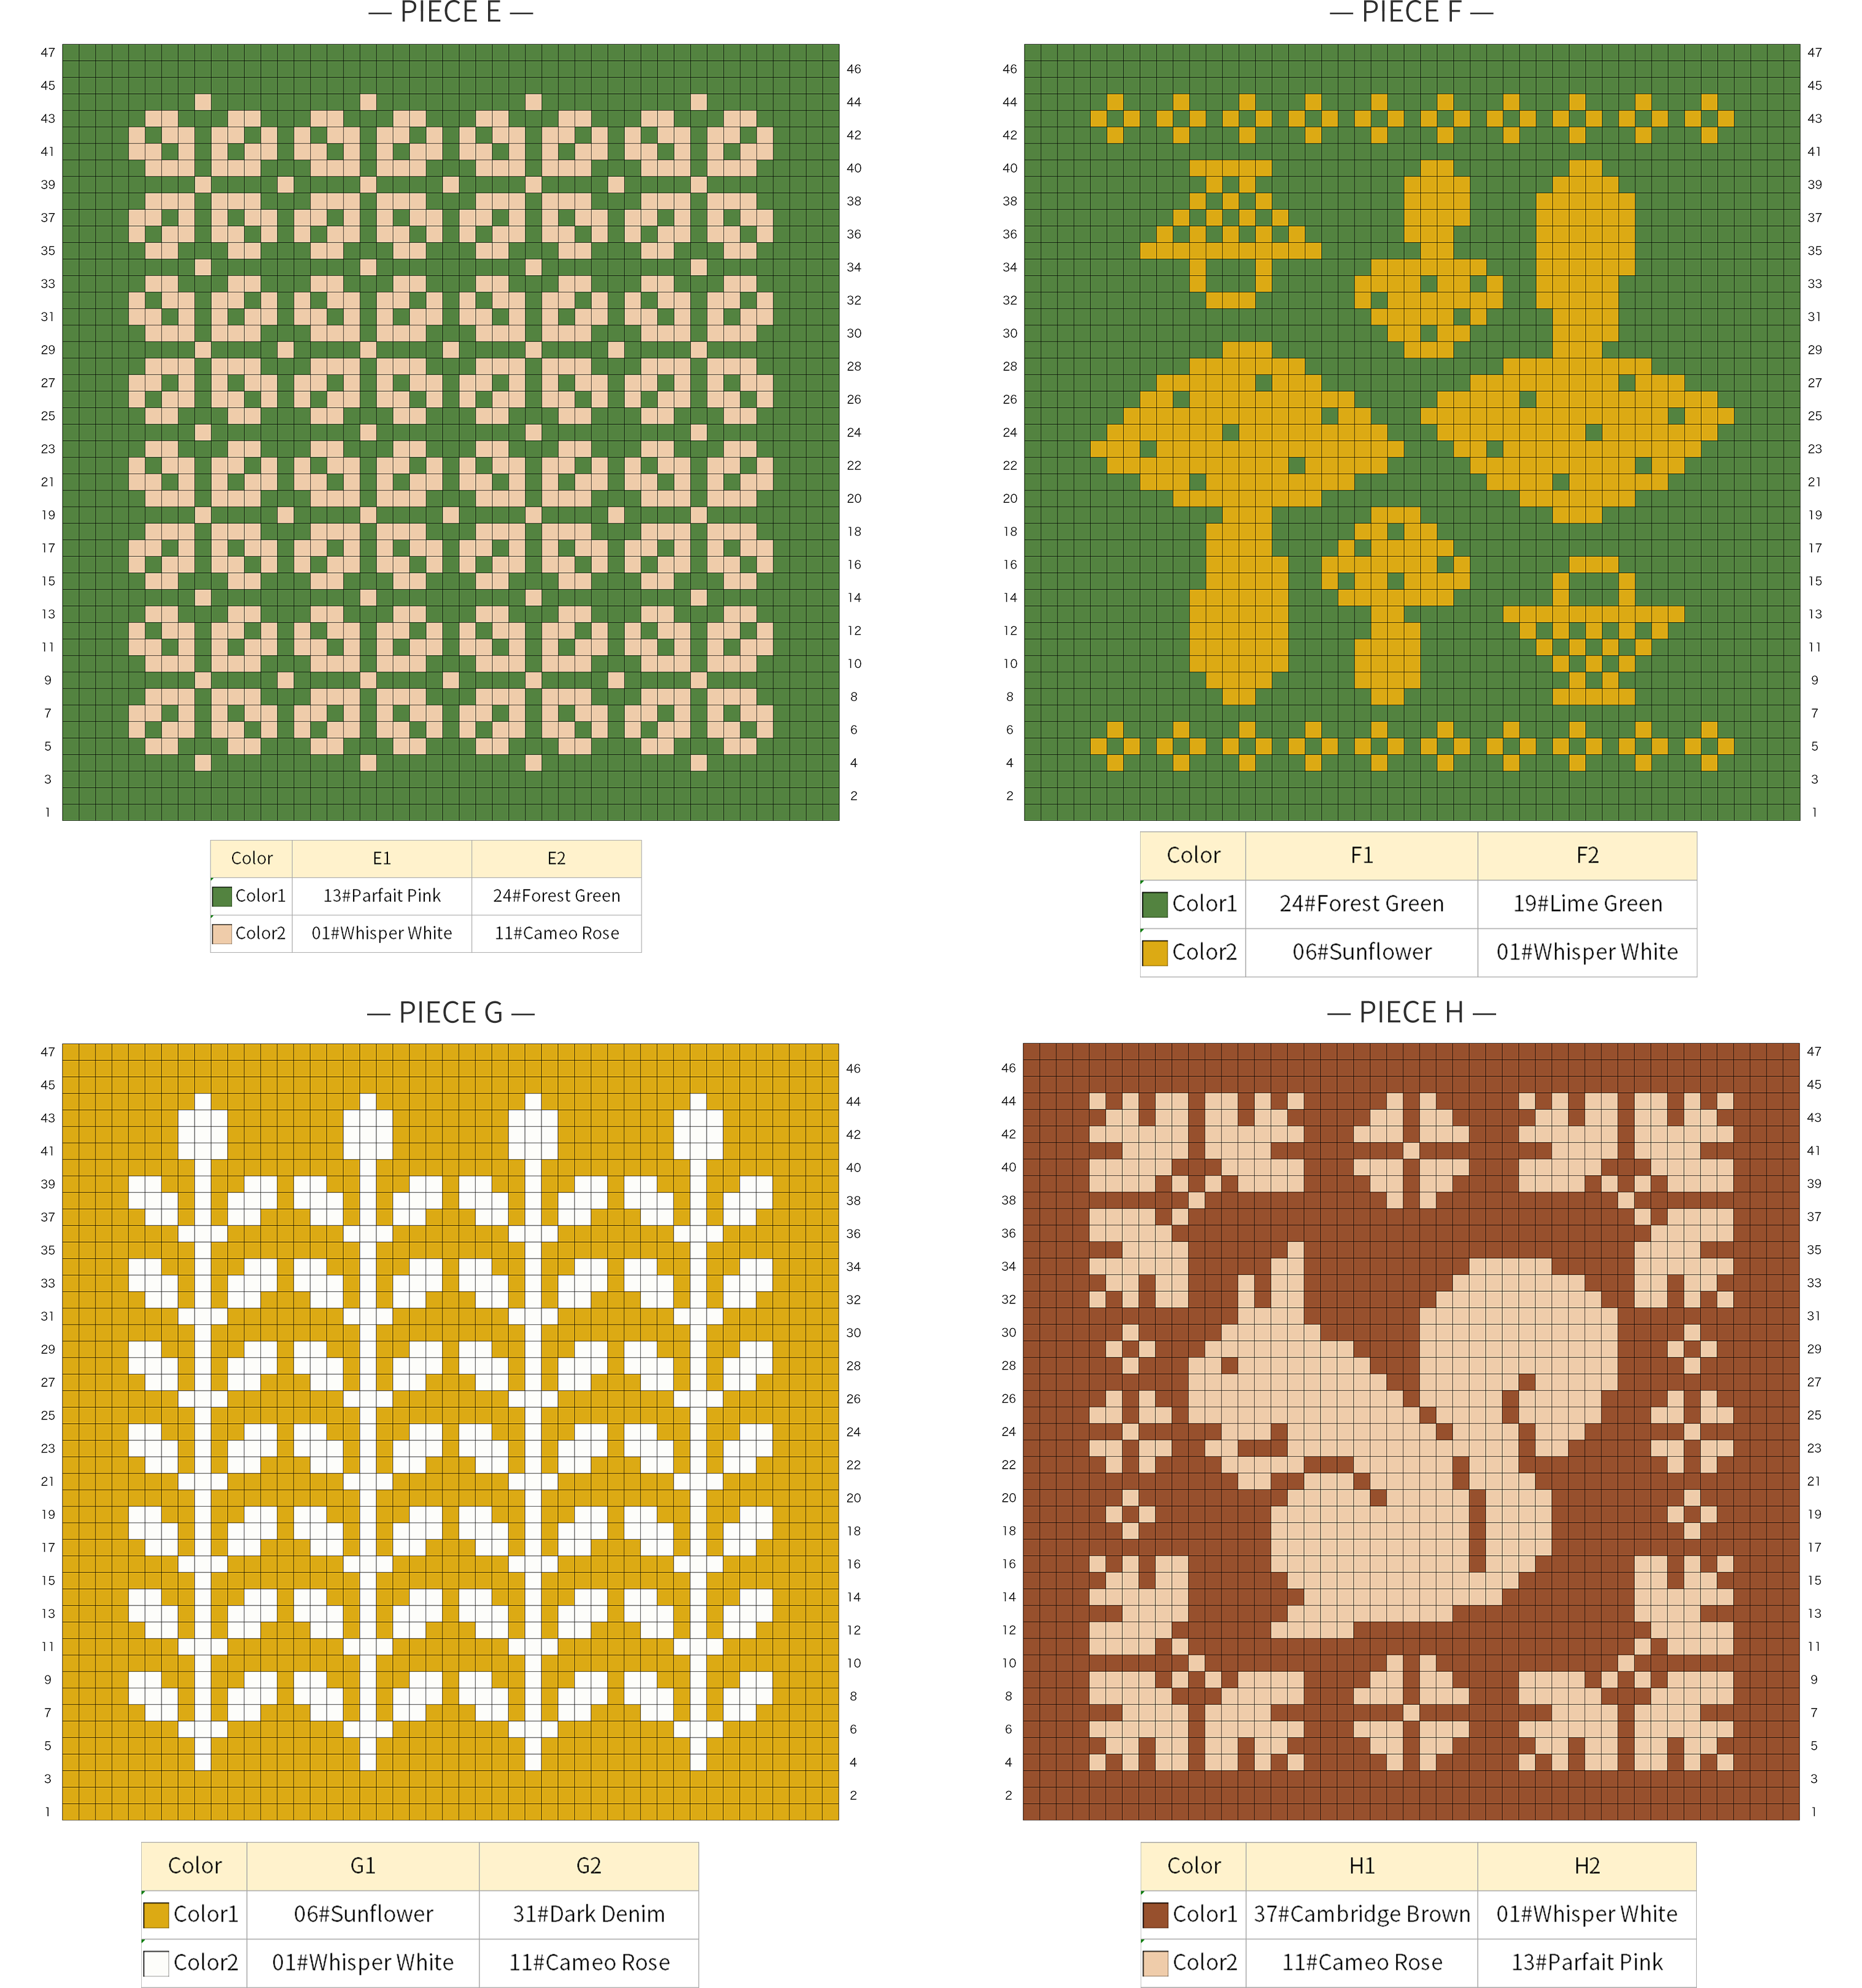
Step 1 Fabric piecesA 01' 07''
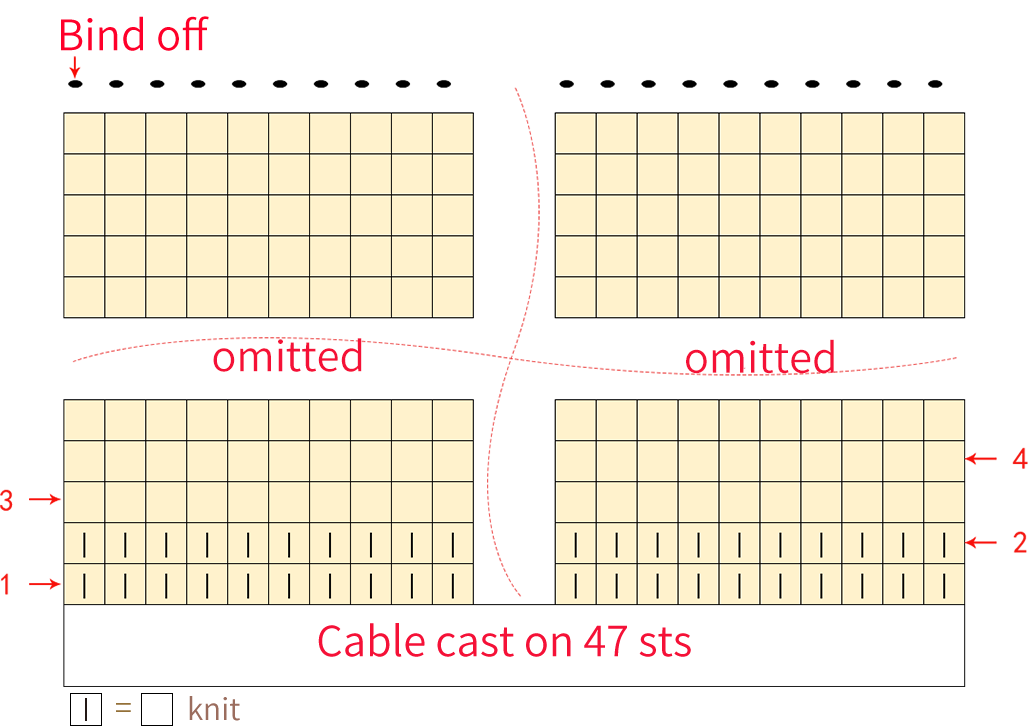
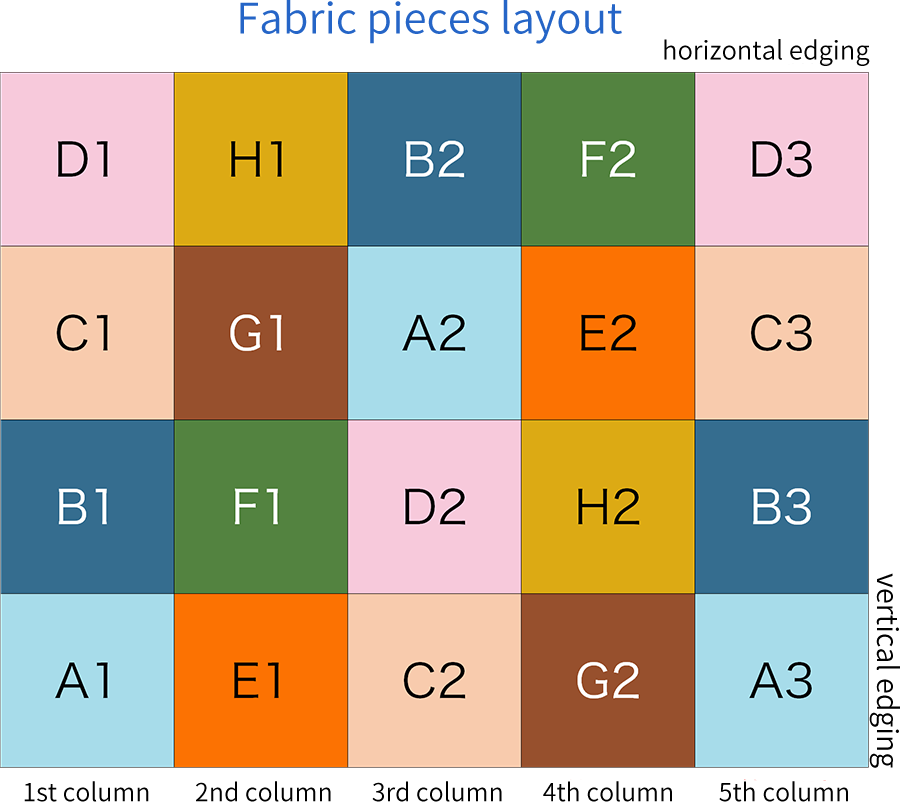
Knitting in rows back and forth using cable cast on. or each column, you only need to cast on once. For the rest of the pieces, directly knit the first row at the end of the previous piece with each piece connecting at the beginning and ending. After completing the column pieces, bind off correspondingly at the wrong side. Work 5 columns in total according to the fabric pieces layout. Please watch video demonstration of the specific knitting method.
Piece E1A1
Piece F1 A2
Piece G1 and bind offA3
NOTE!
①The piece is worked back and forth. On the wrong side, you need to work the corresponding stitch according to the key.
②Once 5th or 6th row is completed, you can lay the fabric piece flat and measure the width(≈21cm), If there is a significant difference, you need to adjust your knit tension and re-knit.
Step 2 Joining the piecesA4 60' 25''
After completing the pieces, we will join them together by sewing. Remember to align the pattern while sewing. Please watch video demonstration of the specific knitting method.
Part 2 EdgingB 73' 32''
Work around the main piece while picking up stitches and knitting in a counterclockwise direction using two circular needles. Increases are needed at the four corners. At round 2, you need to switch colors to create the jacquard pattern and single ribbing. At last, bind off at the right side. Please watch video demonstration of the specific knitting method.
NOTE:
① Begin from the right edge of the 3rd piece at the horizontal, pick up 135 sts on horizontal edge+1 st at corner + 141 sts on vertical edge + 1 st at corner + 225 sts on horizontal edge + 1 st at corner + 141 sts on vertical edge+ 1 st at corner + 90 sts on horizontal edge = 736 sts;
②The number of stitches picked up on each side must be odd besides the stitch at the corner.


Part 3 LiningC 103' 25''
Finally, secure the lining on the wrong side of the blanket. Before securing it, you need to wash and iron the lining fabric from the kit to pre-shrink it. Then iron the blanket to set its shape and sew them together. Please watch video demonstration of the specific knitting method.
Made by the community