Clothes
Lily Vest
Project preview
See the finished project
Pattern format
Instructions
Watch and follow
Video tutorial


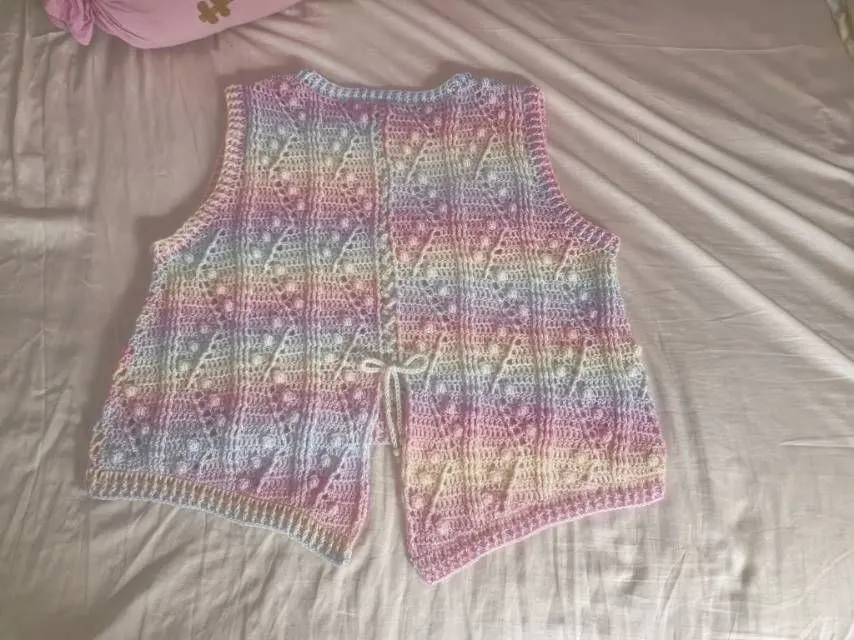
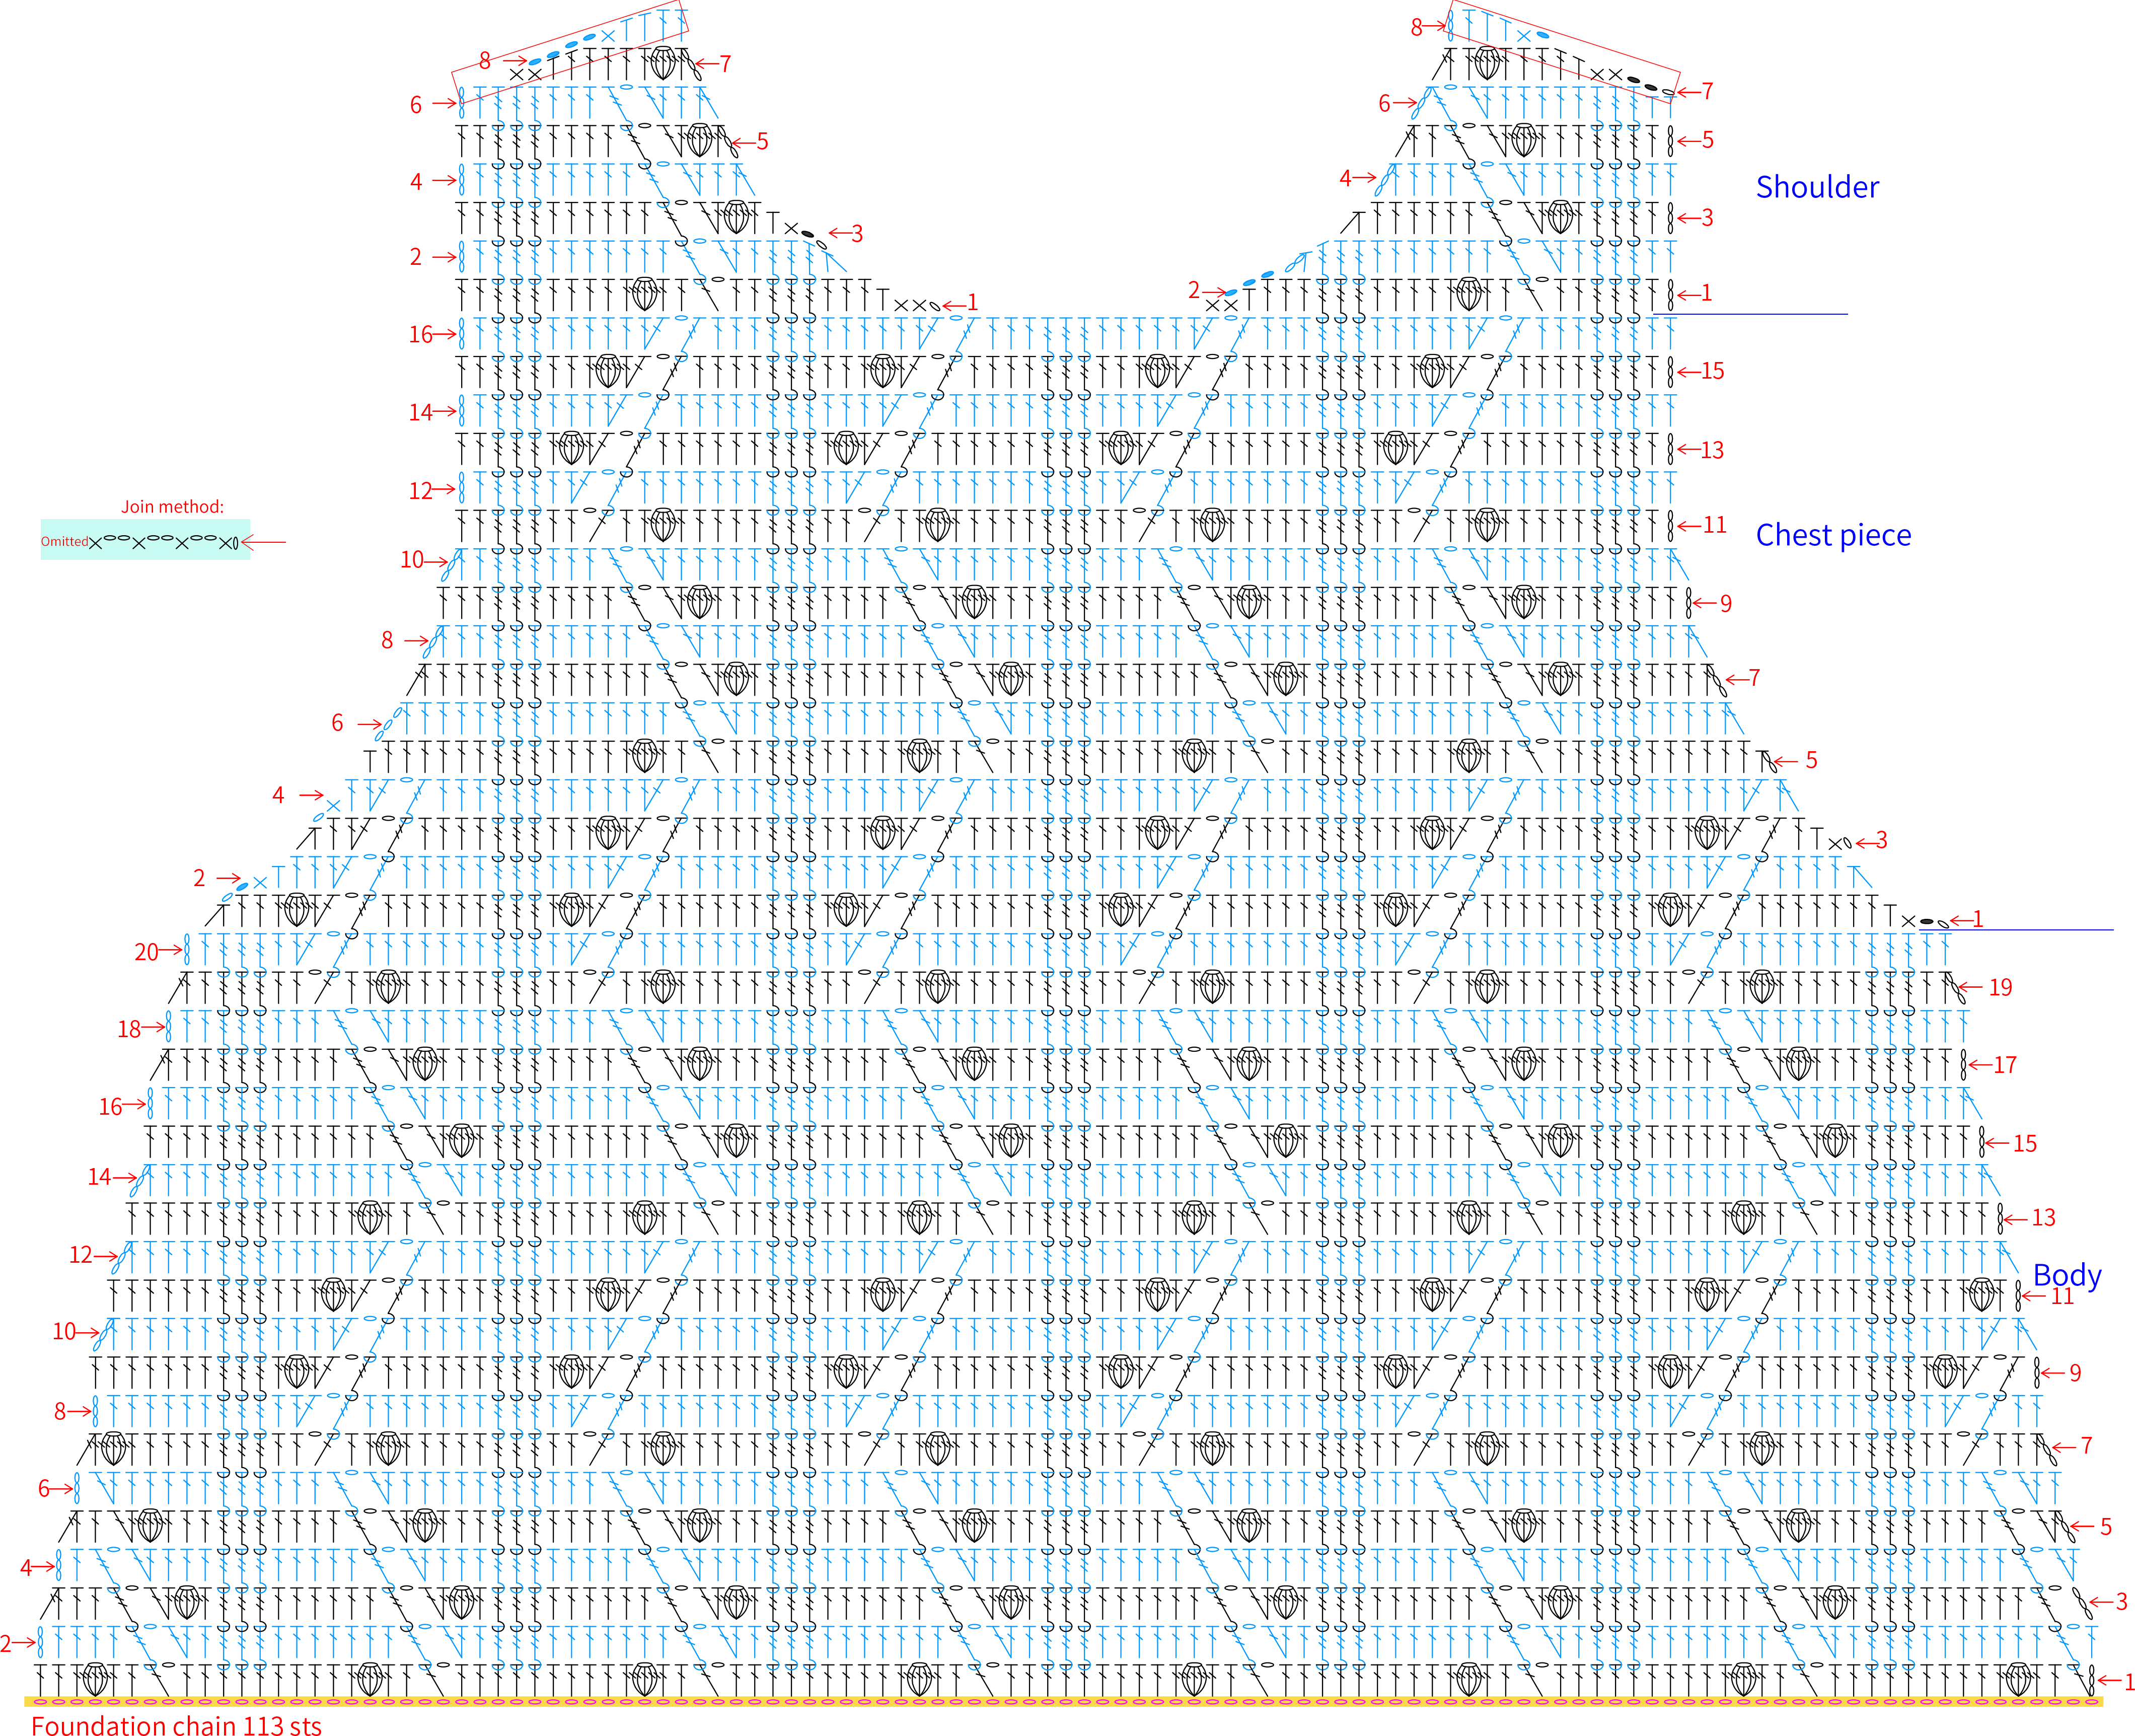
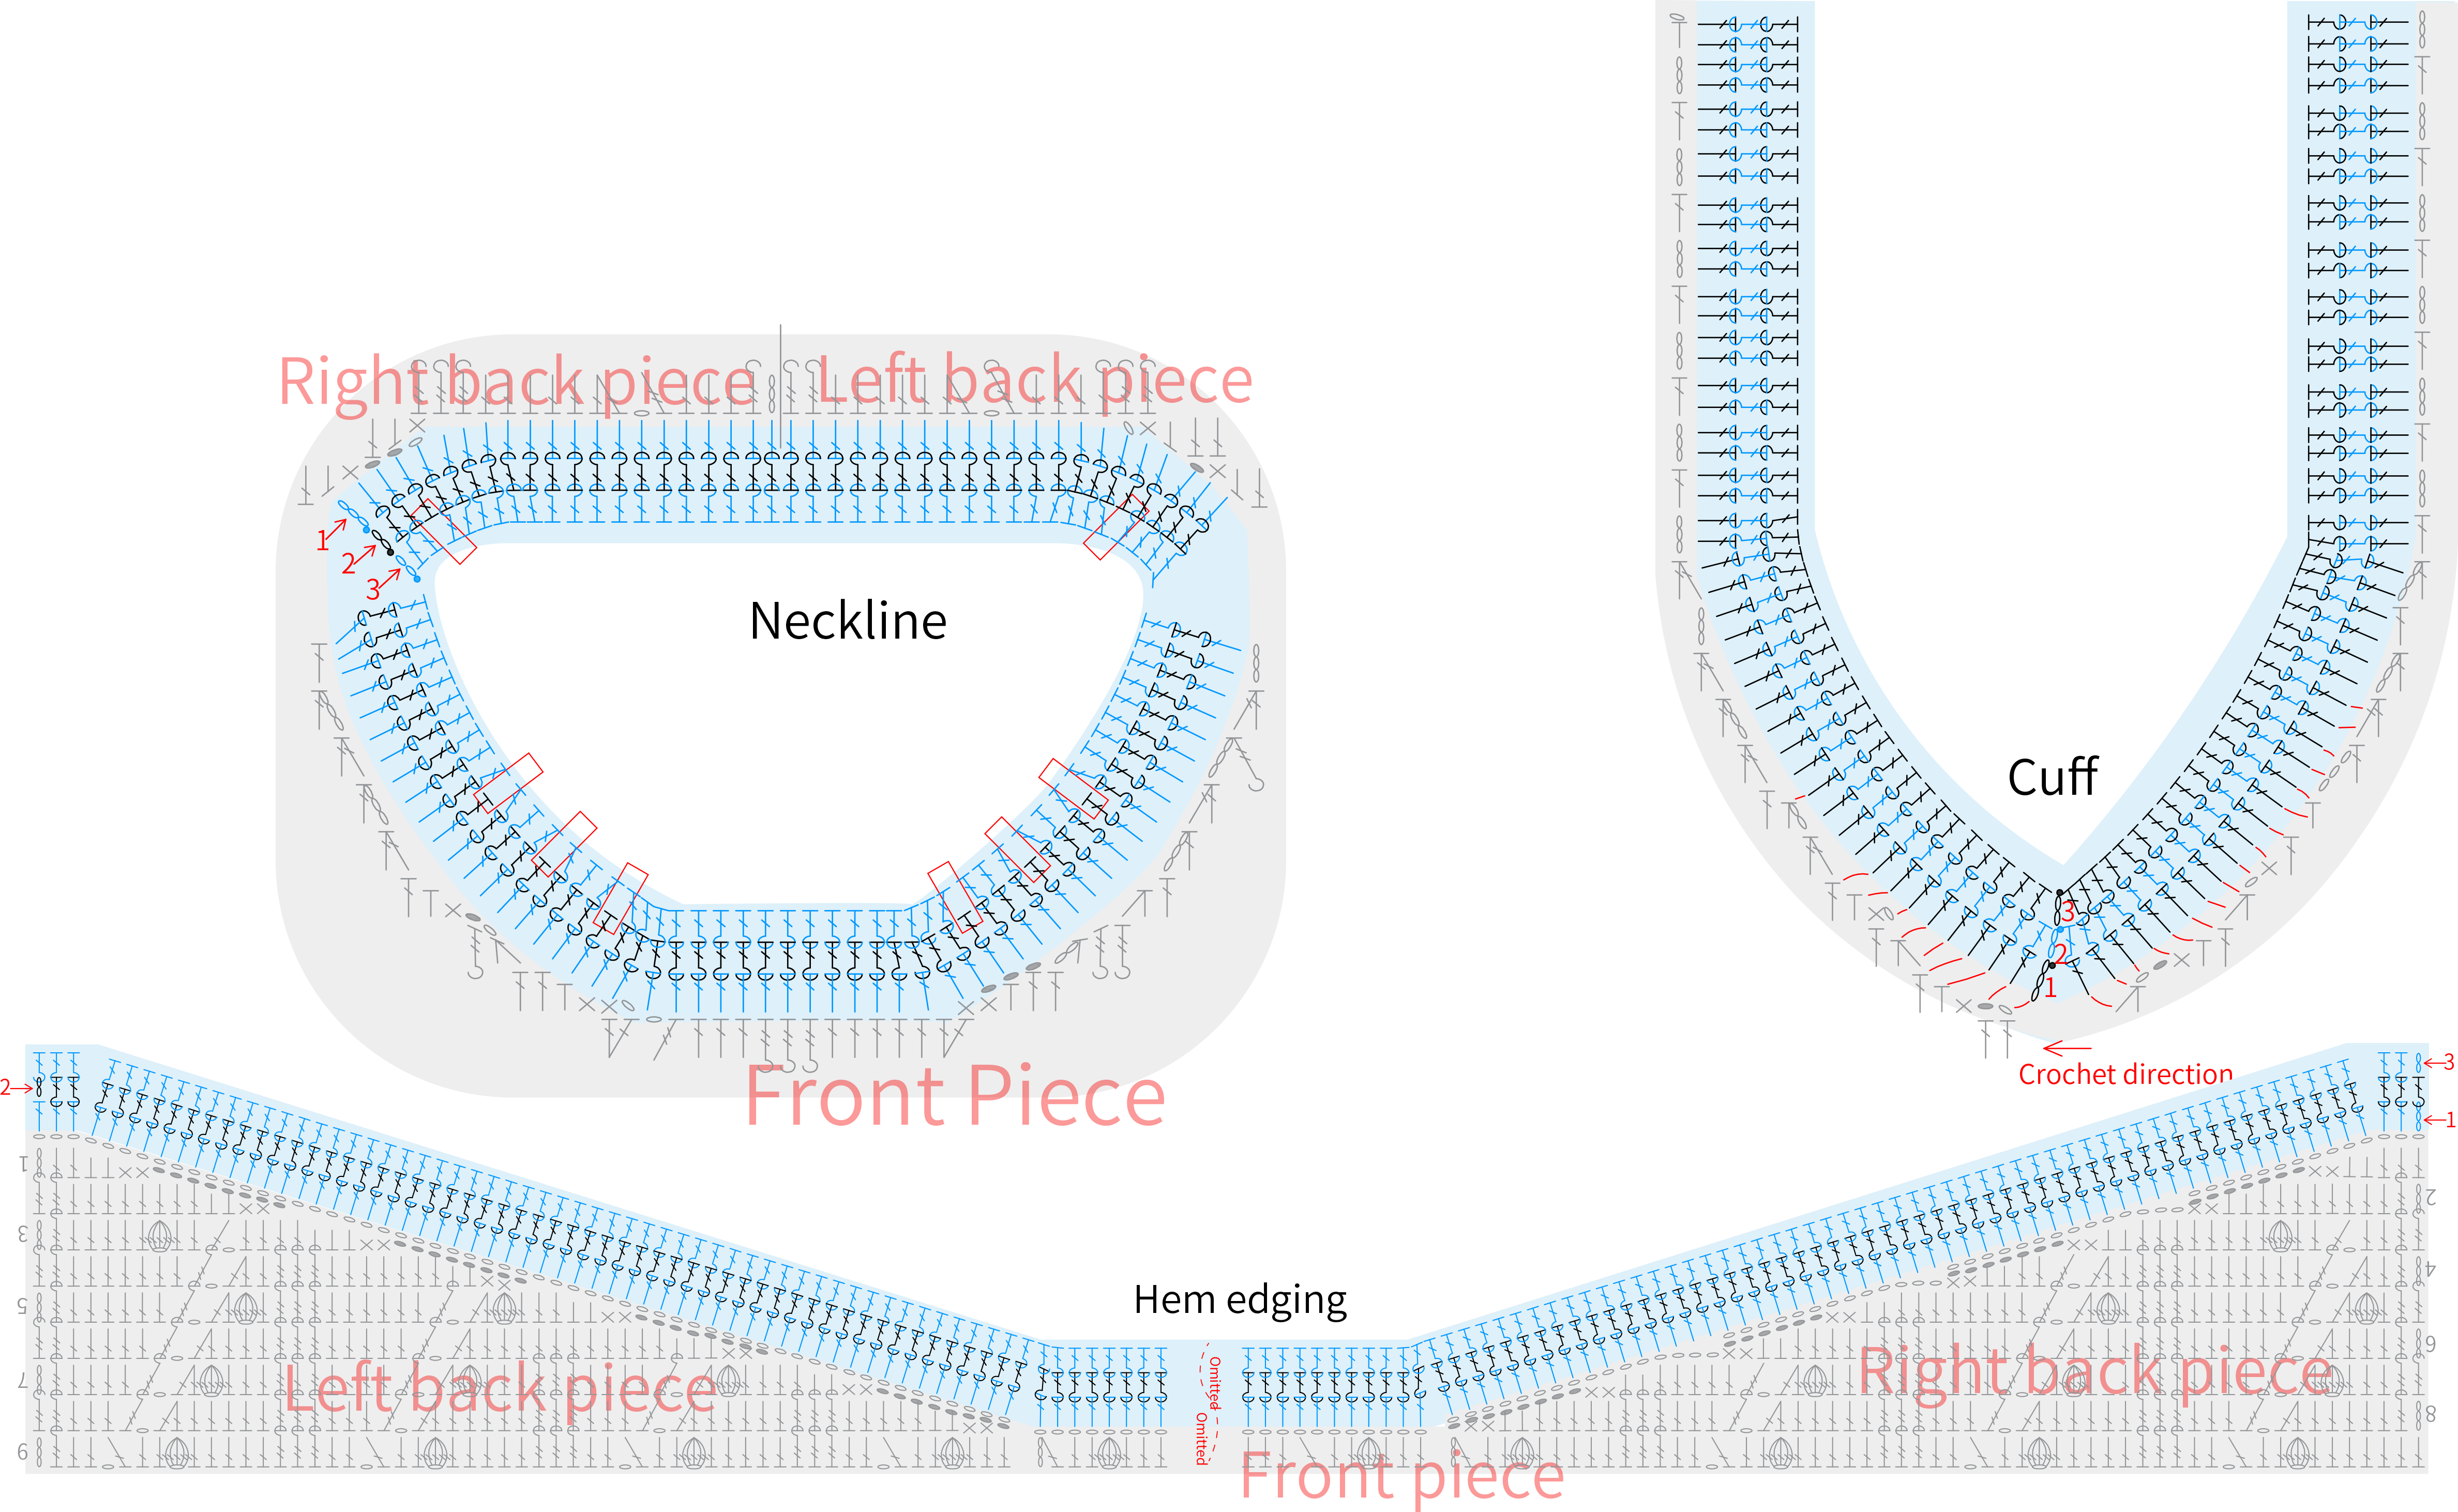
This product consists of the left back body, right back body, front body, neckline edging, cuff edging, hem edging, and tie. First, complete the left and right back bodies separately, then connect them at the corresponding row numbers. After that, crochet the front body. Once the front body is done, connect the shoulders and the area below the chest pieces. Next, crochet the collar edging around the neckline and the cuff edging around the armhole positions. Then, crochet the hem edging along the bottom edge of the back body and the starting edge of the front body. Finally, crochet the tie and attach it to the back body.
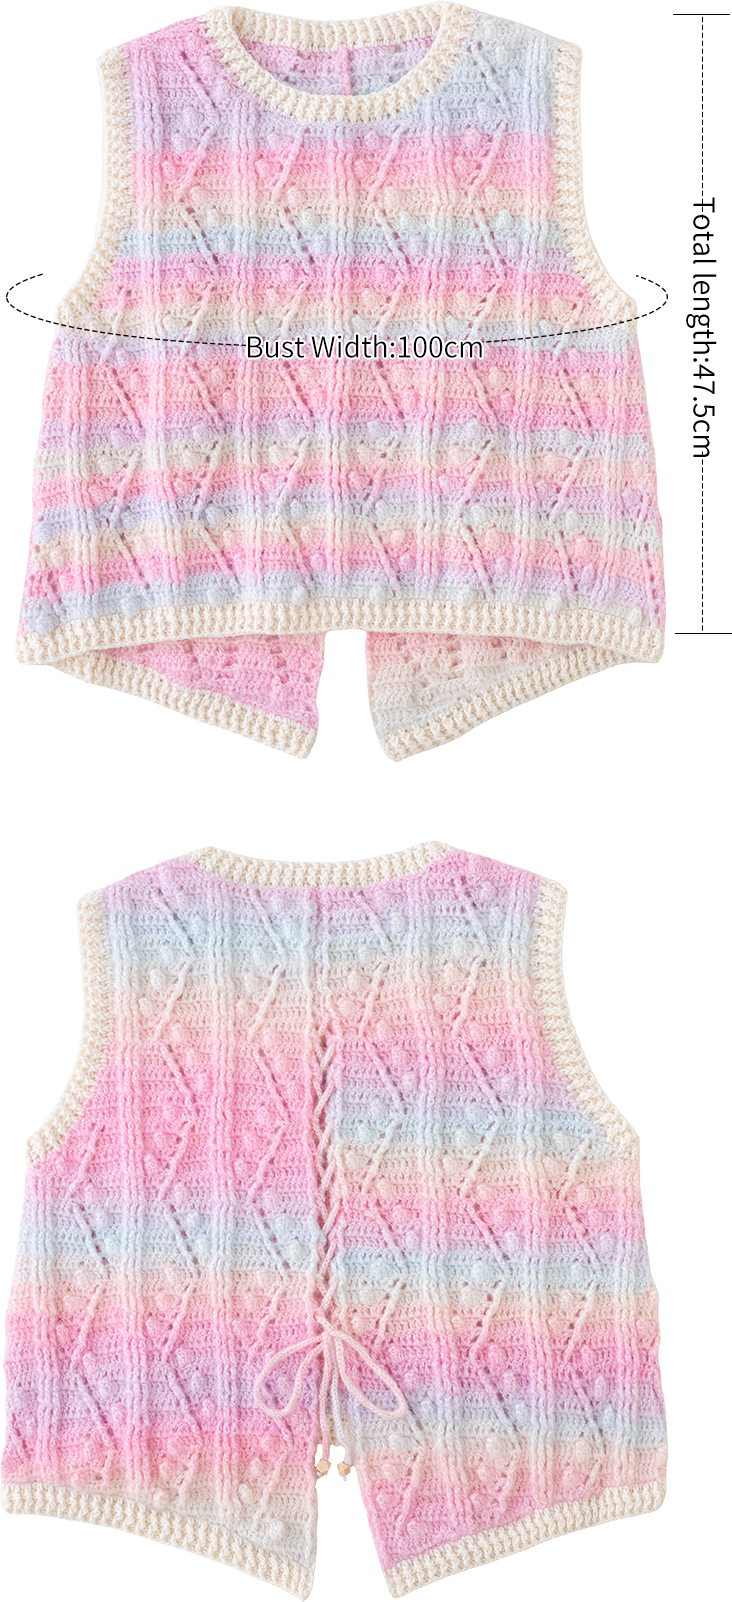
Due to variations in individual tension, the size of the sample is for reference only.
Materials: Dawn Impression for back pieces, front piece, join pieces together and tie
Impression Misty Feather for neckline, cuff and hem edging
Crochet Hook: 3.50 mm & 3.60 mm Crochet Hook
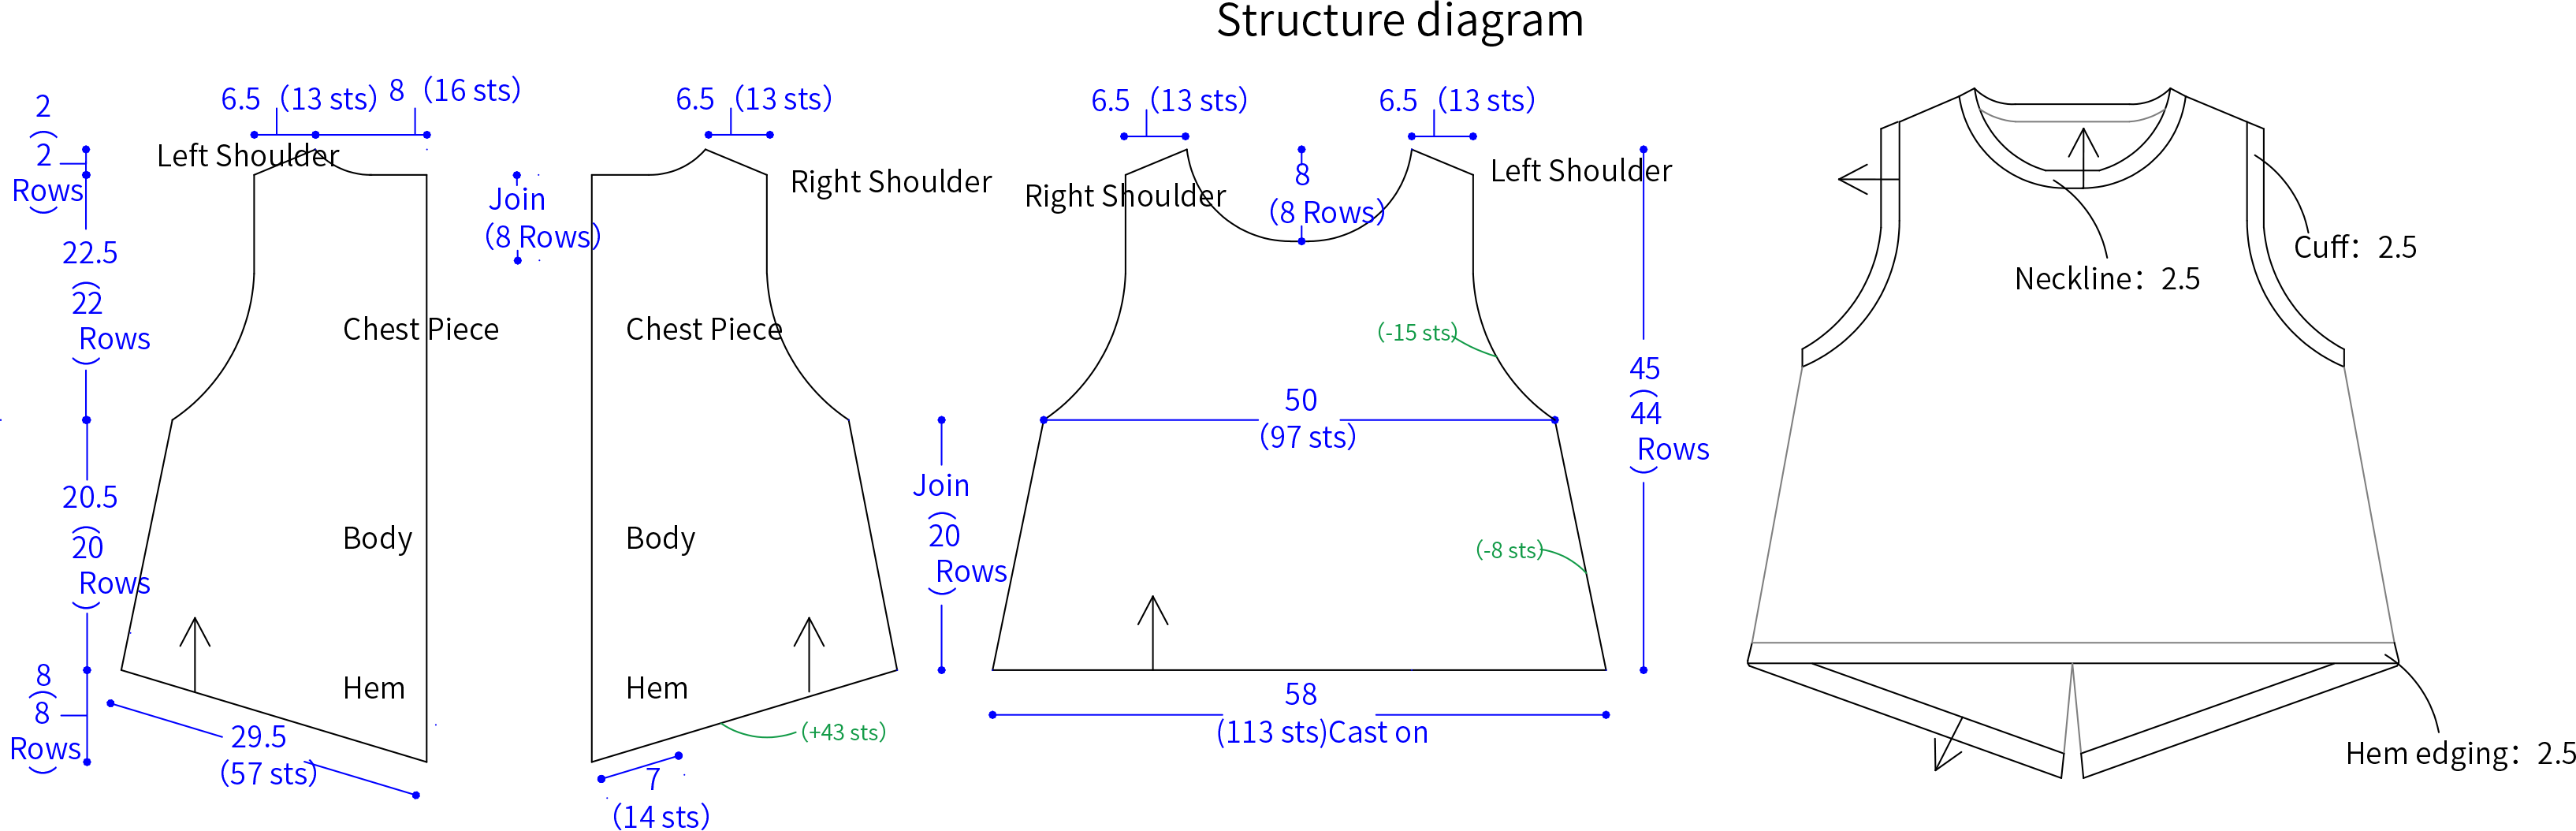

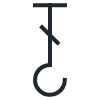
Chart Key







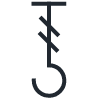
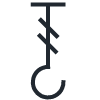


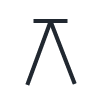

Note:
1. Identify the left and right of the fabric pieces based on the actual left and right when worn.
2. The yarn used for this product is relatively special and not easy to undo. It's recommended that before crocheting, you use scrap yarn from home to practice the crochet method by following the video. Once you're proficient, then proceed with the corresponding y arn for formal crocheting.
3. This pattern is making in Chinese crochet pattern terms, and the stitch name is written using American terminology. All measurements in charts are in cm.

Part 1 Back piecesA
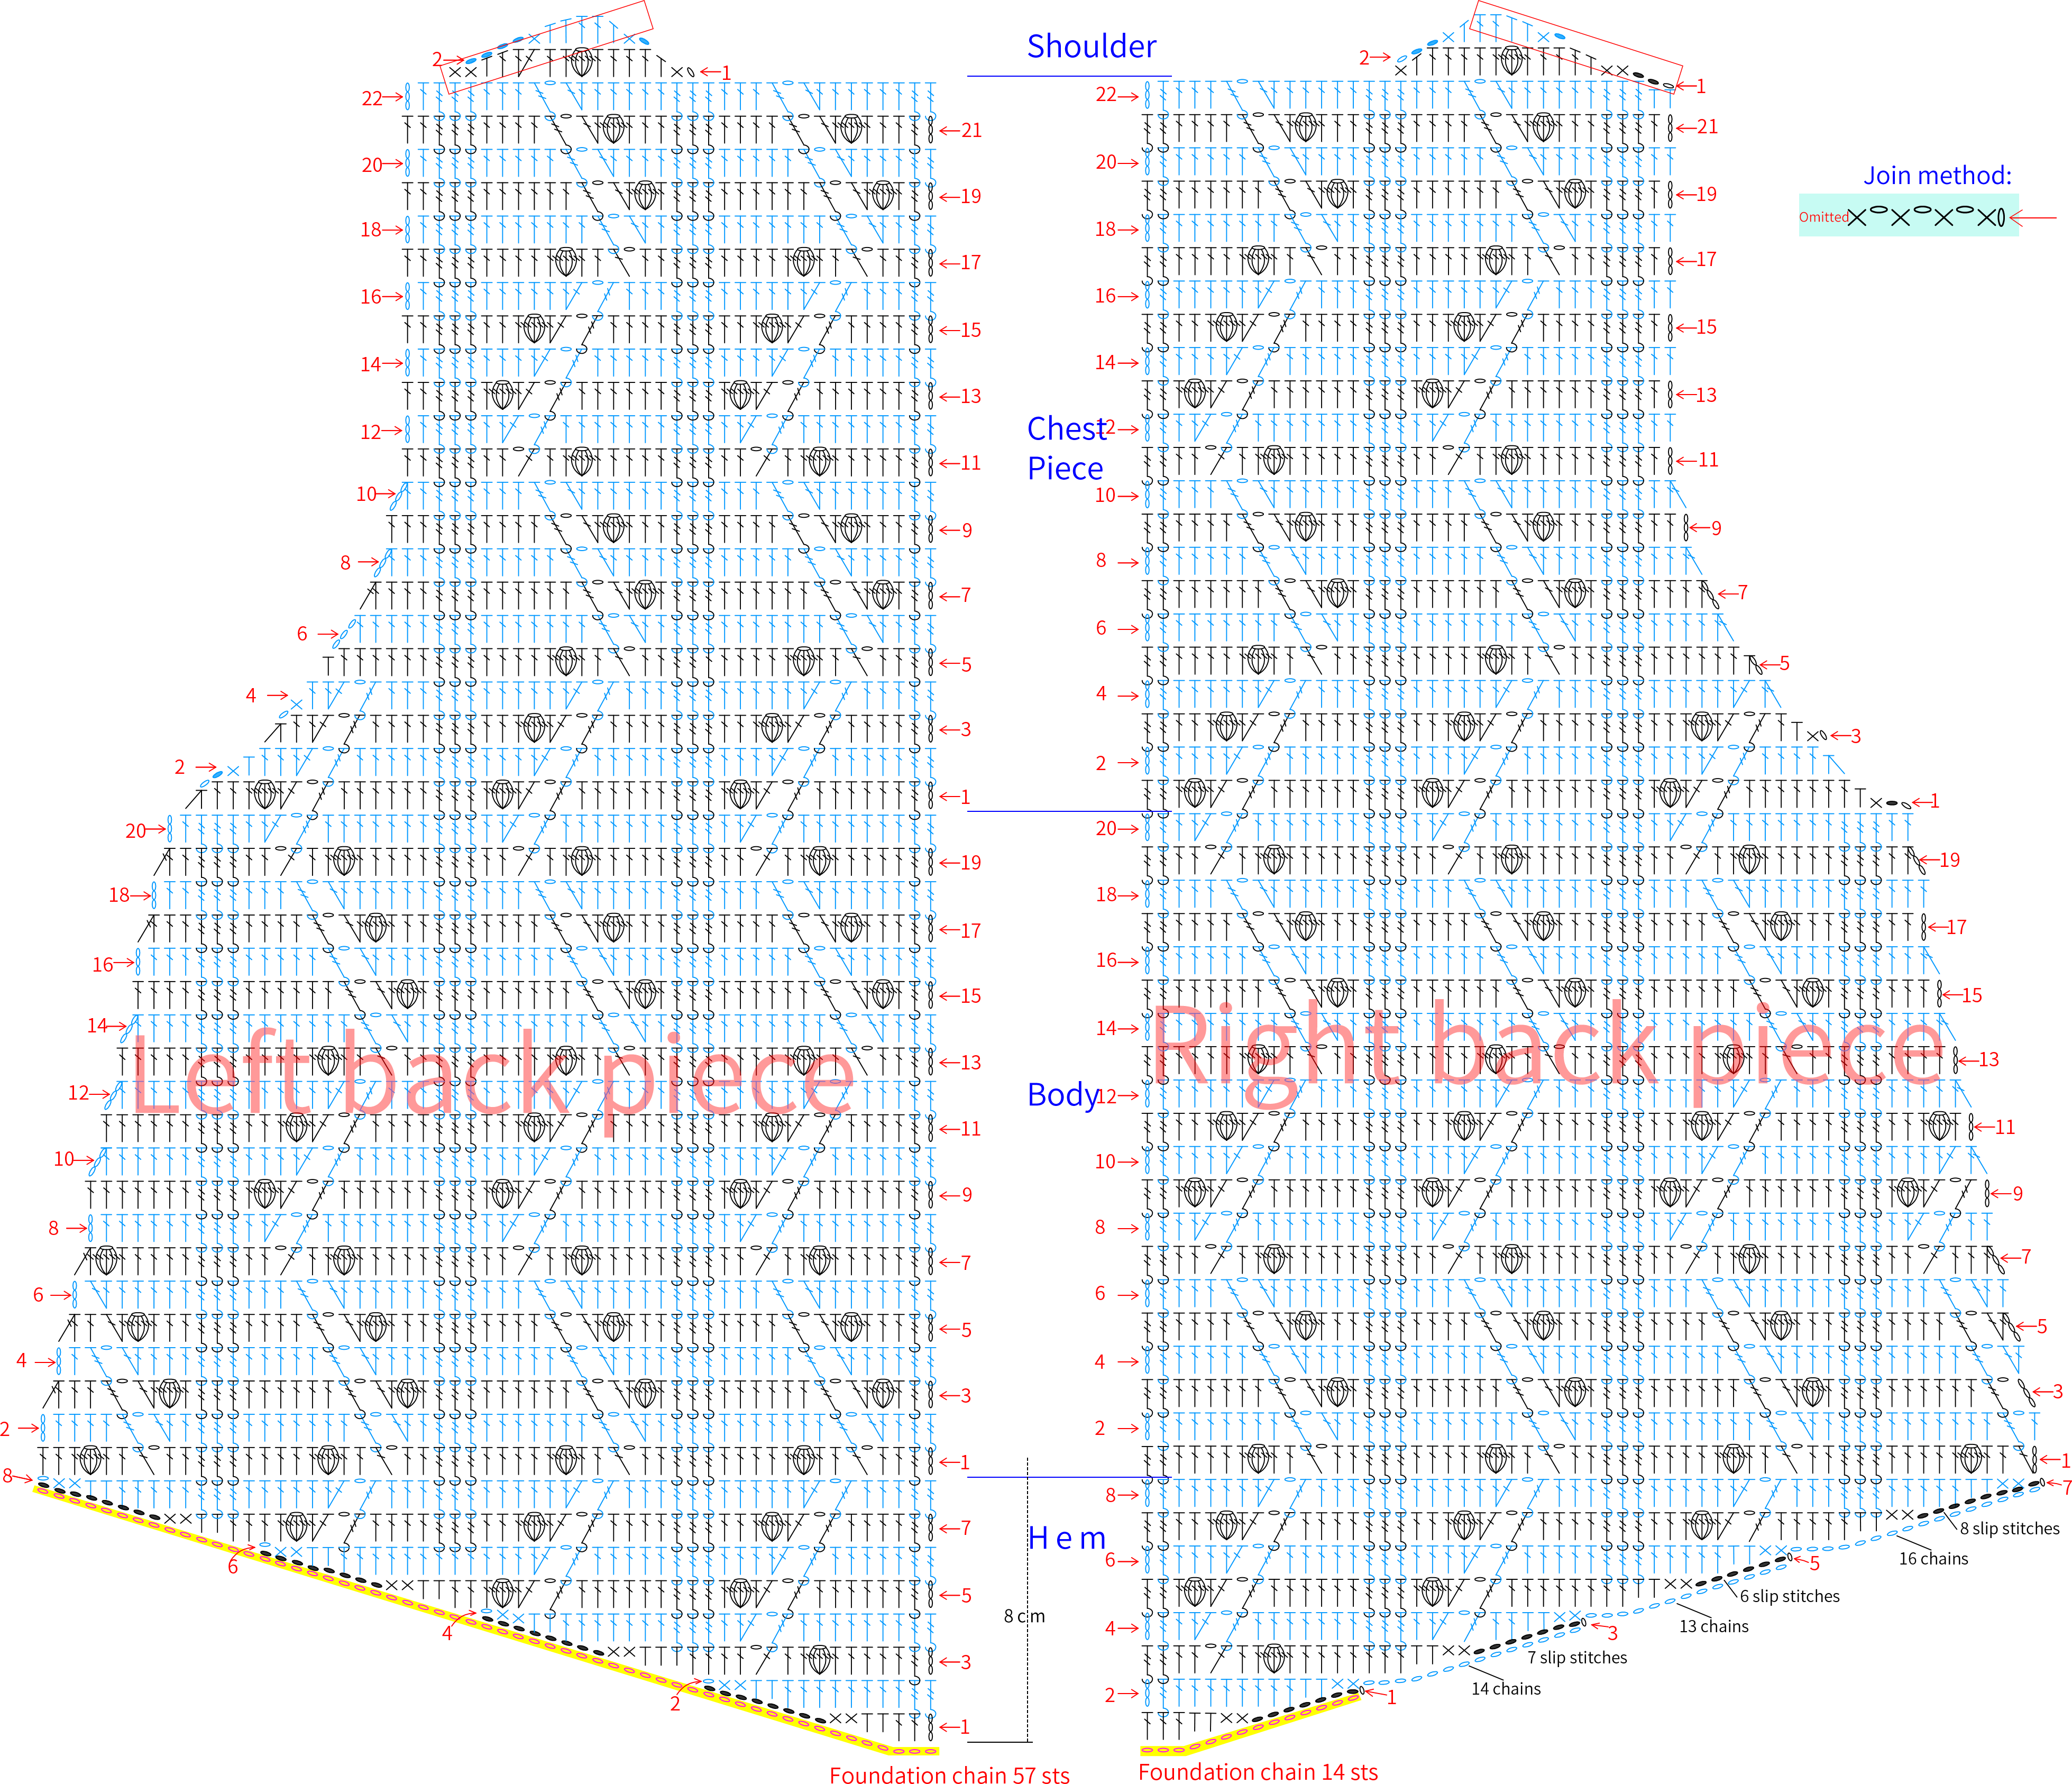
After completing the back pieces on both sides, you need to refer to the structure diagram and connect the corresponding row numbers. Please watch the video demonstration for details.
Step1 Left back pieceA1 01' 57''
Step 2 Right back pieceA2 45' 17''
Note: After completing the hem, check the dimensions and measure the size of the fabric piece.
The selected position indicates the number of stitches for shoulder sewing.
Part 2 Front pieceB 60' 38''
After completing the front body, connect it to the back body at the shoulders and underarm positions. Please refer to the video demonstration for specifics.
Note: The selected position indicates the number of stitches for shoulder sewing.
Part 3 Collar, cuffs, hem edging and tiesC 65' 44''
The strap is made using the yarn over crochet chain method, crocheting a length of about 150cm, which can also be adjusted according to your preference. Attach a wooden bead at each end, and finally assemble it onto the back piece. Please refer to the video demonstration for specifics.
Note: When crocheting the hem edging, if working back and forth with front post double crochets or back post double crochets, the wrong side should be worked in the opposite stitch pattern as shown in the chart. The chart illustrates the texture of the right side of the fabric.
Made by the community