Clothes
Lingxi
Project preview
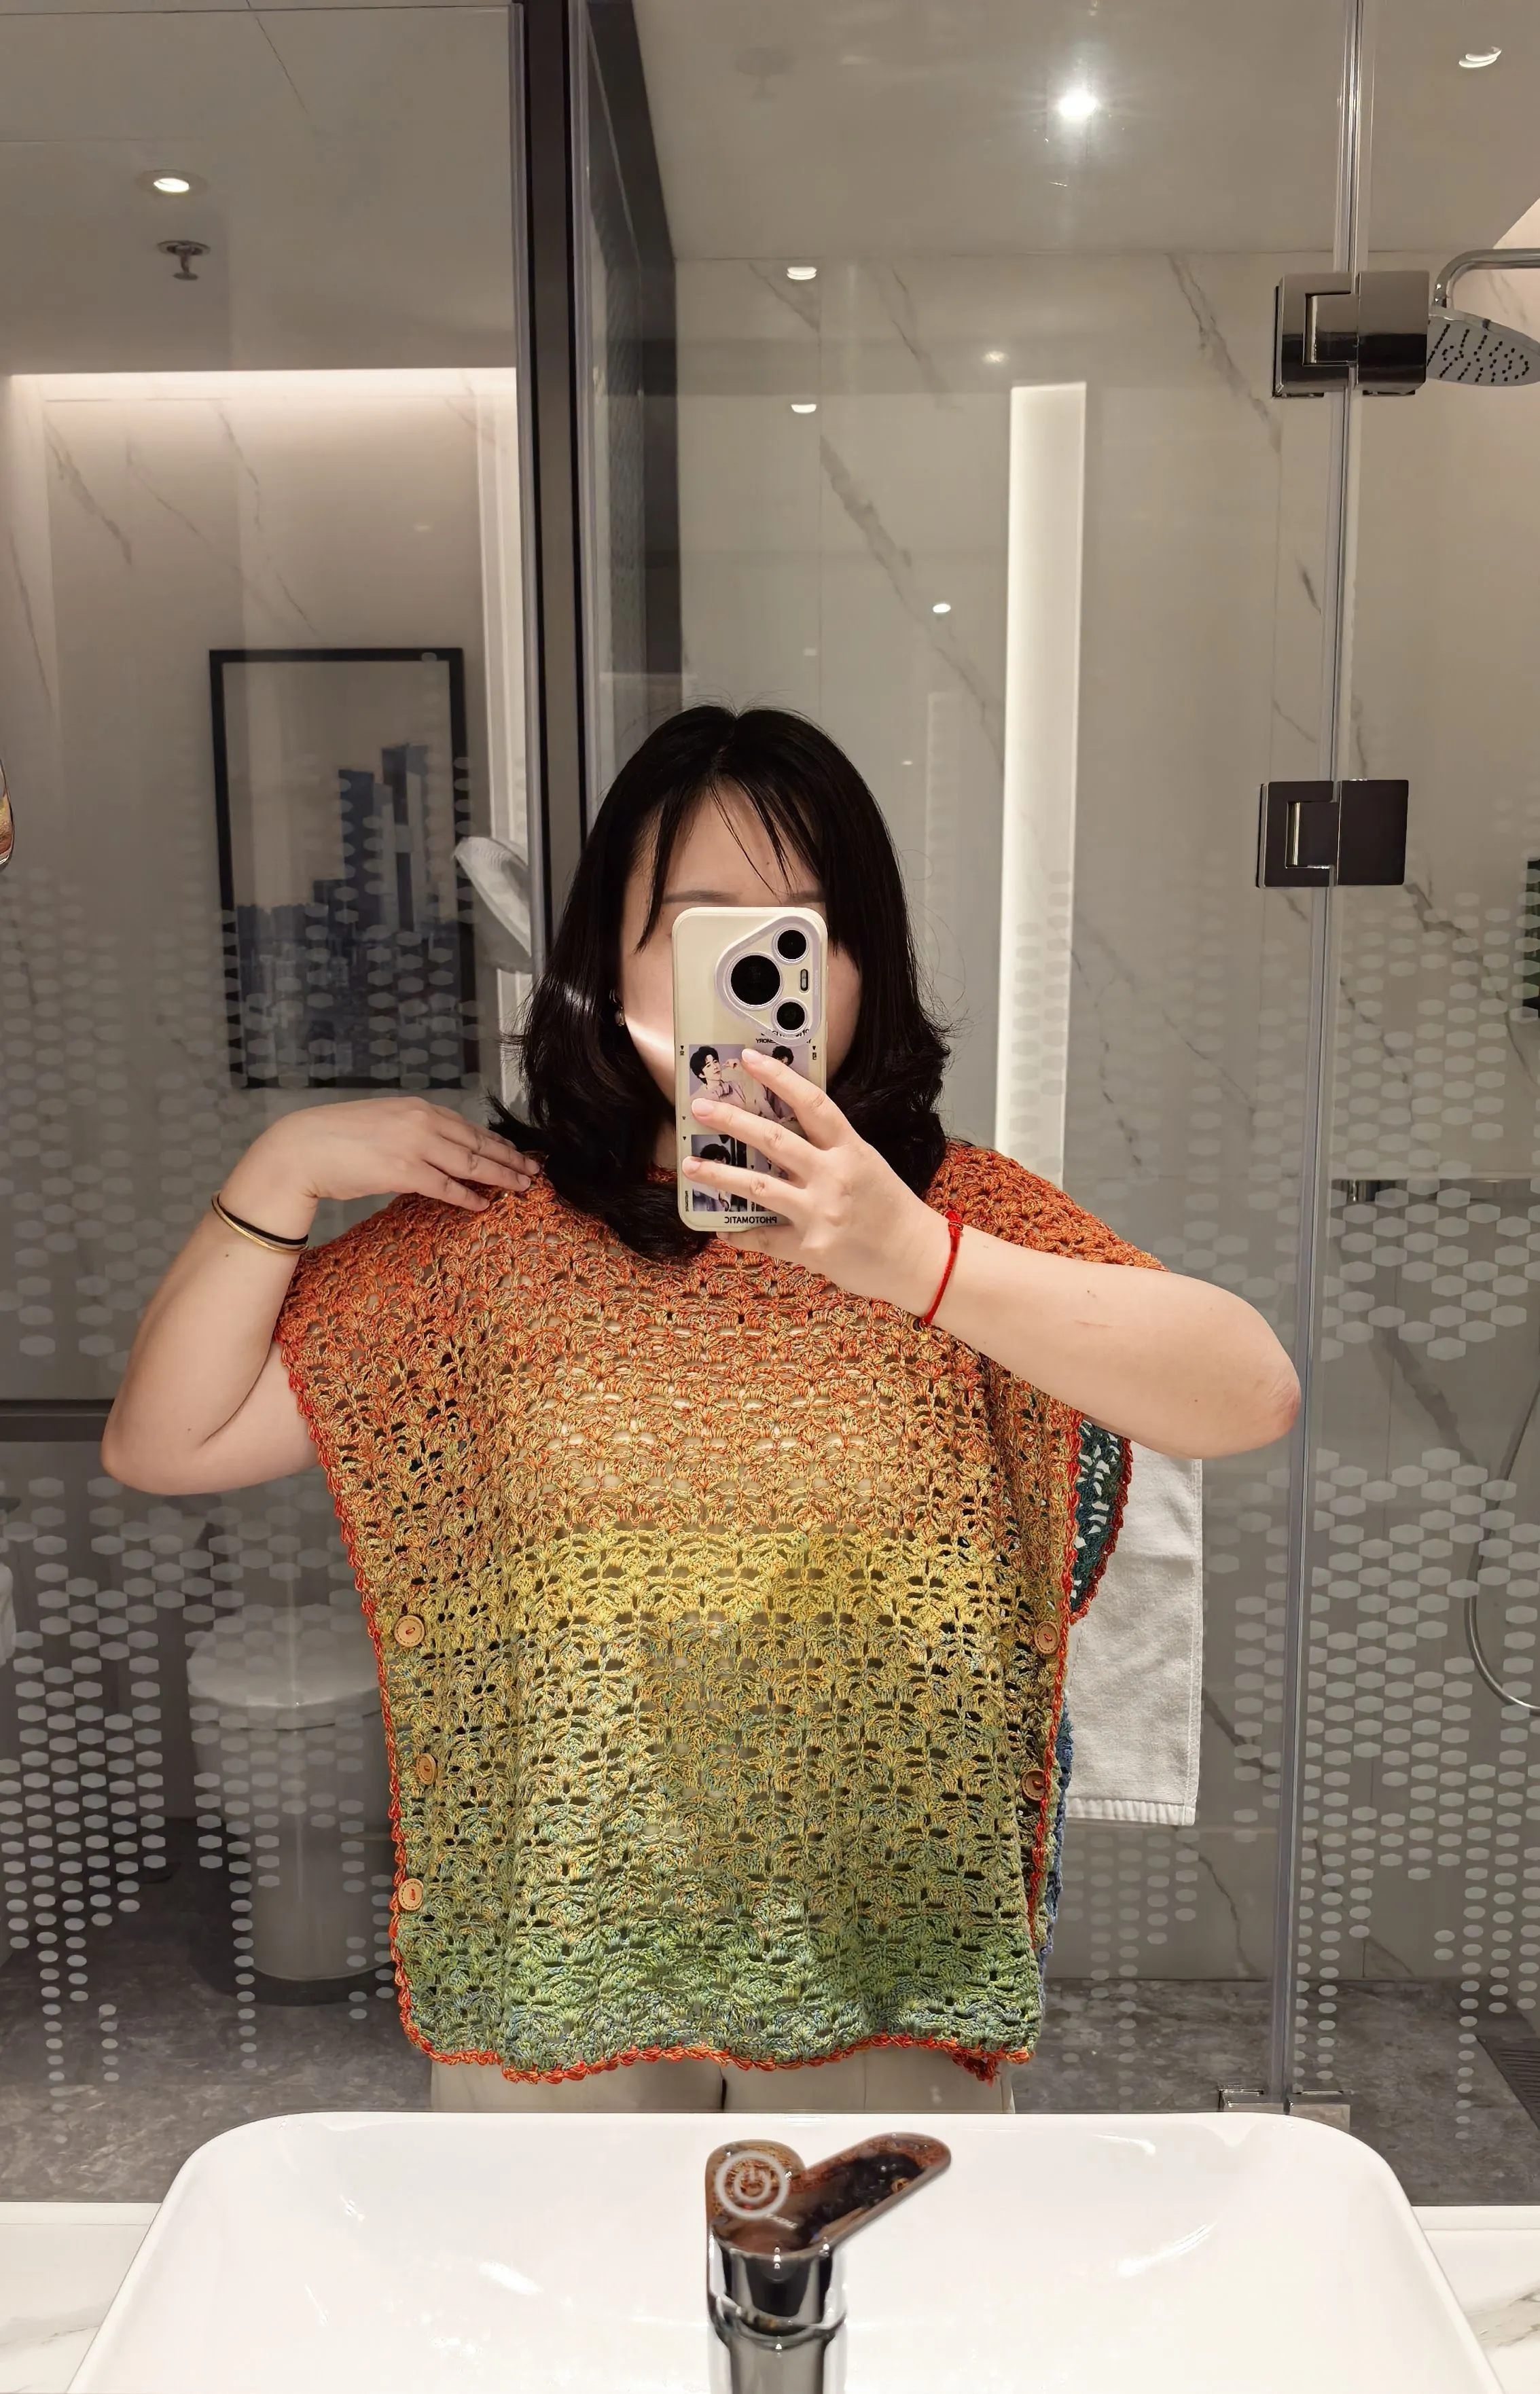
See the finished project
Pattern format
Instructions
Watch and follow
Video tutorial
| Style | Yarn | Color |
|---|---|---|
| Rainbow Version | Summer Bloom | 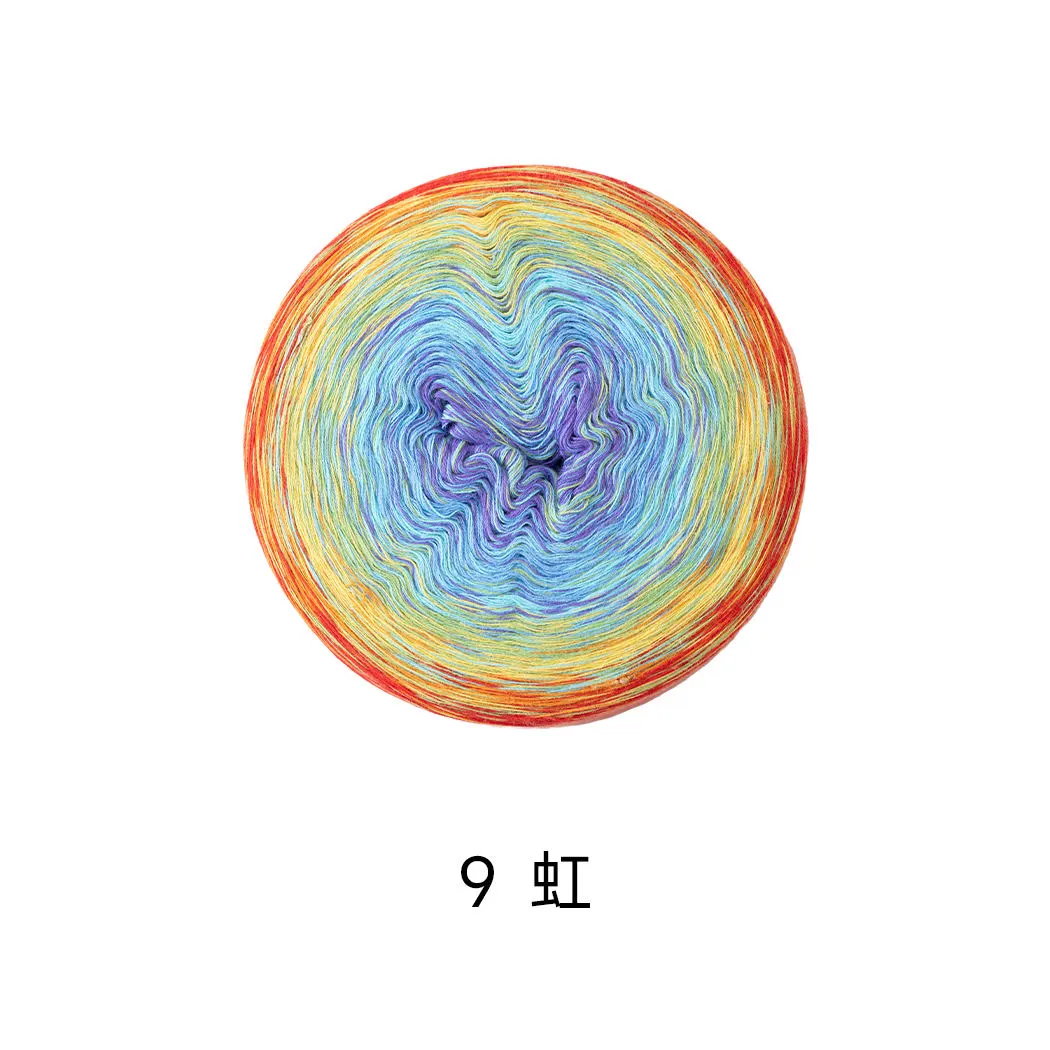 09#Rainbow x 1 09#Rainbow x 1 |
| La La Land Version | Summer Bloom | 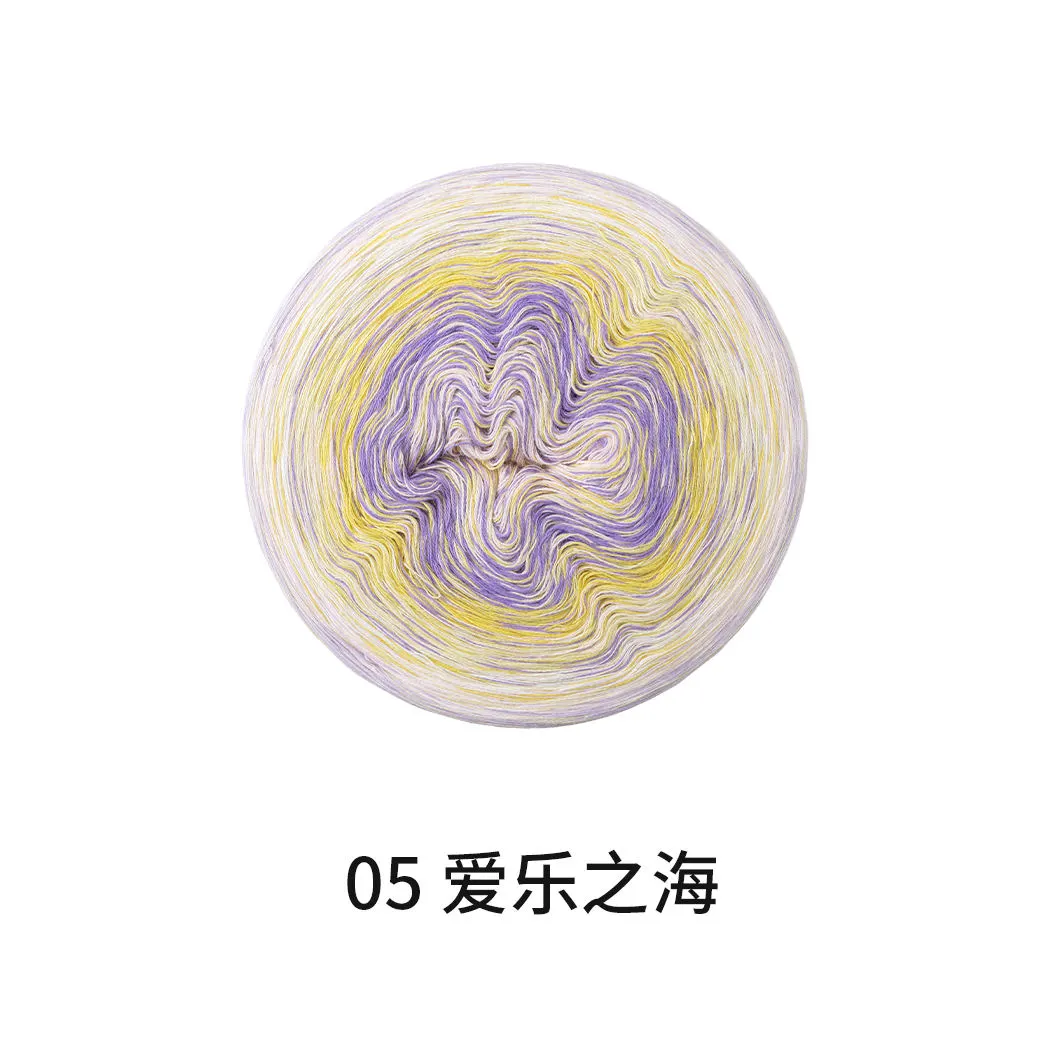 05#La La Land x 1 05#La La Land x 1 |
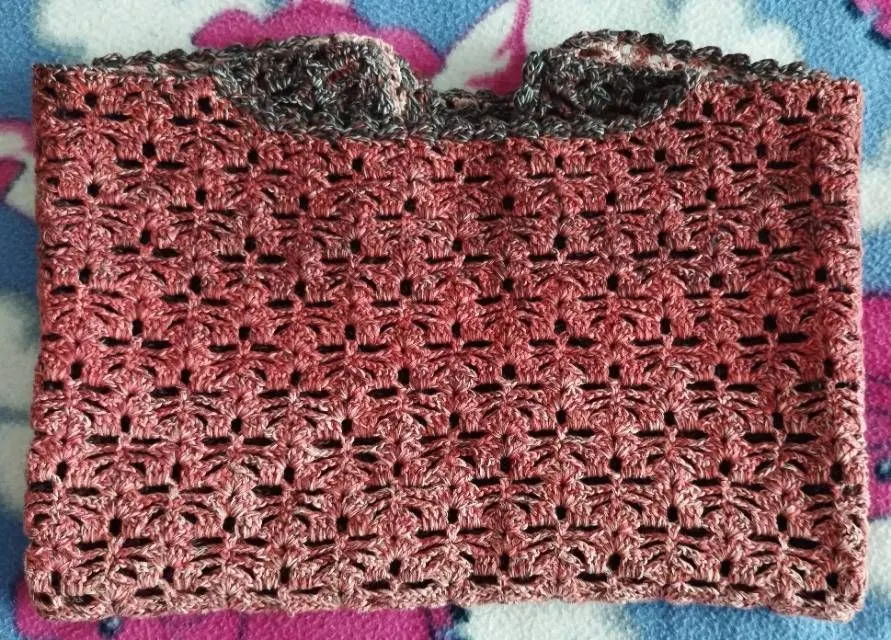
| Crimson Bayberry Version | Summer Bloom | 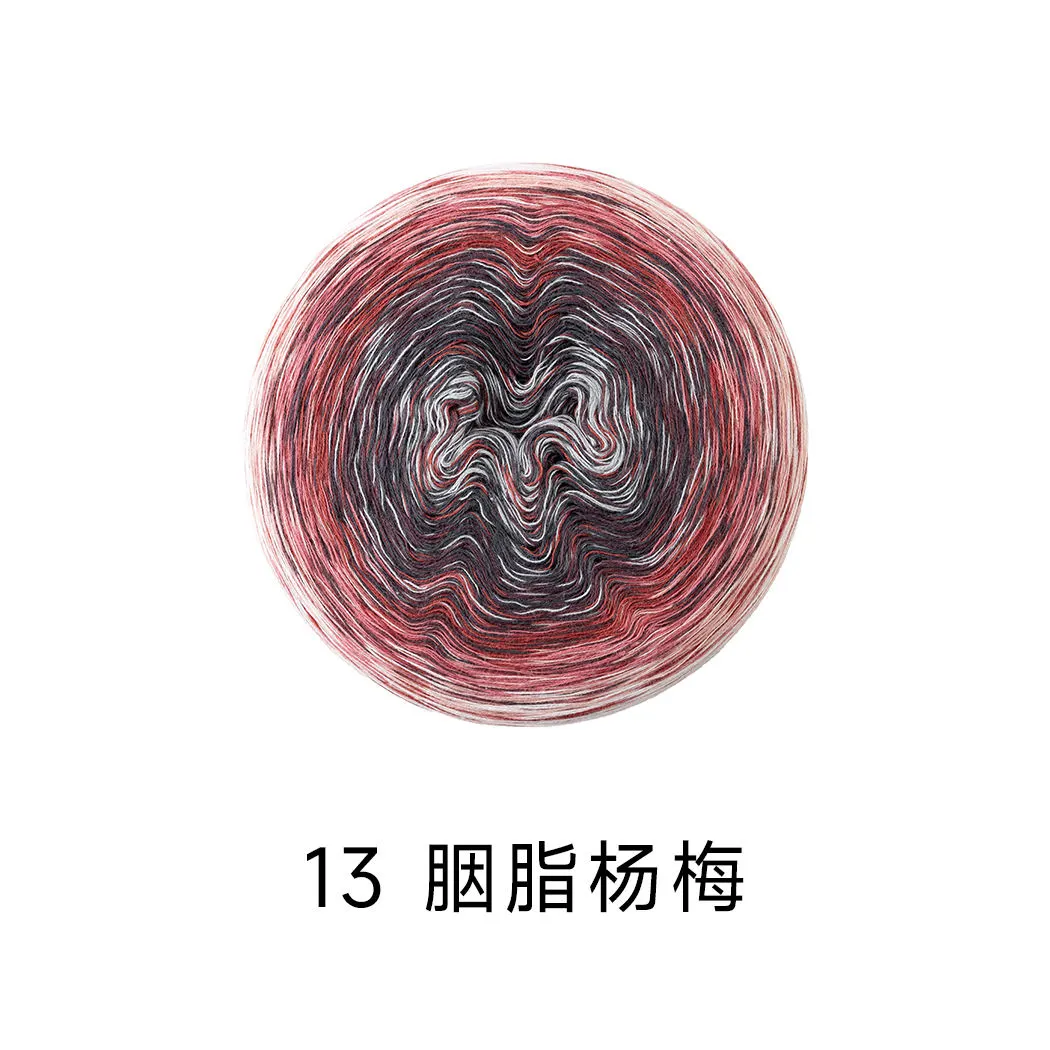 13#Crimson Bayberry x 1 13#Crimson Bayberry x 1 |
| Stellar Tale Version | Summer Bloom | 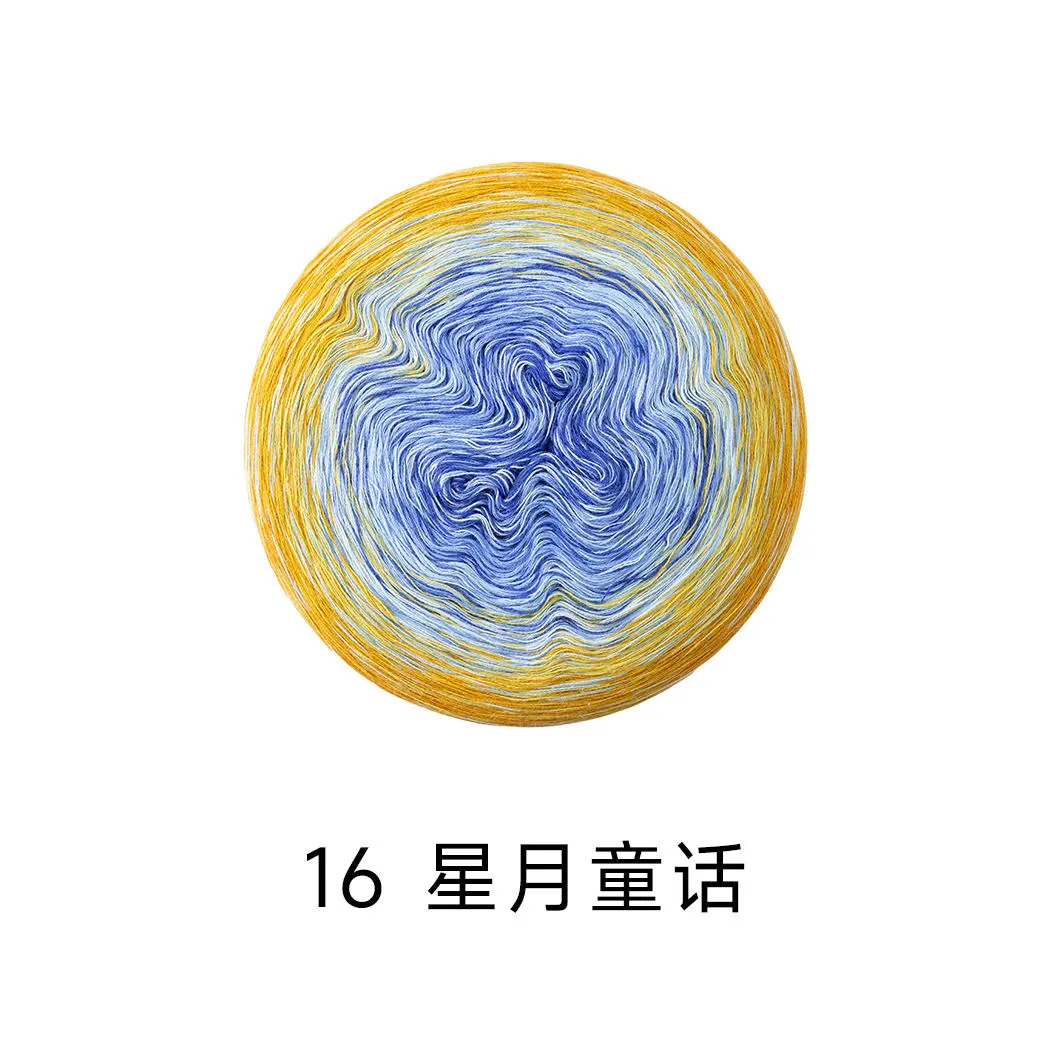 16#Stellar Tale x 1 16#Stellar Tale x 1 |
| Floral Fantasia Version | Summer Bloom |  04#Floral Fantasia x 1 04#Floral Fantasia x 1 |
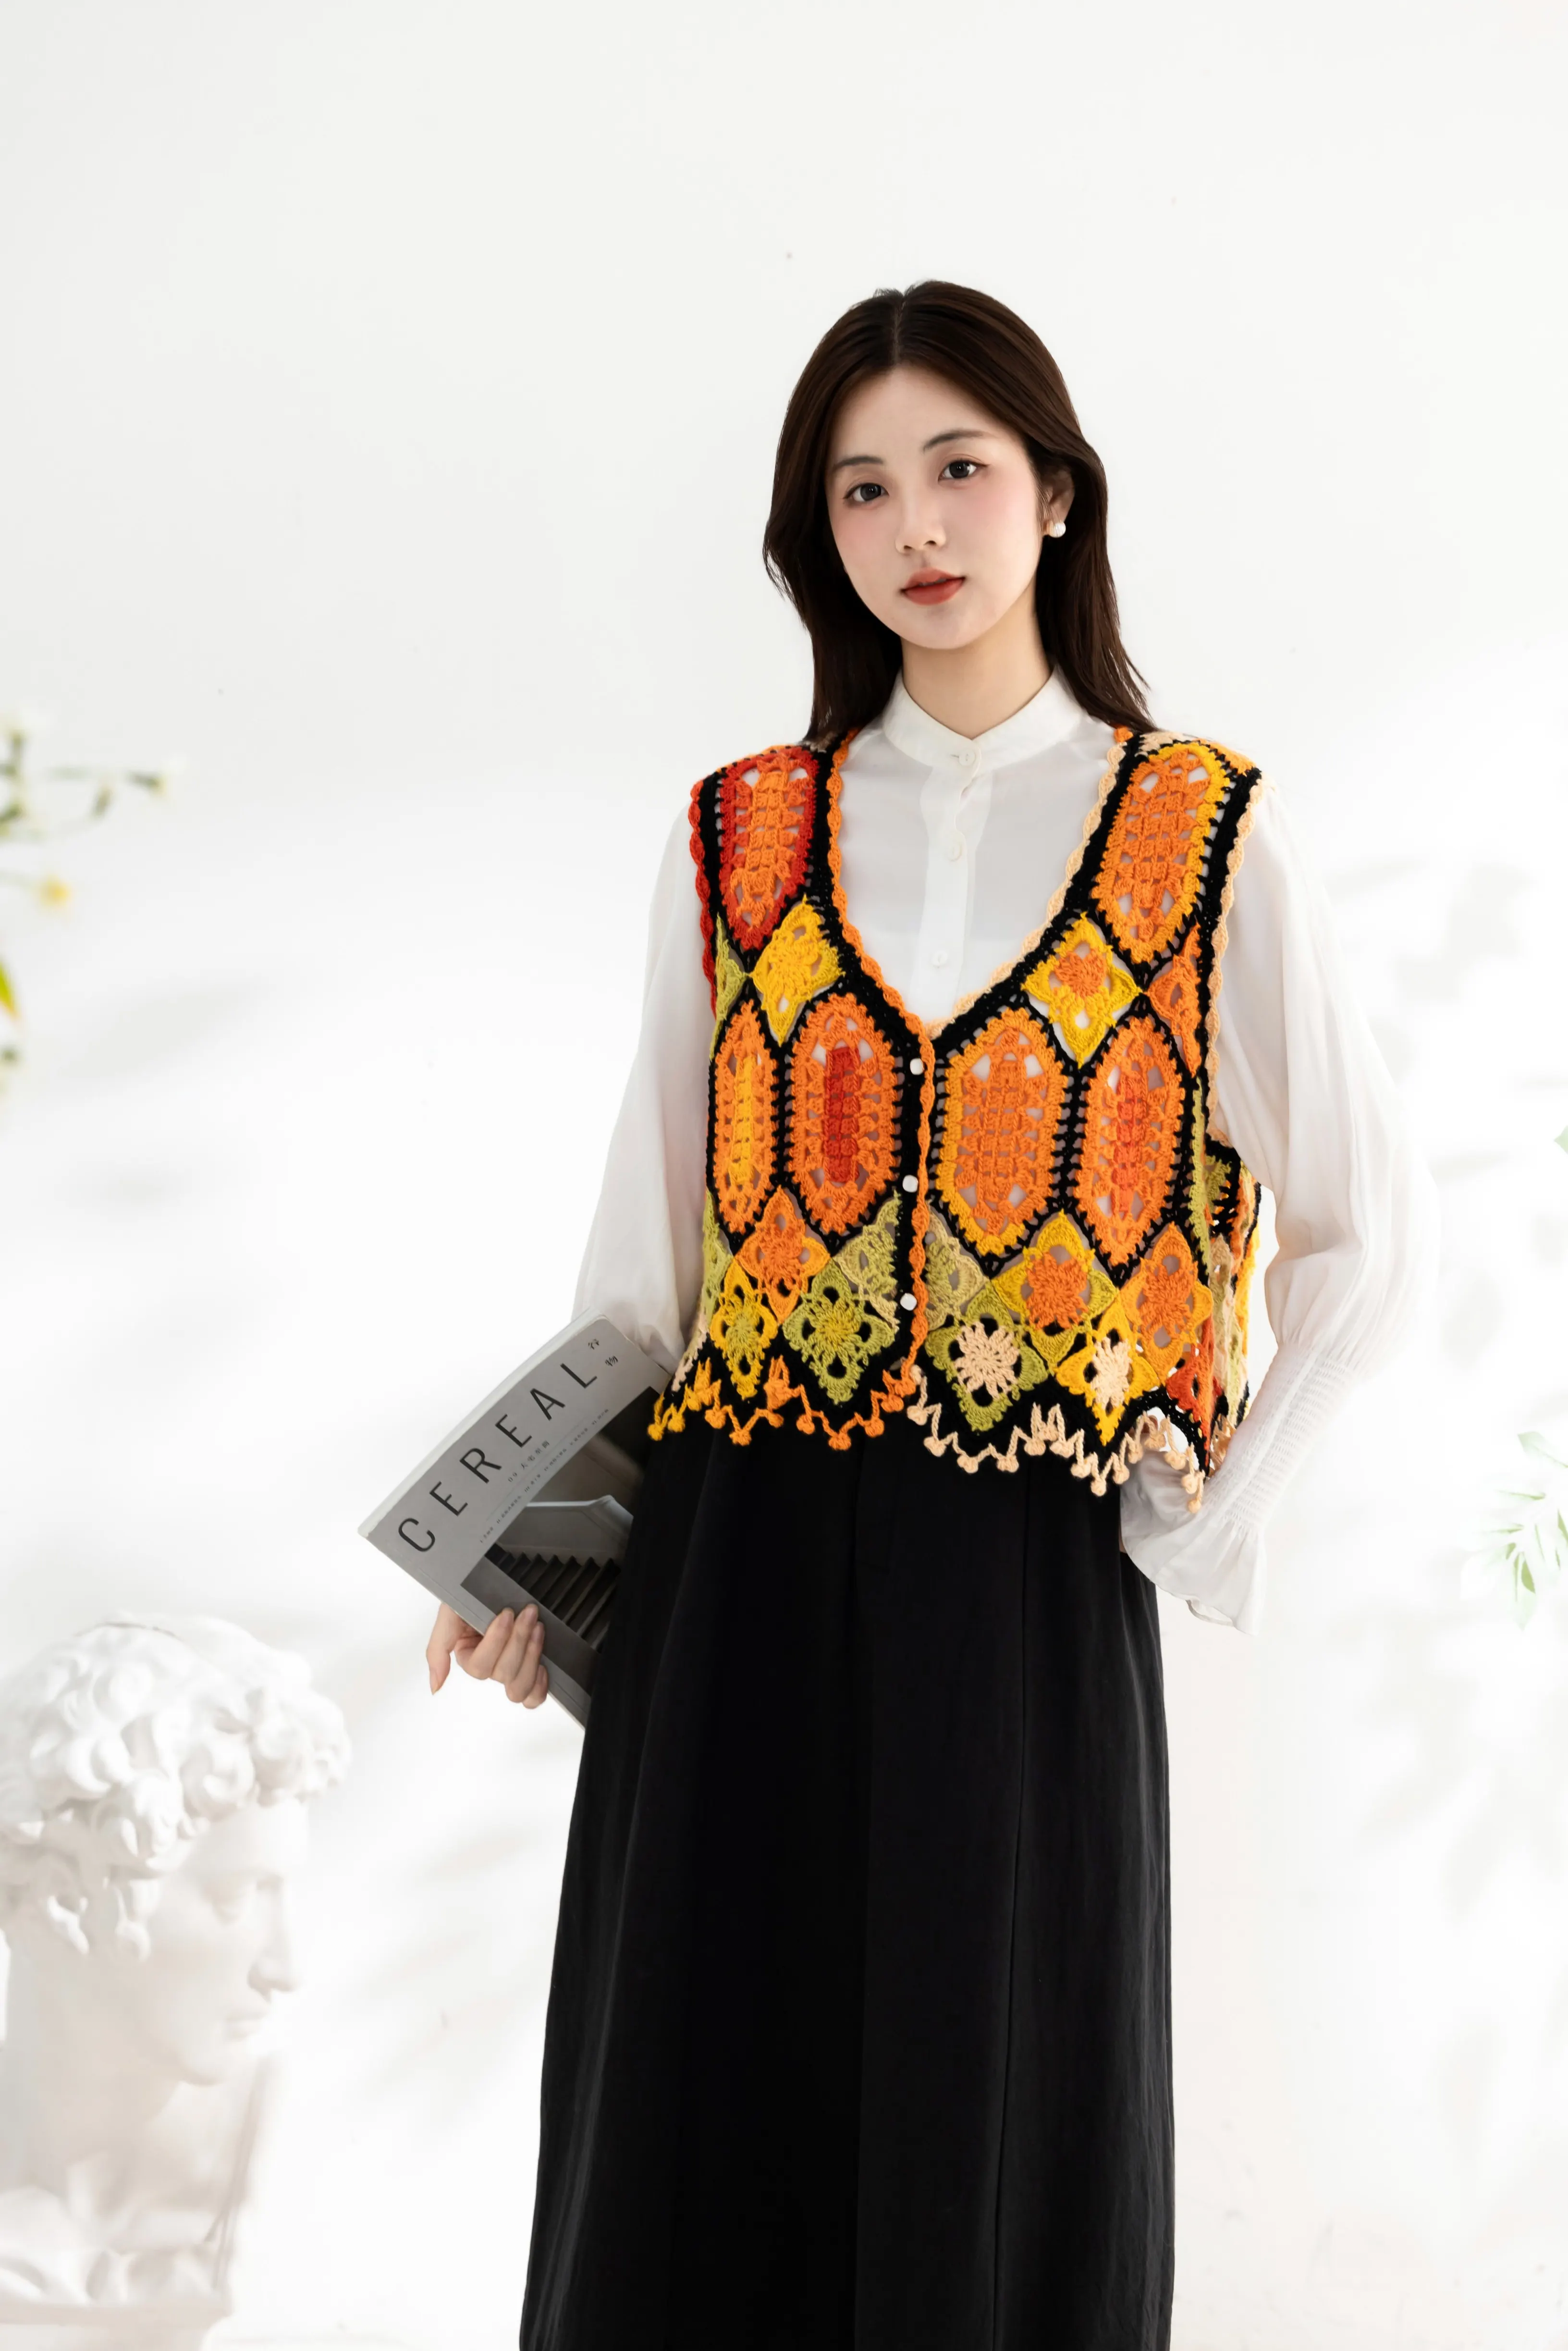
This cardigan is made of body pieces, the joining, the edging and buttons. First, crochet the body pieces and join them, then crochet the edging. Finally, attach the buttons.
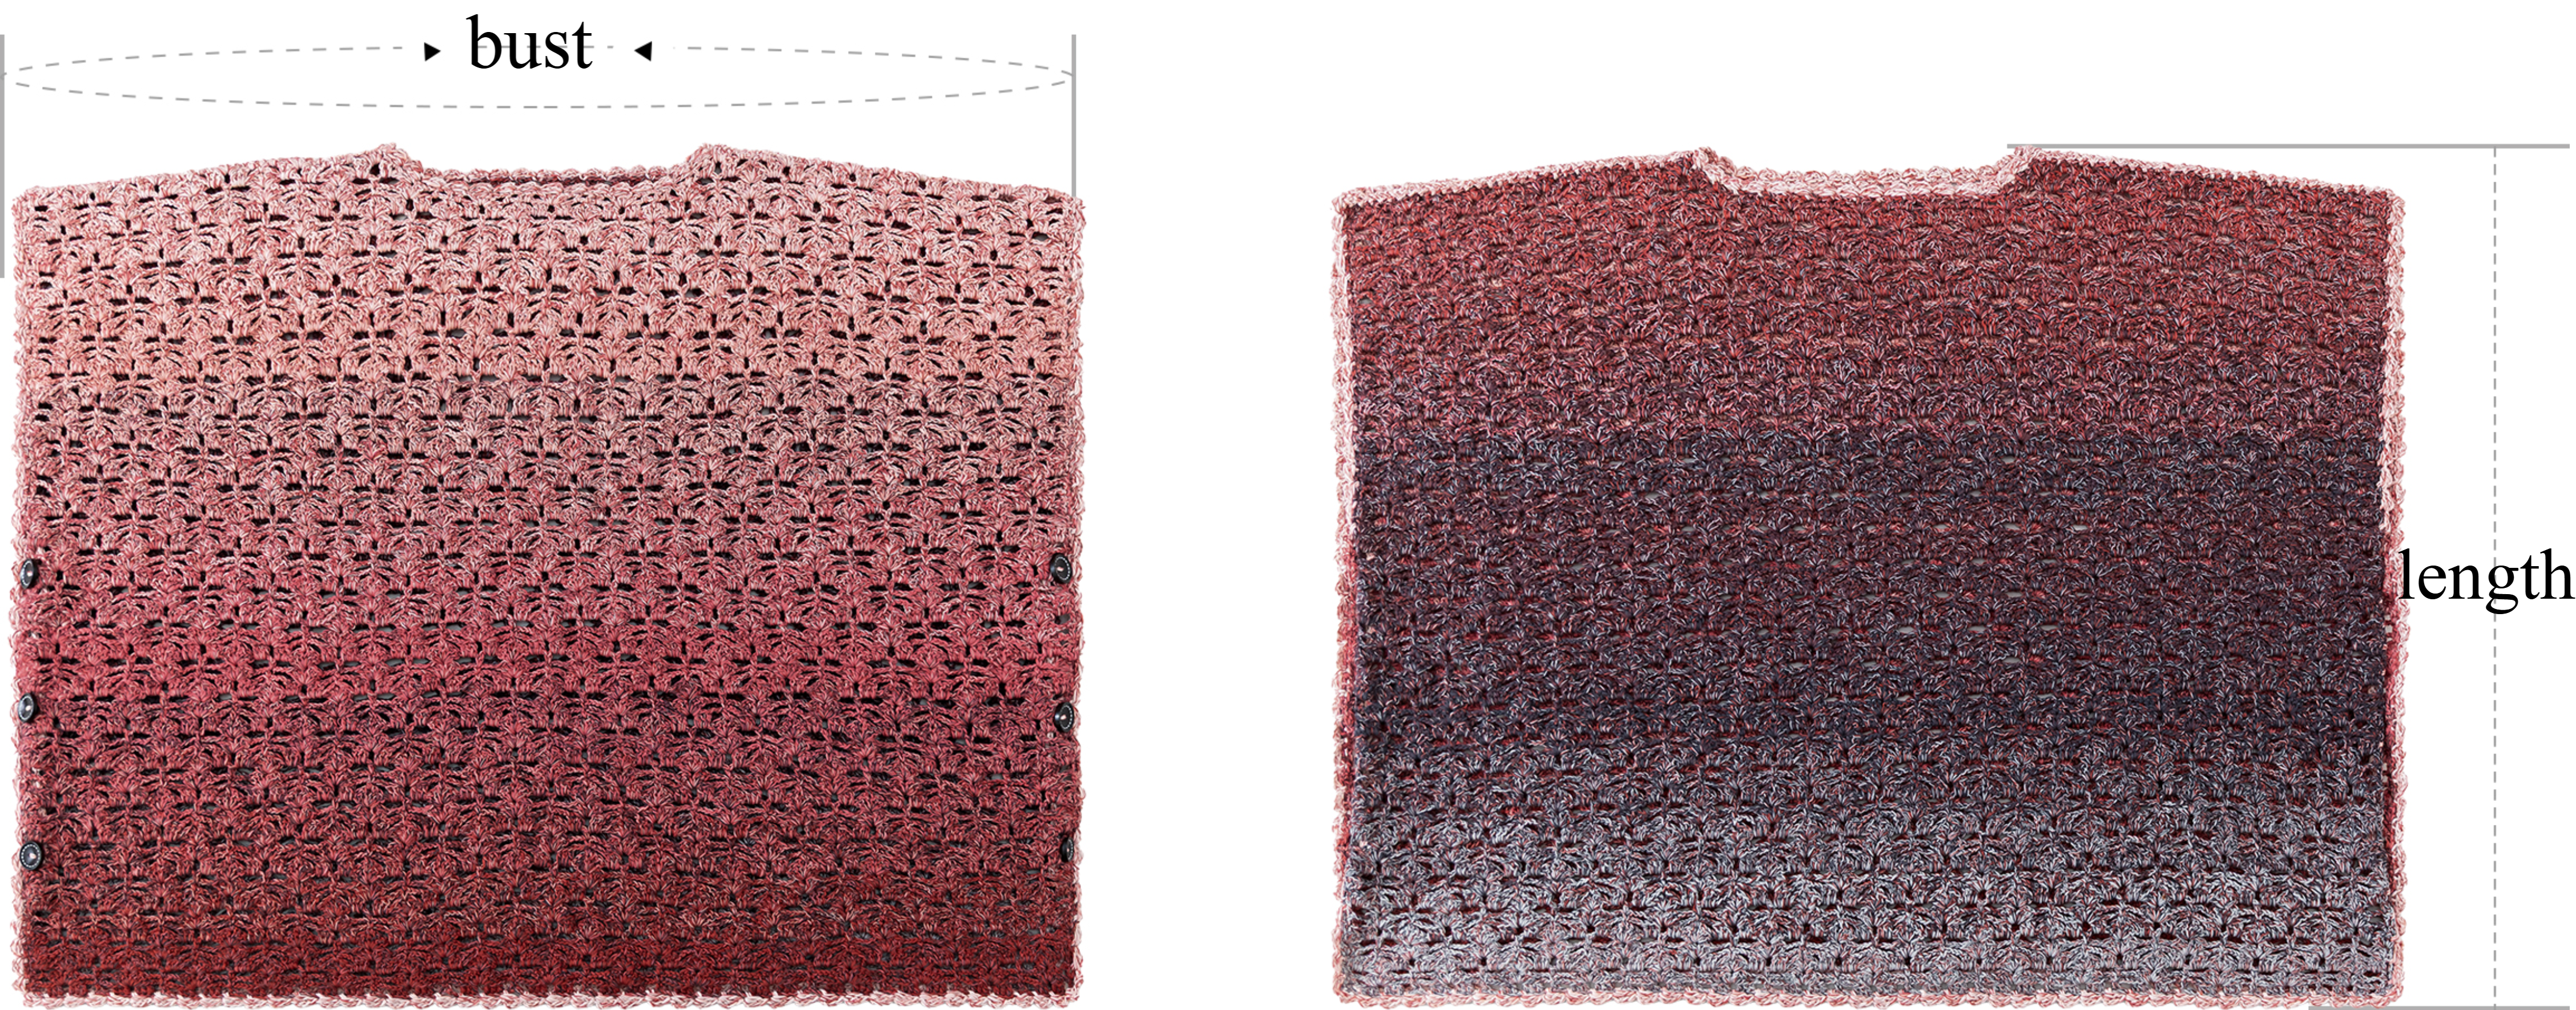
| bust | length |
| 140cm | 53cm |
Note: Measurements are taken by hand, so there might be a 1-2 cm error. Since everyone's tension is different, the sample size is just for reference.
Yarn: Susan's Family Summer Bloom.
Tools: 3.0mm hook.
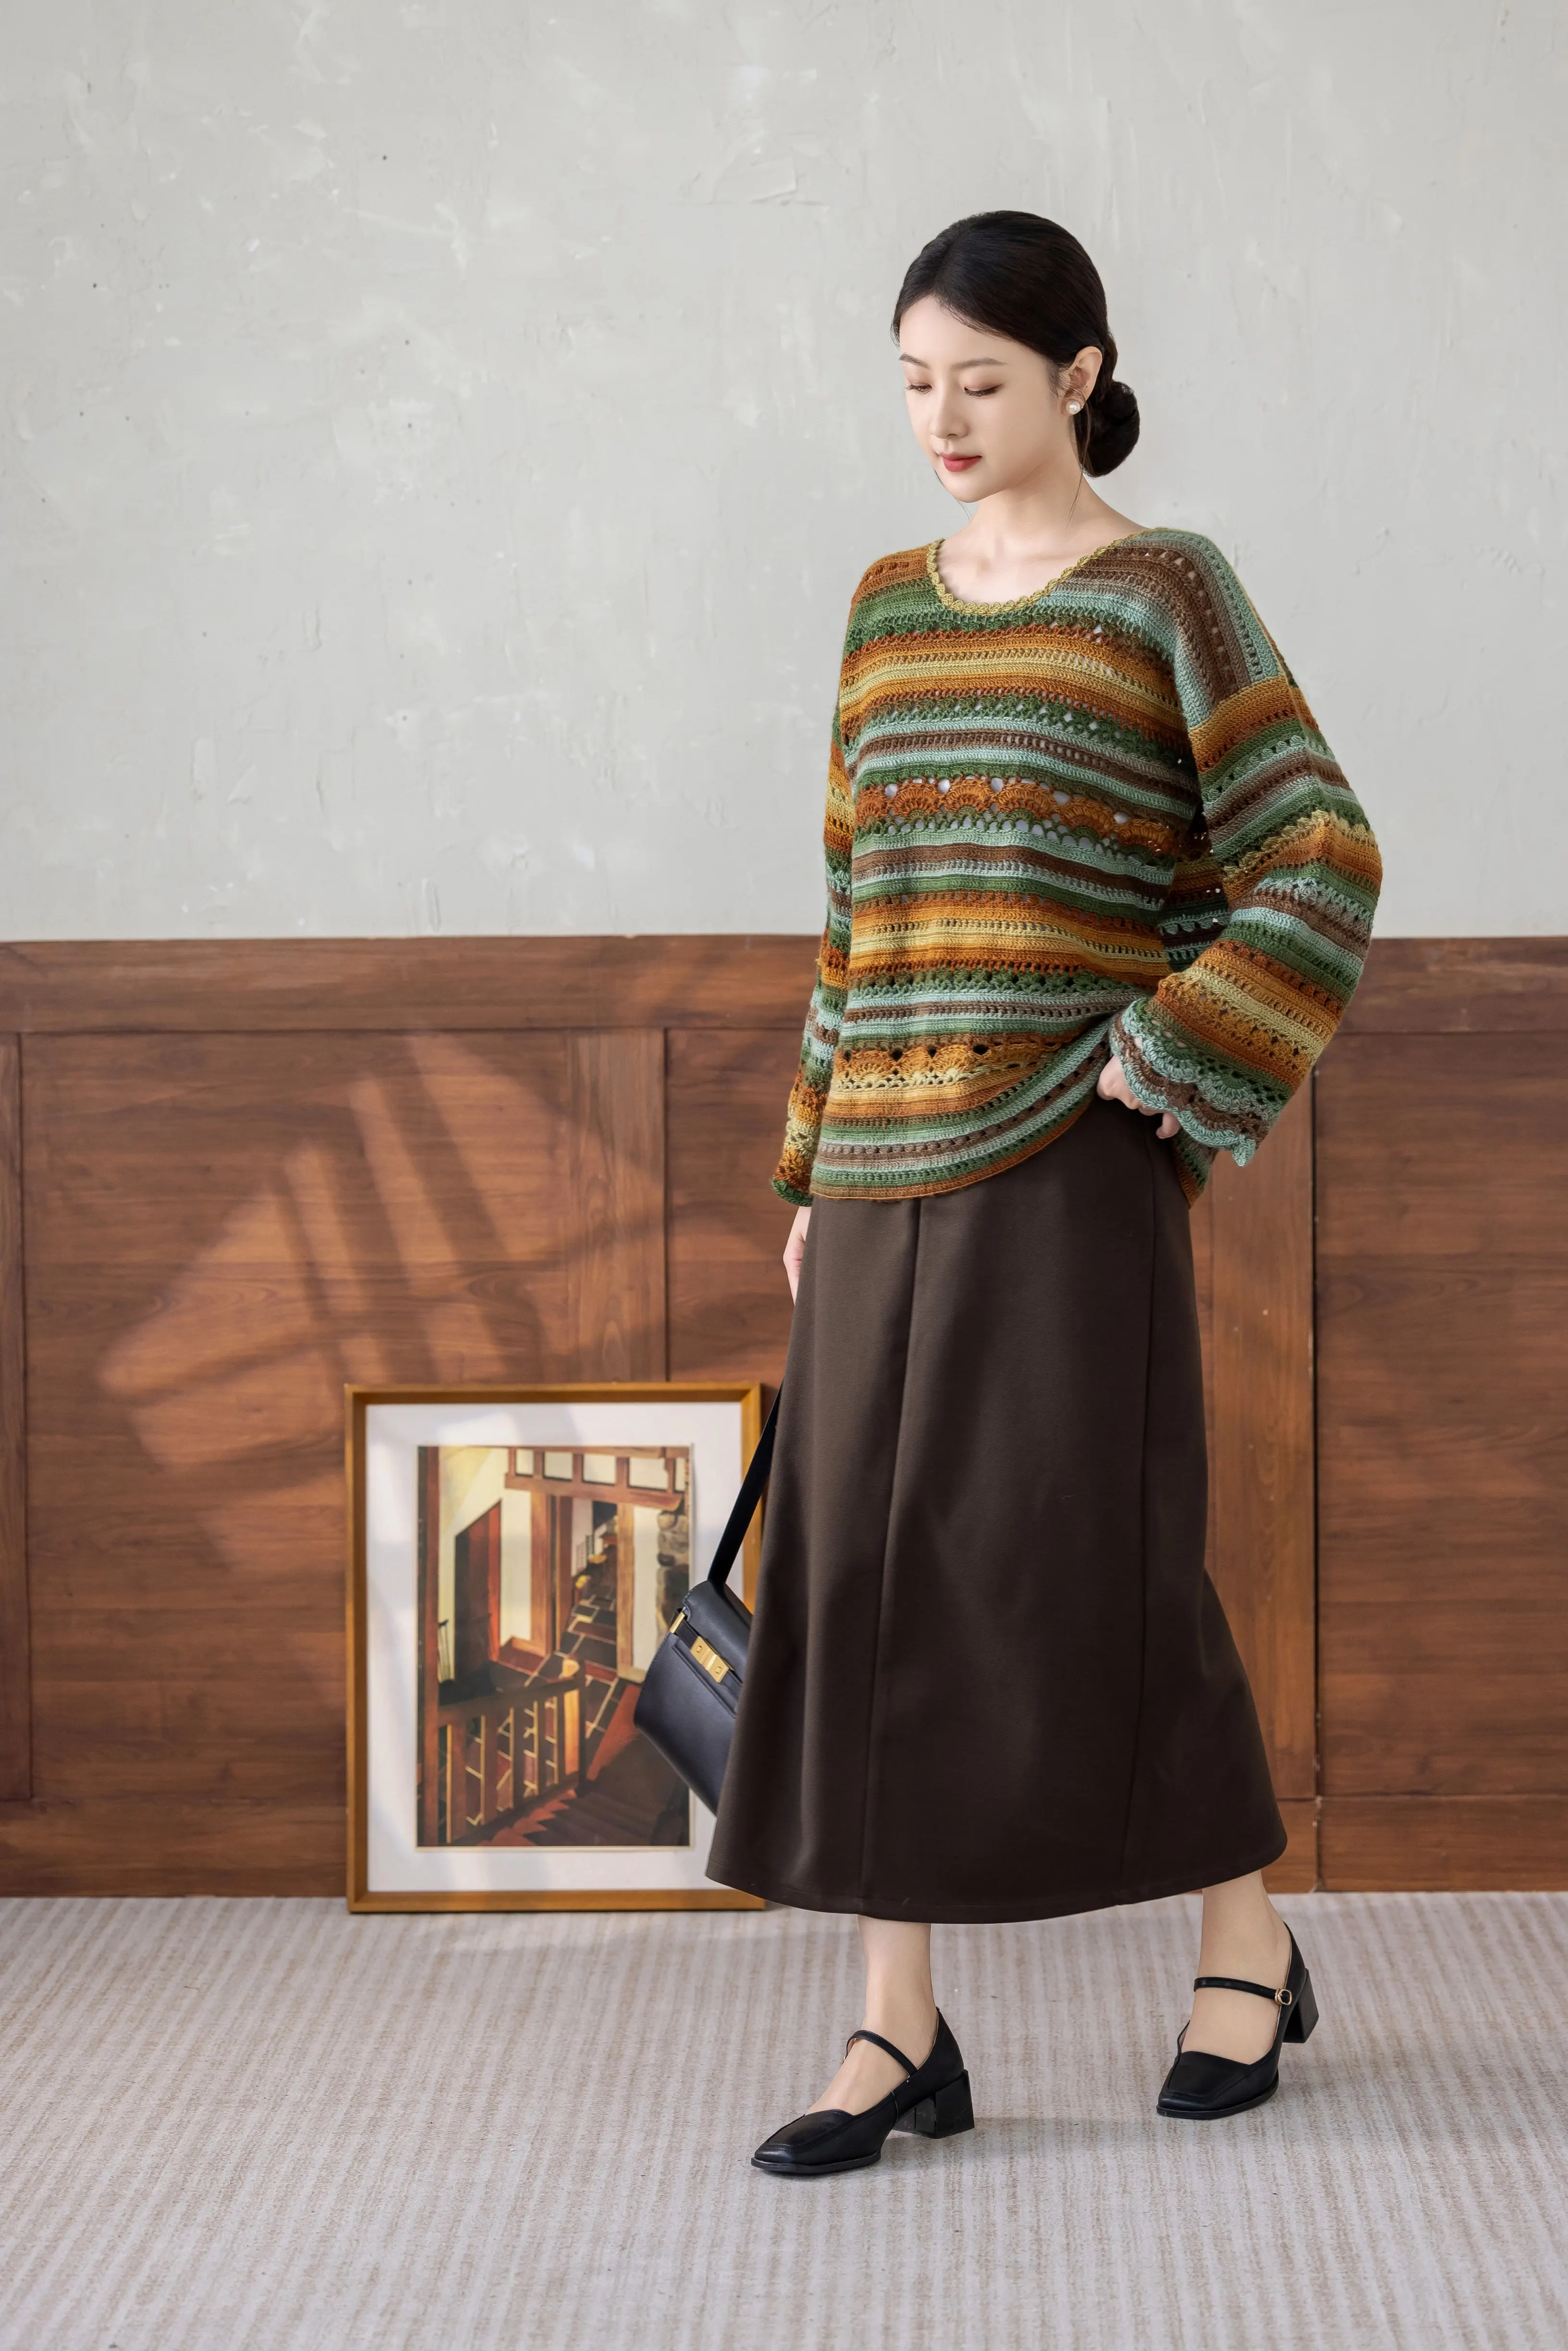
Note: This project uses variegated yarn, which actually has sections of multiple colors. The color at the starting position varies, so the finished product looks different. The starting point for pulling the yarn isn't fixed for this item. You can check the final product or go by your preference, pulling from the inside or the outside—either way works.

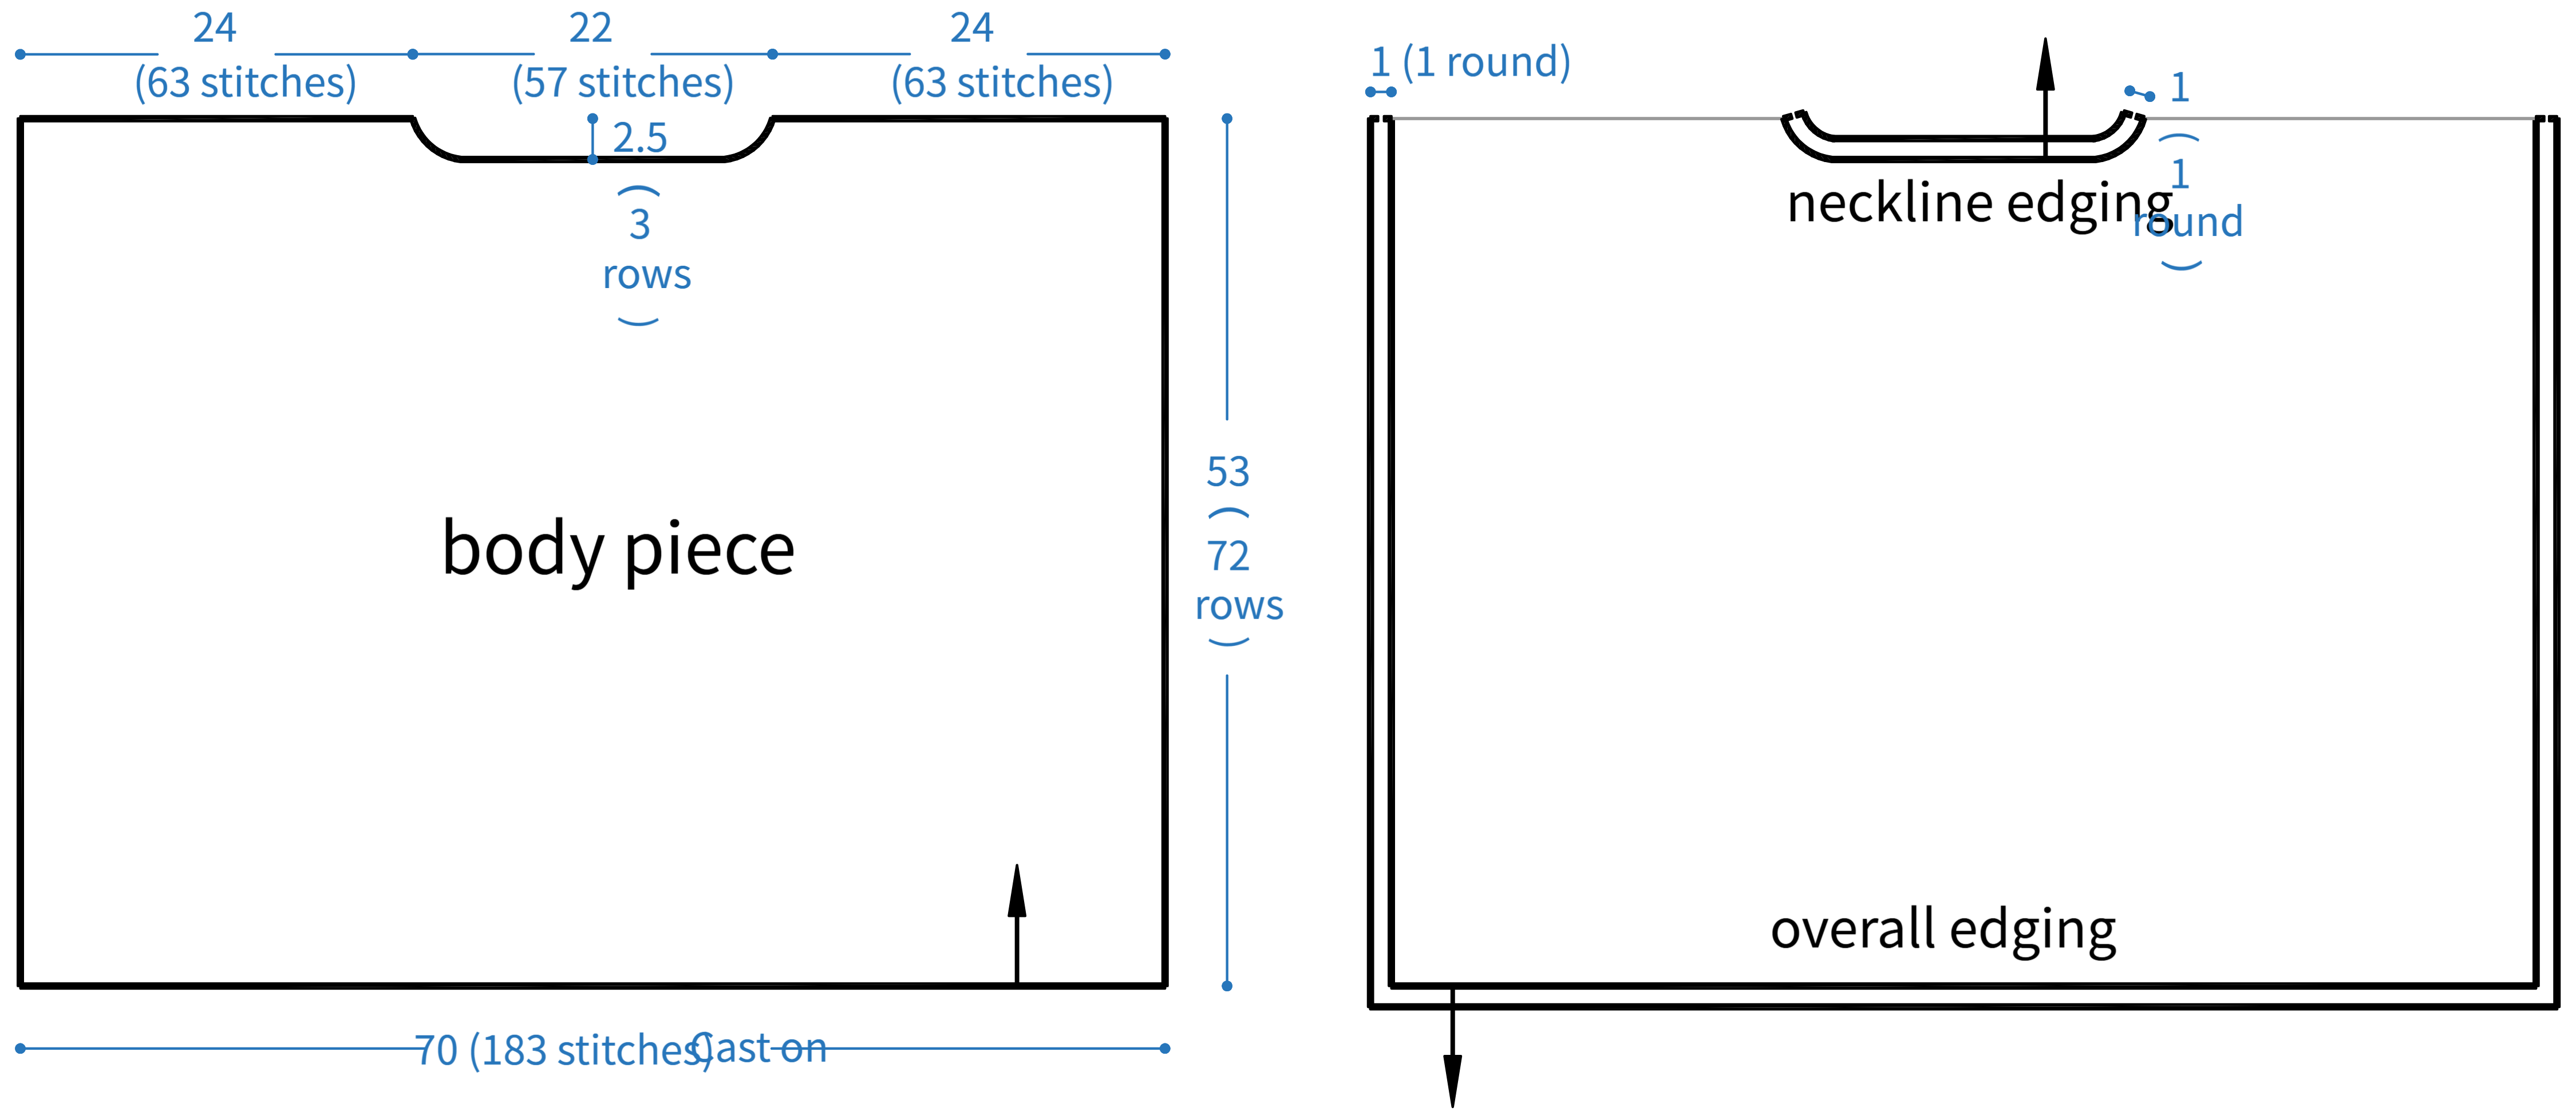
Schematic diagram
gauge swatch
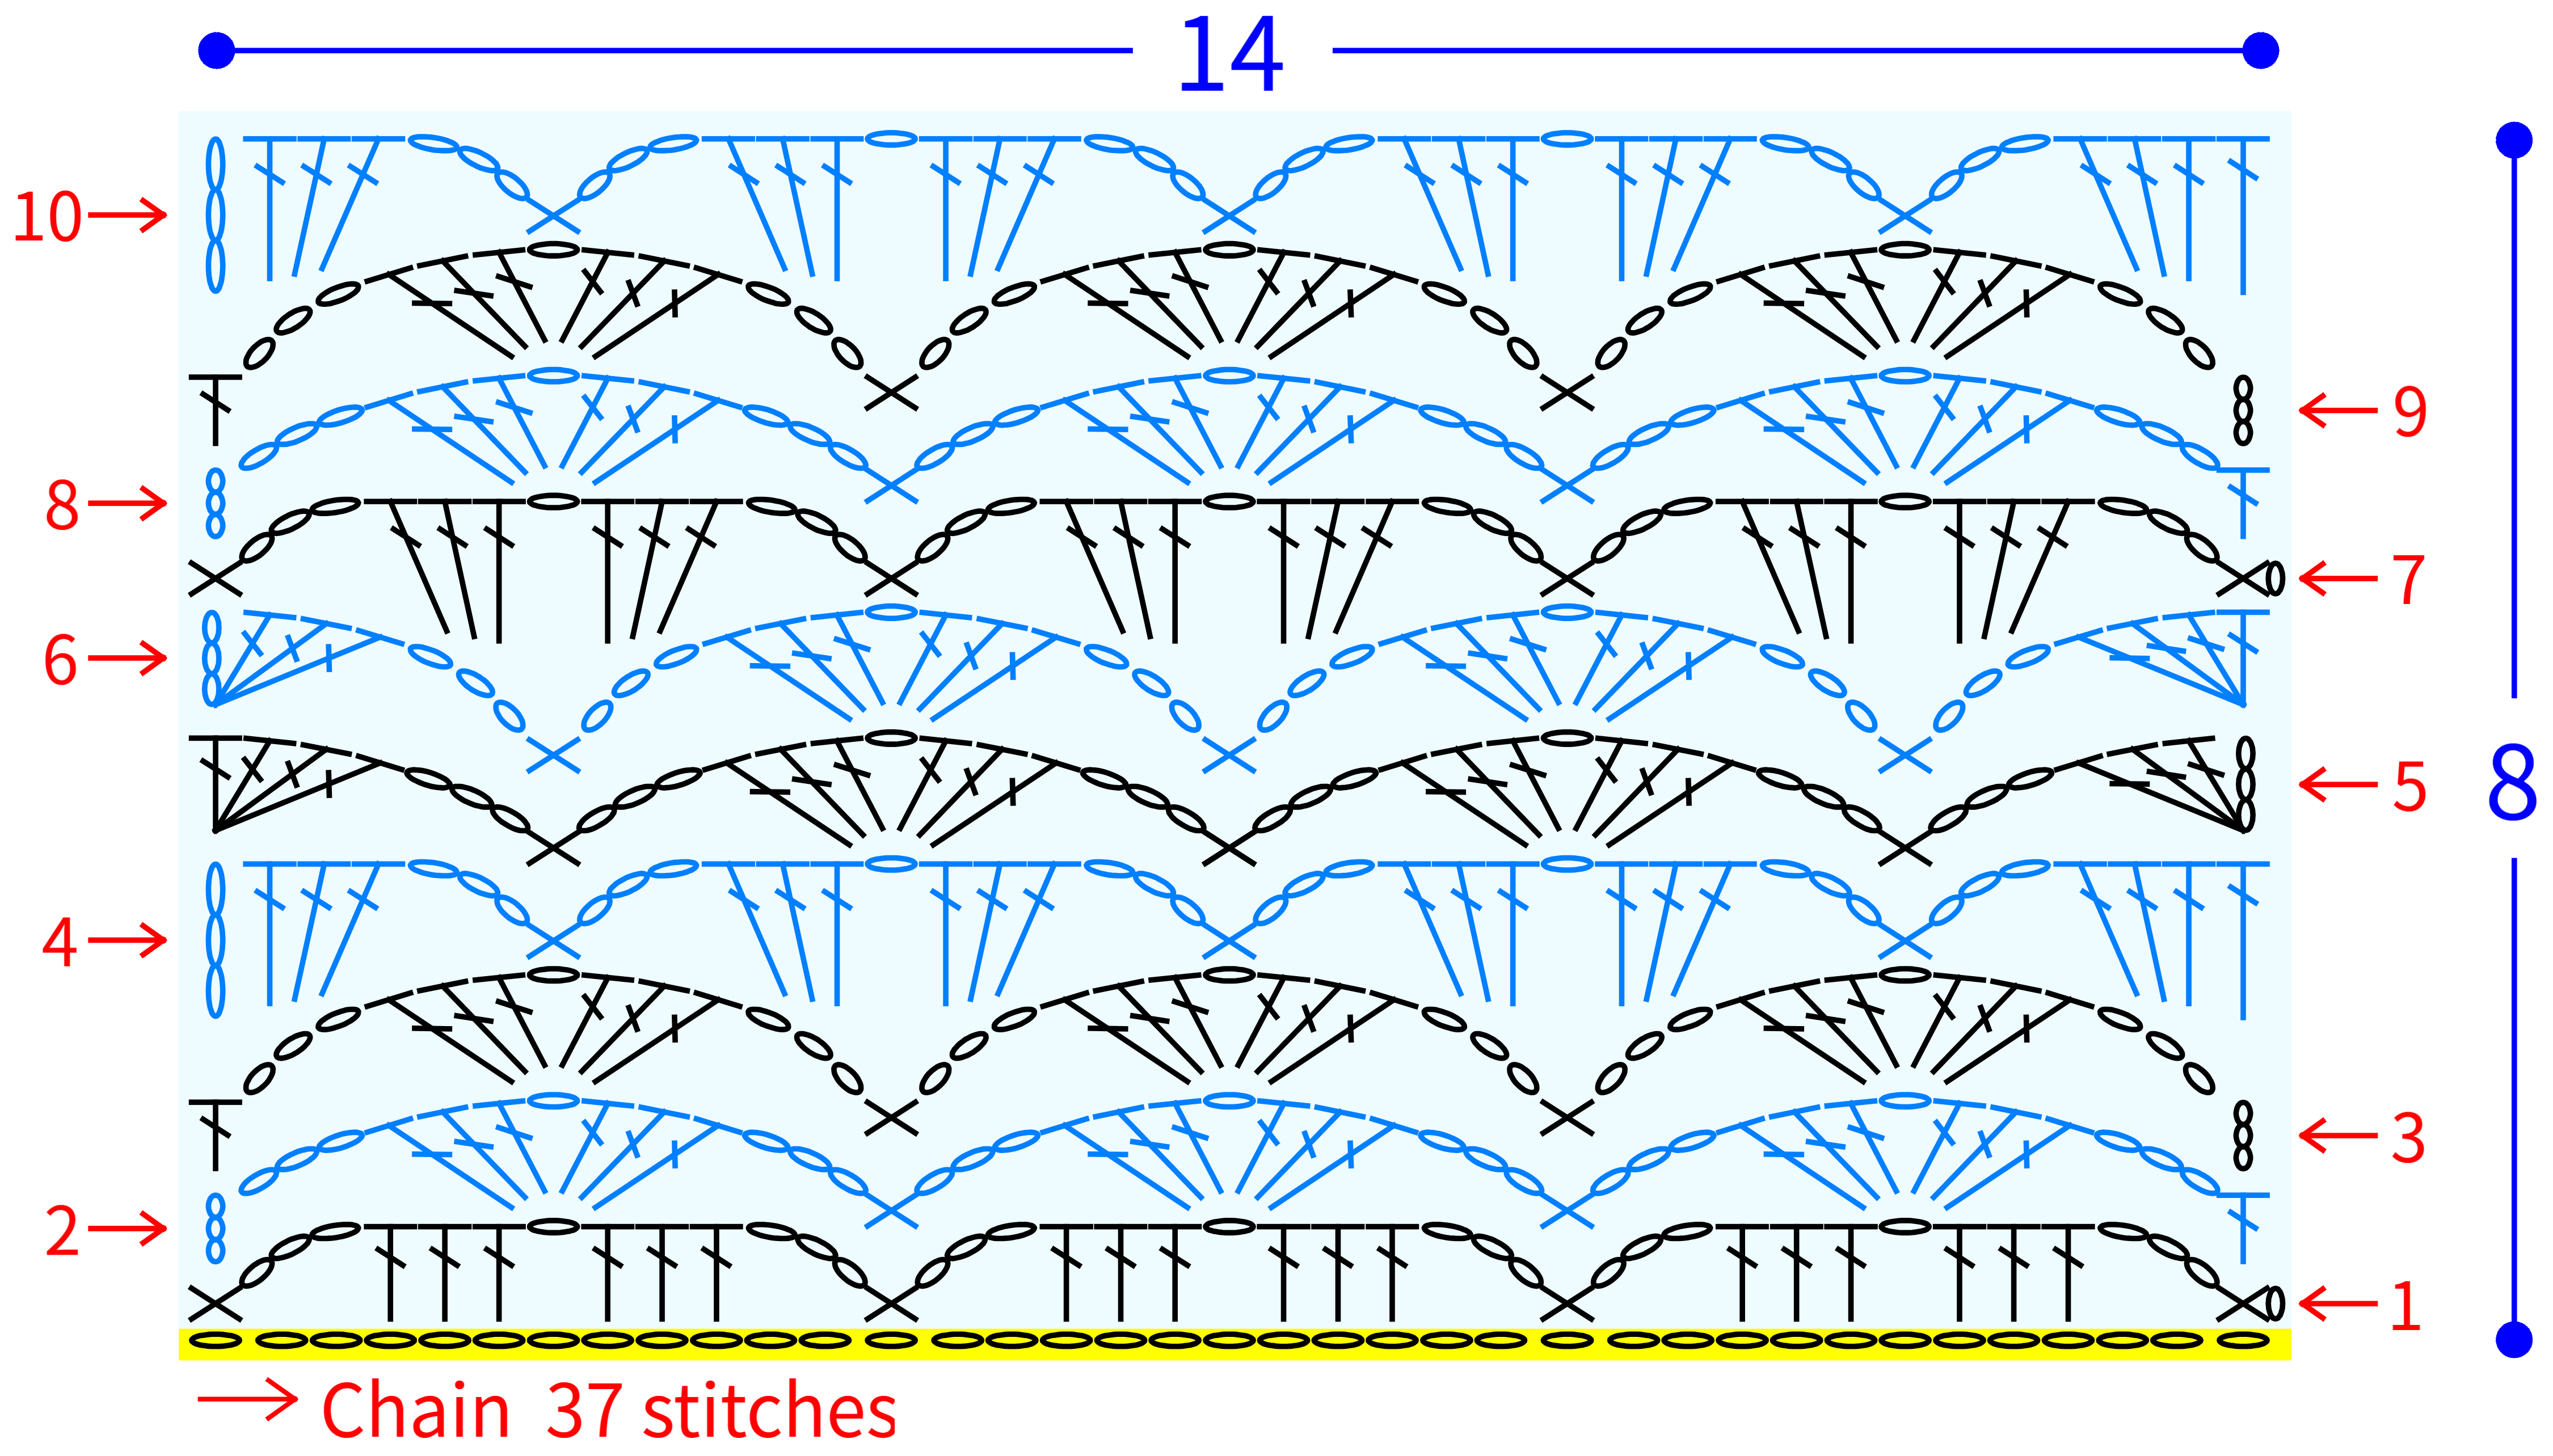
Note: Before you start the actual project, make a gauge swatch. Check the gauge chart and follow the stitch pattern shown in the video. Then, measure your swatch and adjust your tension or switch to a different hook size to match the required gauge.








Note:
1. This pattern is making in Chinese crochet pattern terms, and the stitch name is written using American terminology. All measurements in charts are in cm.

PART 1 Body piece×2A 01' 24''
There are two pieces, and the crochet method is identical. Each piece is divided into the Body and shoulder-parts. Please refer to the video demonstration for more details.
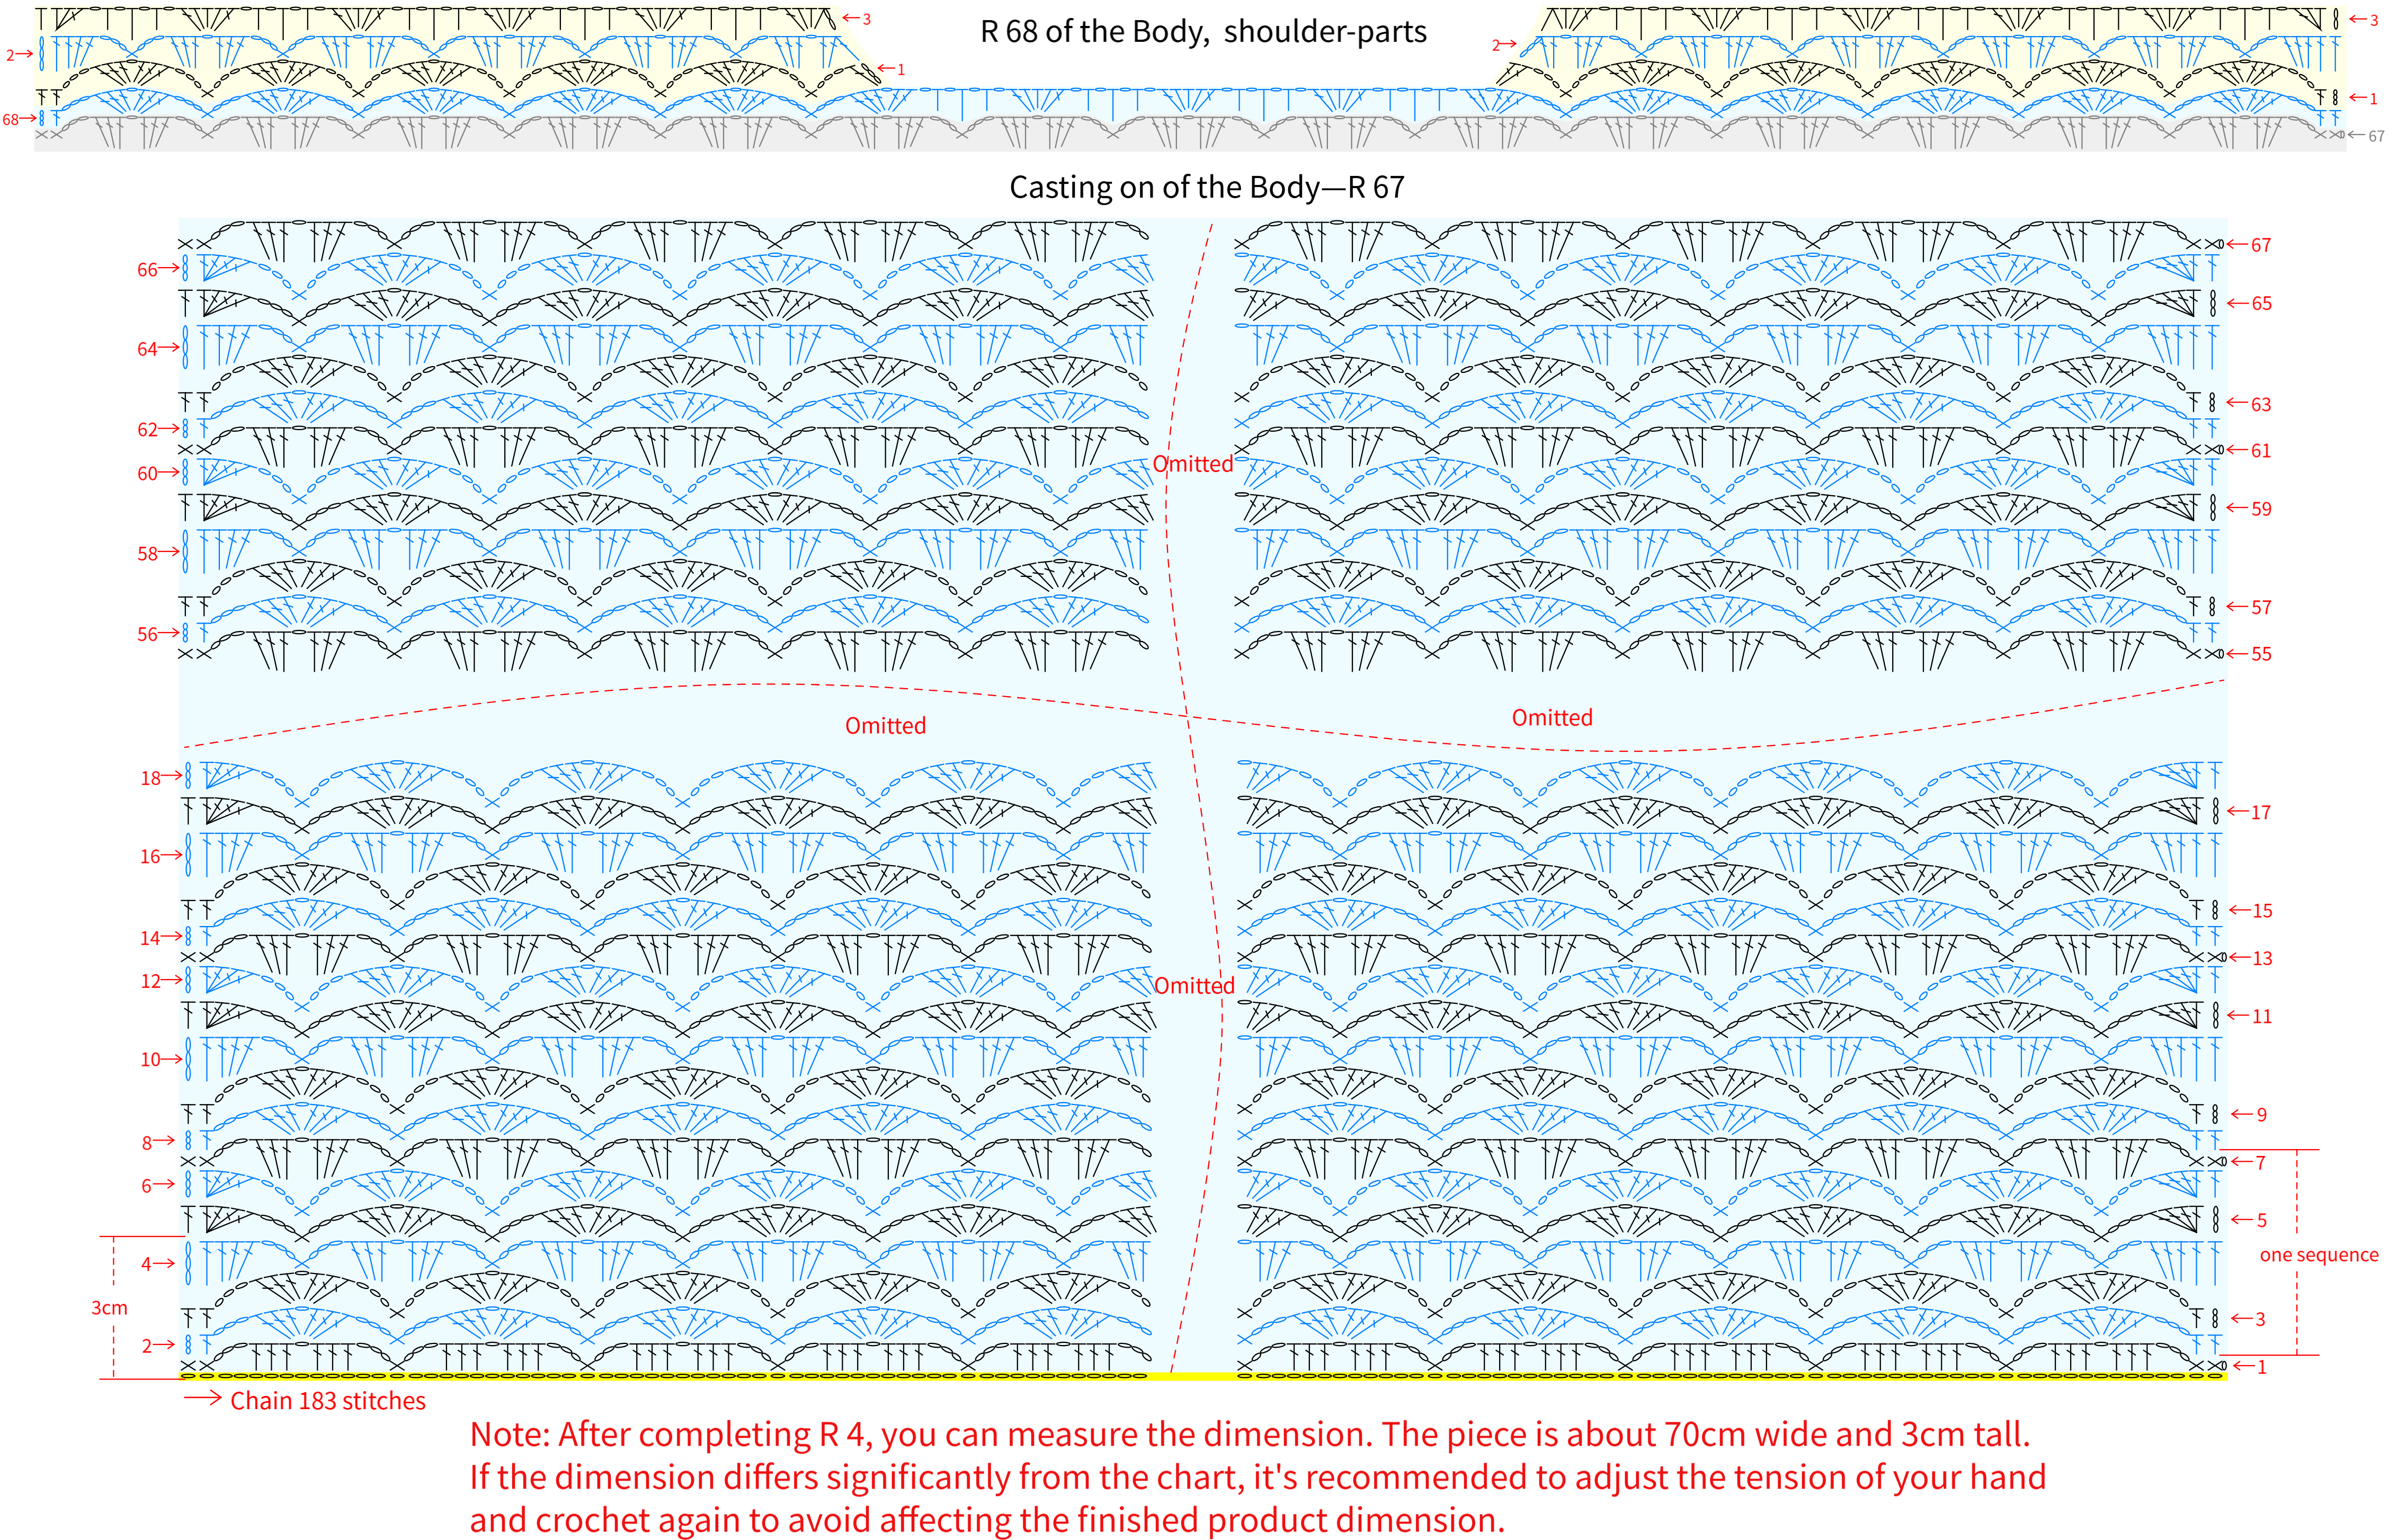
PART 2 JoiningB 44' 41''
Once both pieces are done, you'll need to join theshoulder-parts. Pick up stitches at the right spots on both sides and join them with slip stitches, using a chain 1 in between as a transition. You can check the neckline edging section of the pattern for reference. Please refer to the video demonstration for more details.
Note:You can refer to the chart for the specific insertion point of the slip stitch, or adjust according to the actual situation. The main goal is to keep the seams even and make sure the garment lies flat once you're done joining.
PART 3 EdgingC 51' 44''
The edging includes the neckline edging and the overall edging. Please refer to the video demonstration for more details.
STEP 1 Neckline edging
Crochet the edging around the neckline, working in rounds.

STEP 2 Overall edging
Join the yarn at the cast on of the fabric piece. Along the foundation chain of the row's side, crochet in rounds.
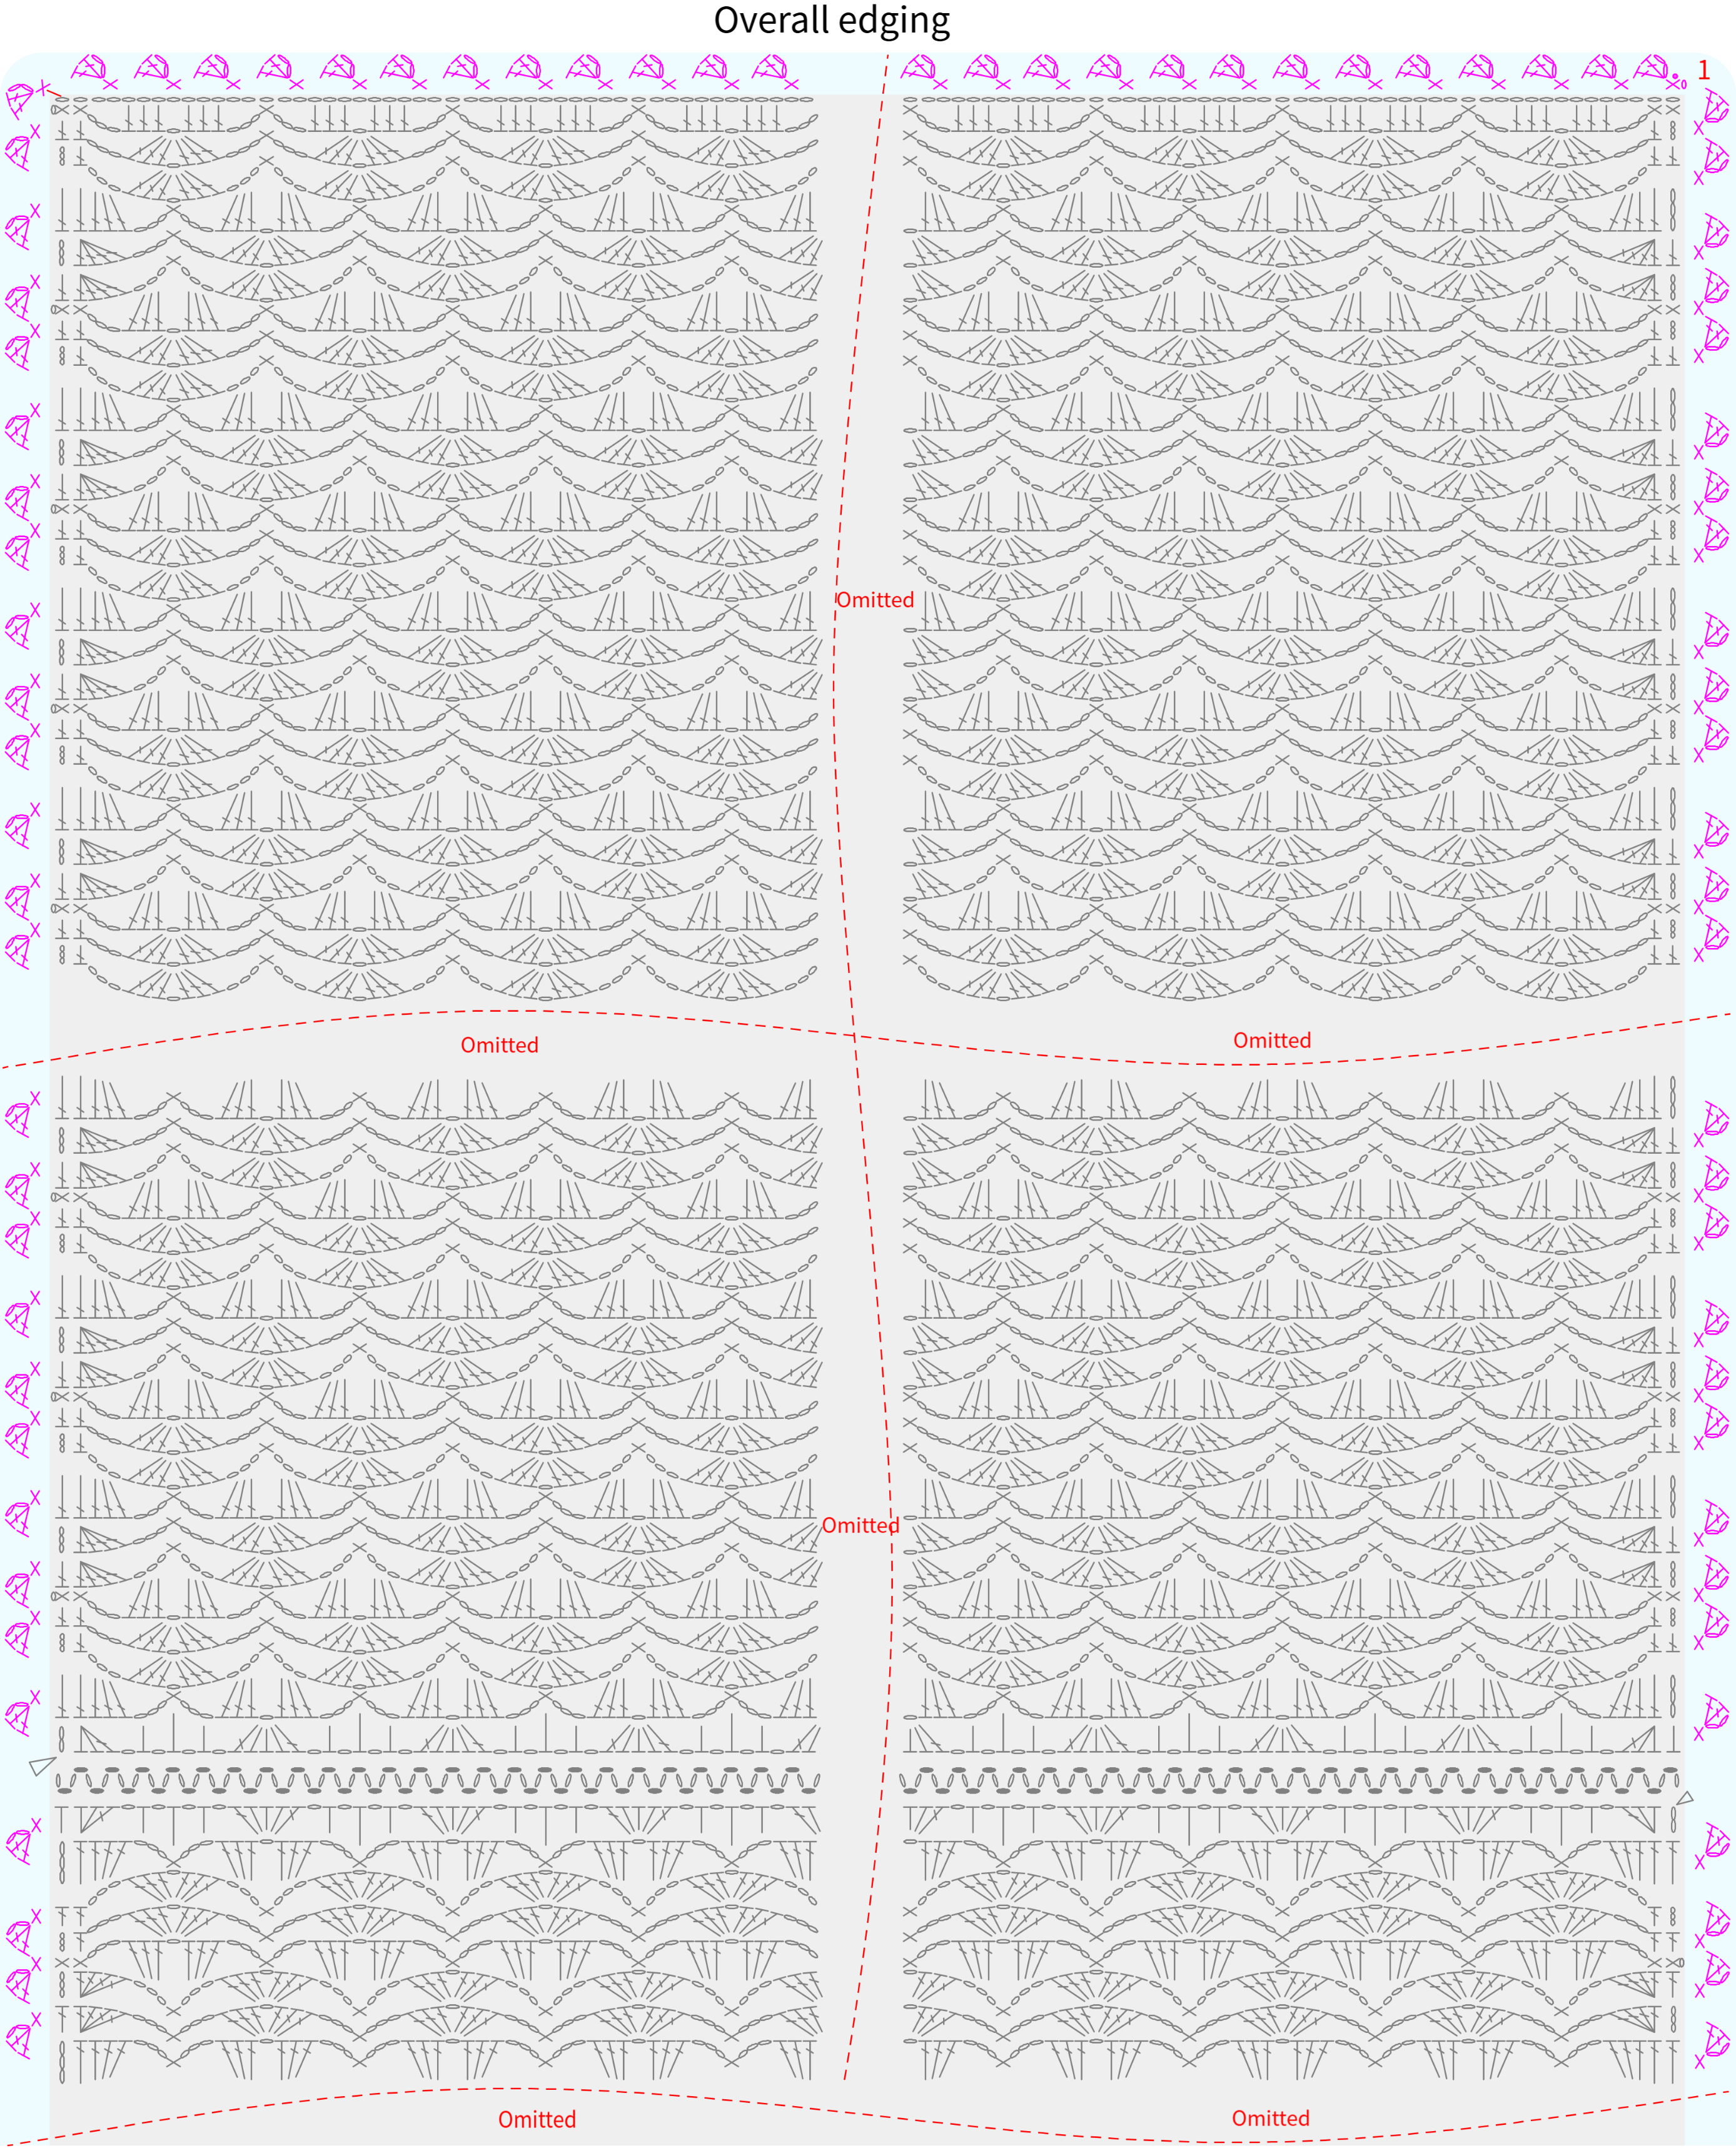
PART 4 Buttons D 62' 11''
Finally, sew on the buttons. choose one side as the front body according to your preference. The other side will be the back body. Then on both sides of the back body, sew on 3 buttons each. There are 6 buttons in total. You can check the video or the actual item for placement, or try the garment on for a better fit. According to your preference, choose the right position to sew on the buttons based on the actual situation. Once the buttons are attached, fasten them into the chain spaces on the corresponding spots of the front piece. Please refer to the video demonstration for more details.
Made by the community