Clothes
Loki
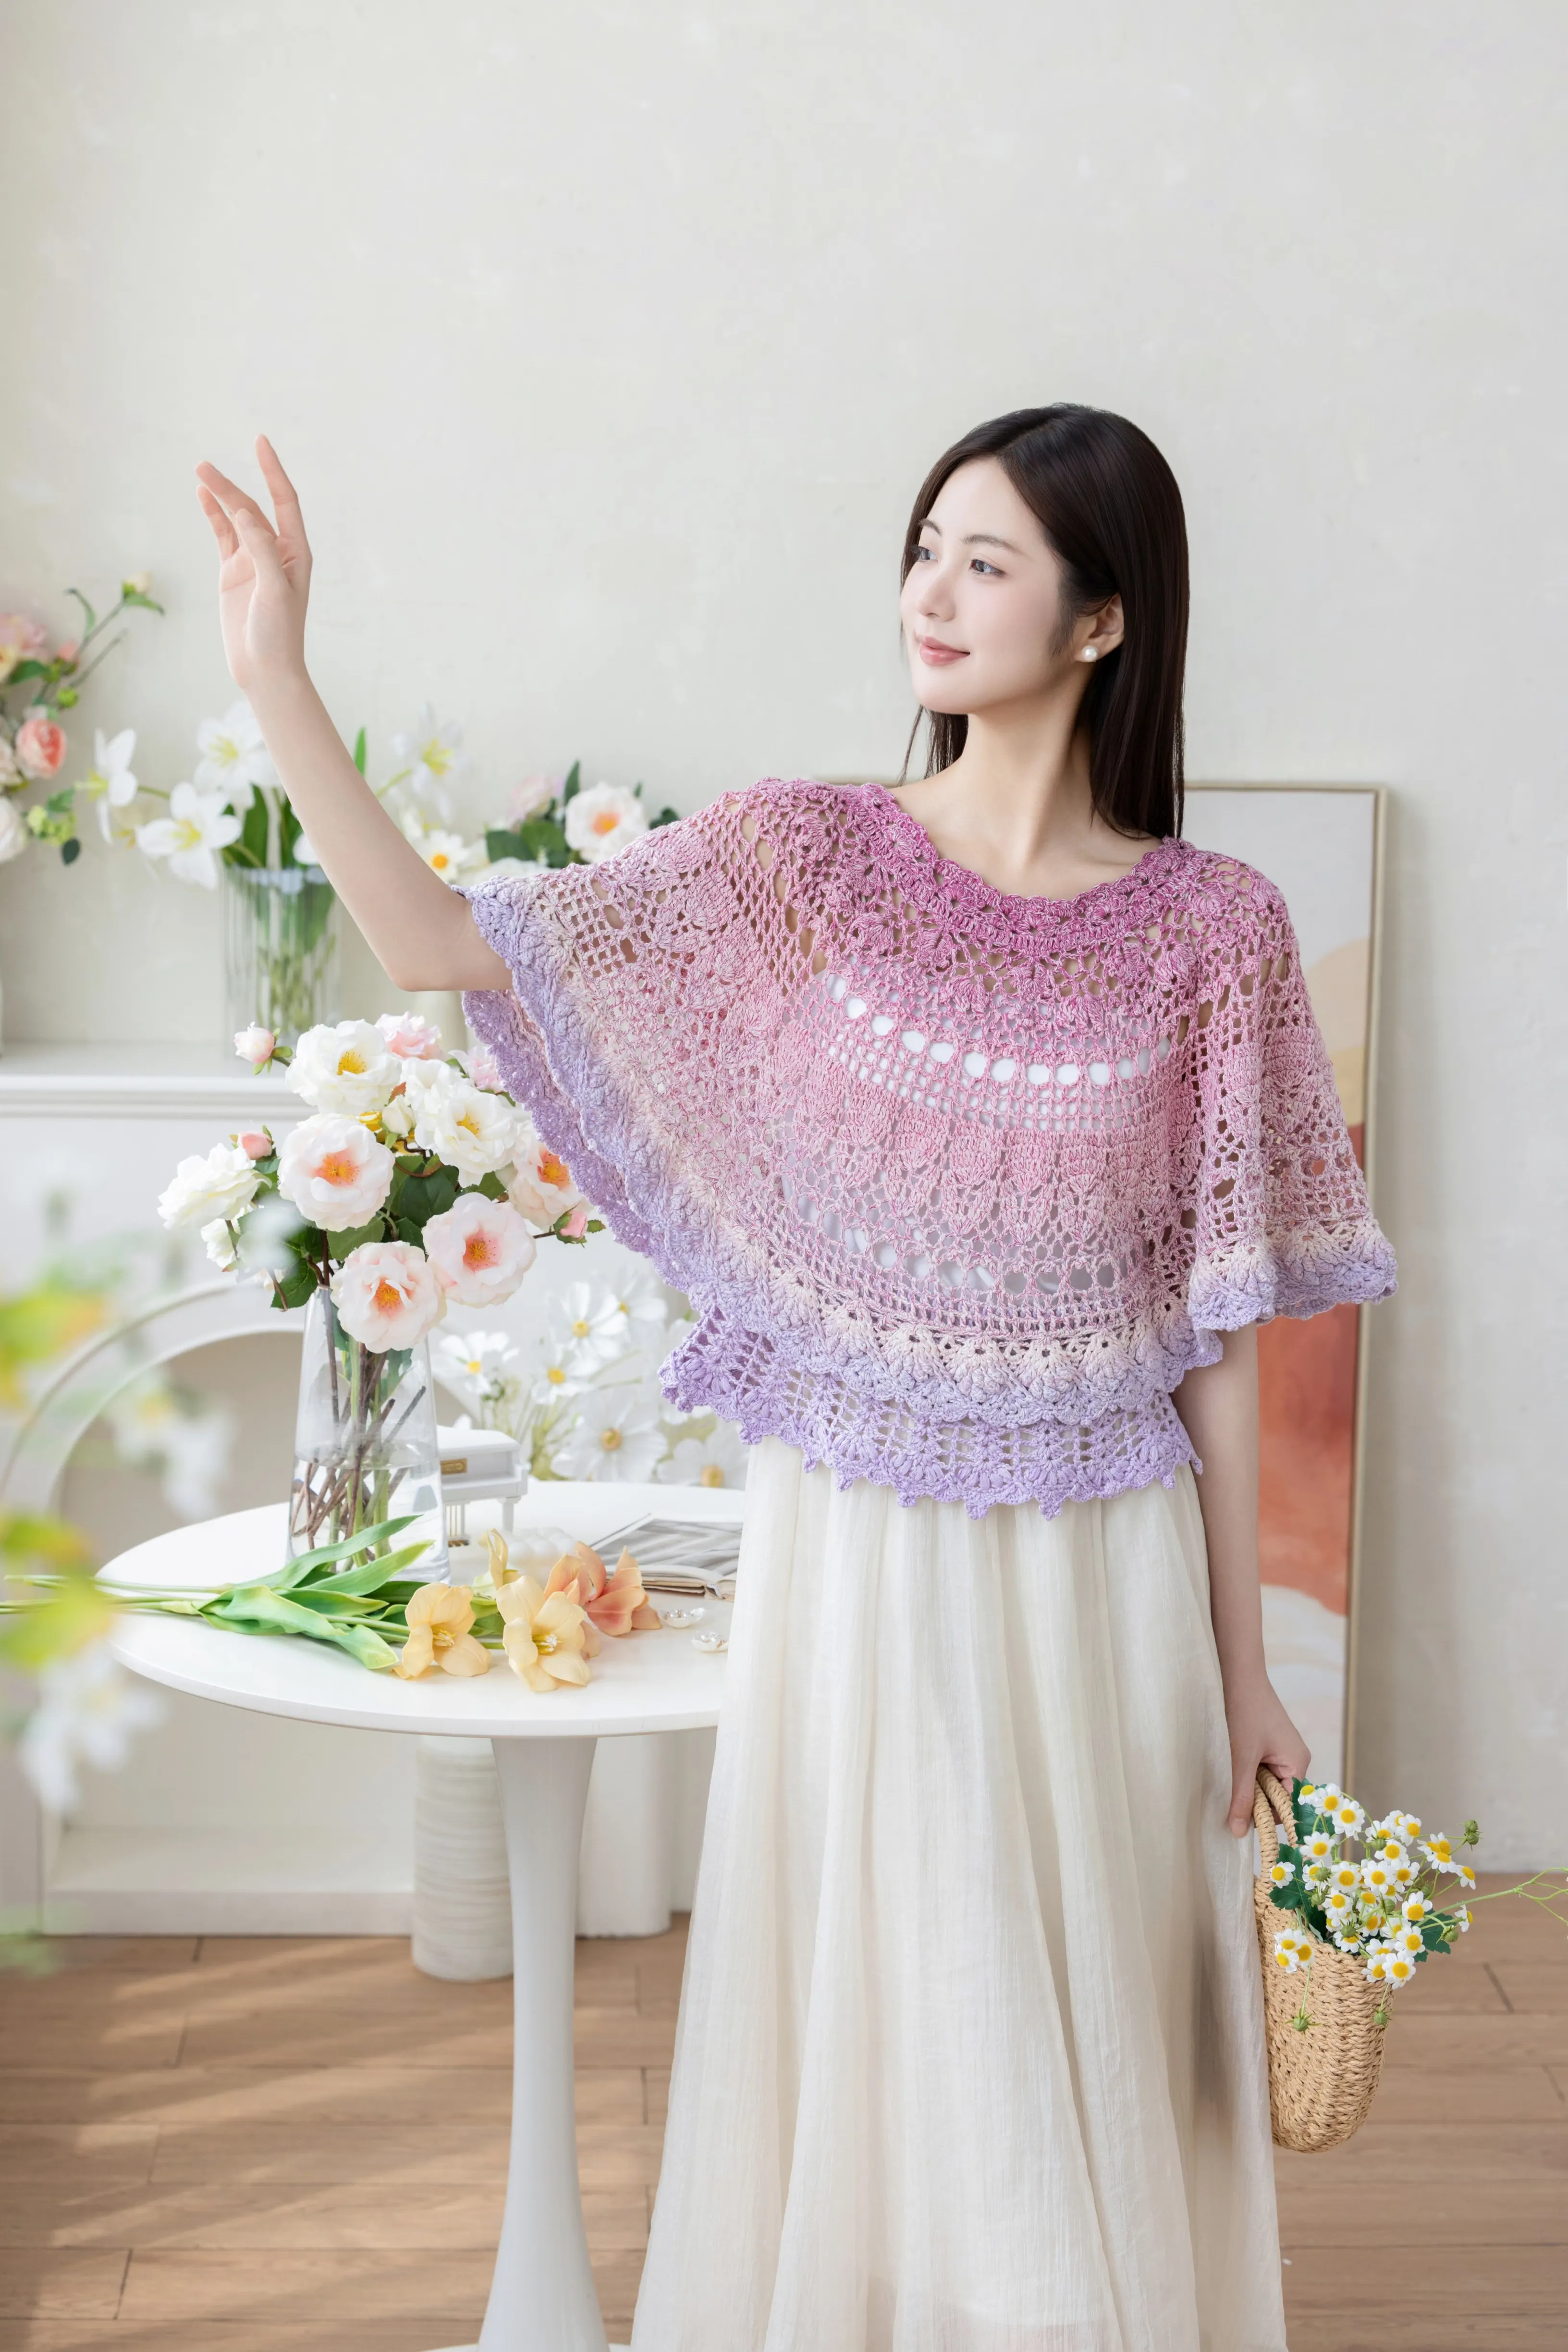
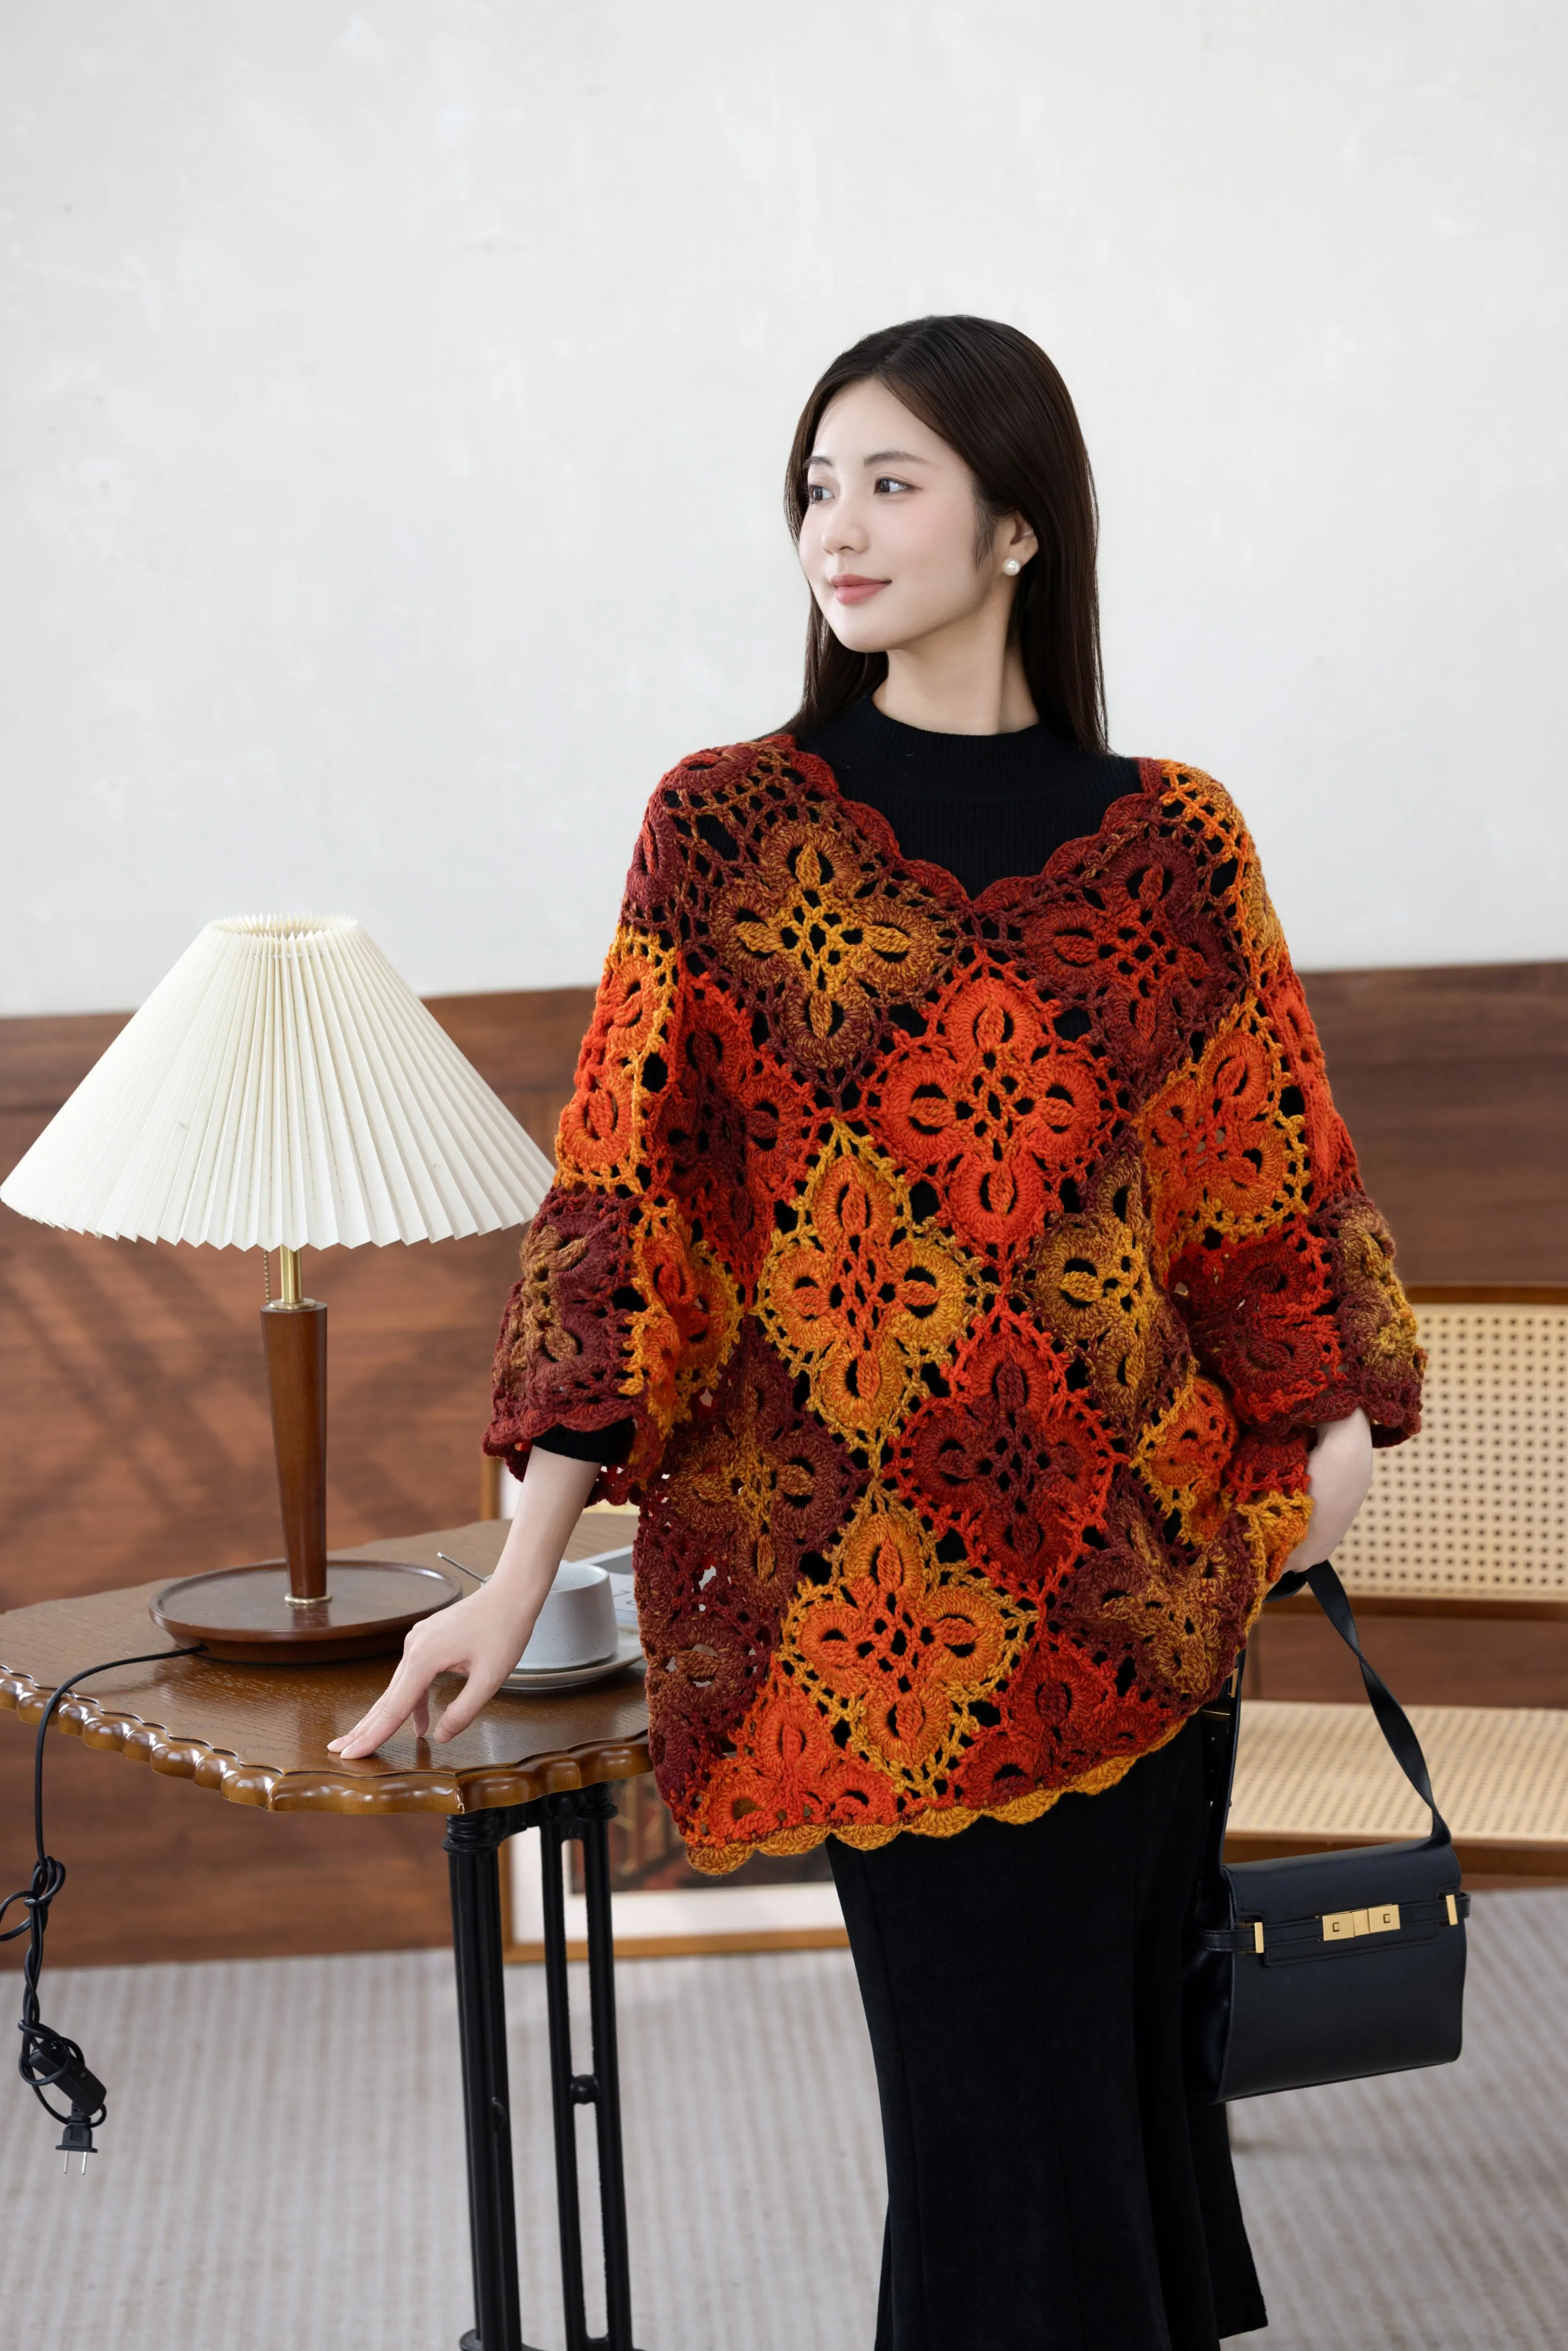
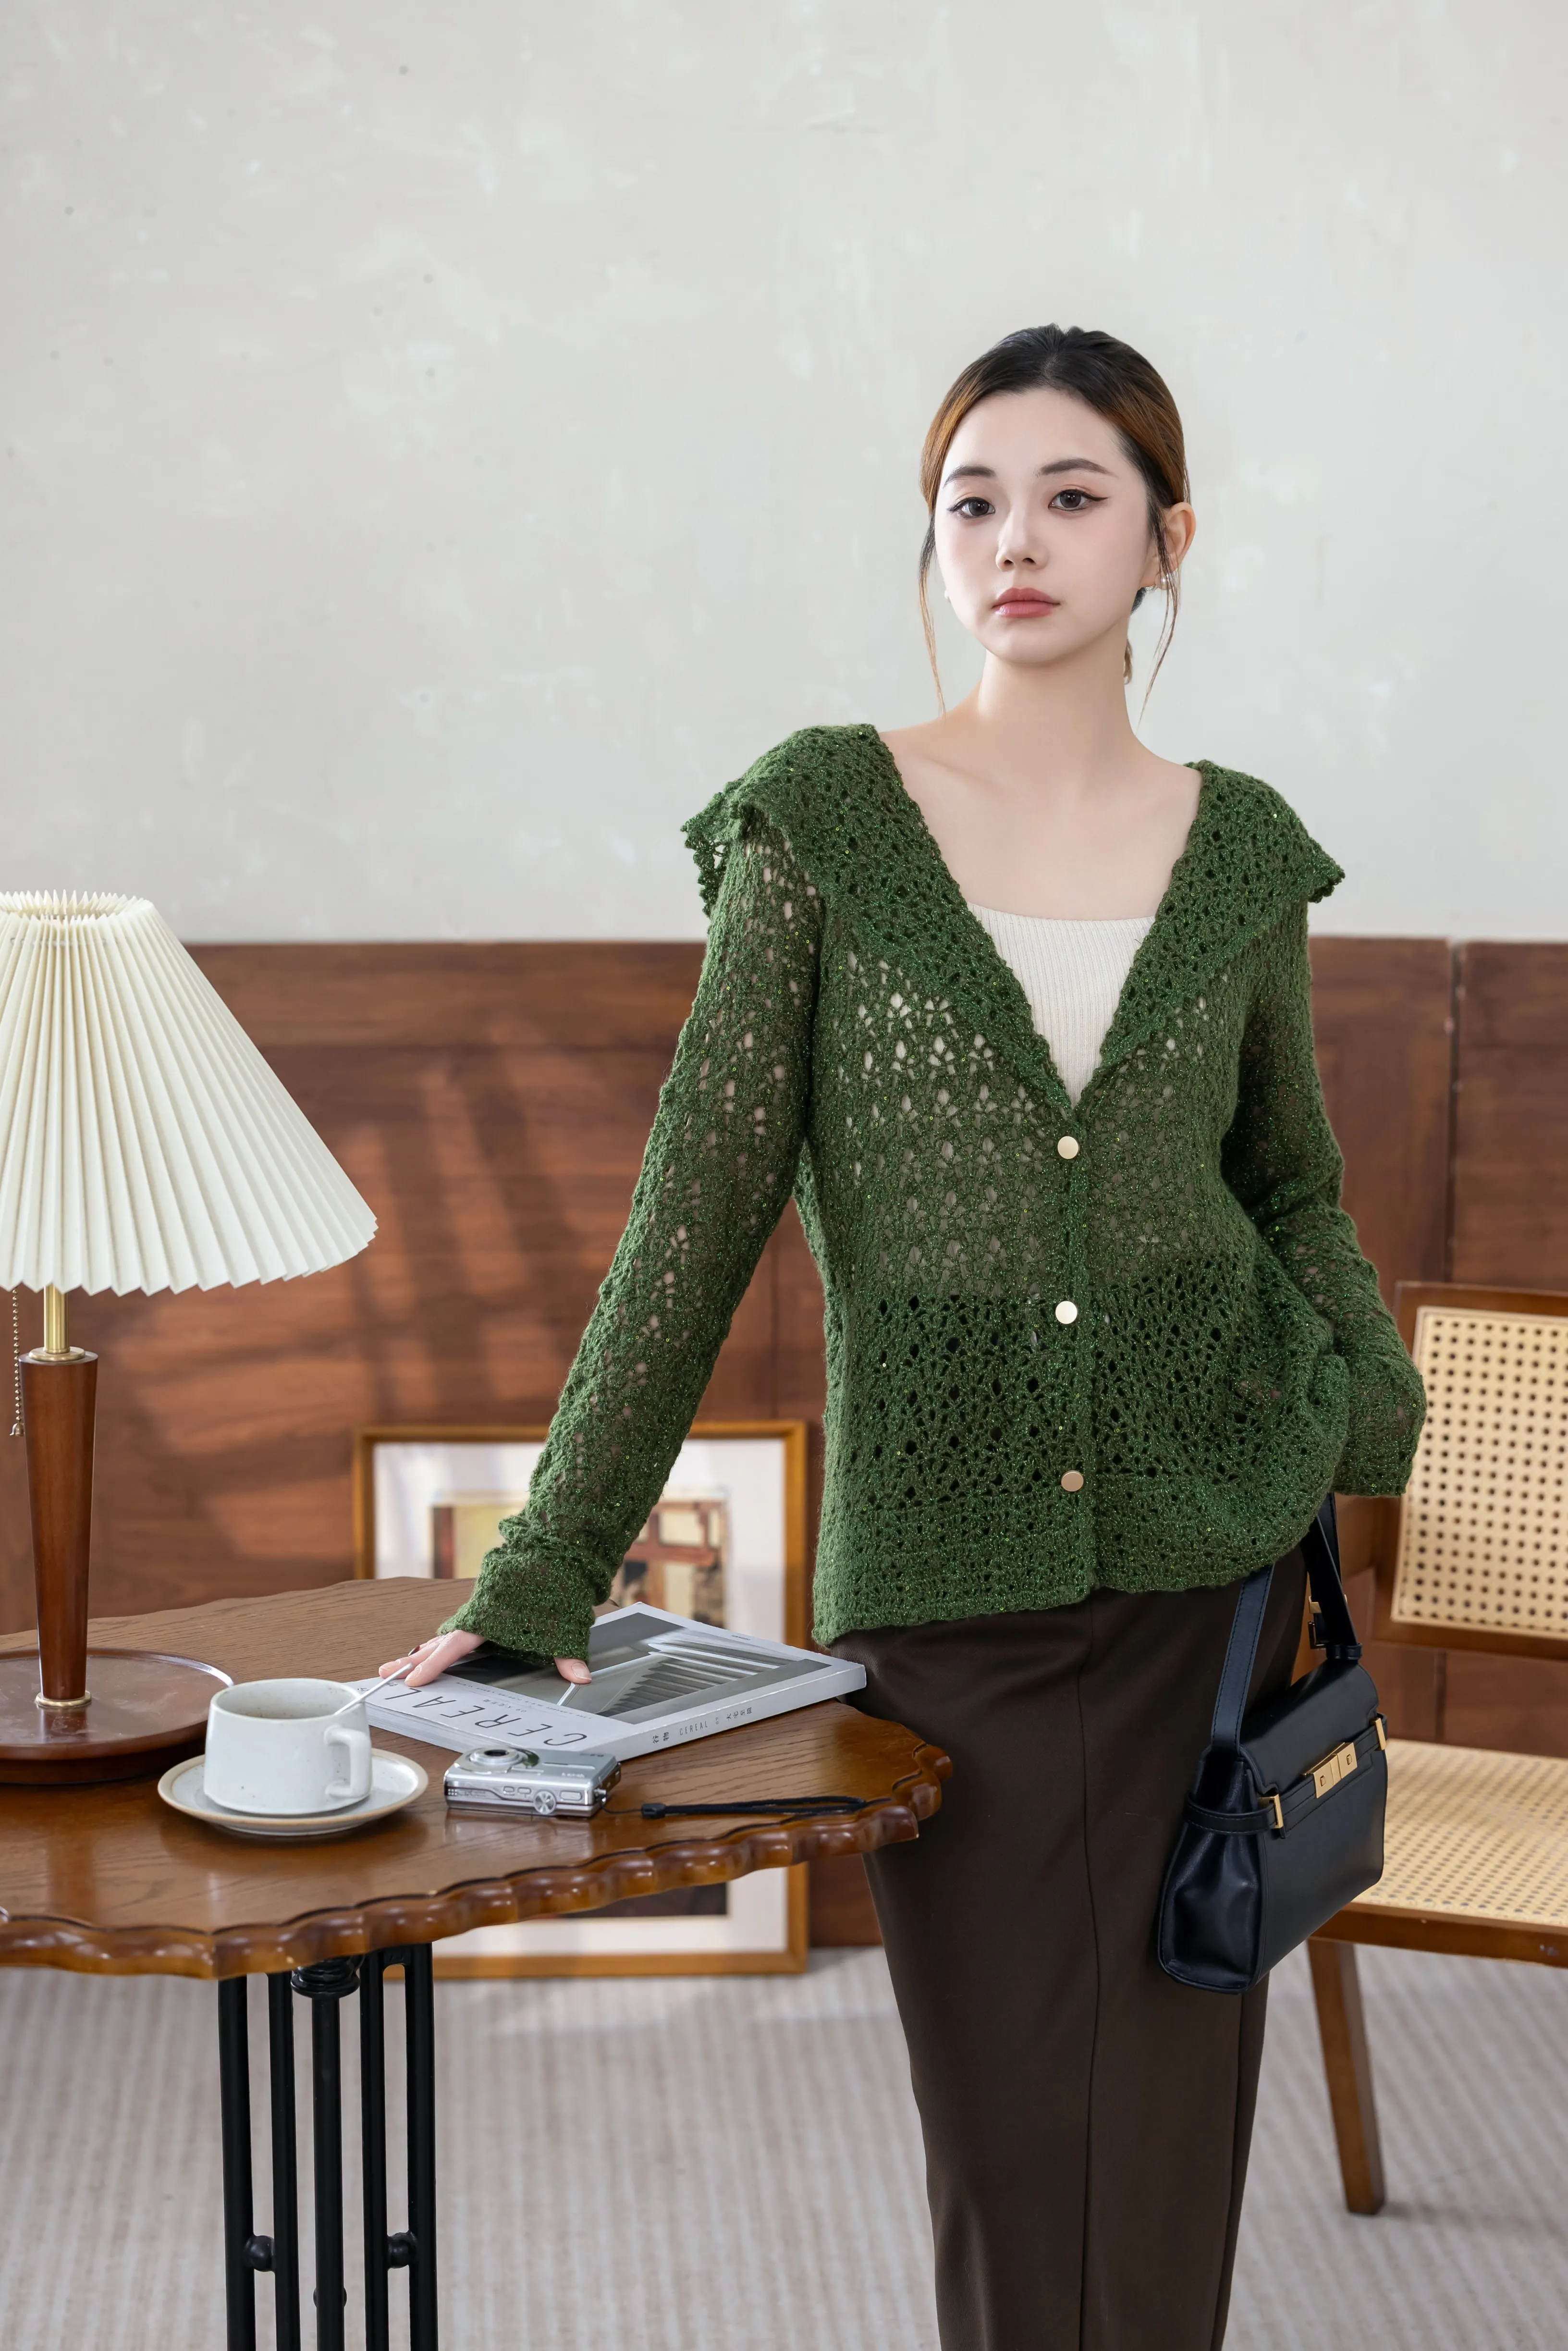
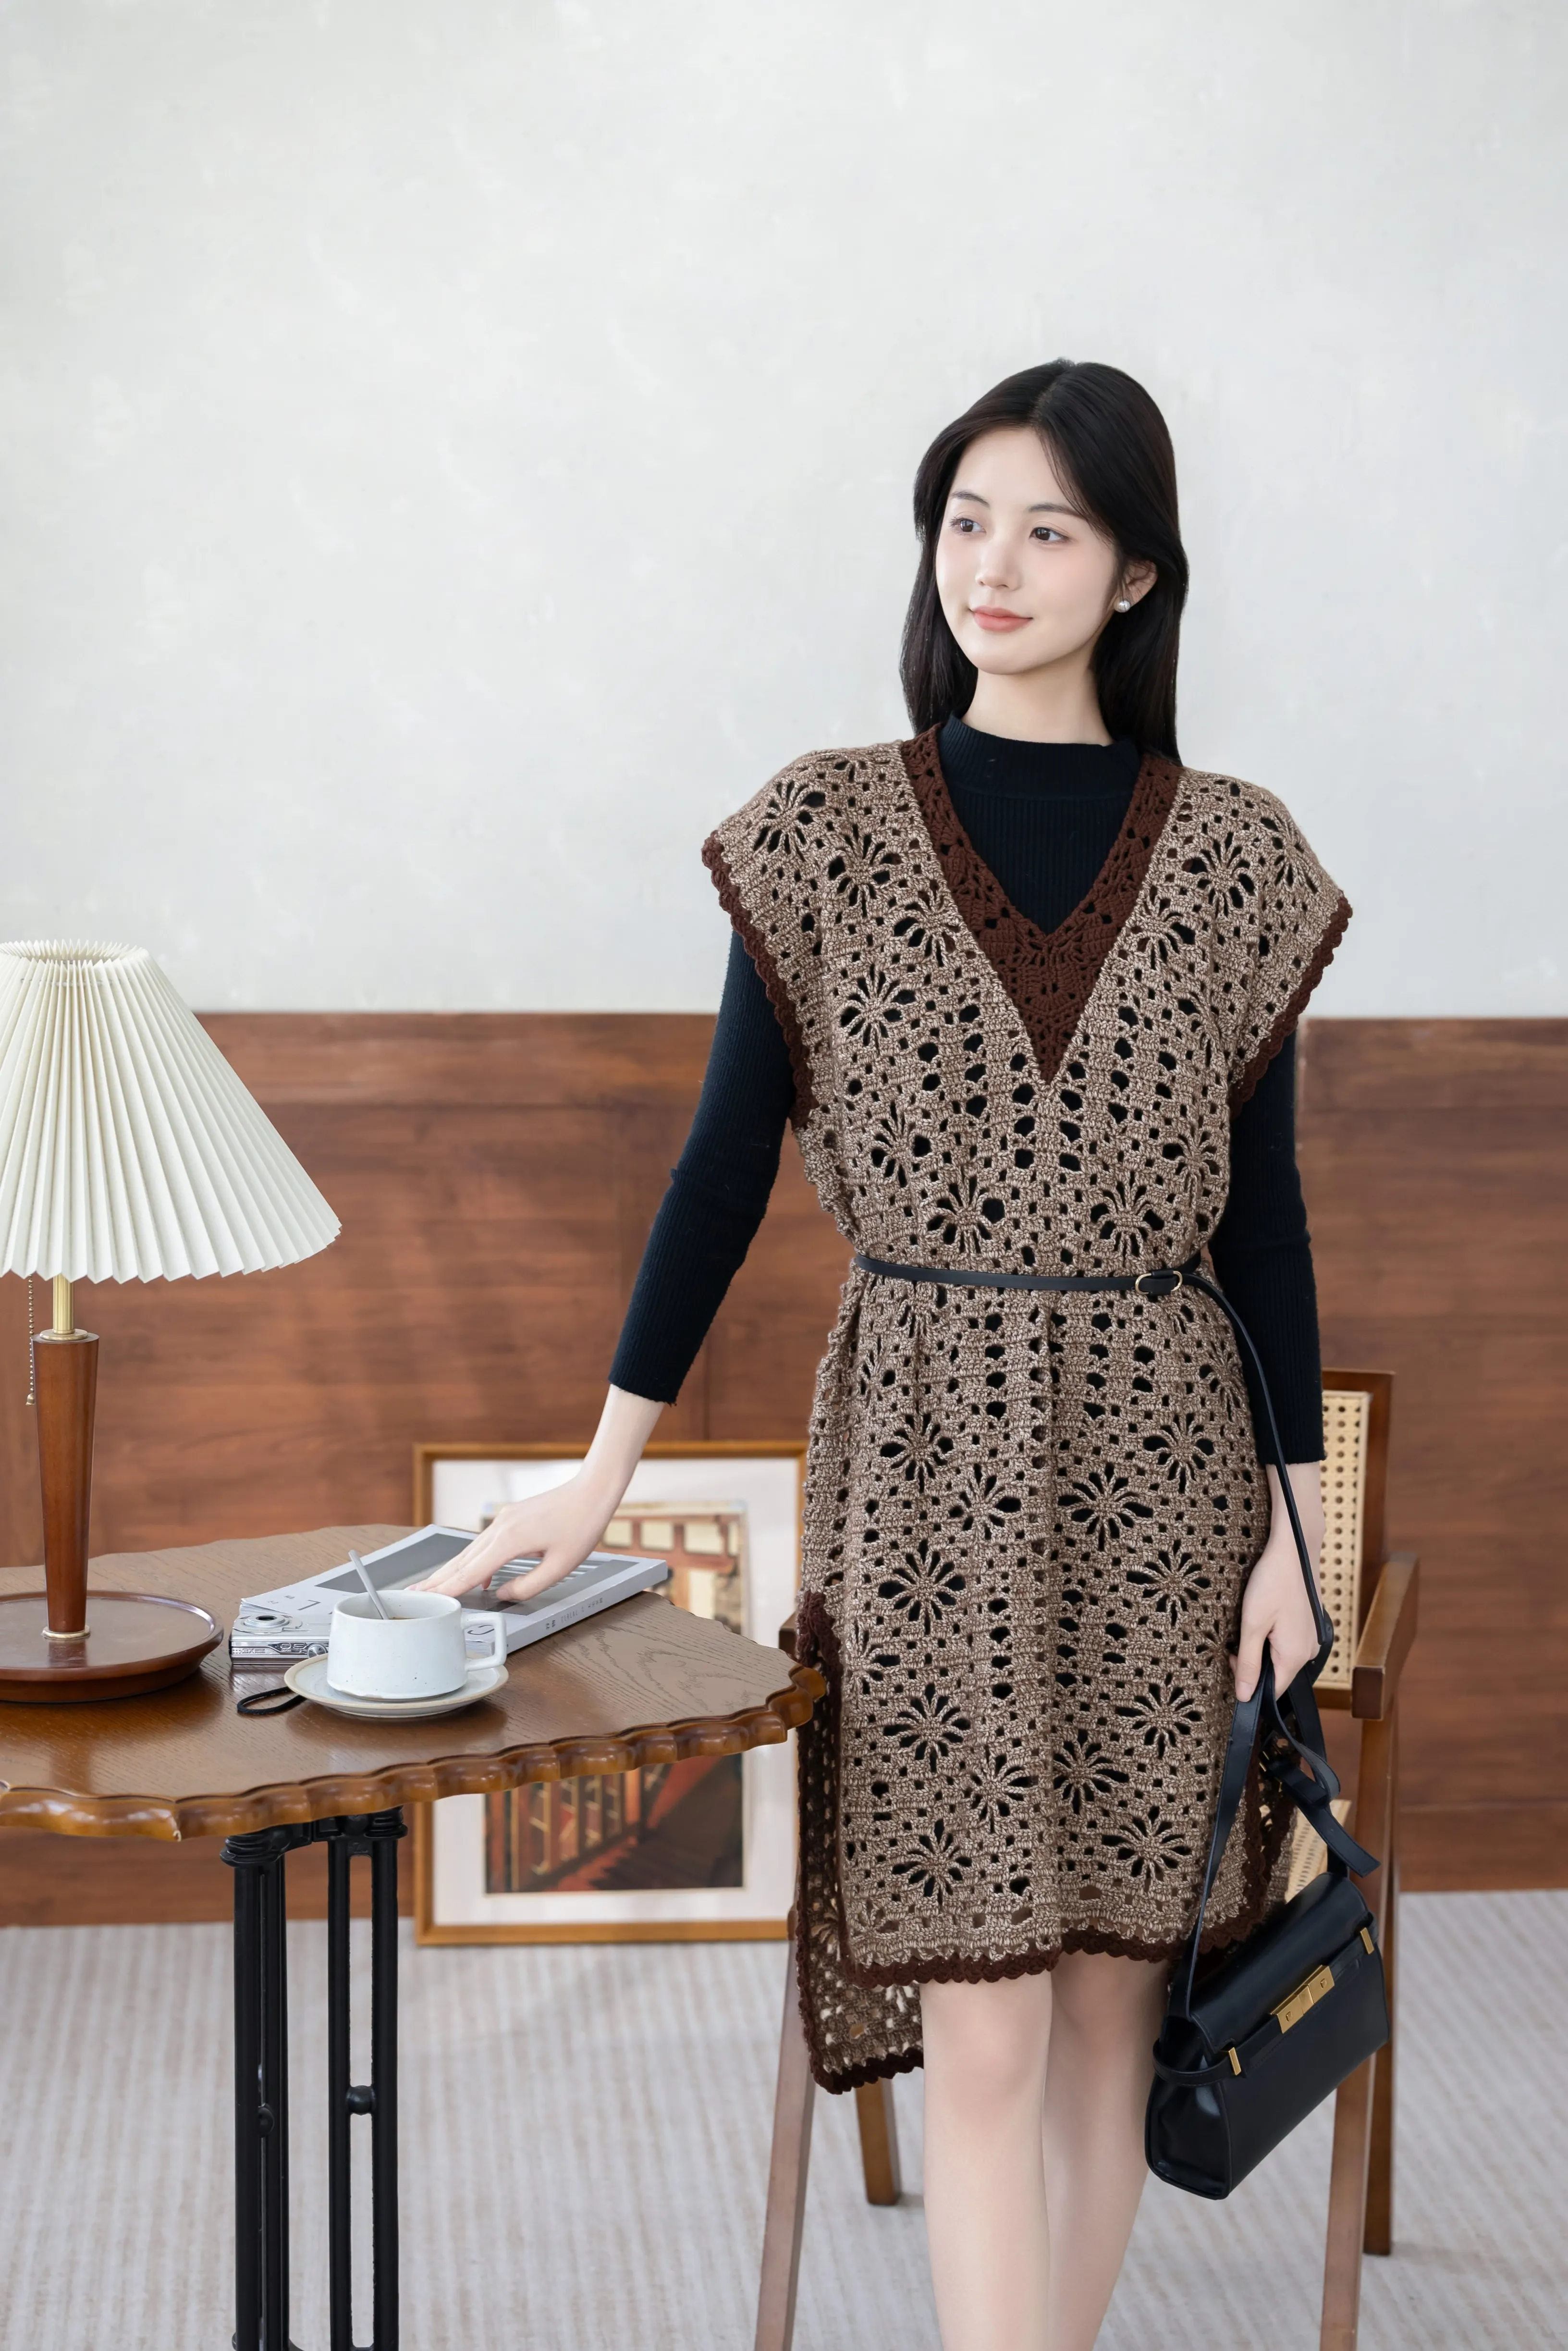
Project preview
See the finished project
Pattern format
Instructions
Watch and follow
Video tutorial
| Style | Yarn | Color |
|---|---|---|
| Winter Twilight Version | Morandi 6# |  06#Pearl Pink 06#Pearl Pink |
| Monet Impression |  02#Winter Twilight 02#Winter Twilight | |
| Hibiscus Version | Morandi 6# |  17#Mauve Chalk 17#Mauve Chalk |
| Monet Impression | 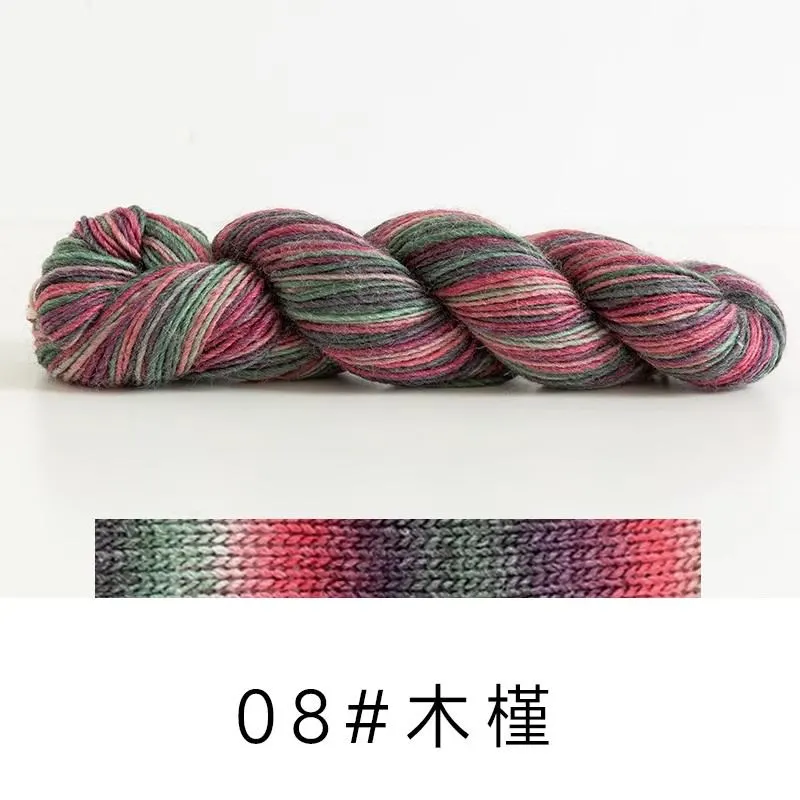 08#Hibiscus 08#Hibiscus | |
| Lotus Hush Version | Morandi 6# |  01#Whisper White 01#Whisper White |
| Monet Impression |  06#Lotus Hush 06#Lotus Hush | |
| Waterlilies Version | Morandi 6# | 01#Whisper White |
| Monet Impression |  09#Waterlilies 09#Waterlilies |
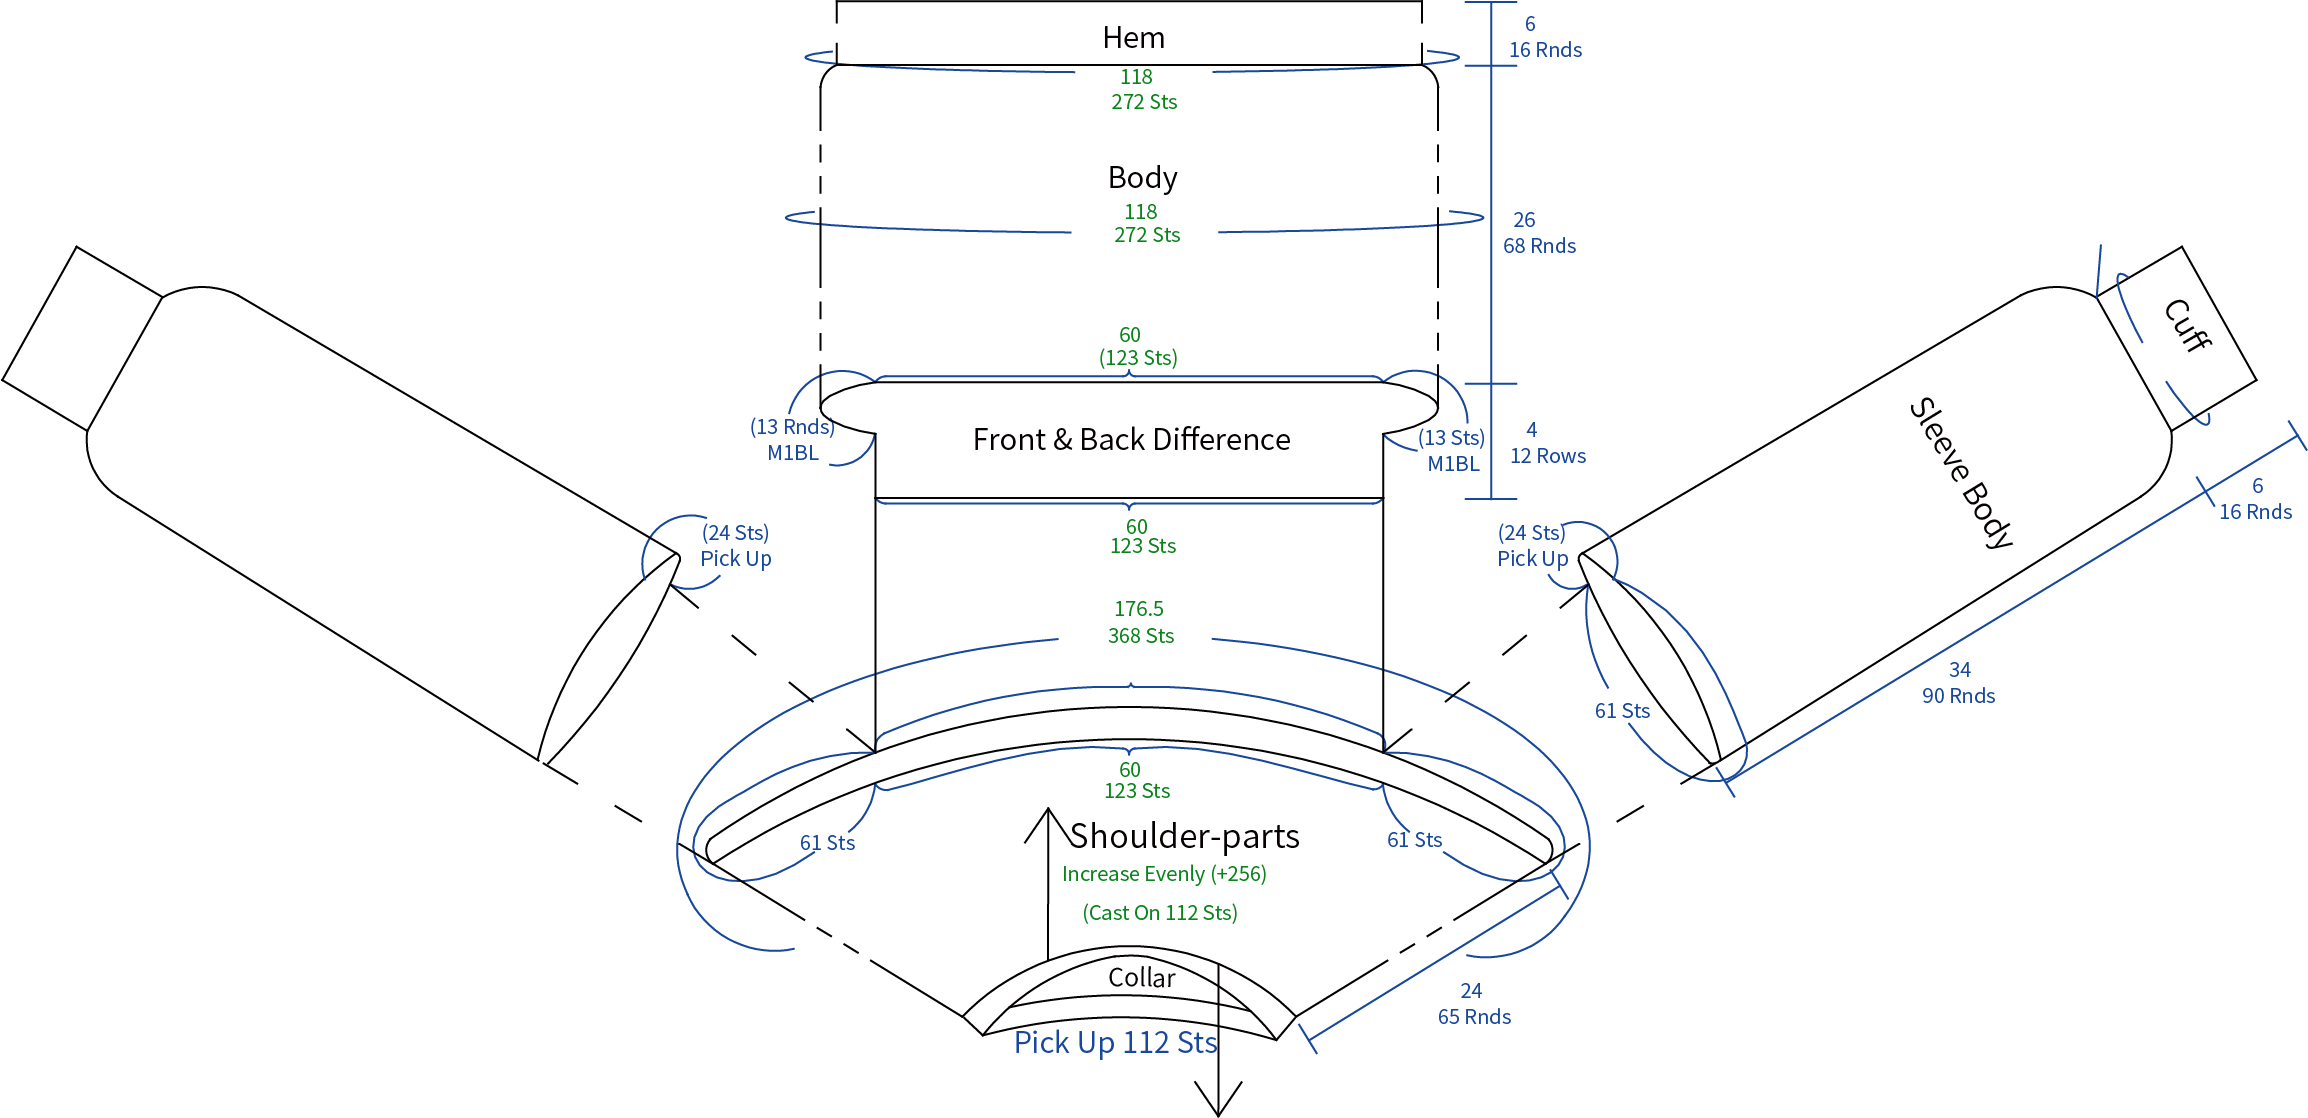
This sweater is divided into several parts: shoulder-parts, front and back difference, body, hem, sleeves, and collar. First, knit the parts from the shoulder-parts downward to the bottom. After completing these sections, pick up strands to knit the collar.
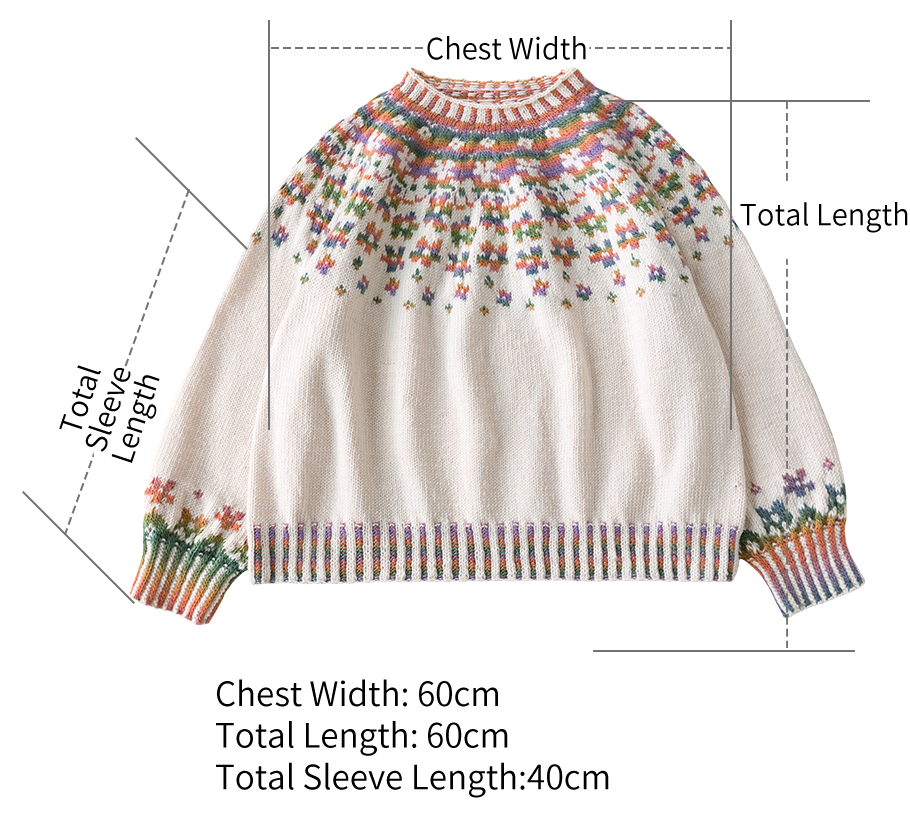
| ■ Yarn 1 | Monet Impression |
| ■ Yarn 2 | Morandi 6# |
The handcrafted measurements may have an error, the size of the sample is for reference only.
Materials: Morandi 6# & Monet Impression
Tool: 8#-4.00 mm Circular Needles /Double Pointed Needles
Stockinette Gauge: 10 cm x 10 cm = 20 Sts x 27 Rows

Chart Key





Note: This pattern is making in Chinese crochet pattern terms, and the stitch name is written using American terminology. All measurements in charts are in cm.
Part 1 Shoulder-parts A 01' 14'' (Double Pointed Needles, Circular Needles)
Use the provisional cast on method to cast on. After completing the cast on, crochet in rounds. Please refer to the video demonstration for specifics.
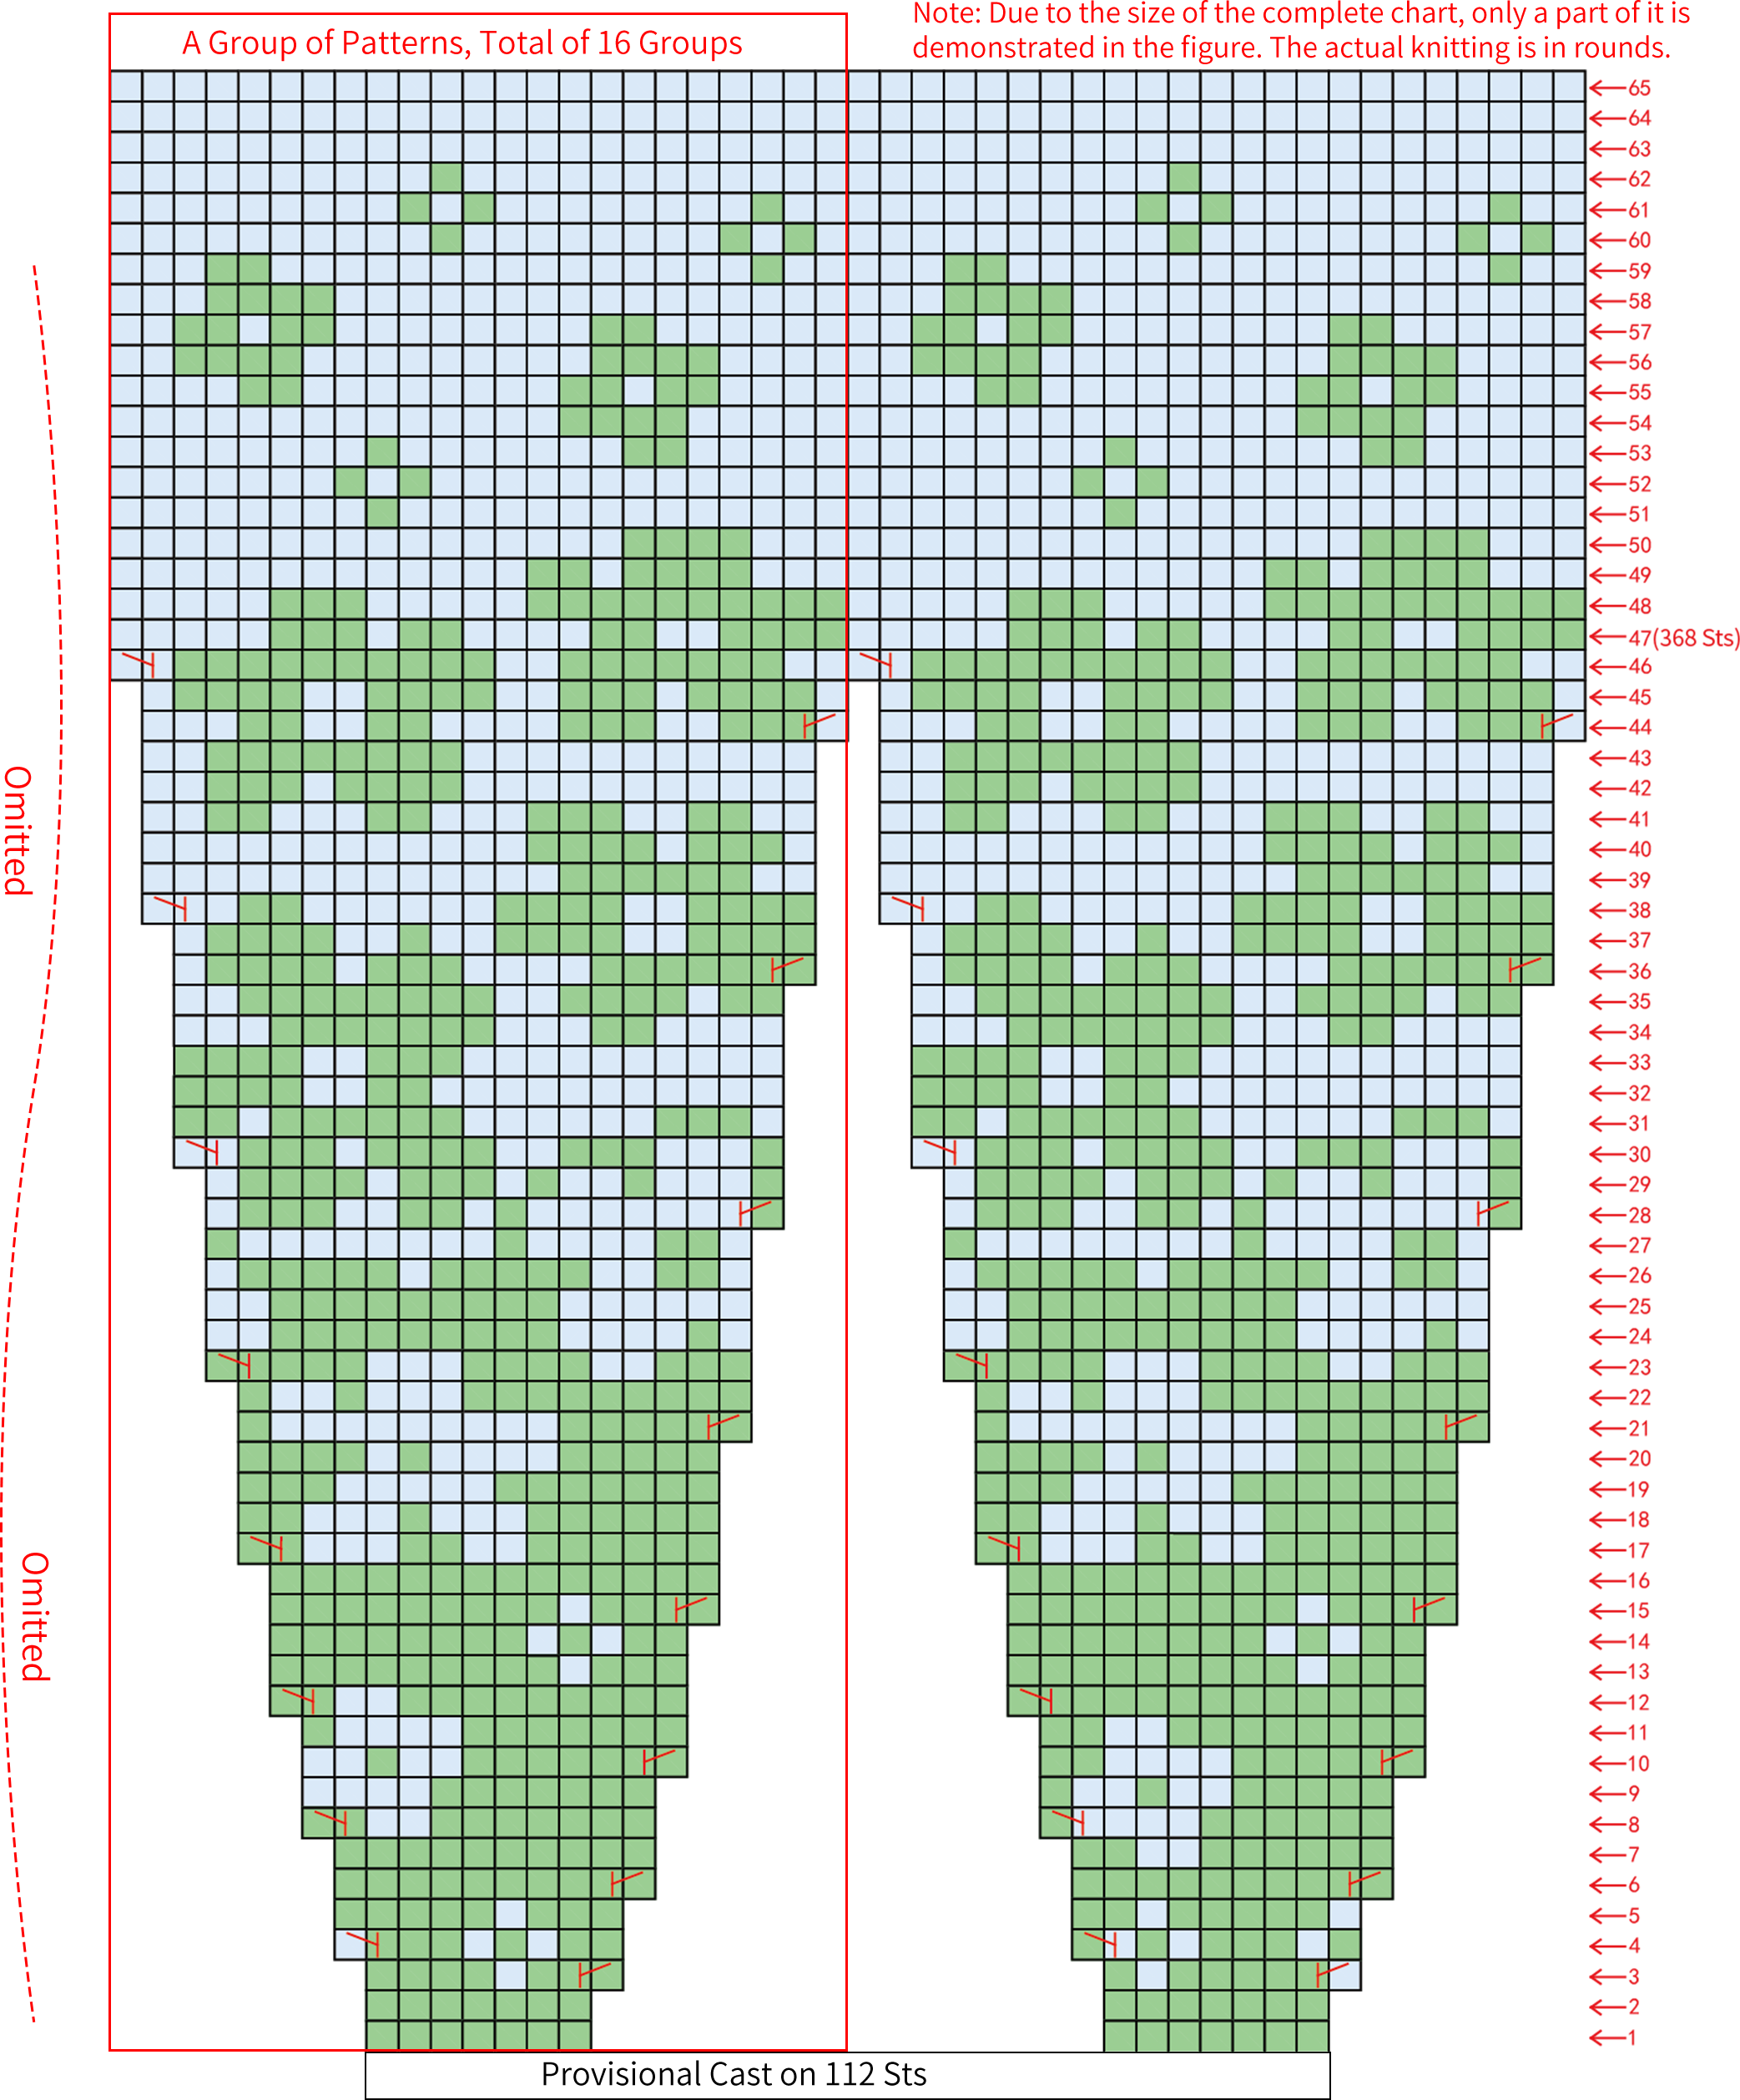
Part 2 Front & Back Difference B 24' 22'' (Circular Needles)
The front and back difference is in the shoulder part area, crochet back and forth. On the wrong side, you need to crochet the opposite stitch pattern as shown in the chart. For specifics, please refer to the video demonstration.
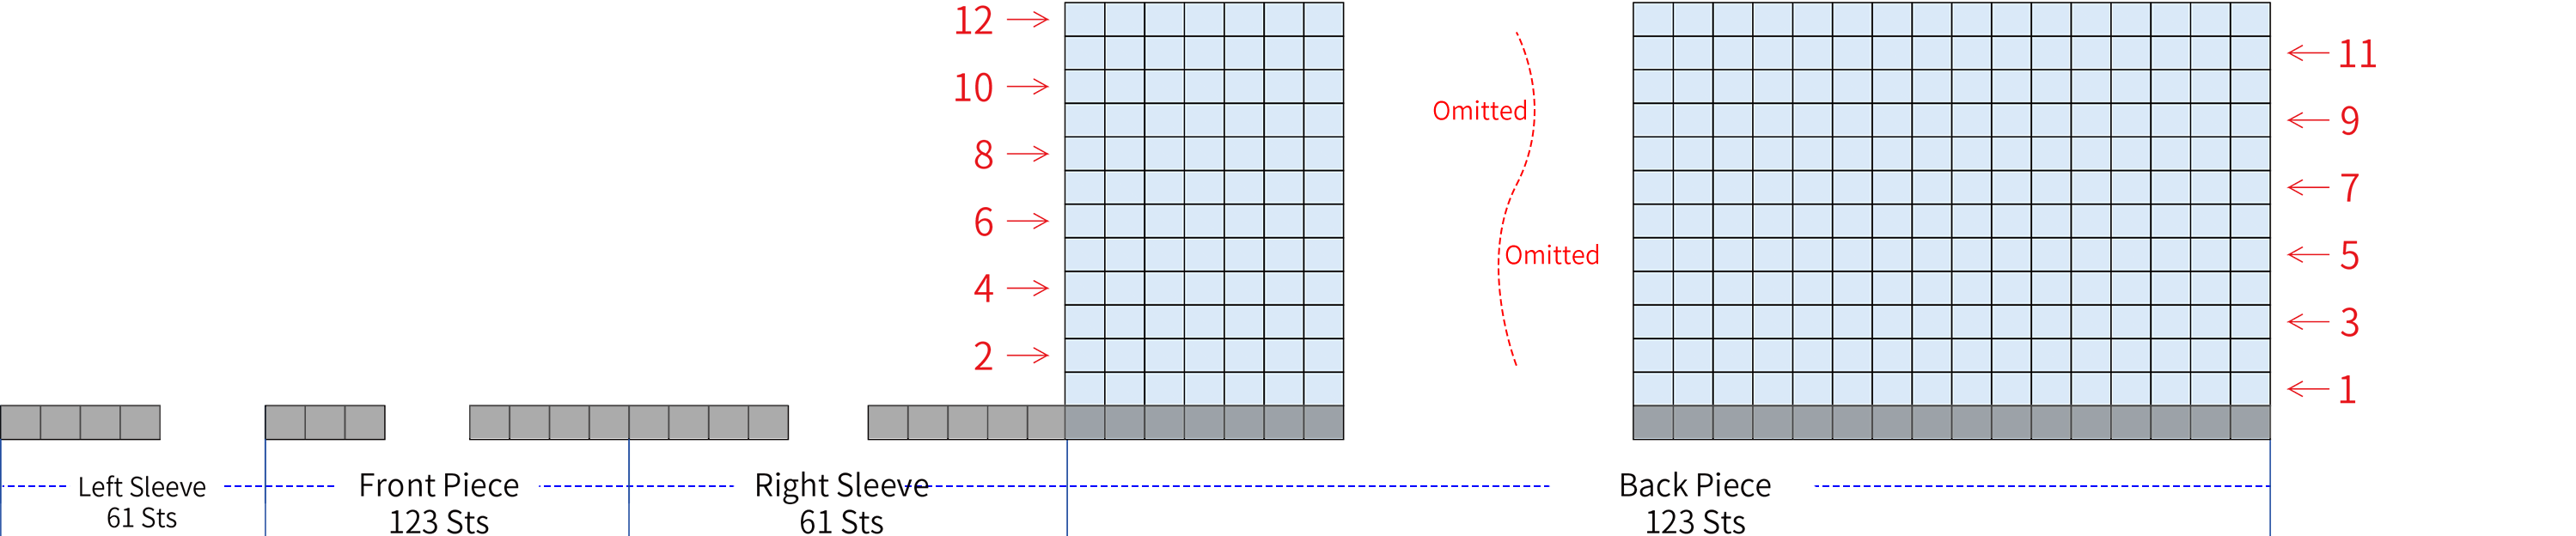
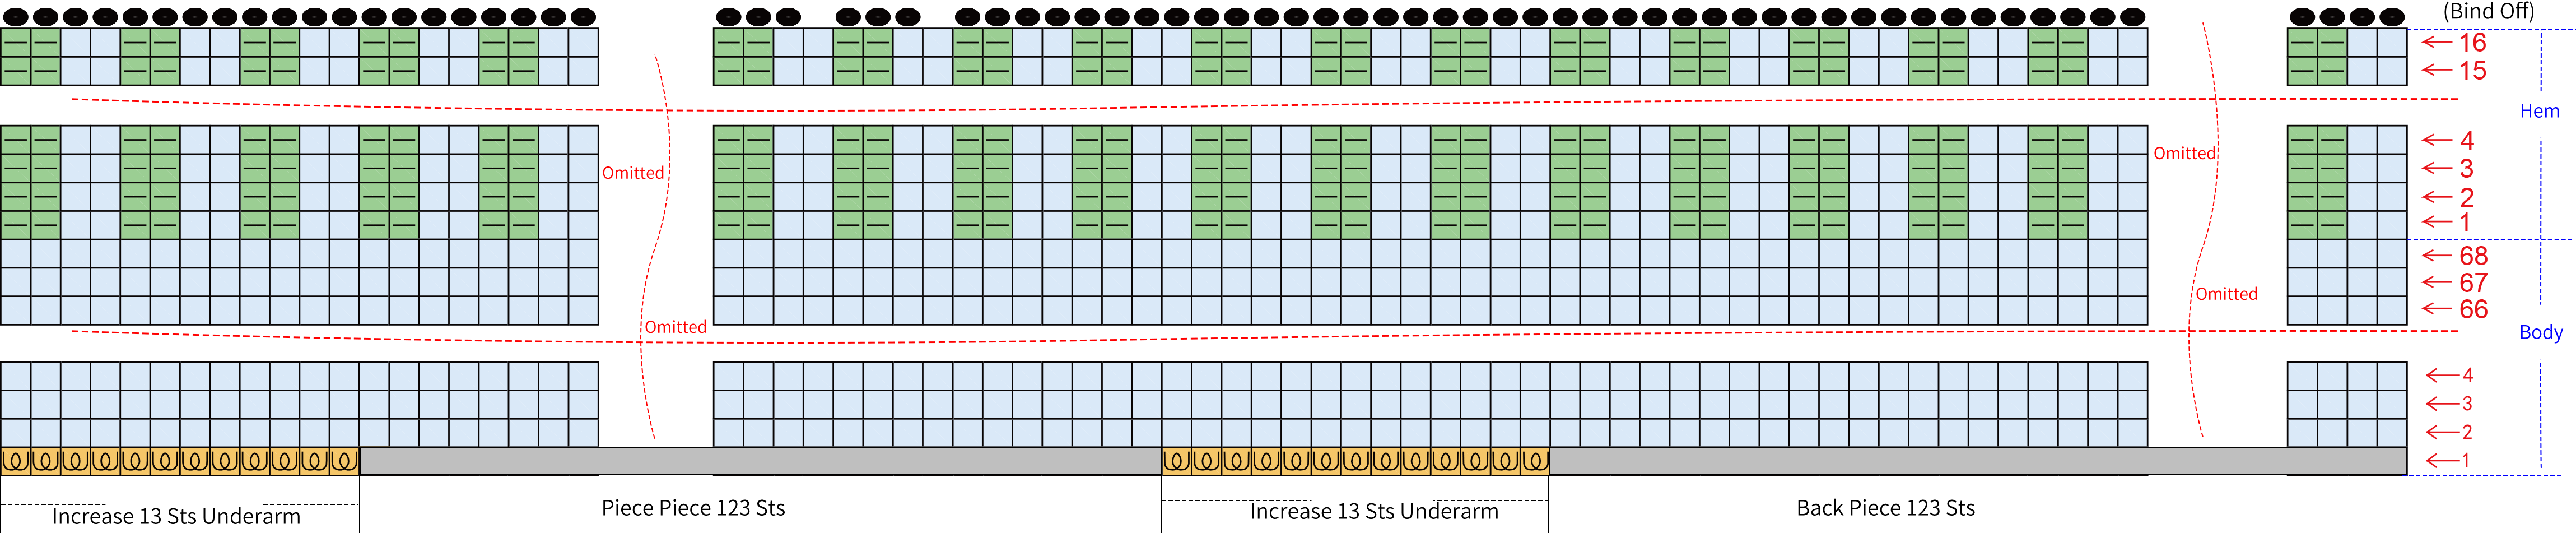
Part 3 Body C & Hem D 26' 03'' (Circular Needles)
For the front piece of the shoulder-parts, crochet in rounds around the front and back differences. You also need to increase stitches at the underarm position. Please refer to the video demonstration for specifics.
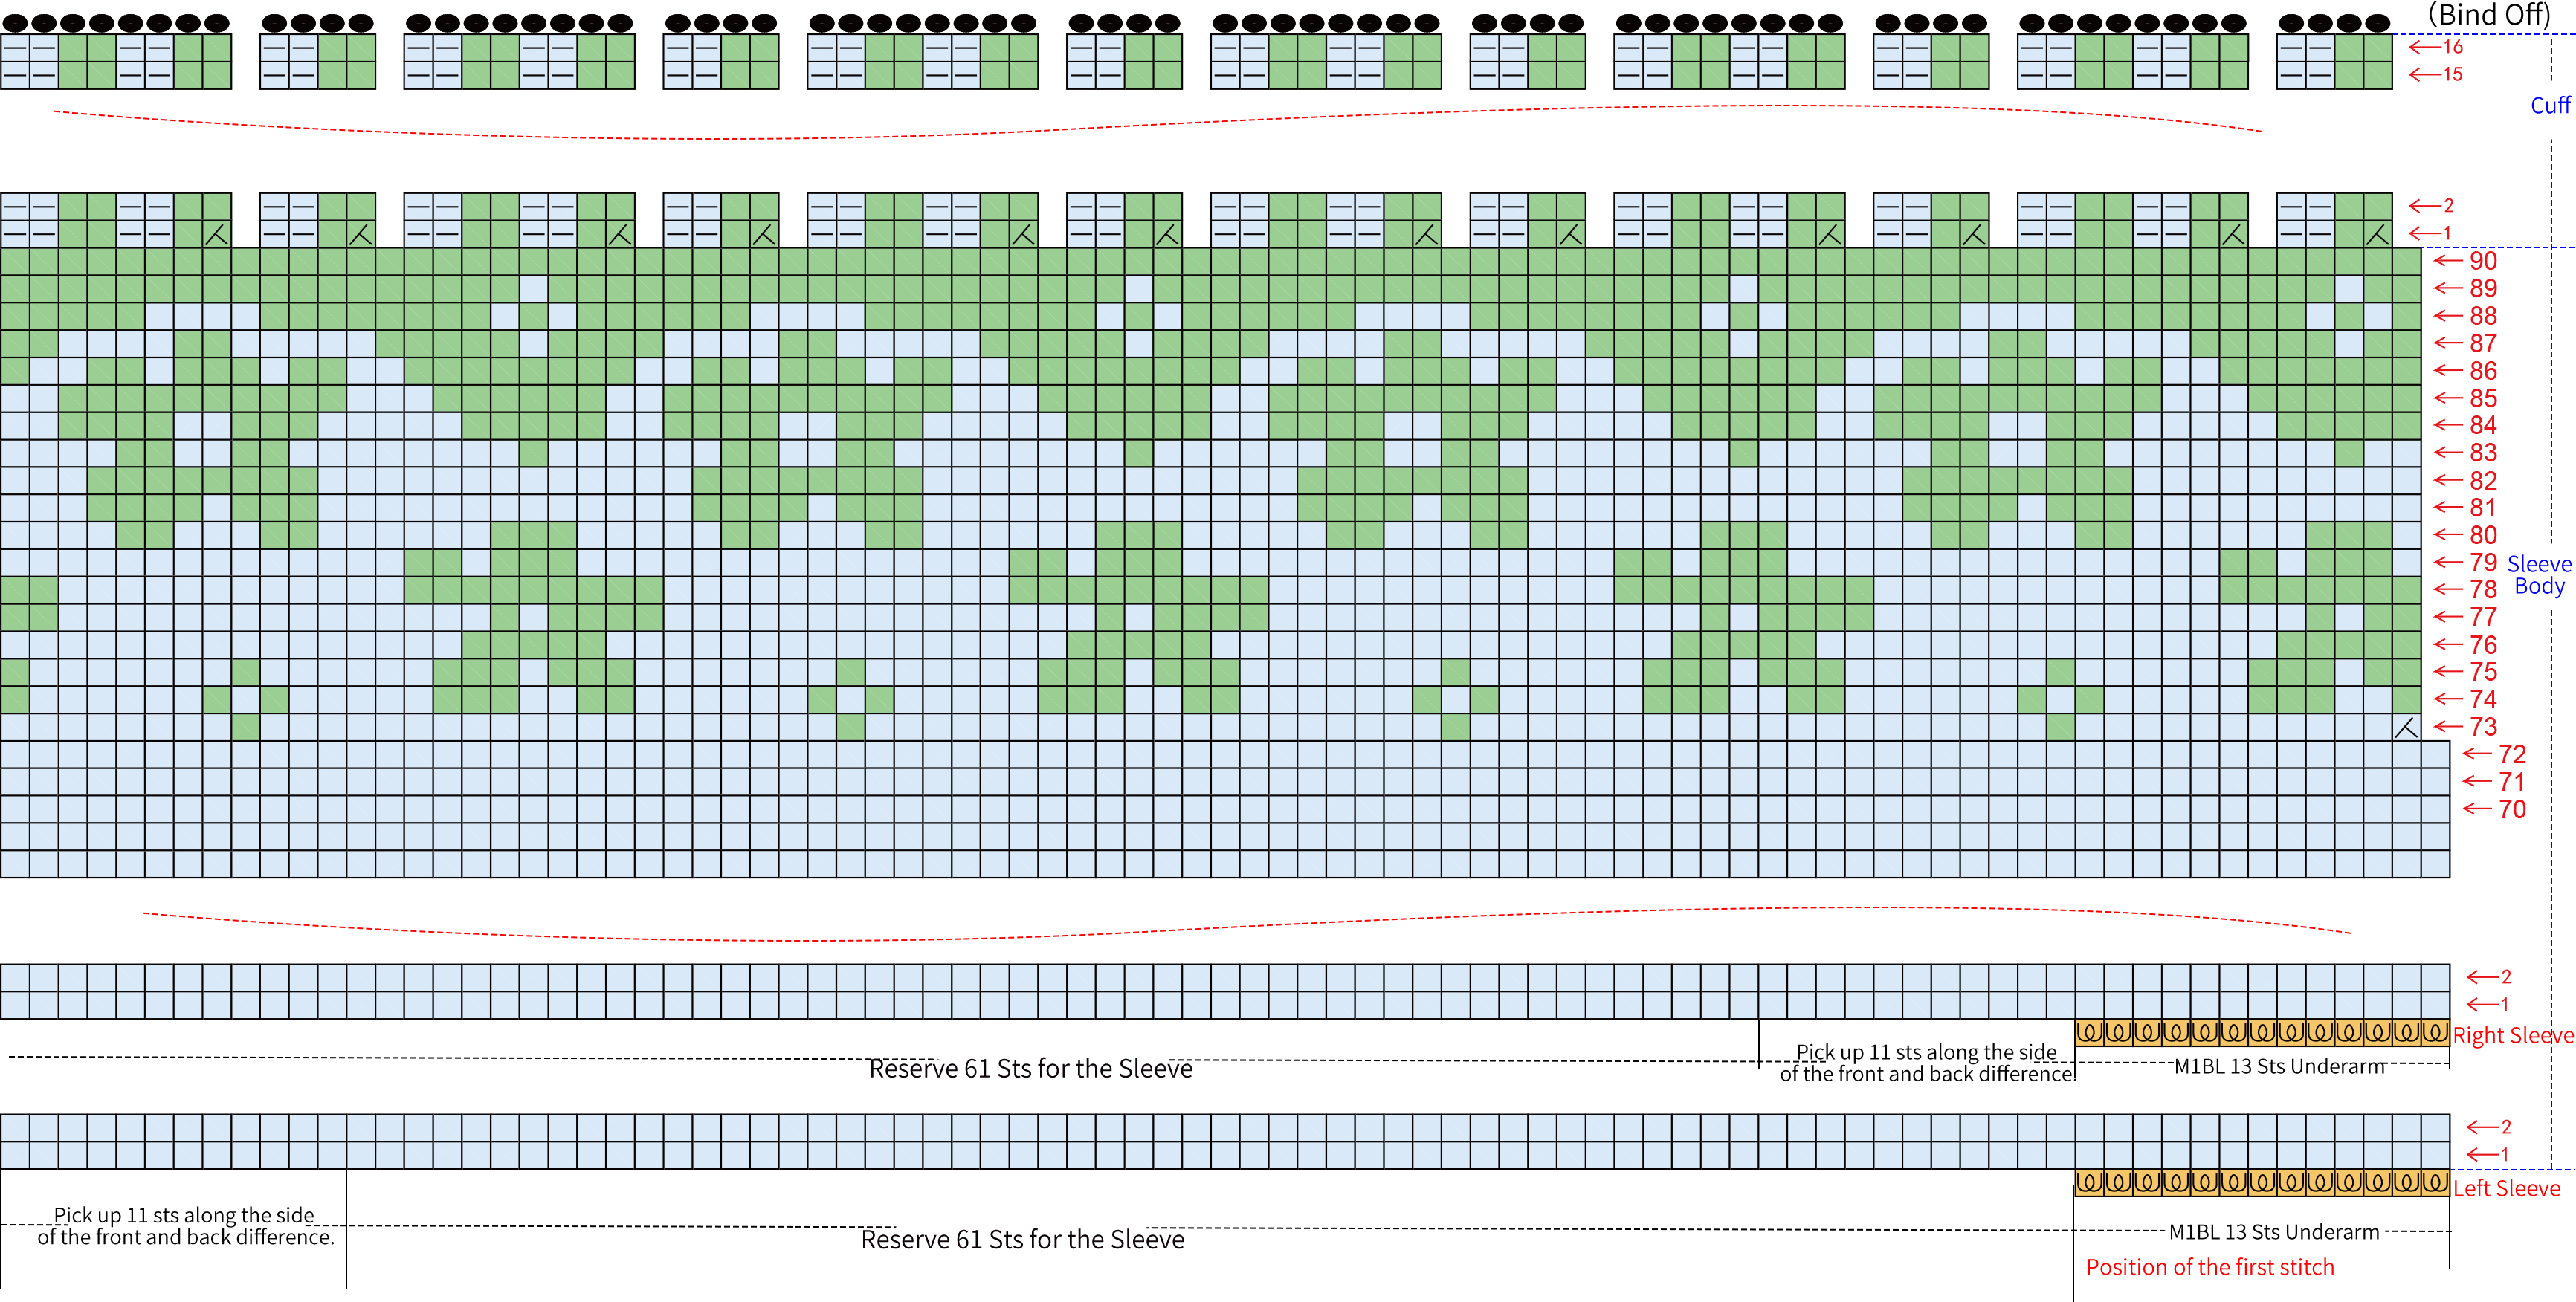
Part 4 Sleeves E 45' 46'' (Double Pointed Needles)
There are two sleeves. The method is similar. Both are divided into the sleeve body and the cuff. First, pick up stitches along the cuff position and crochet in rounds for the sleeve body. Then, knit the cuff. Please refer to the video demonstration for specifics.
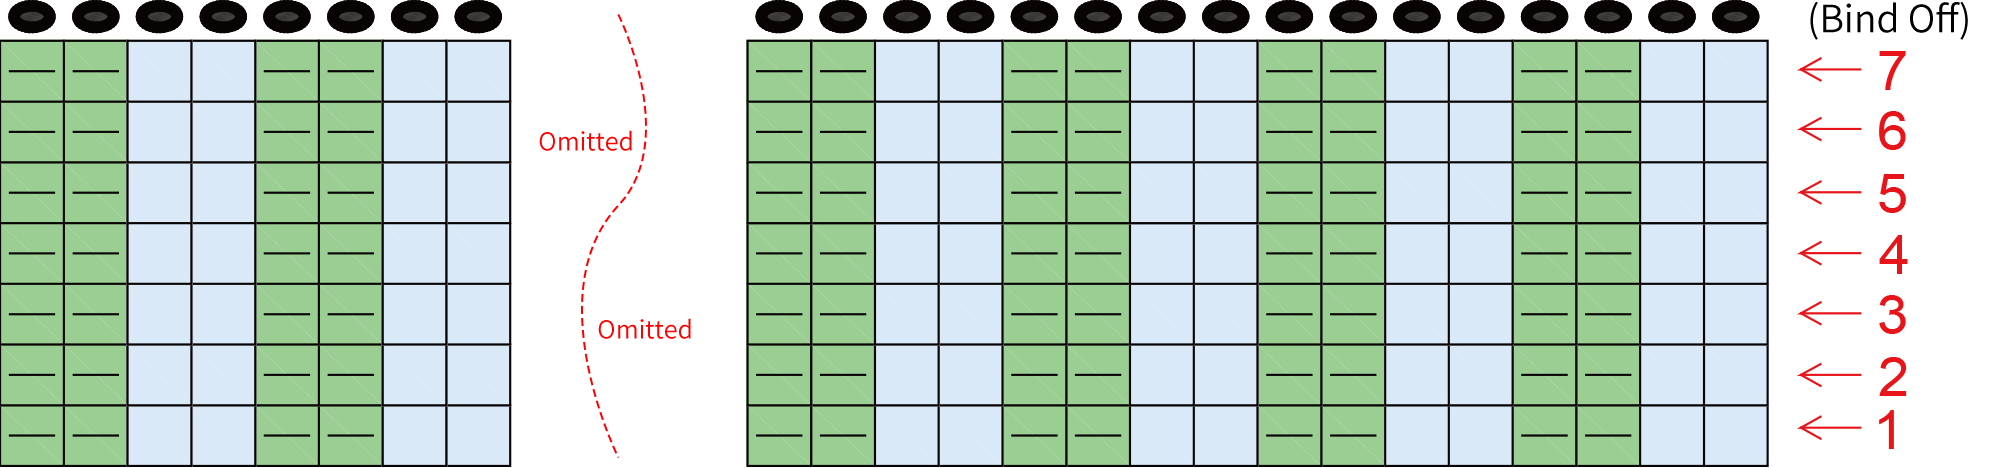
Part 5 Collar F 60' 01'' (Double Pointed Needles)
On the shoulder-parts cast on, pick up stitches and crochet in rounds with 2 by 2 ribbing. After completing, bind off. Please refer to the video demonstration for specifics.
Made by the community