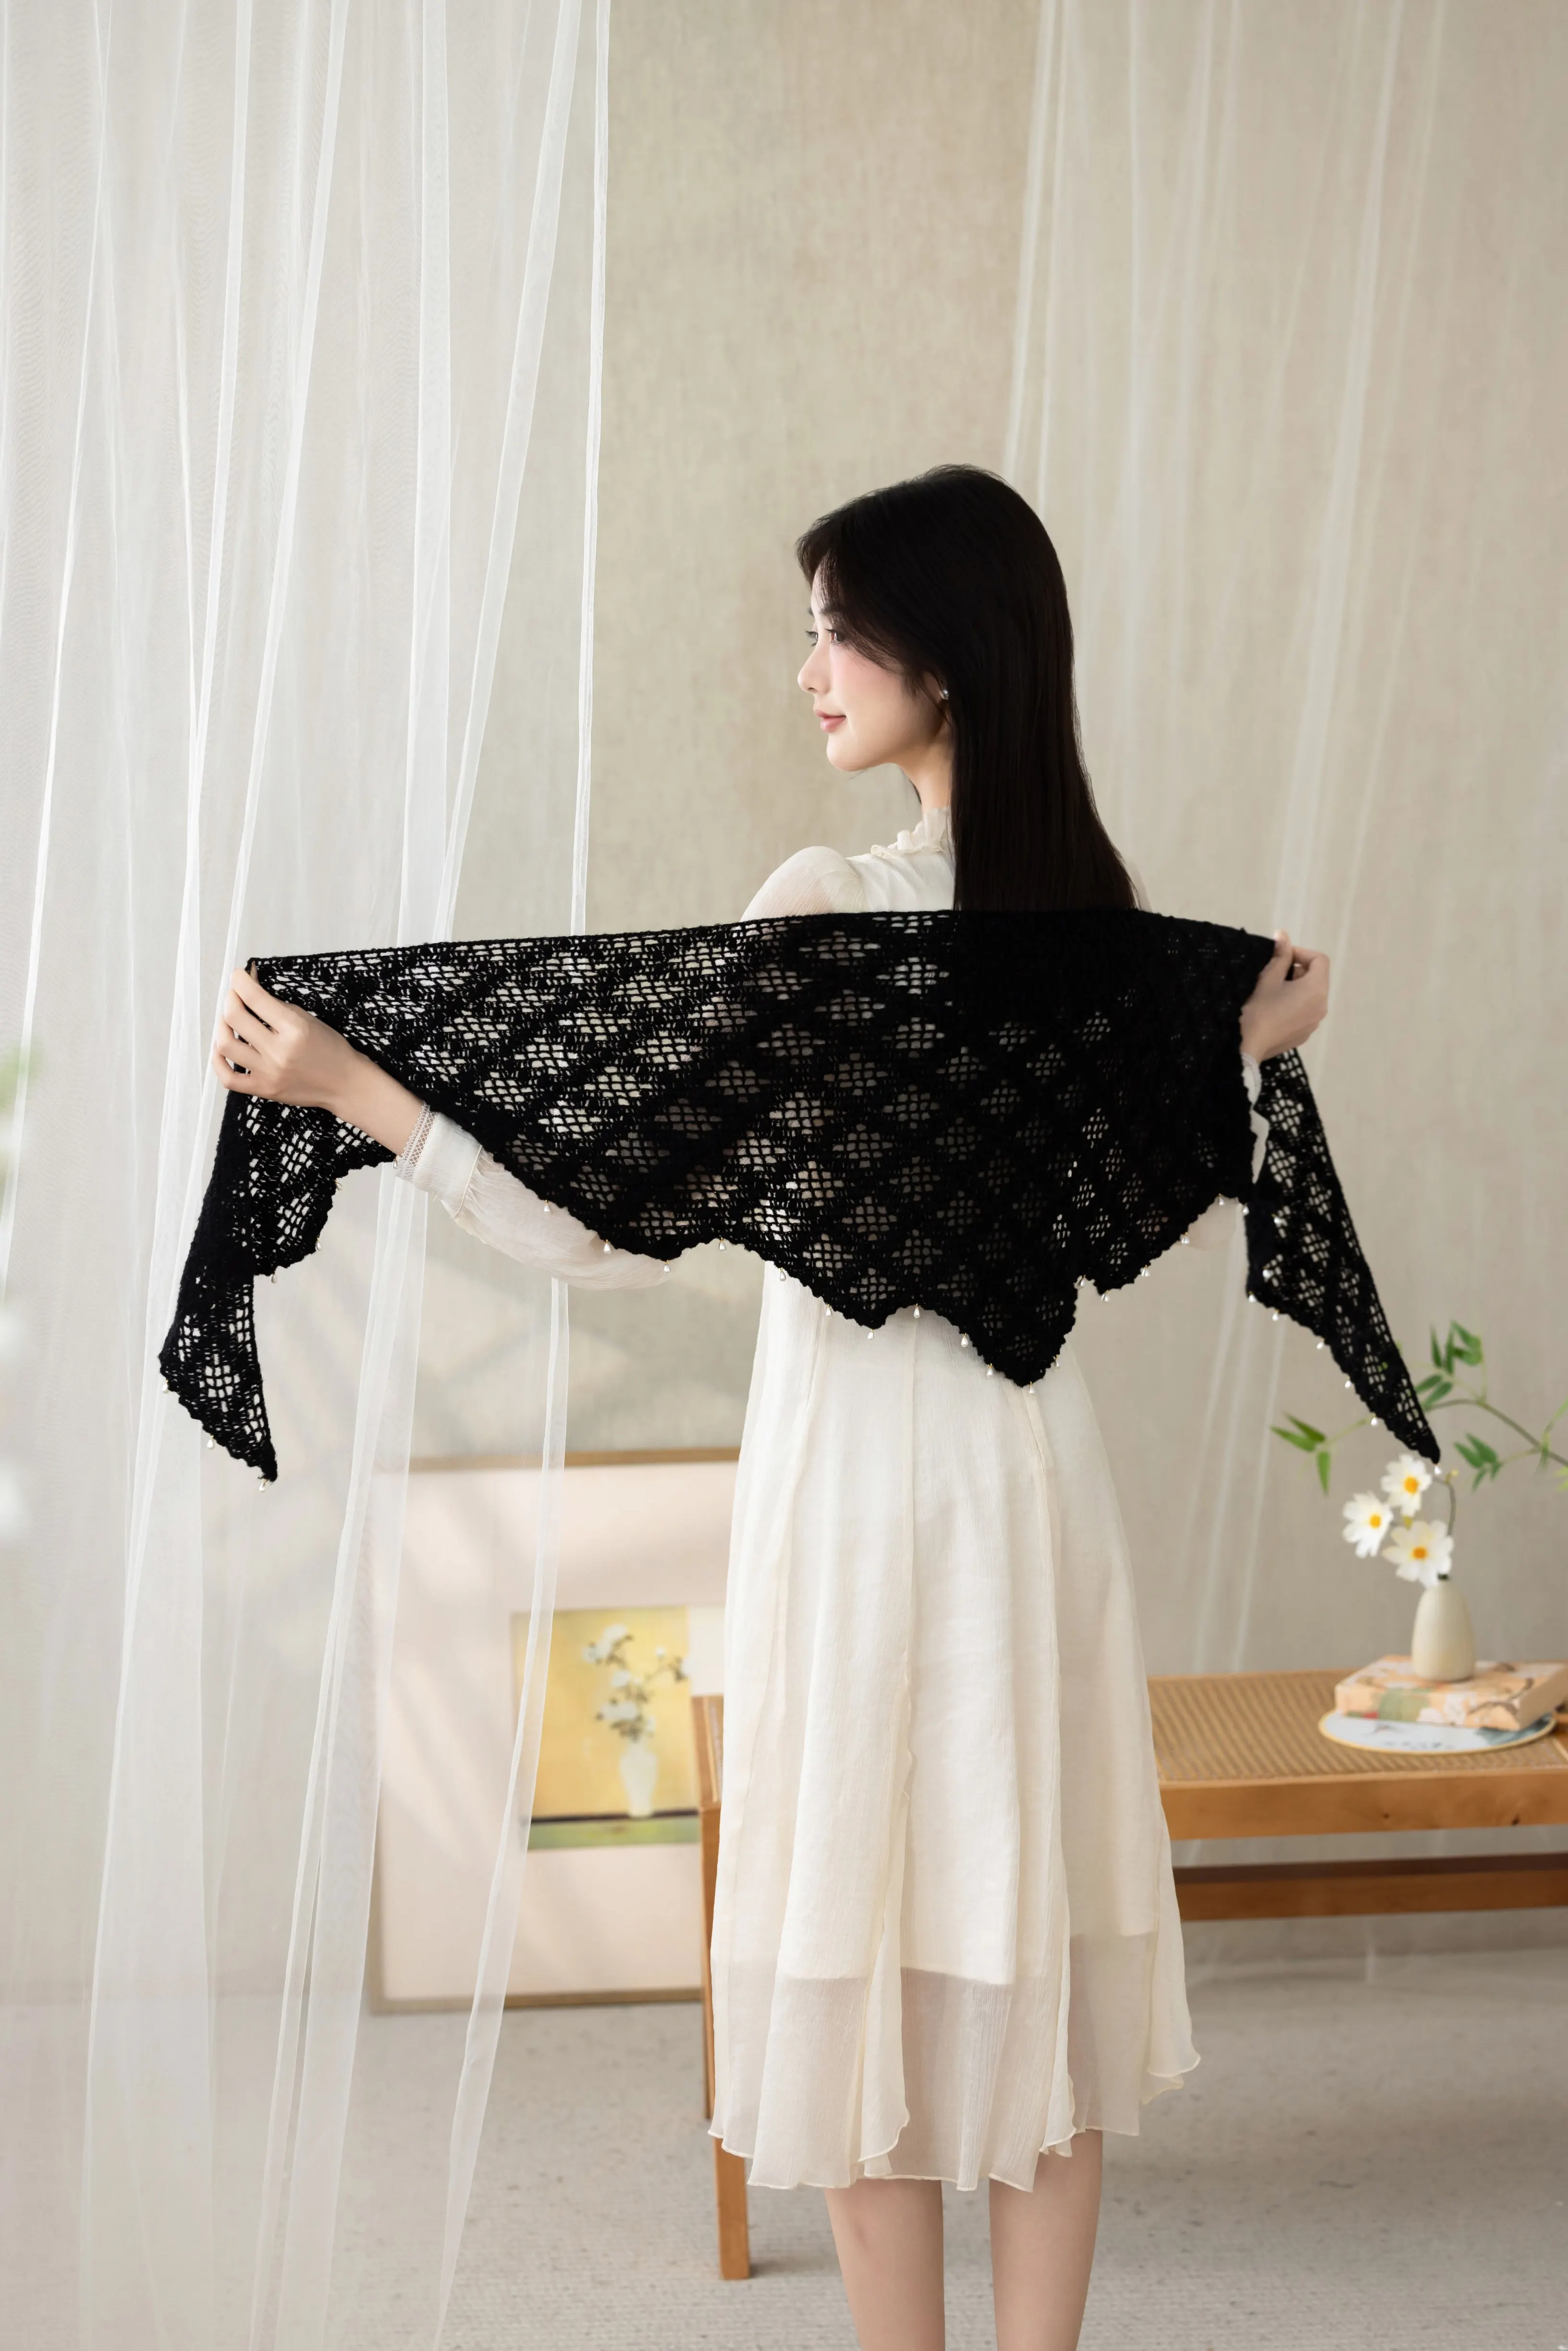
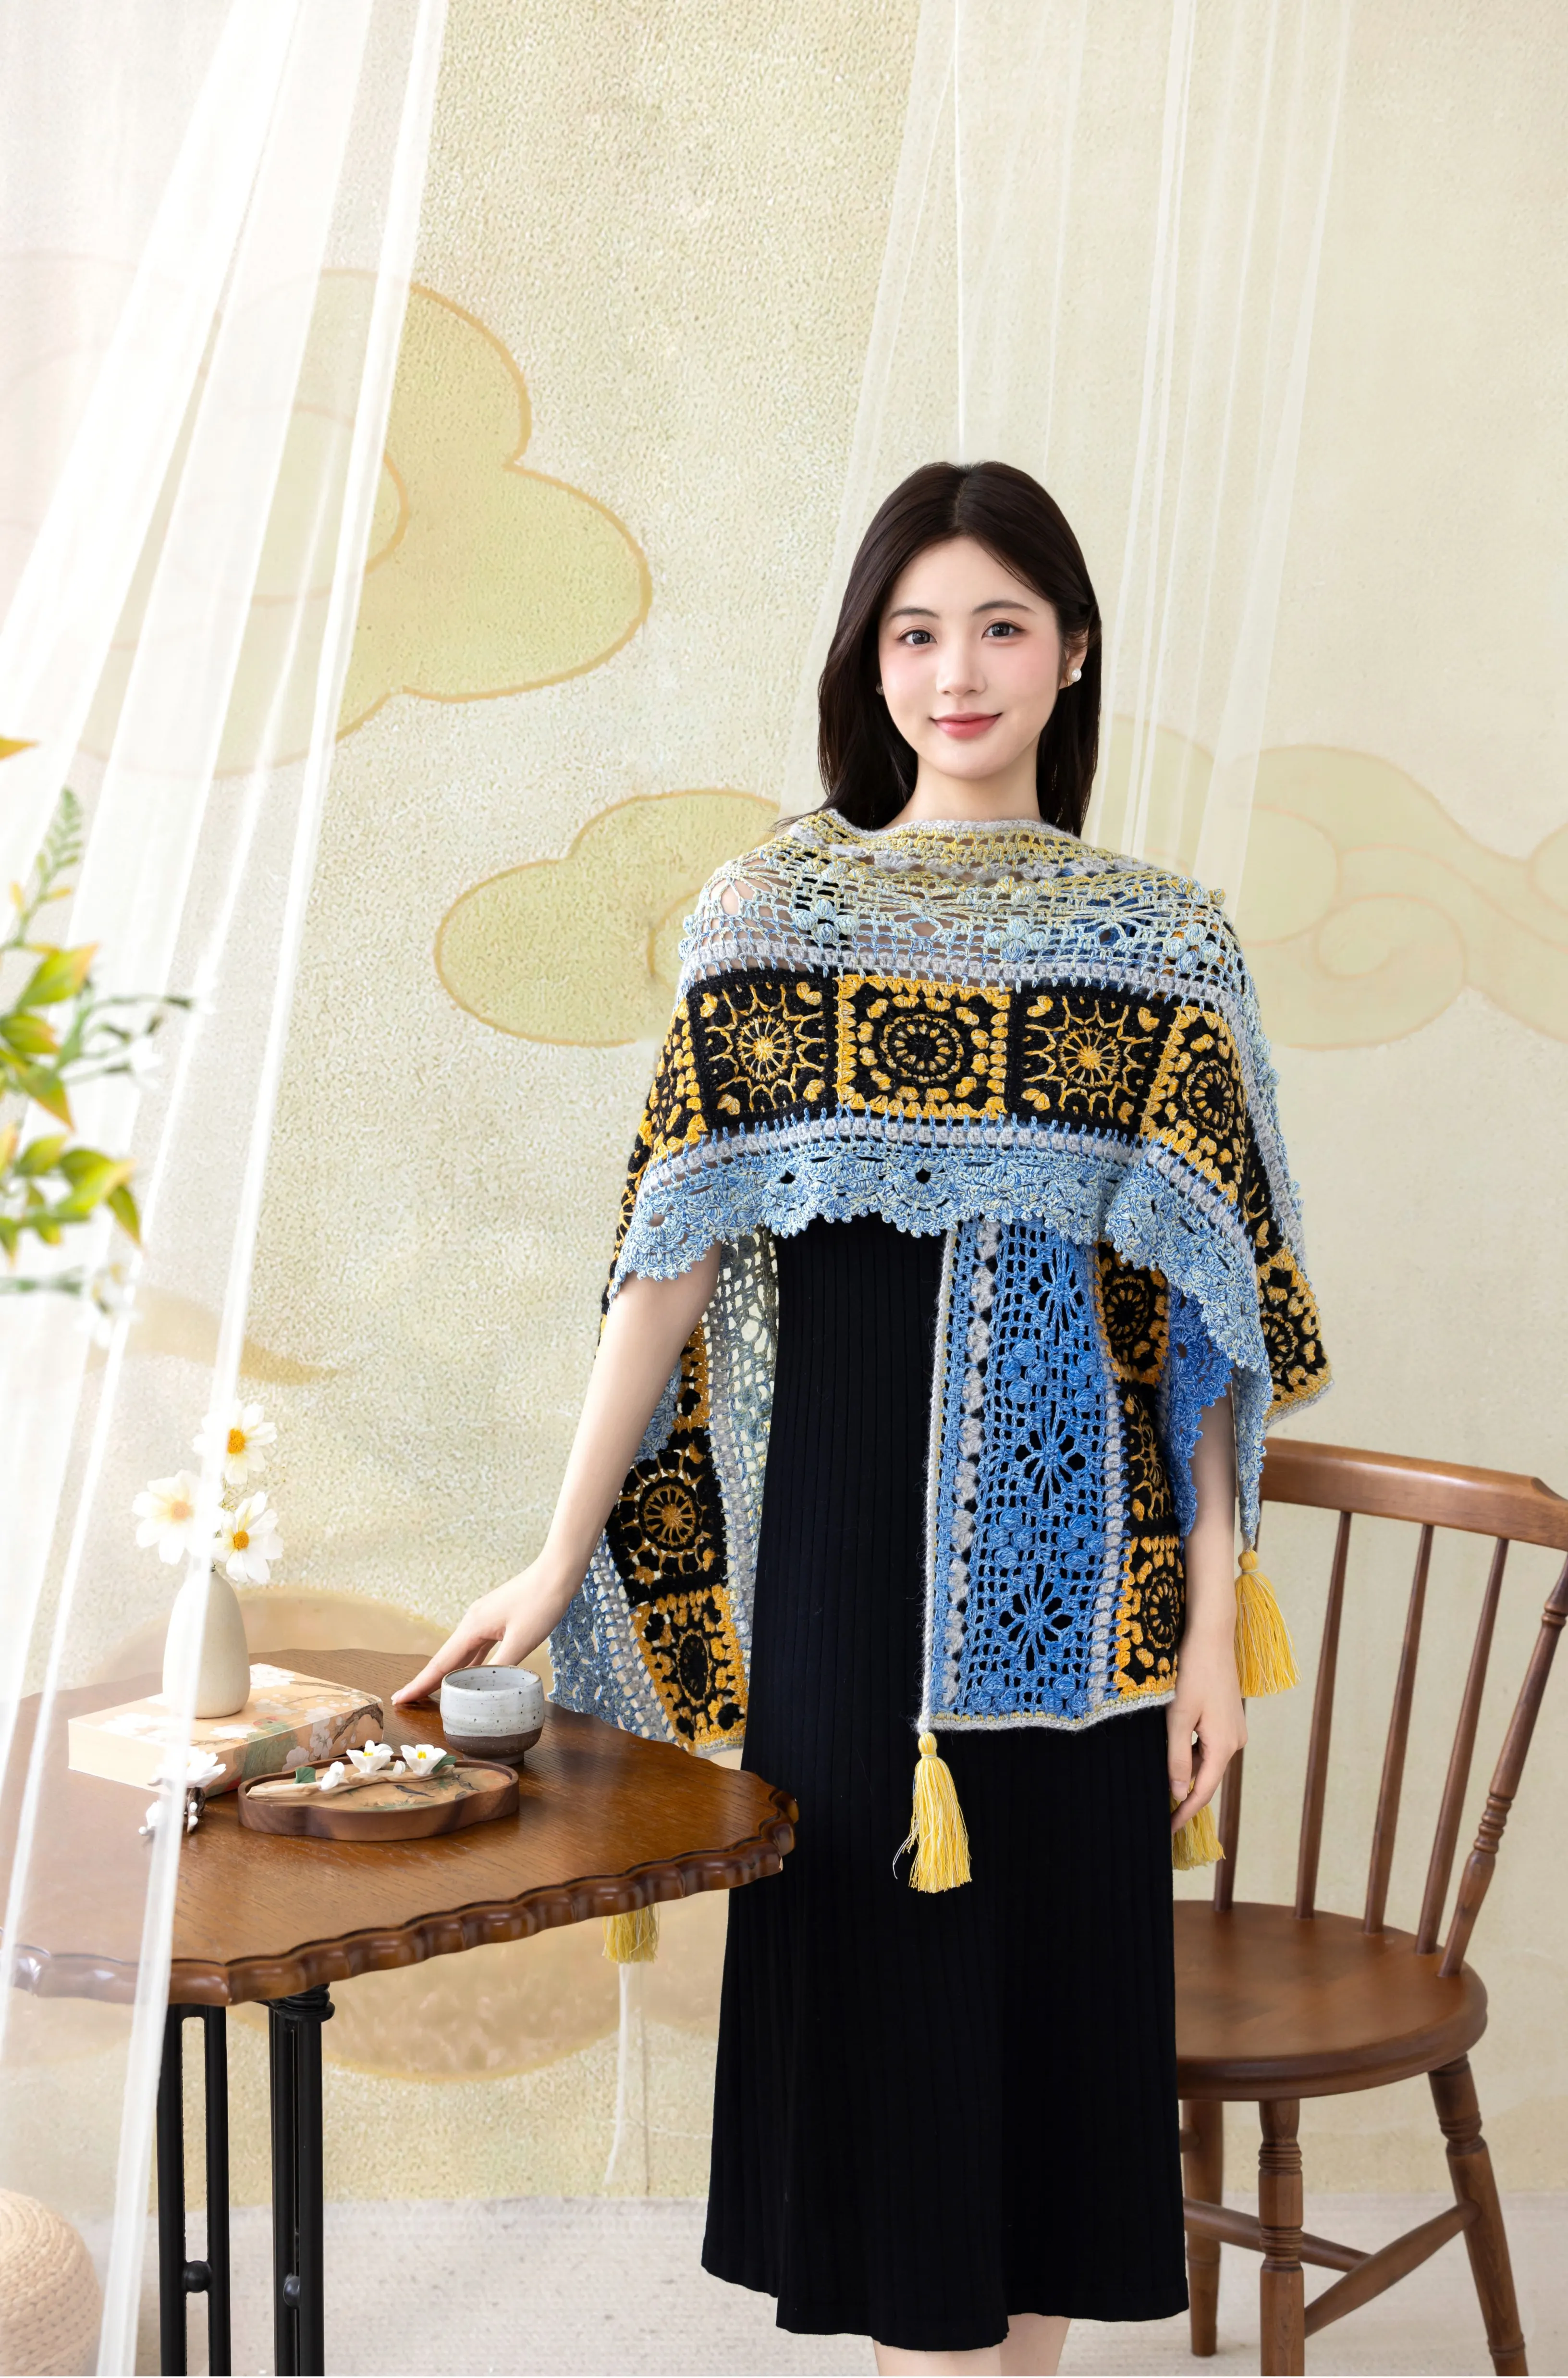
Accessories / Shawl
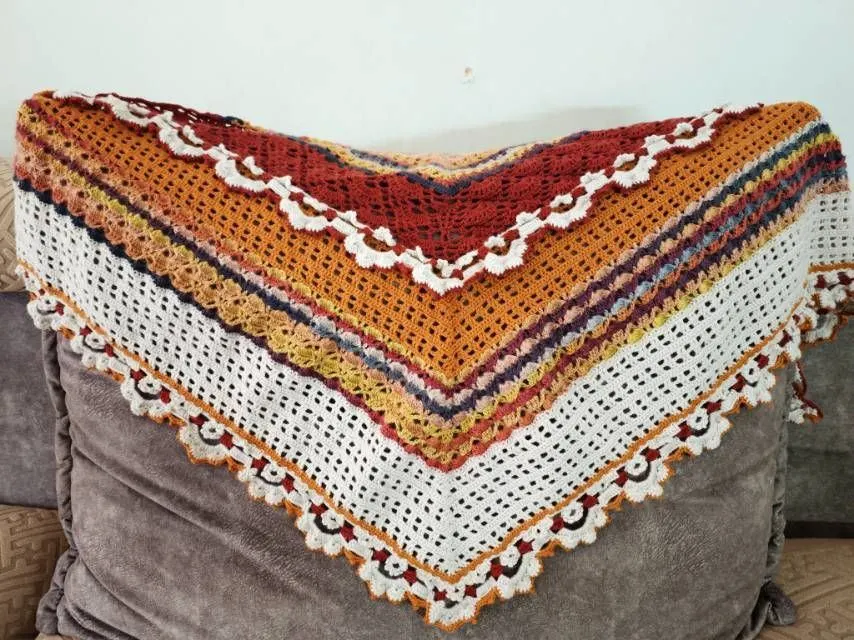
Lotus Brocade Shawl
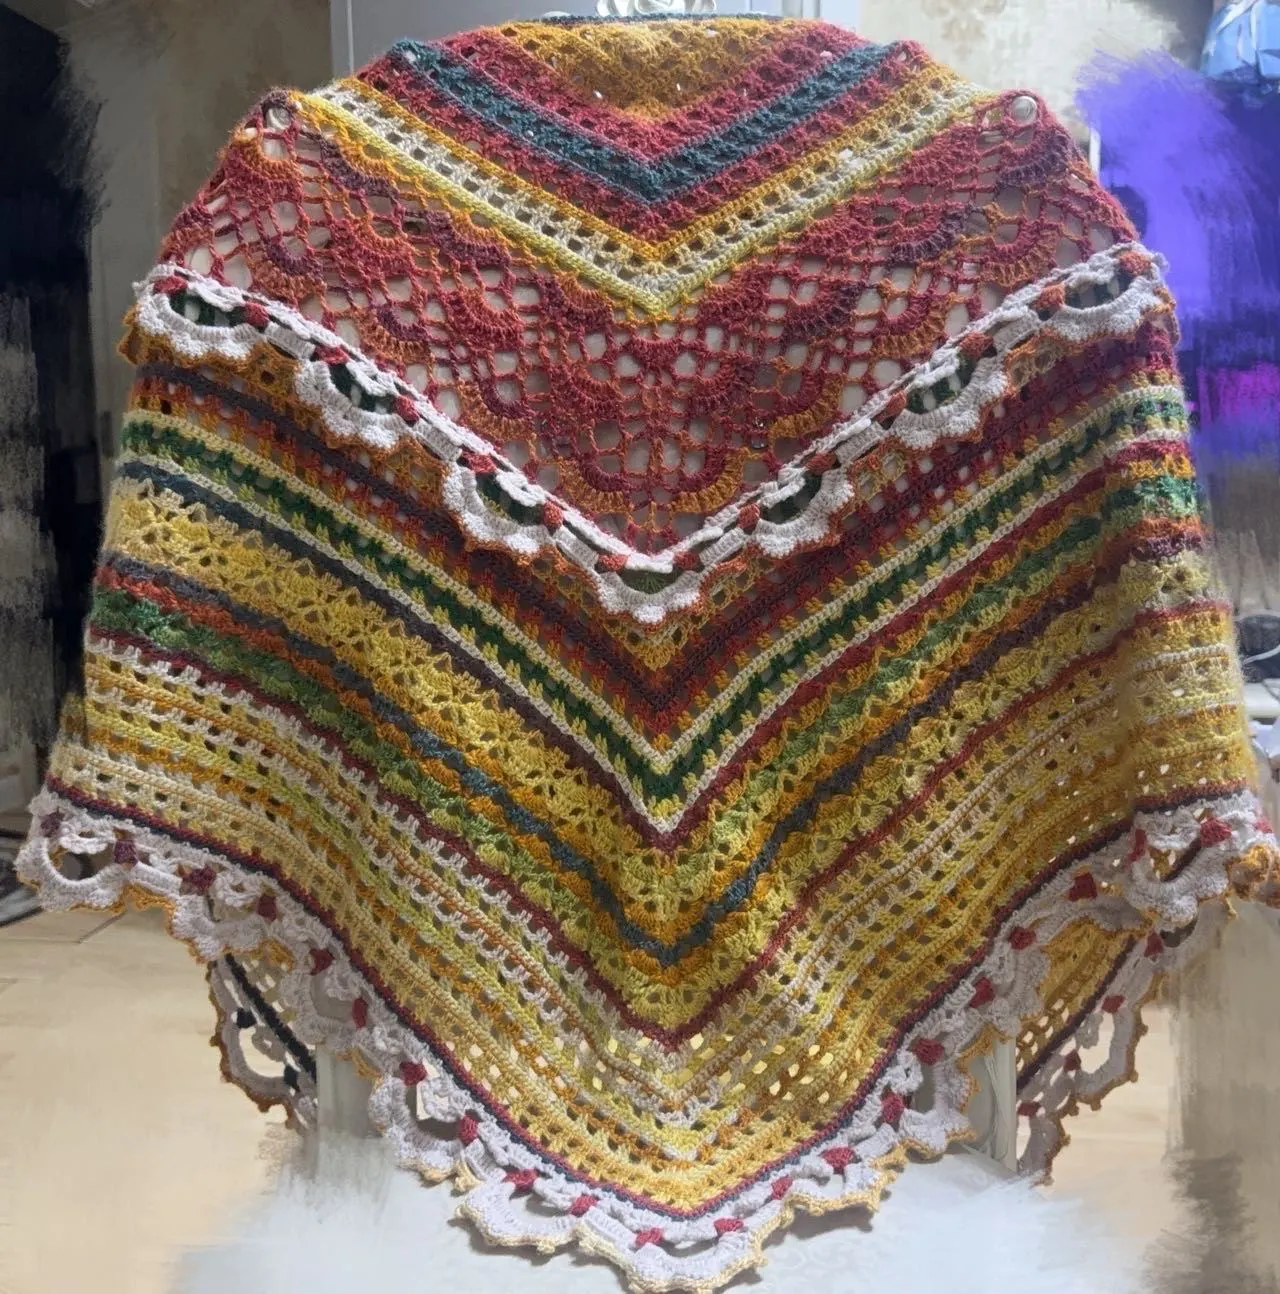
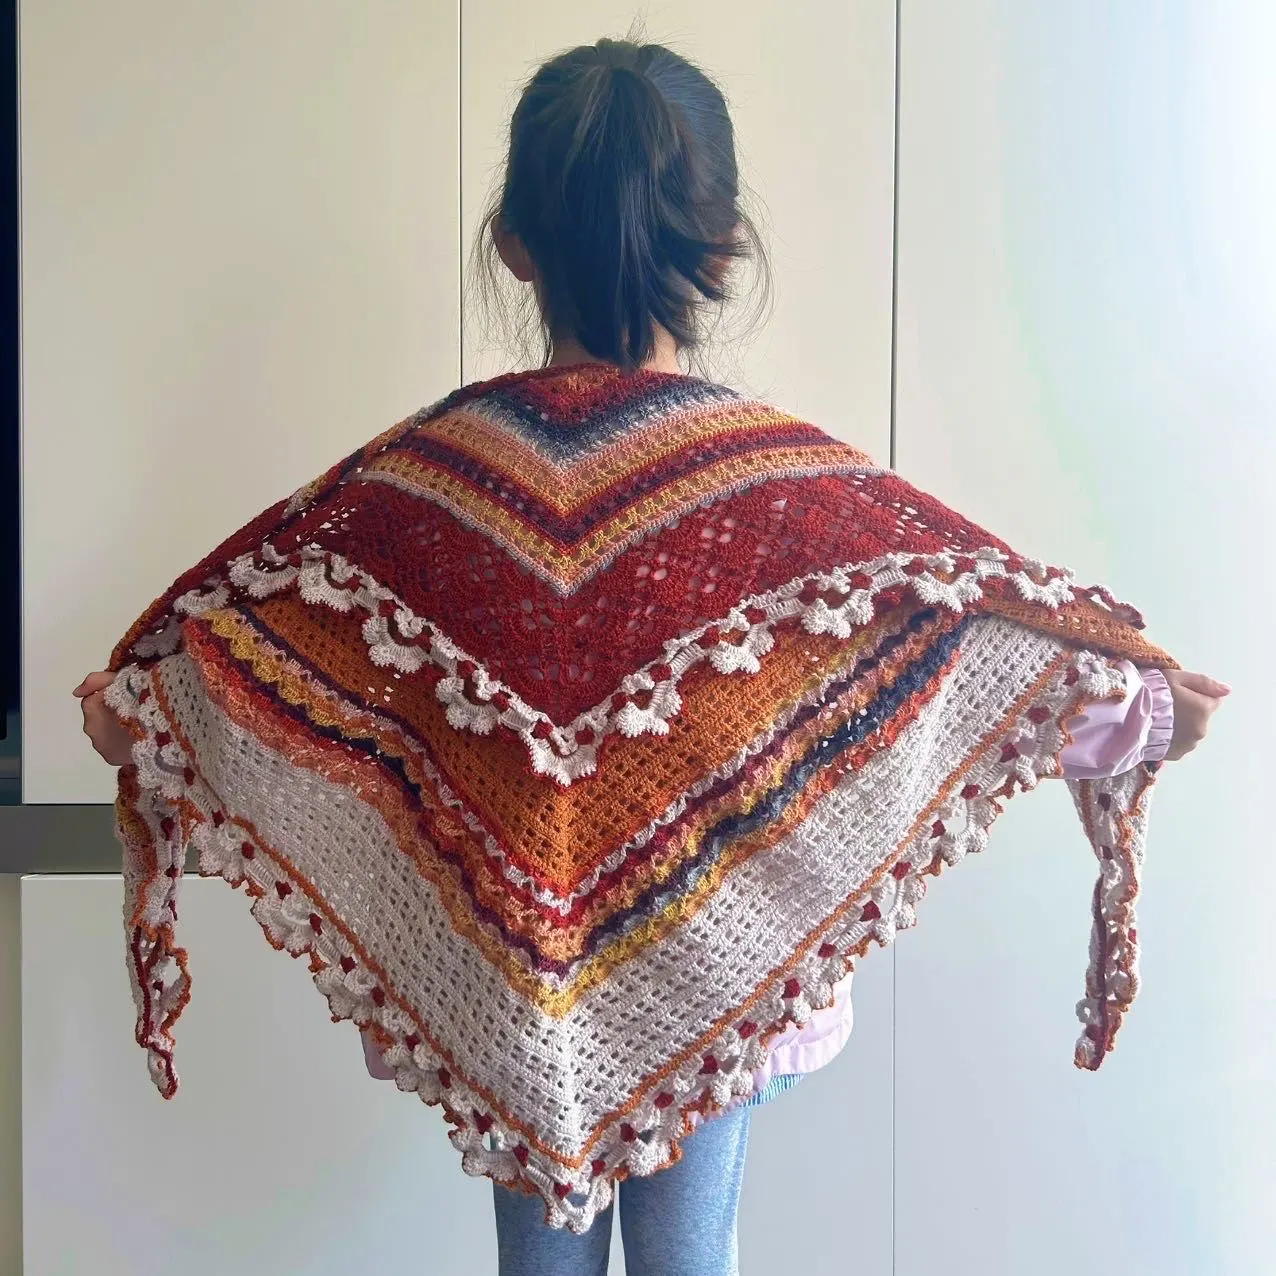
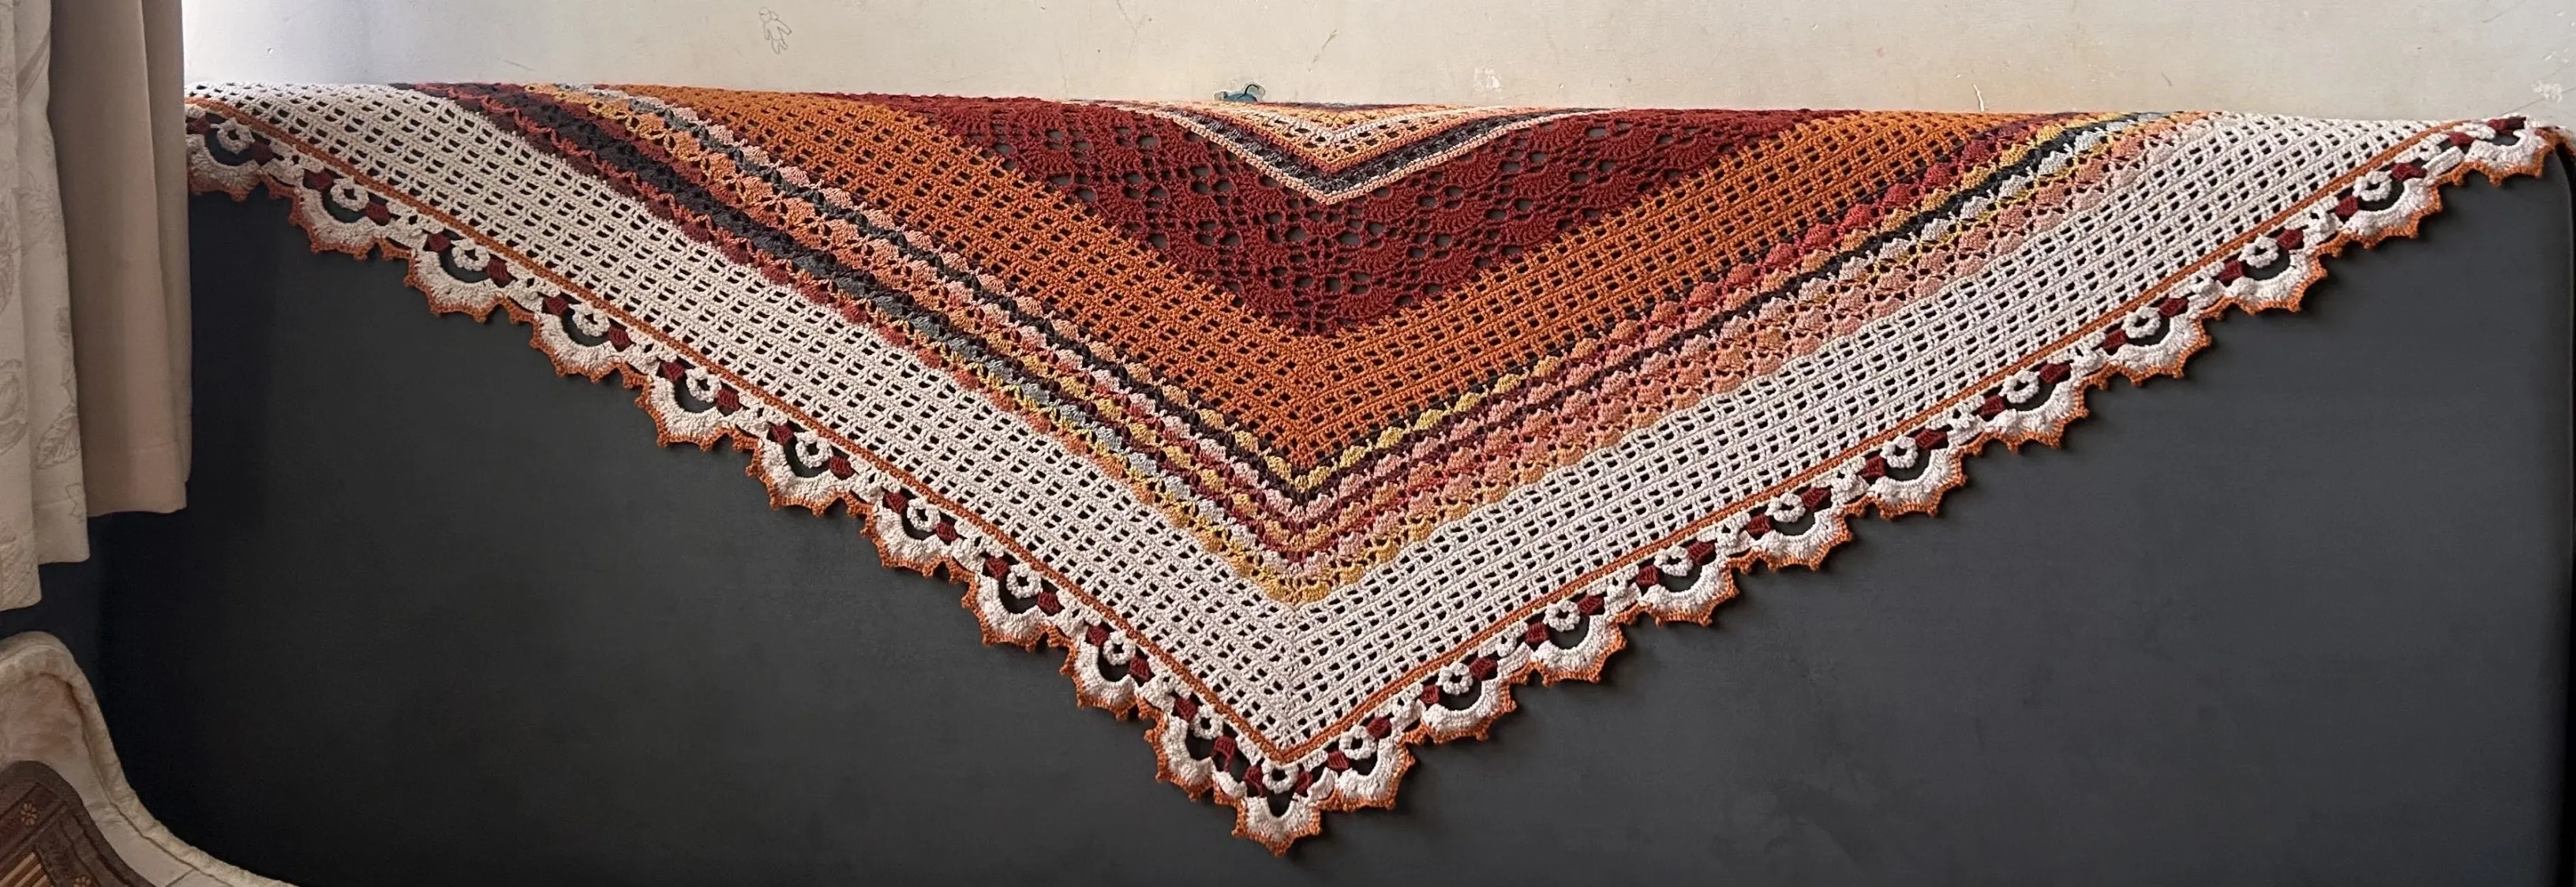
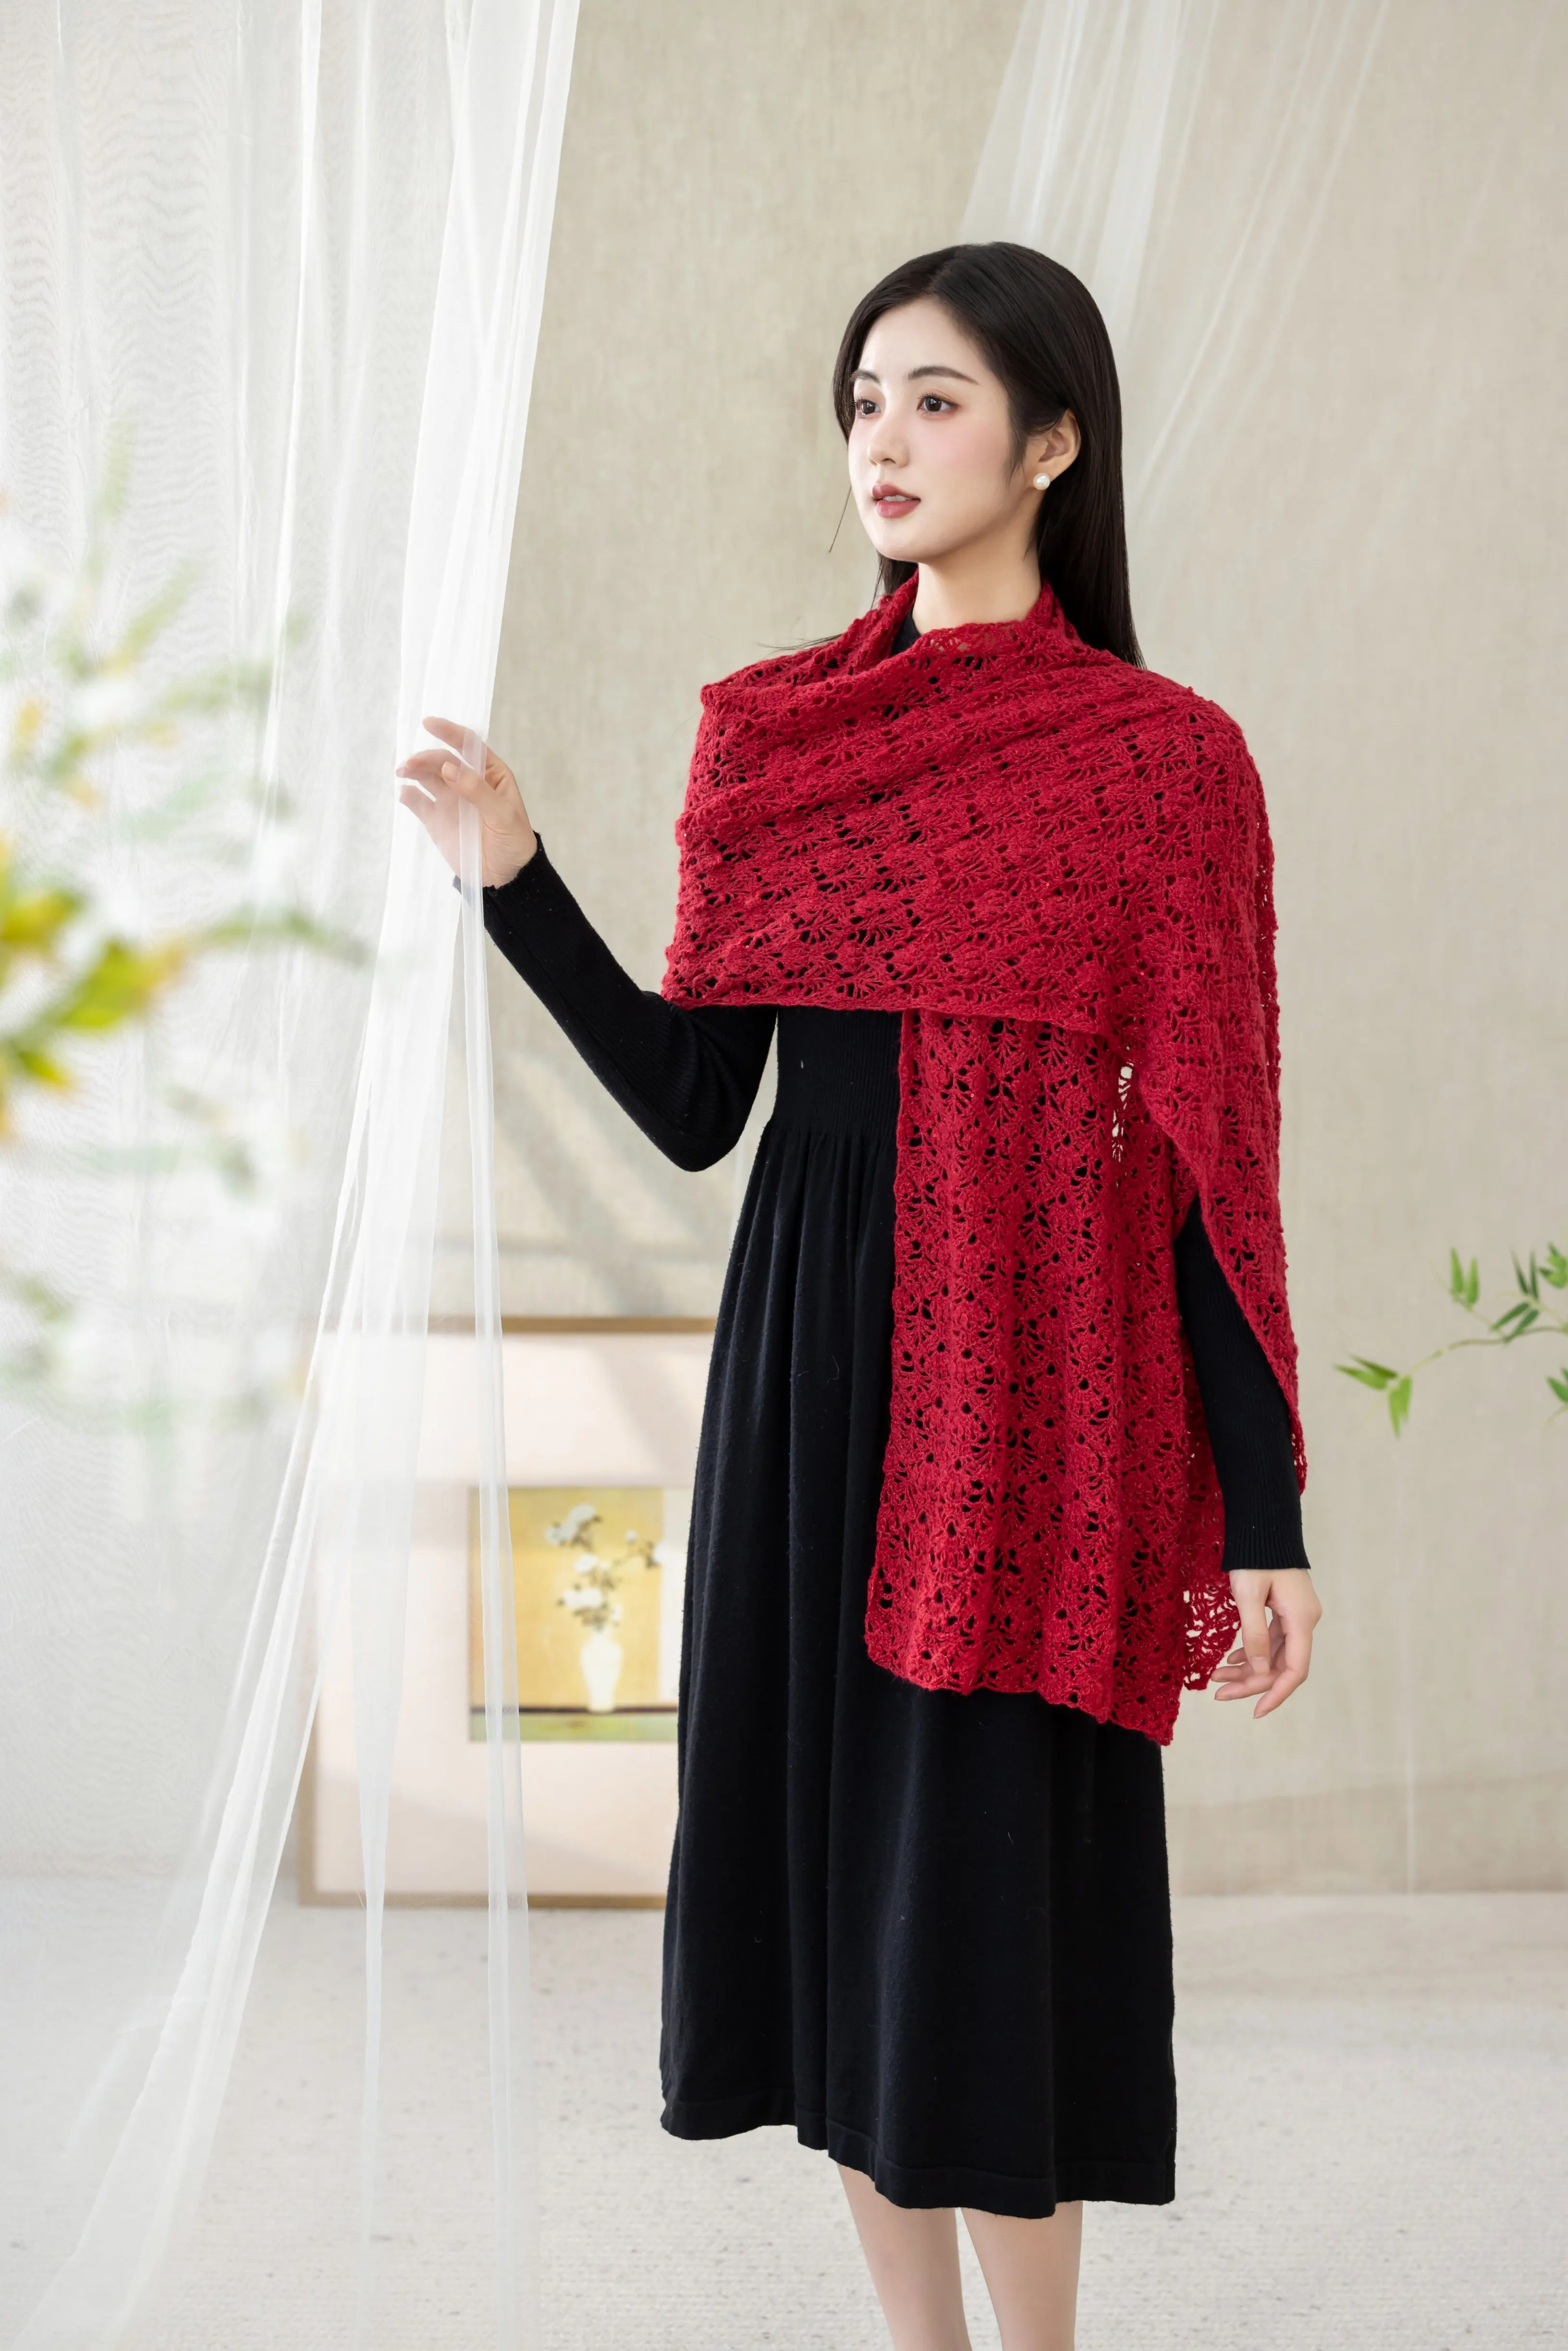
Project preview
See the finished project
Pattern format
Instructions
This shawl is divided into several sections based on different patterns: Section 1, Section 2, Section 3, Section 4, Section 5, Section 6, and Section 7, and finally, we will crochet the edging.
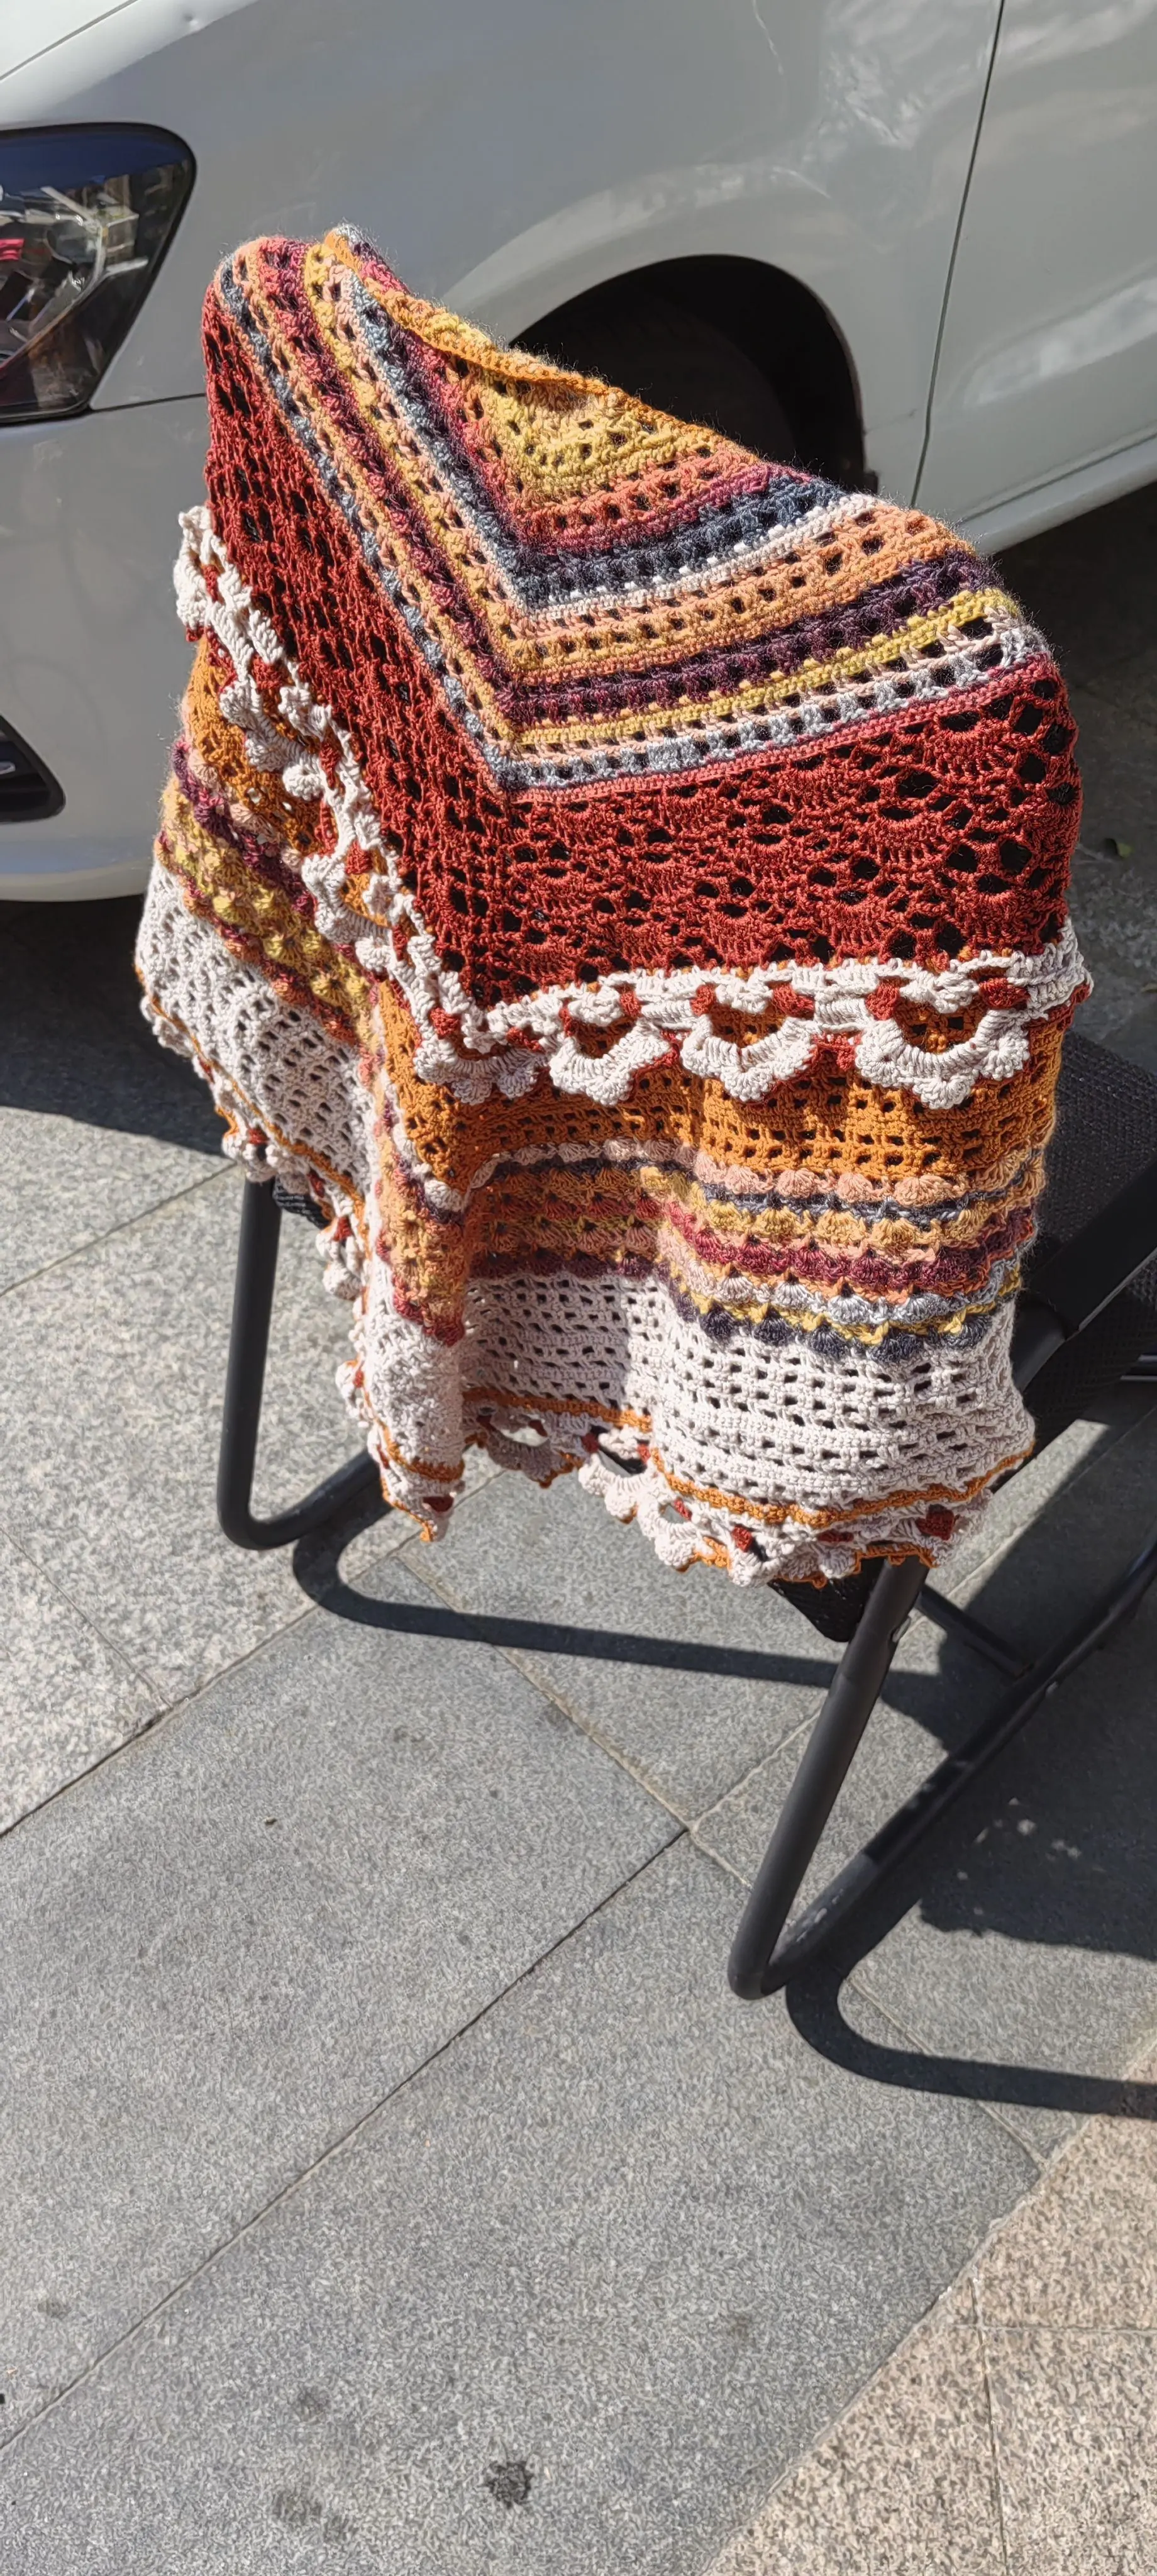
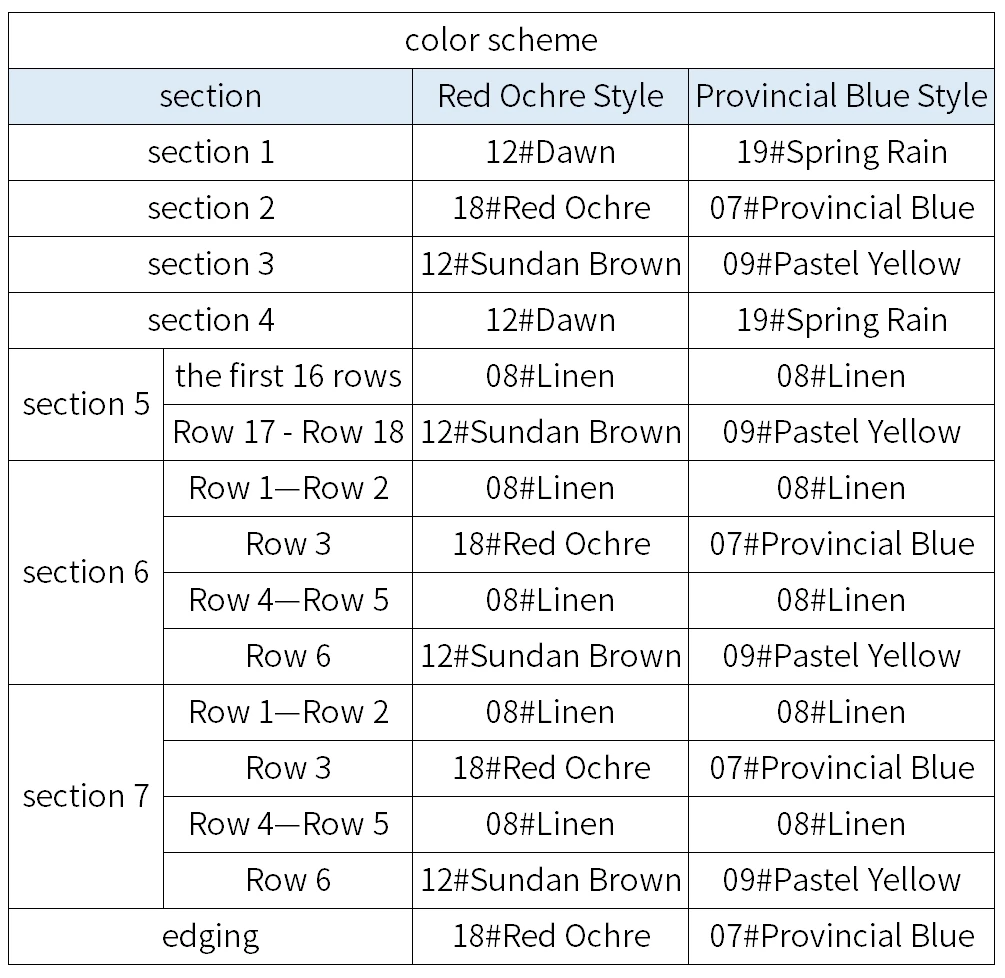
Note: Pay attention that the actual project is crocheted using variegated yarn, so the starting color will affect the final look. You can refer to the finished product or choose the corresponding color segment based on your preference to start crocheting.
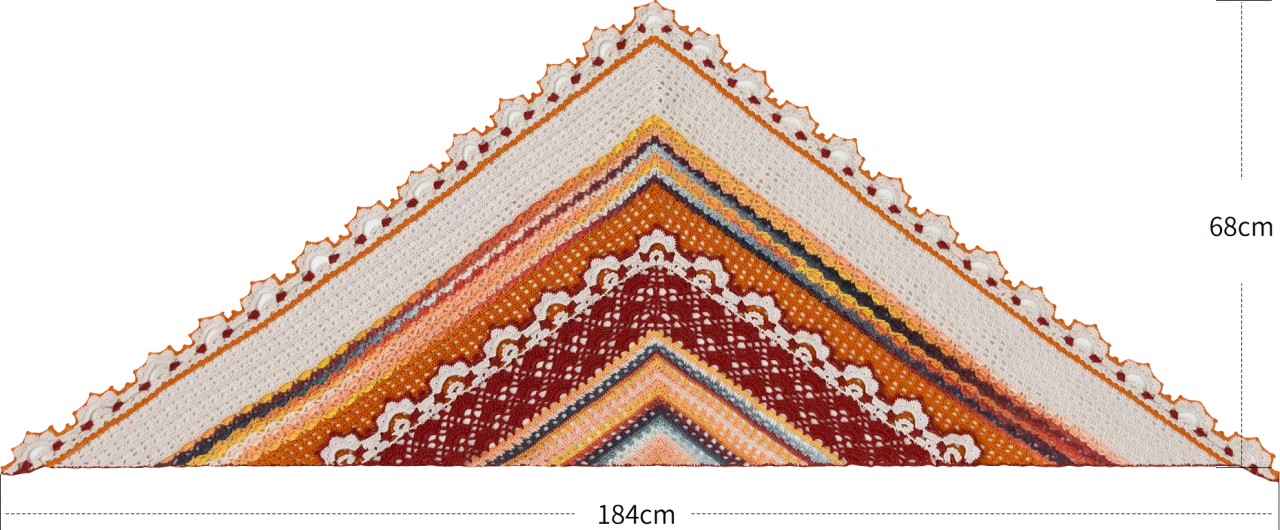
Note: Hand-measured, with an error margin of 1-2 cm.
Due to variations in individual tension, the size of the sample is for reference only.
Materials: Morandi 4# and Monet Impression
Hook: 3.00 mm crochet hook
Chart Key













Note: This pattern is making in Chinese crochet pattern terms, and the stitch name is written using American terminology. All measurements in charts are in cm.

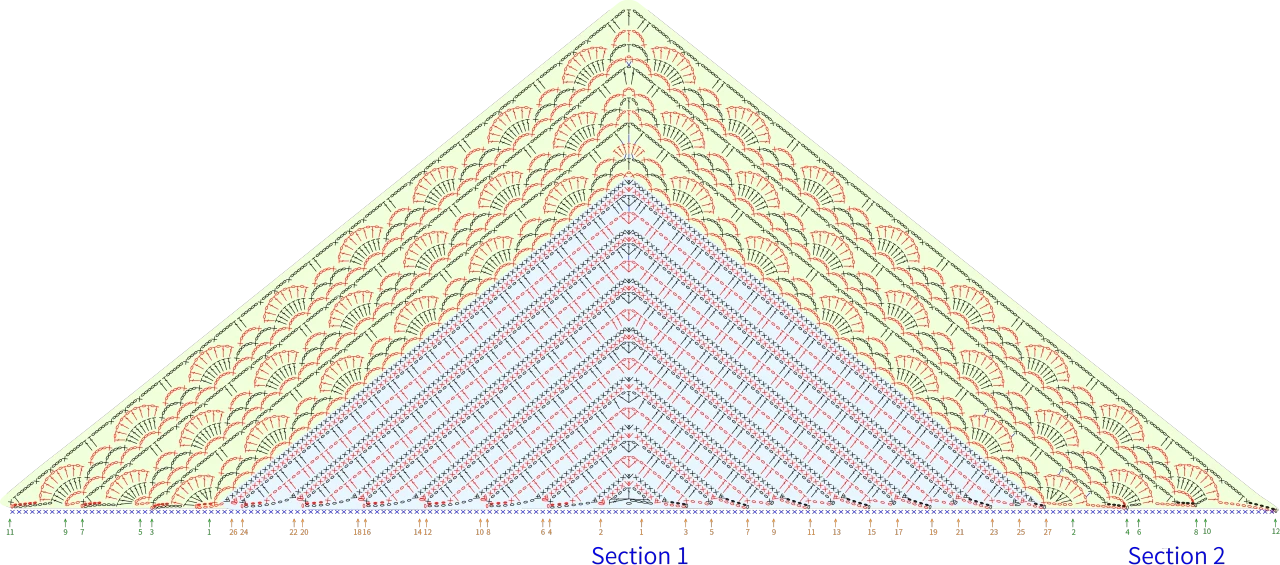
Part 1 Section 1A Section 2B 00' 37''
Section 1 starts with a foundation chain and works back and forth. Section 2 continues to work back and forth following Section 1. Please refer to the video demonstration for more details.
Note: After completing the fifth row of Section 1, the height should be approximately 4.5cm and the width about 11cm; if there's a significant difference, you need to adjust your tension and re-crochet to avoid affecting the finished measurement.
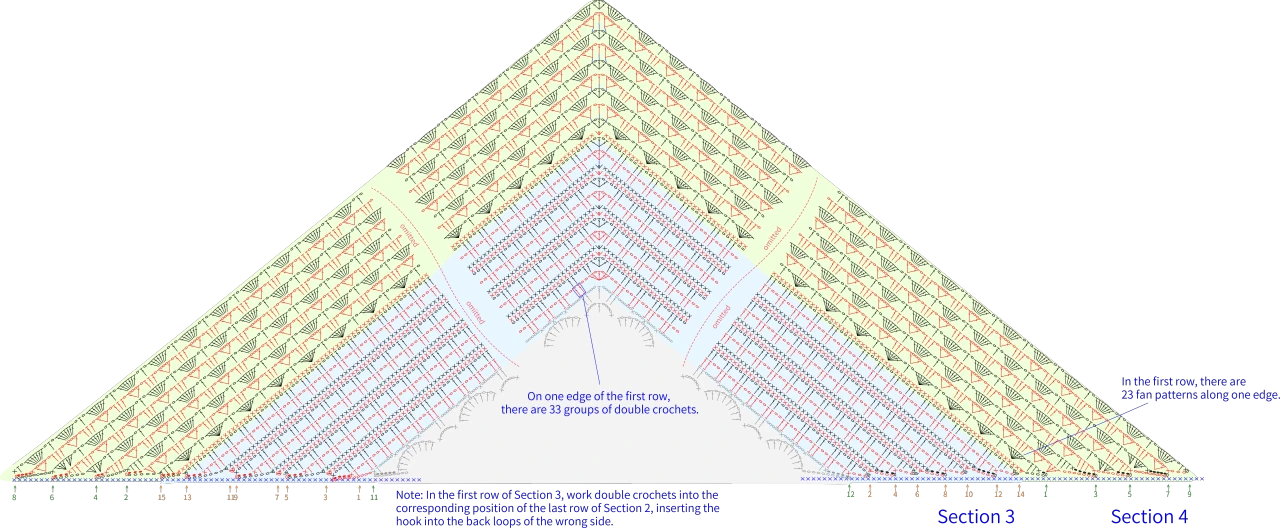
Part 2 Section 3C Section 4D 37' 33''
Section 3 and Section 4 continue to work back and forth. Please refer to the video demonstration for more details.
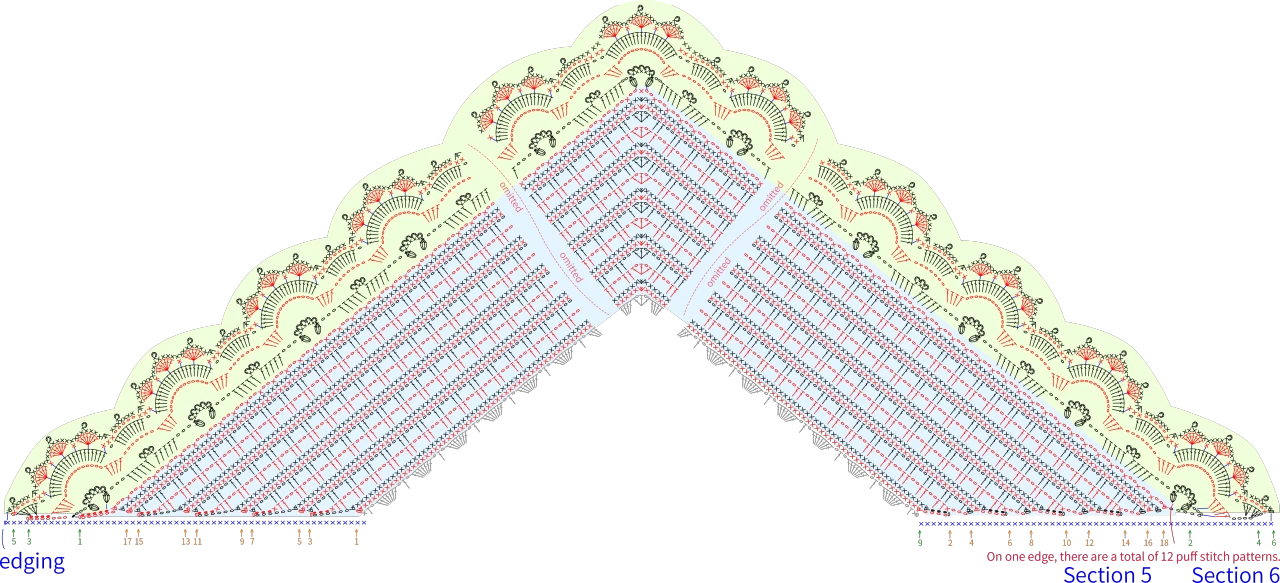
Part 3 Section 5 & 6E 52' 07''
Section 5 and Section 6 continue to work back and forth. Please refer to the video demonstration for more details.
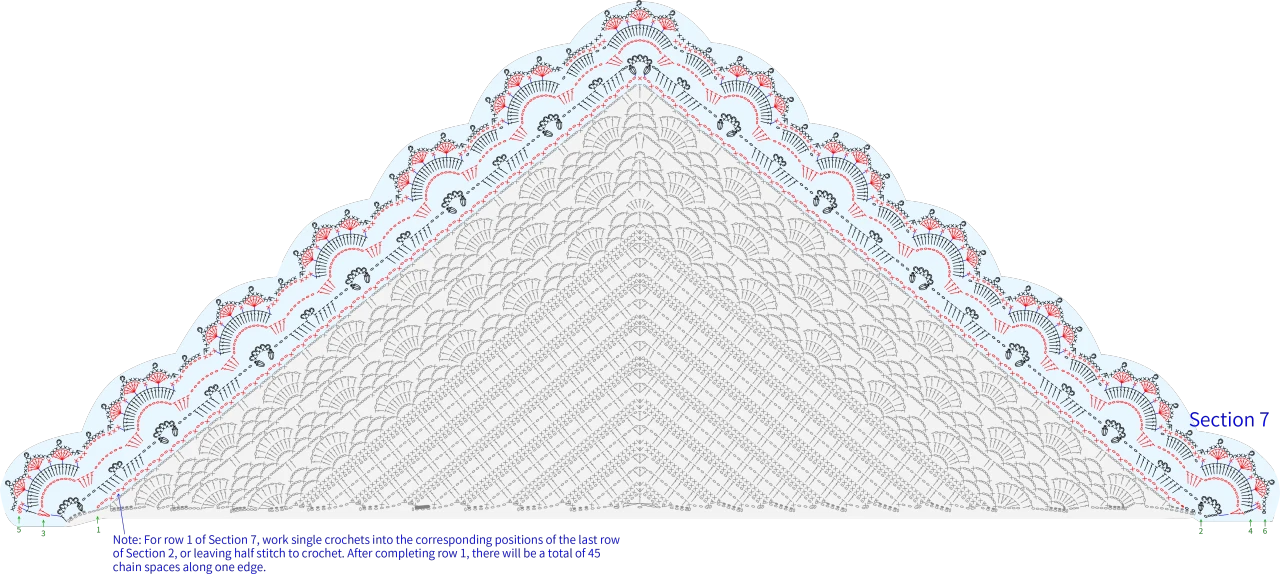
Part 4 Section 7F EdgingG 79' 59''
Section 7 is crocheted back and forth on the last row of Section 2. After completion, work 1 row along the edge of the fabric. Please refer to the video demonstration for more details.
Note: The edging chart is on the sides of Section 1 through Section 6. You can refer to the chart for the entry position of the single crochet or adjust according to the actual situation, just make sure that the edge of the fabric is neat and beautiful after completion.
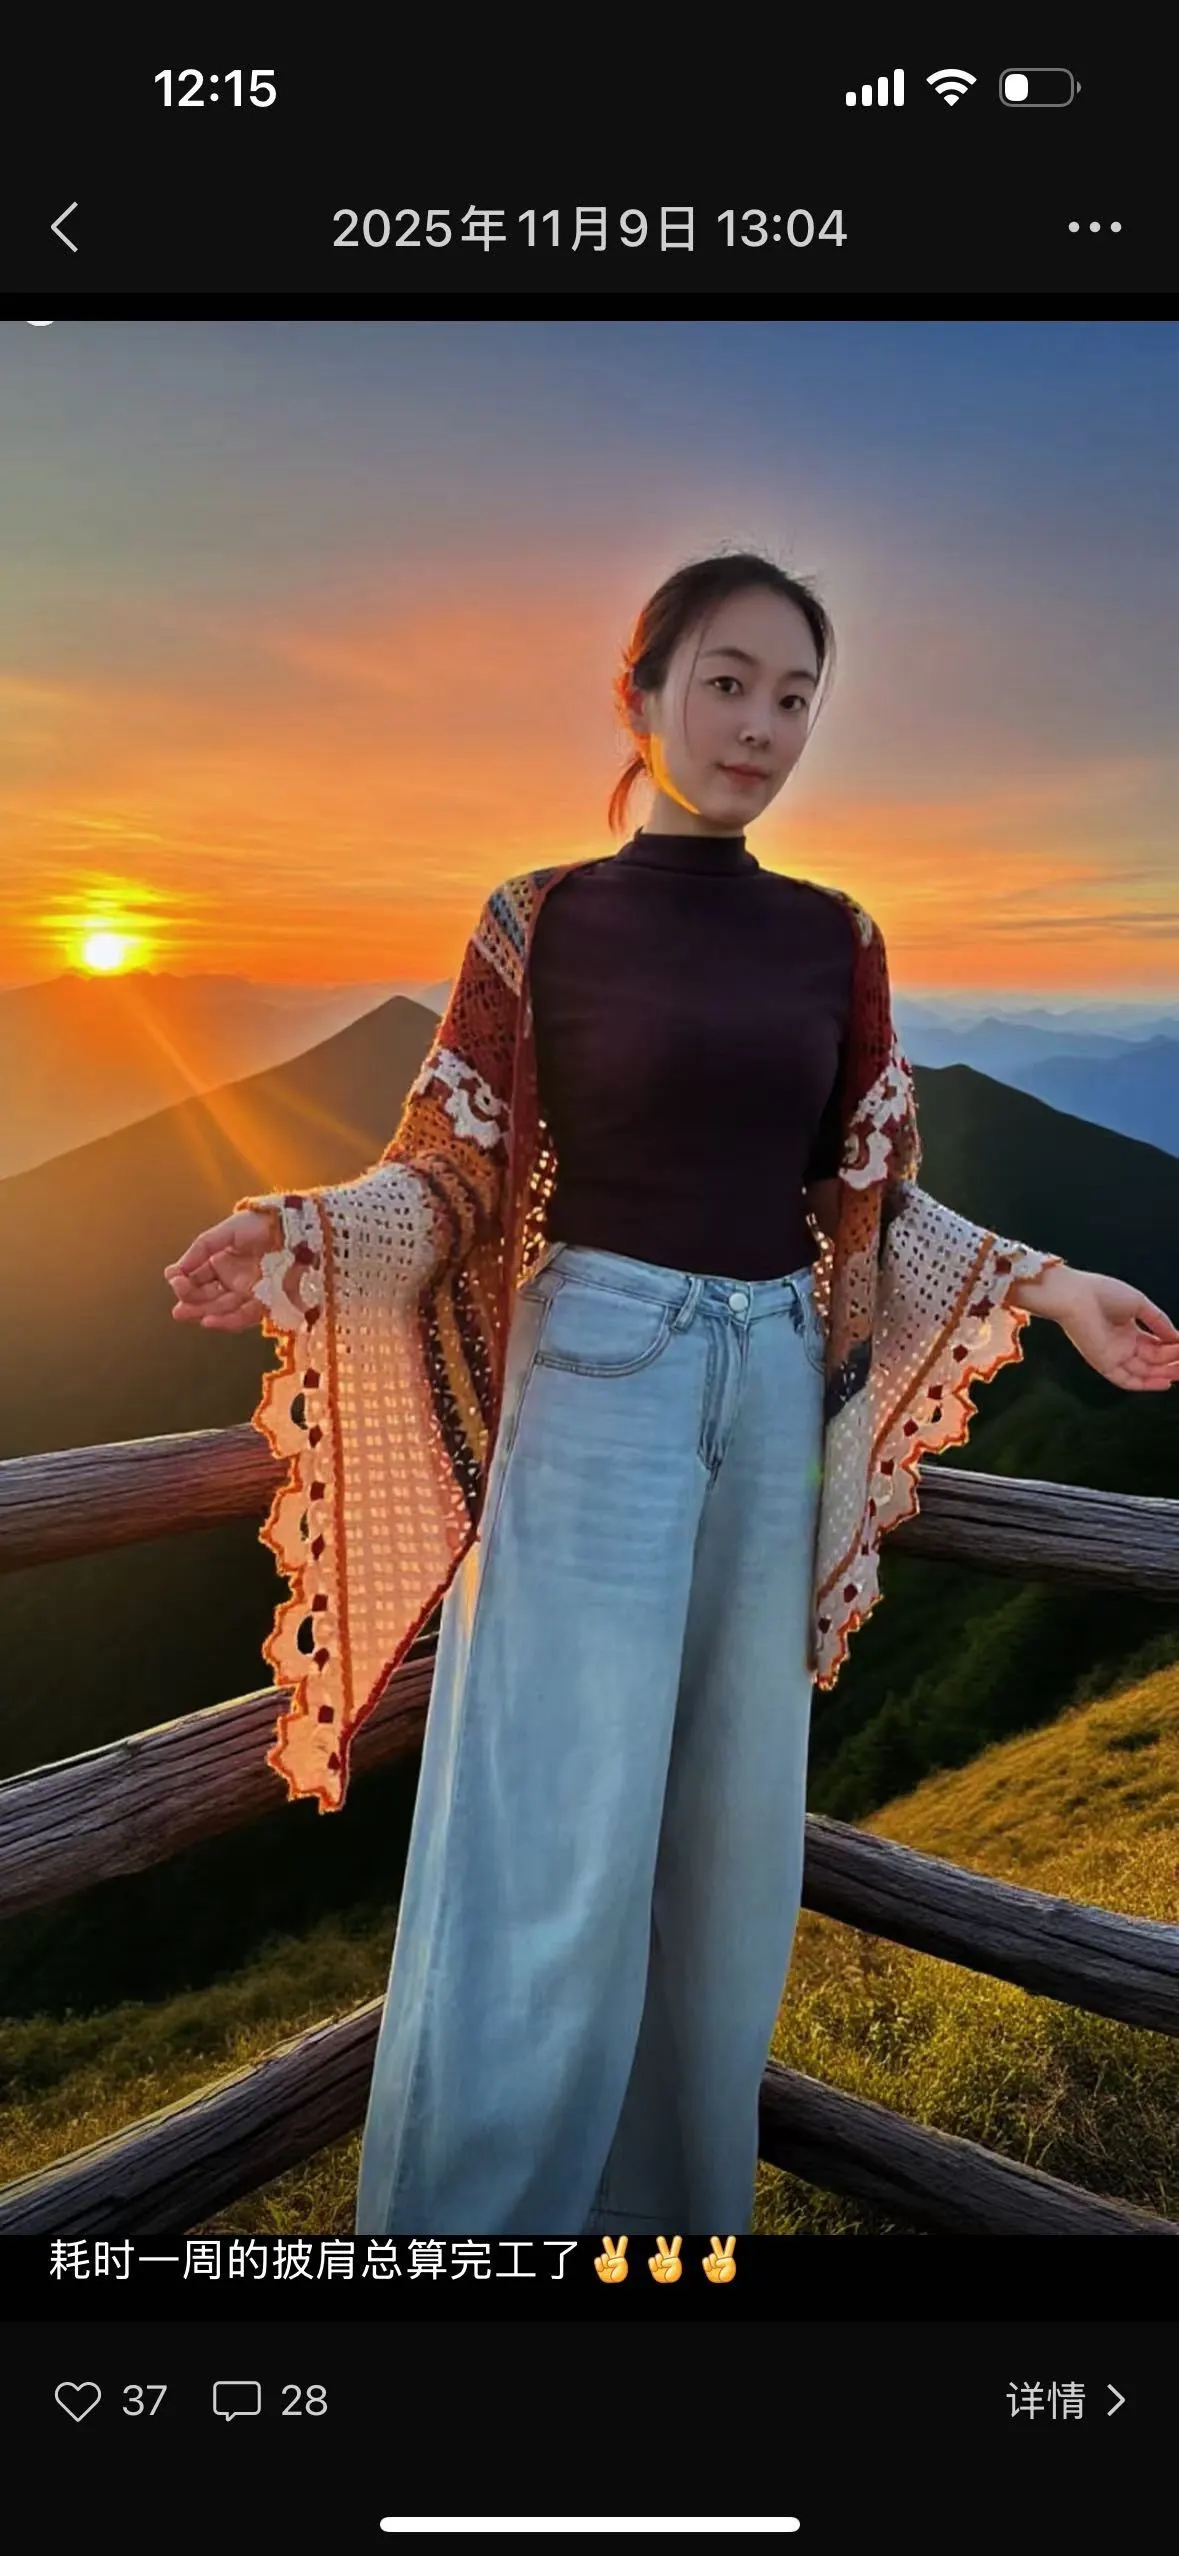
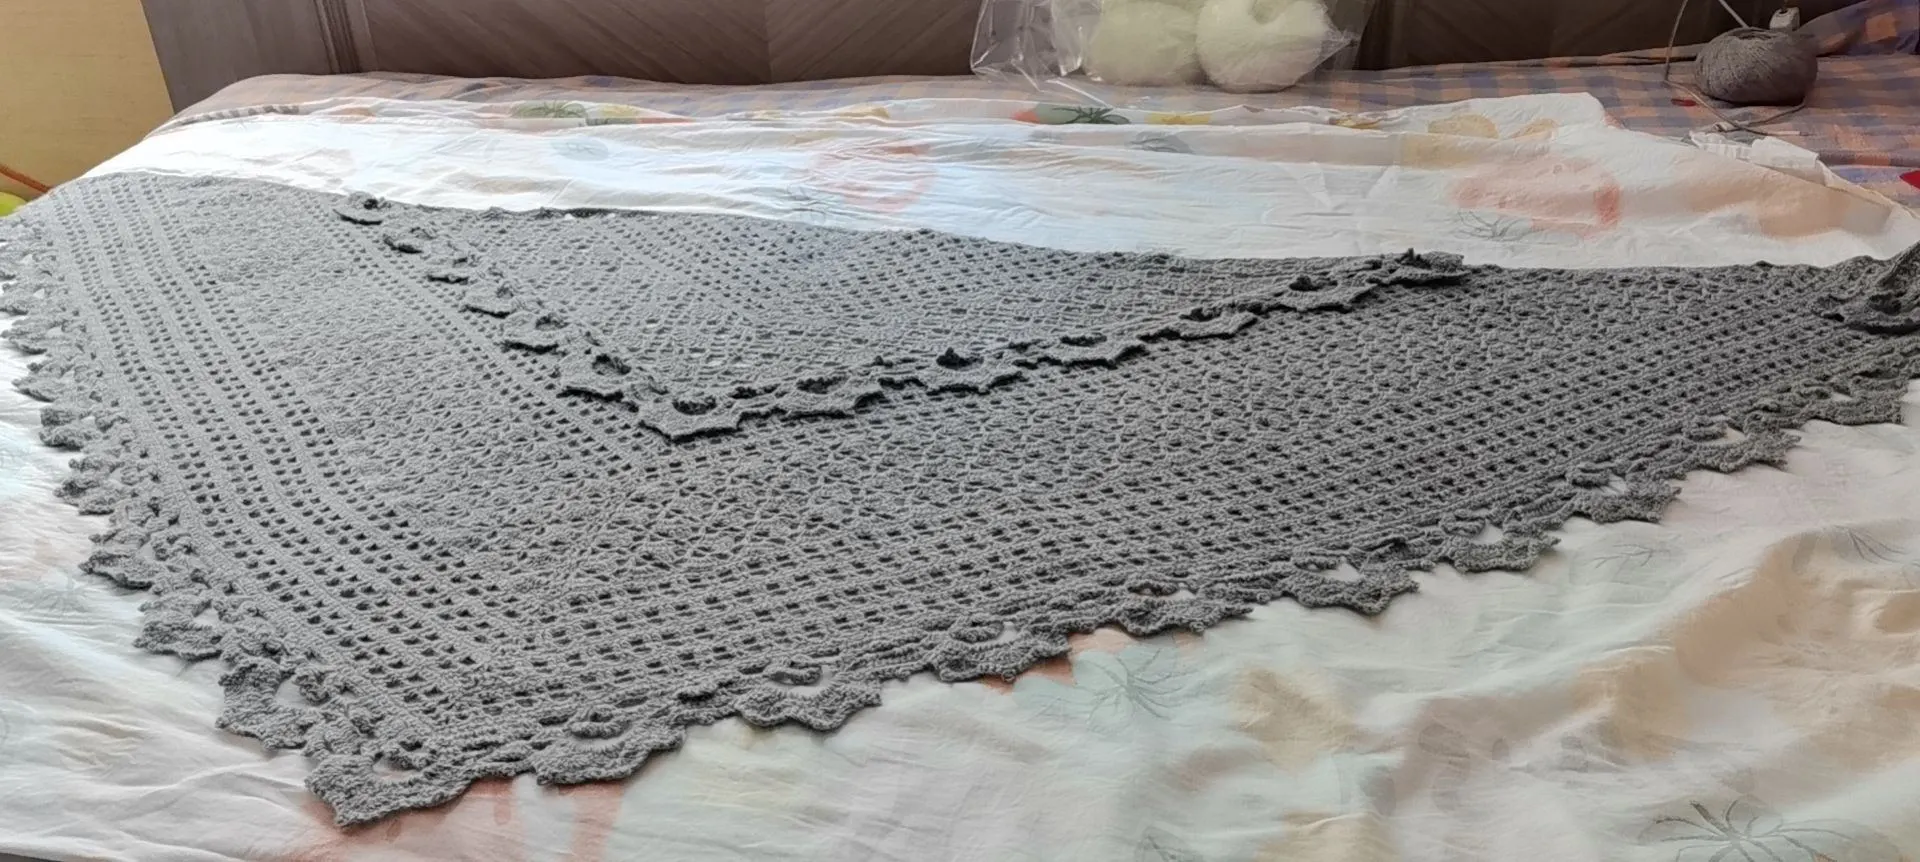
Made by the community