Bag
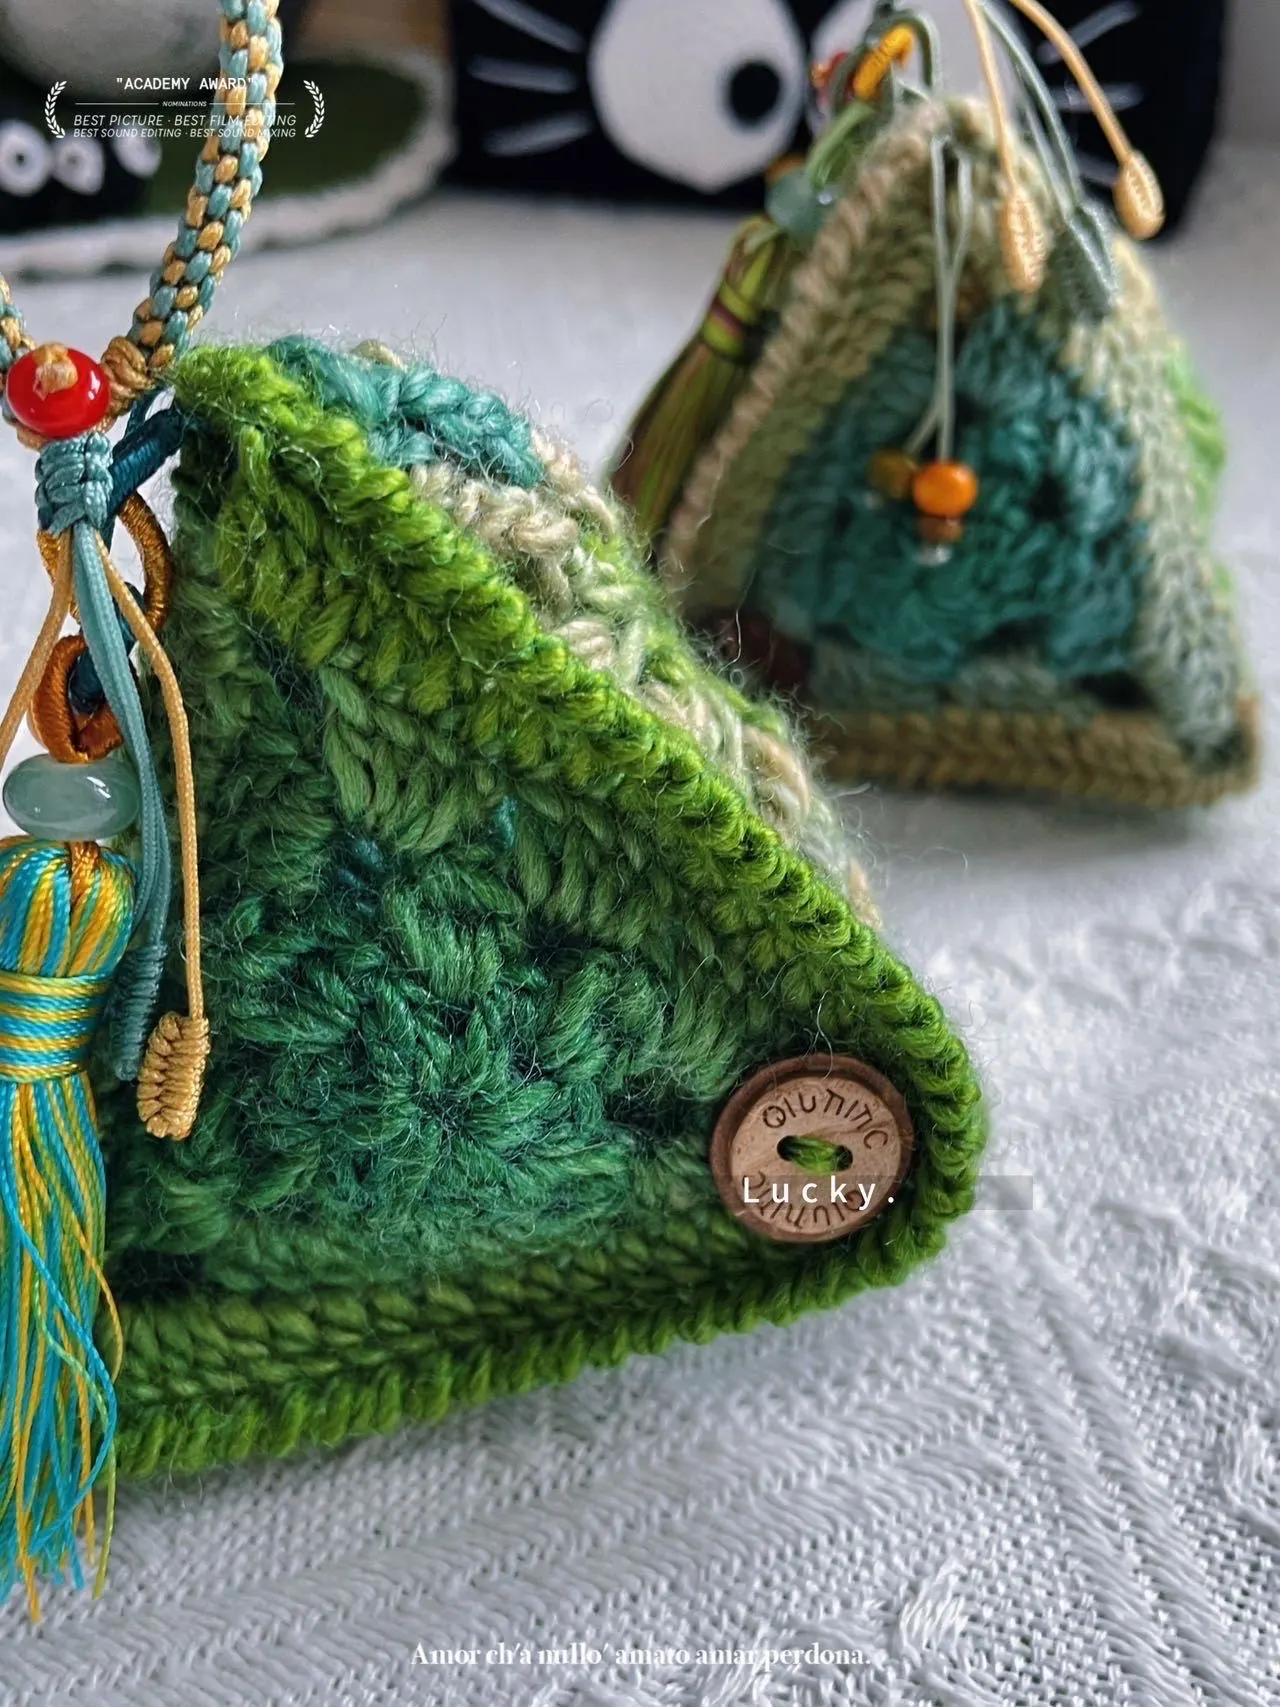
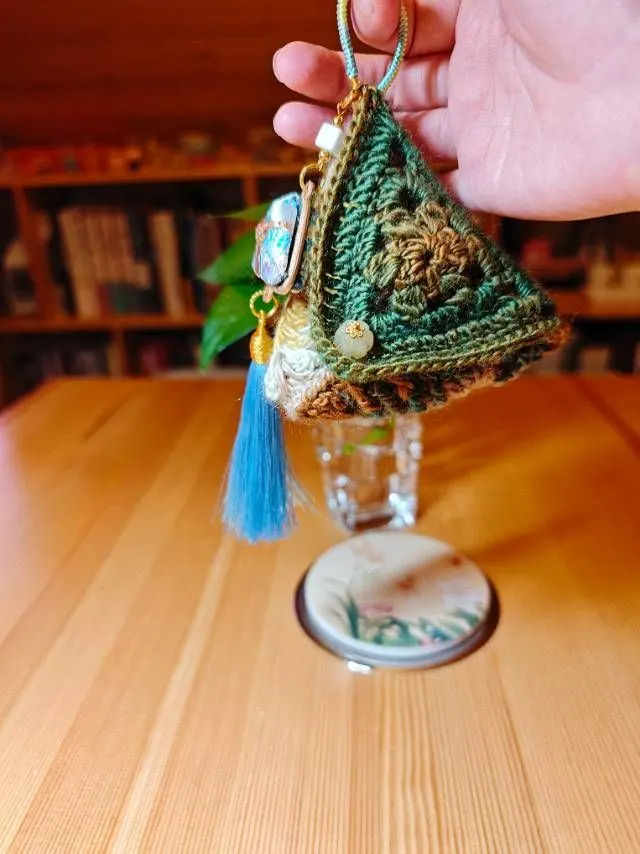
Lucky Zongzi Pouch
Project preview
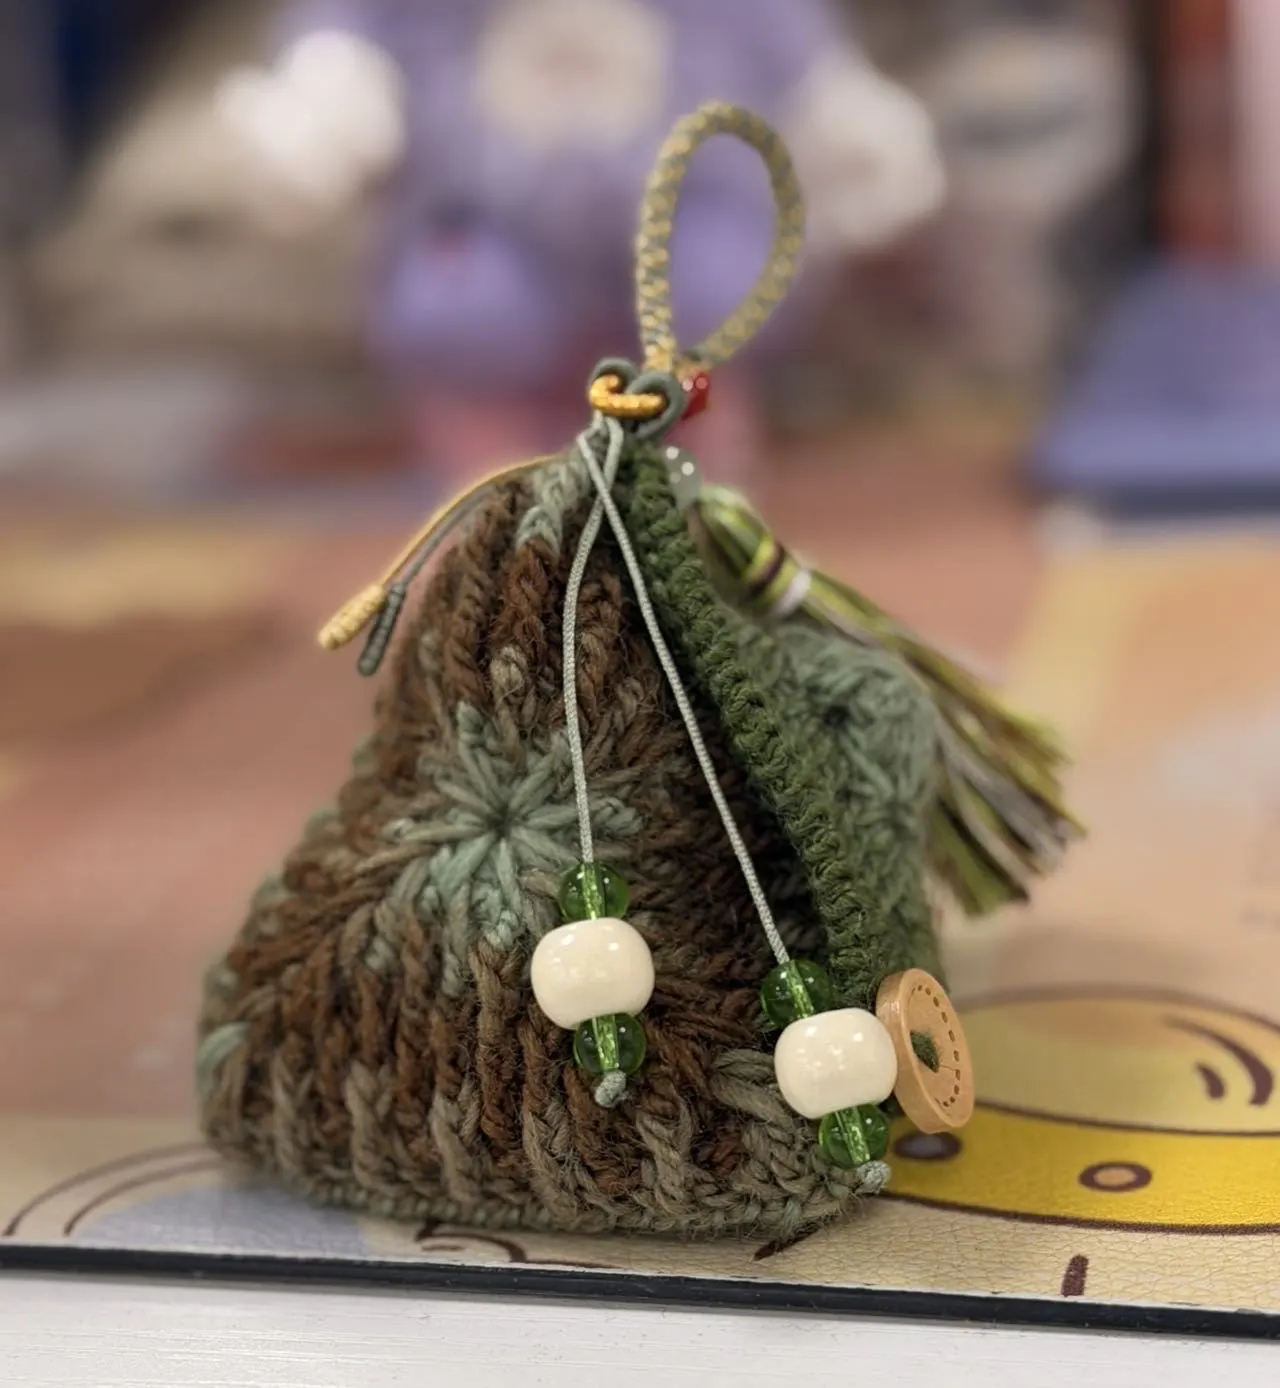
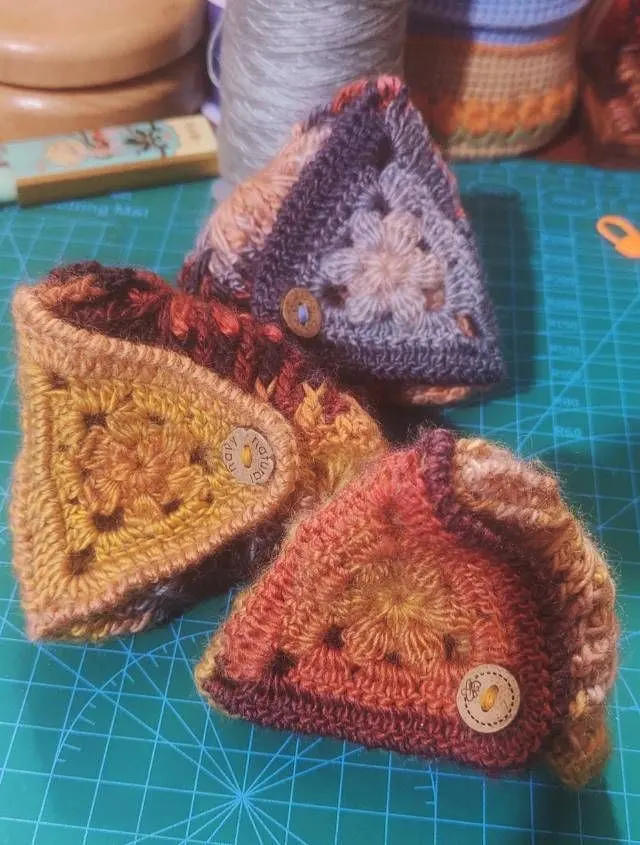
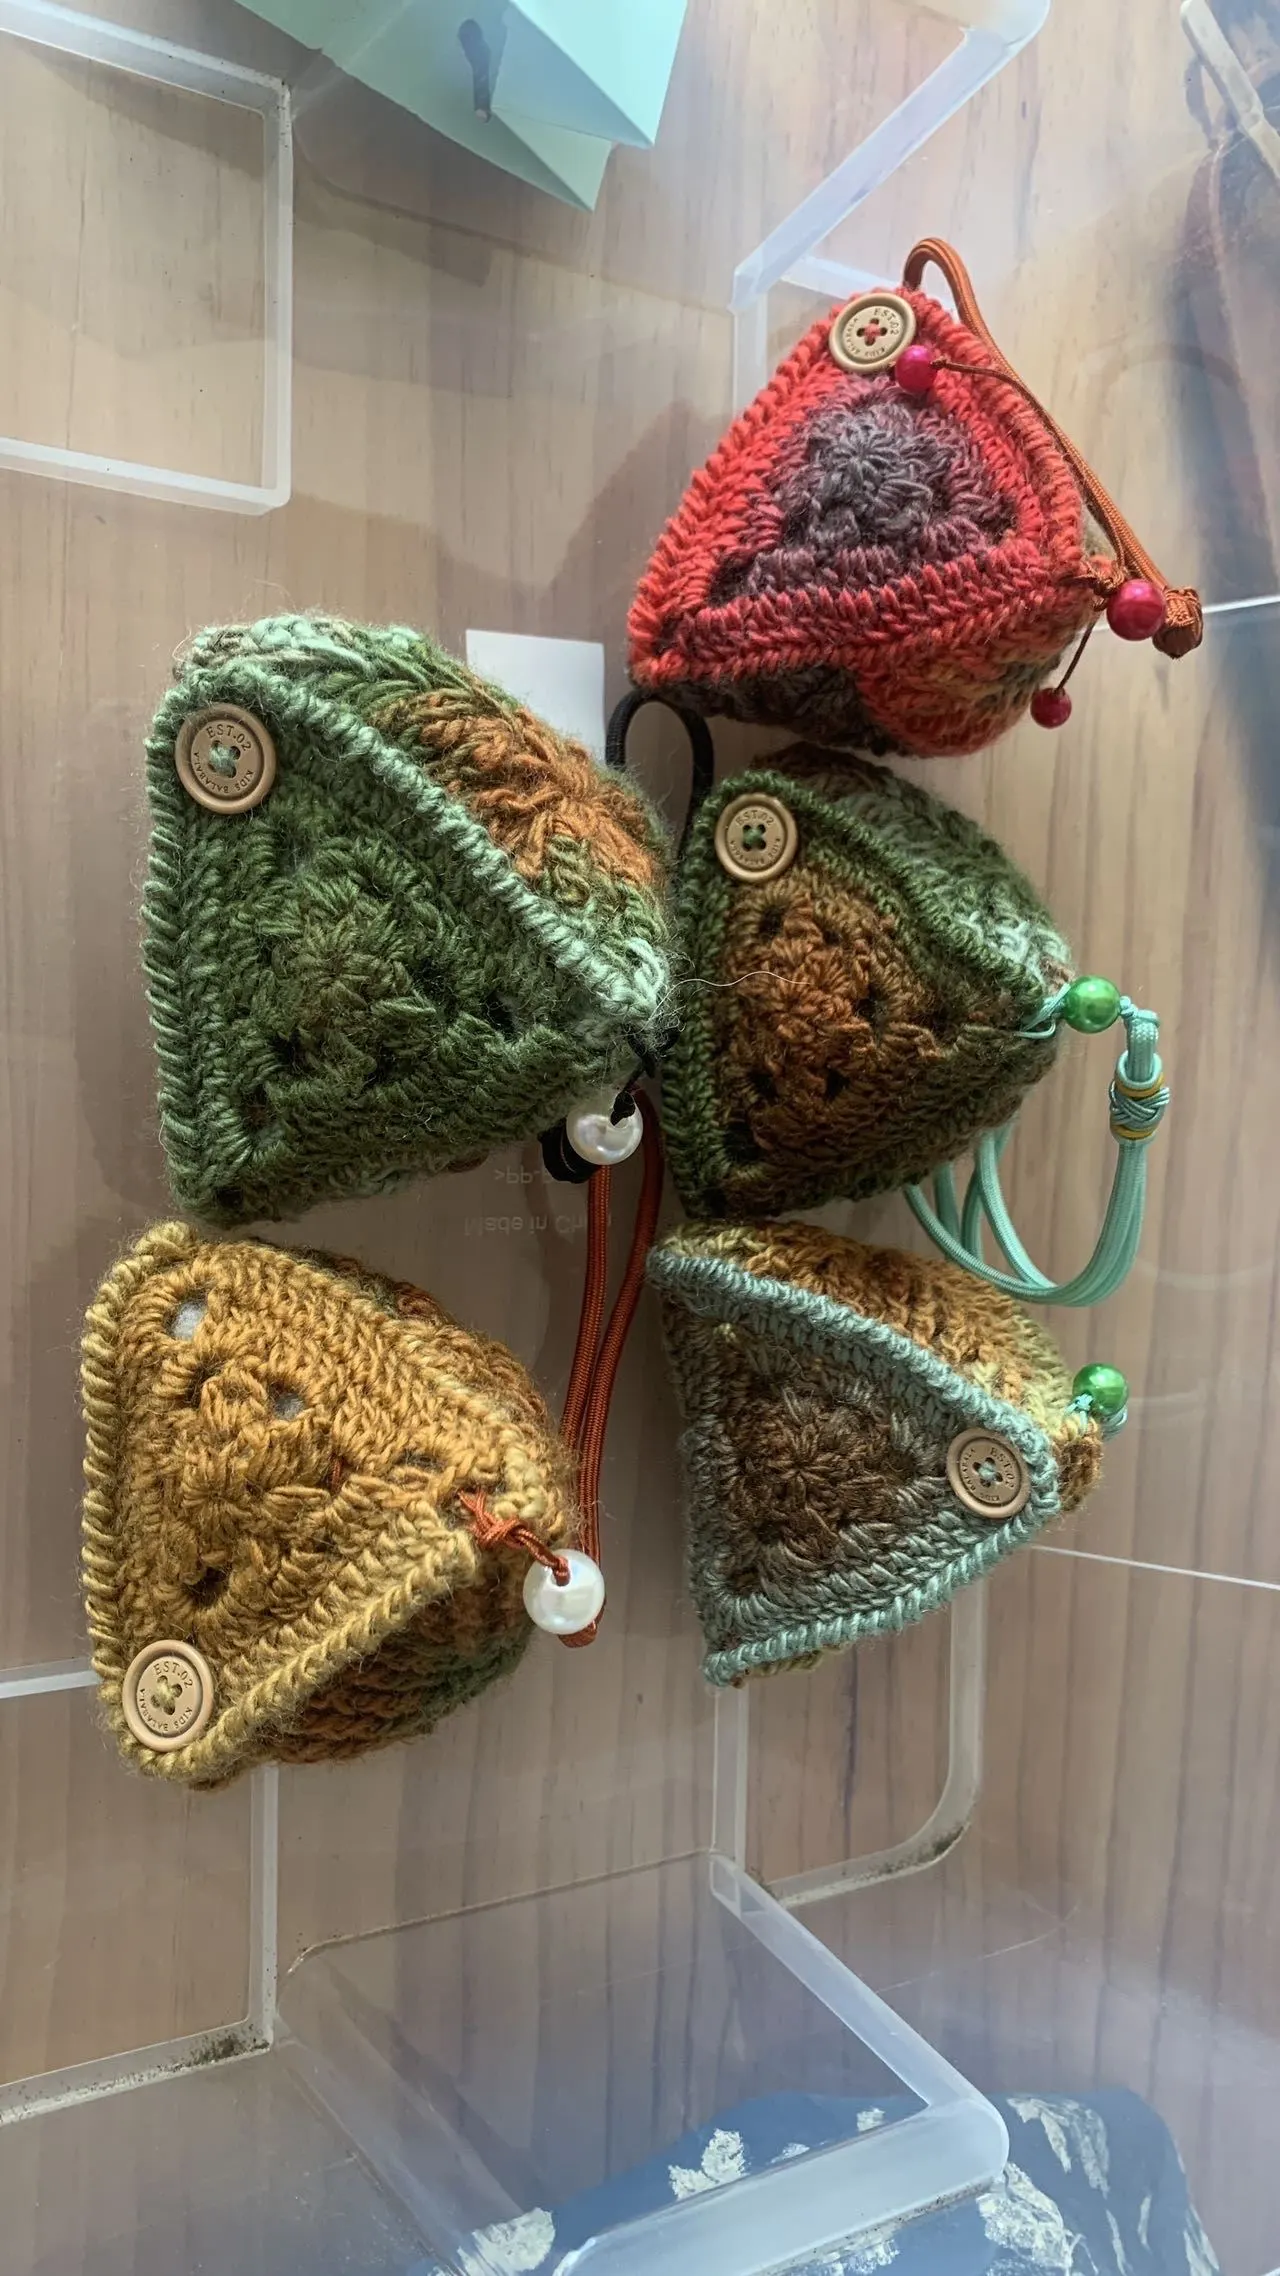
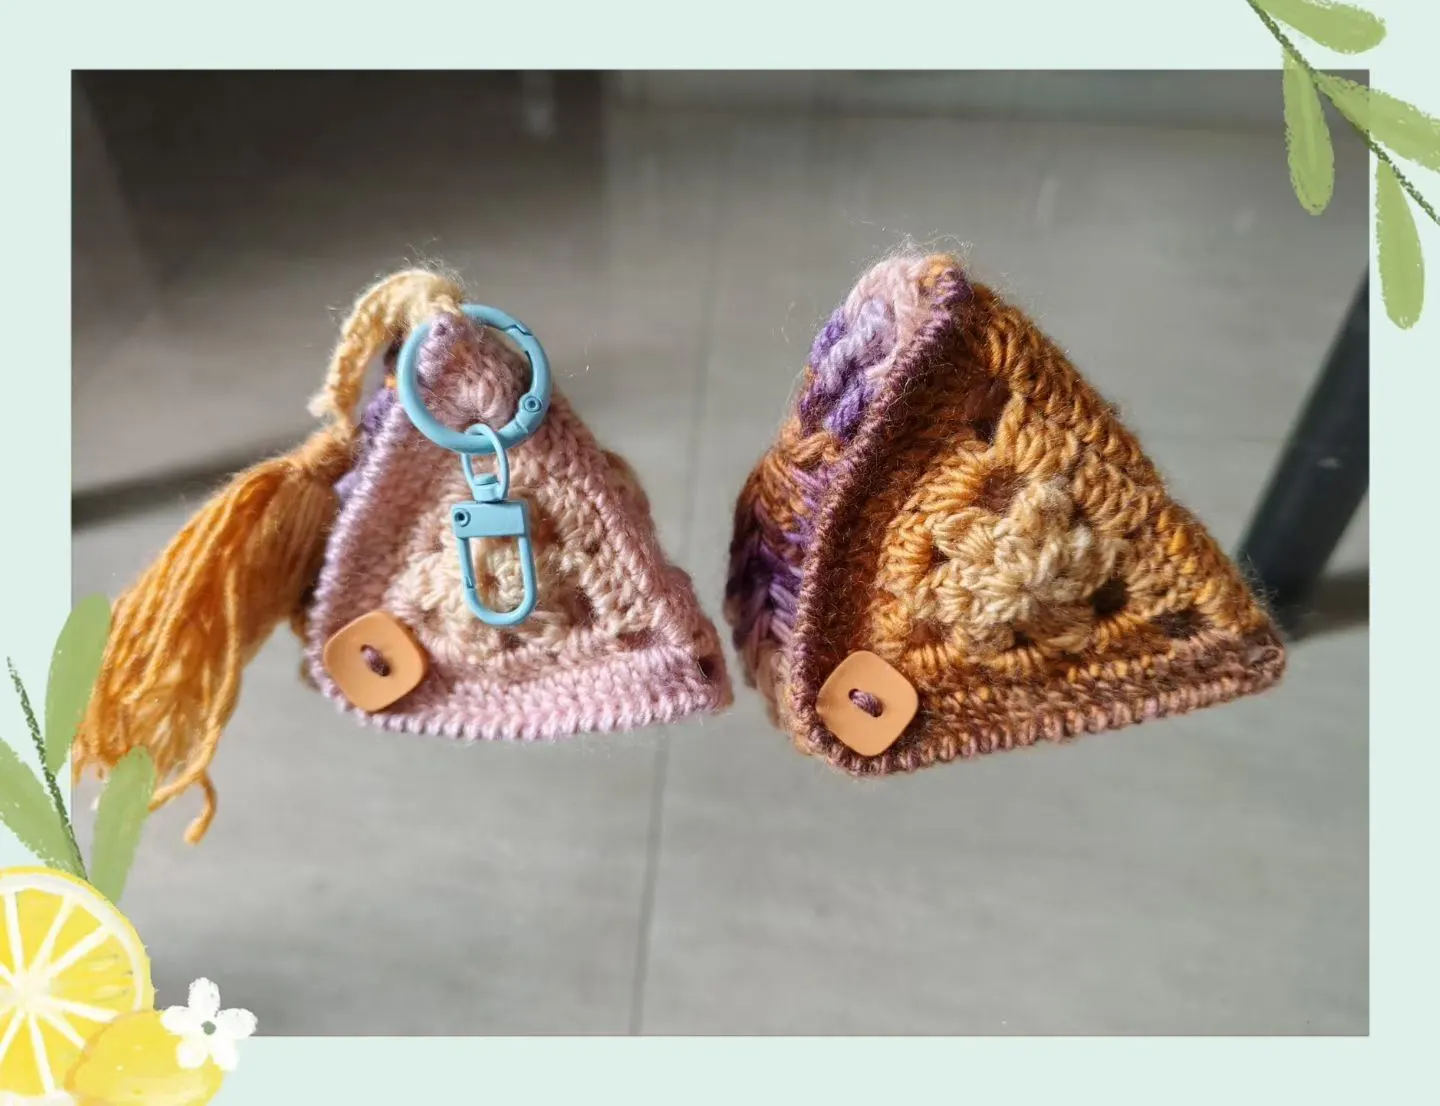
See the finished project
Pattern format
Instructions
Watch and follow
Video tutorial
| Style | Yarn | Color |
|---|---|---|
| Spring Rain Version | Monet Impression | 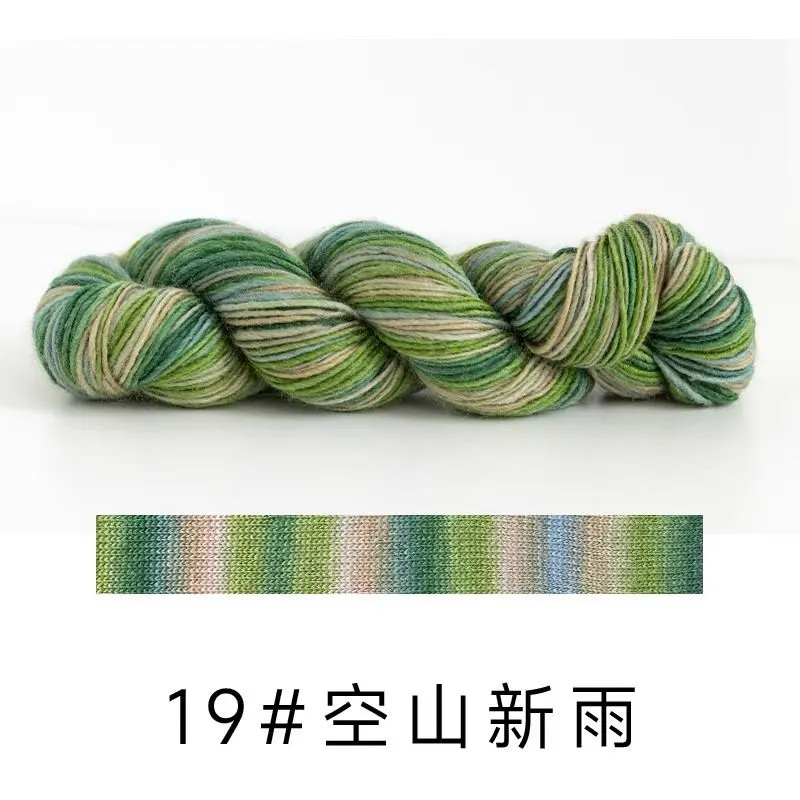 19#Spring Rain x 1 19#Spring Rain x 1 |
| Dawn Version | Monet Impression |  12#Dawn x 1 12#Dawn x 1 |
| Dawn Oracle Version | Monet Impression |  33#Dawn Oracle x 1 33#Dawn Oracle x 1 |
| Emerald Trail Version | 4-Ply Combed Cotton & Acrylic Fibre Hand Knitting Yarn |  411#Emerald Trail x 1 411#Emerald Trail x 1 |
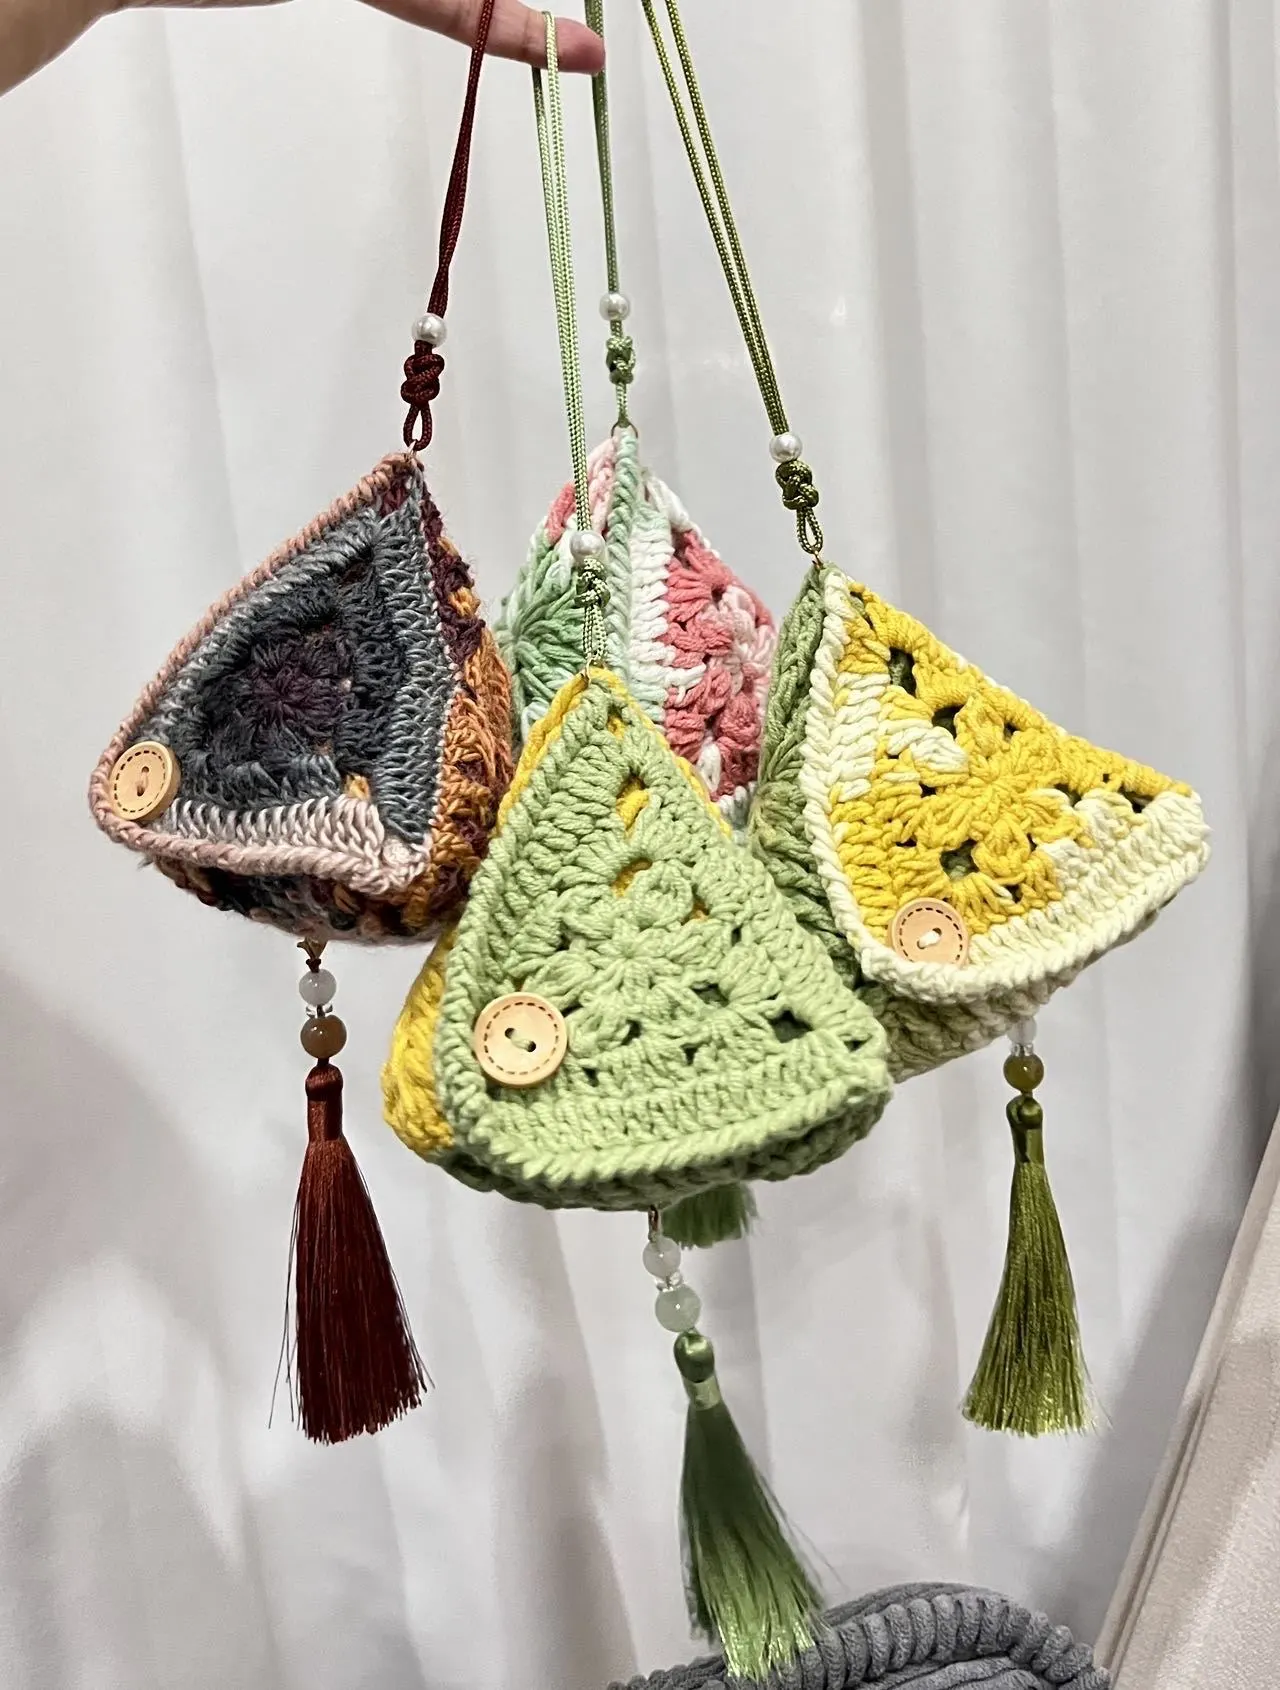
This bag consists of two parts: the main part and decorations. The main part has 3 motifs. Work each motif separately, secure them together, then attach buttons and tassel decorations.
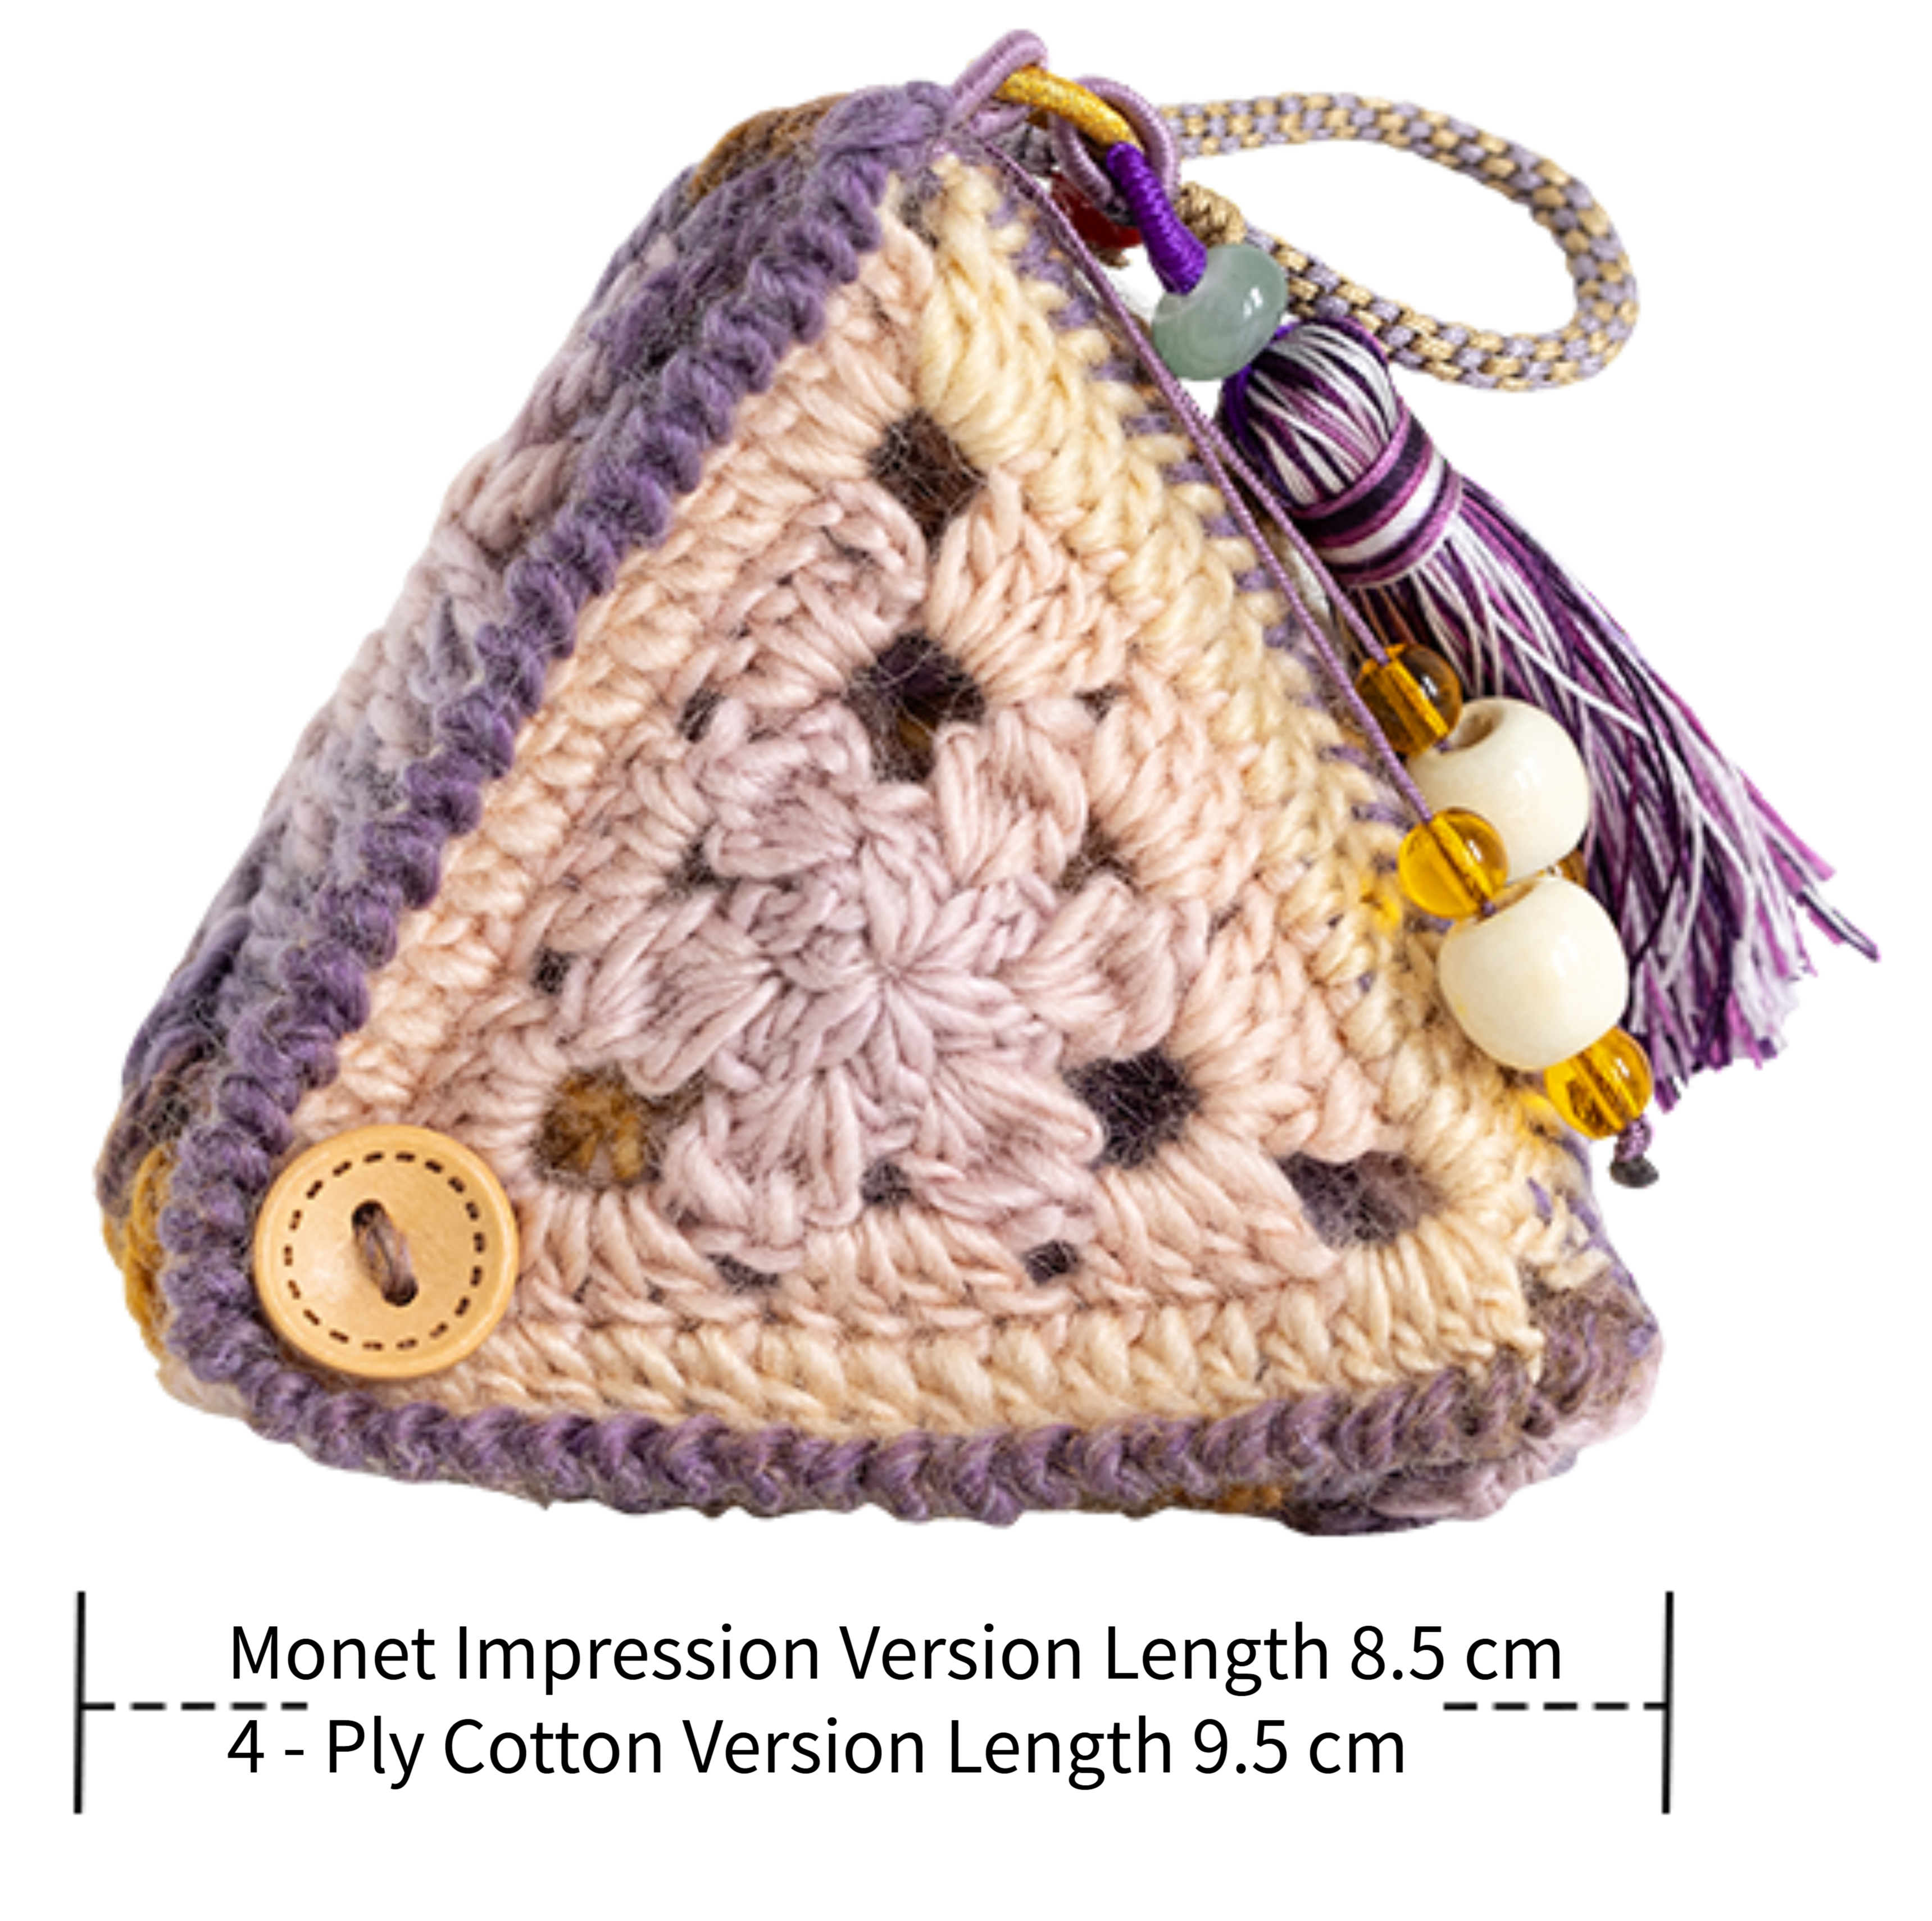
Note: Hand-measured, with a possible error of 1-2 cm. Due to differences in individual tension, the sample size is for reference only.
Yarn :Monet Impression , 4 - Ply Cotton . Tools : 2.0 mm Crochet Hook .

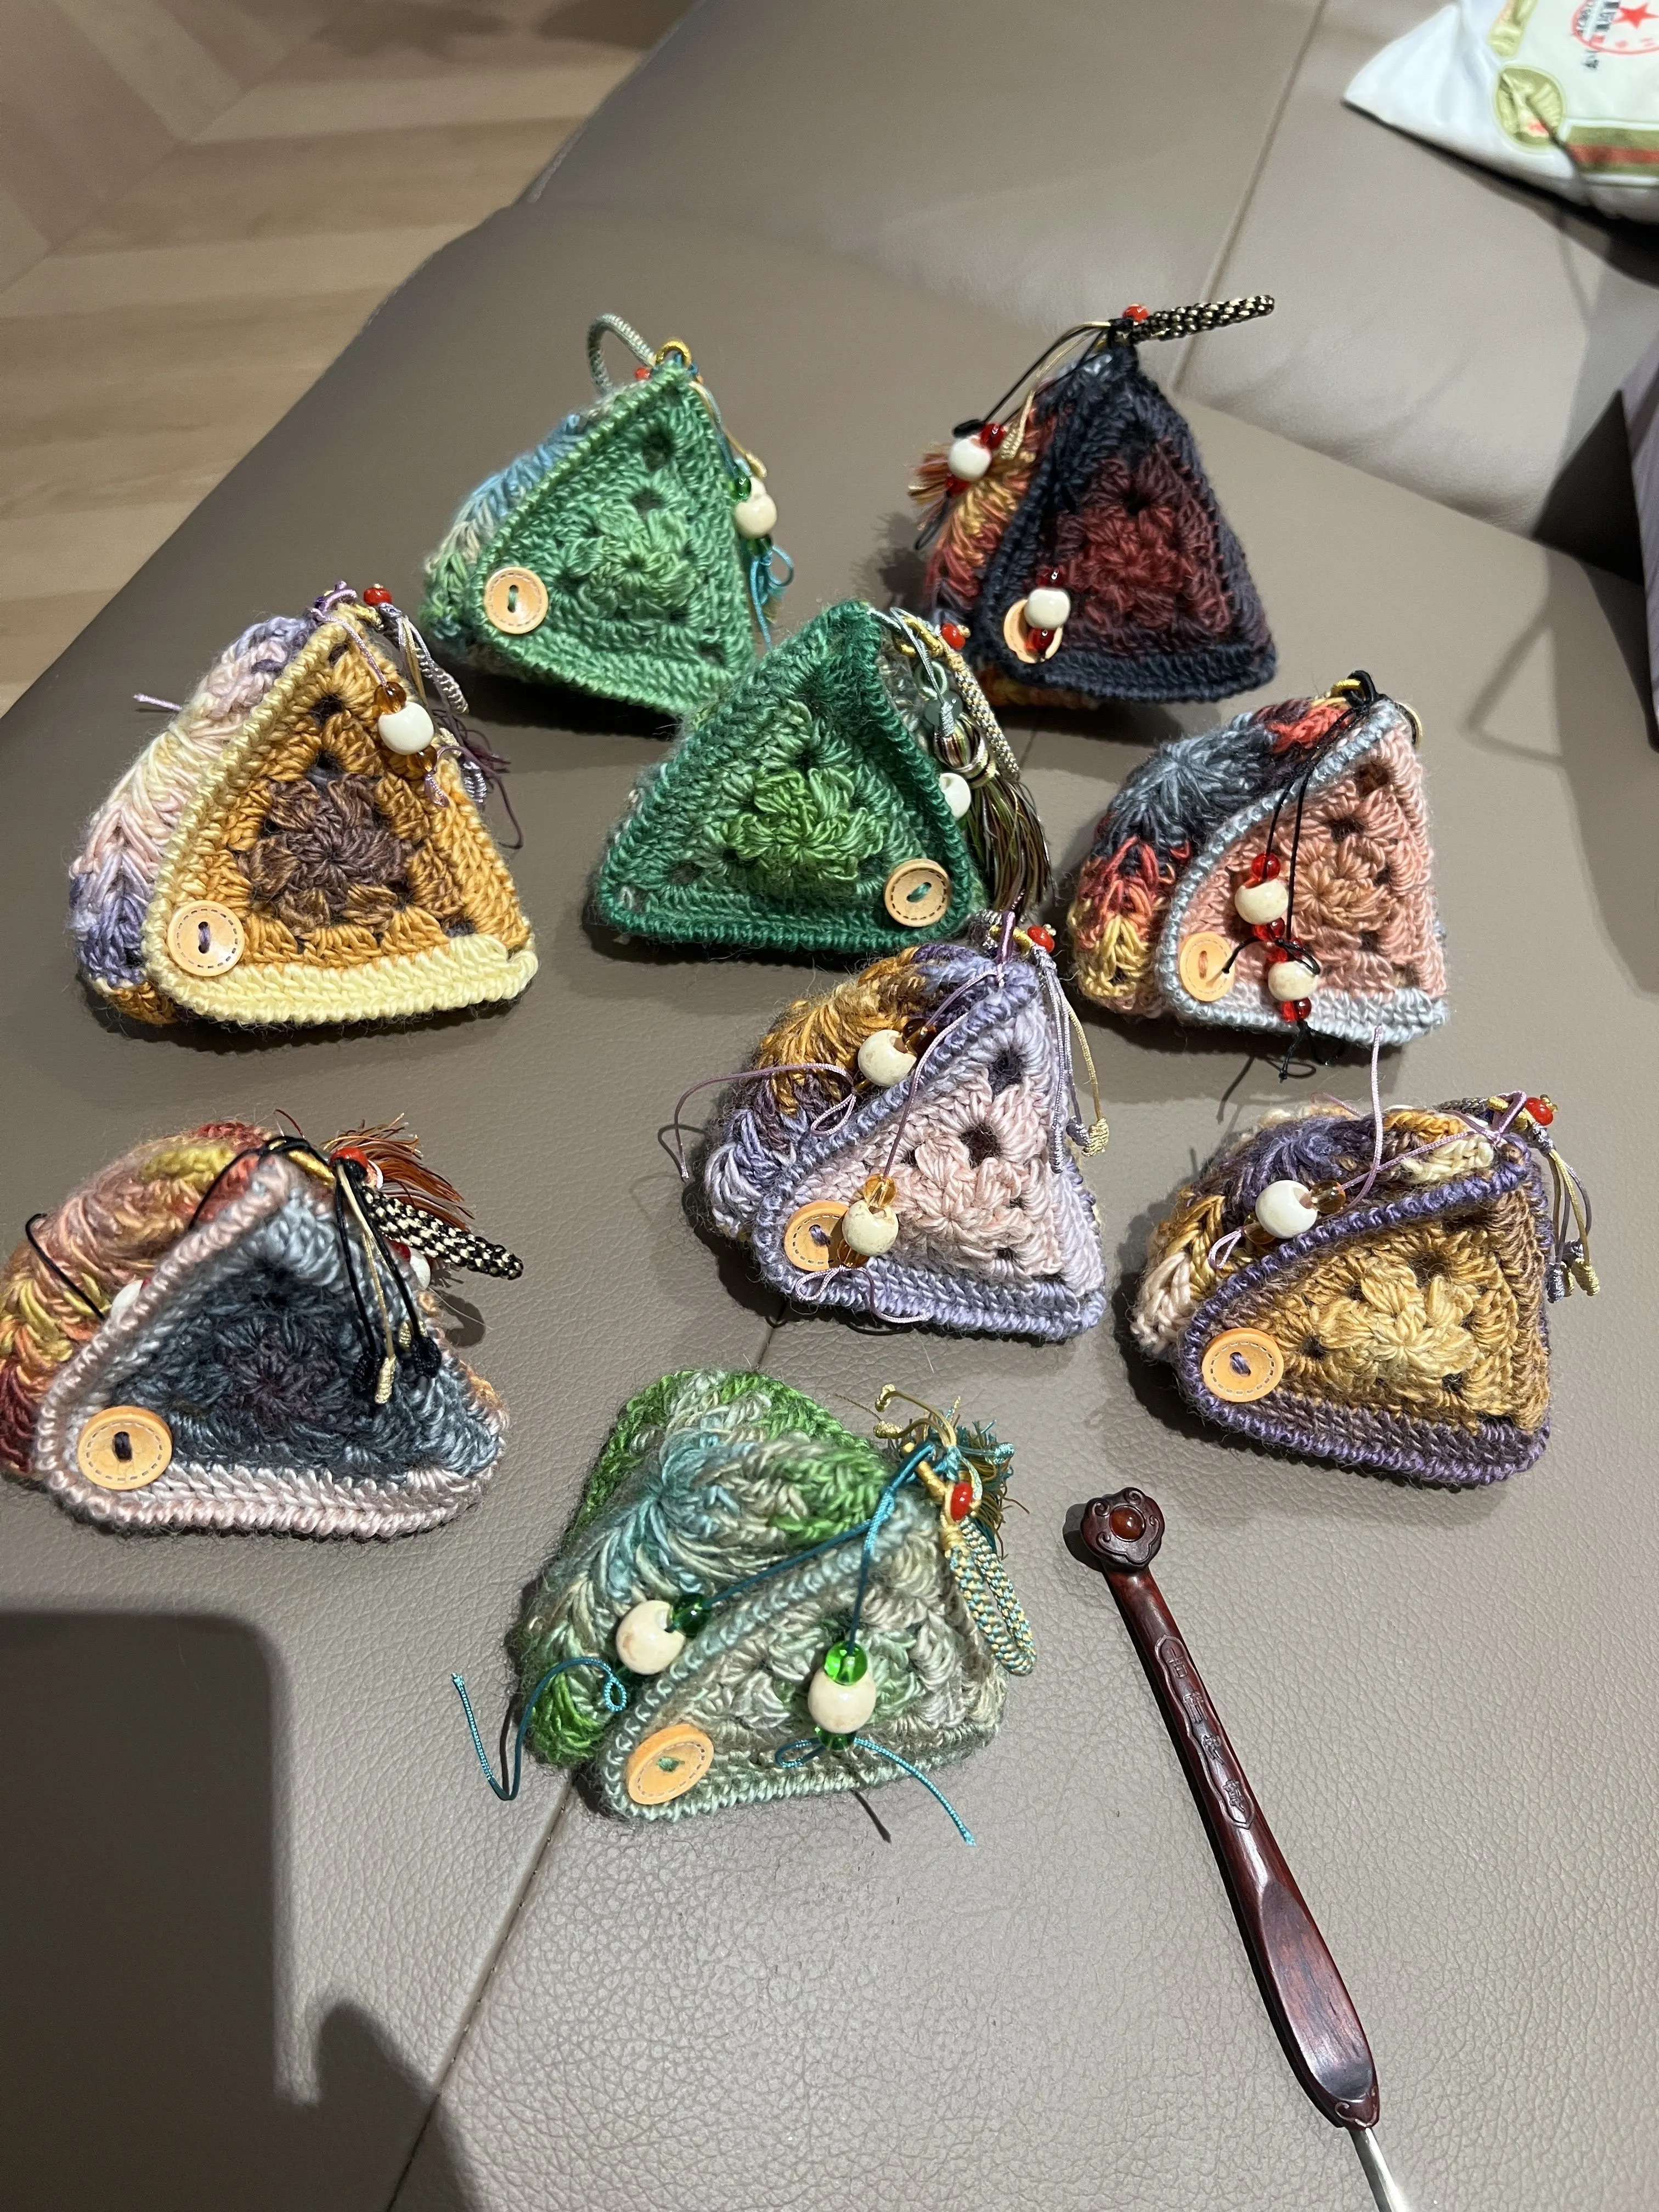
Note: This product is crocheted with variegated yarn. Since variegated yarn has multiple color sections and the starting color may vary, the finished look will differ. You can refer to the completed sample or choose your preferred color section to start crocheting according to your own preference.








Note:
1. This pattern is making in Chinese crochet pattern terms, and the stitch name is written using American terminology. All measurements in charts are in cm.

PART 1 Main Part A
STEP 1 Motif 1 x 2 pieces A1 03' 44''
Start with a magic ring, work counterclockwise in the round, Please refer to the video demonstration for more details.
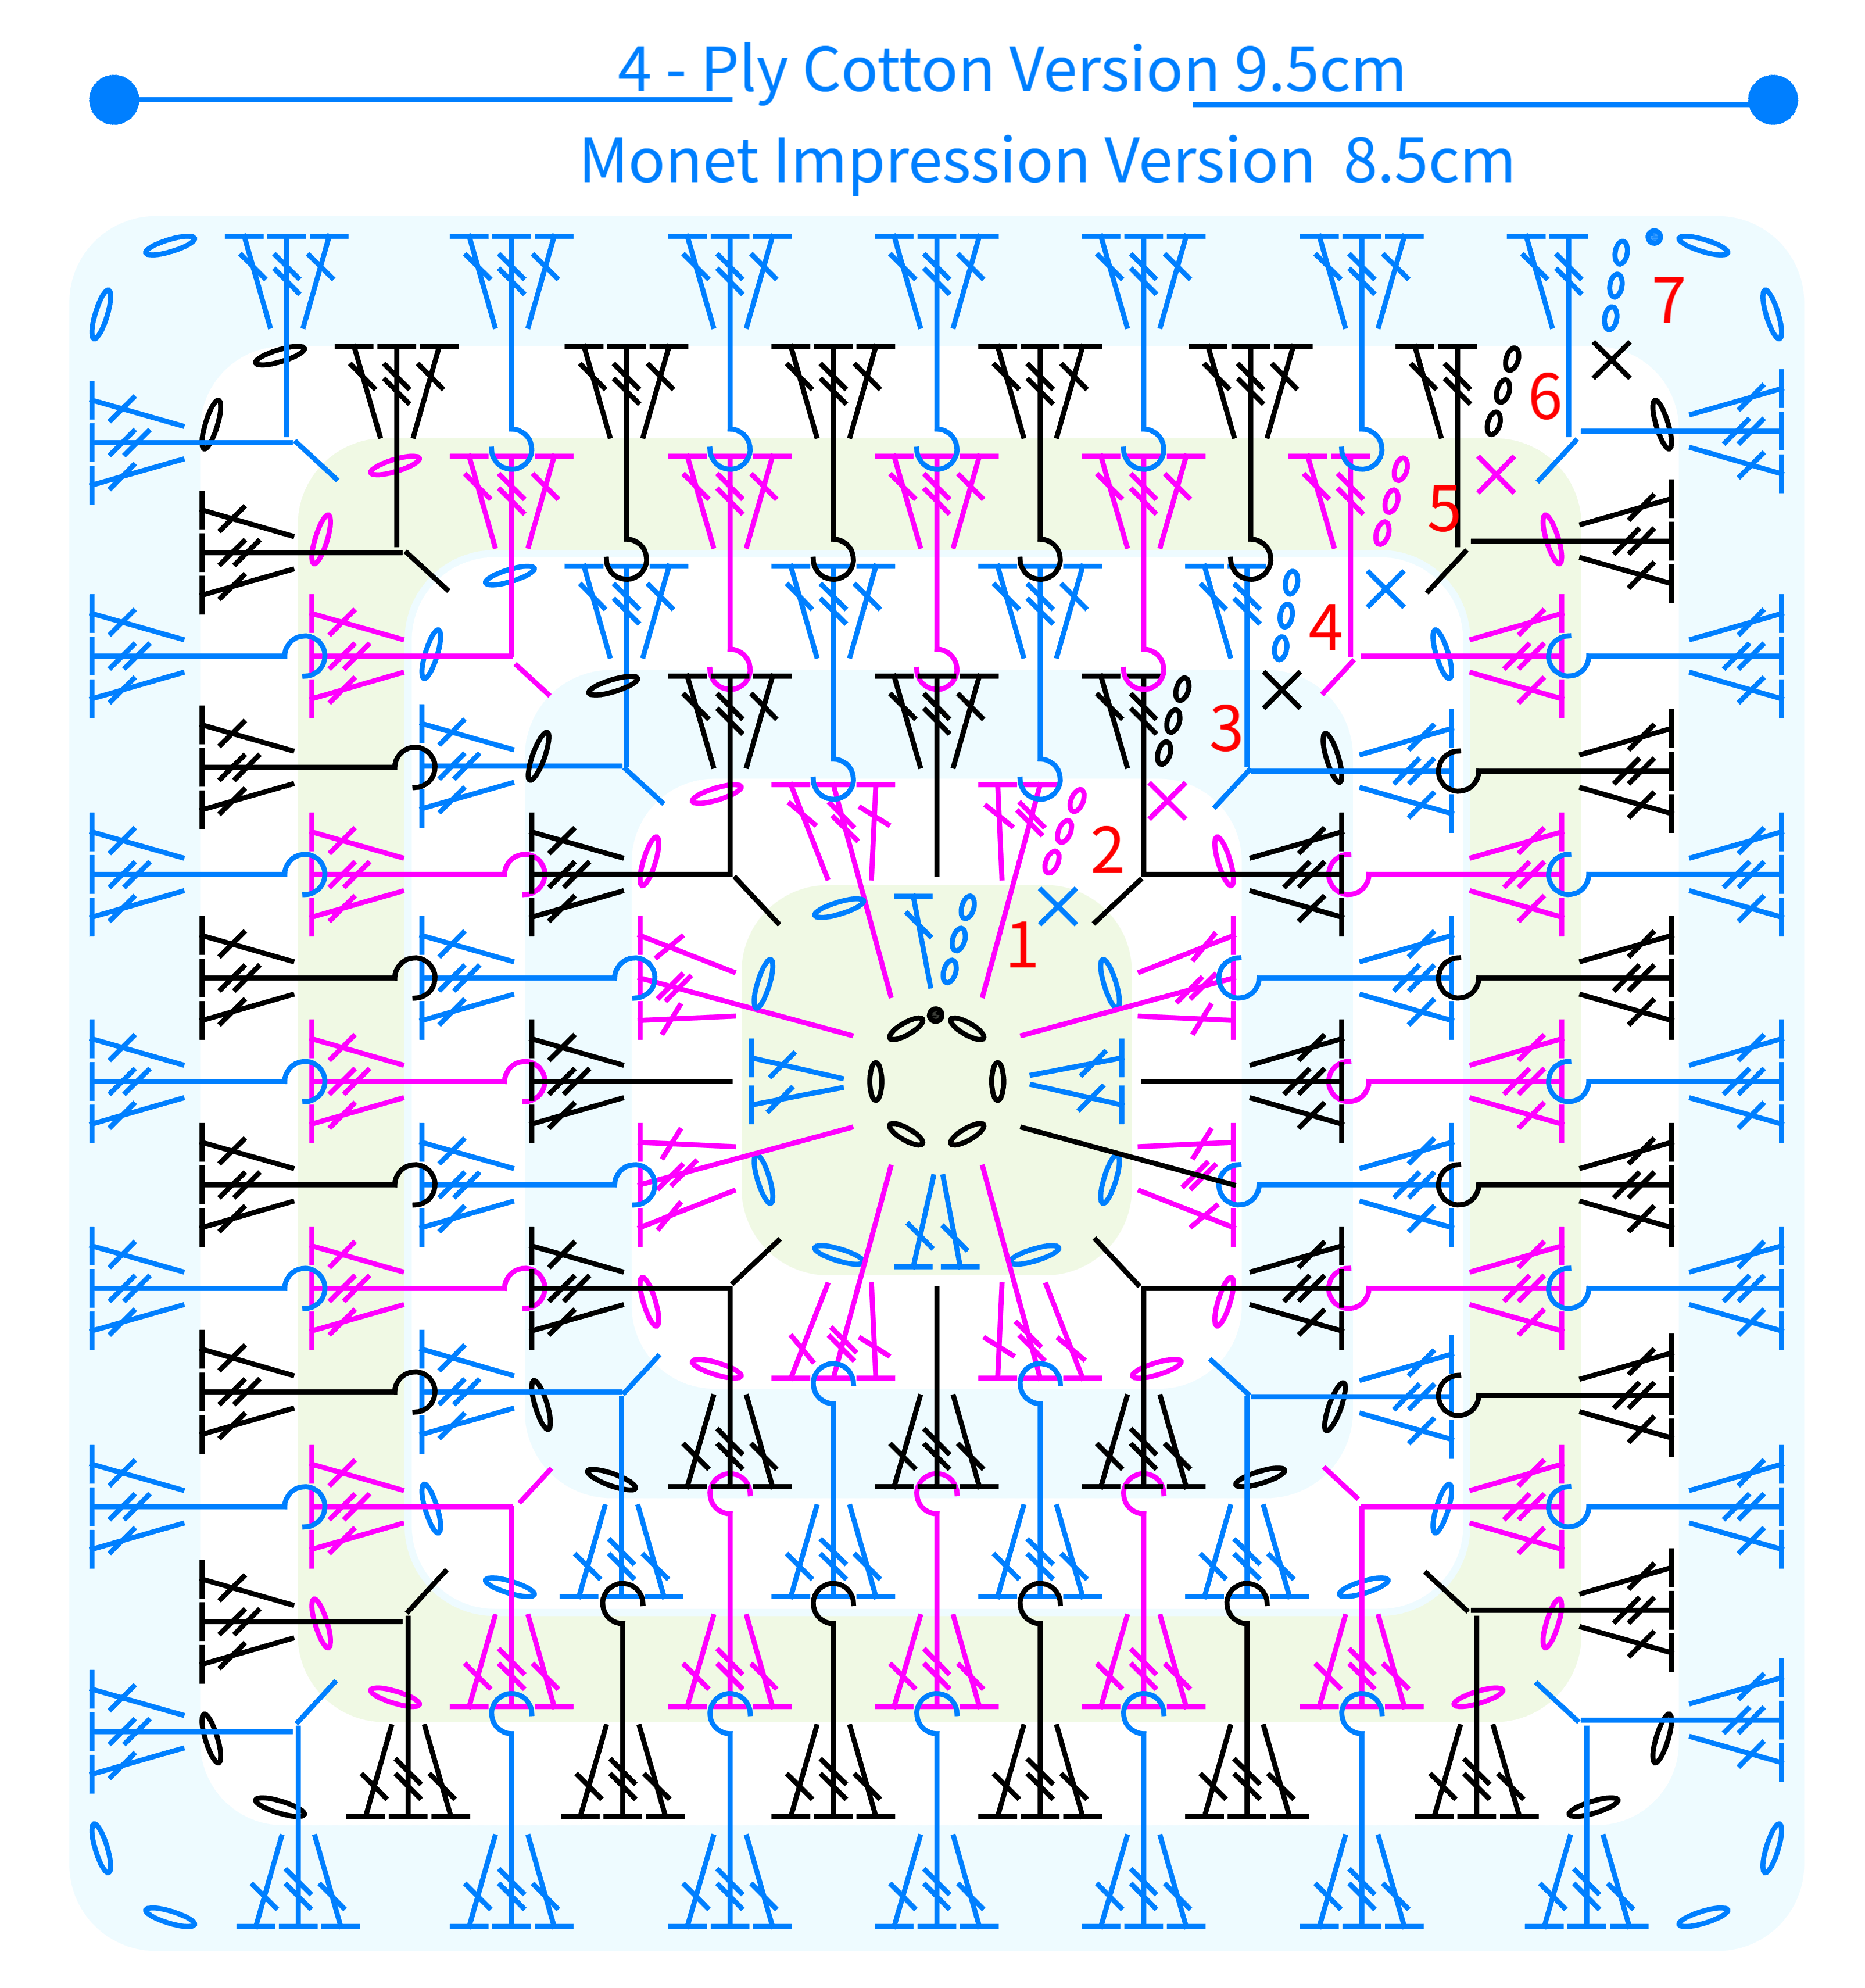
Note: 1. The first 4 rounds of the Monet Impression motif measure approximately 5 cm in diameter, while the 4-ply cotton version measures about 5.5 cm. If there's a significant difference, adjust your tension and re-crochet.
2. For the first motif, leave a tail 3 times the length of the outer round before cutting the yarn; for the second motif, no long tail is needed.
STEP 2 Motif 2 A2 37' 50''
Start with a magic ring, work counterclockwise in the round, Please refer to the video demonstration for more details.
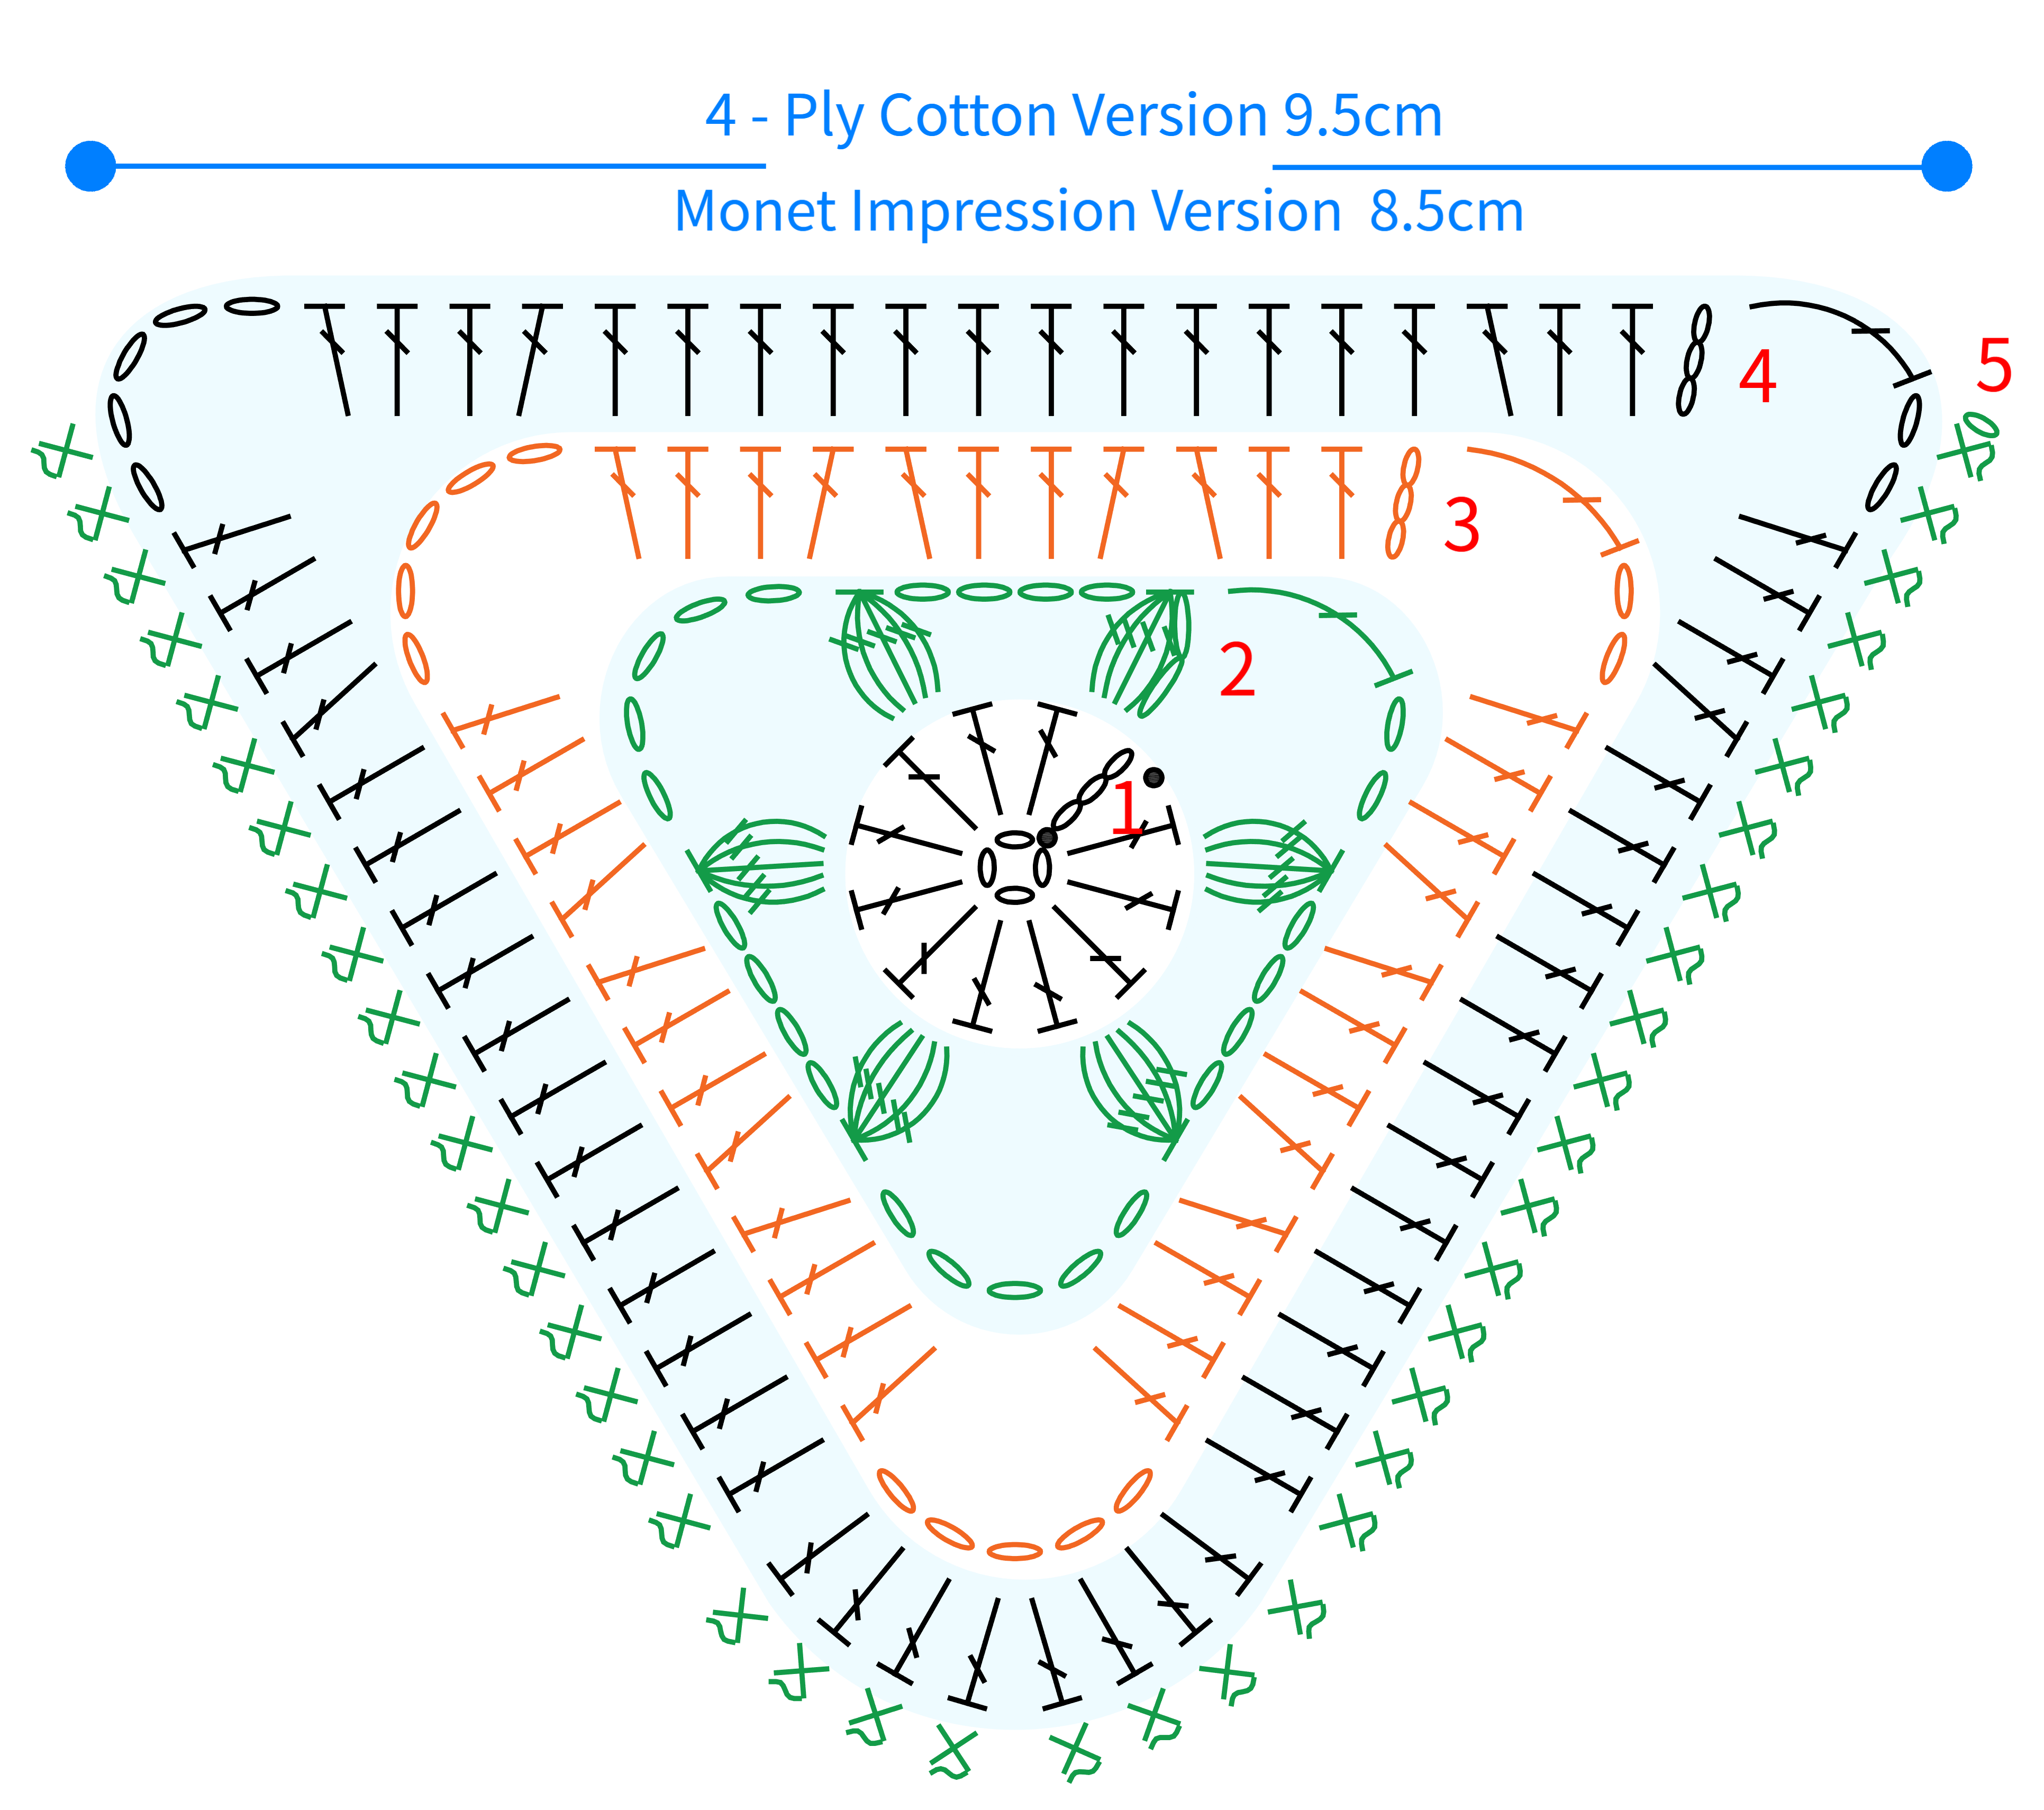
Note: Leave a tail 4 times the length of the side at the end.
STEP 3 Assembly A3 56' 42''
Once the motifs are completed, sew them together and secure the buttons. Please refer to the video demonstration for more details.
PART 2 Decorations B 66' 31''
Finally, attach beads to the tassels and secure them to the main part. Please refer to the video demonstration for more details.
Made by the community