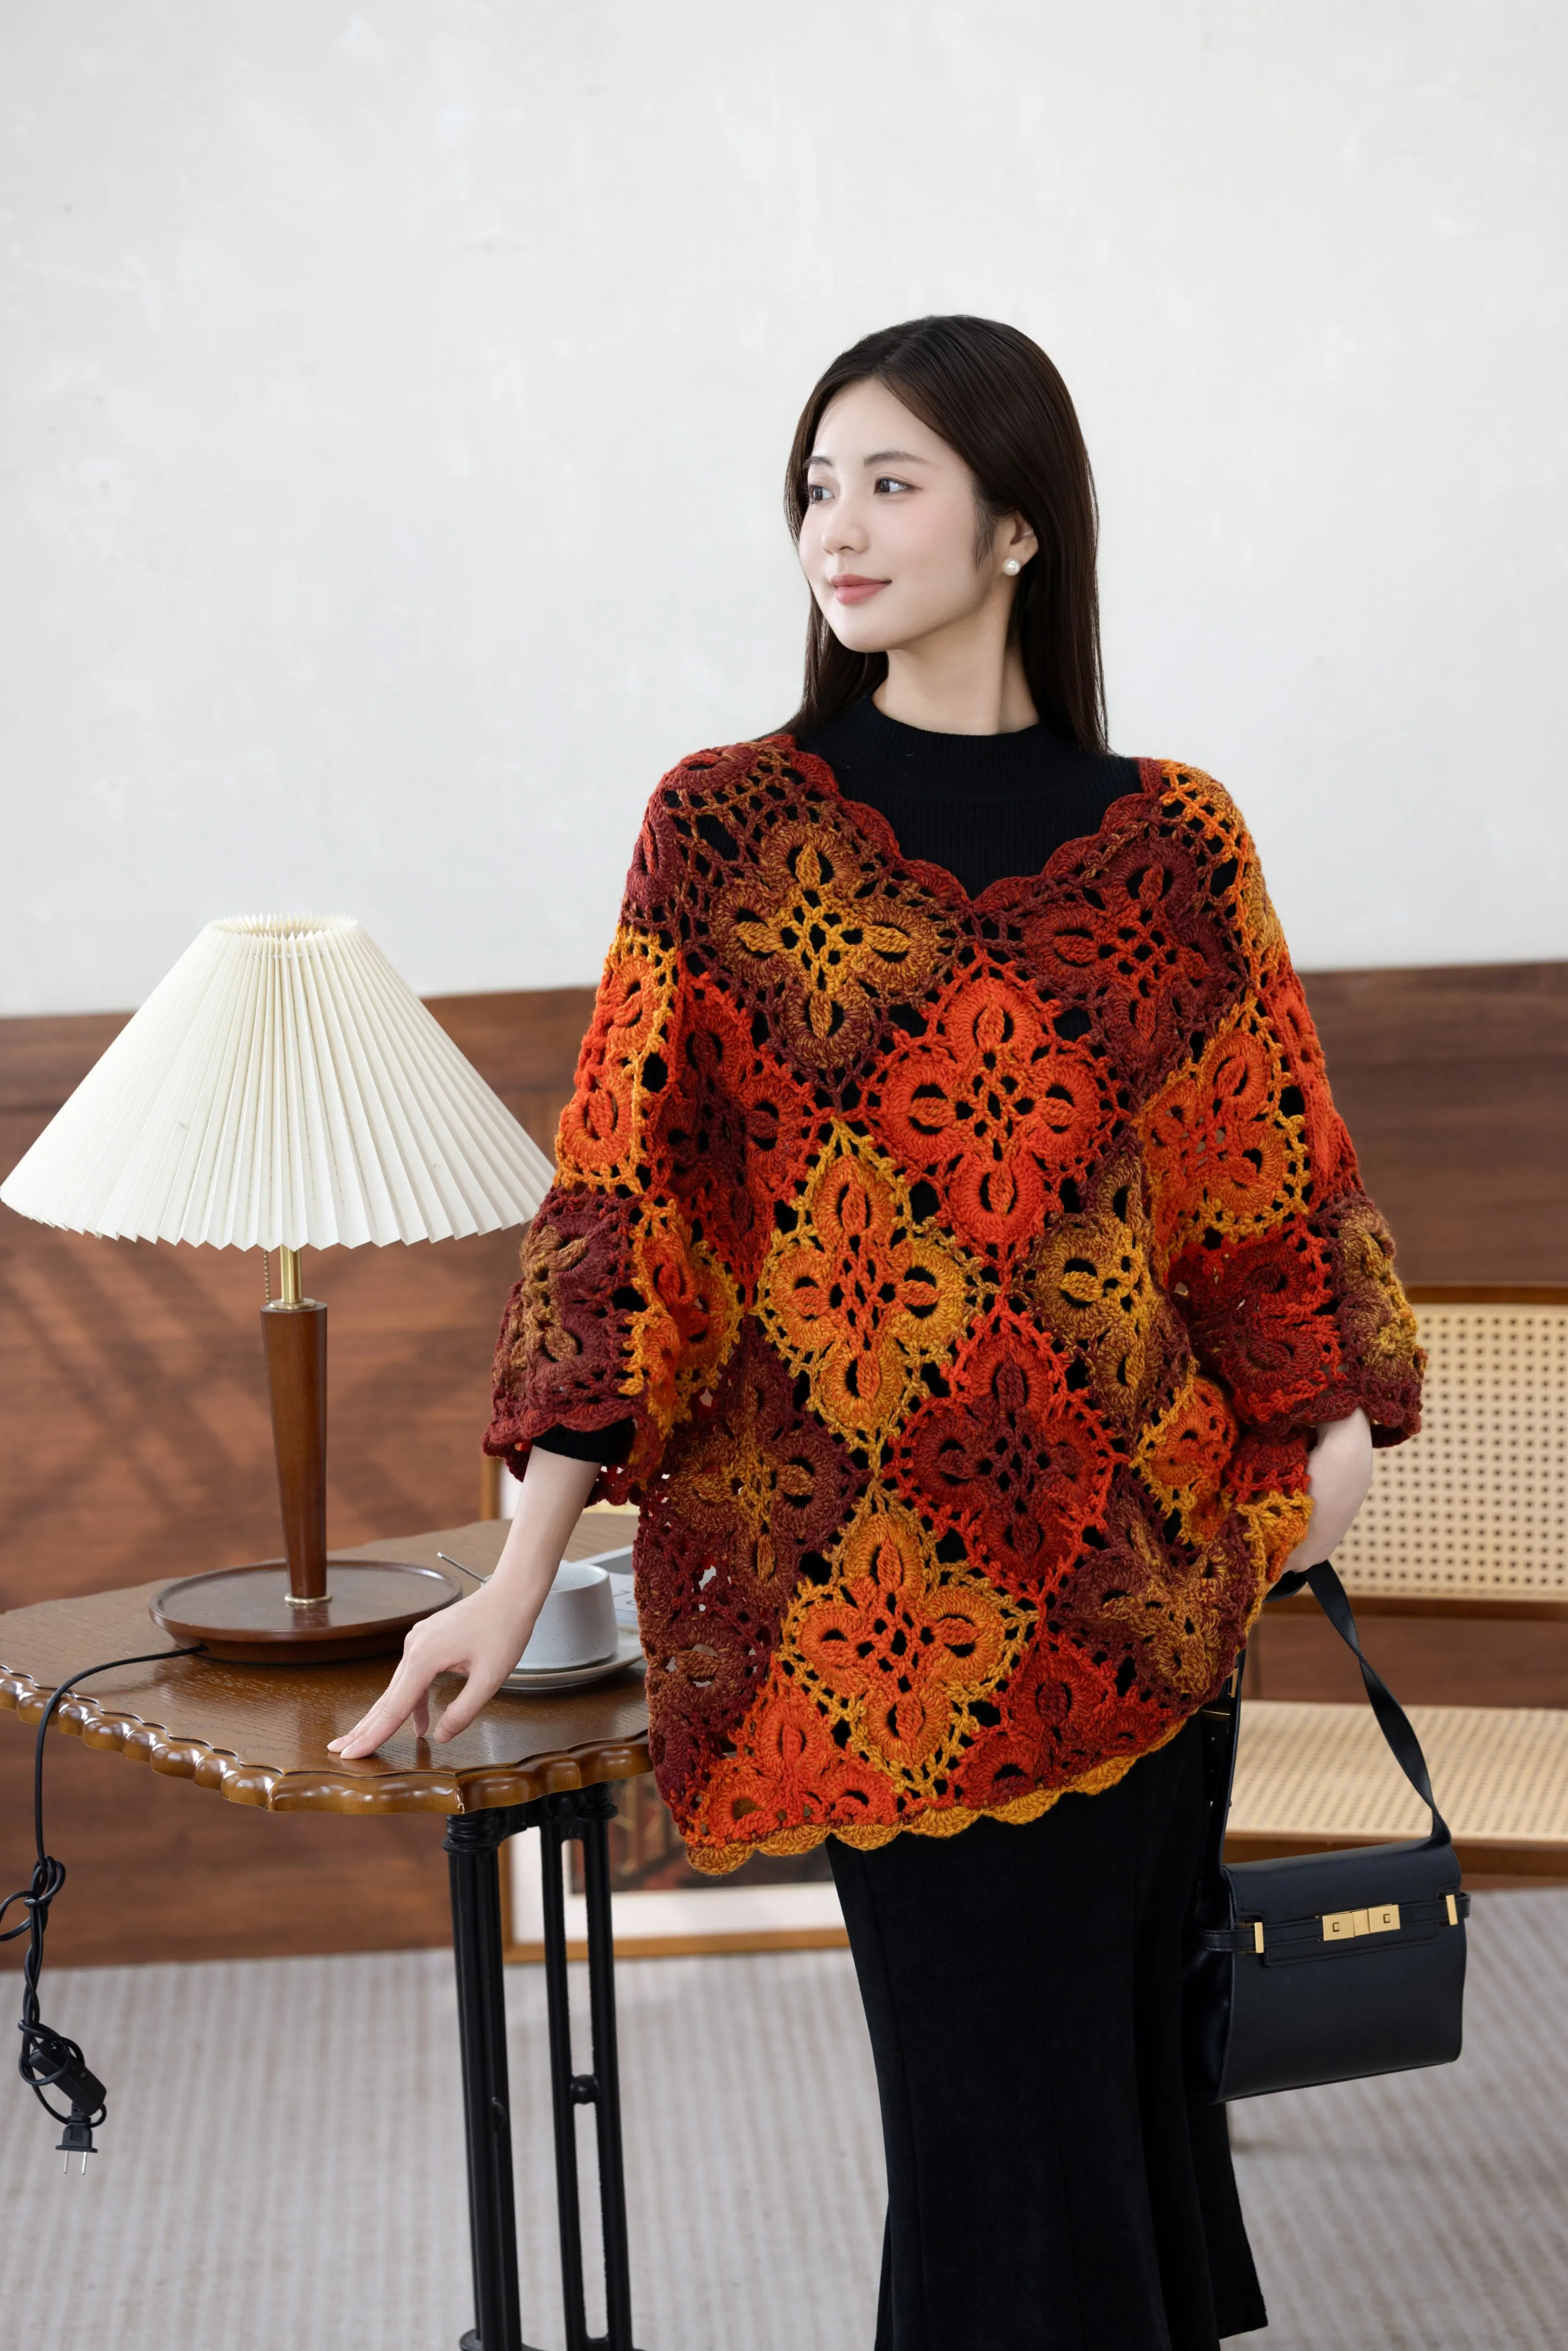
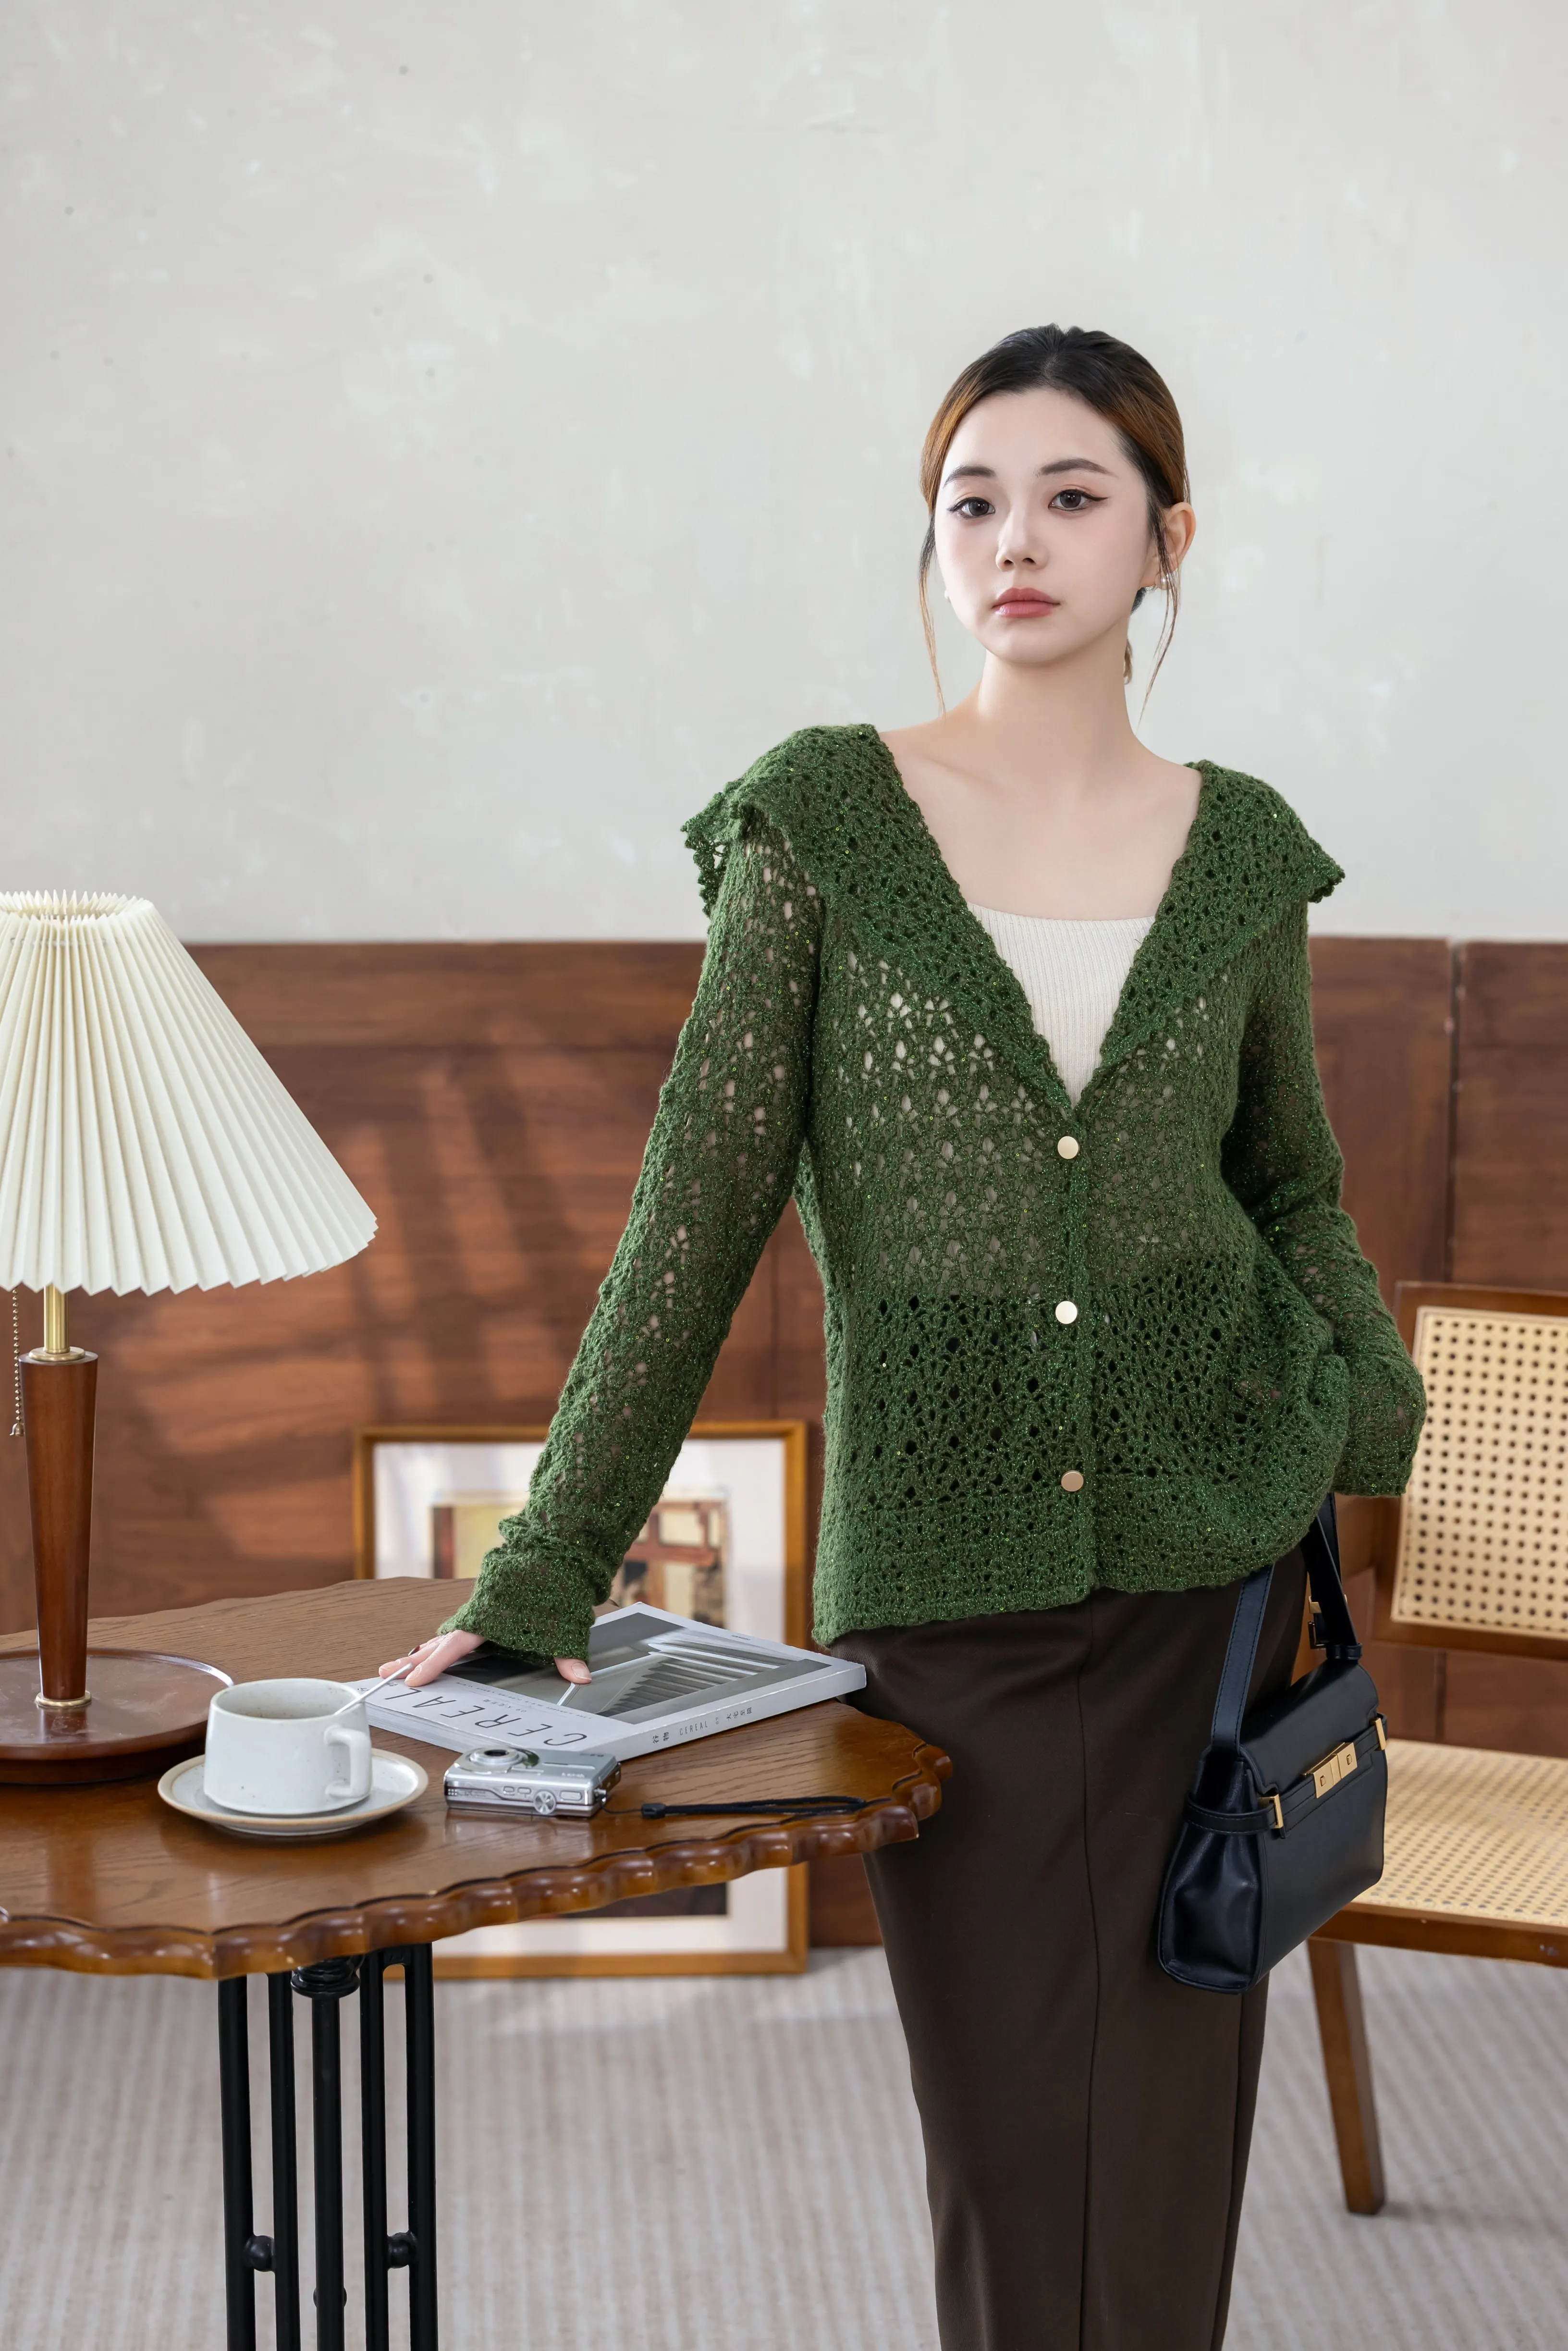
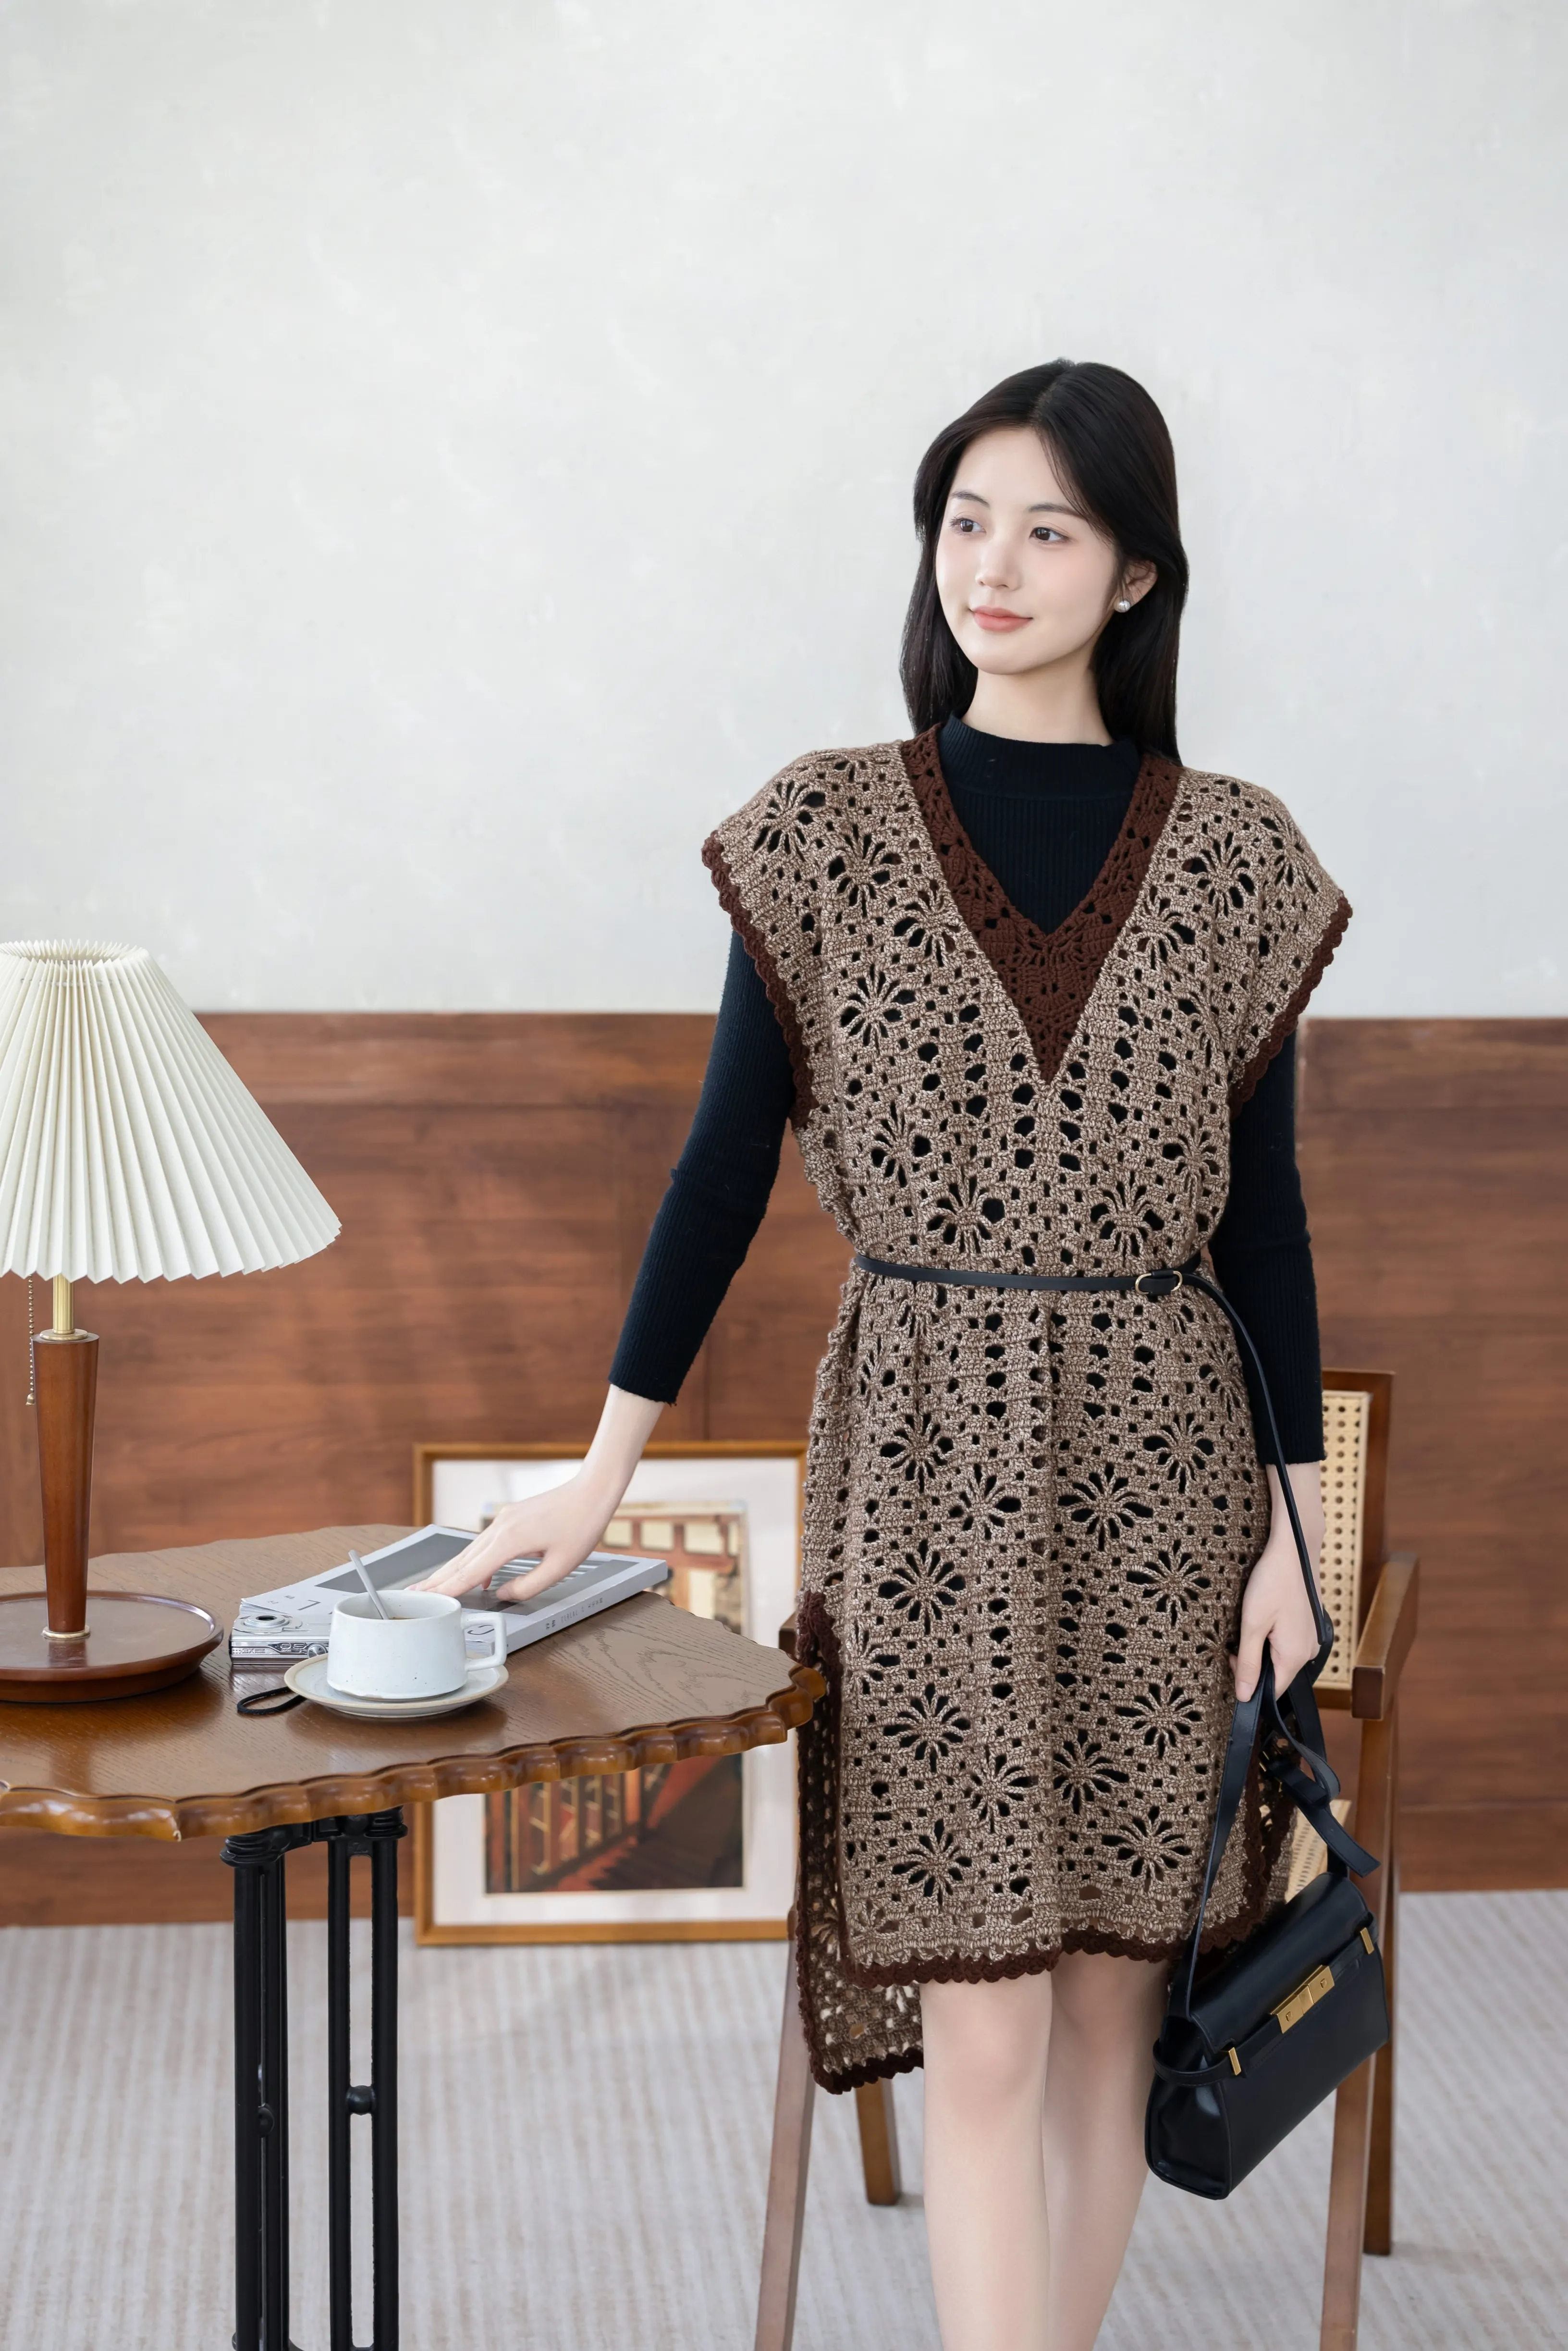
Clothes
Mari
Project preview
See the finished project
Pattern format
Instructions
Watch and follow
Video tutorial
| Style | Yarn | Color |
|---|---|---|
| Deep Green Version | Combed 5# Lace |  16# Deep Green x 9 16# Deep Green x 9 |
| Silver Gray Version | Combed 5# Lace |  41#Silver Gray x 9 41#Silver Gray x 9 |
| Moonlight Jade Version | Combed 5# Lace |  28#Moonlight Jade x 9 28#Moonlight Jade x 9 |
| Crystal Pink Version | Combed 5# Lace |  04#Crystal Pink x 9 04#Crystal Pink x 9 |
| Orchid Bloom Version | Combed 5# Lace |  48#Orchid Bloom x 9 48#Orchid Bloom x 9 |
| Cloud Dancer Version | Combed 5# Lace |  01# Cloud Dancer x 9 01# Cloud Dancer x 9 |
Deep Green Version
Silver Gray Version
Moonlight Jade Version
Crystal Pink Version
Orchid Bloom Version
Cloud Dancer Version
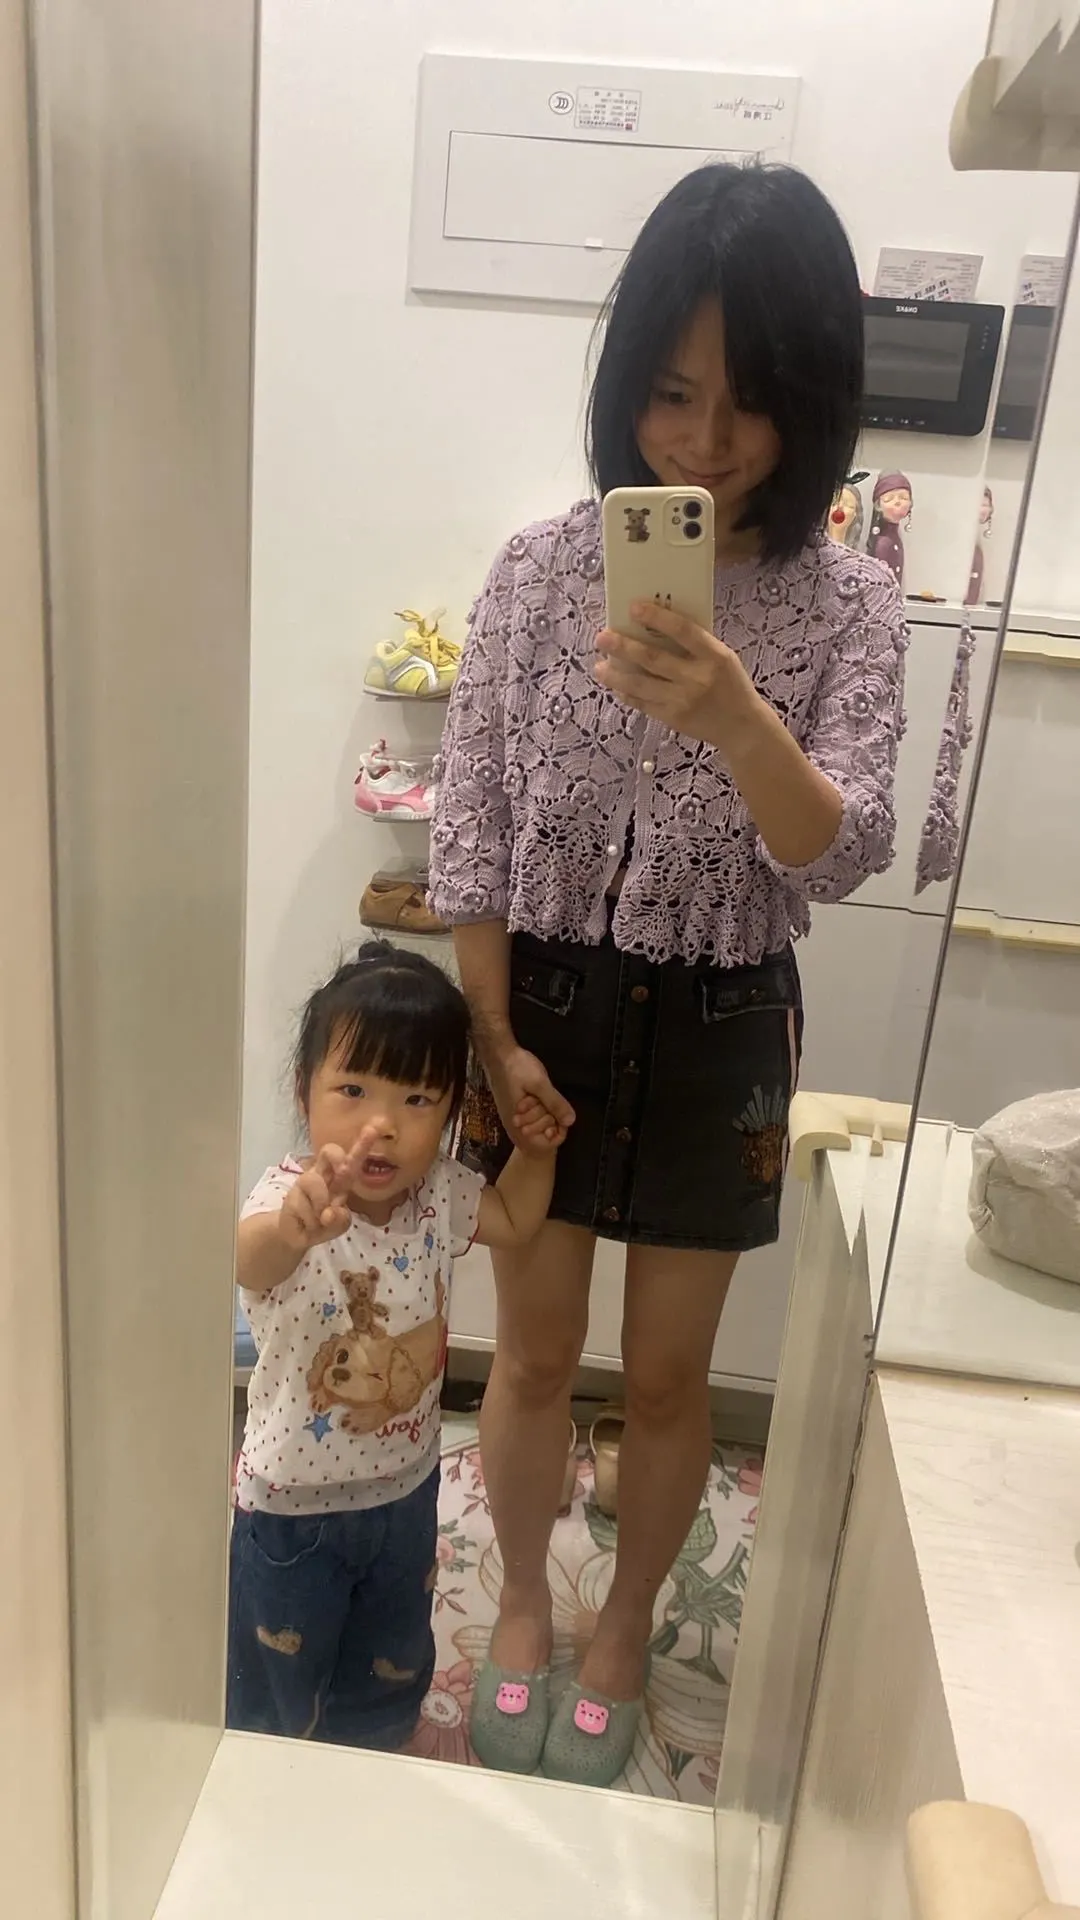
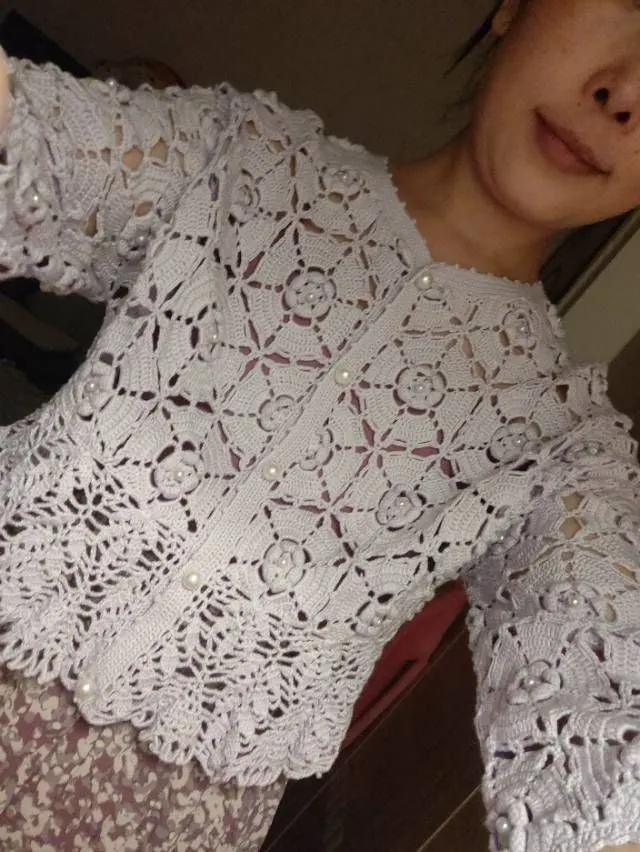
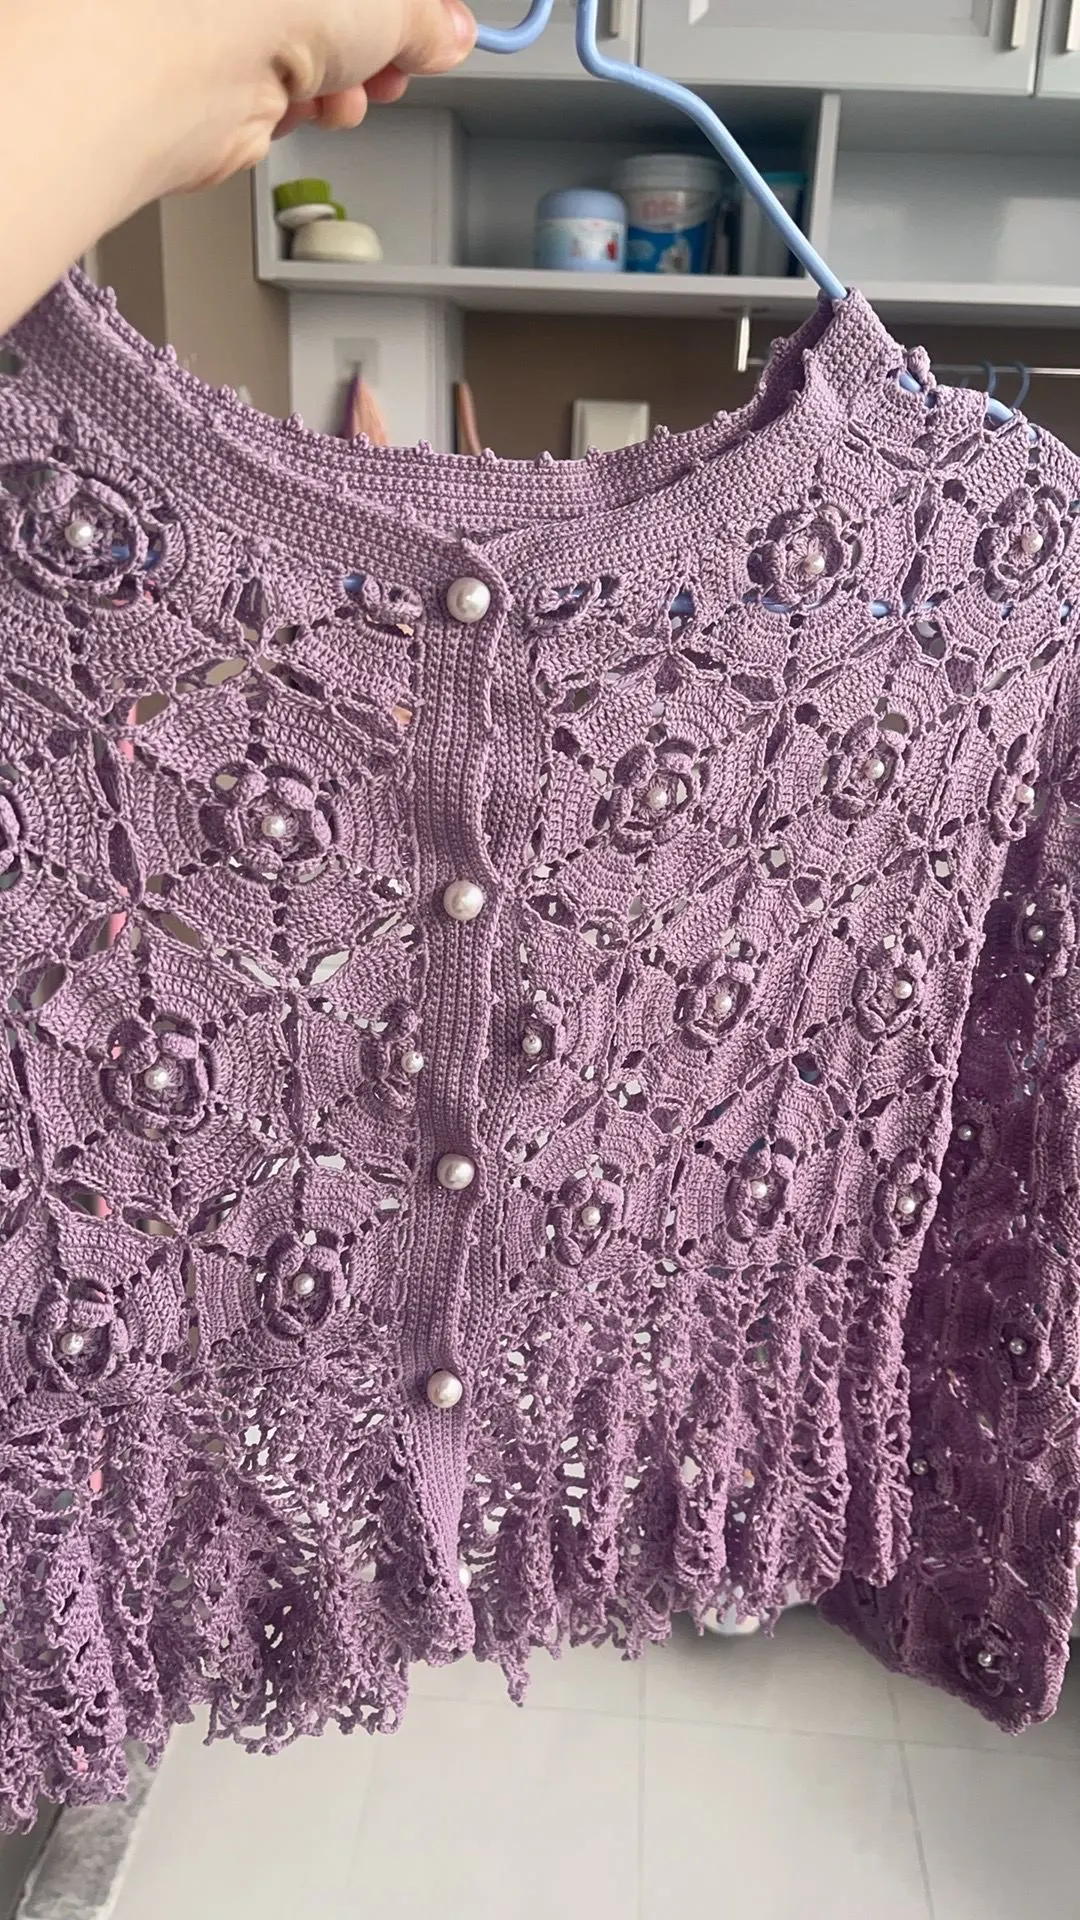
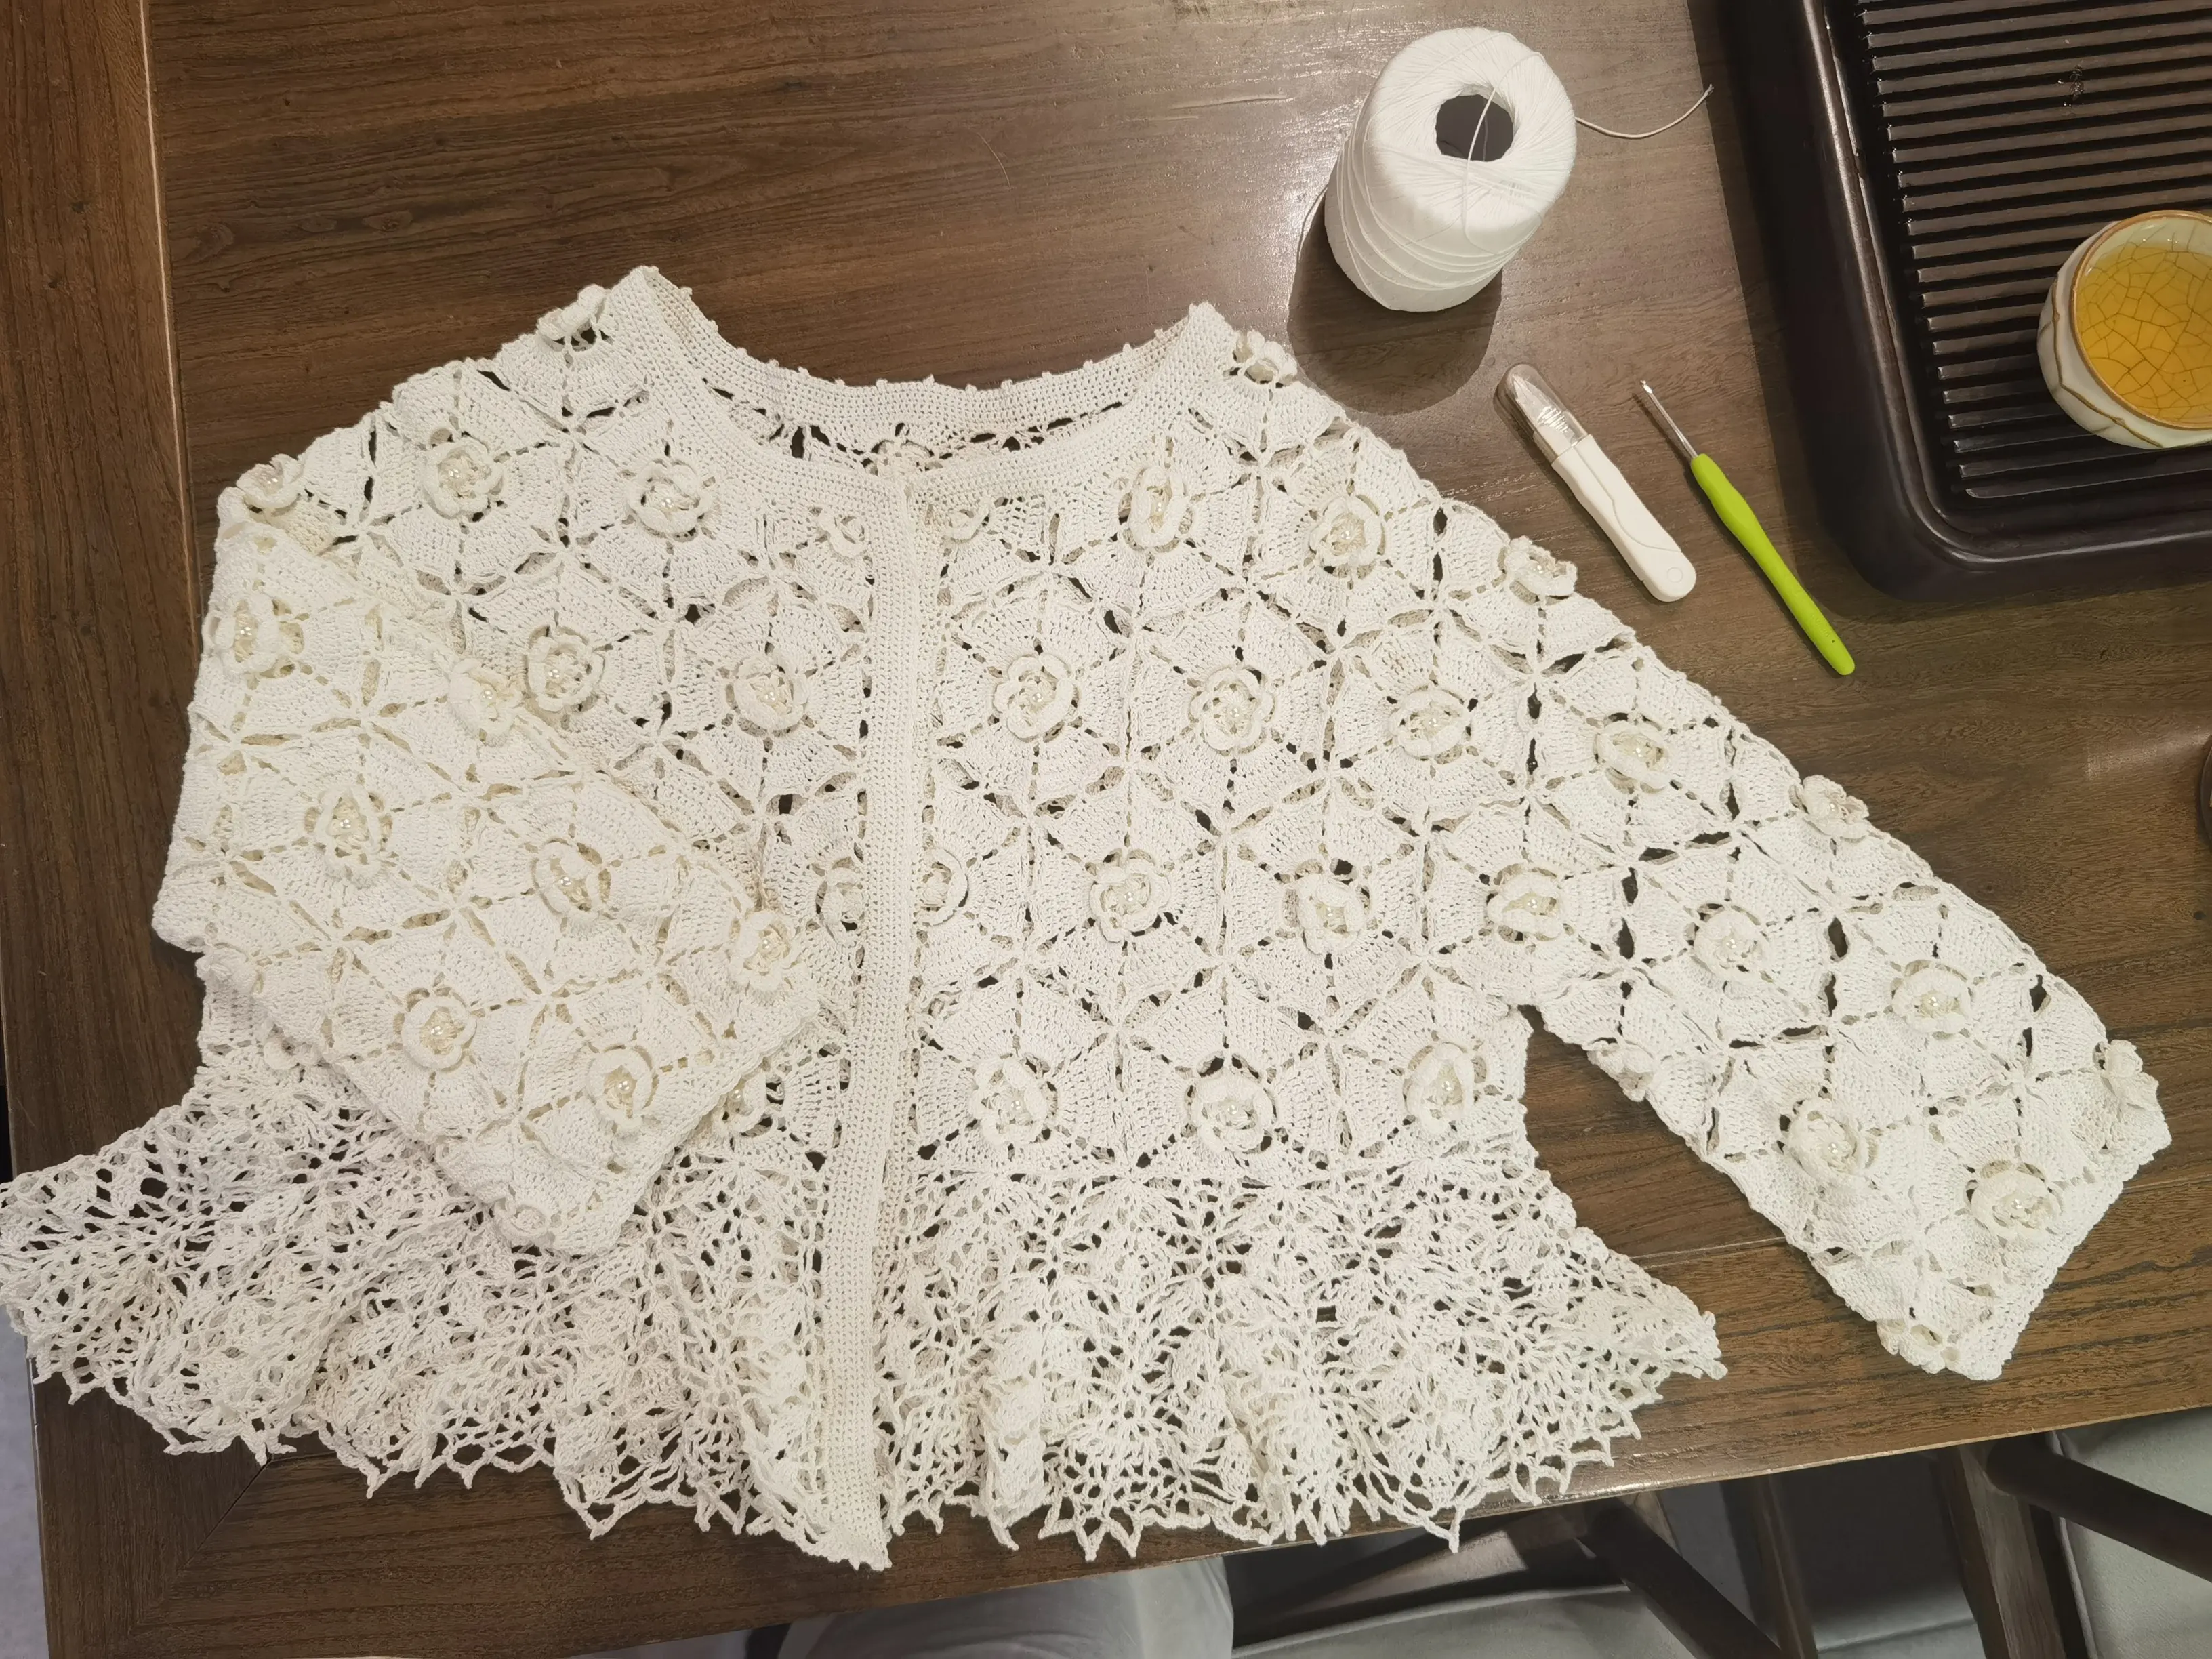
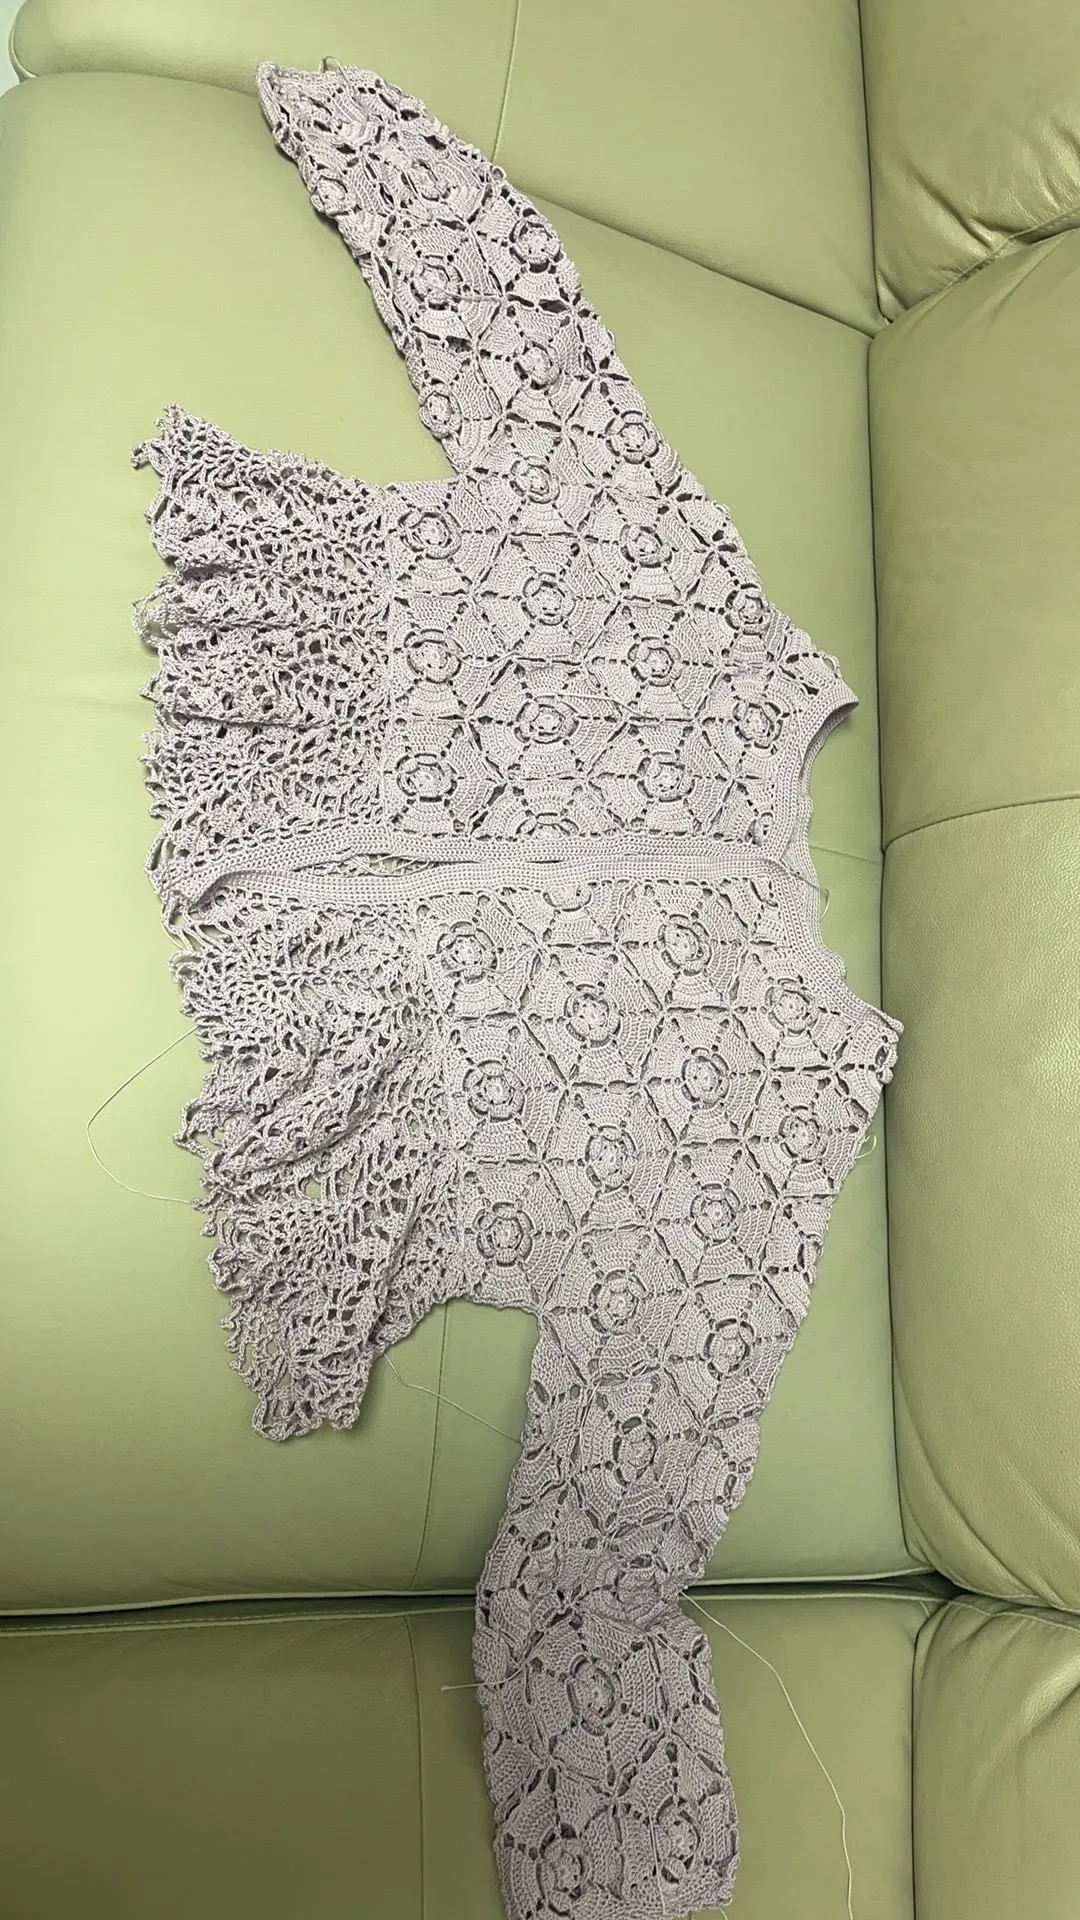
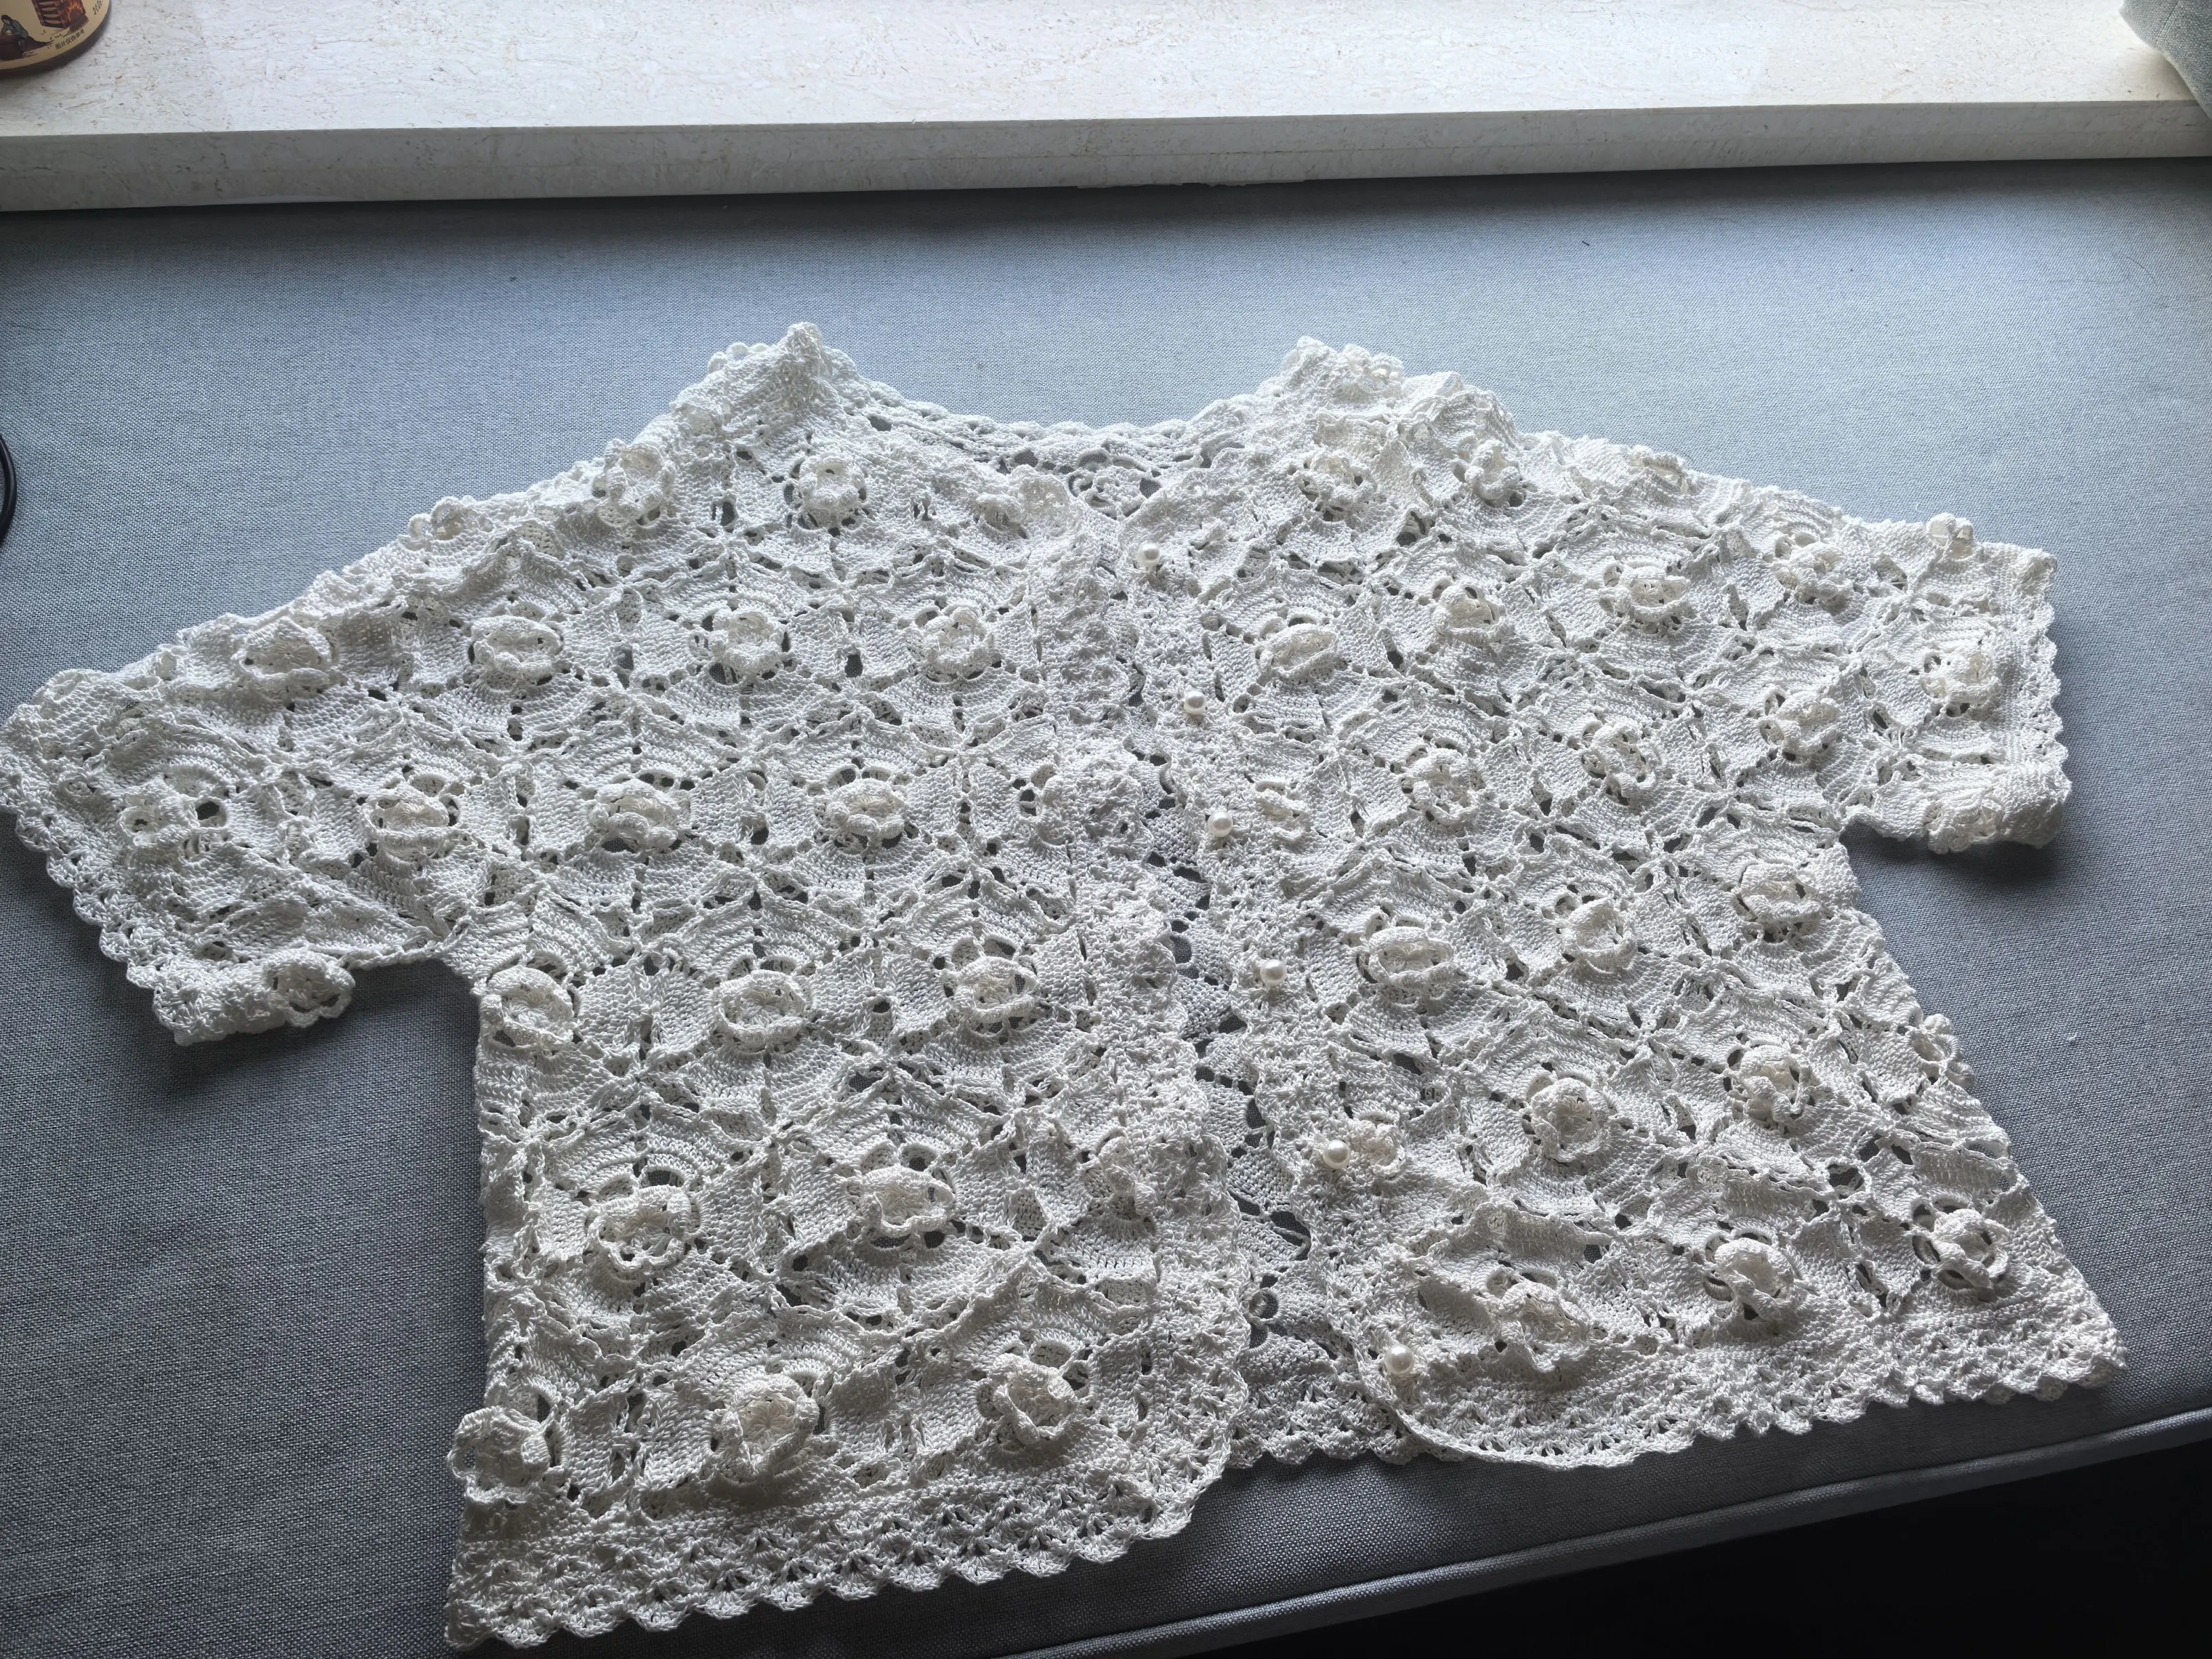
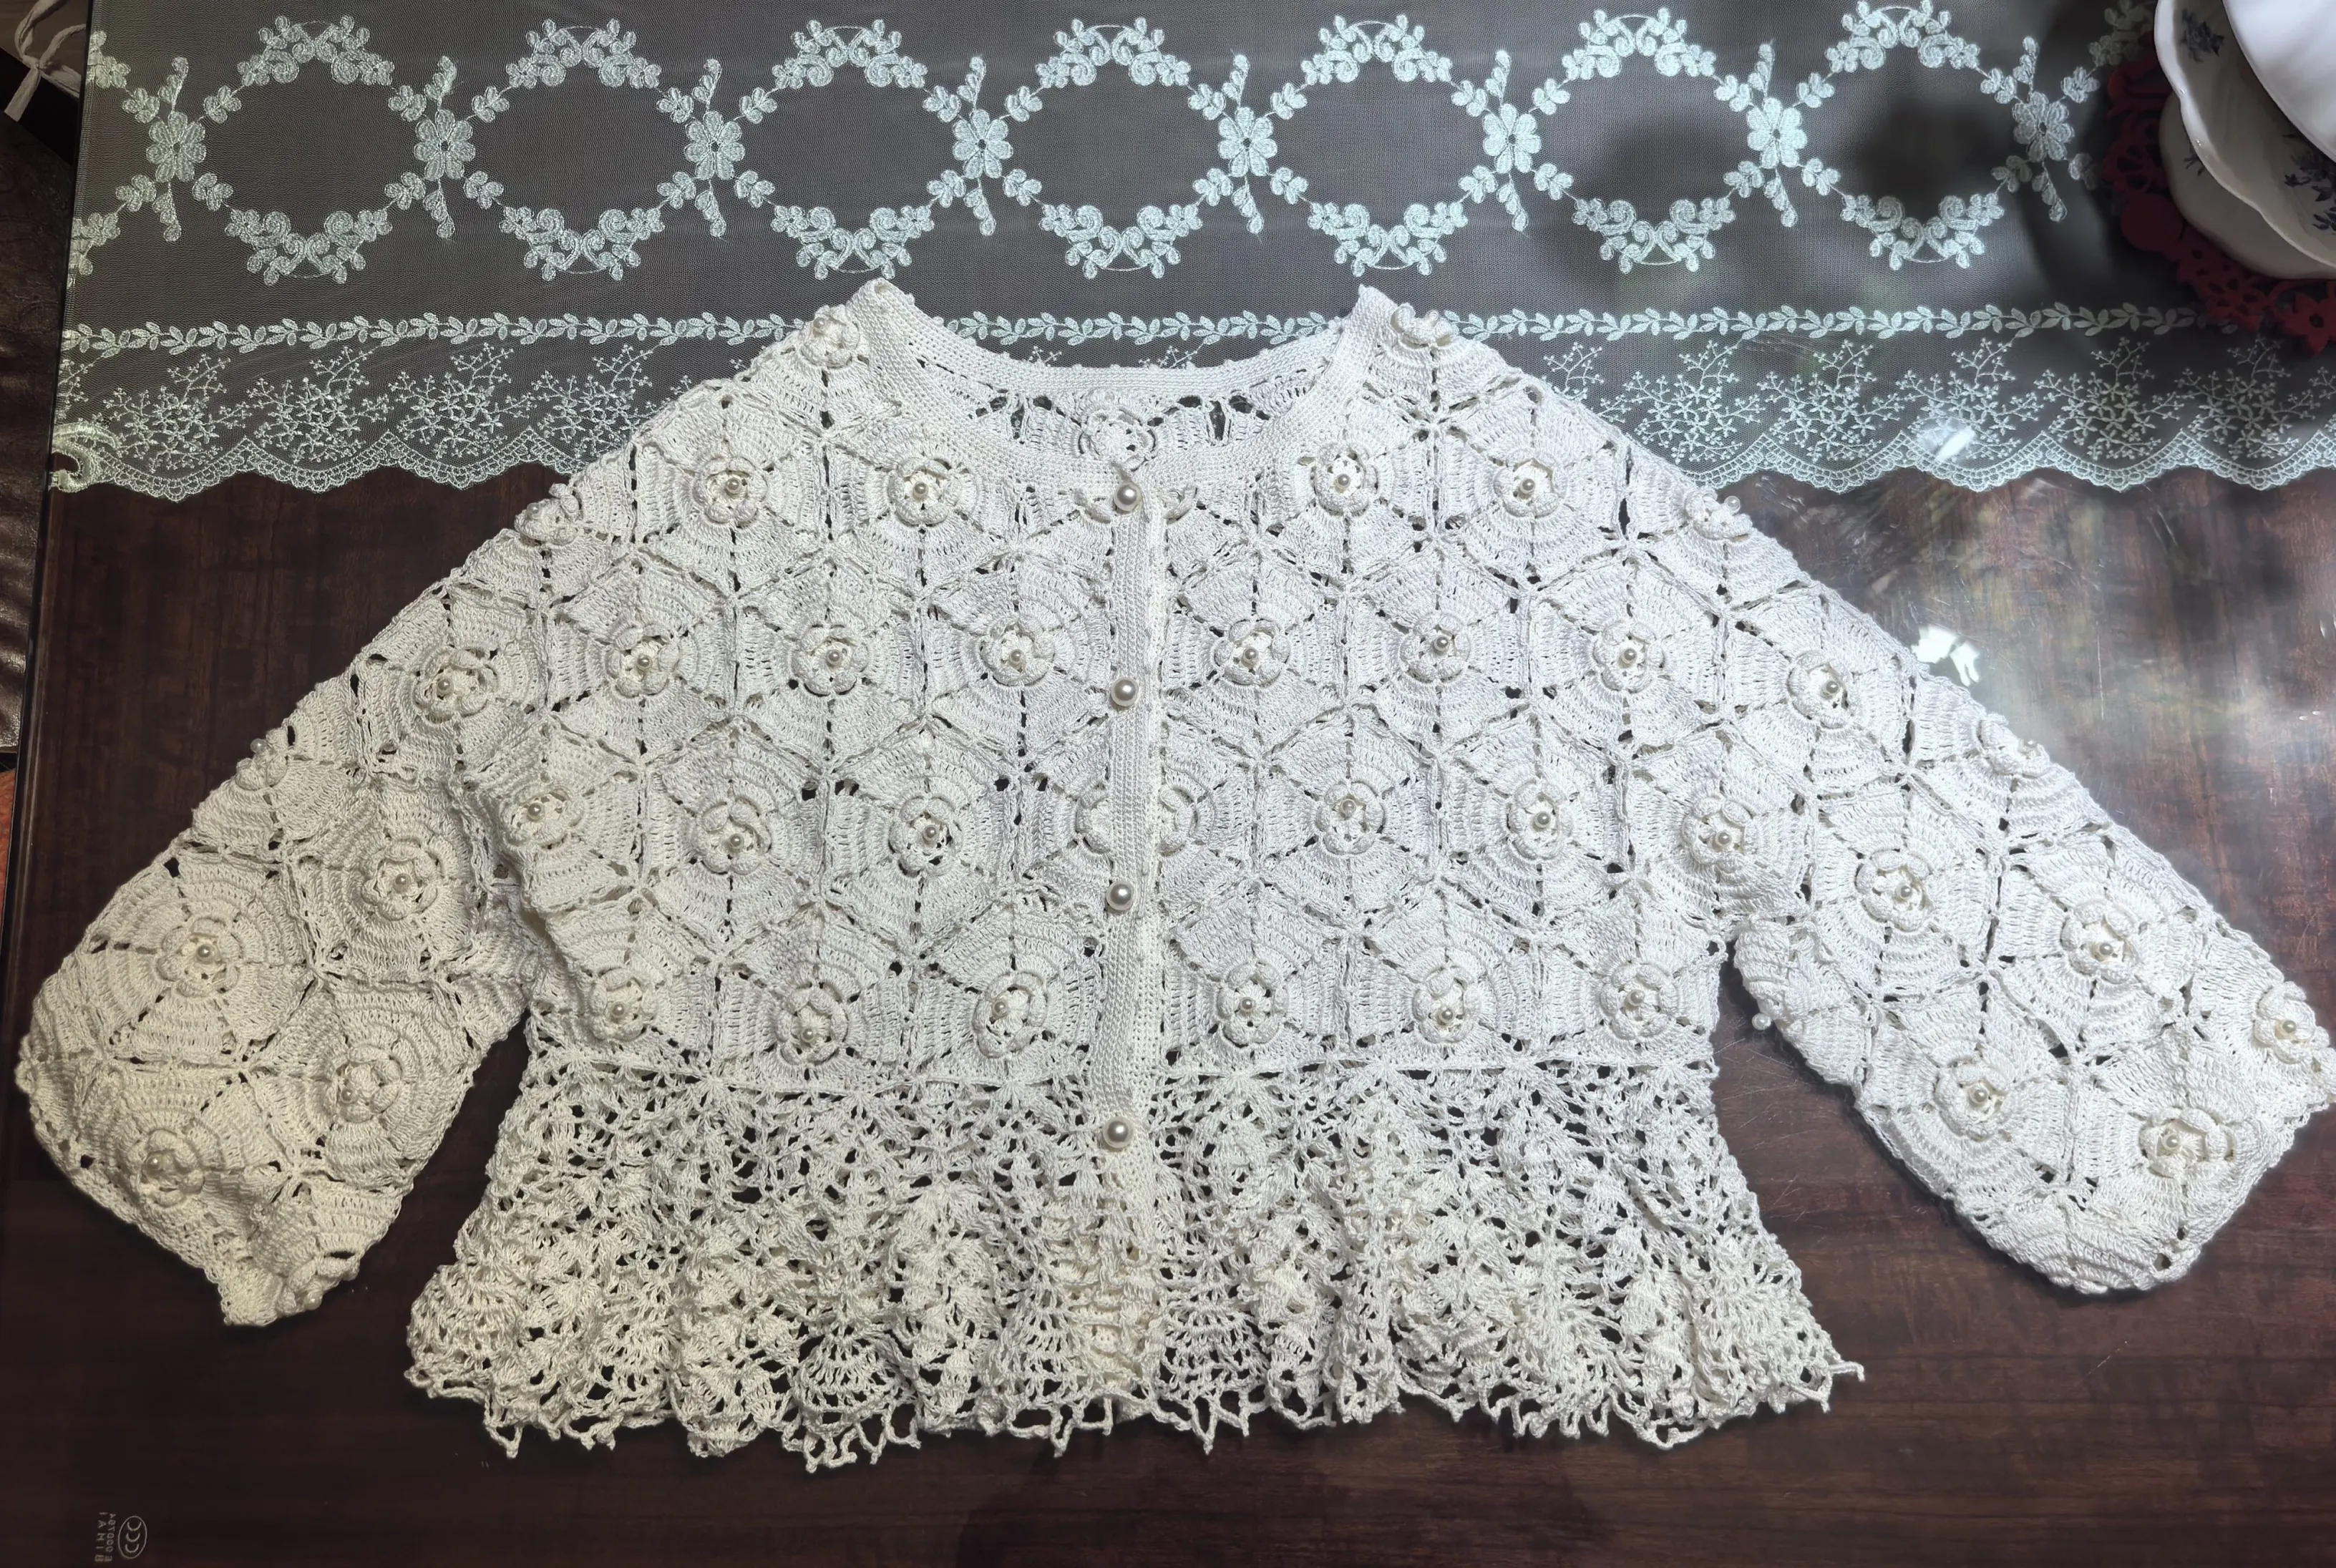
This garment is made up of several parts: the main part, hem, cuffs, edging, and buttons. The main part is created by joining together individual motifs. First, you'll crochet and join the motifs, then work the hem. Next, crochet the cuffs and edging along the corresponding areas, and finally secure the buttons in place.
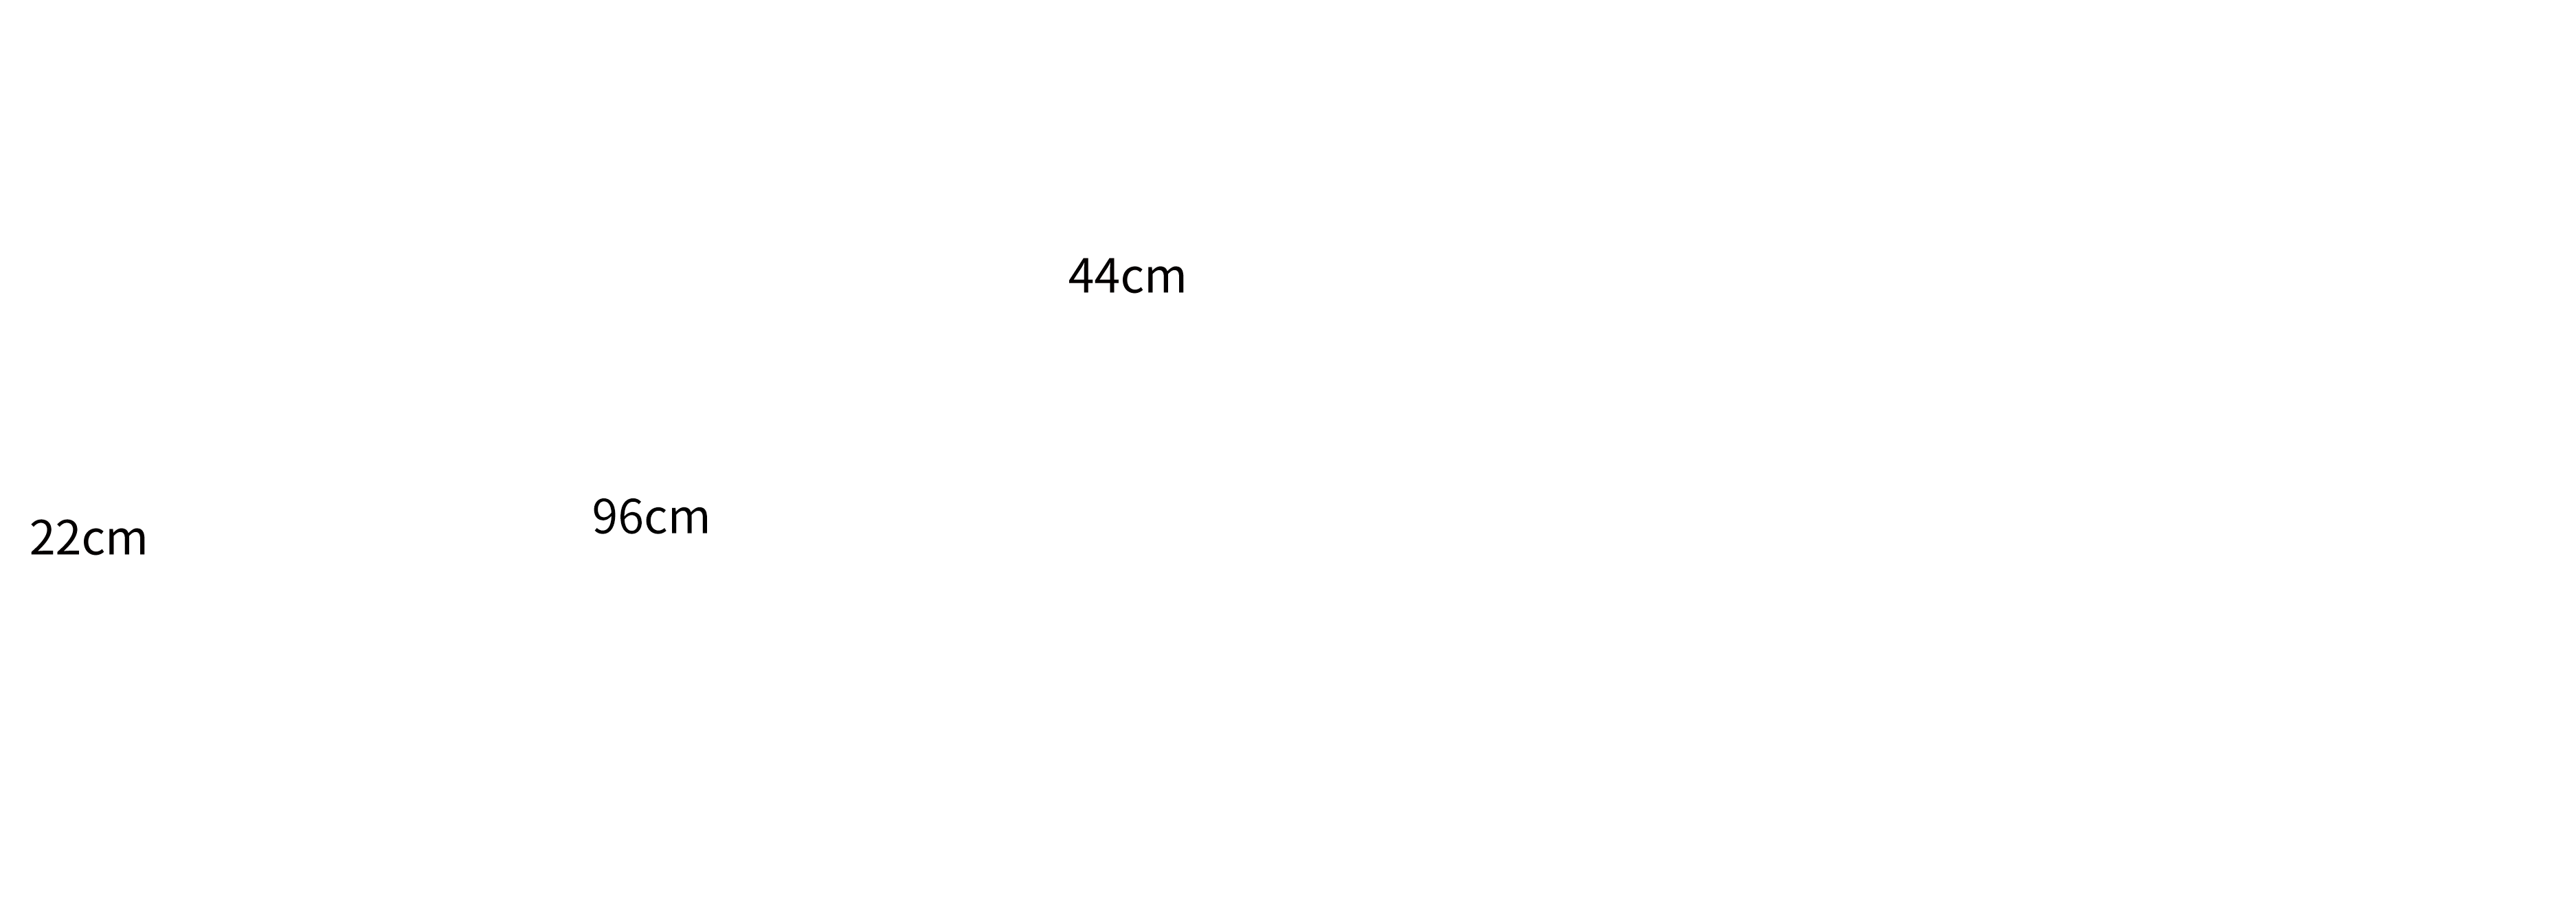
Note: Hand-measured, with a margin of error between 1-2 cm. Due to differences in individual tension (loose or tight hands), the sample's dimensions are for reference only.
Material: Combed 5# Lace
Tool: 1.50 mm Crochet Hook

Structure Diagram
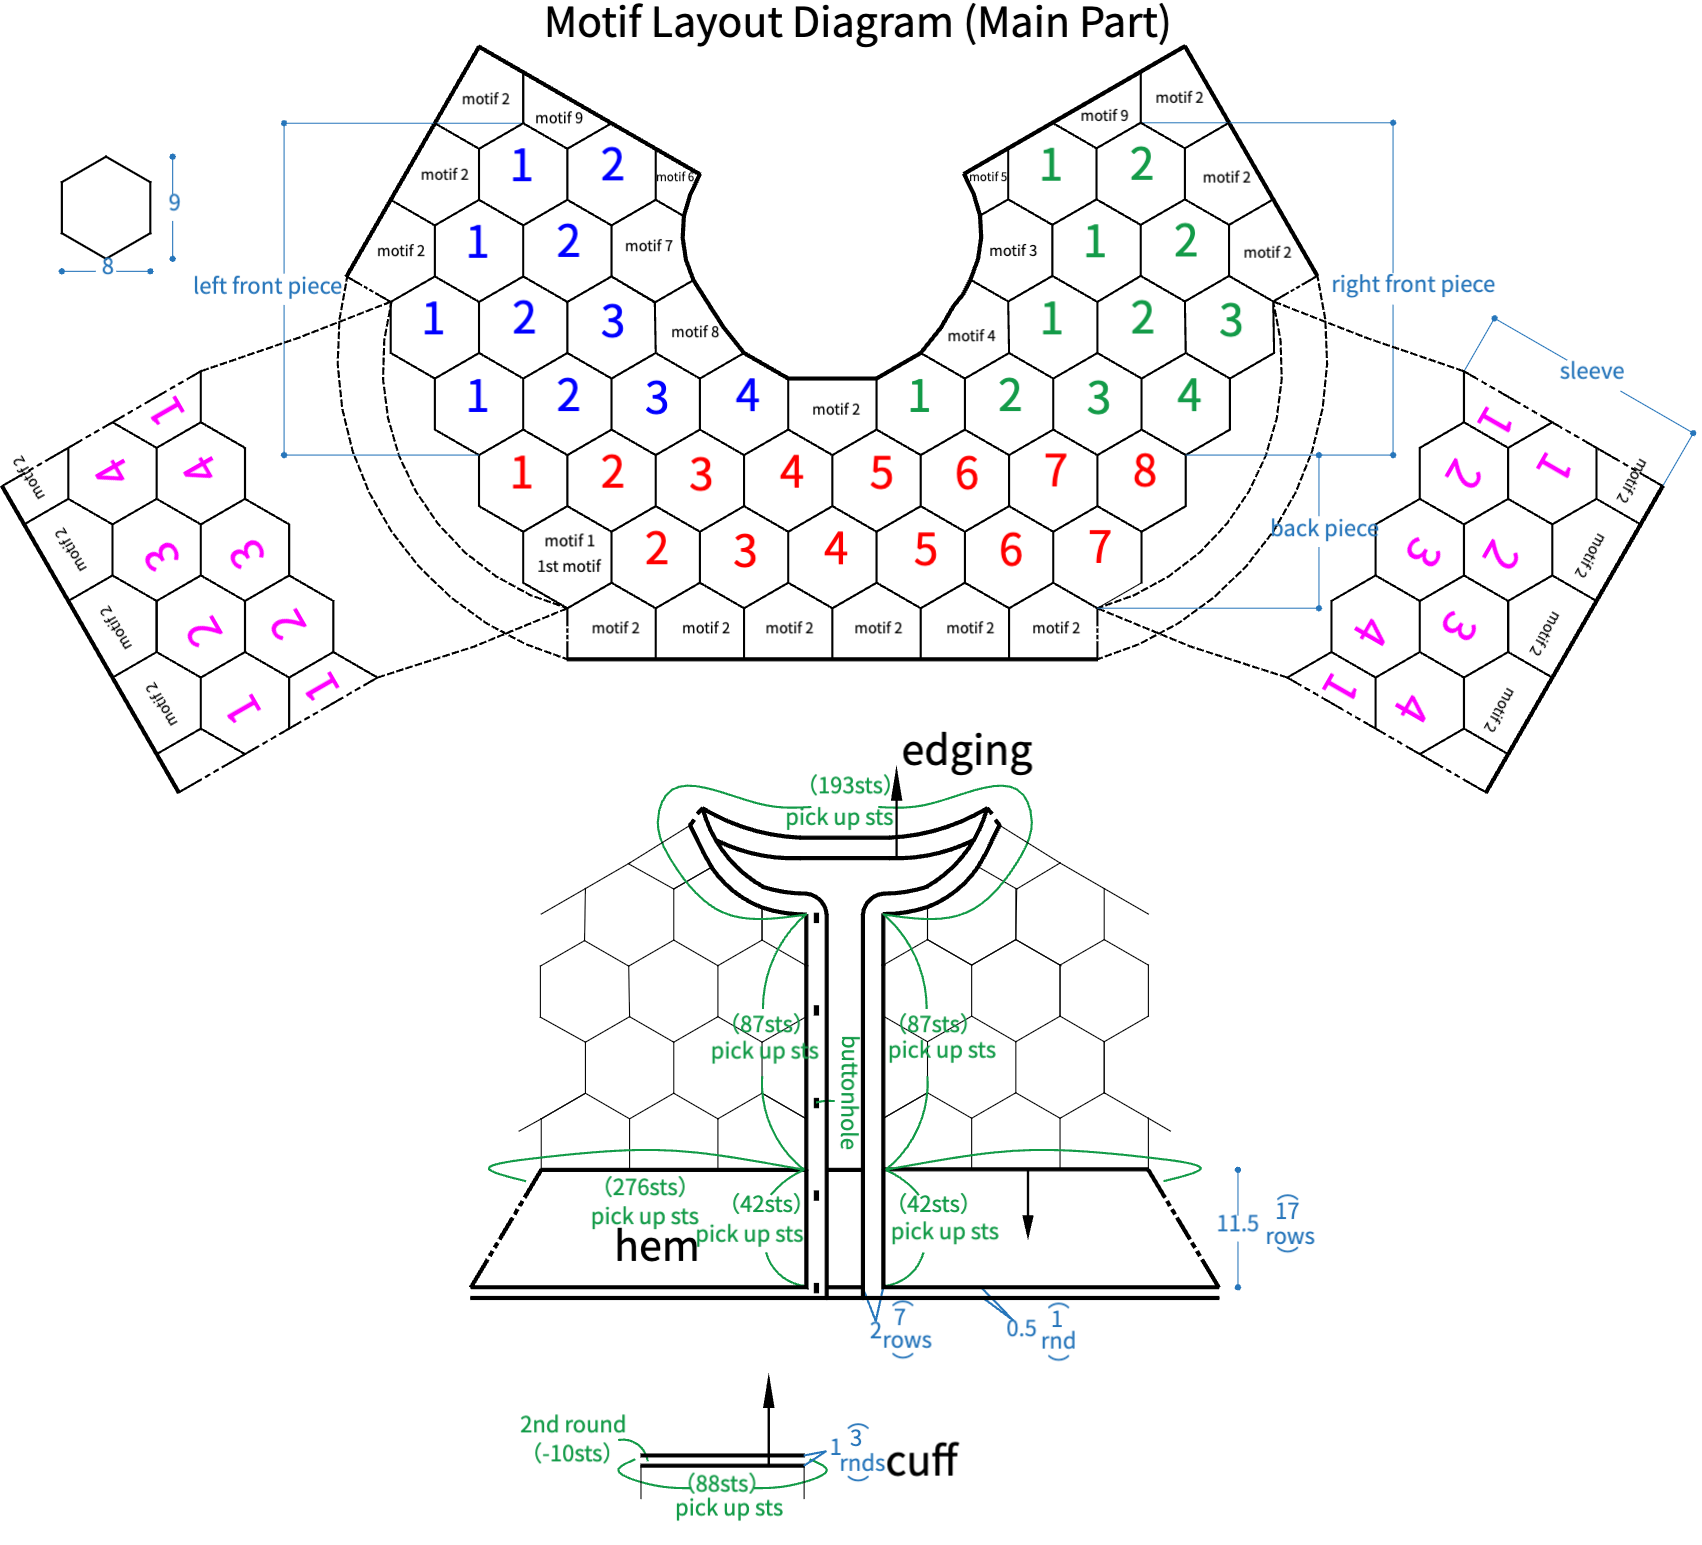
Chart Key















PART1 Main PartA 00' 53''
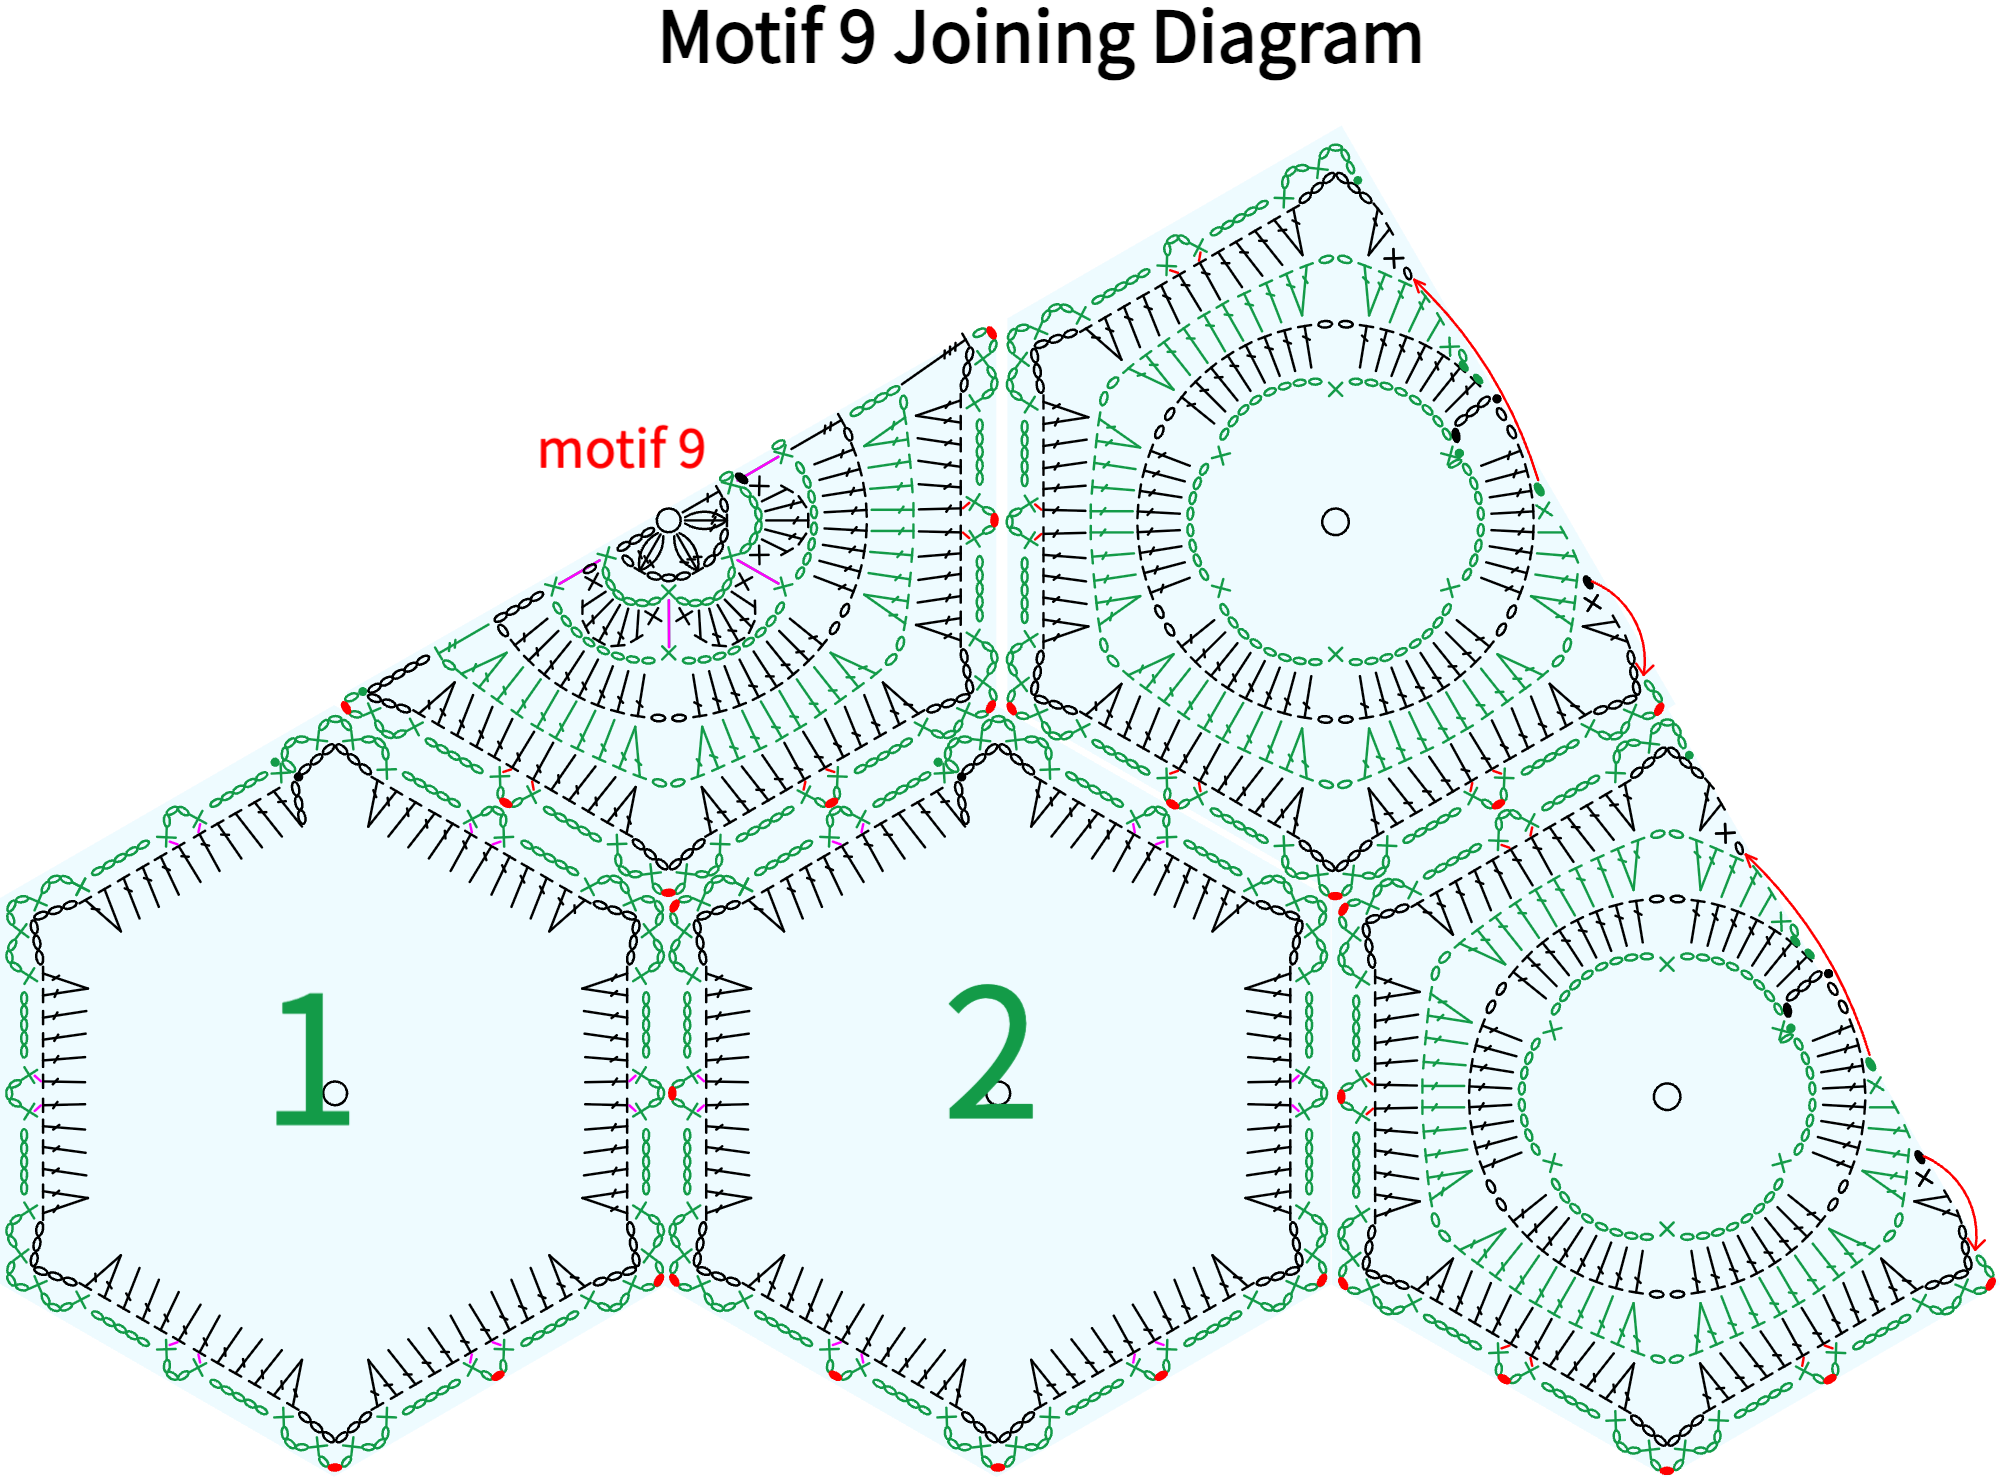
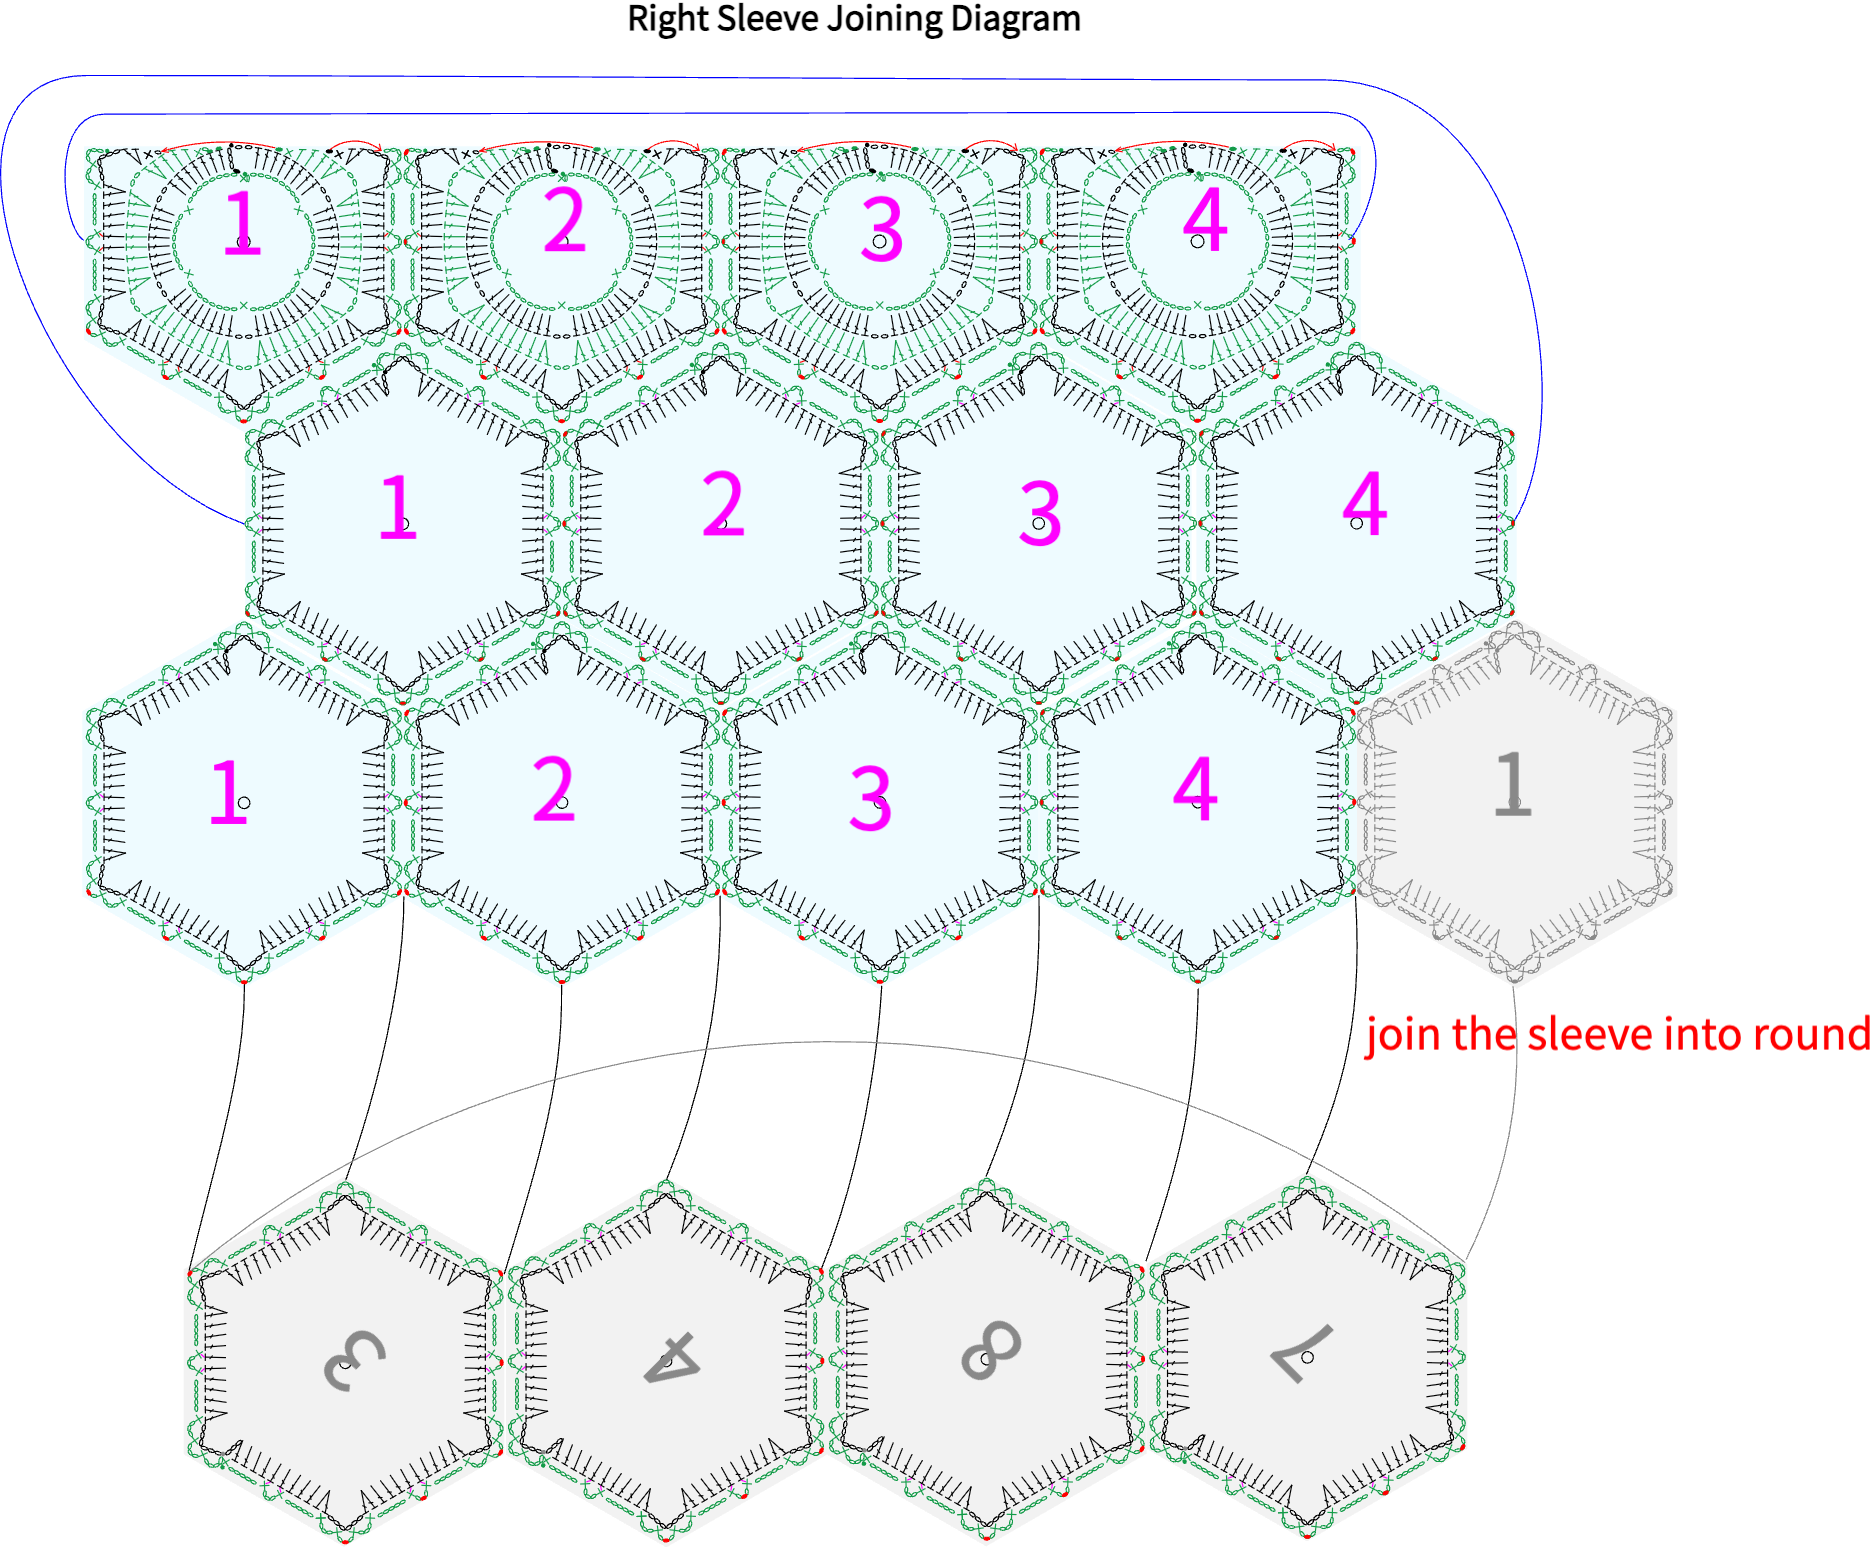
The main part is made by joining various motifs, which are divided into Motif 1A1, Motif 2A2, Motif 3A3, Motif 4A4, Motif 5A5, Motif 6, Motif 7, Motif 8, and Motif 9A6. Start by crocheting the first complete Motif One. Then, crochet the other motifs one by one and join them to their corresponding positions according to the layout diagram. For details, please refer to the video demonstration.
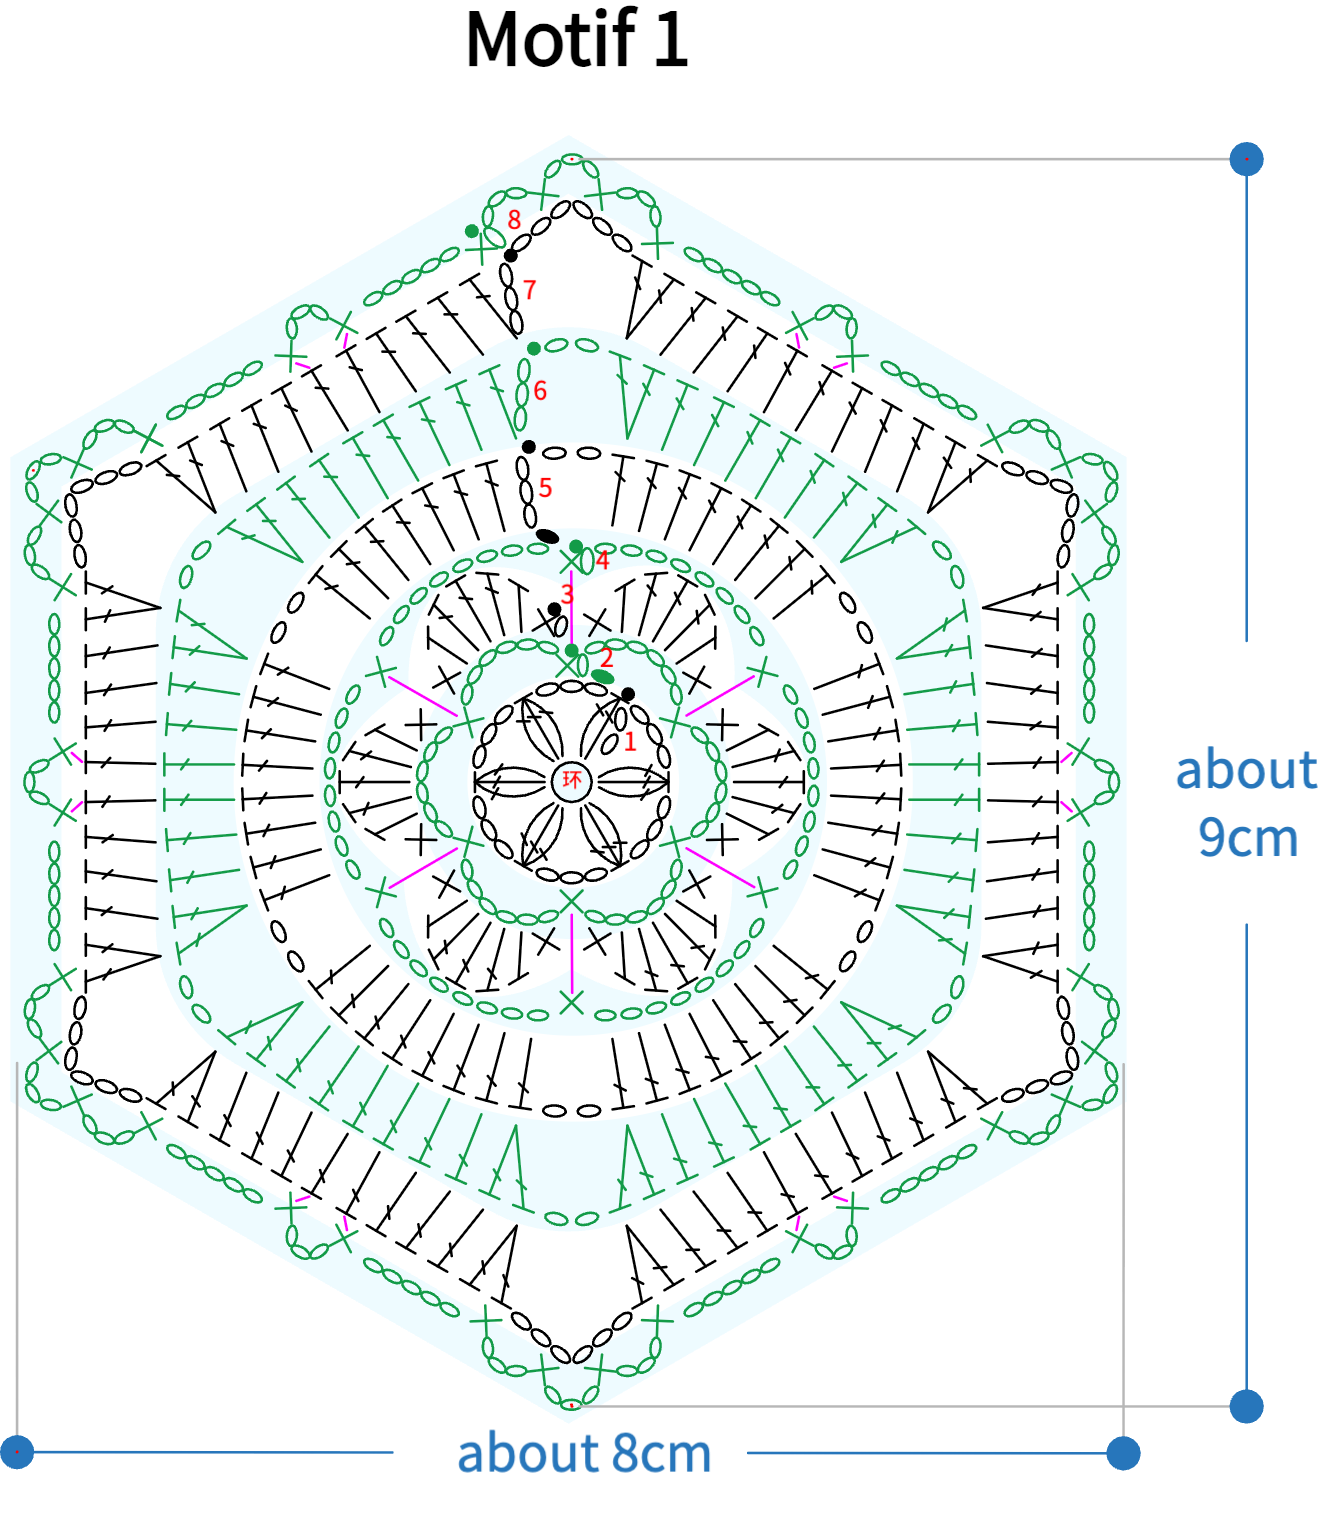
Note:
1. The left and right mentioned here are based on the actual wearing direction.
2. After completing the first full Motif 1, measure the size. If there's a significant difference from the size indicated in the chart, adjust your tension and re-crochet to avoid affecting the finished product's dimensions.
3. Leave a yarn tail of about 20cm before crocheting each motif (except for Motif 5, Motif 6, and Motif 9), for securing pearls later.
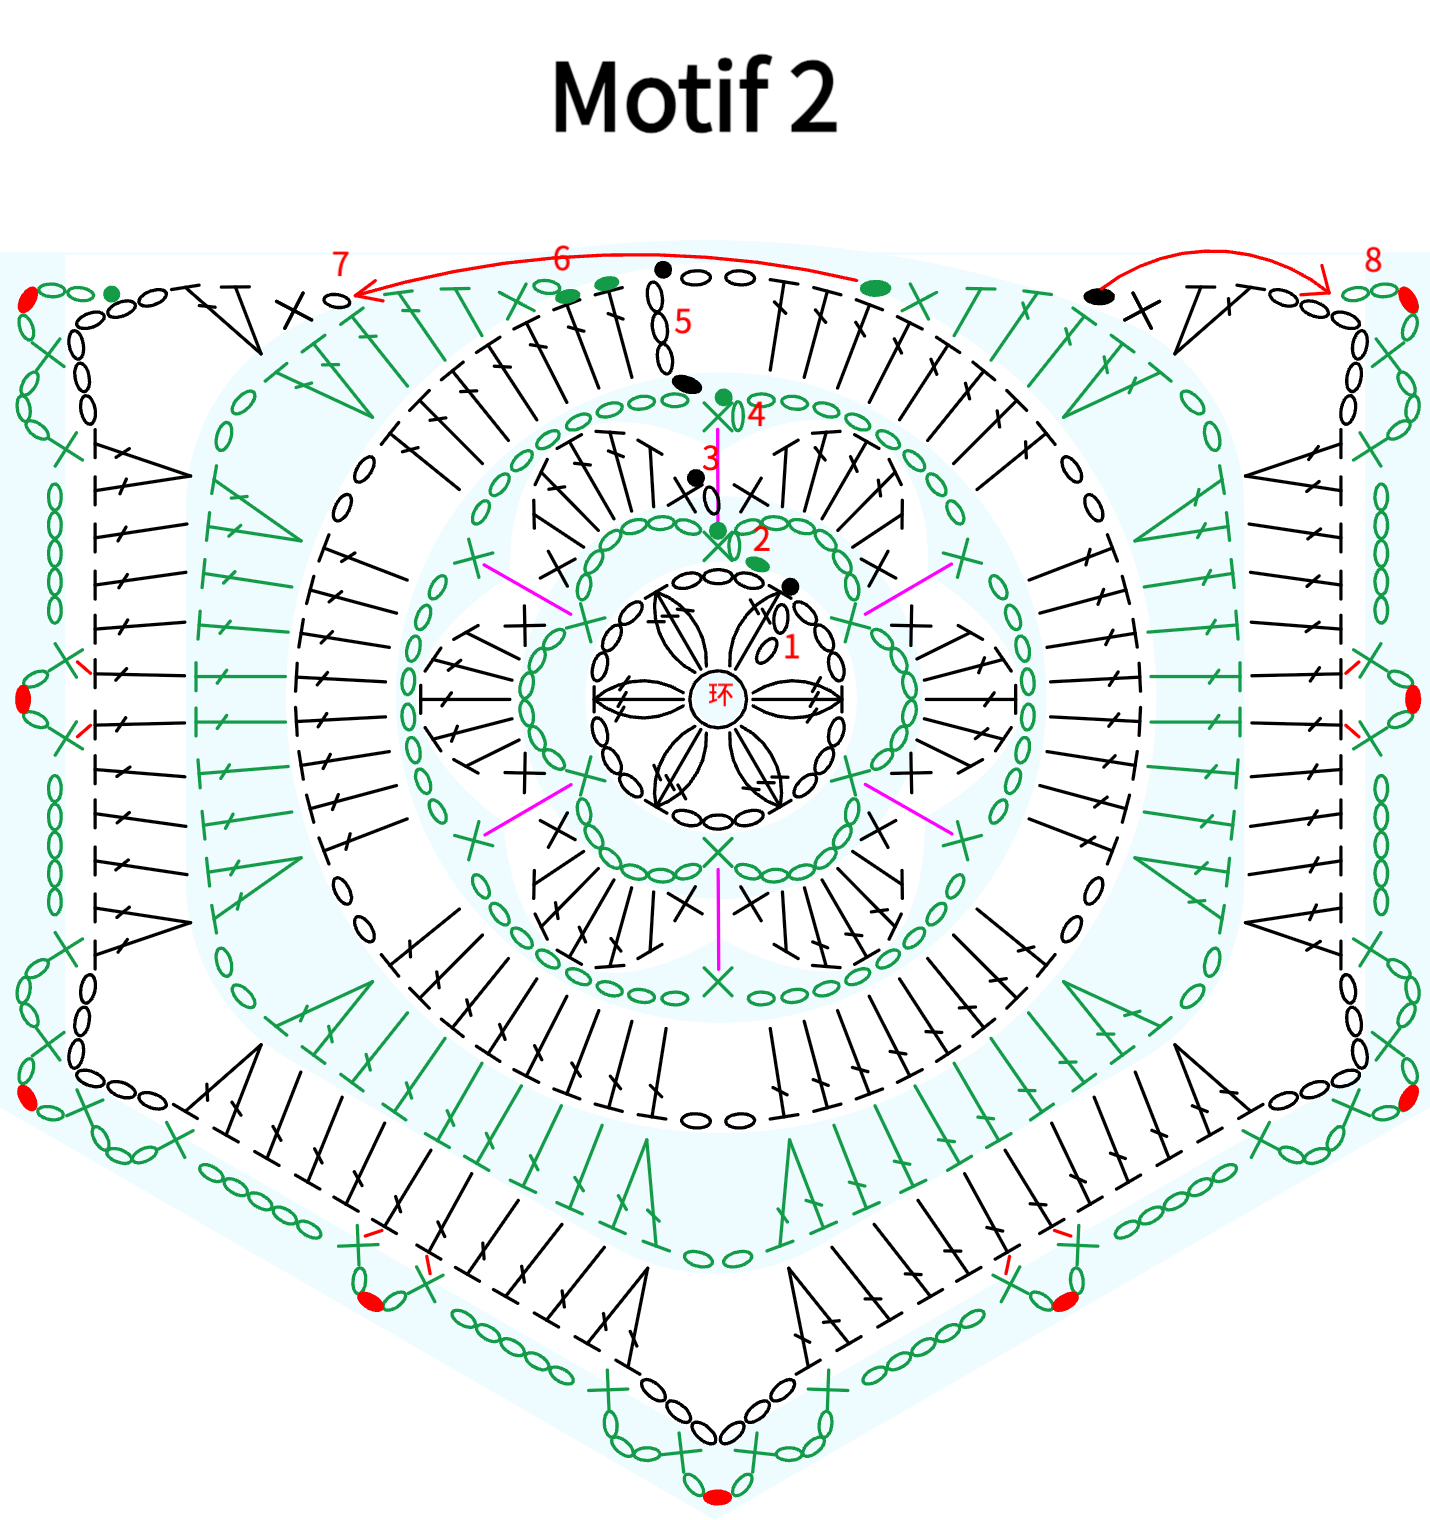
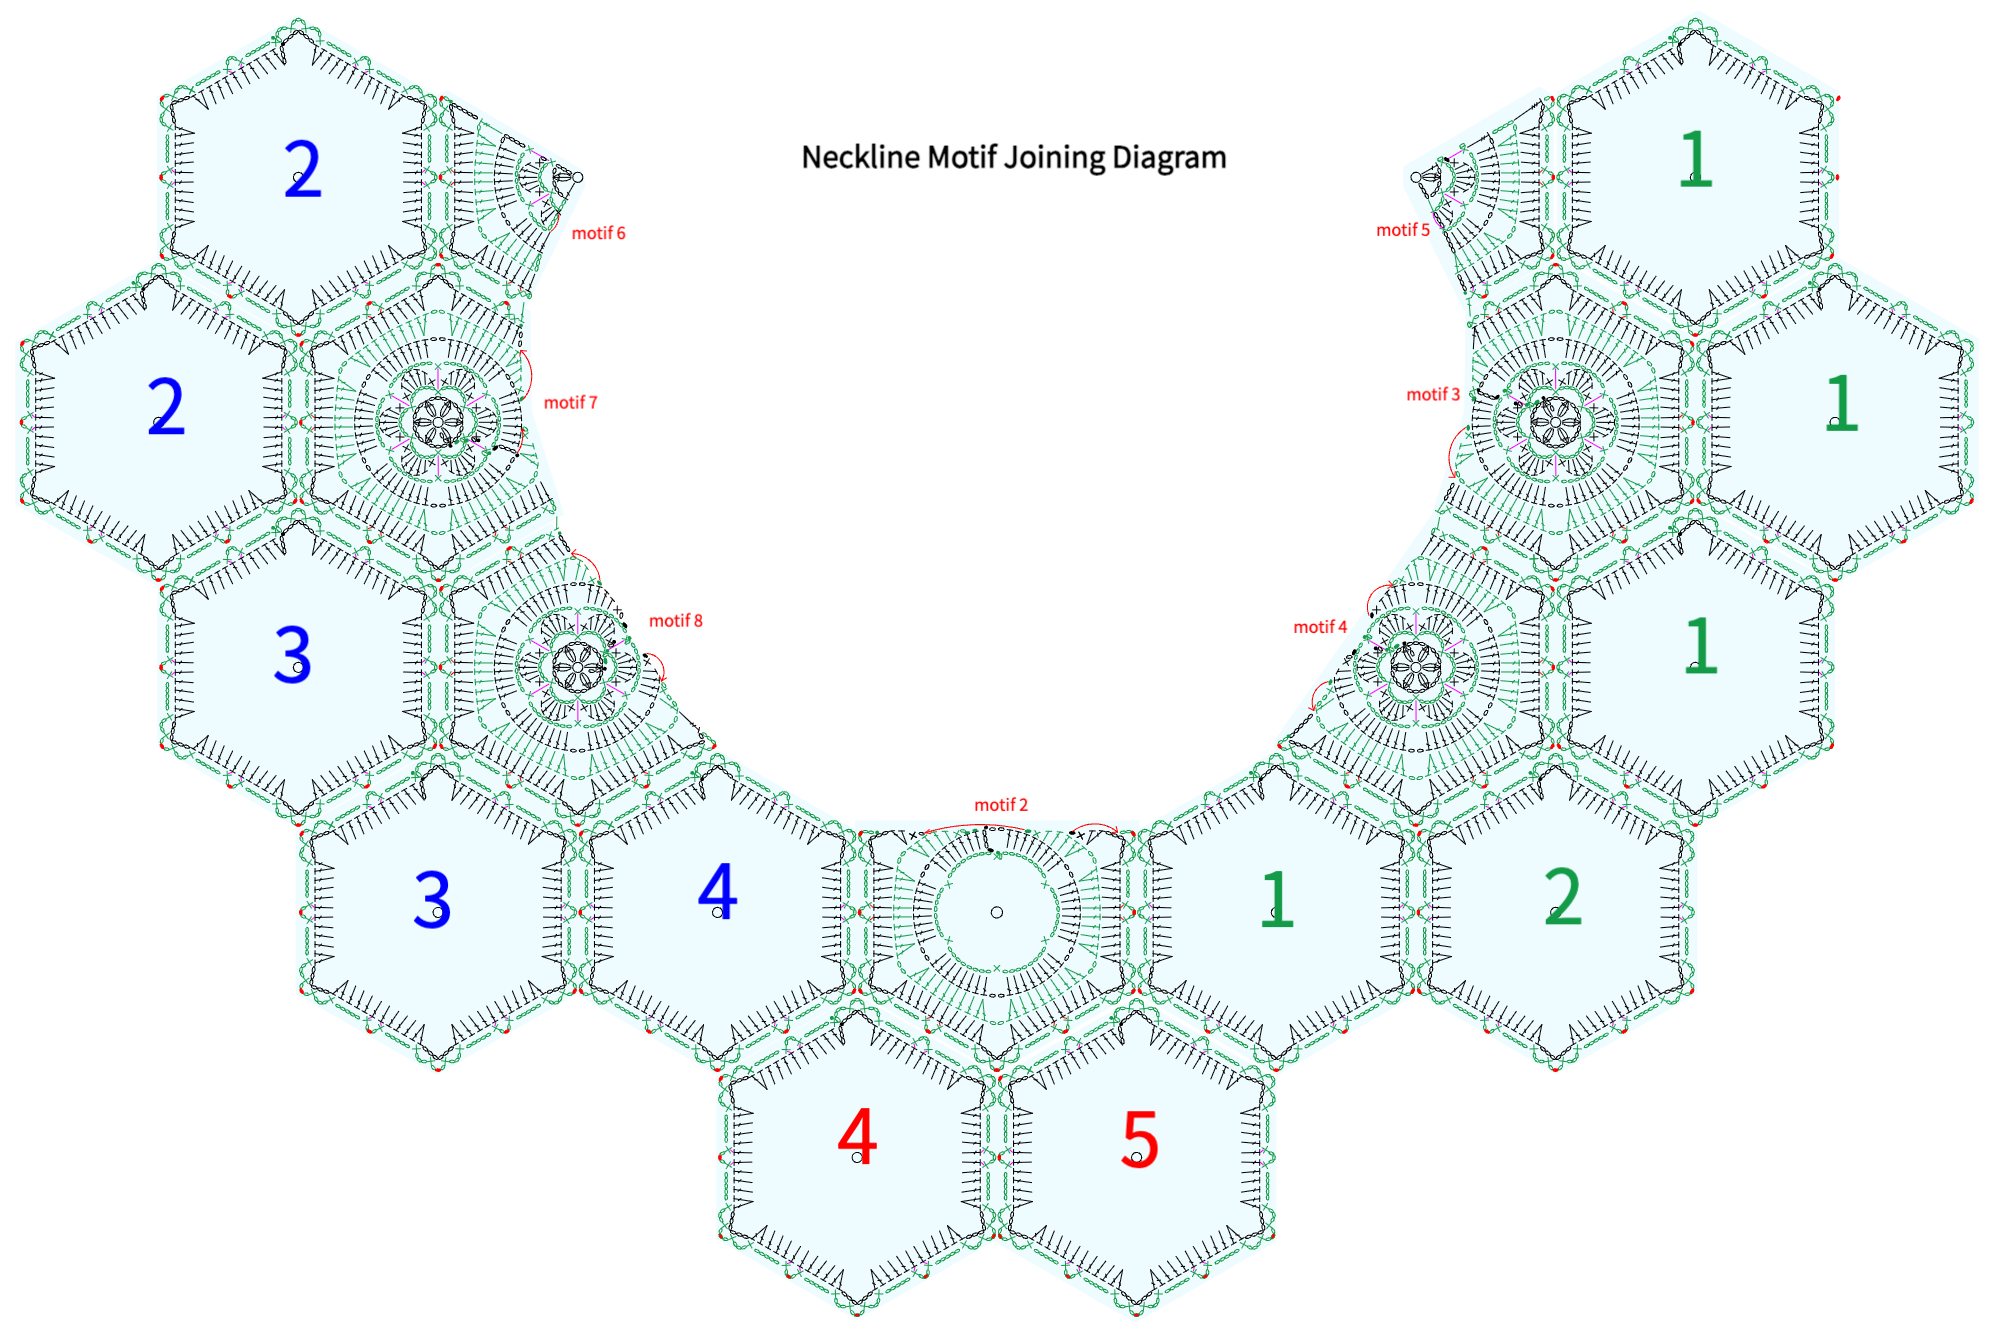
Note: The chart is only a demonstration of the motif joining method. For specific placement and order of the motifs, please refer to the layout diagram. You can also join the motifs in your preferred order, as long as the final arrangement matches the layout diagram.
PART2 HemB 69' 36''
The hem is worked back and forth on the row below the edge of Motif 2 at the bottom of the main part. For details, please refer to the video demonstration.
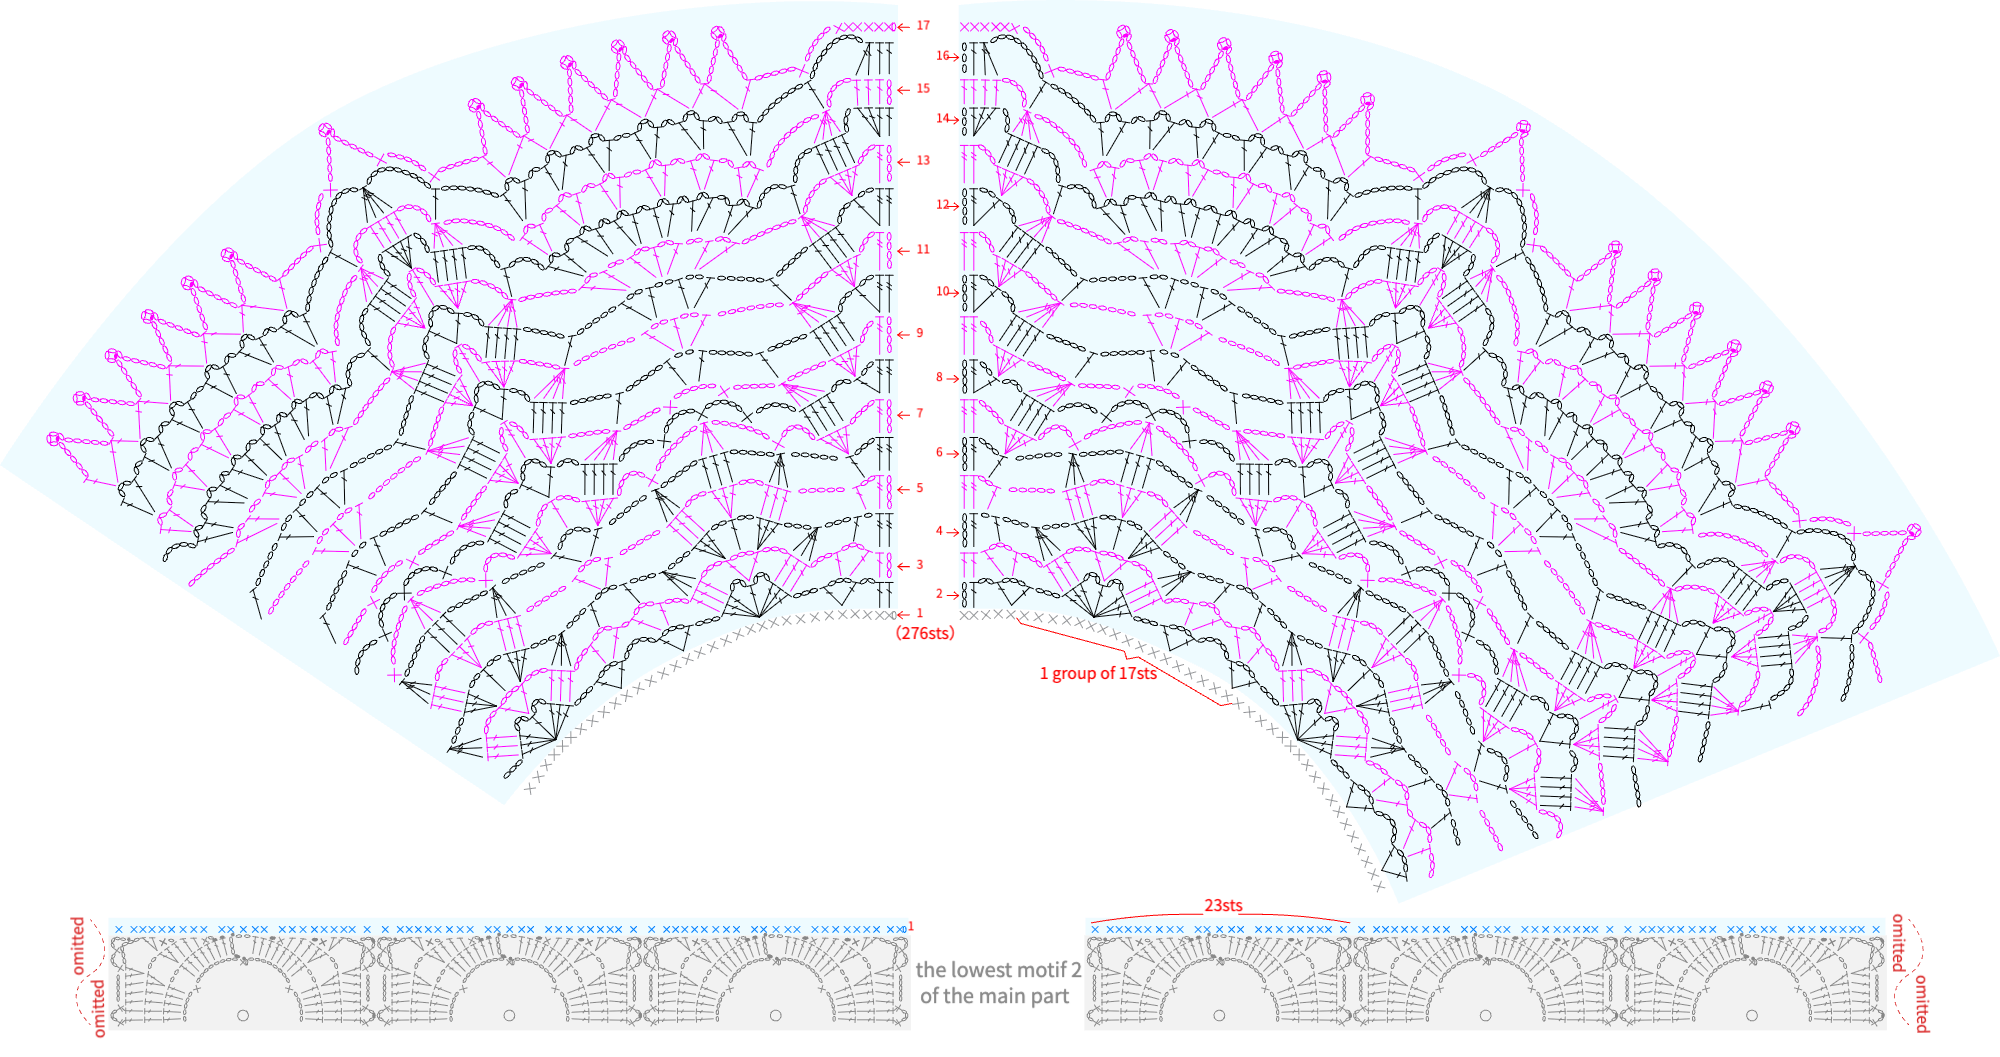
Note: The placement for the single crochet on the first row can be adjusted according to the actual situation, just make sure the number of stitches matches the pattern. For the following rows, you can try on the piece as you crochet and adjust your tension accordingly to ensure the garment length fits properly.
PART3 CuffC 82' 46''
Crochet the cuffs back and forth around the edges of the sleeves; for details, please refer to the video demonstration.

PART4 EdgingD 87' 32''
The edging is worked along the hem, front band, and neckline. Start by crocheting back and forth, then switch to crocheting in rounds. For details, please refer to the video demonstration.
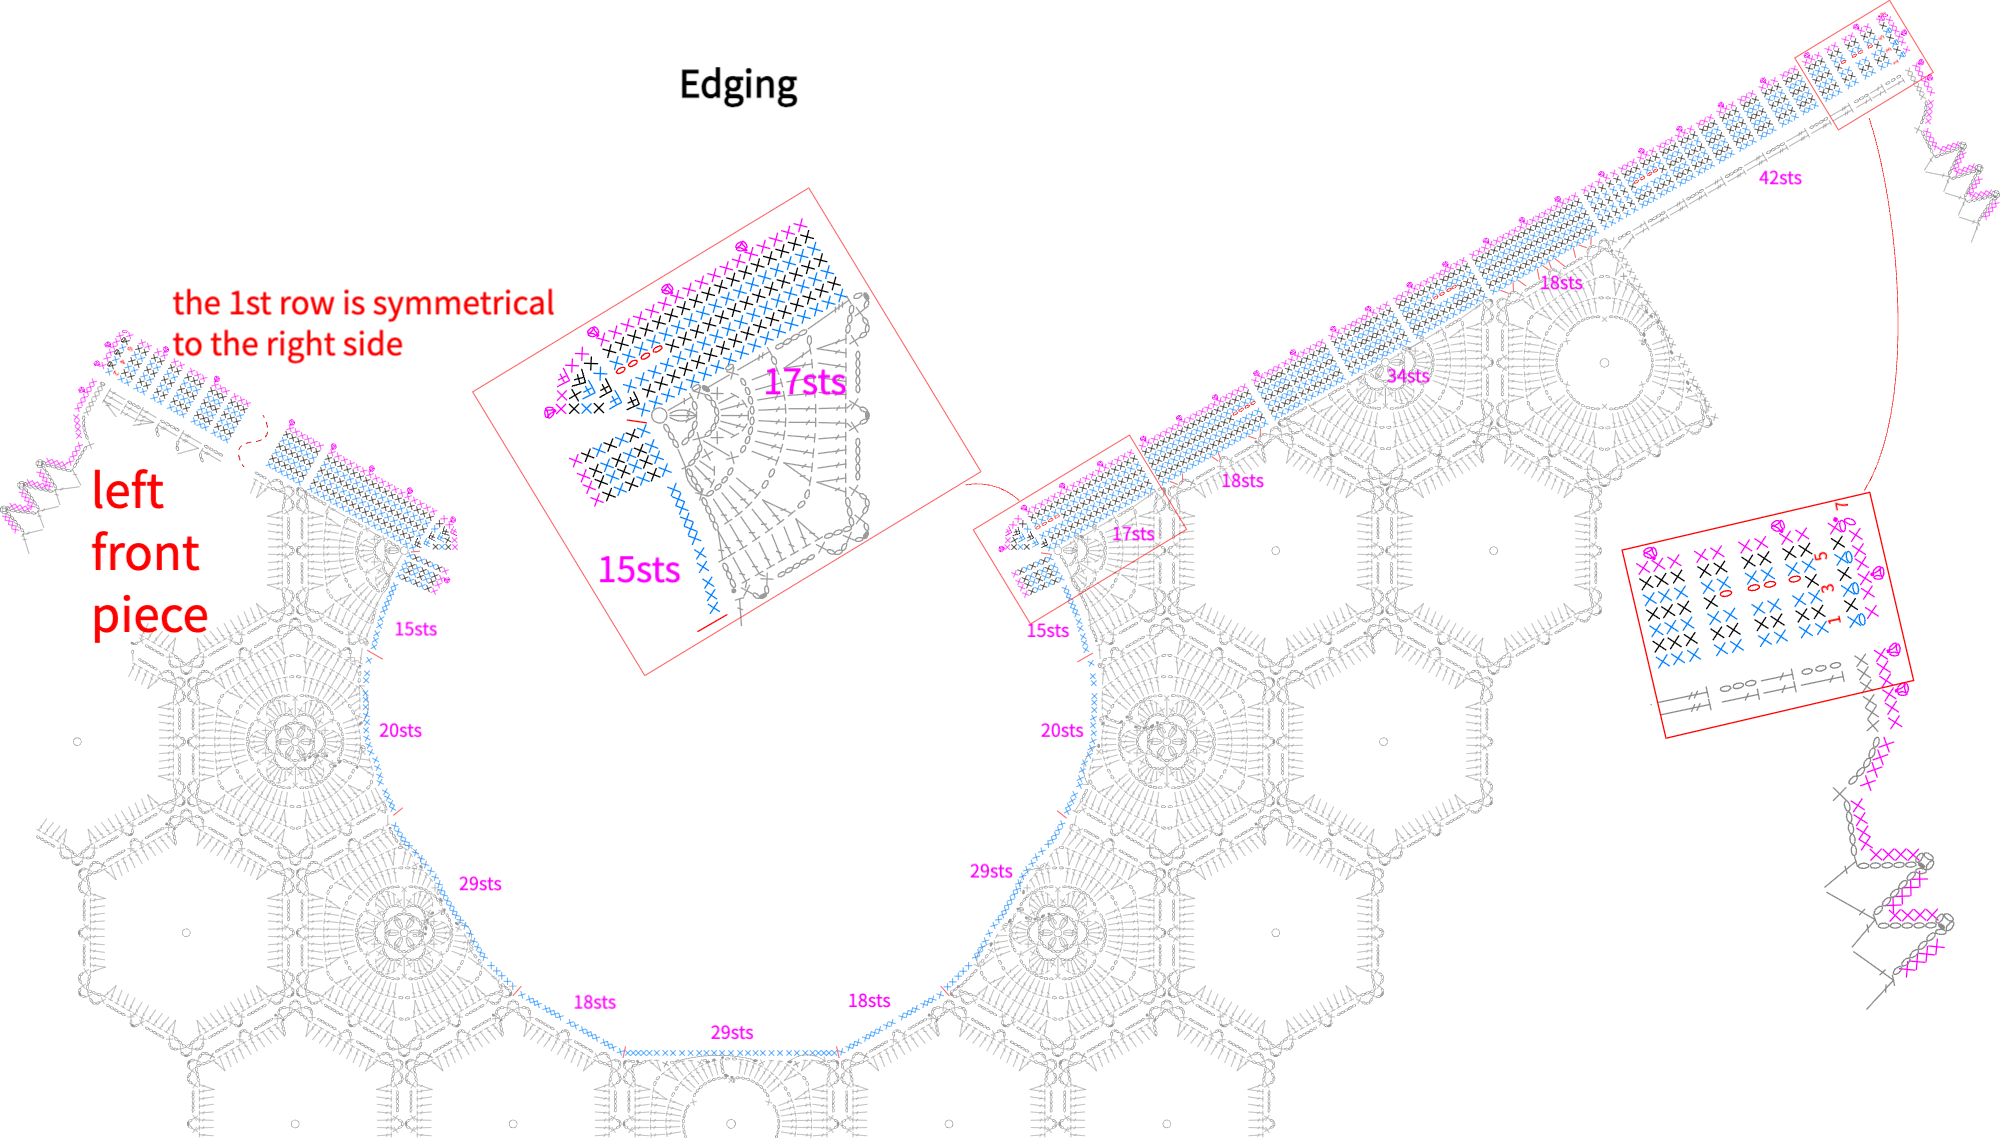
Note: You can use a stitch marker to mark the position of the buttonhole, then crochet the buttonhole using the appropriate method. The placement of the final round's picot stitch can be adjusted according to your preference.
PART5 ButtonsE 97' 29''
Finally, secure the buttons in the appropriate positions along the edging. For details, please refer to the video tutorial.
Made by the community