Clothes
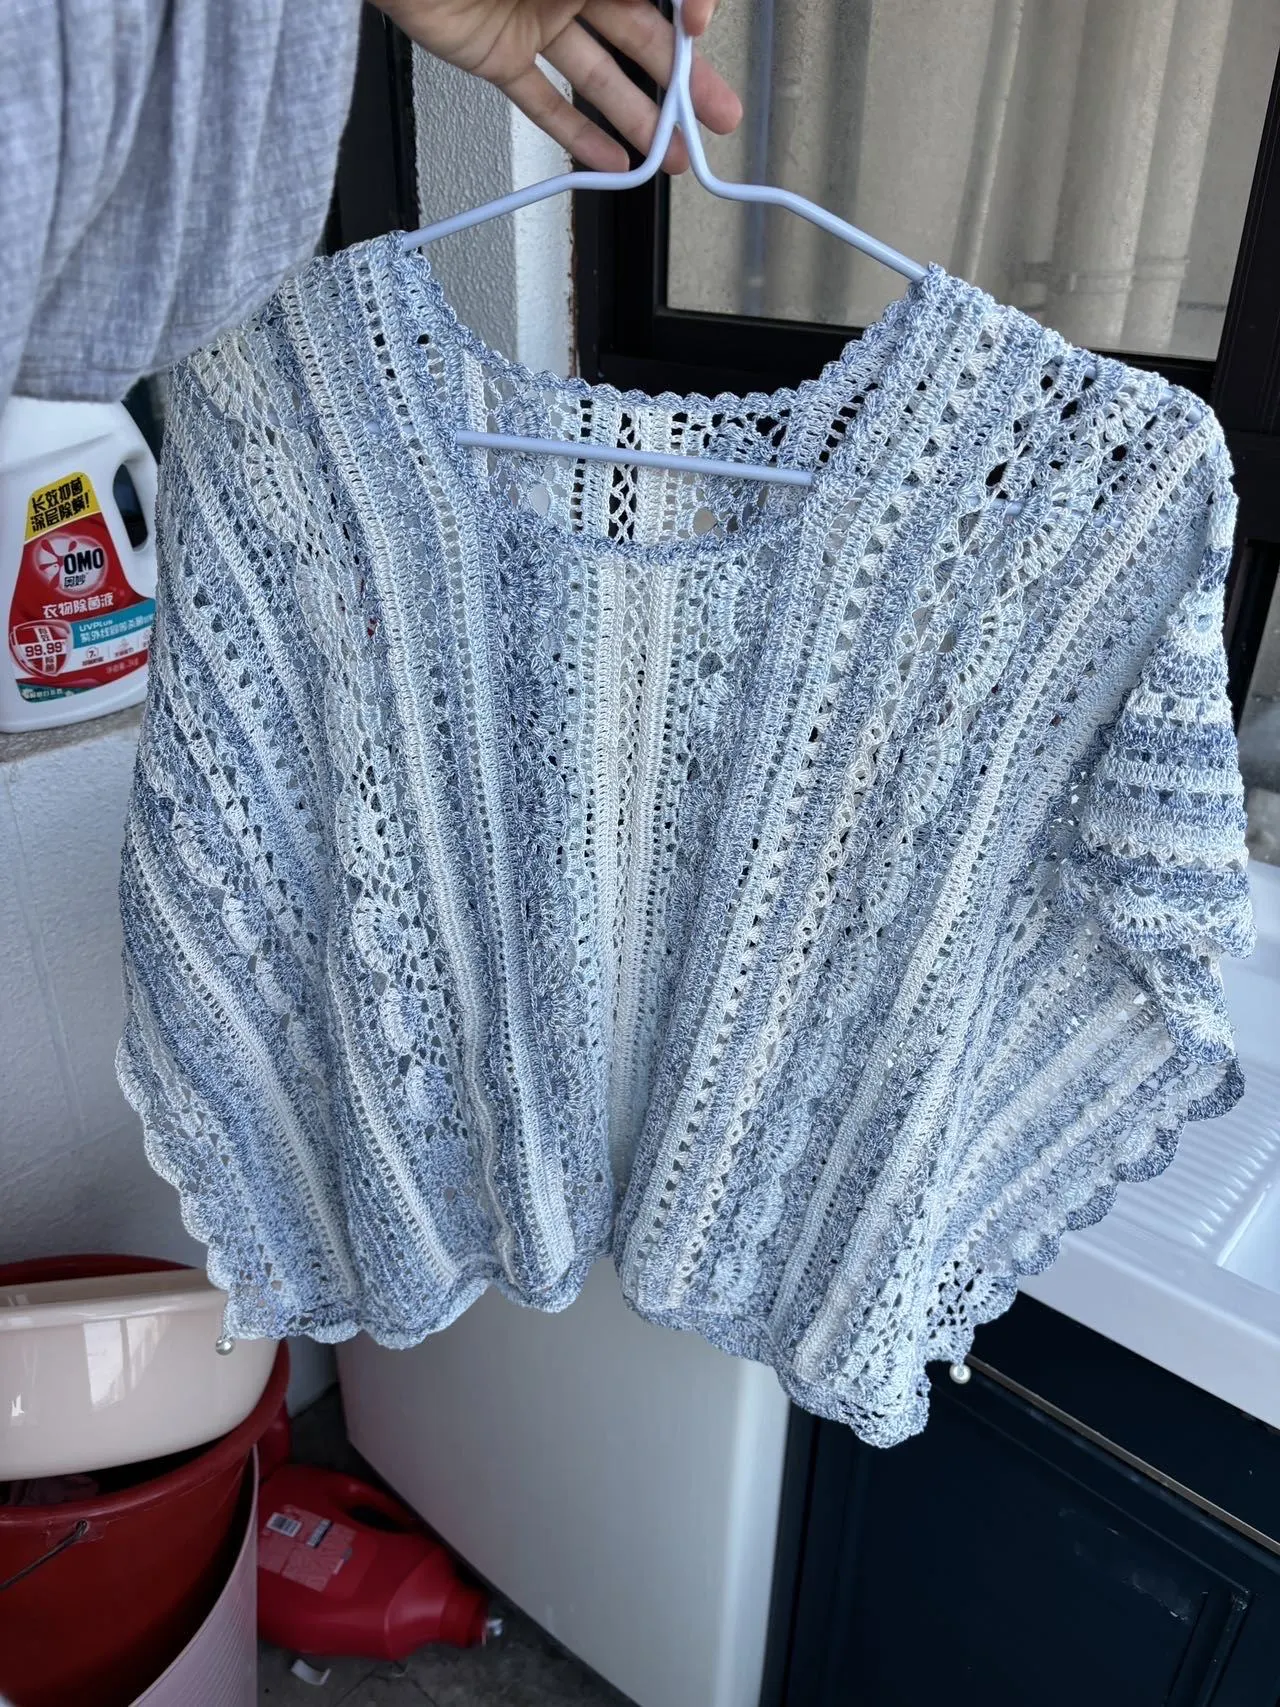
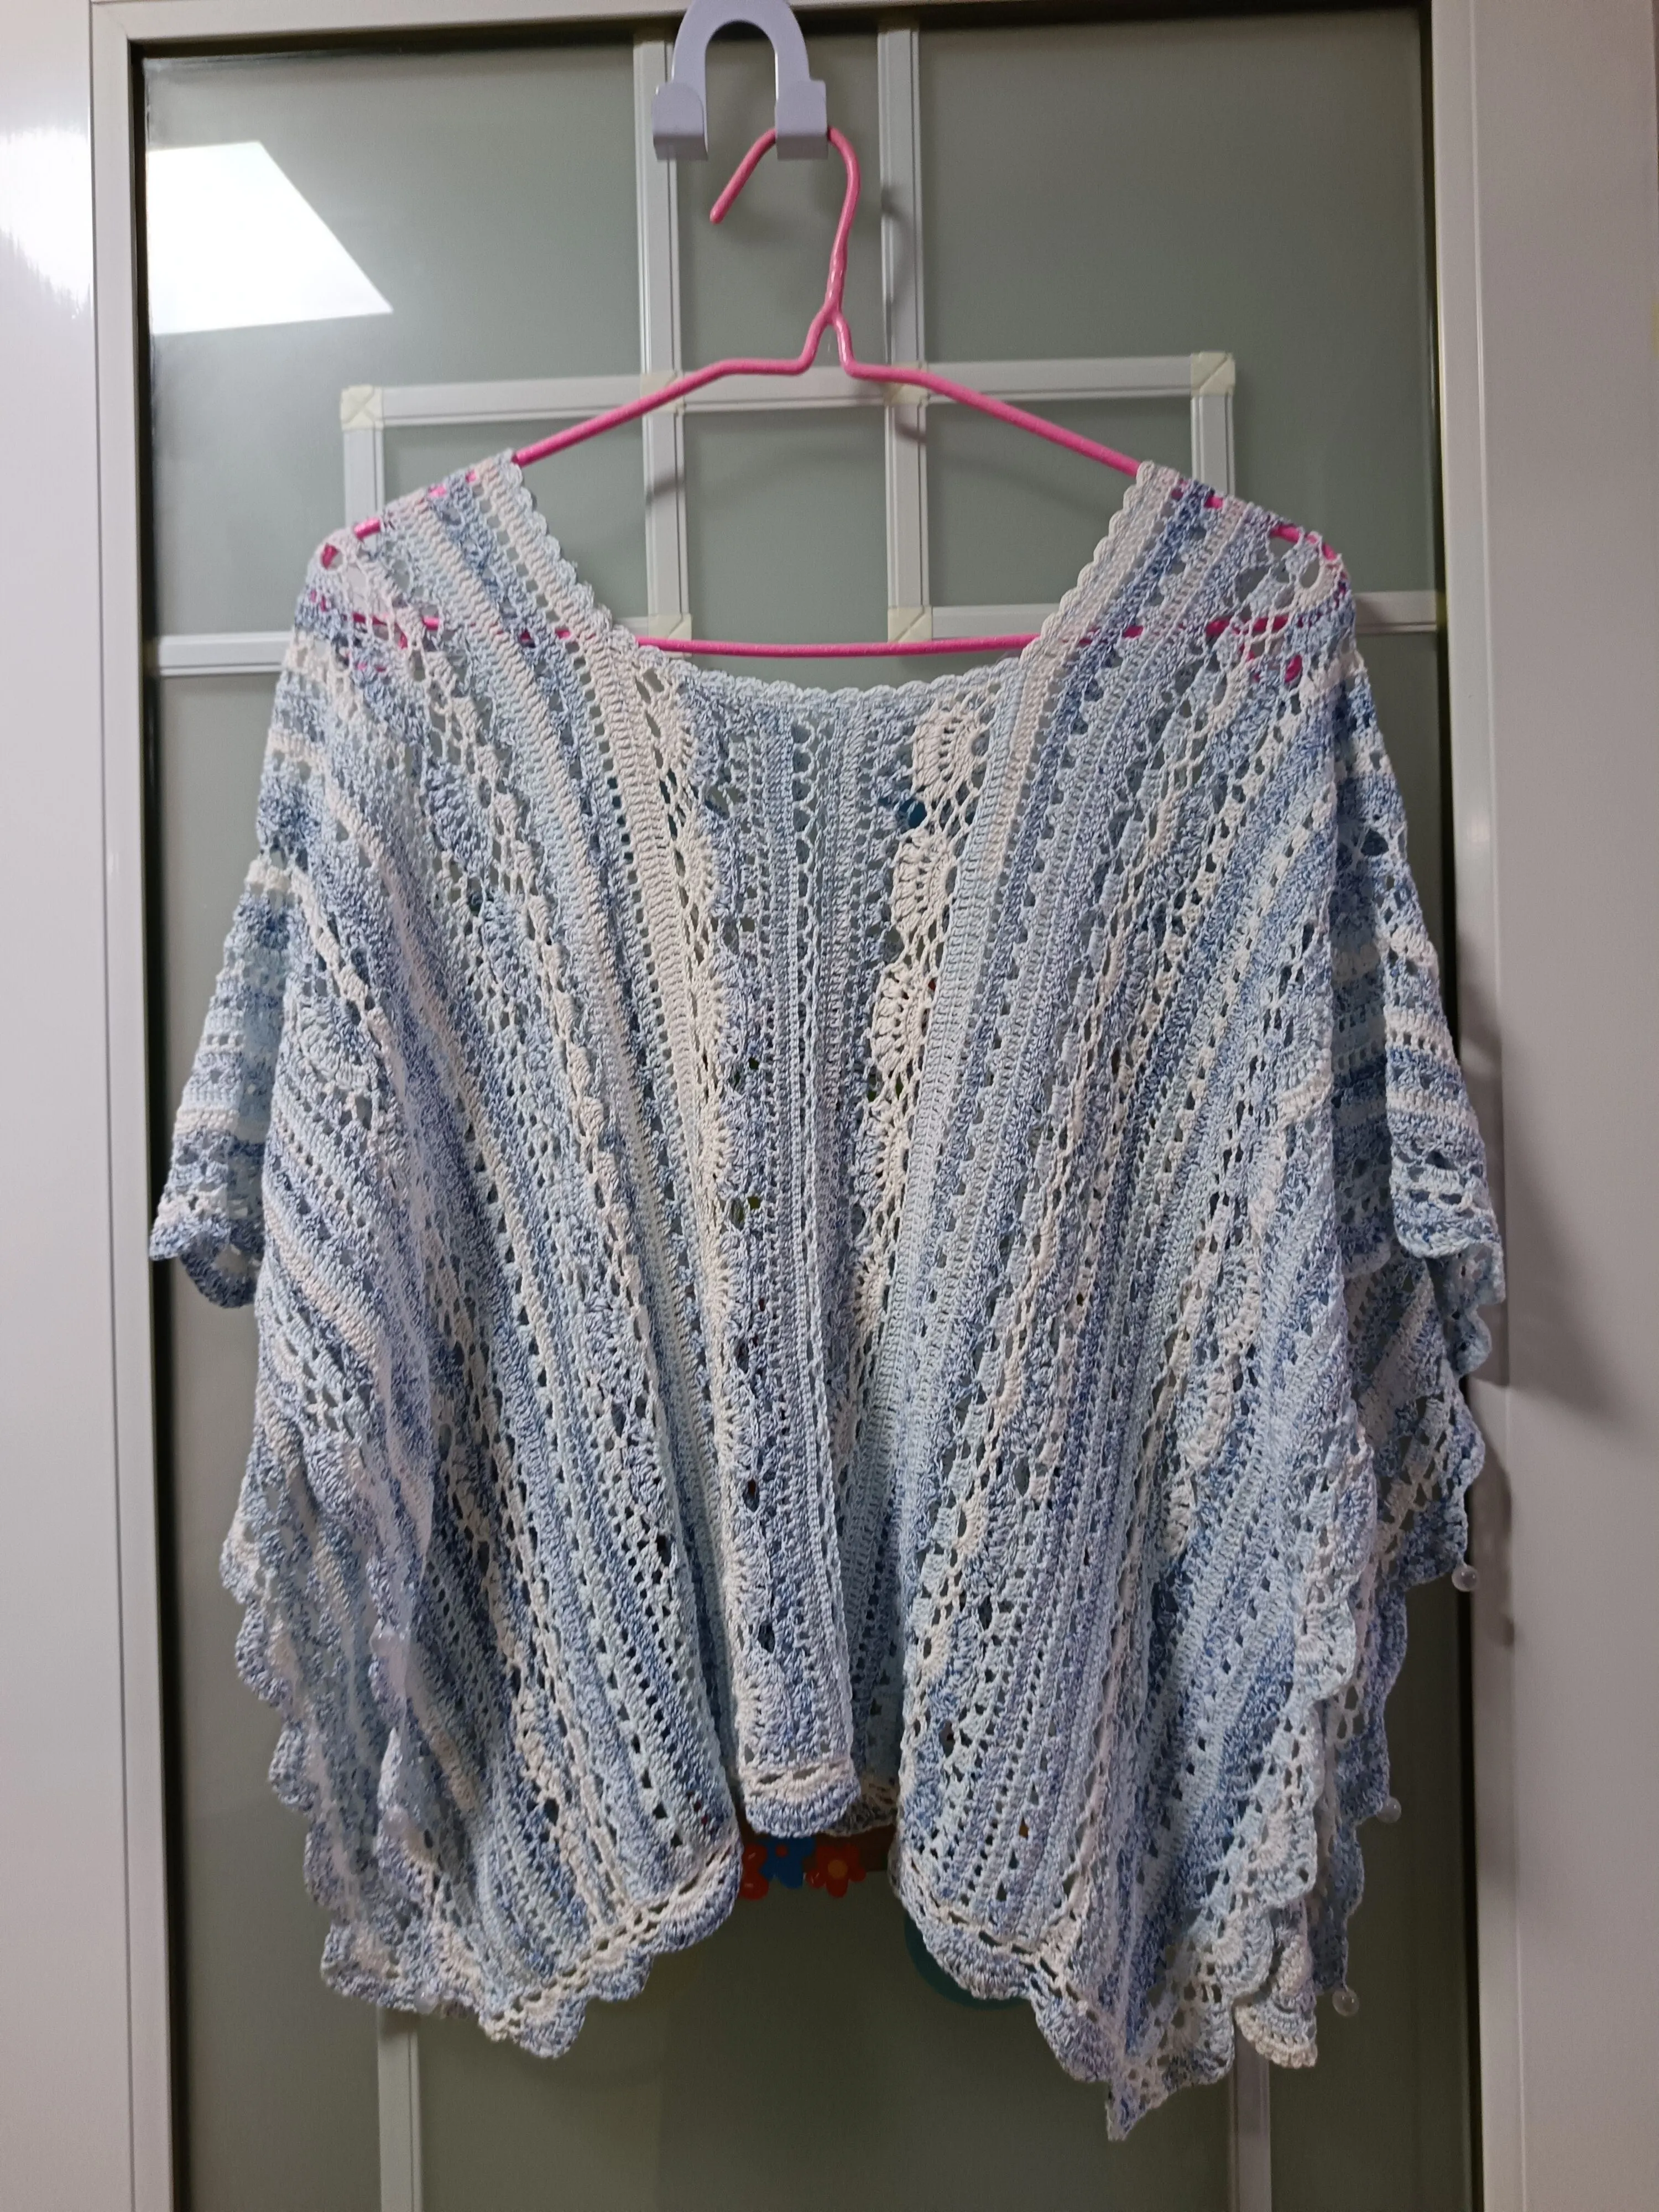
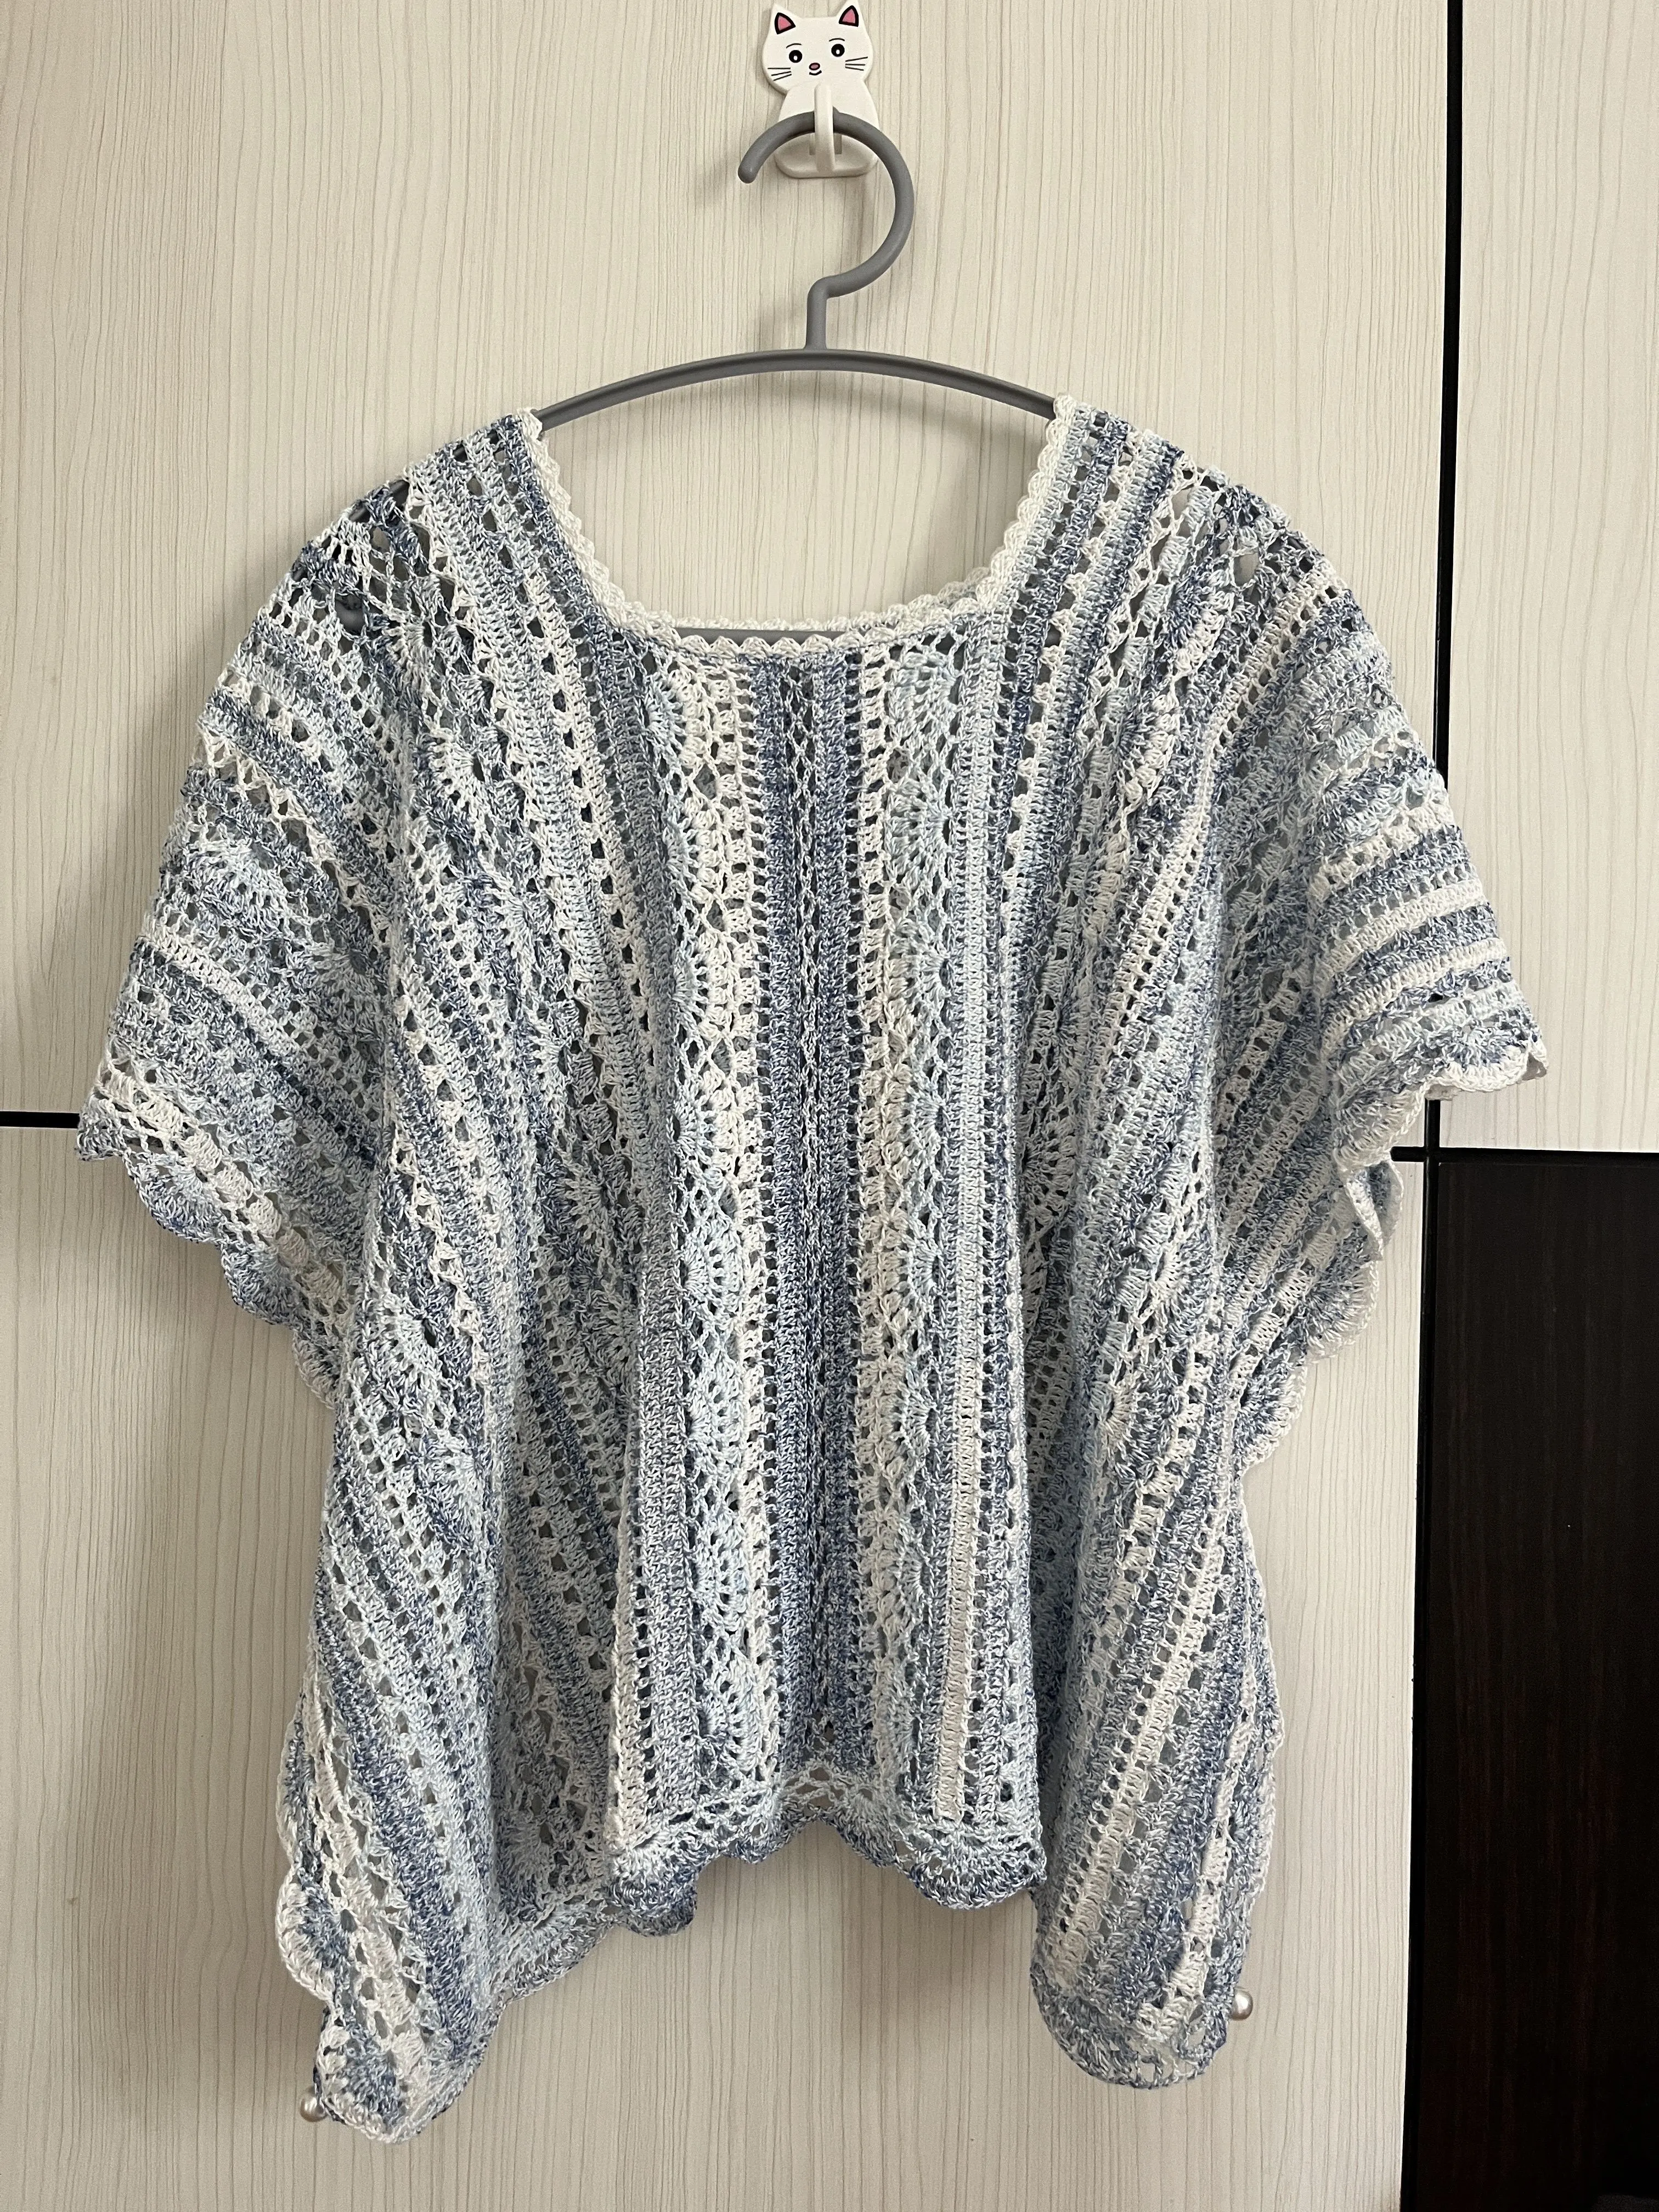
Mistveil Tunic
Project preview
See the finished project
Pattern format
Instructions
Watch and follow
Video tutorial
| Style | Yarn | Color |
|---|---|---|
| Stream Moon Version | Combed 5# Lace |  508#Stream Moon x 6 508#Stream Moon x 6 |
| Mint Lime Version | Combed 5# Lace |  504#Mint Lime x 6 504#Mint Lime x 6 |
| Frost Rain Version | Combed 5# Lace | 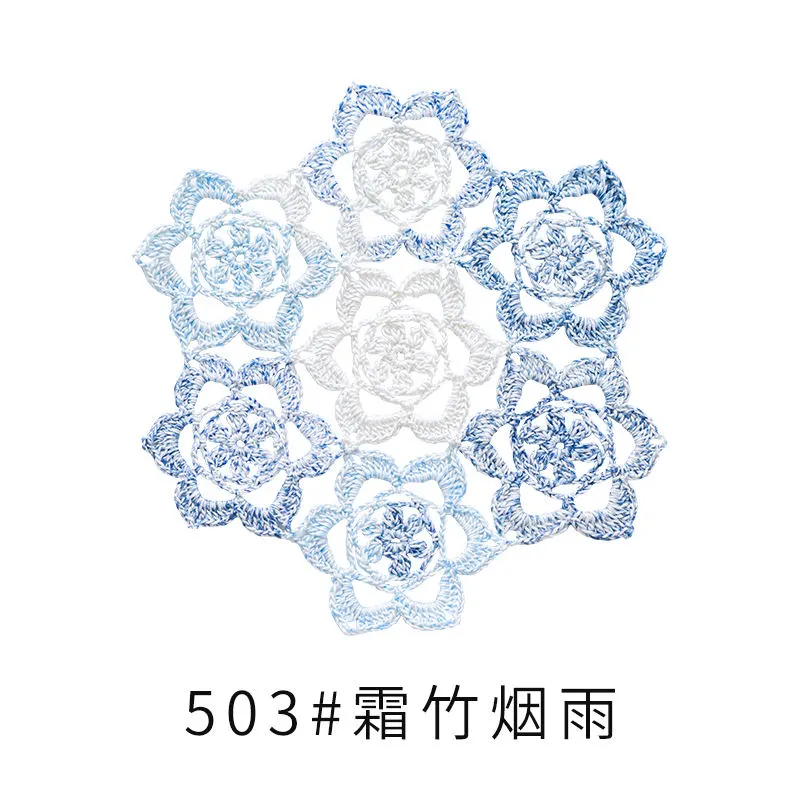 503#Frost Rain x 6 503#Frost Rain x 6 |
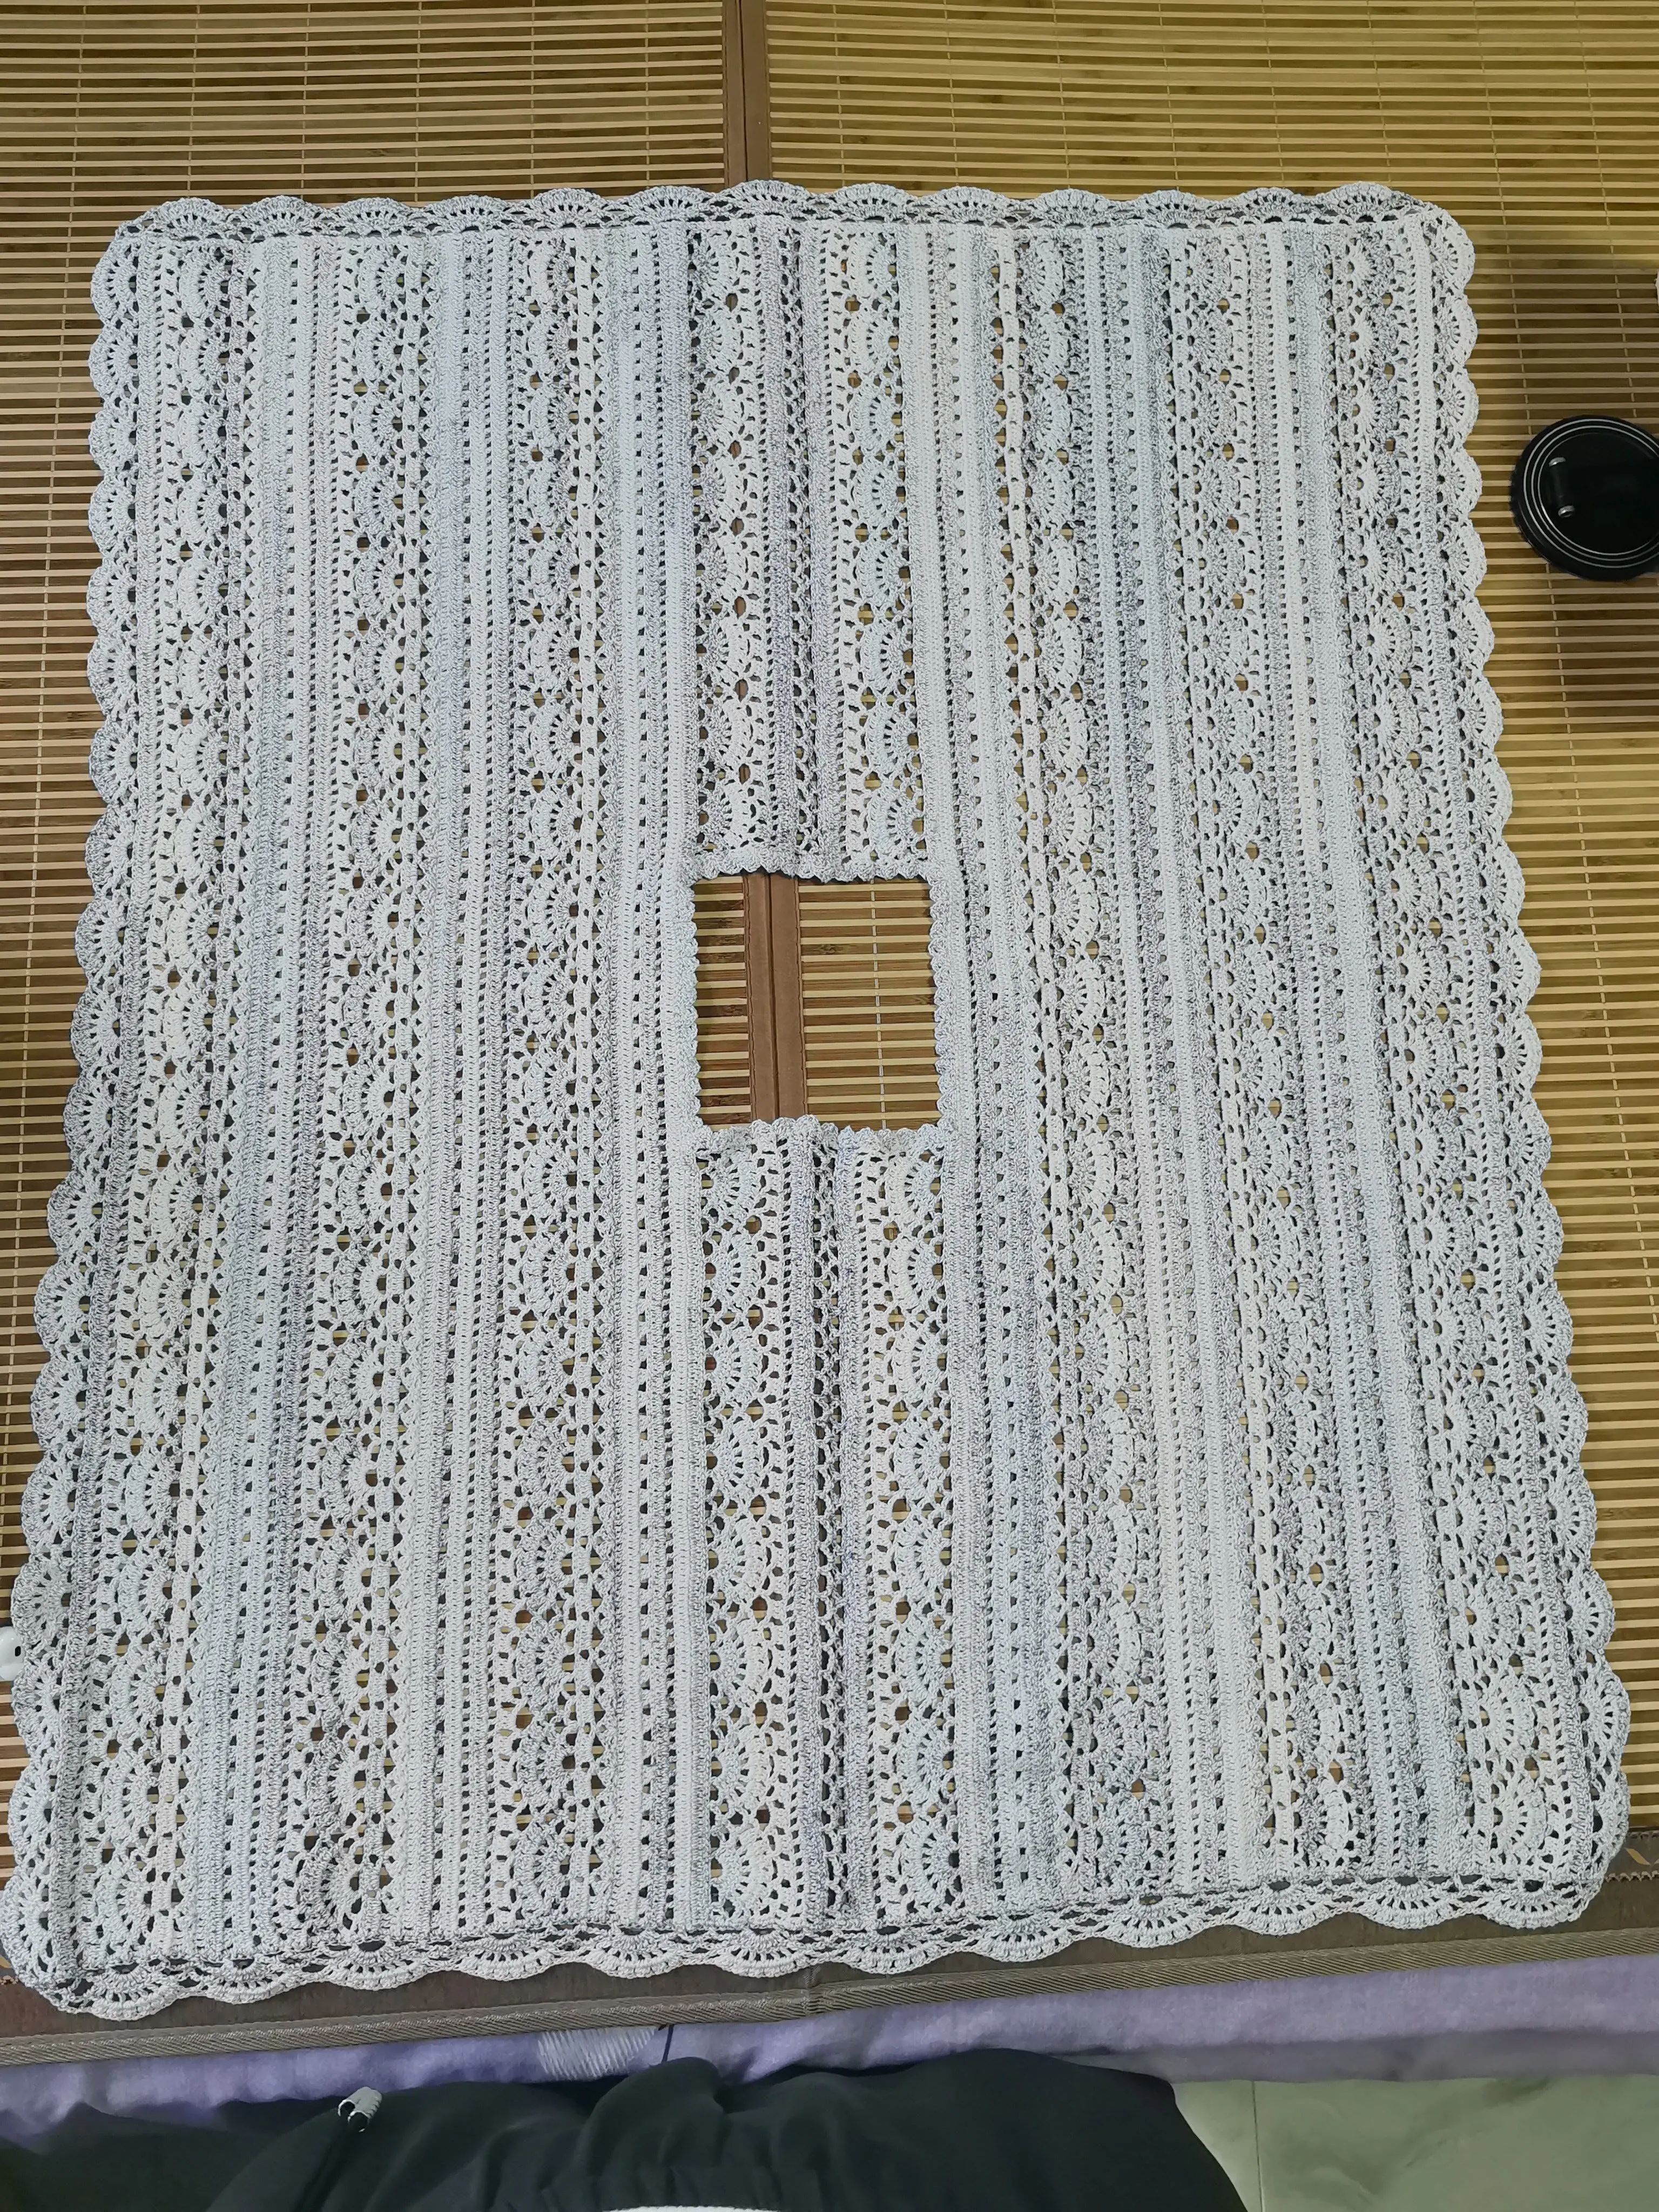
This cardigan is made up of the left and right pieces, pearl buttons, front and back pieces, and the edging. Start by crocheting the left and right pieces. Once they're done, attach the pearl buttons. Then, crochet the front and back pieces onto the left and right pieces, working and joining as you go. Finally, crochet the edging.
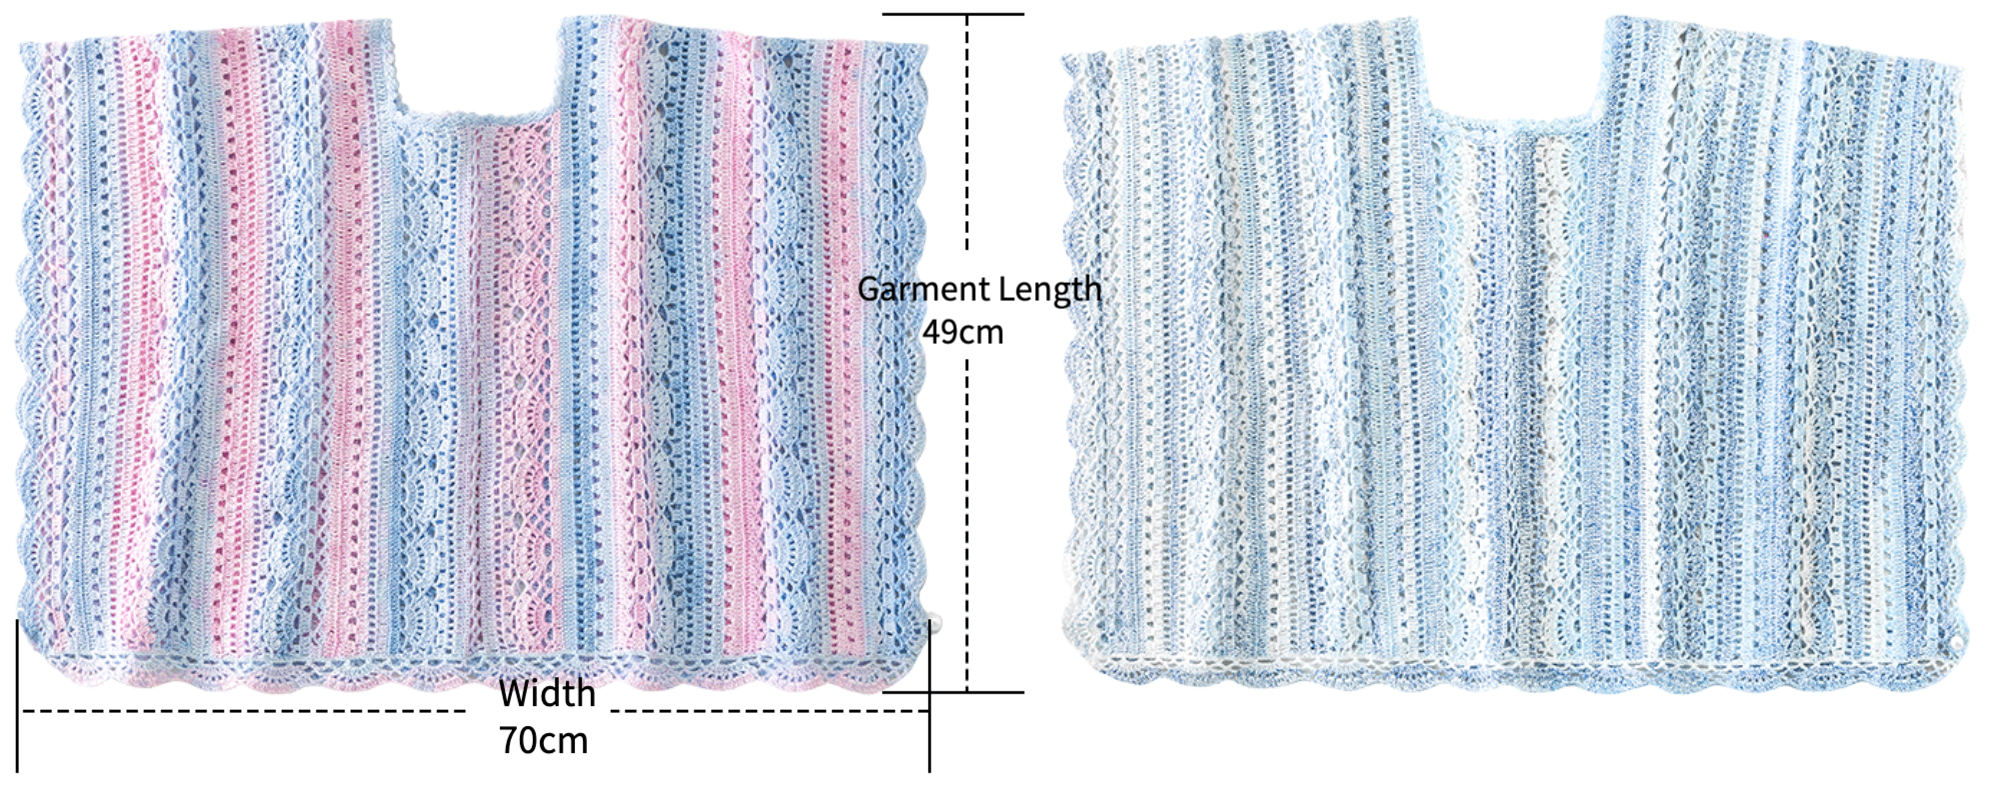
Note: Hand-measured, with a tolerance of 1-2 cm.
Due to individual differences in hand tension, the sample size is for reference only.
Yarn: Combed 5# Lace. Tool: 2.00 mm crochet hook.

Chart Key






Note:
1. This pattern is making in Chinese crochet pattern terms, and the stitch name is written using American terminology. All measurements in charts are in cm.
PART1 Left and Right Pieces and Pearl Buttons
Begin with the foundation chain for the left and right pieces, work back and forth in rows. We'll need to crochet 2 identical pieces. When reaching the last row, attach the pearl buttons. For details, please refer to the video demonstration.
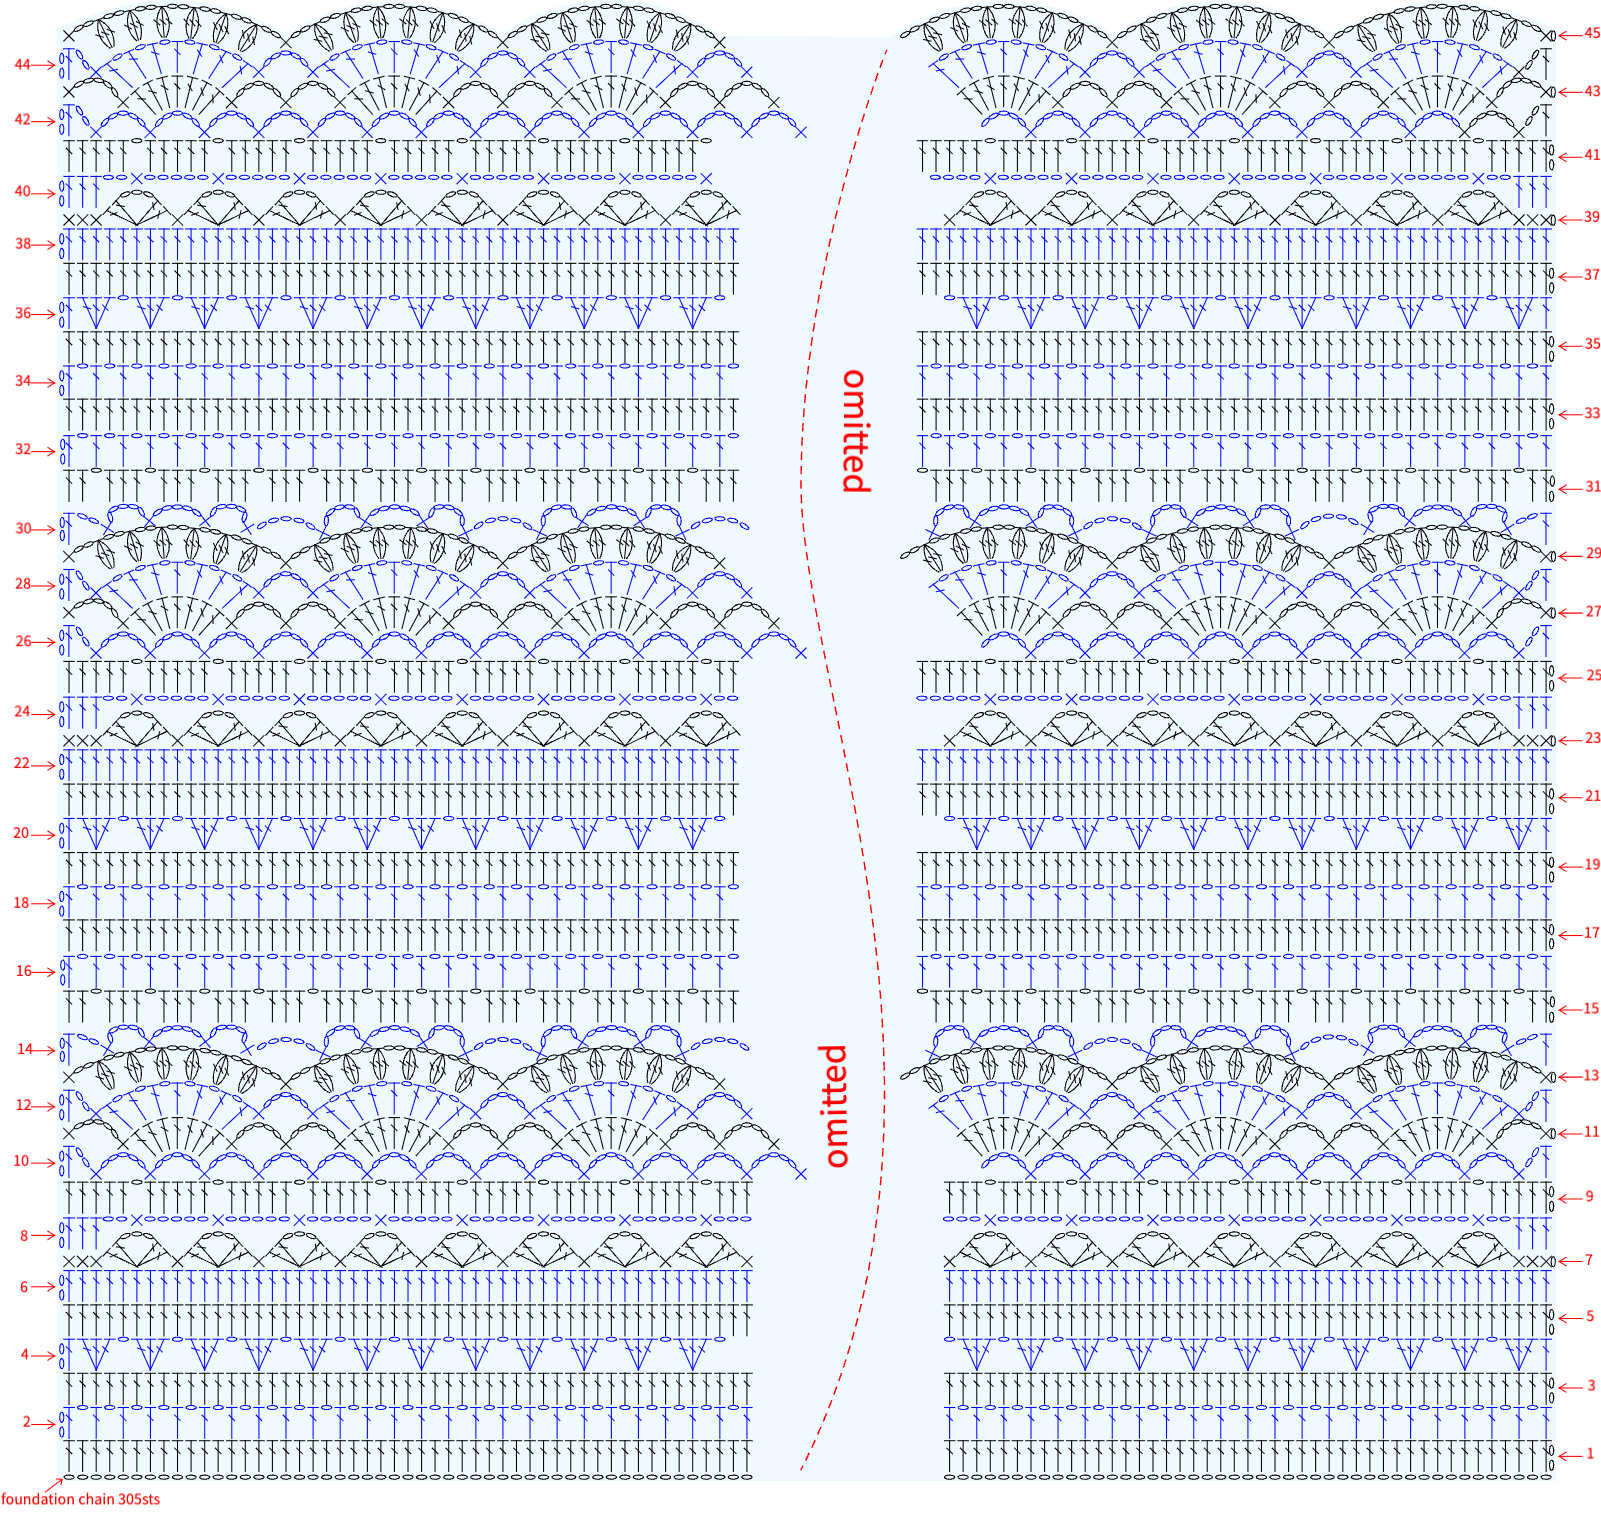
Note:
1. The garment does not have a front or back, right or left. The right side of Row 1 will be considered the right side of the garment.
2. Both sides are exactly the same, each with 45 rows. Attach the pearl buttons when crocheting the last row.
PART2 Front and Back Pieces
The front and back pieces are crocheted from both sides toward the center, with the same pattern. First, crochet one side, then when working the last row of the other side, join as you go. For the insertion point and joining method, please refer to the video demonstration.
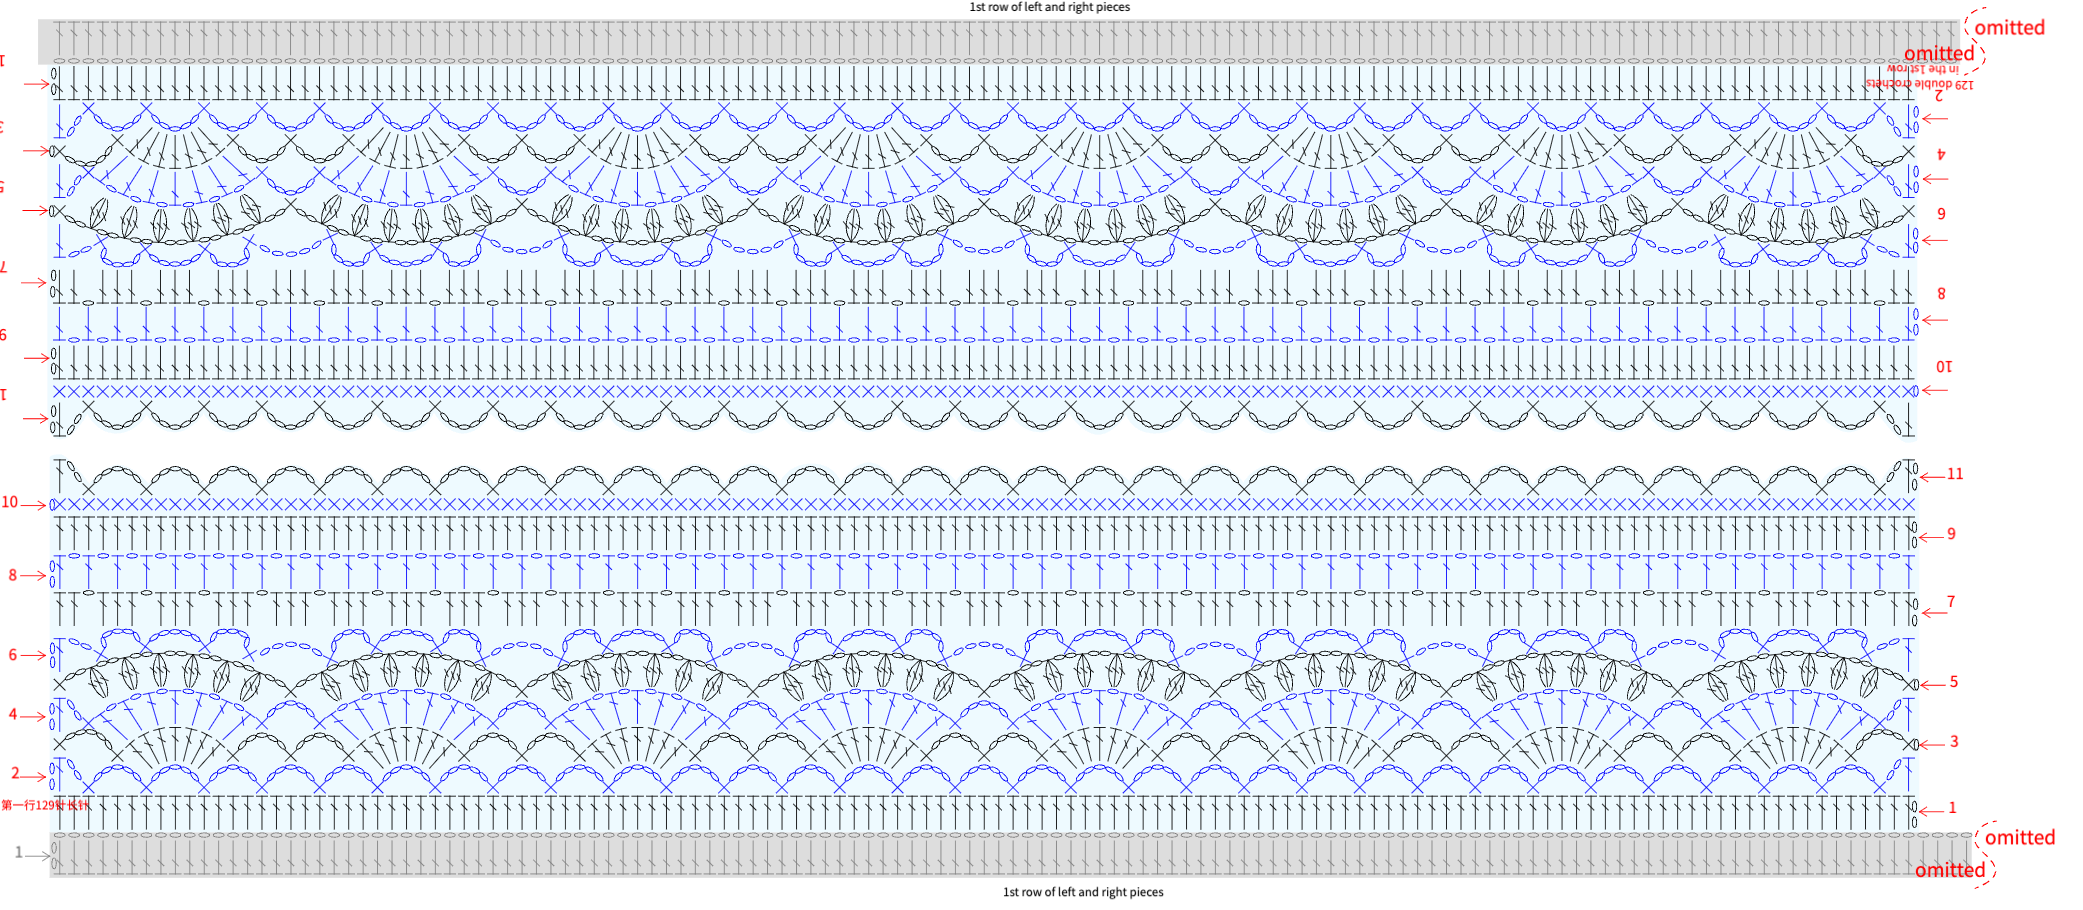
PART3 Edging
Edging is divided into neckline edging and hem edging. For details, please refer to the video demonstration.
Neckline Edging

Hem Edging

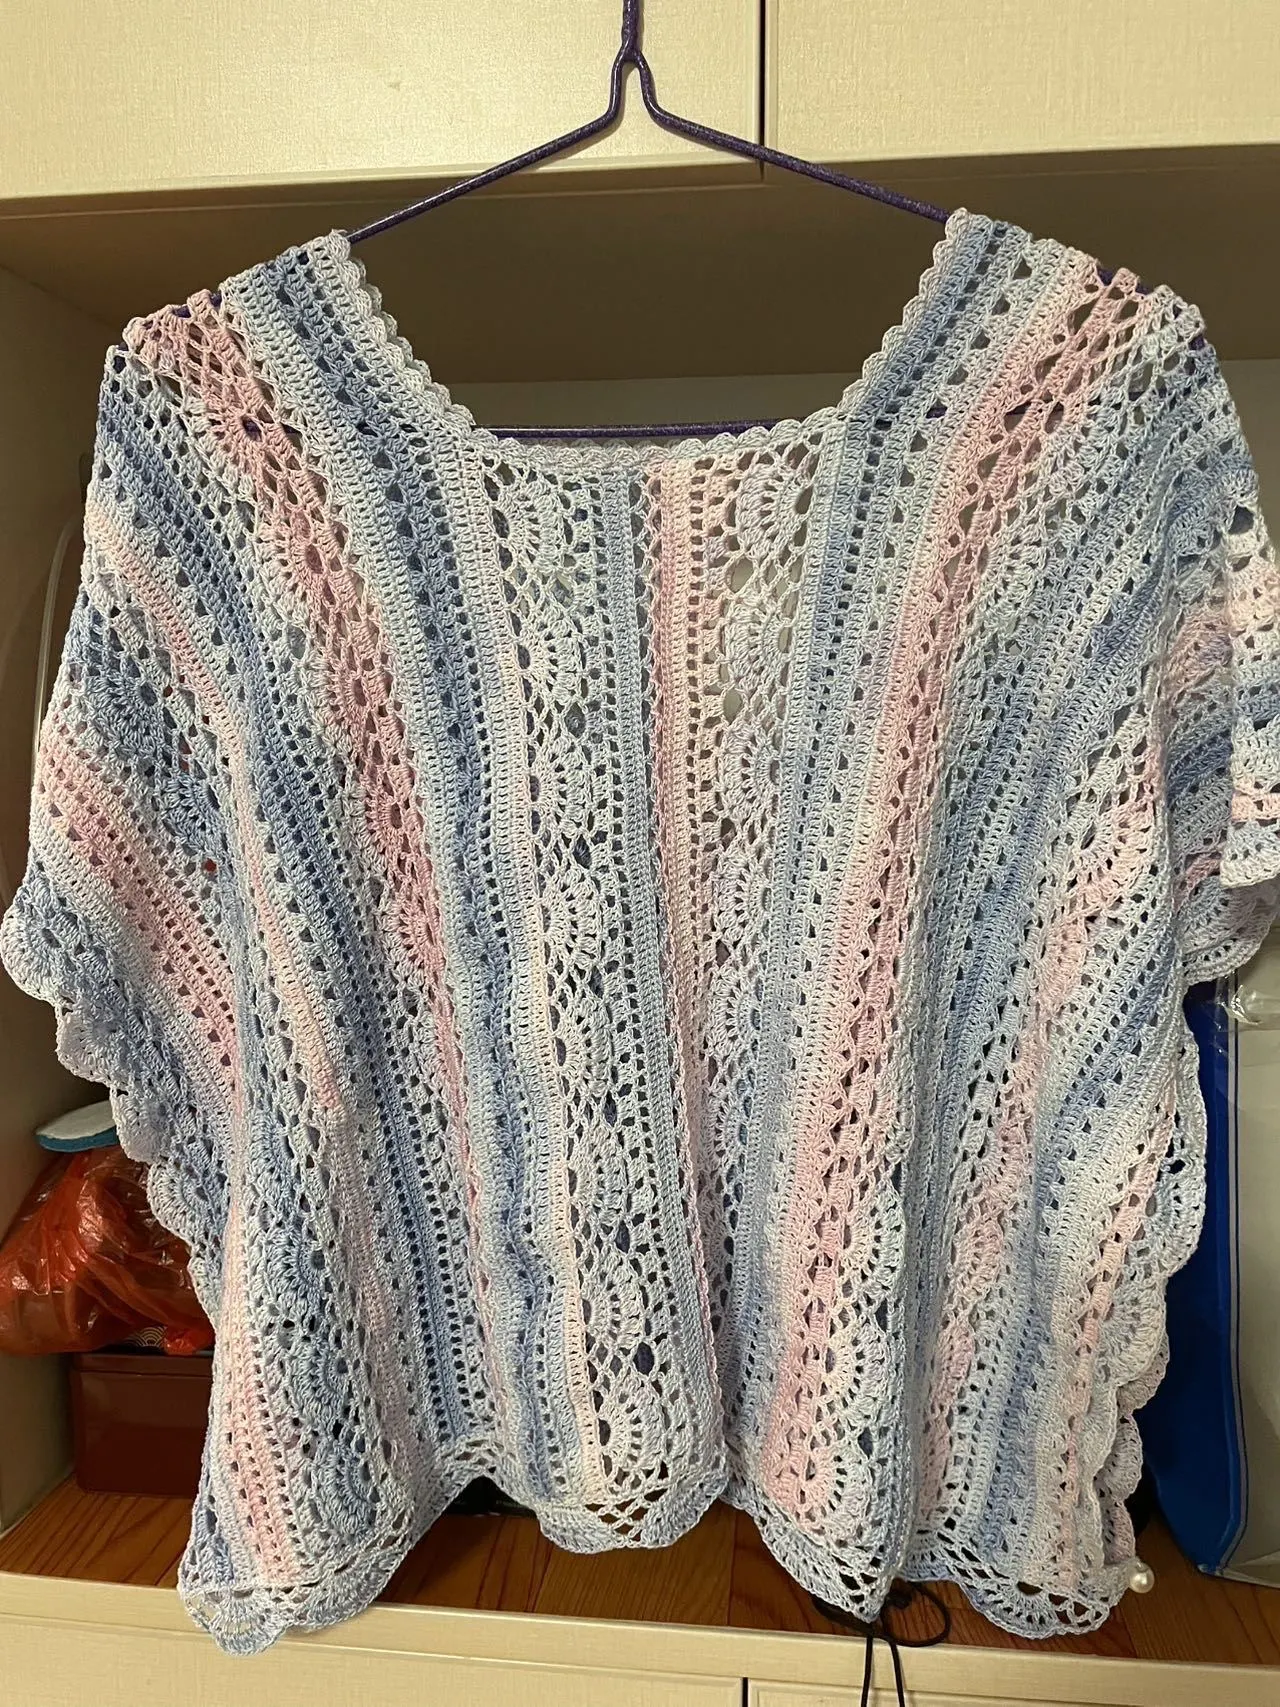
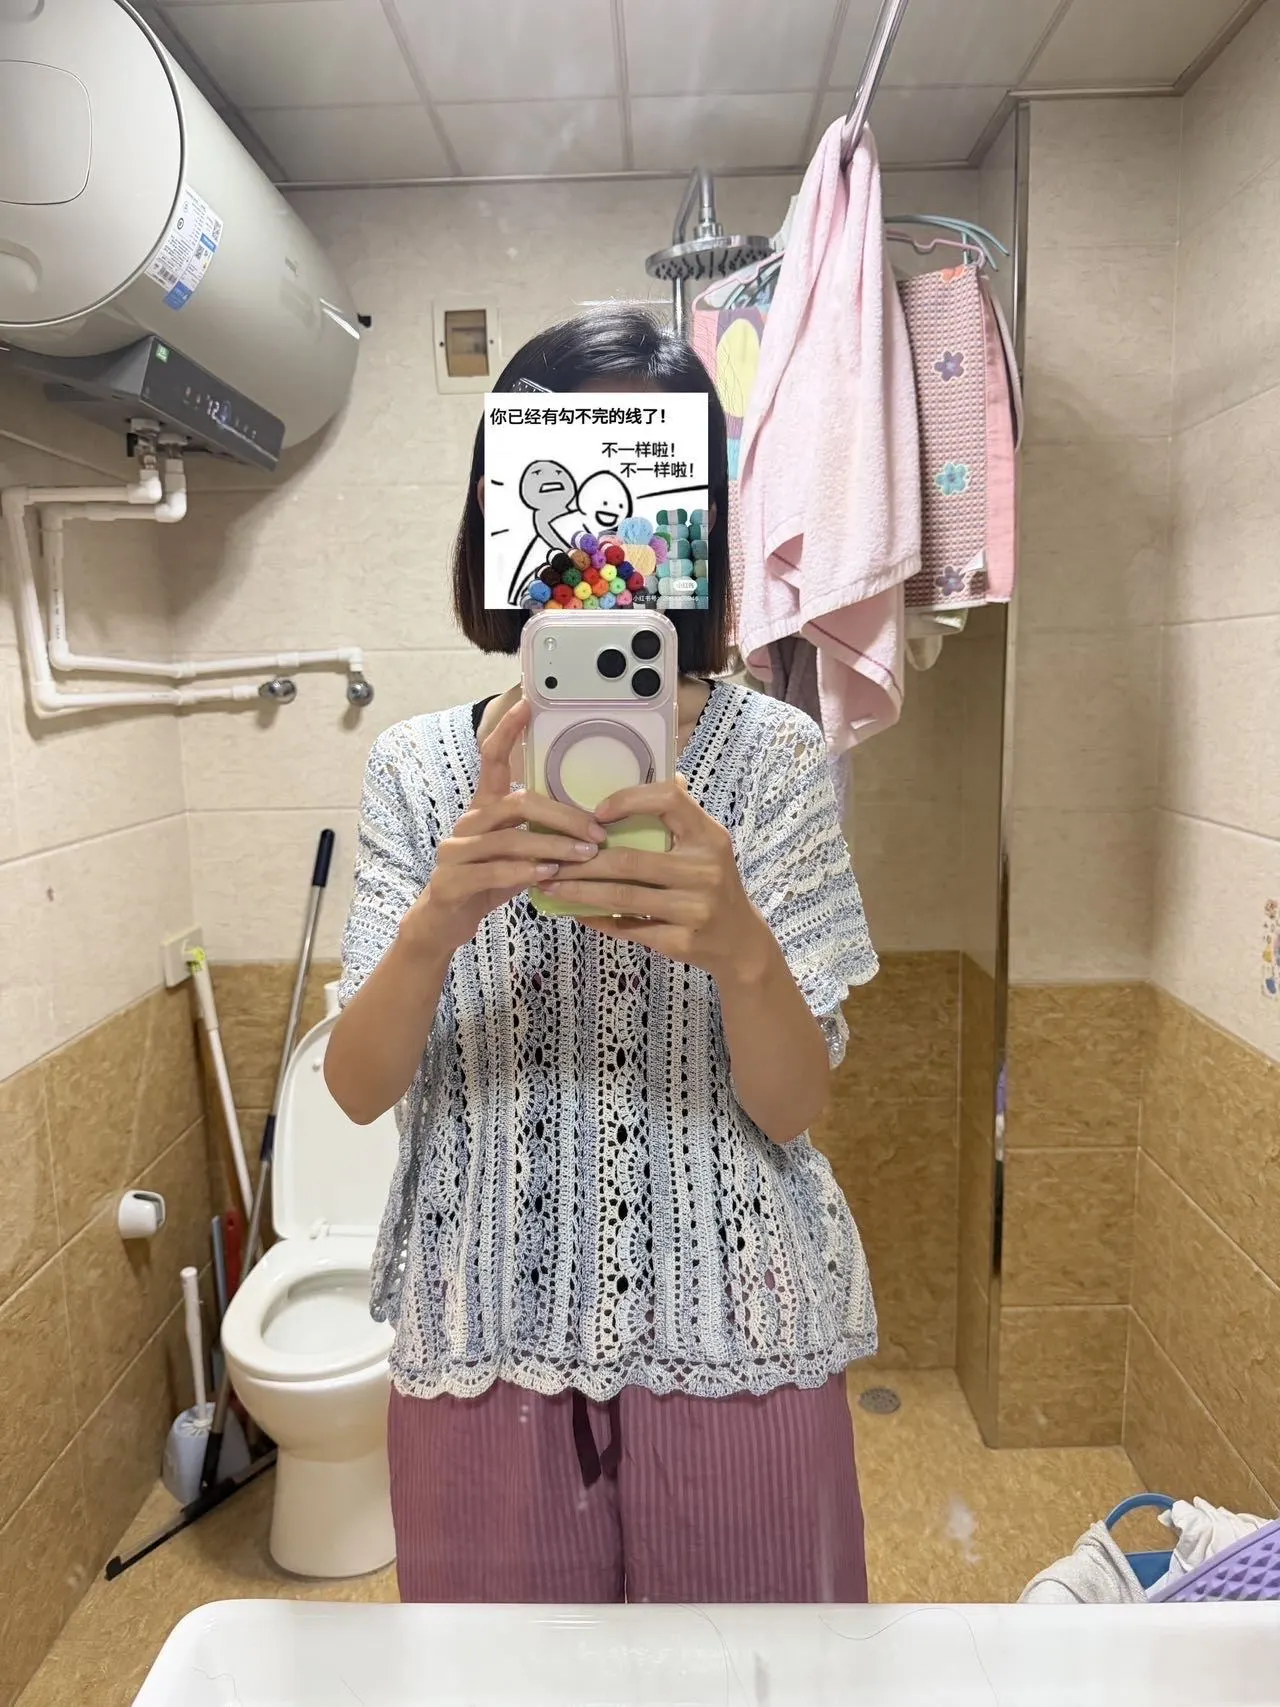
Made by the community