Clothes
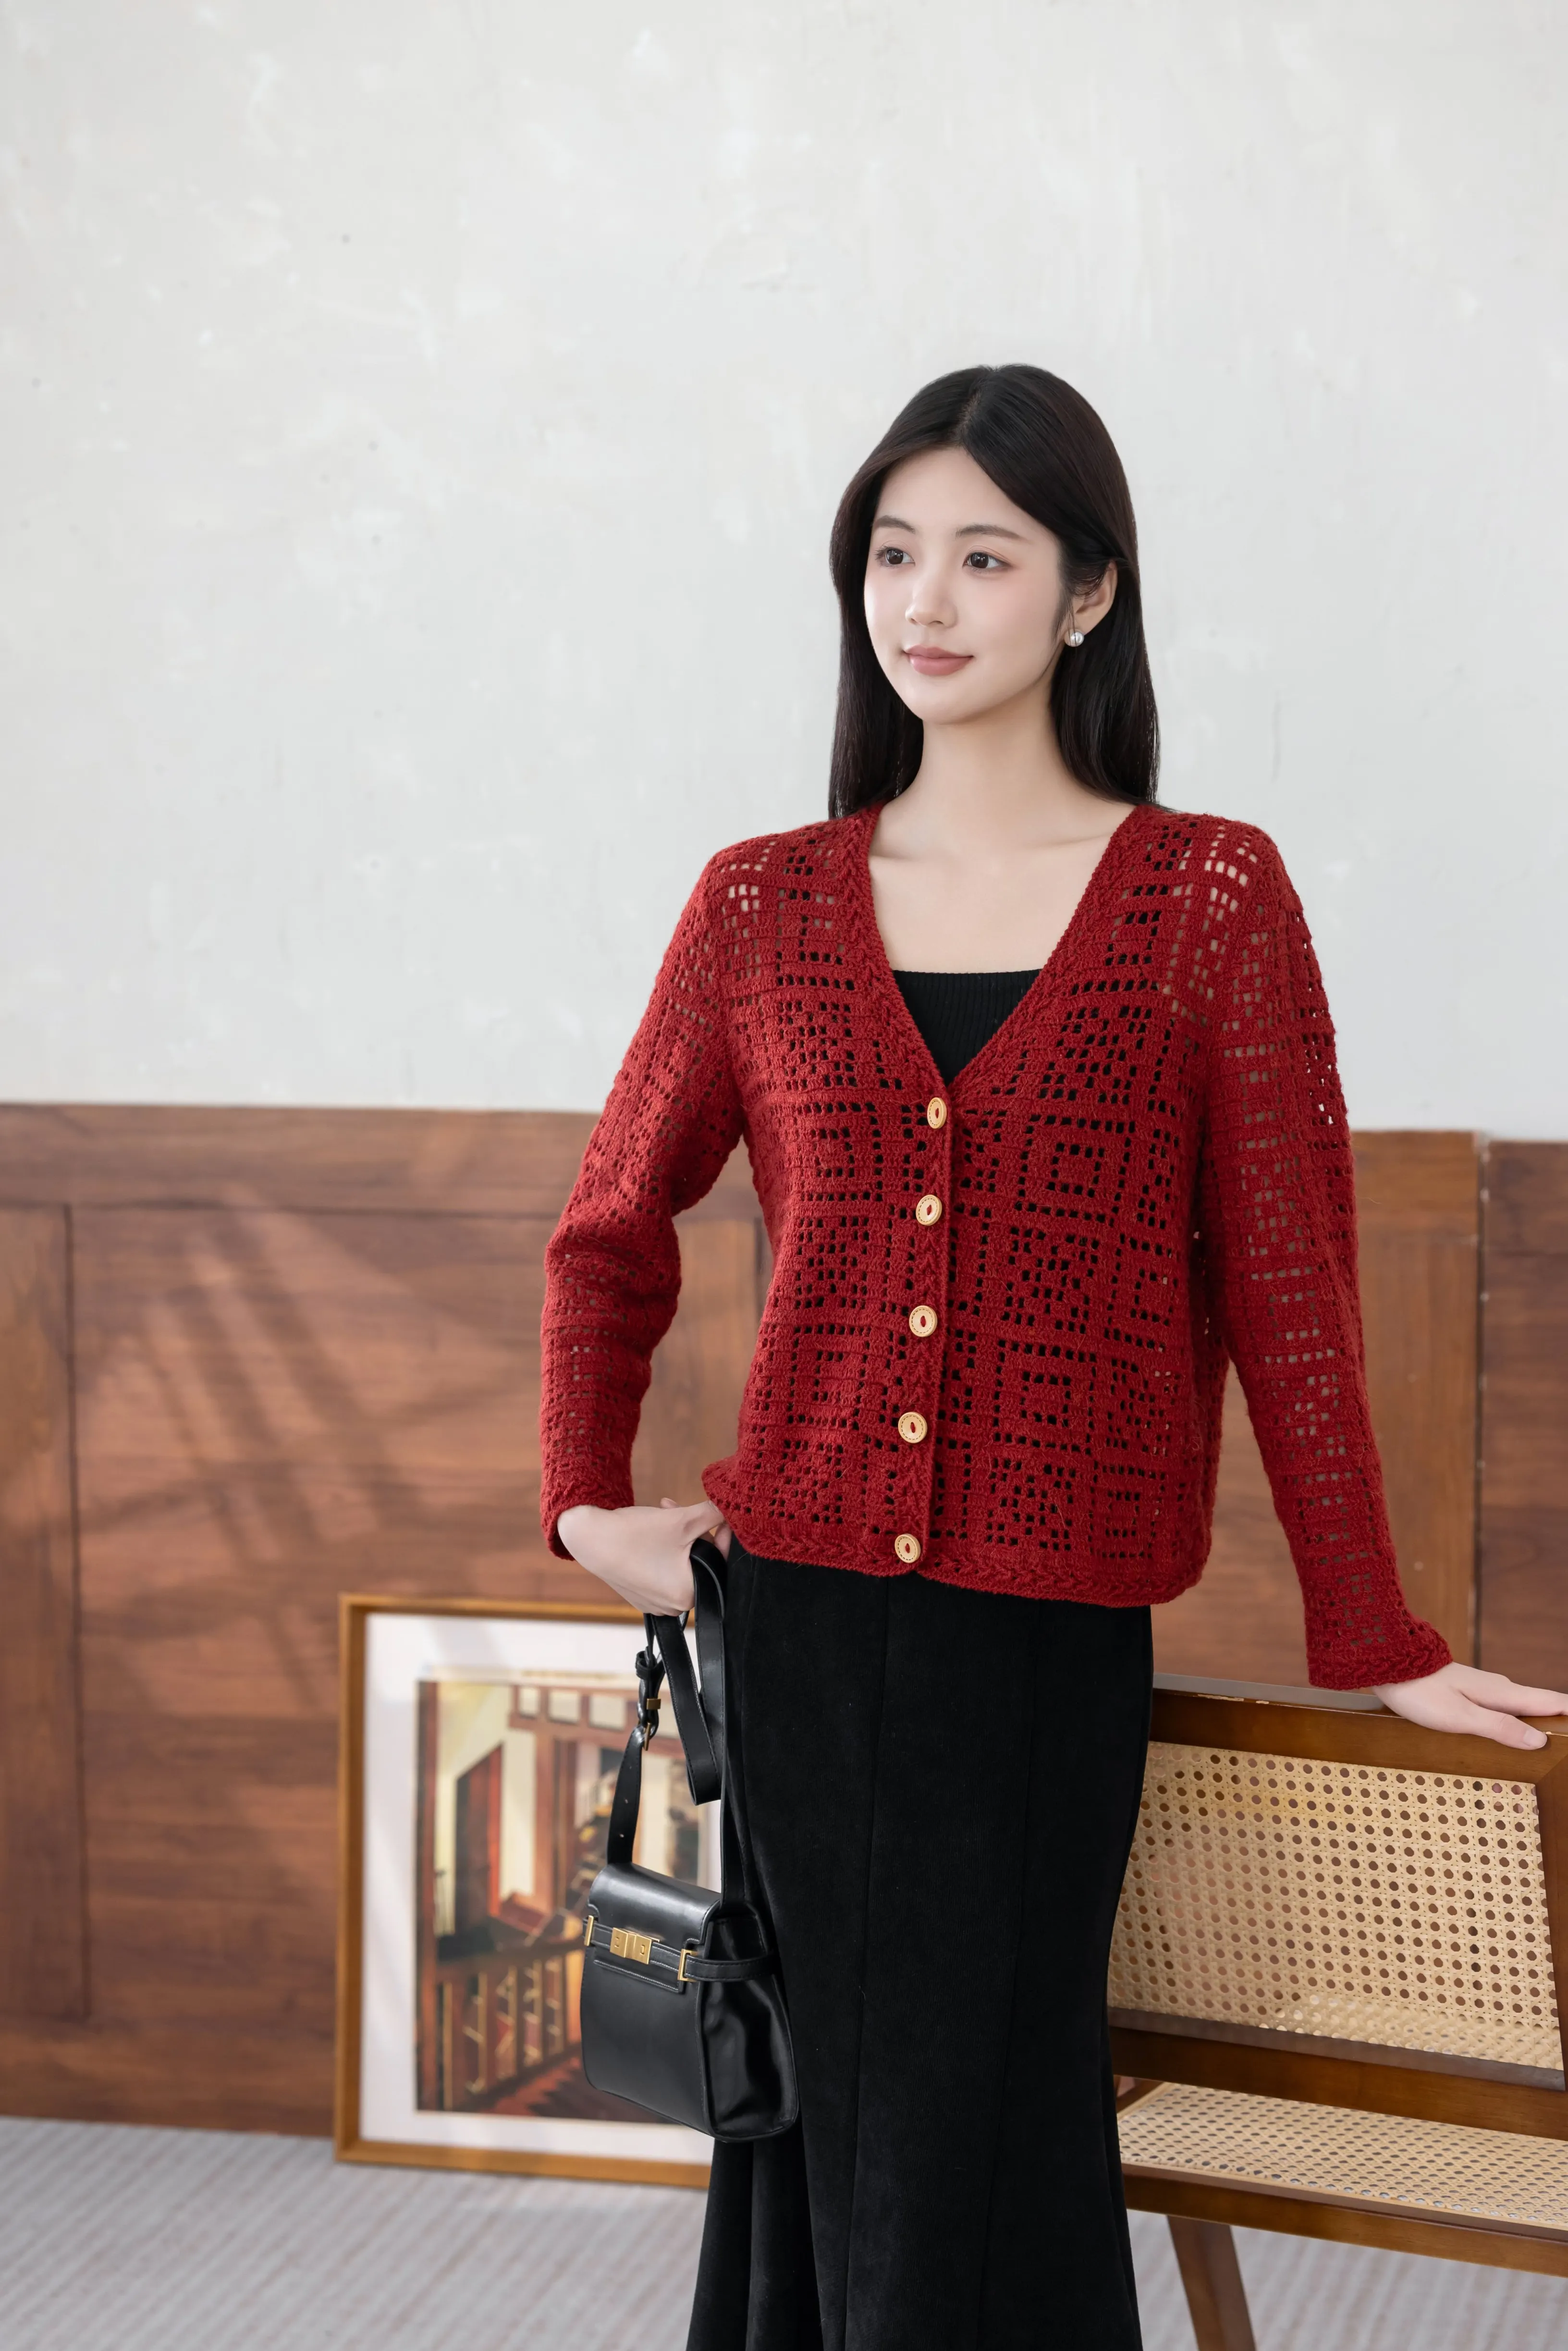
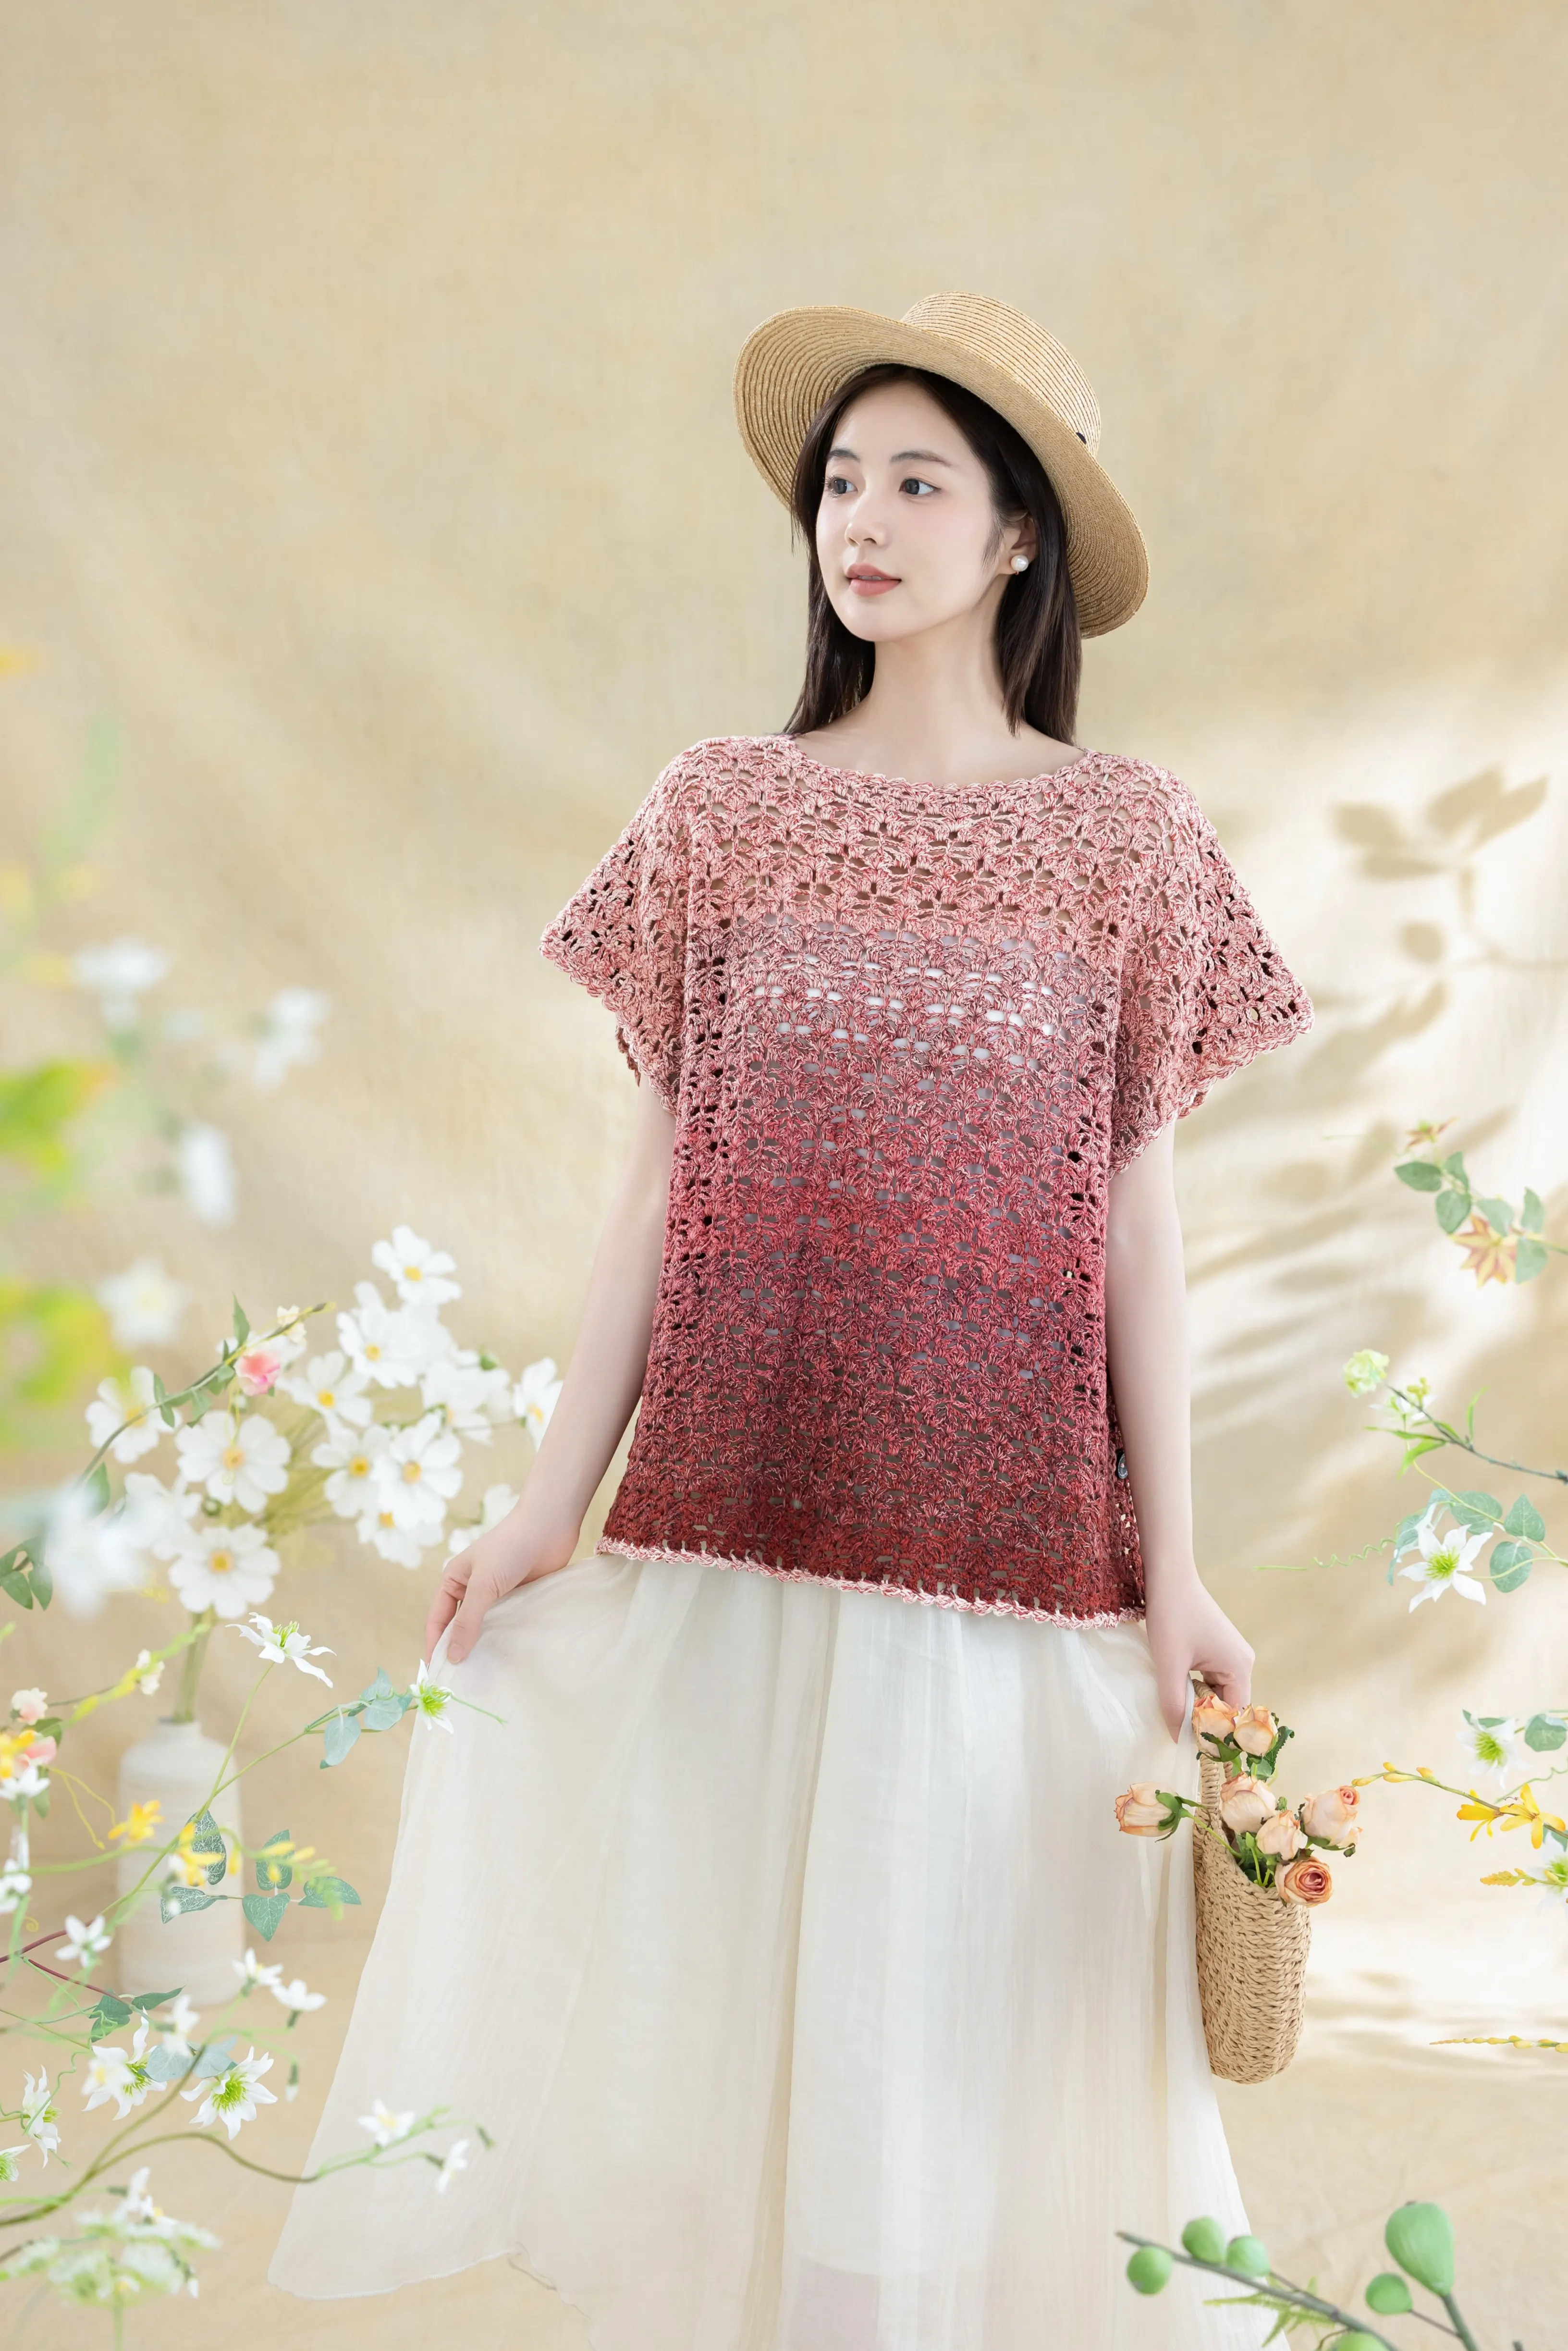
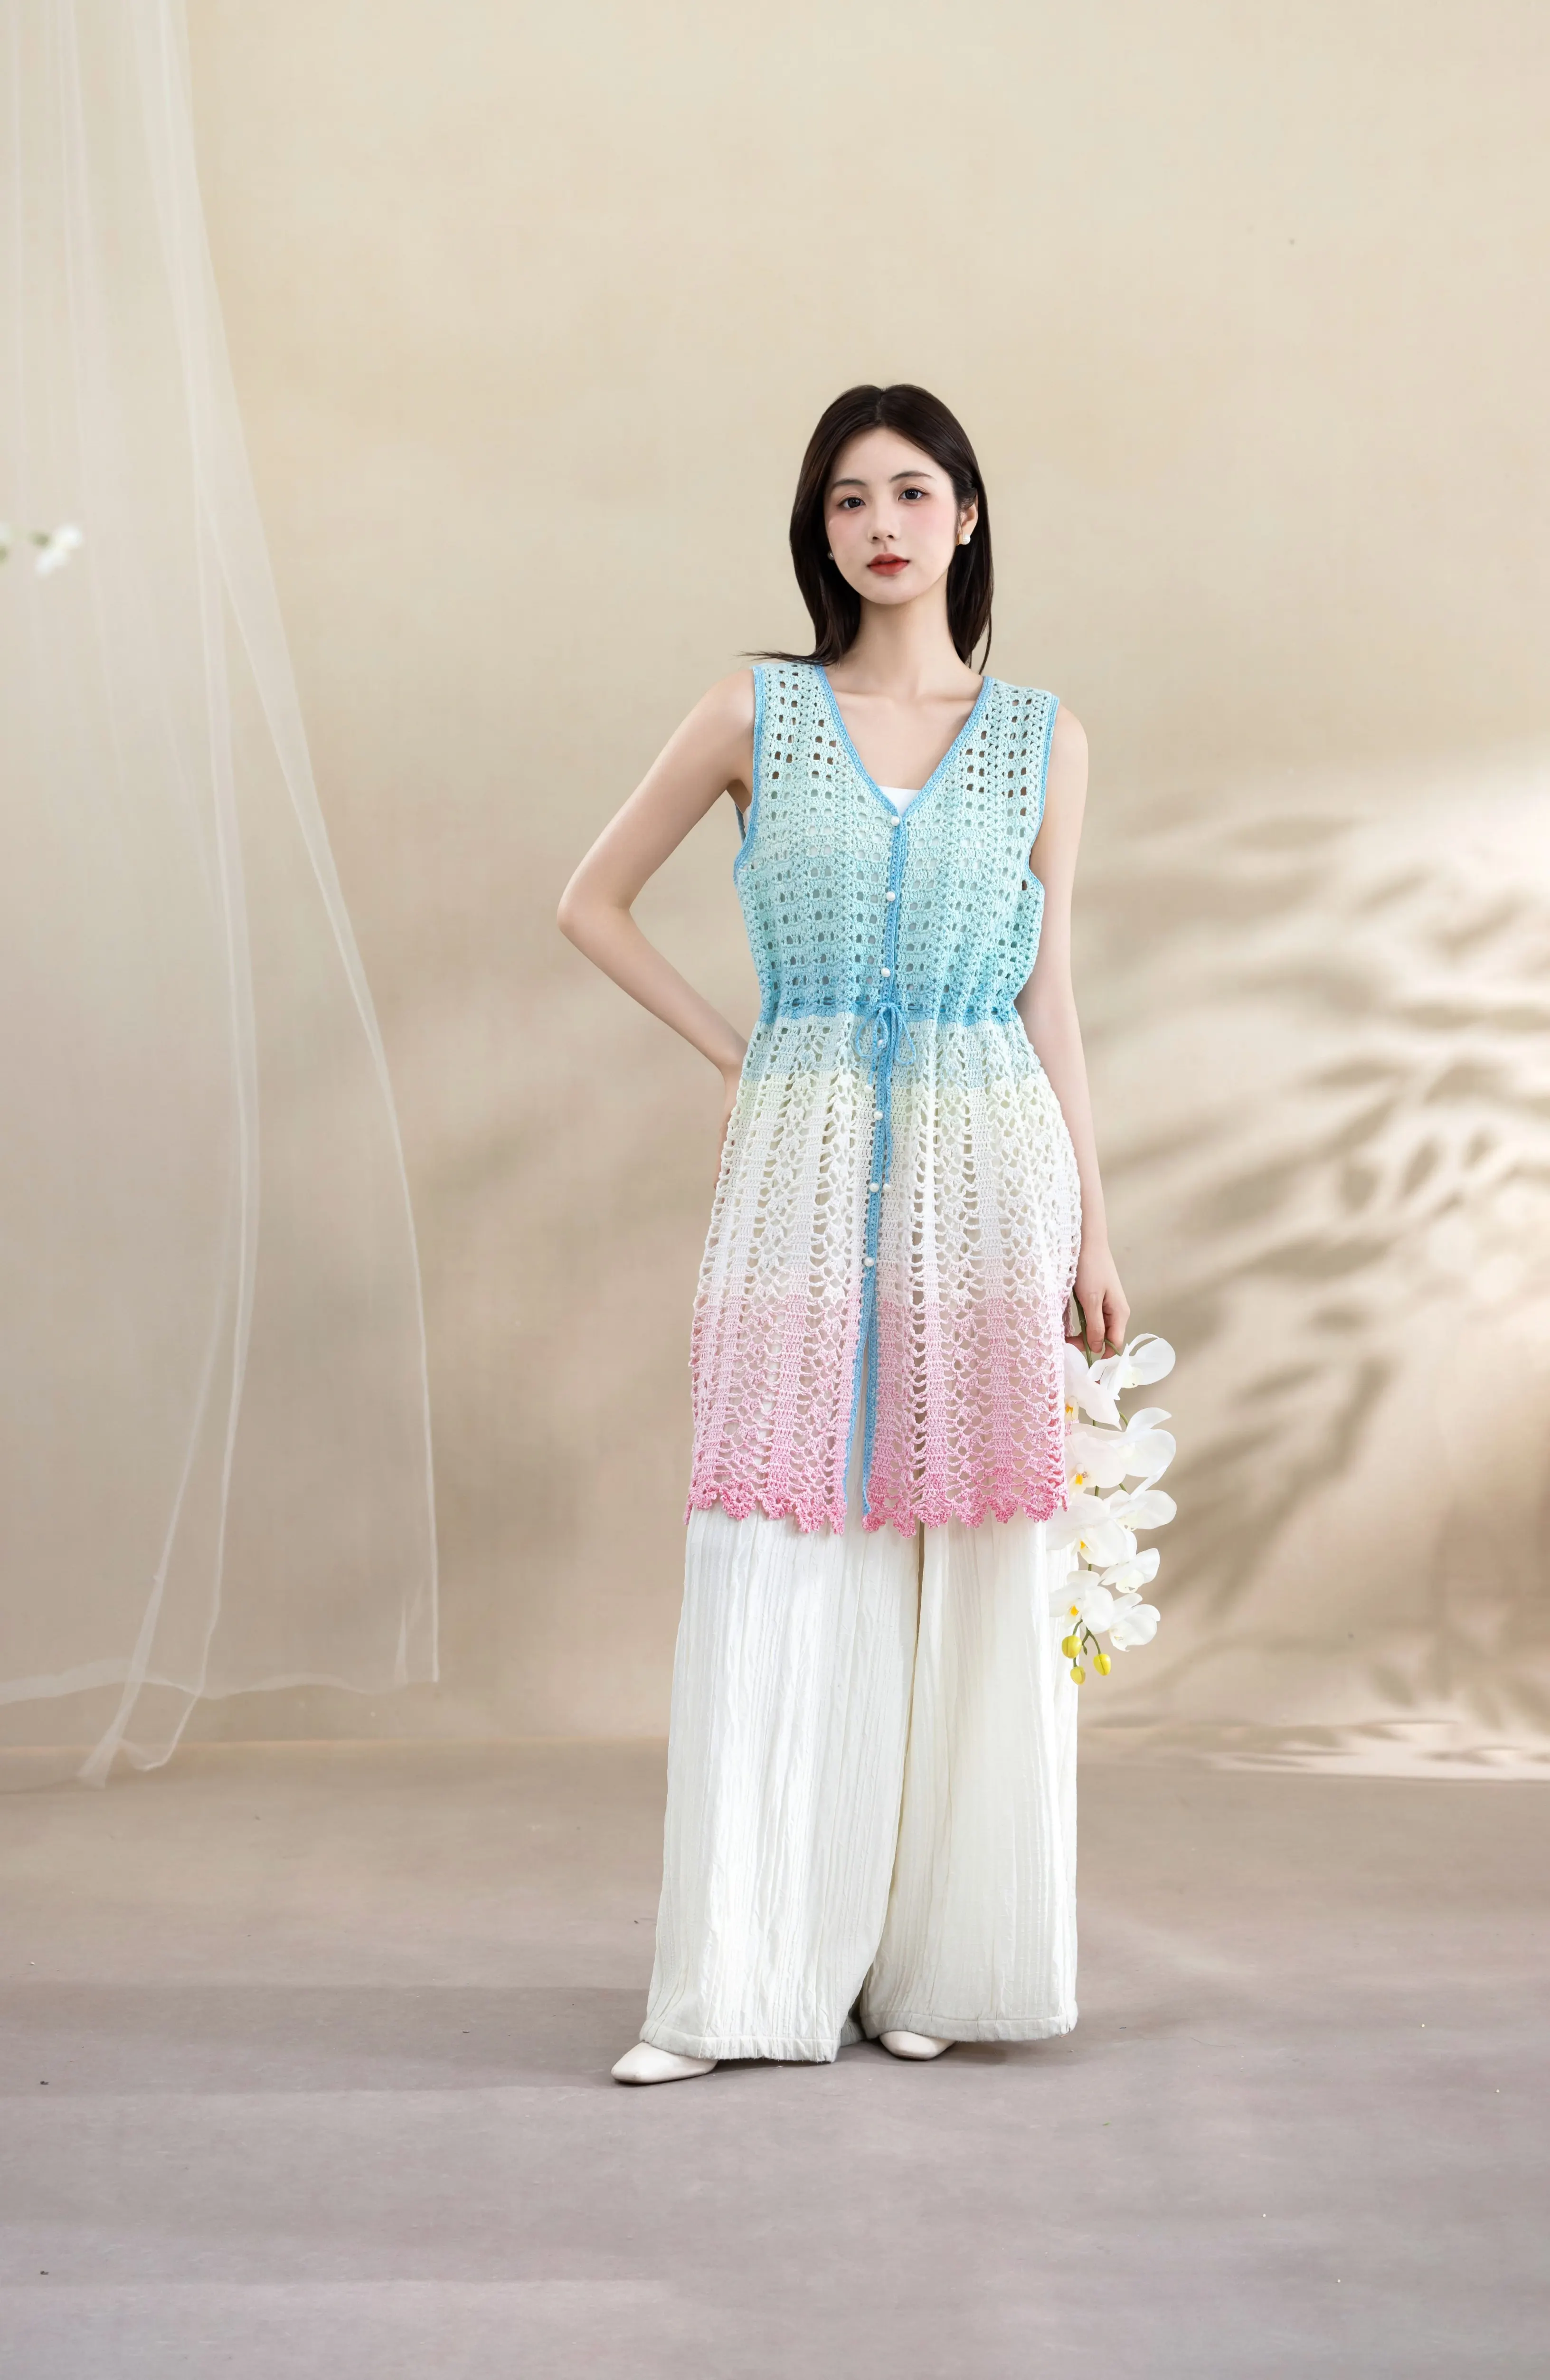
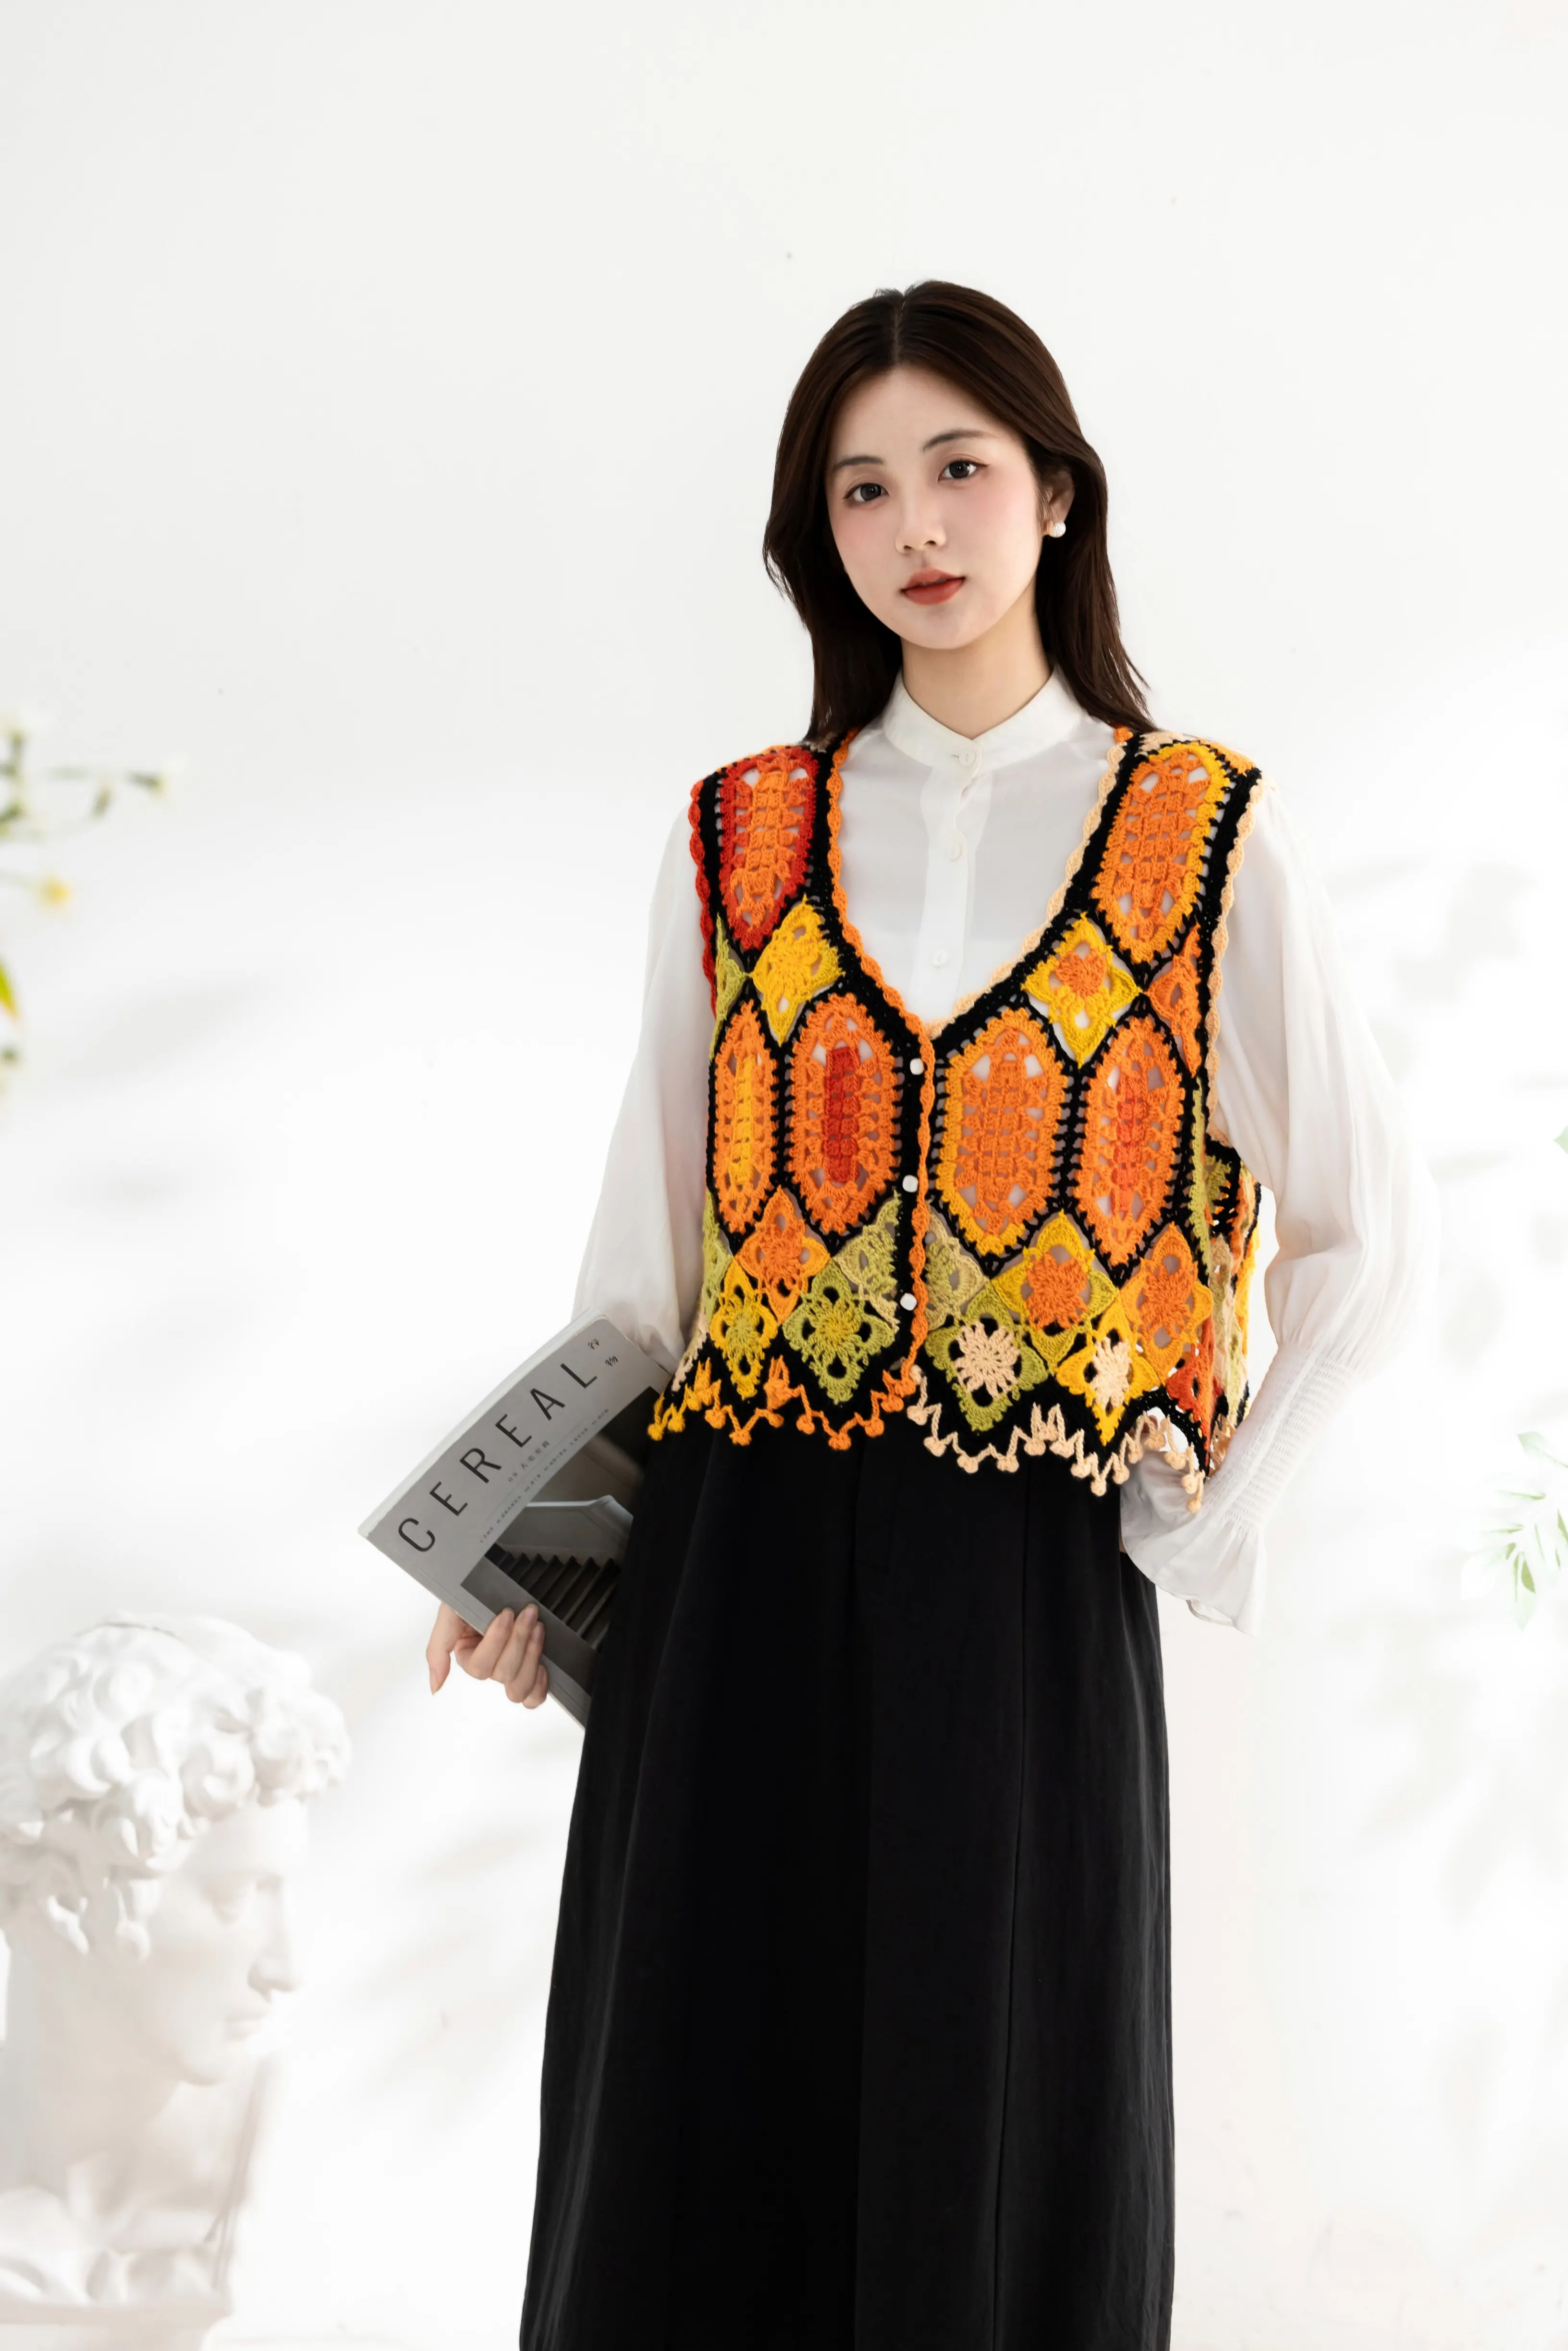
Mo Vintage Cardigan
Project preview
See the finished project
Pattern format
Instructions
| Style | Yarn | Color |
|---|---|---|
| Whisper White Style | Morandi 6# |  01#Whisper White |
| Shell Pink Style | Morandi 6# |  06#Pearl Pink |
| Burnt Ochre Style | Morandi 6# |  40#Burnt Ochre |
Whisper White Style
01#Whisper WhiteShell Pink Style
06#Pearl PinkBurnt Ochre Style
40#Burnt OchreThis cardigan is composed of a yoke , hem , crochet edging, placket, collar, and embroidery.
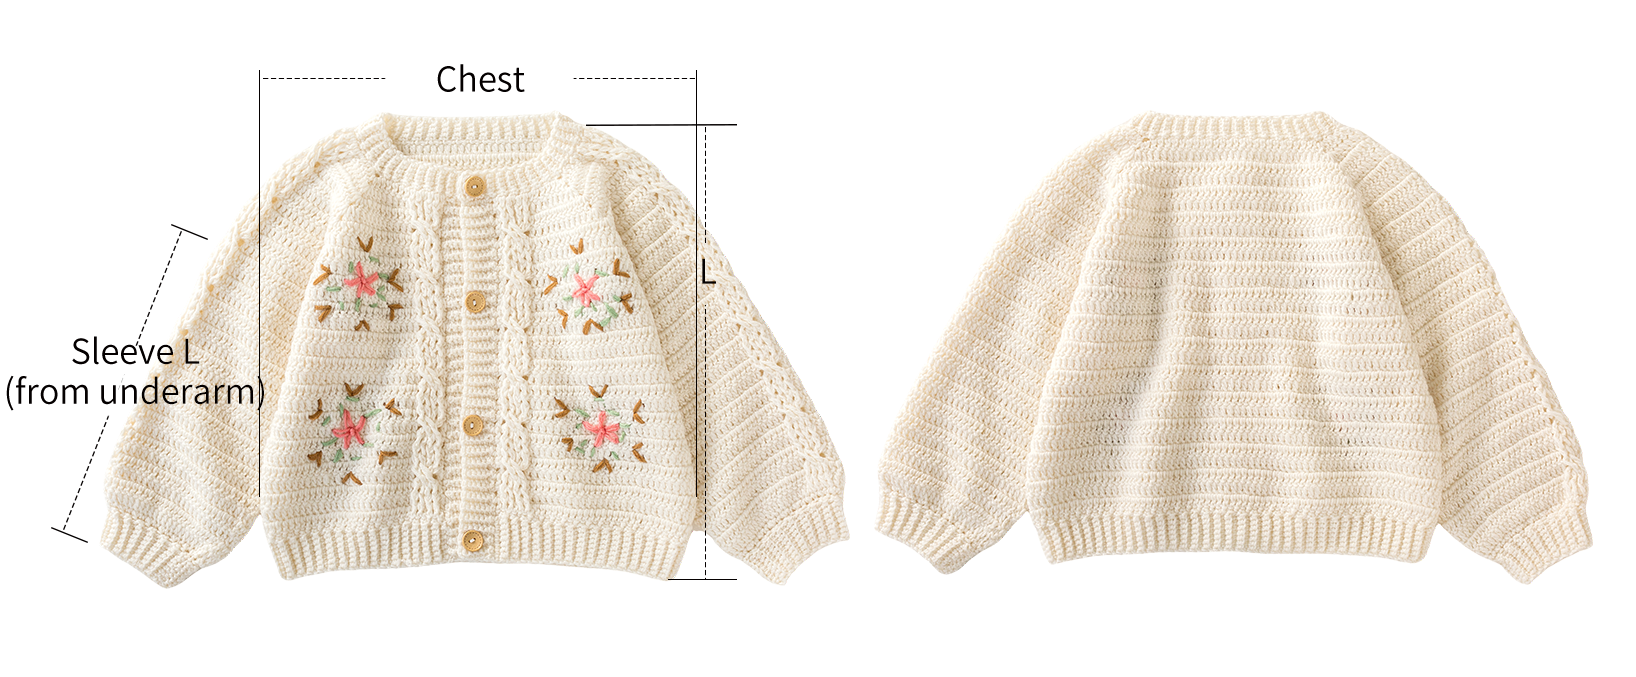
Note: Hand-measured, with an error margin of 1-2 cm.
Due to variations in individual tension, the size of the sample is for reference only.
Materials: Susan`s Family Morandi 6#
Hook: 3.50 mm crochet hook
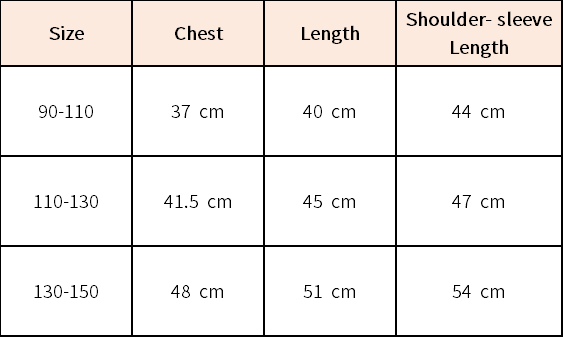
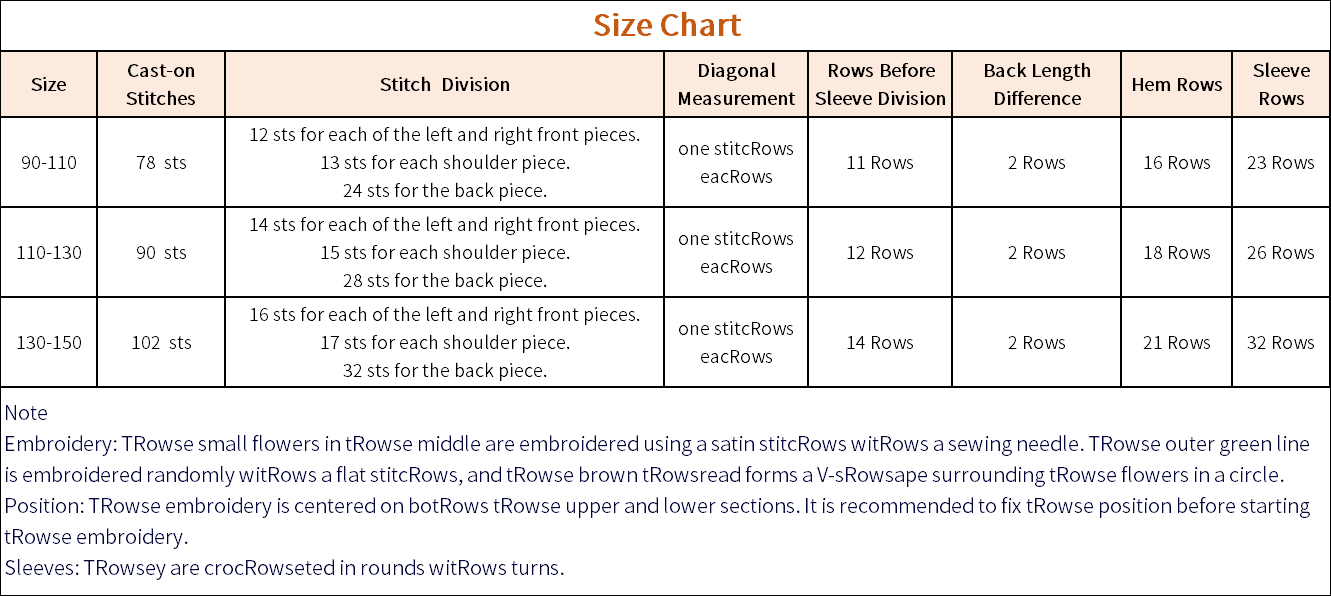
Note: The illustration is displayed using the small size as an example. For data on other sizes, please refer to the corresponding size chart.
Chart Key



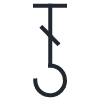
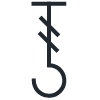
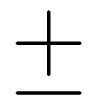
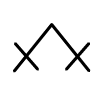


Note: This pattern is making in Chinese crochet pattern terms, and the stitch name is written using American terminology. All measurements in charts are in cm.
Part 1 Yoke
Use chain stitch to cast on and crochet back and forth.
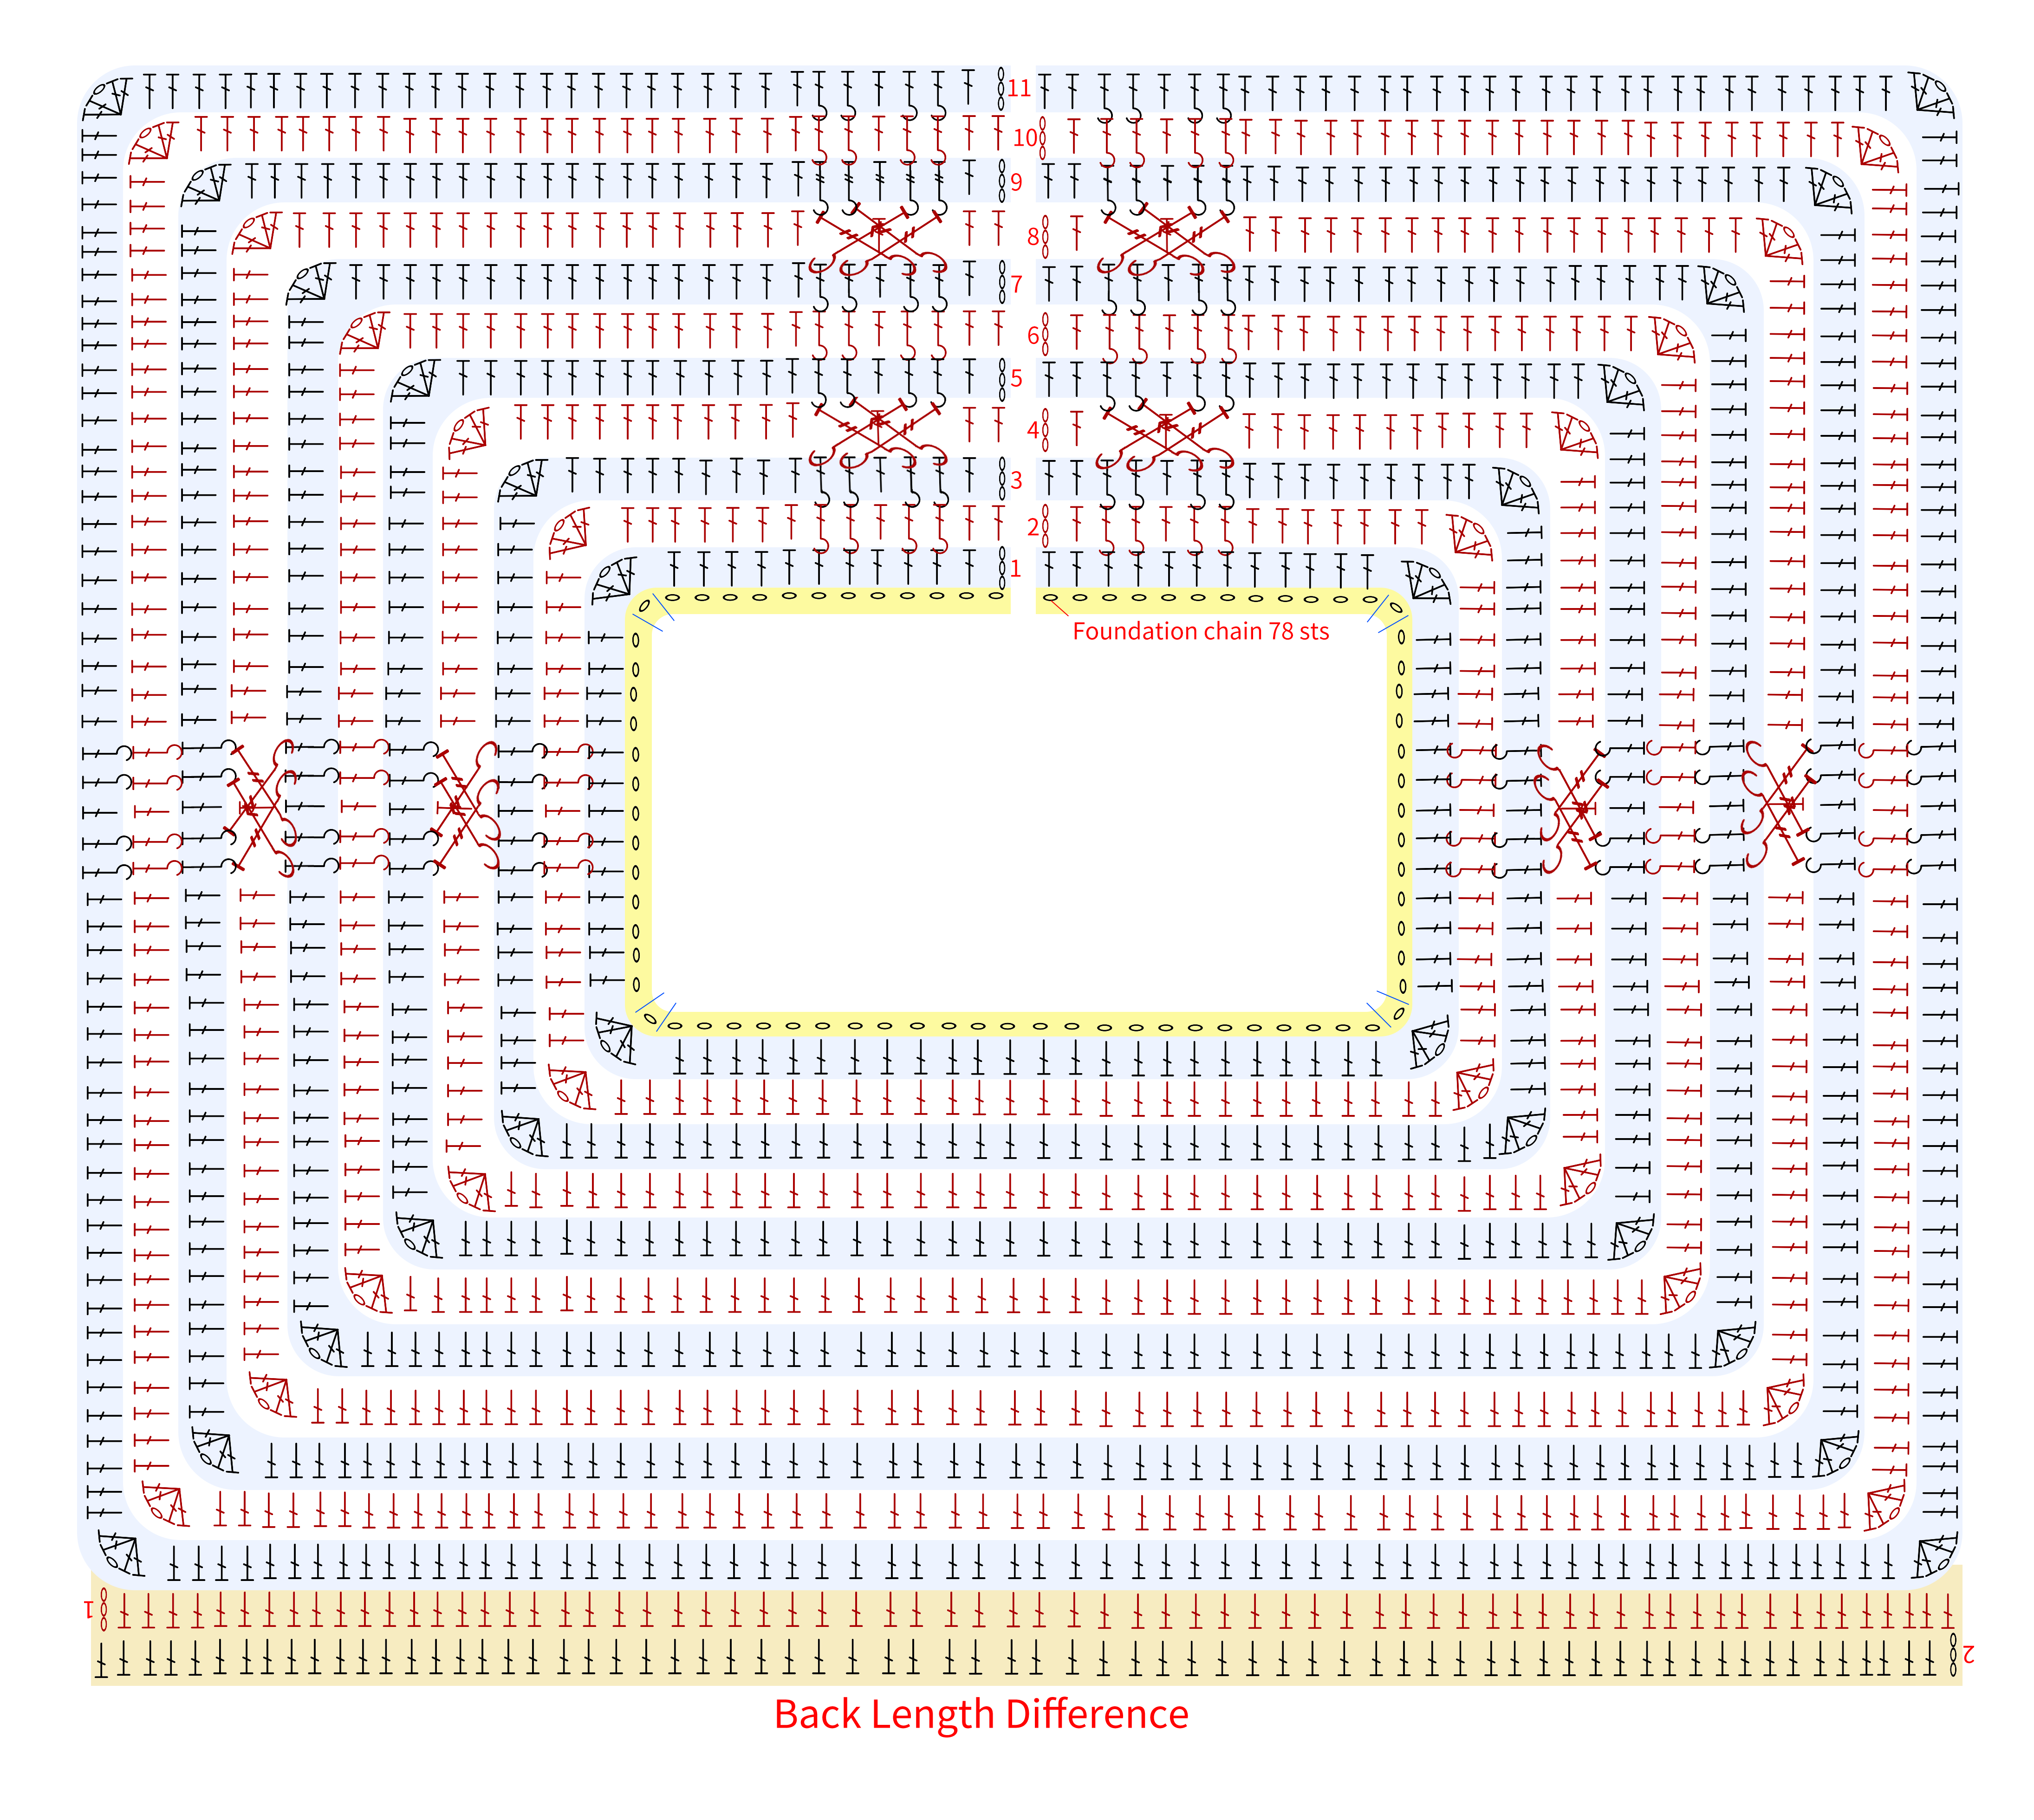
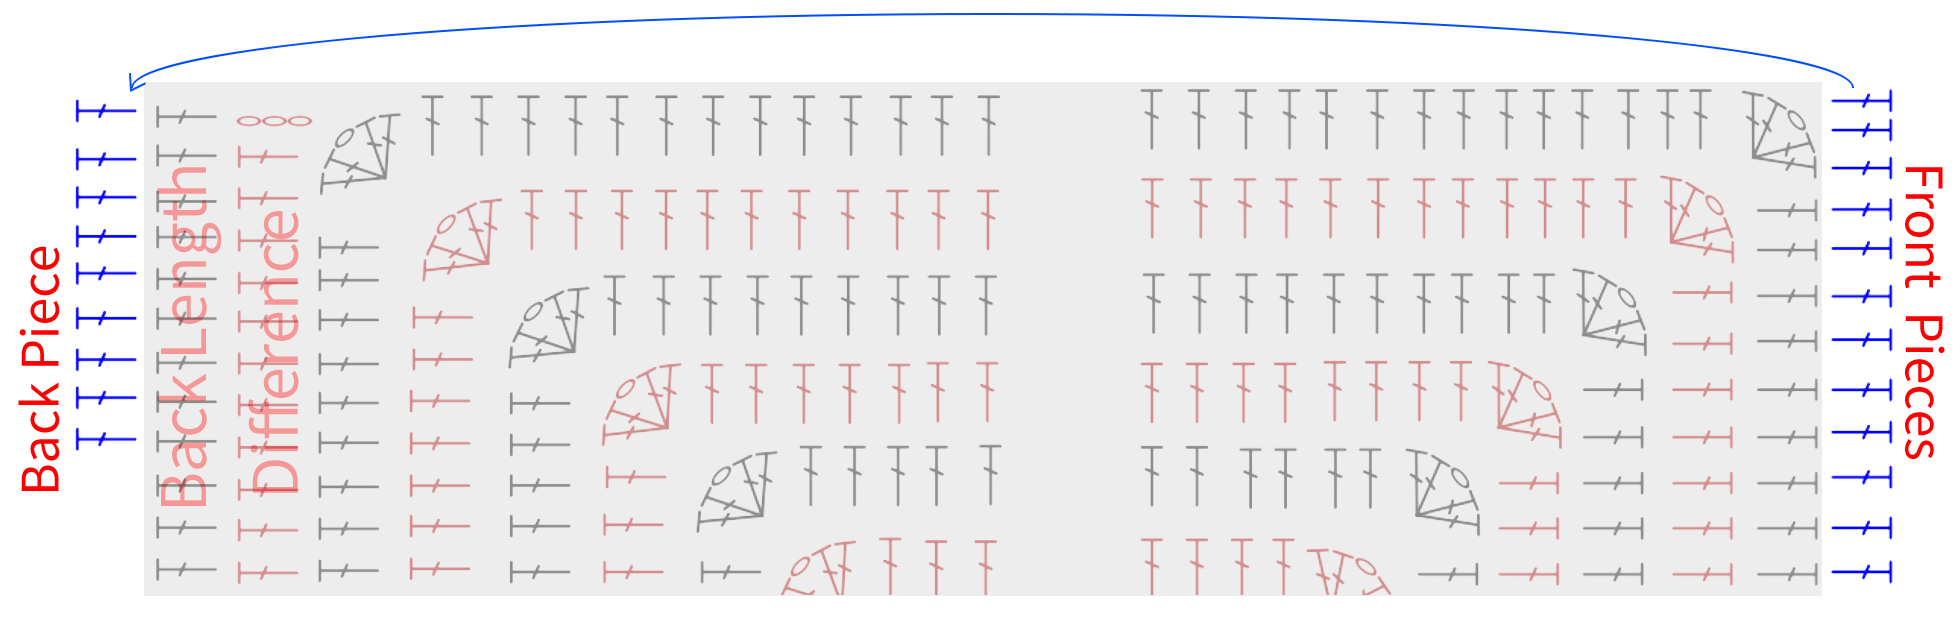
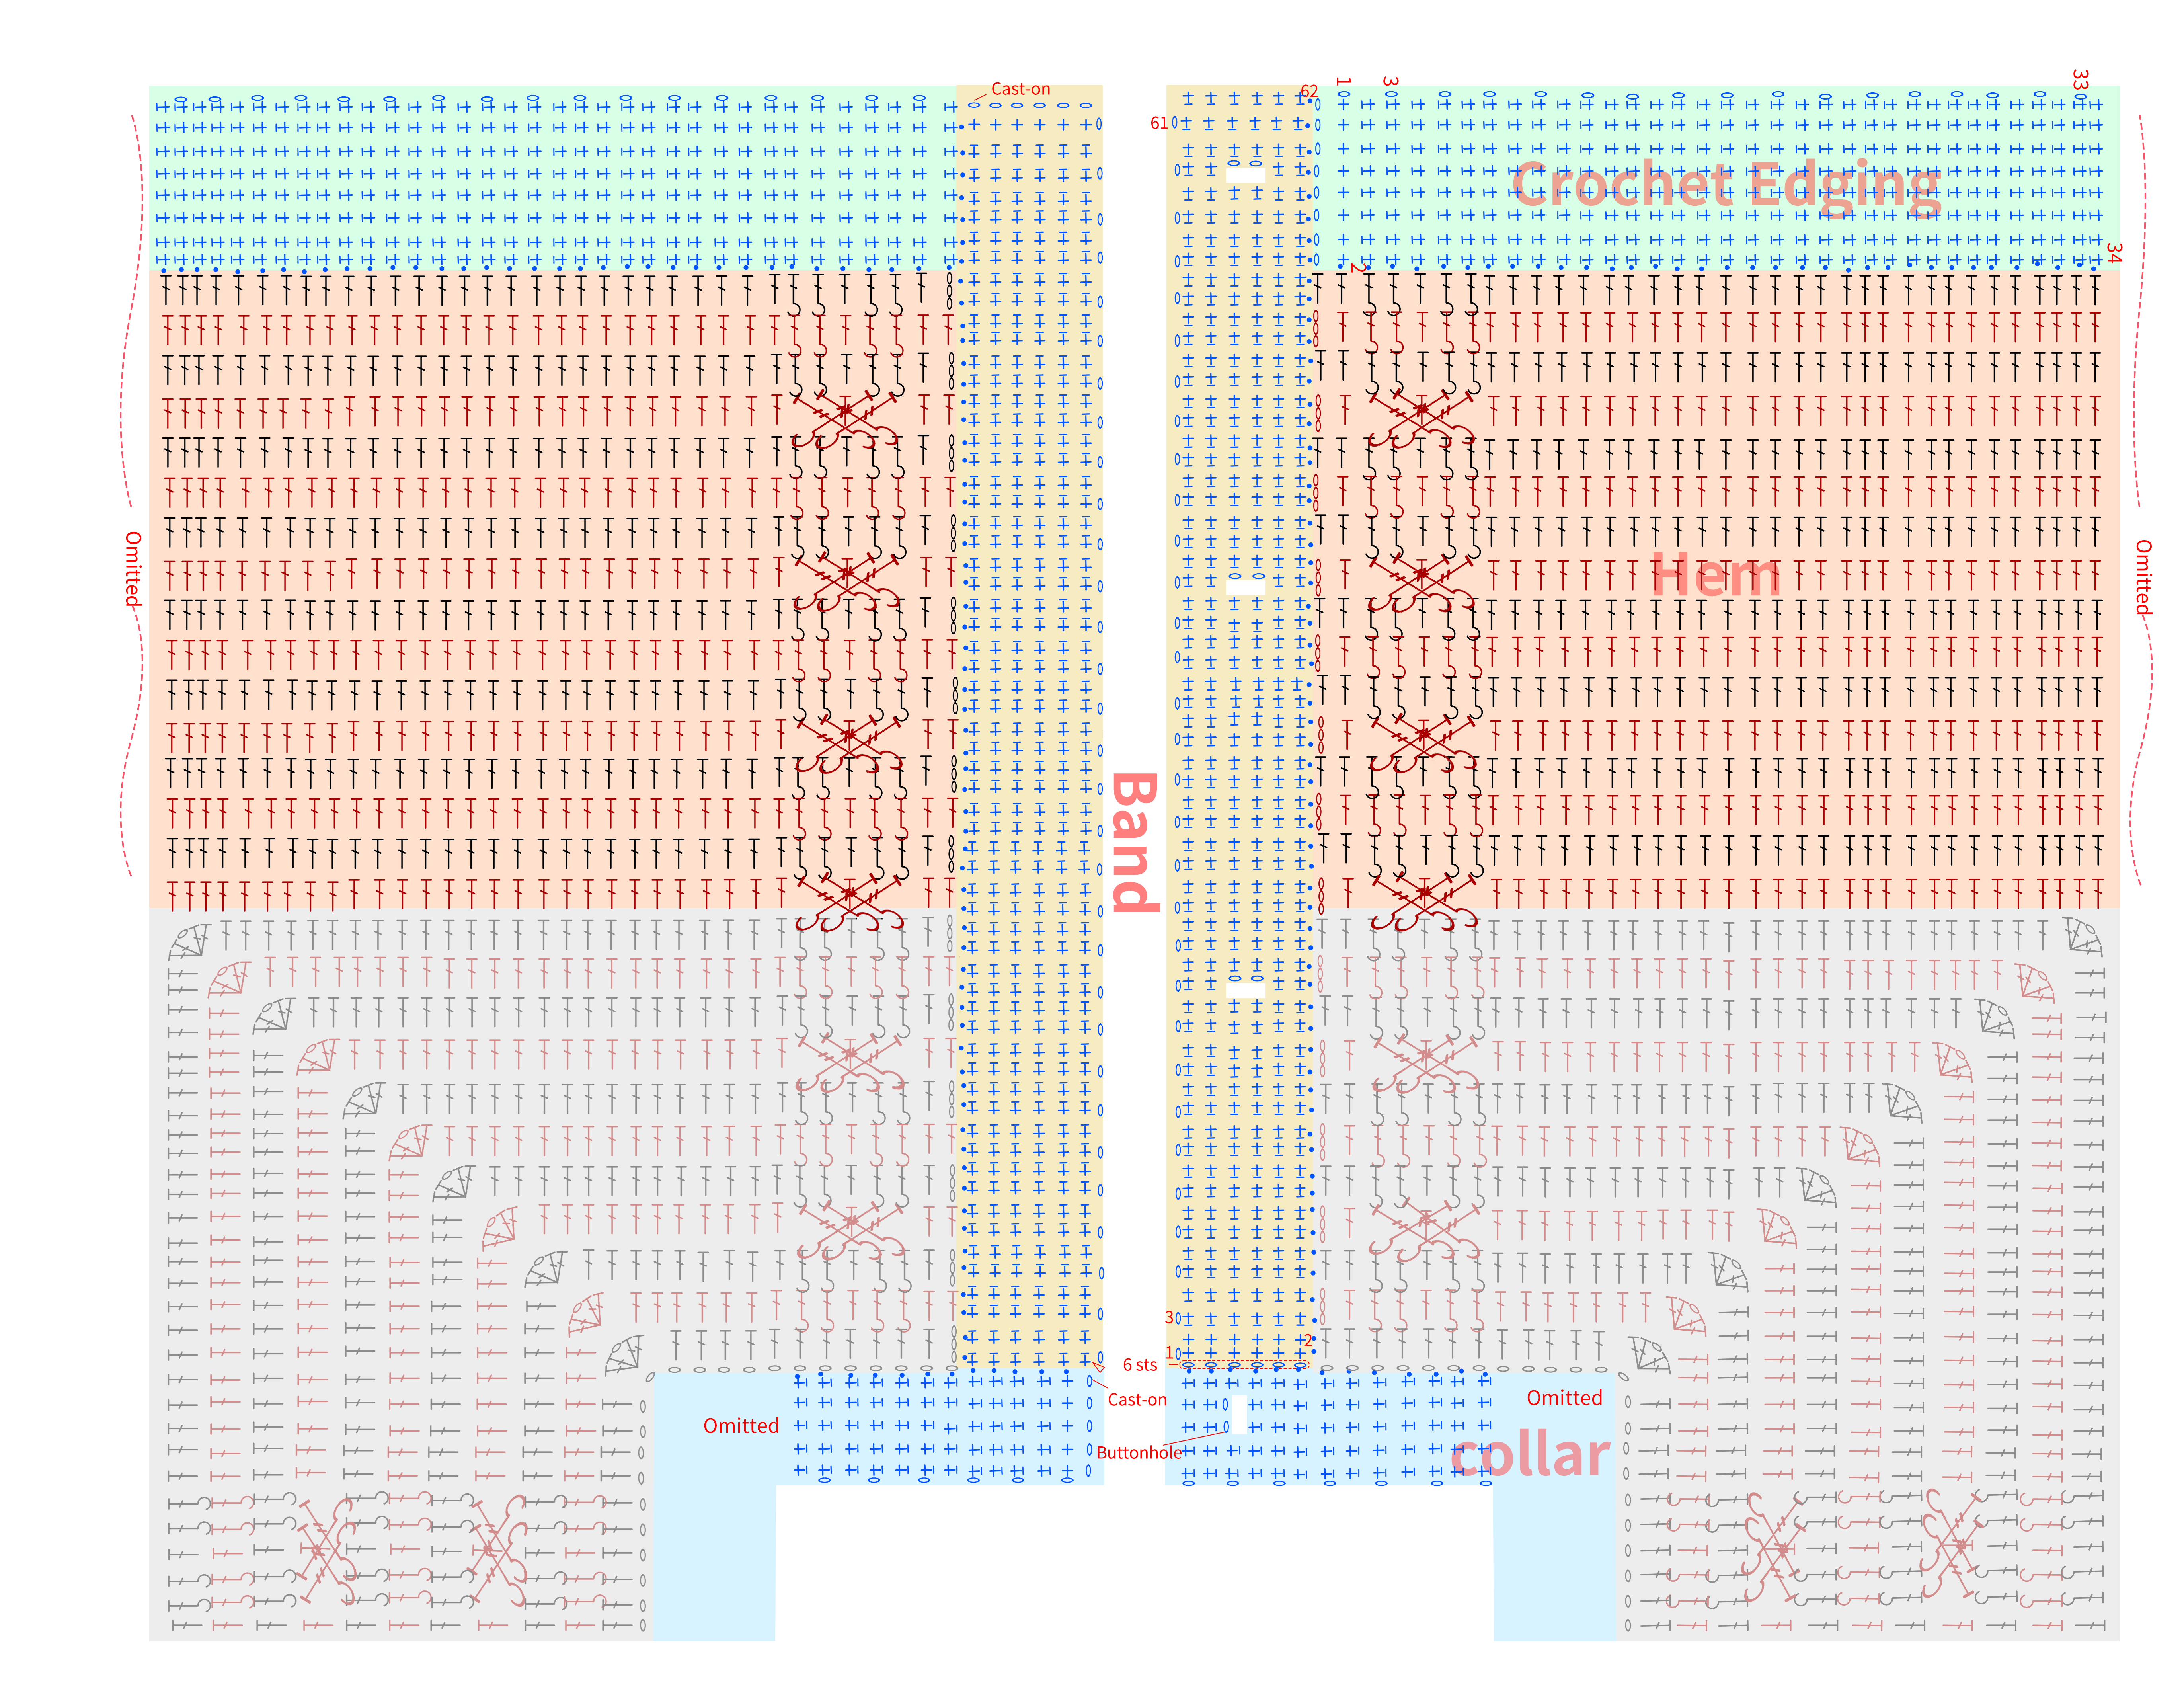
Part 2 Hem , Crochet Edging, Band, Collar
After completing the back length difference with crochet and cutting the yarn, reattach the yarn at the front piece position and continue crocheting back and forth. Leave out the sleeve opening in the middle and directly start crocheting from the back length difference point. The crocheting method for the other parts remains the same.
Part 3 Sleeve x 2
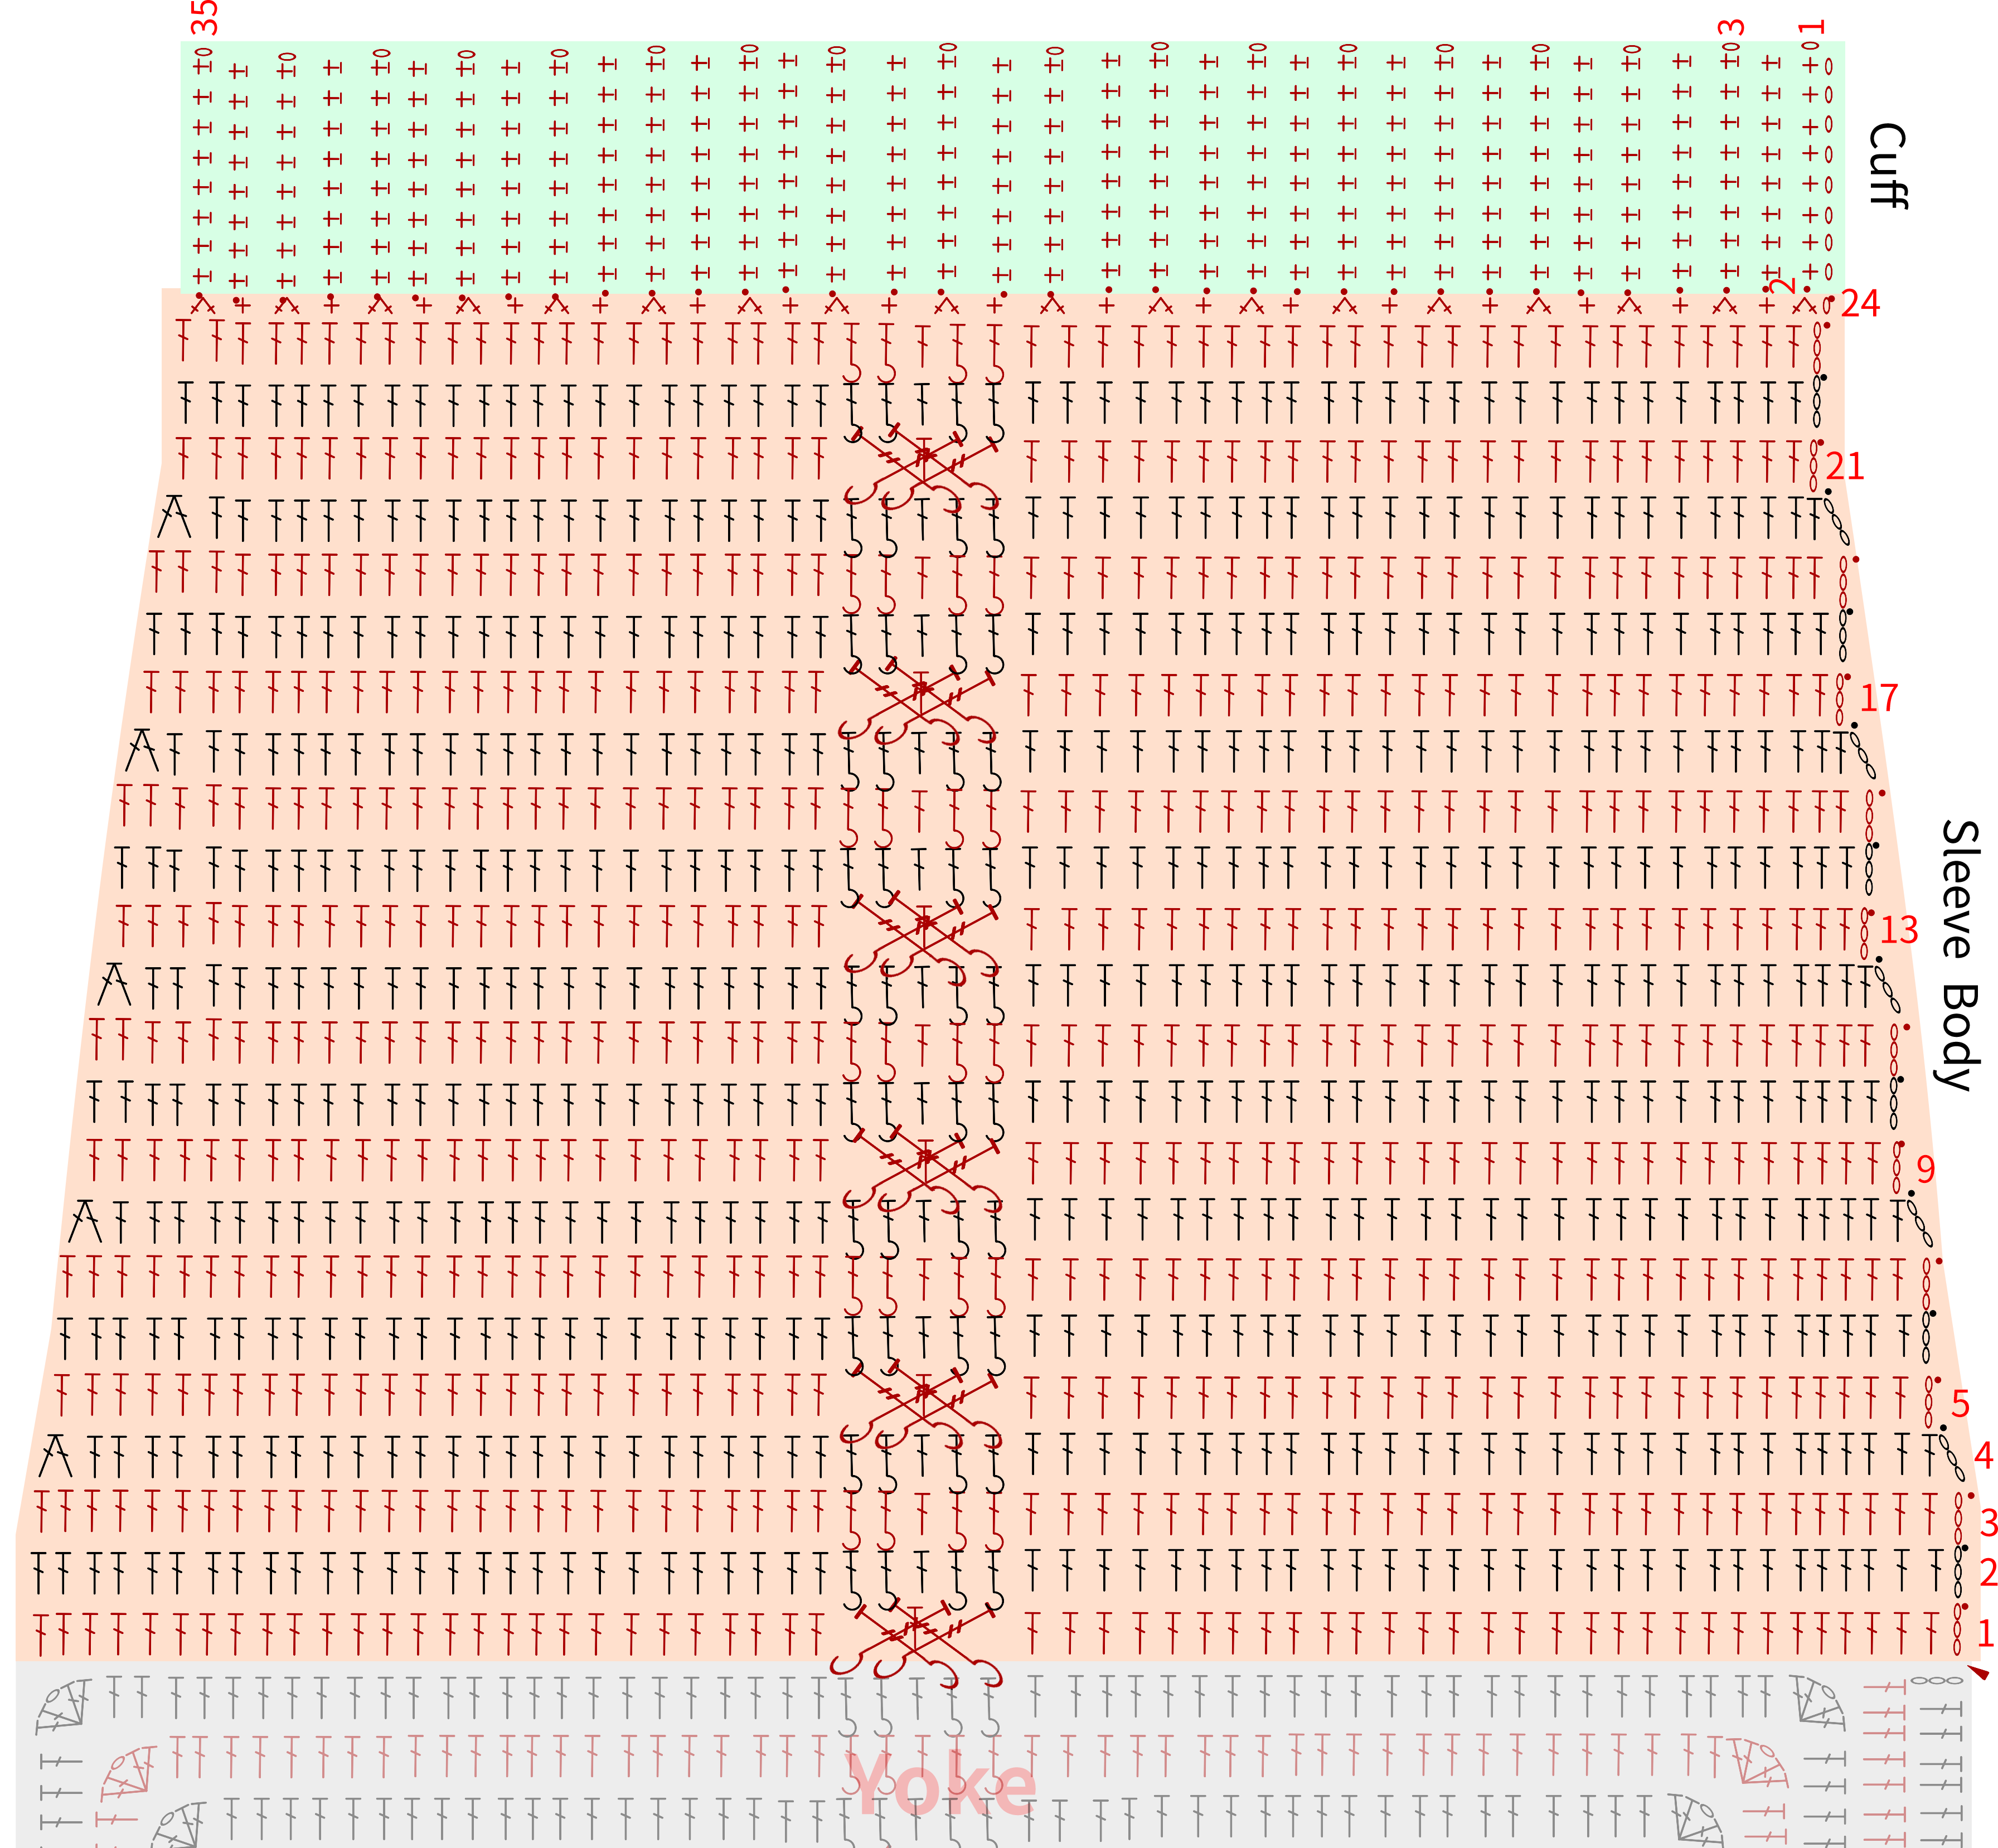
The sleeve body is crocheted in rounds back and forth, starting directly from the back length difference position. If there are gaps at the underarm, you can use the same color thread to sew a few stitches to close them up.
Part 4 Embroidery
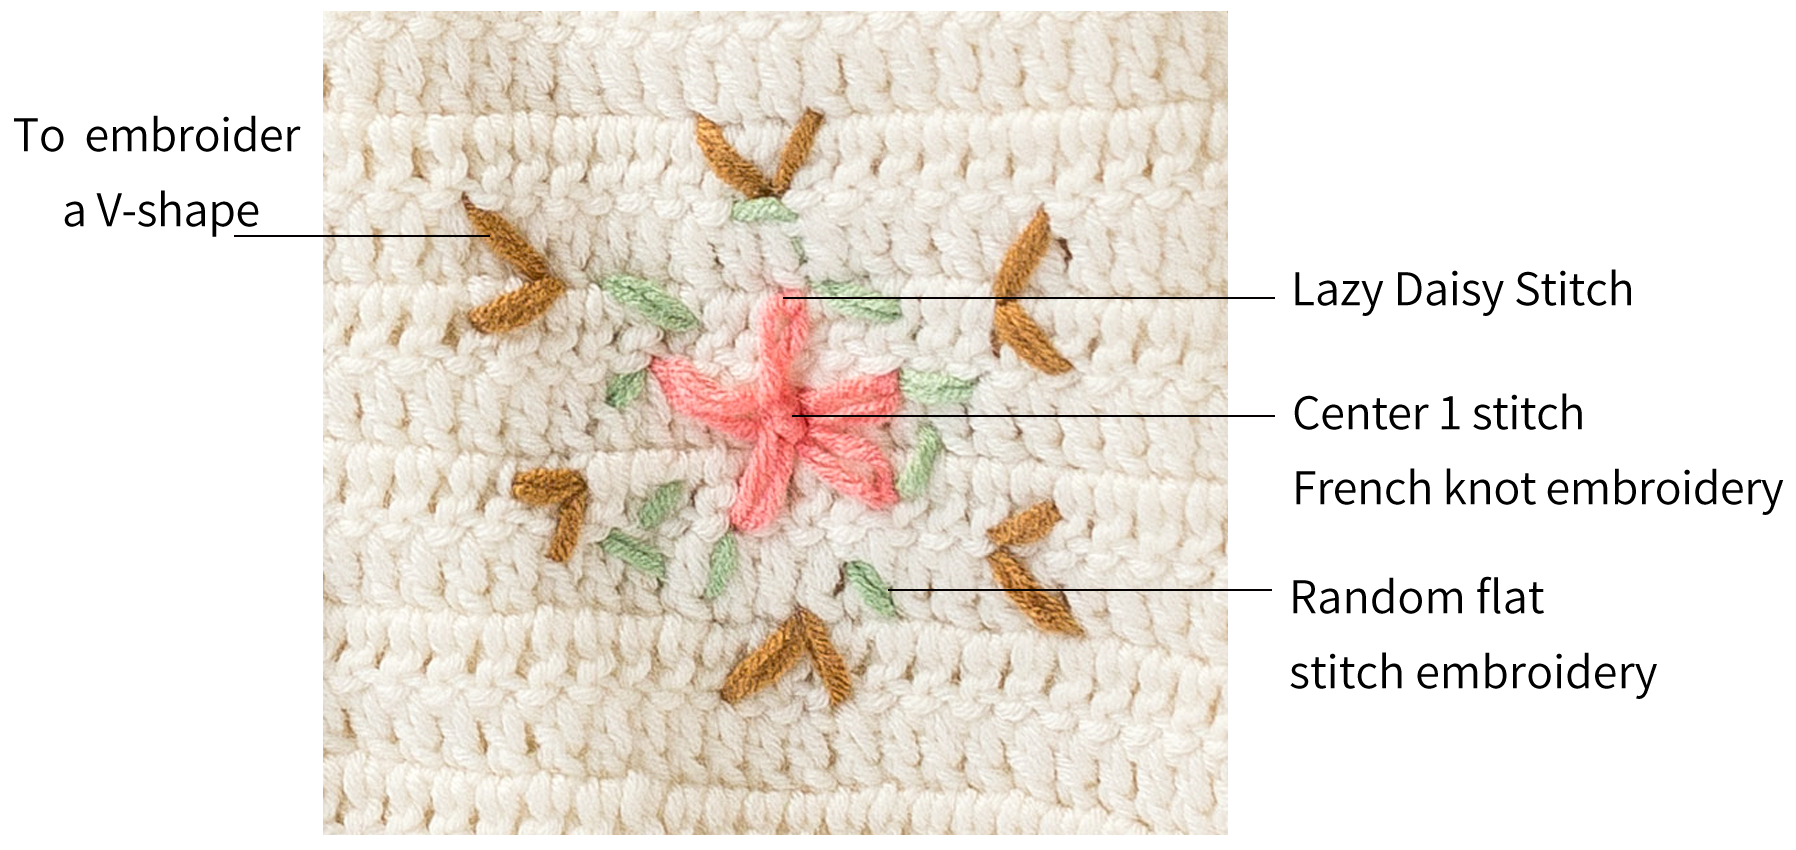
The embroidery uses single strand only for the daisy inside, while the outer edge in green and brown is sewn with two strands.
Embroidery Instructions:
The small flowers in the center are embroidered using Lazy Daisy Stitch with a sewing needle.
The outer green line section is embroidered with a random flat stitch.
The brown thread is used to embroider a V-shape around the outer circle.
Placement:
The embroidery should be centered on both the upper and lower sections.
It is recommended to fix the position first before starting the embroidery.
Made by the community