Accessories / Shawl
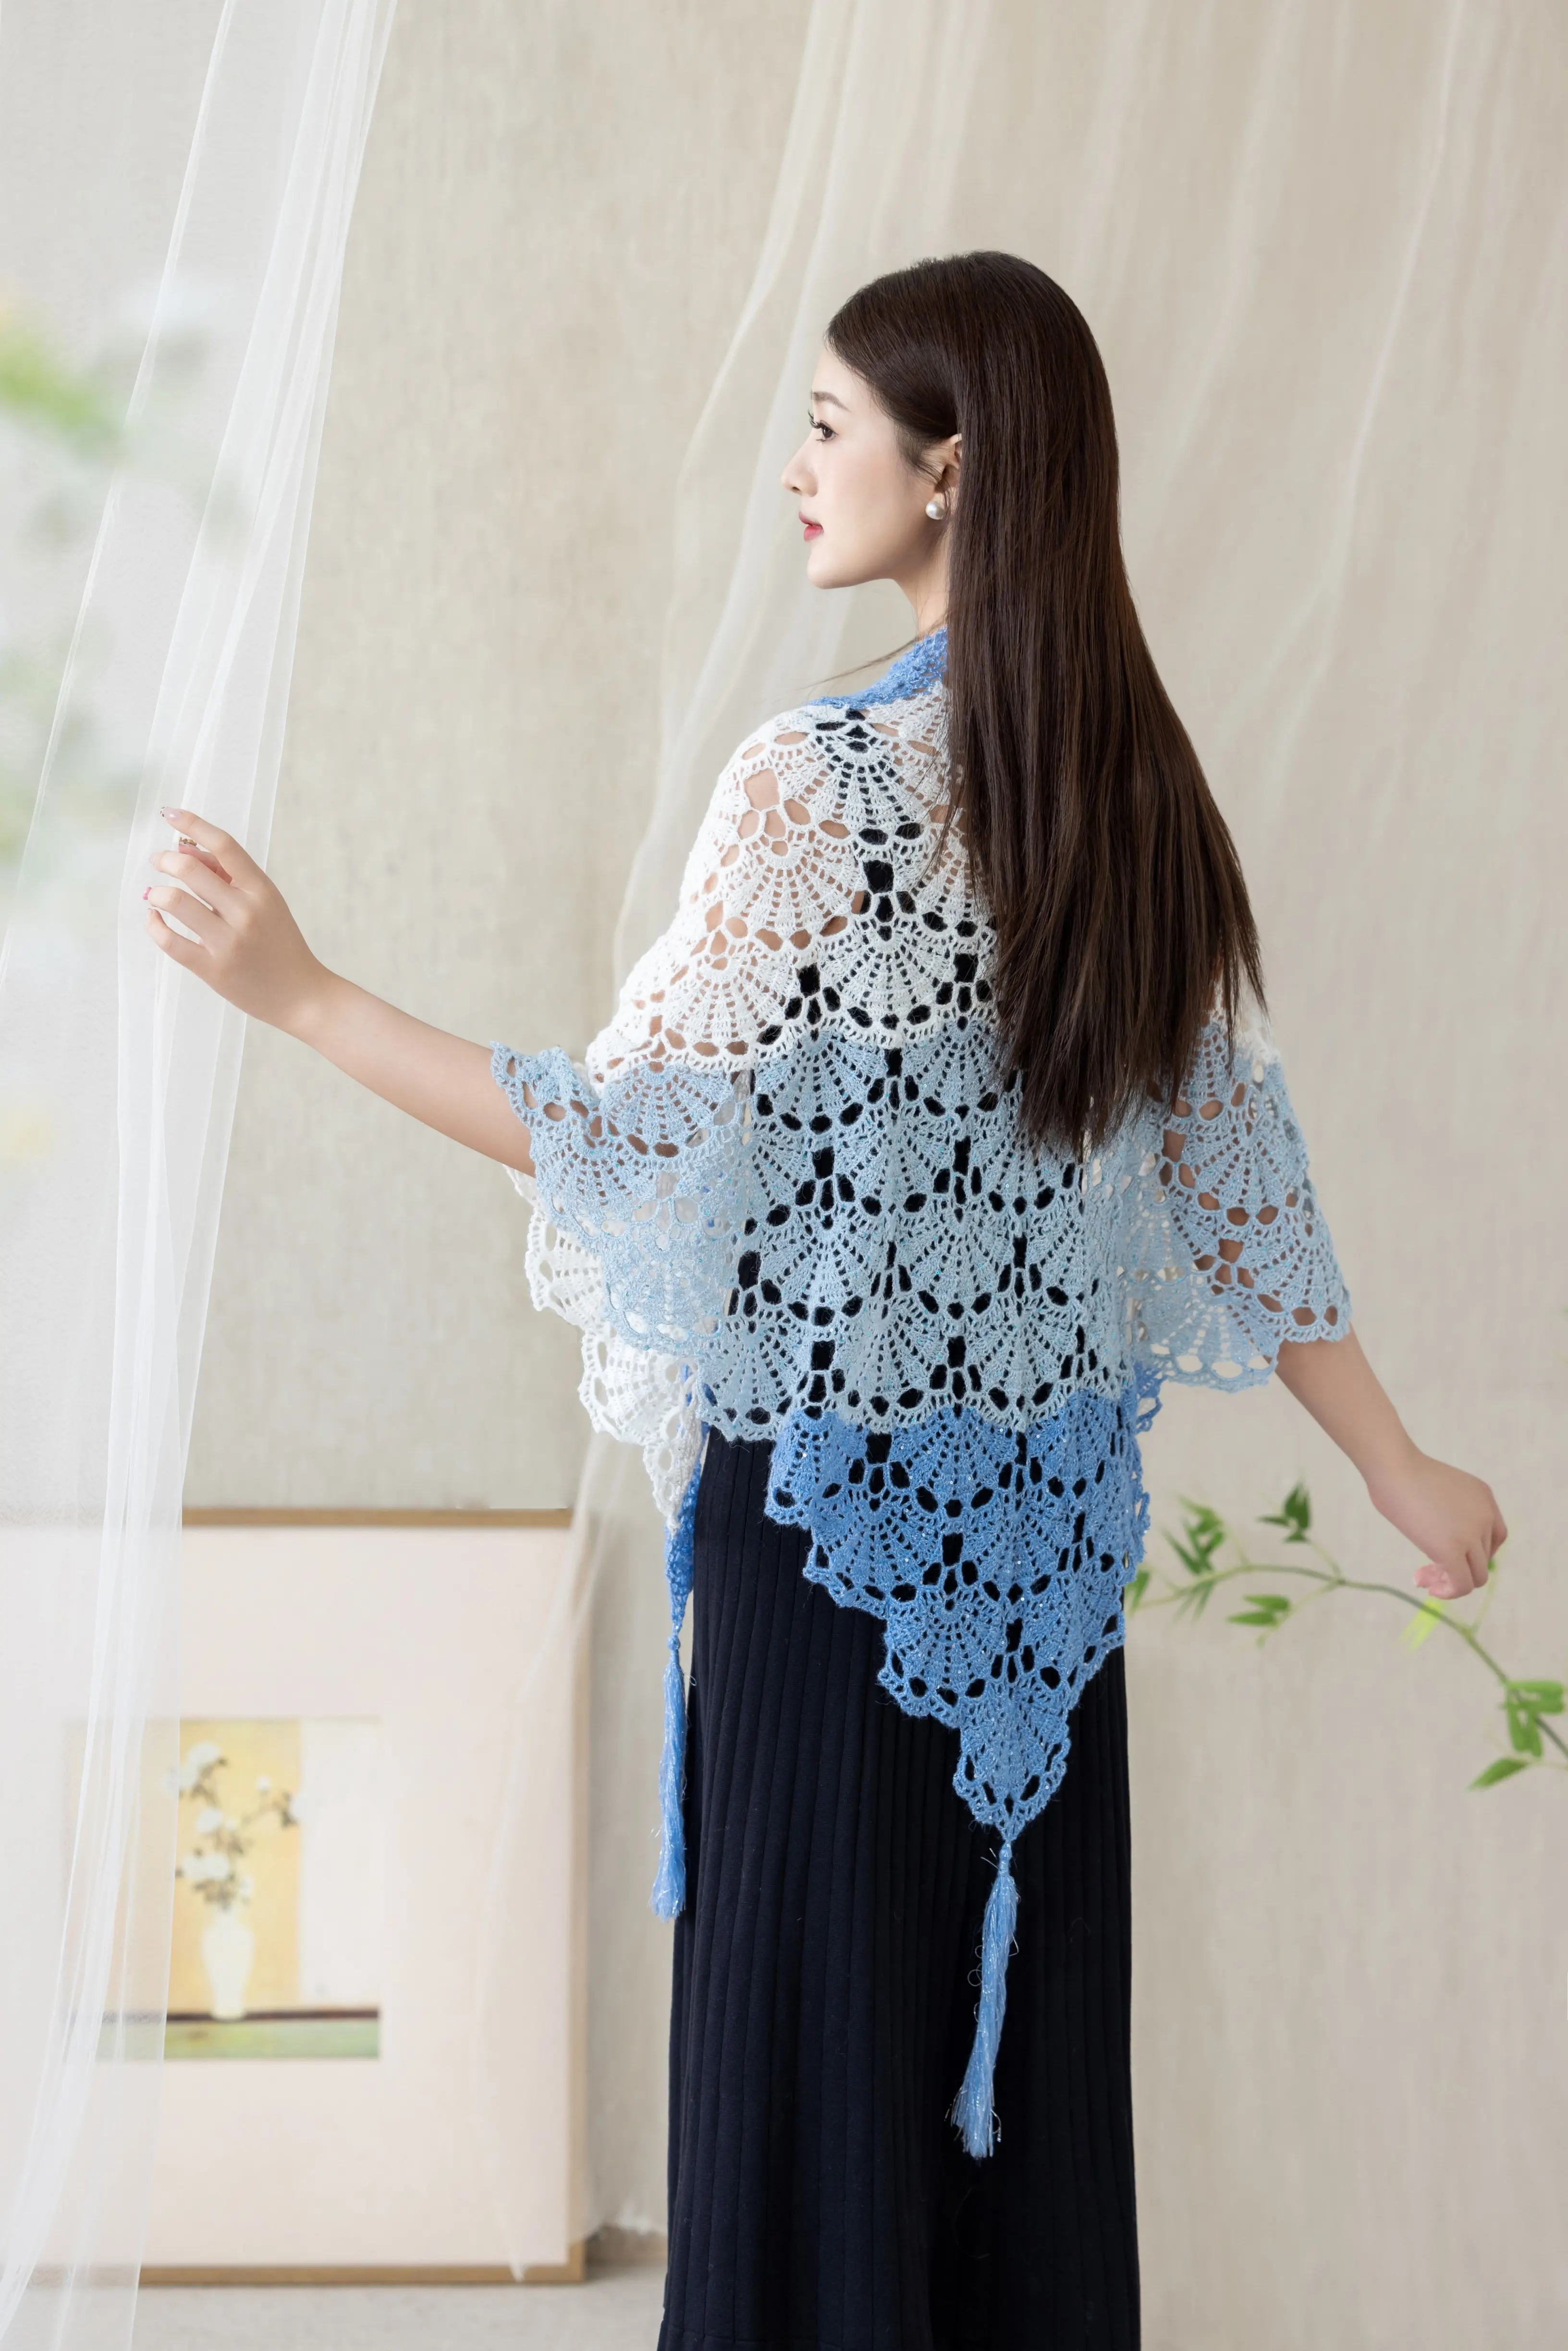
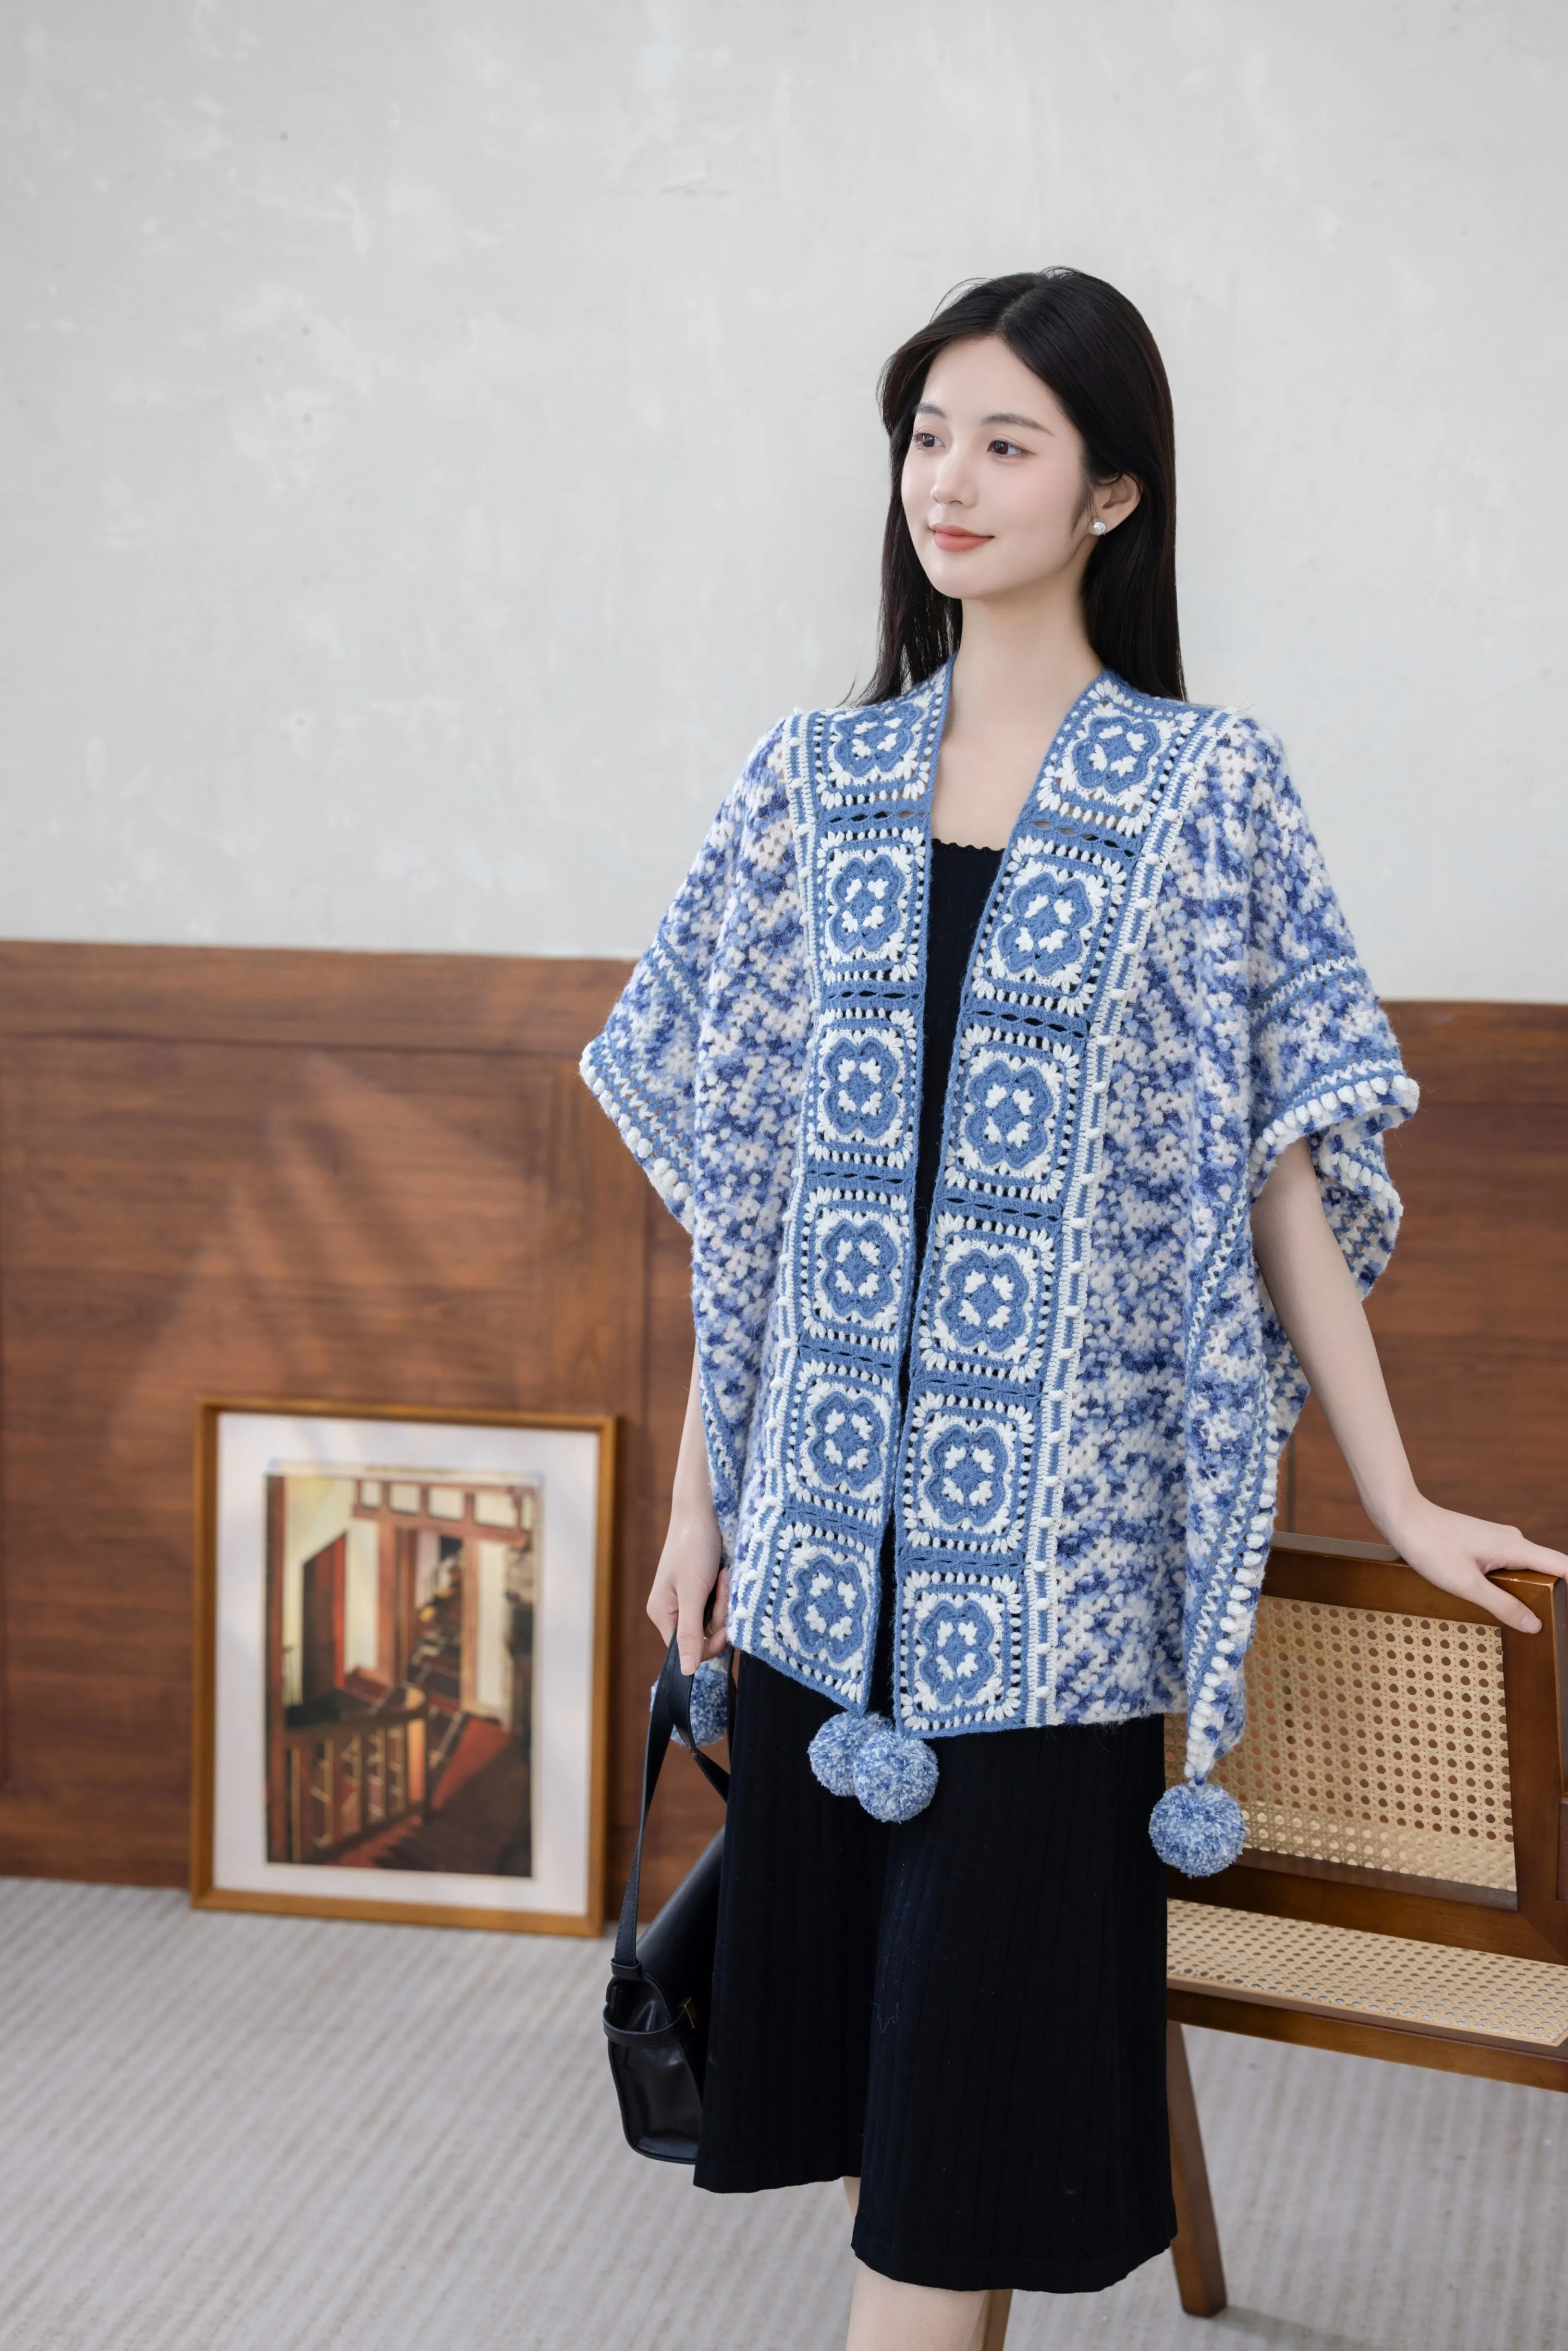
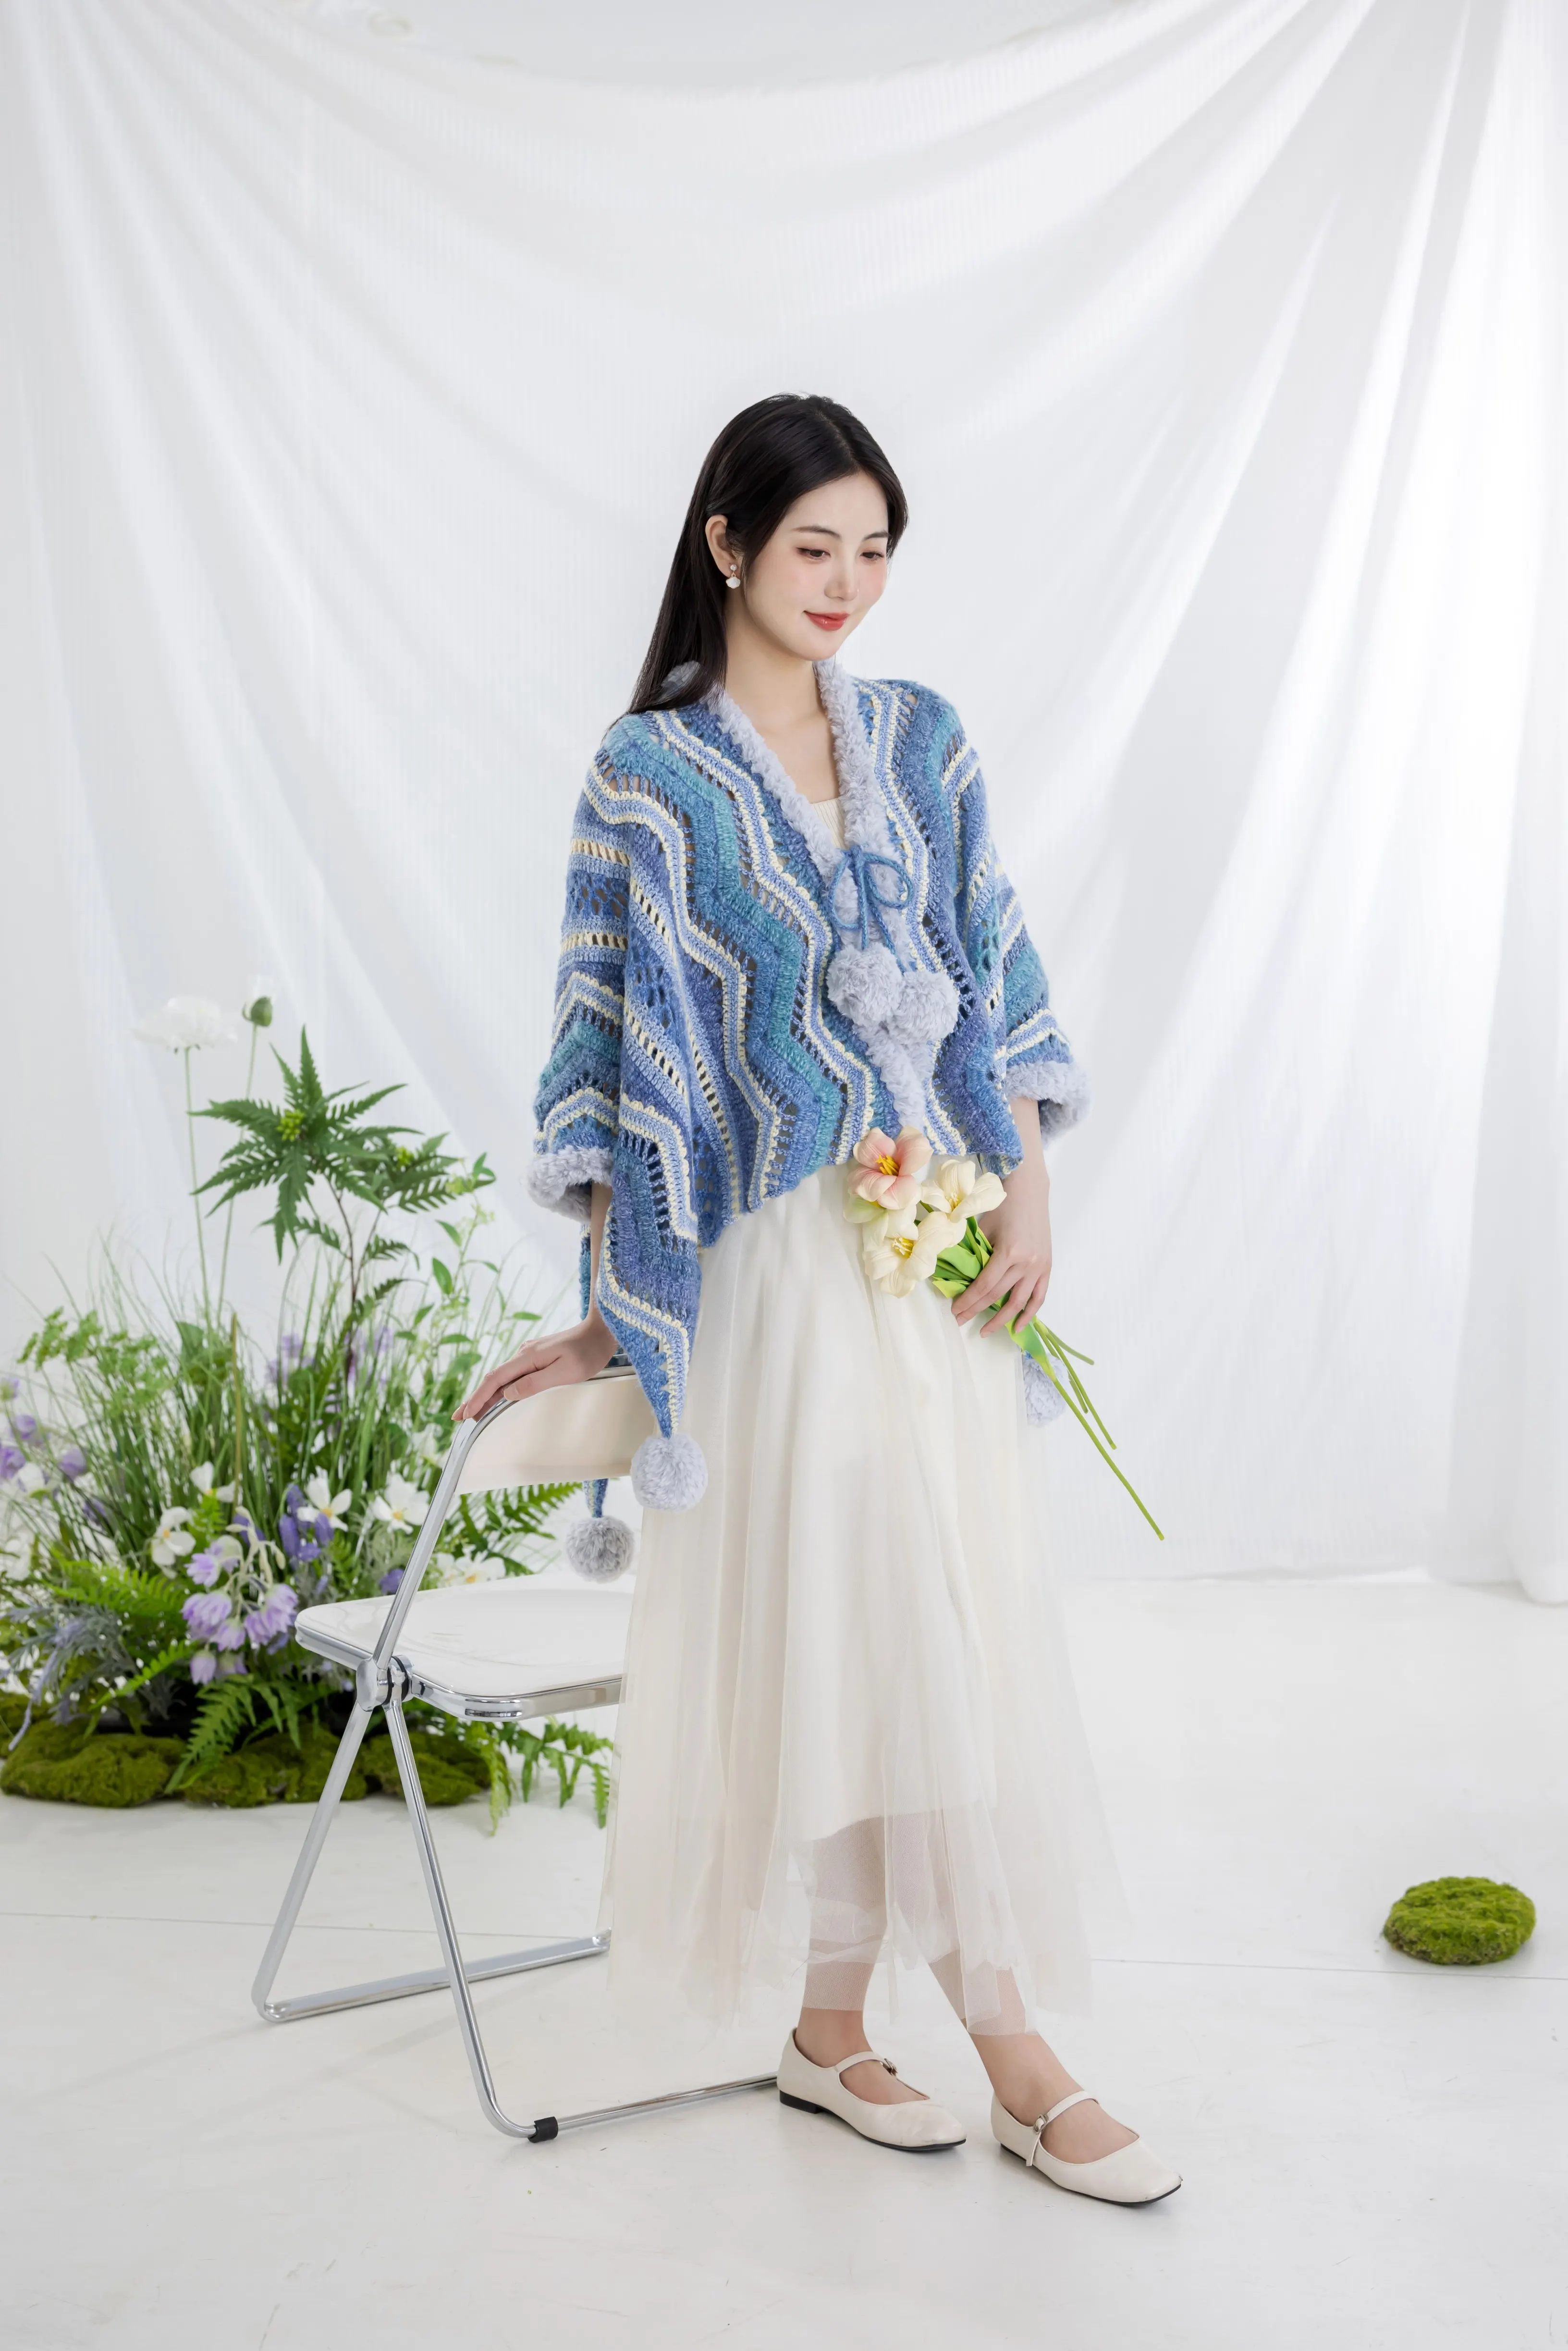
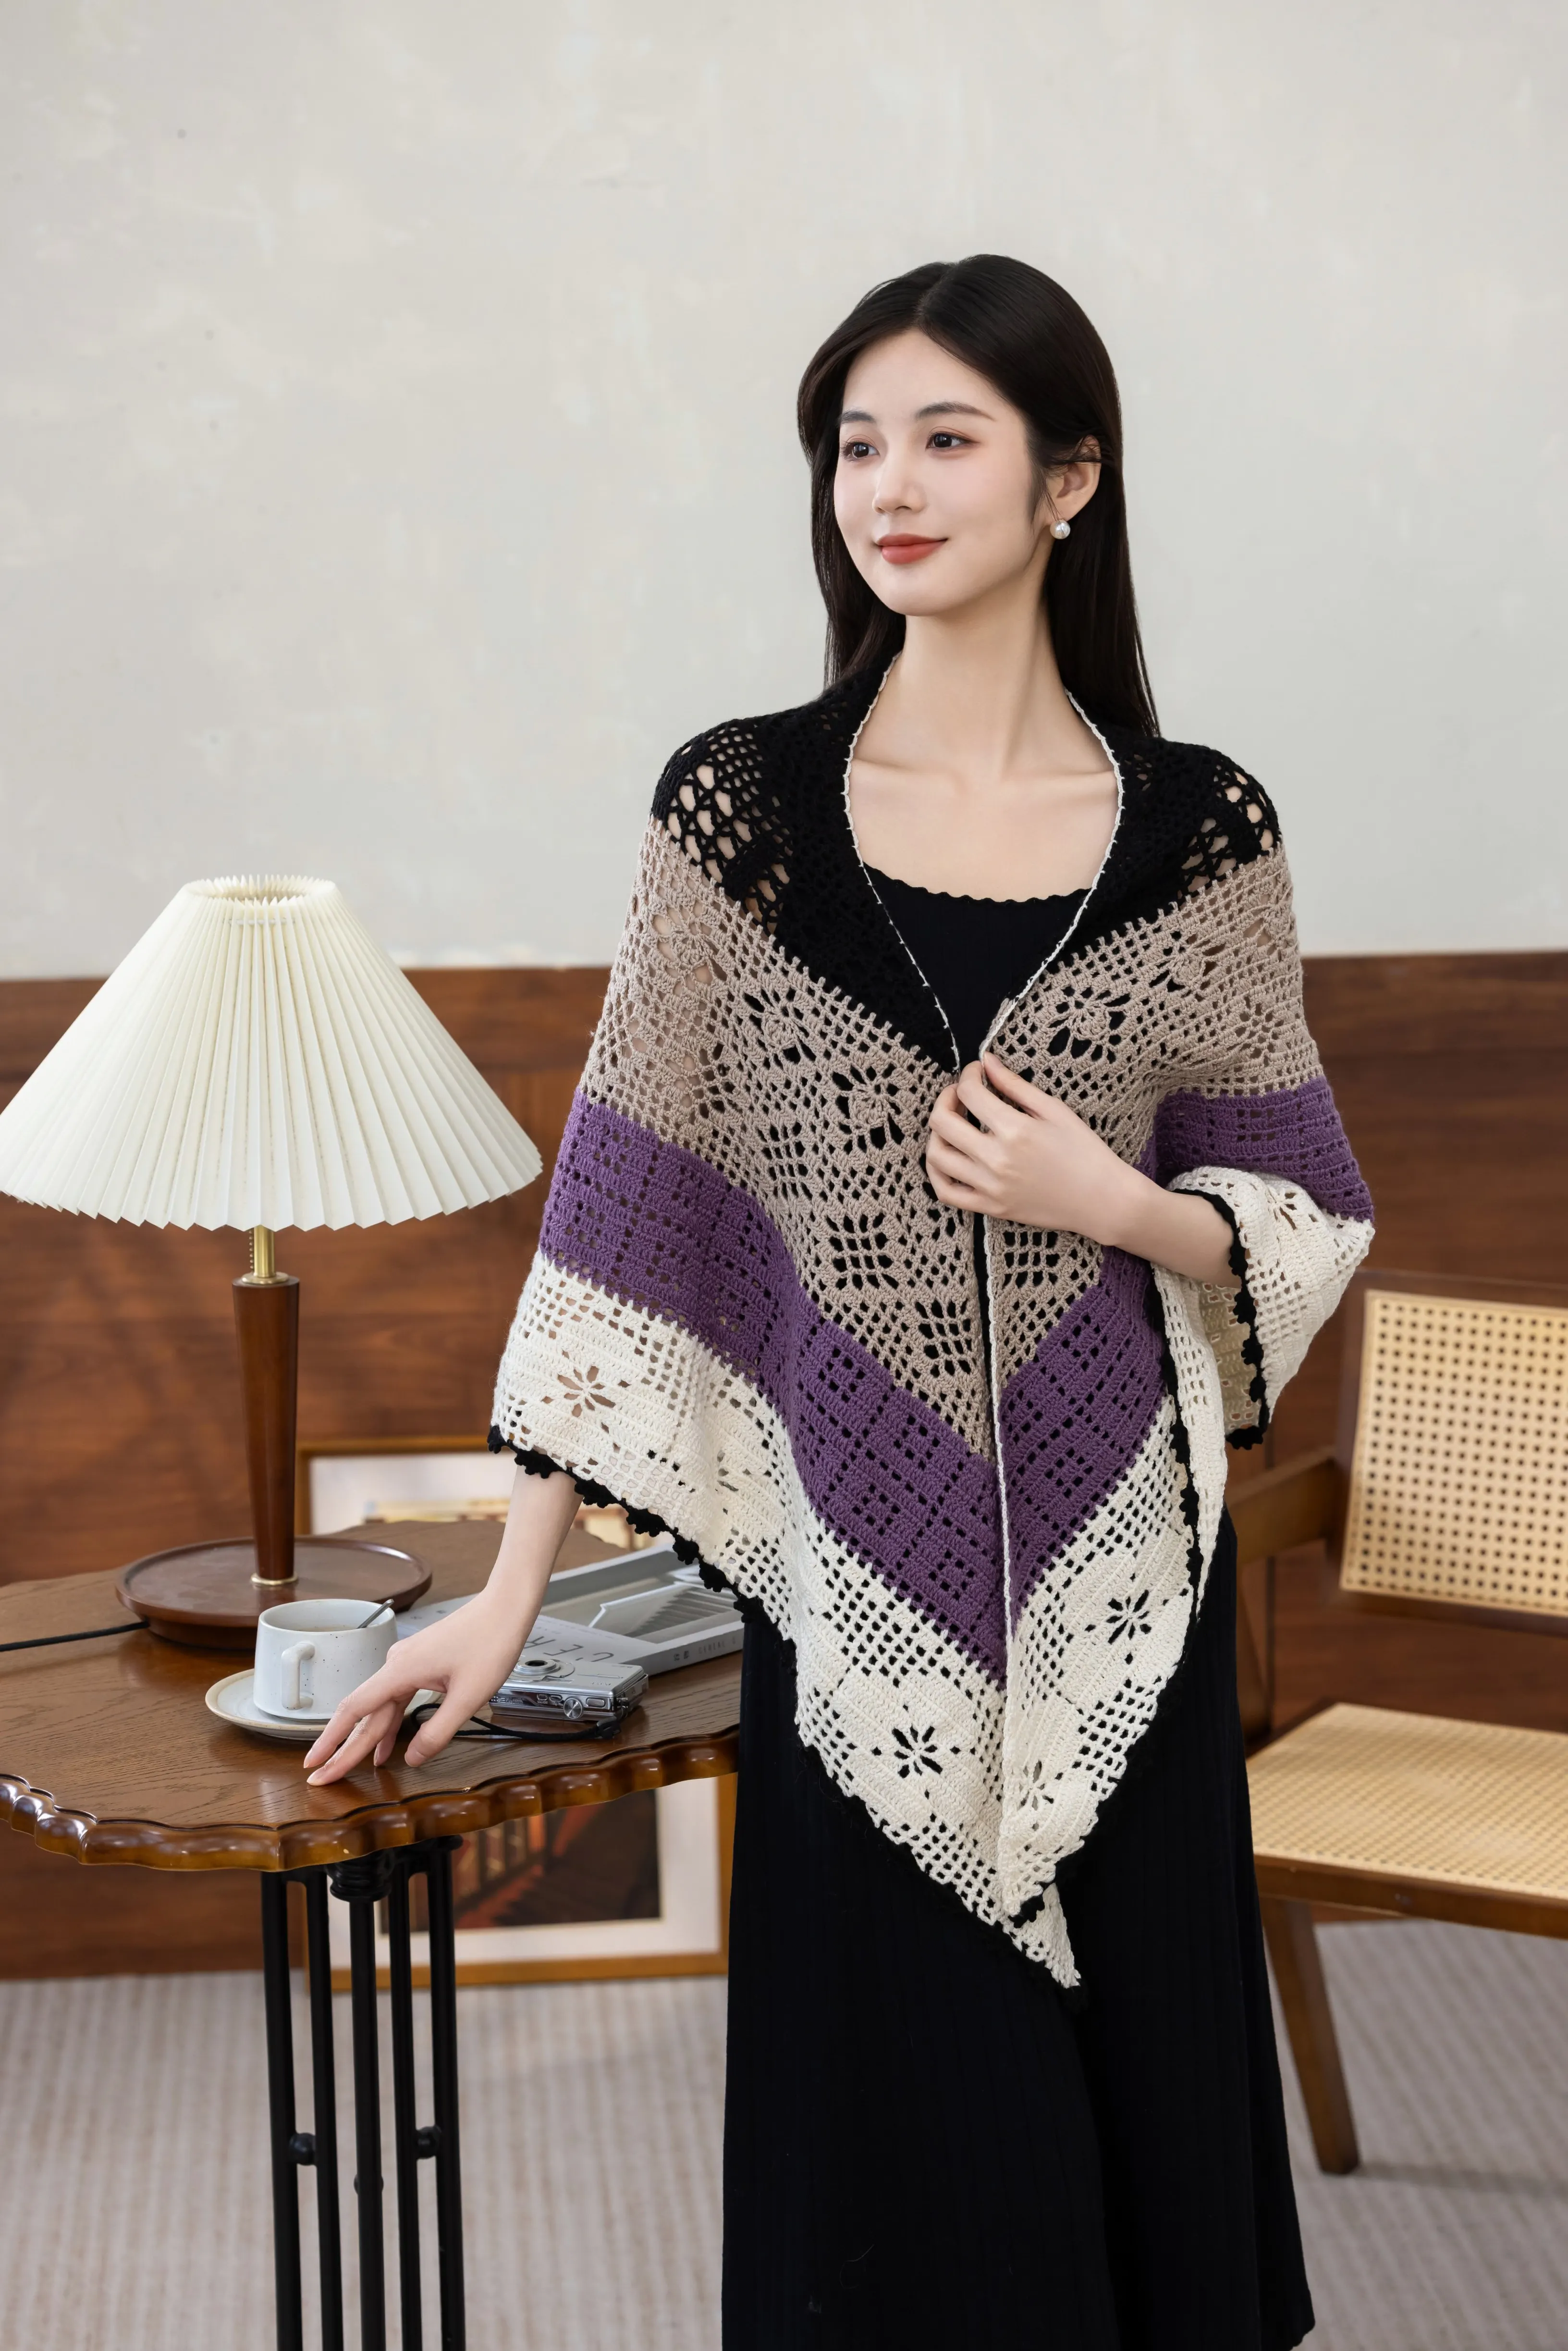
Morning Leaf
Project preview
See the finished project
Pattern format
Instructions
Watch and follow
Video tutorial
| Style | Yarn | Color |
|---|---|---|
| Whisper White - Morandi Cashmere Version | Morandi Cashmere 3# |  02#Whisper White x 2 02#Whisper White x 2 |
| Morandi Cloudsoft |  01#Whisper White x 2 01#Whisper White x 2 | |
| Peach Pink - Morandi Cashmere Version | Morandi Cashmere 3# |  21#Peach Pink x 2 21#Peach Pink x 2 |
| Morandi Cloudsoft | 01#Whisper White x 2 | |
| Clearly Aqua - Morandi Cashmere Version | Morandi Cashmere 3# |  24#Clearly Aqua x 2 24#Clearly Aqua x 2 |
| Morandi Cloudsoft |  02#Fair Aqua x 2 02#Fair Aqua x 2 | |
| Whisper White - 3-Ply Cashmere Version | 3-Ply 30% Cashmere Hand Knitting Yarn |  01#Whisper White x 2 01#Whisper White x 2 |
| Morandi Cloudsoft | 01#Whisper White x 2 | |
| Bleached Aqua - 3-Ply Cashmere Version | 3-Ply 30% Cashmere Hand Knitting Yarn |  09#Bleached Aqua x 2 09#Bleached Aqua x 2 |
| Morandi Cloudsoft | 01#Whisper White x 2 | |
| Sky Blue - 3-Ply Cashmere Version | 3-Ply 30% Cashmere Hand Knitting Yarn |  10#Sky Blue x 2 10#Sky Blue x 2 |
| Morandi Cloudsoft |  04#Winter Sky x 2 04#Winter Sky x 2 |
Whisper White - Morandi Cashmere Version
02#Whisper White x 201#Whisper White x 2Peach Pink - Morandi Cashmere Version
21#Peach Pink x 201#Whisper White x 2Clearly Aqua - Morandi Cashmere Version
24#Clearly Aqua x 202#Fair Aqua x 2Whisper White - 3-Ply Cashmere Version
01#Whisper White x 201#Whisper White x 2Bleached Aqua - 3-Ply Cashmere Version
09#Bleached Aqua x 201#Whisper White x 2Sky Blue - 3-Ply Cashmere Version
10#Sky Blue x 204#Winter Sky x 2This shawl is worked with one strand of cashmere held together with one strand of soft cloud yarn, divided into five sections: cast on, increasing section, even section, decreasing section, and bind off.

Note: Hand-measured, with a possible error of 1-2 cm. Due to differences in individual tension, the sample size is for reference only.
Yarn : Morandi Cashmere 3# & Morandi Cloudsoft hold together,
or Cashmere Hand Knitting Yarn & Morandi Cloudsoft hold together
Tools: 4.0 mm straight needles & circular needles, 3.0 mm crochet hook.
Note: Work with two strands of yarn held together.

Chart Key
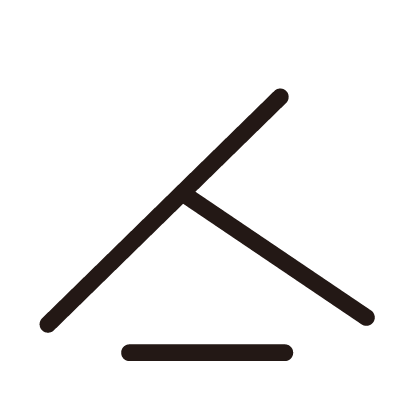






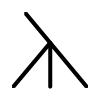

Note:
1. This pattern is making in Chinese crochet pattern terms, and the stitch name is written using American terminology. All measurements in charts are in cm.
2. The chart represent the right side of fabric, so check the key to see how to work a certain symbol on the right side and on the wrong side.

PART 1 Cast On
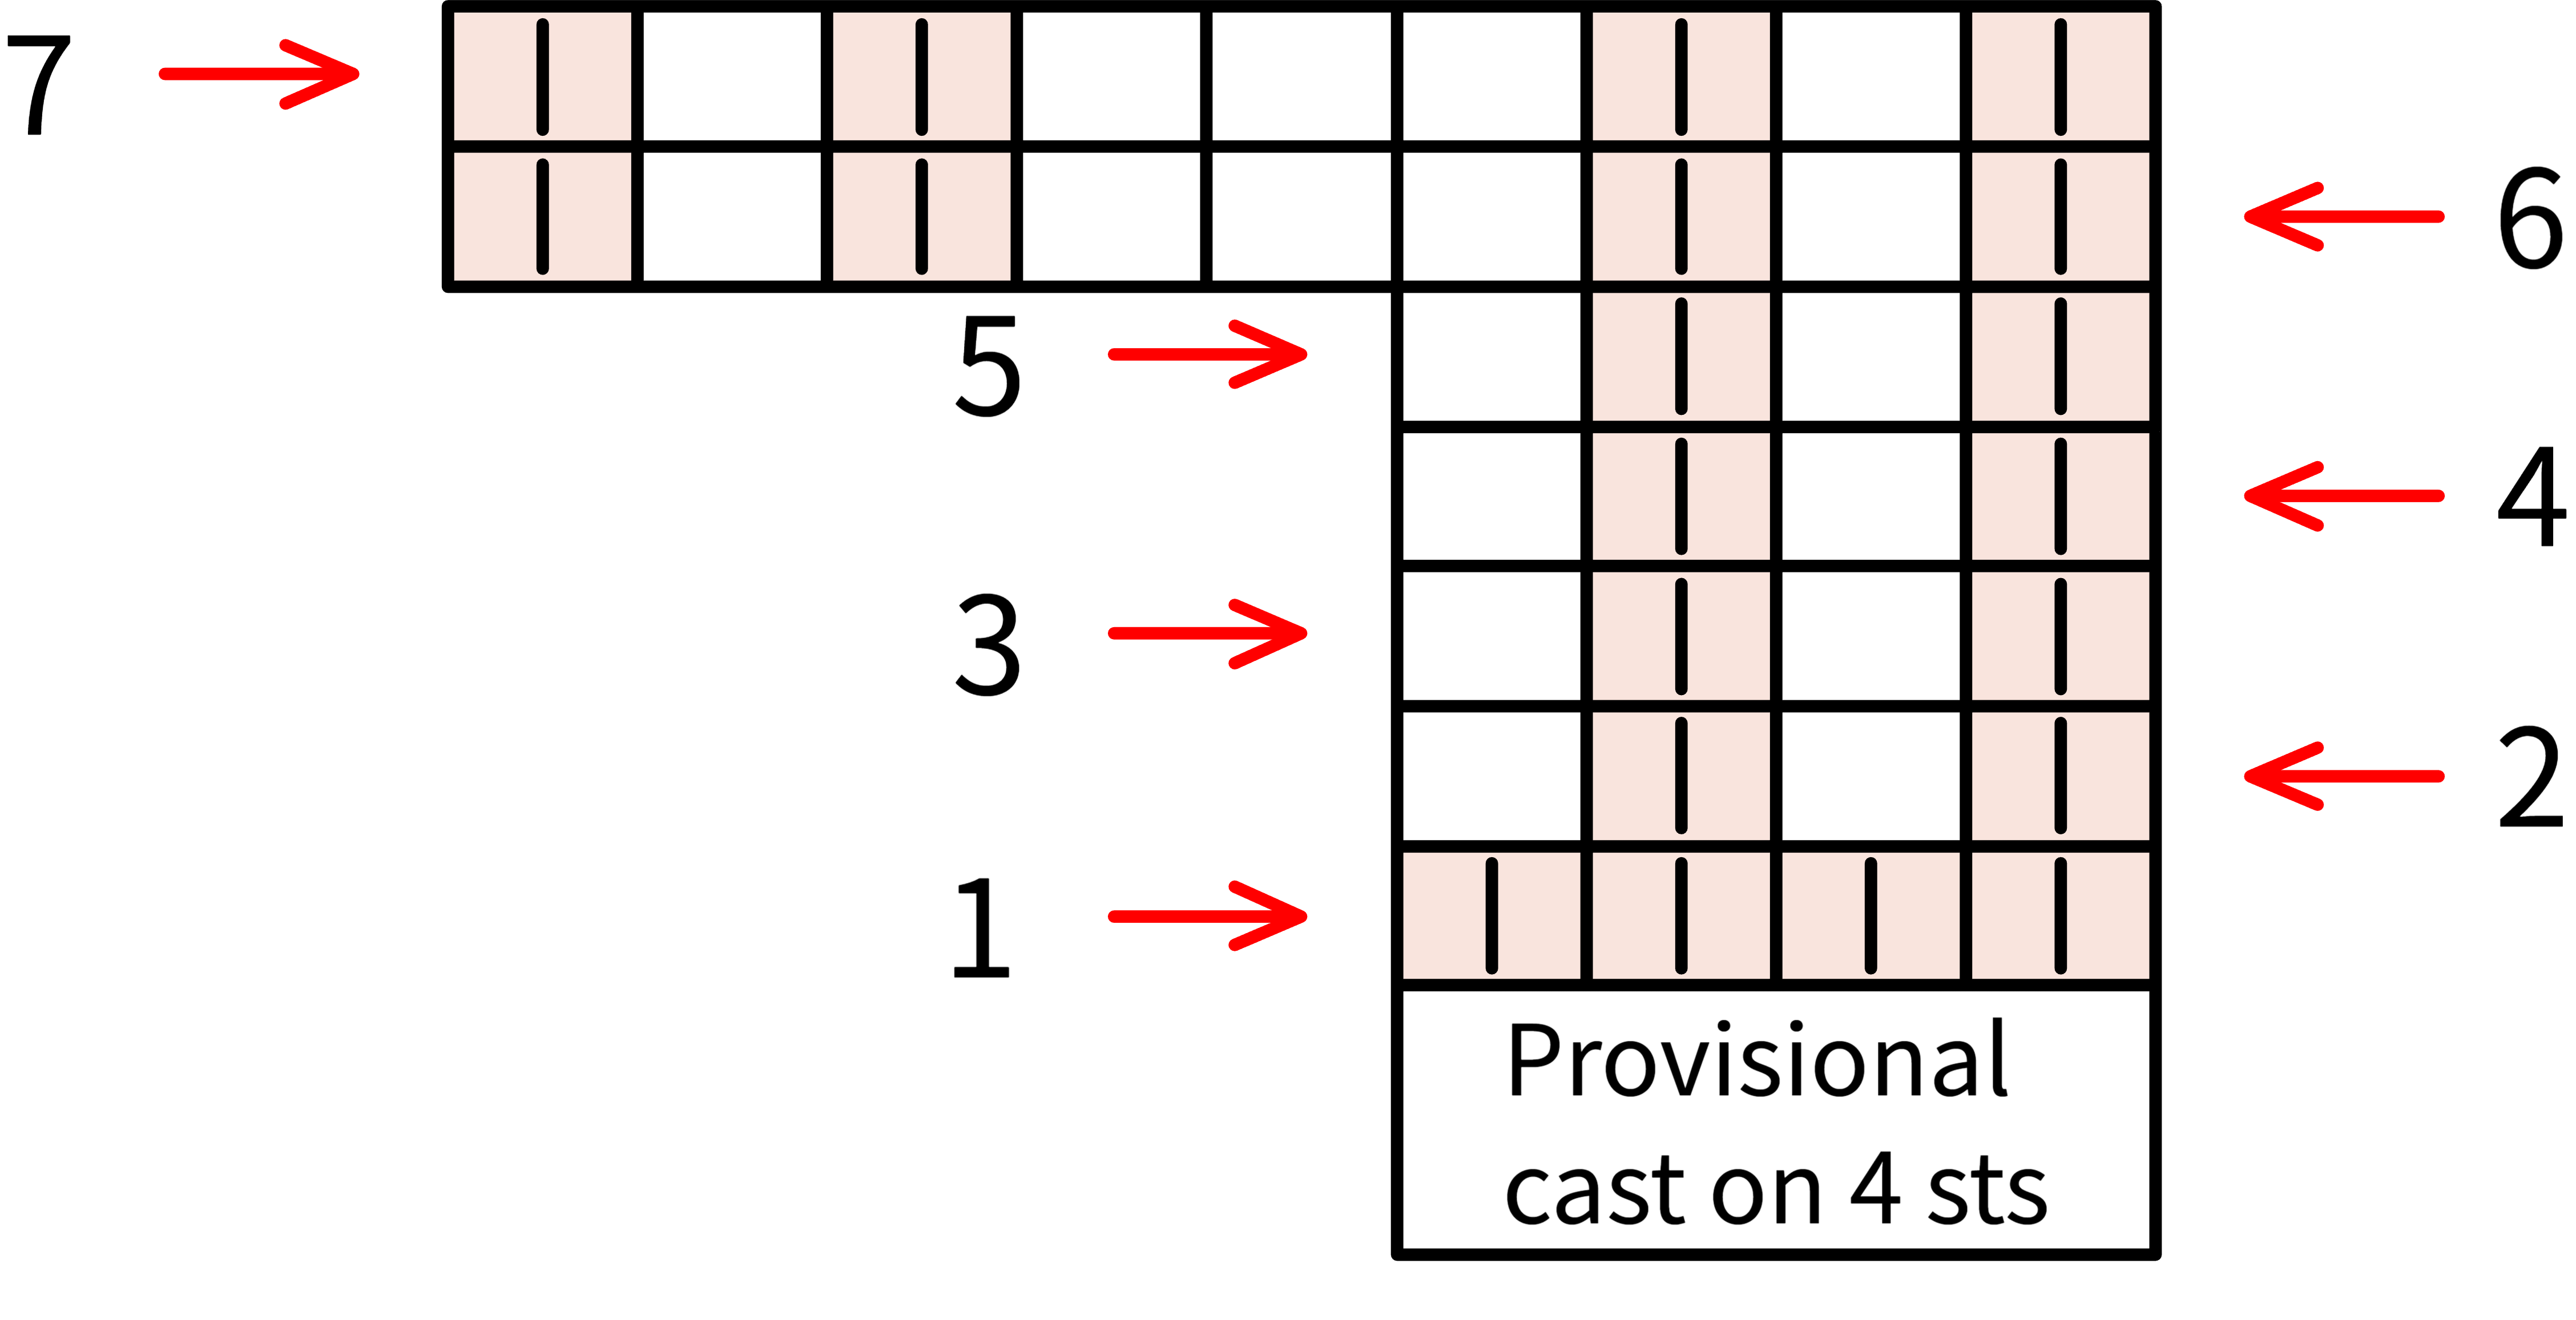
Use provisional cast on, after casting on, work back and forth for 5 rows. On the 6th row, pick up 1 stitch in the middle, remove the waste yarn, and place the loops back onto the needles to continue knitting. Please refer to the video demonstration for more details.
PART 2 Increasing Section
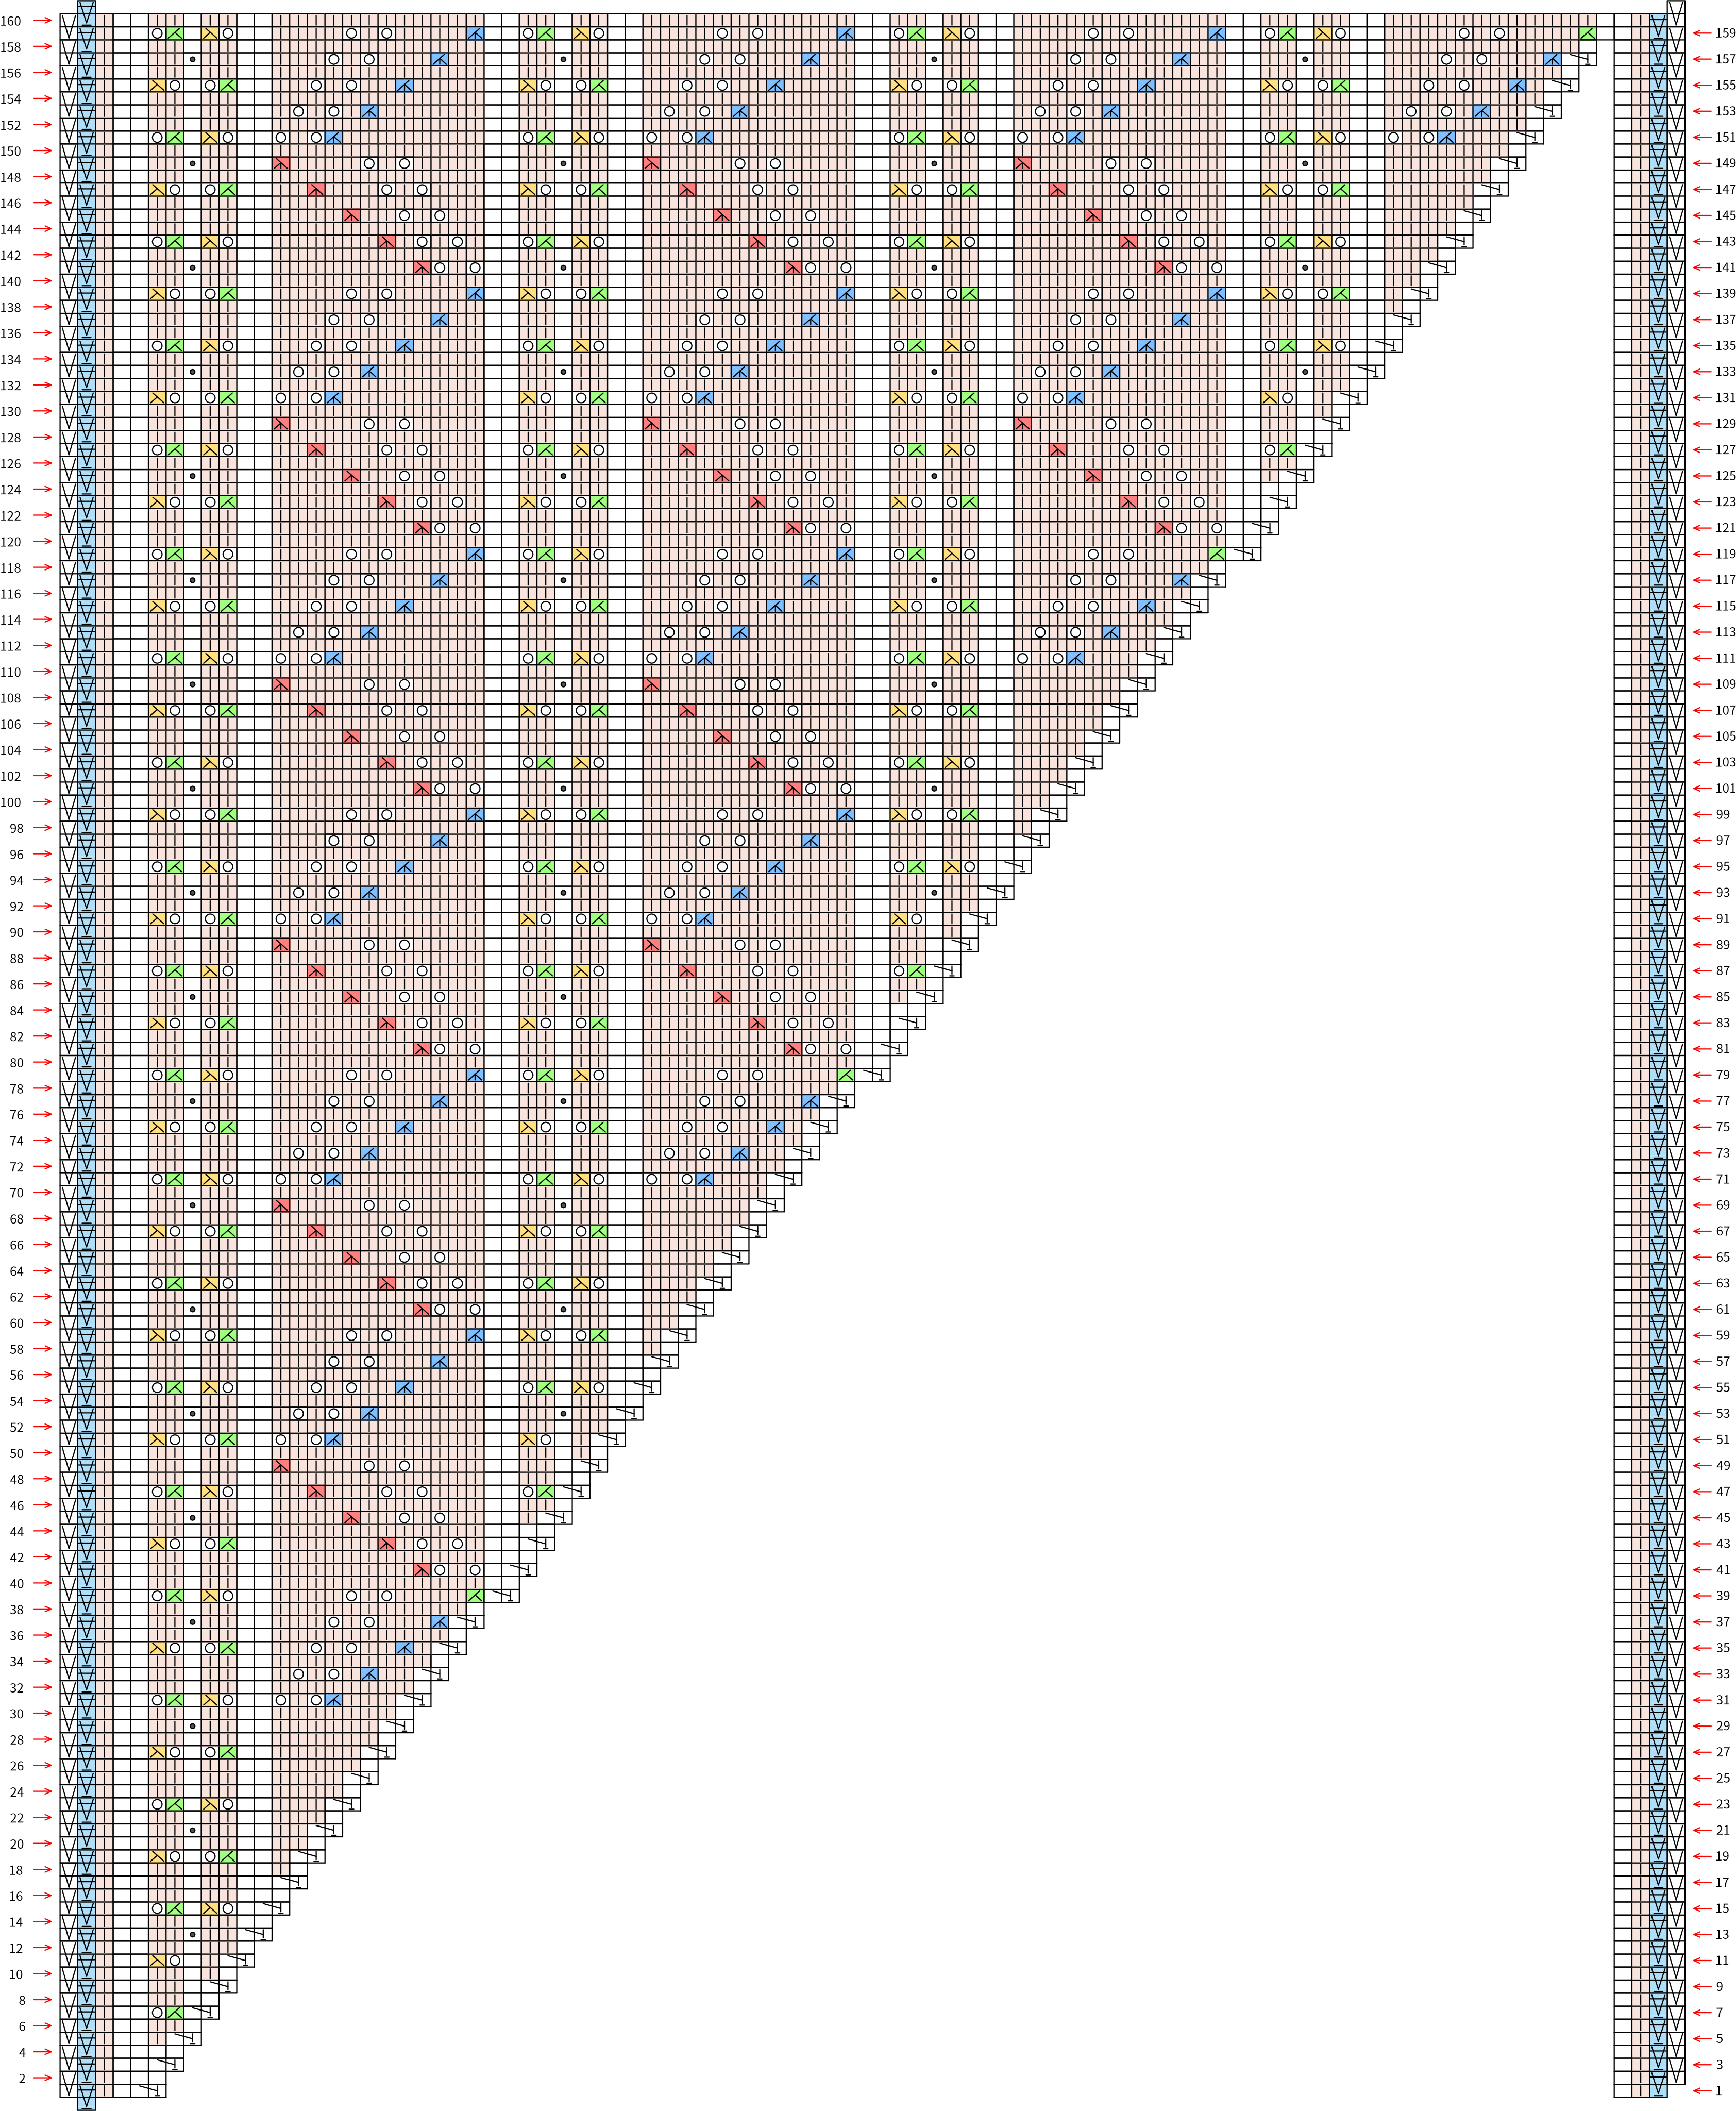
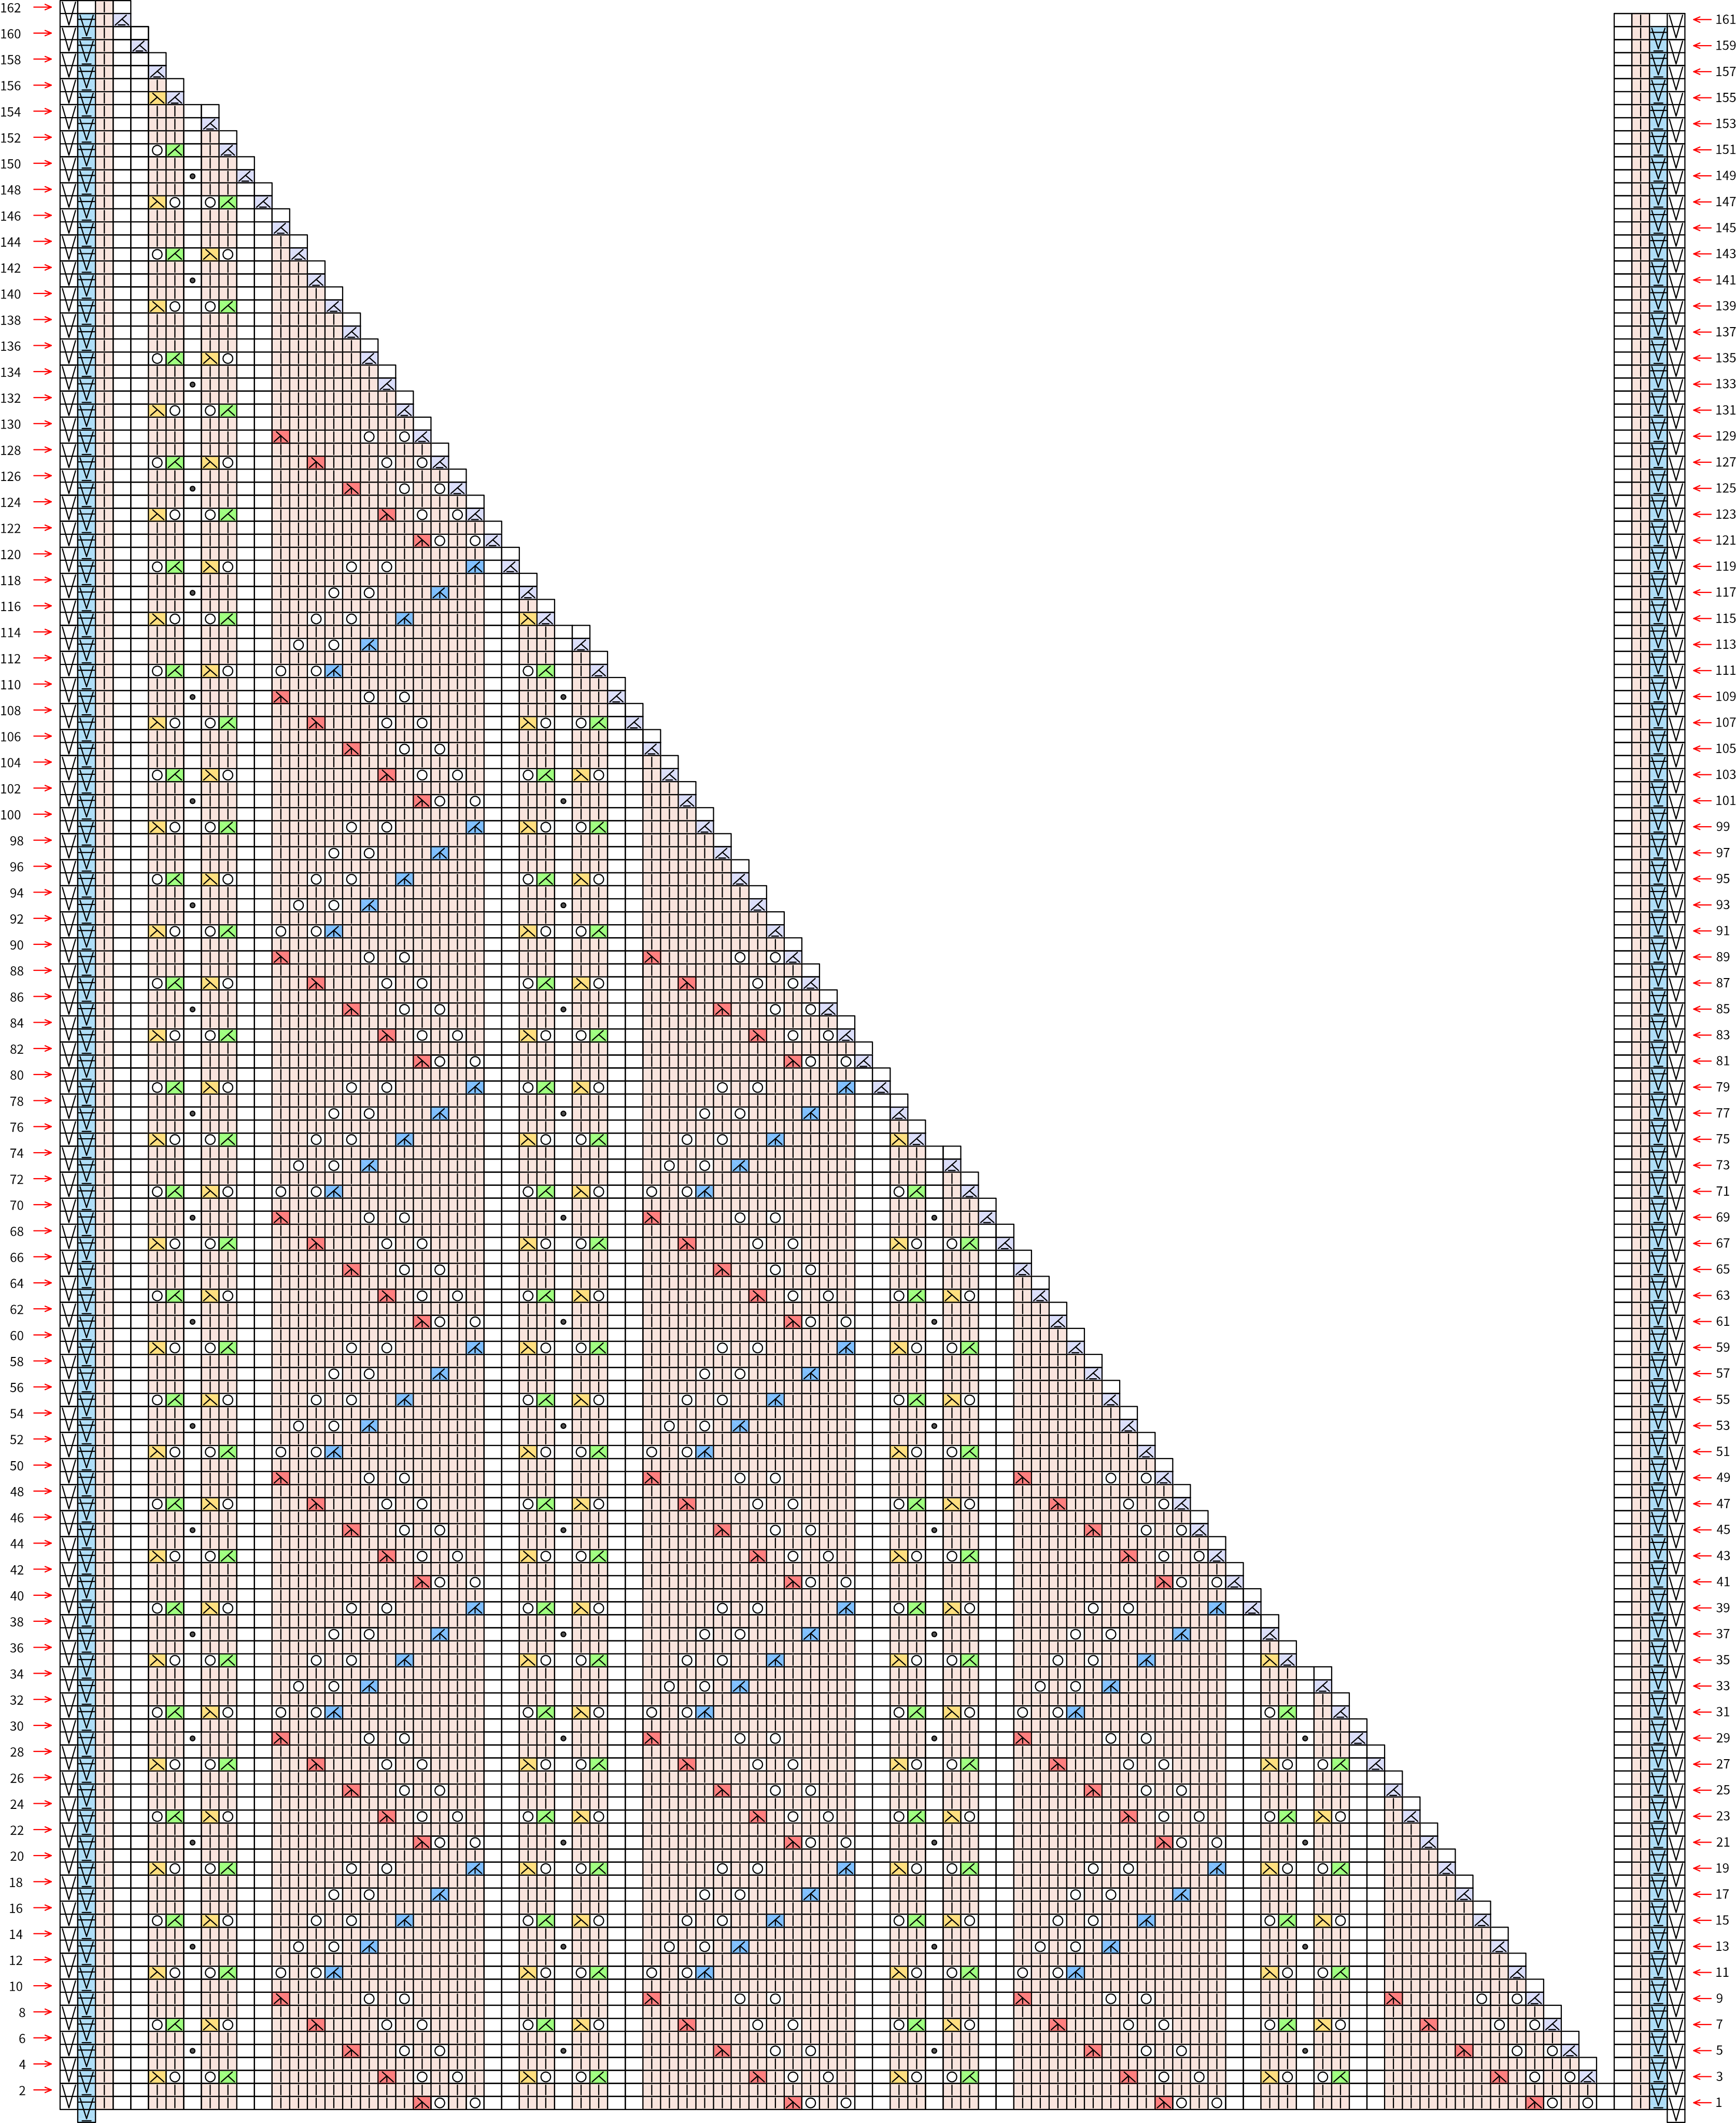
After casting on, begin working back and forth in rows, increasing only on the right side of the right-side rows. Please refer to the video demonstration for more details. See chart P 3-2 for the diagram.
Increasing Section Chart
PART 3 Even Section
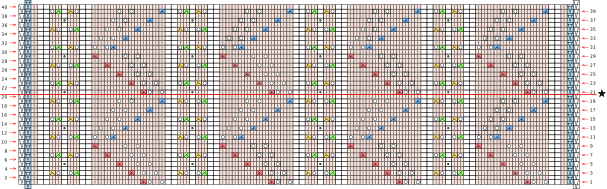
After increasing, continue knitting the even section according to the actual yarn usage. If you reach the ★ position and the first skein still has yarn left, finish the remaining rounds of the even section. Otherwise, proceed directly to the decreasing section. Please refer to the video demonstration for more details.
PART 4 Decreasing Section
Work the decreasing section over the even section, decreasing only on the right side of the right-side rows, and work the puff stitches according to the pattern. Please refer to the video demonstration for more details.
PART 5 Bind Off
After finishing the knitting, use a yarn needle to bind off. Please refer to the video demonstration for more details.