Accessories / Fan
Perfect Chinese Fan
Project preview
See the finished project
Pattern format
Instructions
Watch and follow
Video tutorial
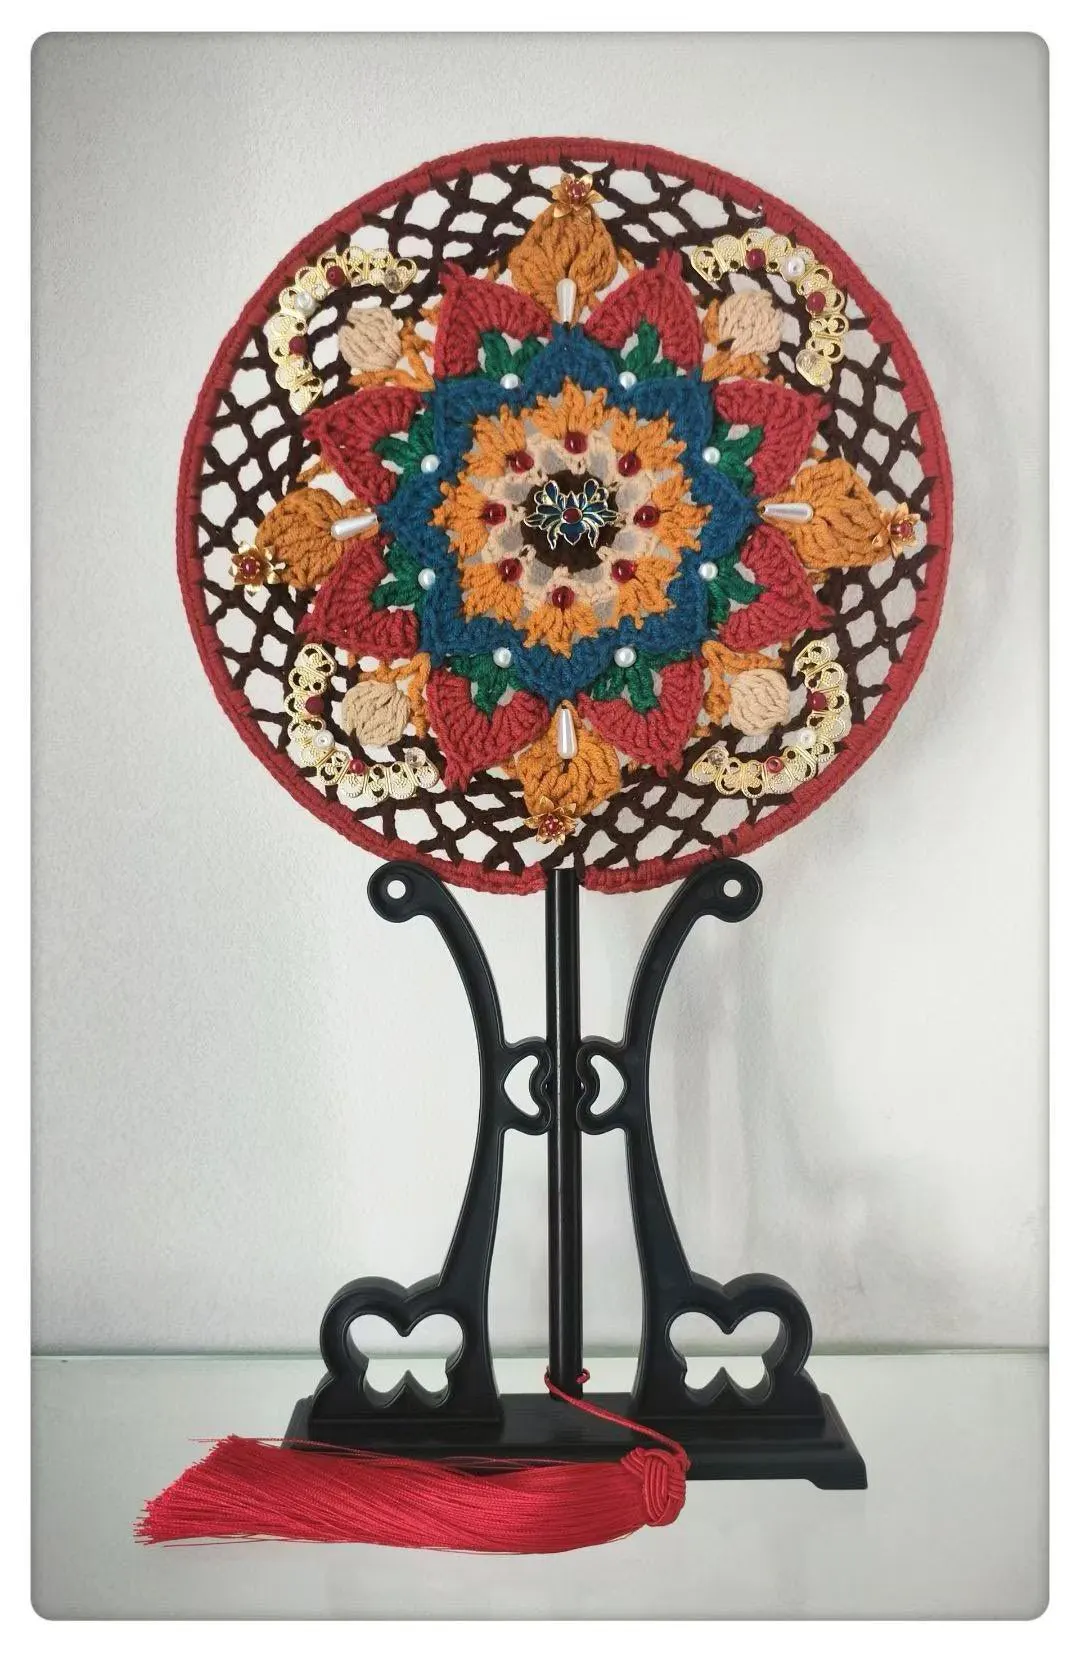
This fan consists of the main part and decorations.
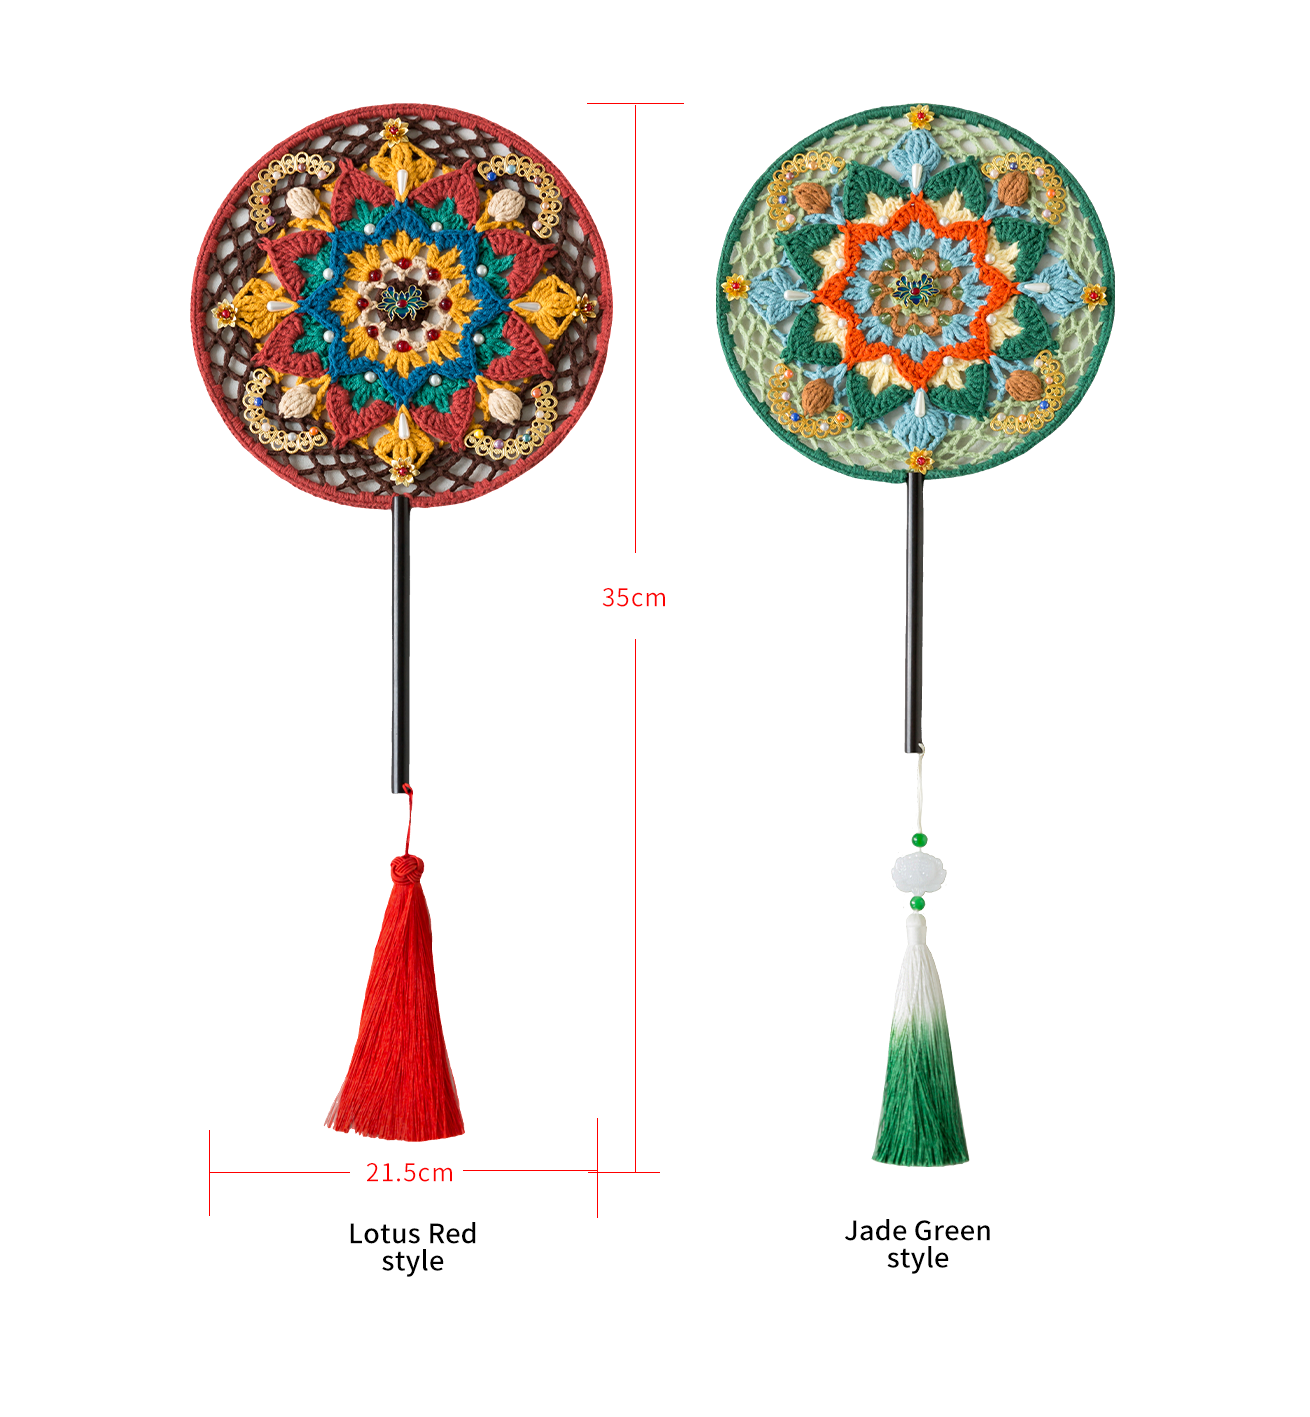
The handcrafted measurements may have an error of 1 to 2 cm. Due to variations in individual tension, the size of the sample is for reference only.
Materials: 4-Ply Combed Cotton & Acrylic Fibre Hand Knitting Yarn
Hook: 2.50mm crochet hook

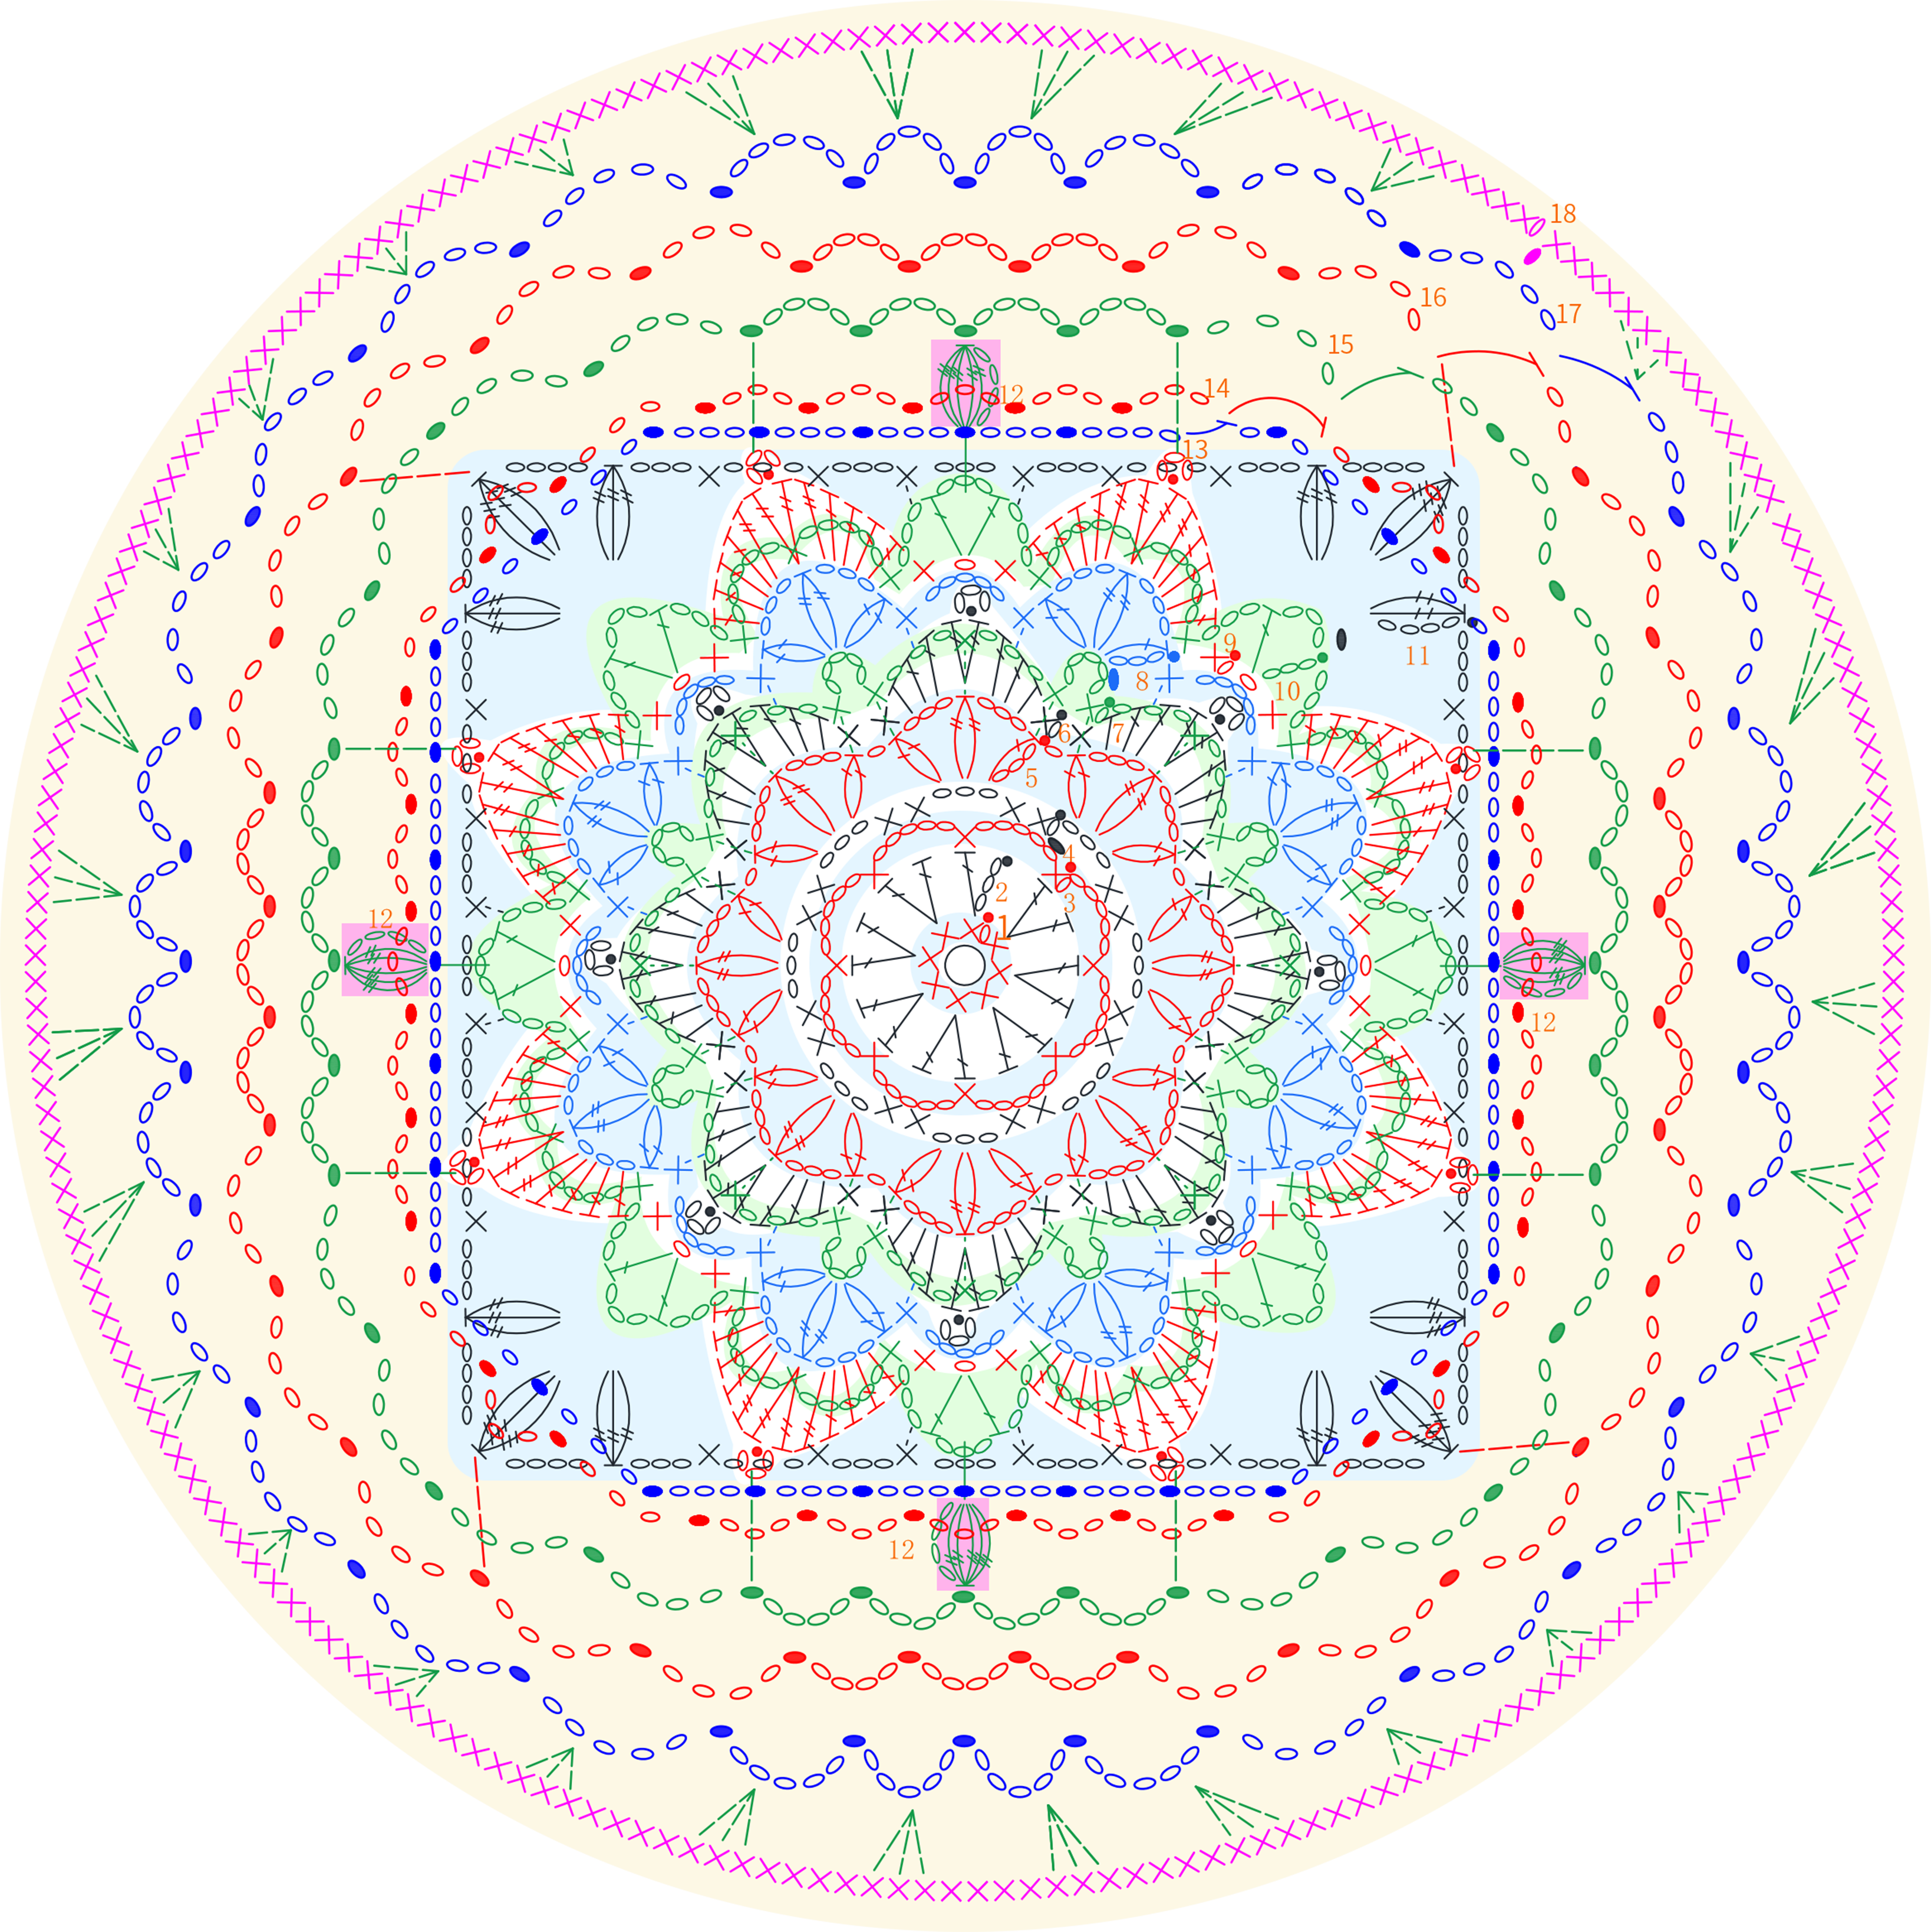
Chart Key












Note:
1.This pattern is making in Chinese crochet pattern terms, and the stitch name is written using American terminology. All measurements in charts are in cm.
2.When crocheting in rounds without further guidance, working in closed rounds, start each round with a set number of beginning chains and close with a slip stitch. The beginning chain preceding a single crochet and the slip stitch used for joining rounds are not included in the total stitches.

PART1 Main PartA 00' 38''
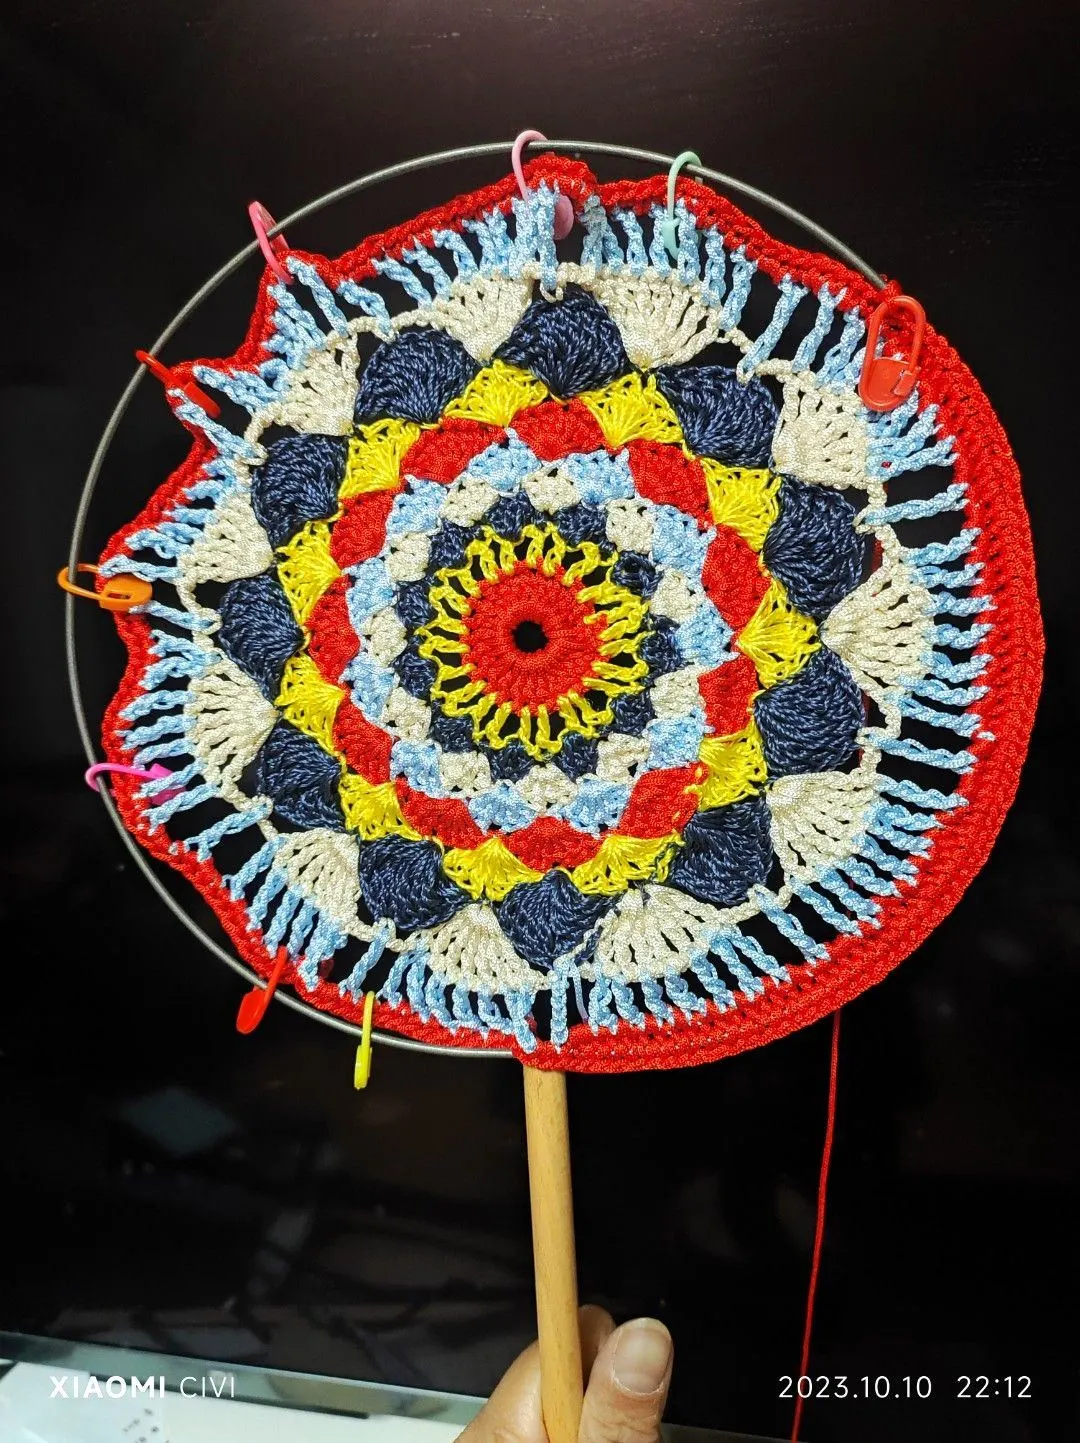
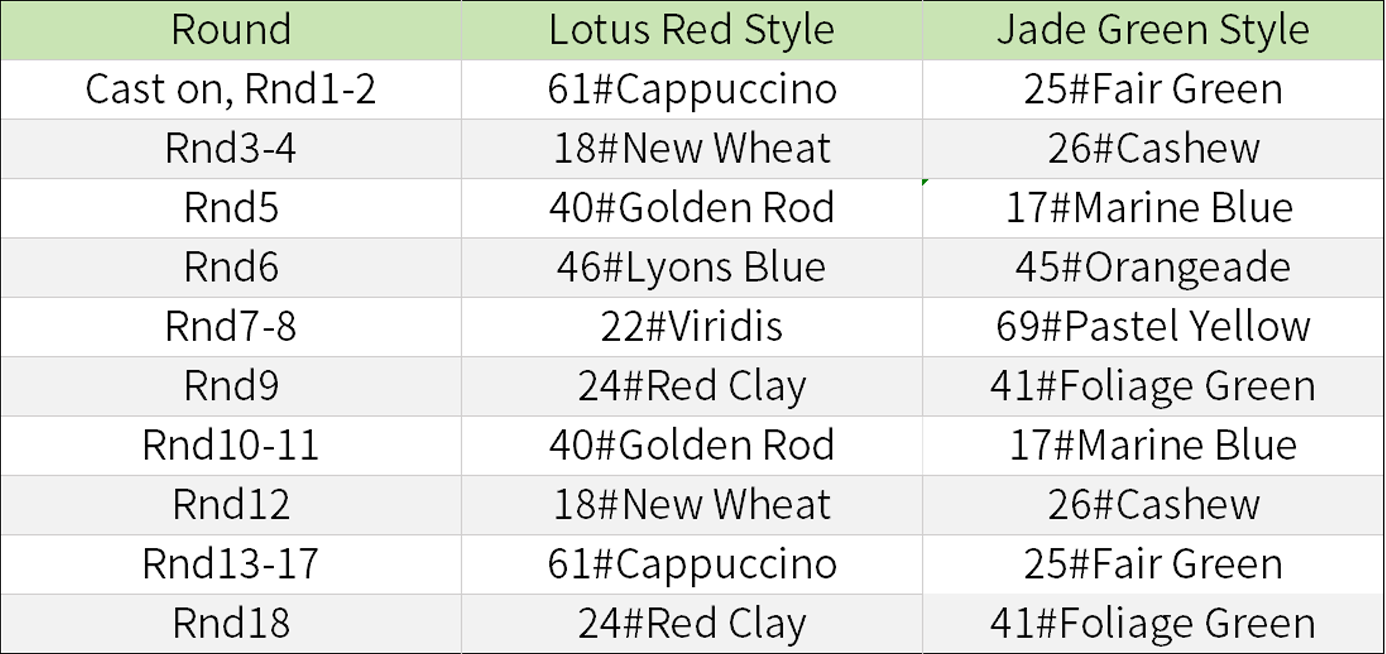
The main part begins by using the adjustable magic ring and crochet in rounds counterclockwise. Pay attenton to the color changing during crocheting. For the last round (Rnd18), you need to crochet on the frame of the fan. Please refer to the video demonstration for more details.
PART2 DecorationsB 55' 17''
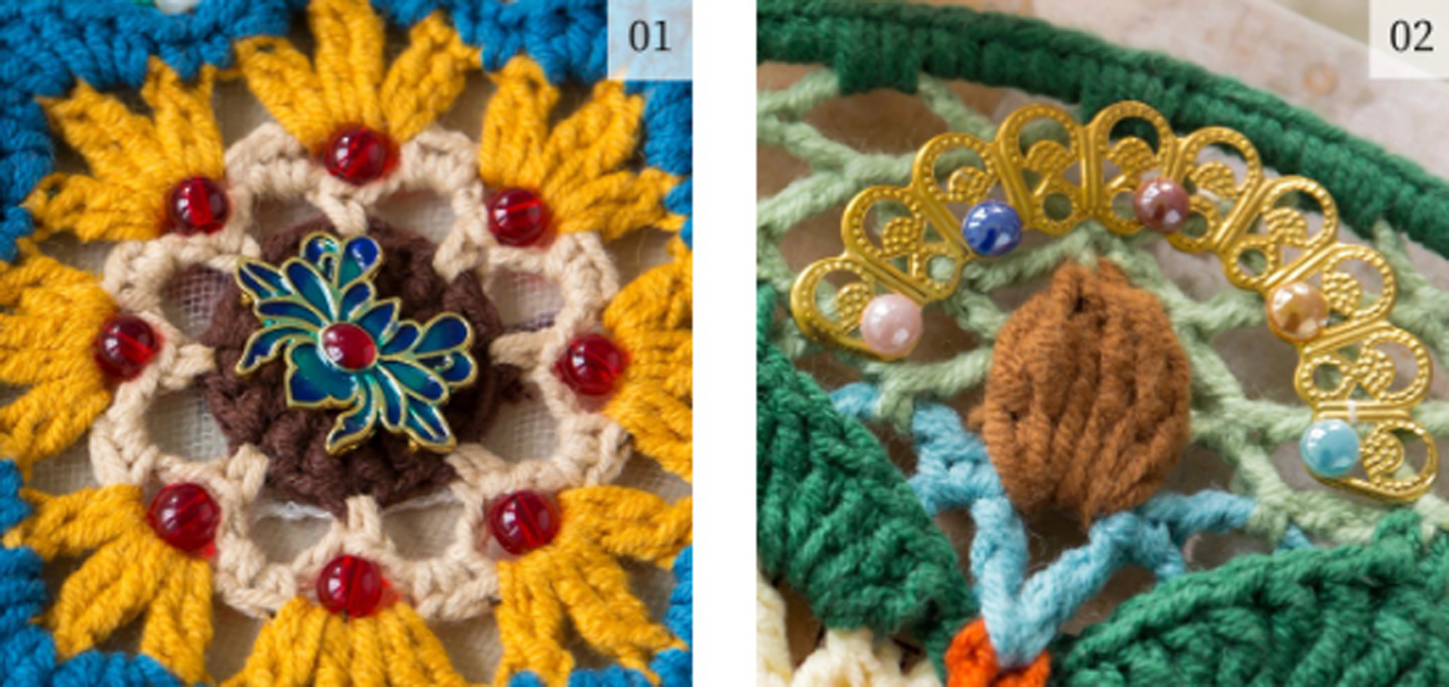
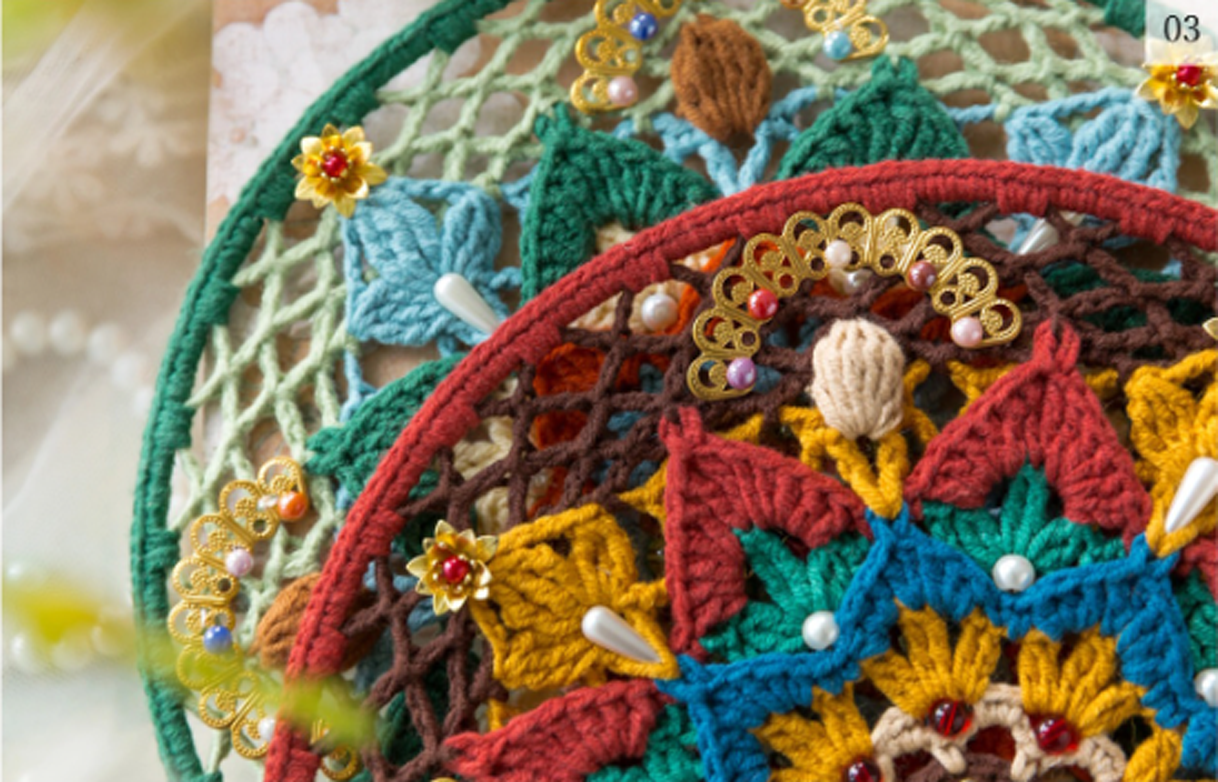
This part is about to attach various beads by sewing and adding tassels. Please refer to the video demonstration for more details.
Made by the community