Accessories / Shawl
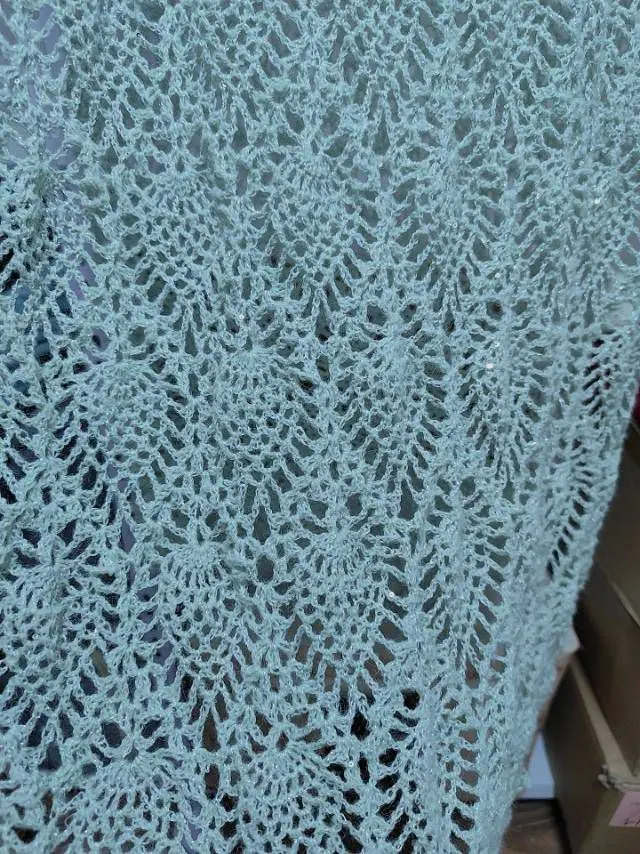
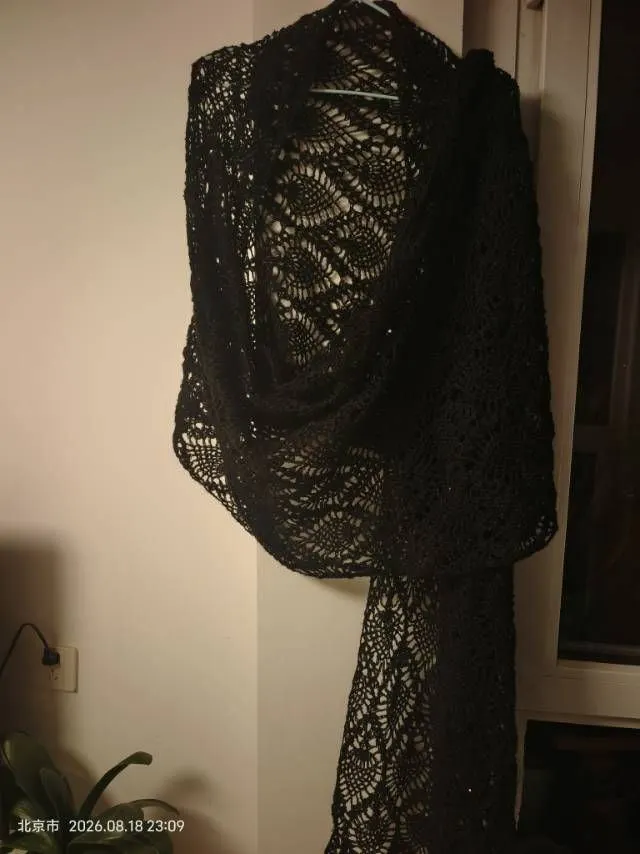
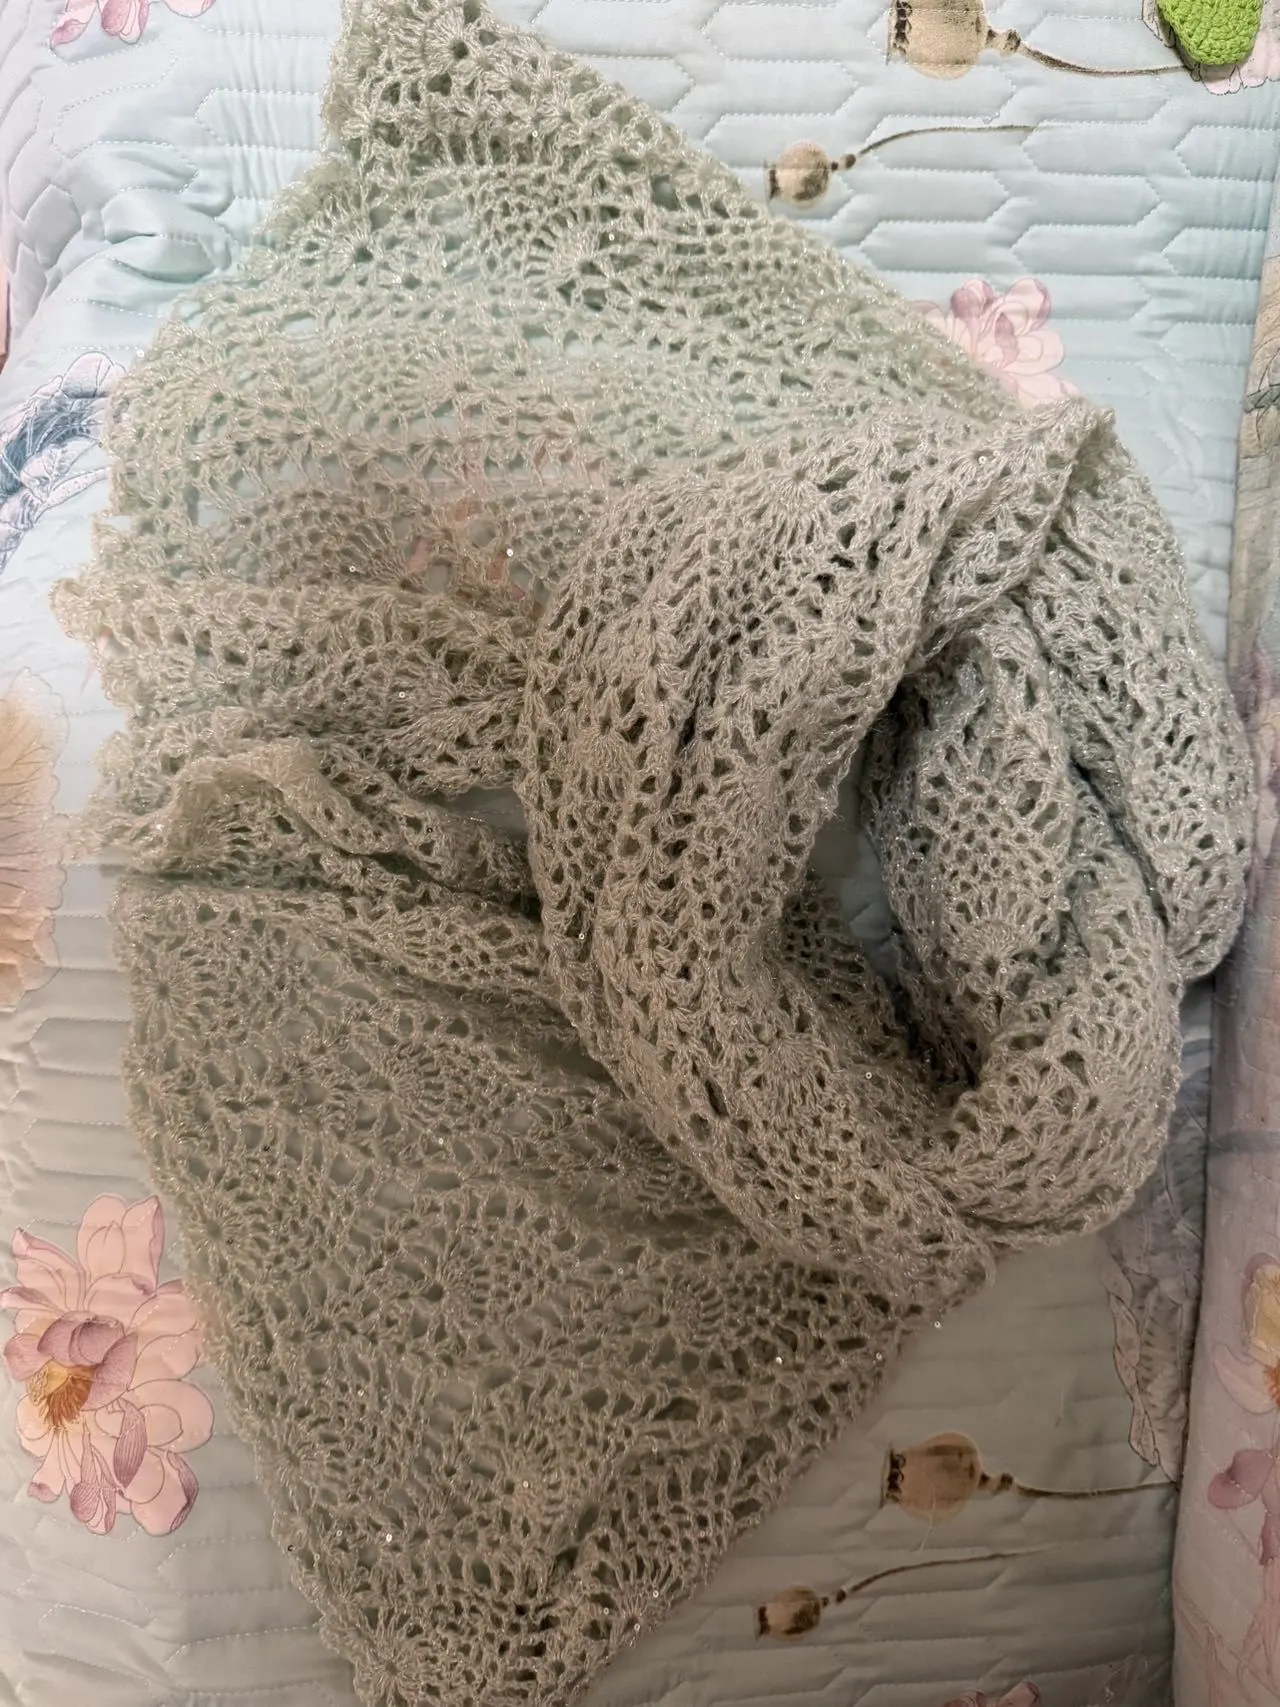
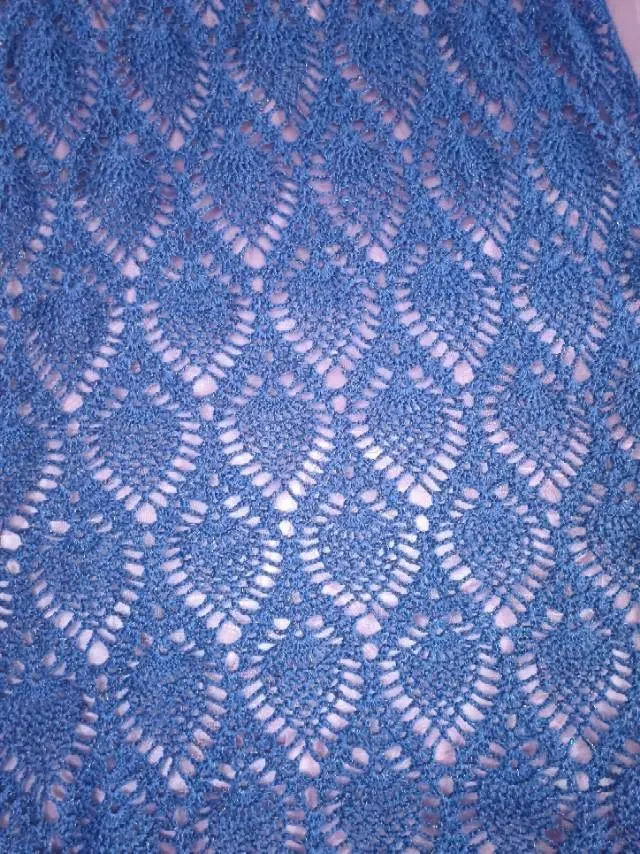
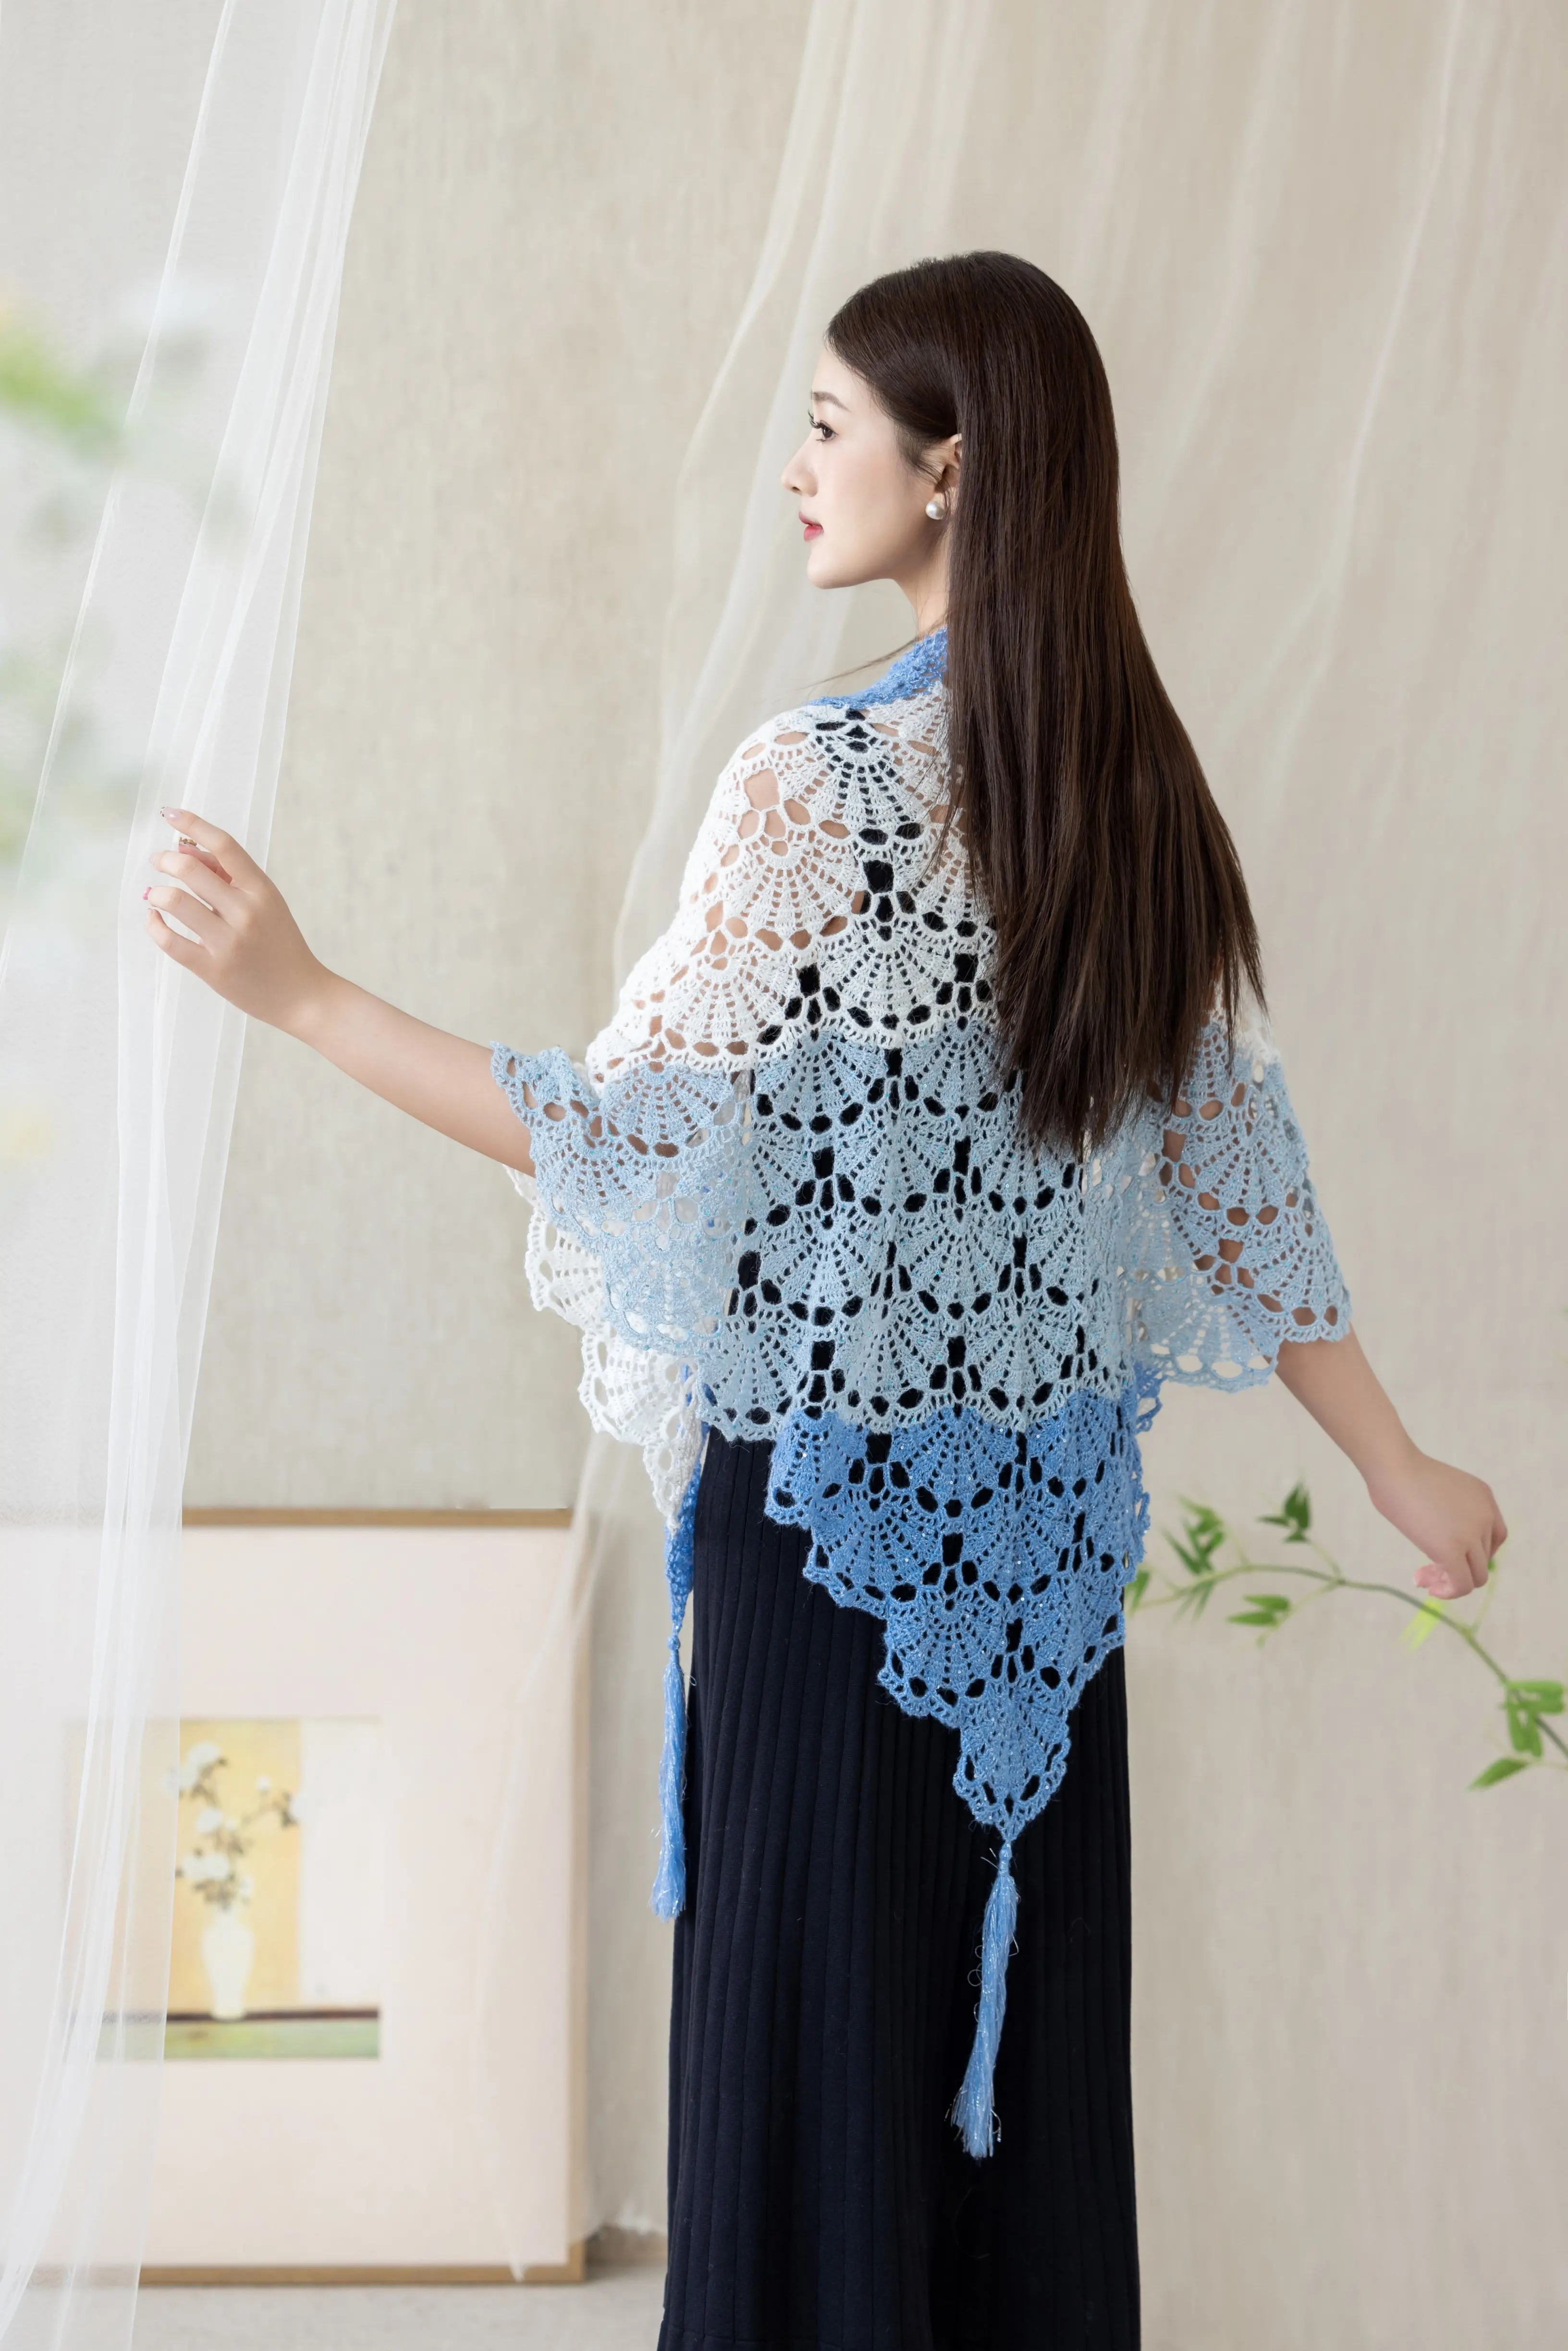
Pineapple Pattern Shawl
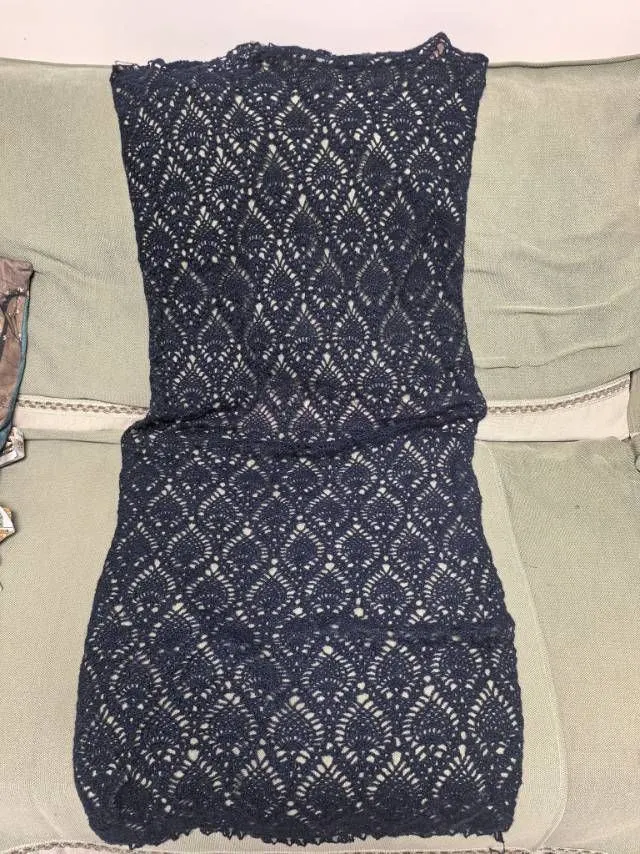
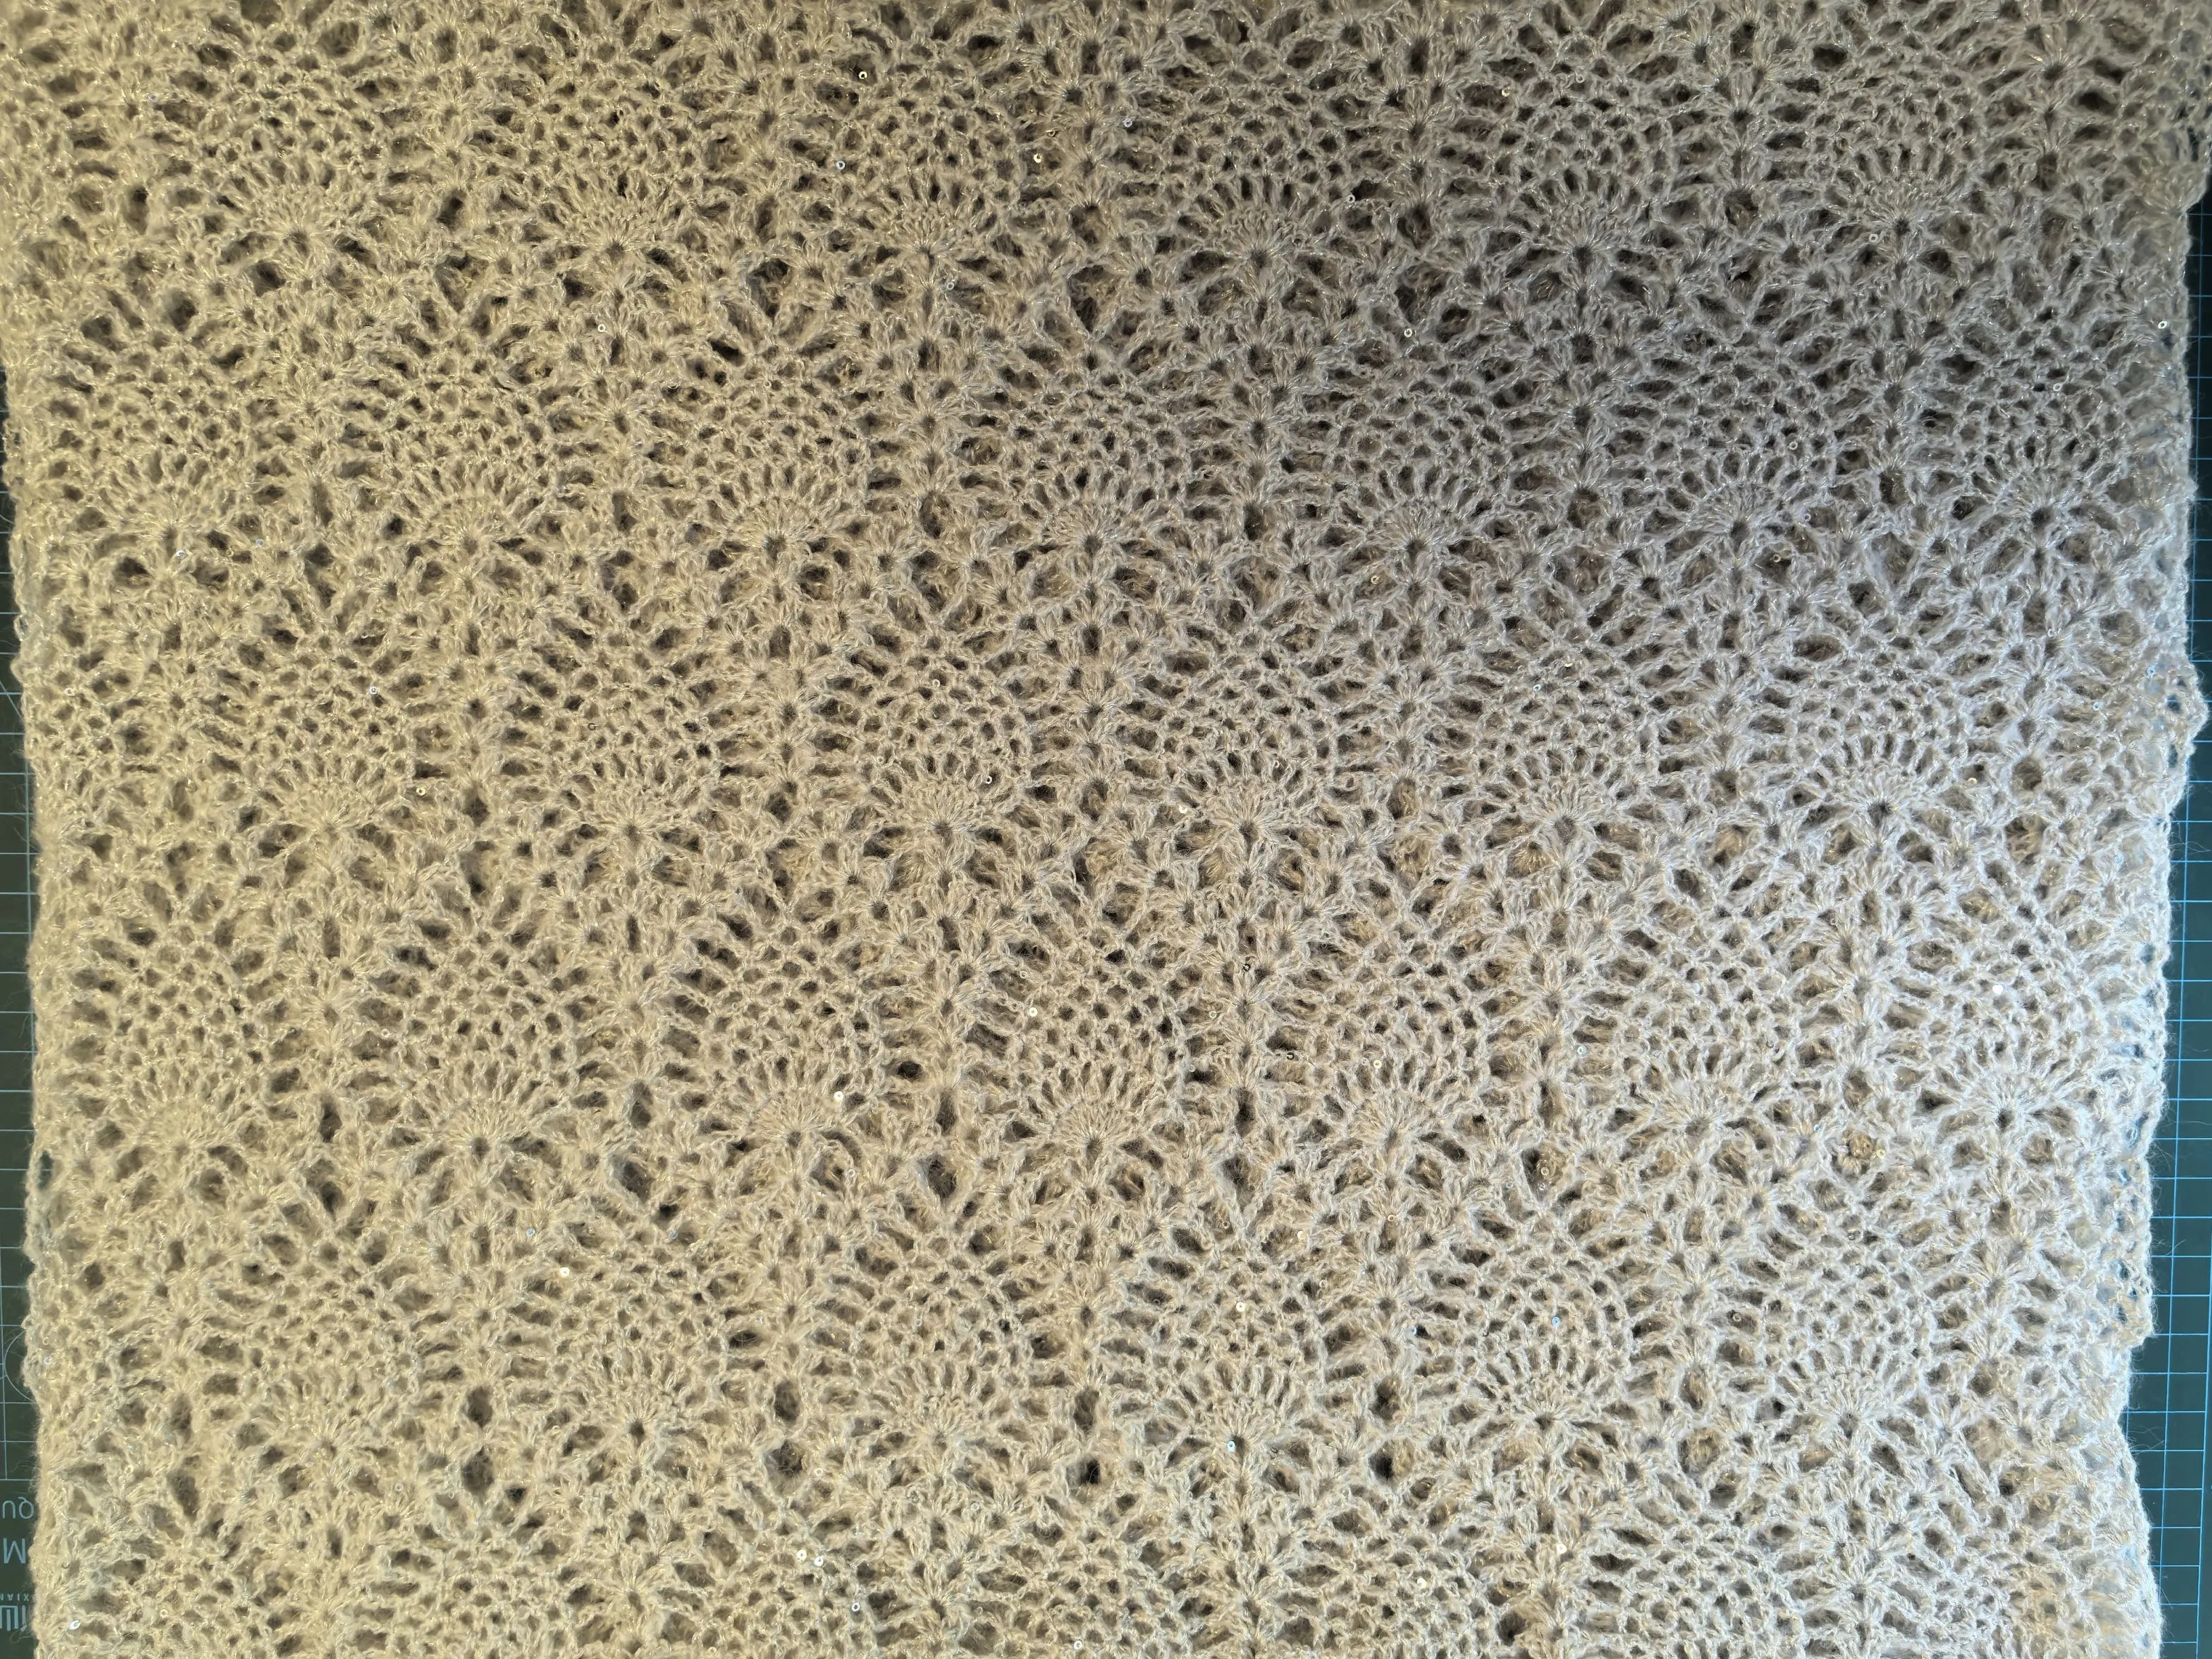
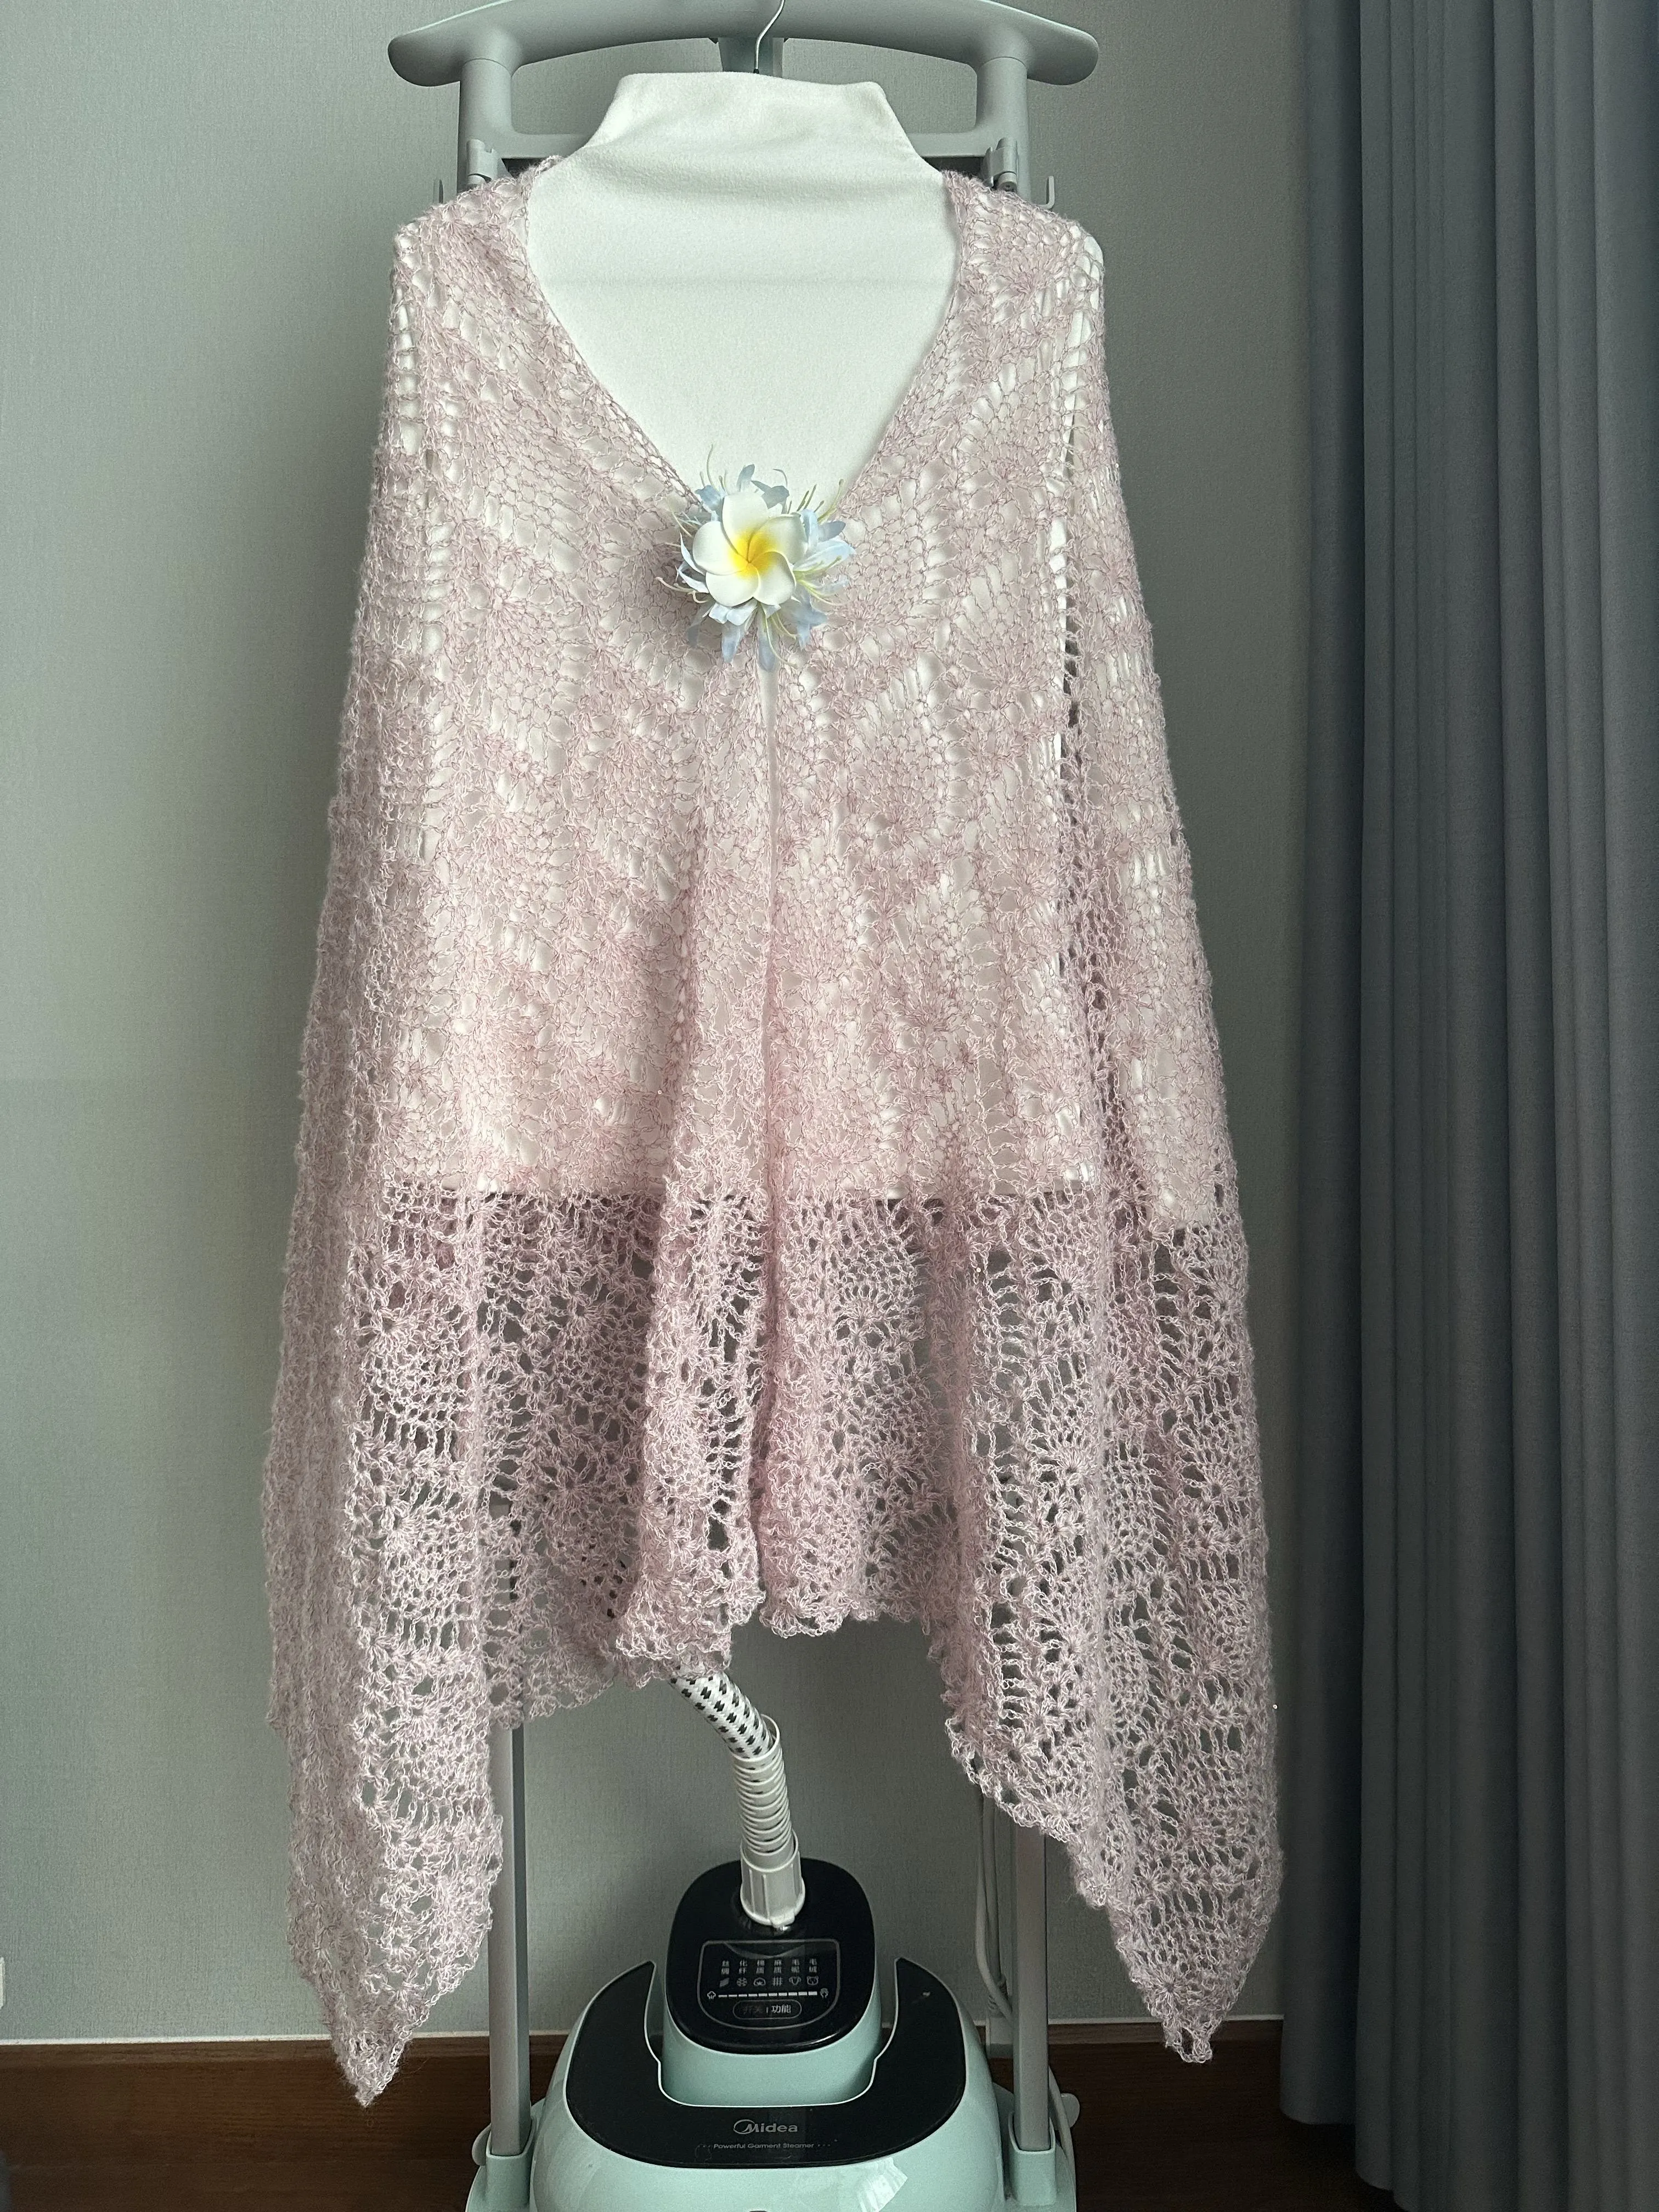
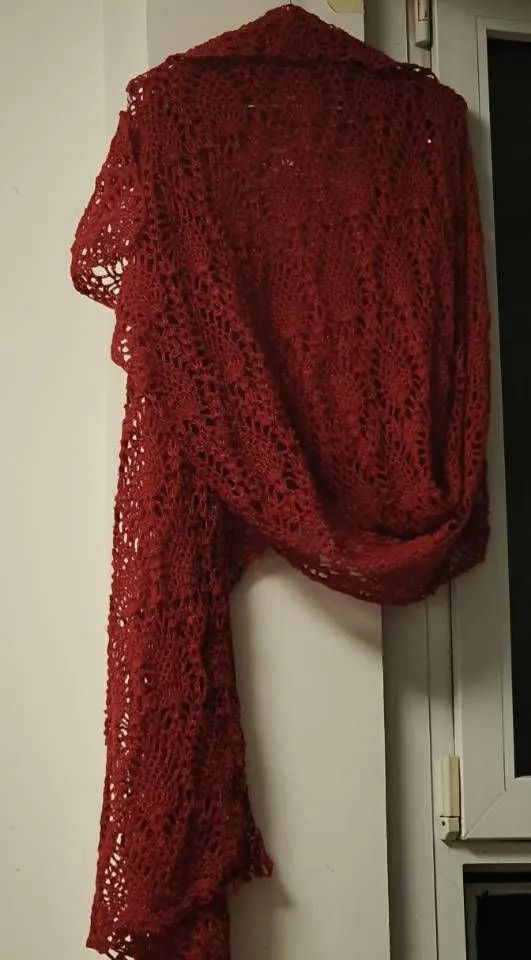
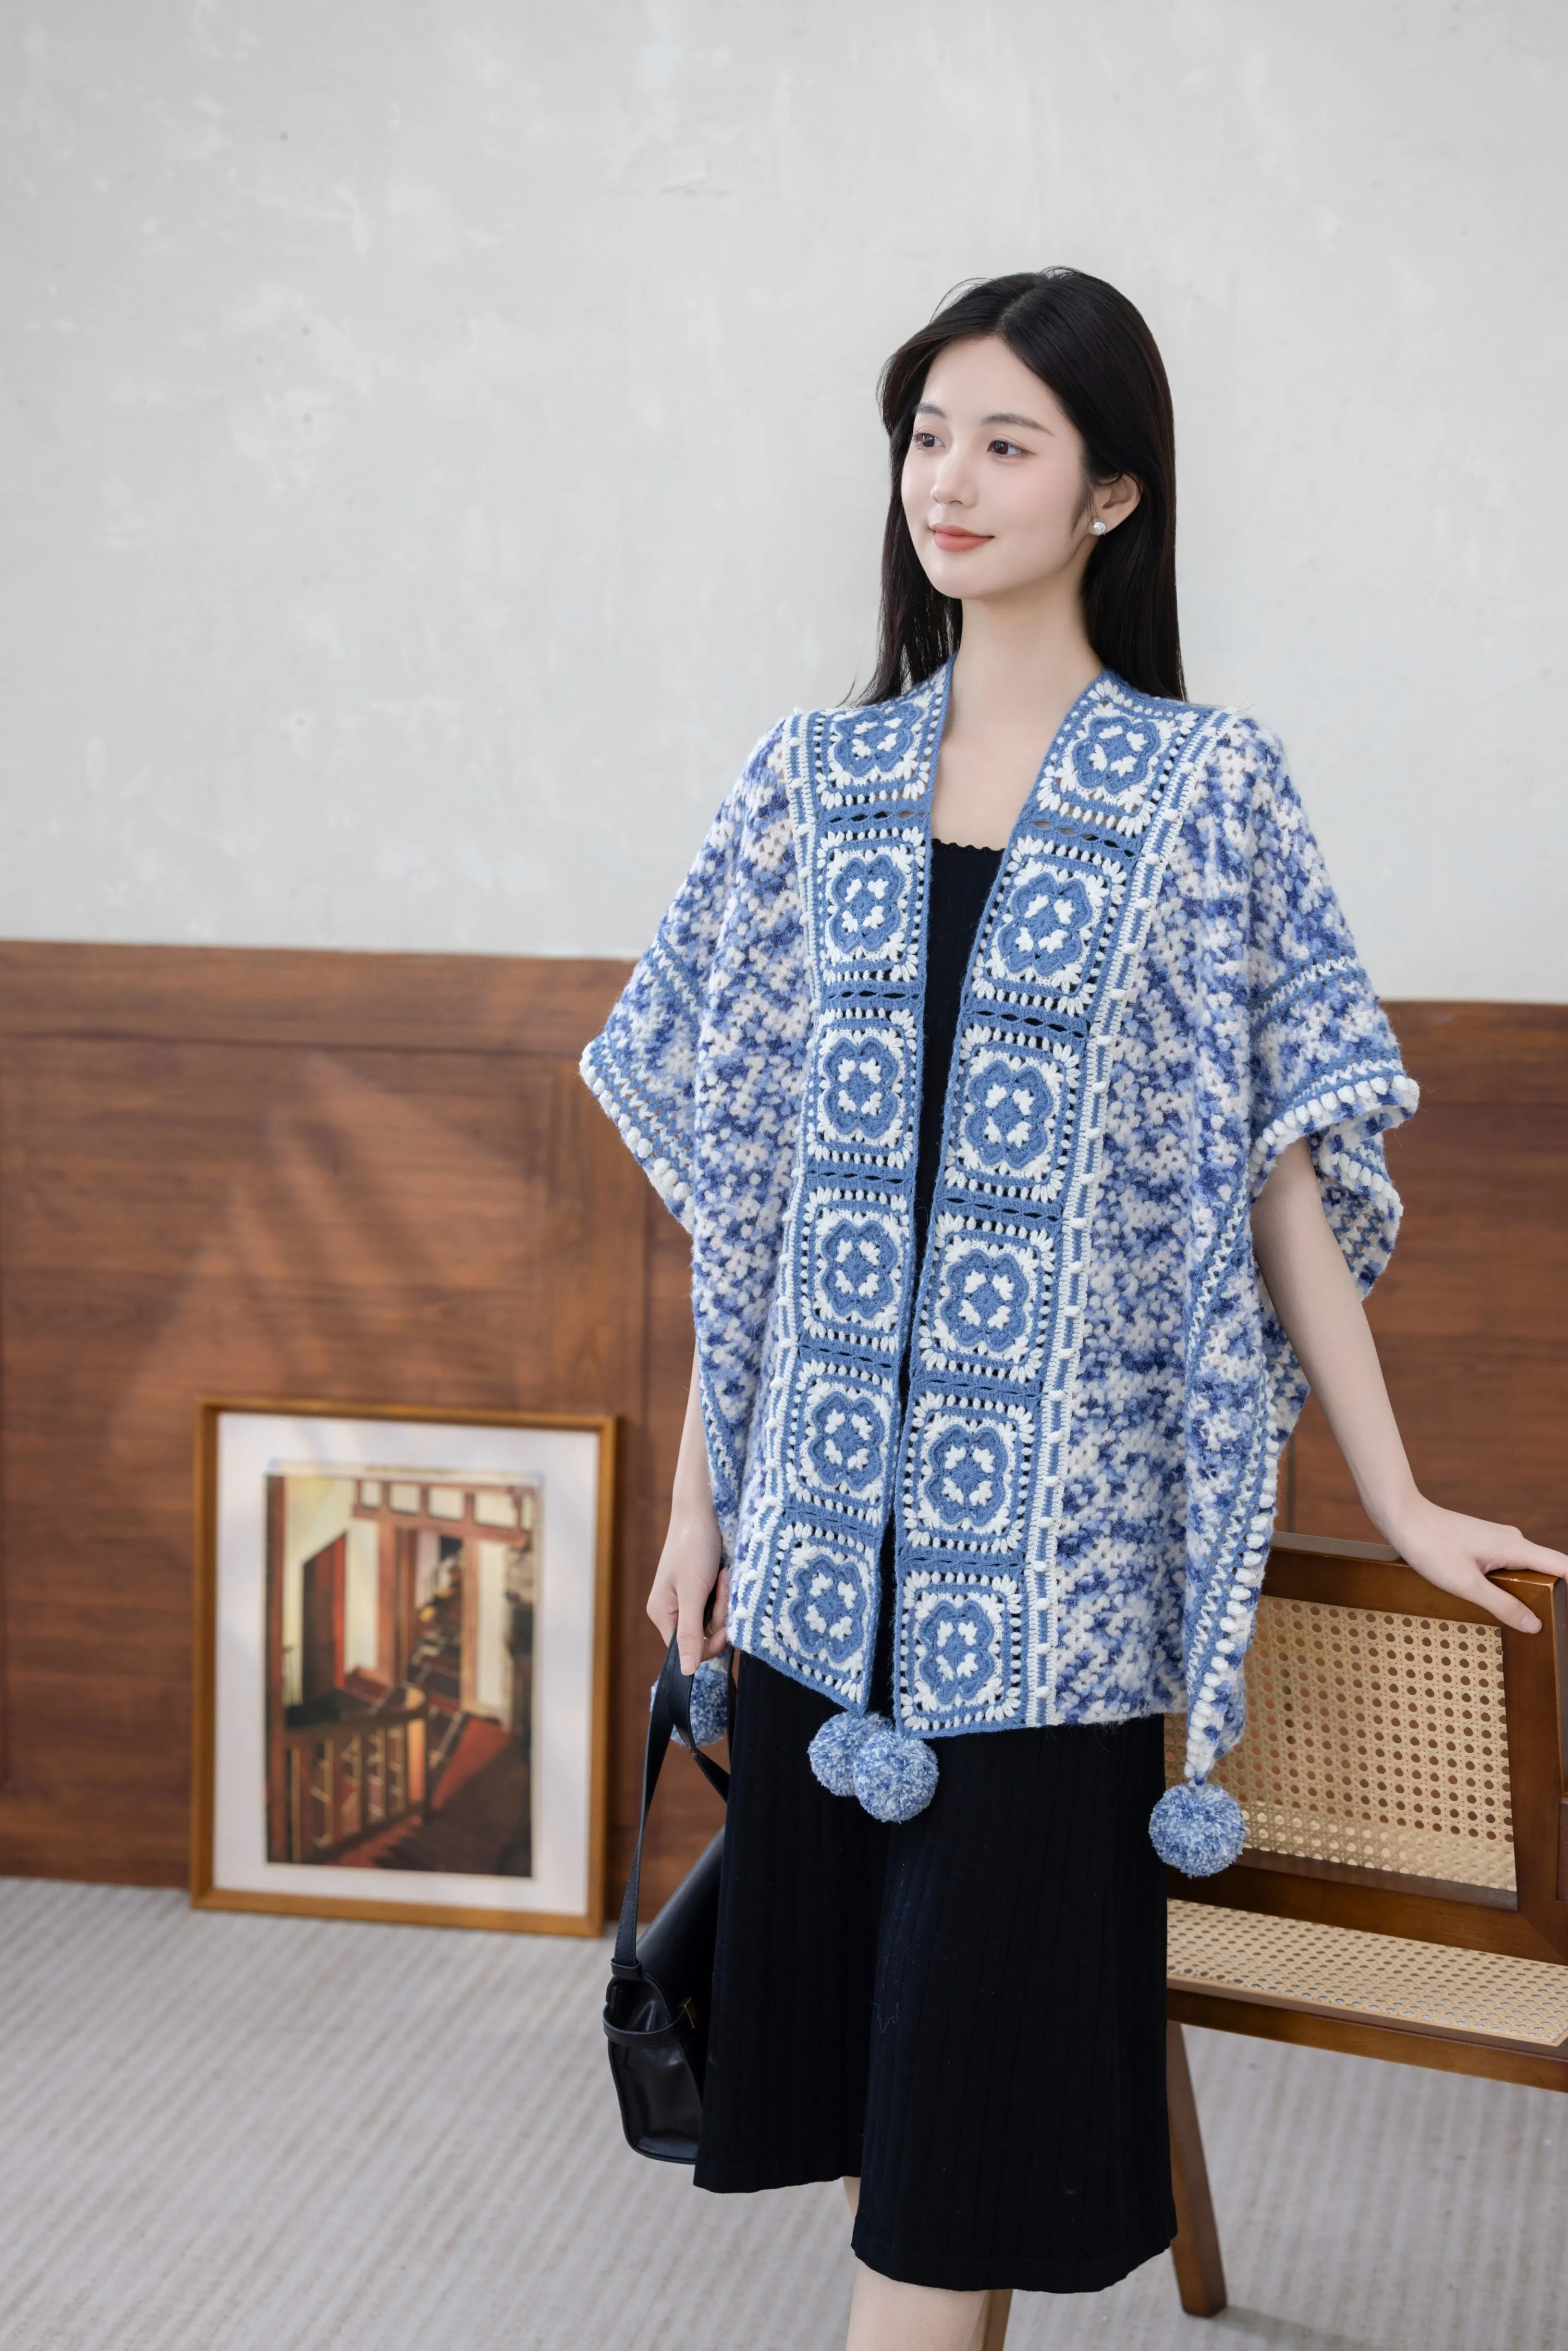
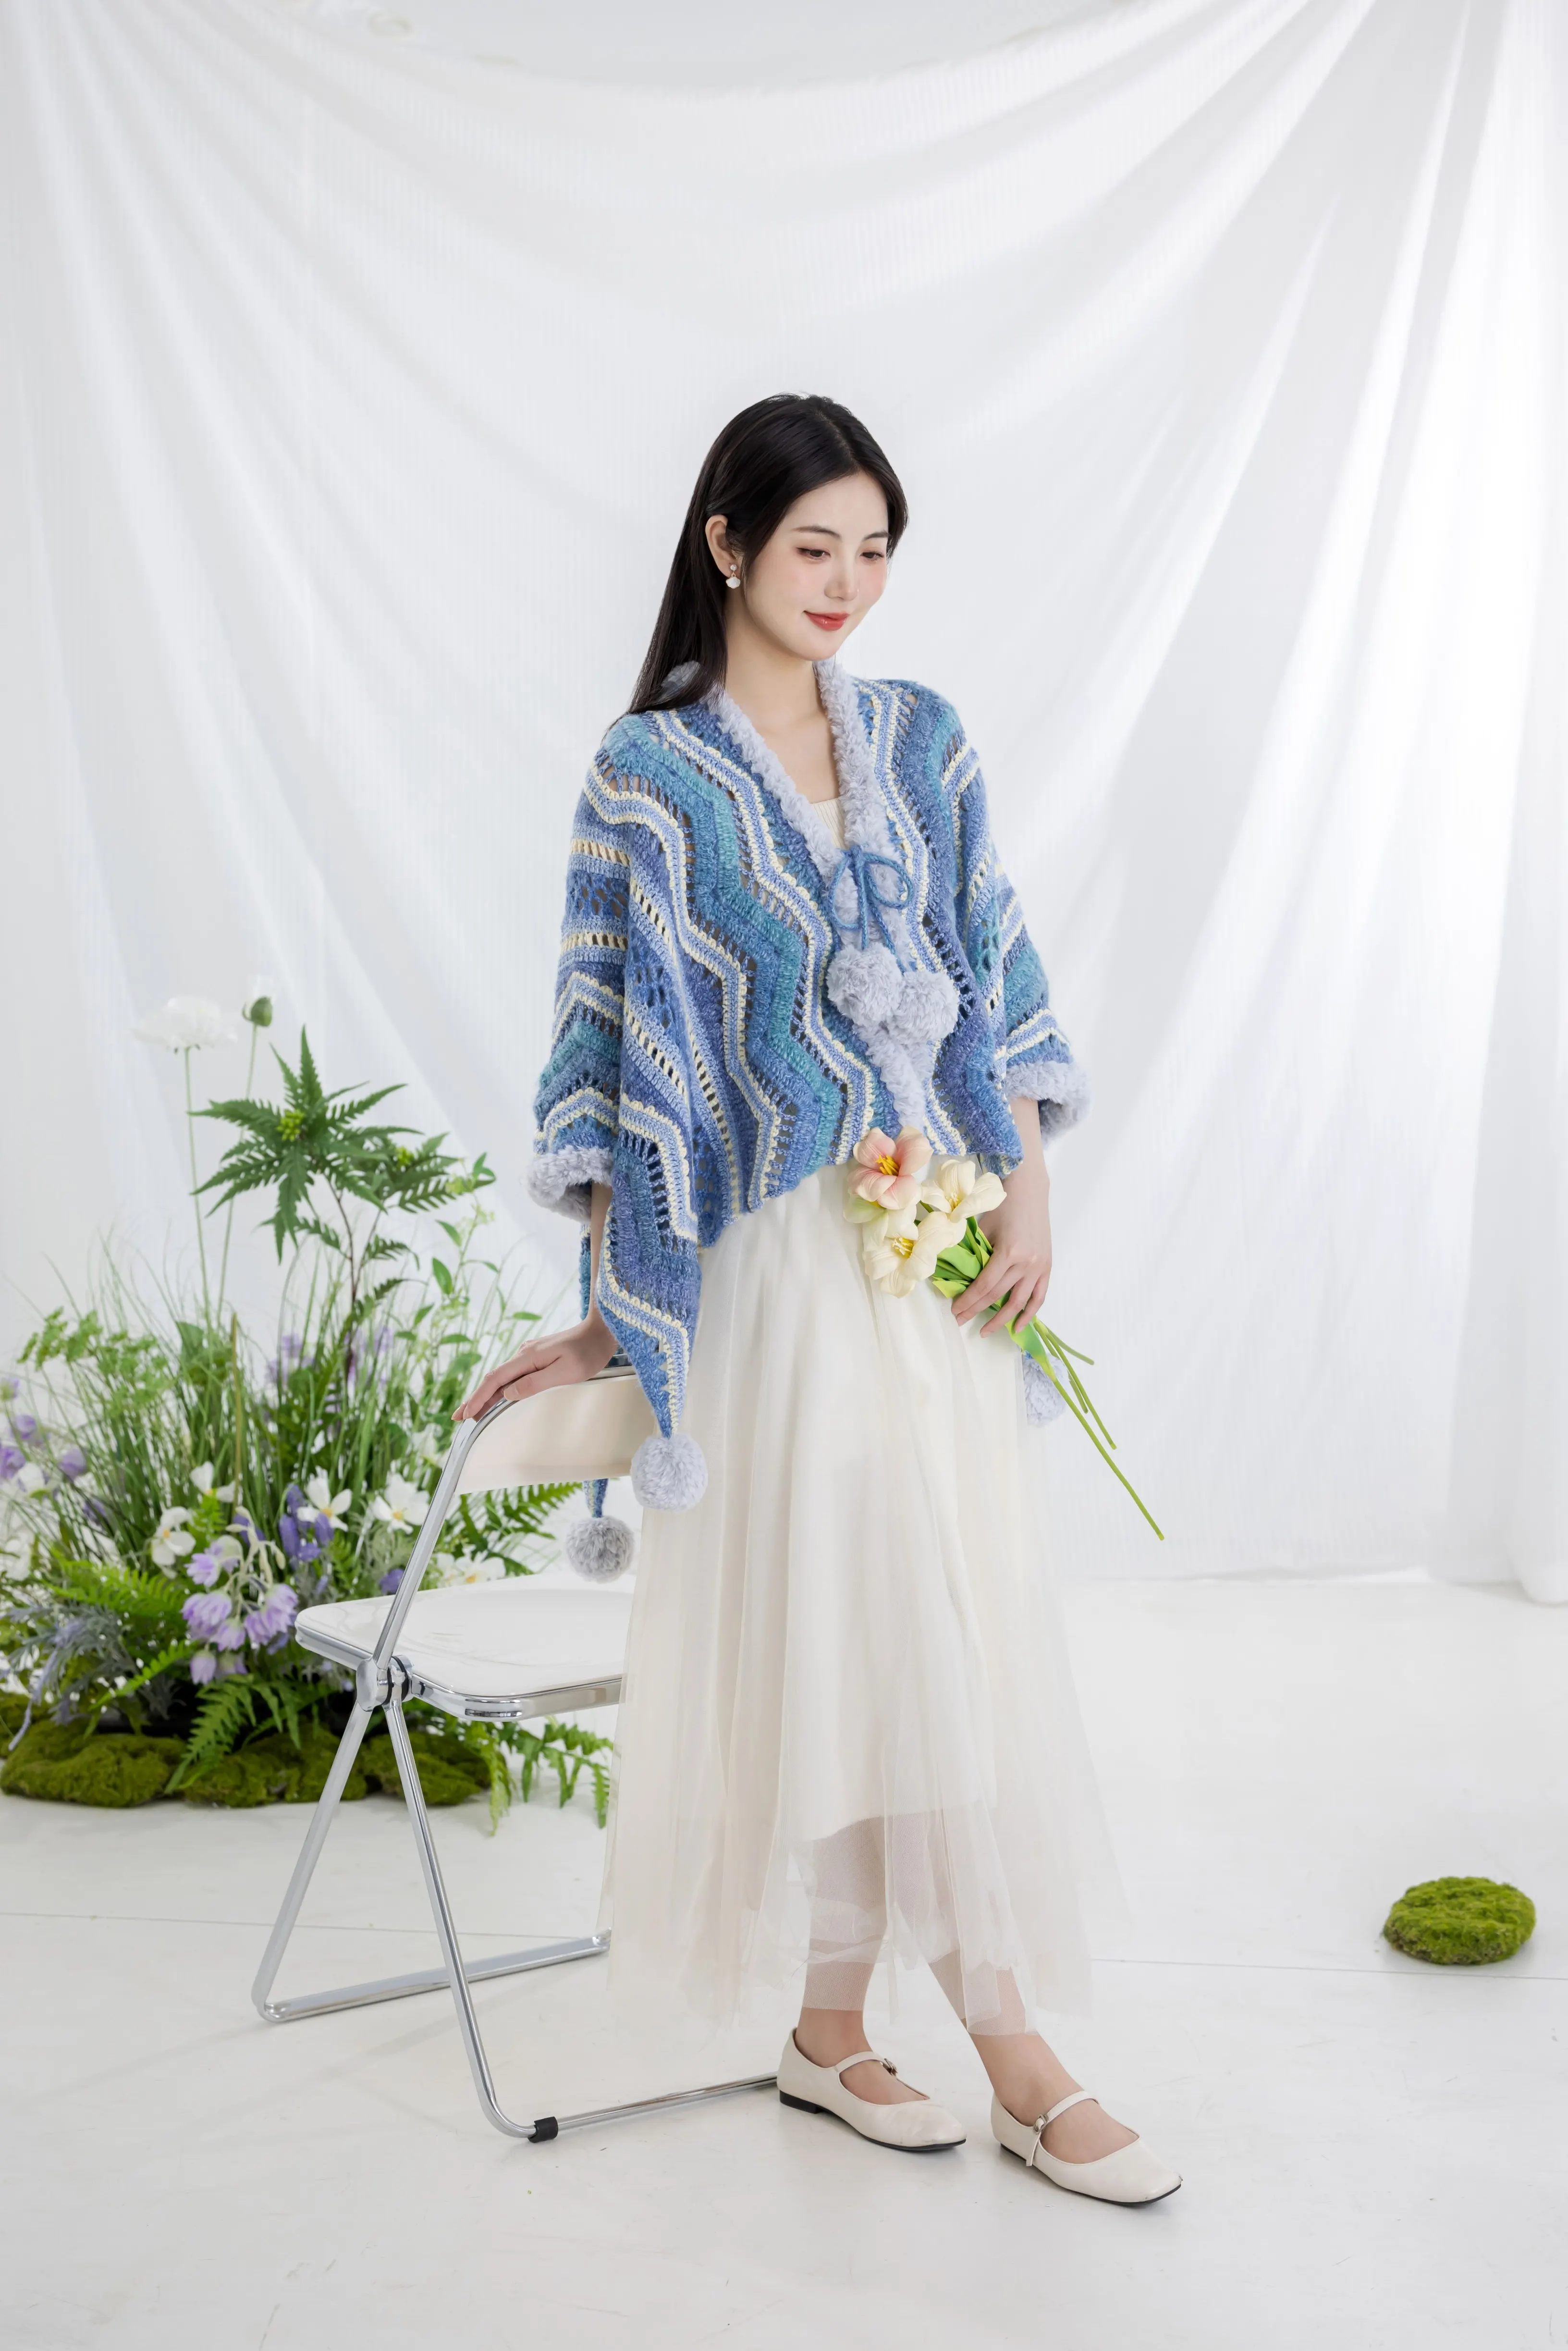
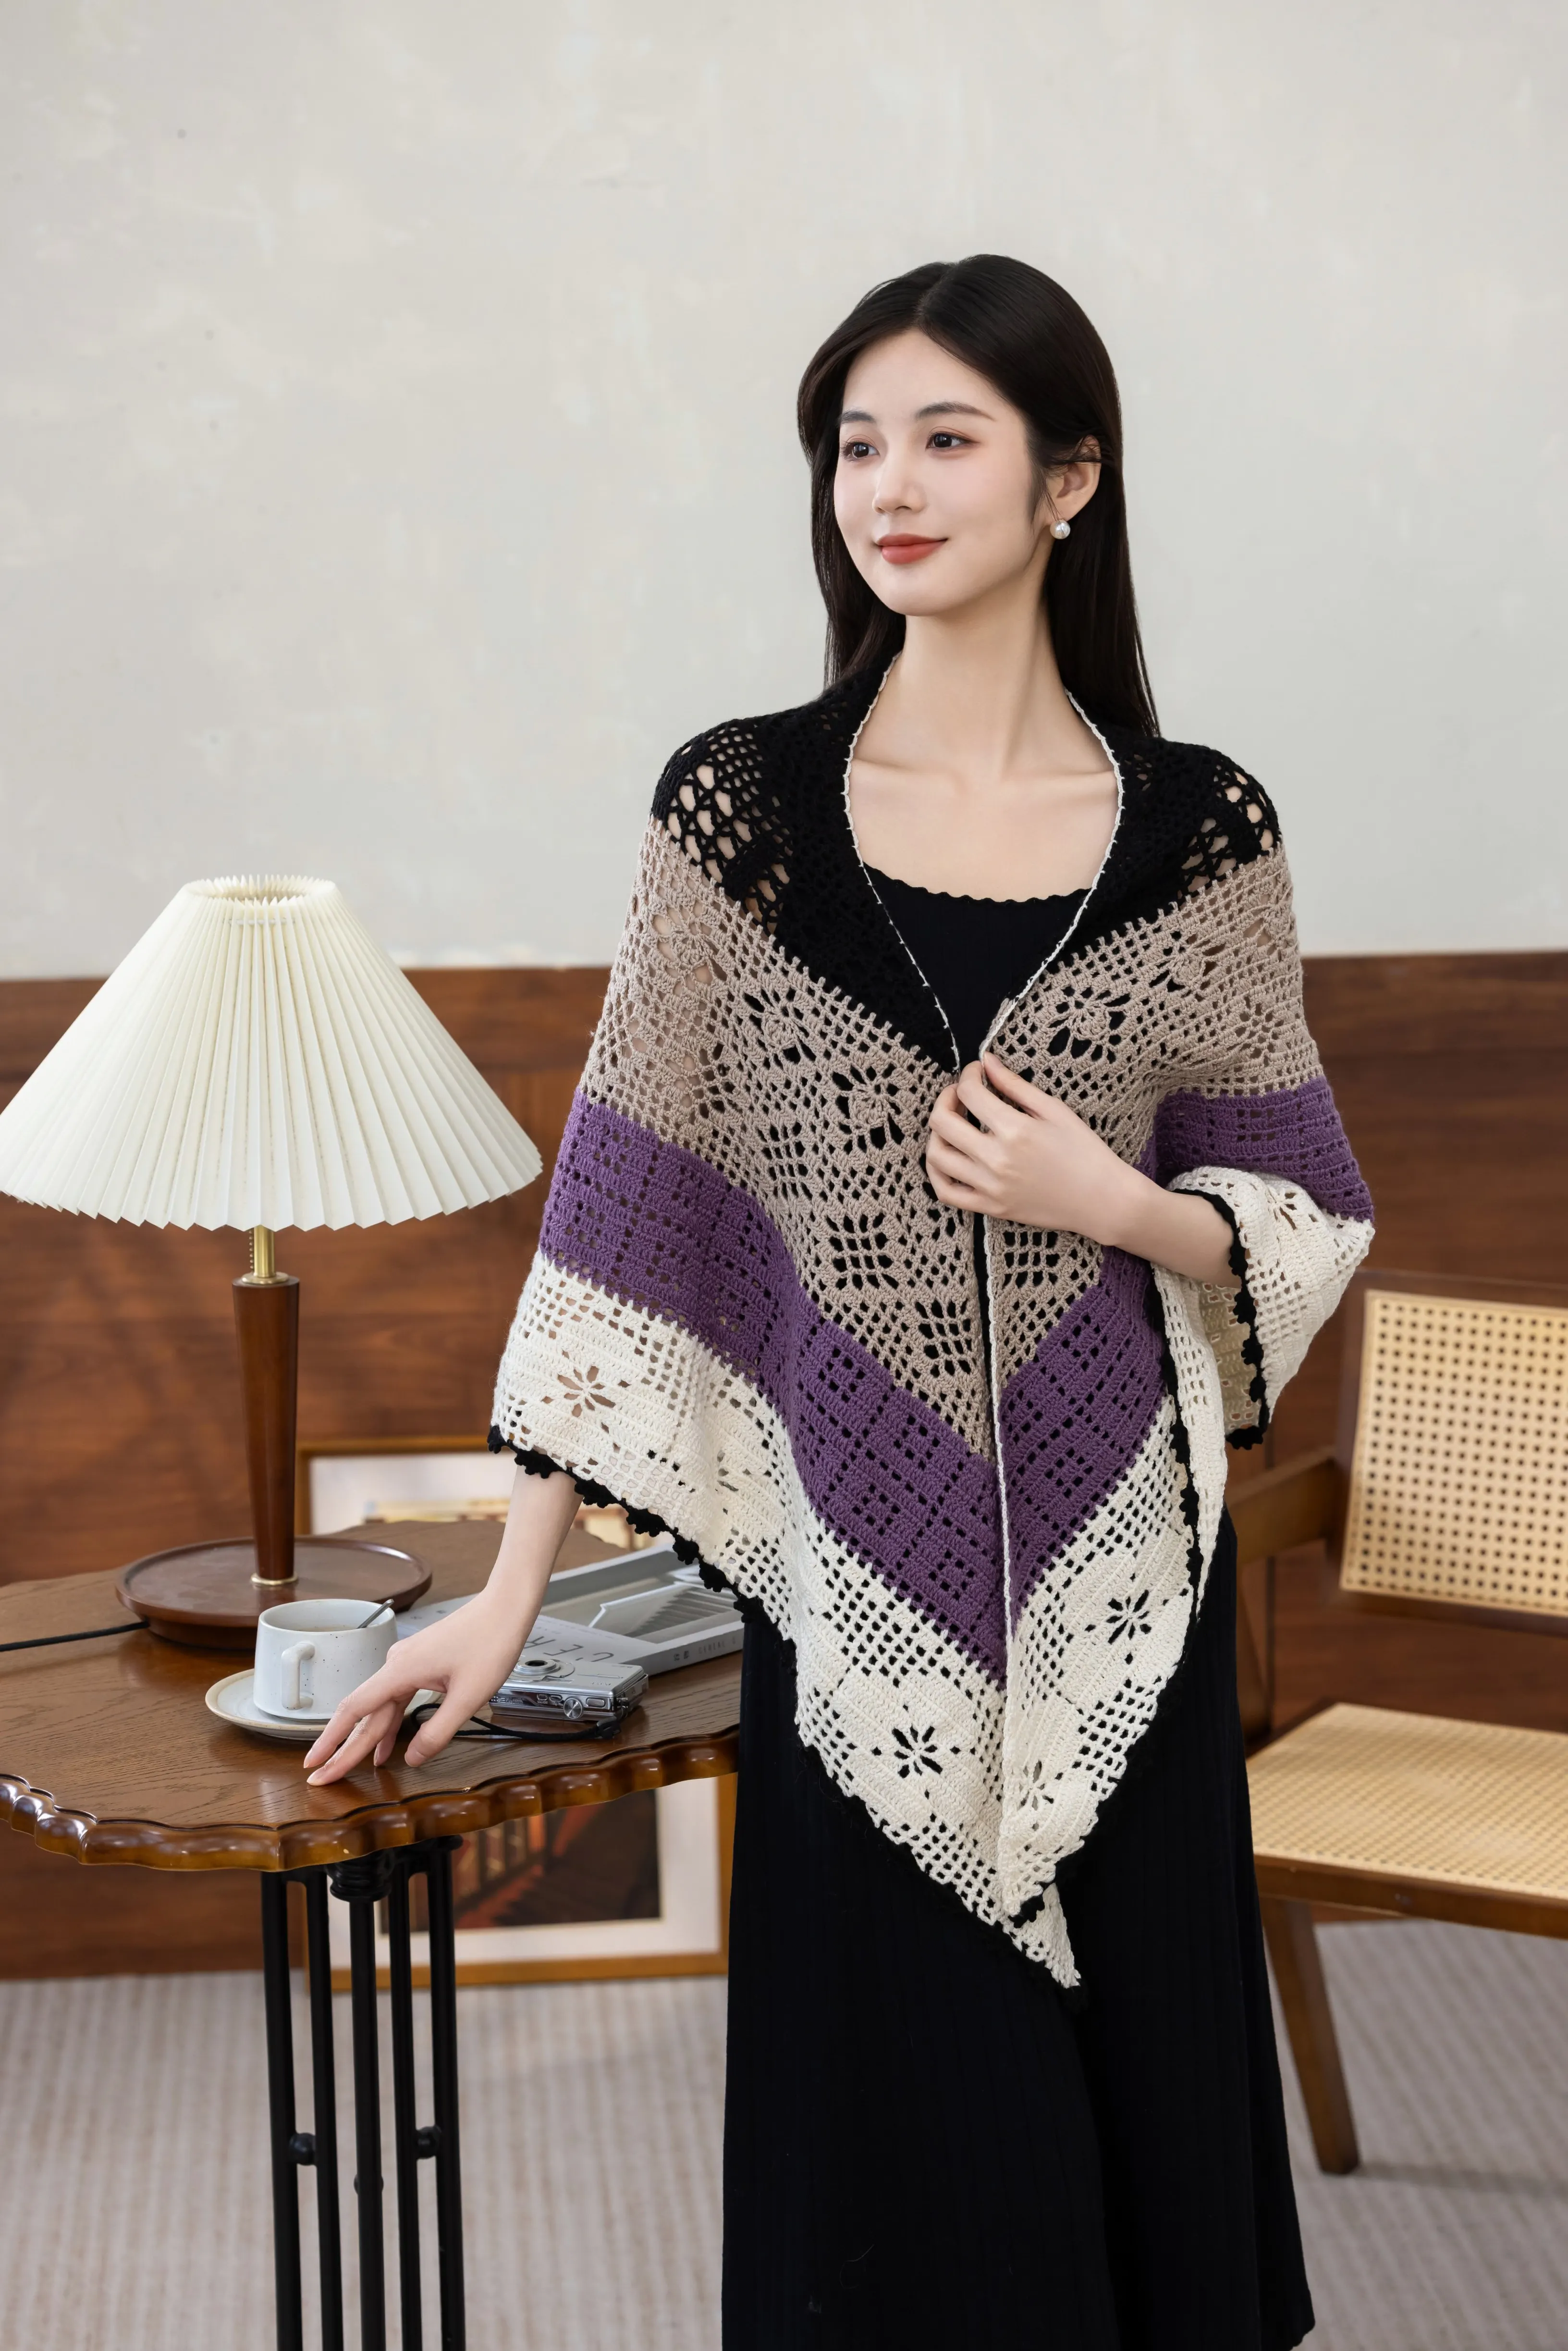
Project preview
See the finished project
Pattern format
Instructions
Watch and follow
Video tutorial
| Style | Yarn | Color |
|---|---|---|
| Moonlight Blue | Sequin Mahai |  11#Moonlight Blue x 4 11#Moonlight Blue x 4 |
| Poinsettia Red | Sequin Mahai | 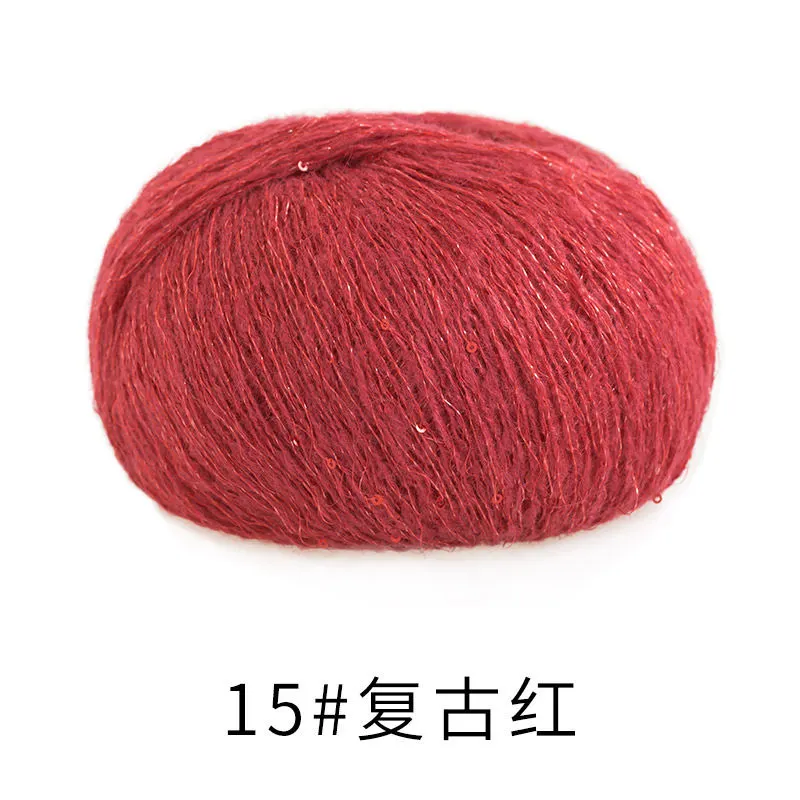 15#Poinsettia Red x 4 15#Poinsettia Red x 4 |
| Snow White | Sequin Mahai |  03#Snow White x 4 03#Snow White x 4 |
| Dark Green | Sequin Mahai | 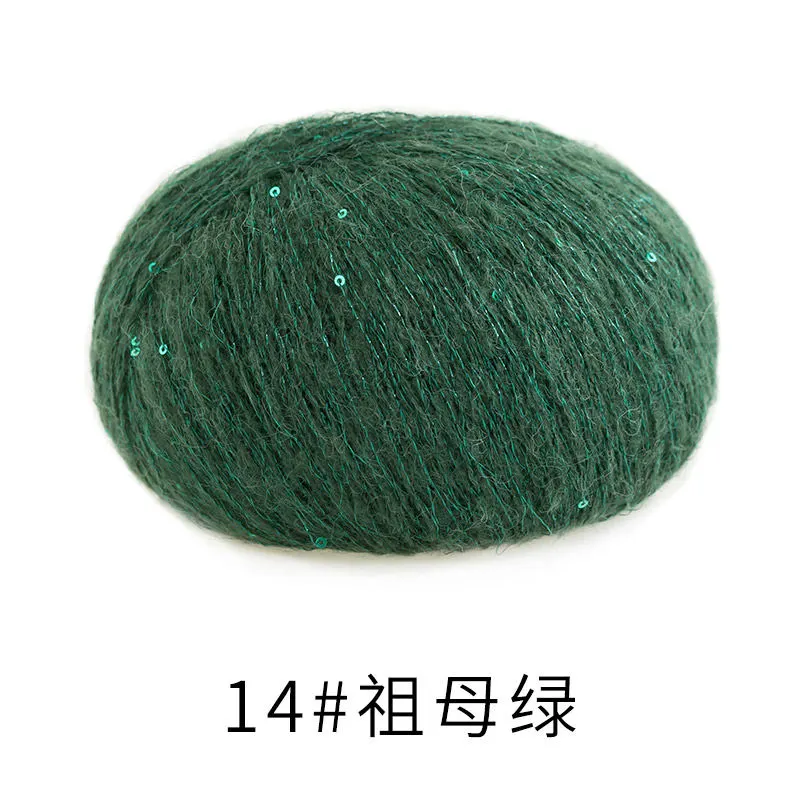 14#Dark Green x 4 14#Dark Green x 4 |
| Tea Rose | Sequin Mahai | 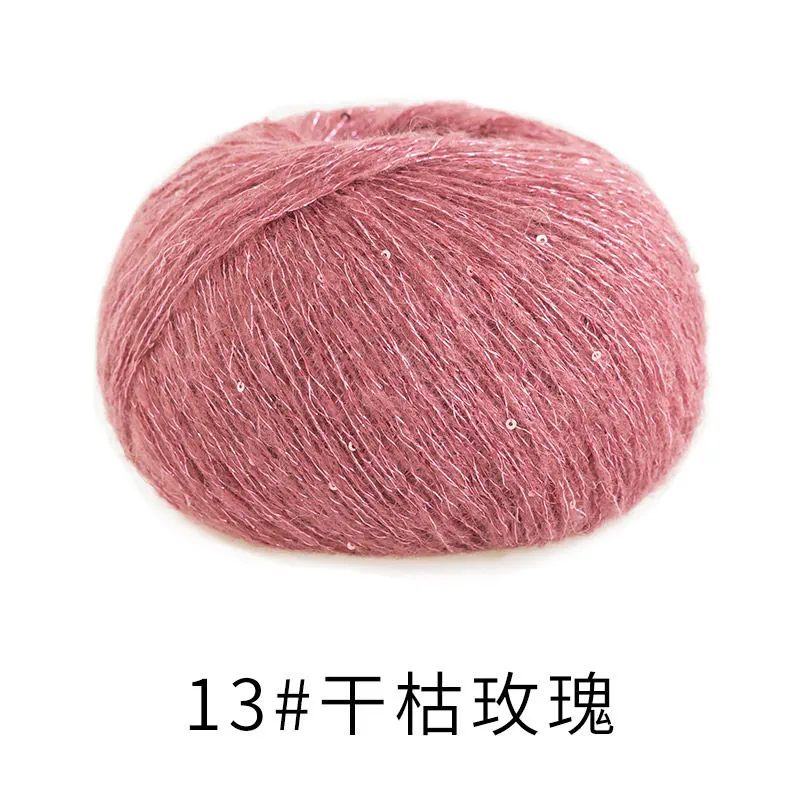 13#Tea Rose x 4 13#Tea Rose x 4 |
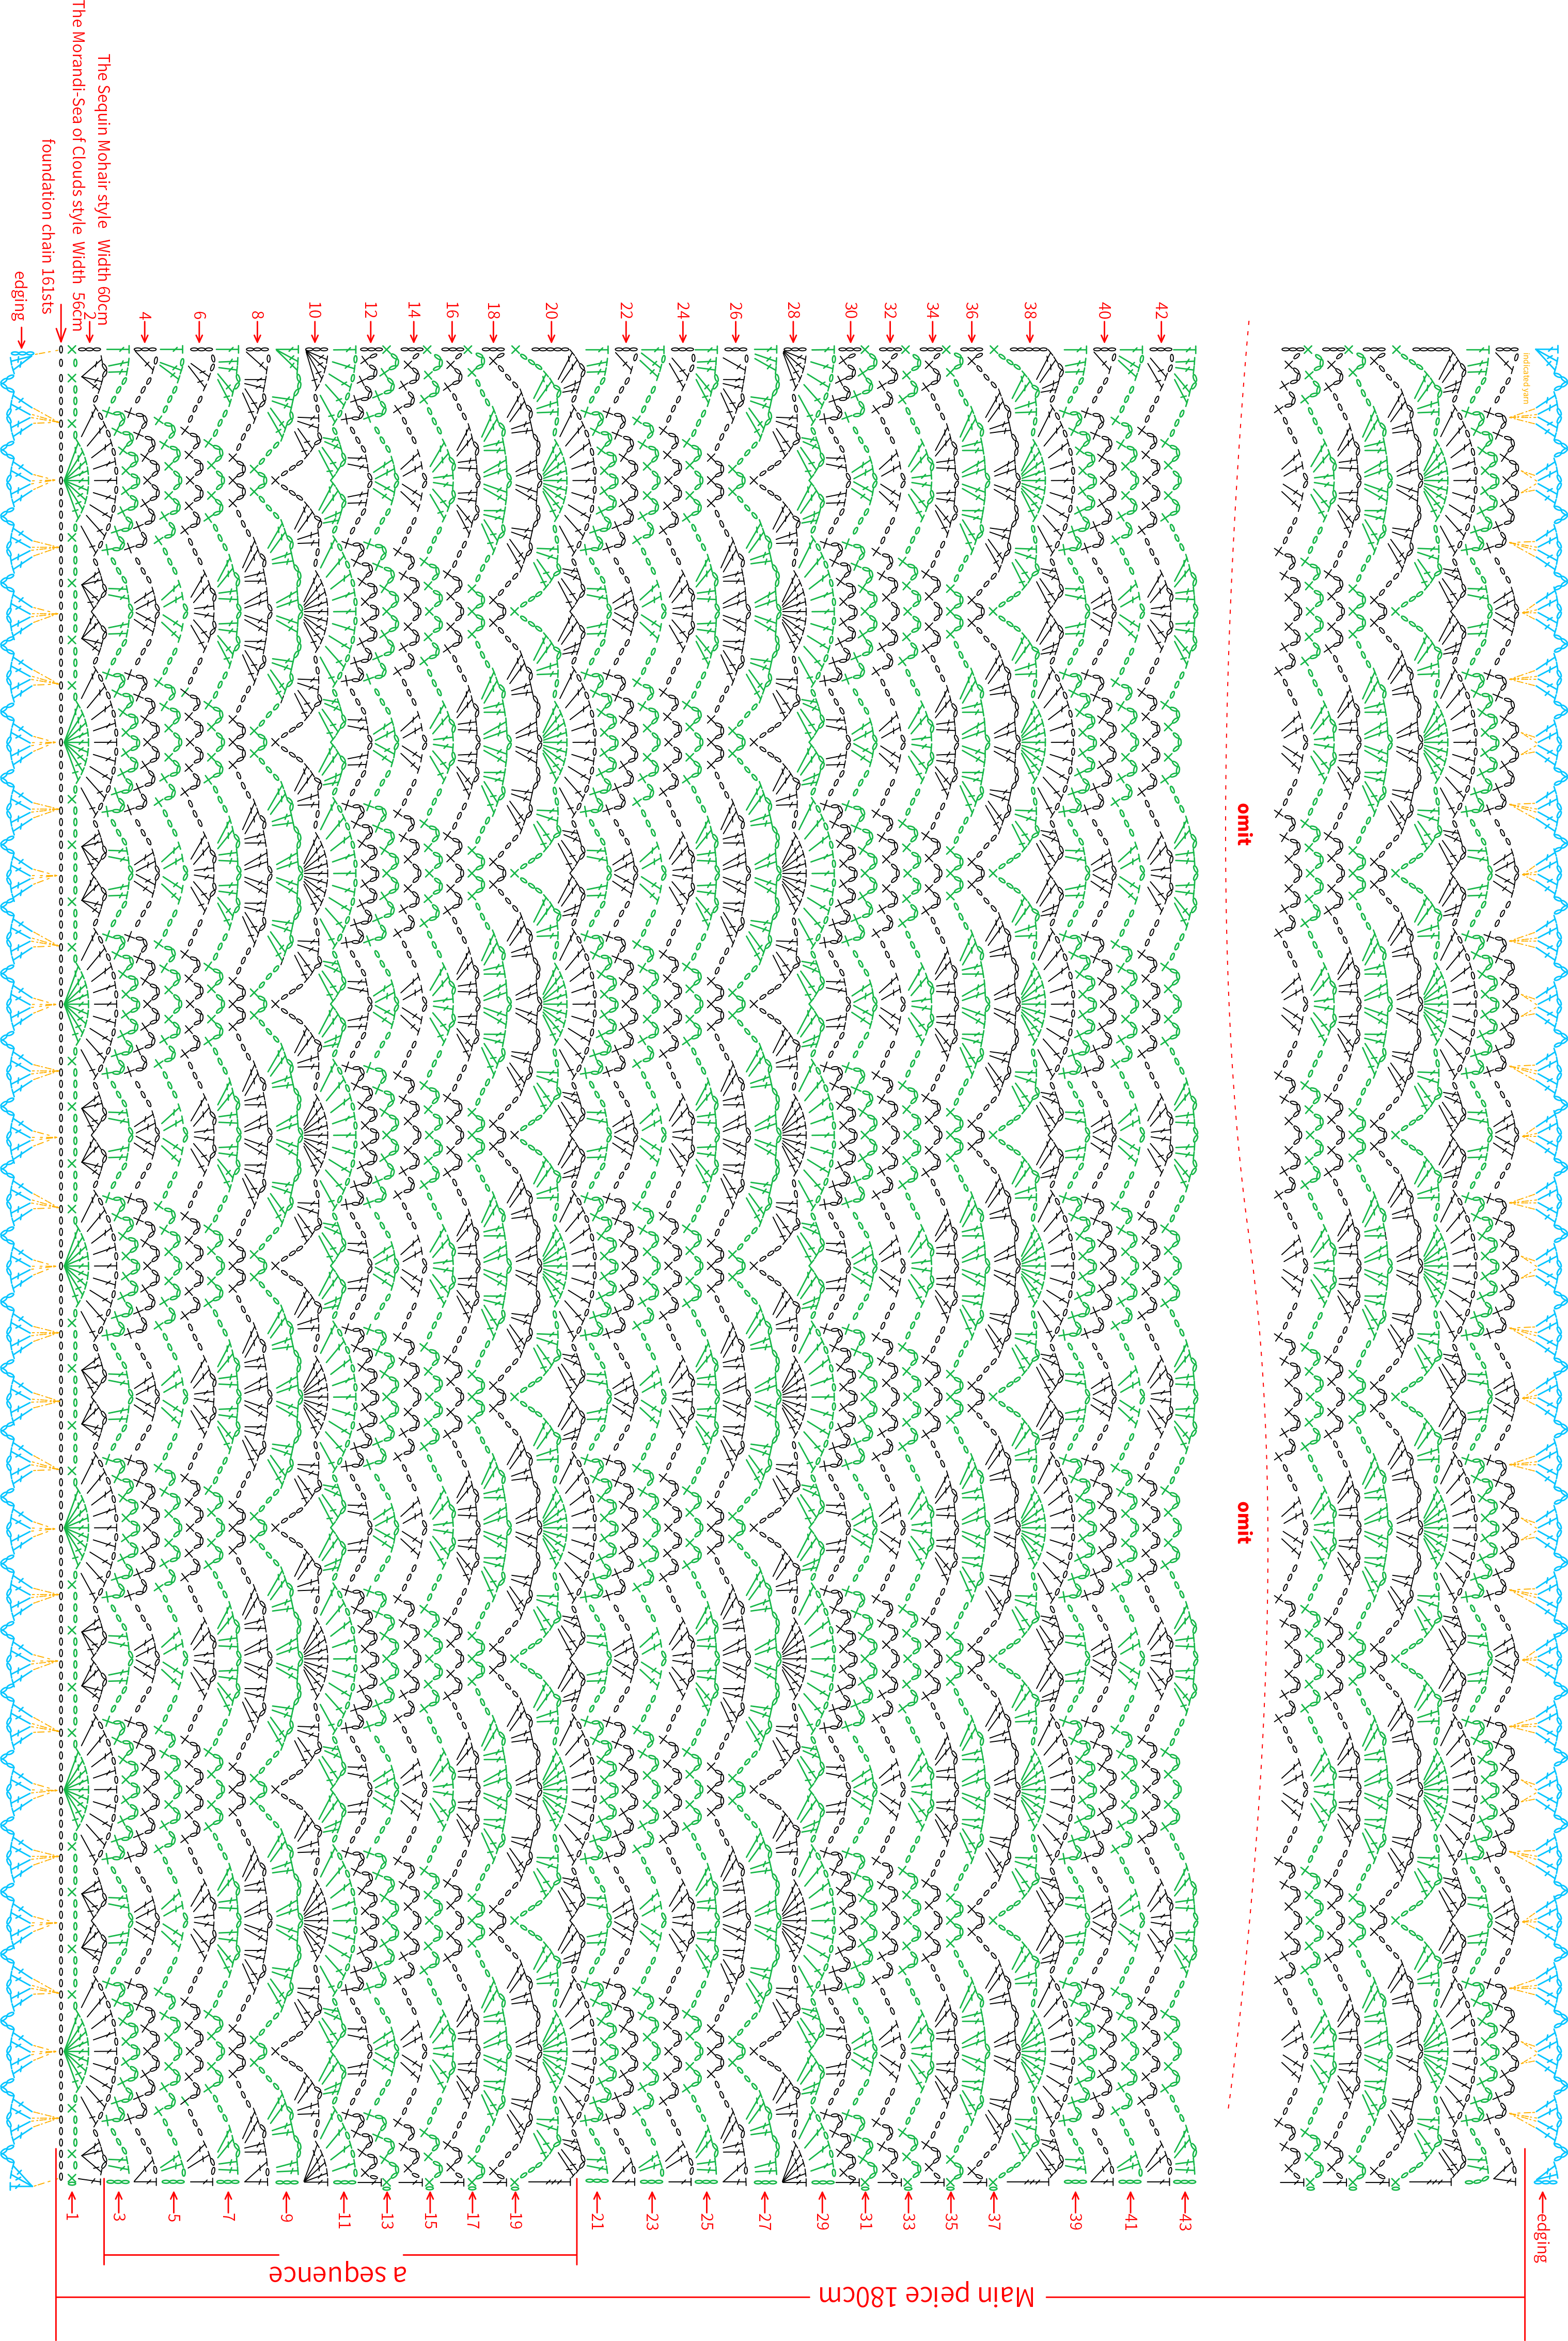
This shawl comes in multiple yarn versions divided into the main piece and edging. First, work the main piece with a foundation chain, work back and forth. Do not cut the yarn at the last row, edging at the ending side. Joining the yarn when edging at the foundation chain side. Please refer to the video demonstration for more details.
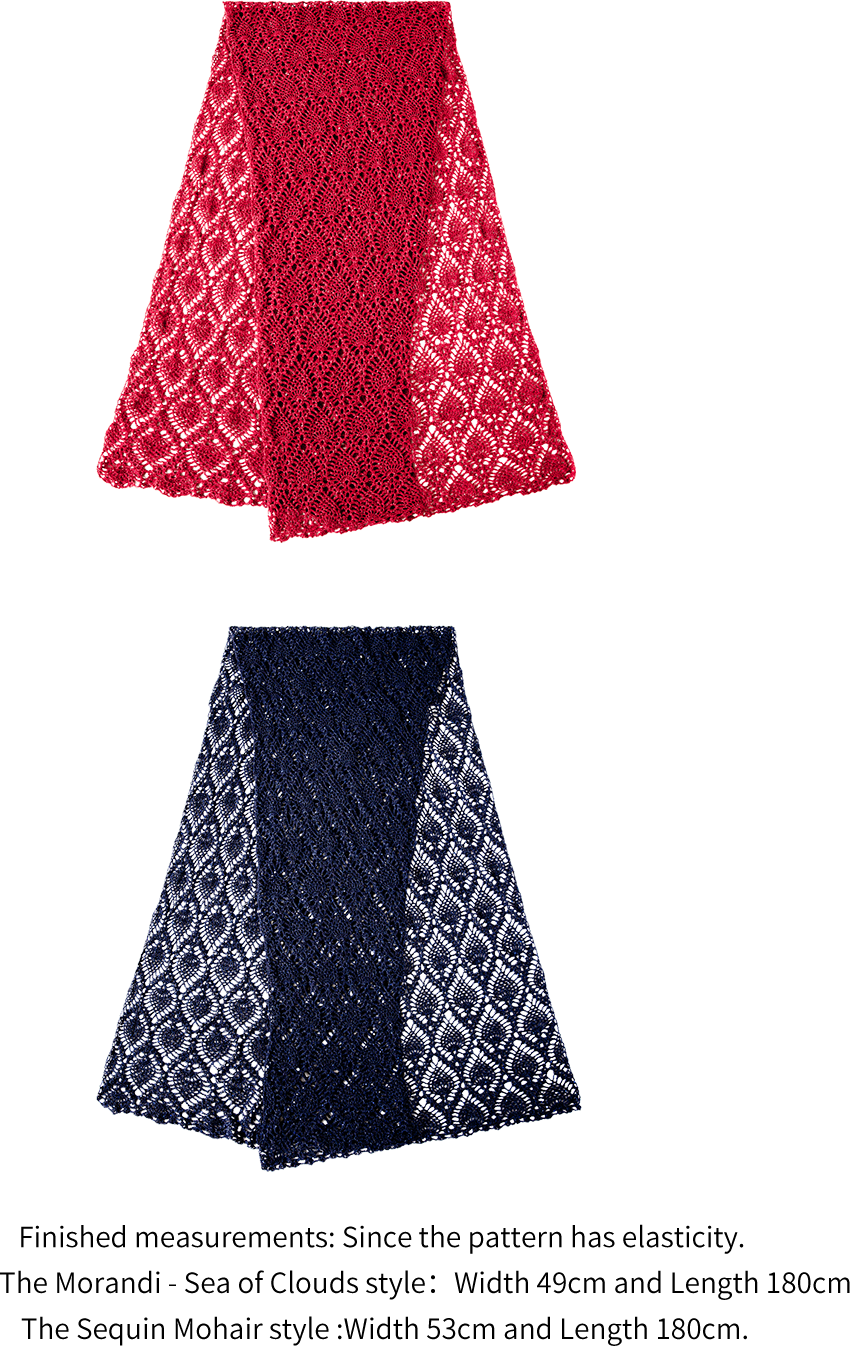
The handcrafted measurements may have an error of 1 to 2 cm. Due to variations in individual tension, the size of the sample is for reference only.
Materials: Susan's Family Sequin Mohair/Morandi-Sea of Clouds
Hook: 3.00 mm crochet hook

Note: This pattern is making in Chinese crochet pattern terms, and the stitch name is written using American terminology. All measurements in charts are in cm.

Chart Key




Note: This product comes in various yarn options, all divided into the main piece and edging. Start by crocheting the main part, which begins with a foundation chain and is worked back and forth. Do not cut the yarn after completing the last row; proceed to crochet the edging at the end. For the edging at the starting point, you will need to join a new yarn and crochet. Please refer to the video demonstration for specifics.
Made by the community