Accessories / Shawl
Porcelain Filigree
Project preview
See the finished project
Pattern format
Instructions
Watch and follow
Video tutorial
| Style | Yarn | Color |
|---|---|---|
| Blue Version | Impression Misty Feather |  14#Silver Lake Blue x 3 14#Silver Lake Blue x 3 25#Whisper White x 4 25#Whisper White x 4 |
| Red Version | Impression Misty Feather |  19#Aurora Red x 325#Whisper White x 4 19#Aurora Red x 325#Whisper White x 4 |
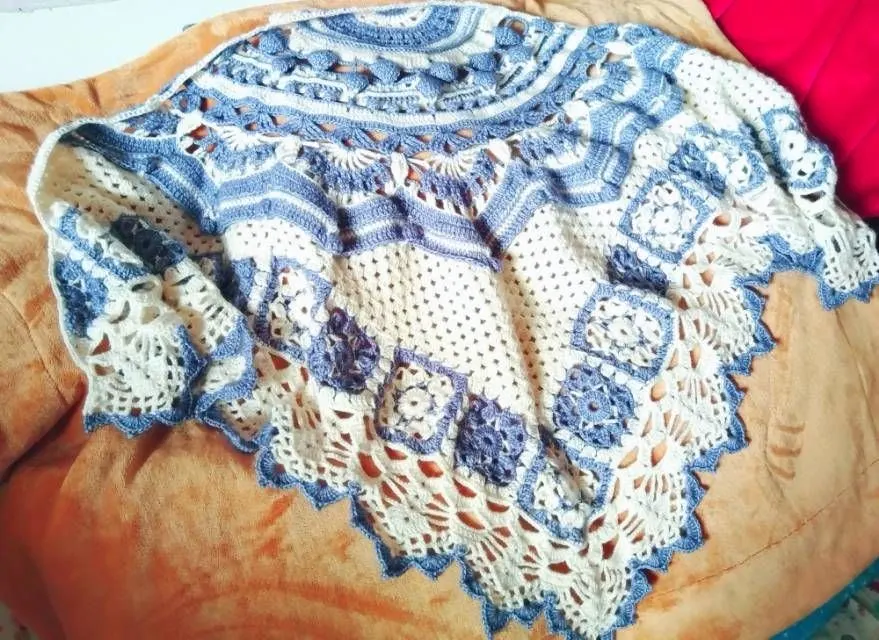
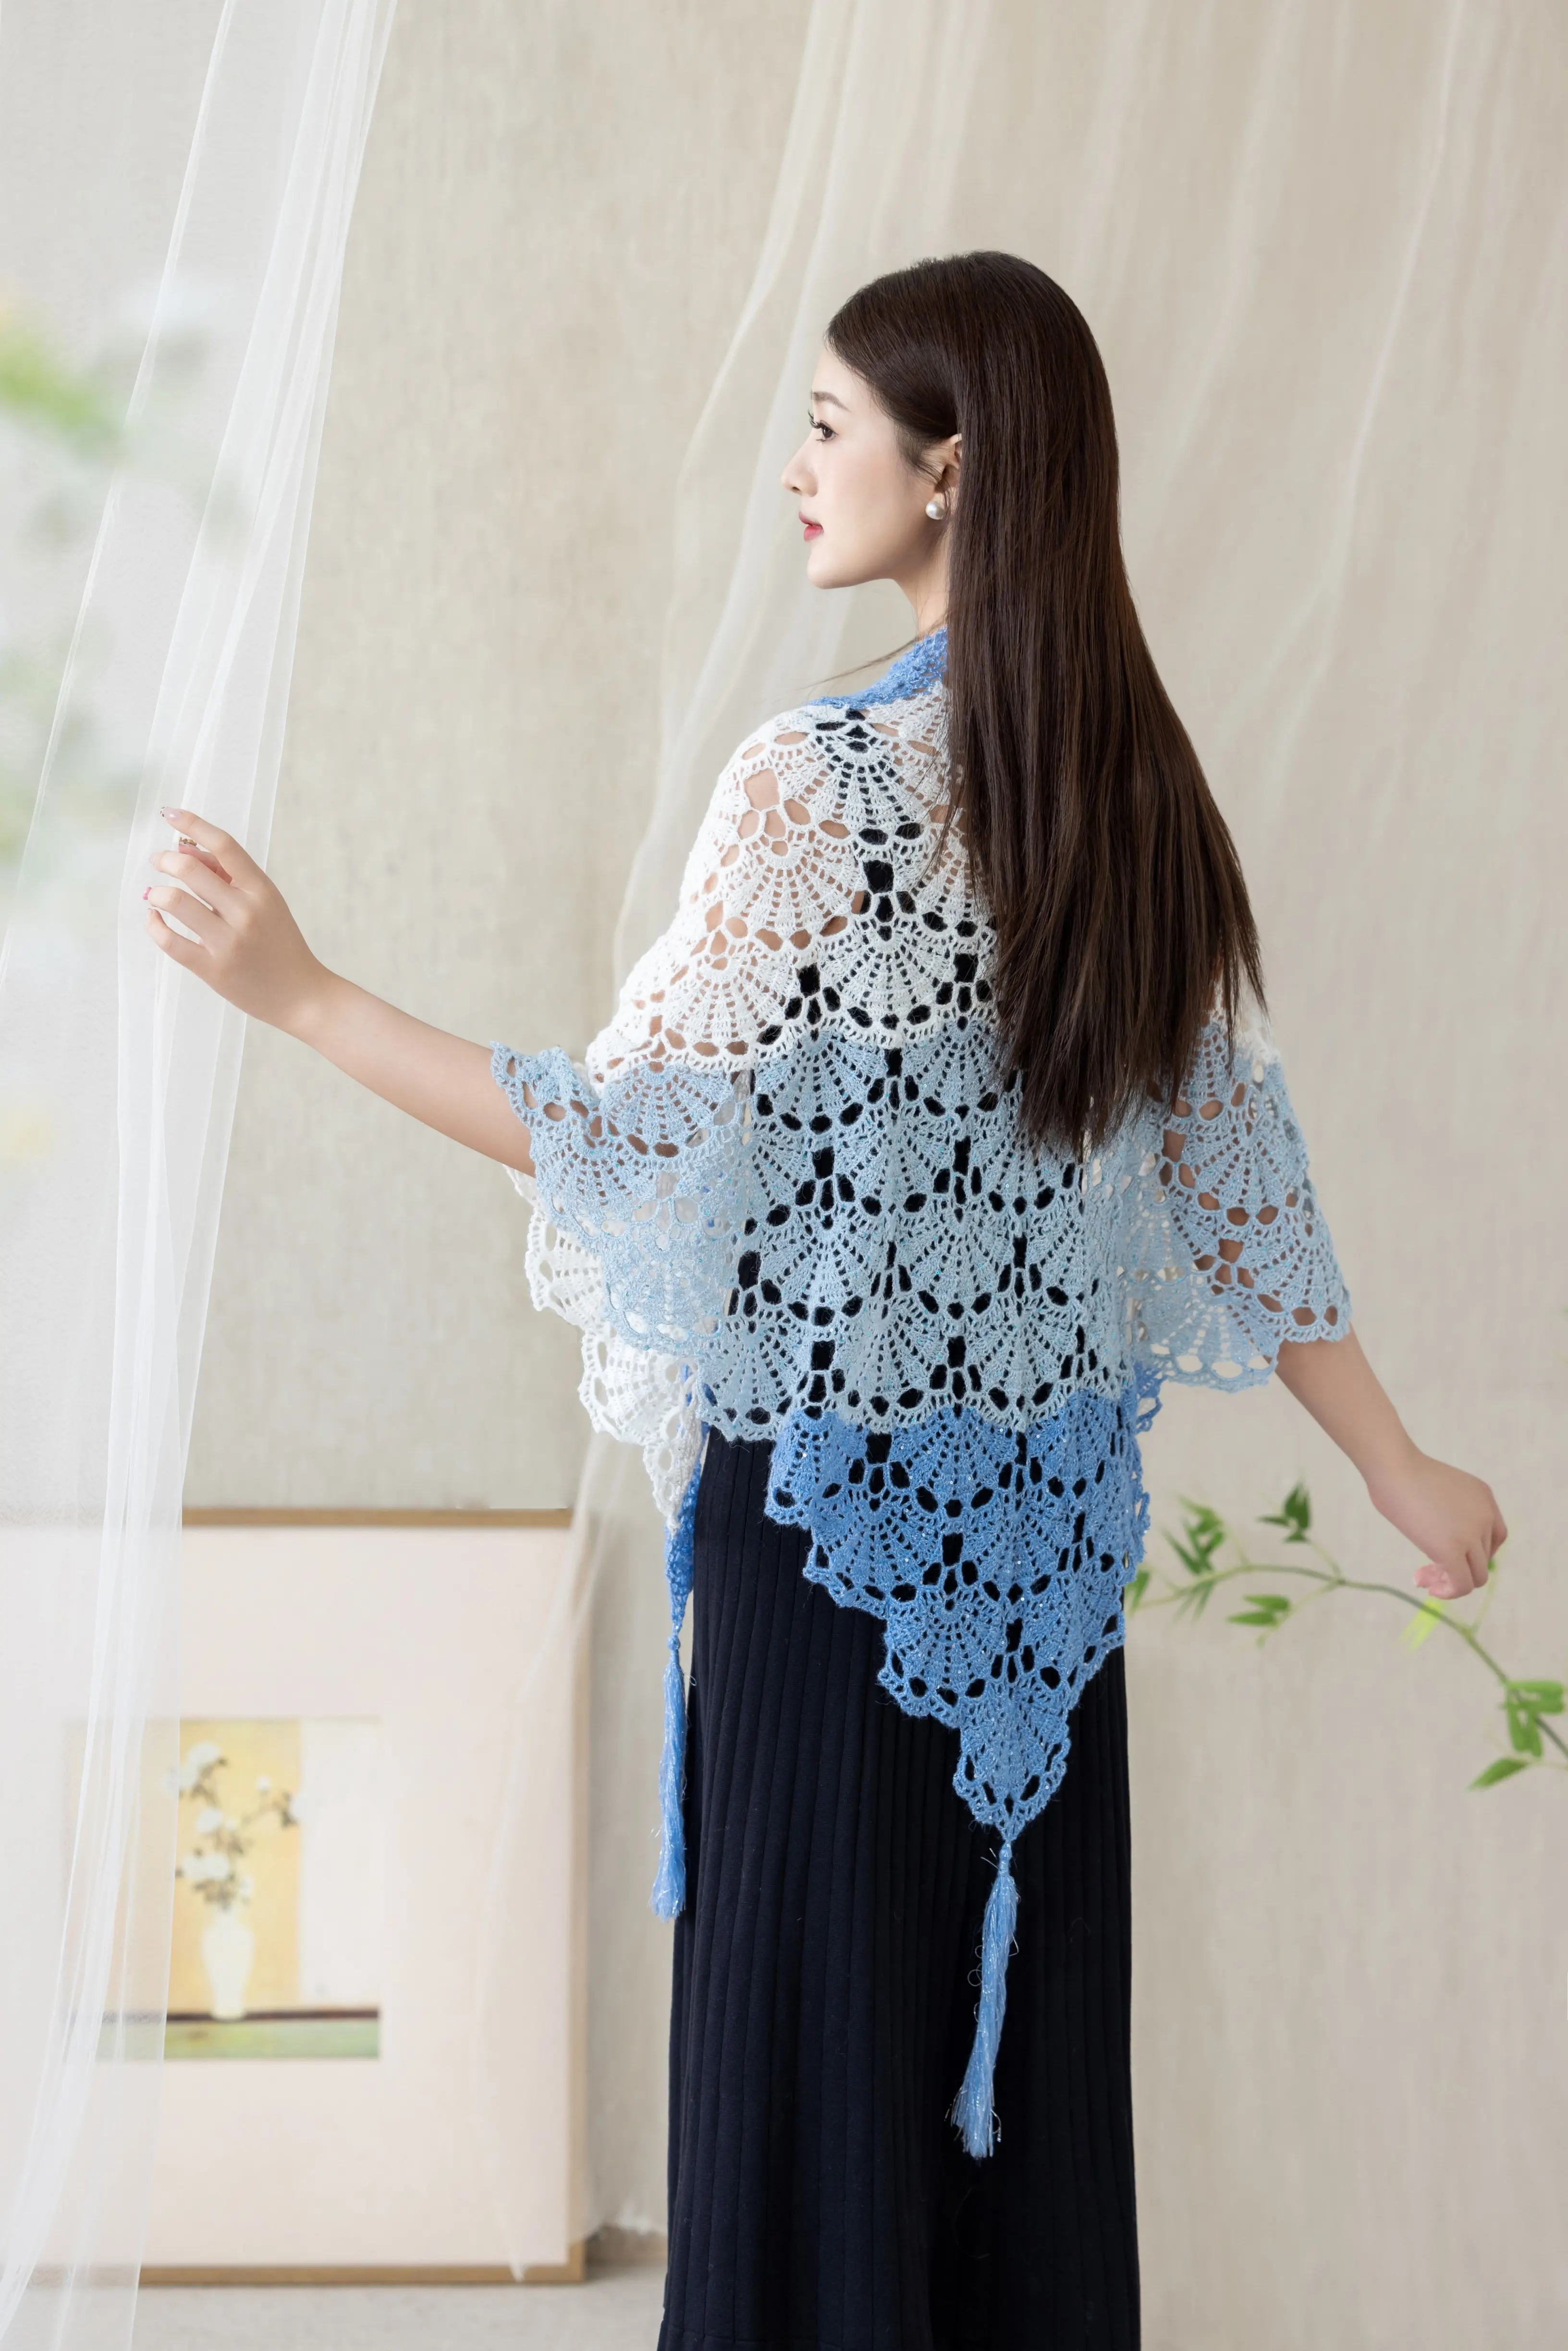
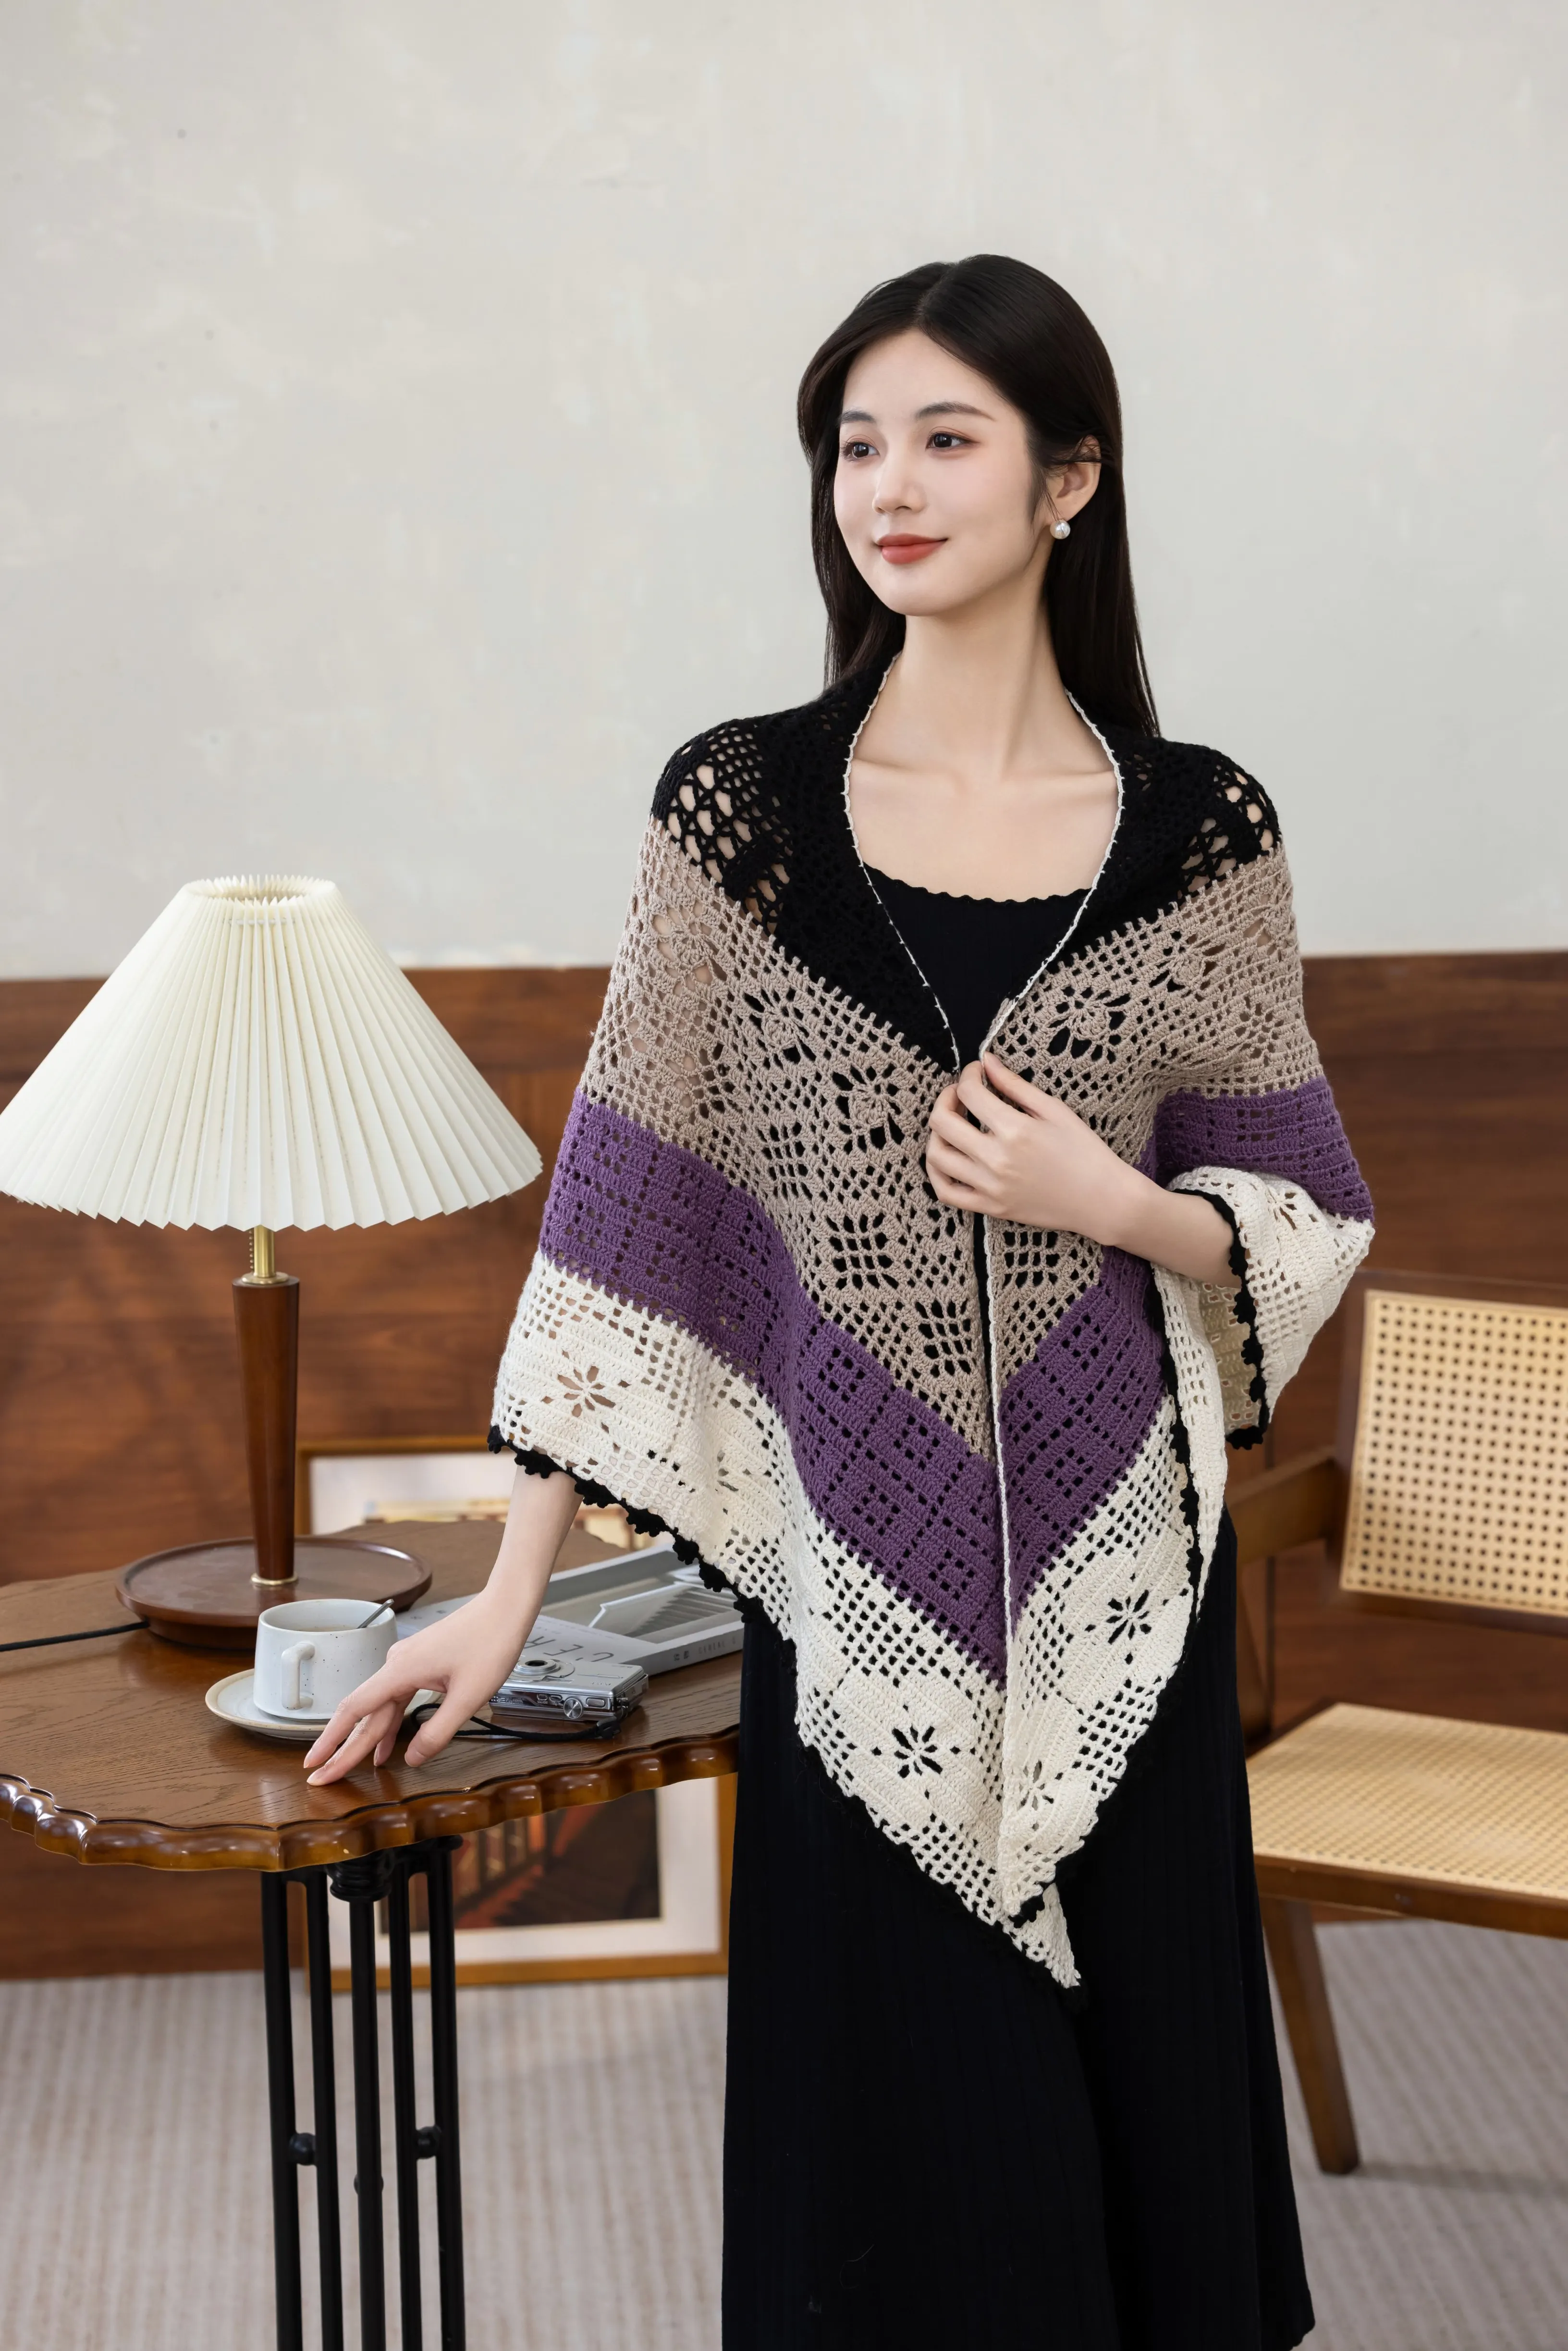
This shawl is divided into three sections. Work from the center outwards, starting with Section 1, then Section 2, and finally Section 3. Section 2 consists of Motif 1 and Motif 2, which are crocheted while connecting to Section 1 along the edge, and the motifs are also joined together as you go.
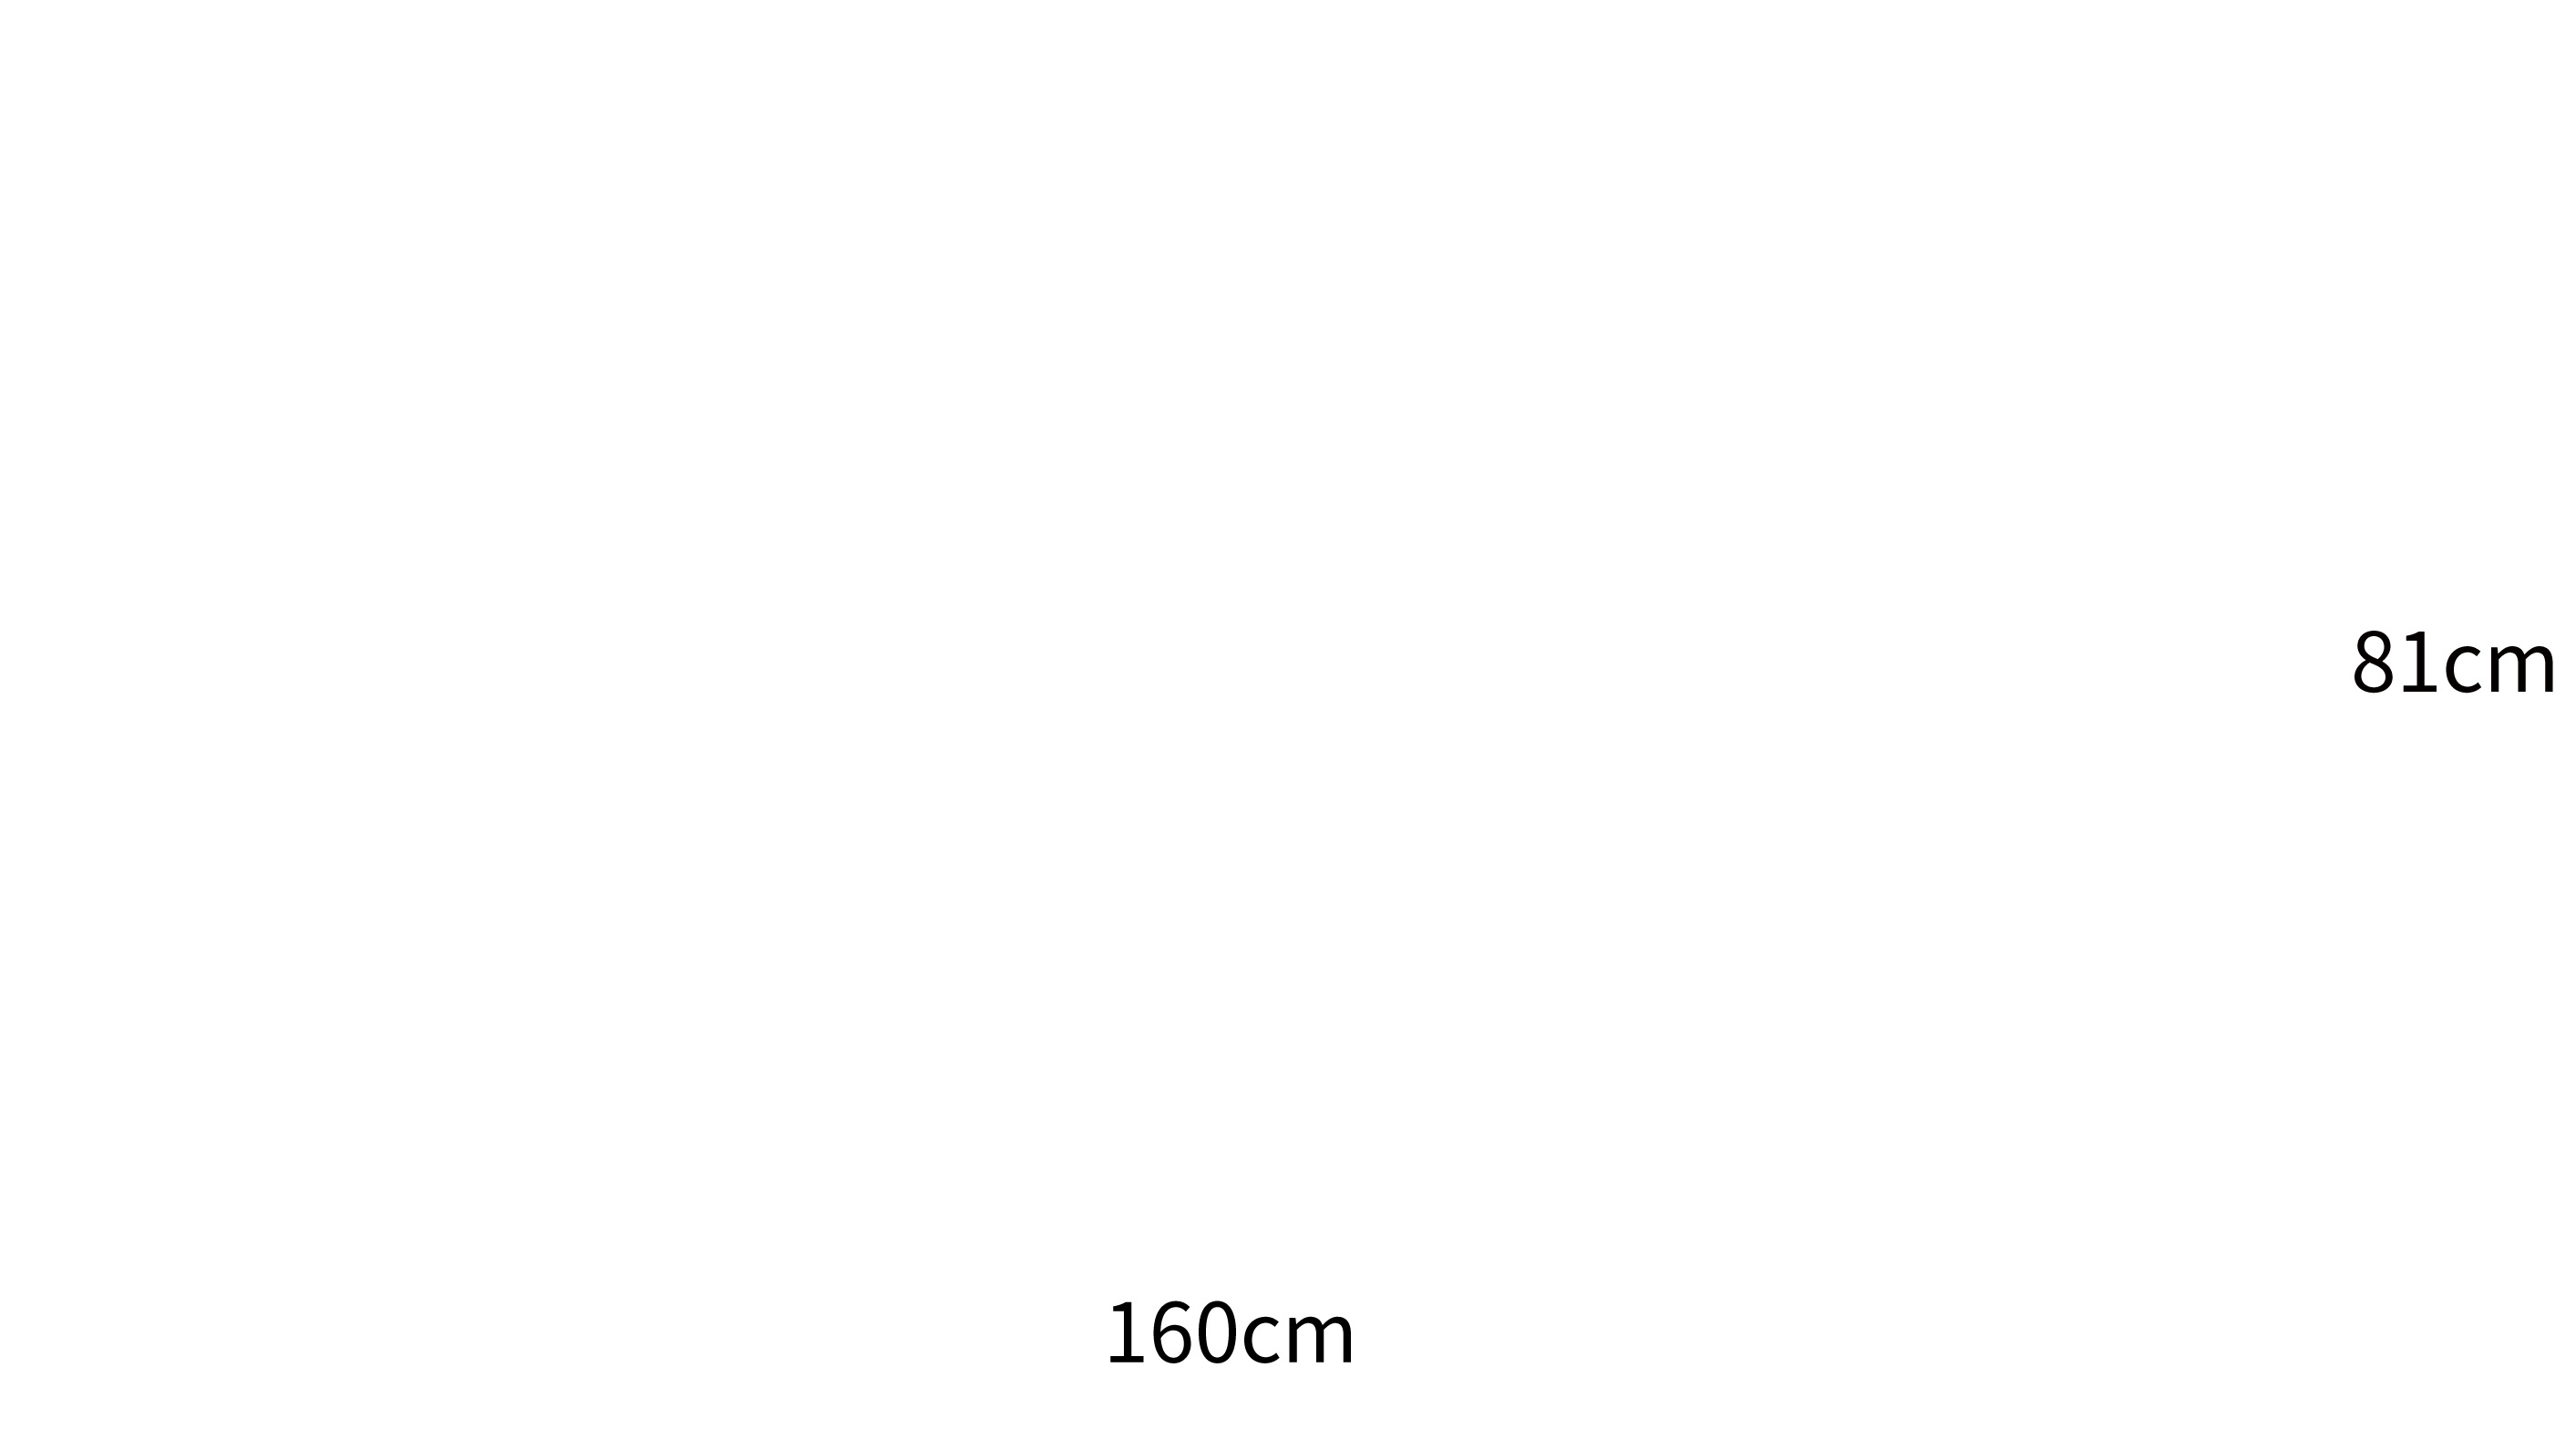
Note: Hand-measured, with a possible error of 1-2 cm. Due to differences in individual tension, the sample size is for reference only.
Yarn: Susan's Family Impression Misty Feather
Tools: Susan's Family crochet hook 3.60 mm or regular crochet hook 3.50mm.

Structure Diagram
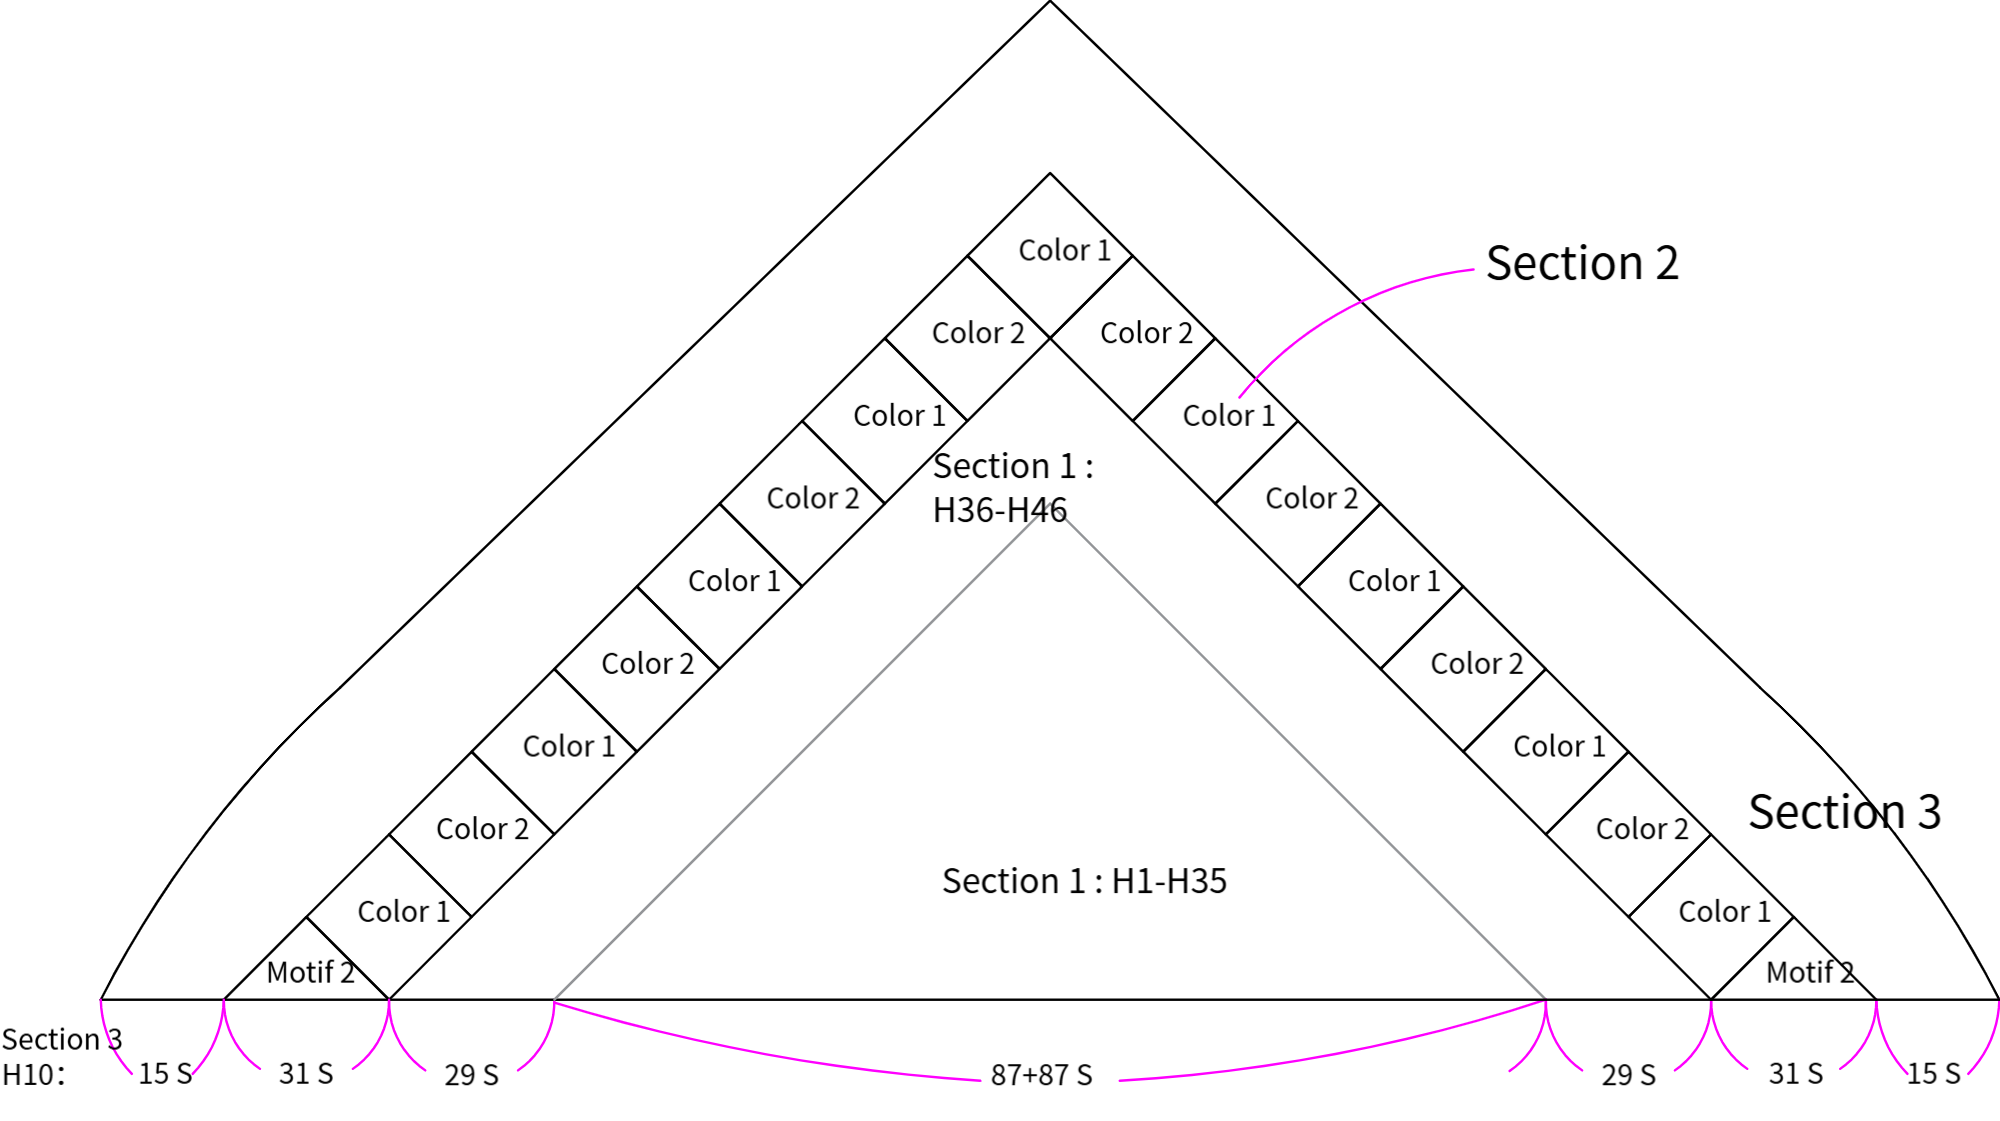
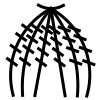
Chart Key










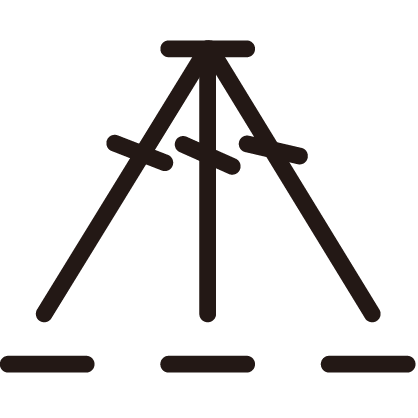


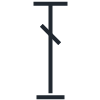










Note:
1. This pattern is making in Chinese crochet pattern terms, and the stitch name is written using American terminology. All measurements in charts are in cm.

PART 1 Section 1A 00' 38'' (Part 1)
For Section 1, start with a chain ring foundation and work back and forth in rows. Please refer to the video demonstration for details.
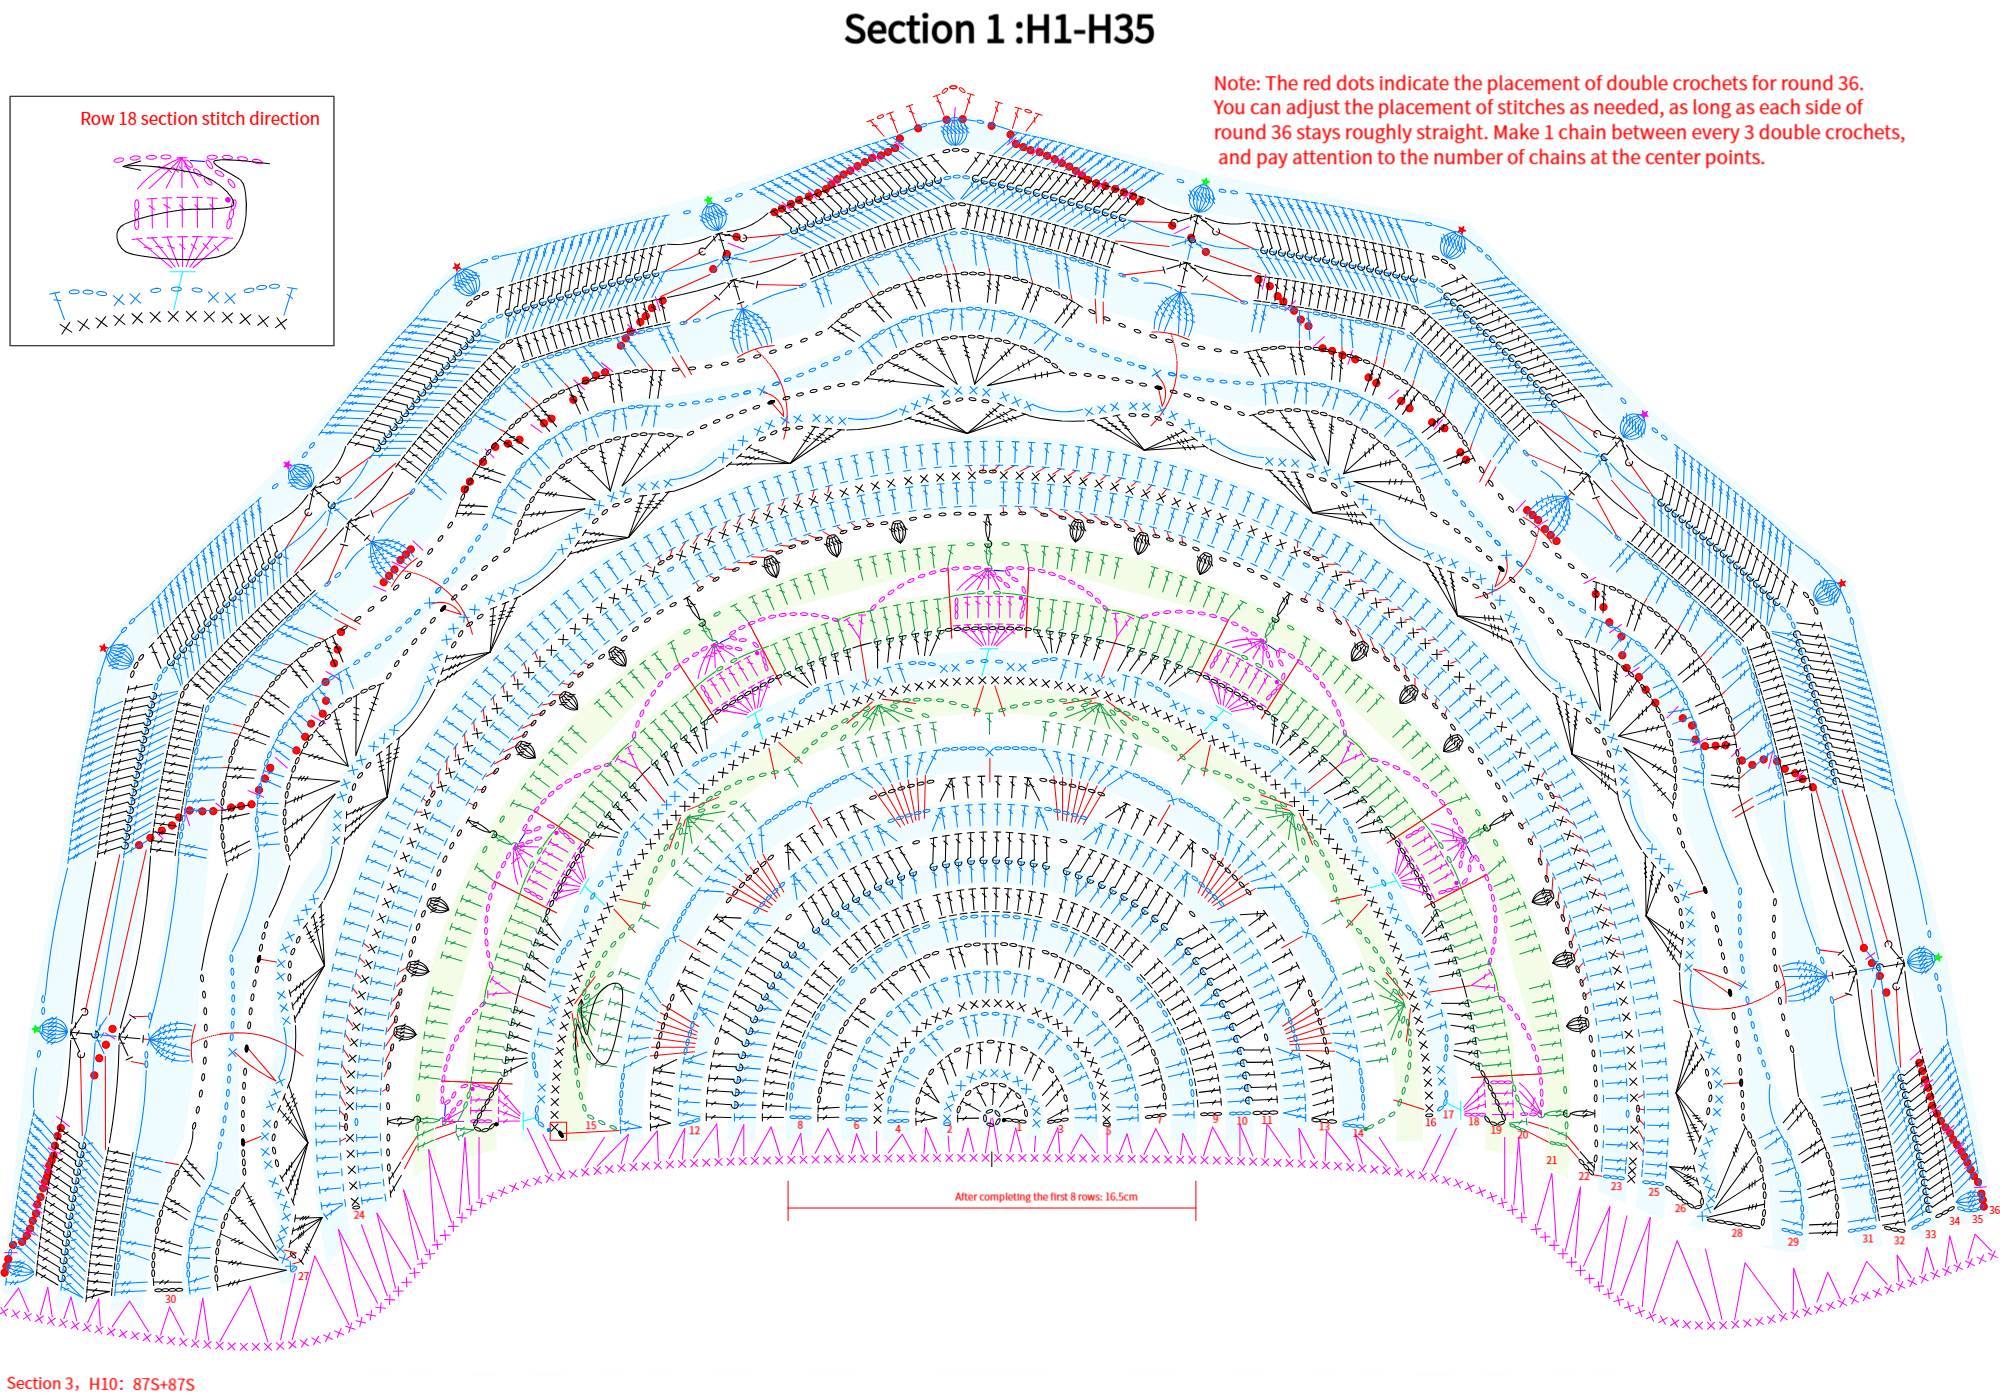
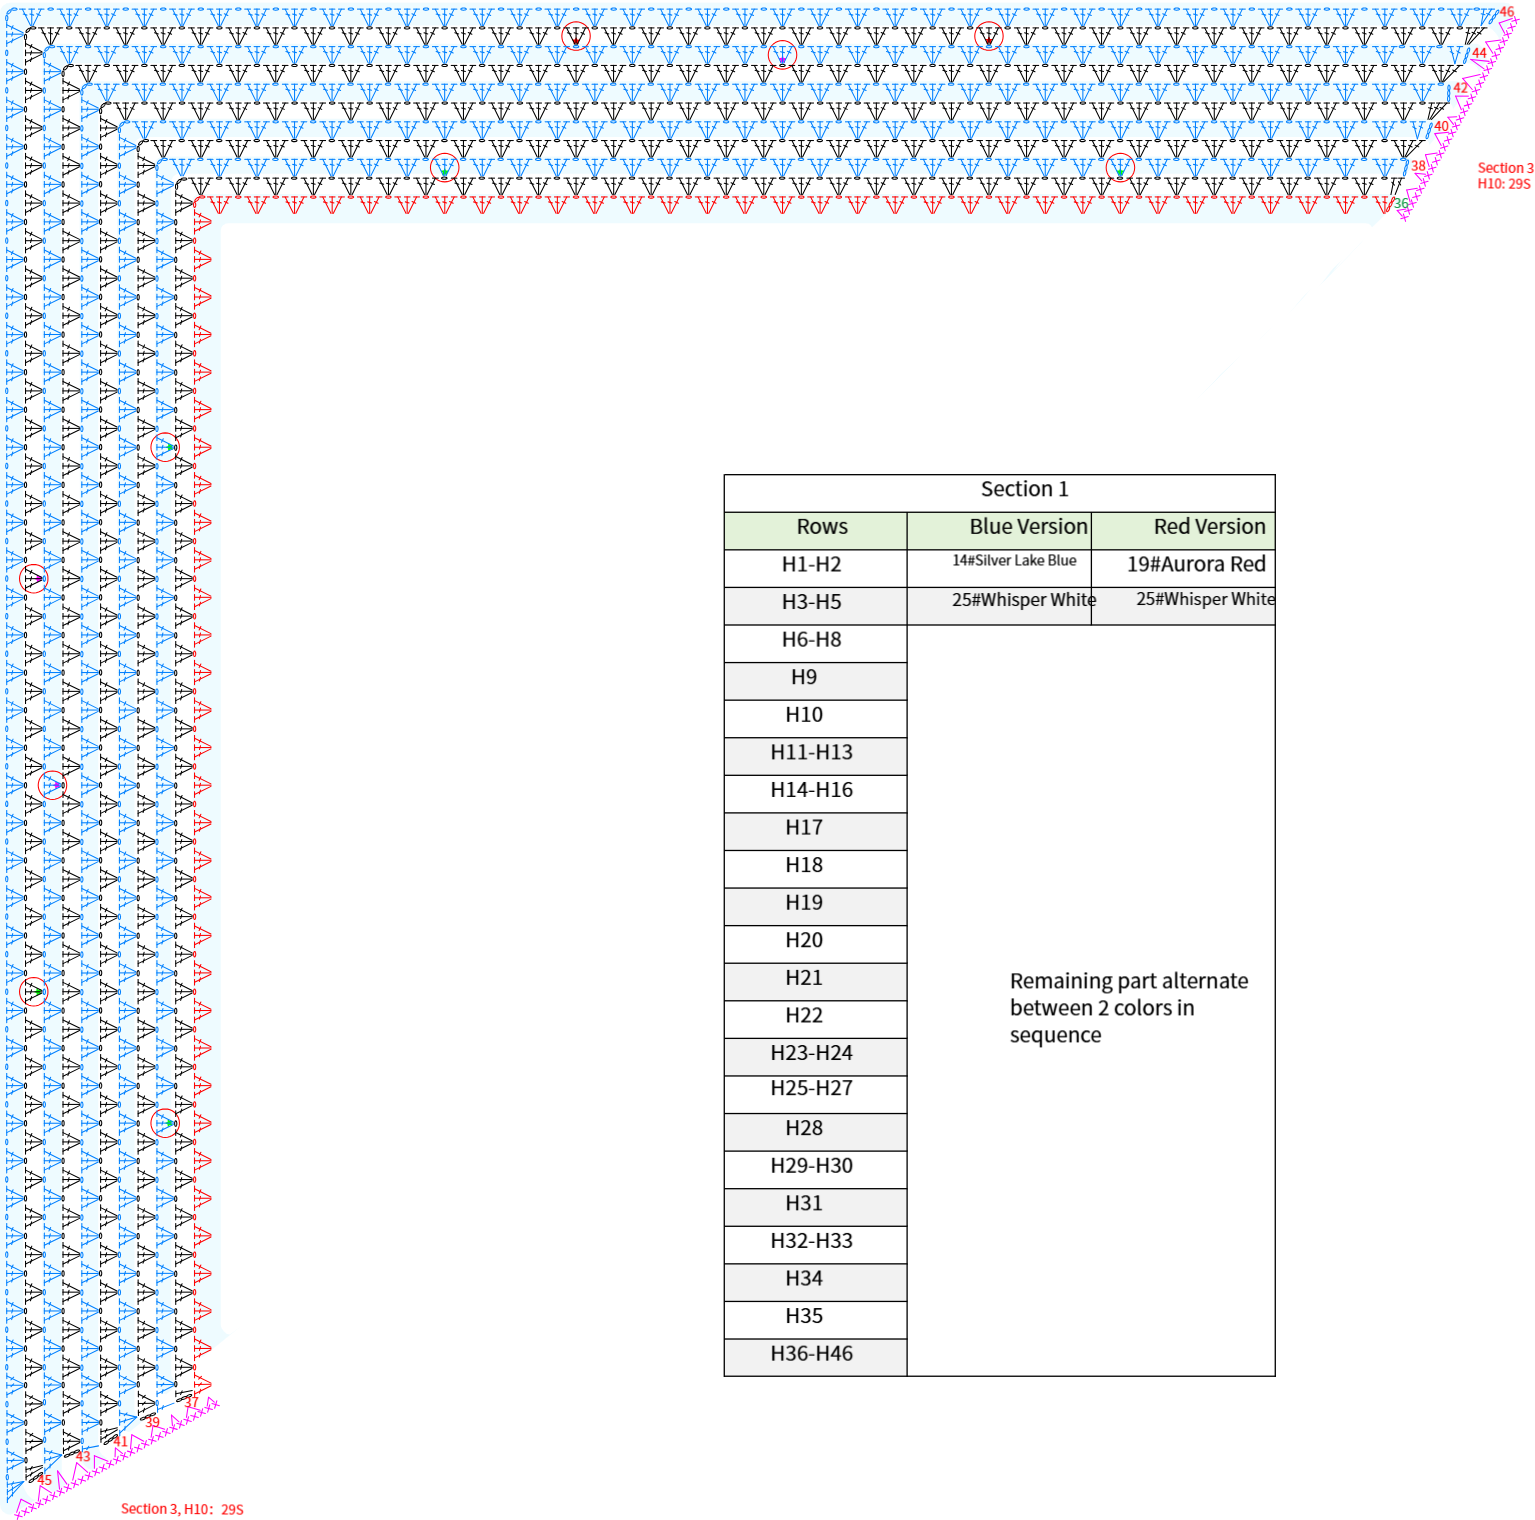
Rows 1-35 Note: For stripes on rows 9, 23, 25, and 32, work into the back loops only. On row 14, work double crochets into the chain spaces from rows 12 and 13, and single crochets into the gaps between double crochets. On row 15, the 5 double crochets worked together should connect to the adjacent chain space. Before working the 5 double crochets together on row 18, connect to the adjacent chain space first. Row 19 is worked in front of row 18, with some stitches wrapping around the chain space from row 18. Rows 20, 31, 34, and 36 have special stitch patterns—please refer to the video tutorial. For rows 36-46, the star-marked positions should connect to the 7-treble popcorn stitch from row 35, with symmetrical connection points on both sides.
Section 1: H36-H46
PART 2 Section 2 B 47' 53'' (Part 2) 、Section 3 C 67' 47'' (Part 2)
Section 2 is made up of motif 1 and motif 2. Here, motif 1 should be crocheted in rounds and joined with the last row of Section 1. Rows 1-9 of Section 3 continue crocheting in rows on top of Section 2. Row 10 works single crochet along the side edge of the completed part, and Row 11 continues crocheting on the finished part of Section 3. For details, please check the video demonstration.
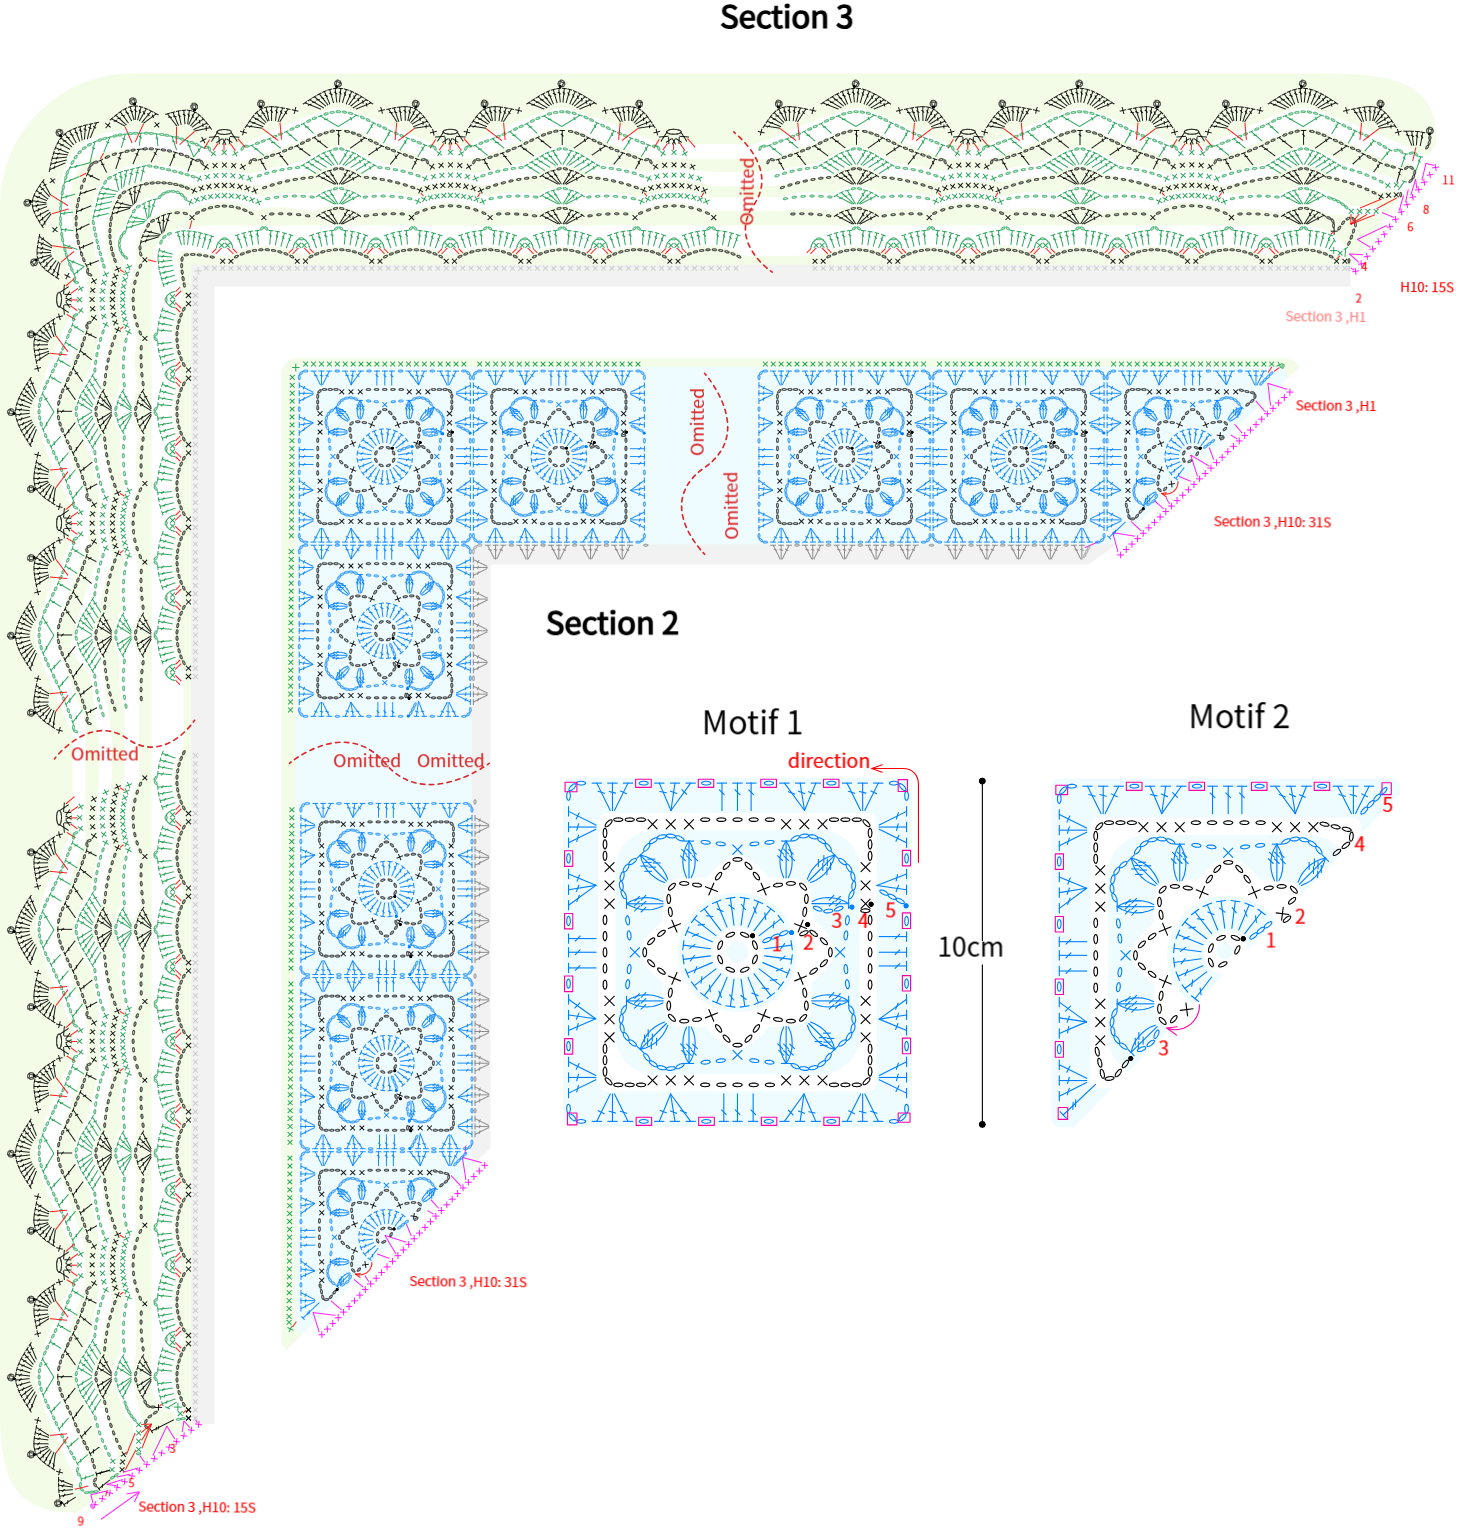
Note: 1. The red boxed areas on the motifs indicate connection points. When connecting, simply pull the yarn through to join—refer to the video demonstration for details, or connect in your preferred way. 2. For row 10 of Section 3, both stitch count and insertion points can be adjusted as needed; just ensure the piece lies flat after crocheting.
| Section 2-Blue Version:Motif 1 x 17, Motif 2 x 2 | ||
| Rounds/Rows | Color 1 | Color 2 |
| R1/H1 | 25#Whisper White | 14#Silver Lake Blue |
| R2/H2 | 14#Silver Lake Blue | 25#Whisper White |
| R3-4/H3-4 | 25#Whisper White | 14#Silver Lake Blue |
| R5/H5 | 14#Silver Lake Blue | 25#Whisper White |
| Section 2-Red Version:Motif 1 x 17, Motif 2 x 2 | ||
| Rounds/Rows | Color 1 | Color 2 |
| R1/H1 | 25#Whisper White | 19#Aurora Red |
| R2/H2 | 19#Aurora Red | 25#Whisper White |
| R3-4/H3-4 | 25#Whisper White | 19#Aurora Red |
| R5/H5 | 19#Aurora Red | 25#Whisper White |
| Section 3 | ||
| Rows | Blue Version | Red Version |
| H1-H10 | 25#Whisper White | 25#Whisper White |
| H11 | 14#Silver Lake Blue | 19#Aurora Red |
Made by the community