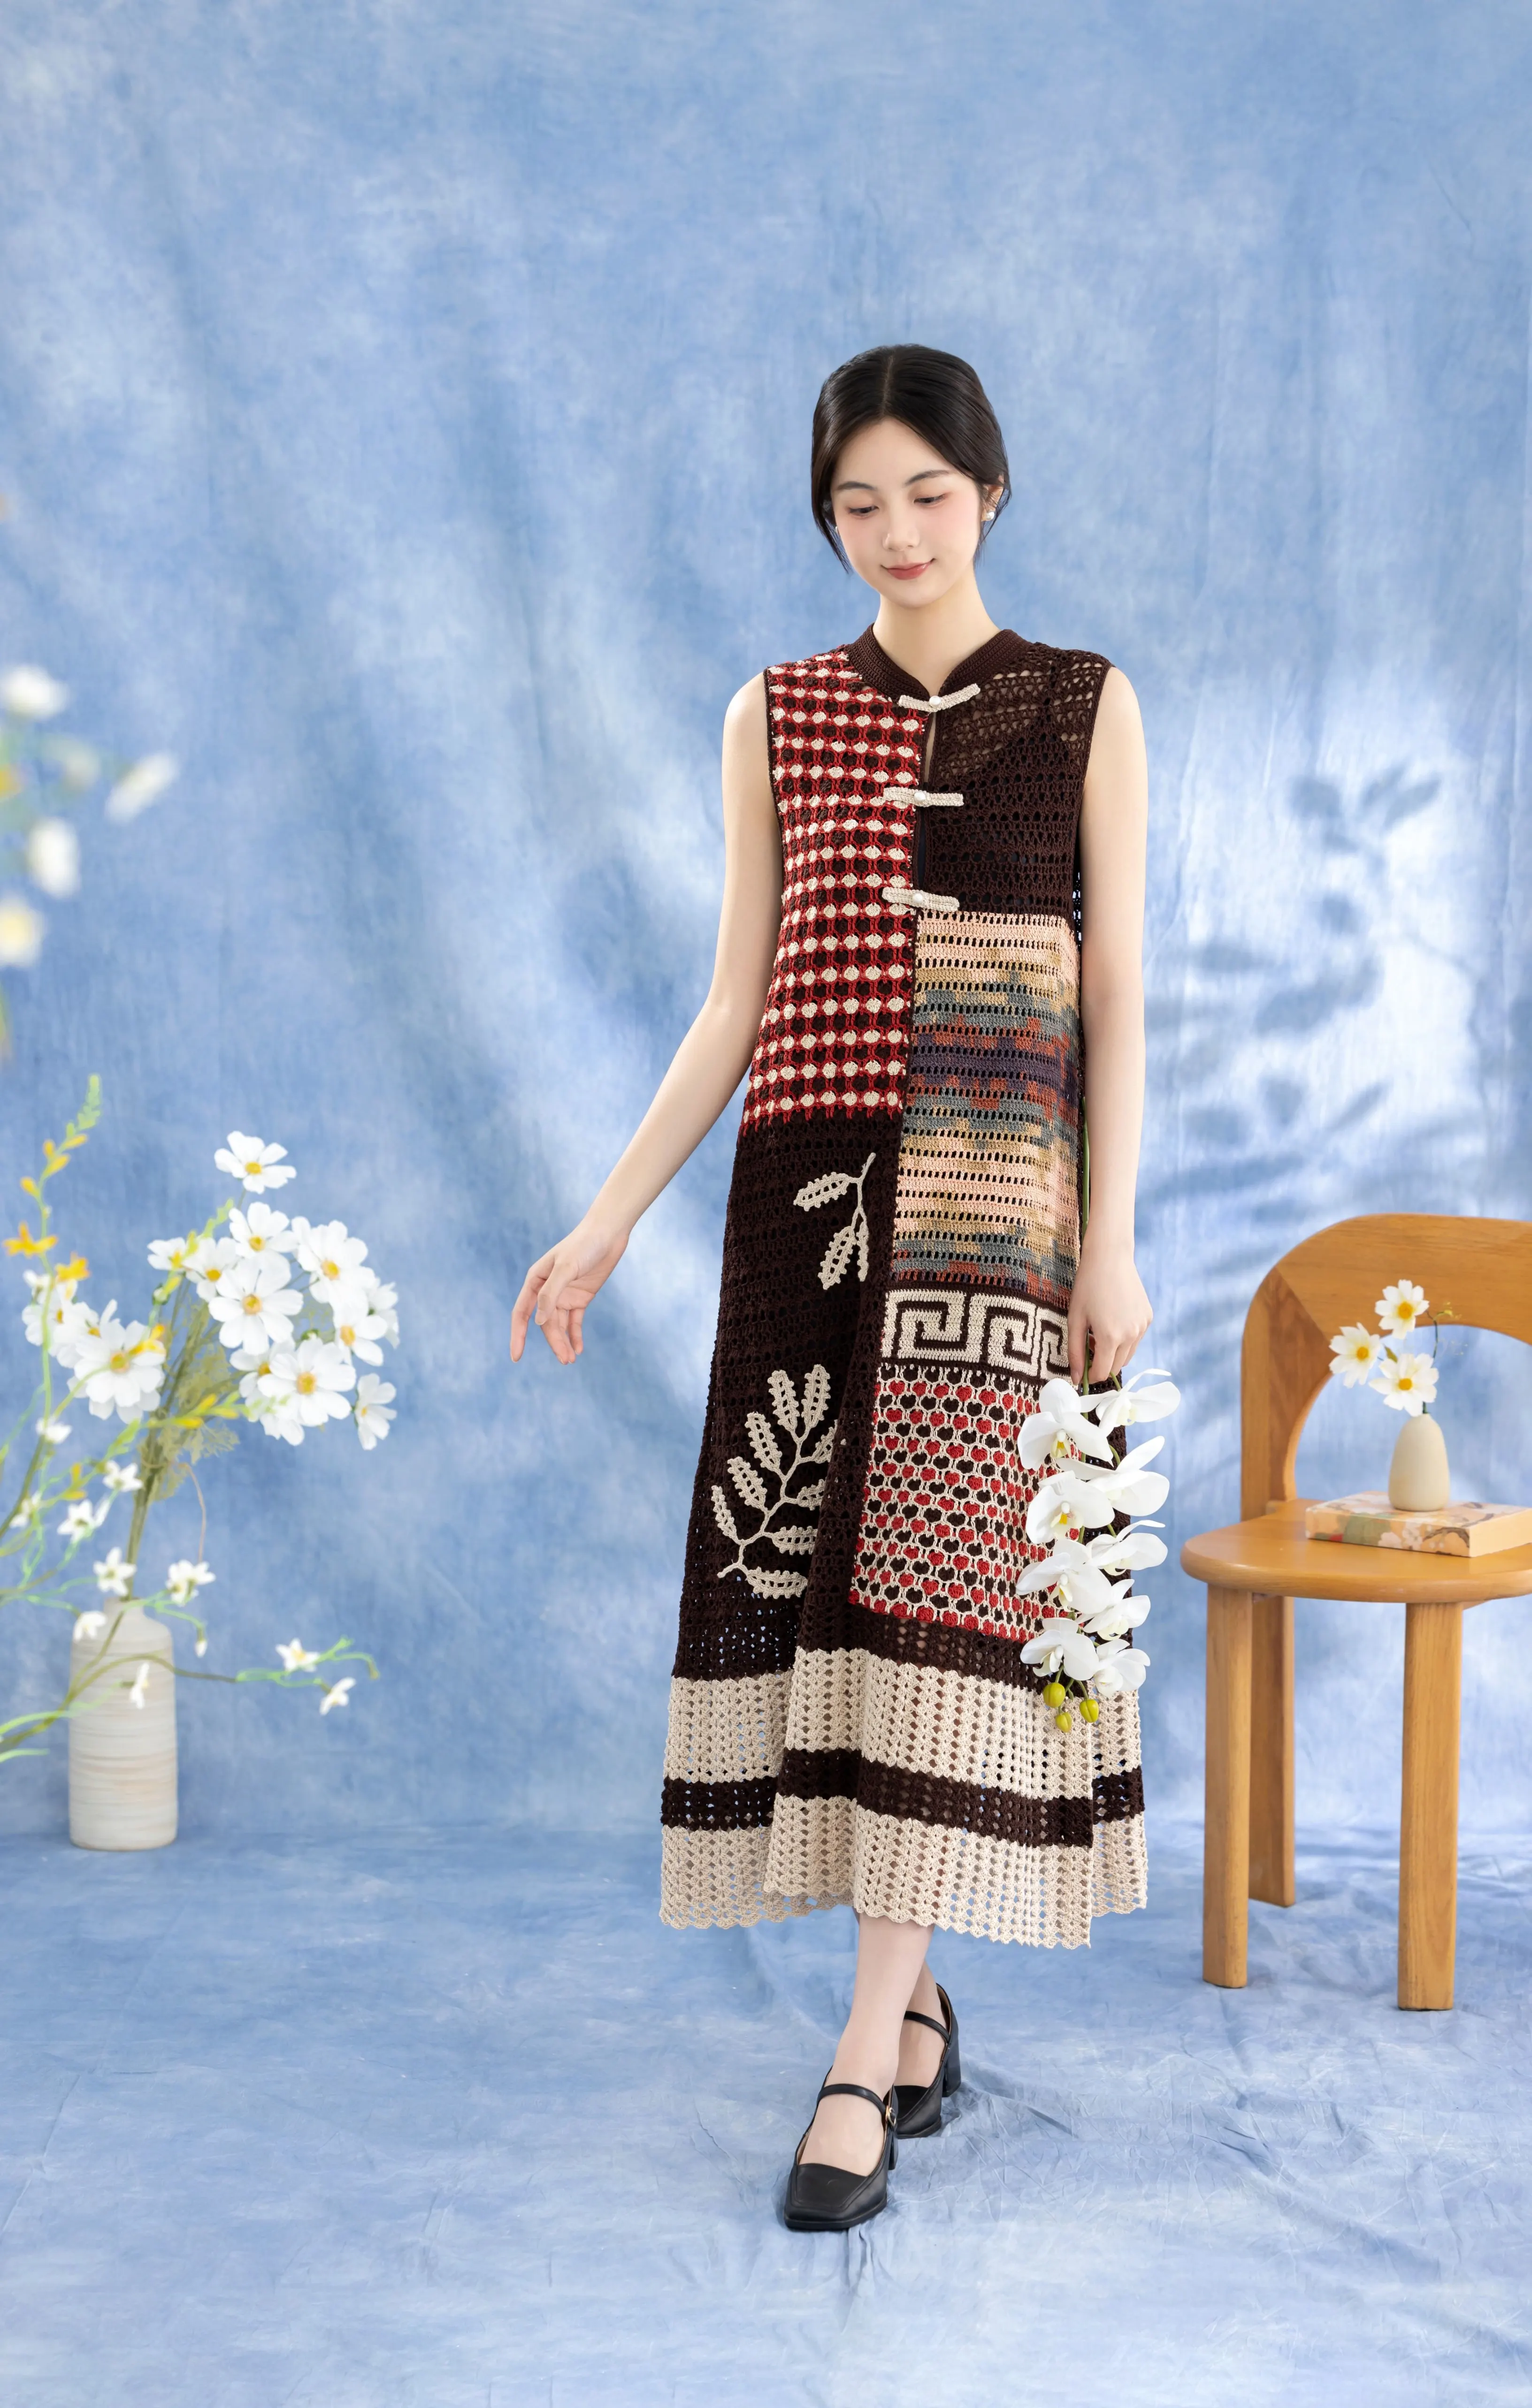
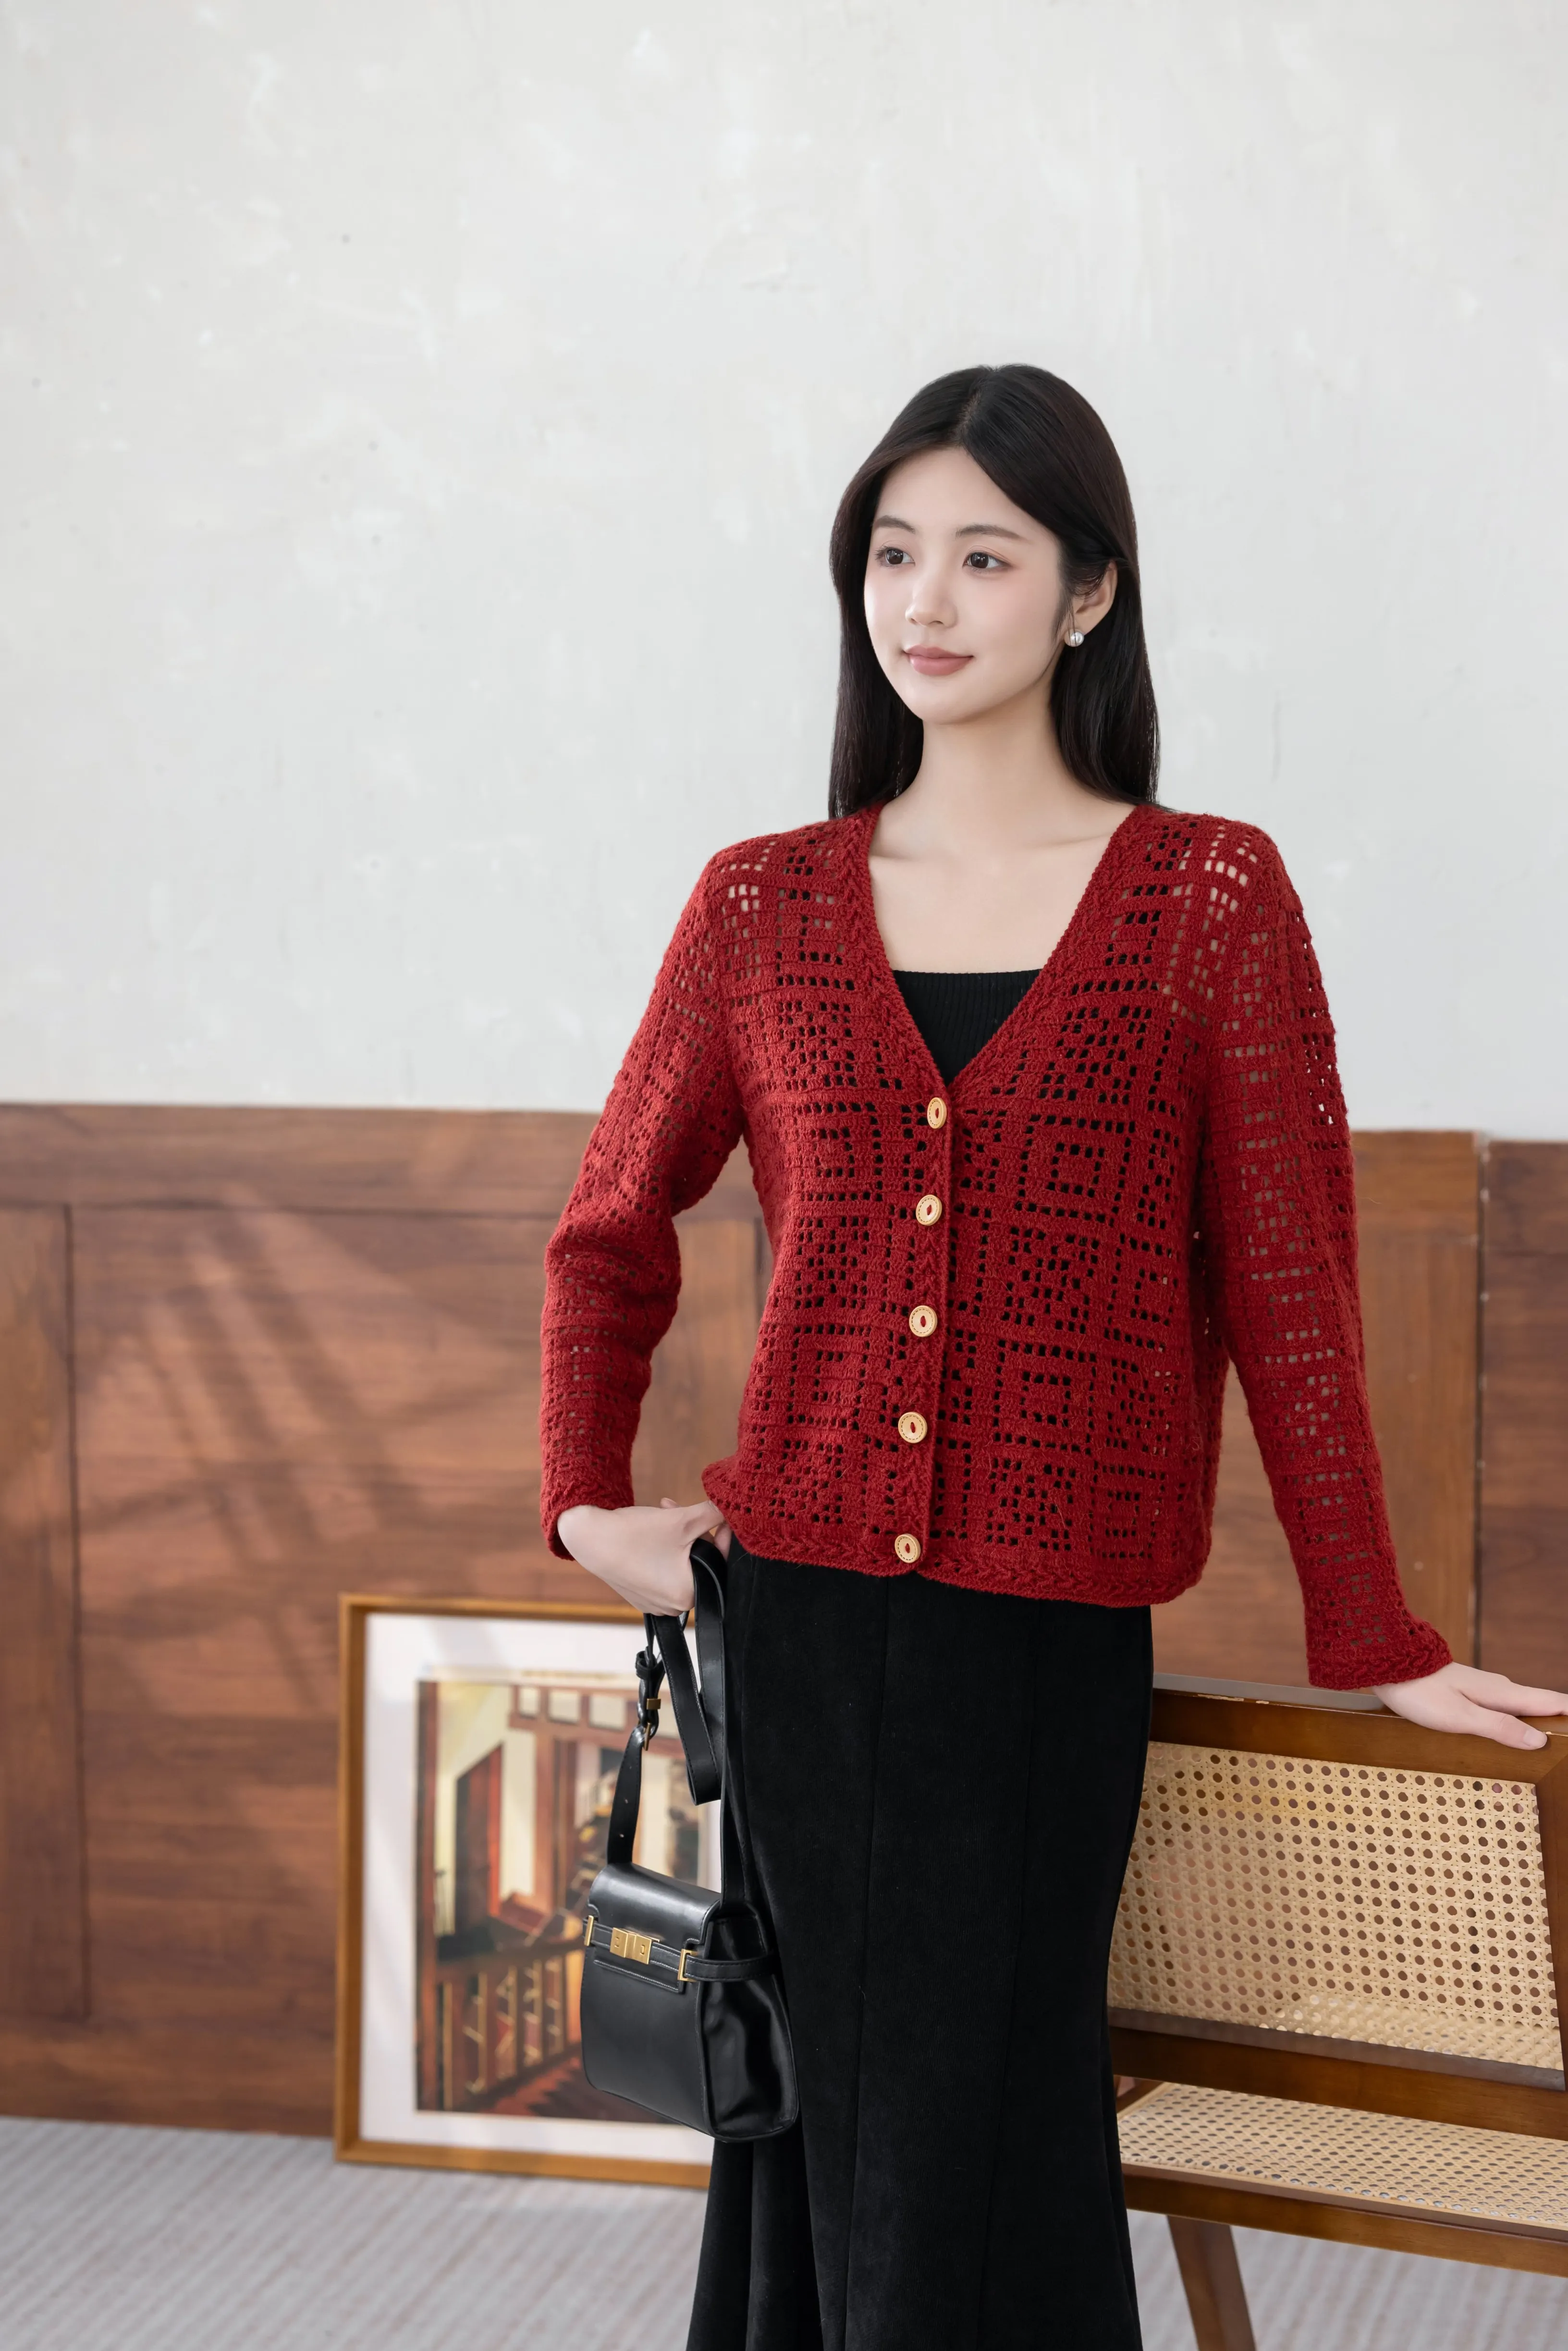
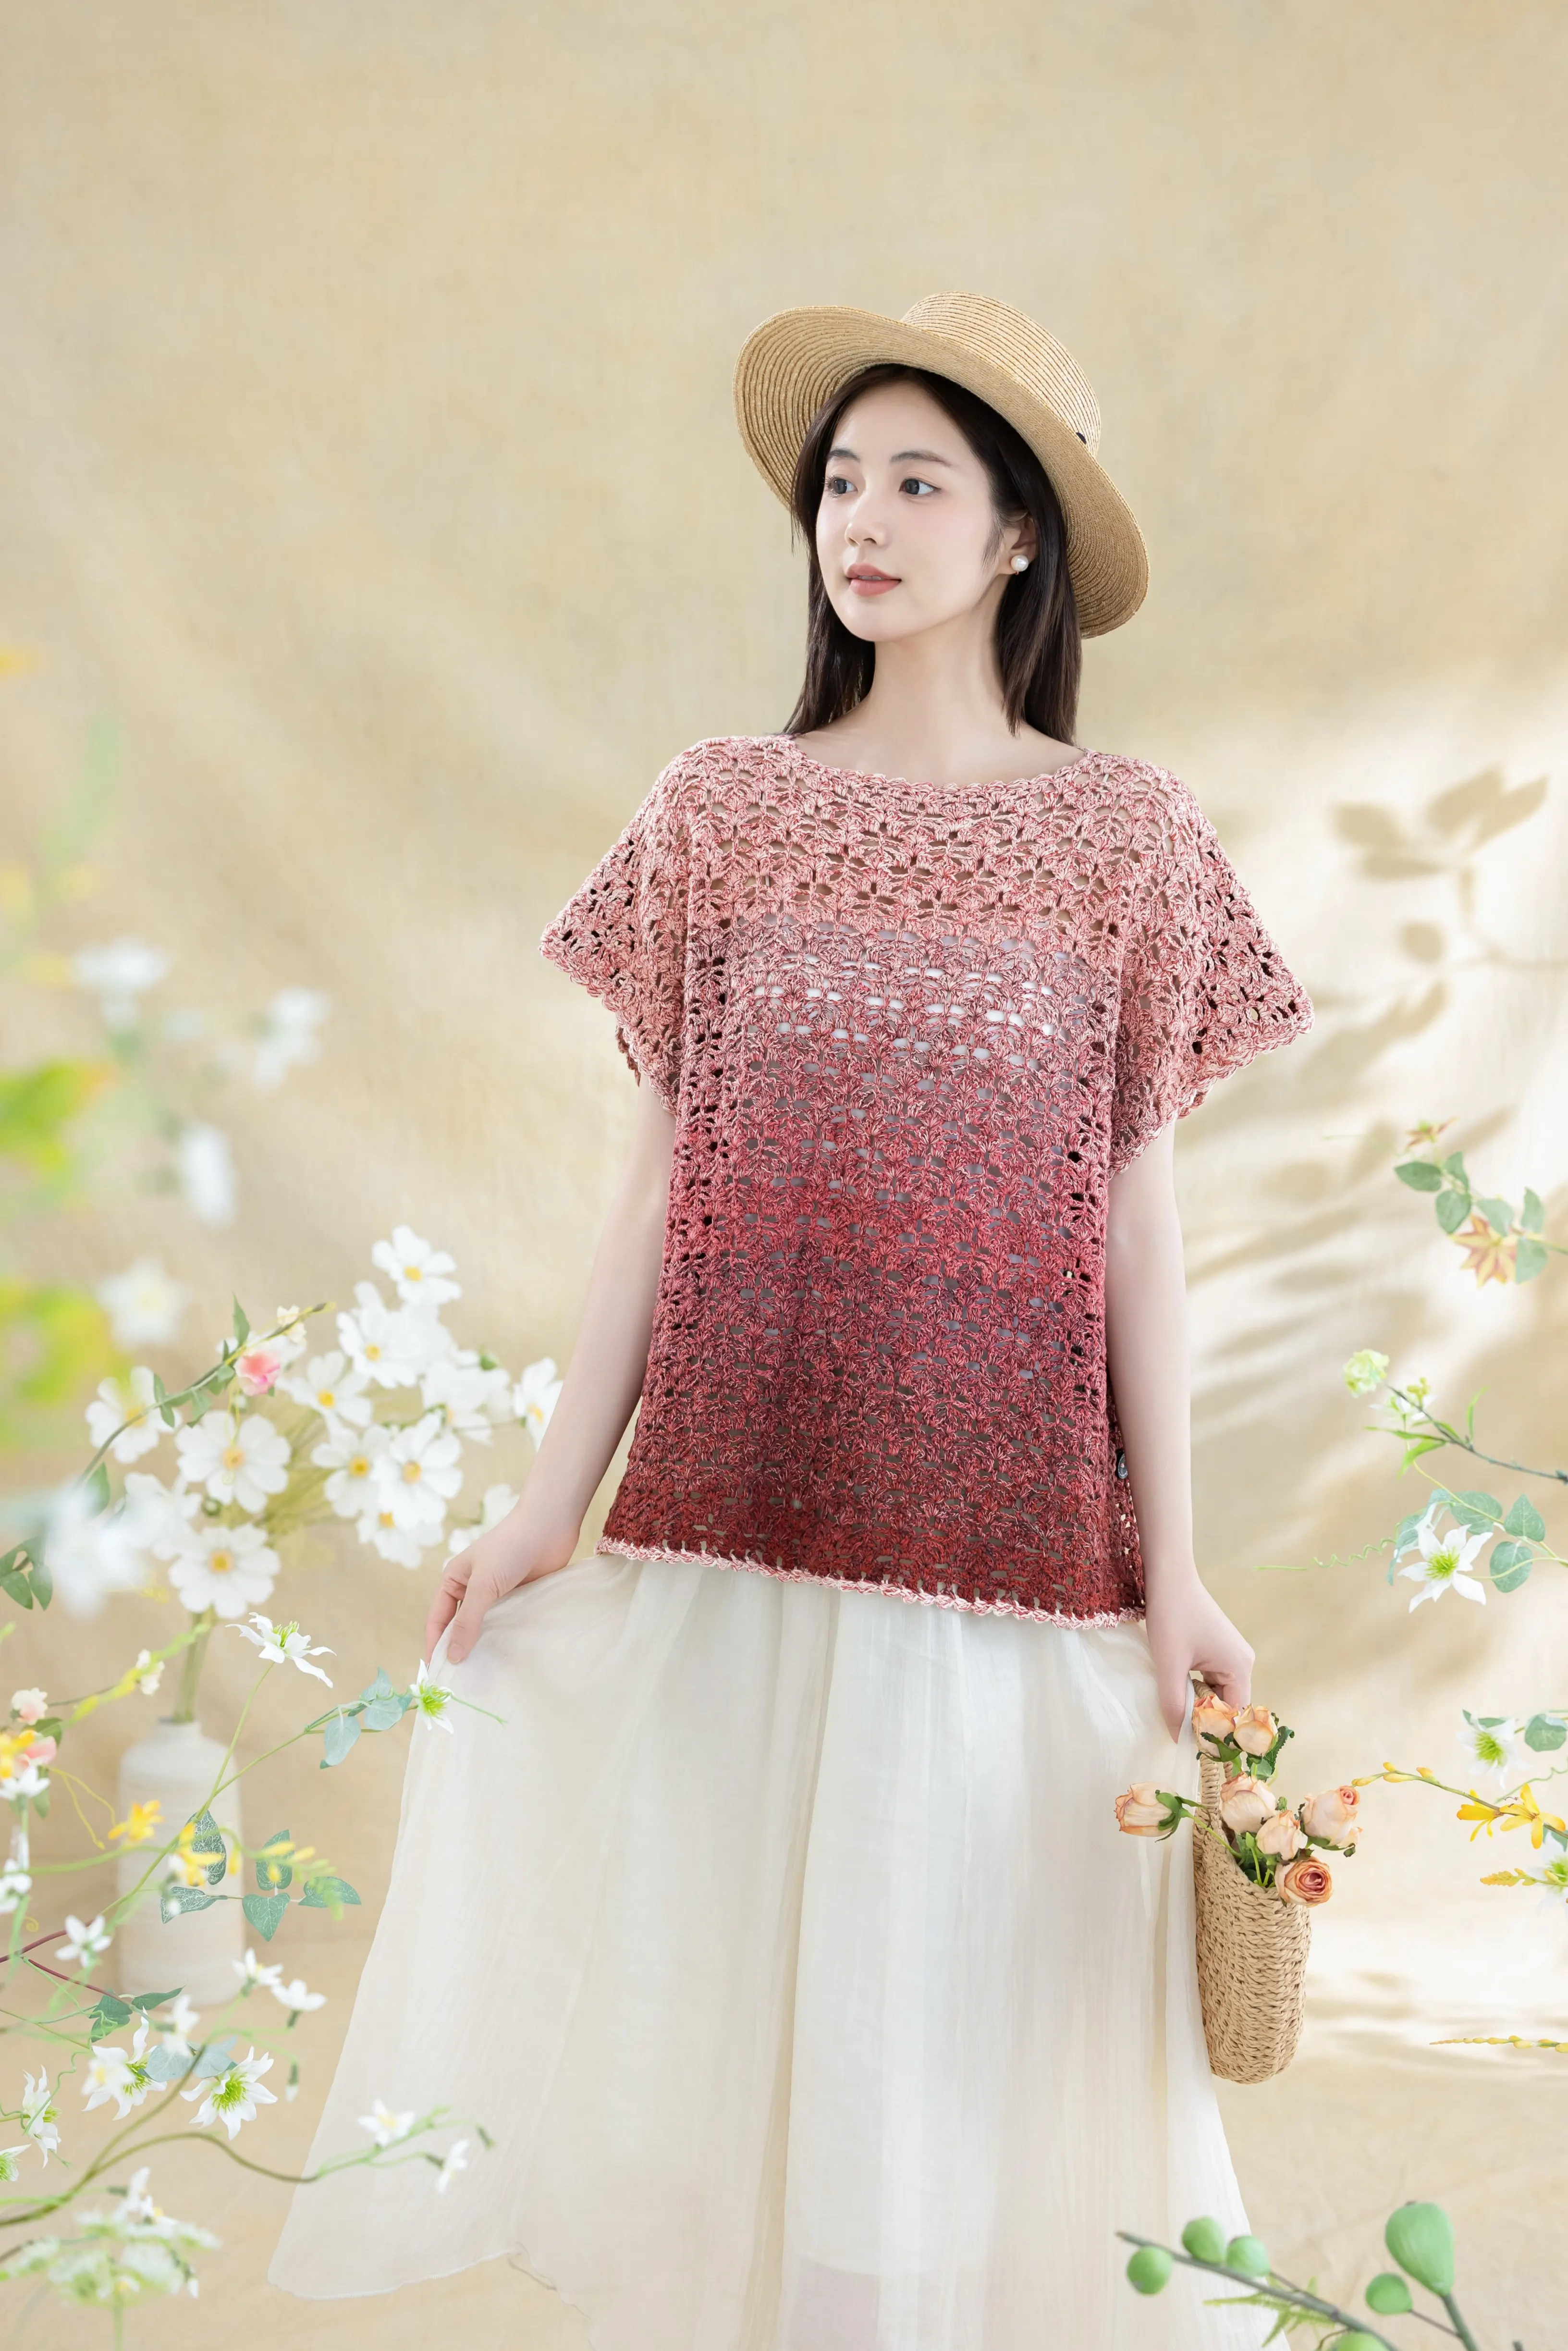
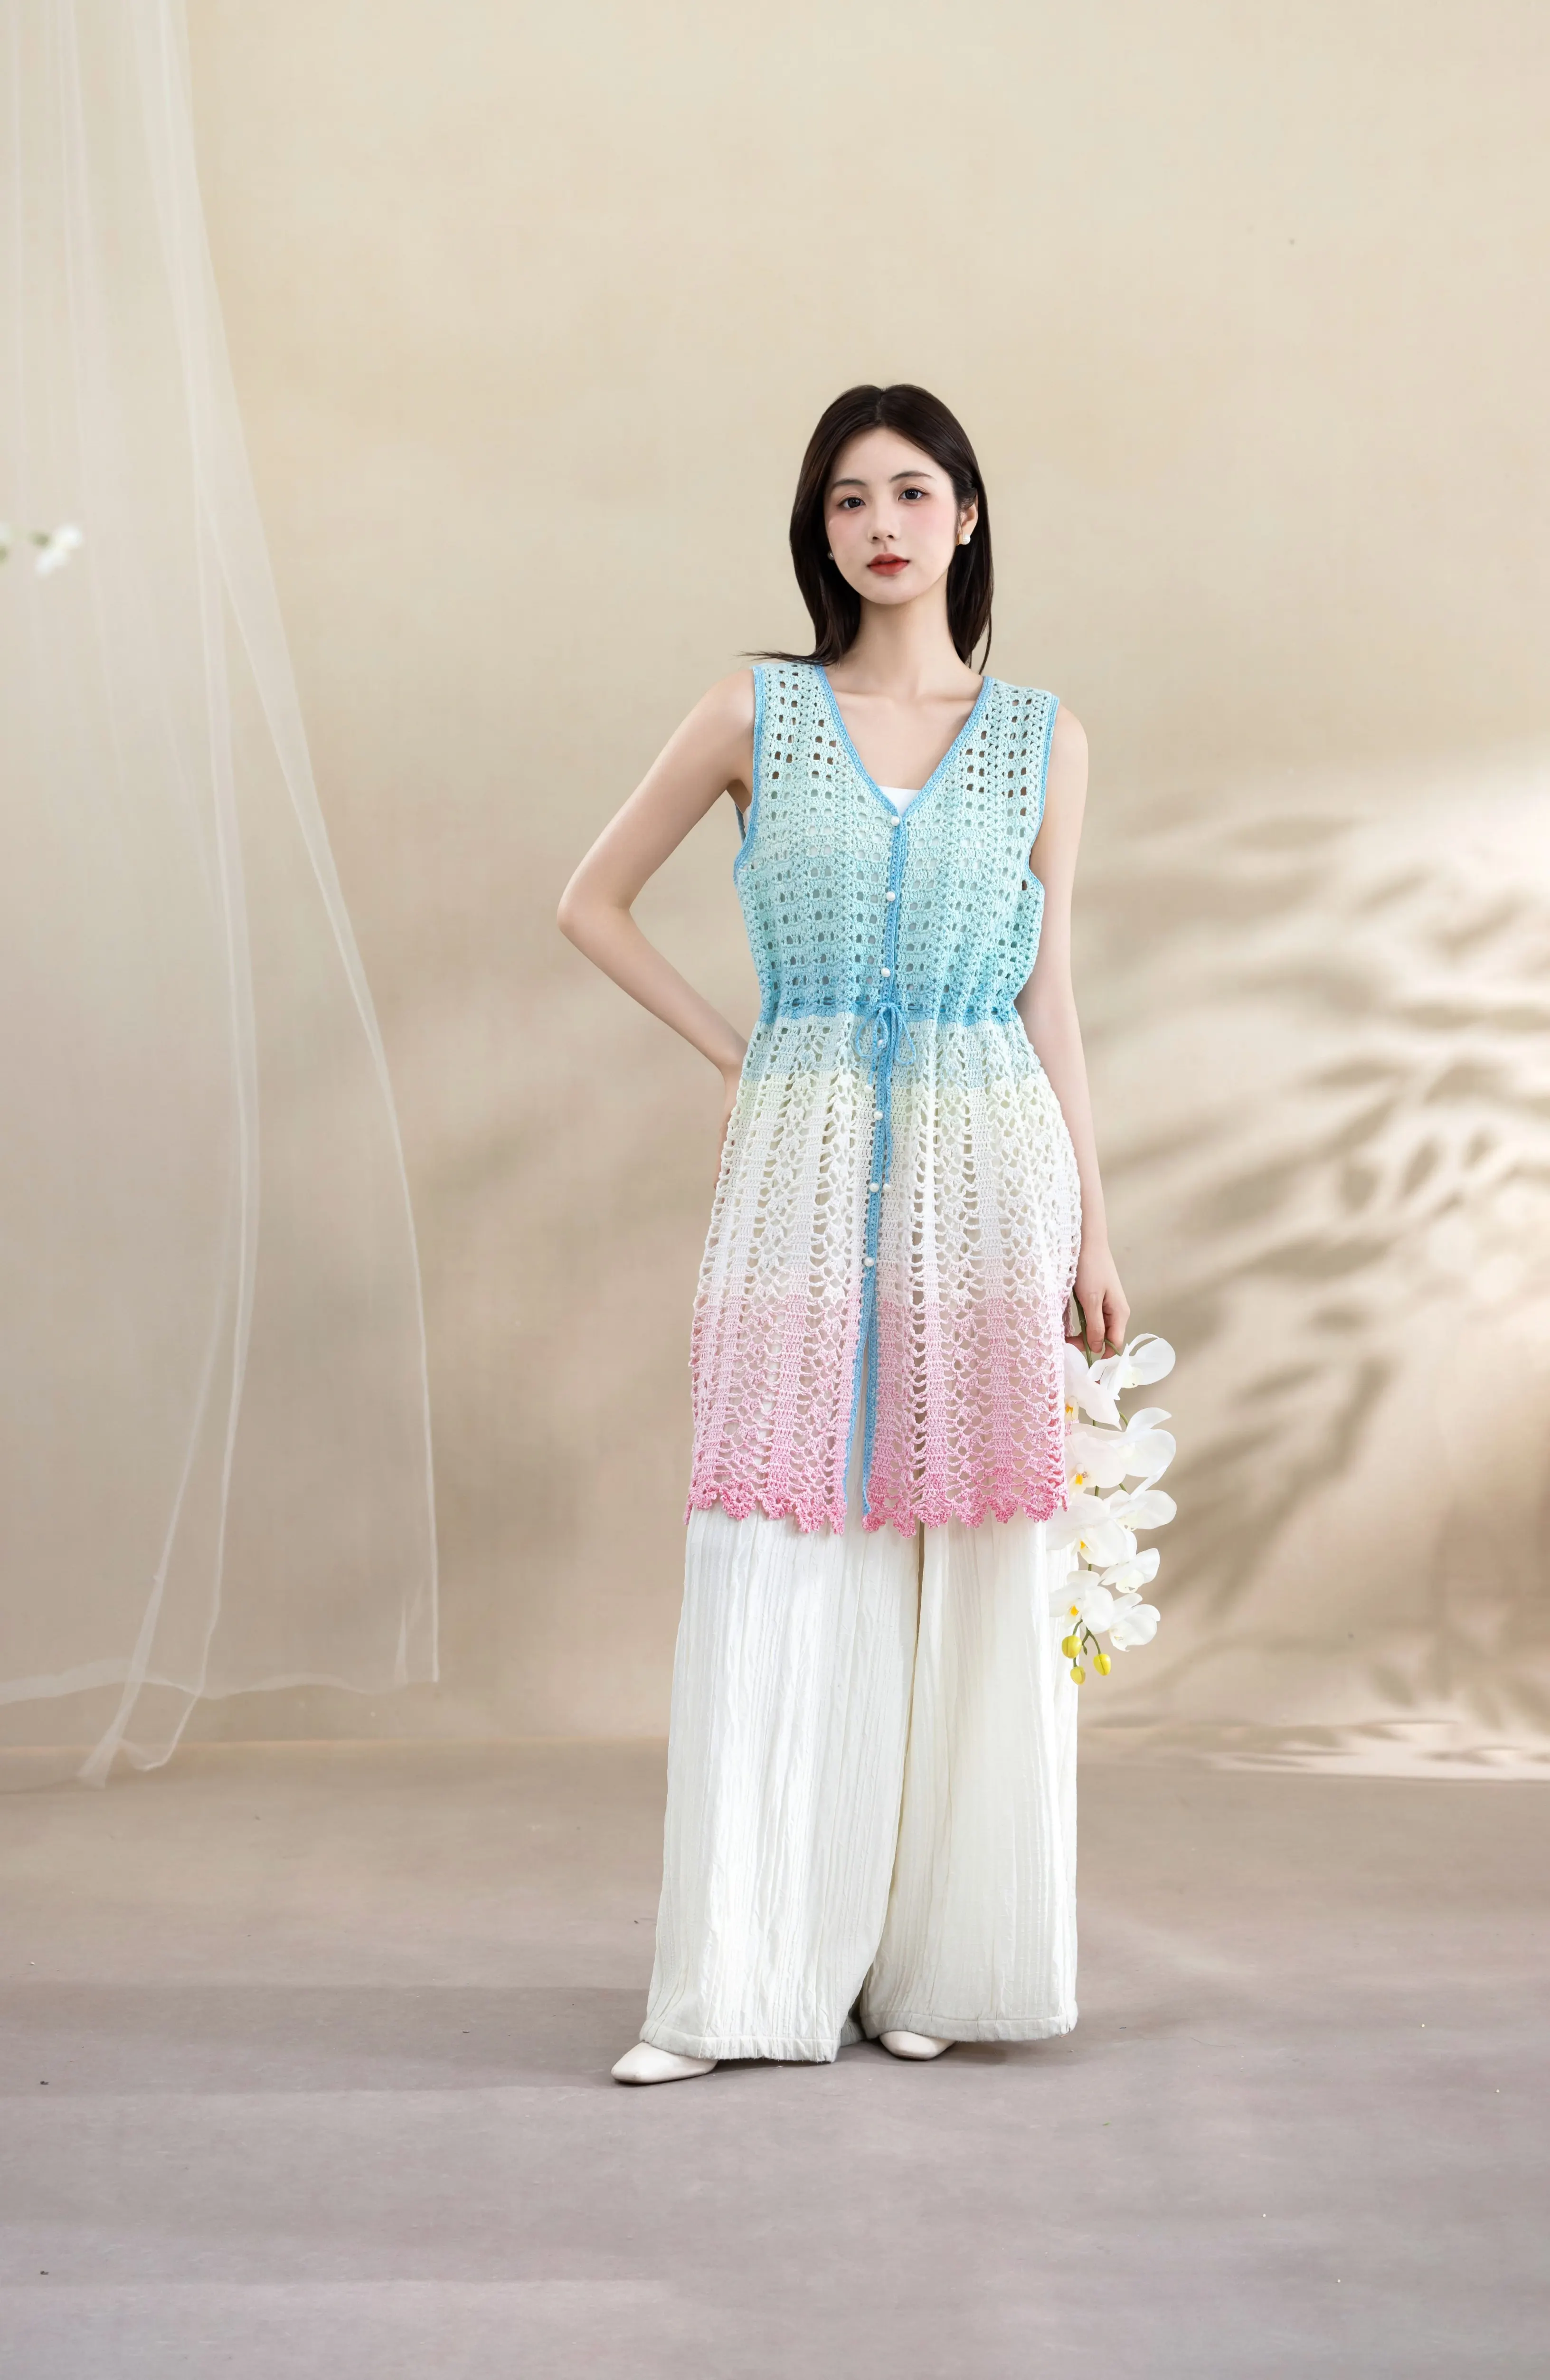
Clothes
Qiange
Project preview
See the finished project
Pattern format
Instructions
| Style | Yarn | Color |
|---|---|---|
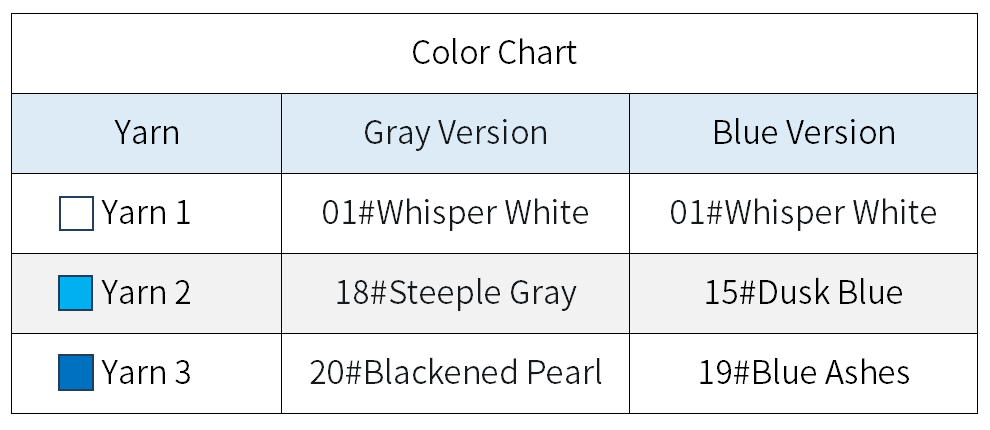
| Blue | Lamb Wool |  01#Whisper White x 6  15#Dusk Blue x 3  19#Blue Ashes x 5 |
| Gray | Lamb Wool | 01#Whisper White x 6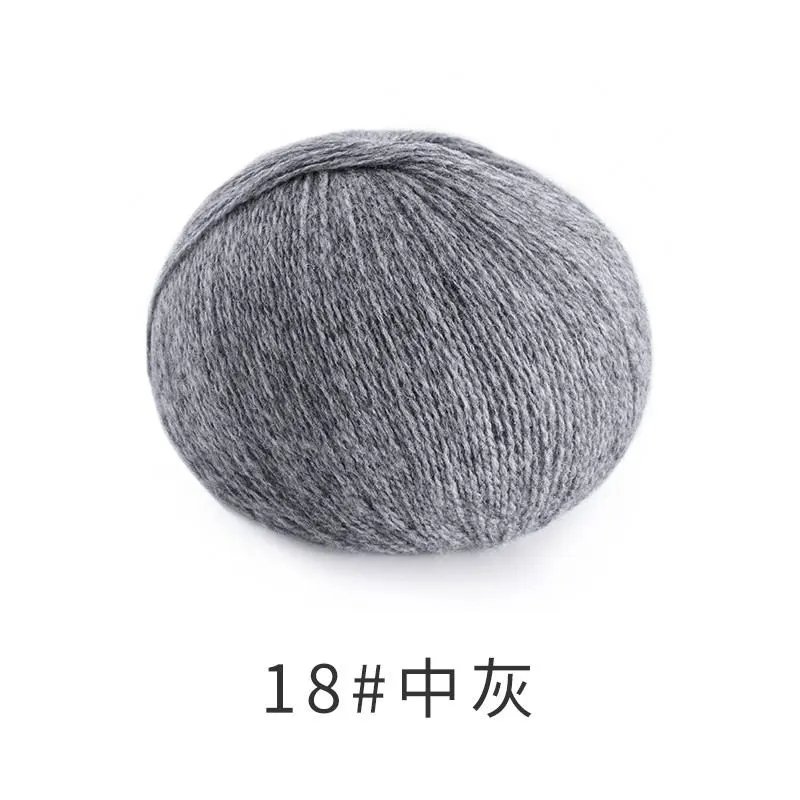 18#Steeple Gray x 3  20#Blackened Pearl x 5 |
Blue
01#Whisper White x 615#Dusk Blue x 319#Blue Ashes x 5Gray
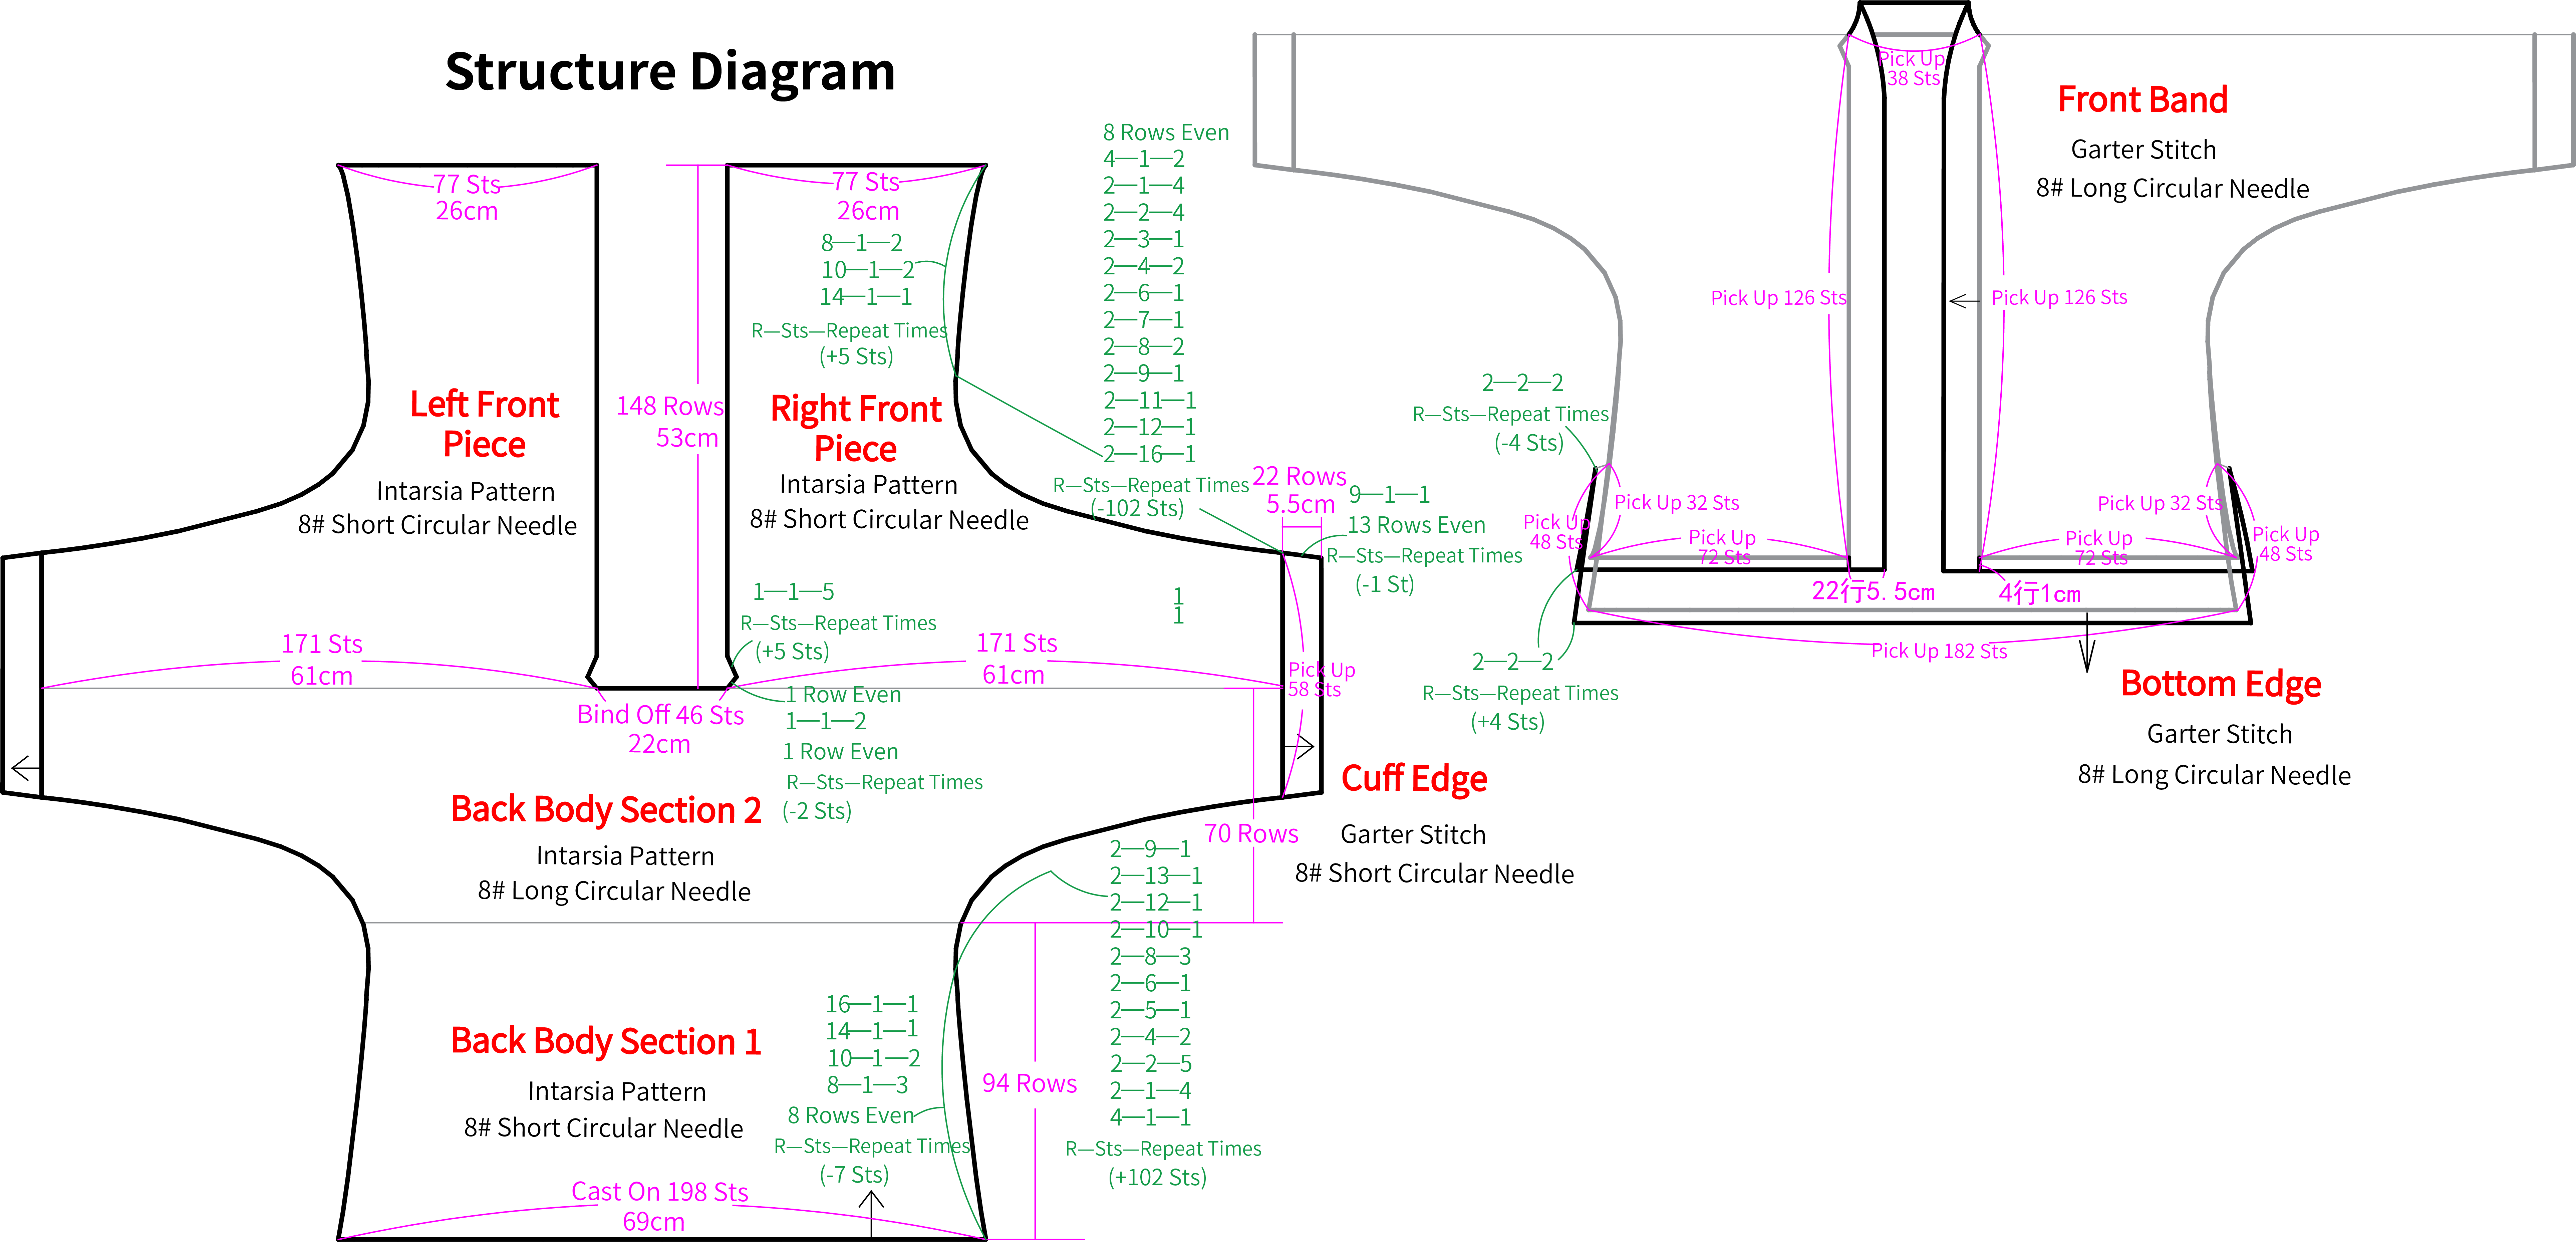
01#Whisper White x 618#Steeple Gray x 320#Blackened Pearl x 5This sweater is knit in one piece from the back to the front. First, knit the back body, front body, and cuffs. After sewing together the sides of the body, then pick up strands separately to knit the bottom edge and front band.
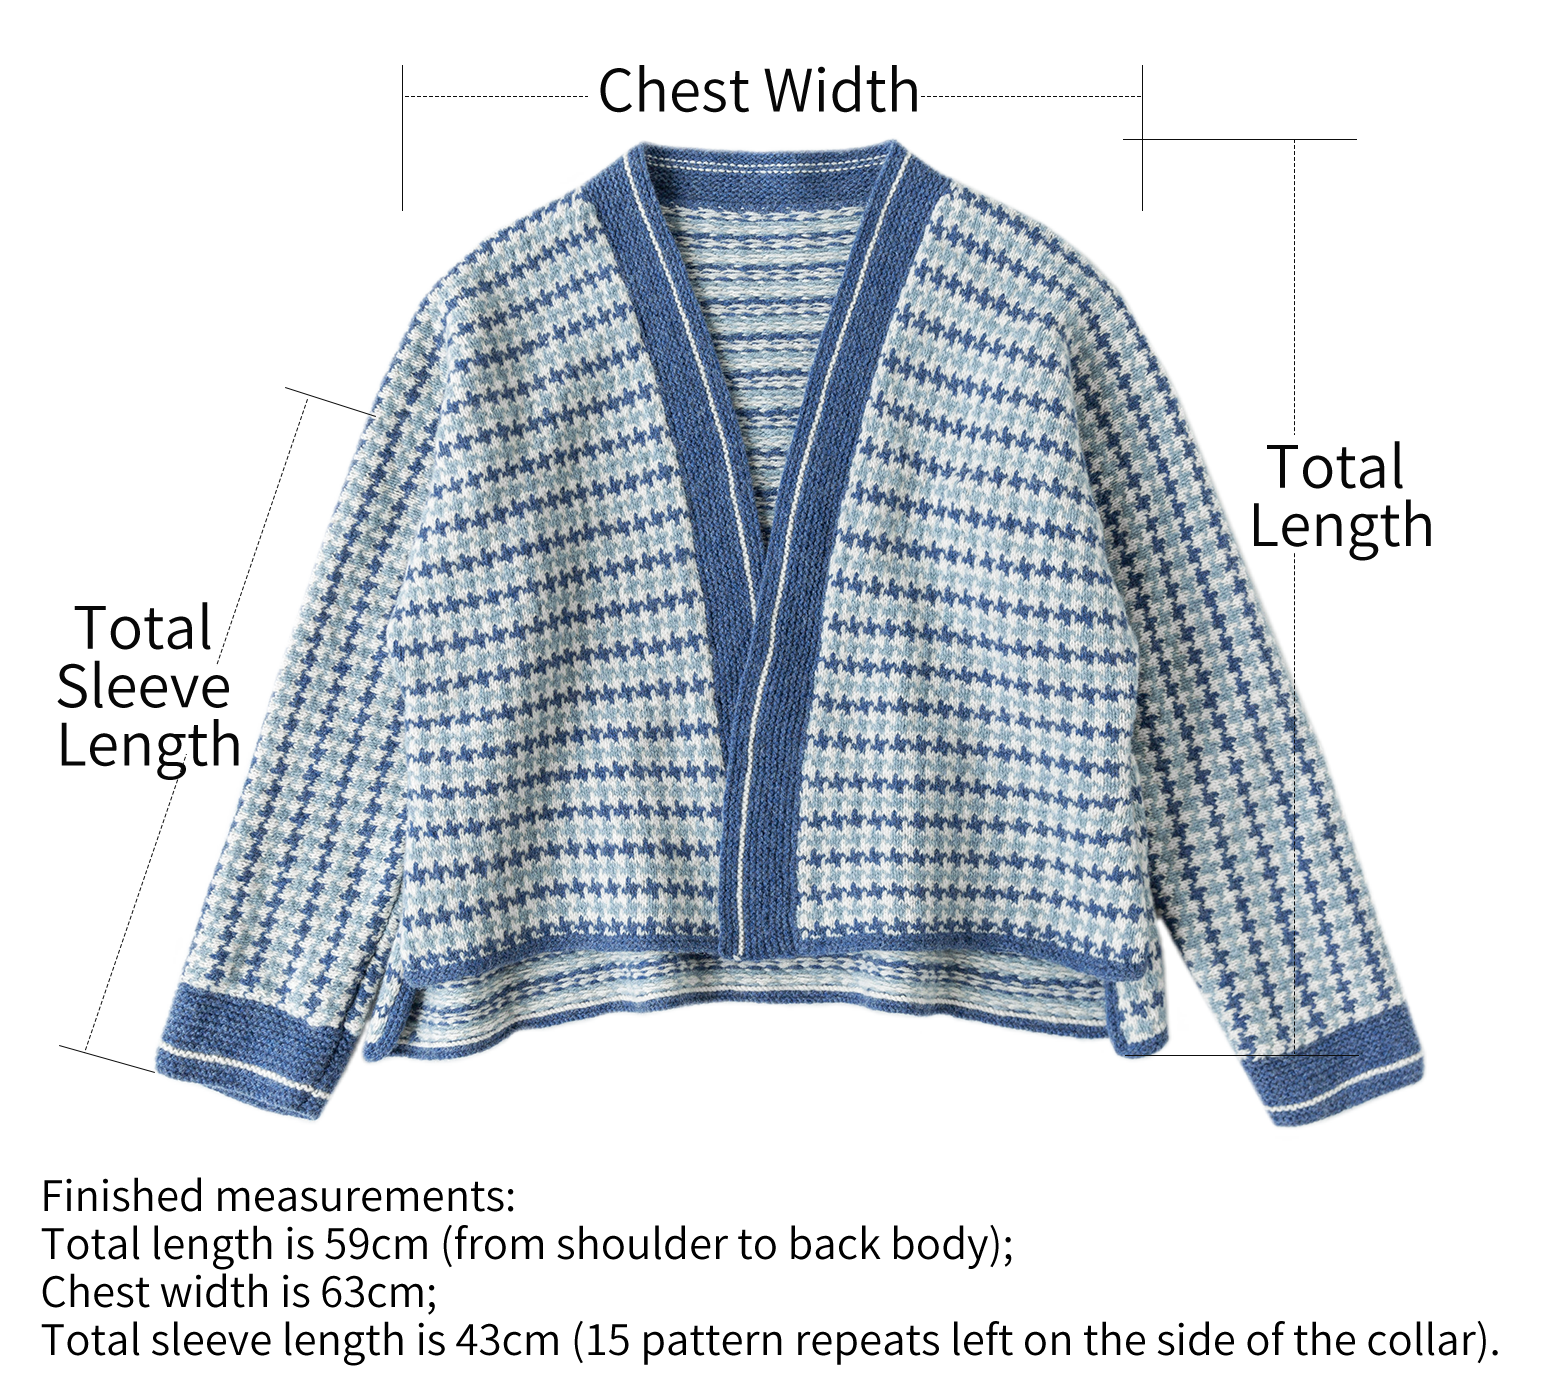
The handcrafted measurements may have an error of 1 to 2 cm. Due to variations in individual tension, the size of the sample is for reference only.
Materials: Lamb Wool (Work 2 Strands Together)
Needles: #8 - 4.0 mm Long Circular Needle & Short Circular Needle
For sections with fewer stitches, use shorter circular needles.
When the number of stitches increases, switch to longer circular needles.

Chart Key





Note:
1,This pattern is using American terminology. All measurements in charts are in cm.
2,The chart represent the right side of fabric, so check the key to see how to work a certain symbol on the right side and on the wrong side.
Part 1 Back BodyA 01' 15''
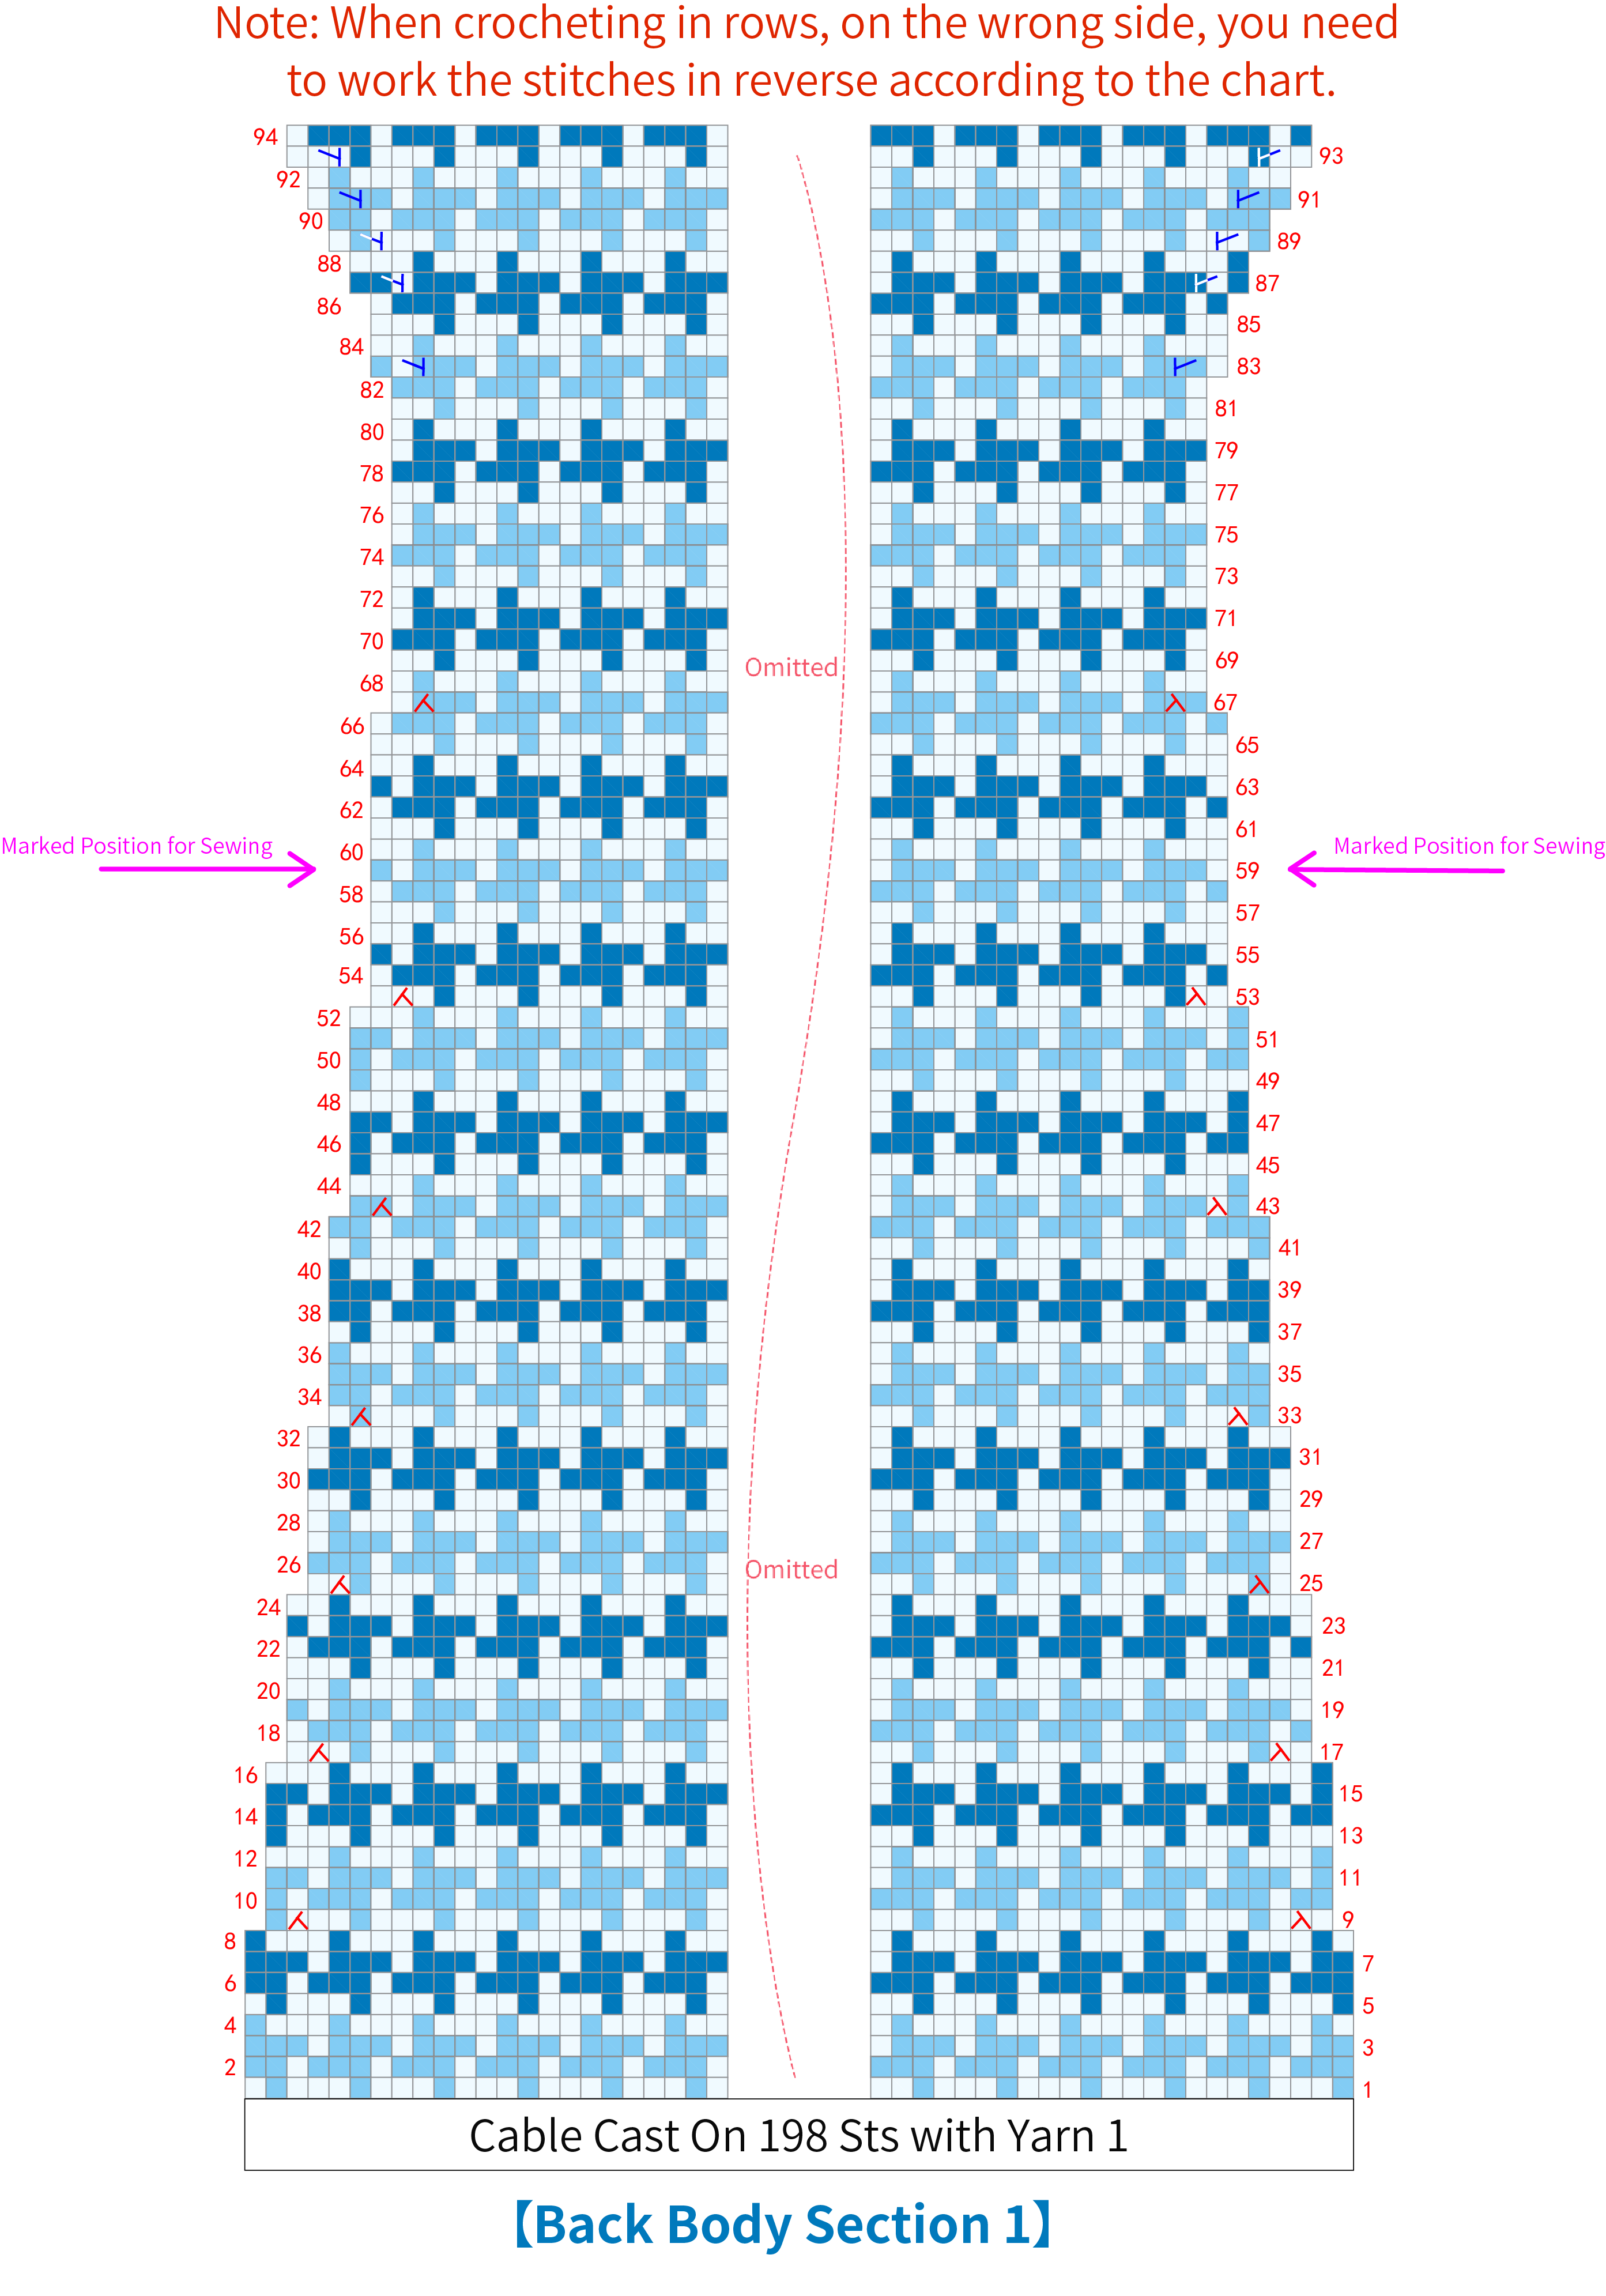
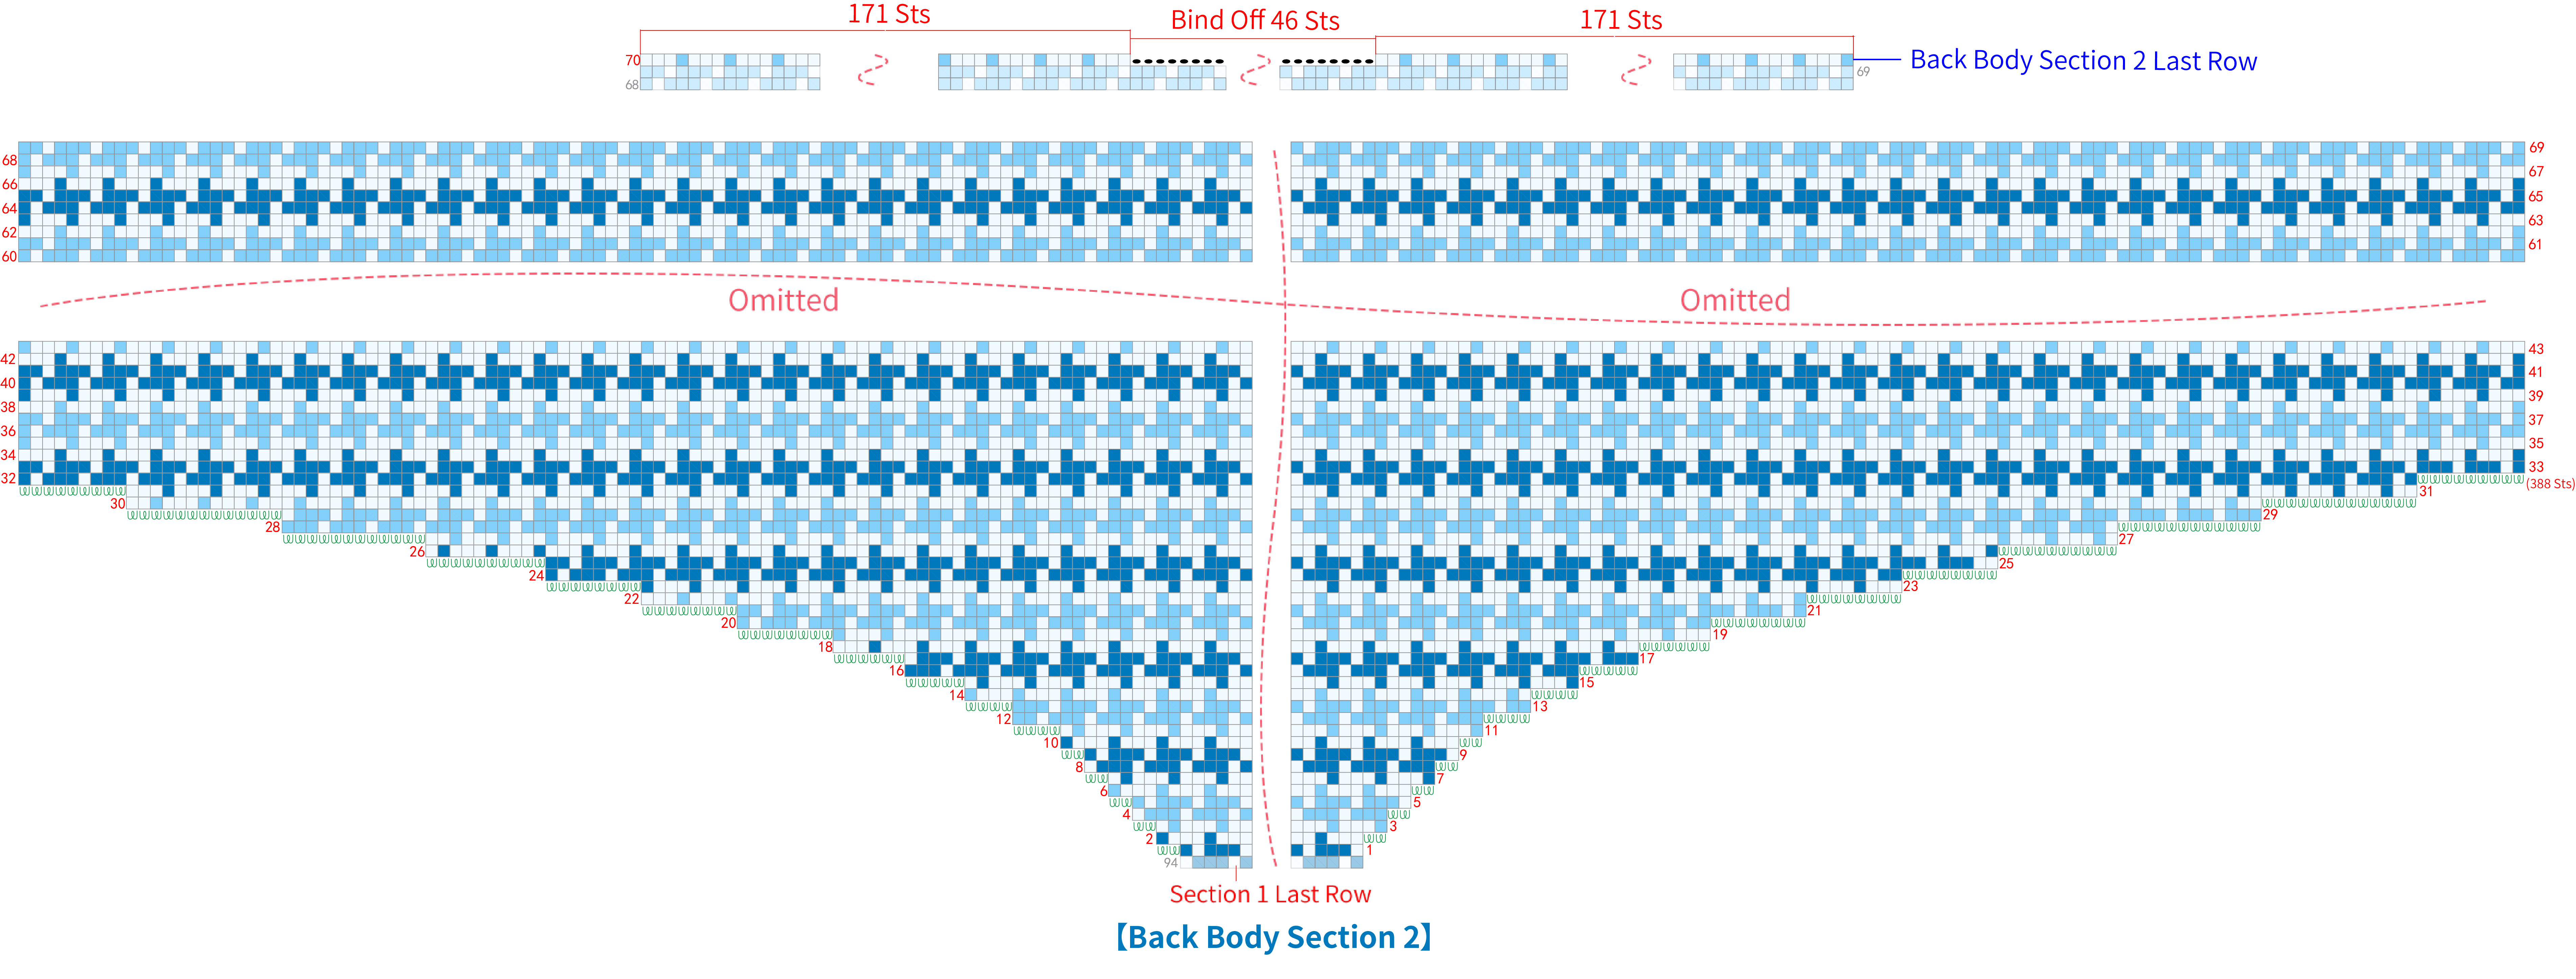
The back body is divided into two sections. In section 1, decrease first and then increase stitches on both sides to form the curve of the waist; in section 2, increase stitches on both sides to form the sleeves. Please refer to the video demonstration for specifics.
Part 2 Front BodyB 47' 27''
The front body is divided into two parts, left and right. First, crochet the right front, then symmetrically crochet the left front piece. Please refer to the video demonstration for specifics.
Part 3 Sew the Cuff and the Side of the Garment TogetherC 63' 53''
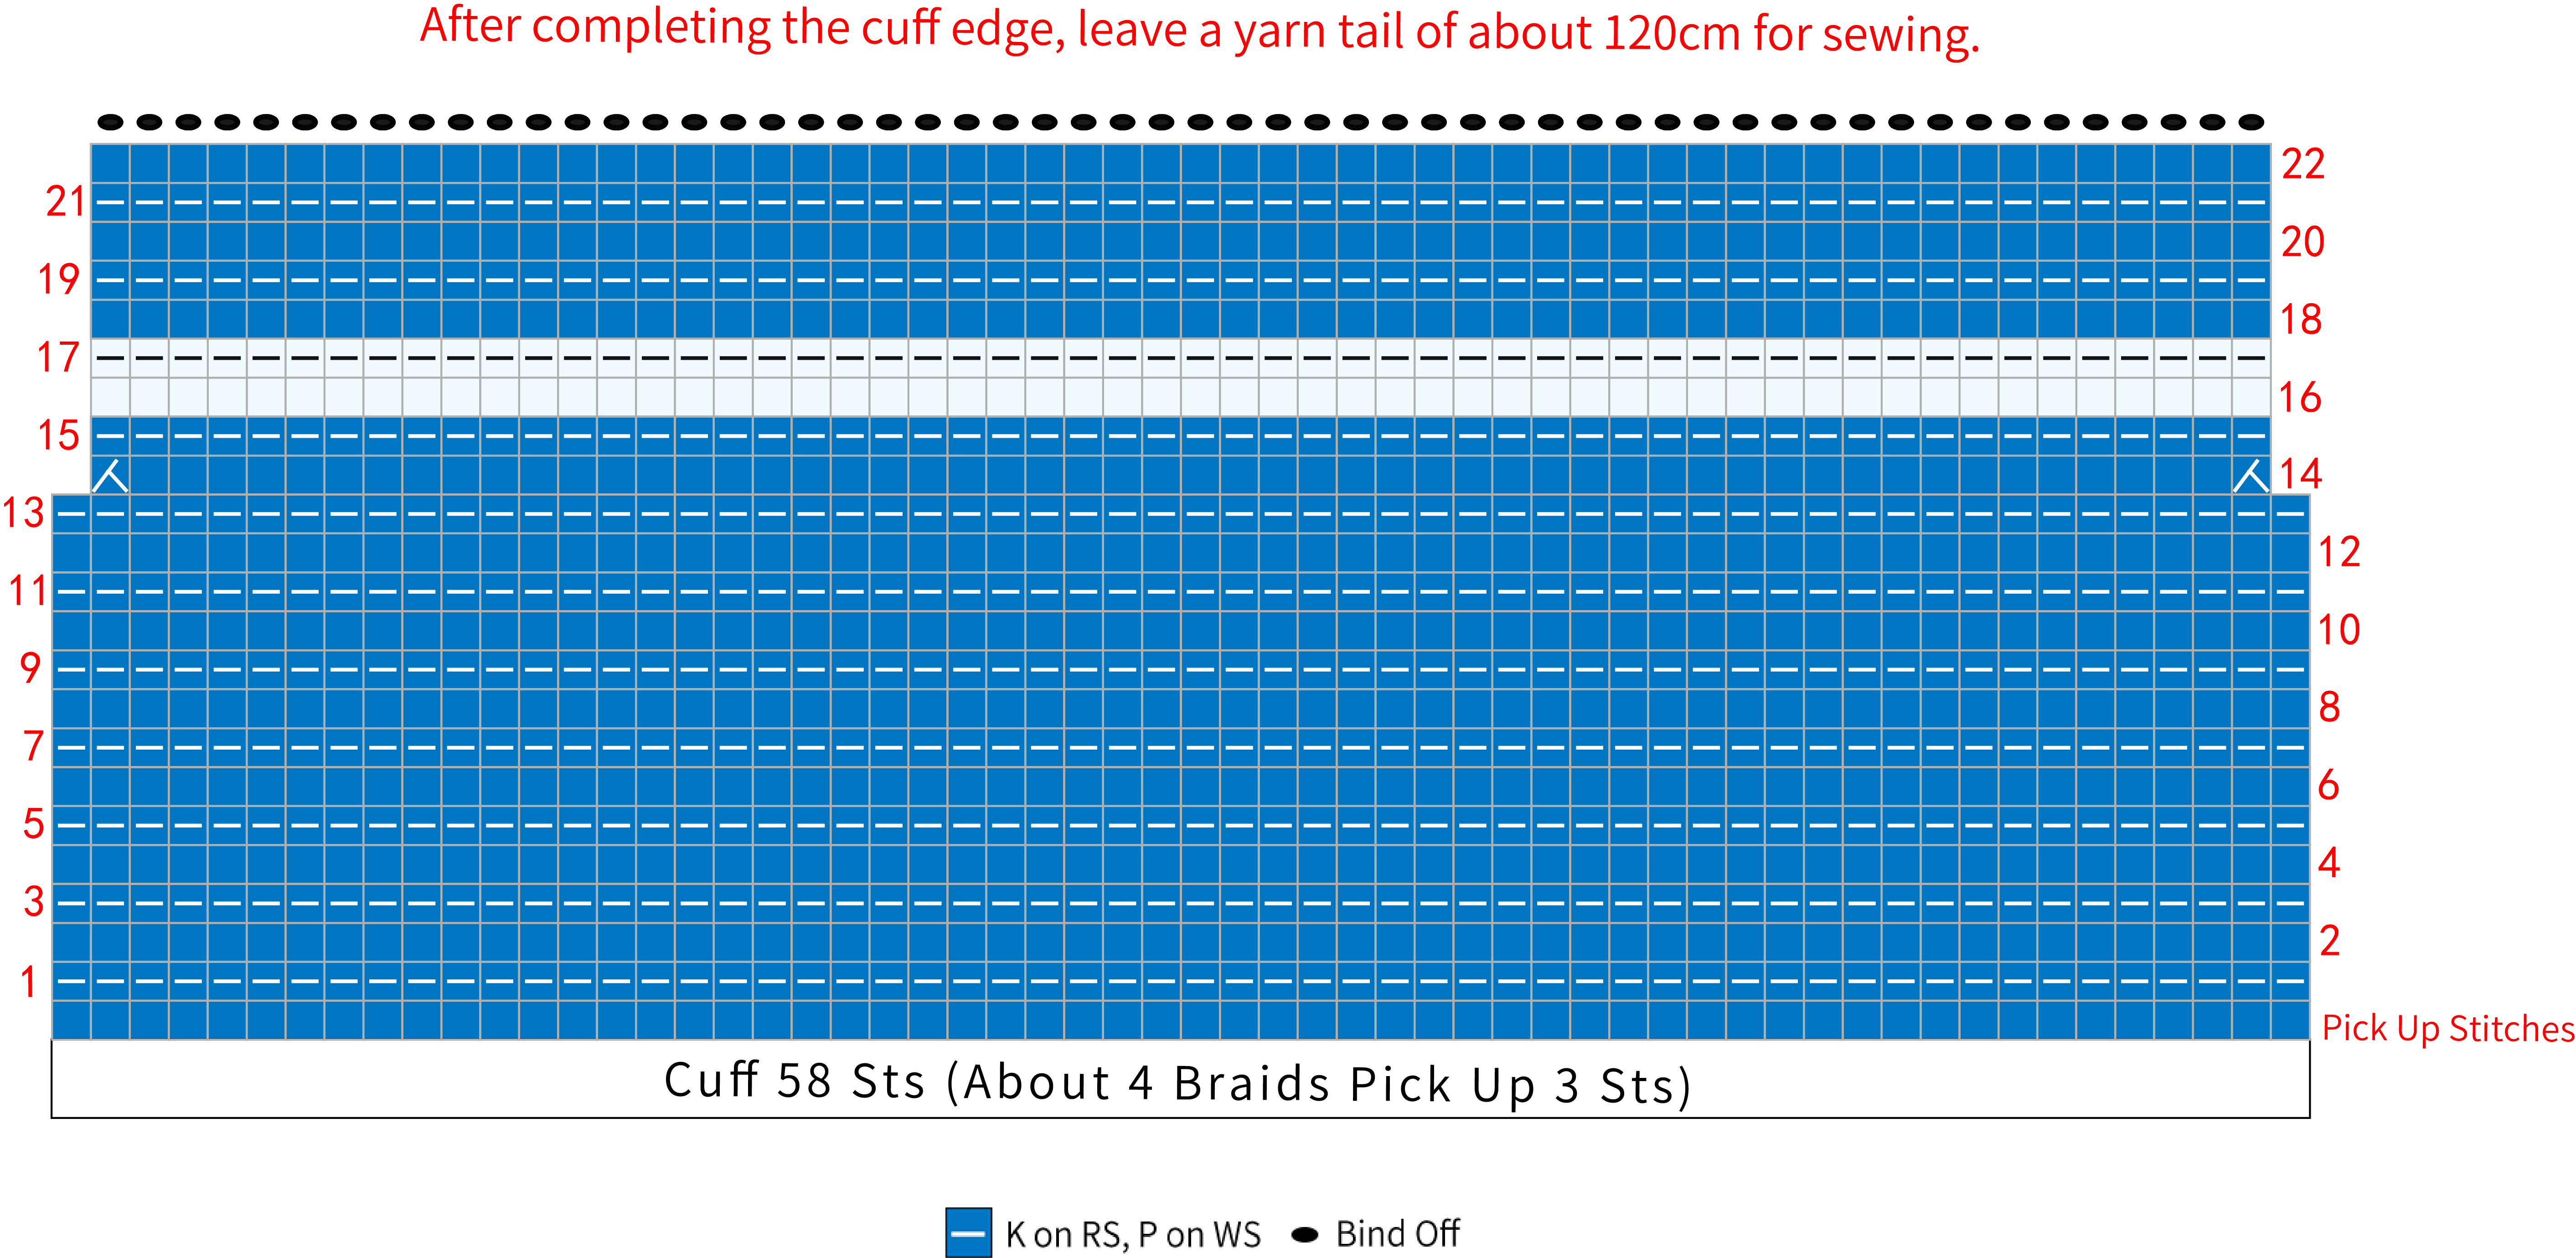
The method for crocheting both sleeves is identical. First, pick up strands at the corresponding position on the sleeve, then crochet in rows back and forth. After completing the sleeves, sew together the sides of the garment. Please refer to the video demonstration for specifics.
Part 4 Bottom EdgeD 76' 56''
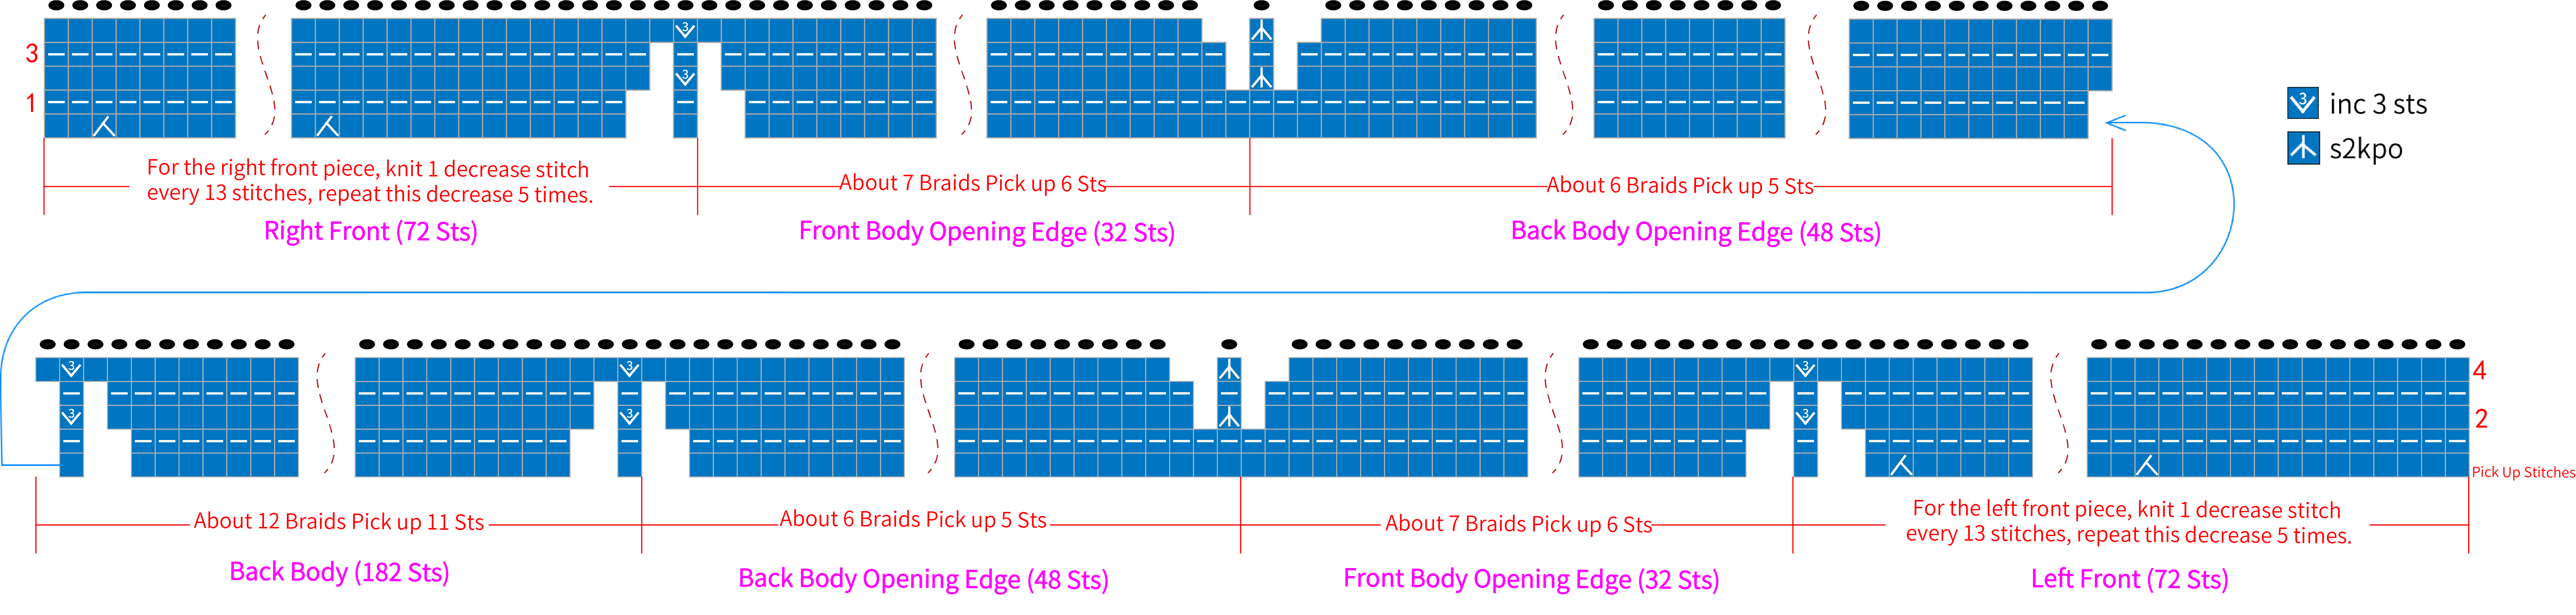
Pick up strands at the hem and side opening positions, then crochet back and forth. Please refer to the video demonstration for details.
Part 5 Front BandE 90' 31''
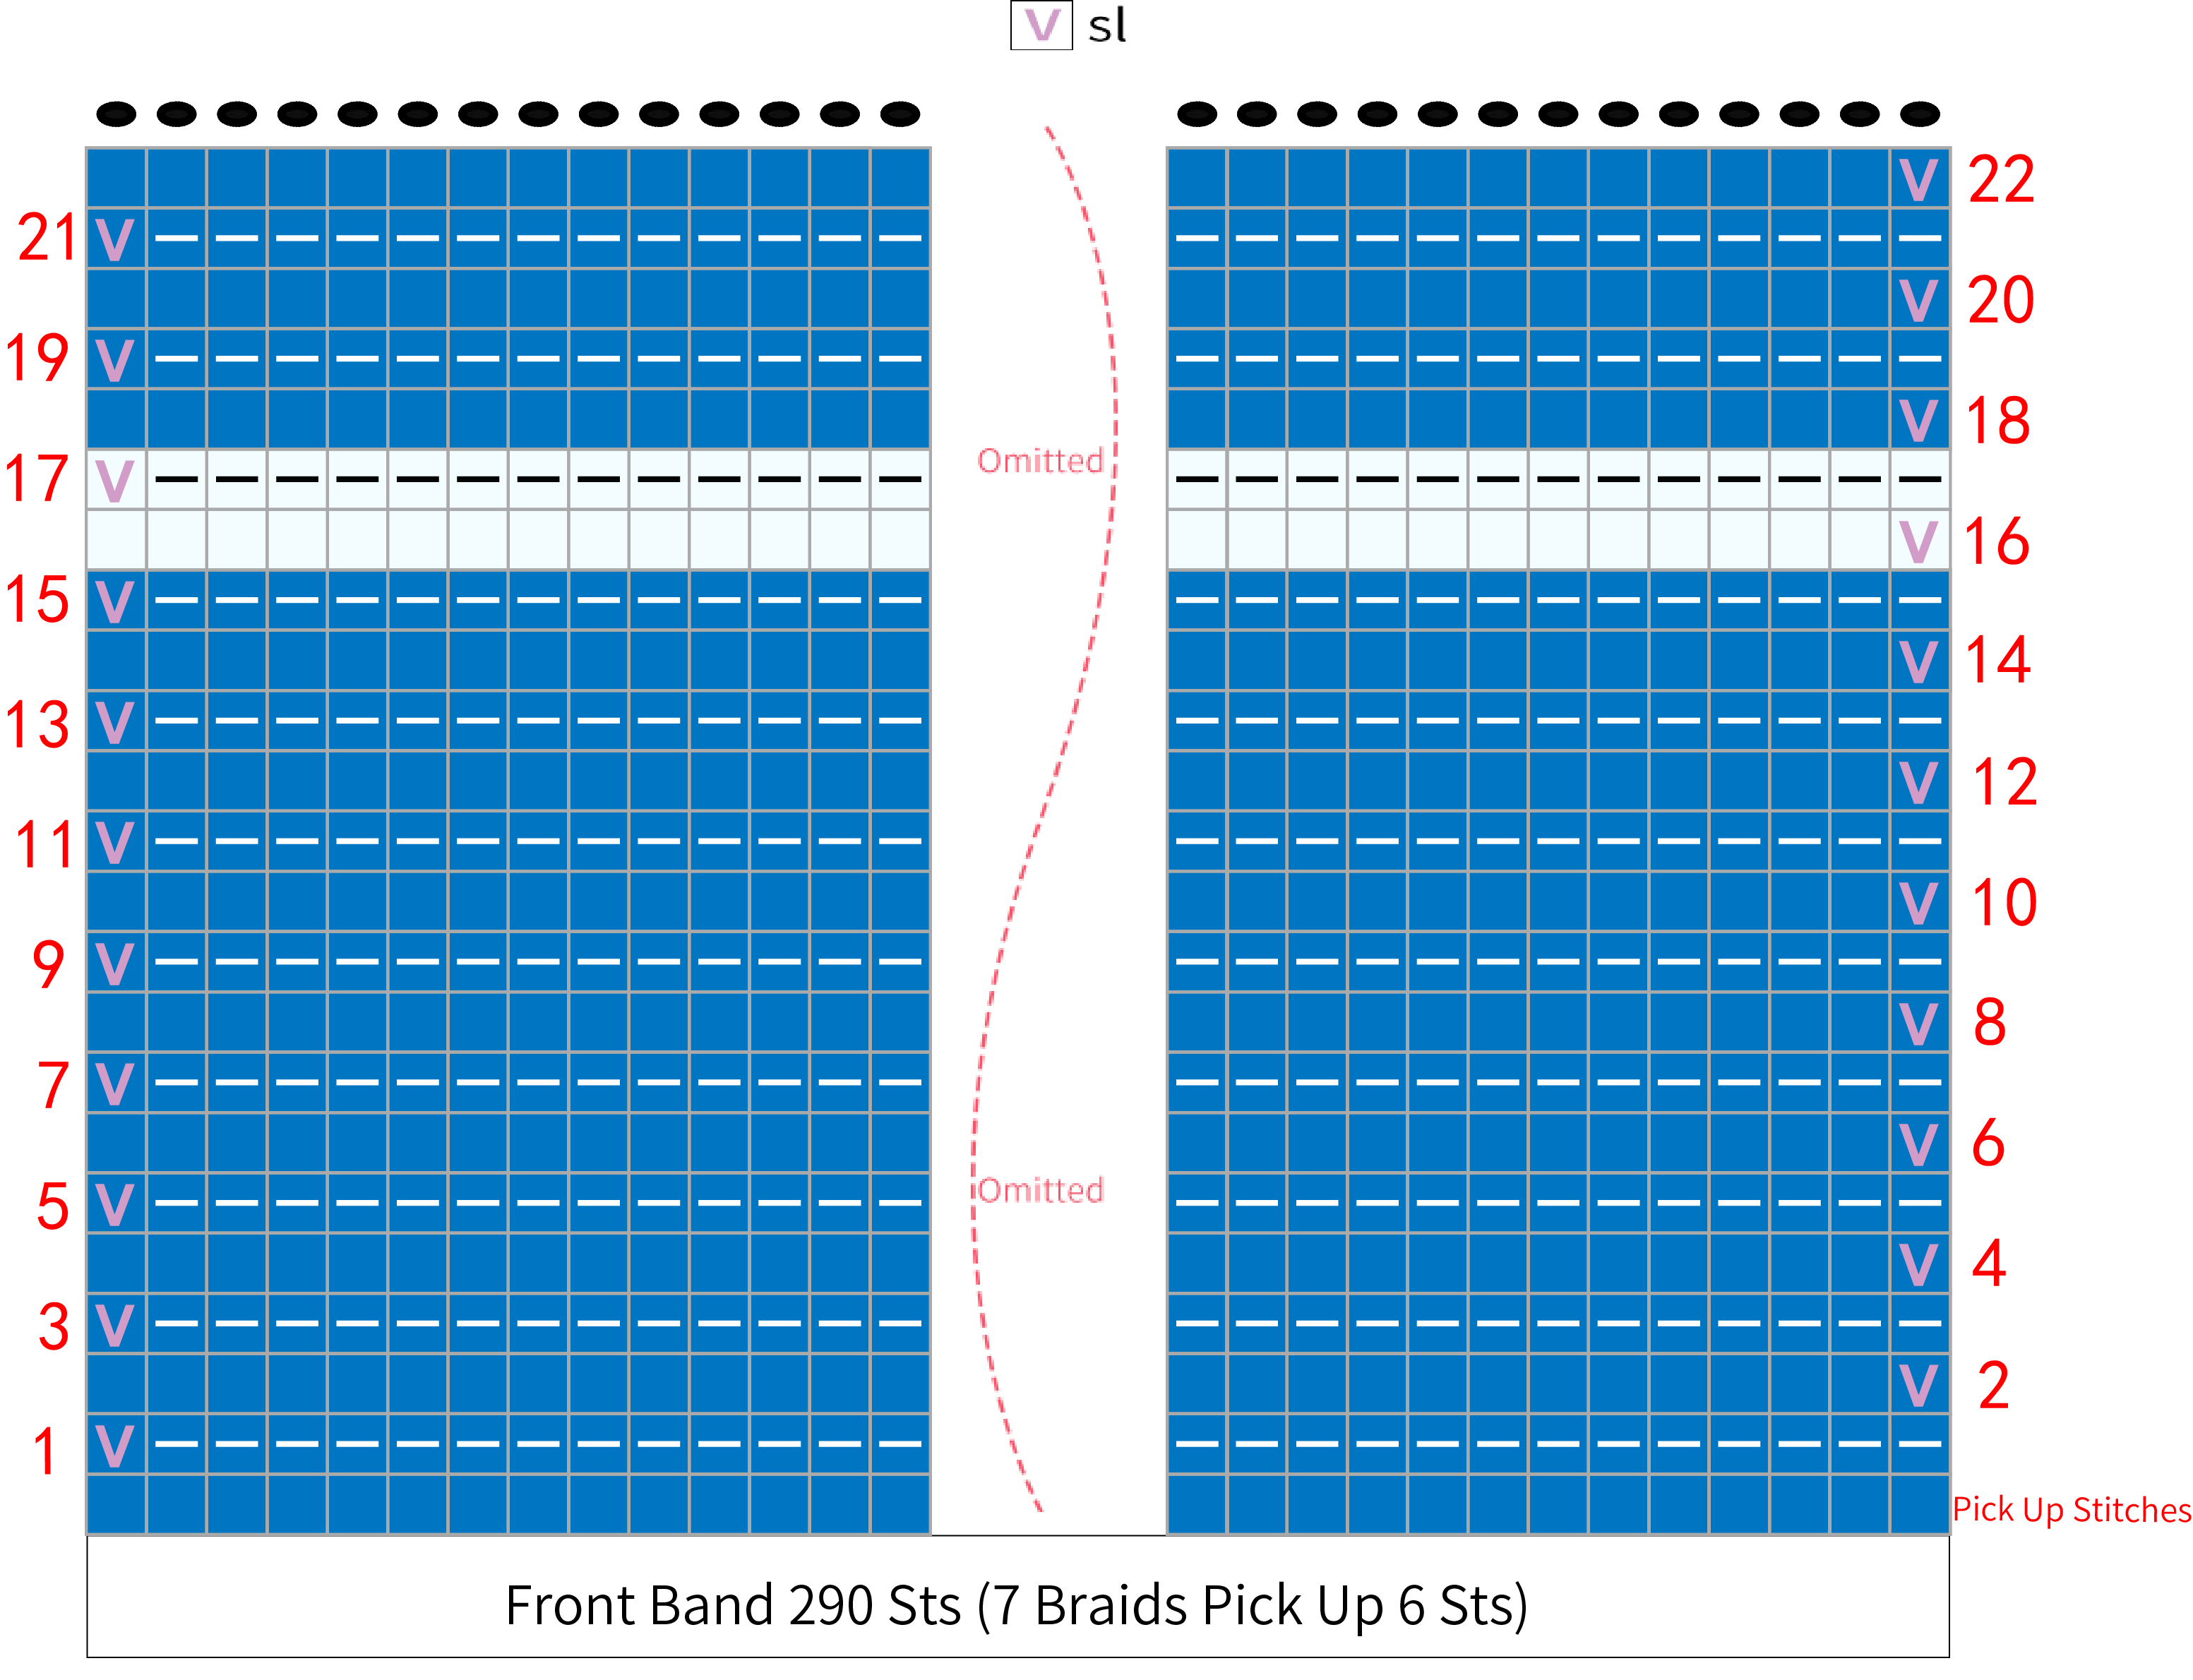
Pick up stitches along the front band of the garment, then crochet in rows back and forth. Please refer to the video demonstration for specifics.
Made by the community