Home / Blanket
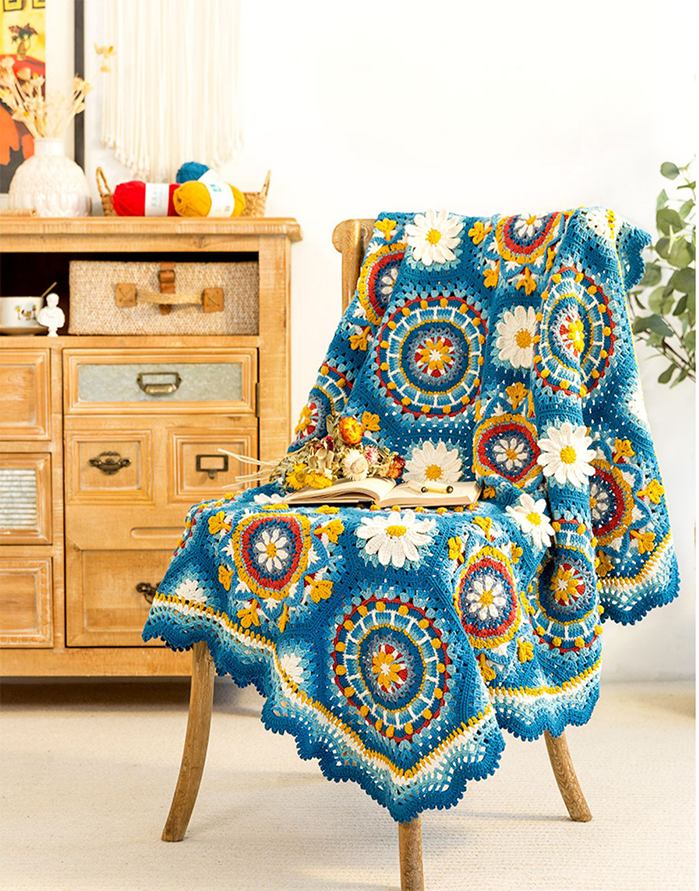
Ravenna Patchwork Blanket
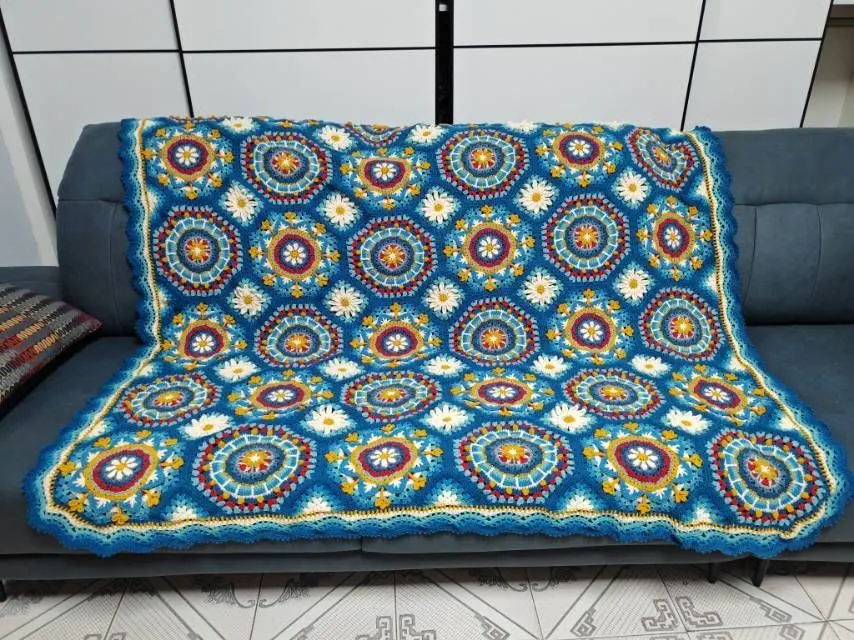
Project preview
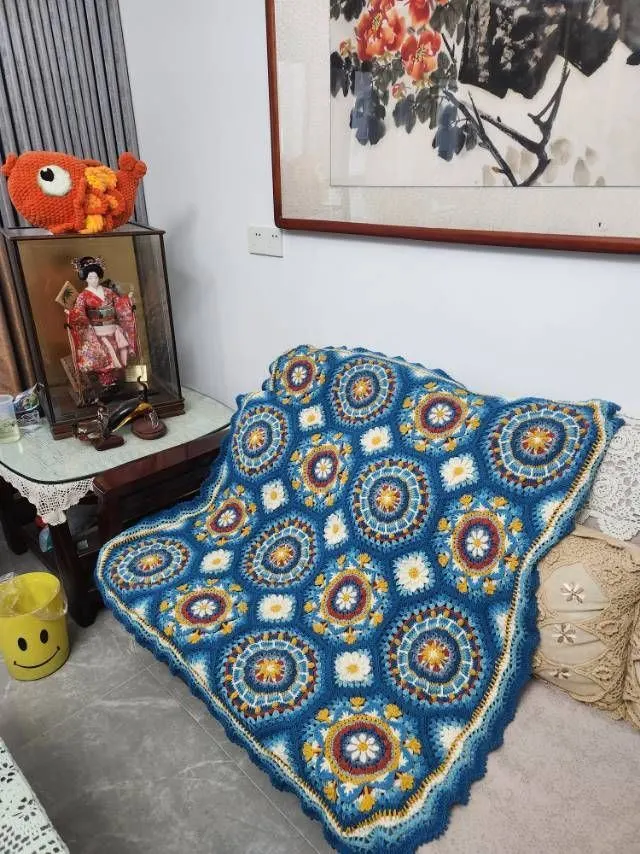
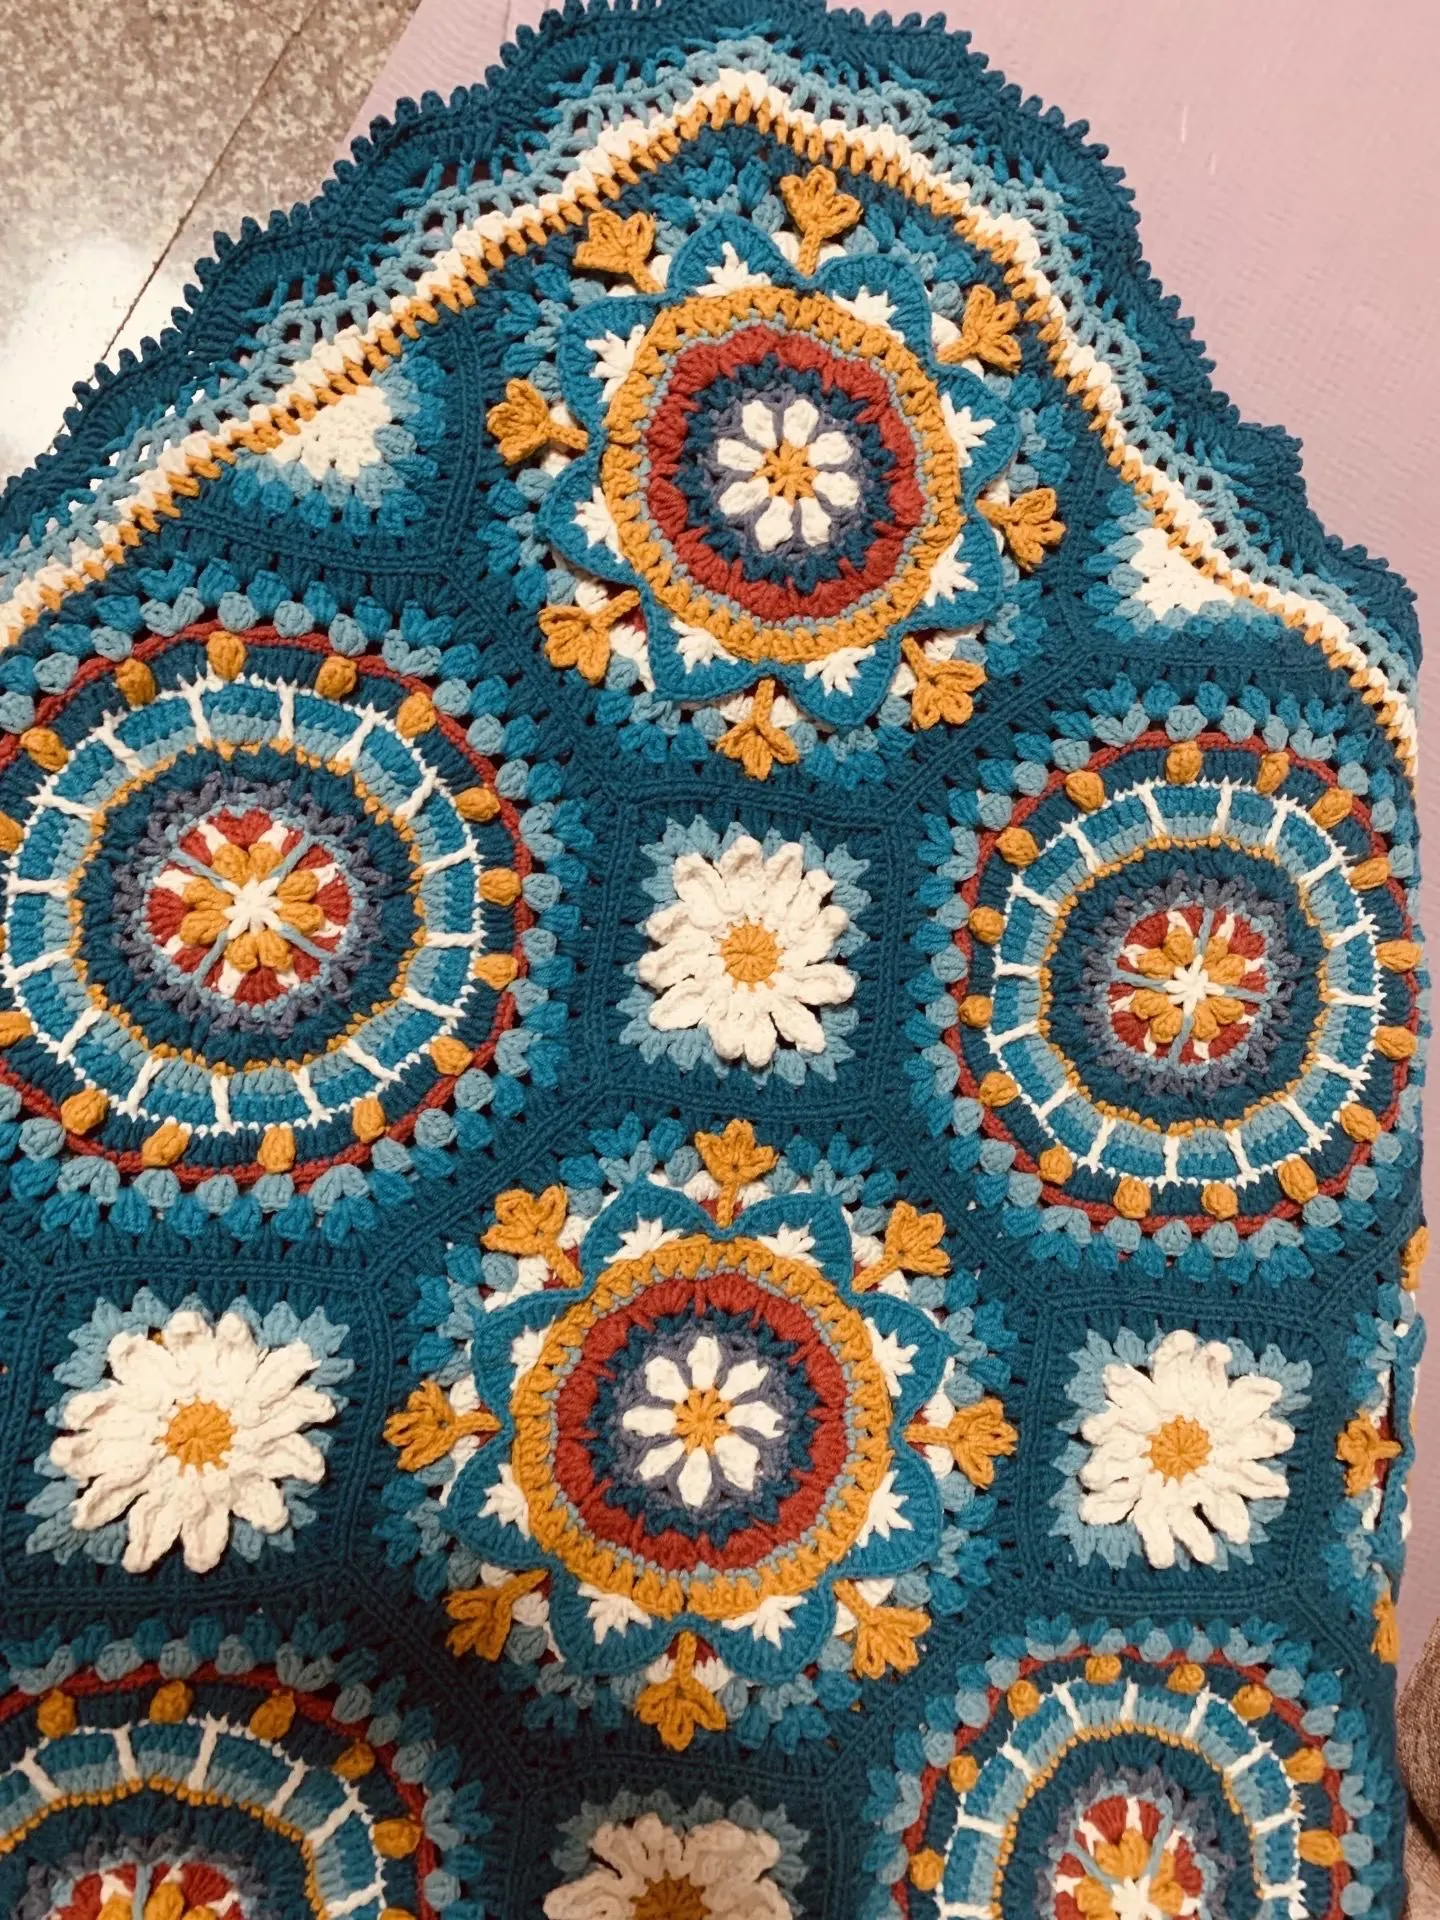
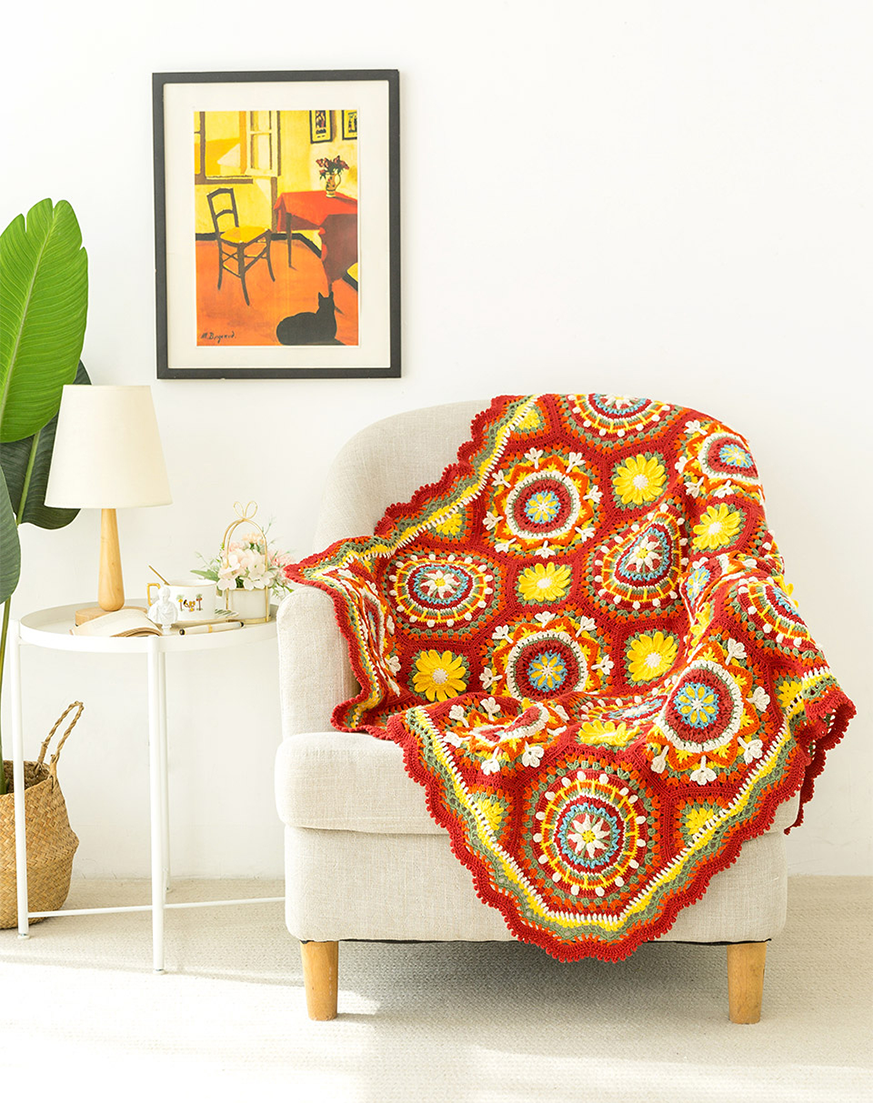
See the finished project
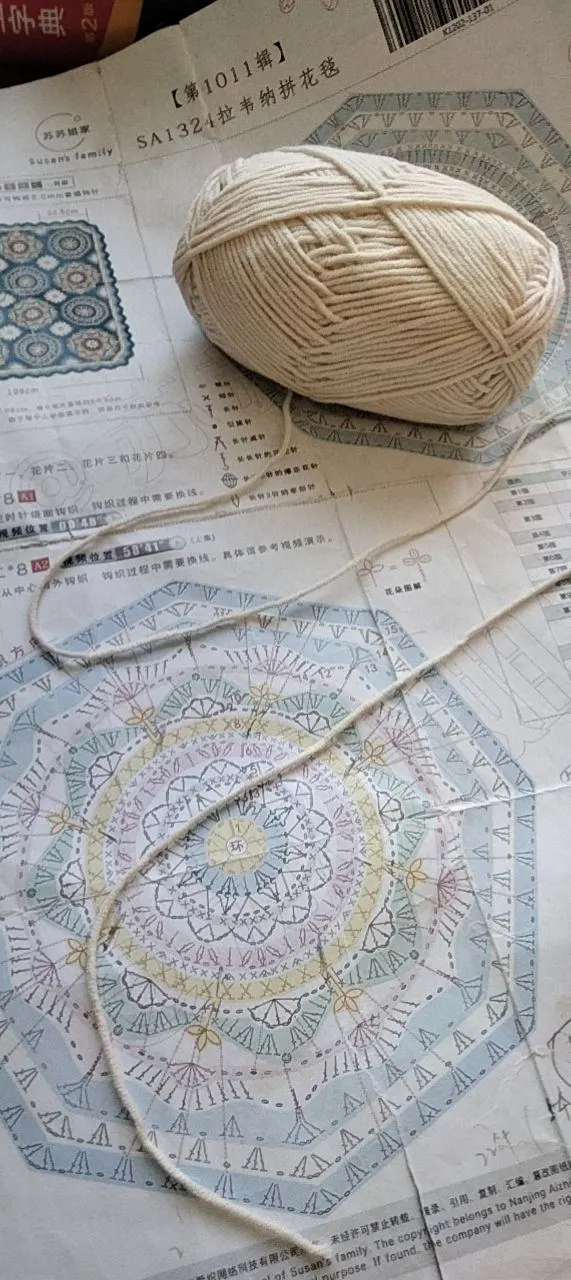
Pattern format
Instructions
Watch and follow
Video tutorial
| Style | Yarn | Color |
|---|---|---|
| Aurora Red | 4-Ply Combed Cotton & Acrylic Fibre Hand Knitting Yarn |  09#Aspen Gold x 4 09#Aspen Gold x 4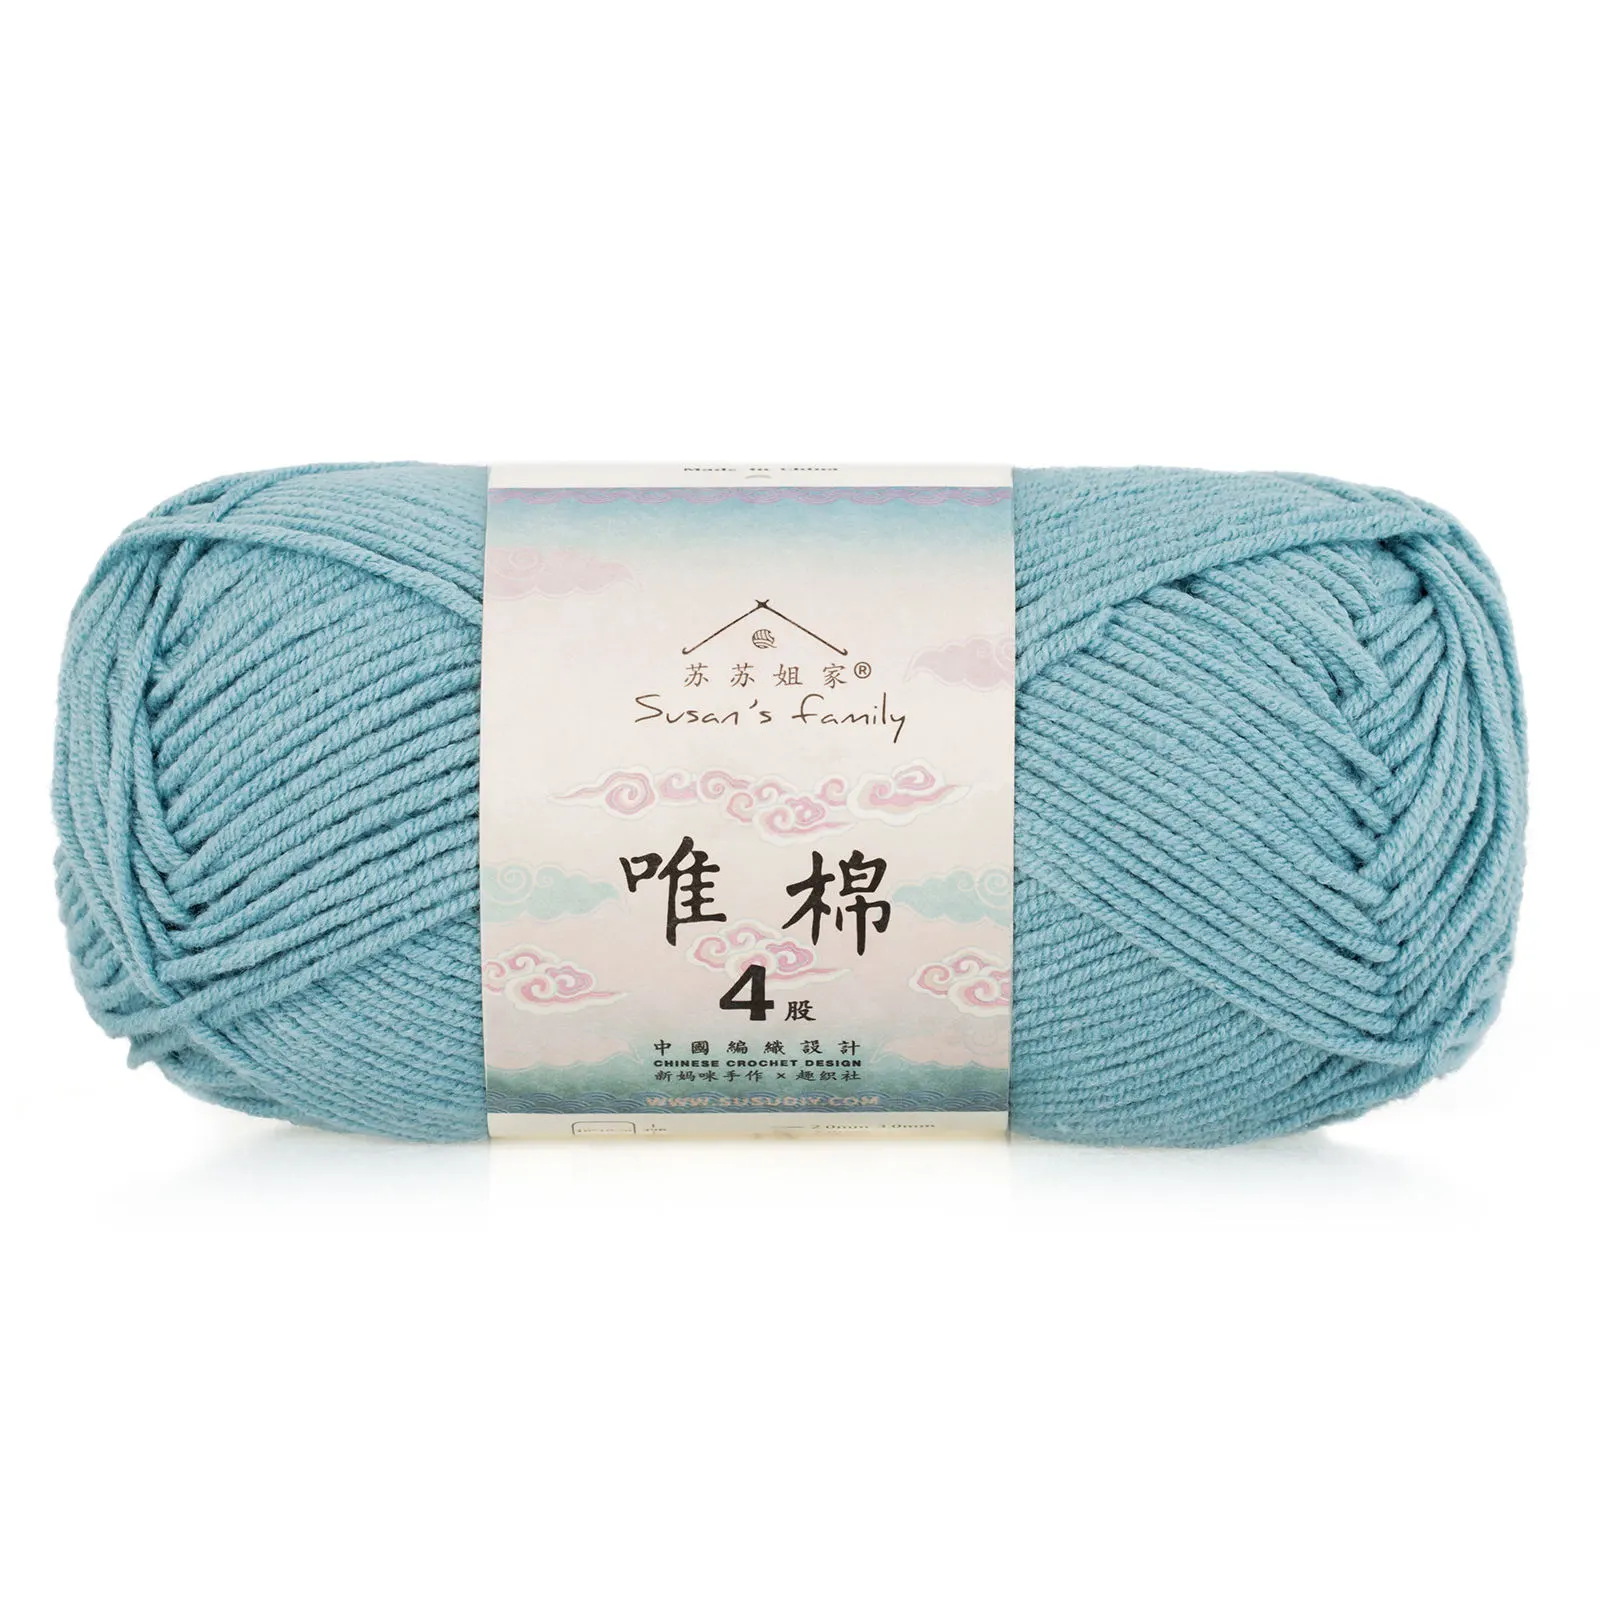 17#Marine Blue x 1 17#Marine Blue x 1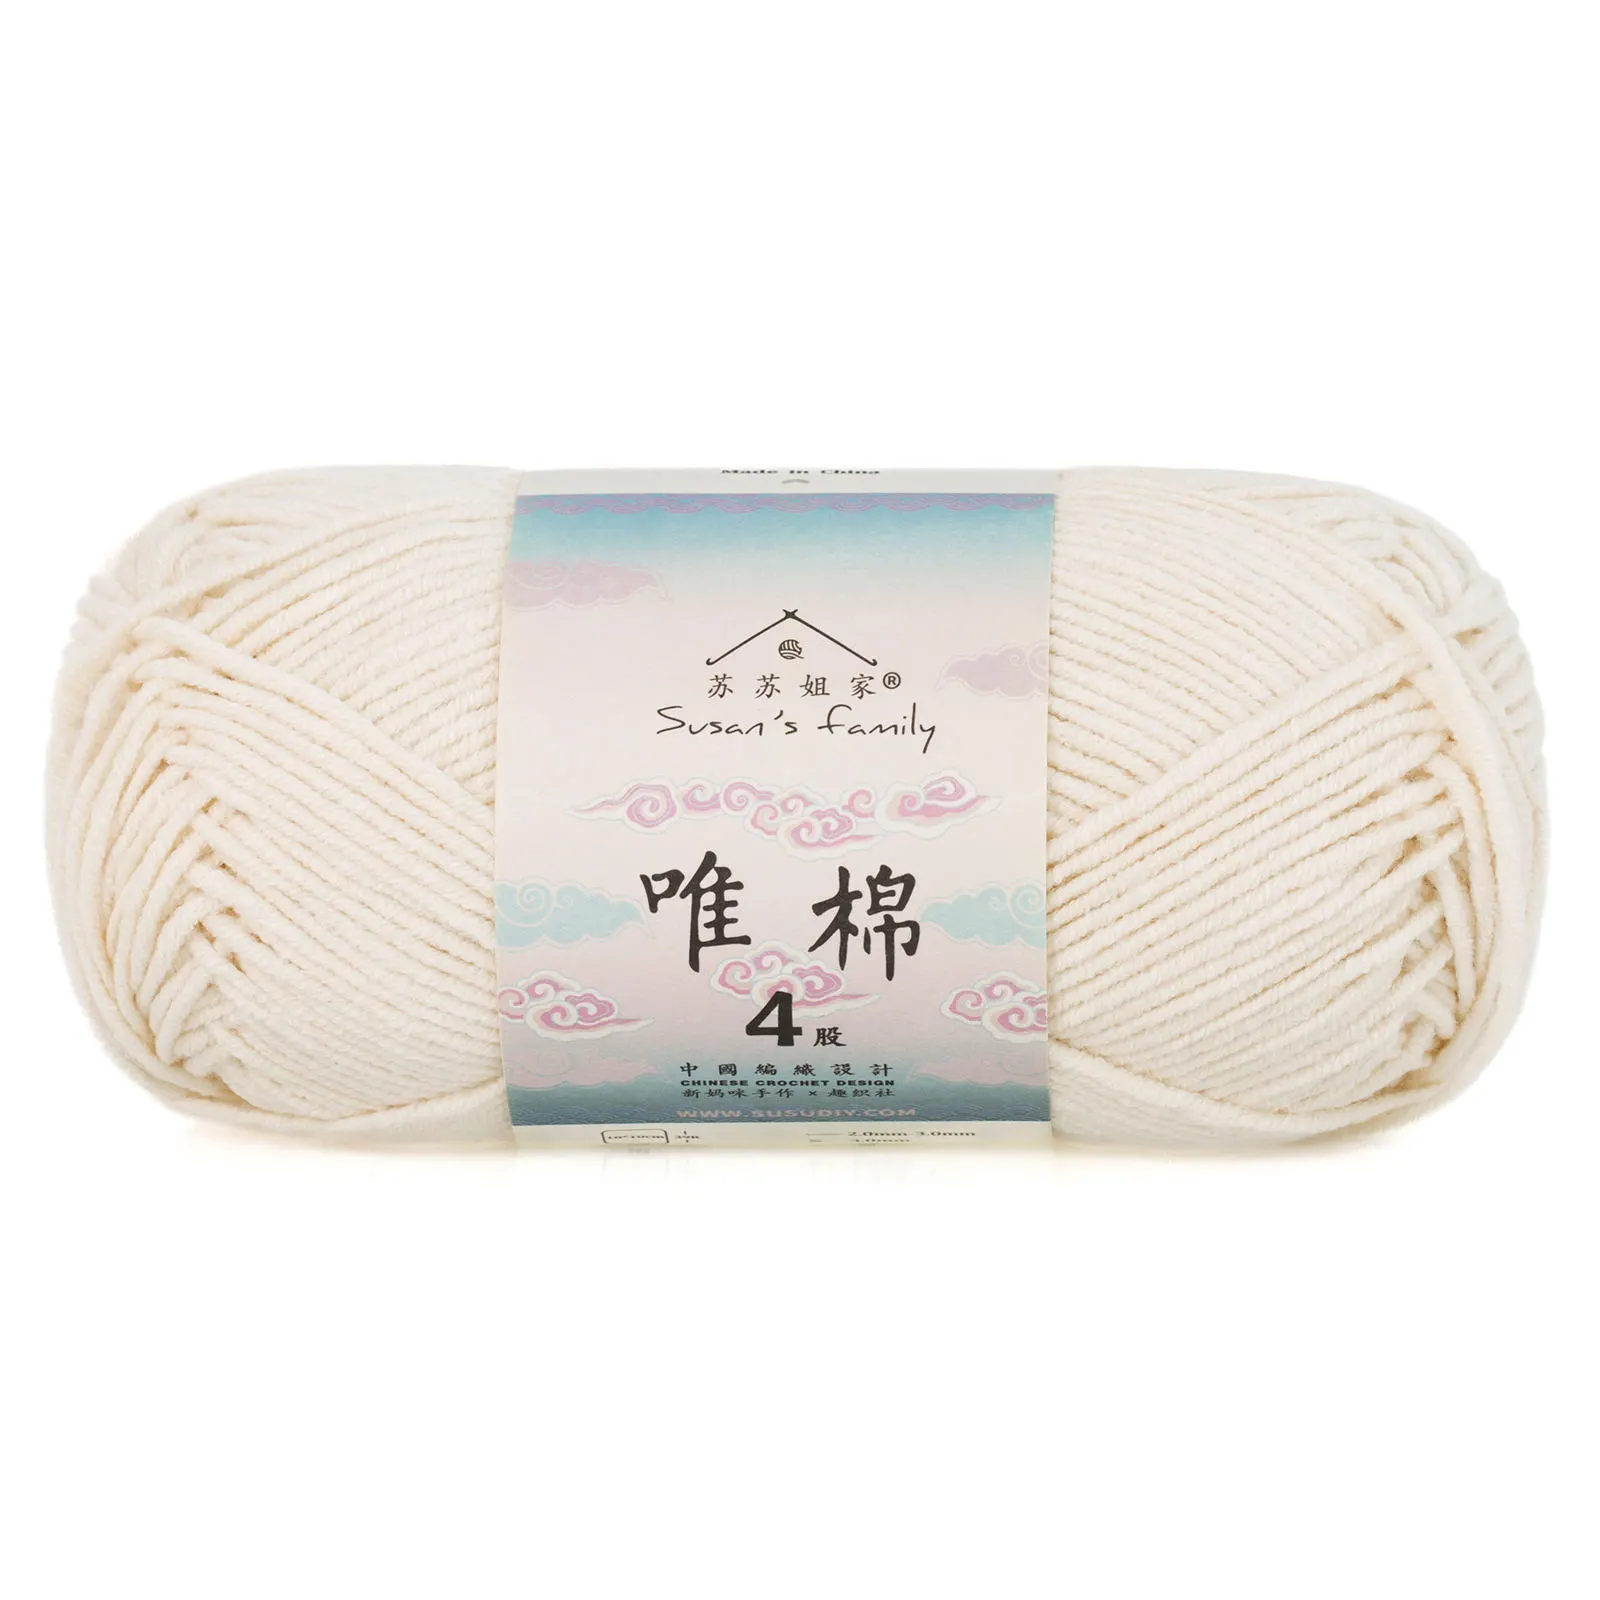 19#Whisper White x 3 19#Whisper White x 3 24#Red Clay x 2 24#Red Clay x 2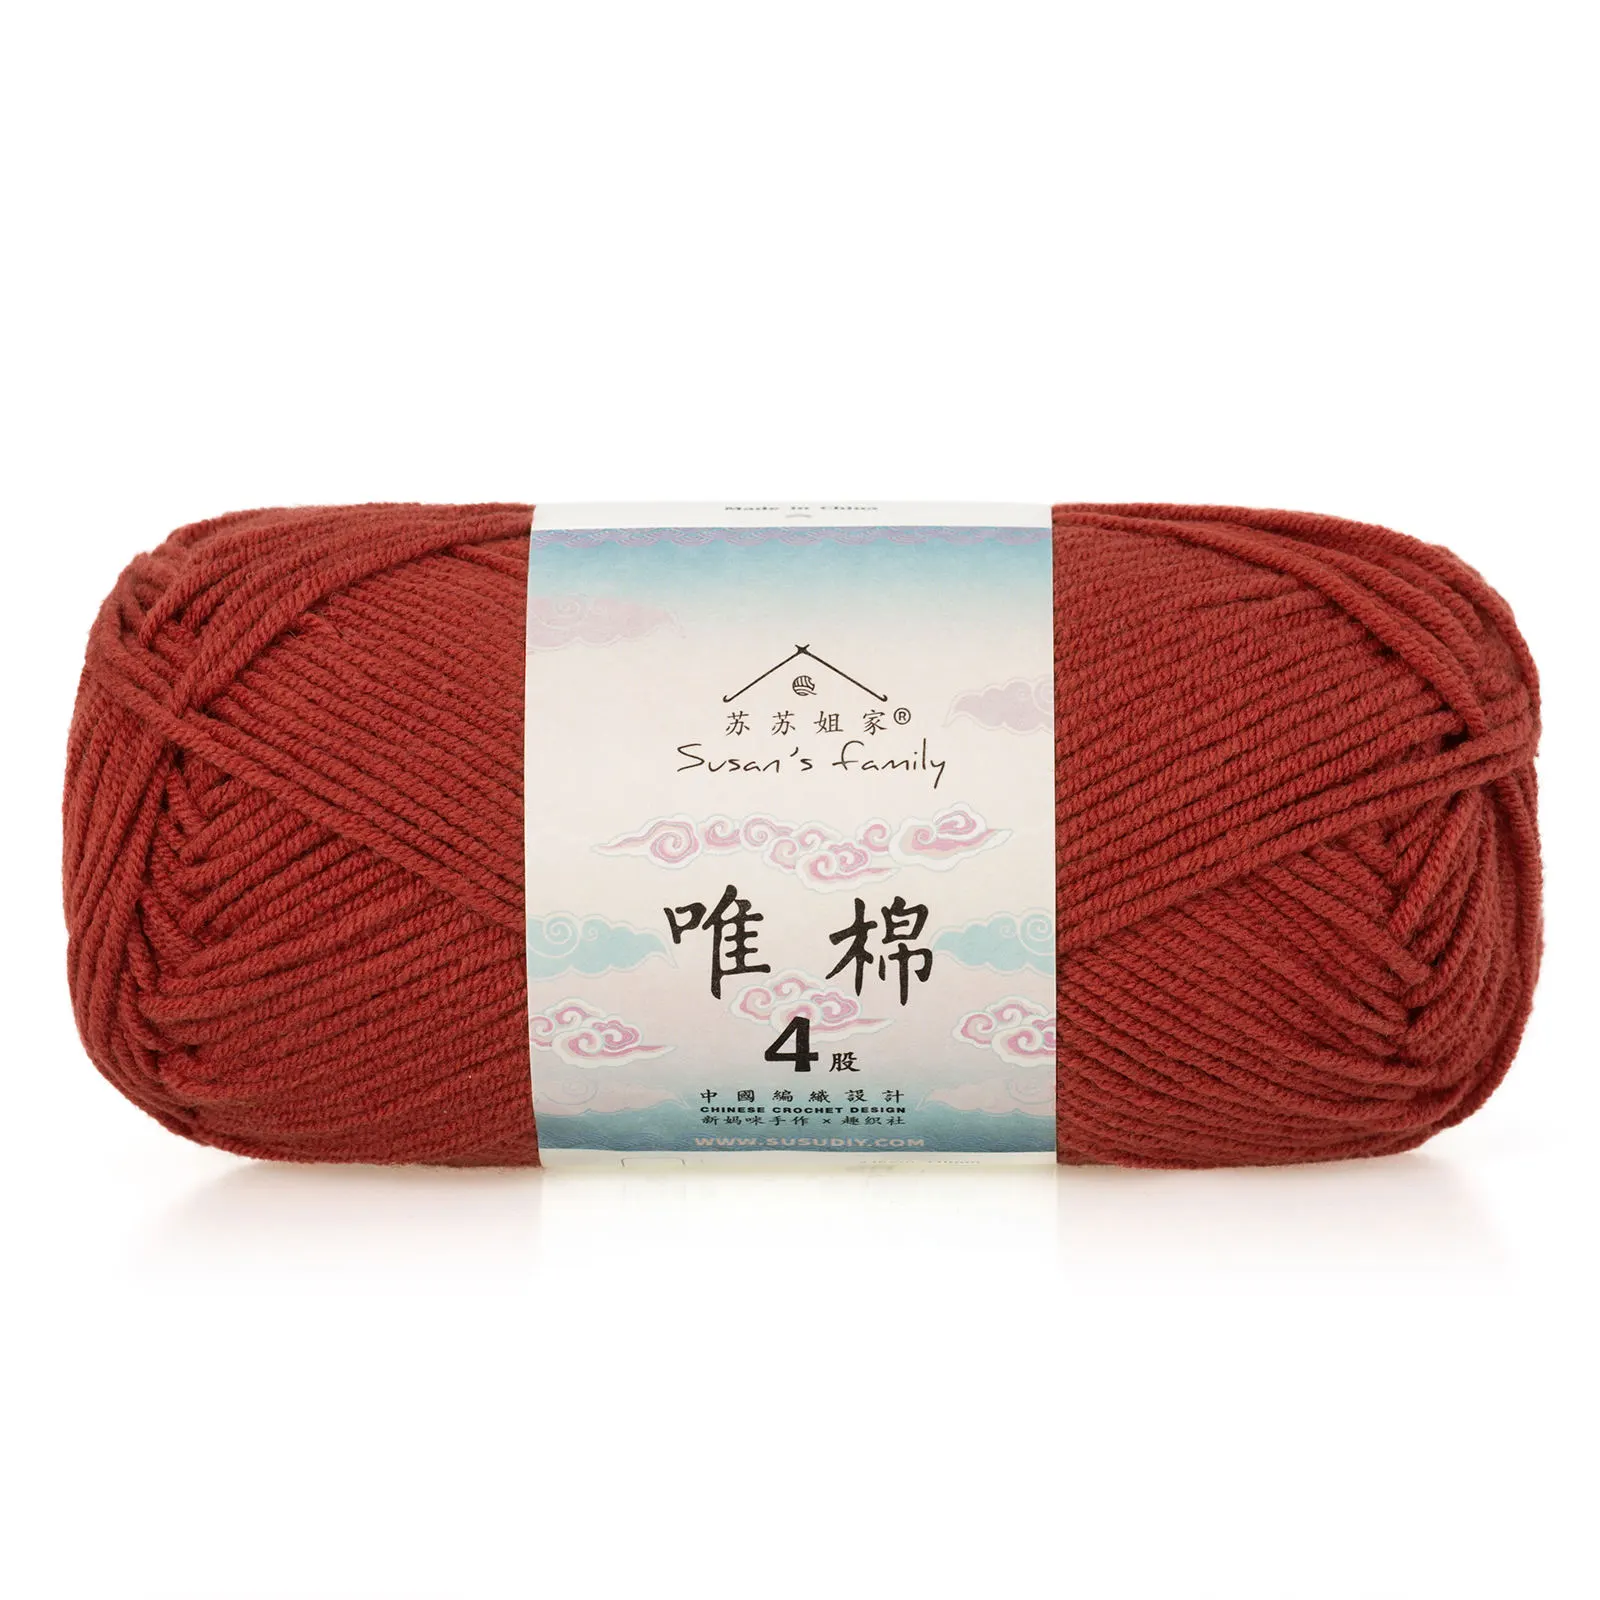 29#Aurora Red x 6 29#Aurora Red x 6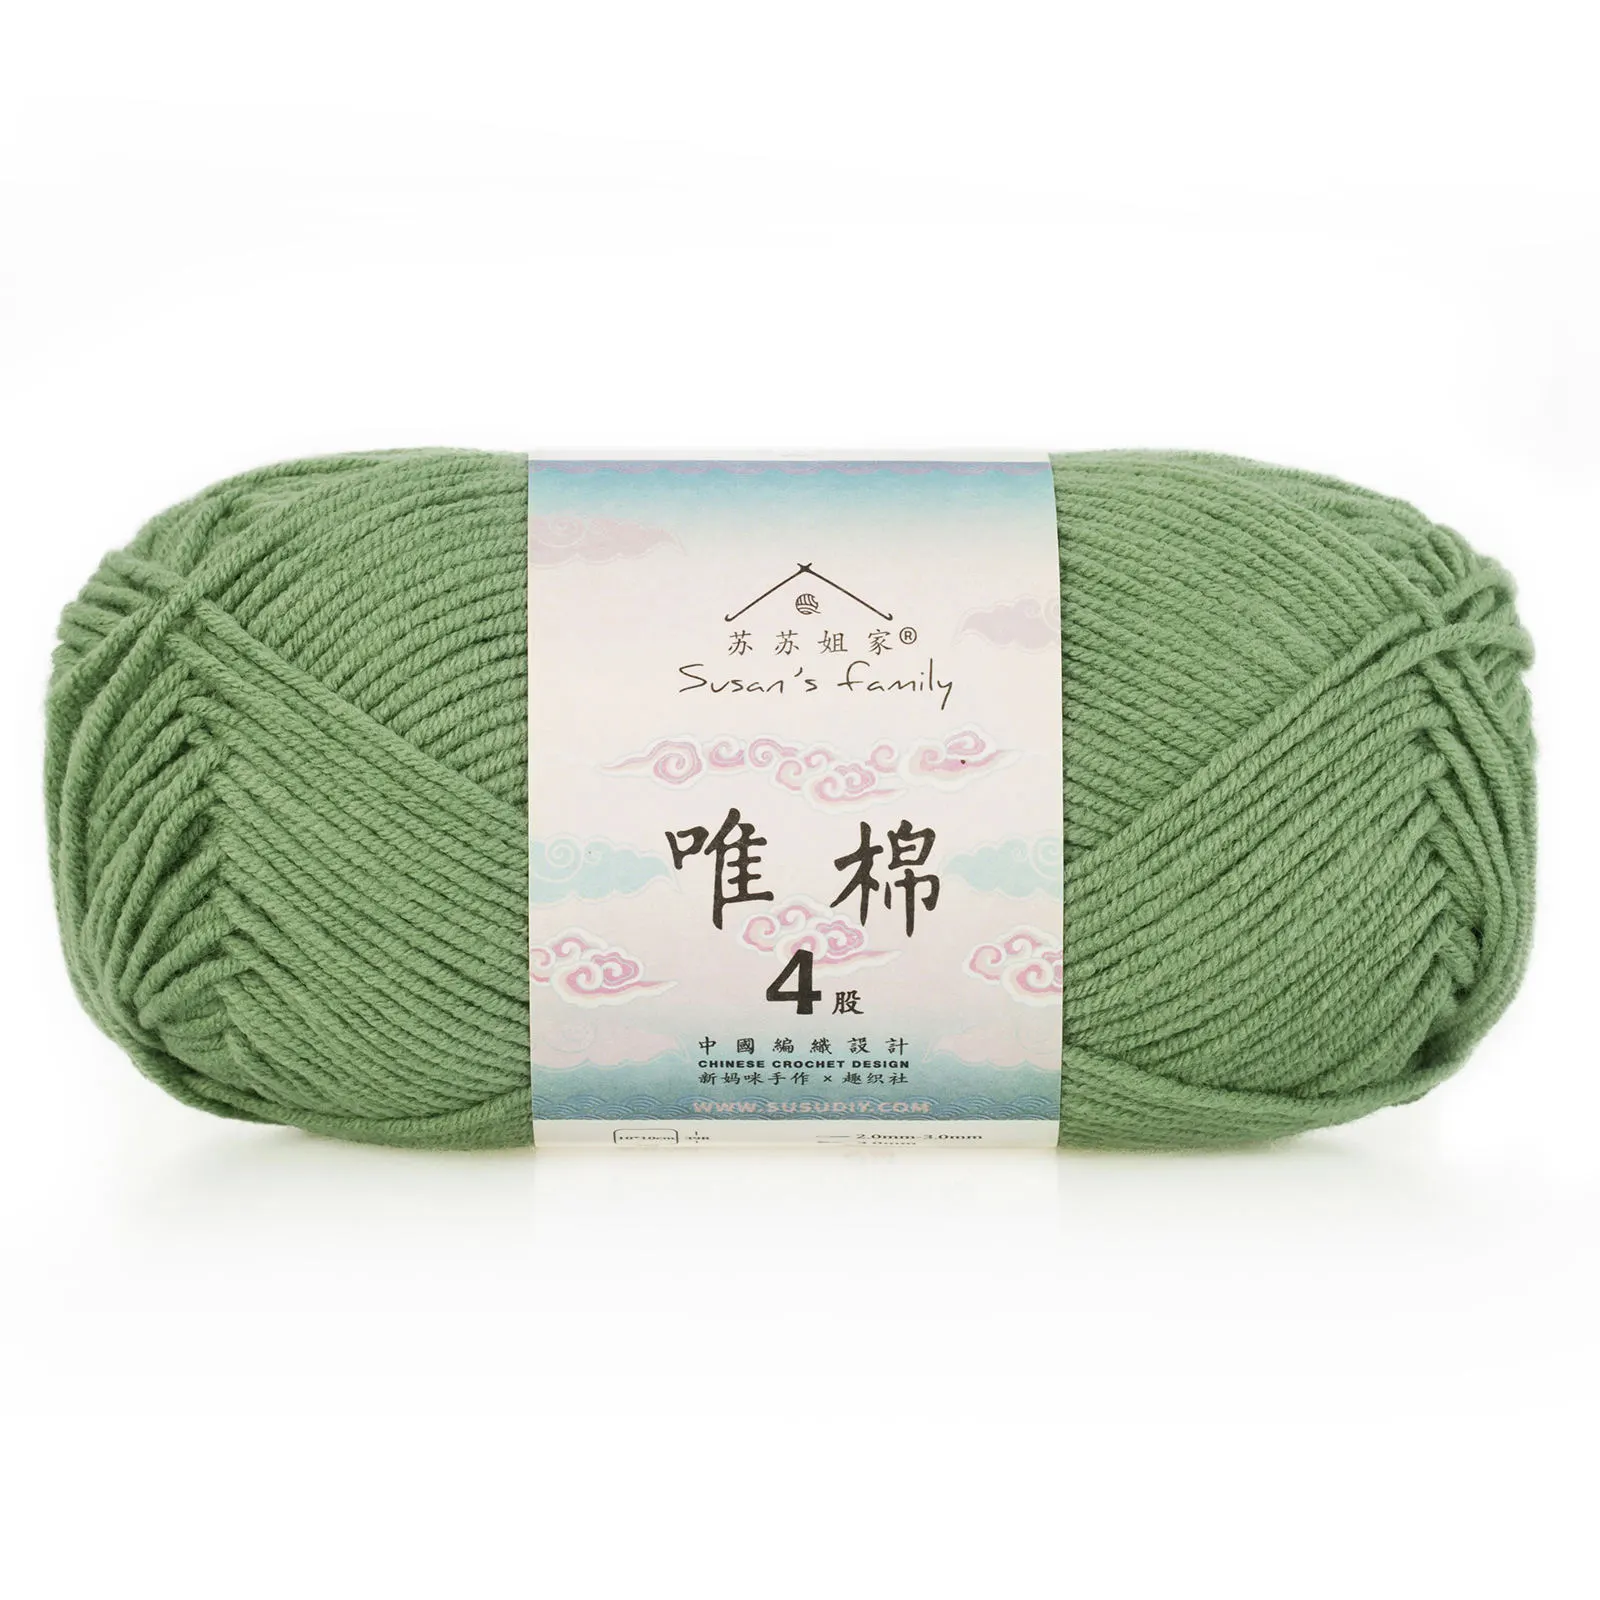 32#Aspen Green x 4 32#Aspen Green x 4 45#Orangeade x 4 45#Orangeade x 4 |
| Lyons Blue | 4-Ply Combed Cotton & Acrylic Fibre Hand Knitting Yarn | 17#Marine Blue x 419#Whisper White x 424#Red Clay x 2 39#Blue Mirage x 1 39#Blue Mirage x 1 42#Blue Moon x 4 42#Blue Moon x 4 46#Lyons Blue x 6 46#Lyons Blue x 6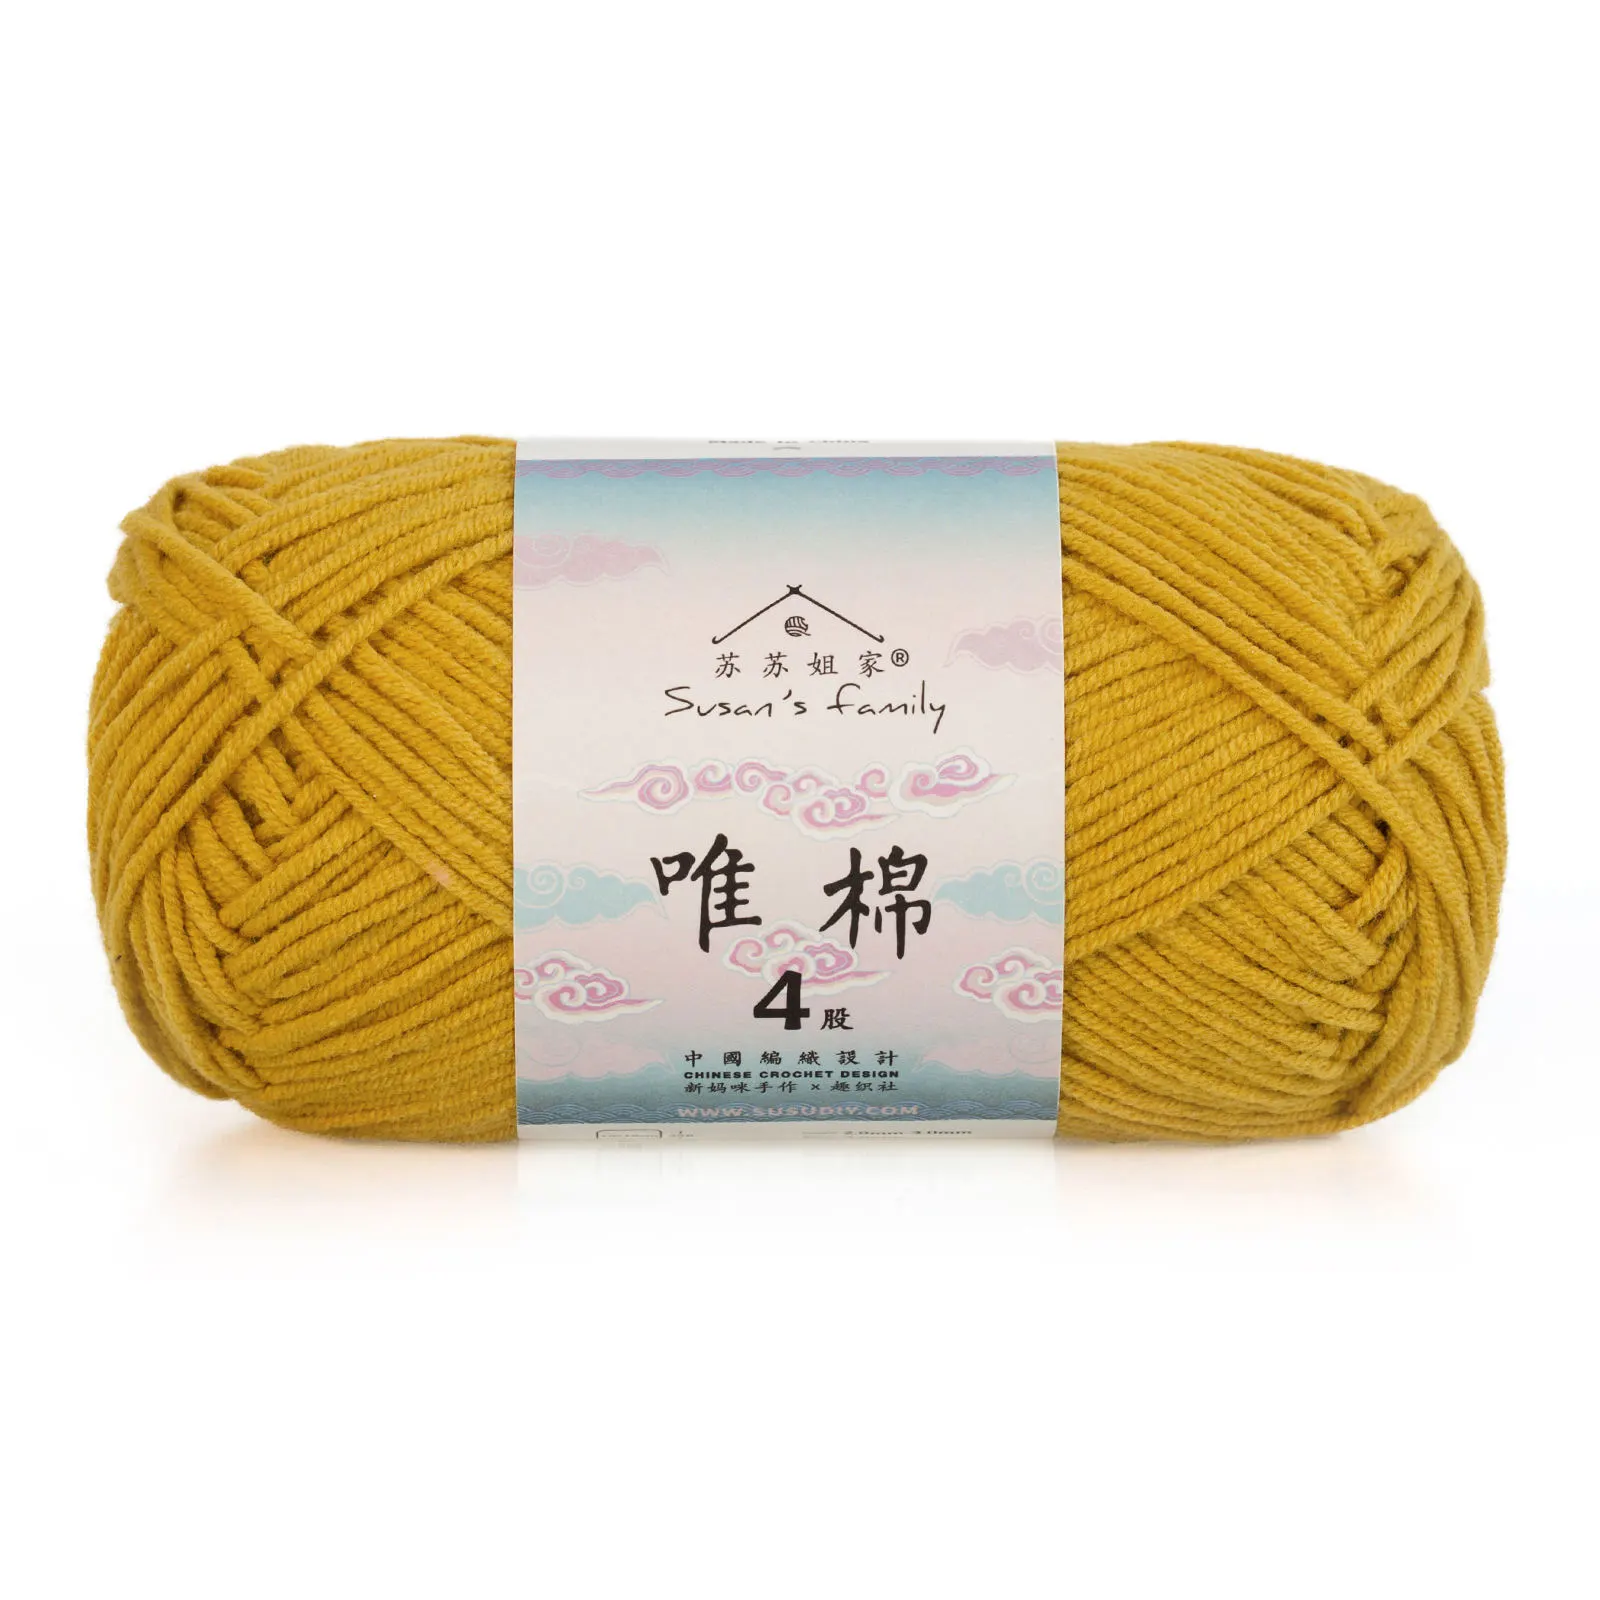 56#Golden Yellow x 3 56#Golden Yellow x 3 |
Aurora Red
Lyons Blue
Ravenna Patchwork Blanket
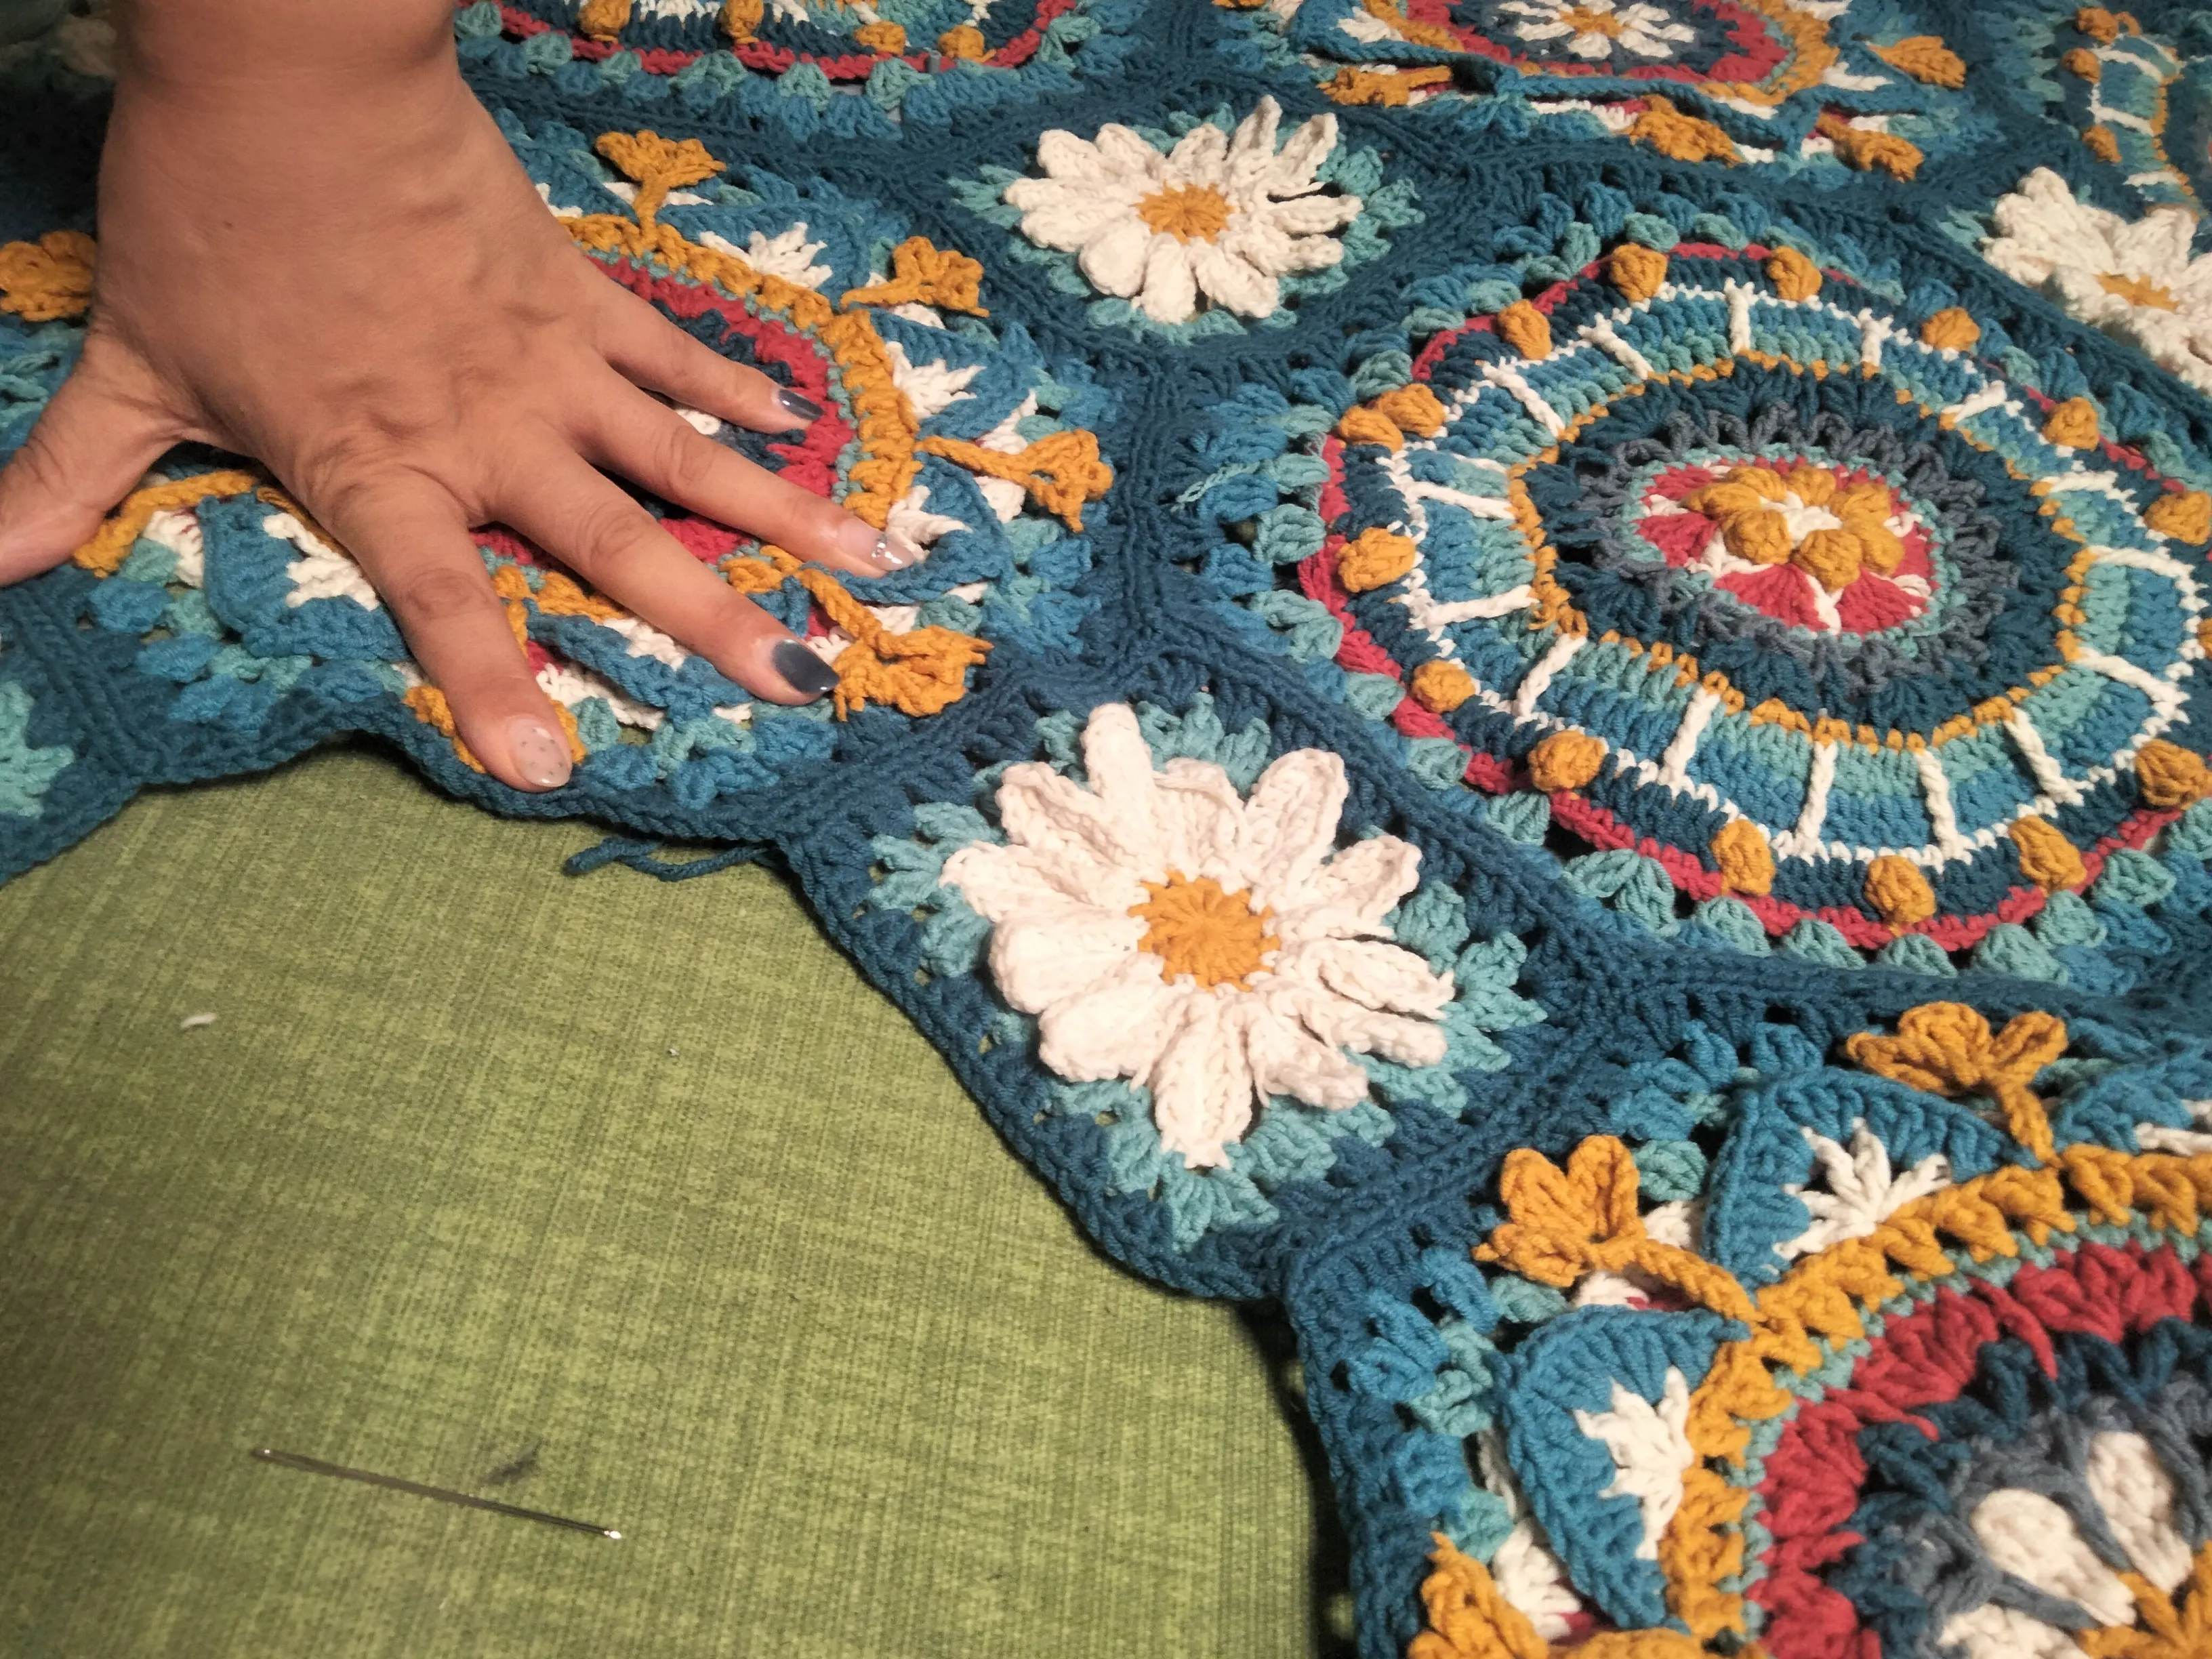
The working process consists of making motifs,sewing together and adding the border.First,complete all the motifs,sew them together in place next,and add a border as the end.
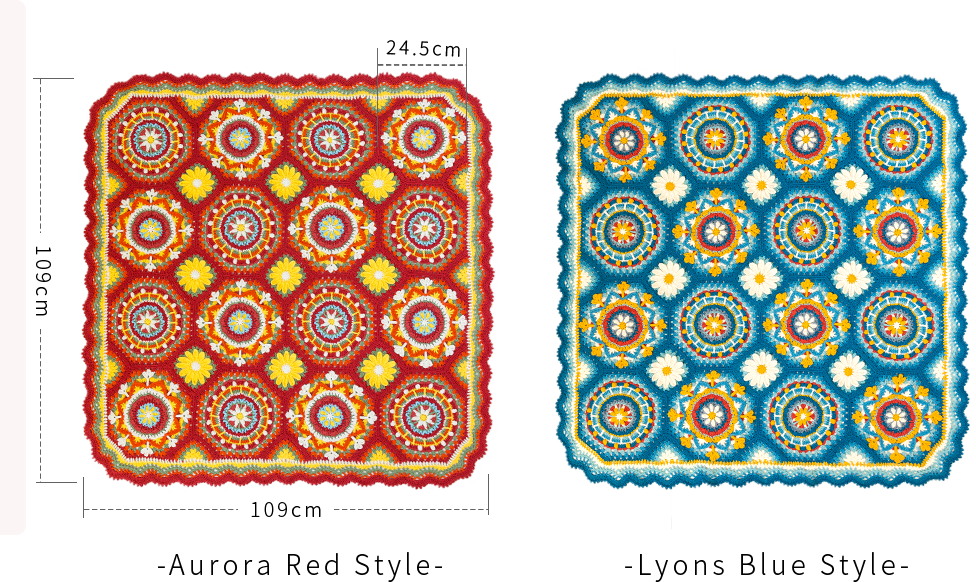
The handcrafted measurements may have an error of 1 to 2cm. Due to variations in individual tension, the size of the sample is for reference only.
Materials: 4-Ply Combed Cotton & Acrylic Fibre Hand Knitting Yarn
Hook: 3.0mm crochet hook
Note: This pattern is making in Chinese crochet pattern terms, and the stitch name is written using American terminology. All measurements in charts are in cm.
Chart Key
















PART1 Motifs
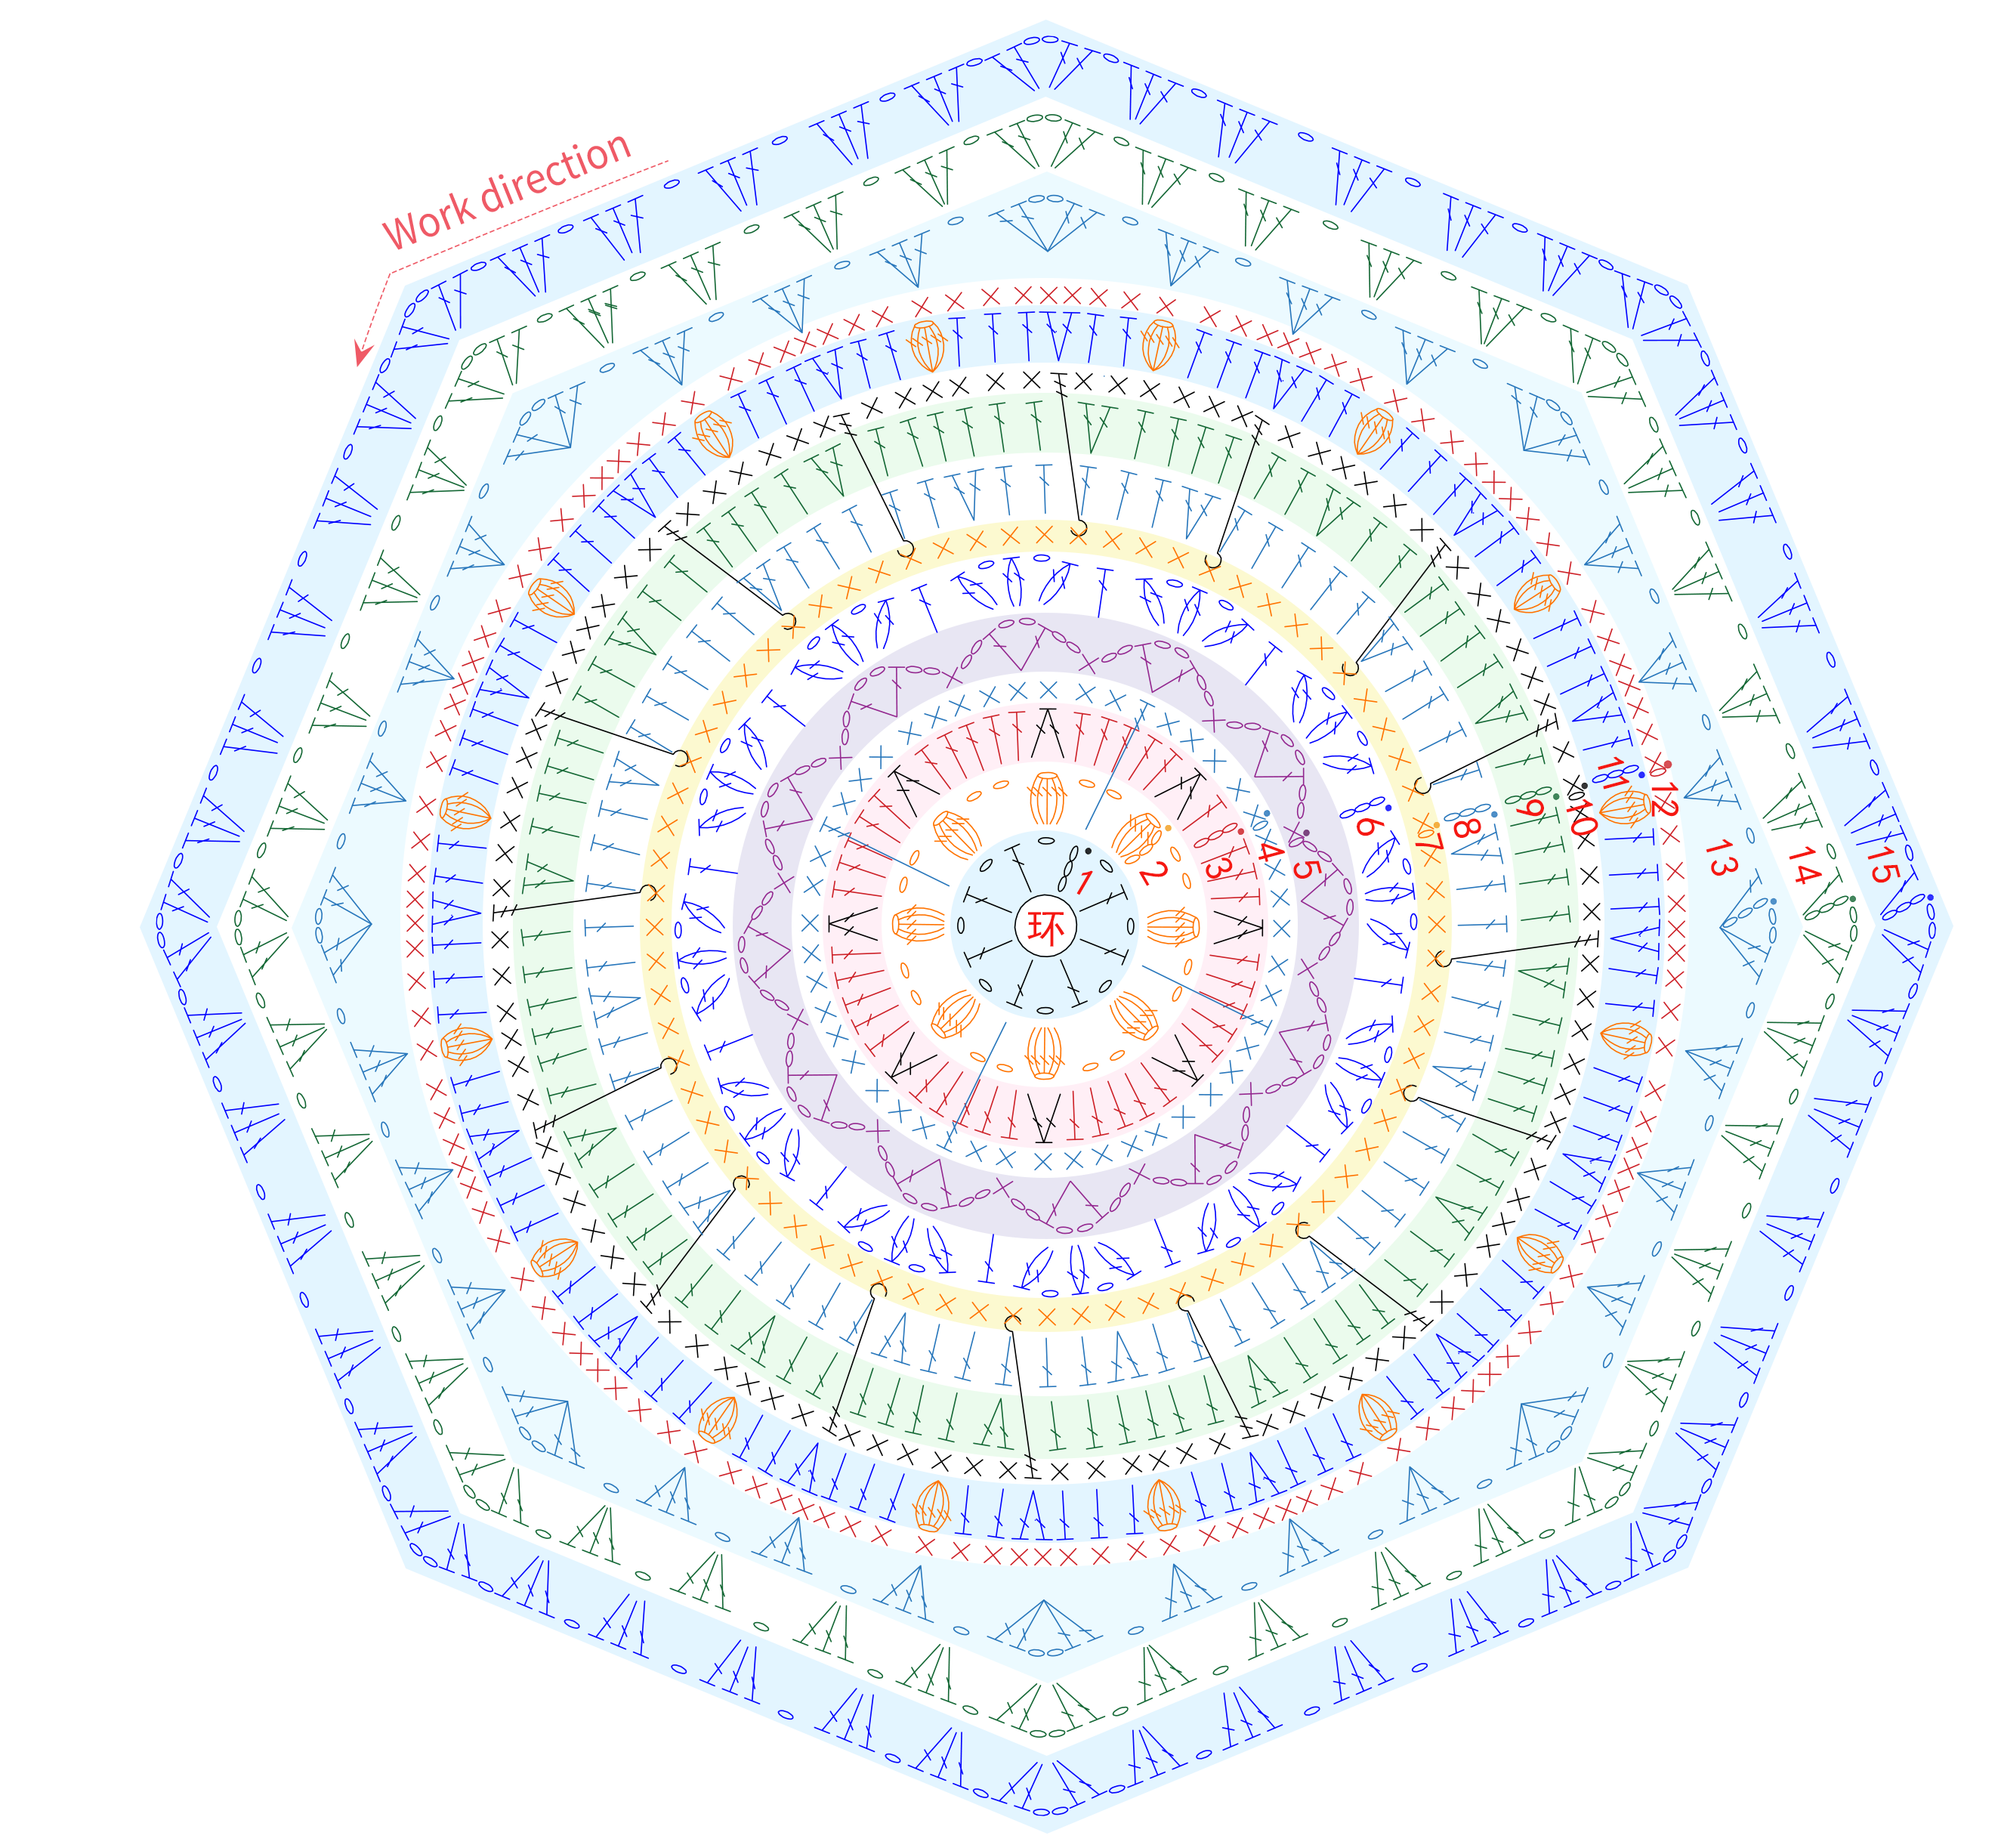
There are four different motifs,which are motif 1,motif 2,motif 3 and motif 4.
STEP1 Motif 1*8A1 00' 48'' (Part 1)
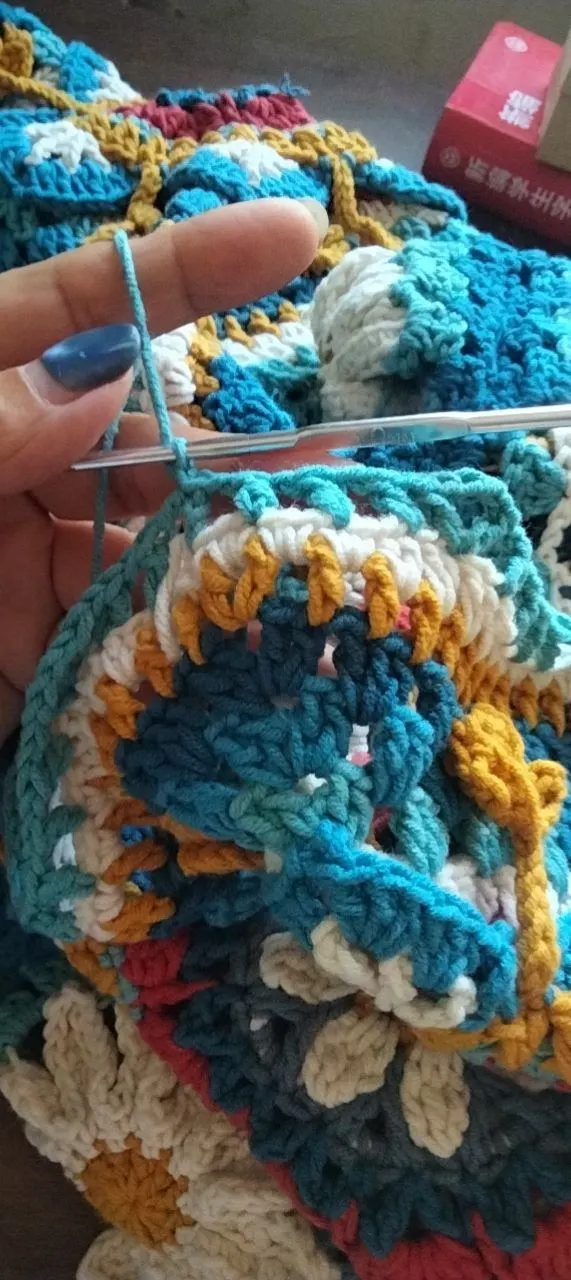
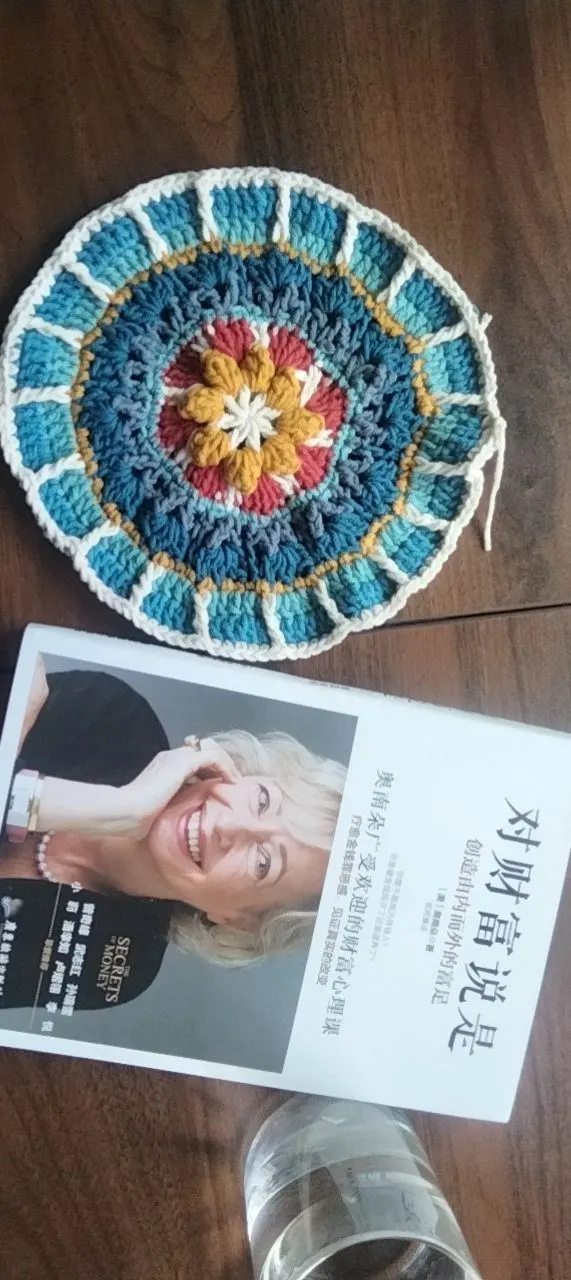
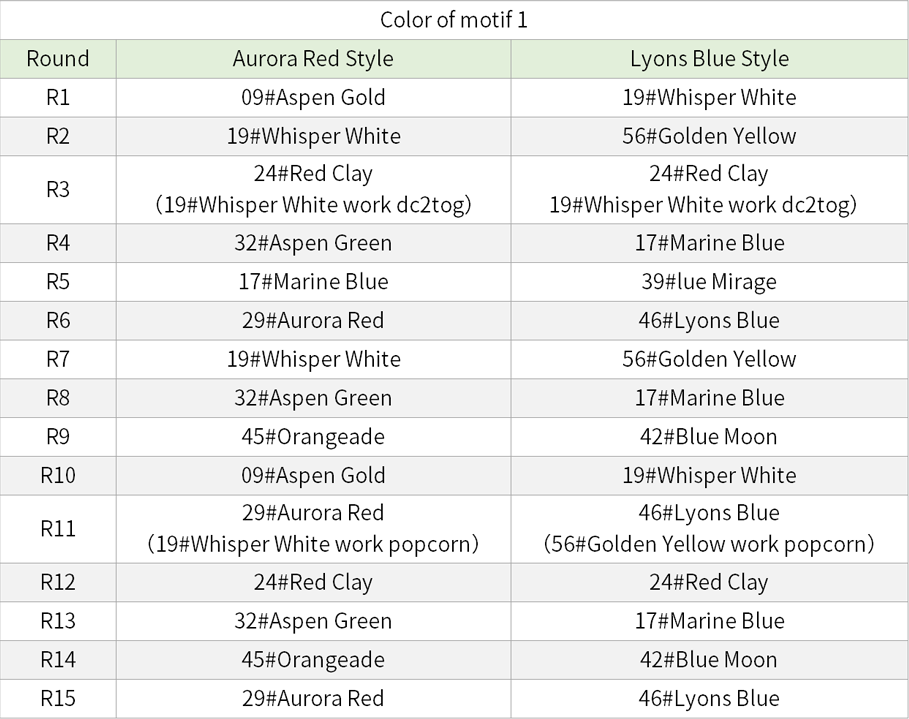
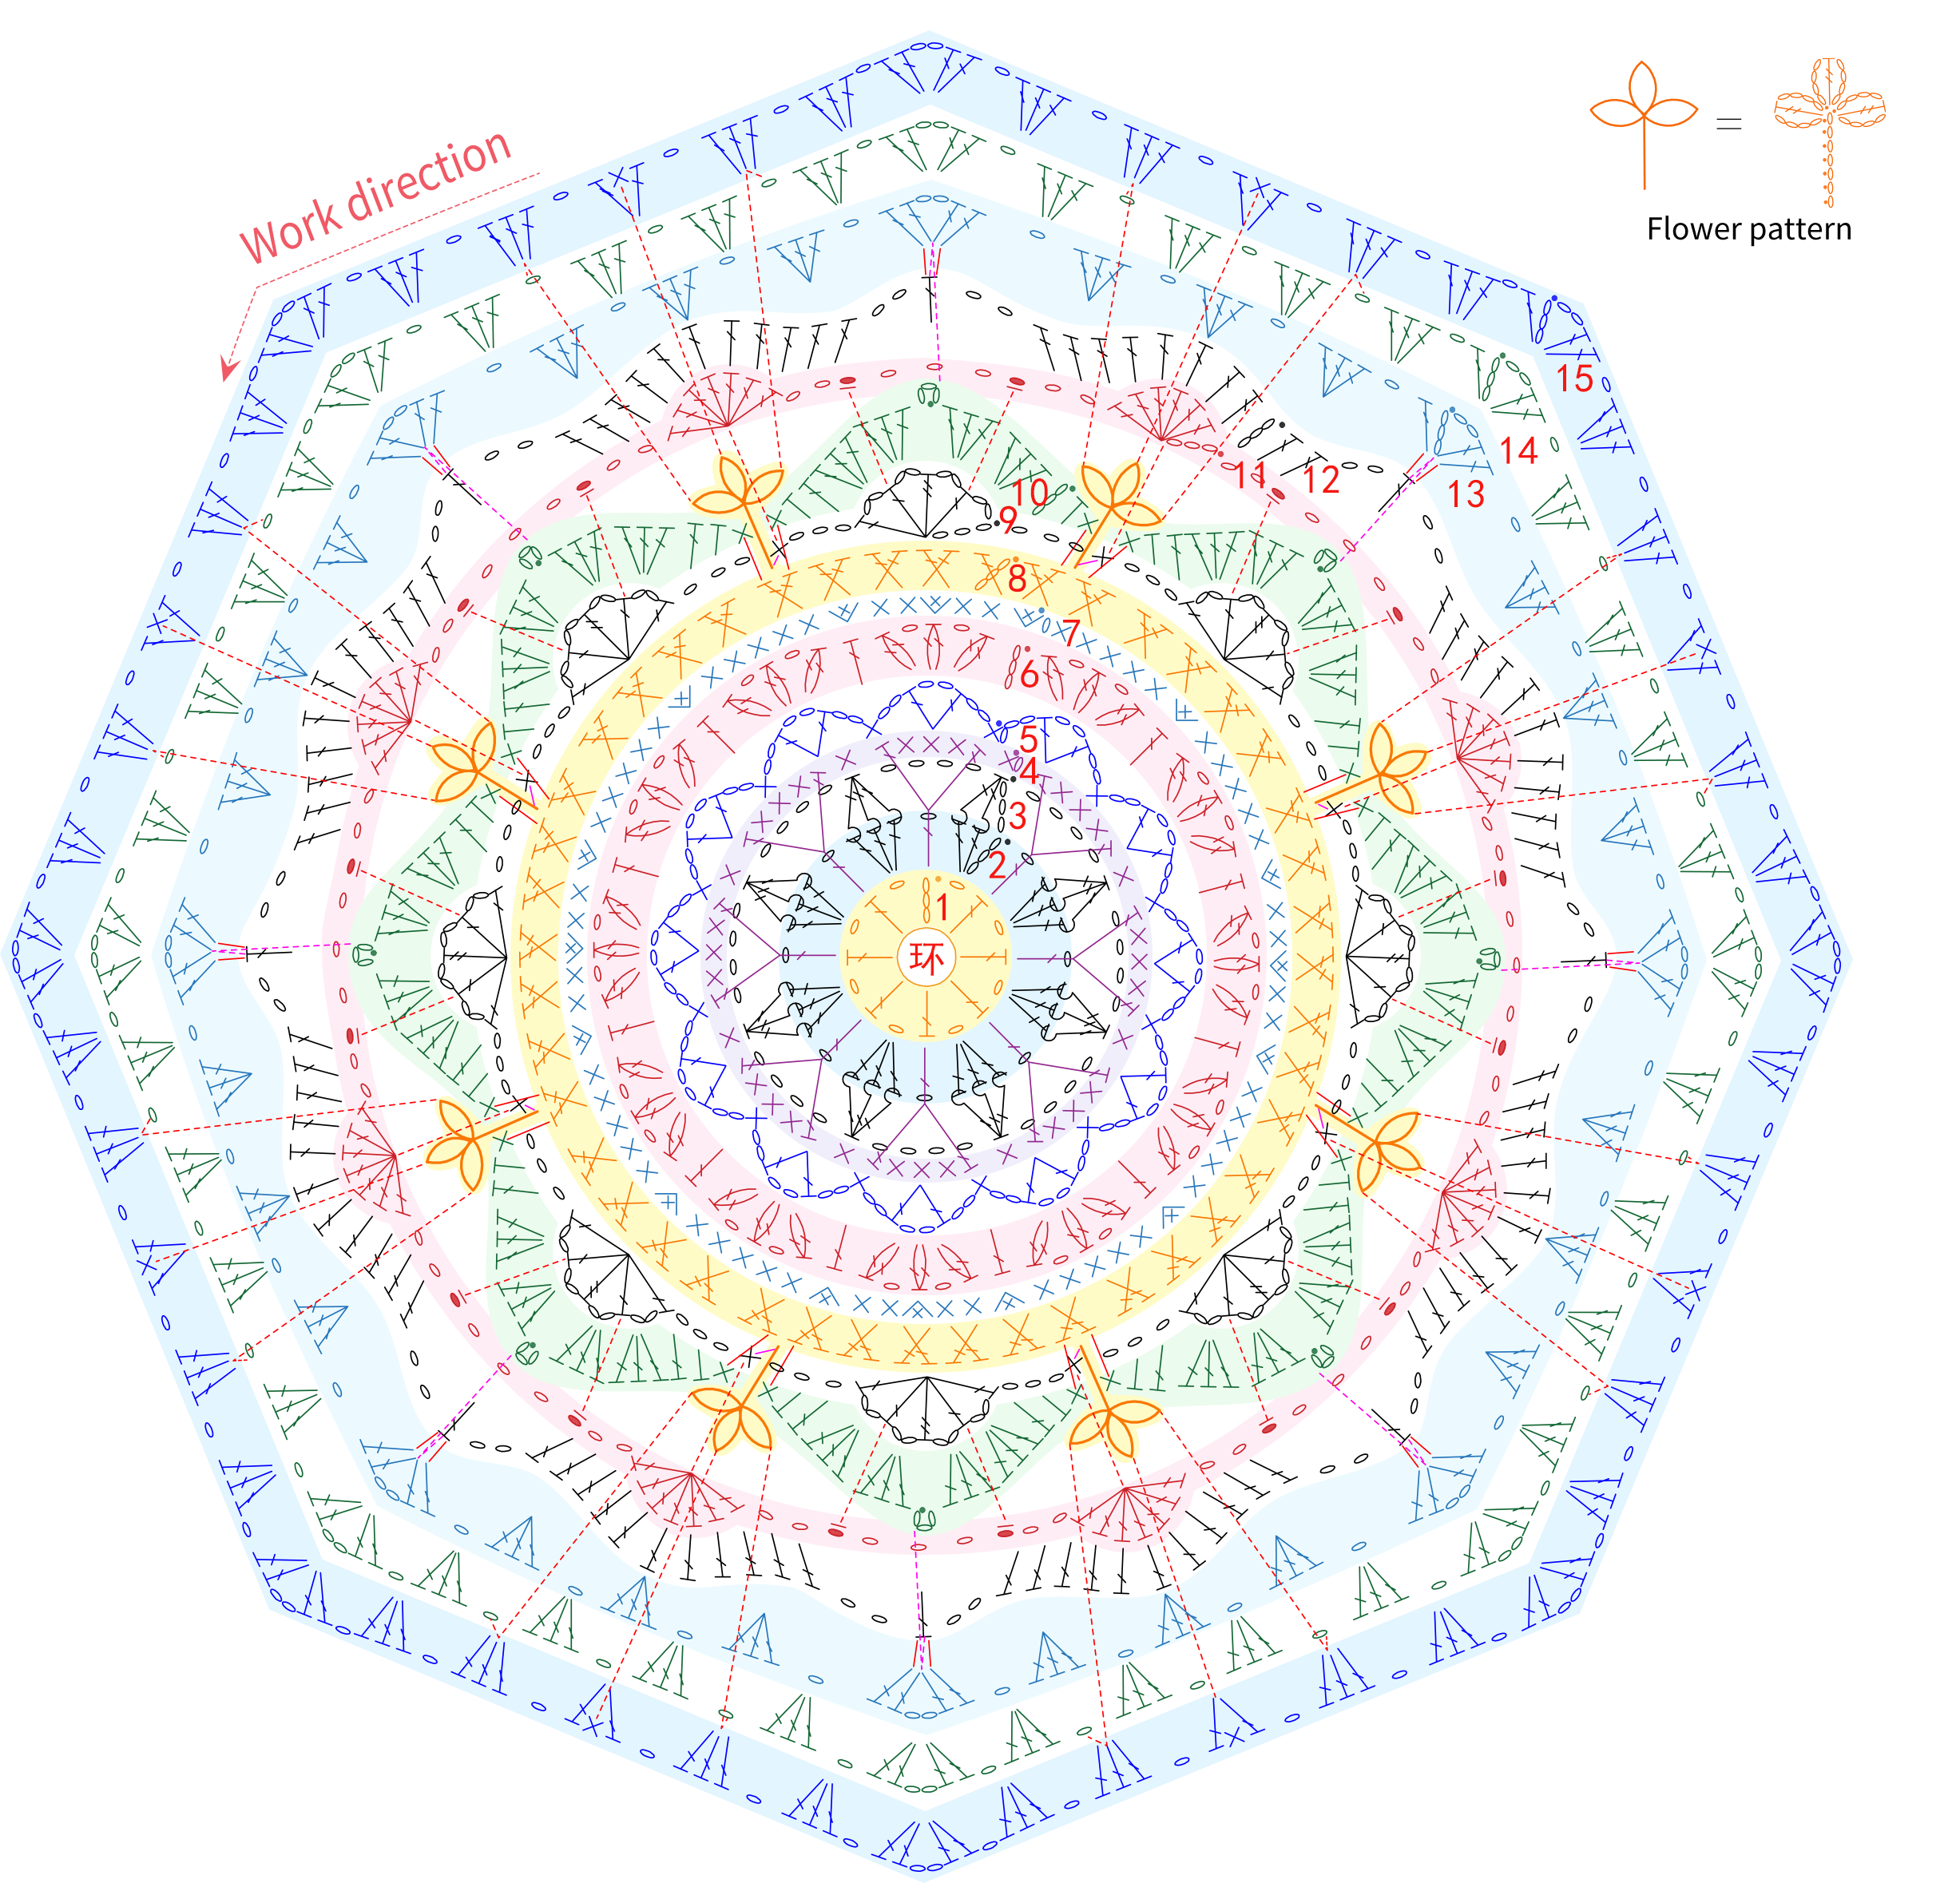
Motif 1 starts with an adjustable magic ring,crochet in rounds counter clockwise and you'll need to switch colors during the process.Please refer to the video demonstration for more details.
STEP2 Motif 2*8A2 58' 41'' (Part 1)
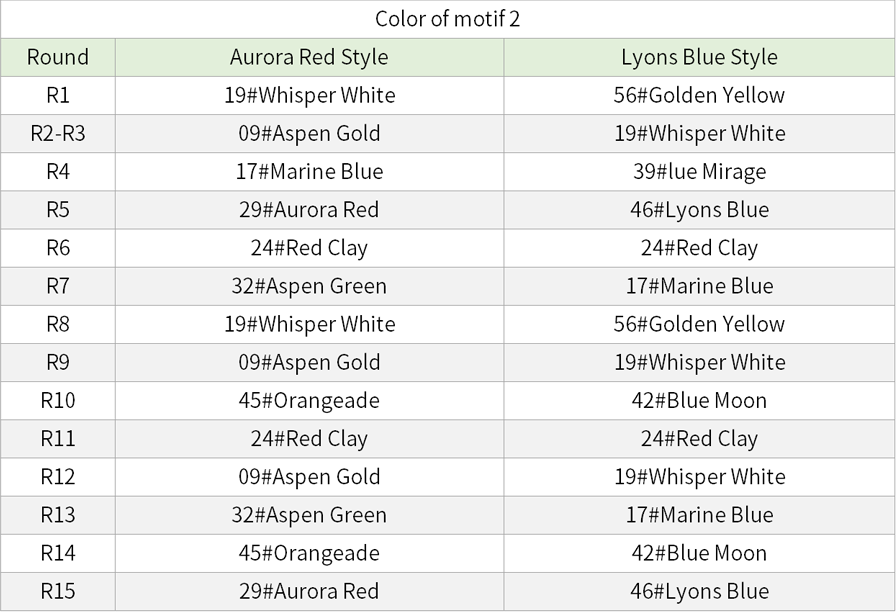
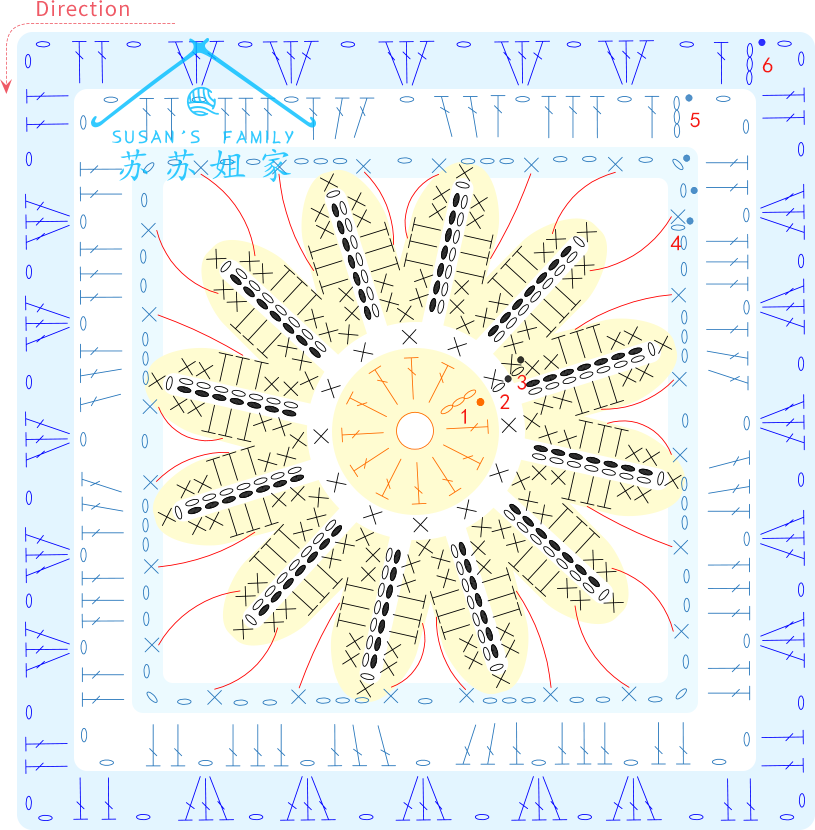
Motif 2 starts with an adjustable magic ring,work outwards from the center,During the process, you'll need to switch colors.Please refer to the video demonstration for more details.
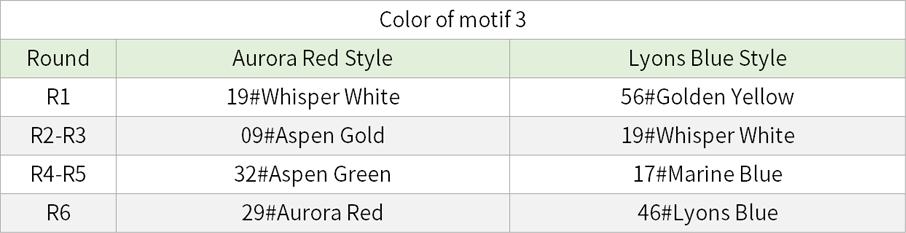
STEP3 Motif 3*9A3 22' 15'' (Part 2)
Motif 3 starts with an adjustable magic ring,work outwards from the center in a counterclockwise direction,changing colors will be required during the process.Please refer to the video demonstration for more details.
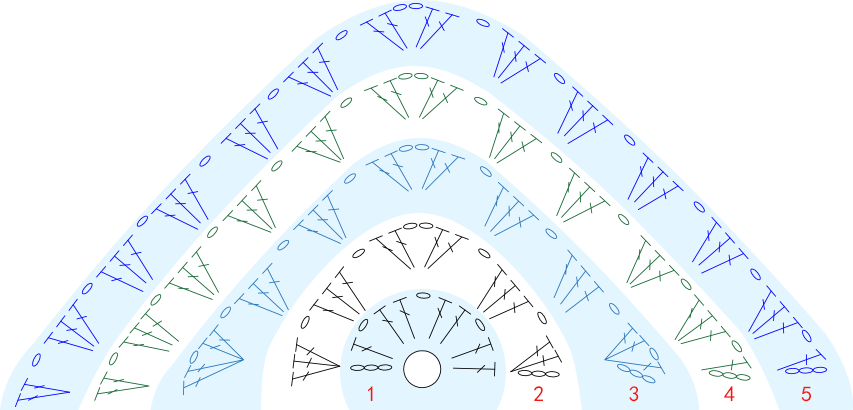
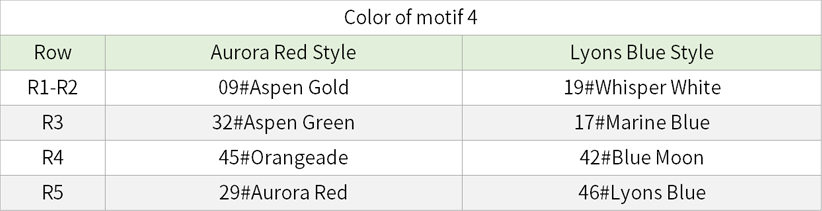
STEP4 Motif 4*12A4 35' 34'' (Part 2)
Motif 4 starts with an adjustable magic ring,work back and forth.and also change the color during the process.Please refer to the video demonstration for more details.
PART2 Sewing togetherB 43' 05'' (Part 2)
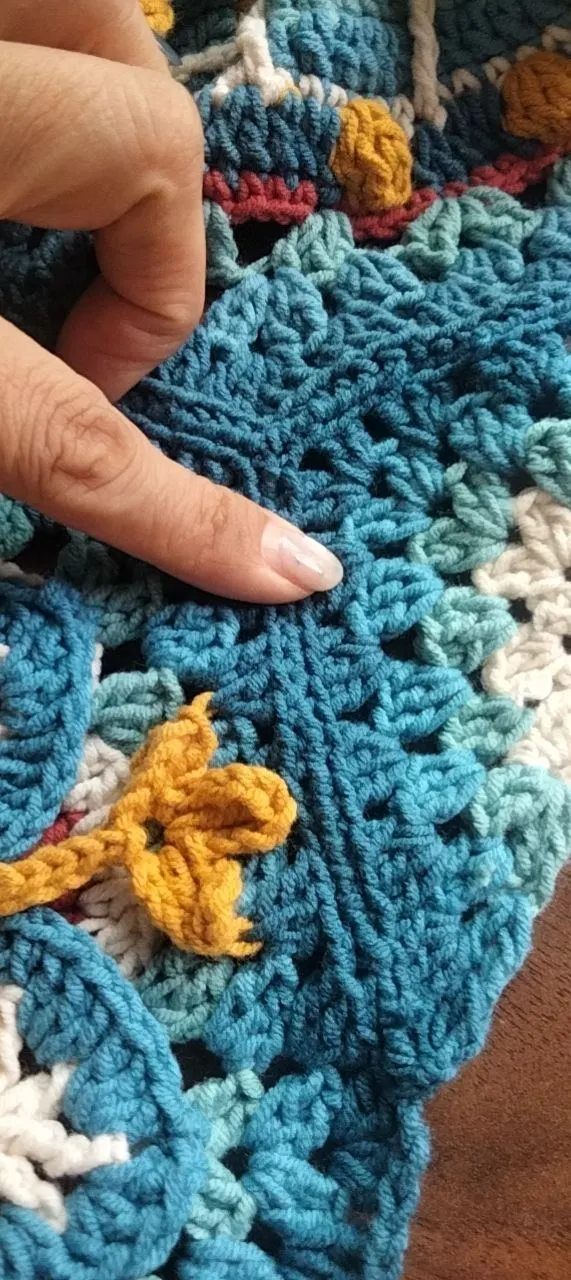
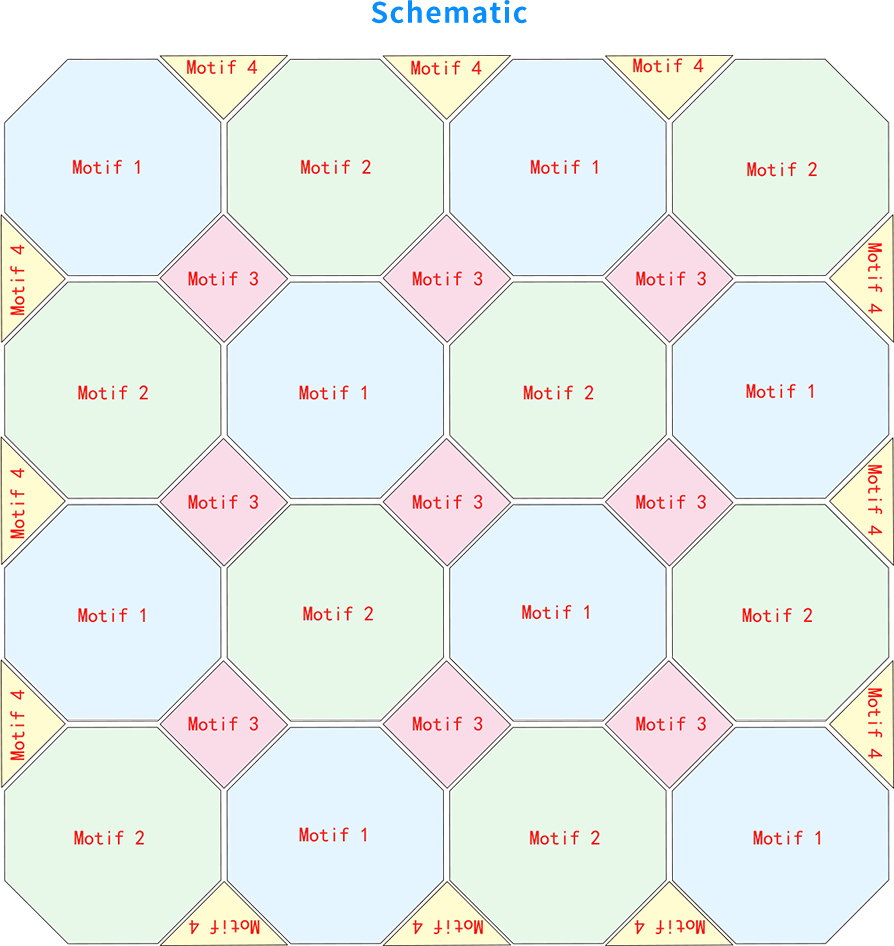
Refer to the finished project or the schematic on your pattern,lay out all the motifs to match schematic as numbered,while sewing, use the the same color as the last round of each motif .Please refer to the video demonstration for more details.
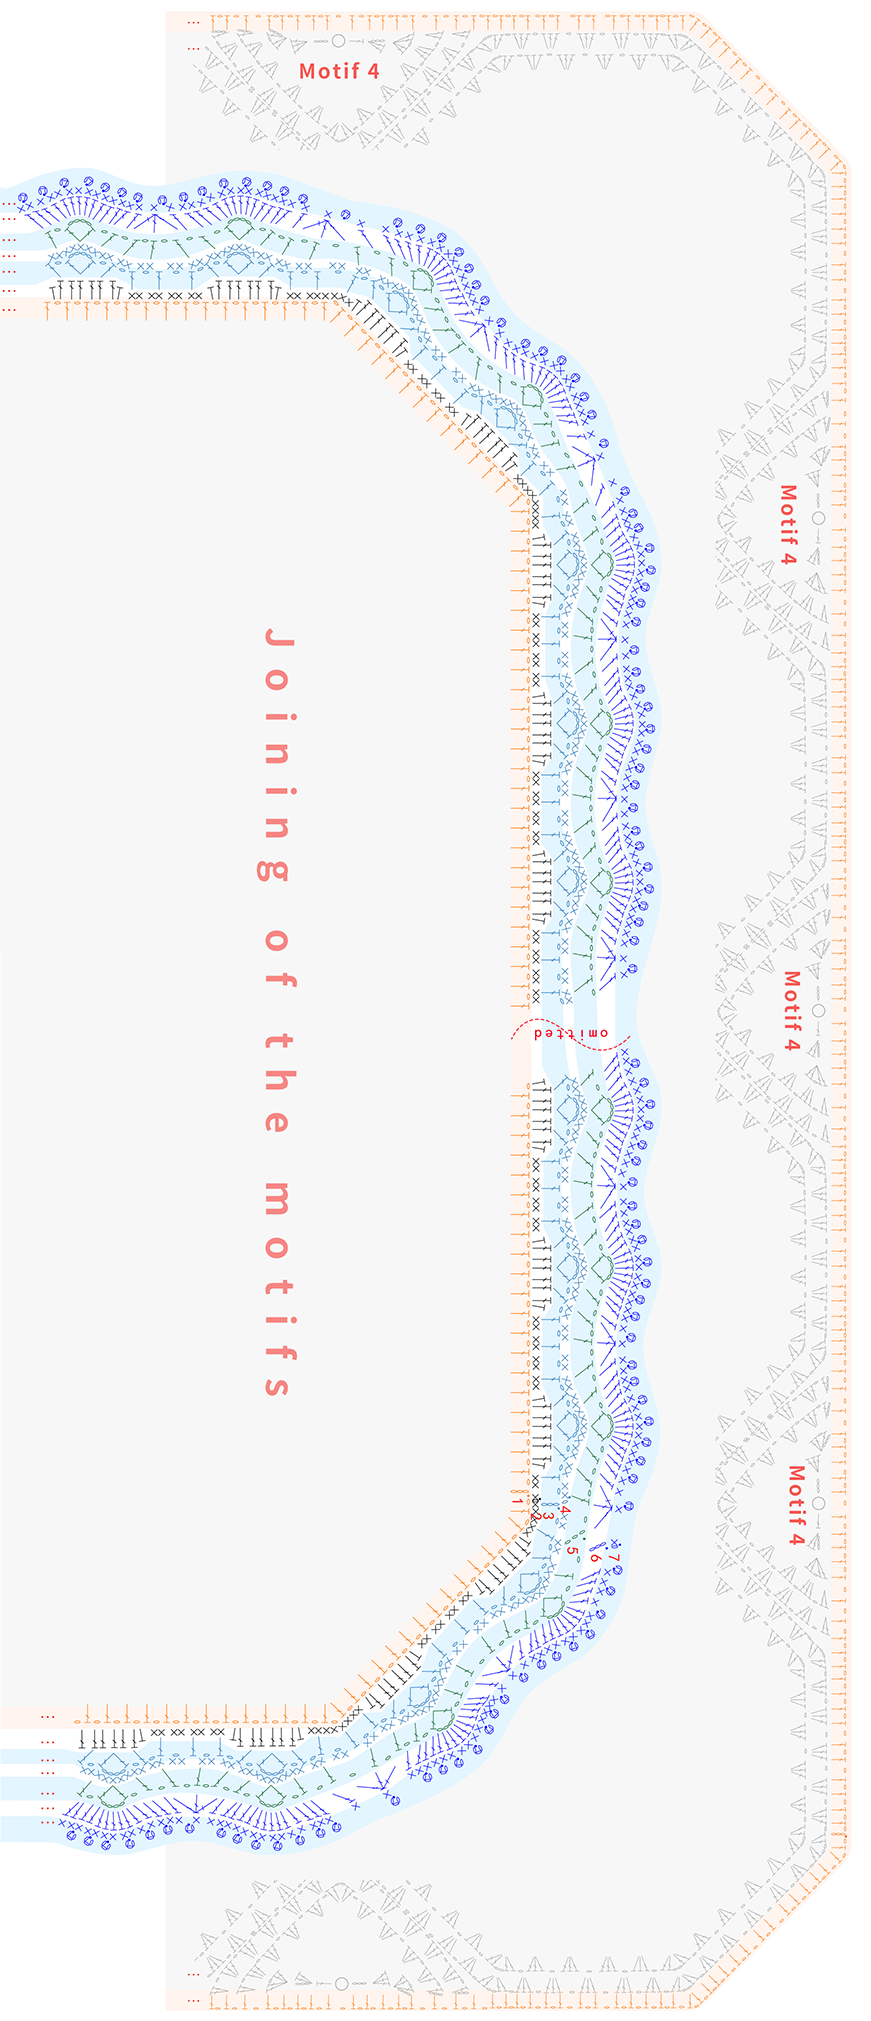
PART3 BorderC 53' 59'' (Part 2)
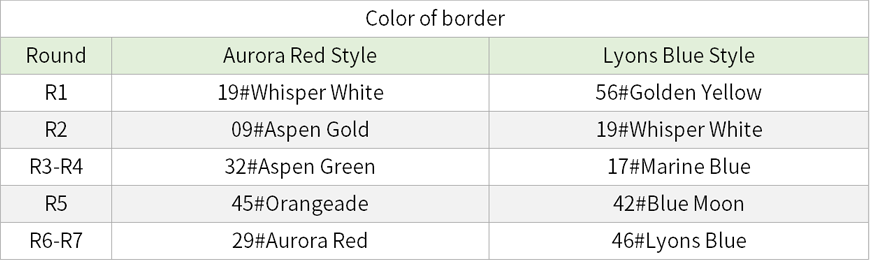
The border will be made around the joined motifs. Please refer to the video demonstration for more details.Work in rounds and color switching will be required during the process.Please refer to the video demonstration for more details.

Made by the community