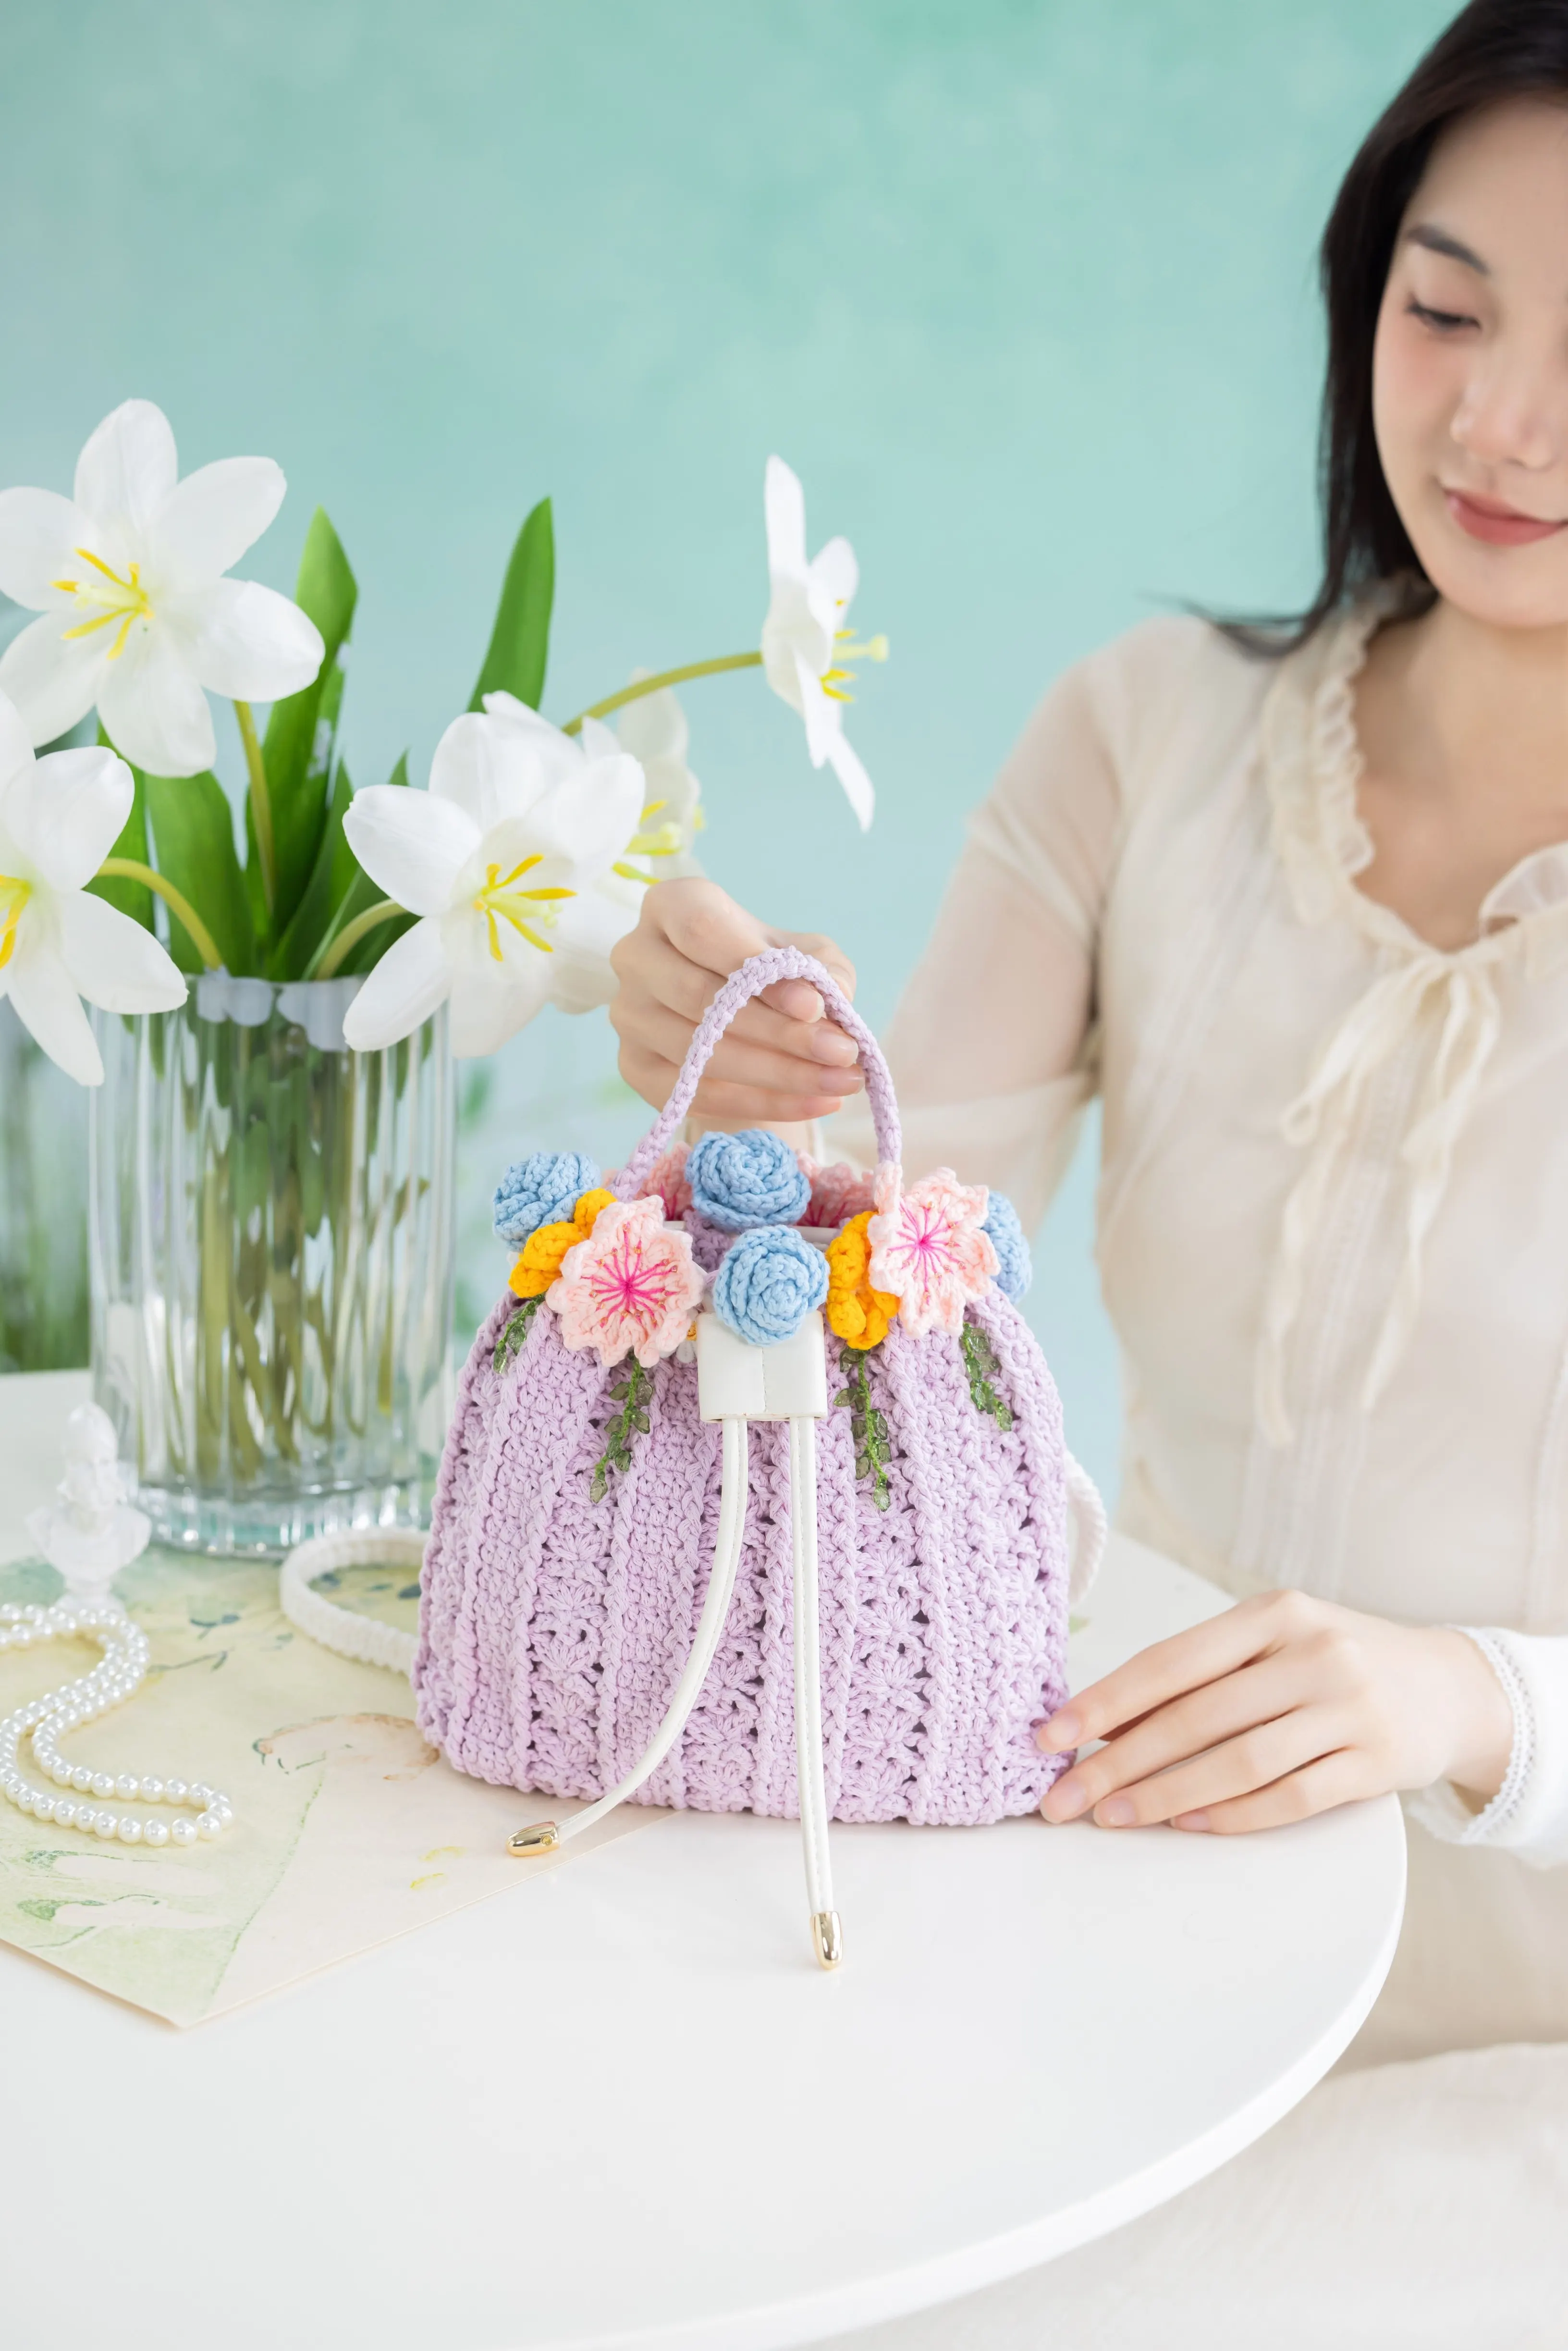
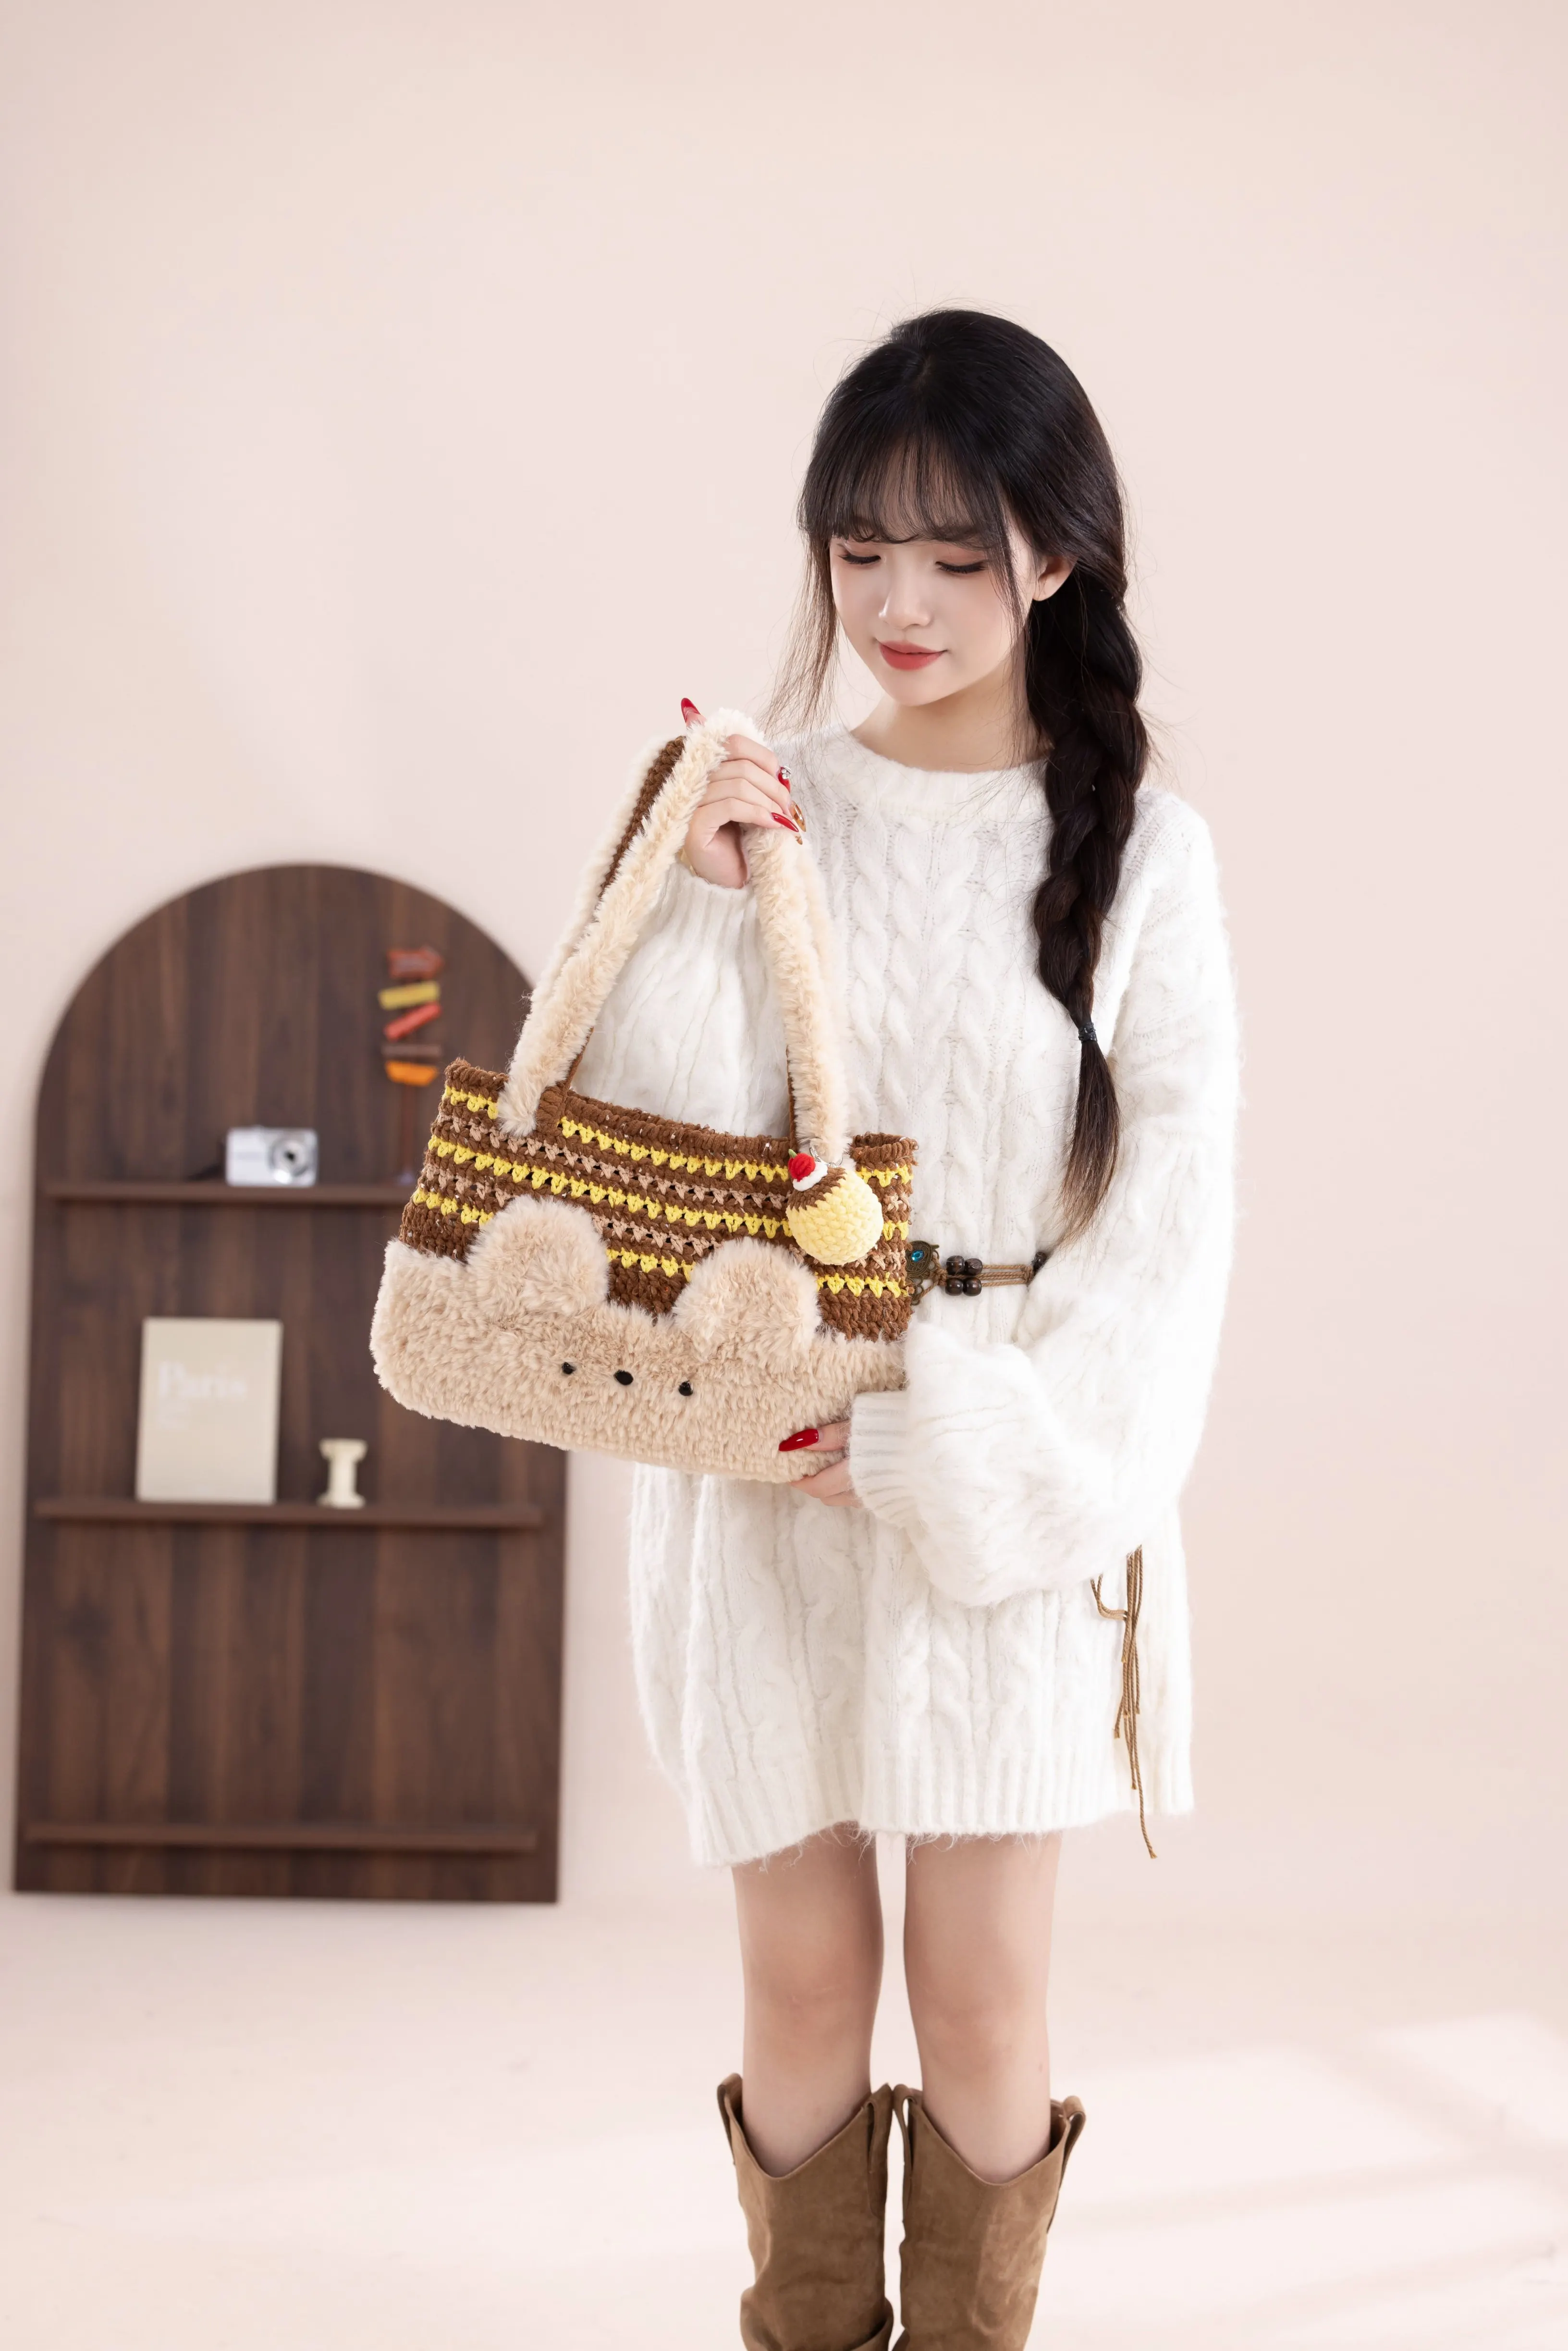
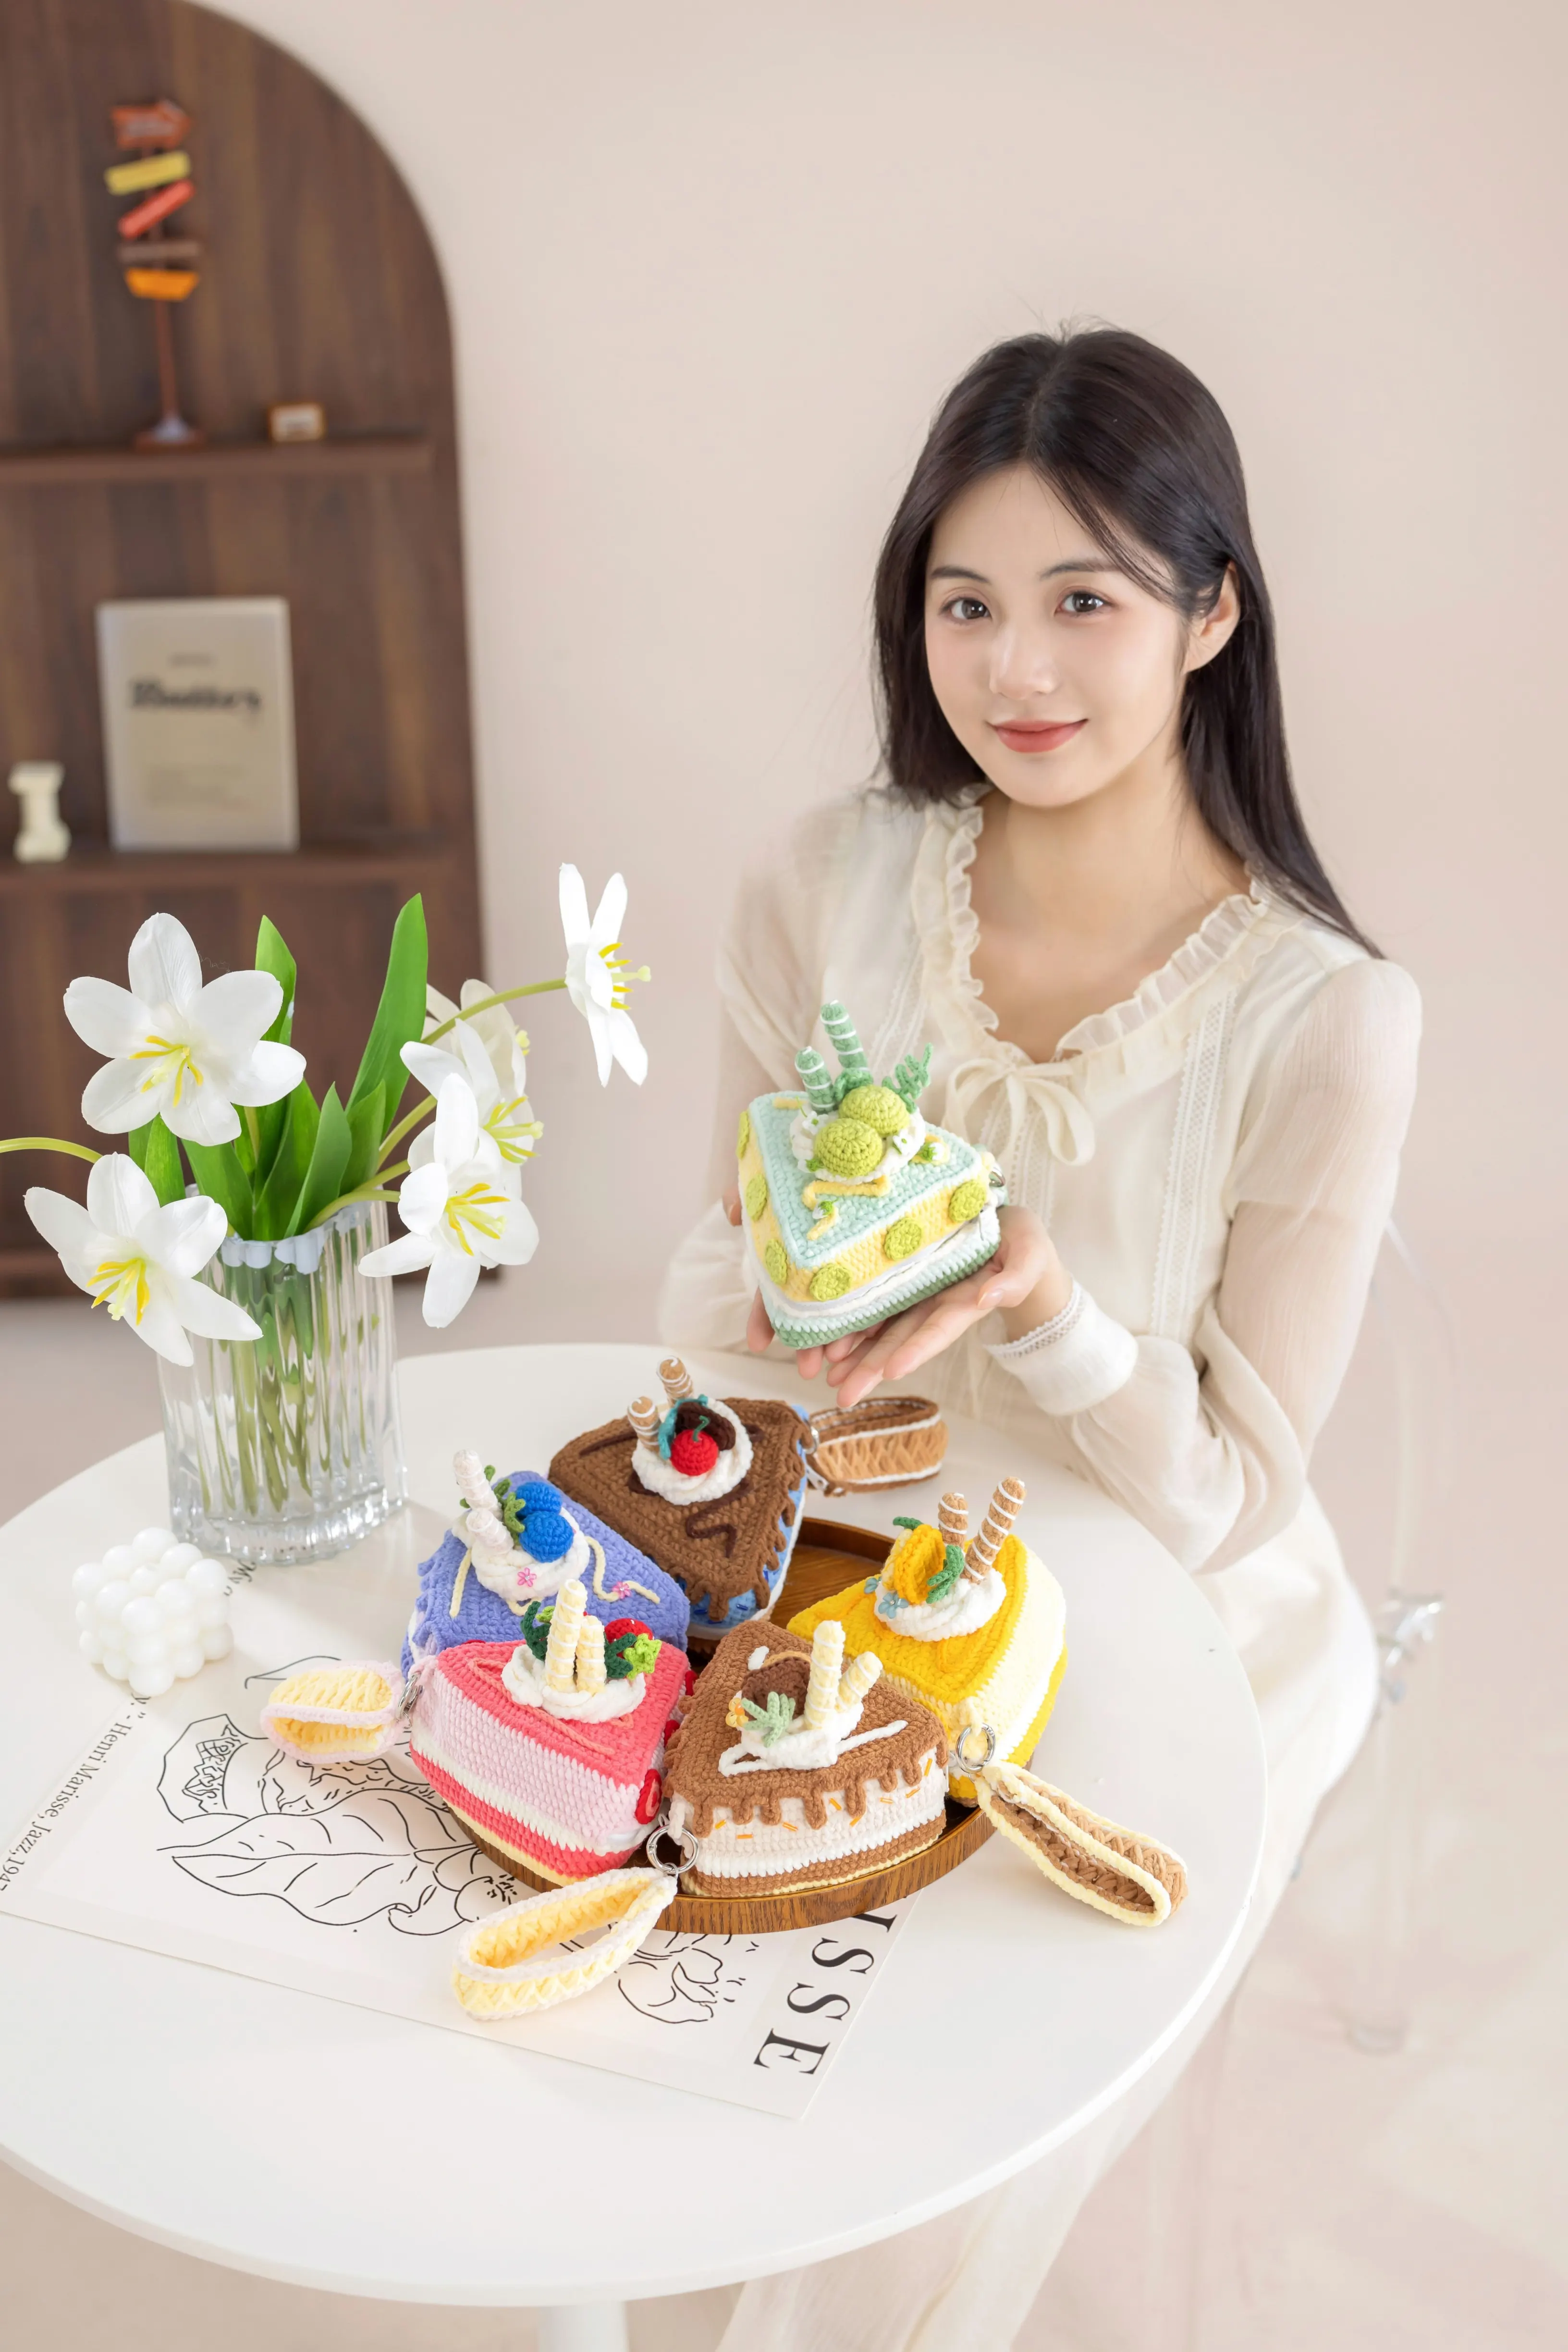
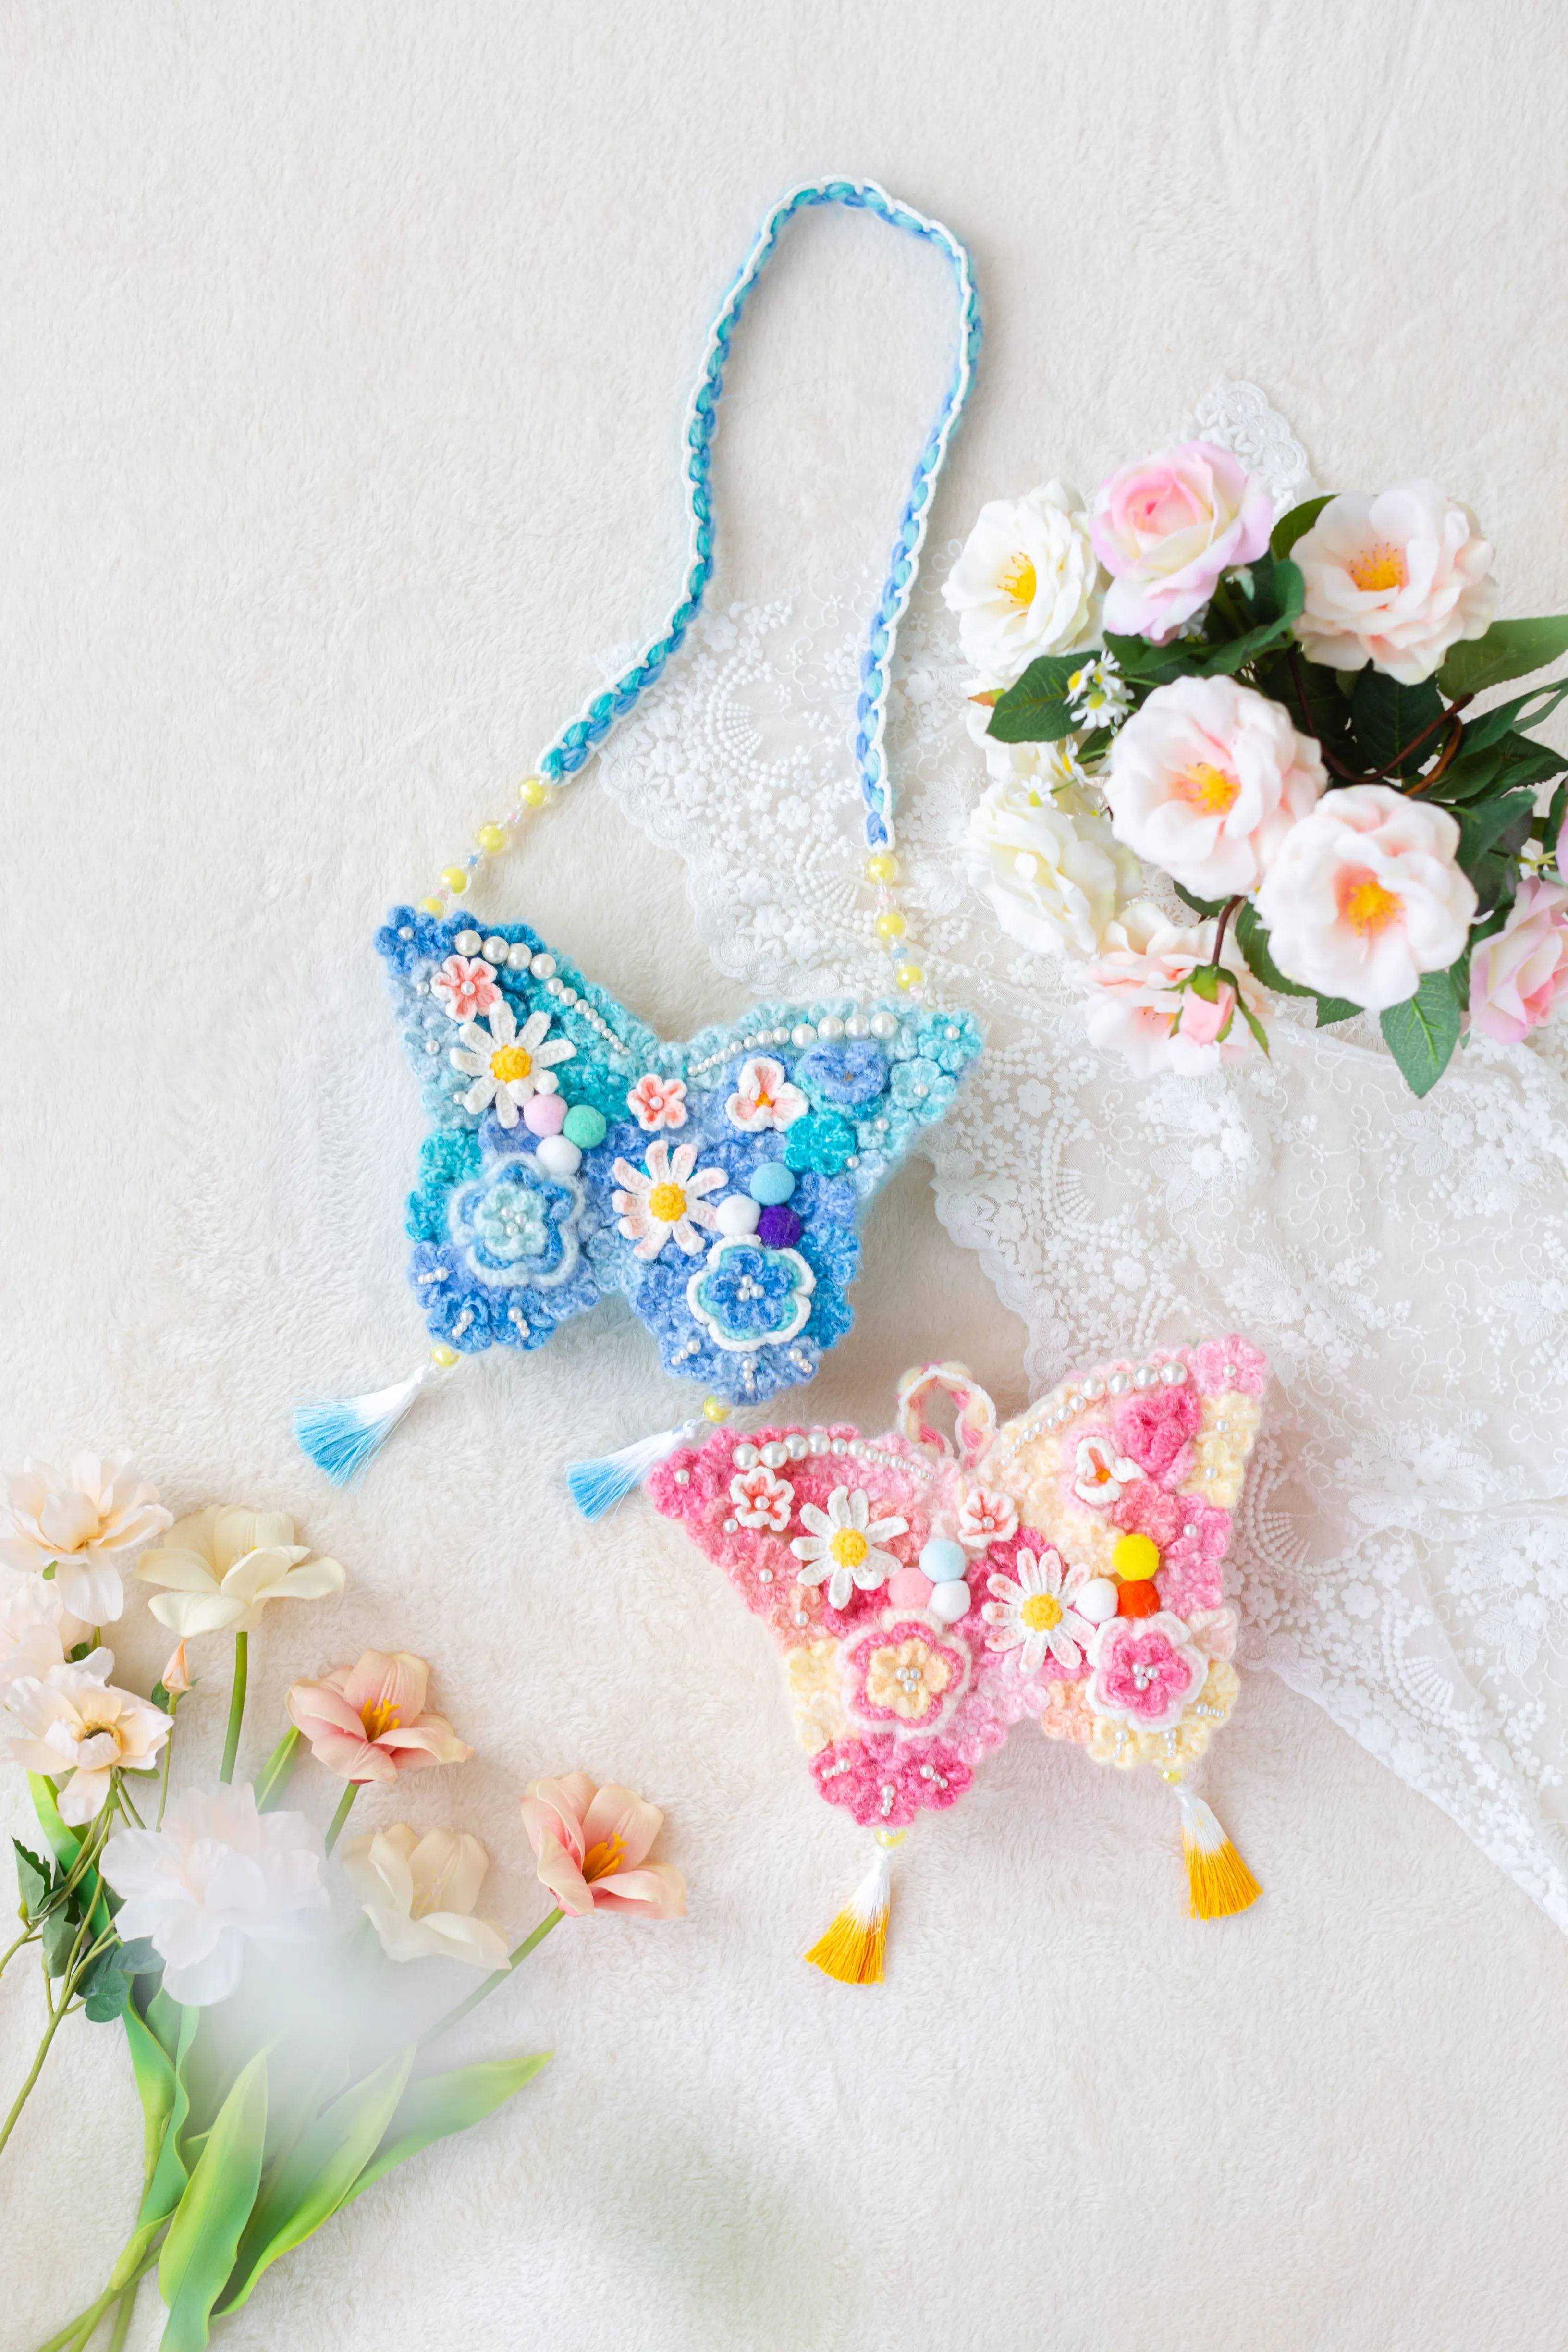
Bag
Rose Clutch
Project preview
See the finished project
Pattern format
Instructions
Watch and follow
Video tutorial
| Style | Yarn | Color |
|---|---|---|
| Sterling Silver Version | Lumina | 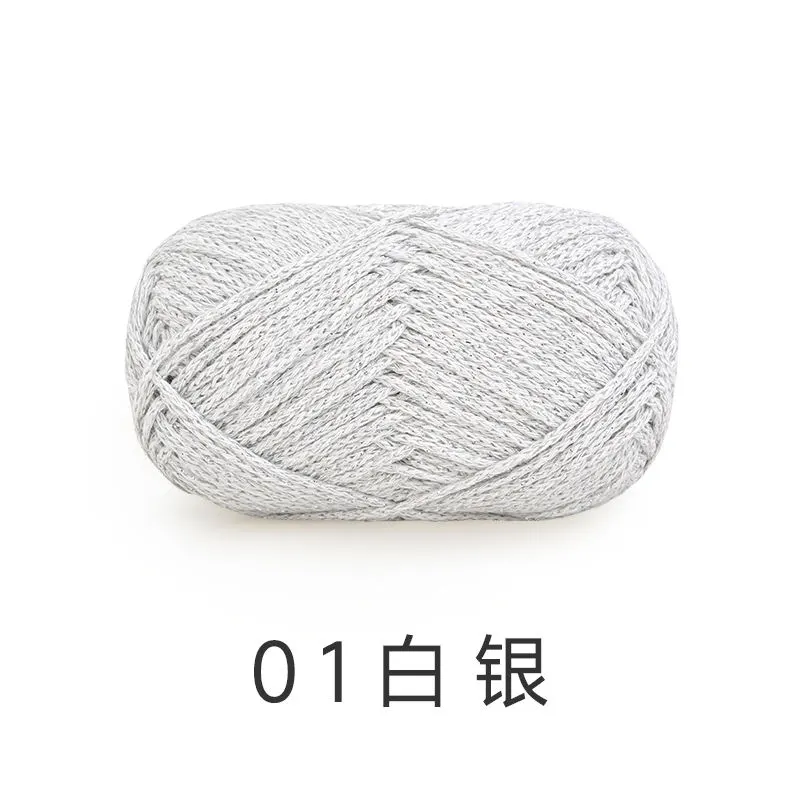 01#Sterling Silver x 3 01#Sterling Silver x 3 |
| Hushed Whisper Version | CloudFrame Yarn |  09#Whisper White x 3 09#Whisper White x 3 |
| CloudFrame Aurora | 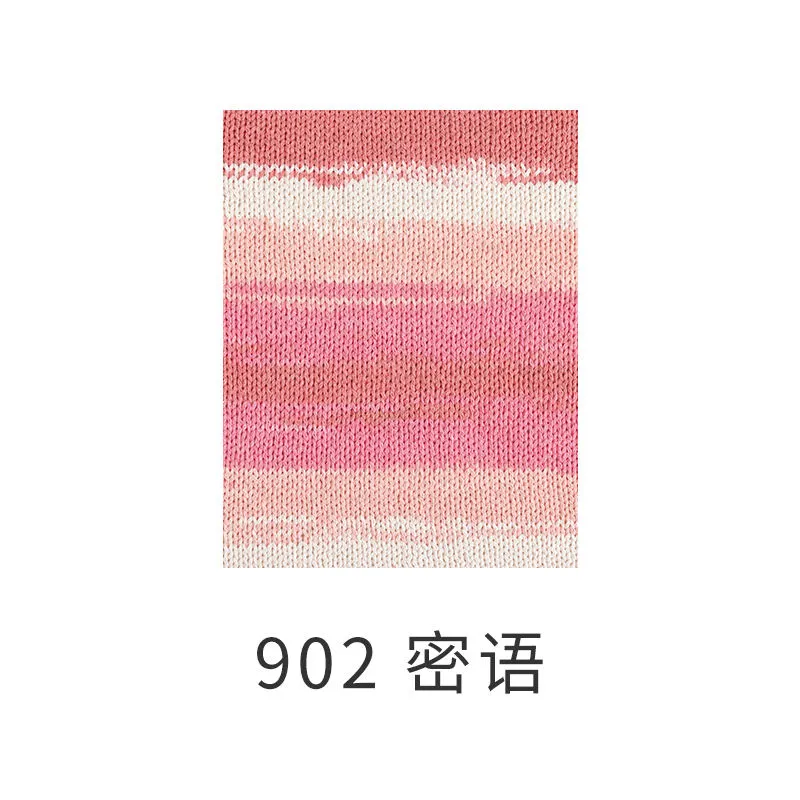 902#Hushed Whisper 902#Hushed Whisper | |
| Onyx Black Version | Lumina | 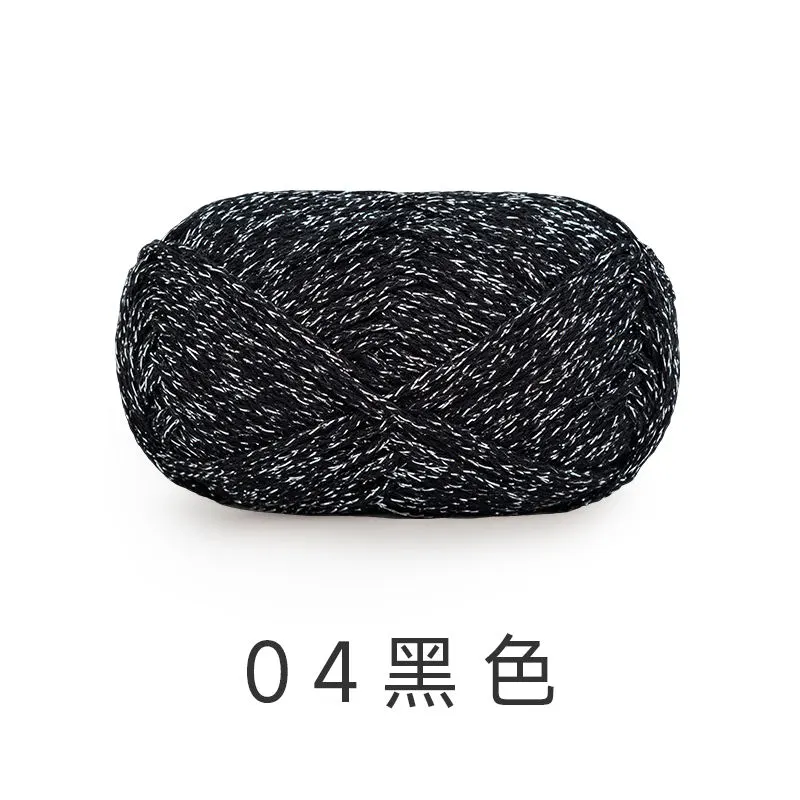 04#Onyx Black x 3 04#Onyx Black x 3 |
| Cobalt Depth Version | Lumina | 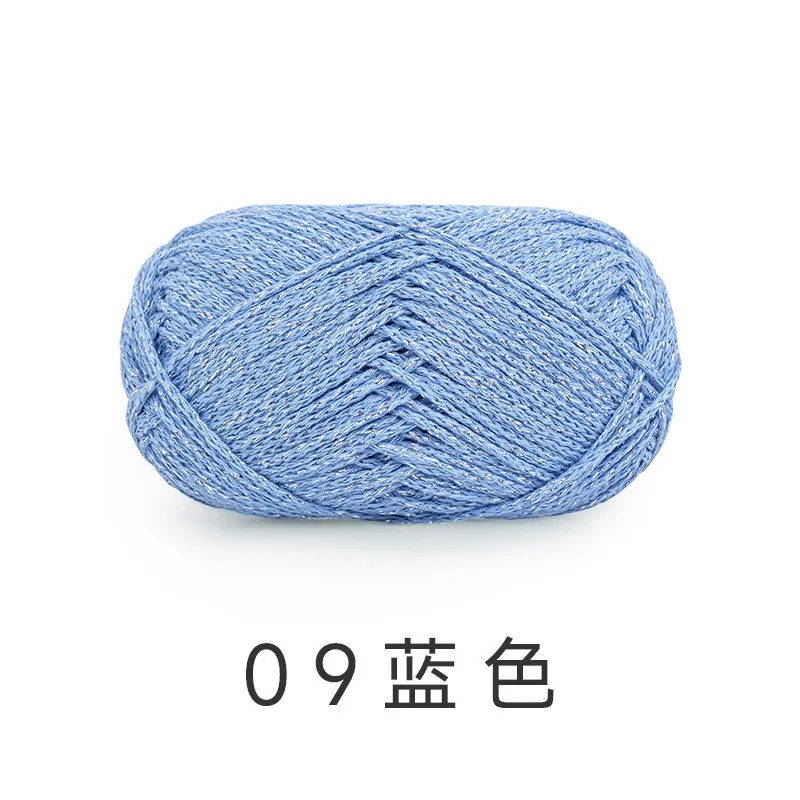 09#Cobalt Depth x 3 09#Cobalt Depth x 3 |
This bag consists of the main part, flowers, strap, and magnetic clasps. First, crochet the main part of the bag, then crochet the flowers and sew them on, next make the strap and sew it on, finally attach the magnetic clasps.
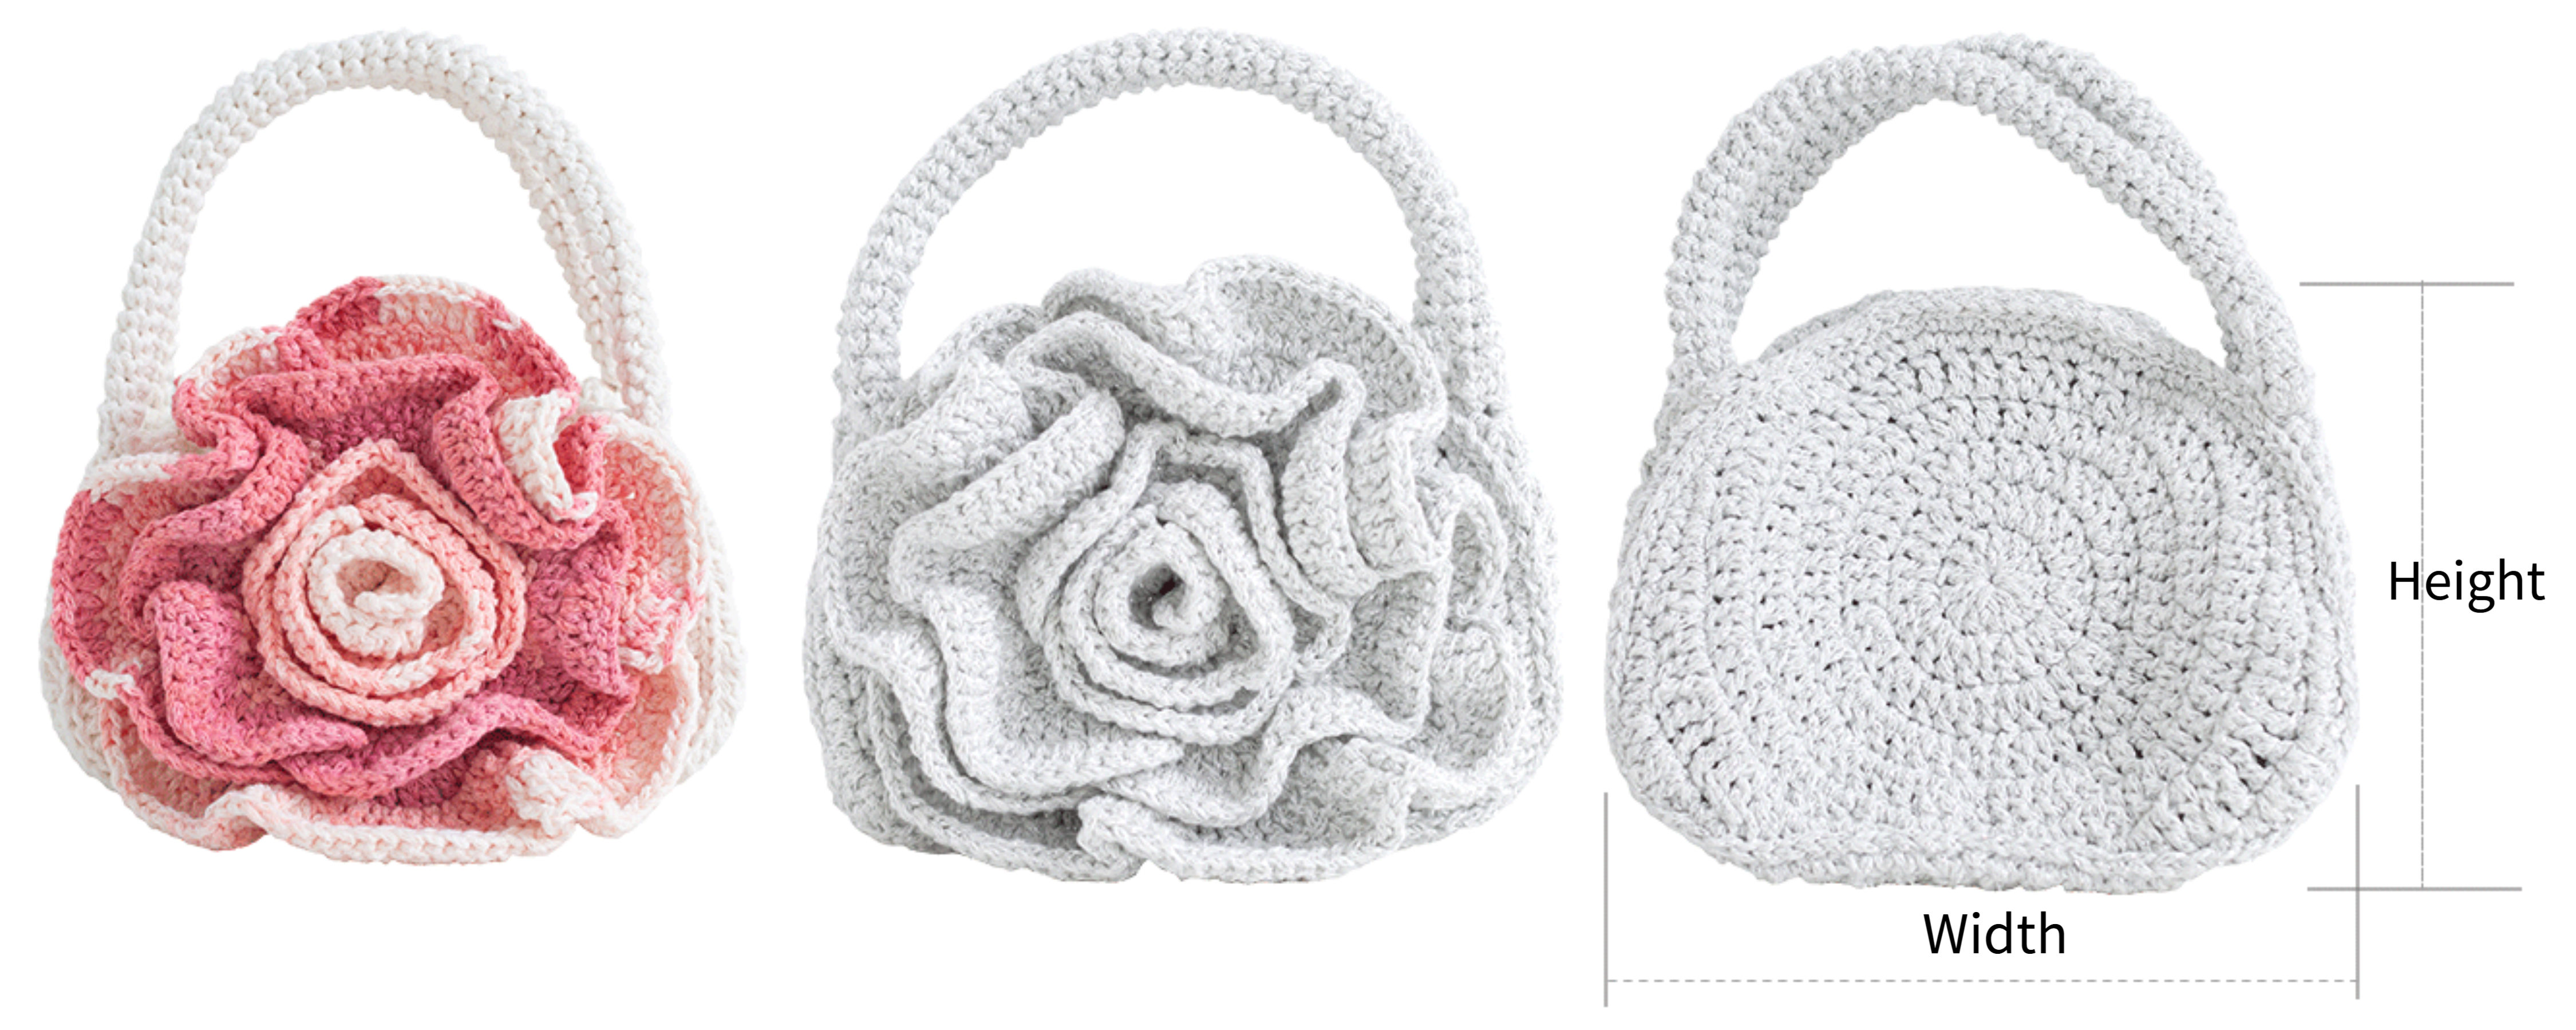
| unit: cm | Height | Width |
| Sterling Silver /Onyx Black /Cobalt Depth Version | 14.5 | nineteen |
| Hushed Whisper Version | 14 | 18 |
Note: Hand-measured, with a possible error of 1-2 cm. Due to differences in individual tension, the sample size is for reference only.
Yarn : Gilded Lumina / CloudFrame Yarn , CloudFrame Aurora. Tools : 4.0 mm crochet hook.










Note:
1. This pattern is making in Chinese crochet pattern terms, and the stitch name is written using American terminology. All measurements in charts are in cm.

| Color Chart | ||
| Part | yarn | Hushed Whisper Version |
| Main Part, Strap | CloudFrame Yarn | 09#Whisper White |
| Flowers | CloudFrame Aurora | 902#Hushed Whisper |
| Note: The rest of the styles are crocheted using Gilded Lumina yarn. | ||
PART 1 The Main Part of Bag A 00' 51''
The main part of the bag is divided into the front body, back body, side pieces, and seam. First, crochet the front body, back body, and side pieces separately, then sew them together. Please refer to the video demonstration for more details.
STEP 1 The Front Body
The front body is started with a magic ring, crocheting in rounds counterclockwise first, then dividing the stitches into two sides for the last few rows, and finally crocheting in rounds again.
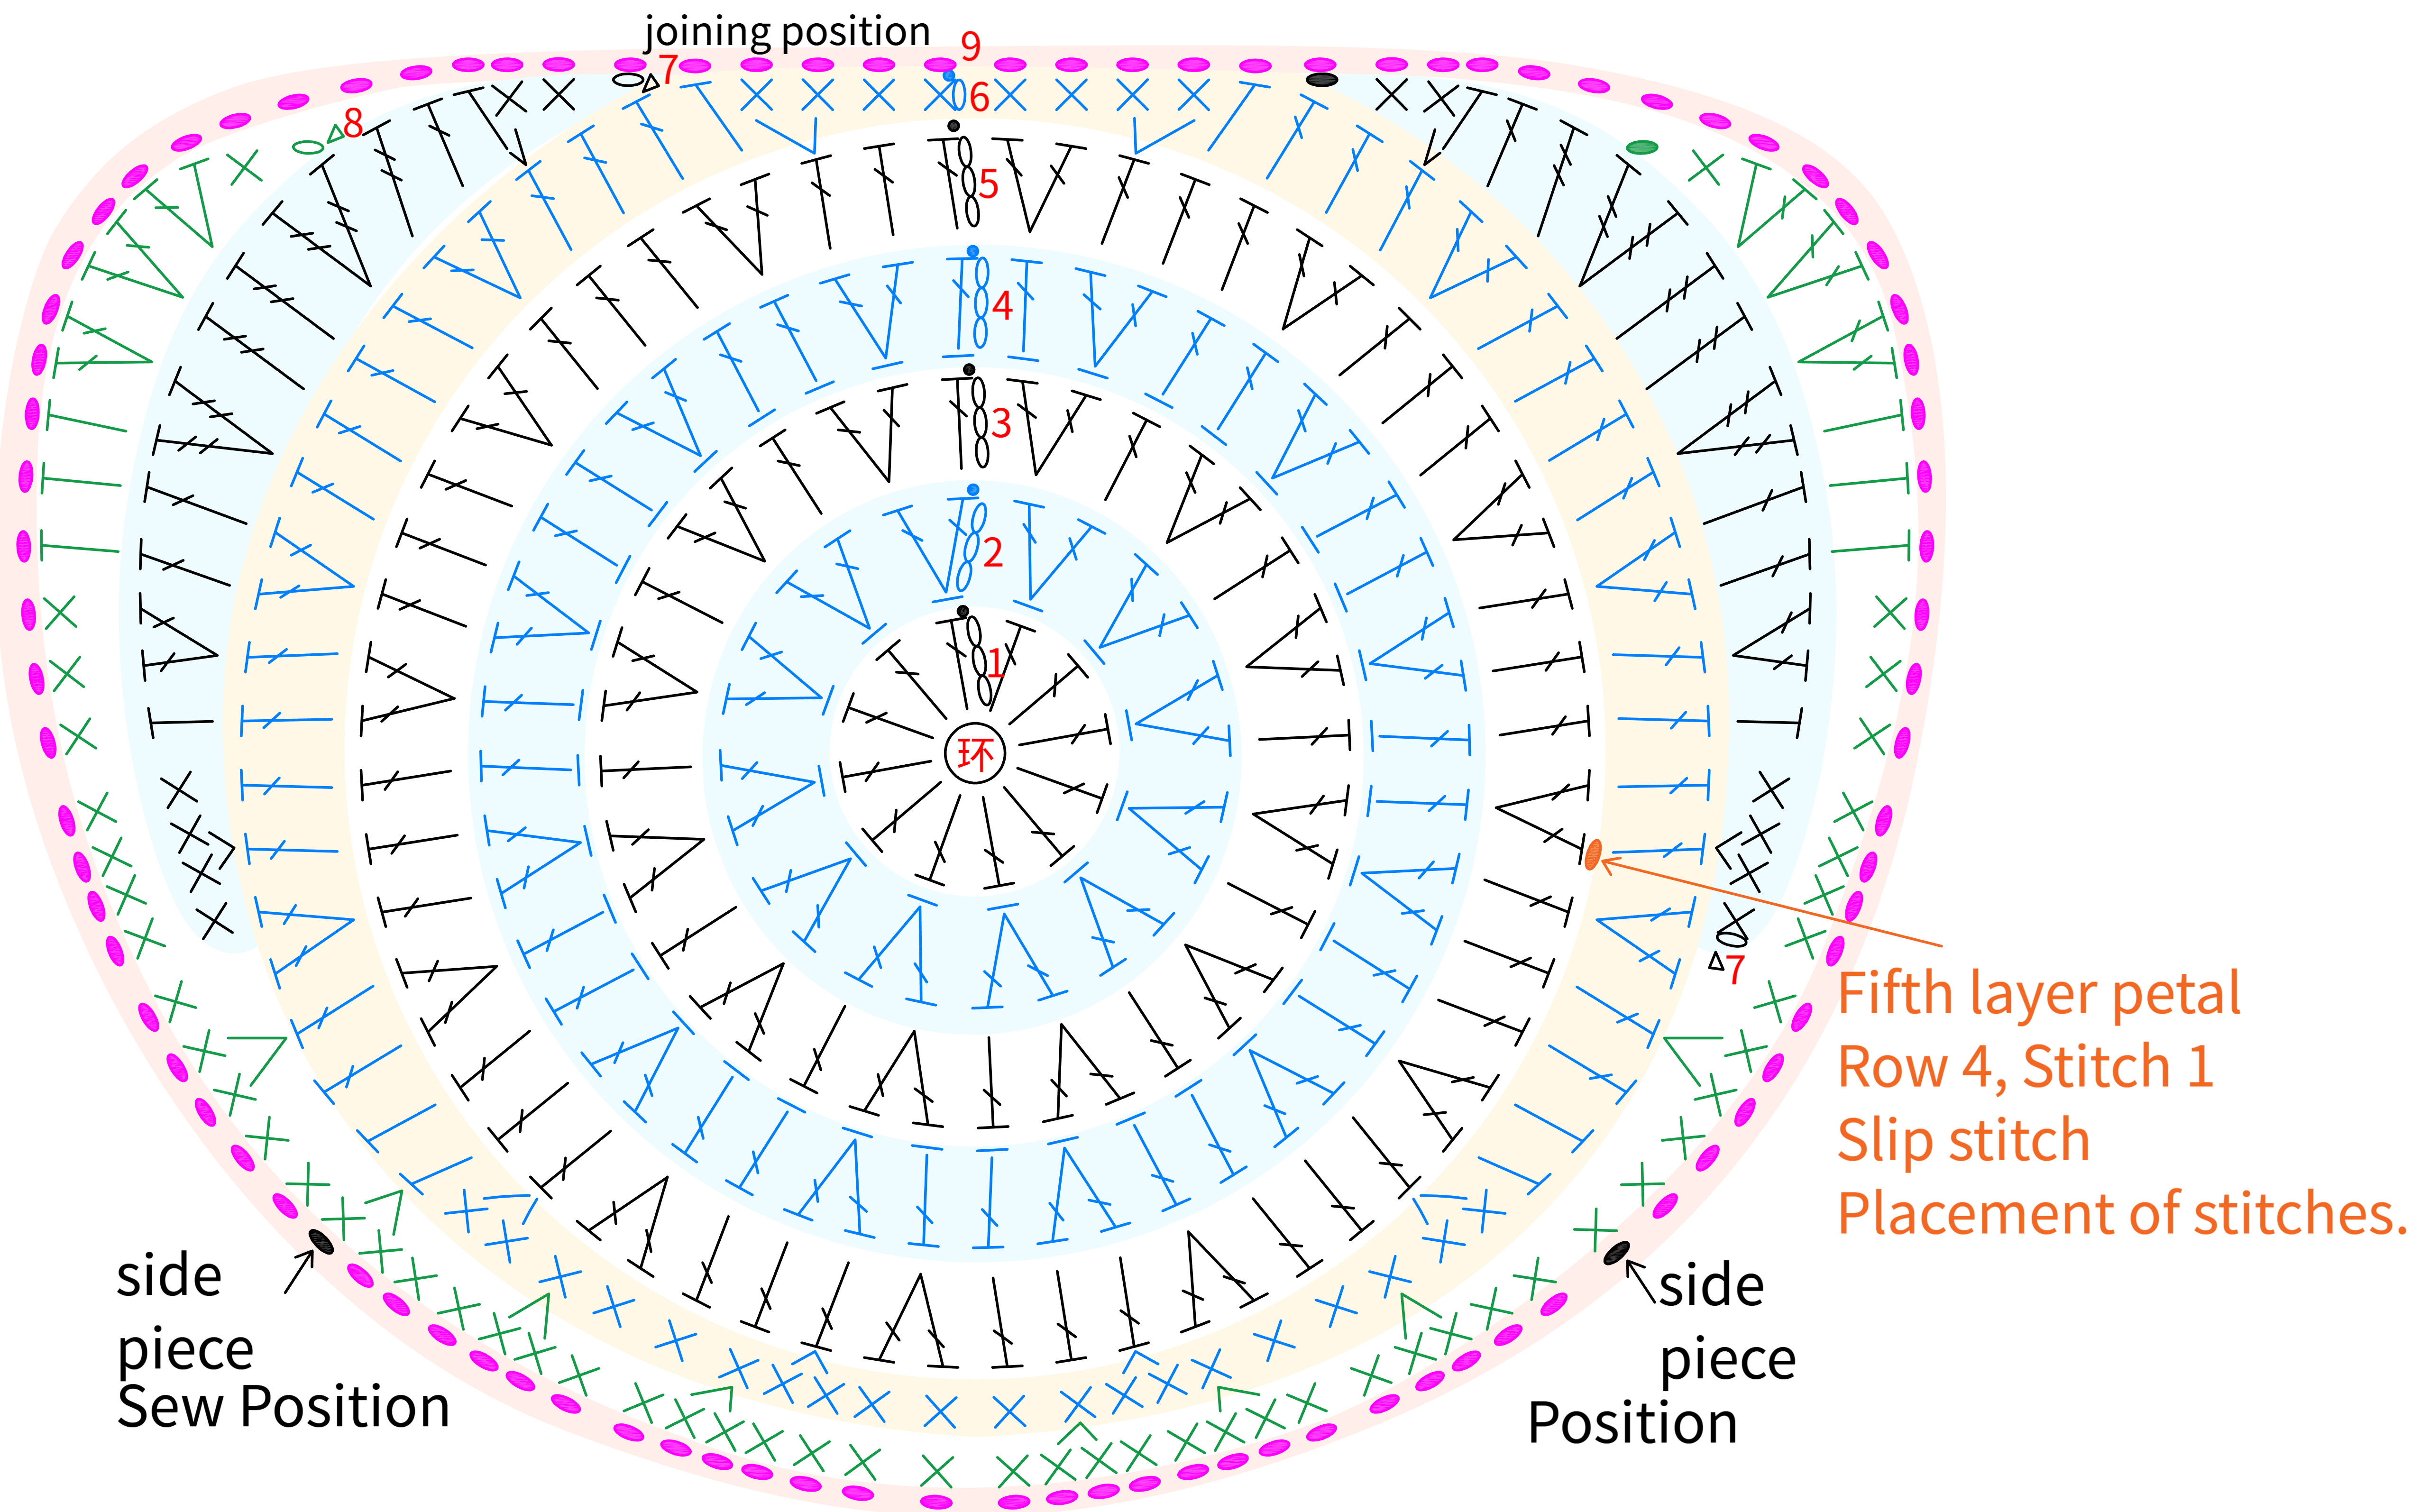
Note: 1. The horizontal lines under the stitch patterns for Rounds 2 and 4 indicate that you should pick up the back half of the previous round's stitches (the strand farther away from you) when crocheting.
2. After completing Round 4, measure the size: the "Secret Code" version should have a diameter of approximately 9 cm, while other versions should be about 10 cm. If there's a significant difference in size, adjust your tension or switch hook sizes and re-crochet.
3. Bind off after finishing the last round; Please refer to the video demonstration for more details.
STEP 2 Back Body
For the back body , use the circular cast-on method. First, crochet in rounds counterclockwise. Divide the stitches into two sides for the final rows, then finish with crocheting in rounds.
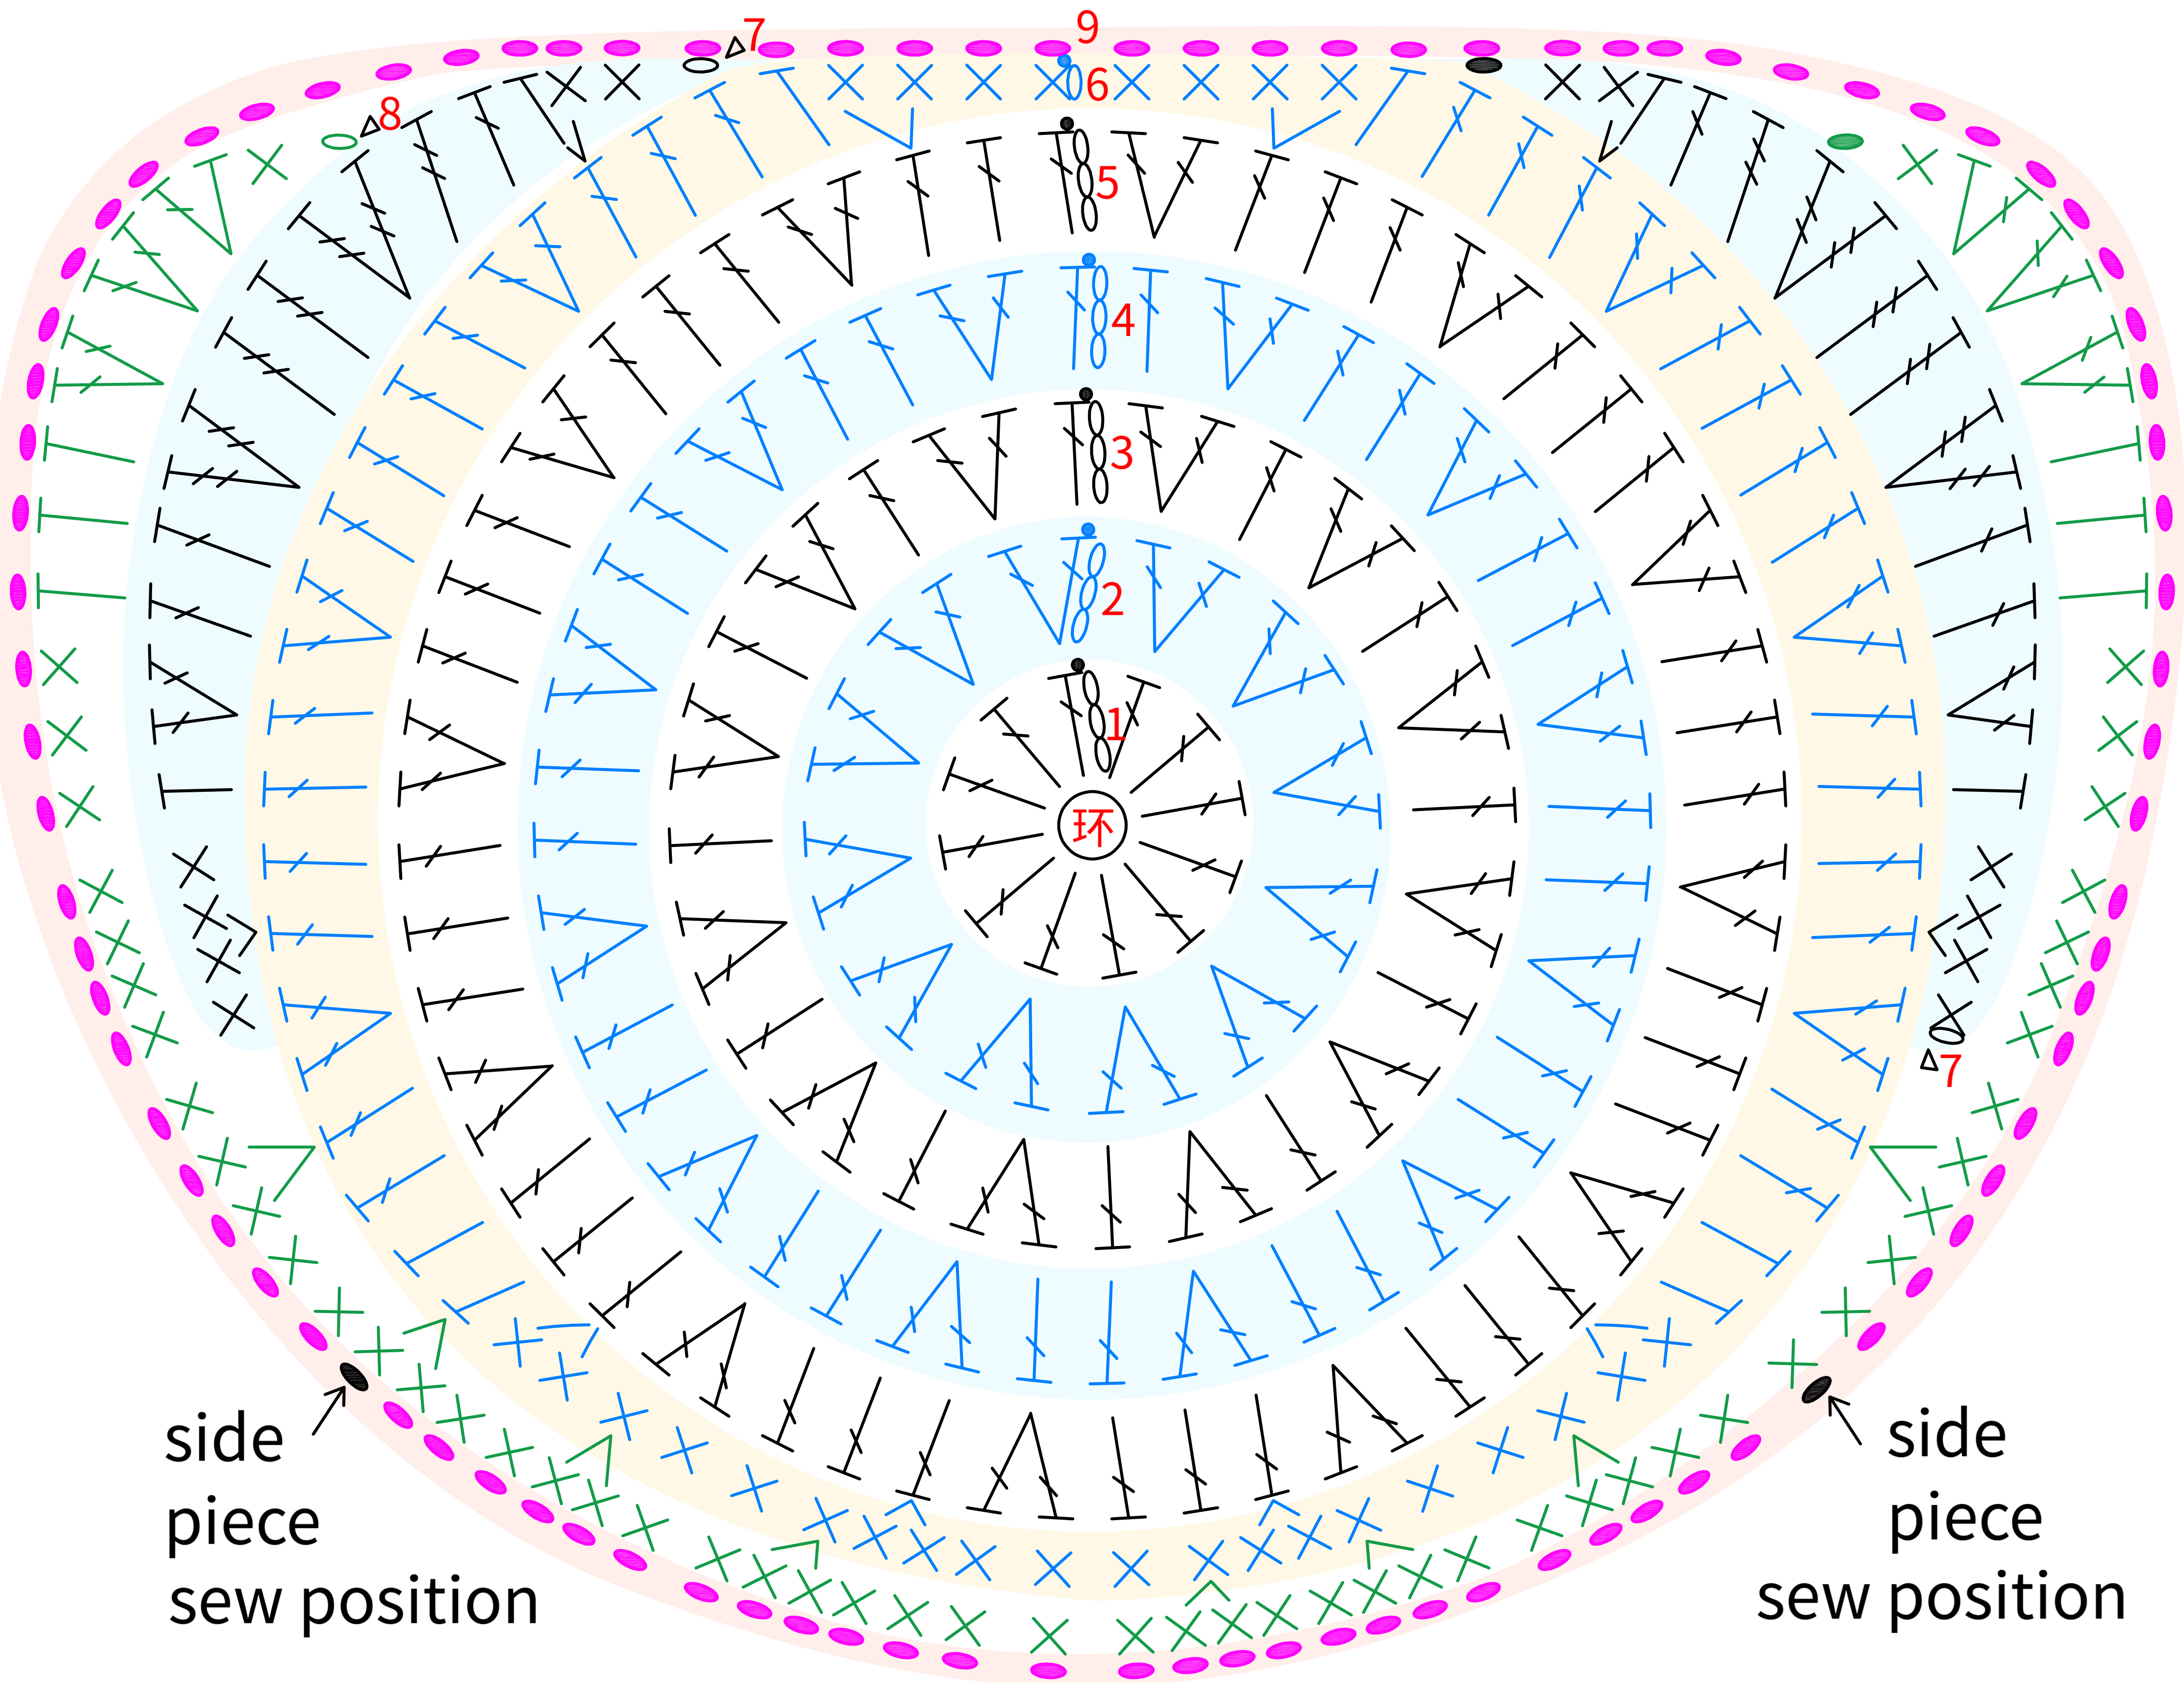
Note: 1. When crocheting the back body, compare it with the front body as you work to avoid significant size differences that may affect the finished look.
2. Bind off after completing the last round.
STEP 3 Side Pieces
The side pieces are started with a foundation chain method and worked in rows.
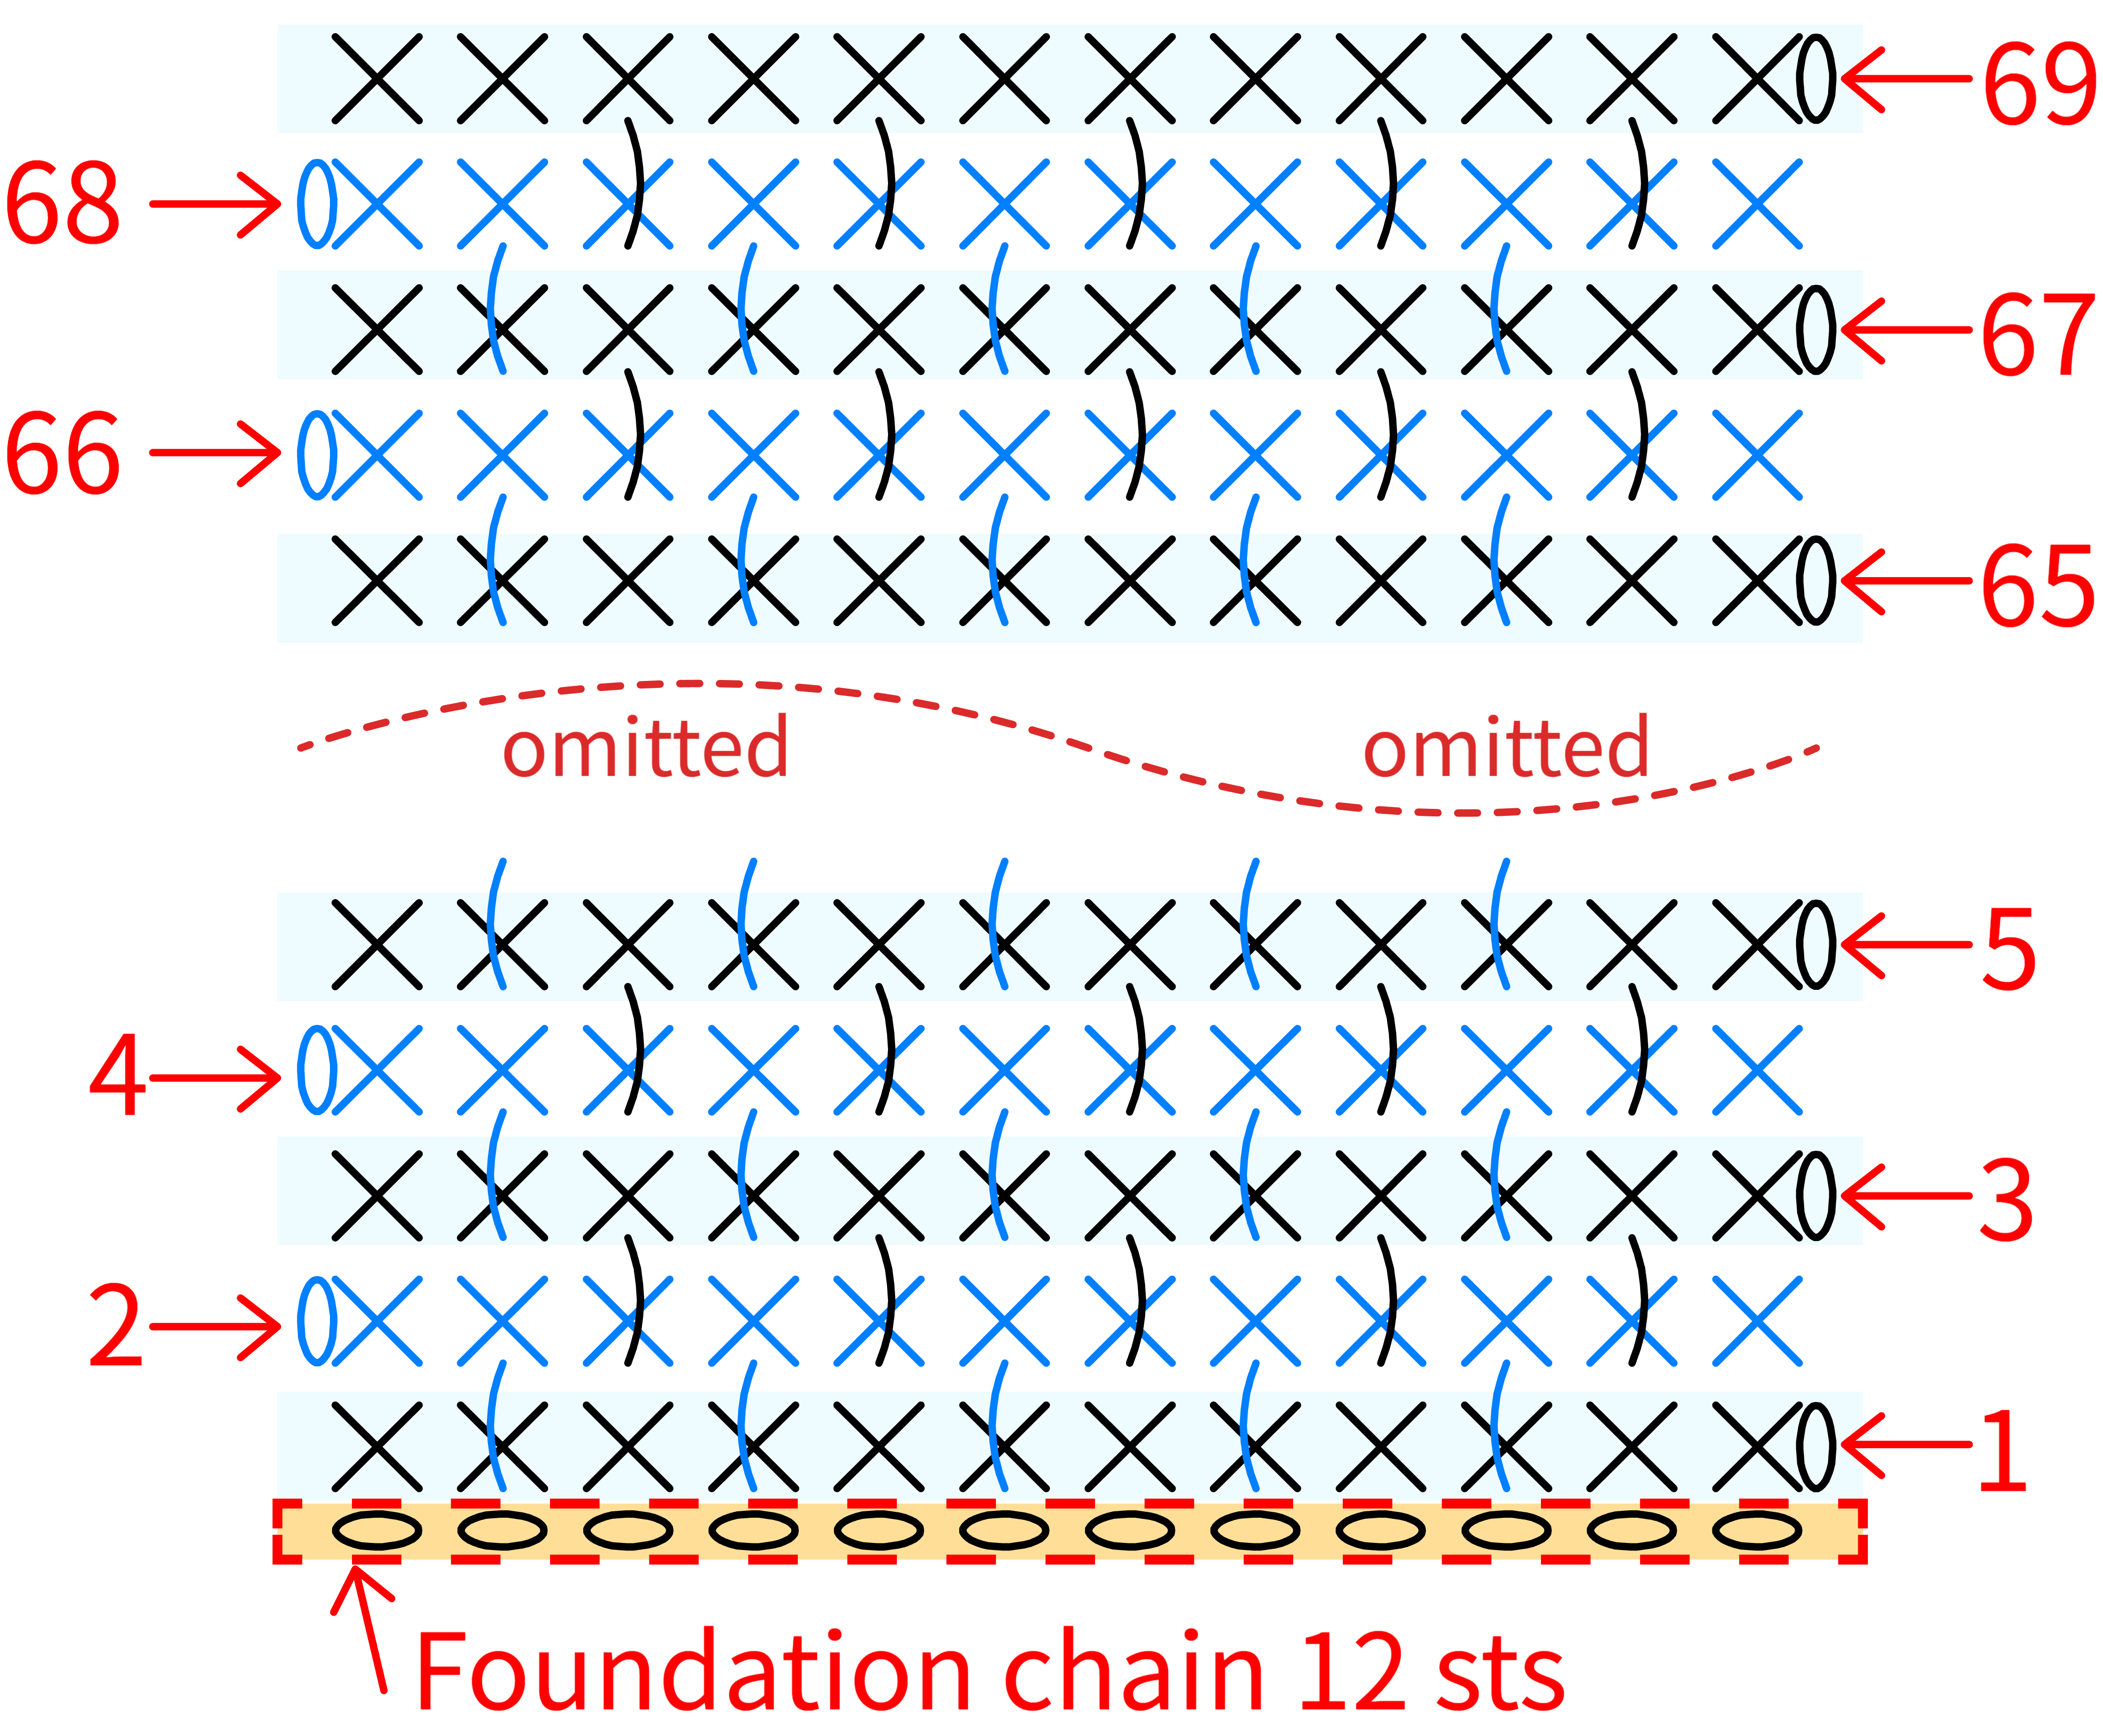
Note: After crocheting 10 rows, measure the size. The Miyu version should be about 4.5 cm in height and 7.5 cm in width. Other versions should be about 5 cm in height and 8 cm in width. If the size differs significantly, adjust your tension or change the hook size and crochet again.
STEP 4 Sewing Together
Use the whip stitch to sew together the front body , back body , and side pieces. Please refer to the video demonstration for more details.
PART 2 Flowers B 29' 06''
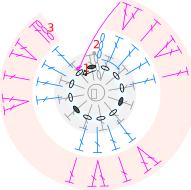
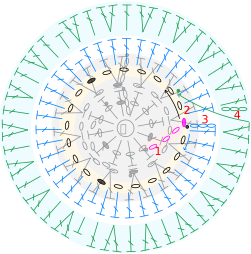
From the inside out, there are five layers of petals in total. You need to crochet and attach them to the front body of the bag body at the same time. Please refer to the video demonstration for more details.
Note: The Hushed Whisper Version uses variegated yarn. Since variegated yarn has multiple color segments, the starting position of your work will affect the final look. You can refer to the finished piece and start crocheting from a lighter color segment to create a gradient effect from light to dark, or choose any color segment you prefer to begin with.
First layer of petals
Second layer of petals
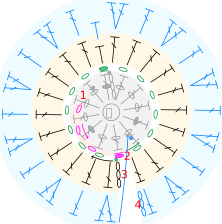
Note: In the second row of the second layer petals, slip stitch is worked into the remaining half stitch of the first round on the front body.
Third layer of petals
Fourth layer of petals
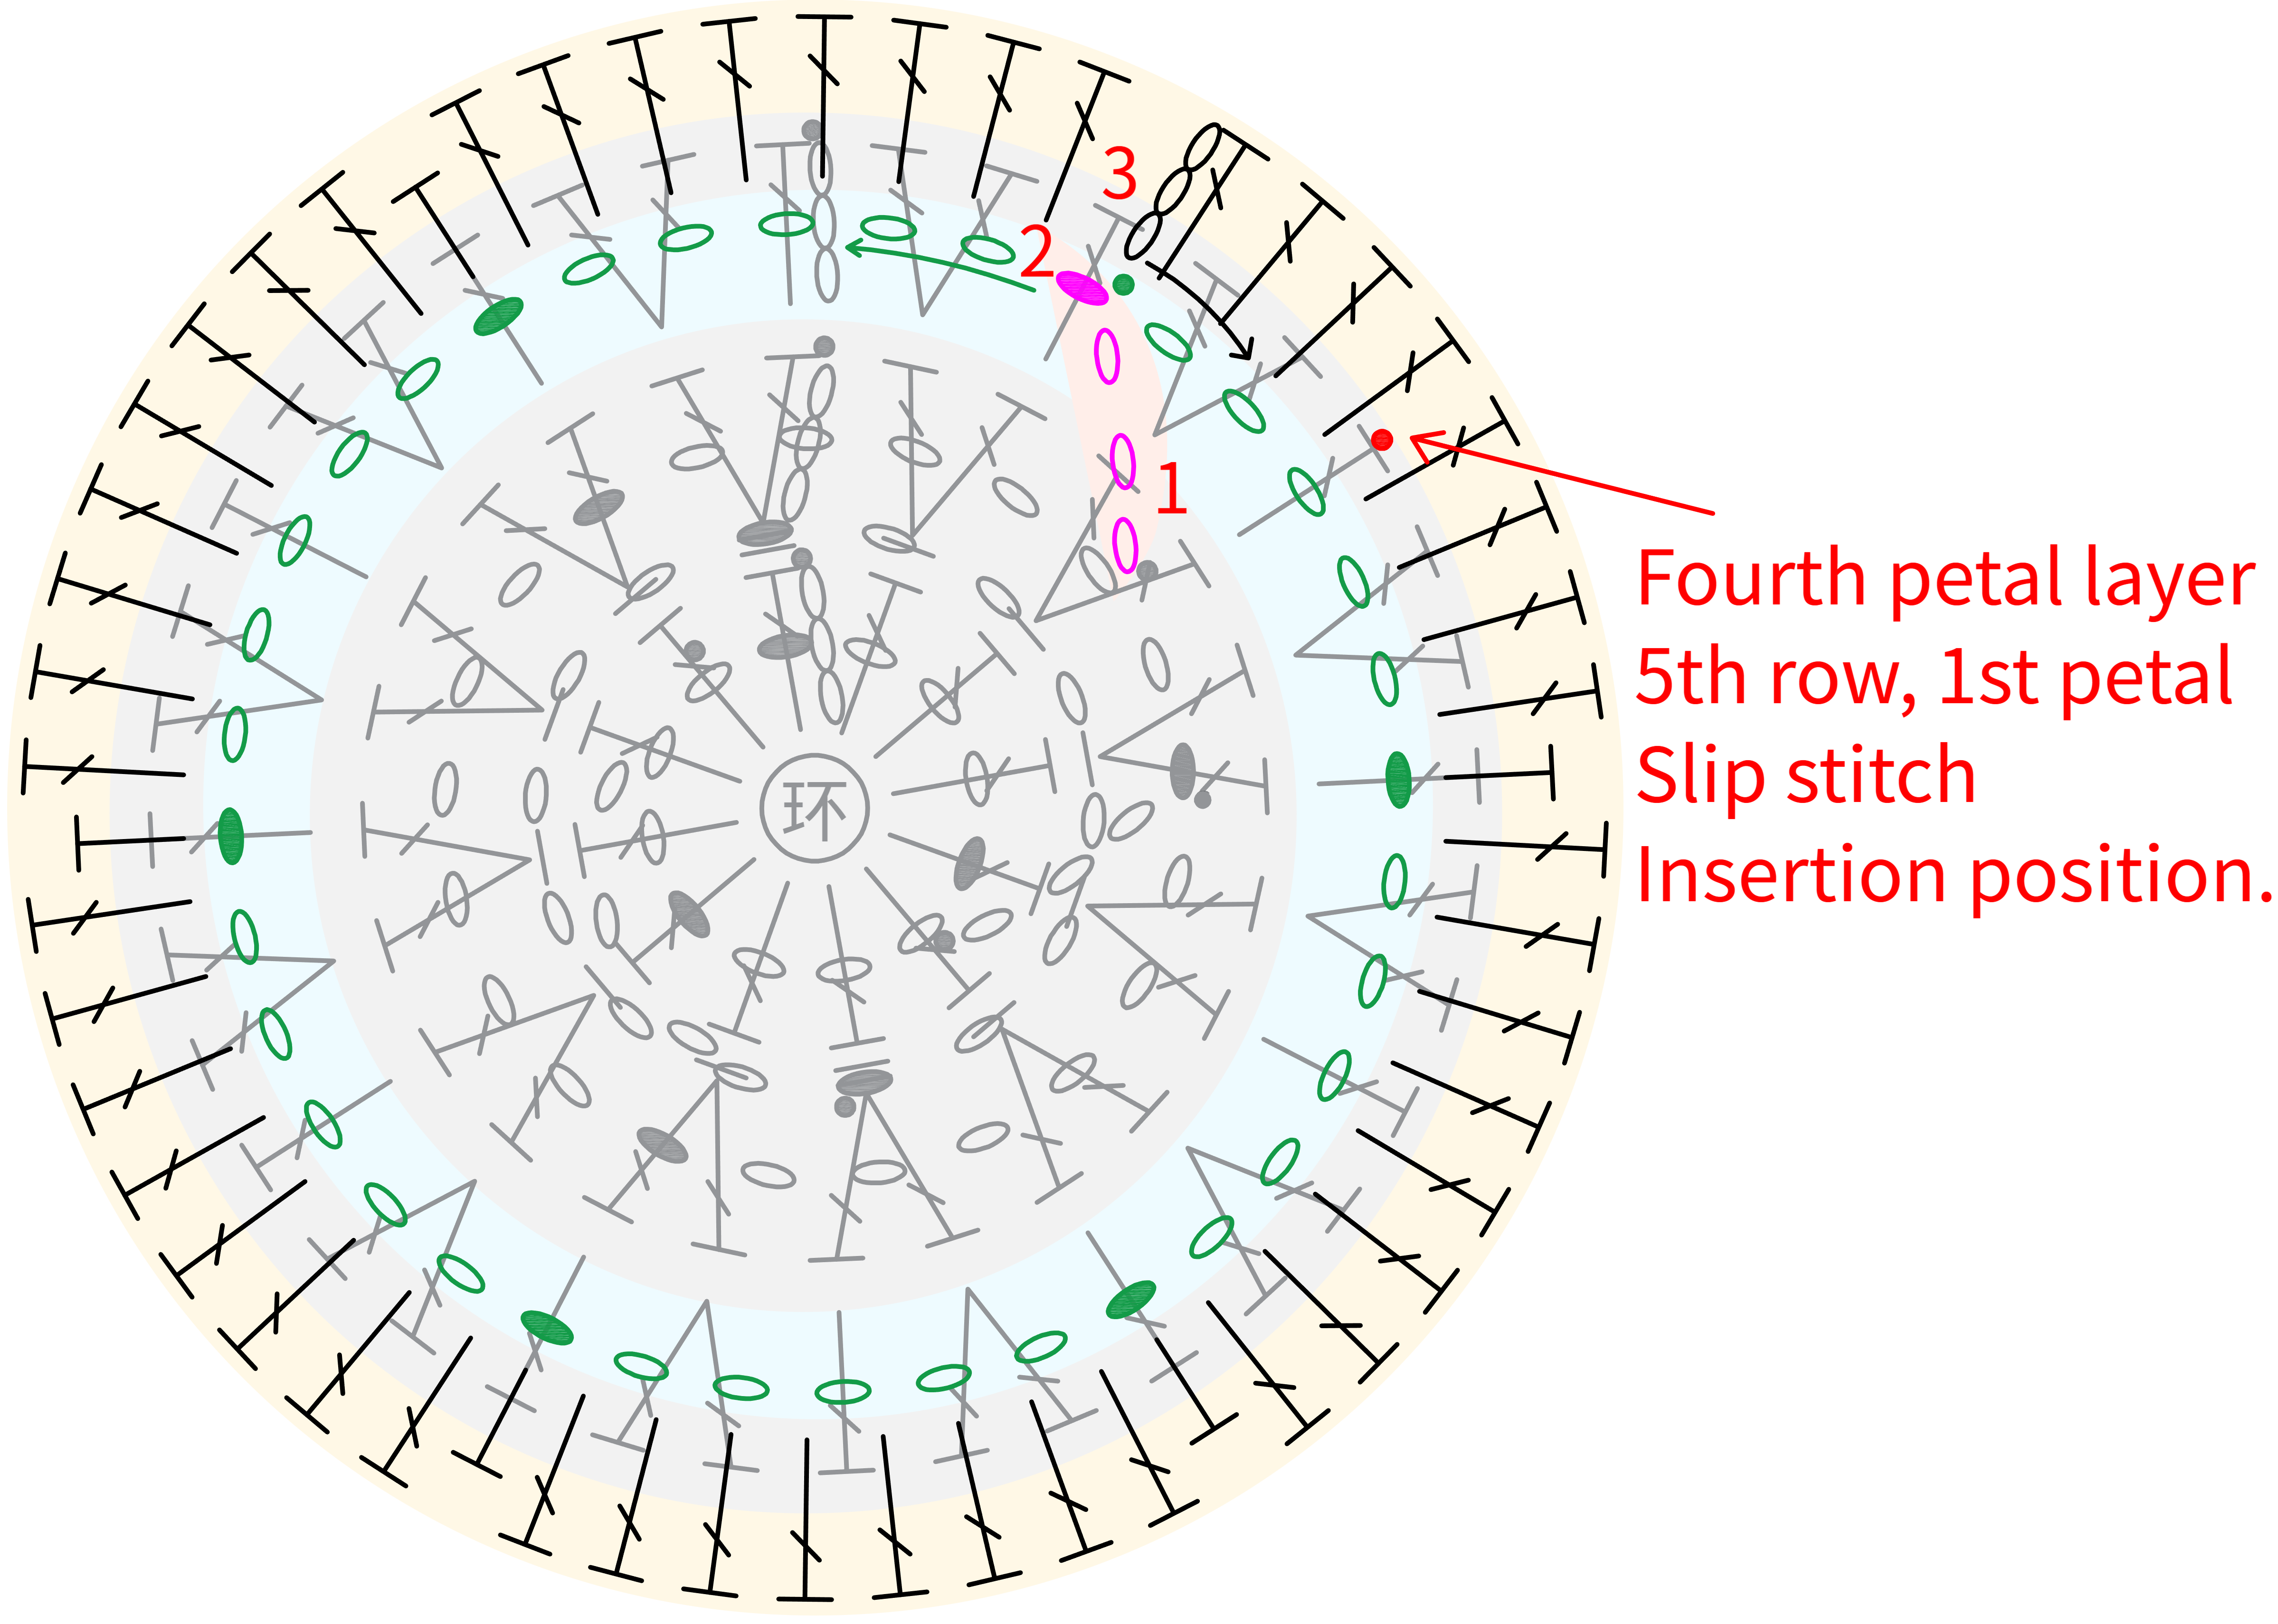
Fourth layer petal remaining rows chart

Fifth layer of petals
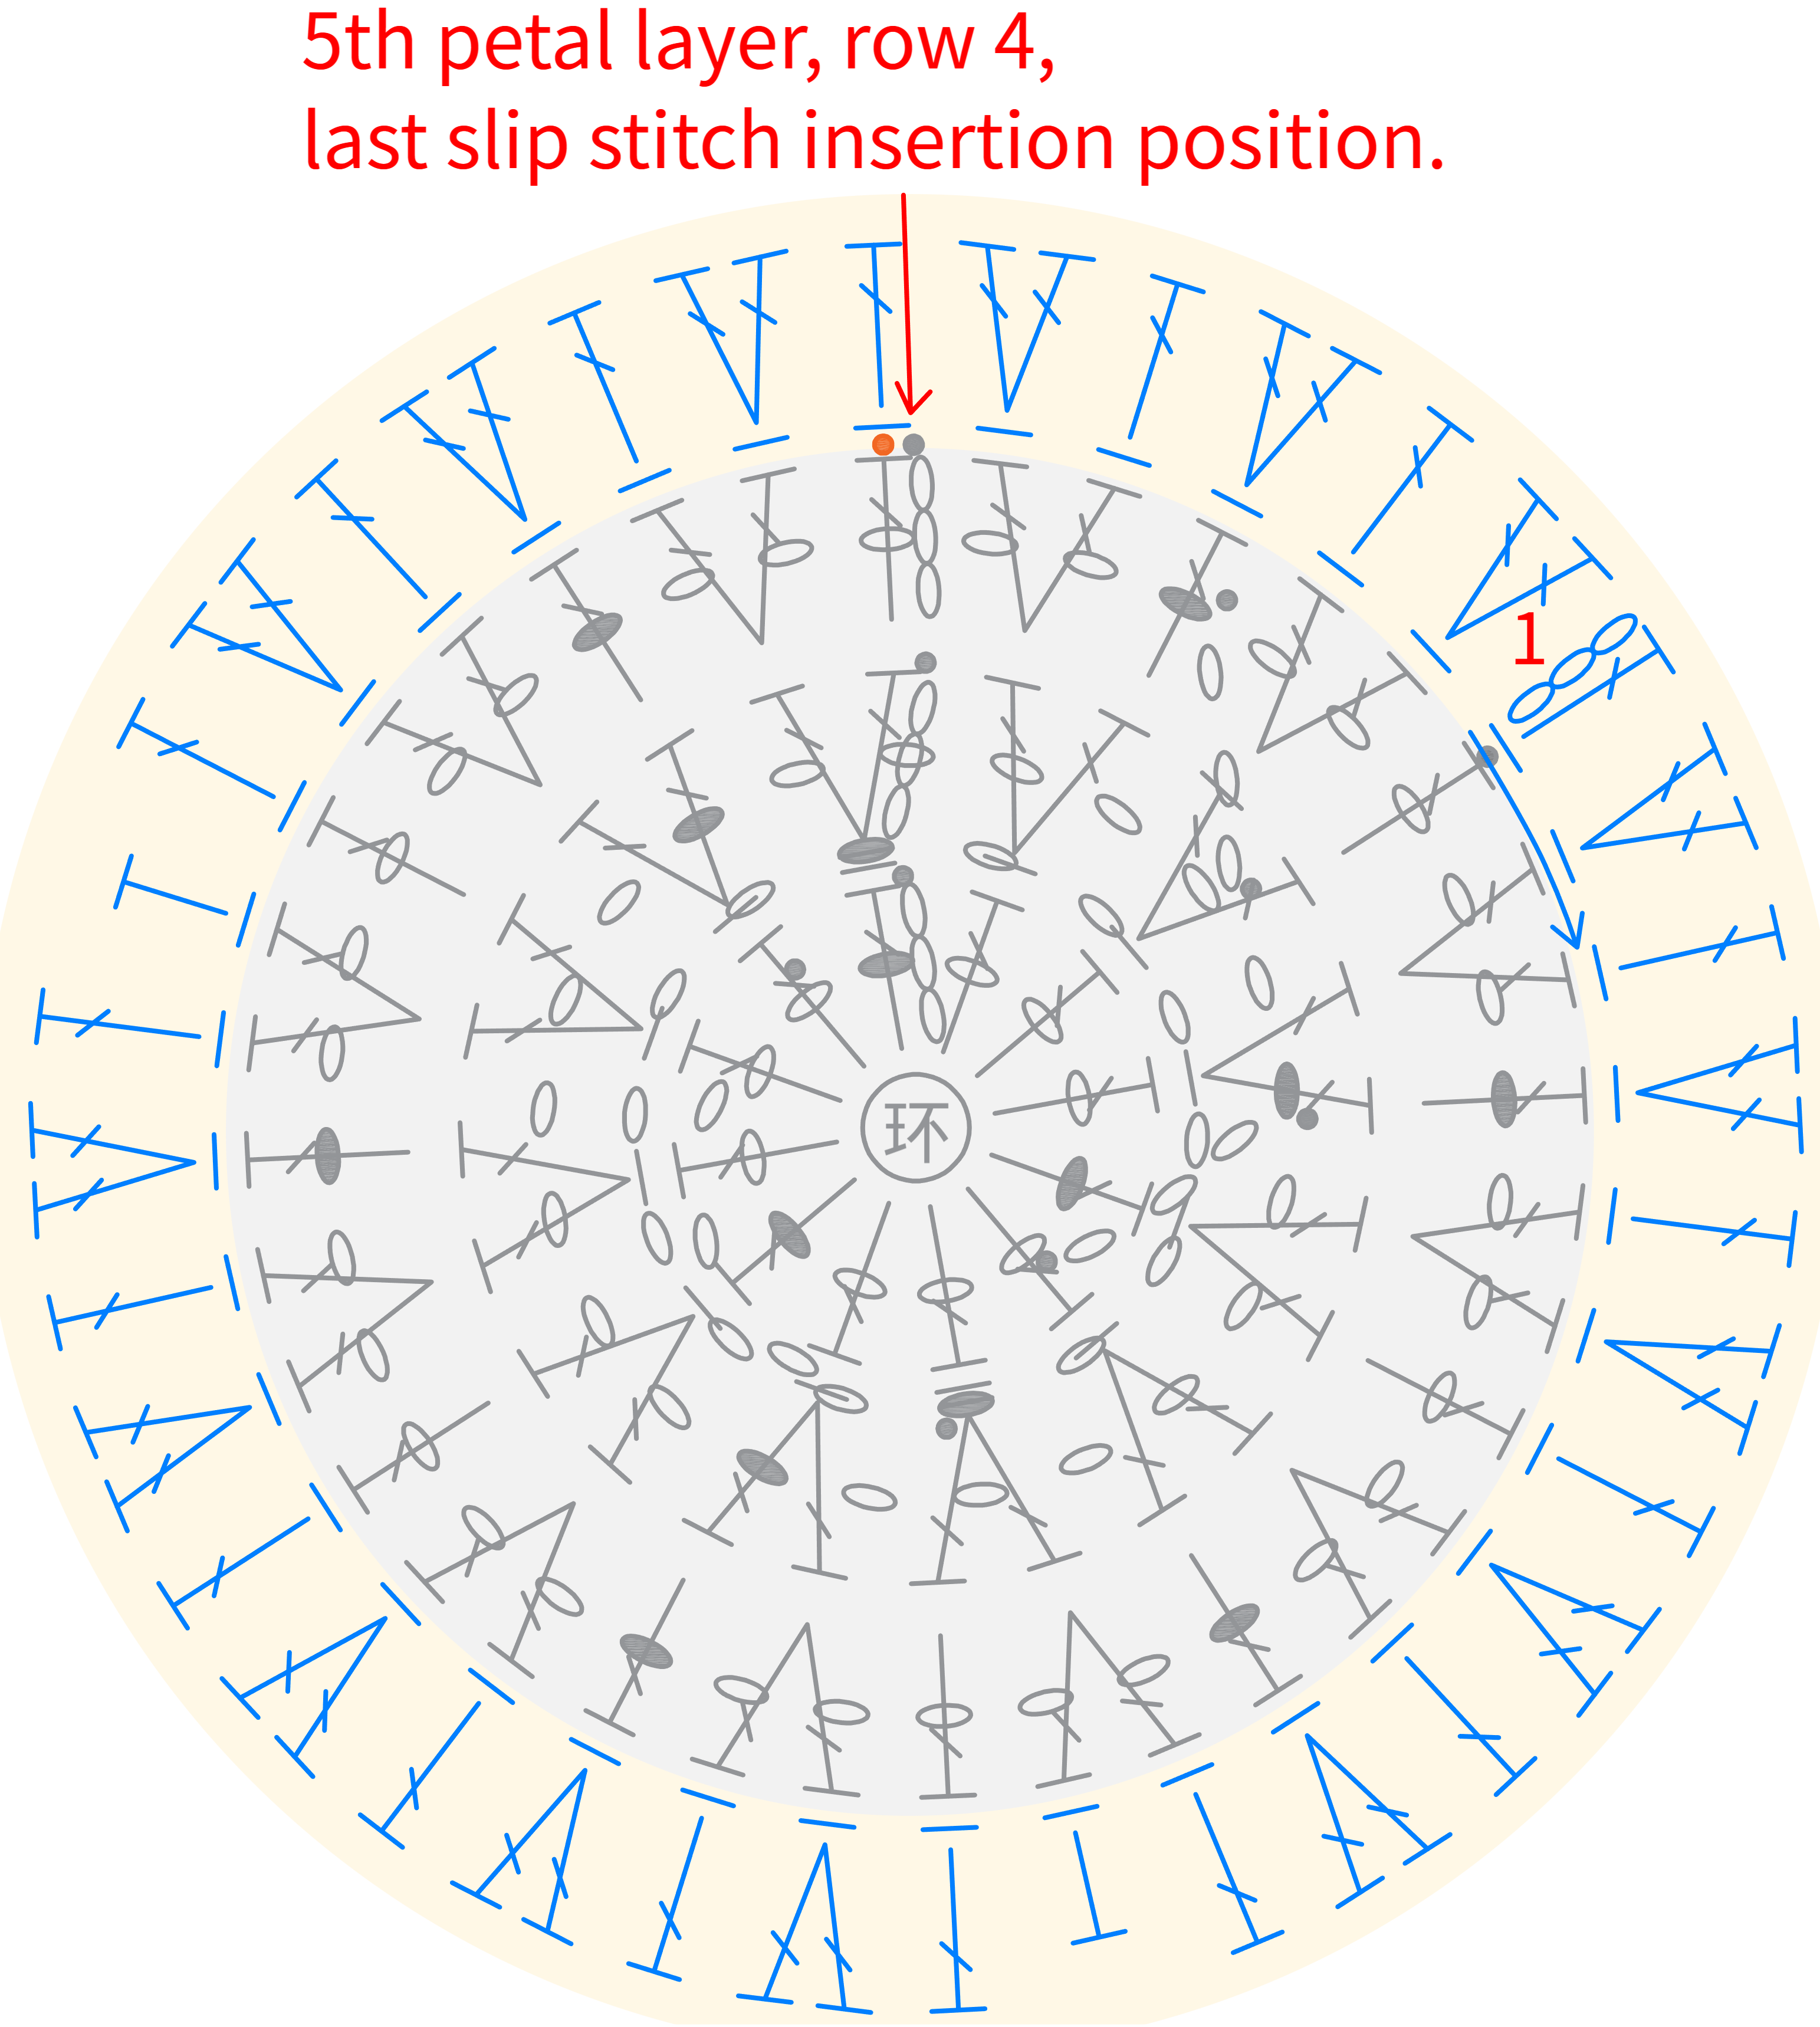
Note: For the 5th layer of petals, Row 1 is worked by picking up the remaining half stitches from the 3rd round of the front body.
Fifth layer petal remaining rows chart
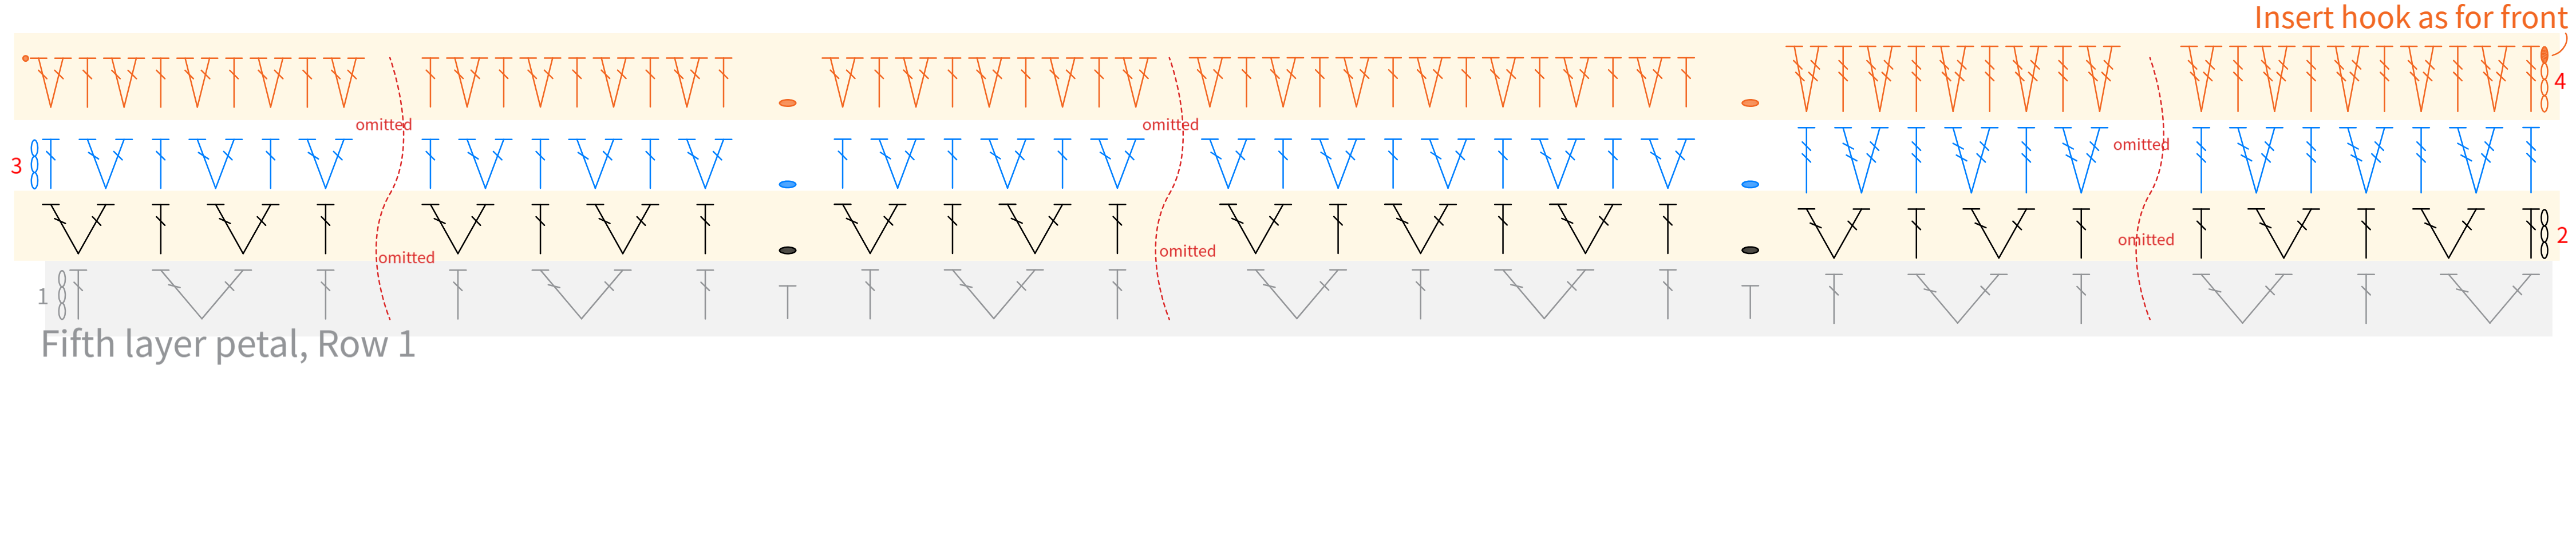
PART 3 Straps C 44' 18''
There are two straps, both crocheted on cotton cord but with different numbers of rounds. After completion, sew them onto the bag edges separately. Please refer to the video demonstration for more details.
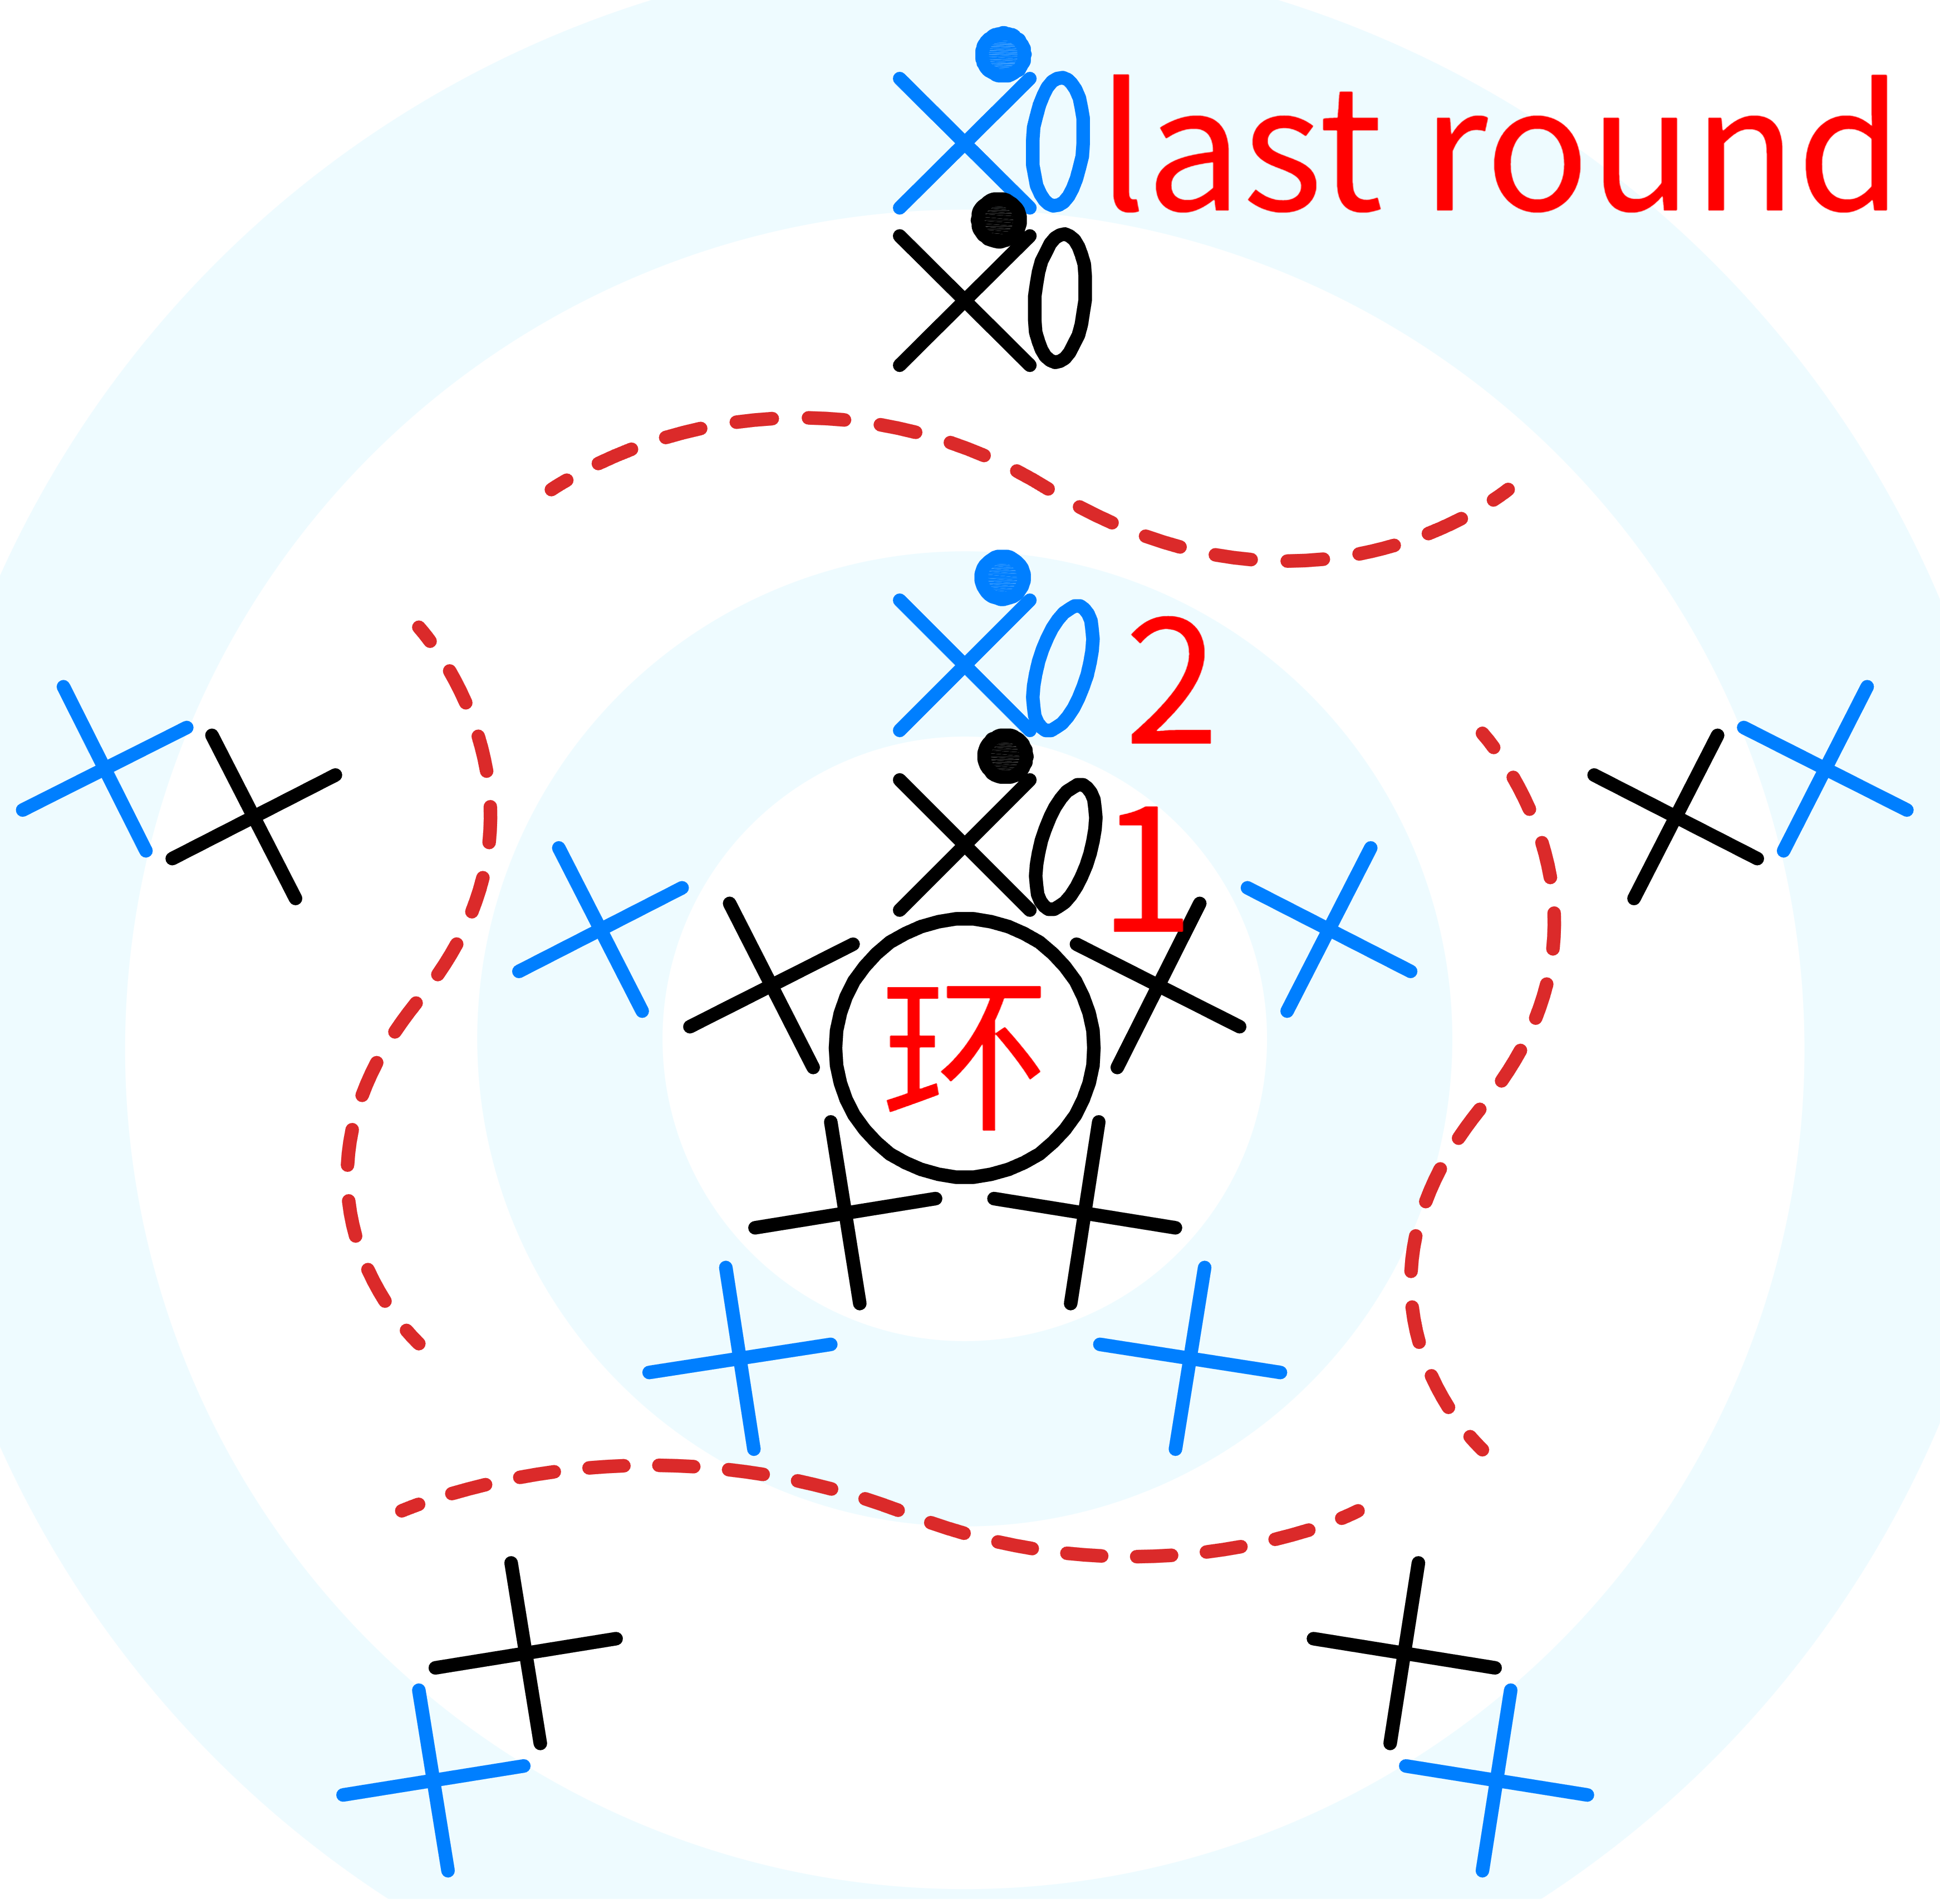
Note: 1. Leave a 20 cm yarn tail at the beginning and end of each strap for sewing.
2. Crochet the front strap to 42 rounds and the back strap to 40 rounds.
3. After completing the straps, sew a few stitches with sewing thread at the start and end positions to prevent the cotton rope from showing. Finally, sew the straps in place using the leave yarn tails.
PART 4 Magnetic Clasps D 48' 53''
Sew two pairs of magnetic clasps onto the appropriate positions of the front and back panels using sewing thread. Please refer to the video demonstration for more details.