Clothes
Ruyi Flower Blossom Cardigan
Project preview
See the finished project
Pattern format
Instructions
Watch and follow
Video tutorial
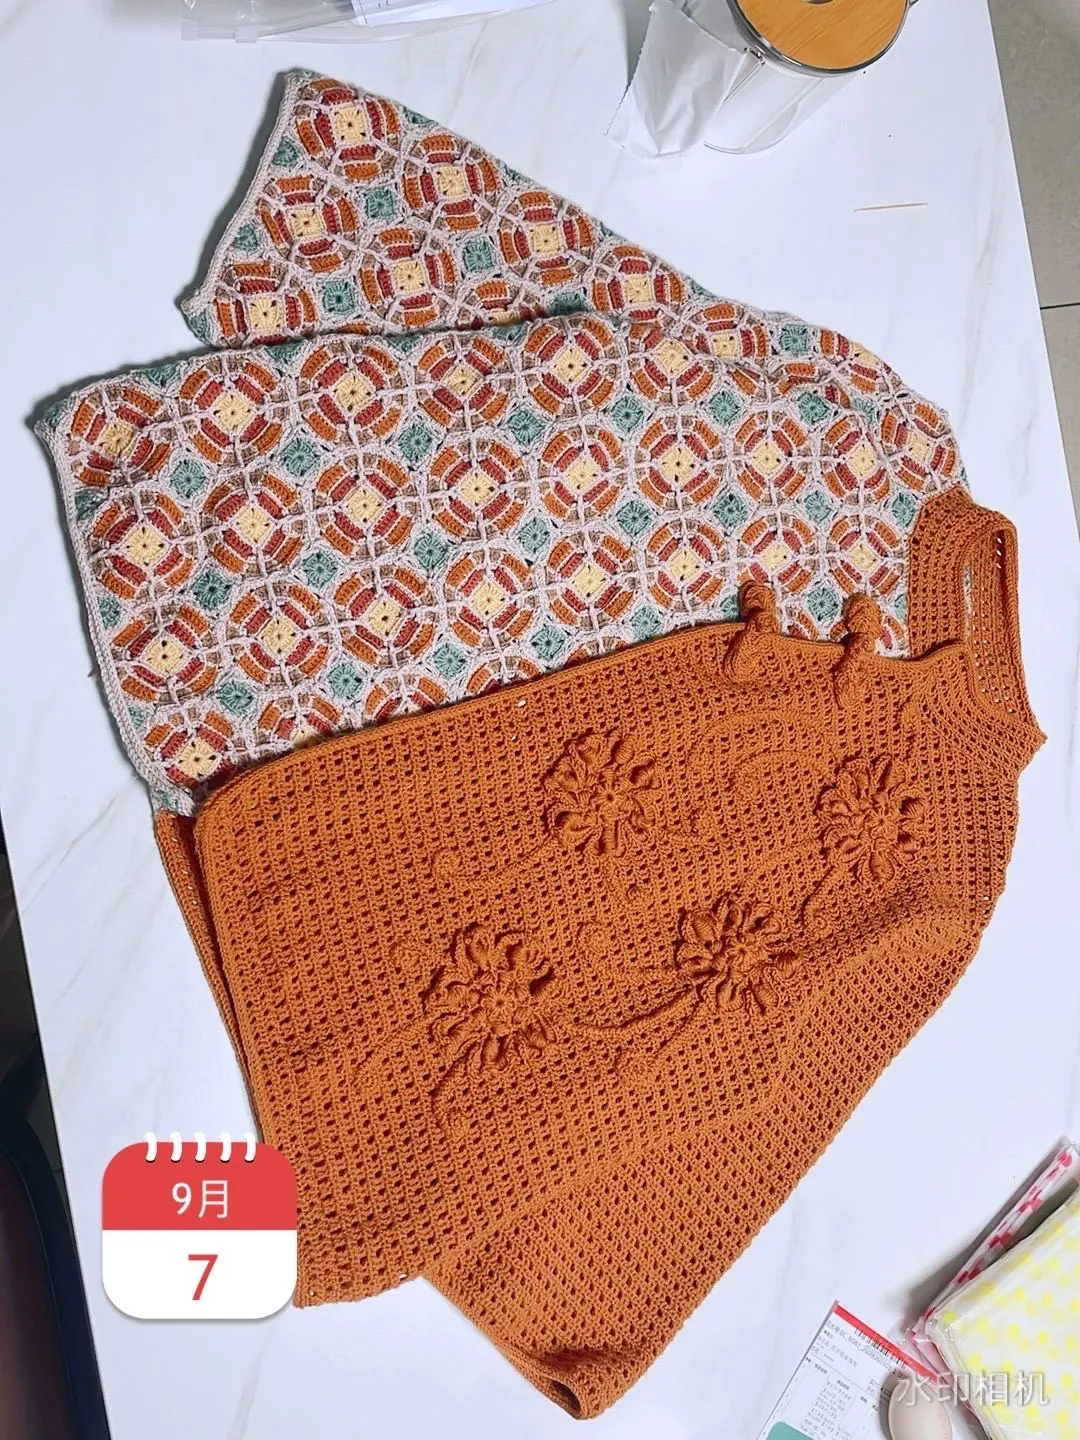
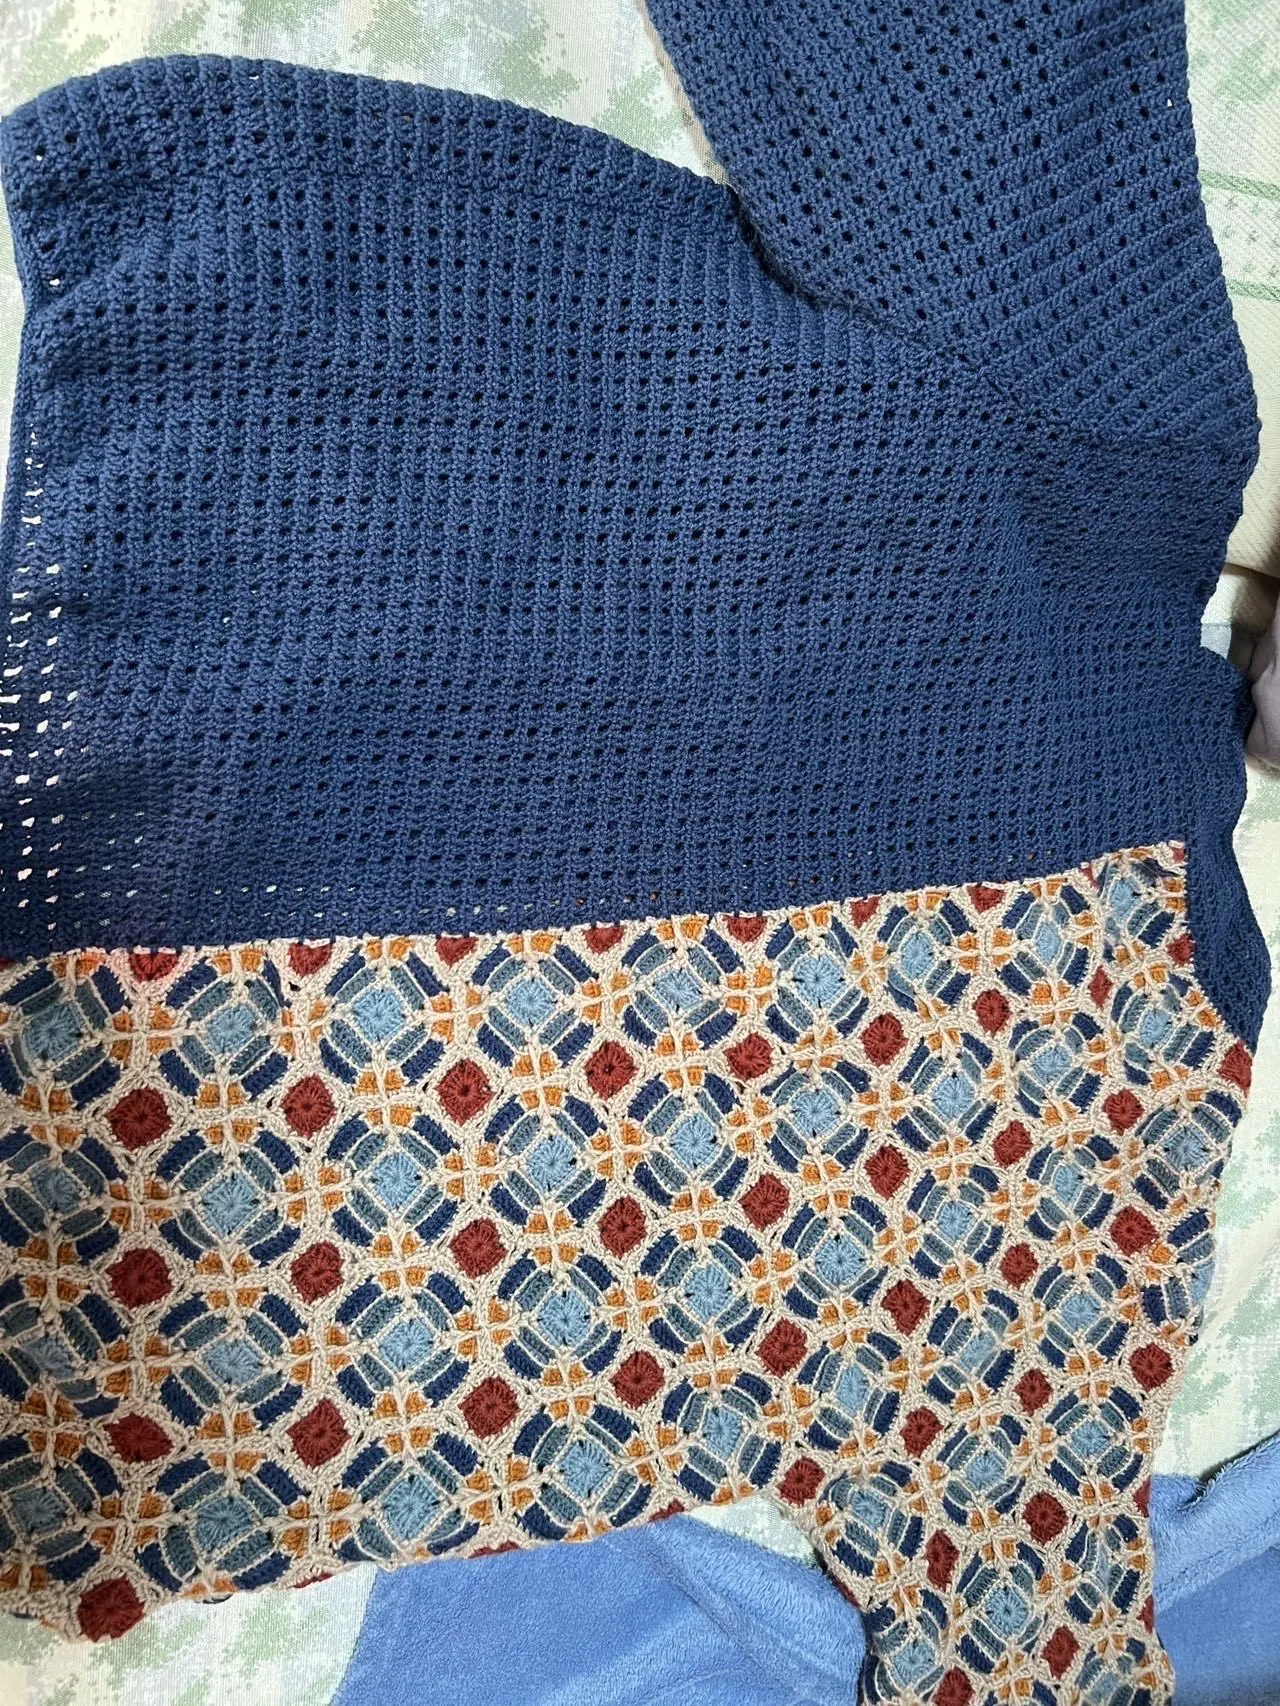
This cardigan consists of the main part and decorations. The left and right hereinafter were referring to the wearer's left and right. Each part should be made in sequence. The cadigan has two designs: Amber and Indigo, they both sare the same crocheting method.
Note:
1.This pattern is making in Chinese crochet pattern terms, and the stitch name is written using American terminology. All measurements in charts are in cm.
2.When crocheting in rounds without further guidance, working in closed rounds, start each round with a set number of beginning chains and close with a slip stitch. The beginning chain preceding a single crochet and the slip stitch used for joining rounds are not included in the total stitches.
Material: Susan's Family Morandi 4#
Hook&Needle: 12# - 2.75mm knitting needles 2.50mm hook for the size S 3.00mm hook for the size L
Chart Key



















PART1 Main PartA
The main body consists of the left front piece, the left back piece, the left sleeve, the right front piece, the right back piece, the right sleve, the collar and the braid edges. The right pieces and right sleeve are made of motifs. Please refer to the video demonstration for more details.

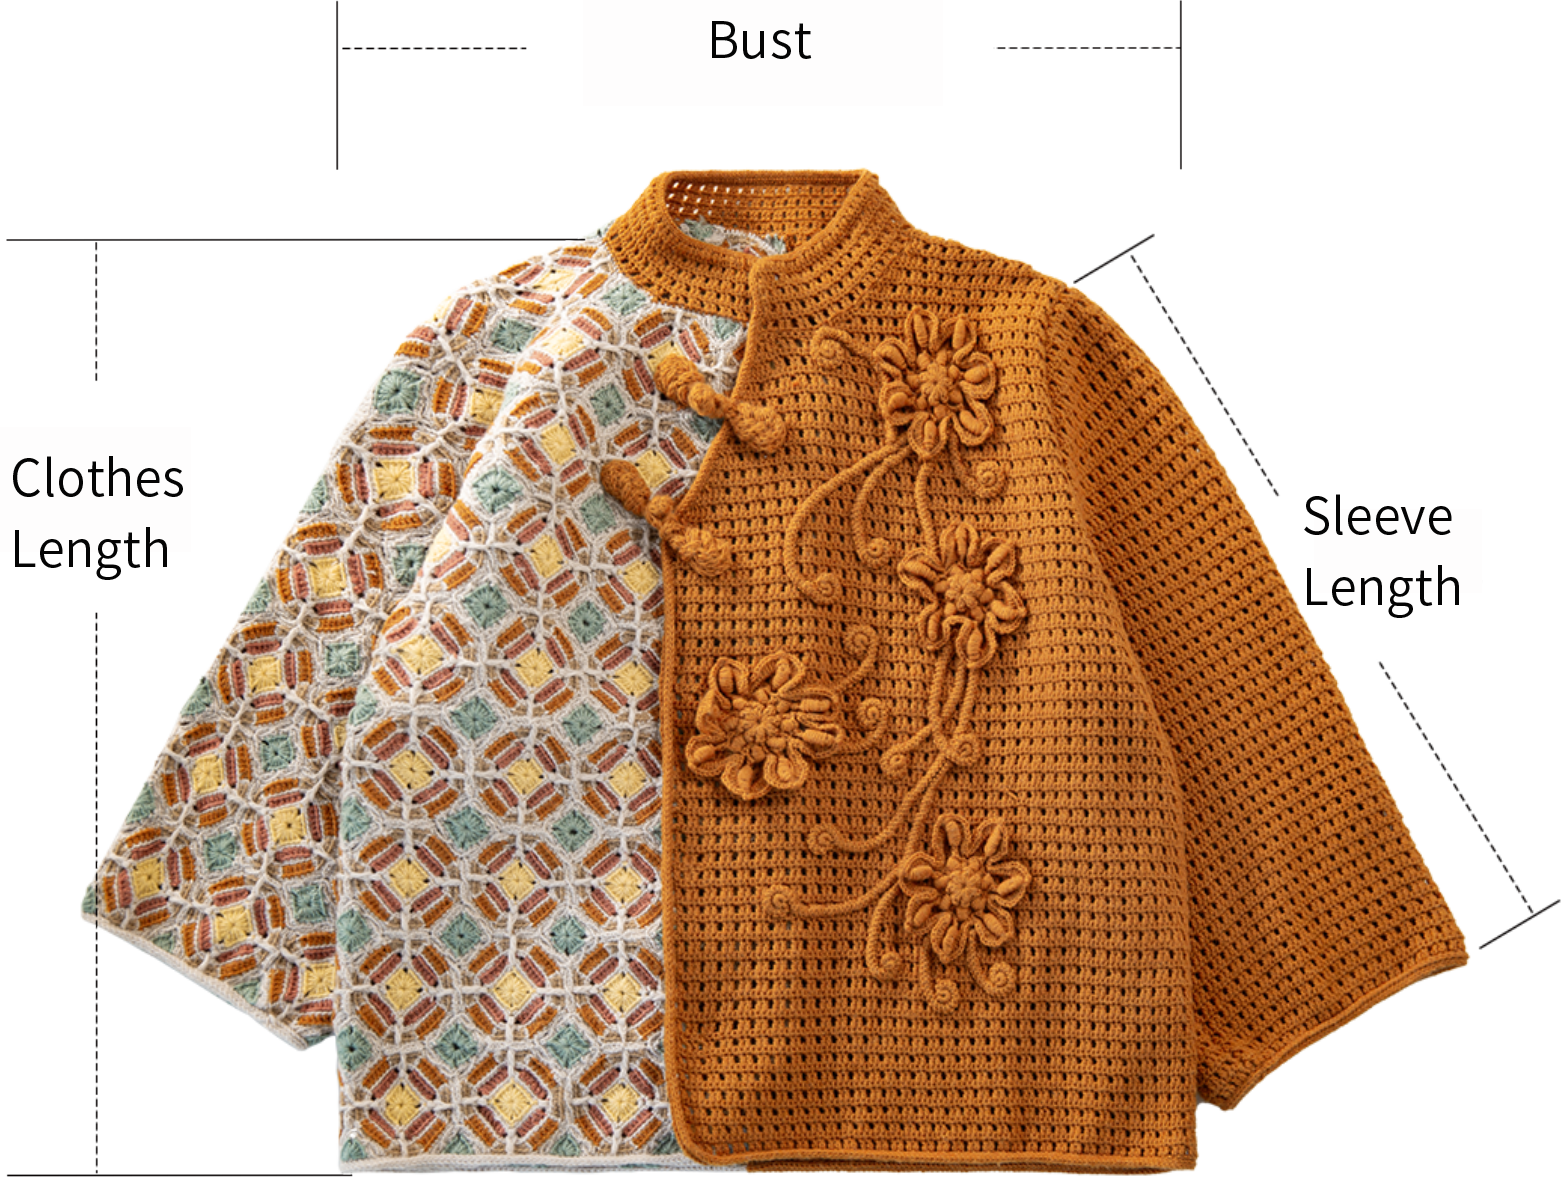
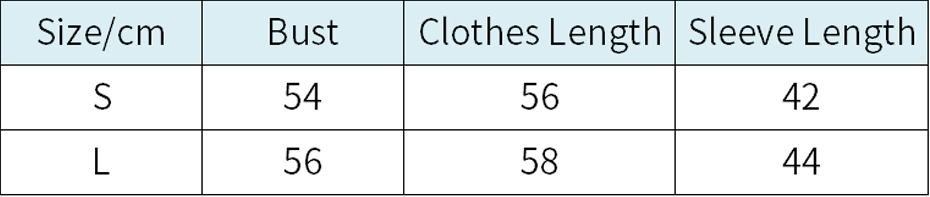
The handcrafted measurements may have an error of 1 to 2cm. Due to variations in individual tension, the size of the sample is for reference only.
STEP1 Left Front PieceA1 02' 02'' (Part 1)
The left fron piece is divided into the body and the neck and shoulder sections. Begin with a foundation chain, then, work back and forth in a row. Please refer to the video demonstration for more details.
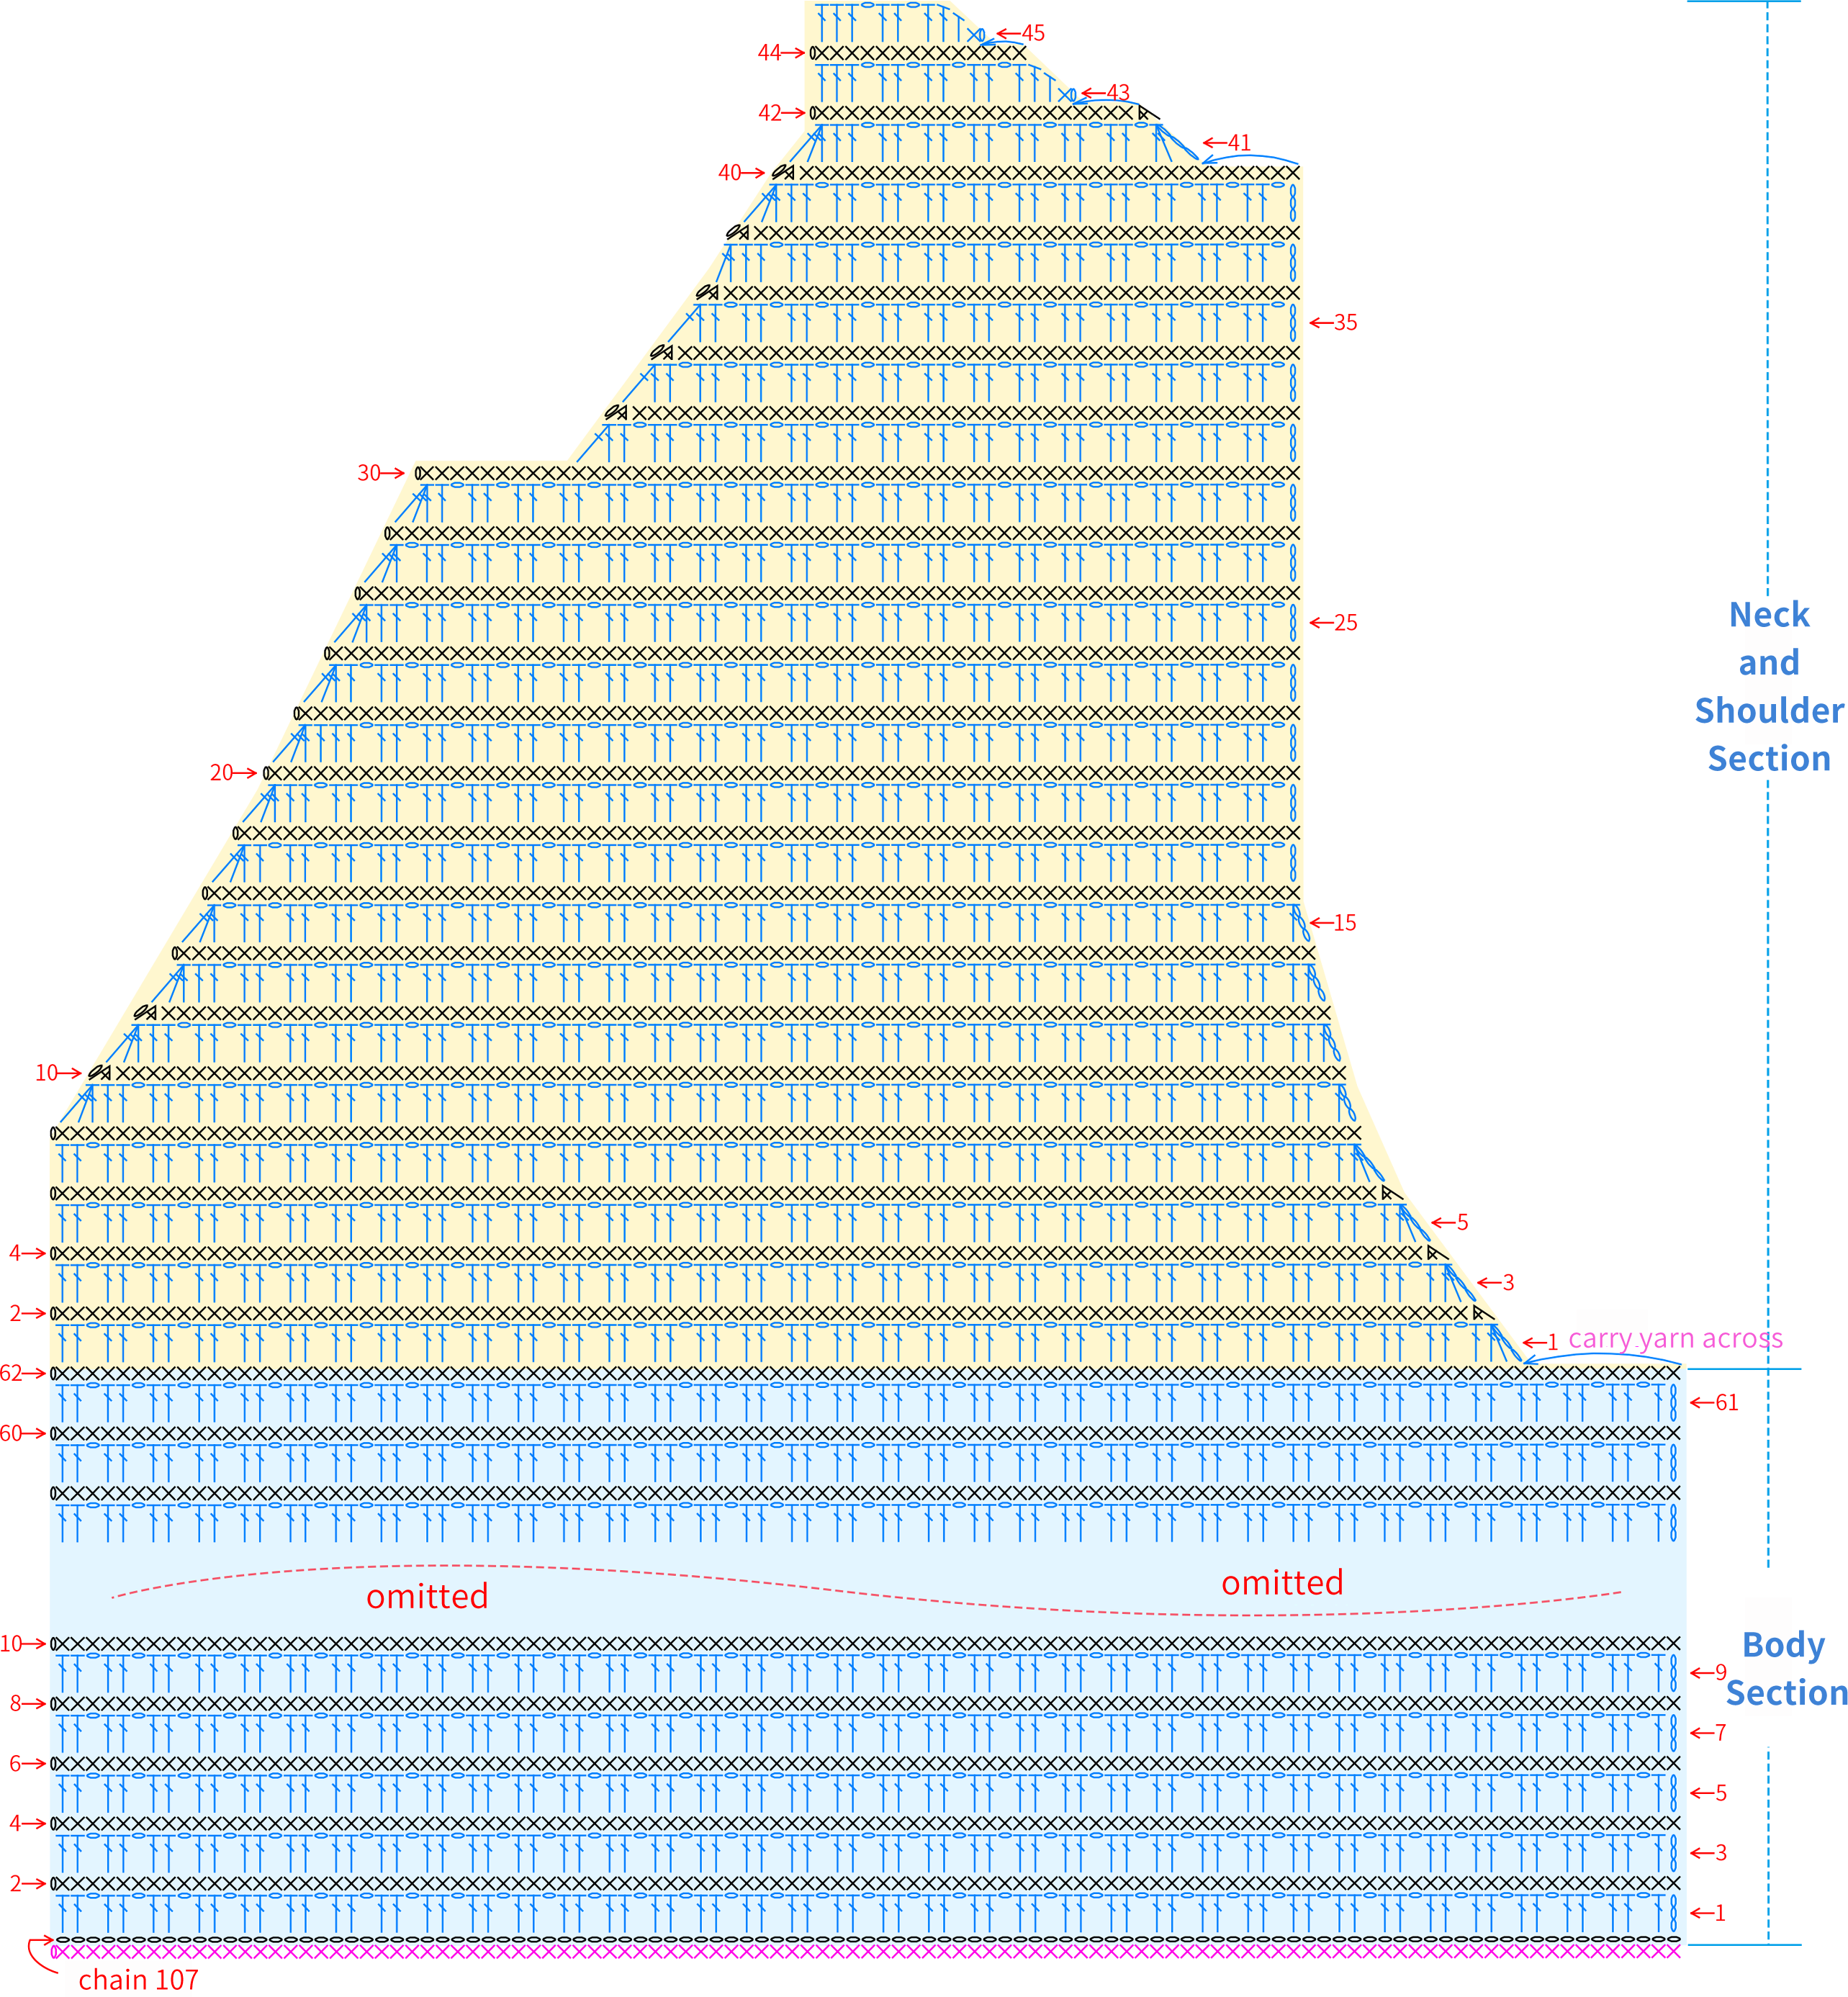
P.S. When you finish the third row, you should check the length of the piece. If there's a significant difference in size here. Adjust your tension, or switch to a different hook size and work it again.
Reference: Length of size S: 35.5cm Length of sze L: 36.5cm
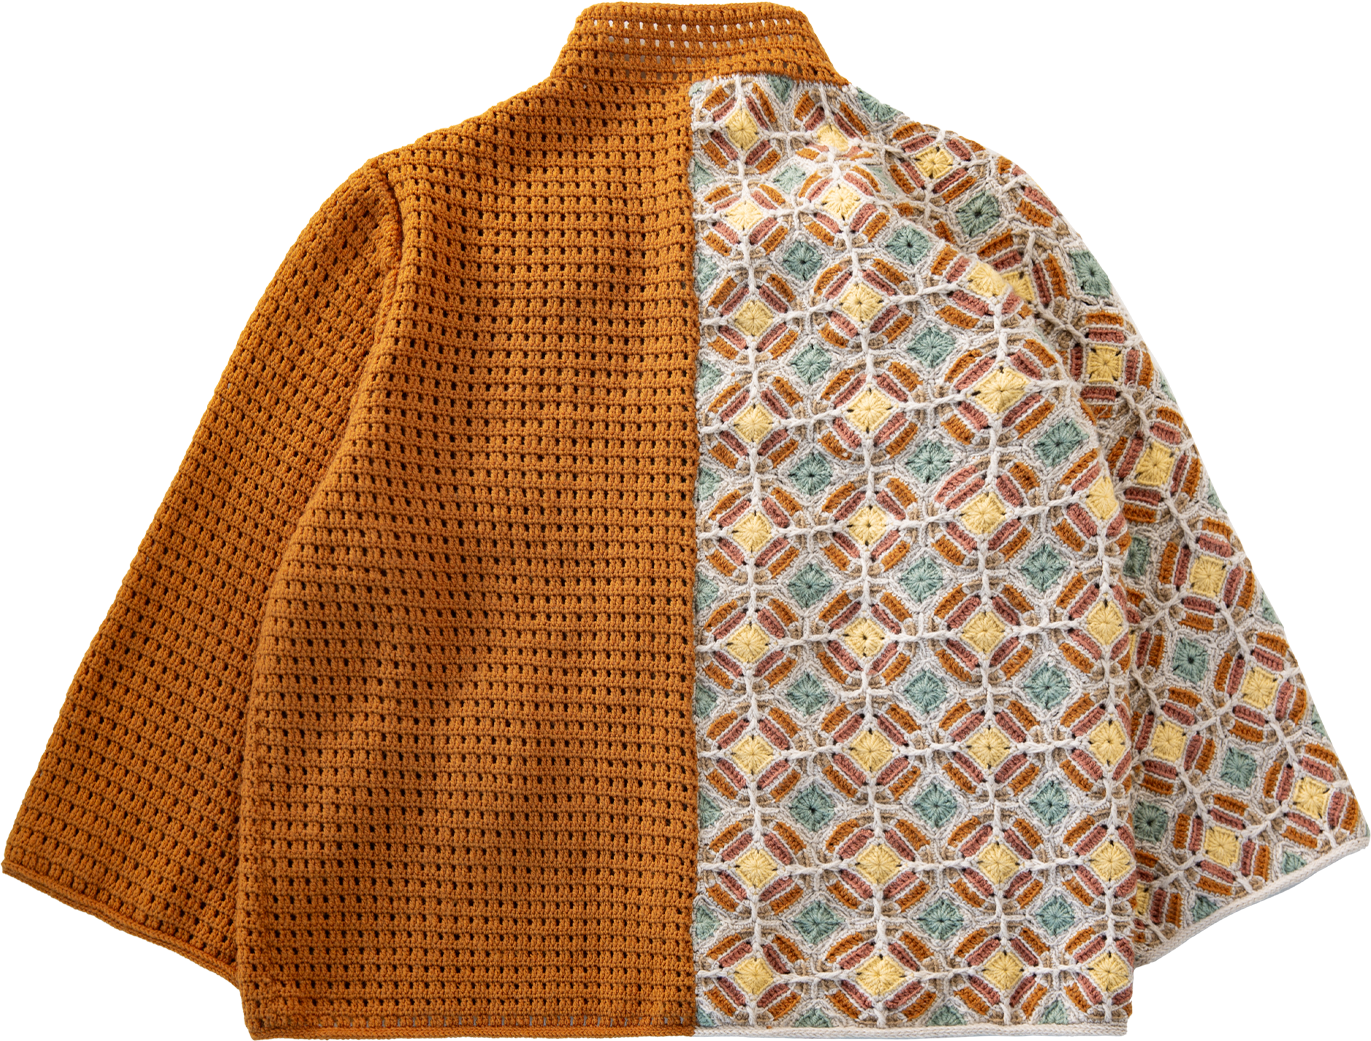
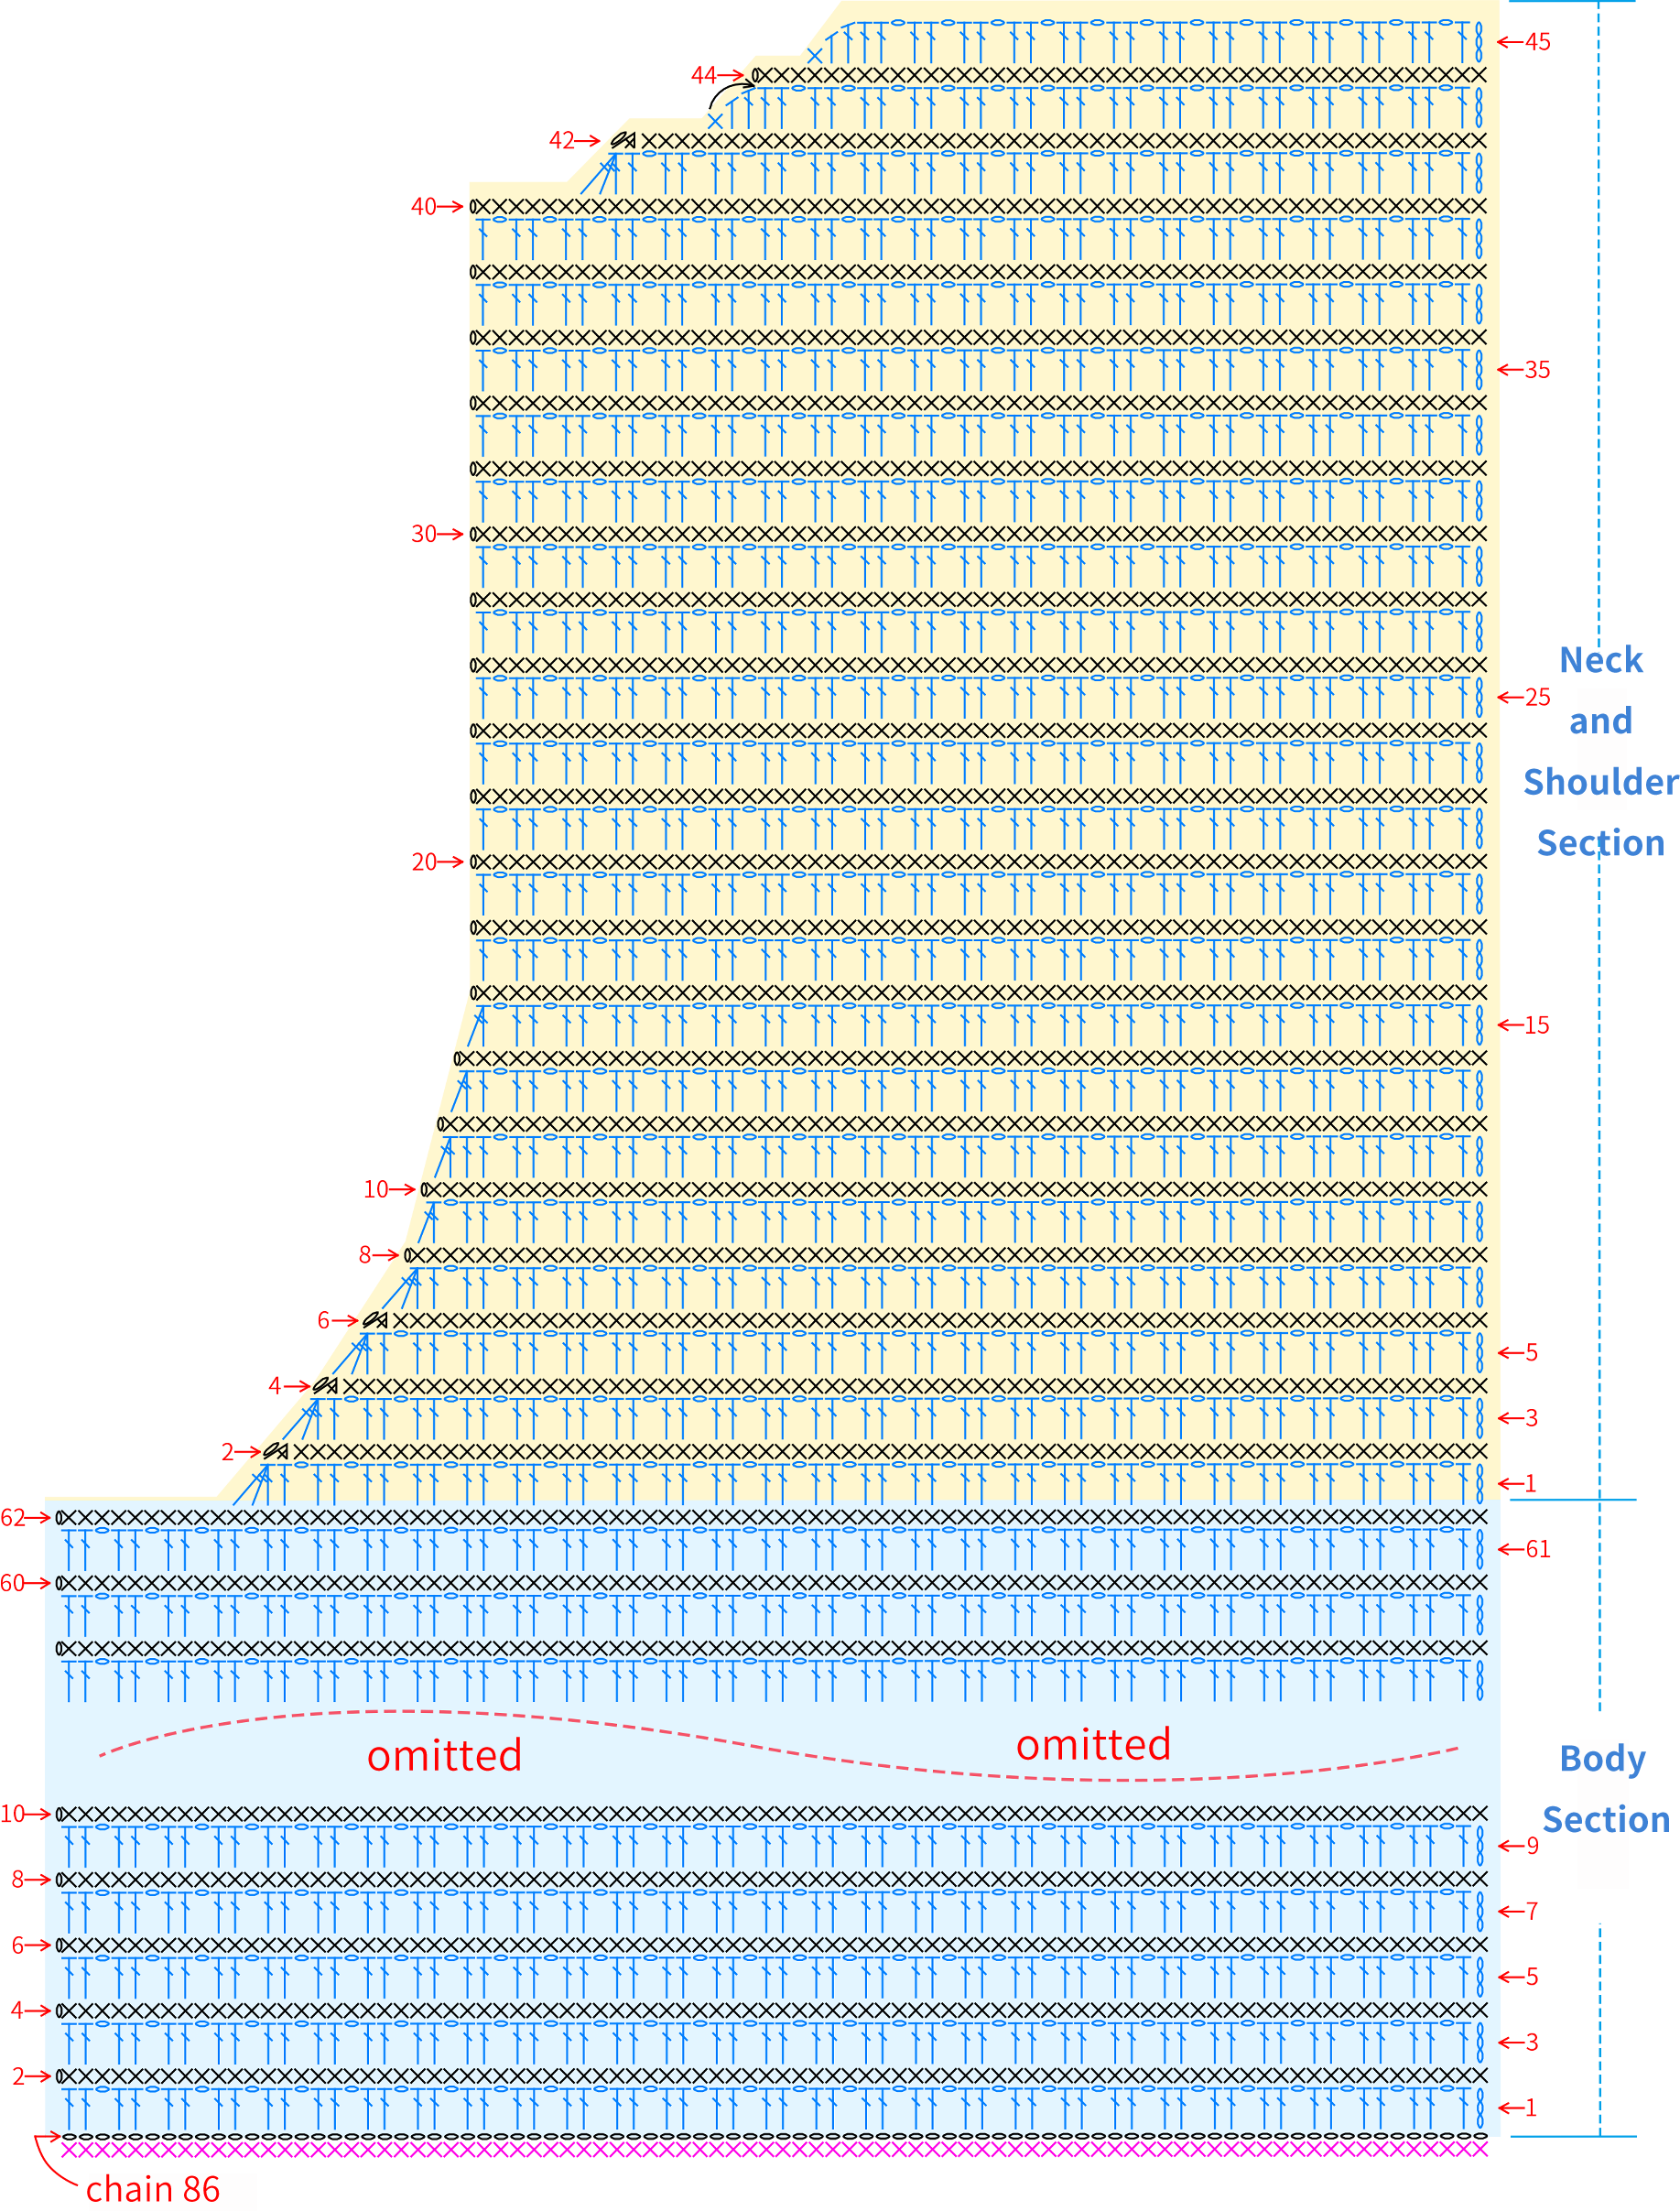
STEP2 Left Back PieceA2 17' 23'' (Part 1)
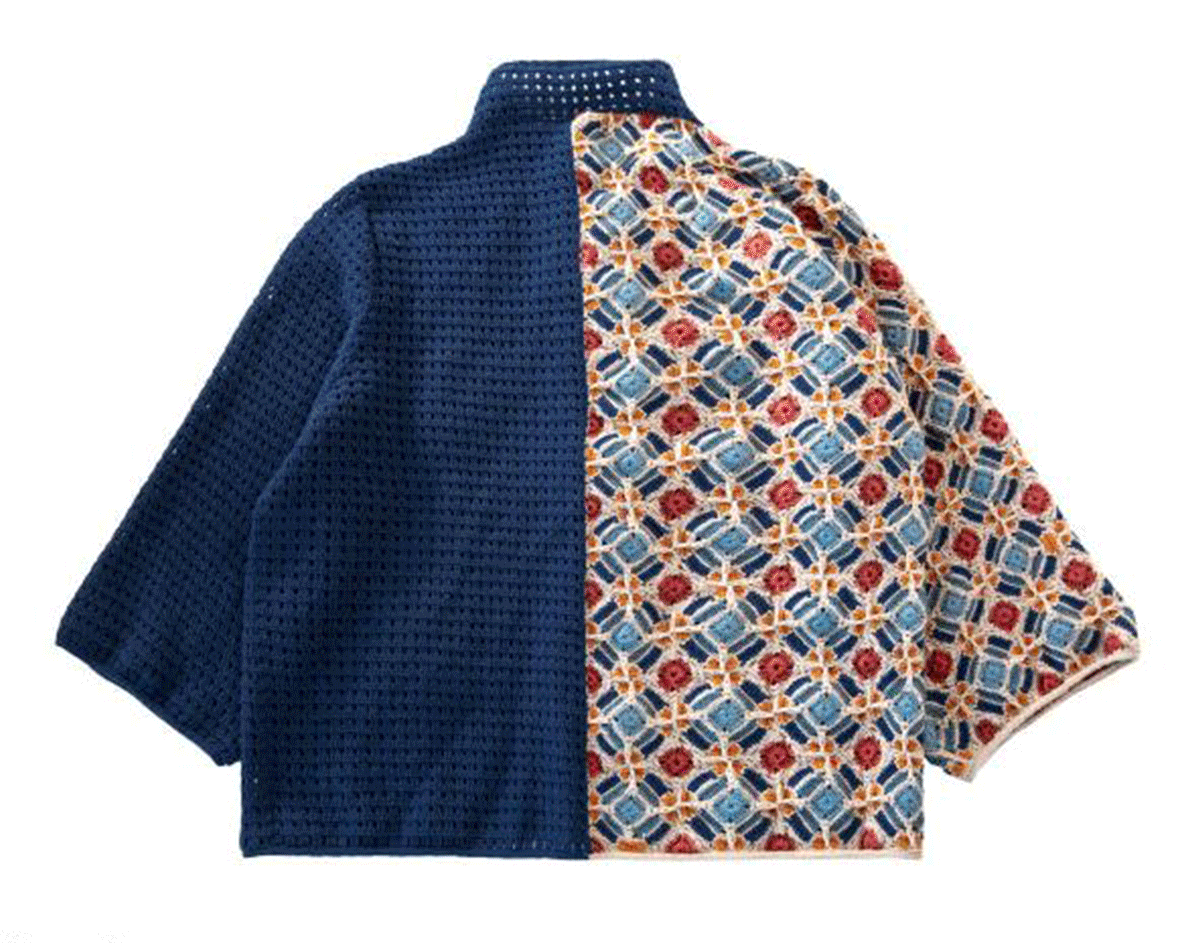
STEP3 Left SleeveA3 and ConnectionA4 18' 05'' (Part 1)
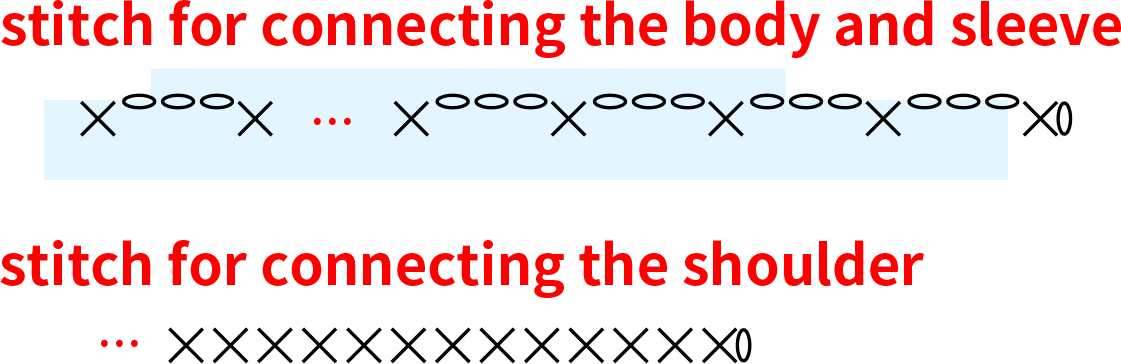
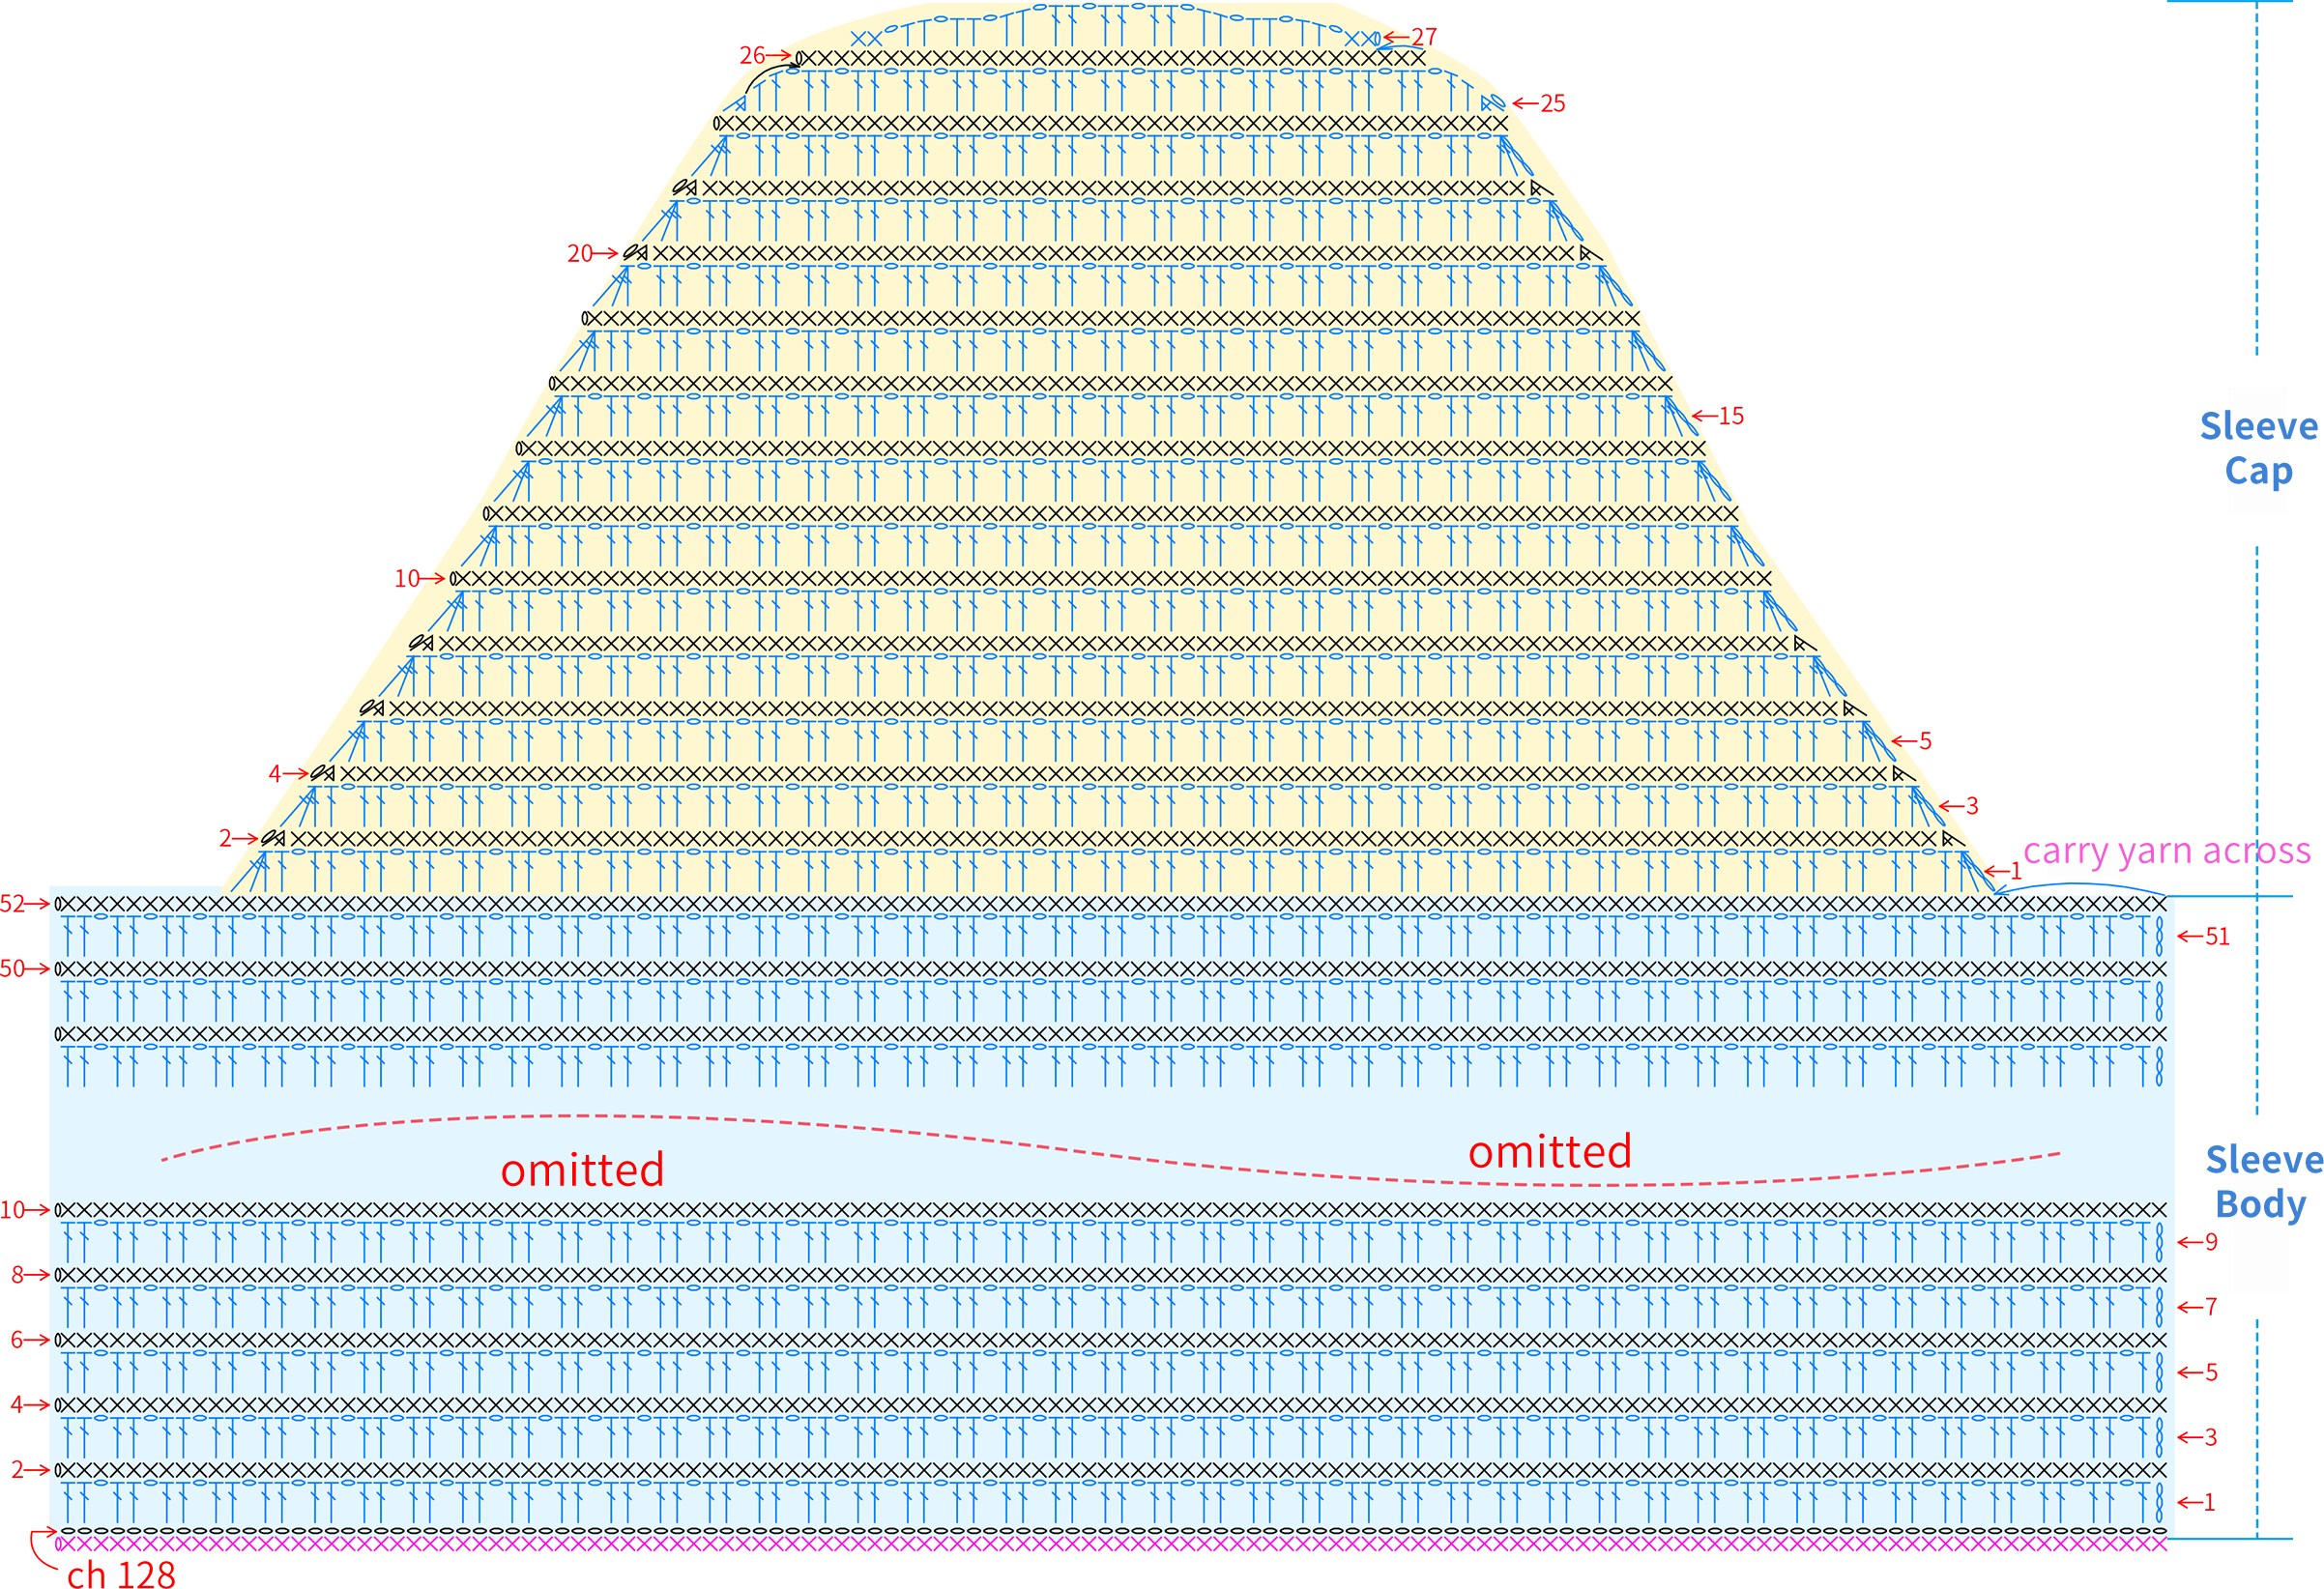
The left sleeve is divided into the sleee body and the sleev cap sections. First you fnish th sleeve, then connect the left front piece and the lef back piece,connect shoulder sections, ad connect the sleeve piece. Lastly, crochet the sleeve cap setion. Please refer to the video demonstration for more details.
STEP4 Right Pieces and SleeveA5 26' 02'' (Part 1)
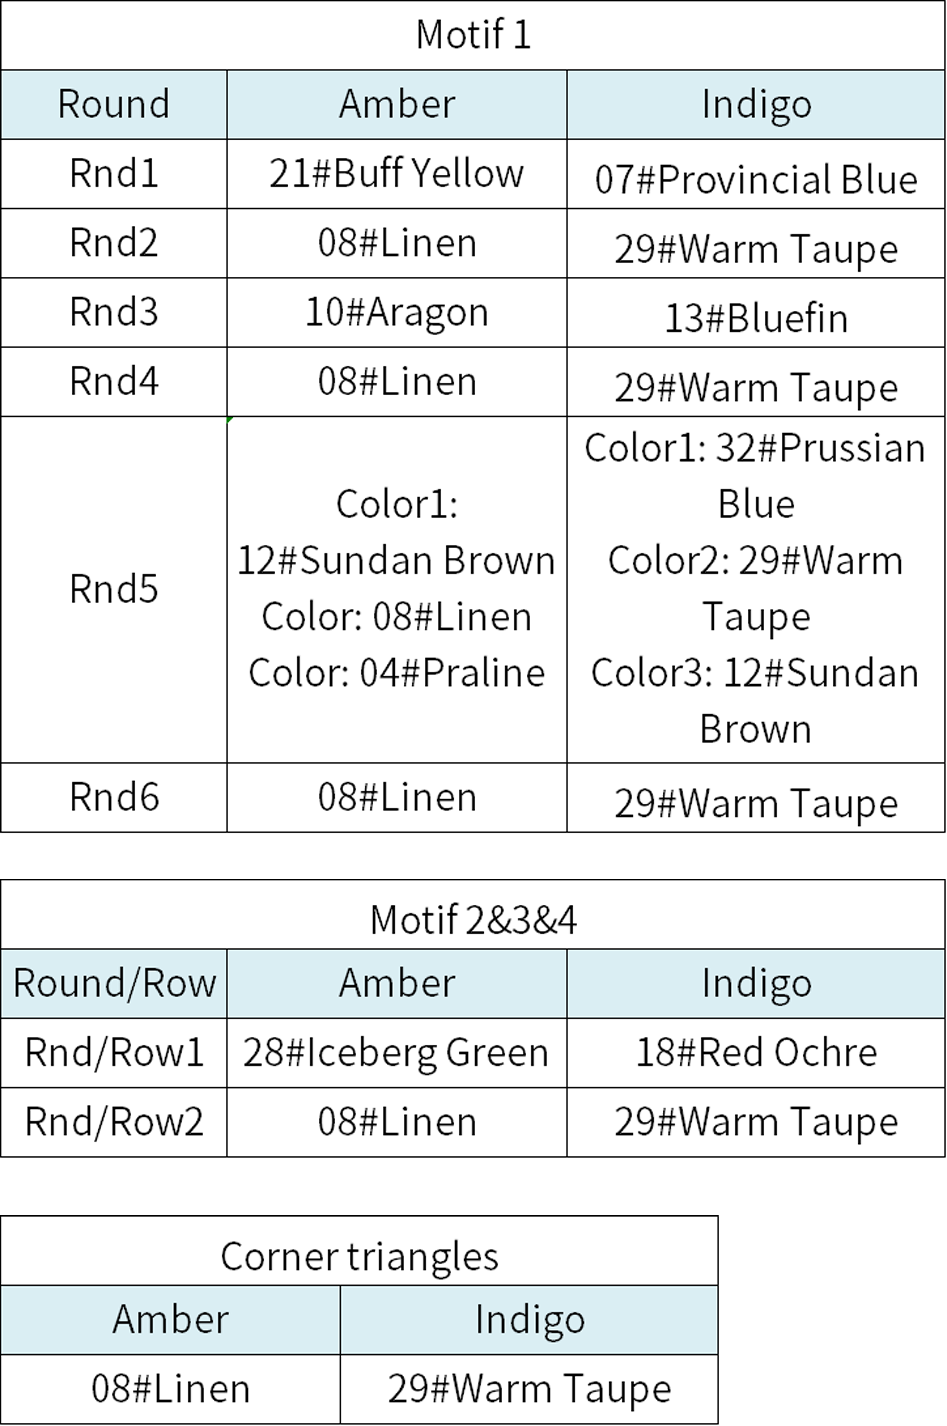
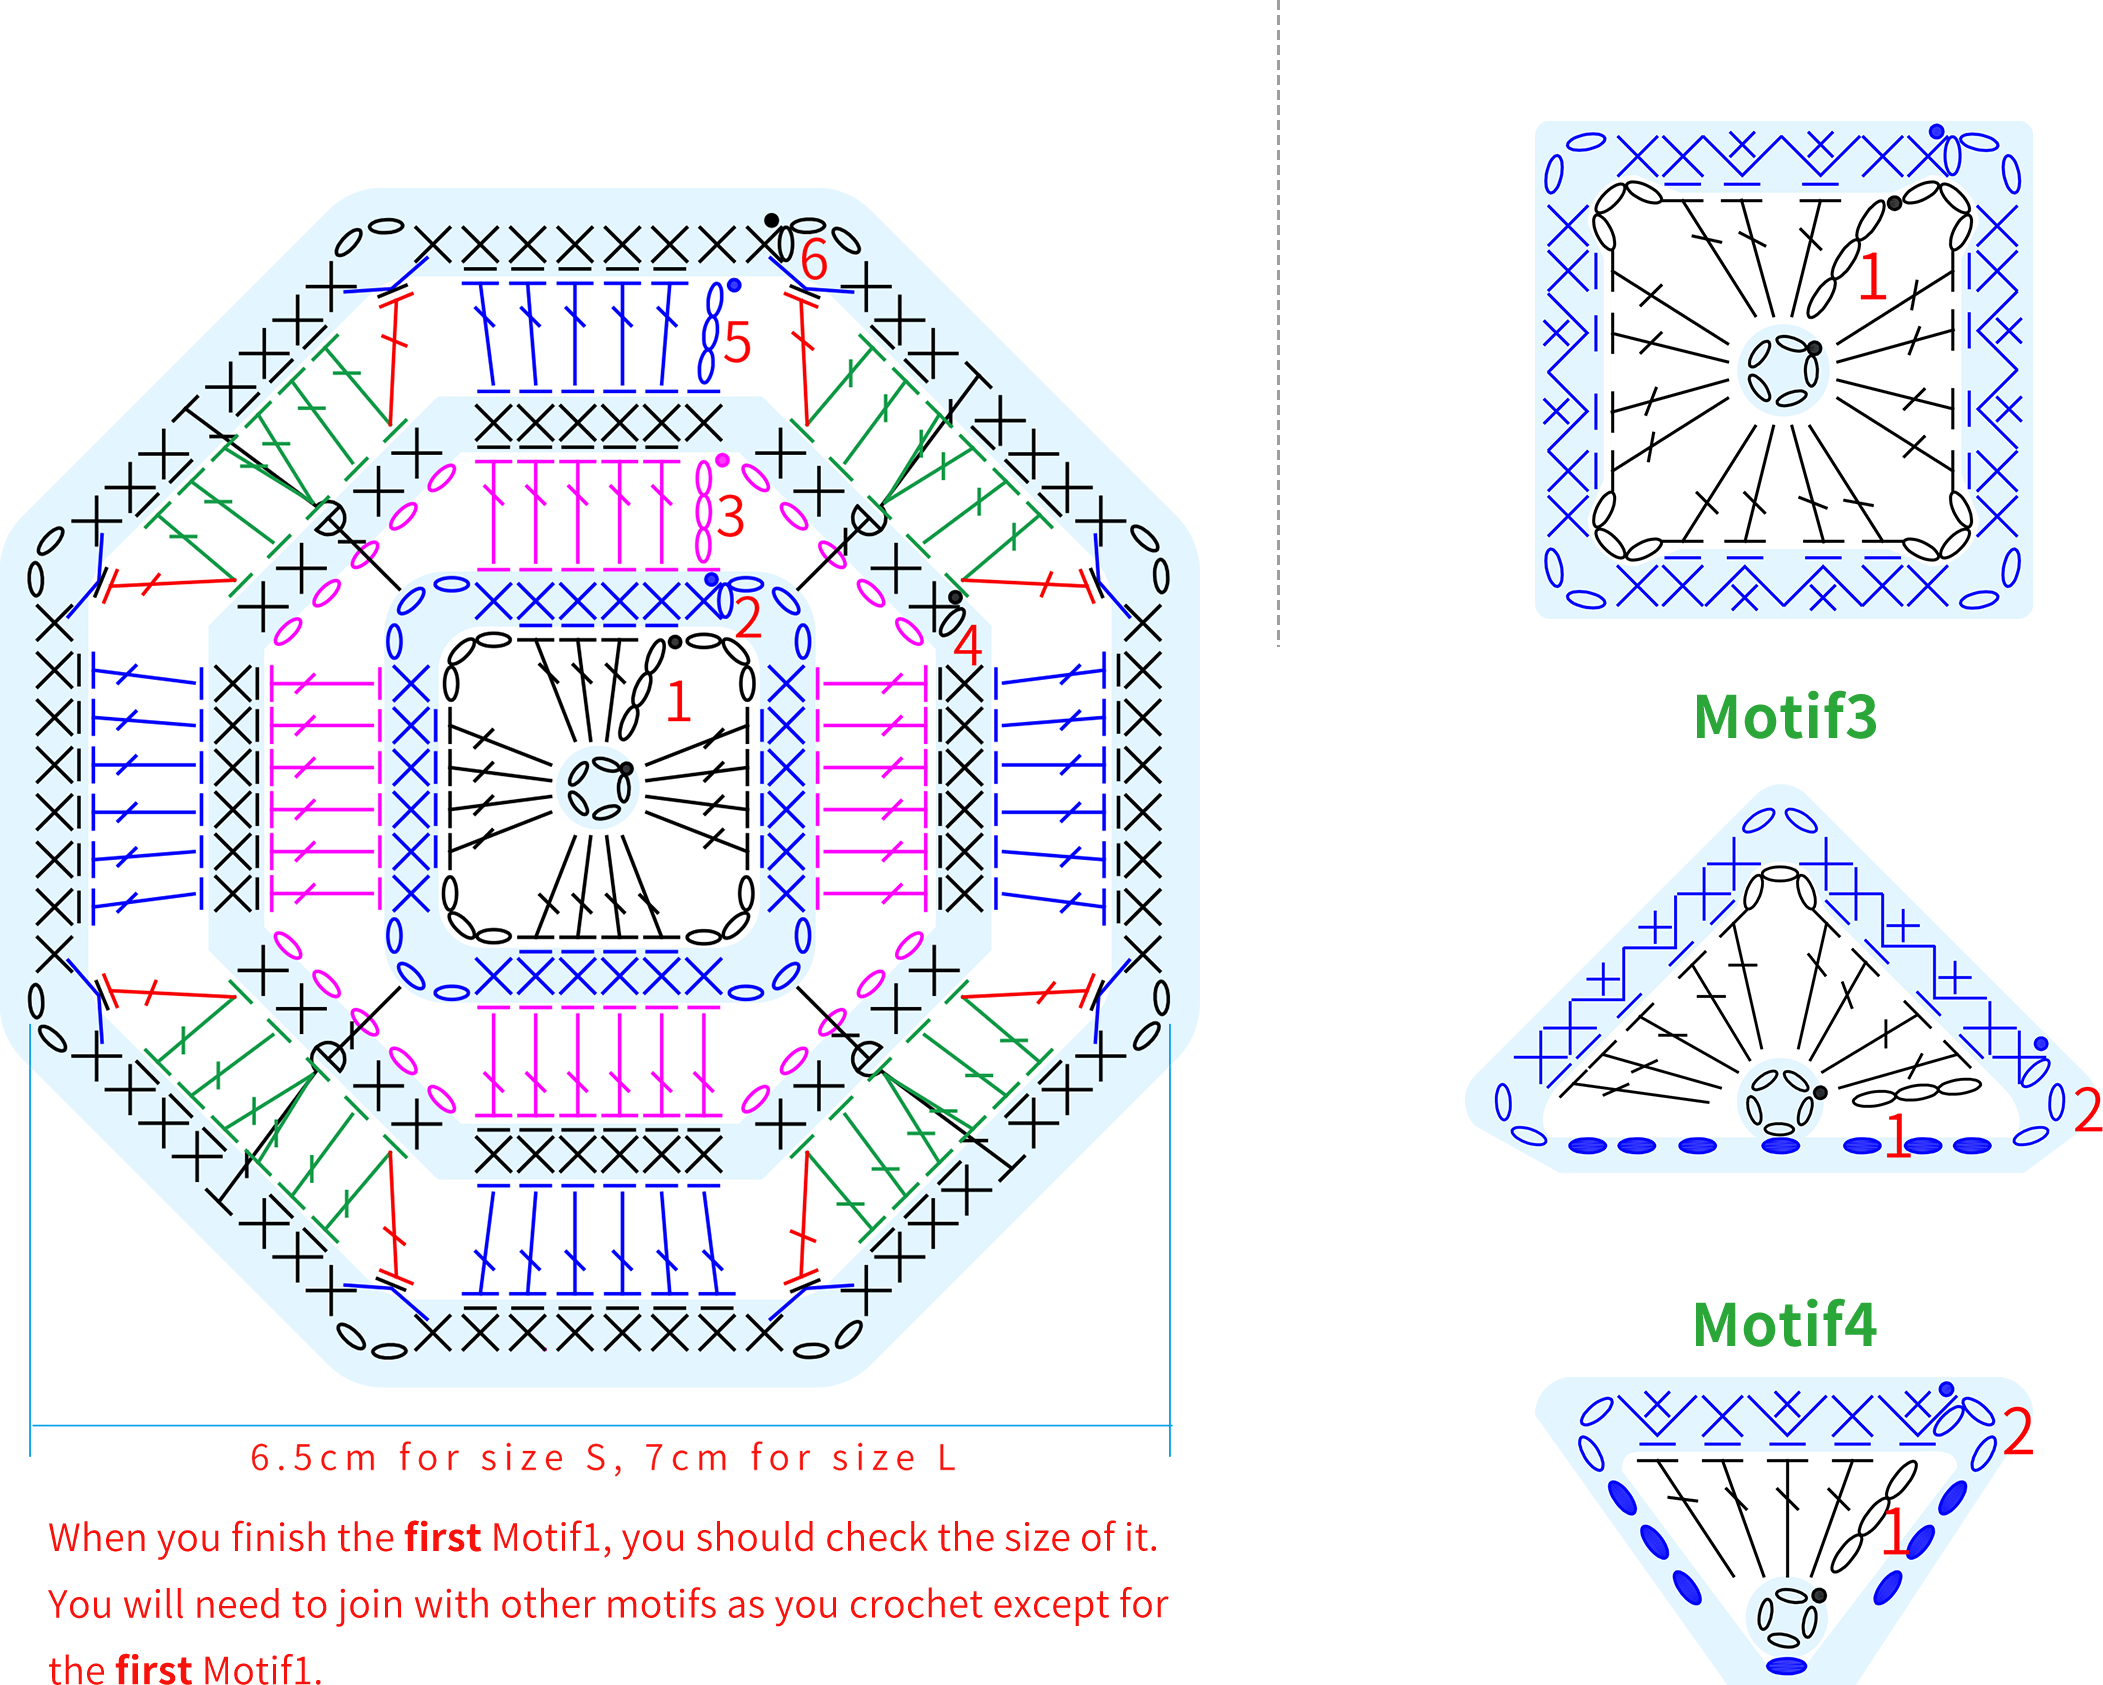
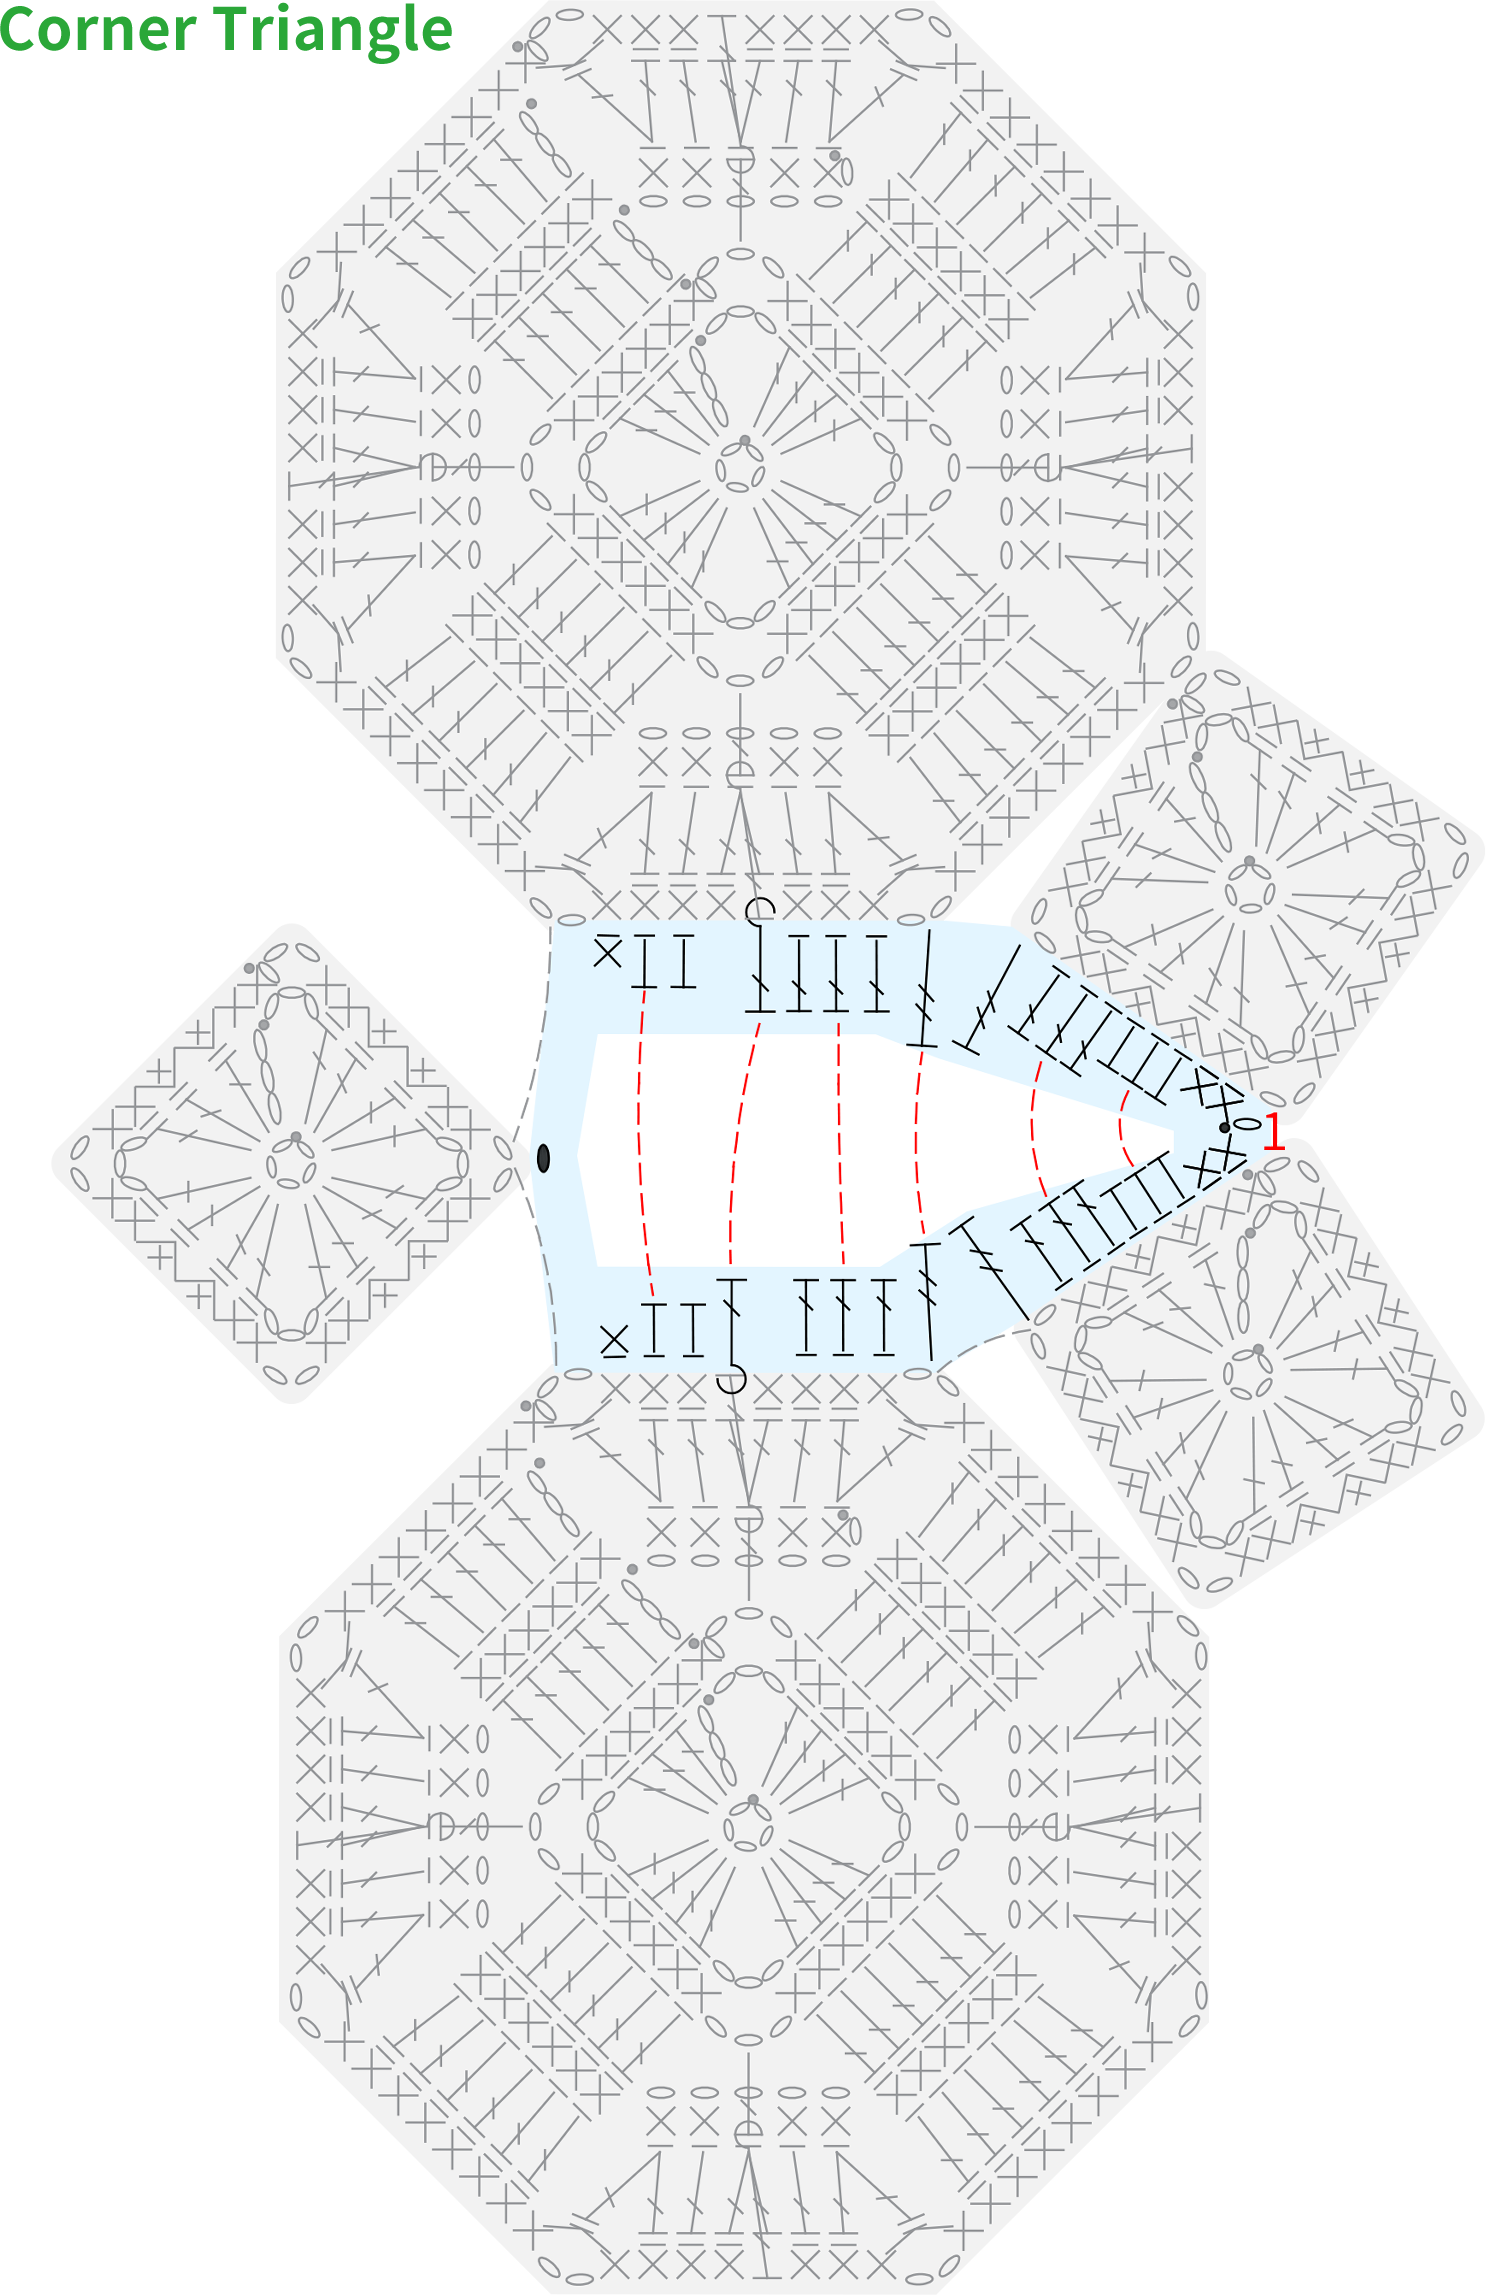
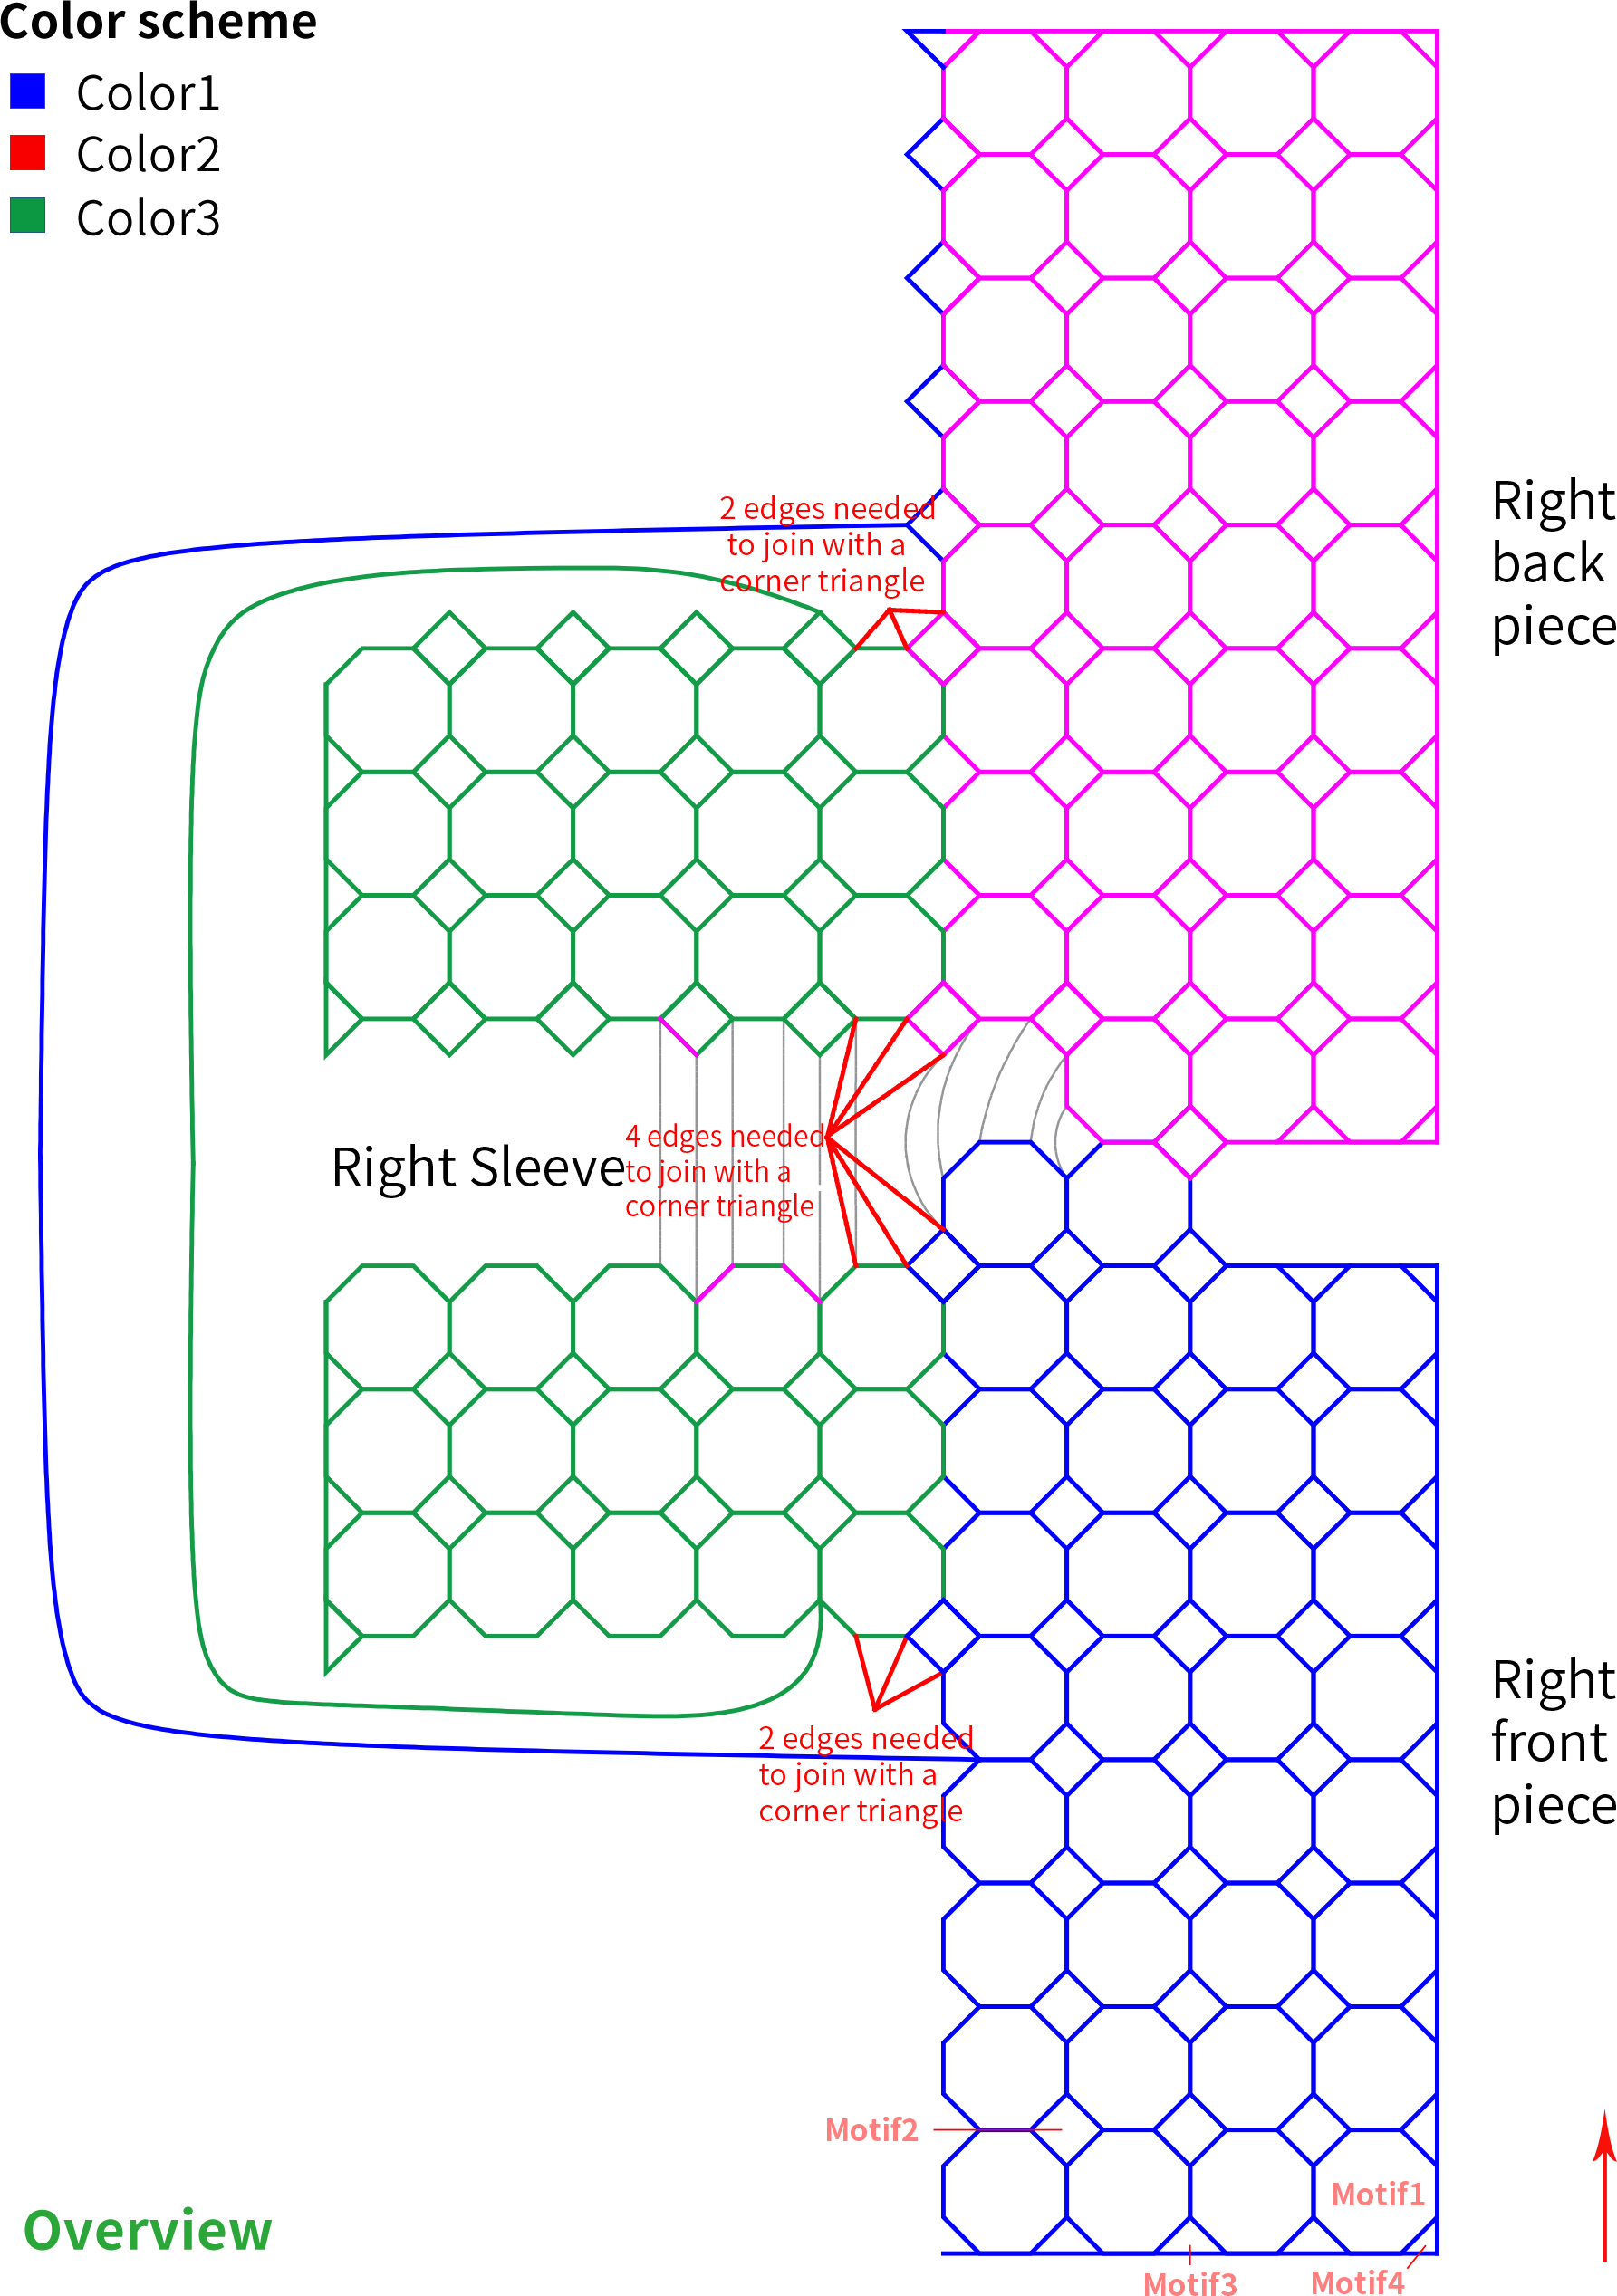
Both of the right piece and the right sleeve consist of motifs. First you crochet and connct corresponding motifs, then crochet corner triangles on the sleeve. Please refer to the video demonstration for more details.
STEP5 Connect back pieces,A6 collar,A7and braid edge 26' 08''
(Part2)
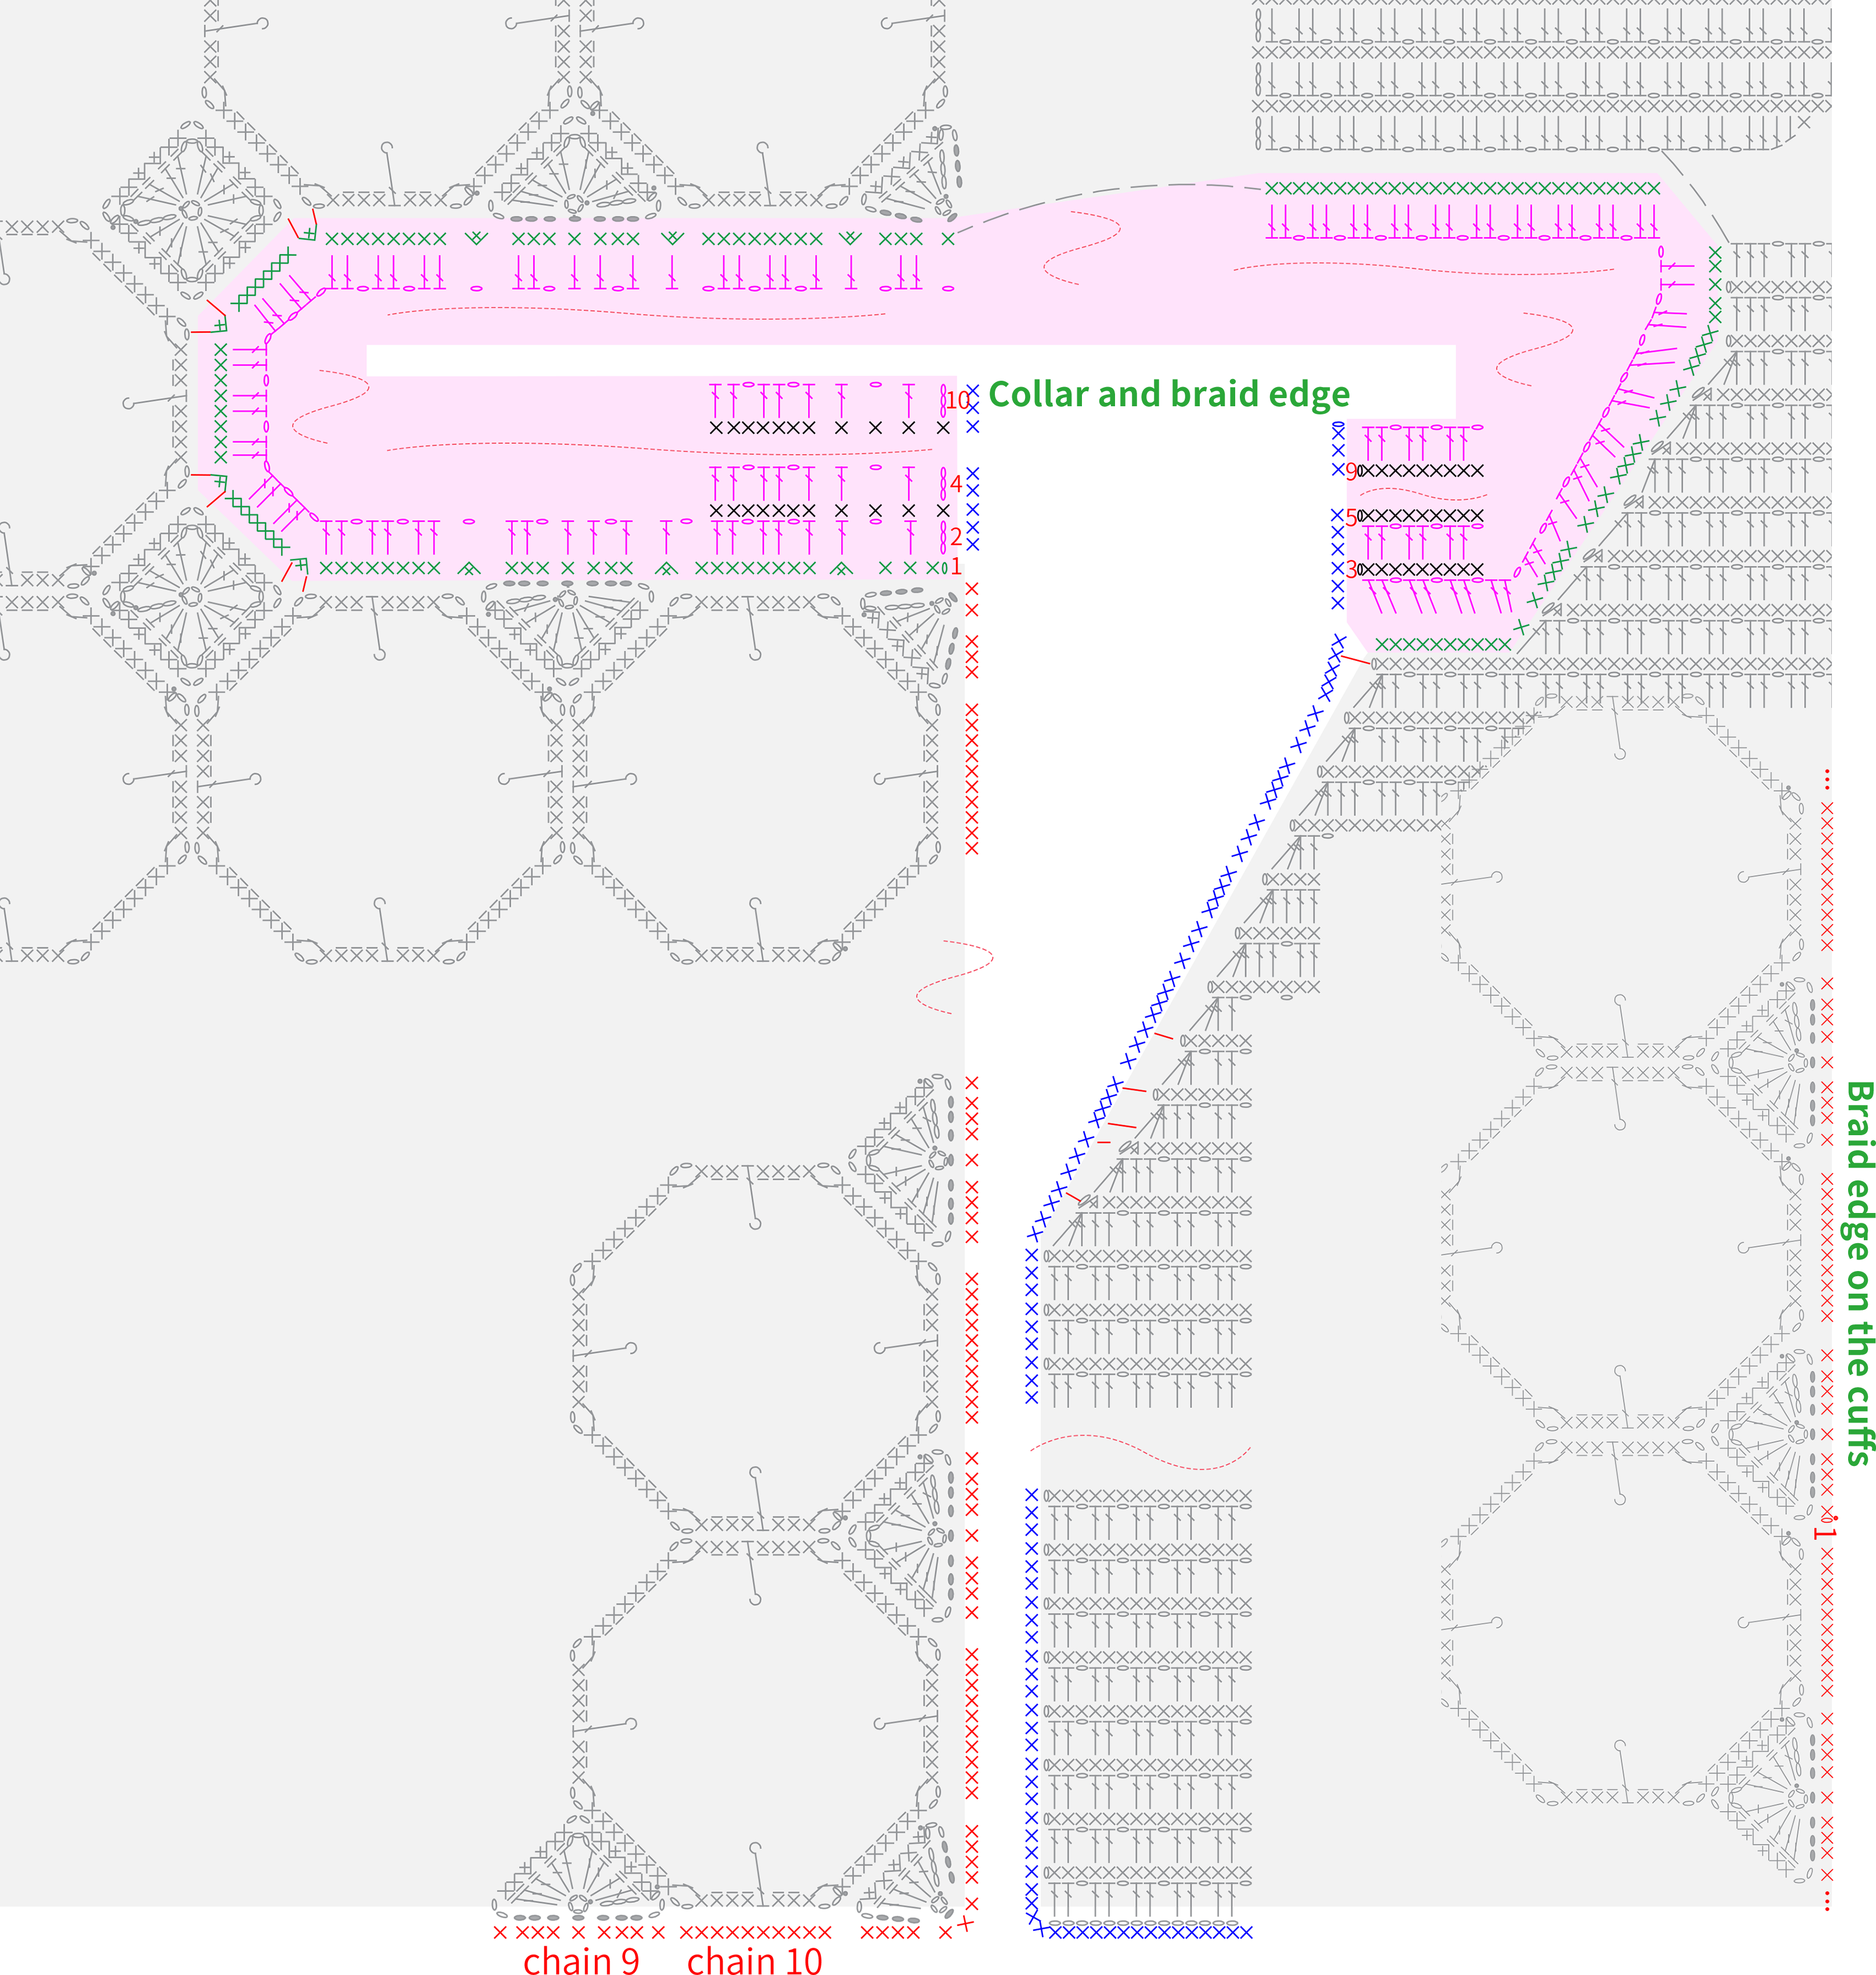
First, connect thetw back pieces together. Then, crochet the collar. Lastly, make the braid edge along the front band, hem, and cuffs. Please refer to the video demonstration for more details.
P.S.
1. Braid edging technique: first, crochet a row of single crochets, then switch to knitting neeles for the edging.
2. Braid edging color use:

PART2 DecorationsB
Decorations consist of flowers, vines, frogs, and buttons.
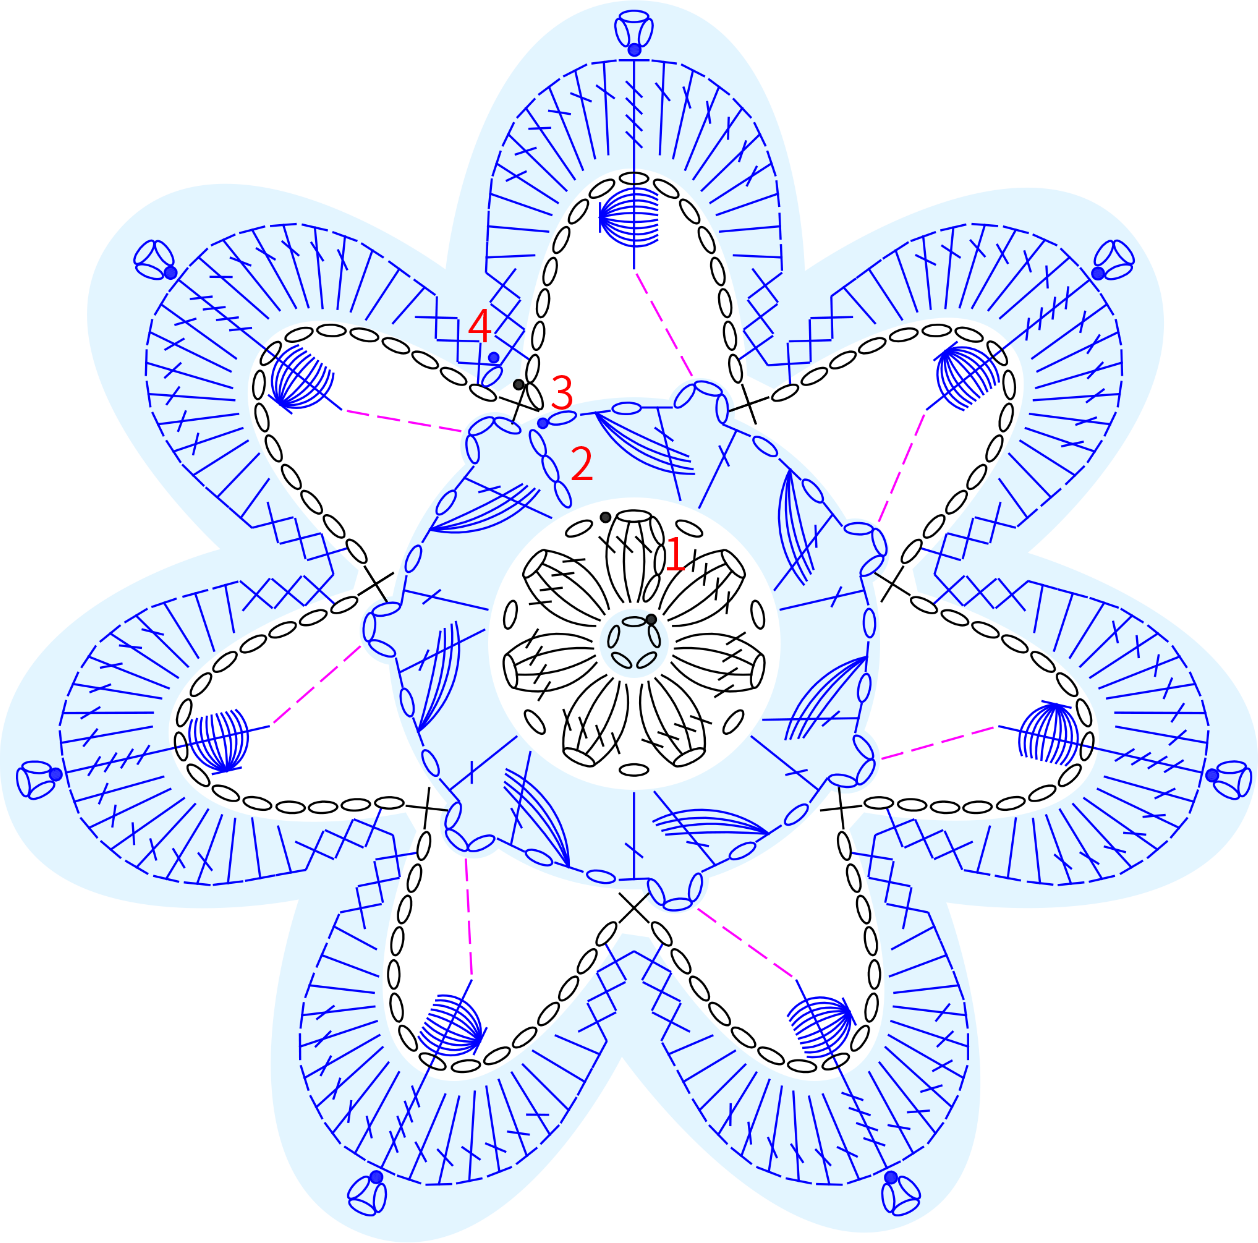
STEP1 Flowers (make 4)B1 18' 04'' (Part 2)
Start a flower with a chain ring, work around the center counterclockwise.
STEP2 VinesB2 37' 47'' (Part 2)
Vines vary in length, but share the same crochet technique. They are all created with the Romanian cord. Crochet until you reach the desired length. Then, work on the ending to finish it off, shape it into a circle, an attach them as you like. Please refer to the video demonstration for more details.
STEP3 FrogsB3 and ButtonsB4 43' 31'' (Part 2)
Braid the rope, shape it into a frog and attach it to the left and right front pieces. Lastly, attach buttons onto the corresponding position. Please refer to the video demonstration for more details.

Made by the community