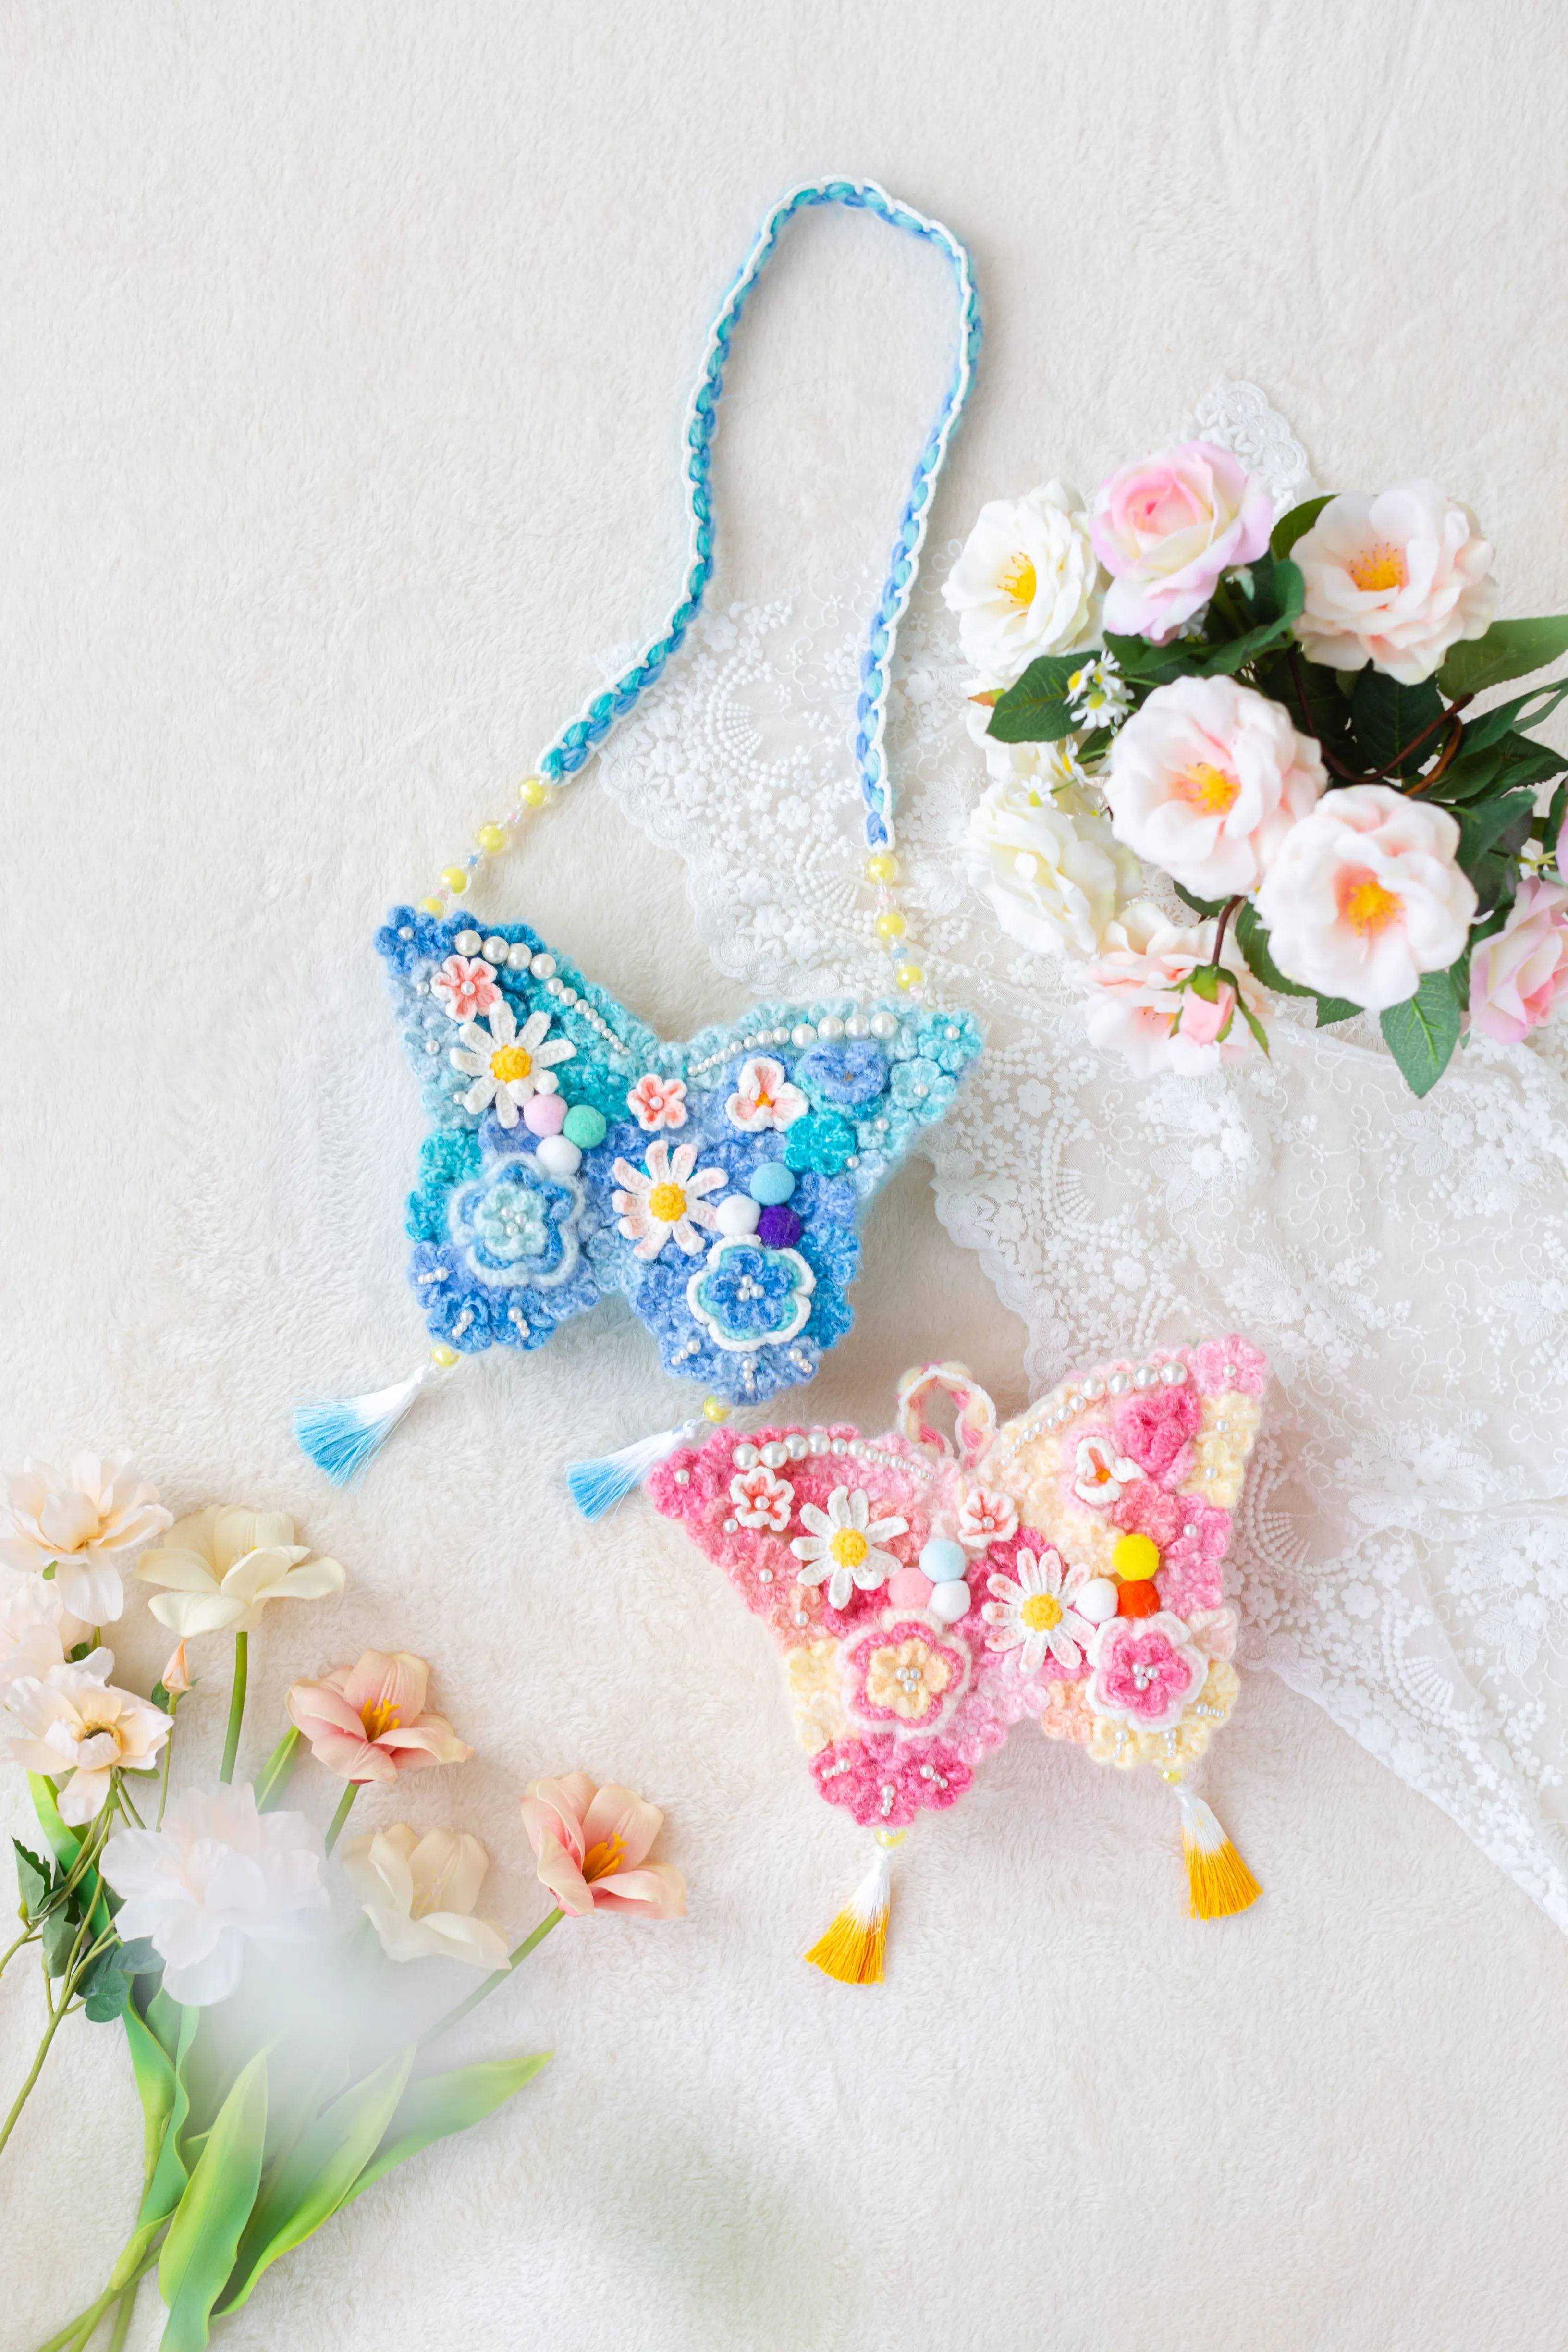
Bag
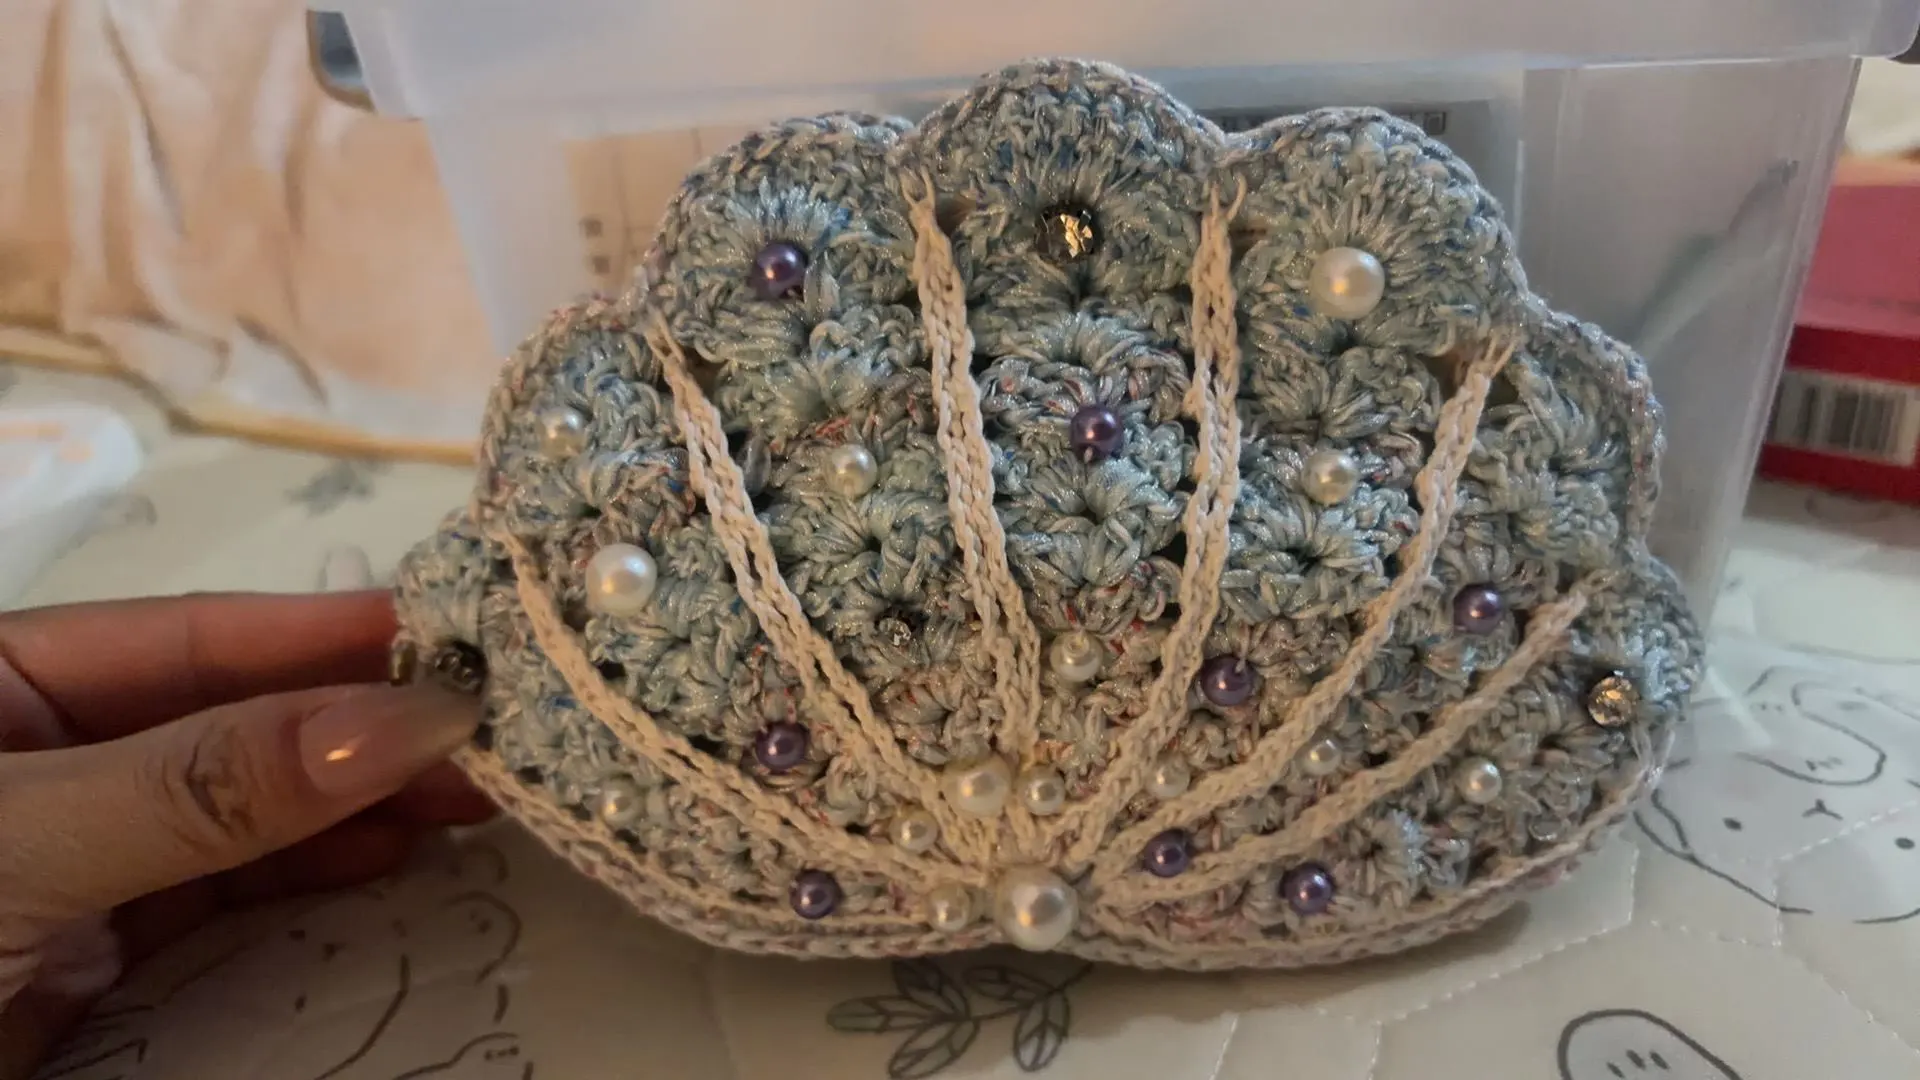
Shellfish's Dream
Project preview
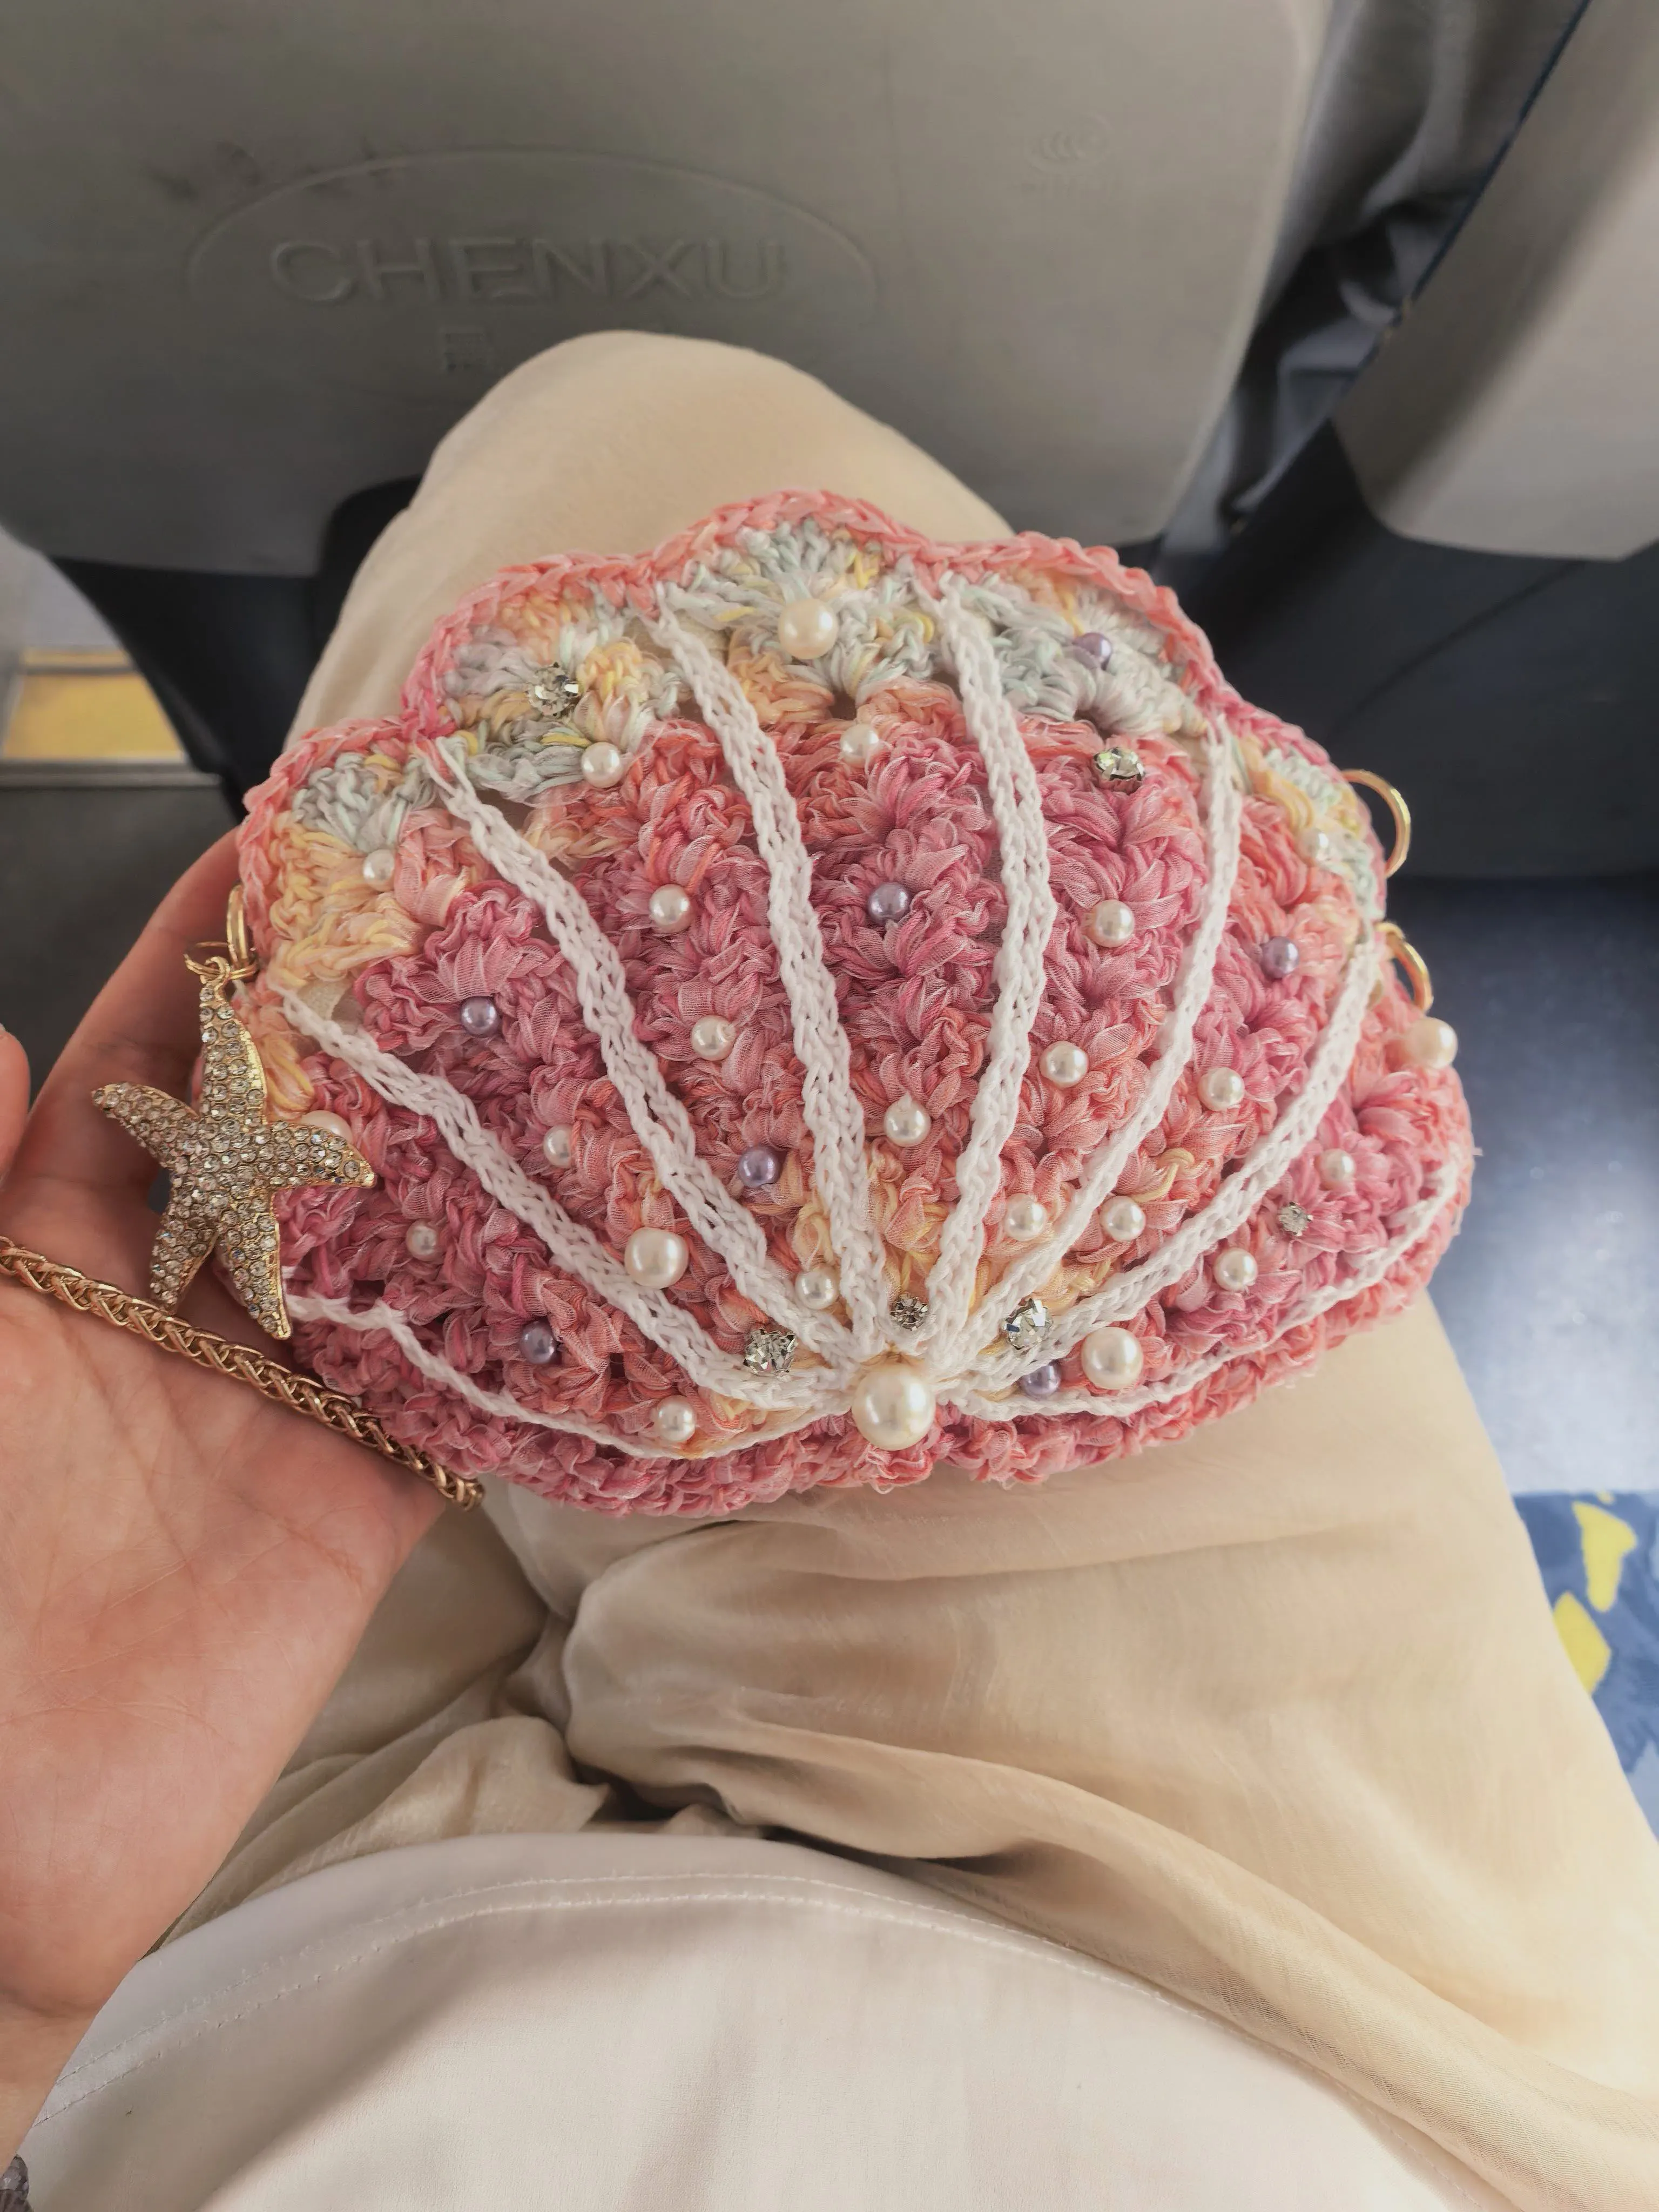
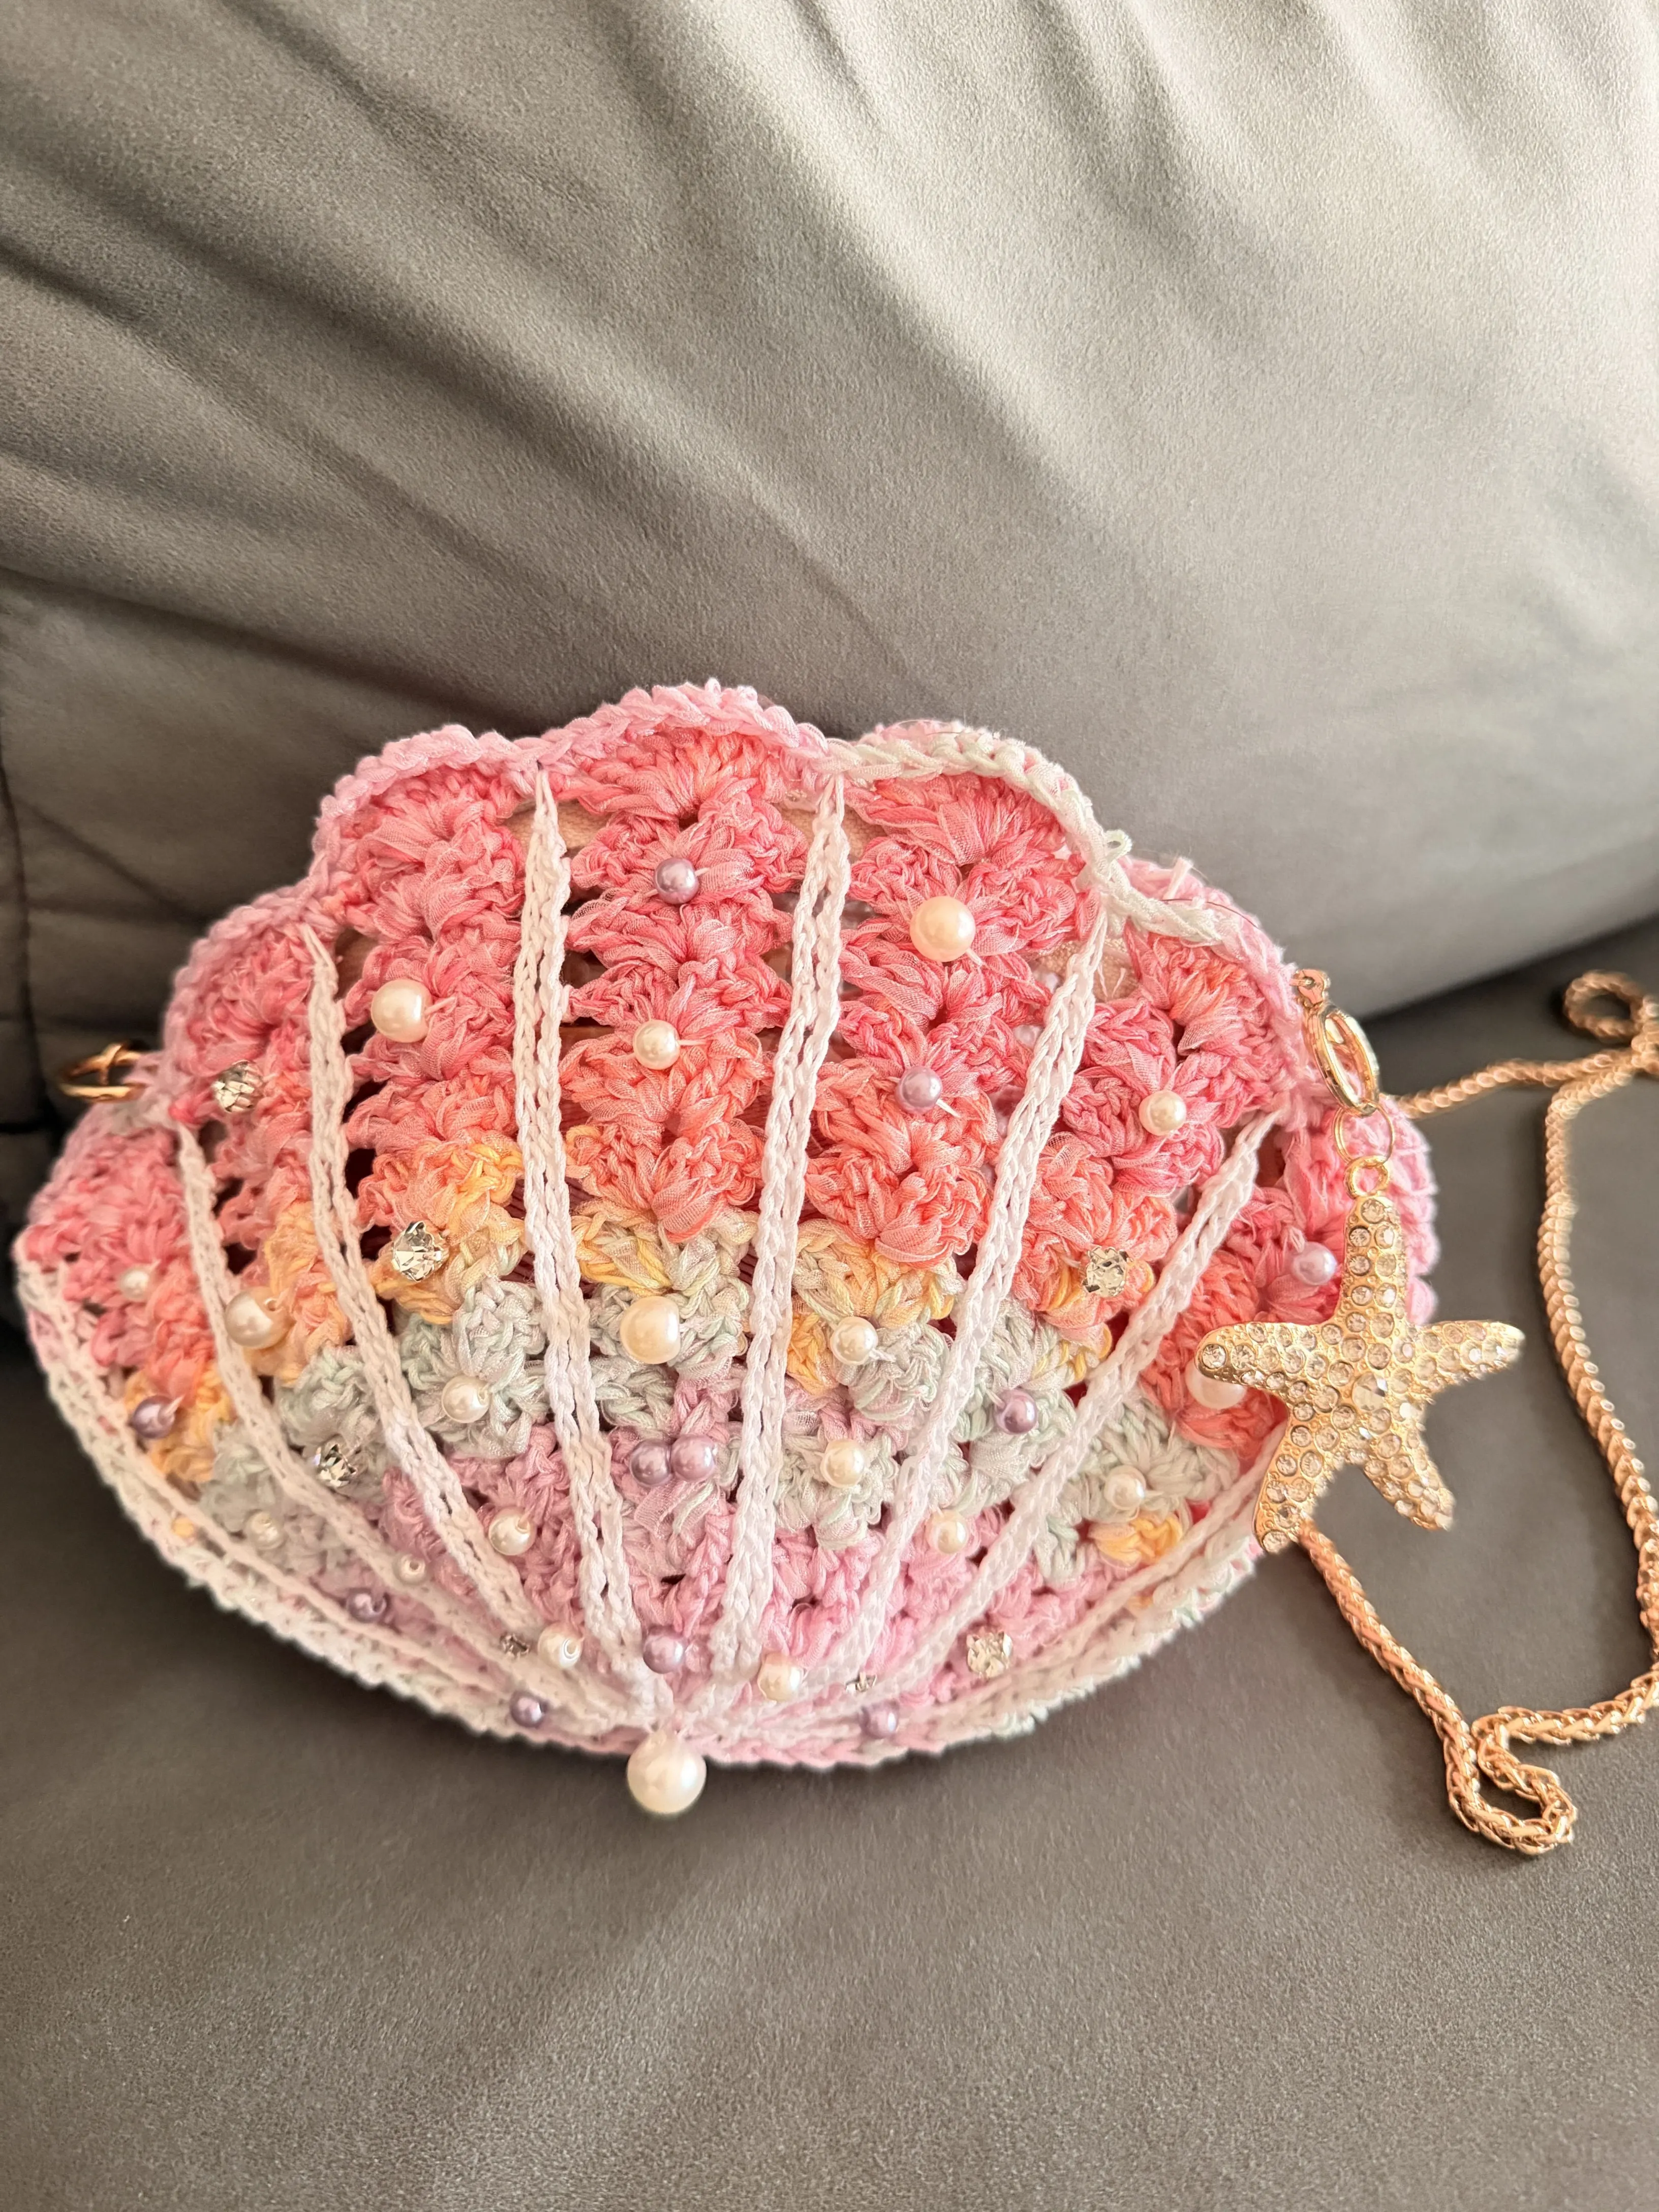
See the finished project
Pattern format
Instructions
Watch and follow
Video tutorial
This shell bag is divided into four sections, including the body of the bag, the bottom of the bag, the lining making, and other parts.
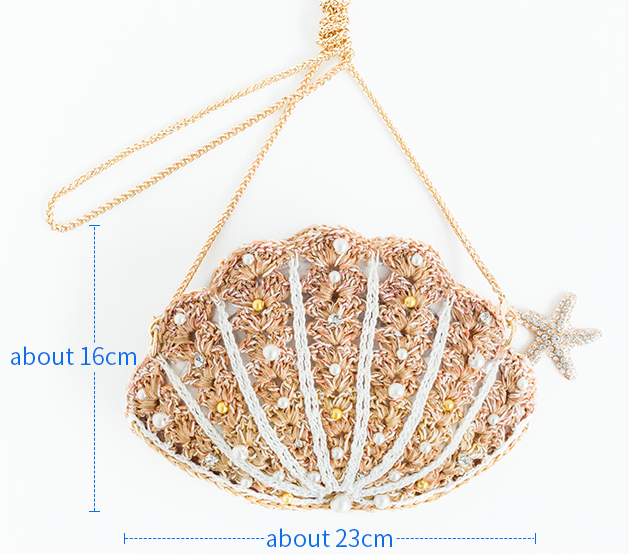
Due to variations in individual tension, the size of the sample is for reference only.
Materials: Combed 3# Lace, Fancy Dyed Lace, Snow Sheer Nylon Ribbon
Hook: 3.50 mm crochet hook

Chart Key






Note: This pattern is making in Chinese crochet pattern terms, and the stitch name is written using American terminology. All measurements in charts are in cm.
Part 1 The body of the bag
The body is divided into fabric pieces and decorations, and the decorations are further divided into two sections.
Step 1 Fabric piece × 2 pieces 01' 04'' (Part 1)
The fabric piece is started with a chain ring method, working back and forth on the starting chain. Please refer to the video demonstration for more details.
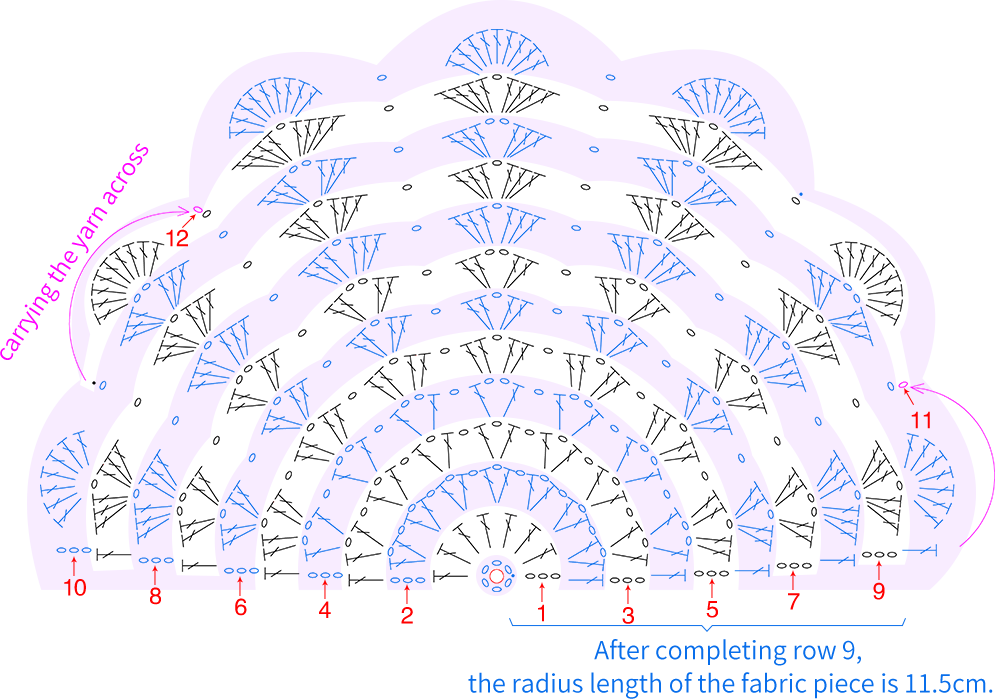
Note:
1. Fancy Dyed Lace combined with Snow Sheer Nylon Ribbon, worked together as one strand for crocheting.
2. The first row is the right side of the piece, and the transition chains and weaving in ends should all be on the right side;
3. After completing row 9, you can check the finished measurement. If it's too small, you can crochet 2 more rows following the pattern from rows 8 to 9.
Step 2 Decorations
yarn: Combed 3# Lace, white
The decorations are divided into two parts. The first part is crocheted on the wrong side of each piece, and the second part is attached to the wrong side of any one of the pieces. Please refer to the video demonstration for more details.
[The first part] 26' 48'' (Part 1)
[The second part] 38' 58'' (Part 1)
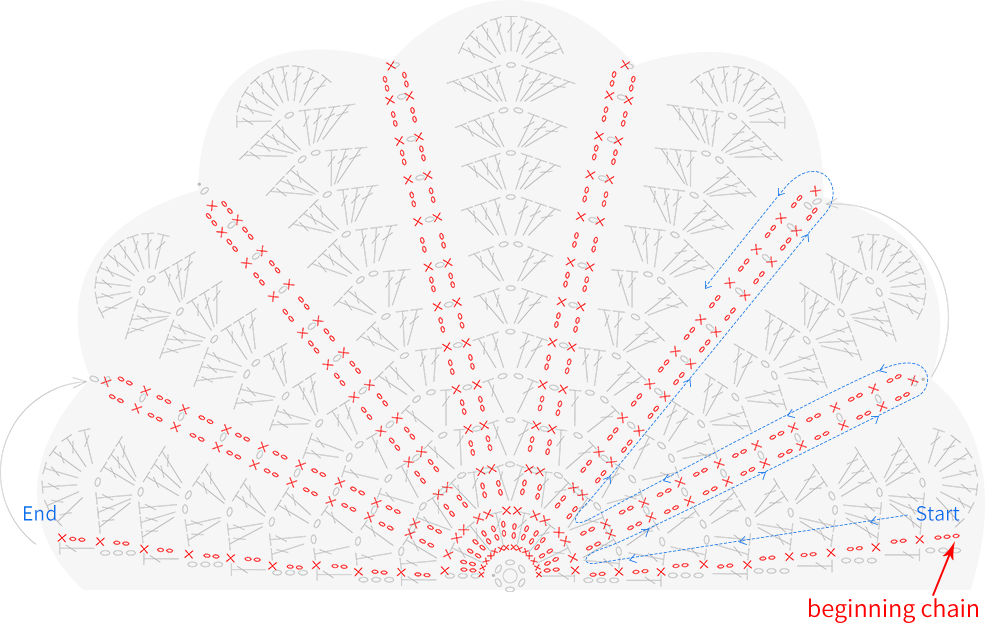
Part 2 The bottom of the bag 44' 17'' (Part 1)
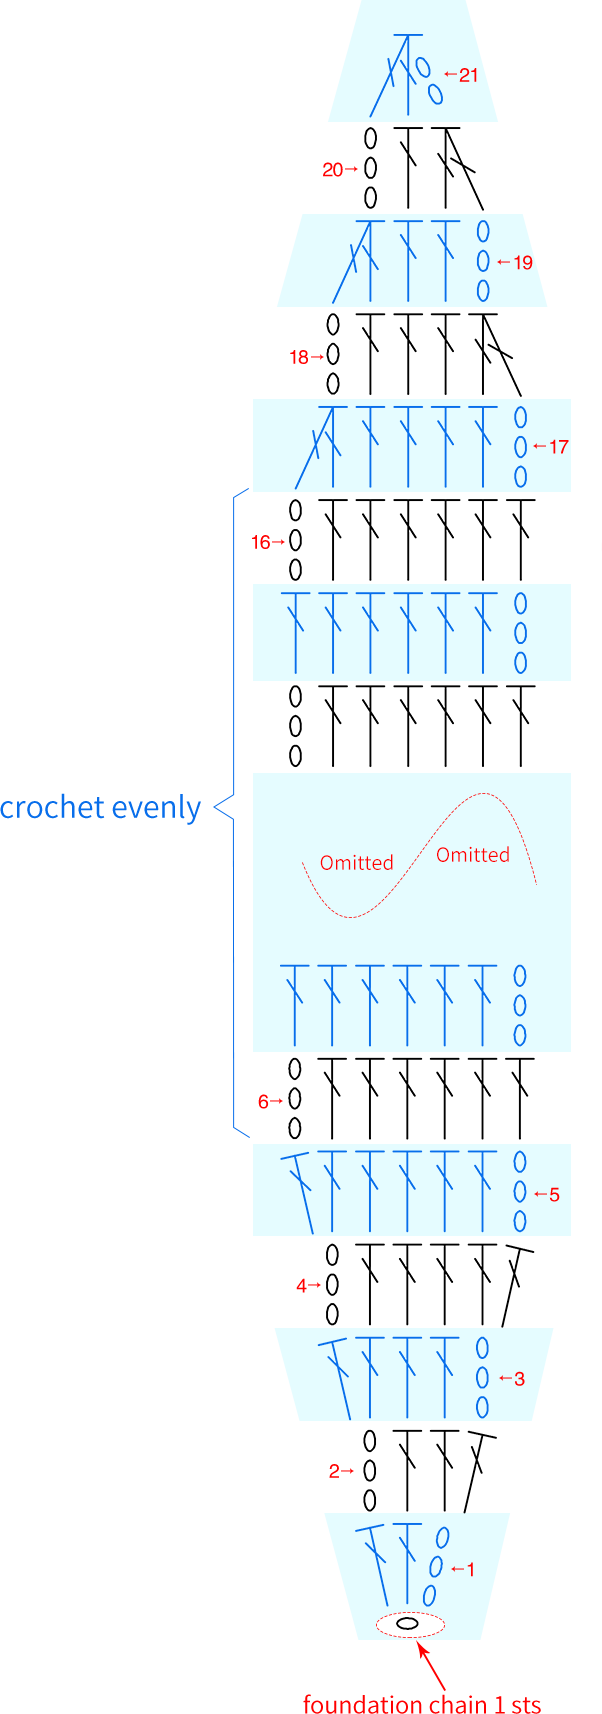
The bag bottom is worked with a foundation chain, and then crocheted back and forth on the chain. Please refer to the video demonstration for more details.
Note:
1. Fancy Dyed Lace combined with Snow Sheer Nylon Ribbon, worked together as one strand for crocheting.
2. If the piece increases in row count, work 4 more rows even at the bottom edge position.
3. Since the color segments at the starting position of the Fancy Dyed Lace yarn are different, the effect of the finished product will also be different. The finished product effect is for reference only.
Part 3 The lining making 00' 04'' (Part 2)
yarn: Combed 3# Lace, white
The lining is made from transparent TPU and involves cutting, sewing, and joining. First, cut out the lining for the bag bottom, then cut out the lining for the body of the bag. Next, use the slip stitch seam method to sew around each edge of the linings. Finally, align the bag bottom lining with the body lining and join them together using a whip stitch. Please refer to the video demonstration for the specific making method.
Part 4 Other parts
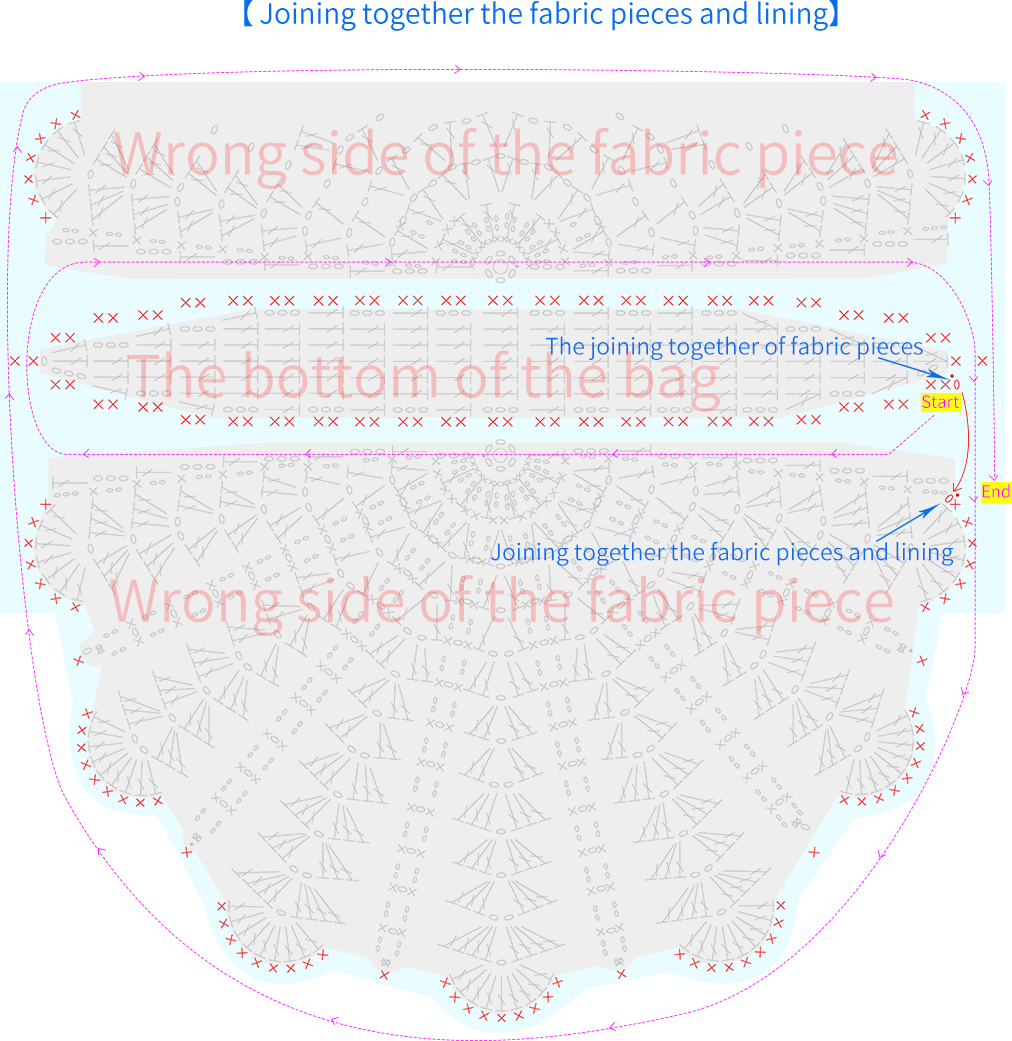
Other parts include sewing on the zipper (Combed 3# Lace, white), joining together the fabric pieces and lining (Fancy Dyed Lace combined with Snow Sheer Nylon Ribbon, worked together as one strand for crocheting.), and attaching accessories. Please refer to the video demonstration for more details.
[Sewing on the zipper] 29' 26'' (Part 2)
[Joining together the fabric pieces and lining] 40' 34'' (Part 2)
[Attaching accessories] 57' 42'' (Part 2)
Note: Since the chart is too large, only half of the joining is shown here; the other half is worked as the same. After completing the joining of the fabric pieces, place the lining inside the fabric piece, and then sew the lining together with it. When sewing, pick up both the stitch of the fabric piece and the seam thread of the lining together.
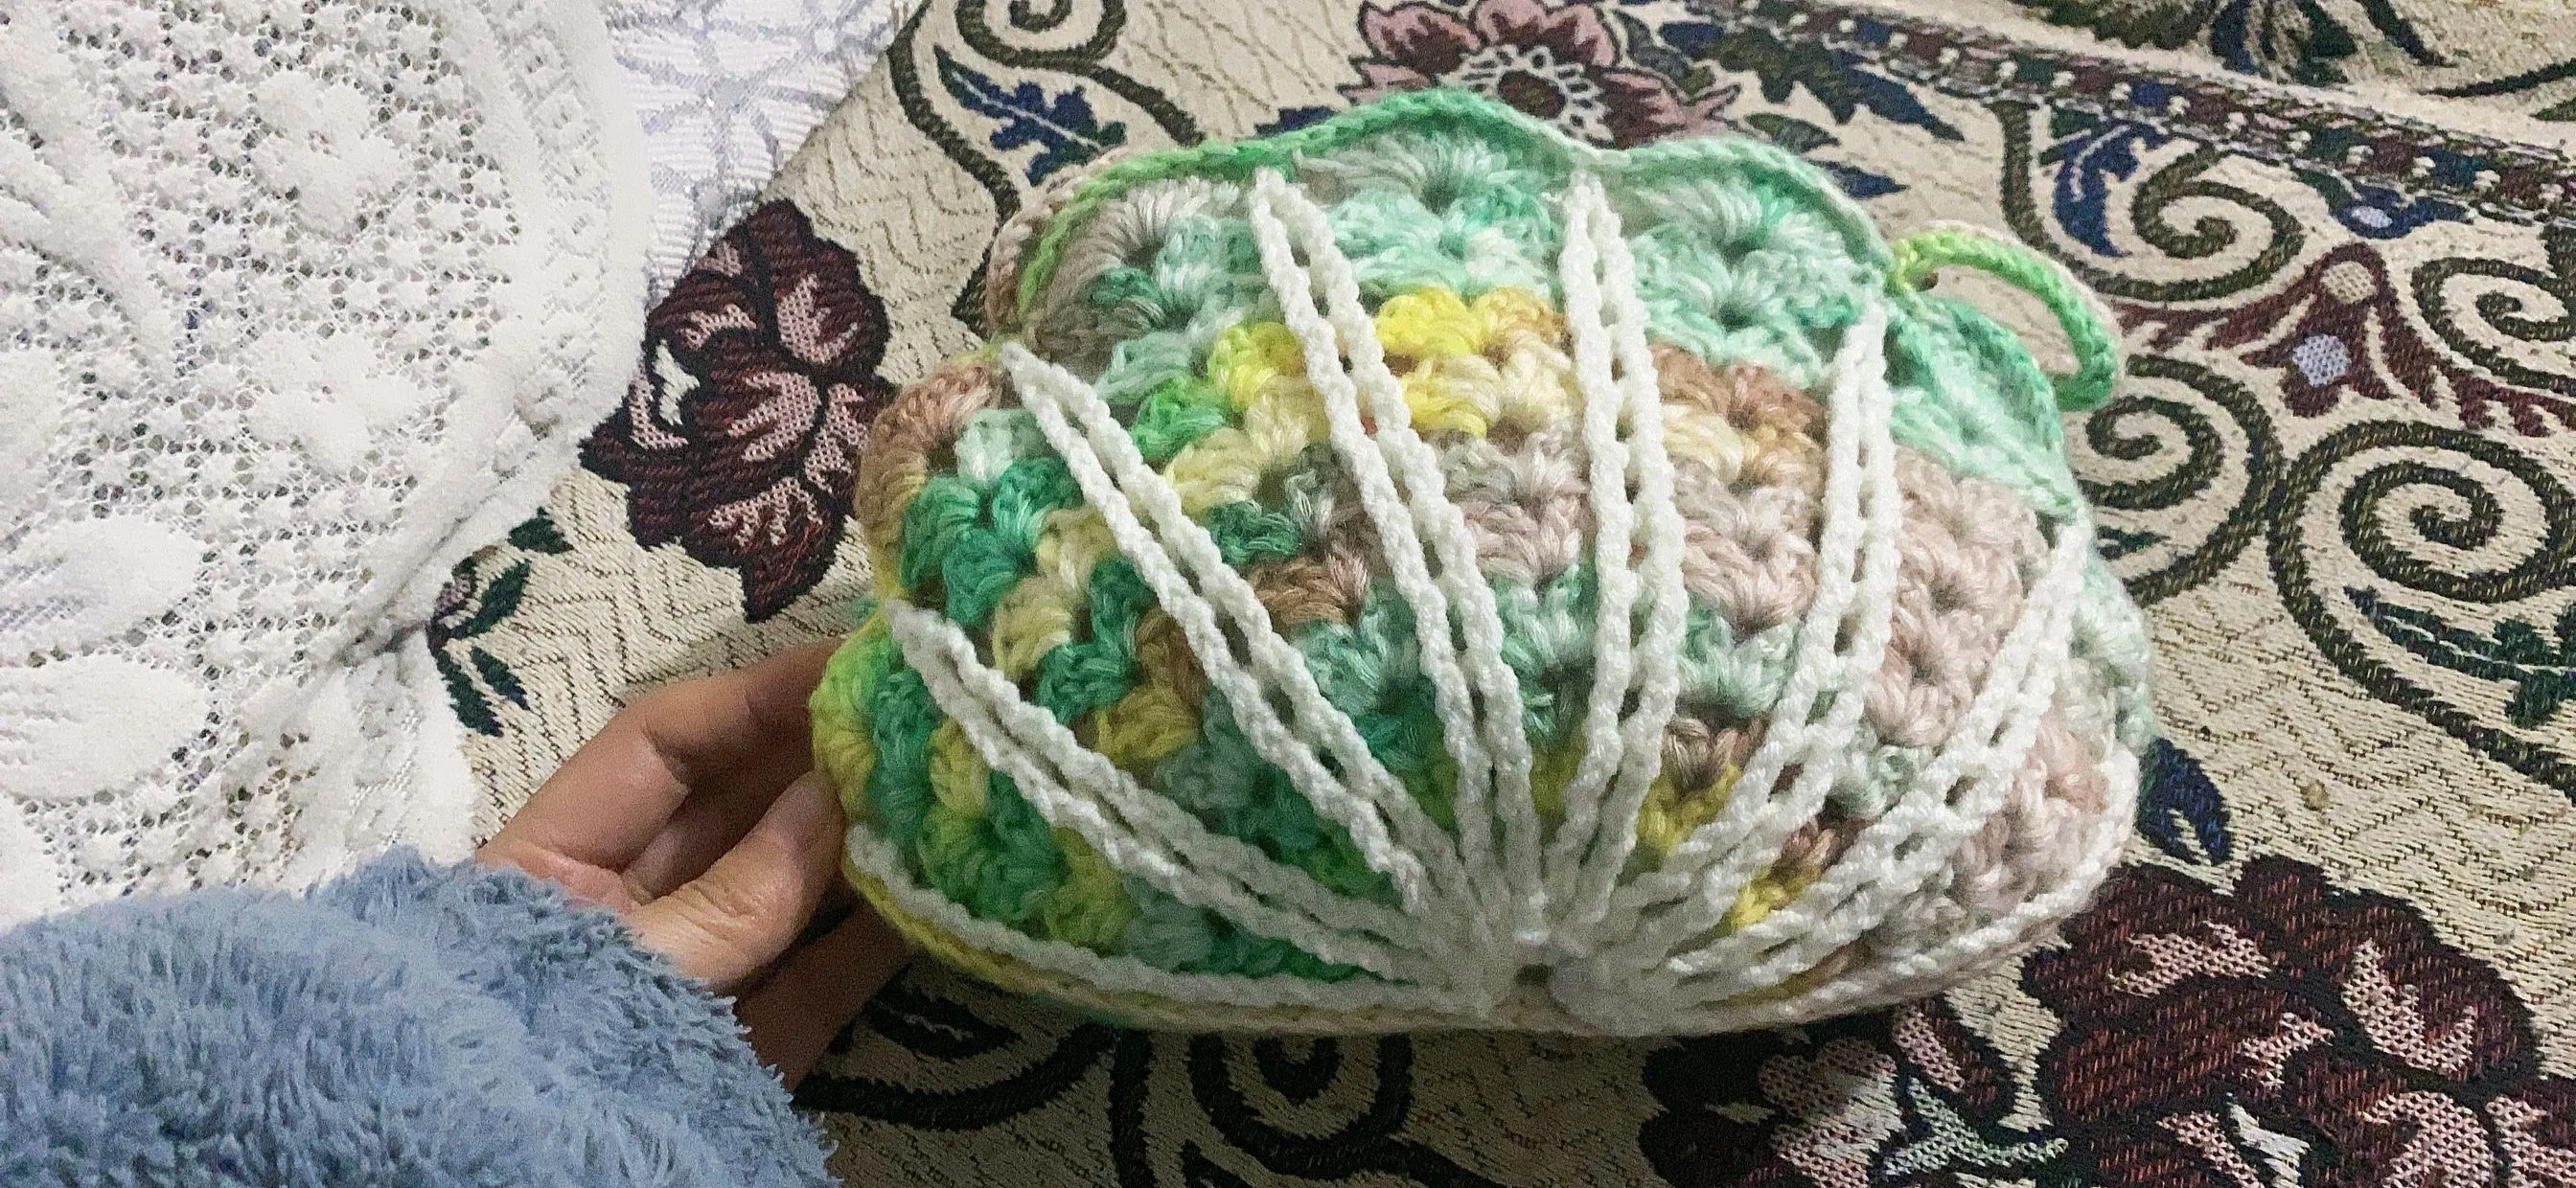
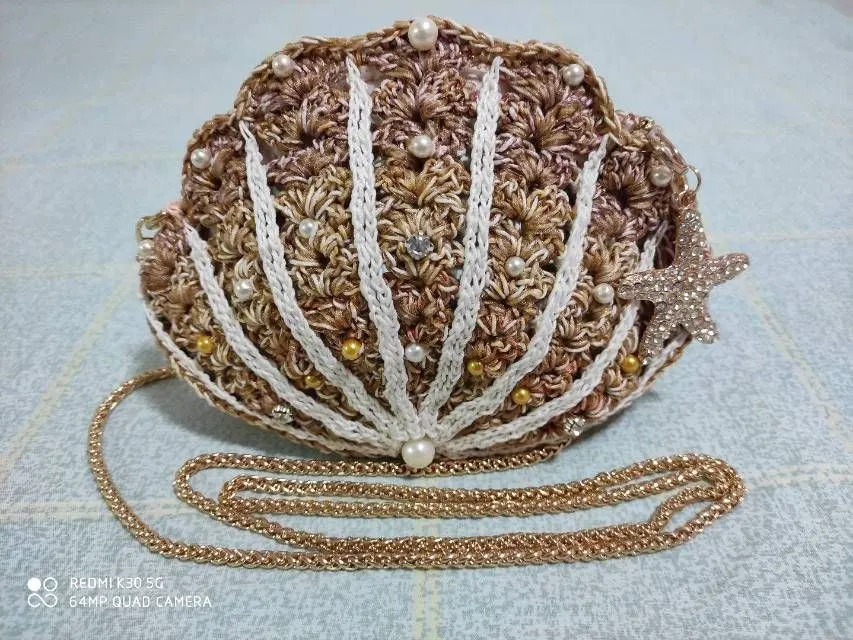
Made by the community