Clothes
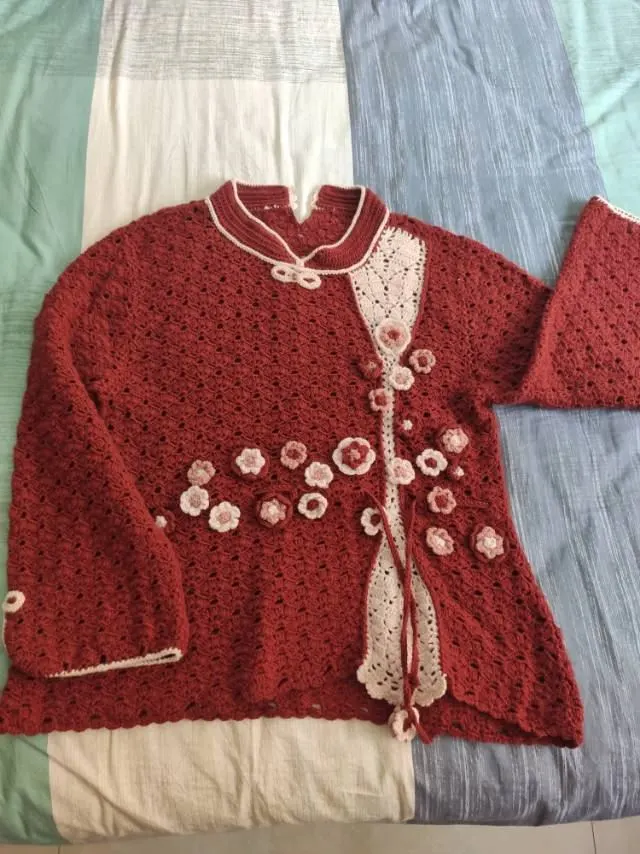
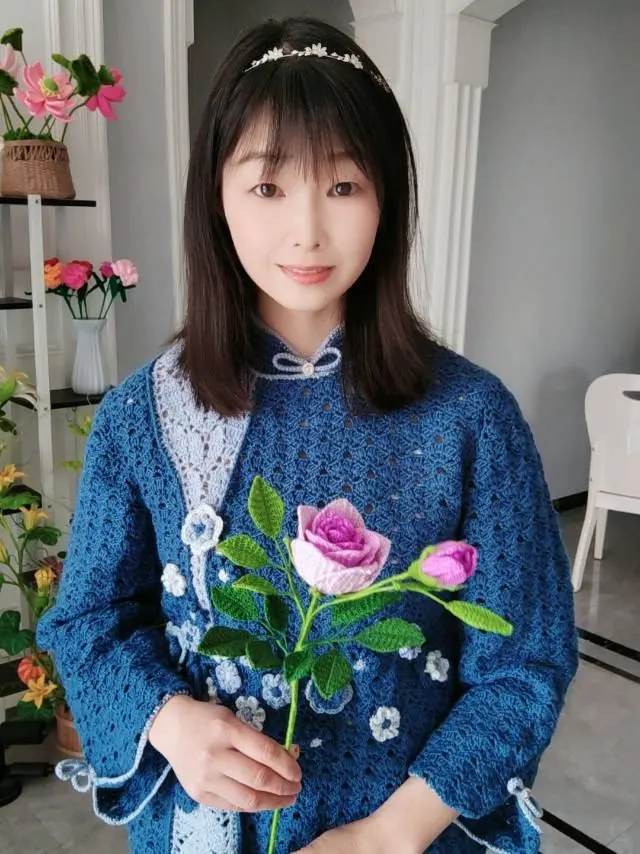
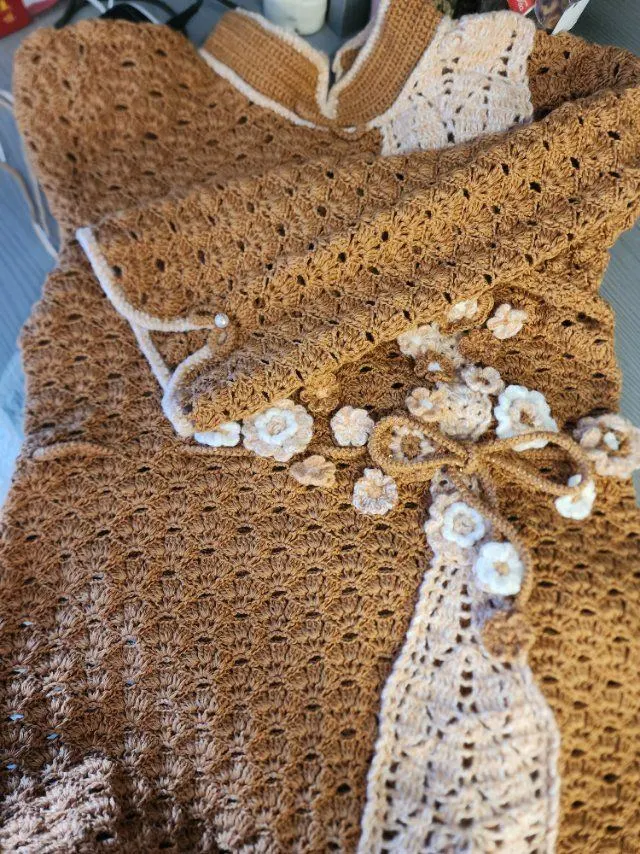
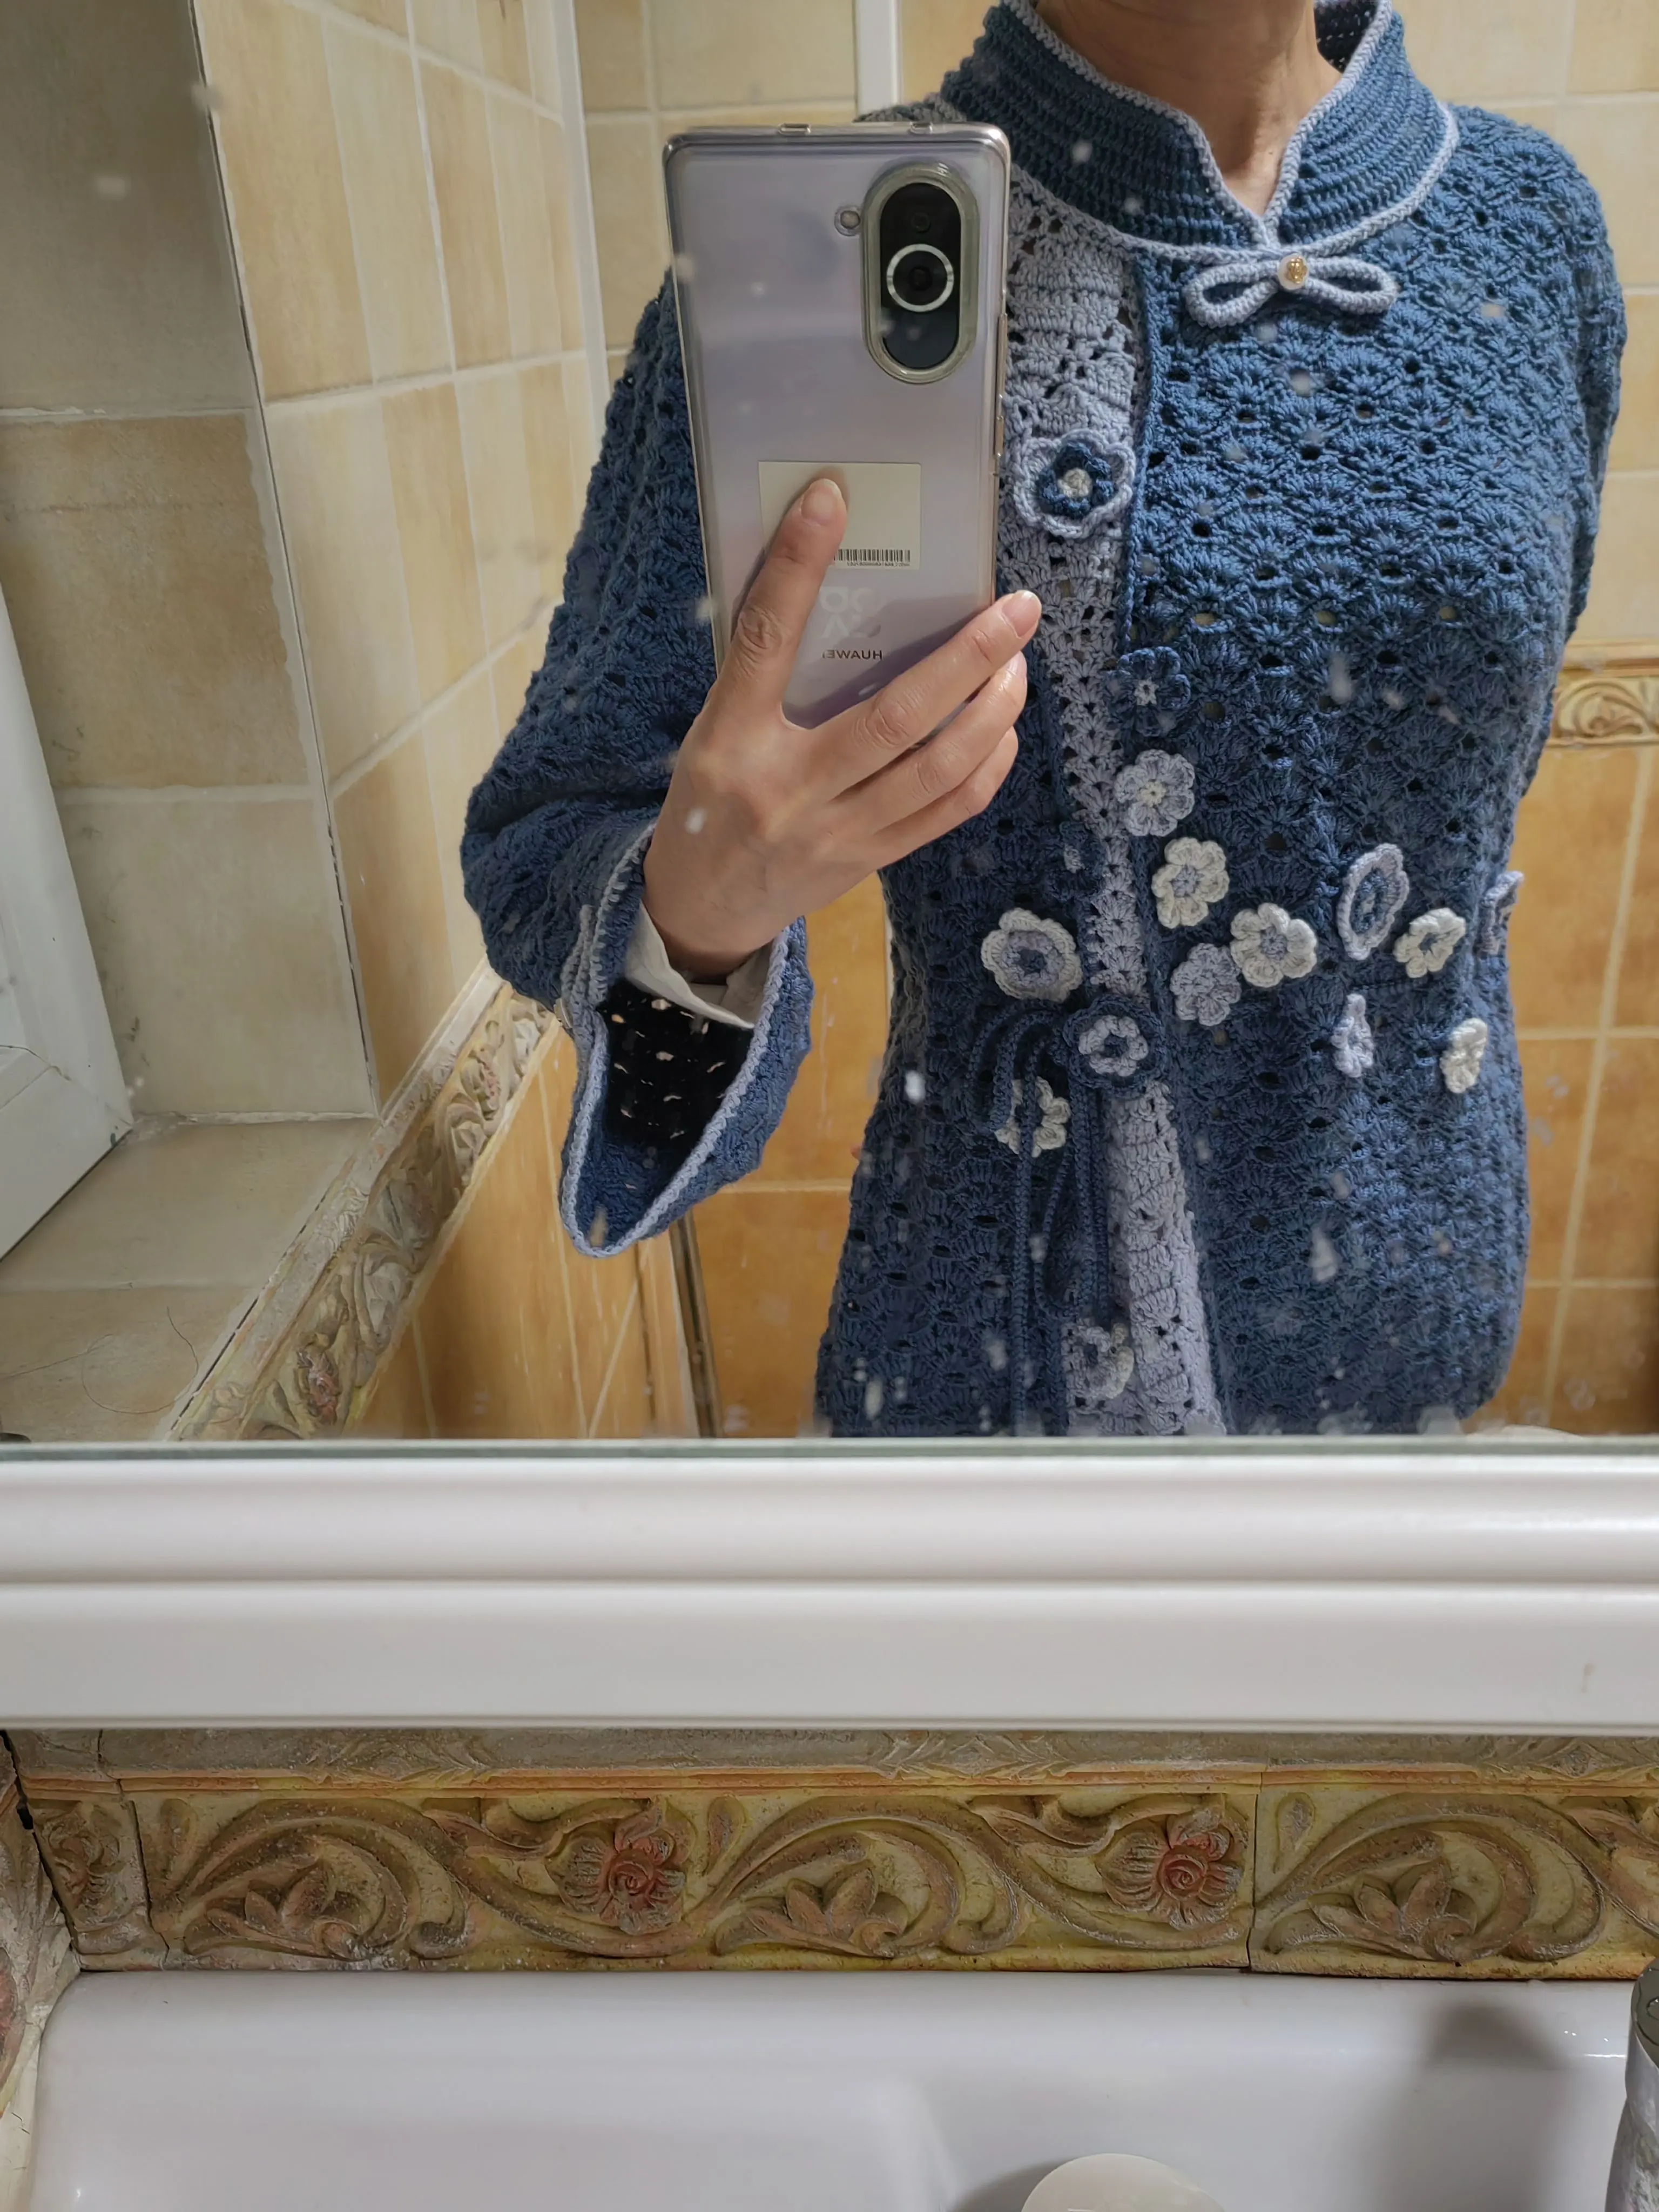
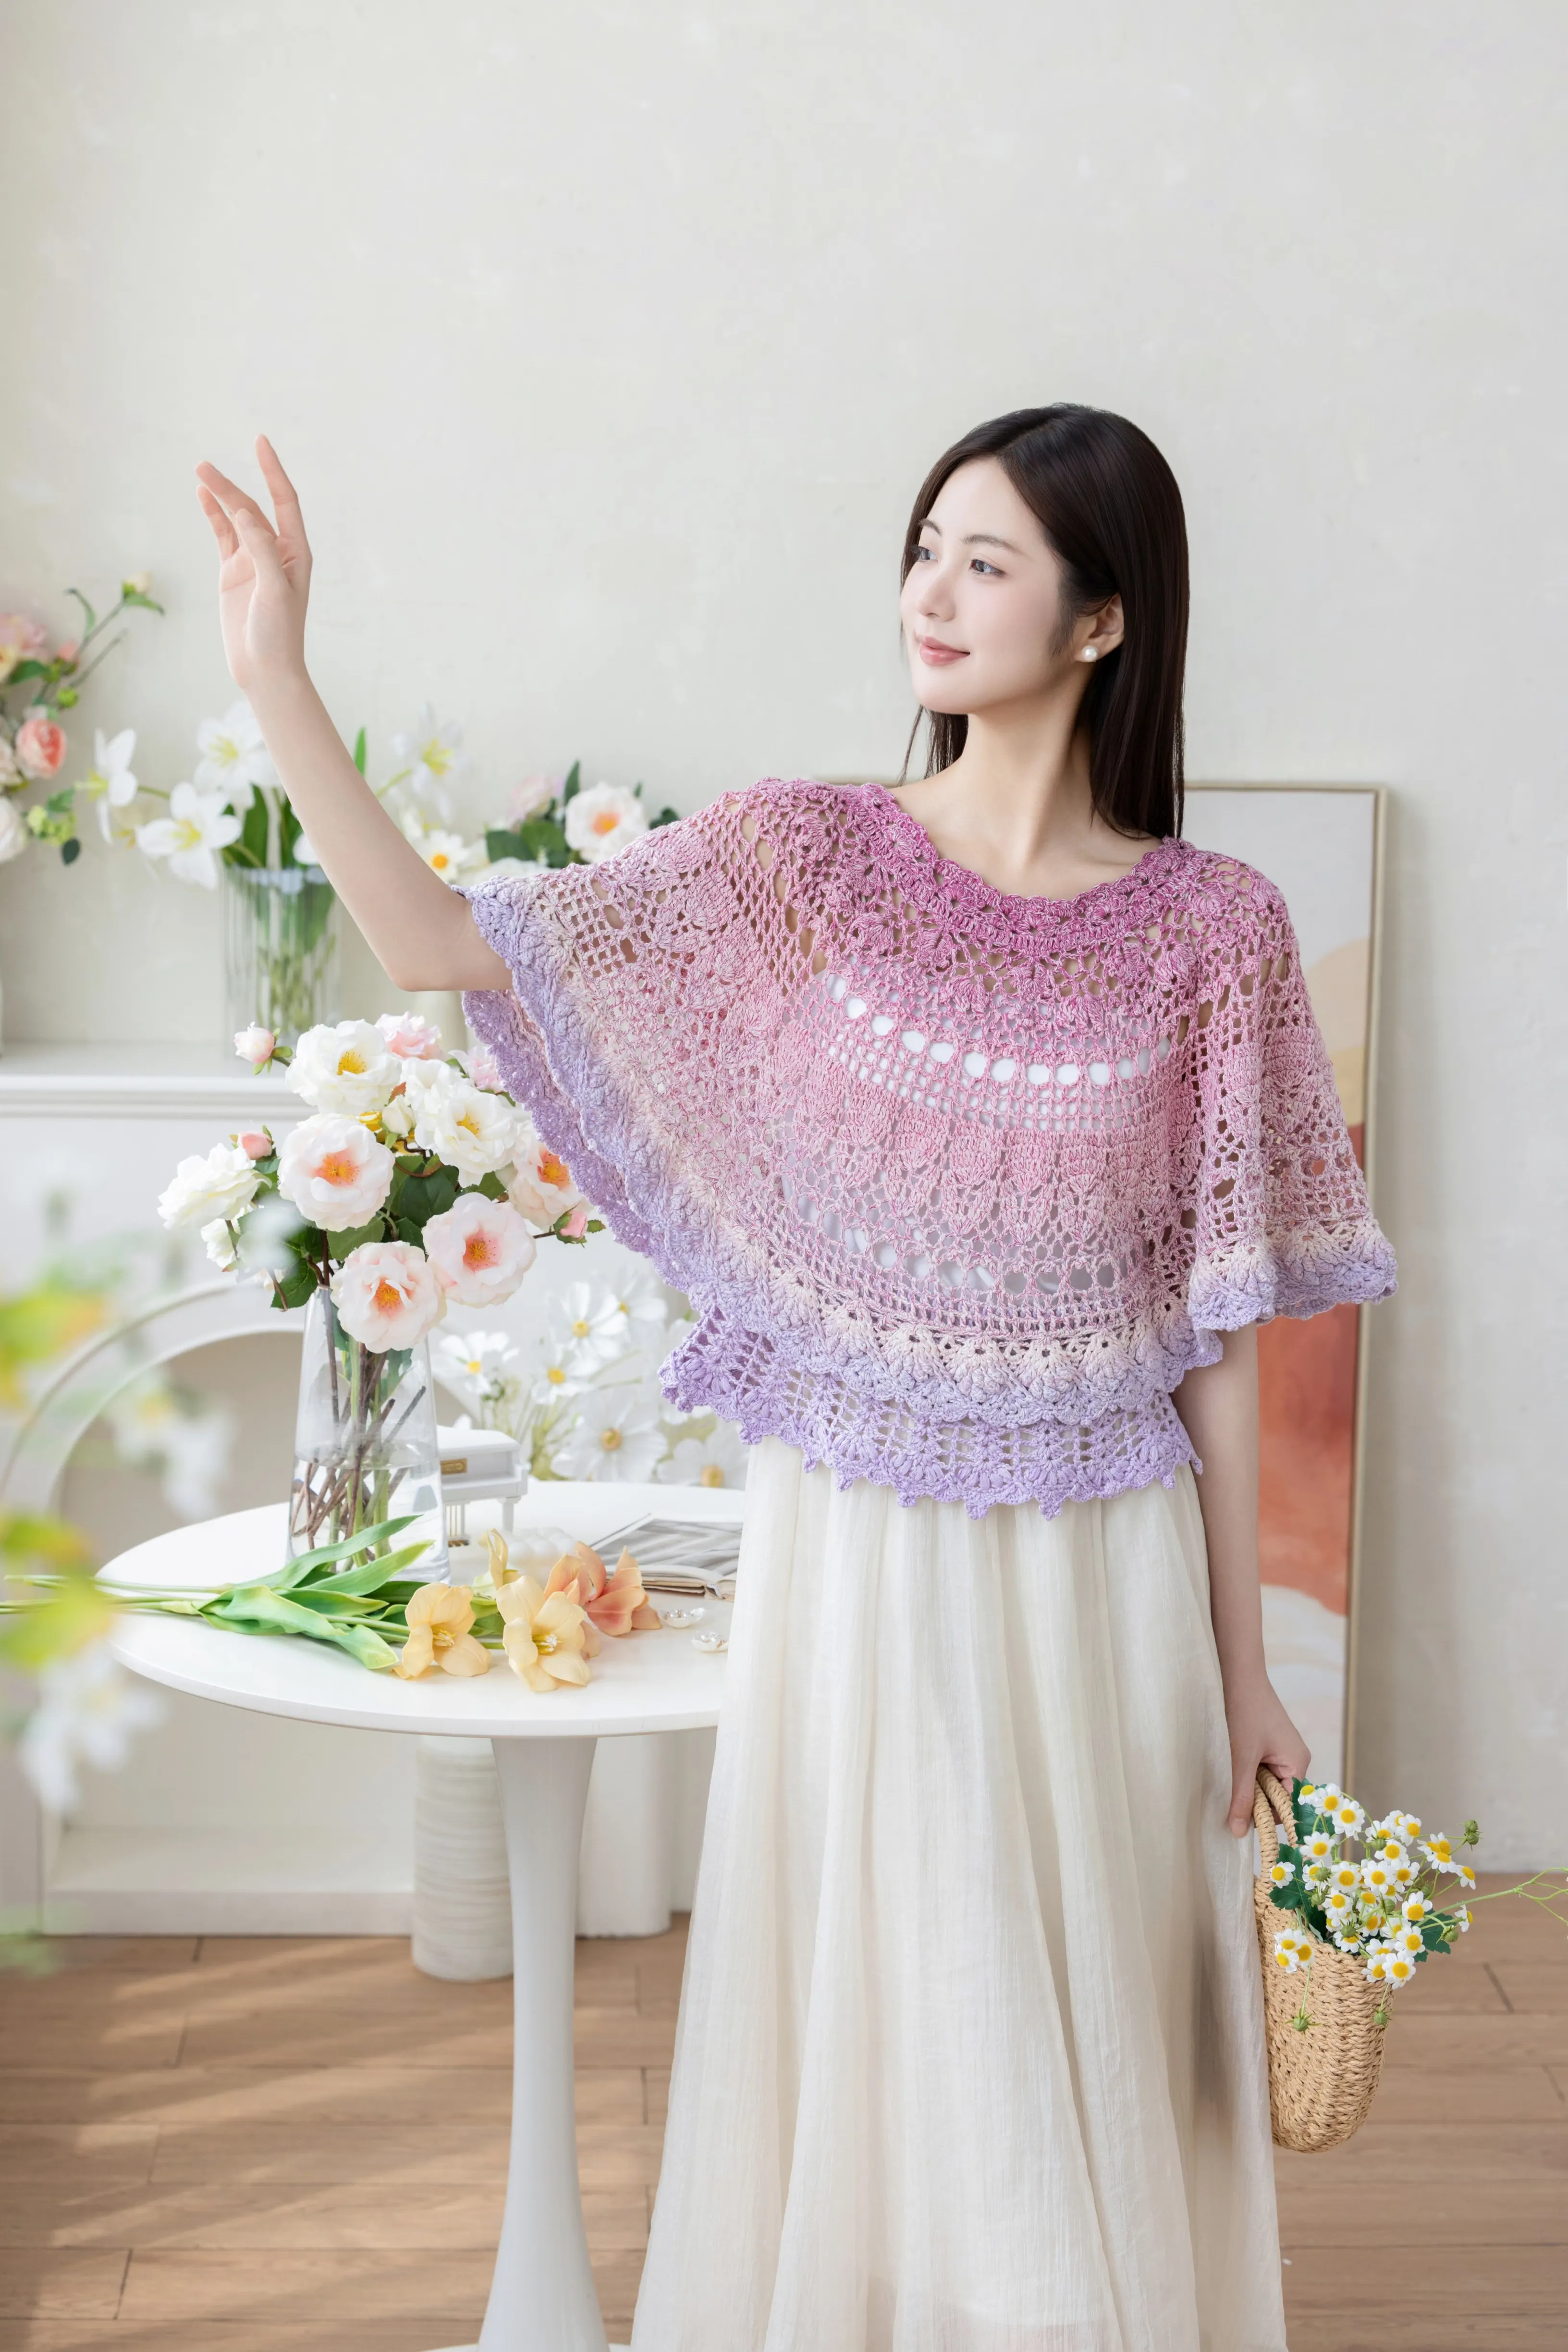
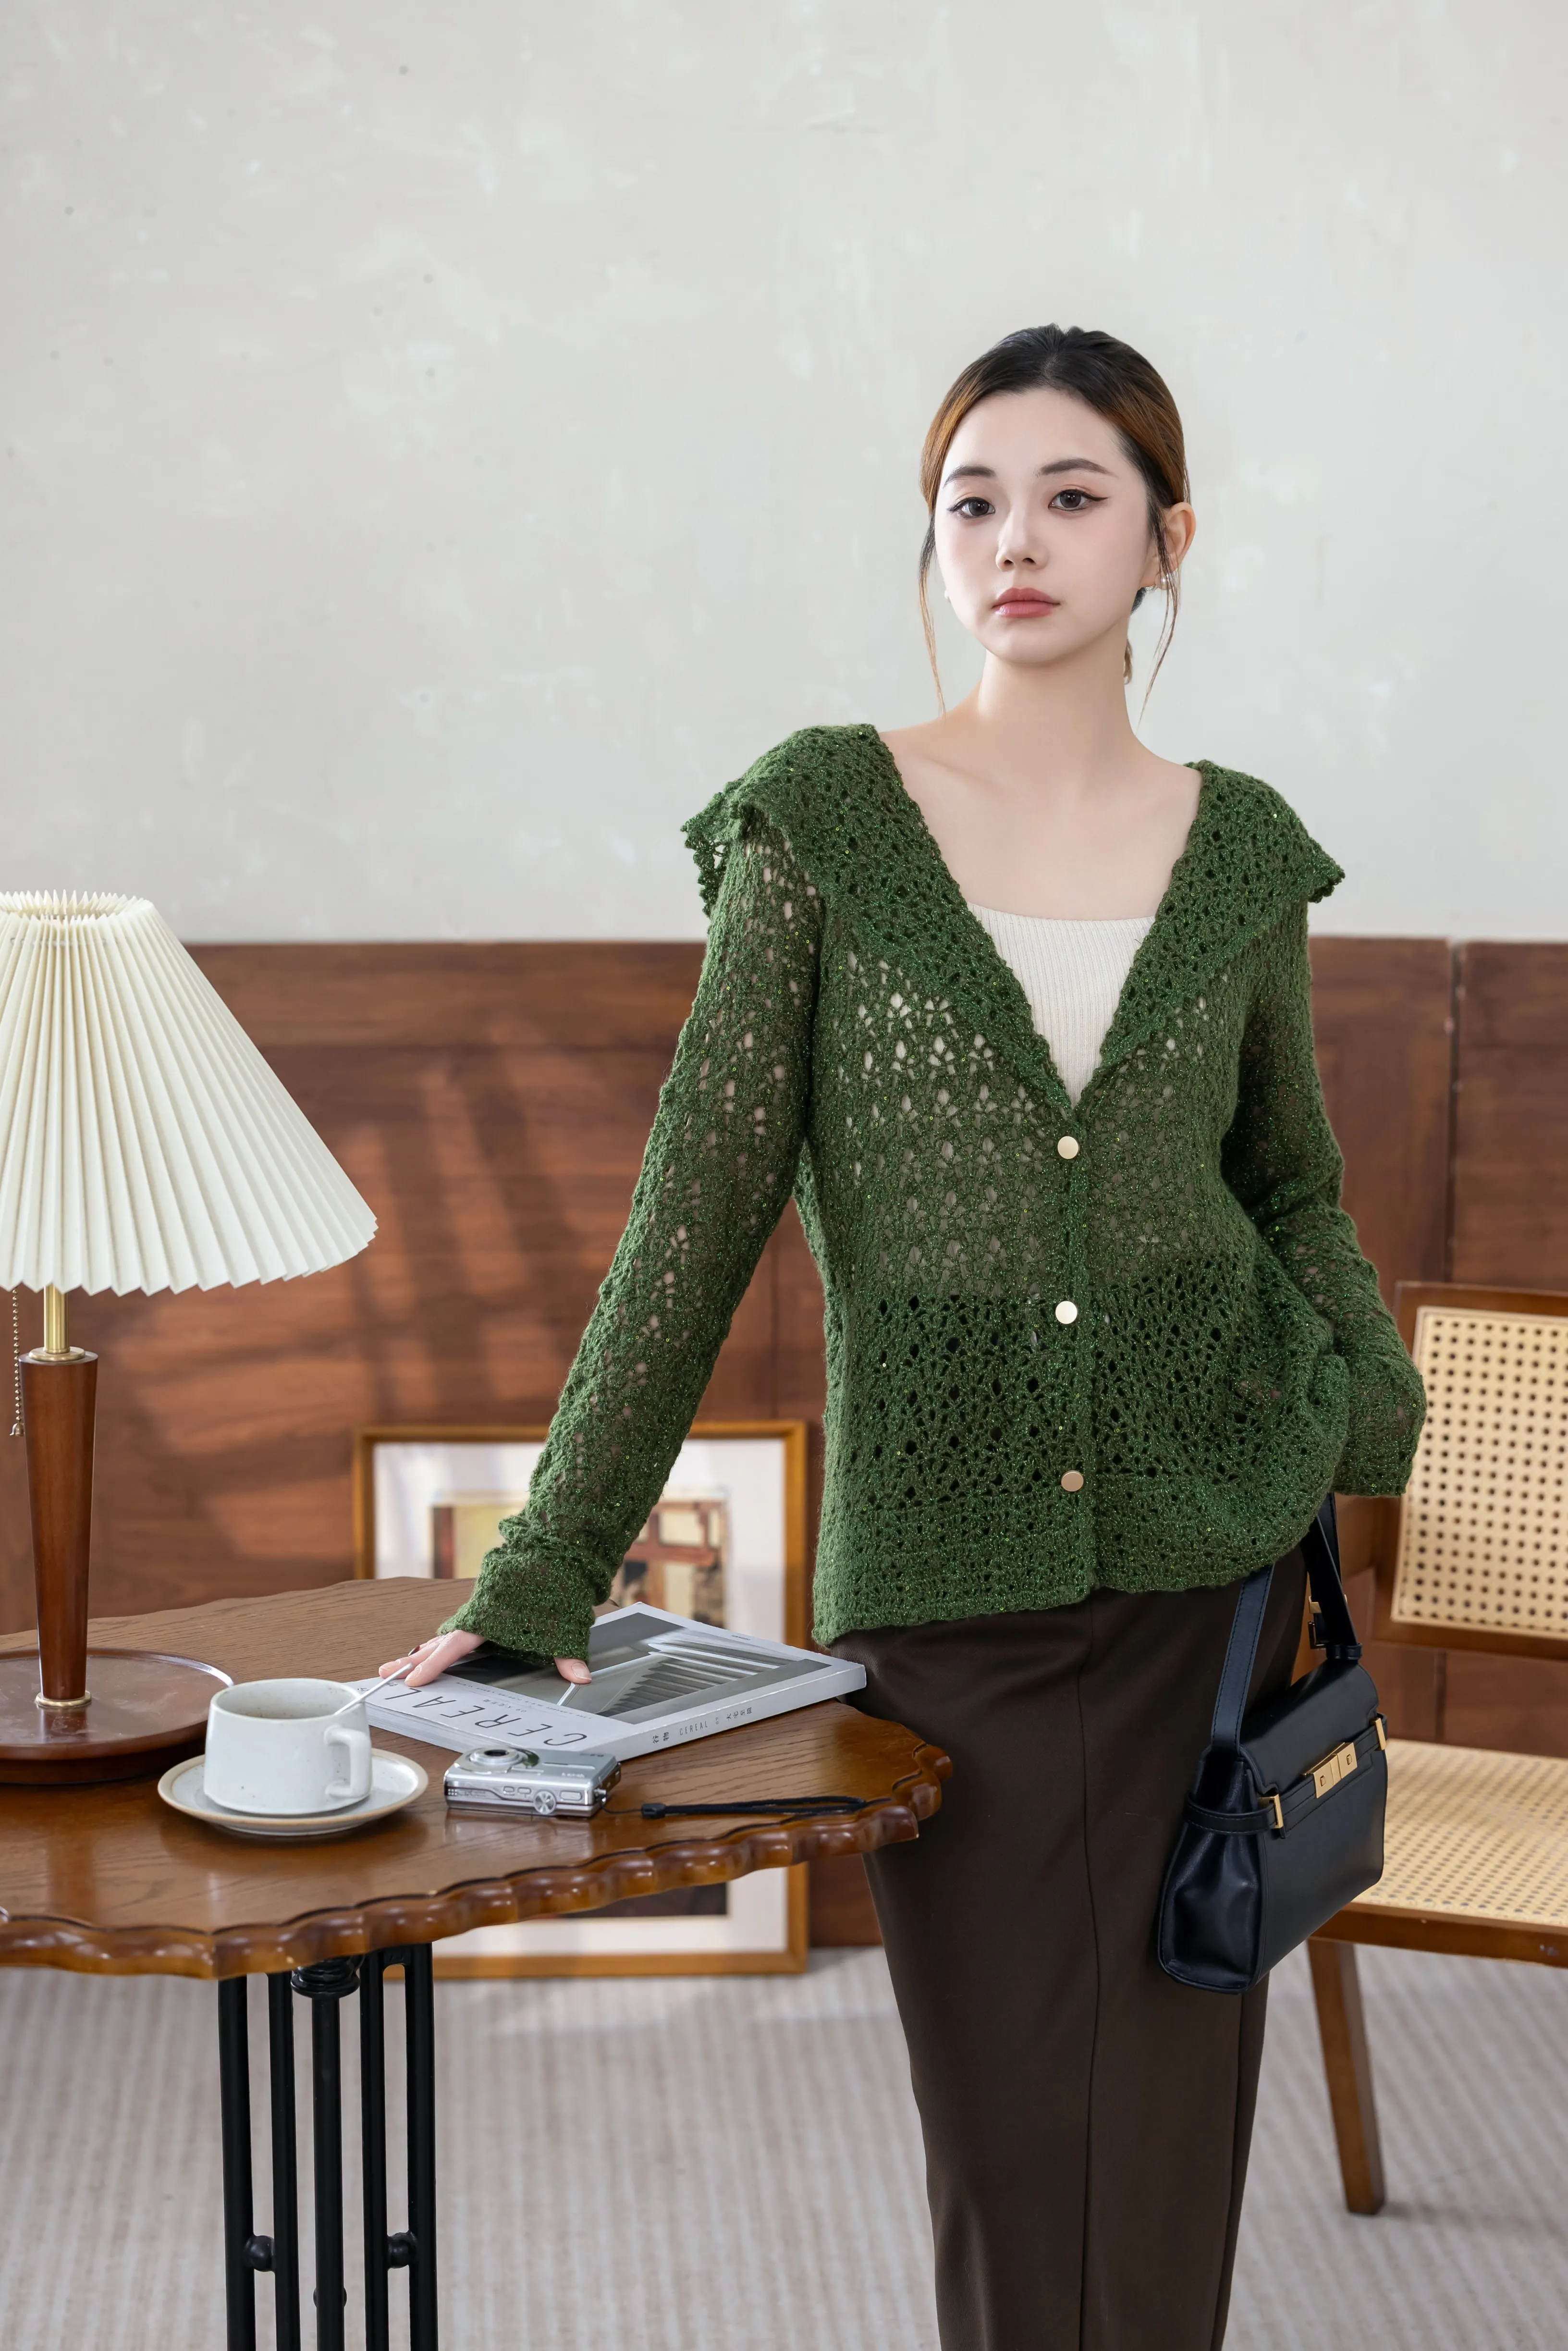
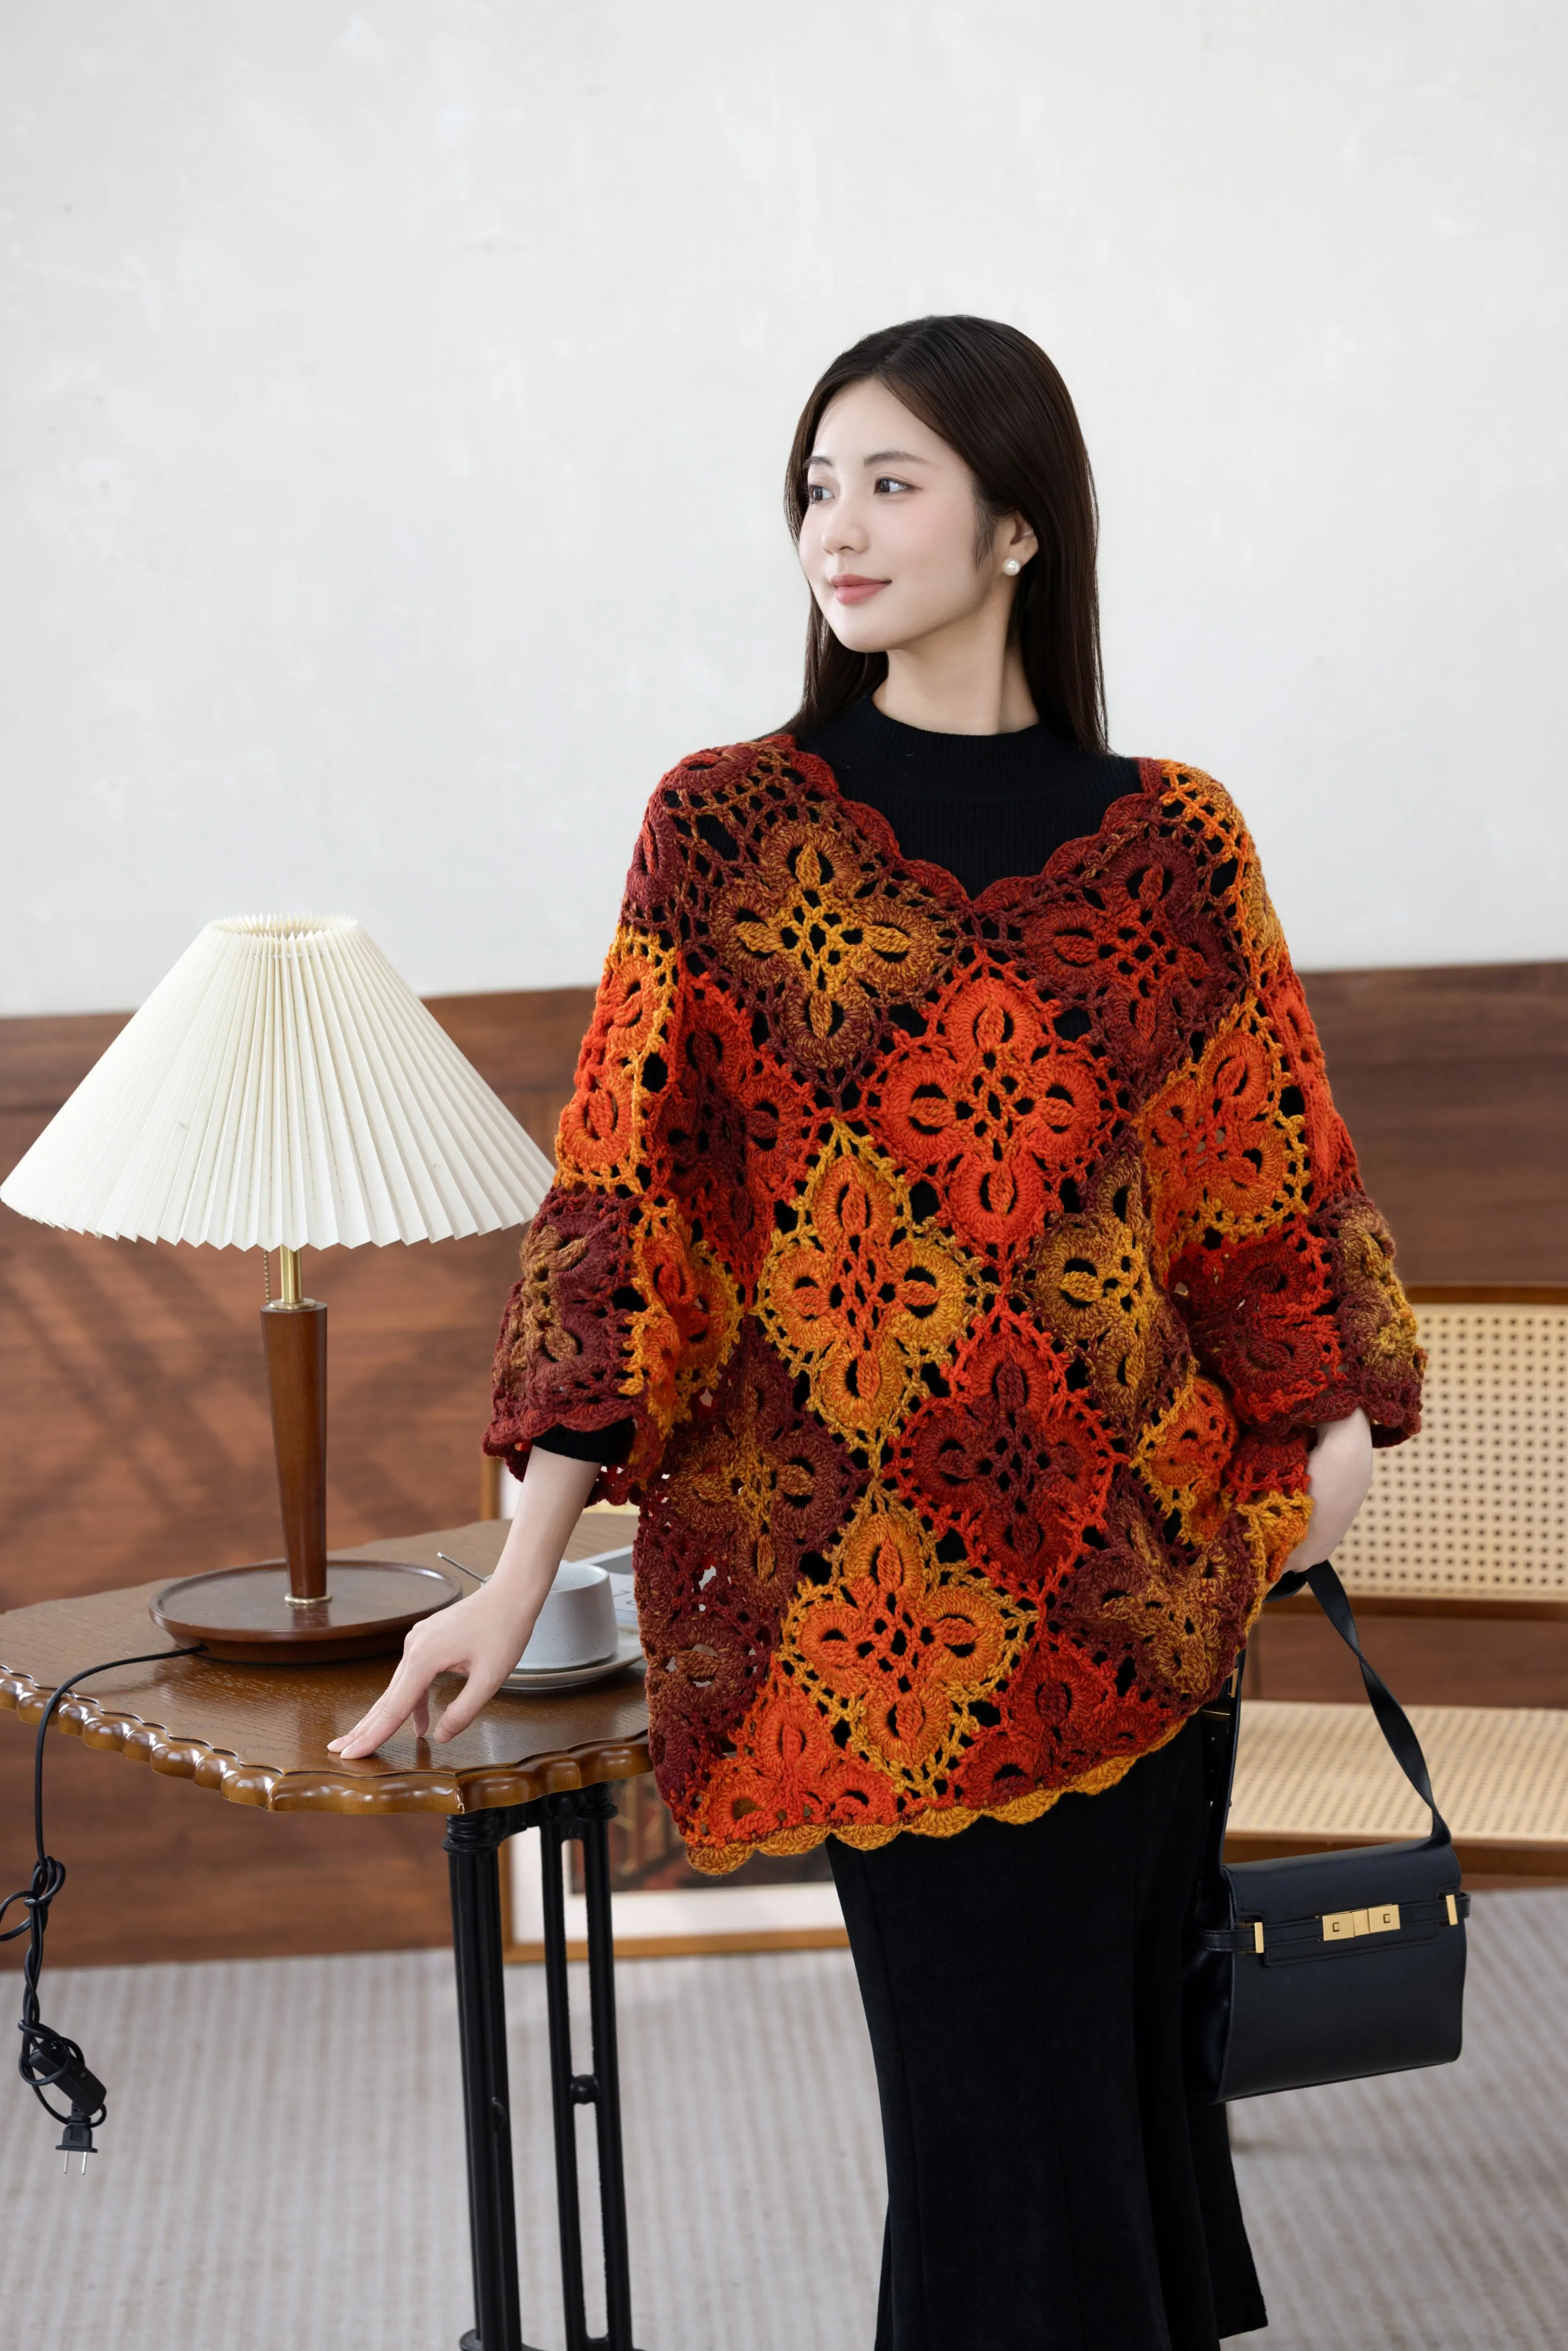
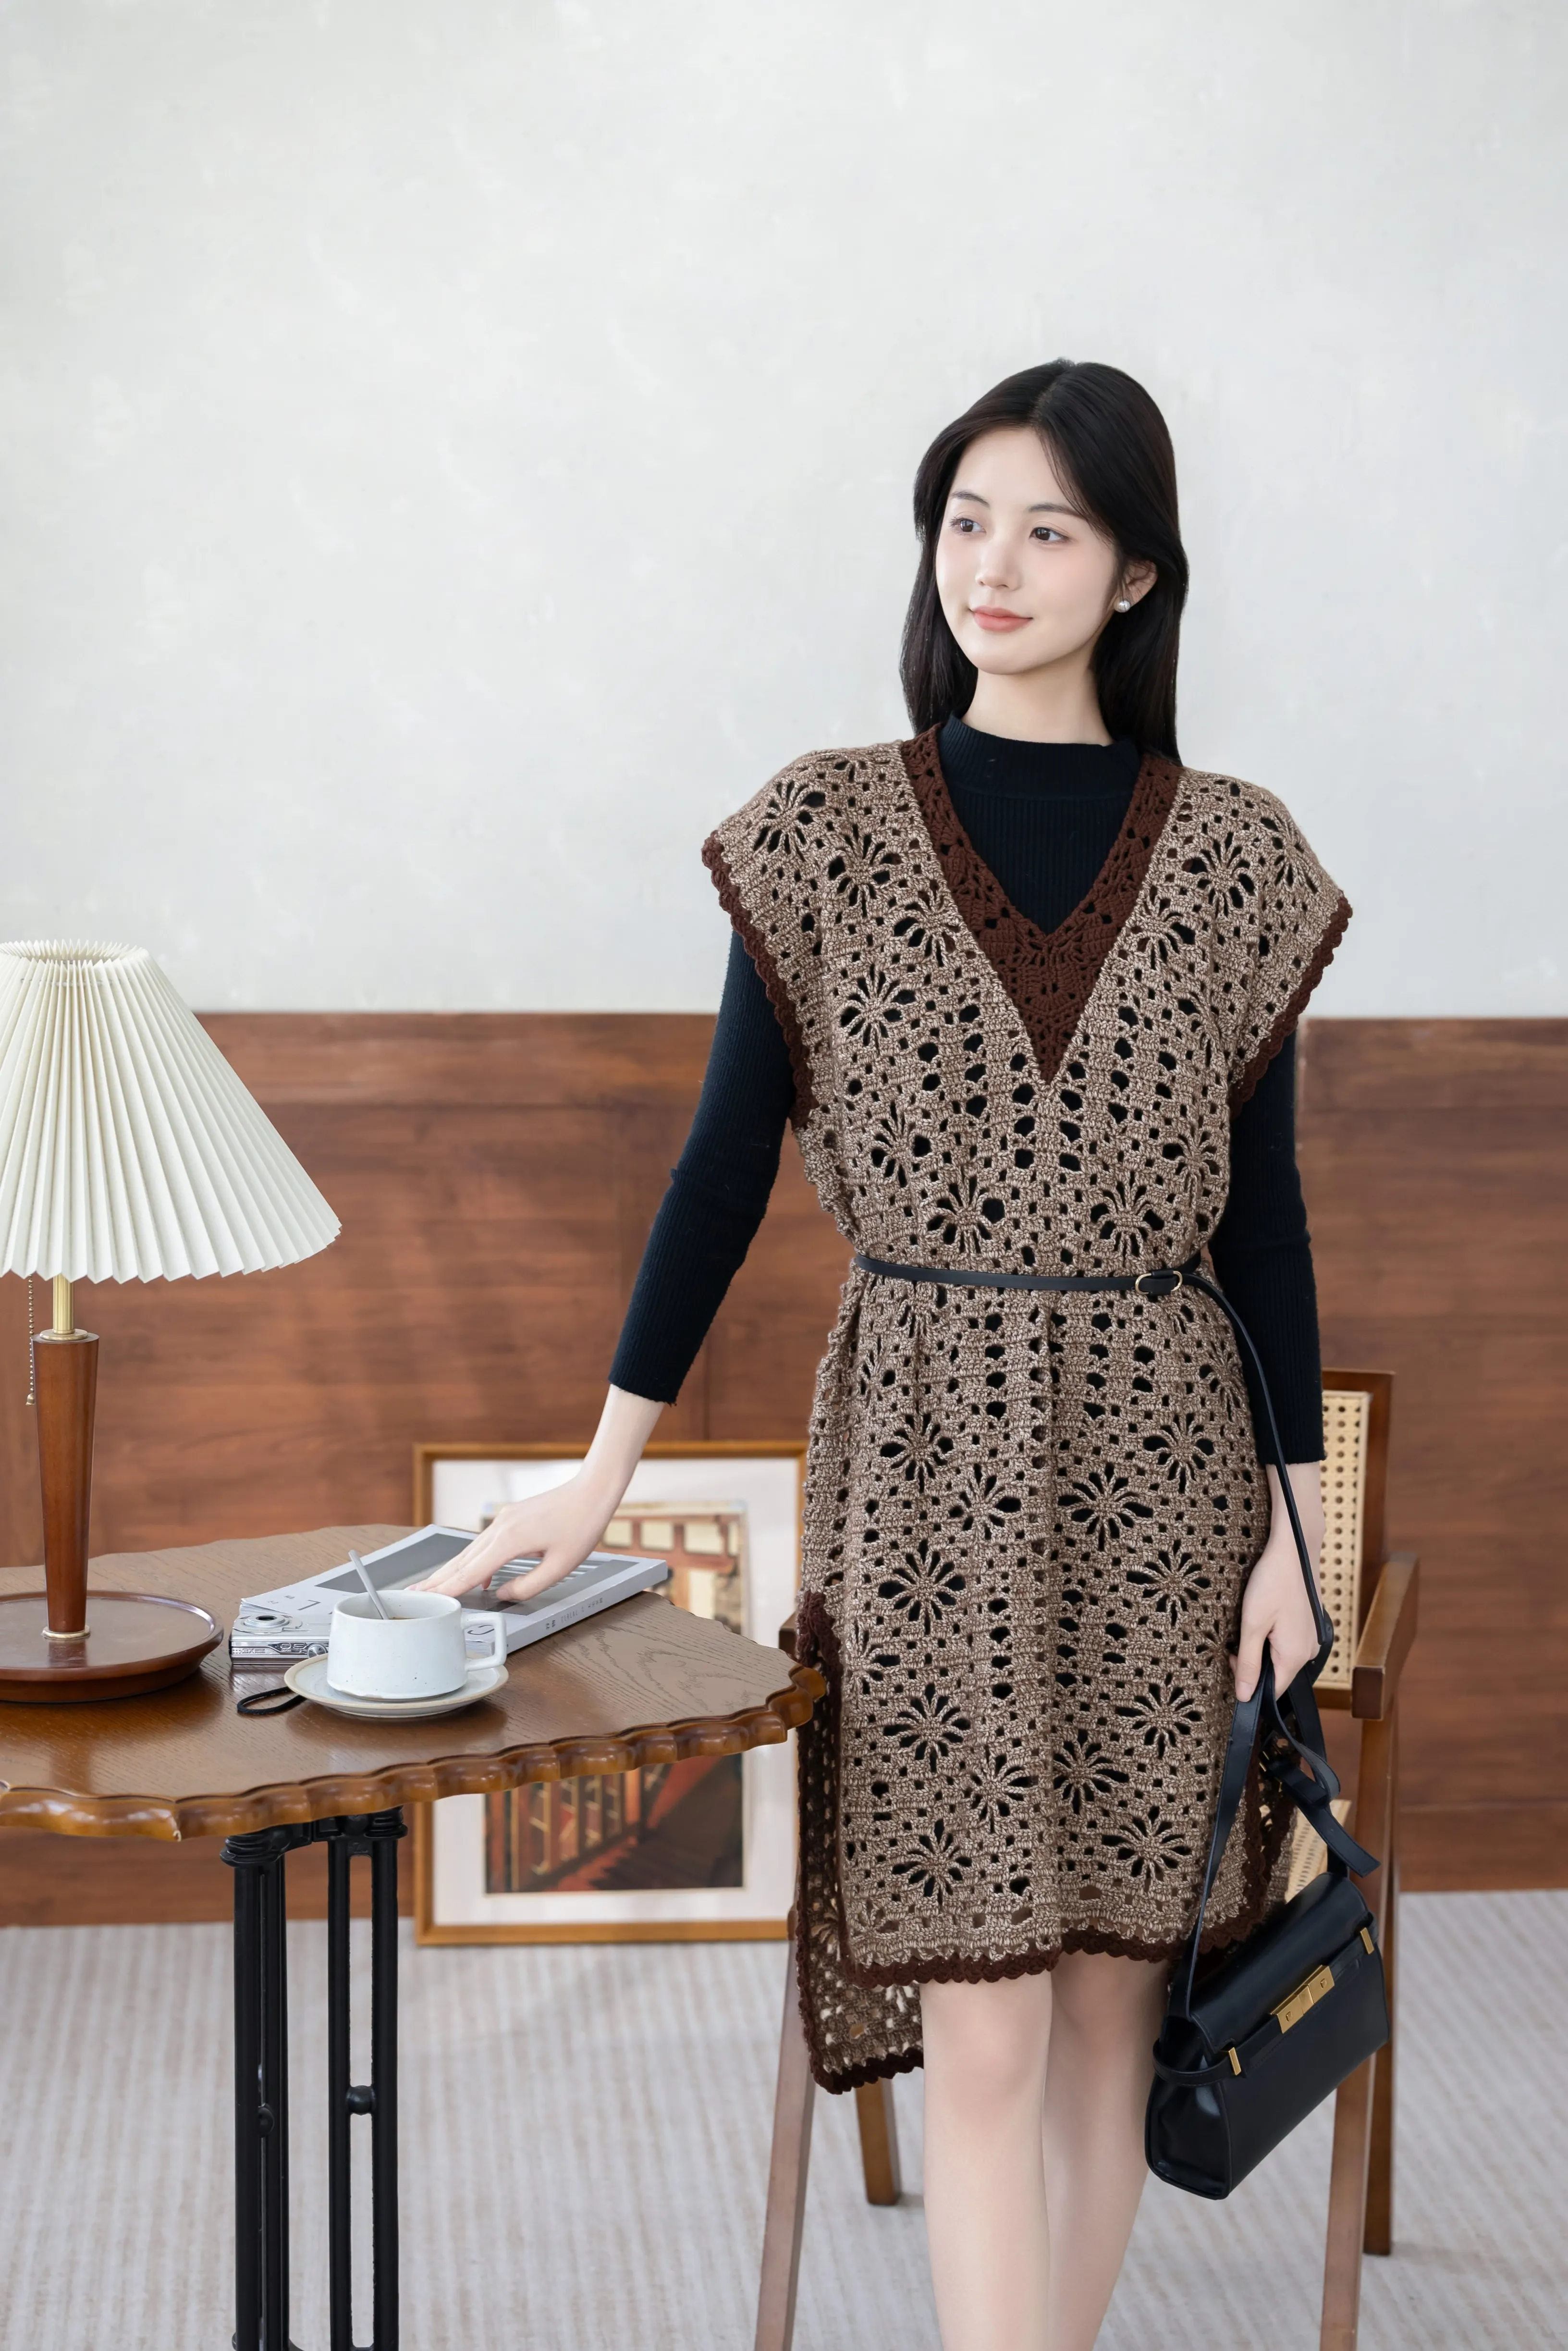
Spiritual Marsh Sweater
Project preview
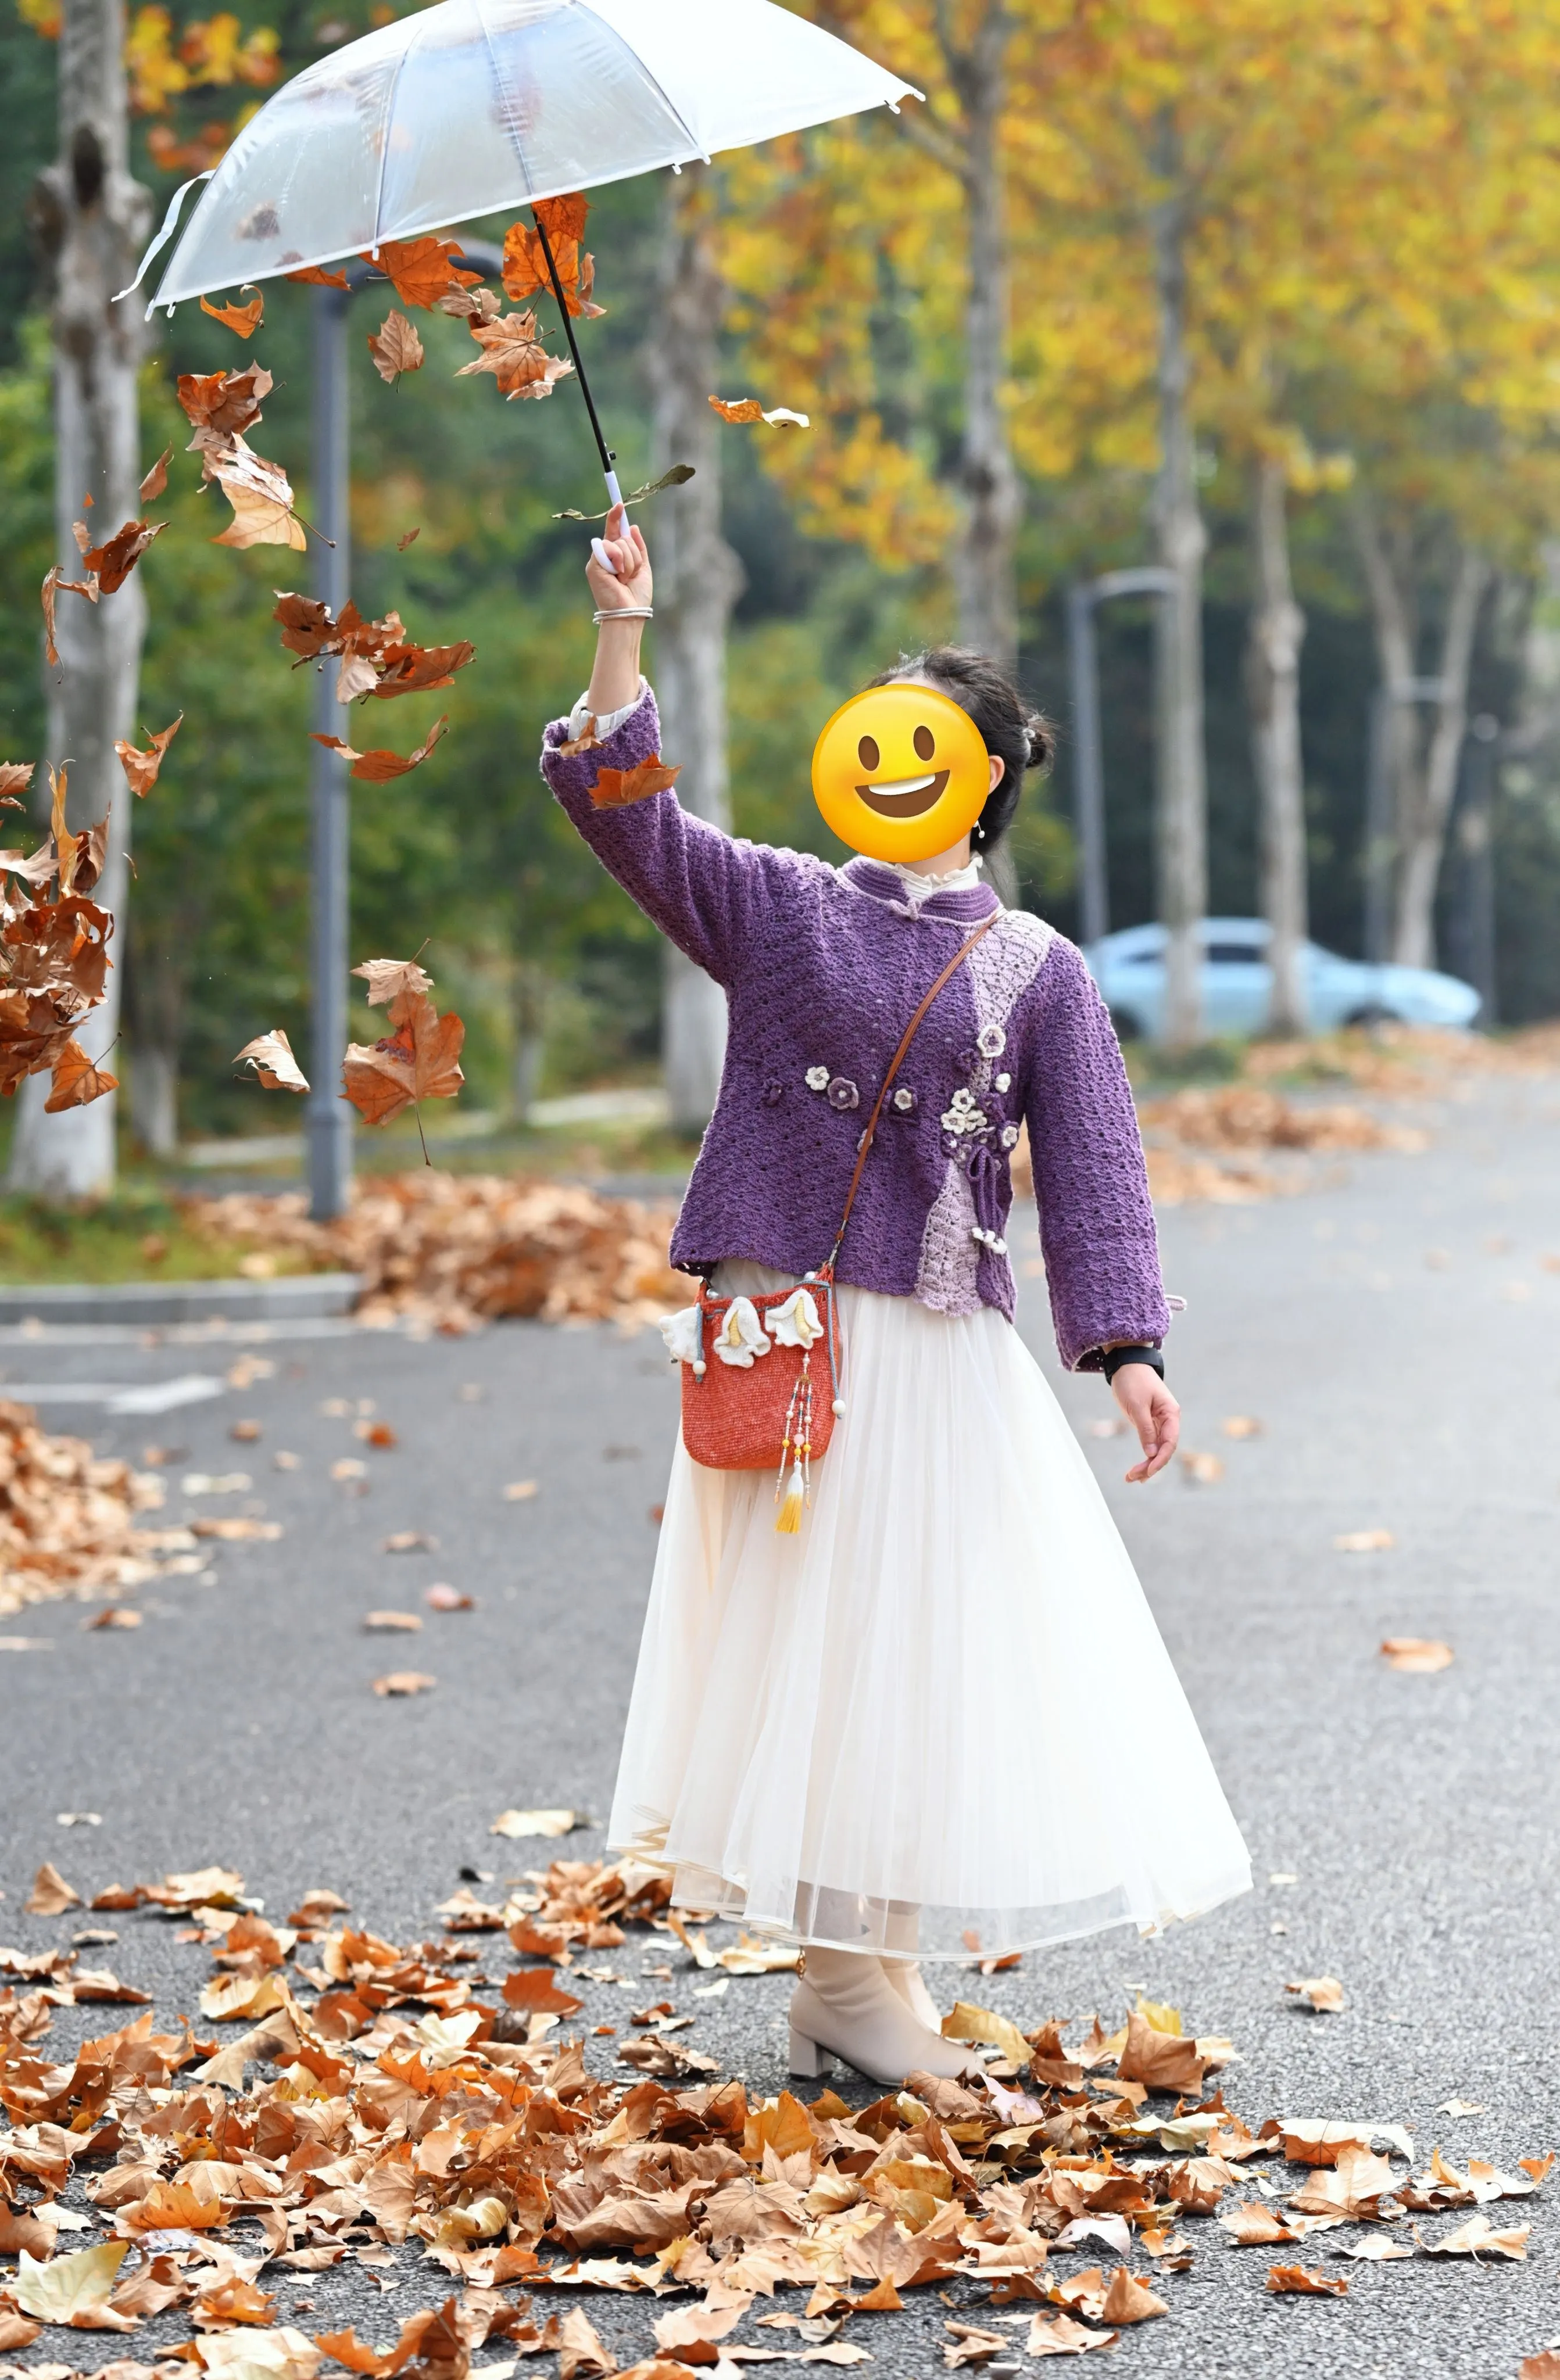
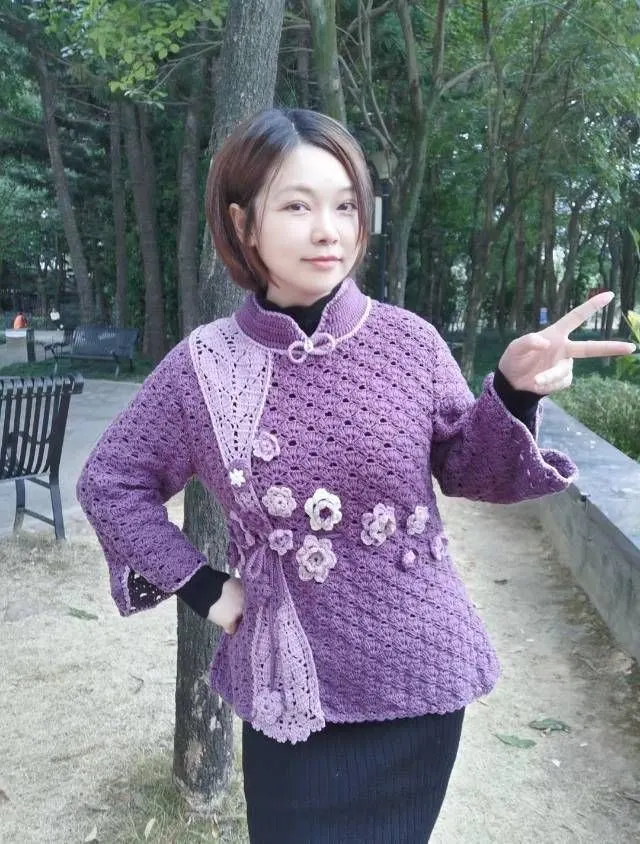
See the finished project
Pattern format
Instructions
Watch and follow
Video tutorial
This sweater is made up of several parts: the back piece, the front pieces, the sleeves, the collar and the decorations.
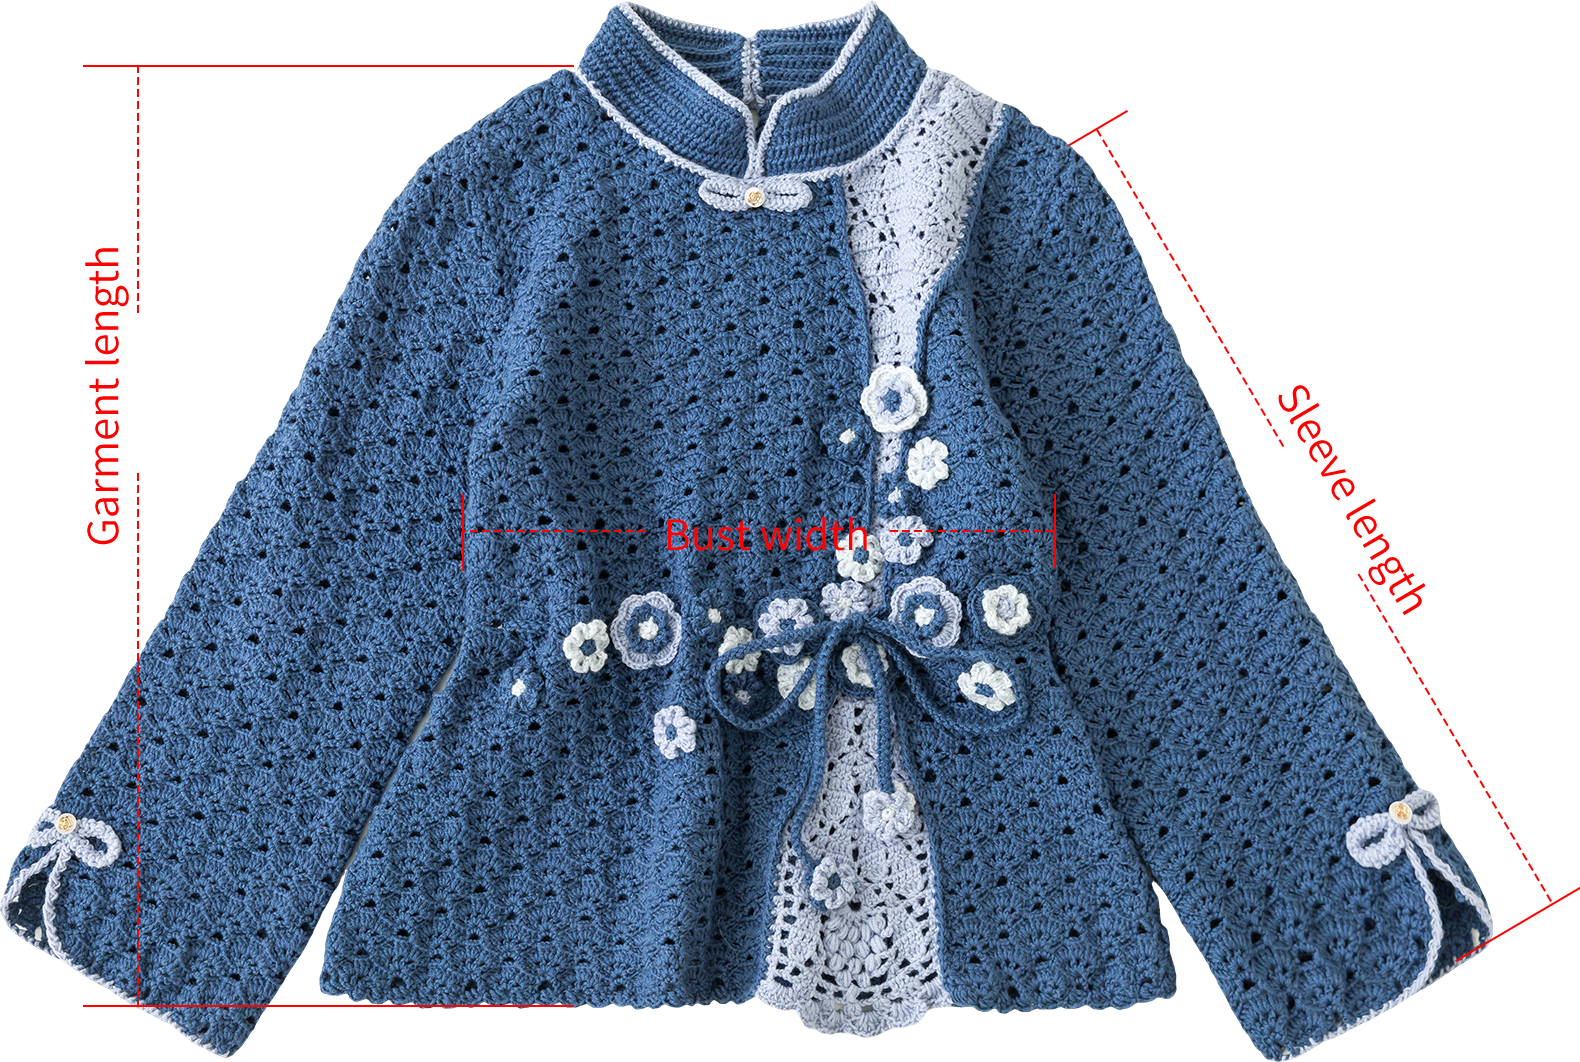

The handcrafted measurements may have an error of 1 to 2 cm. Due to variations in individual tension, the size of the sample is for reference only.
Materials: Susan's Family Morandi 4#
Hook: 3.00 mm crochet hook

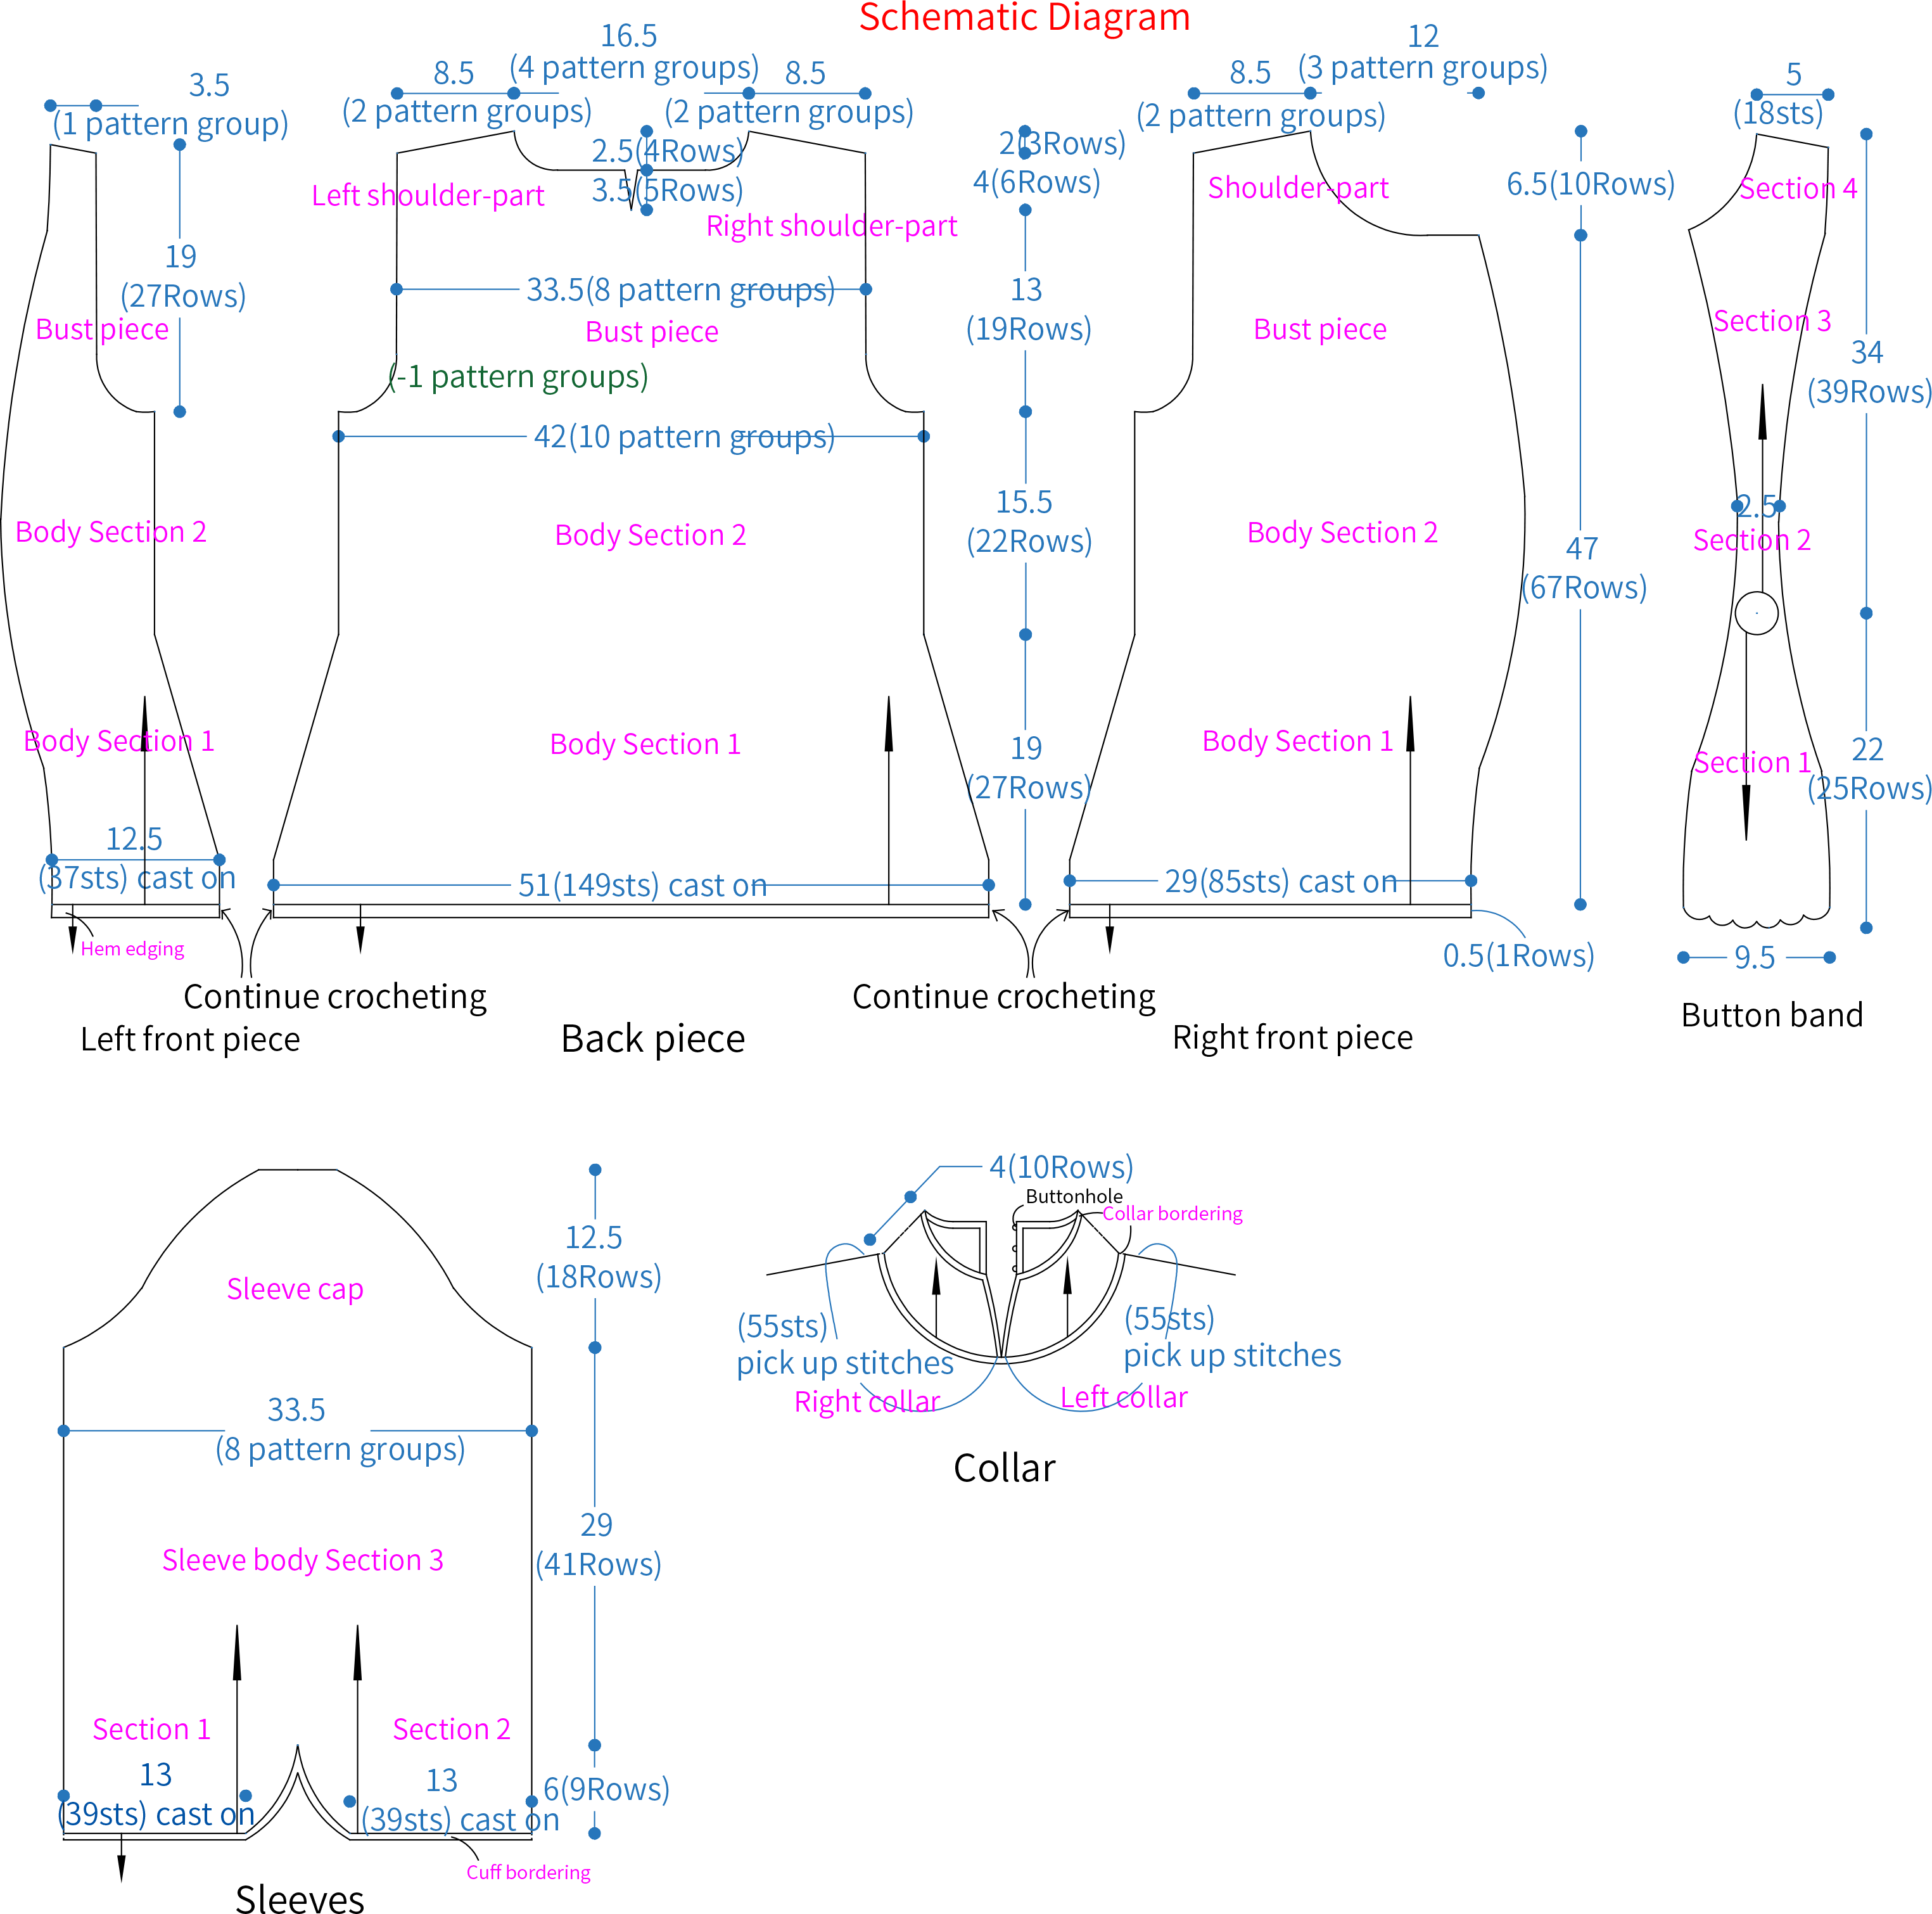
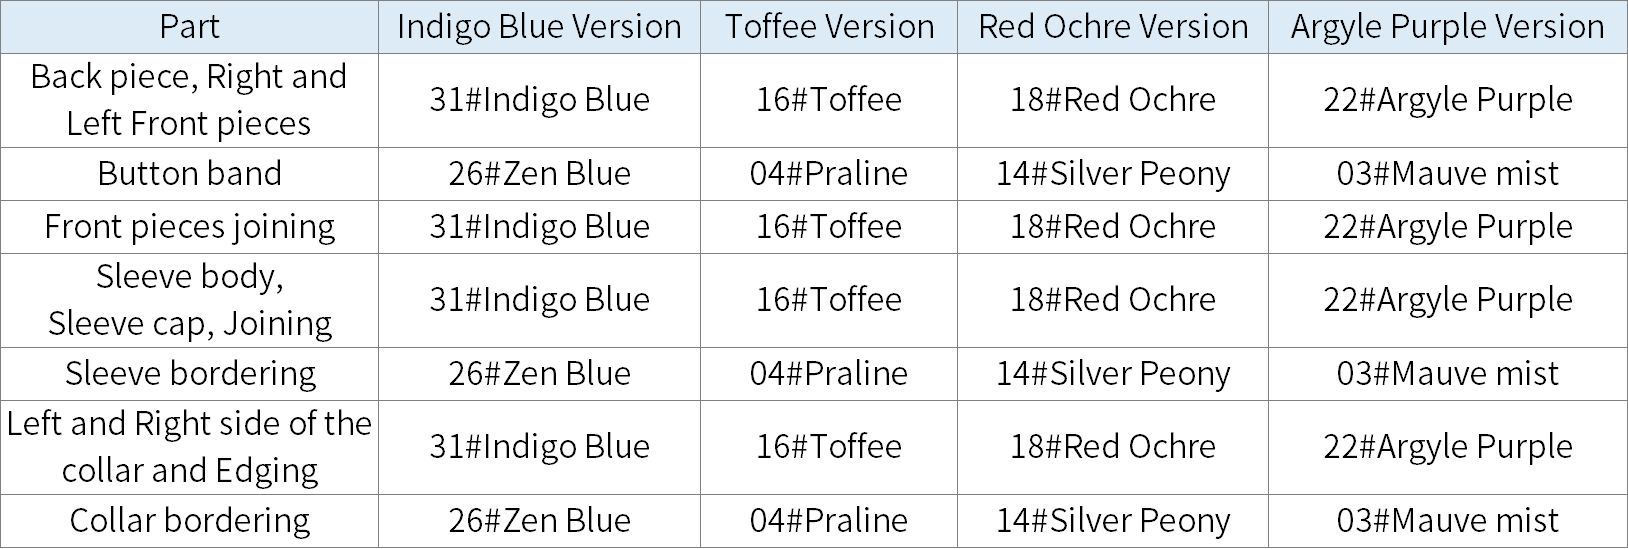
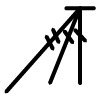
Chart Key
















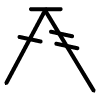


Group Key

Note: This pattern is making in Chinese crochet pattern terms, and the stitch name is written using American terminology. All measurements in charts are in cm.

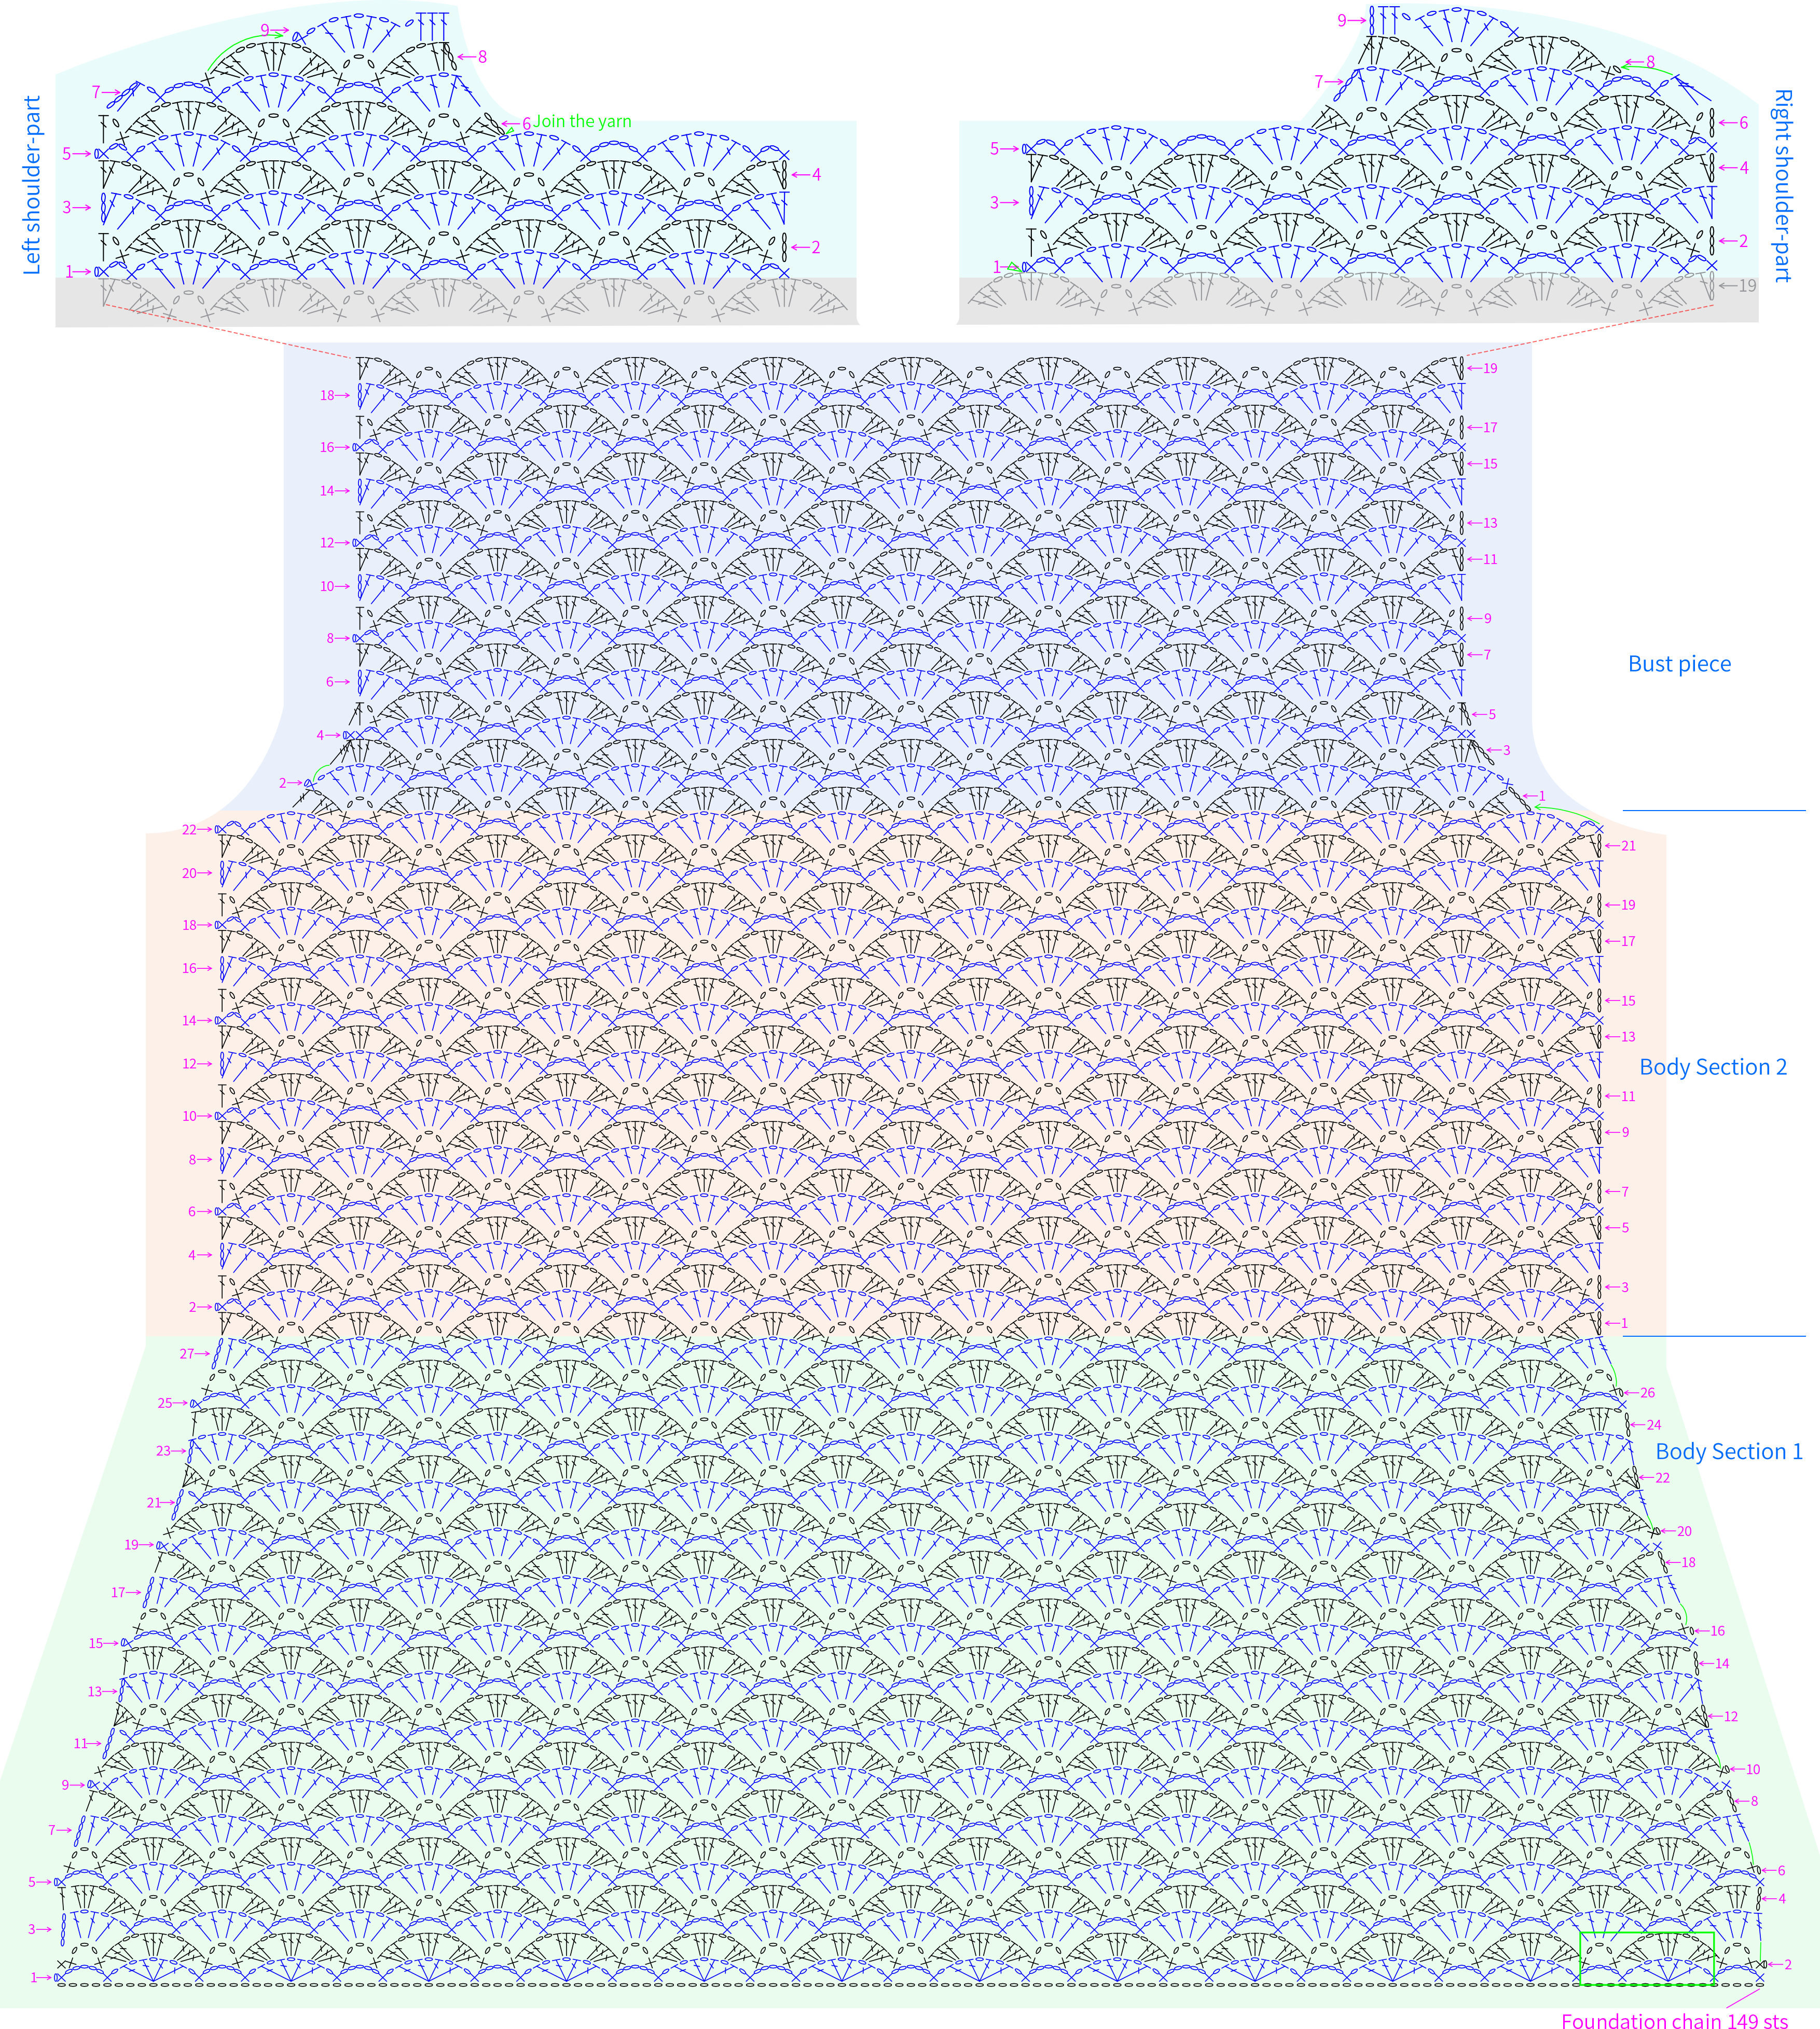
Part 1 Back pieceA 00' 42''
The back piece start with the foundation chain method to work back and forth. It's divided into the body, the bust piece, and the shoulder-parts. The body is divided into Section 1 and Section 2. Please refer to the video demonstration for more details.
Note: After completing row 6, measure the fabric piece: about 4.5 cm tall and 51 cm wide. If there's a significant difference, adjust your crochet tension and crochet again to avoid affecting the finished product size.
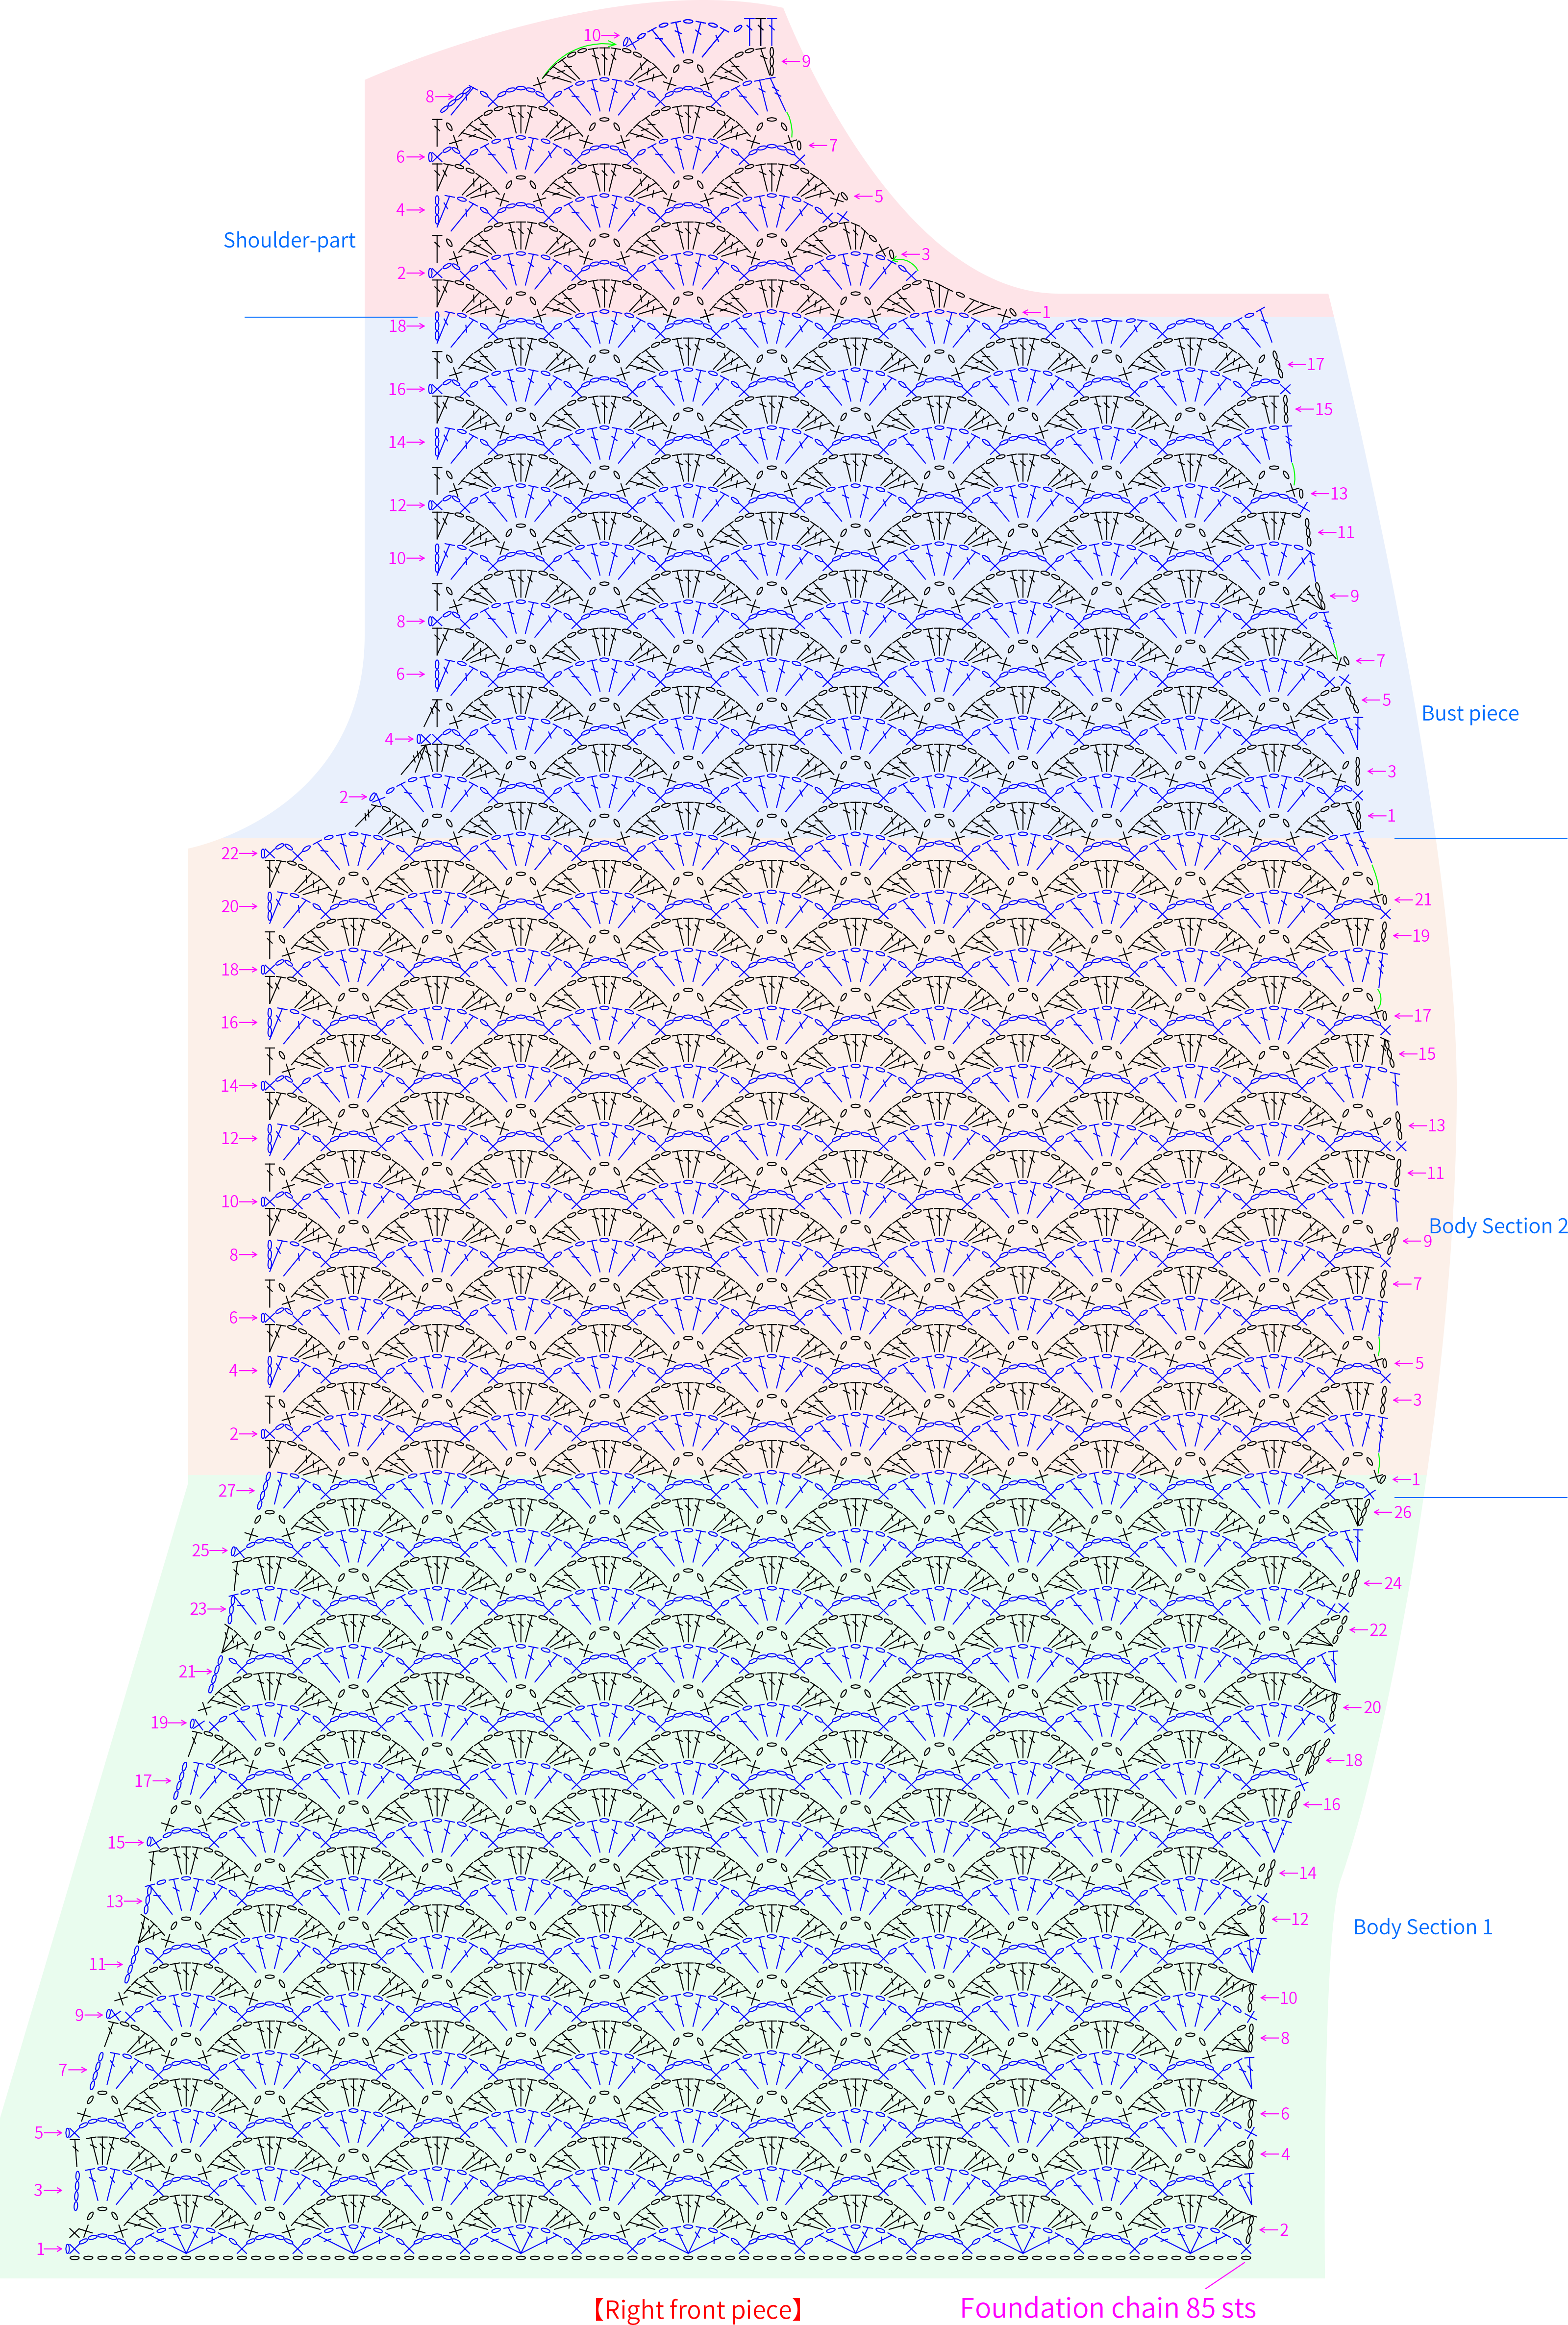
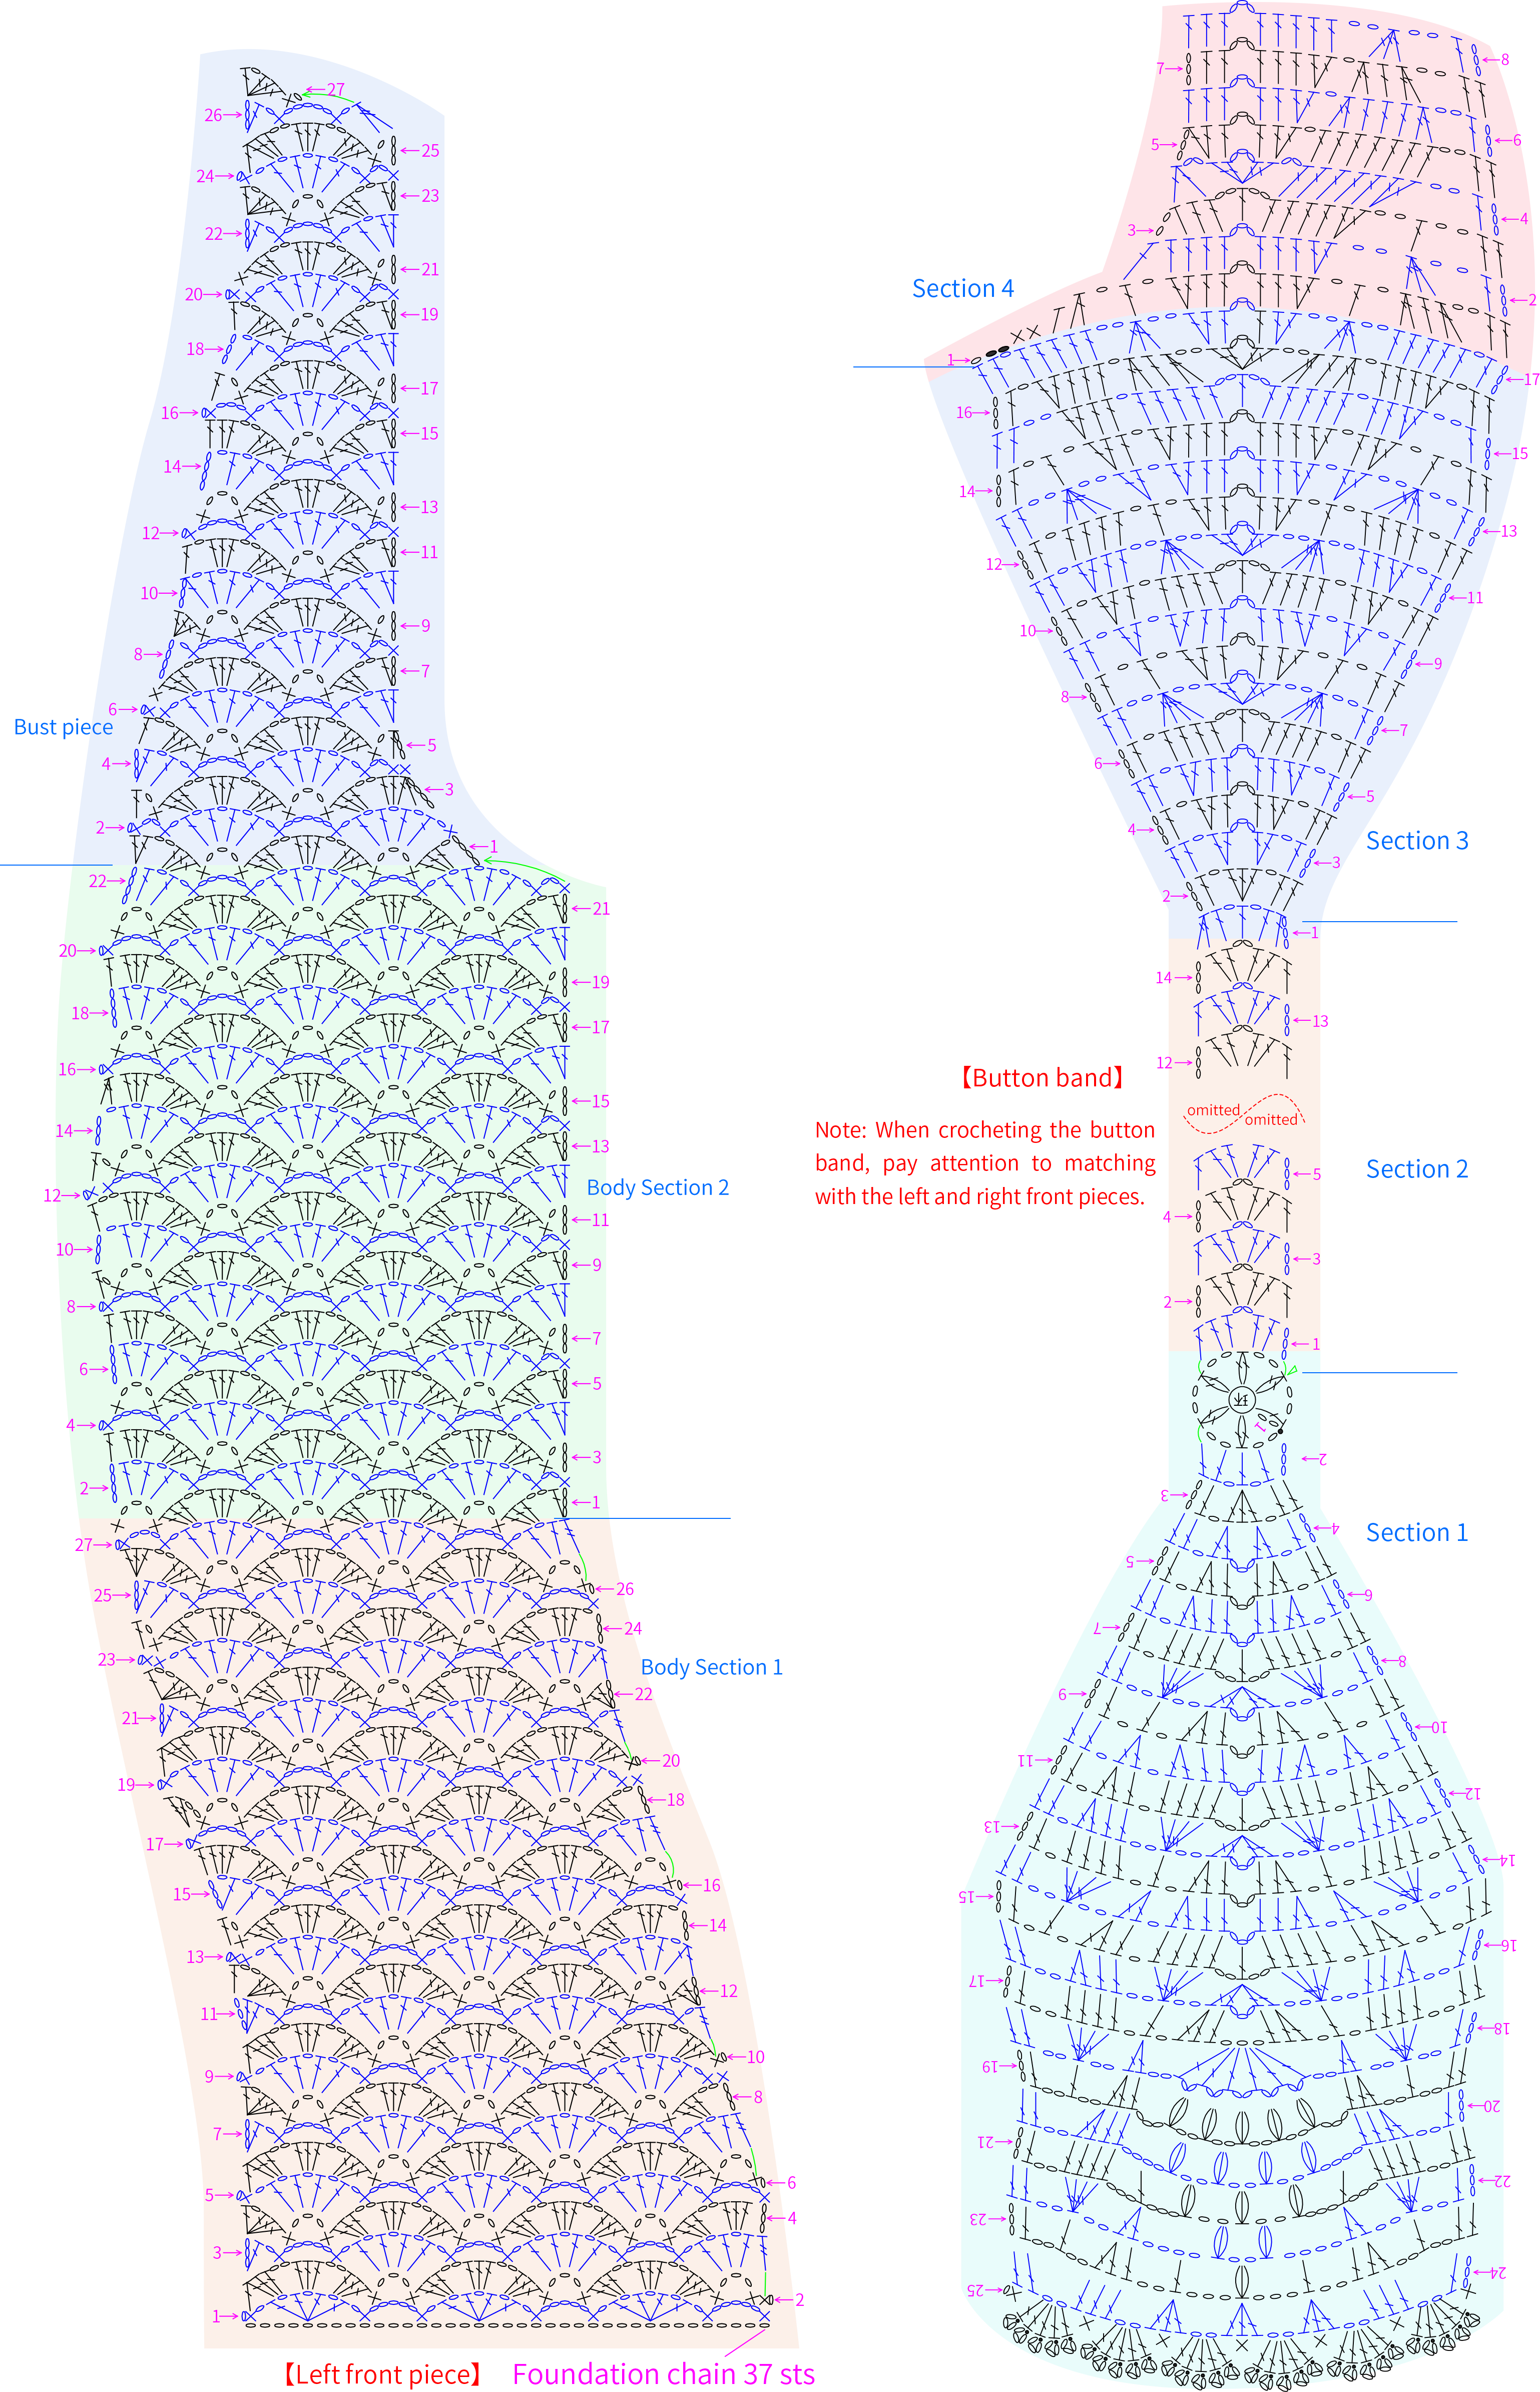
Part 2 Front piecesB 28' 39''
The front pieces are divided into the right front piece, the button band and the left front piece. Crochet separately and then join together. Please refer to the video demonstration for more details.
Part 3 SleevesC 51' 01''
The sleeves consist of the sleeve body and the sleeve cap. First, crochet the sleeve body and the sleeve cap, then join the sleeve body, shoulders of the front and back pieces, and the sides of the body together. Next, attach the sleeve cap to the armhole position. Finally, crochet the bordure. Please refer to the video demonstration for more details.
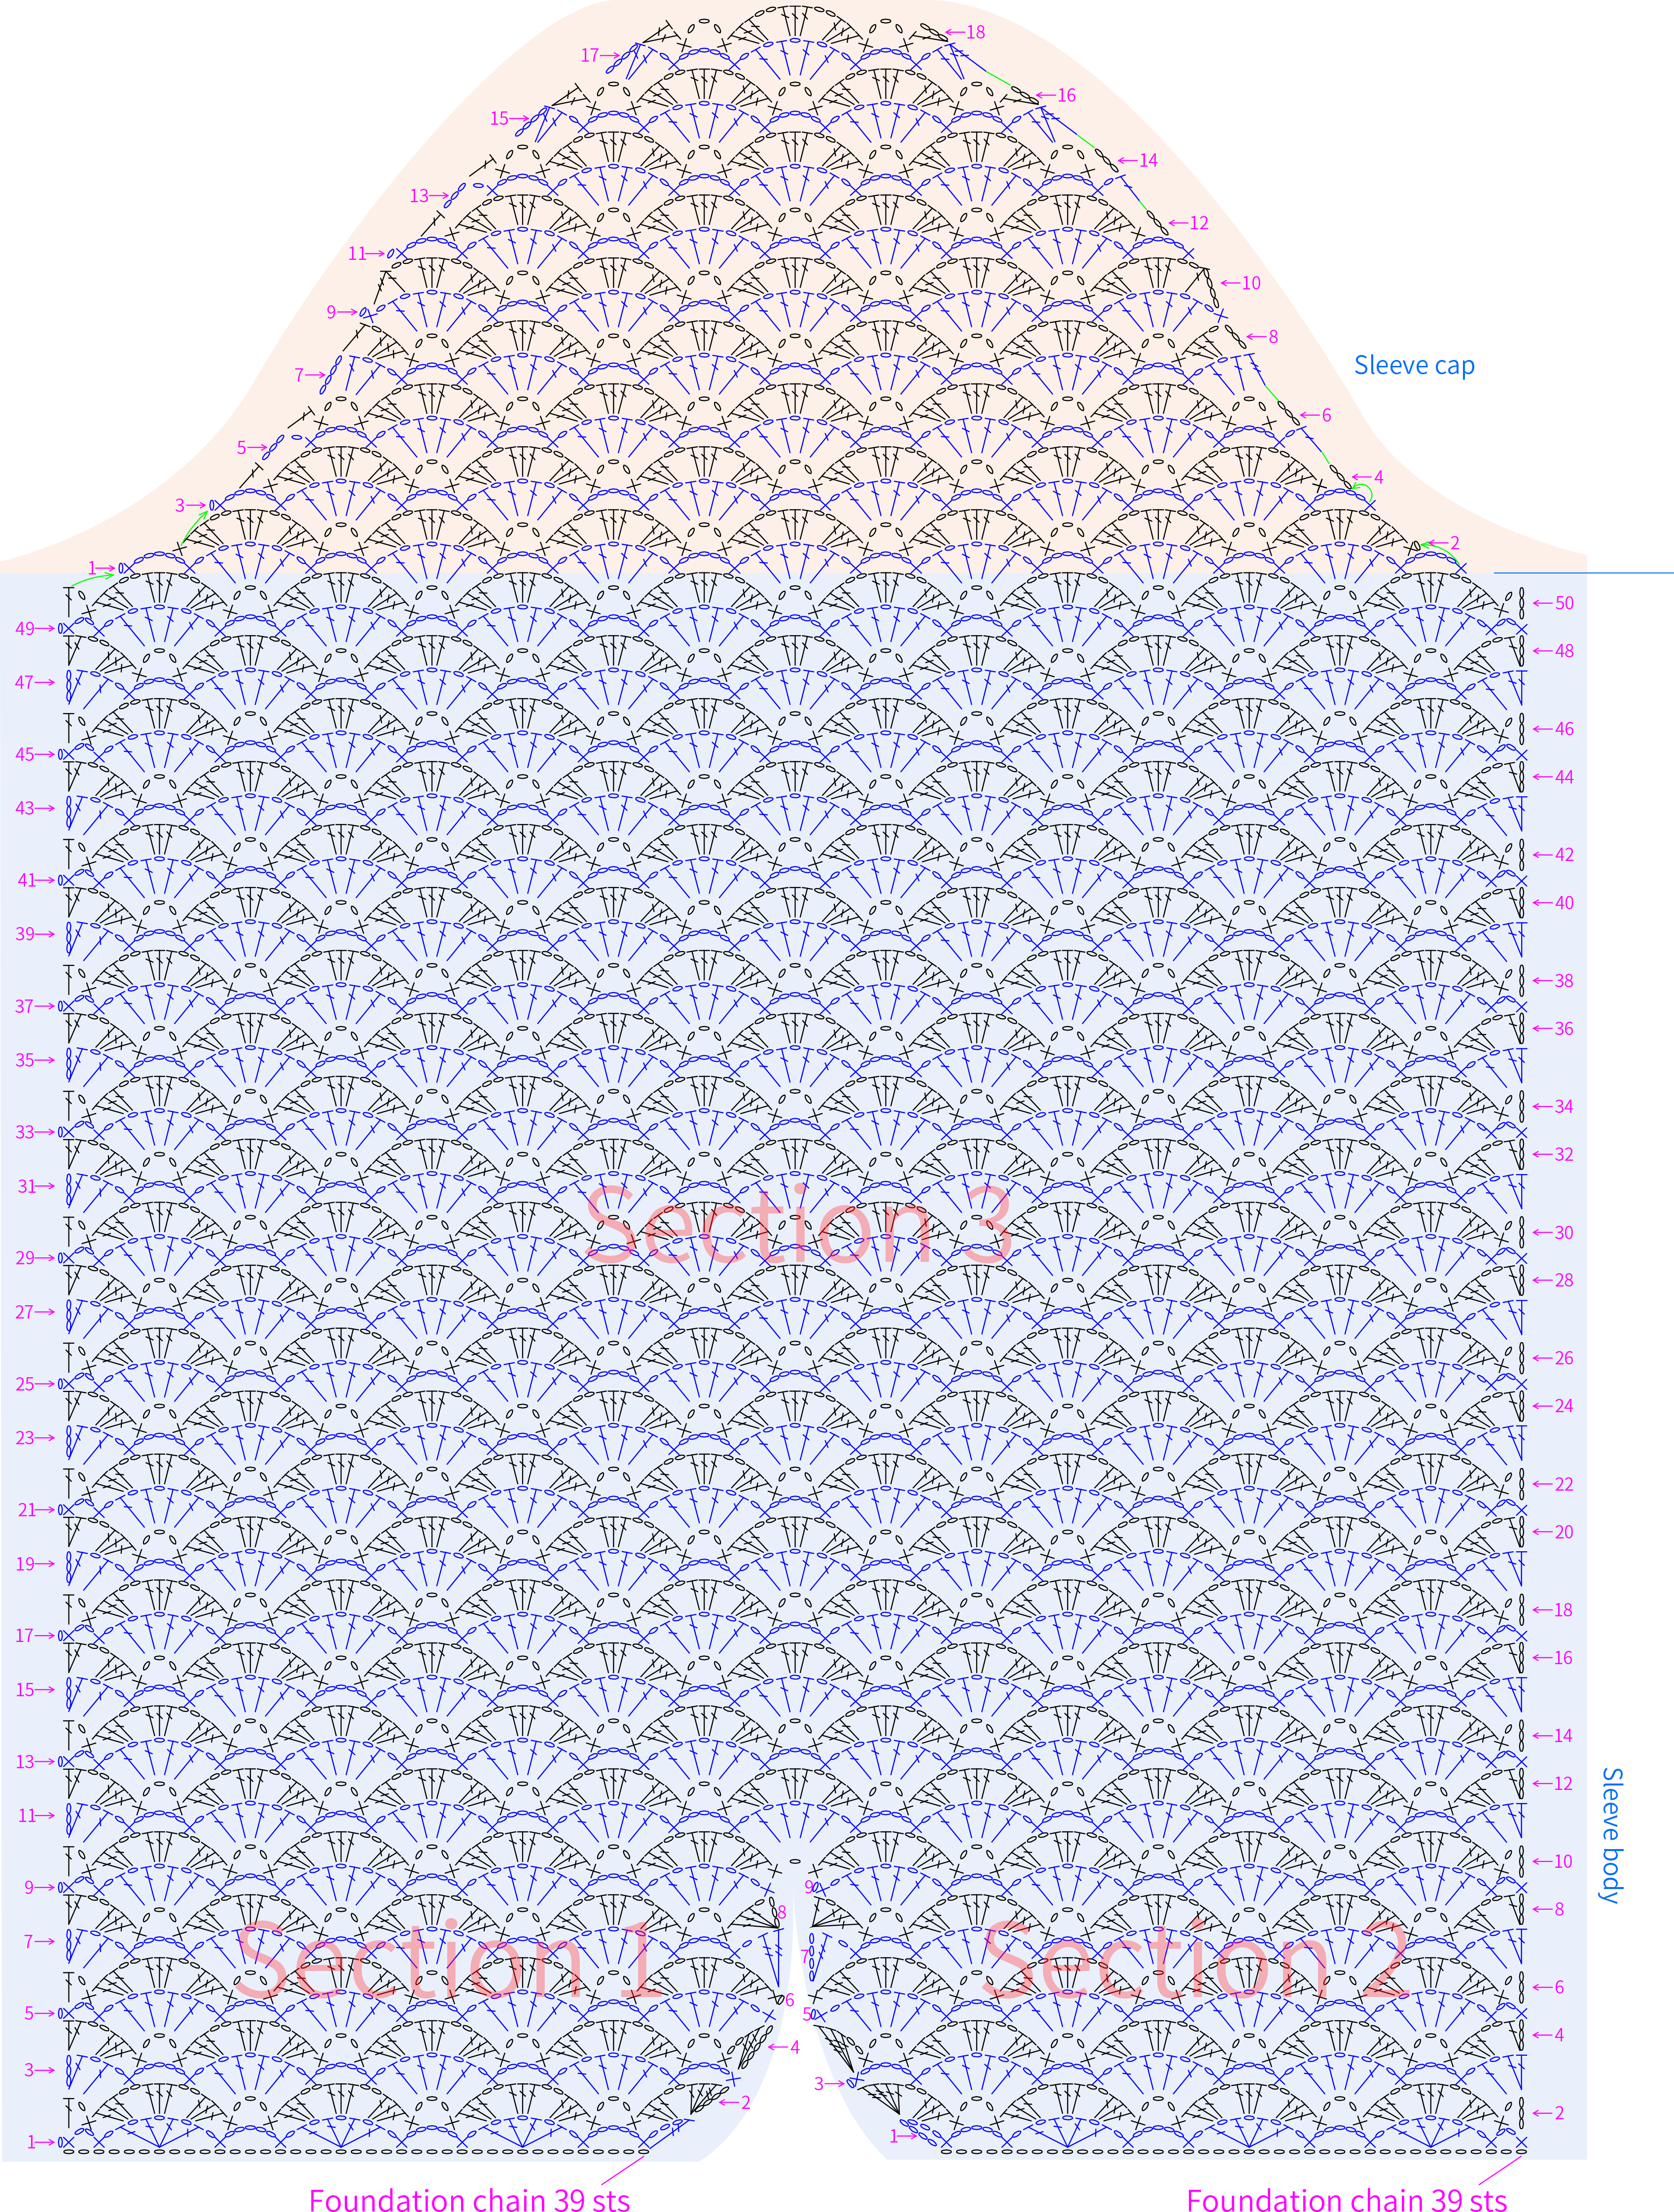
Part 4 CollarD 66' 07''
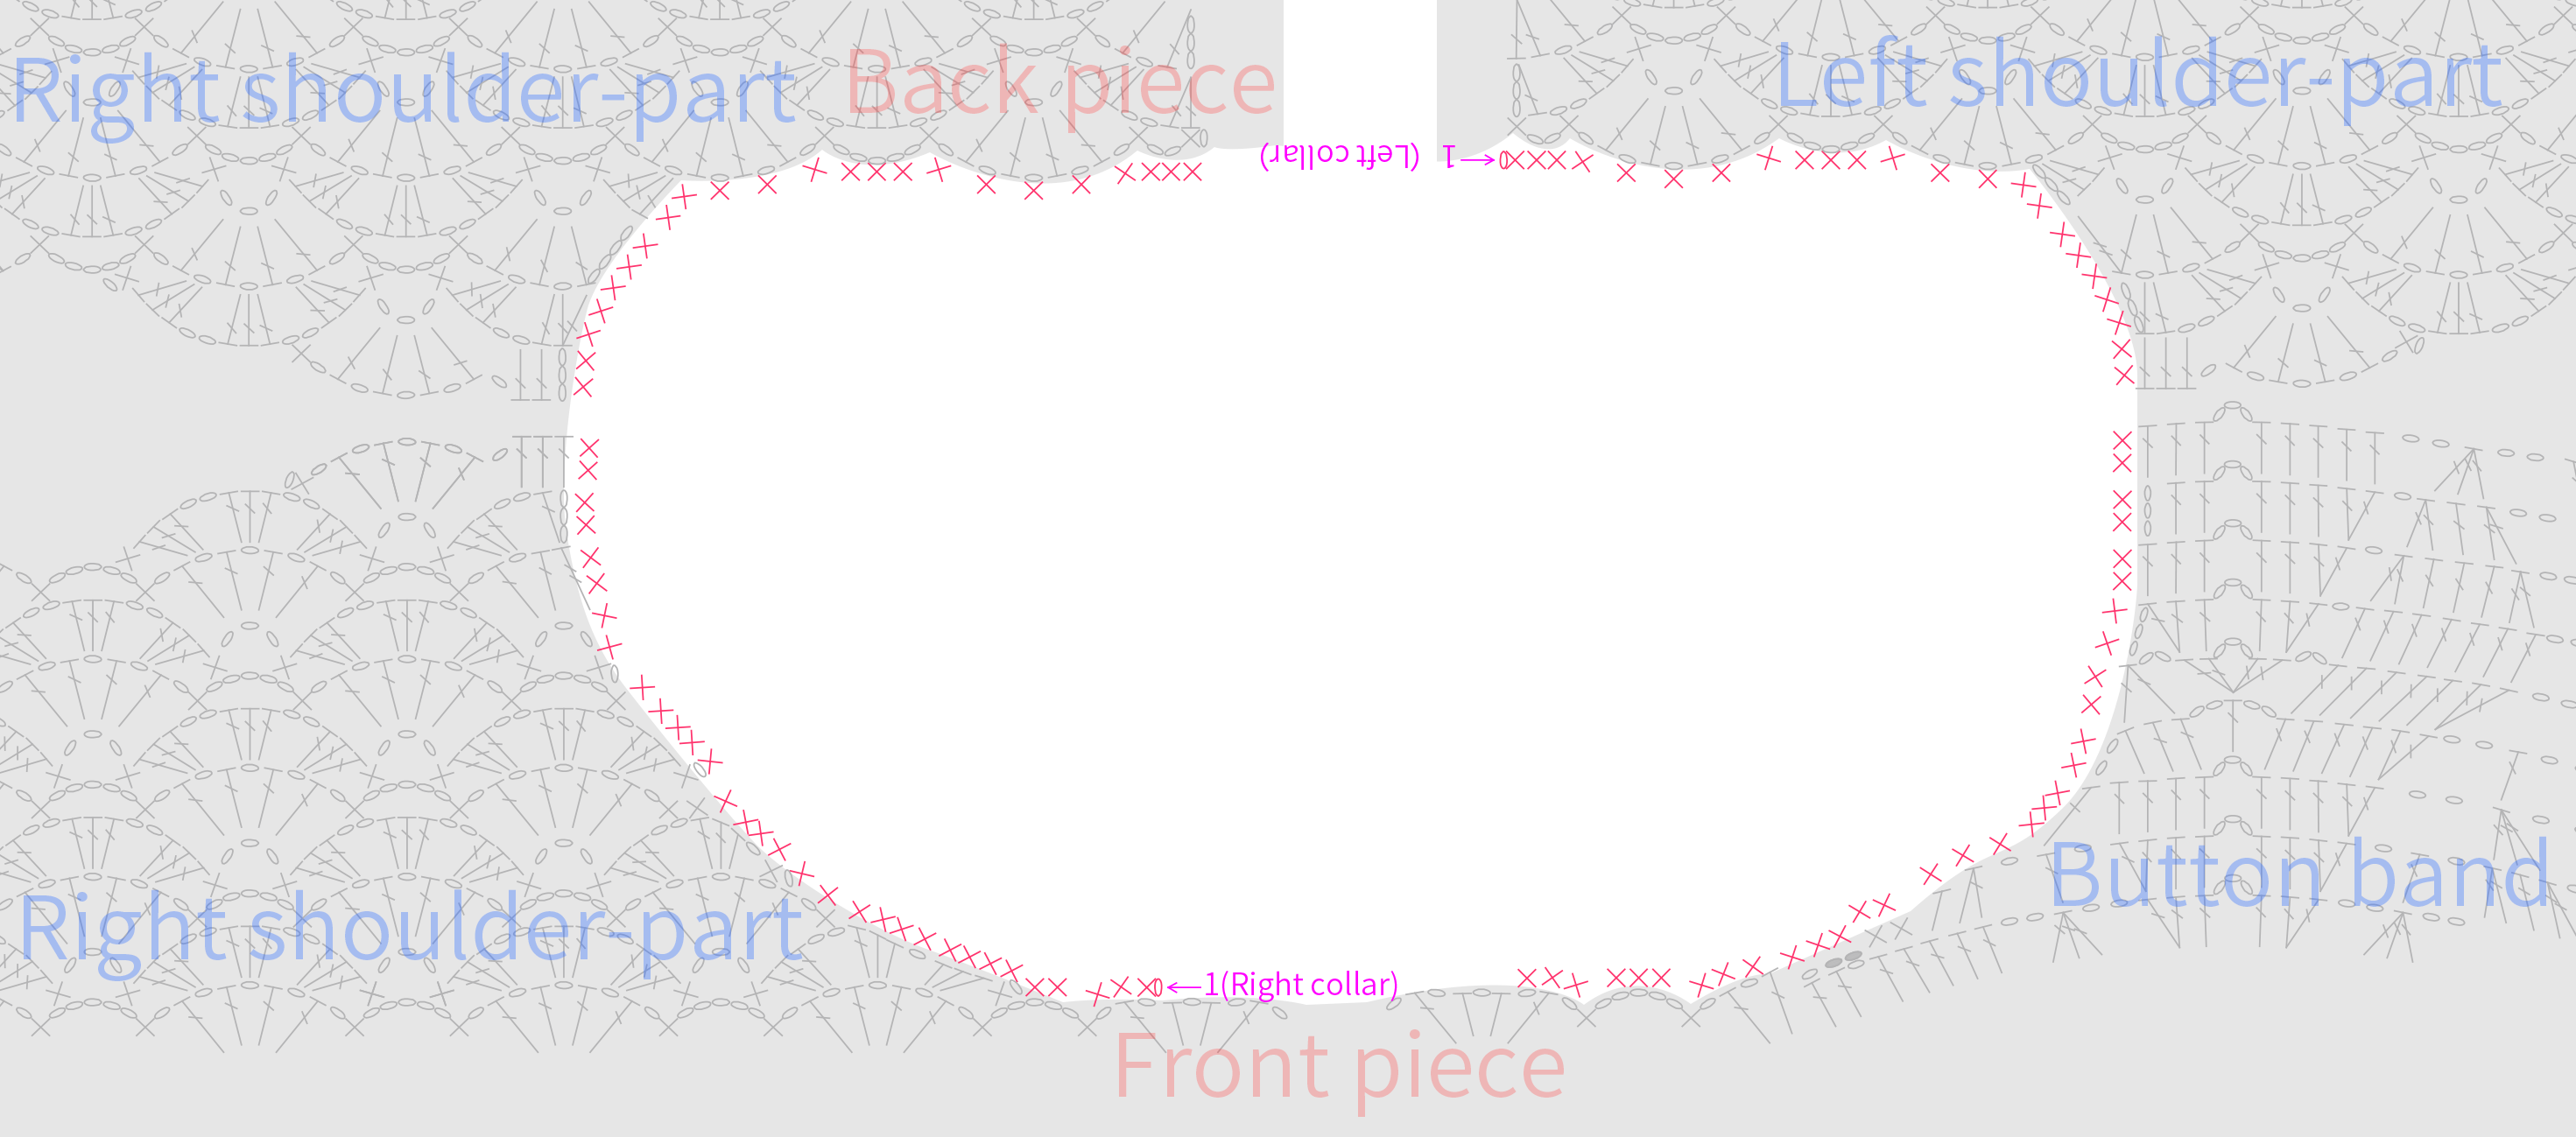
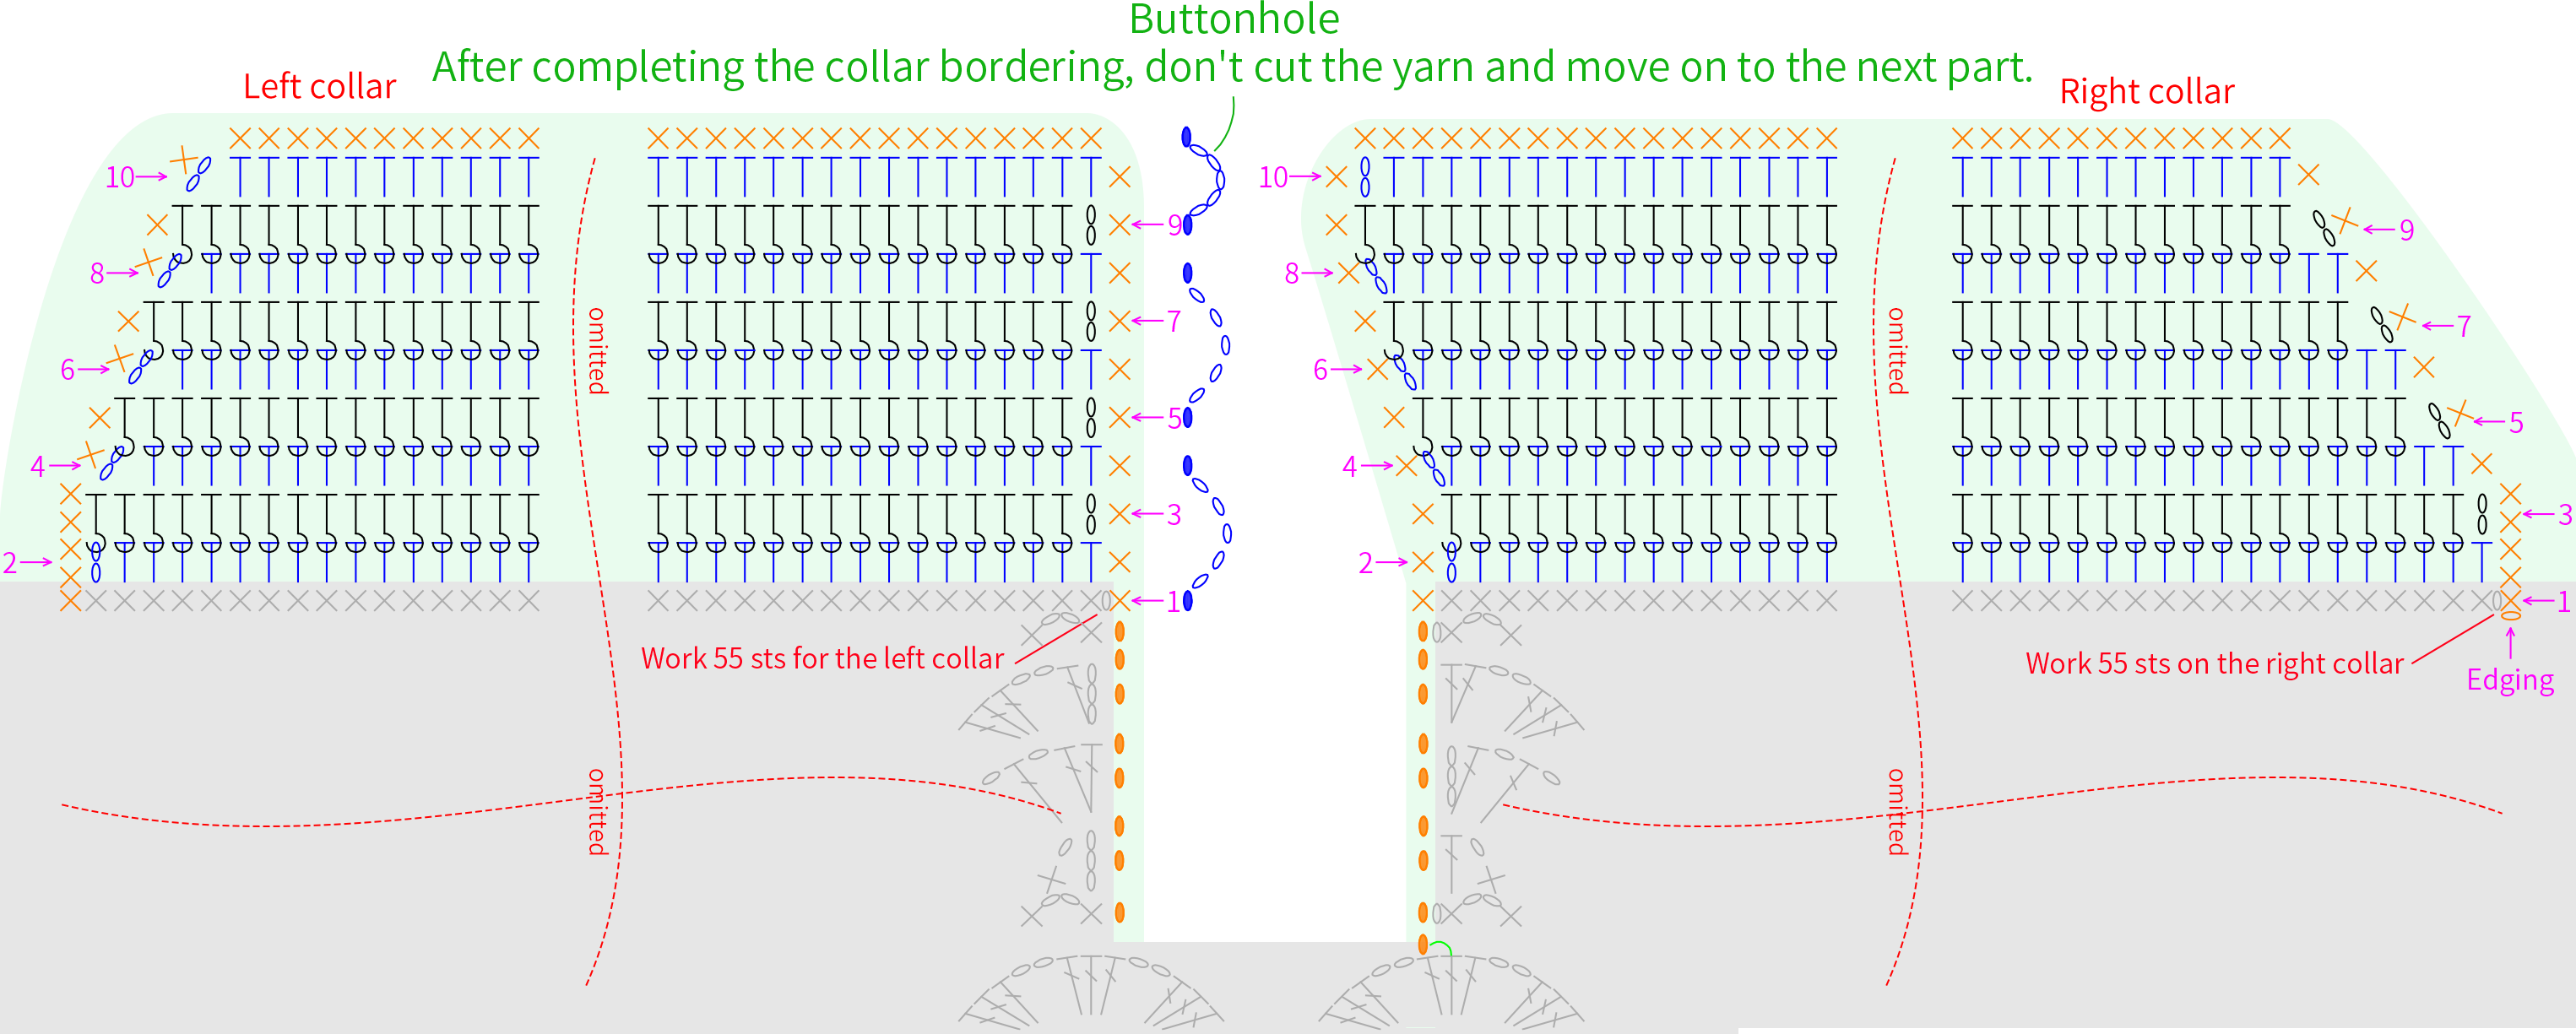
The collar is divided into the left side of the collar, and the right side of the collar. We'll cover the edging and the bordering. Please refer to the video demonstration for more details.
Note: Due to the stitch and tension issues, the fabric naturally angles to the right. Increases were made on the left side of the right collar. If you find that the left side of the right collar protrudes to the left after crocheting, you can crochet it evenly instead. Adjust according to your own situation.
Part 5 DecorationsE 78' 53''
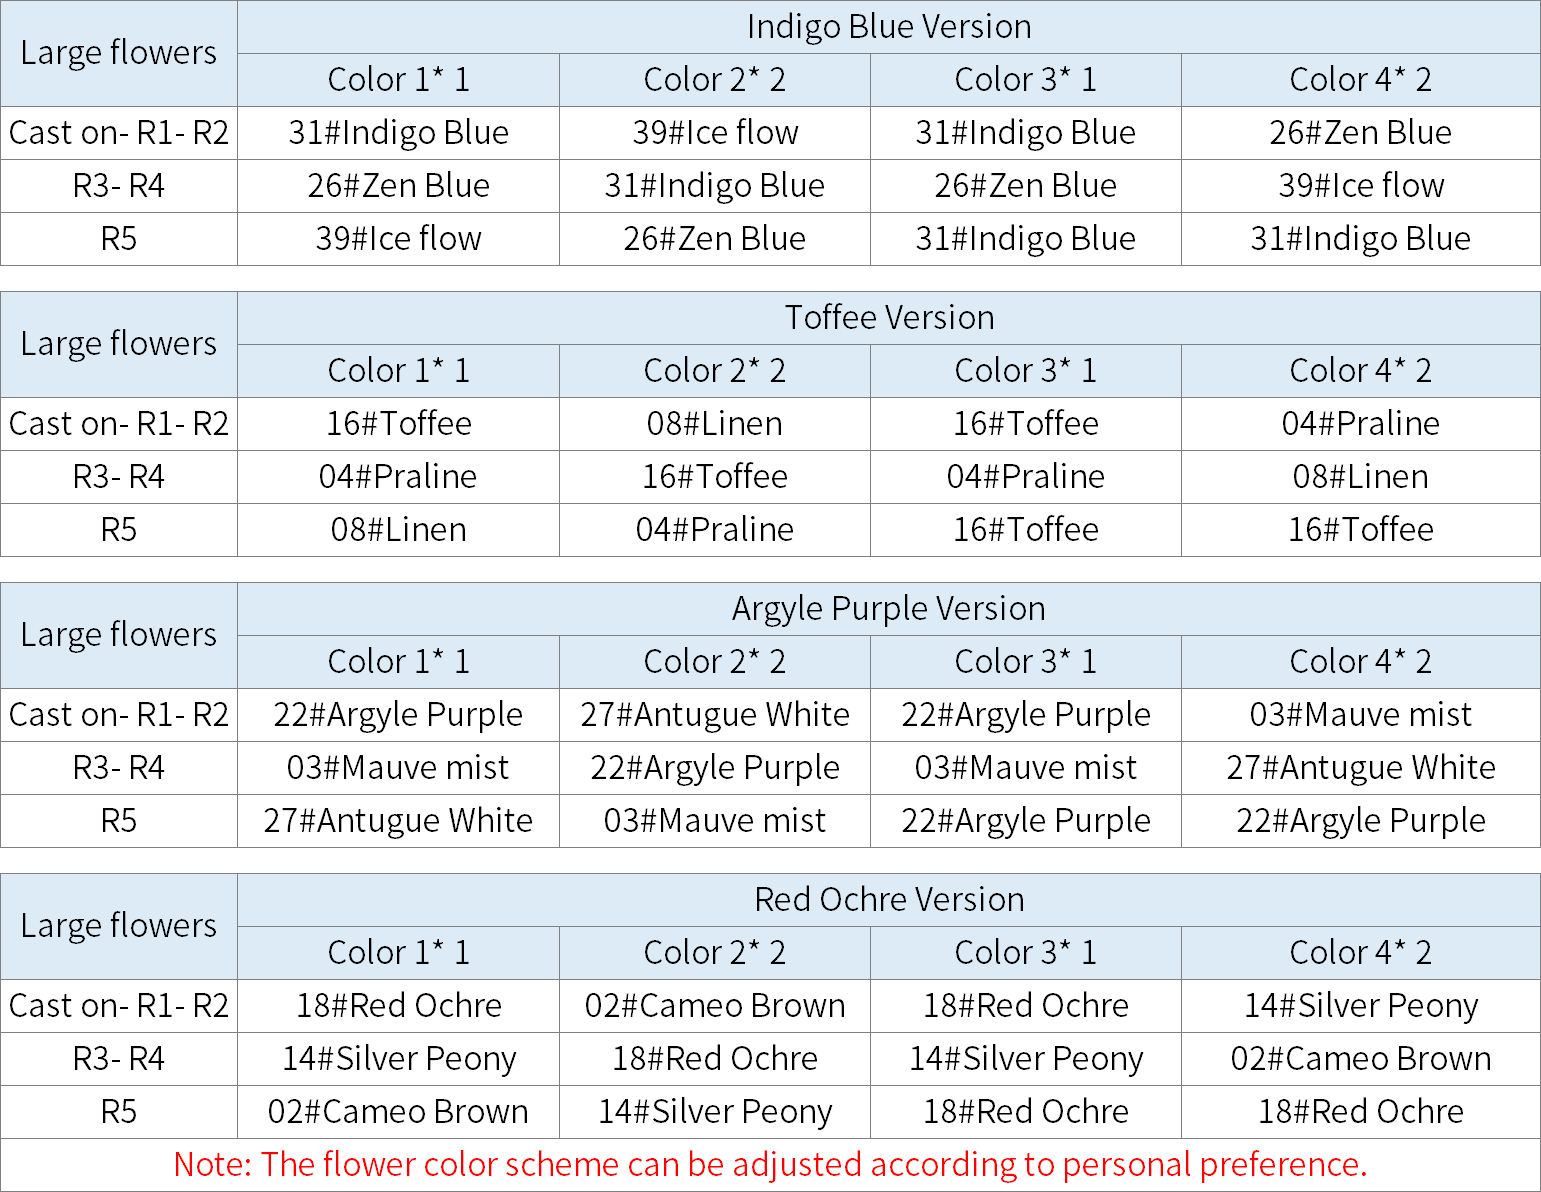
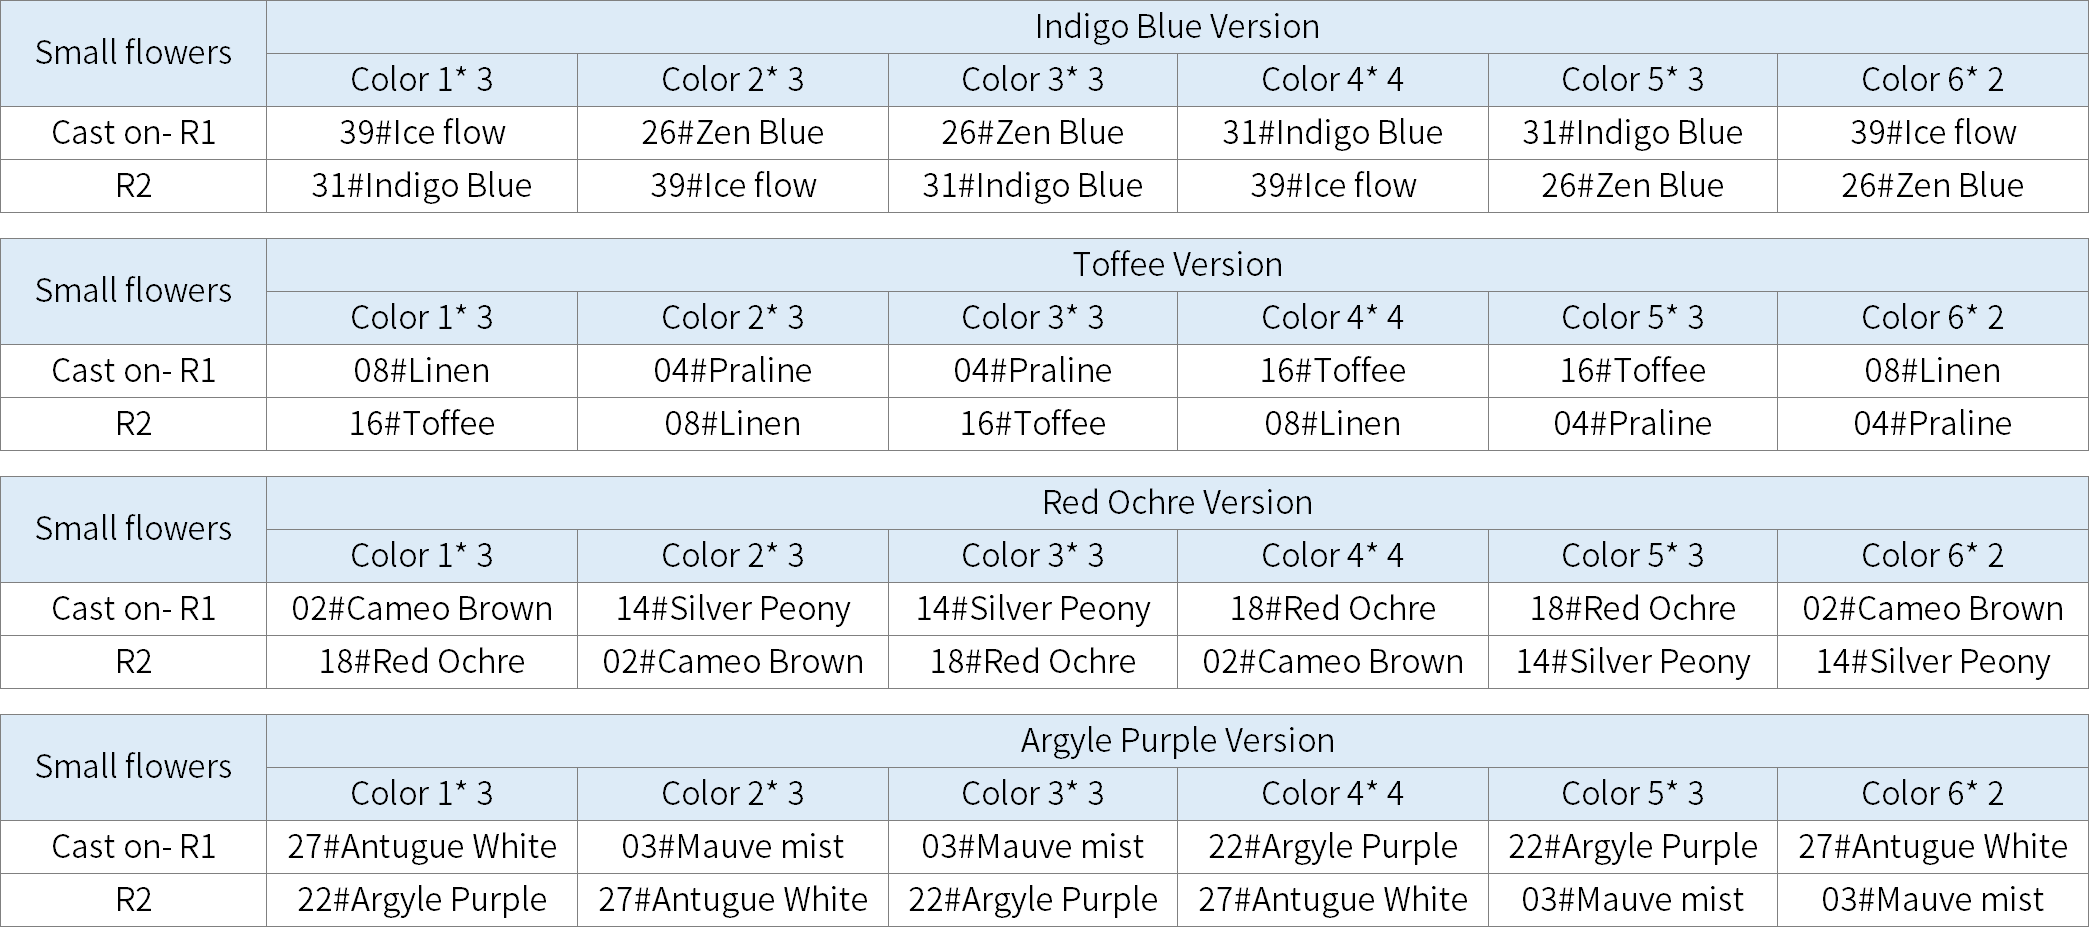
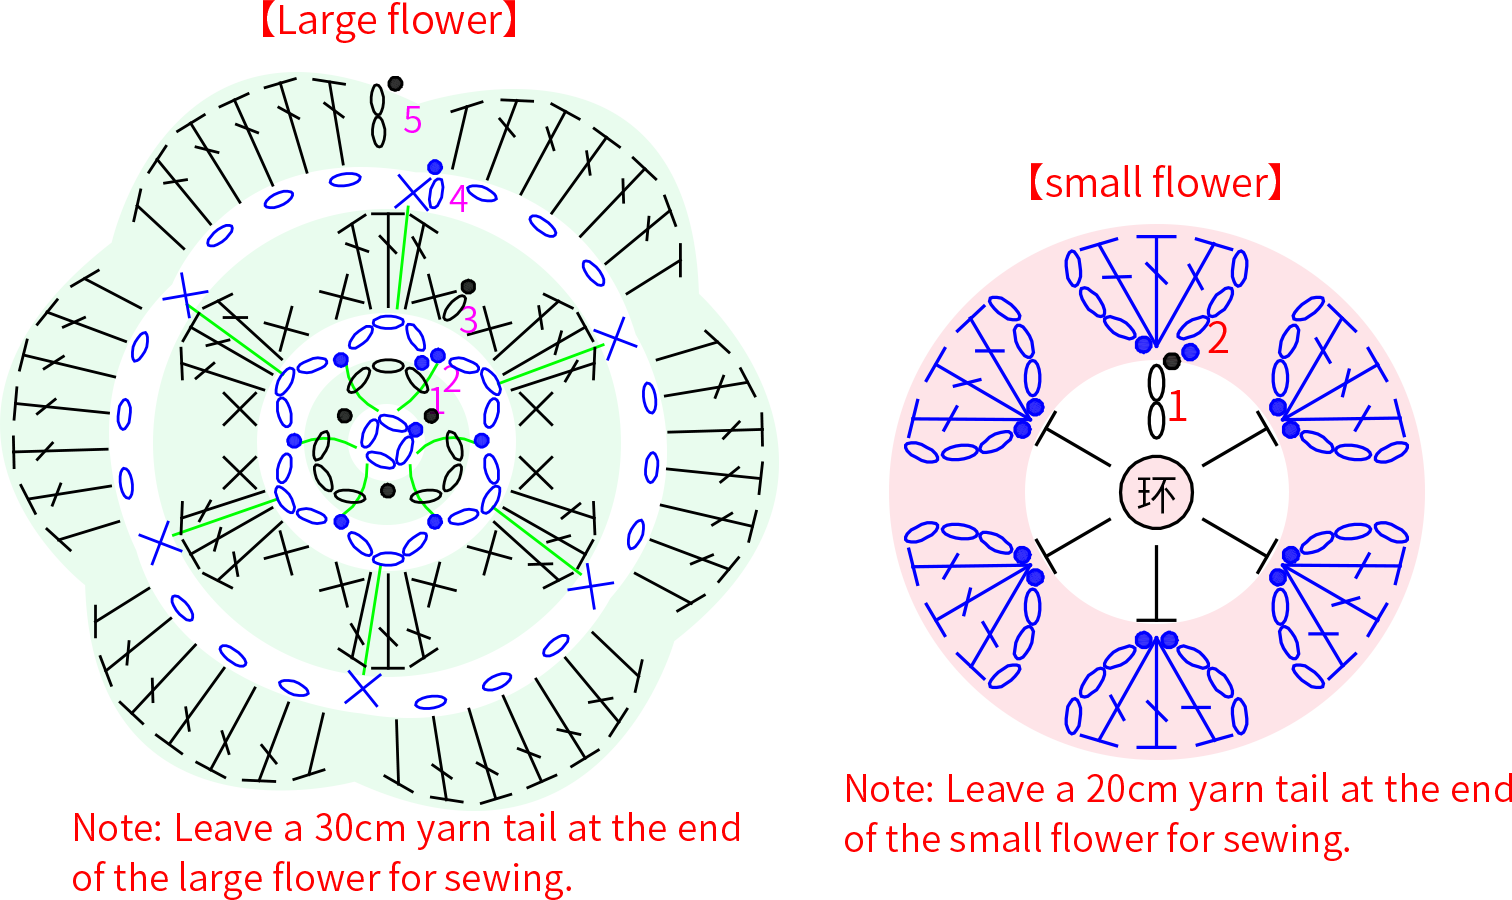
Decorations include the hem edging, drawstring, large flowers, small flowers and buttons. Please refer to the video demonstration for more details.


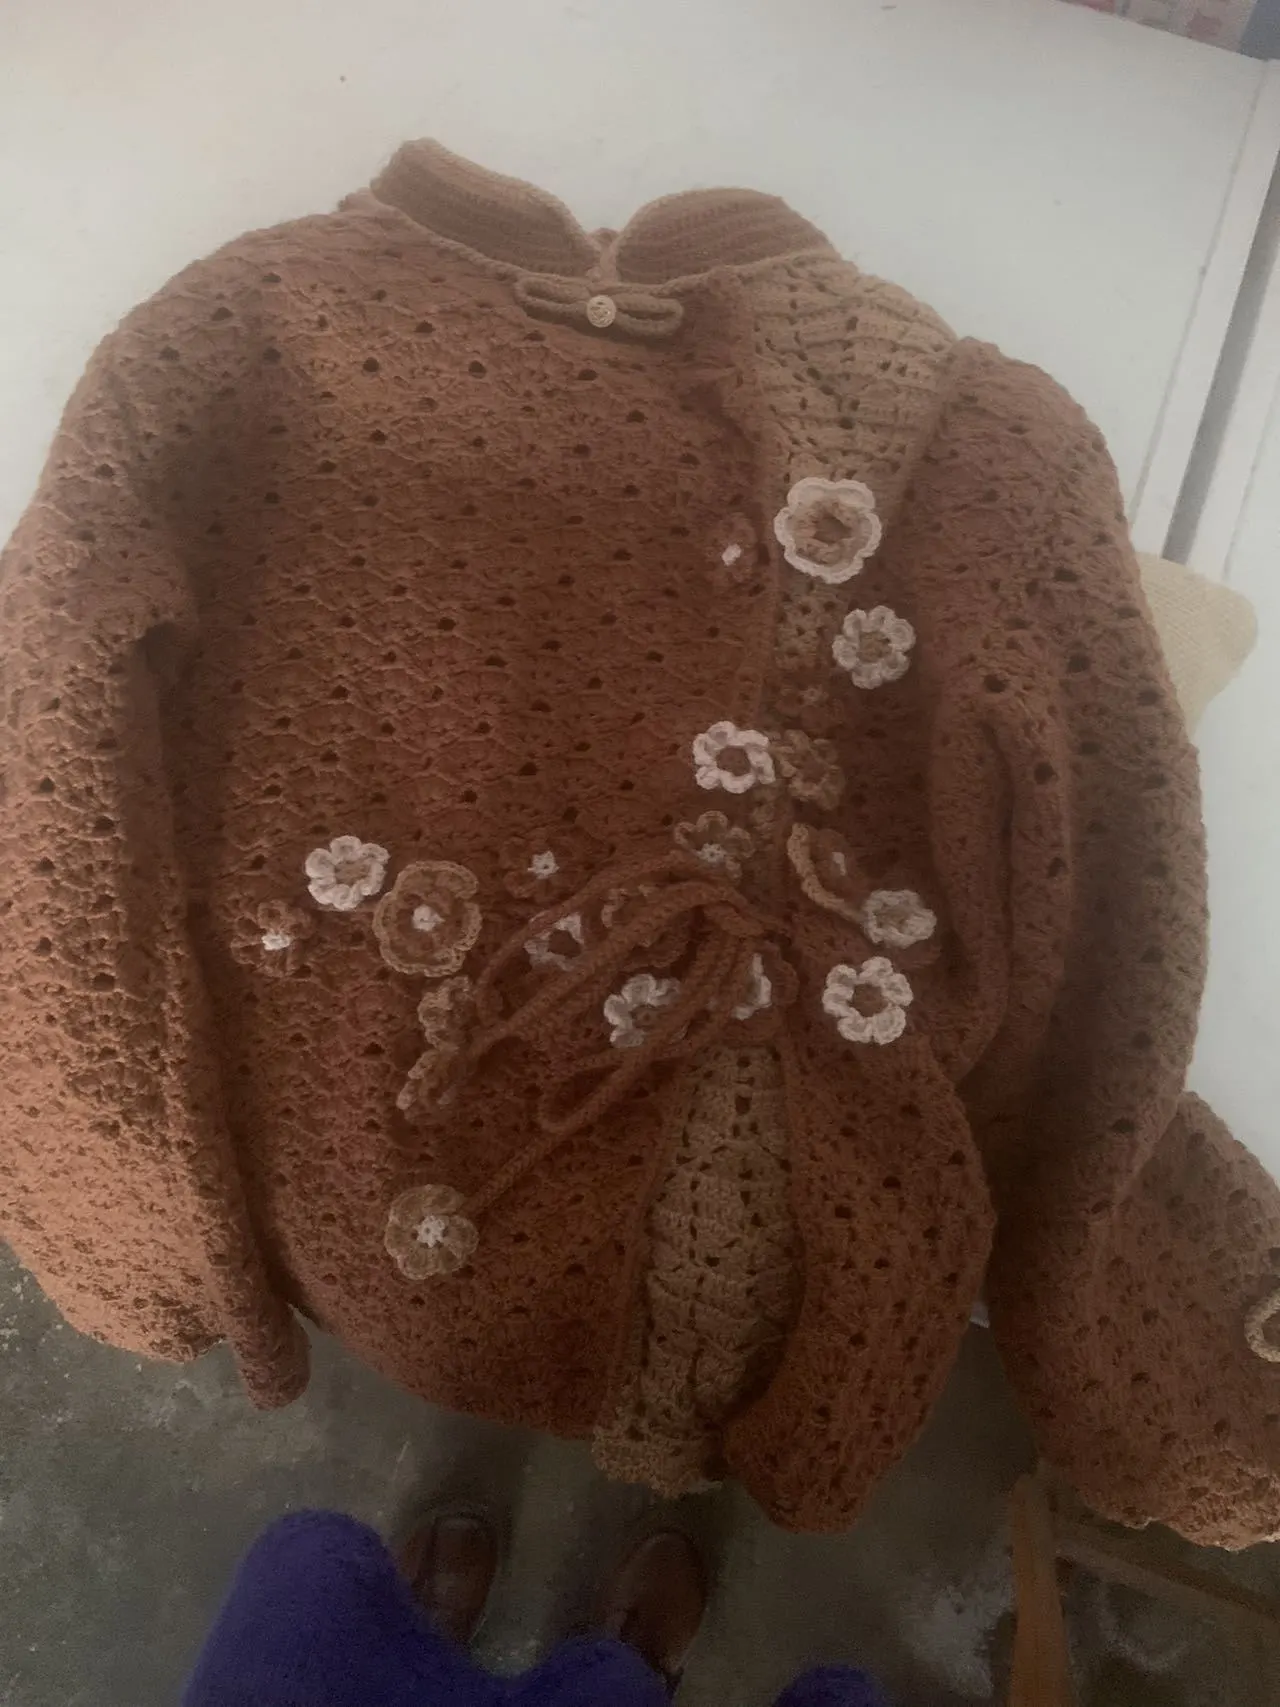
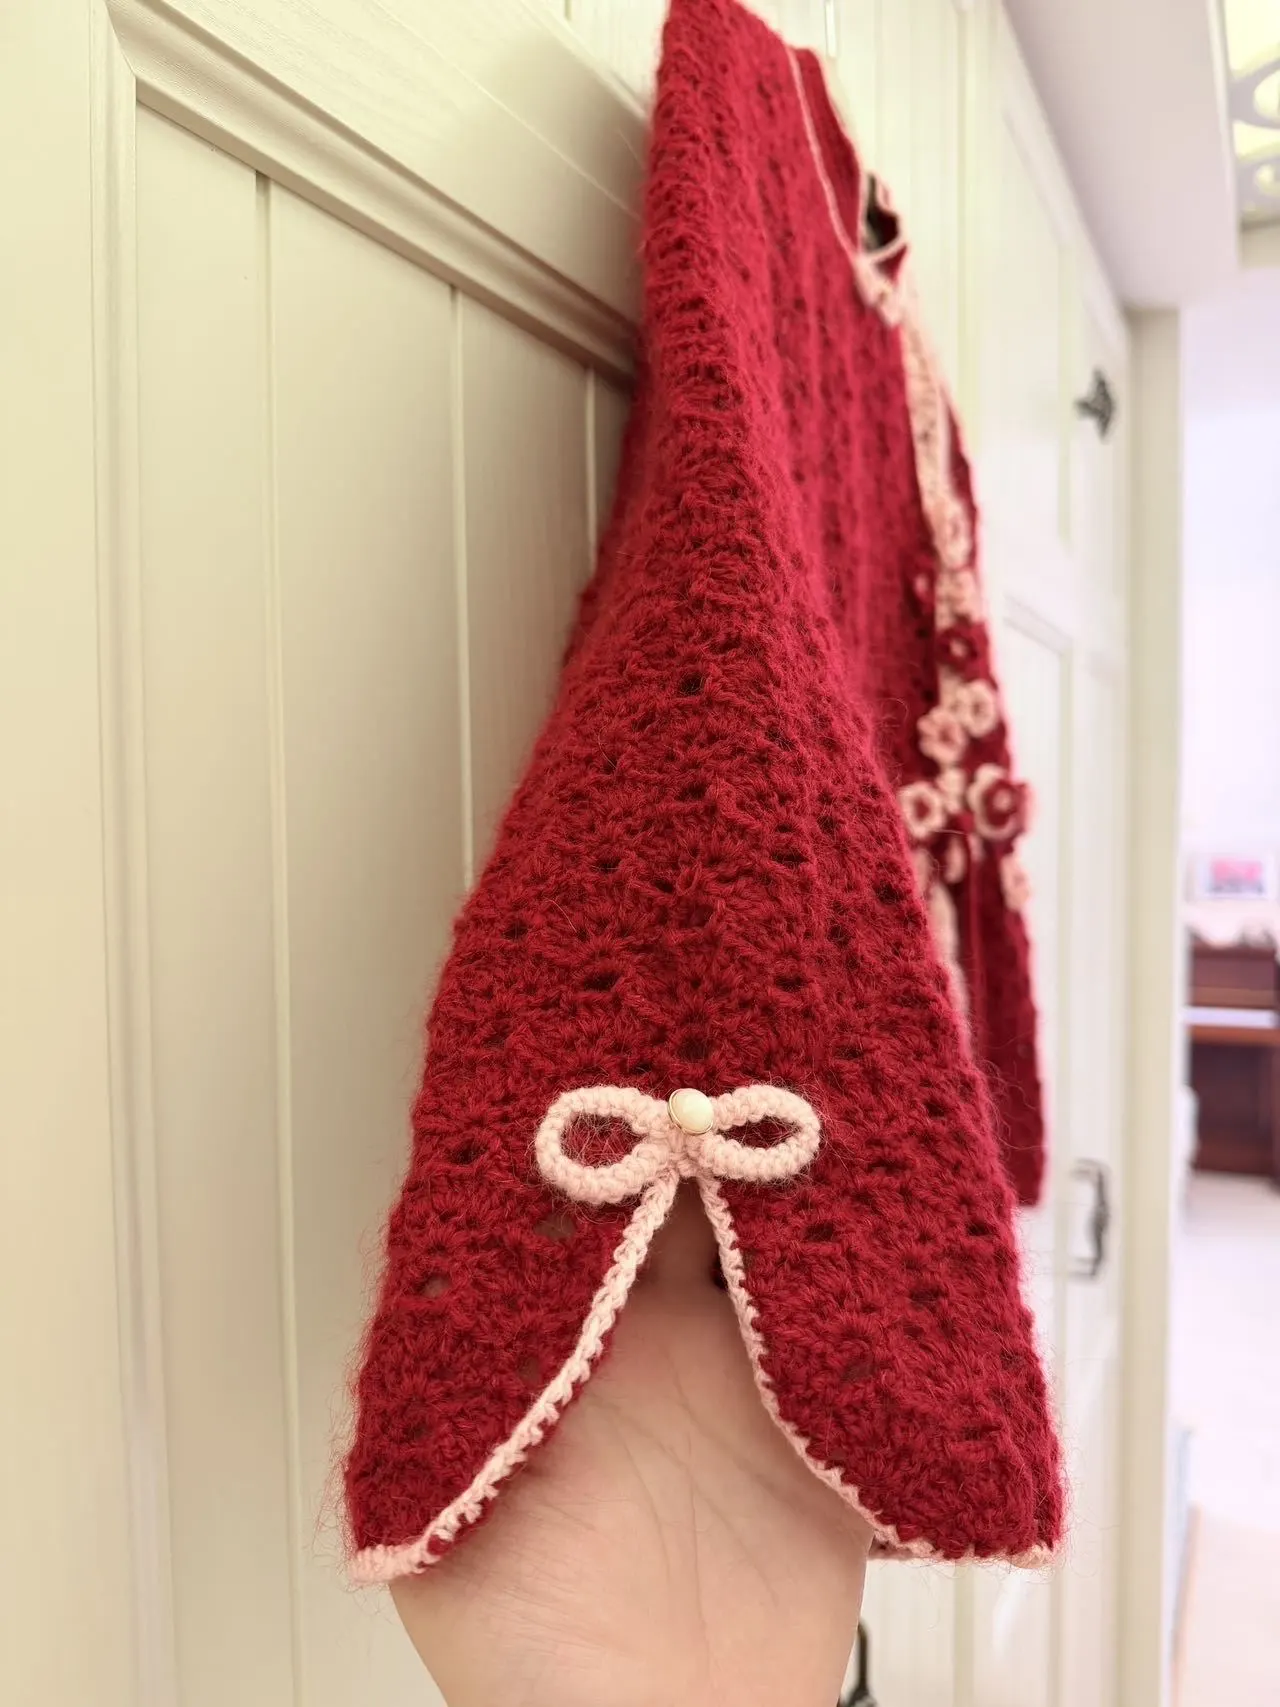
Made by the community