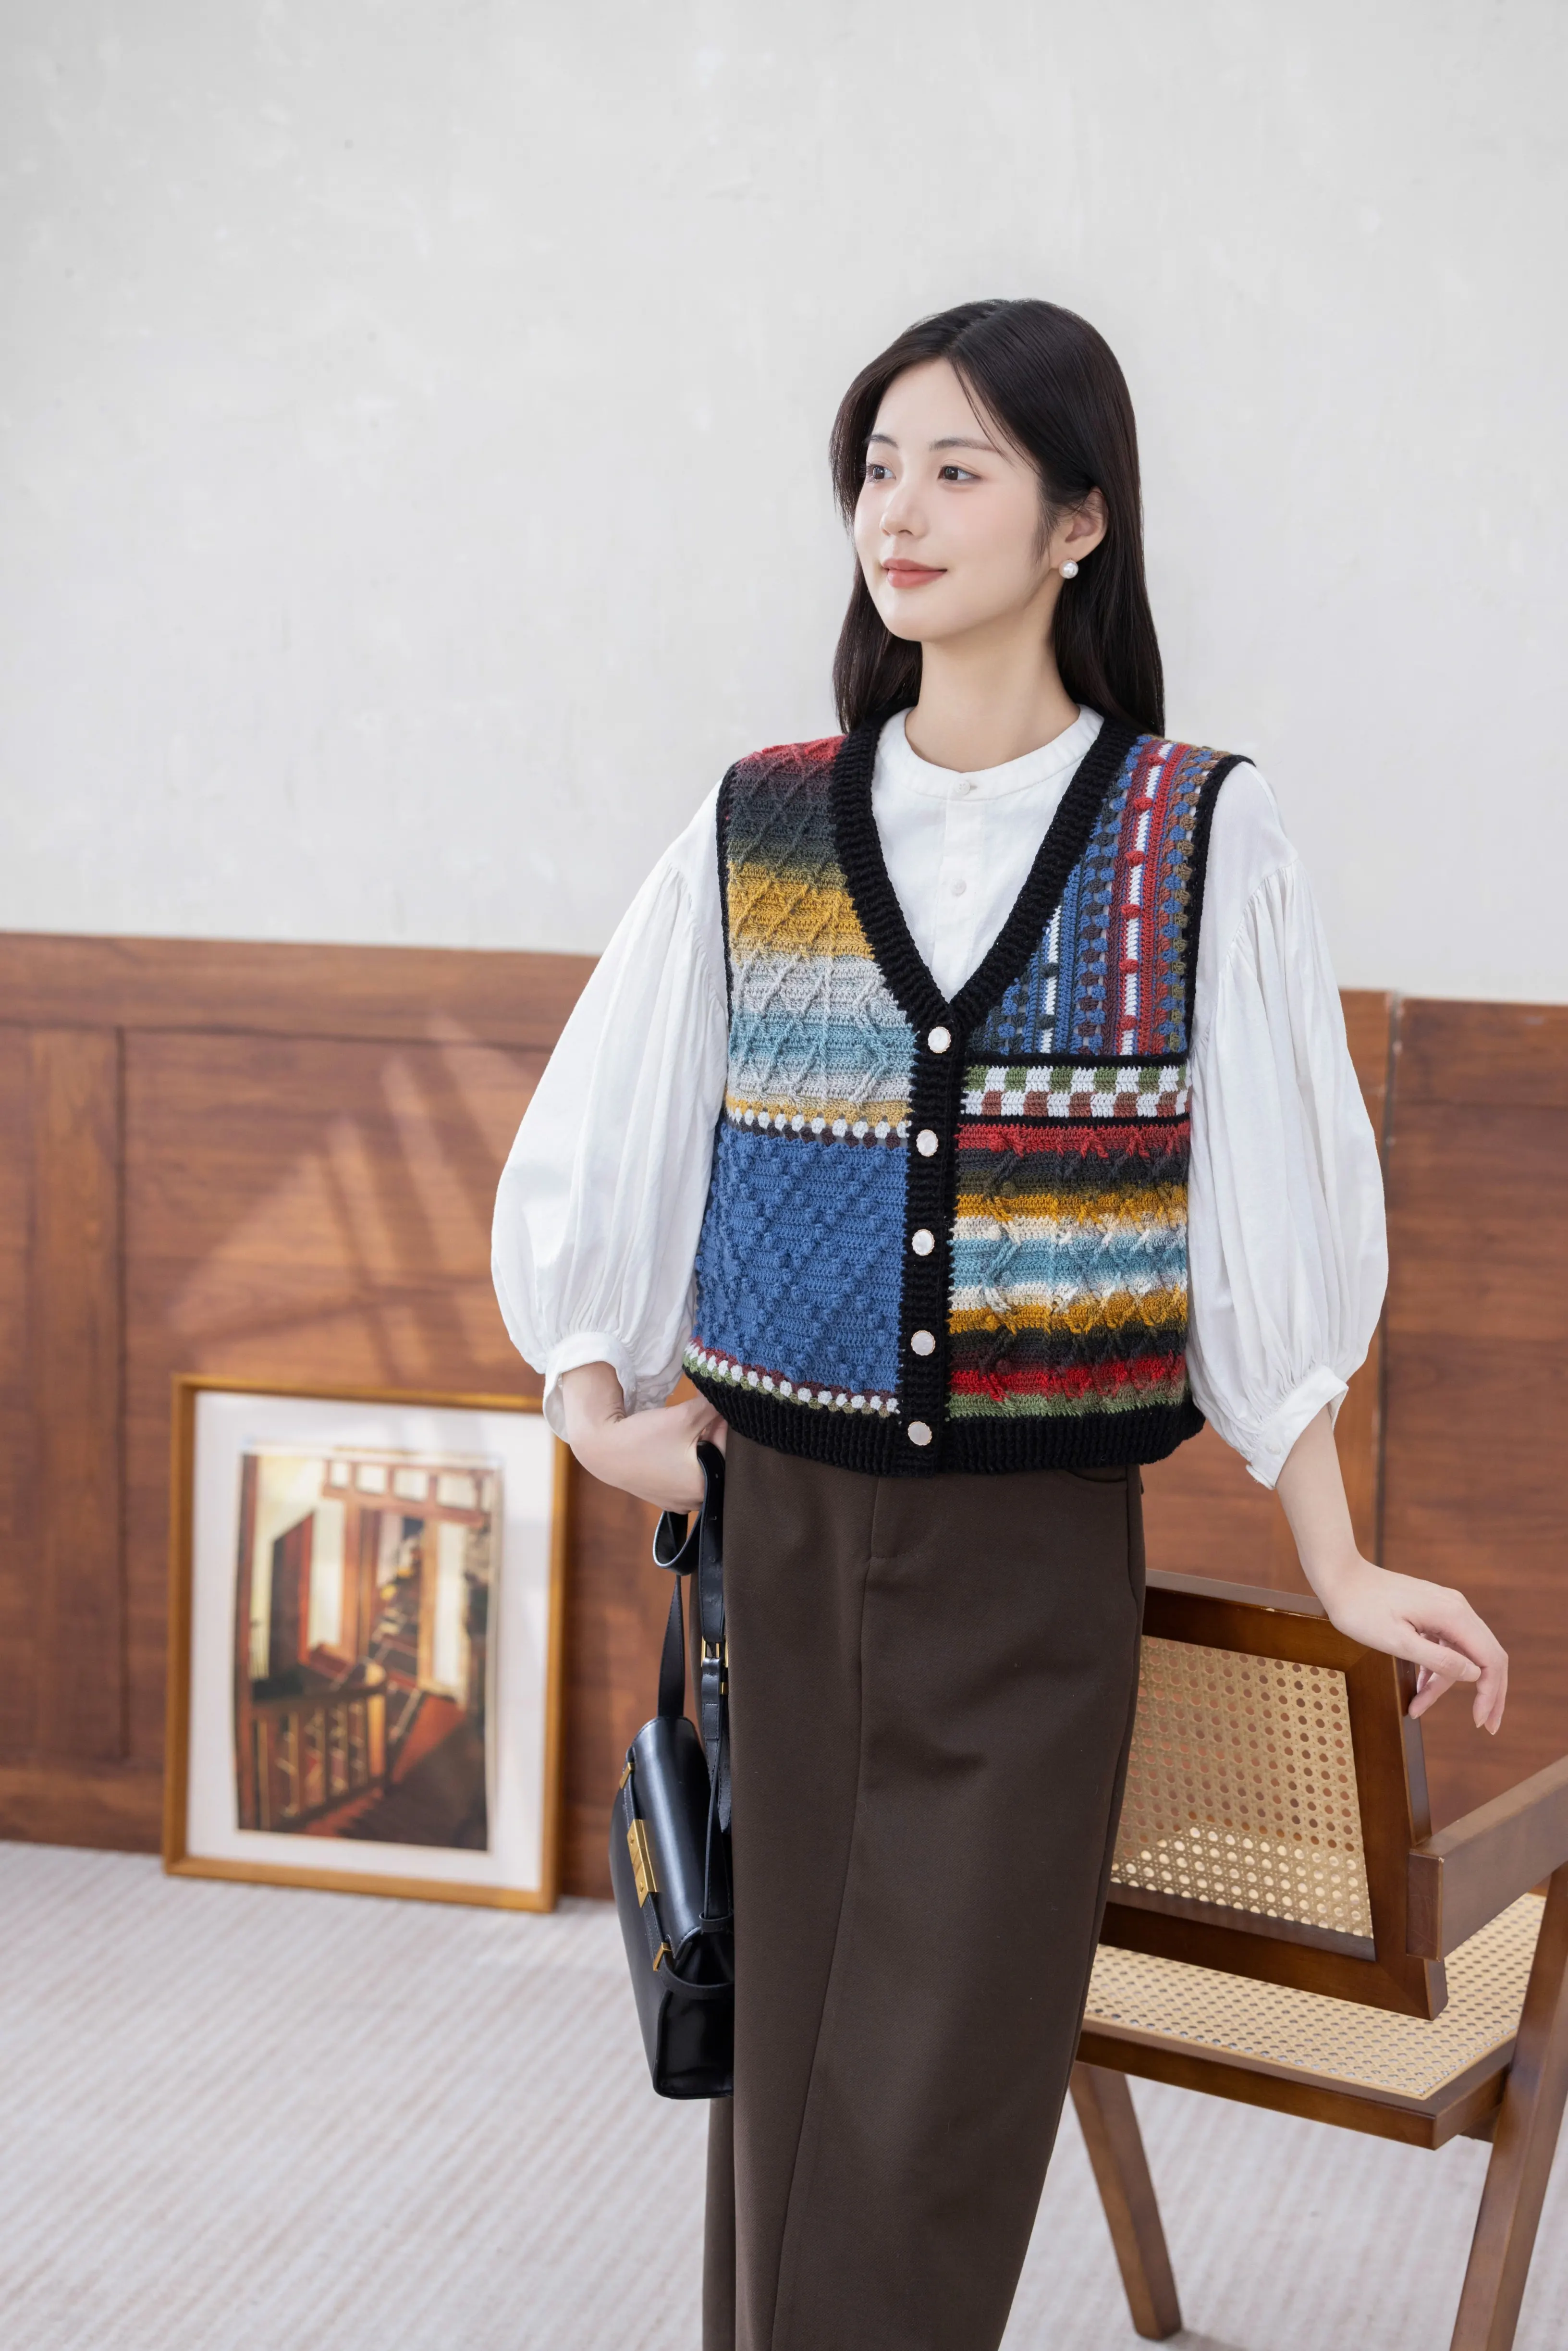
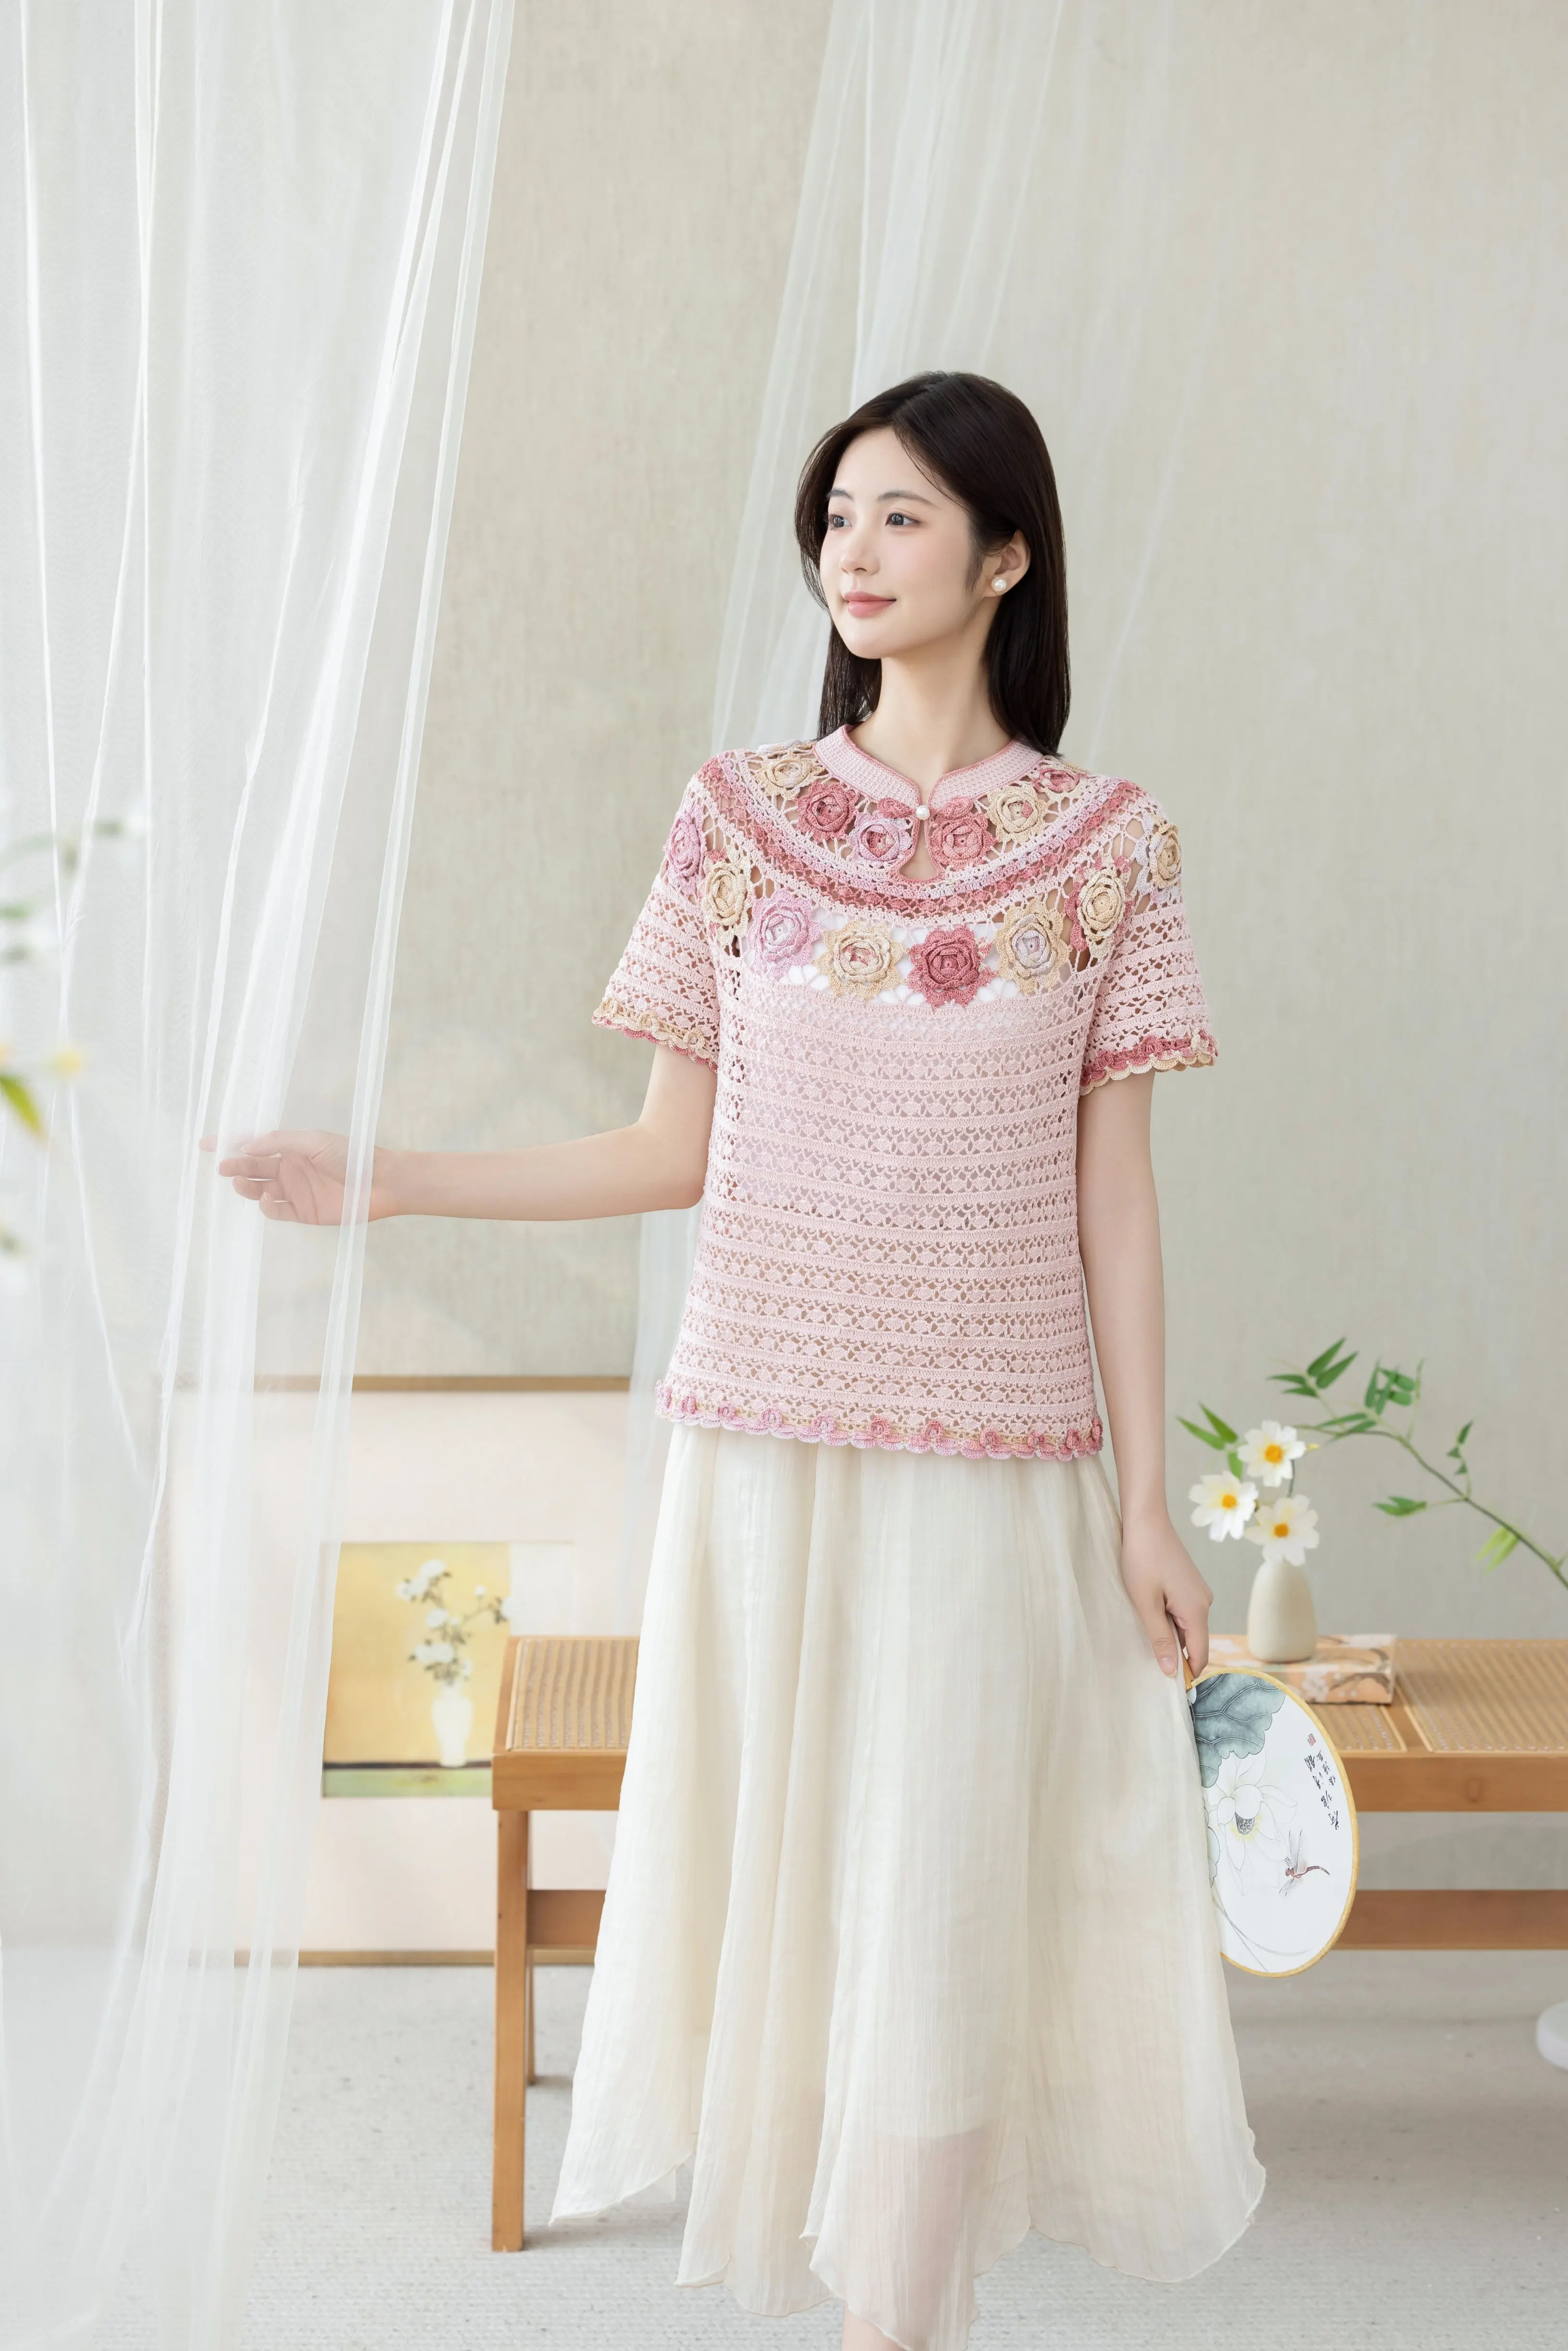
Clothes
Summer Dream Top
Project preview
See the finished project
Pattern format
Instructions
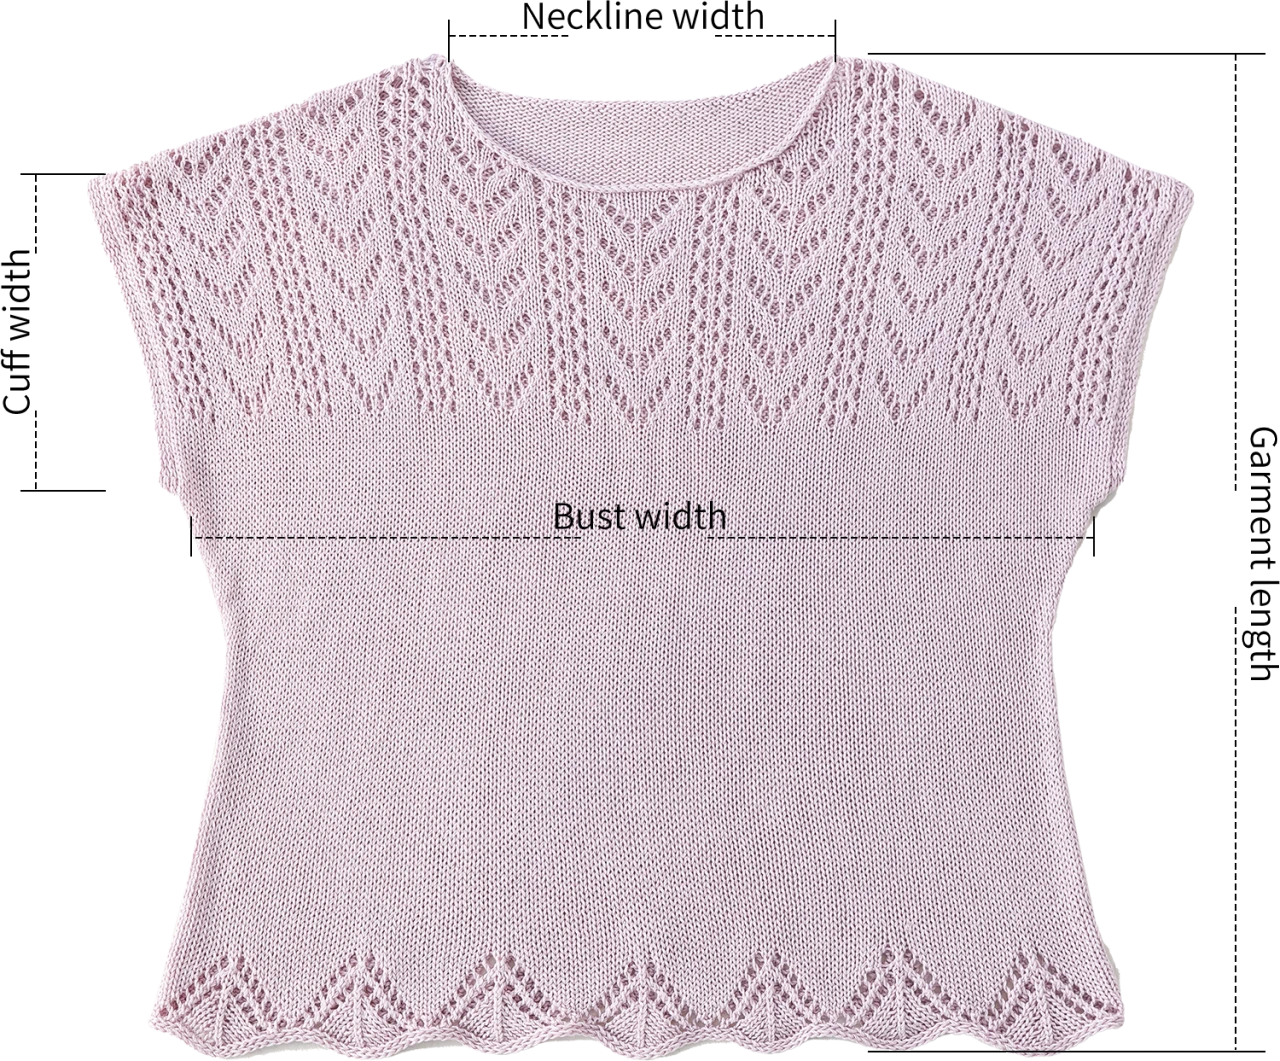

The handcrafted measurements may have an error of 1 to 2 cm. Due to variations in individual tension, the size of the sample is for reference only.
Materials: Susan's Family Morandi Silk Touch Tencel Yarn
Needles: 3.75 mm circular & straight needles
Chart Key





Note: 1. This pattern is making in Chinese crochet pattern terms, and the stitch name is written using American terminology. All measurements in charts are in cm.
2. The chart represent the right side of fabric, so check the key to see how to work a certain symbol on the right side and on the wrong side.
3.The left and right on the charts refer to the actual wearing position.

Part 1 Front piece
The front piece is divided into the lower body, upper body, and shoulder-parts. Use the backward loop cast-on, and knit back and forth. For the shoulder-parts section, use short rows. The stitches remaining at the shoulders after finishing the front piece should be held with waste yarn.
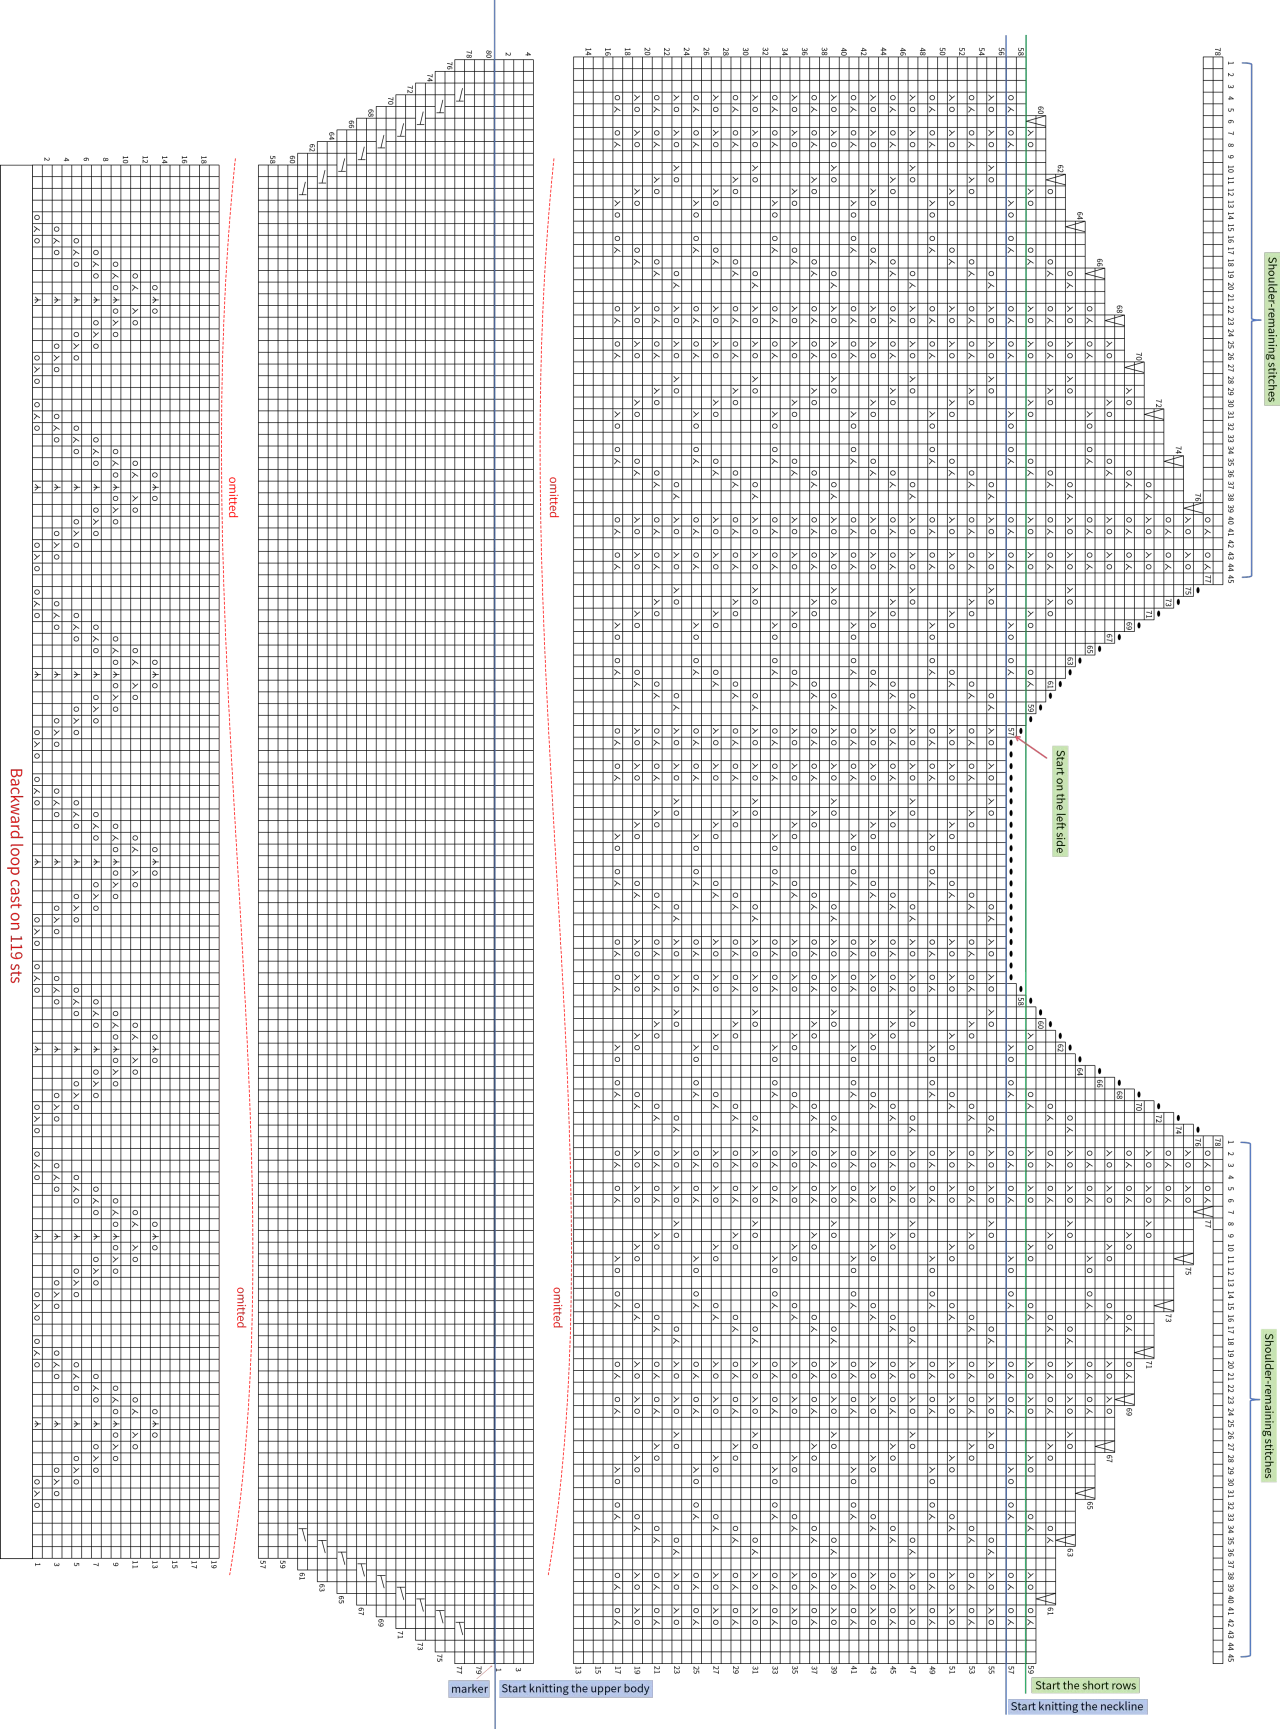
Part 2 Back piece
The back piece is worked almost identical to the front piece, both divided into lower body, upper body, and shoulder-parts. It begins with a backward loop cast-on and is worked back and forth. The shoulder-parts section is shaped with short rows. After finishing the back piece, the remaining shoulder stitches are bound off together with the corresponding stitches of the front piece. The lower side edges of the front and back pieces are aligned and sewn together using mattress stitch.
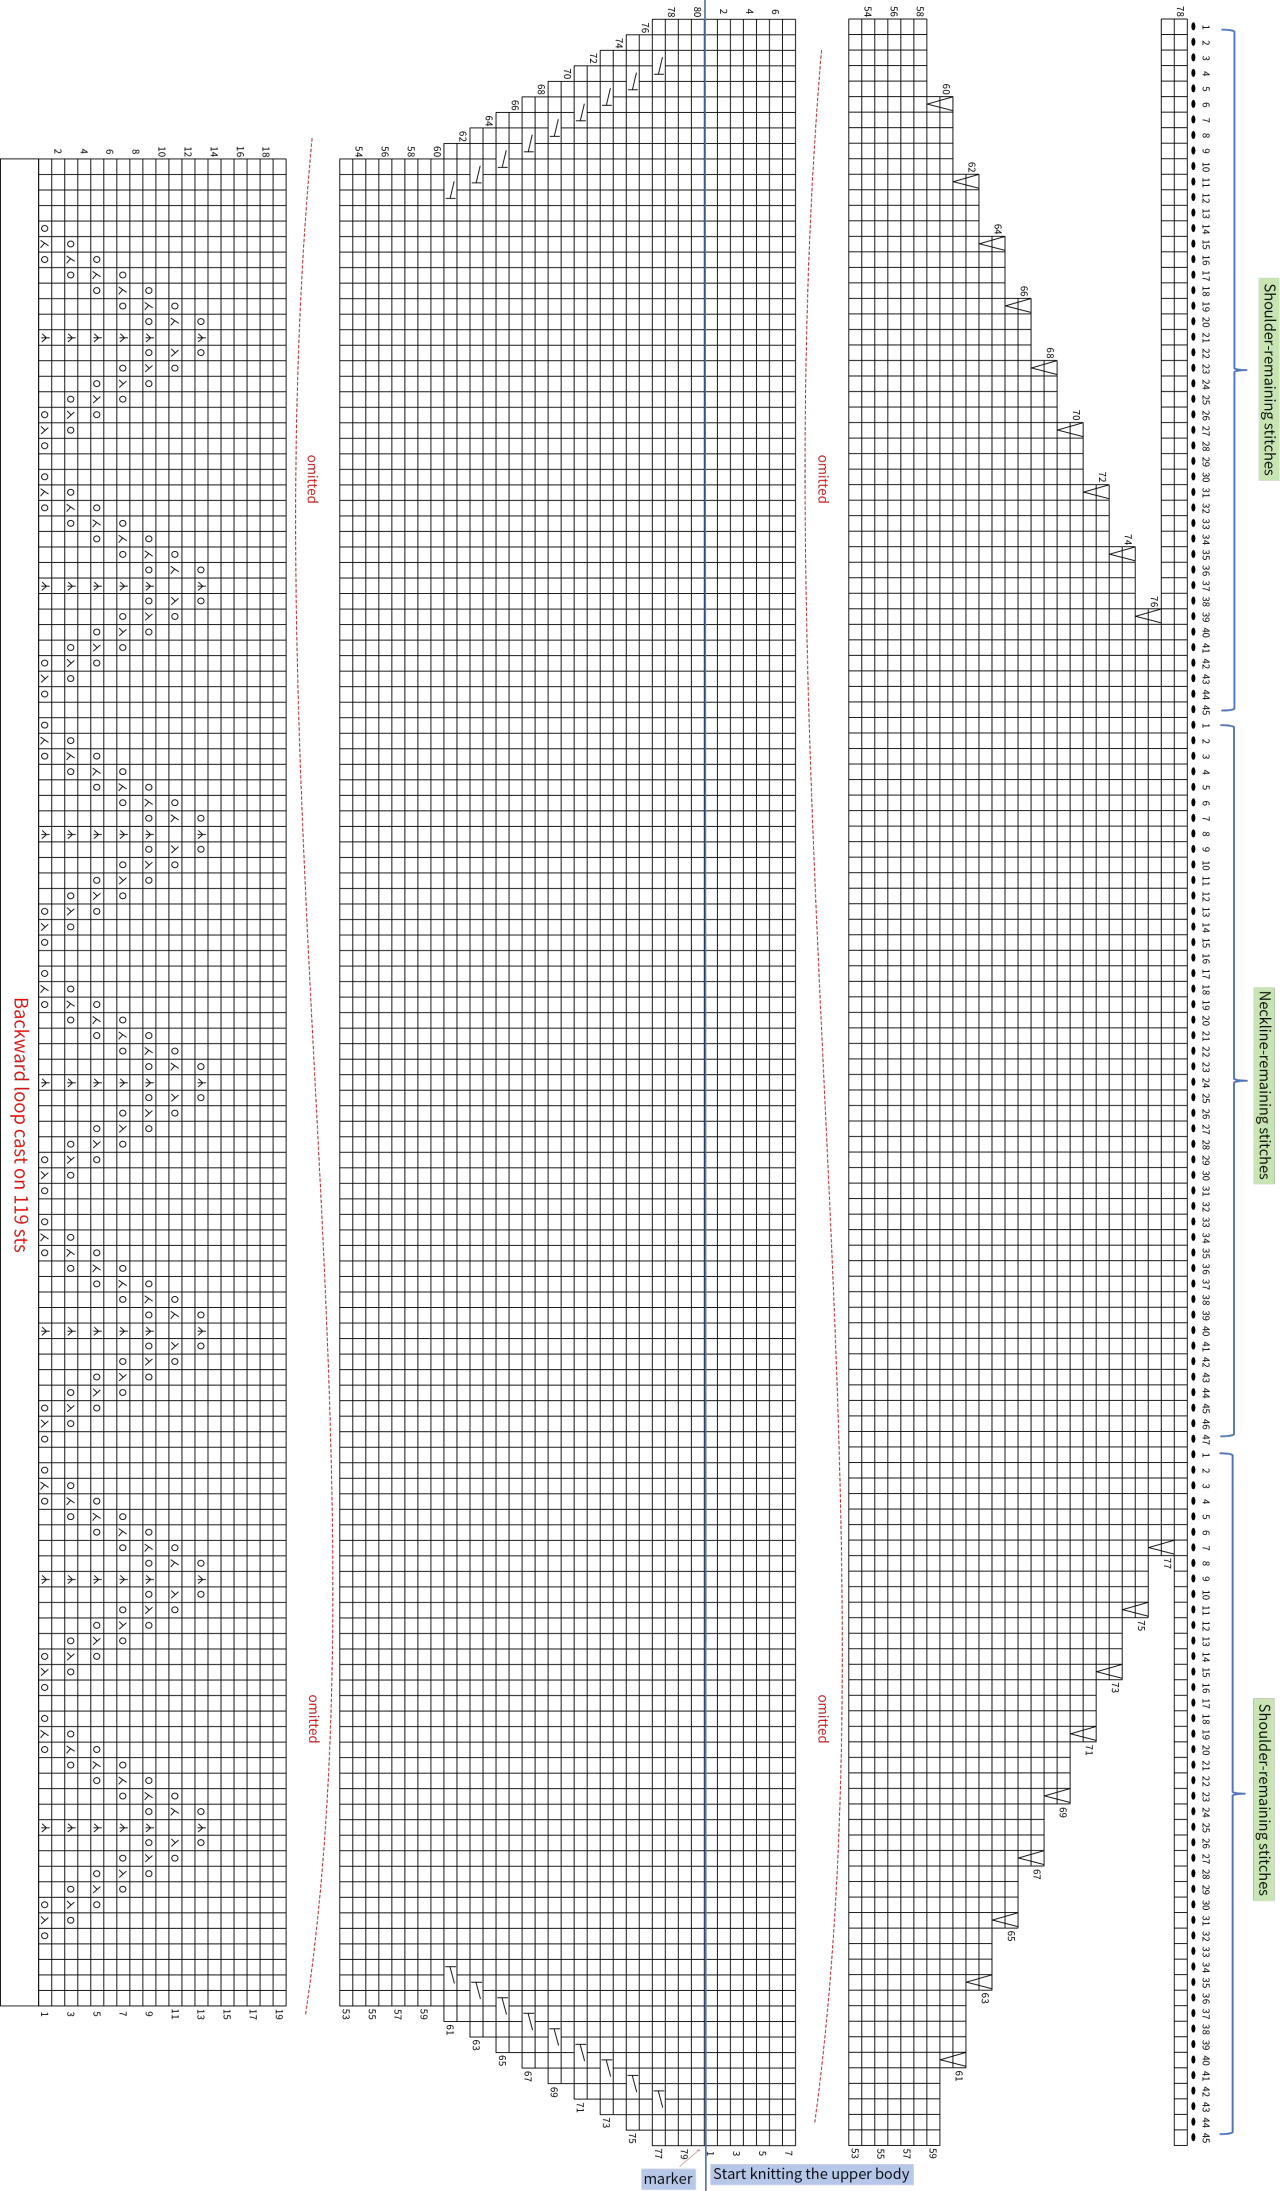
Part 3 Neckline
For the neckline, pick up 106 sts around the completed neckline of the main piece (47 sts for the back neckline, 19+21+19=59 sts for the front neckline), then bind off at both sides.
Part 4 Cuffs
Pick up 84 sts along the sides of the main body's upper part where the cuffs are, then bind off using the horizontal chain bind-off method.
Part 5 Bottom edge
Pick up stitches evenly along the bottom edge of the main piece, then work one round of horizontal chain stitches, and finish with binding off.
Made by the community