Clothes
Summer Wind
Project preview
See the finished project
Pattern format
Instructions
Watch and follow
Video tutorial
| Style | Yarn | Color |
|---|---|---|
| Khaki Style | Morandi flax Lace yarn | 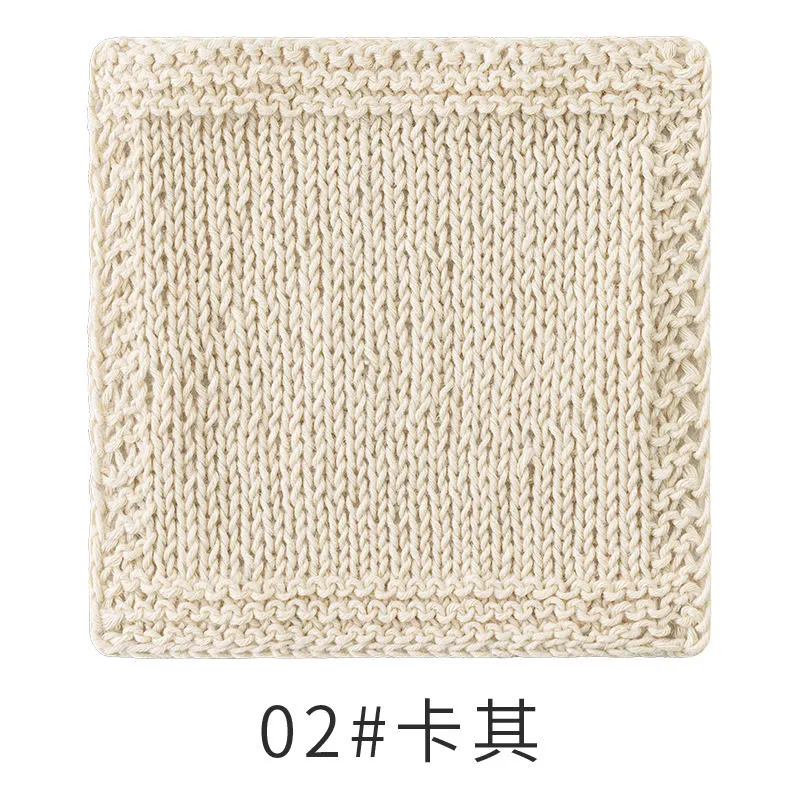 02#Khaki x 8 02#Khaki x 8 |
| Foliage Green Style | Morandi flax Lace yarn |  22#Foliage Green x 8 22#Foliage Green x 8 |
| Montana Grape Style | Morandi flax Lace yarn |  10#Montana Grape x 8 10#Montana Grape x 8 |
| Cameo Blue Style | Morandi flax Lace yarn |  03#Cameo Blue x 8 03#Cameo Blue x 8 |
| Red Clay Style | Morandi flax Lace yarn |  04#Red Clay x 8 04#Red Clay x 8 |
| Bright White Style | Morandi flax Lace yarn |  01#Bright White x 8 01#Bright White x 8 |
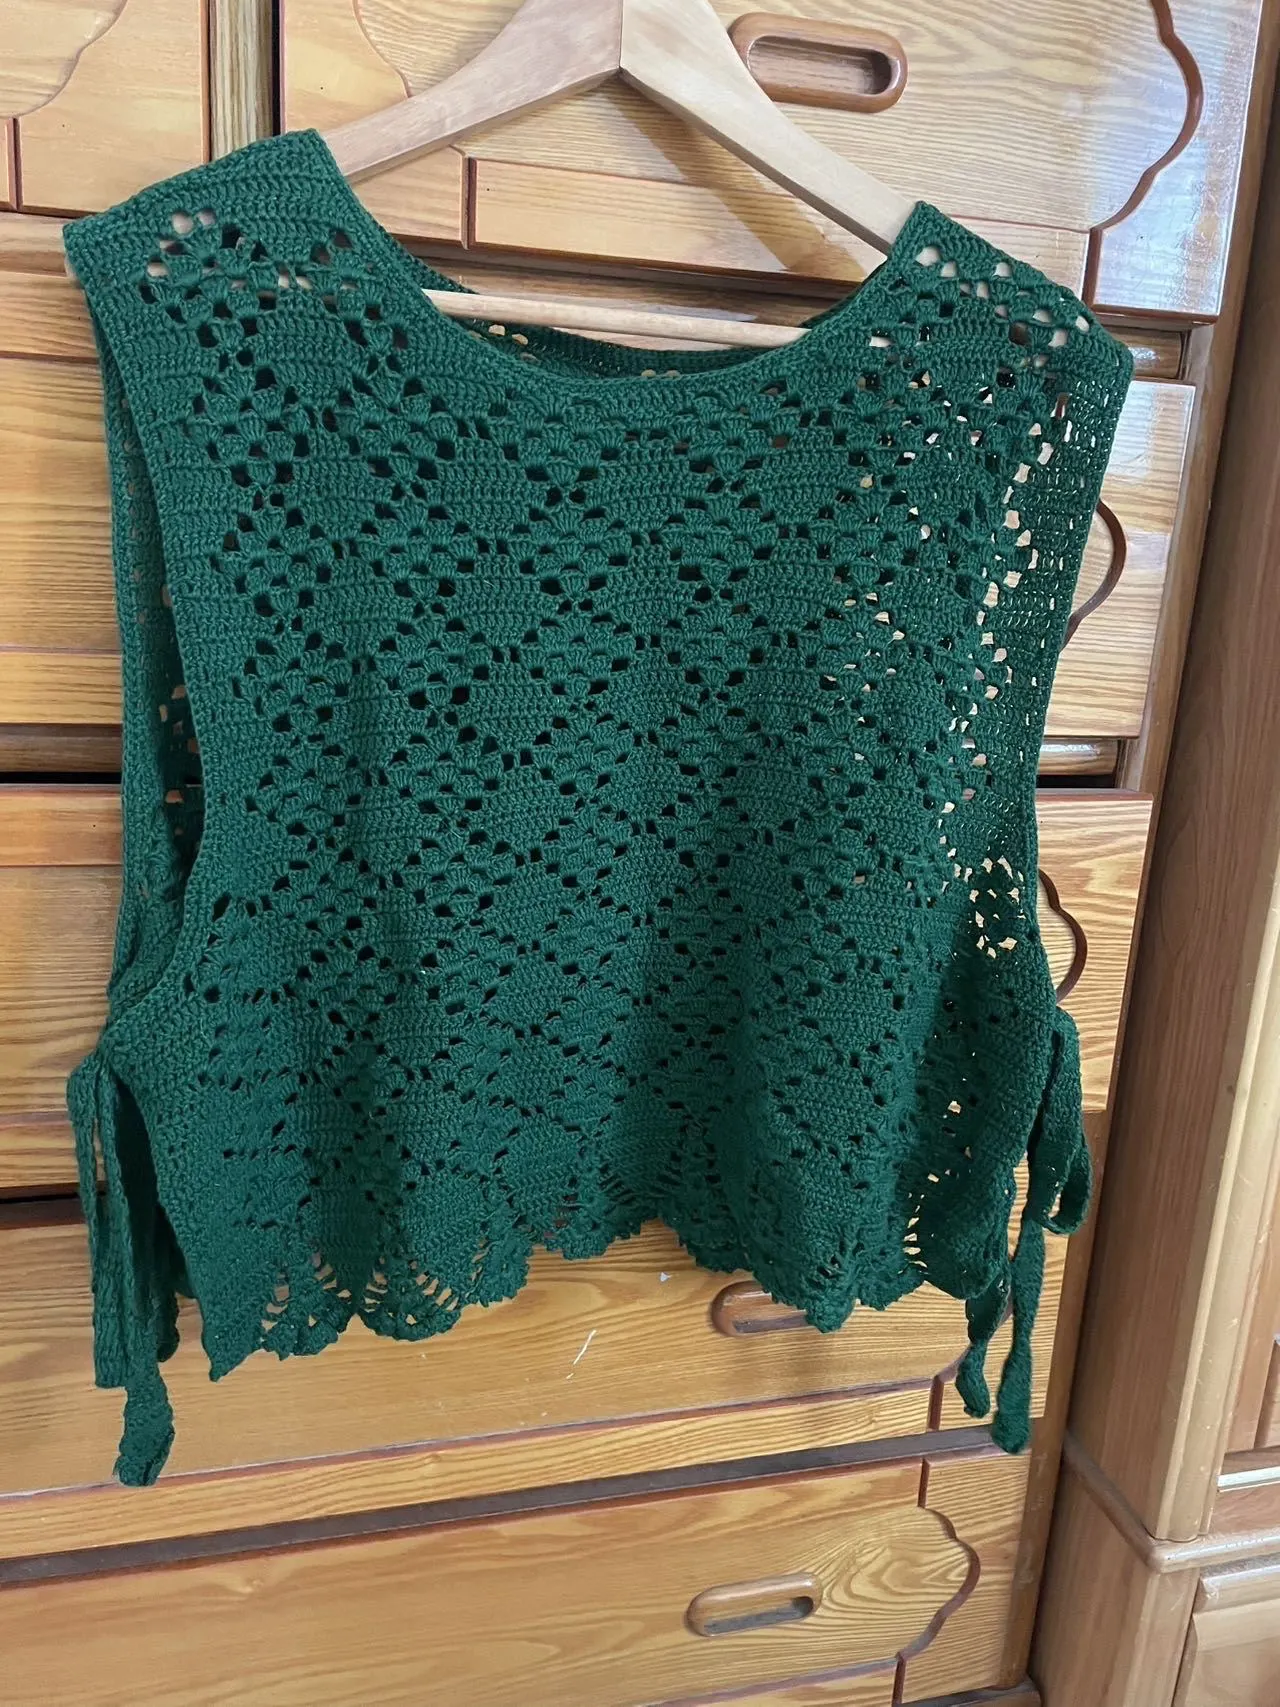
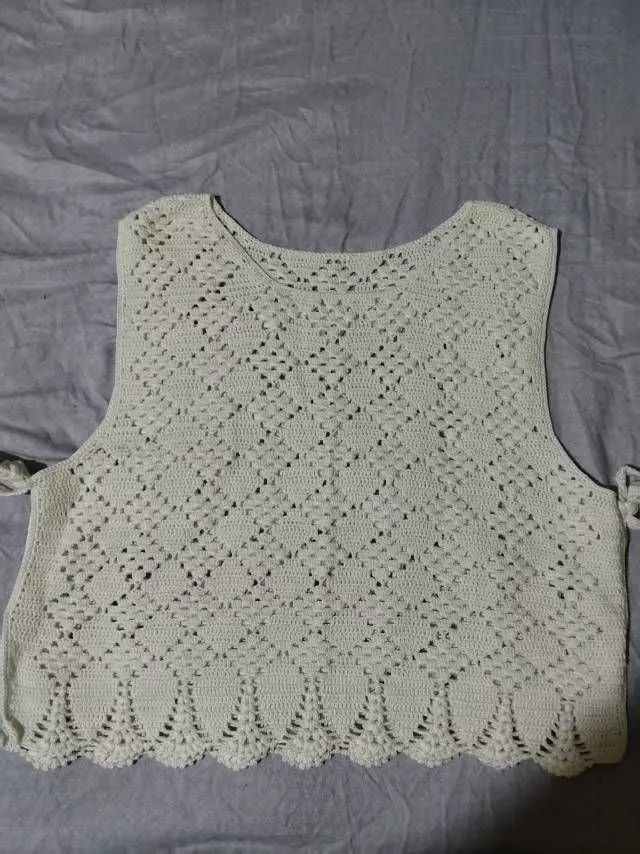
Khaki Style
Foliage Green Style
Montana Grape Style
Cameo Blue Style
Red Clay Style
Bright White Style
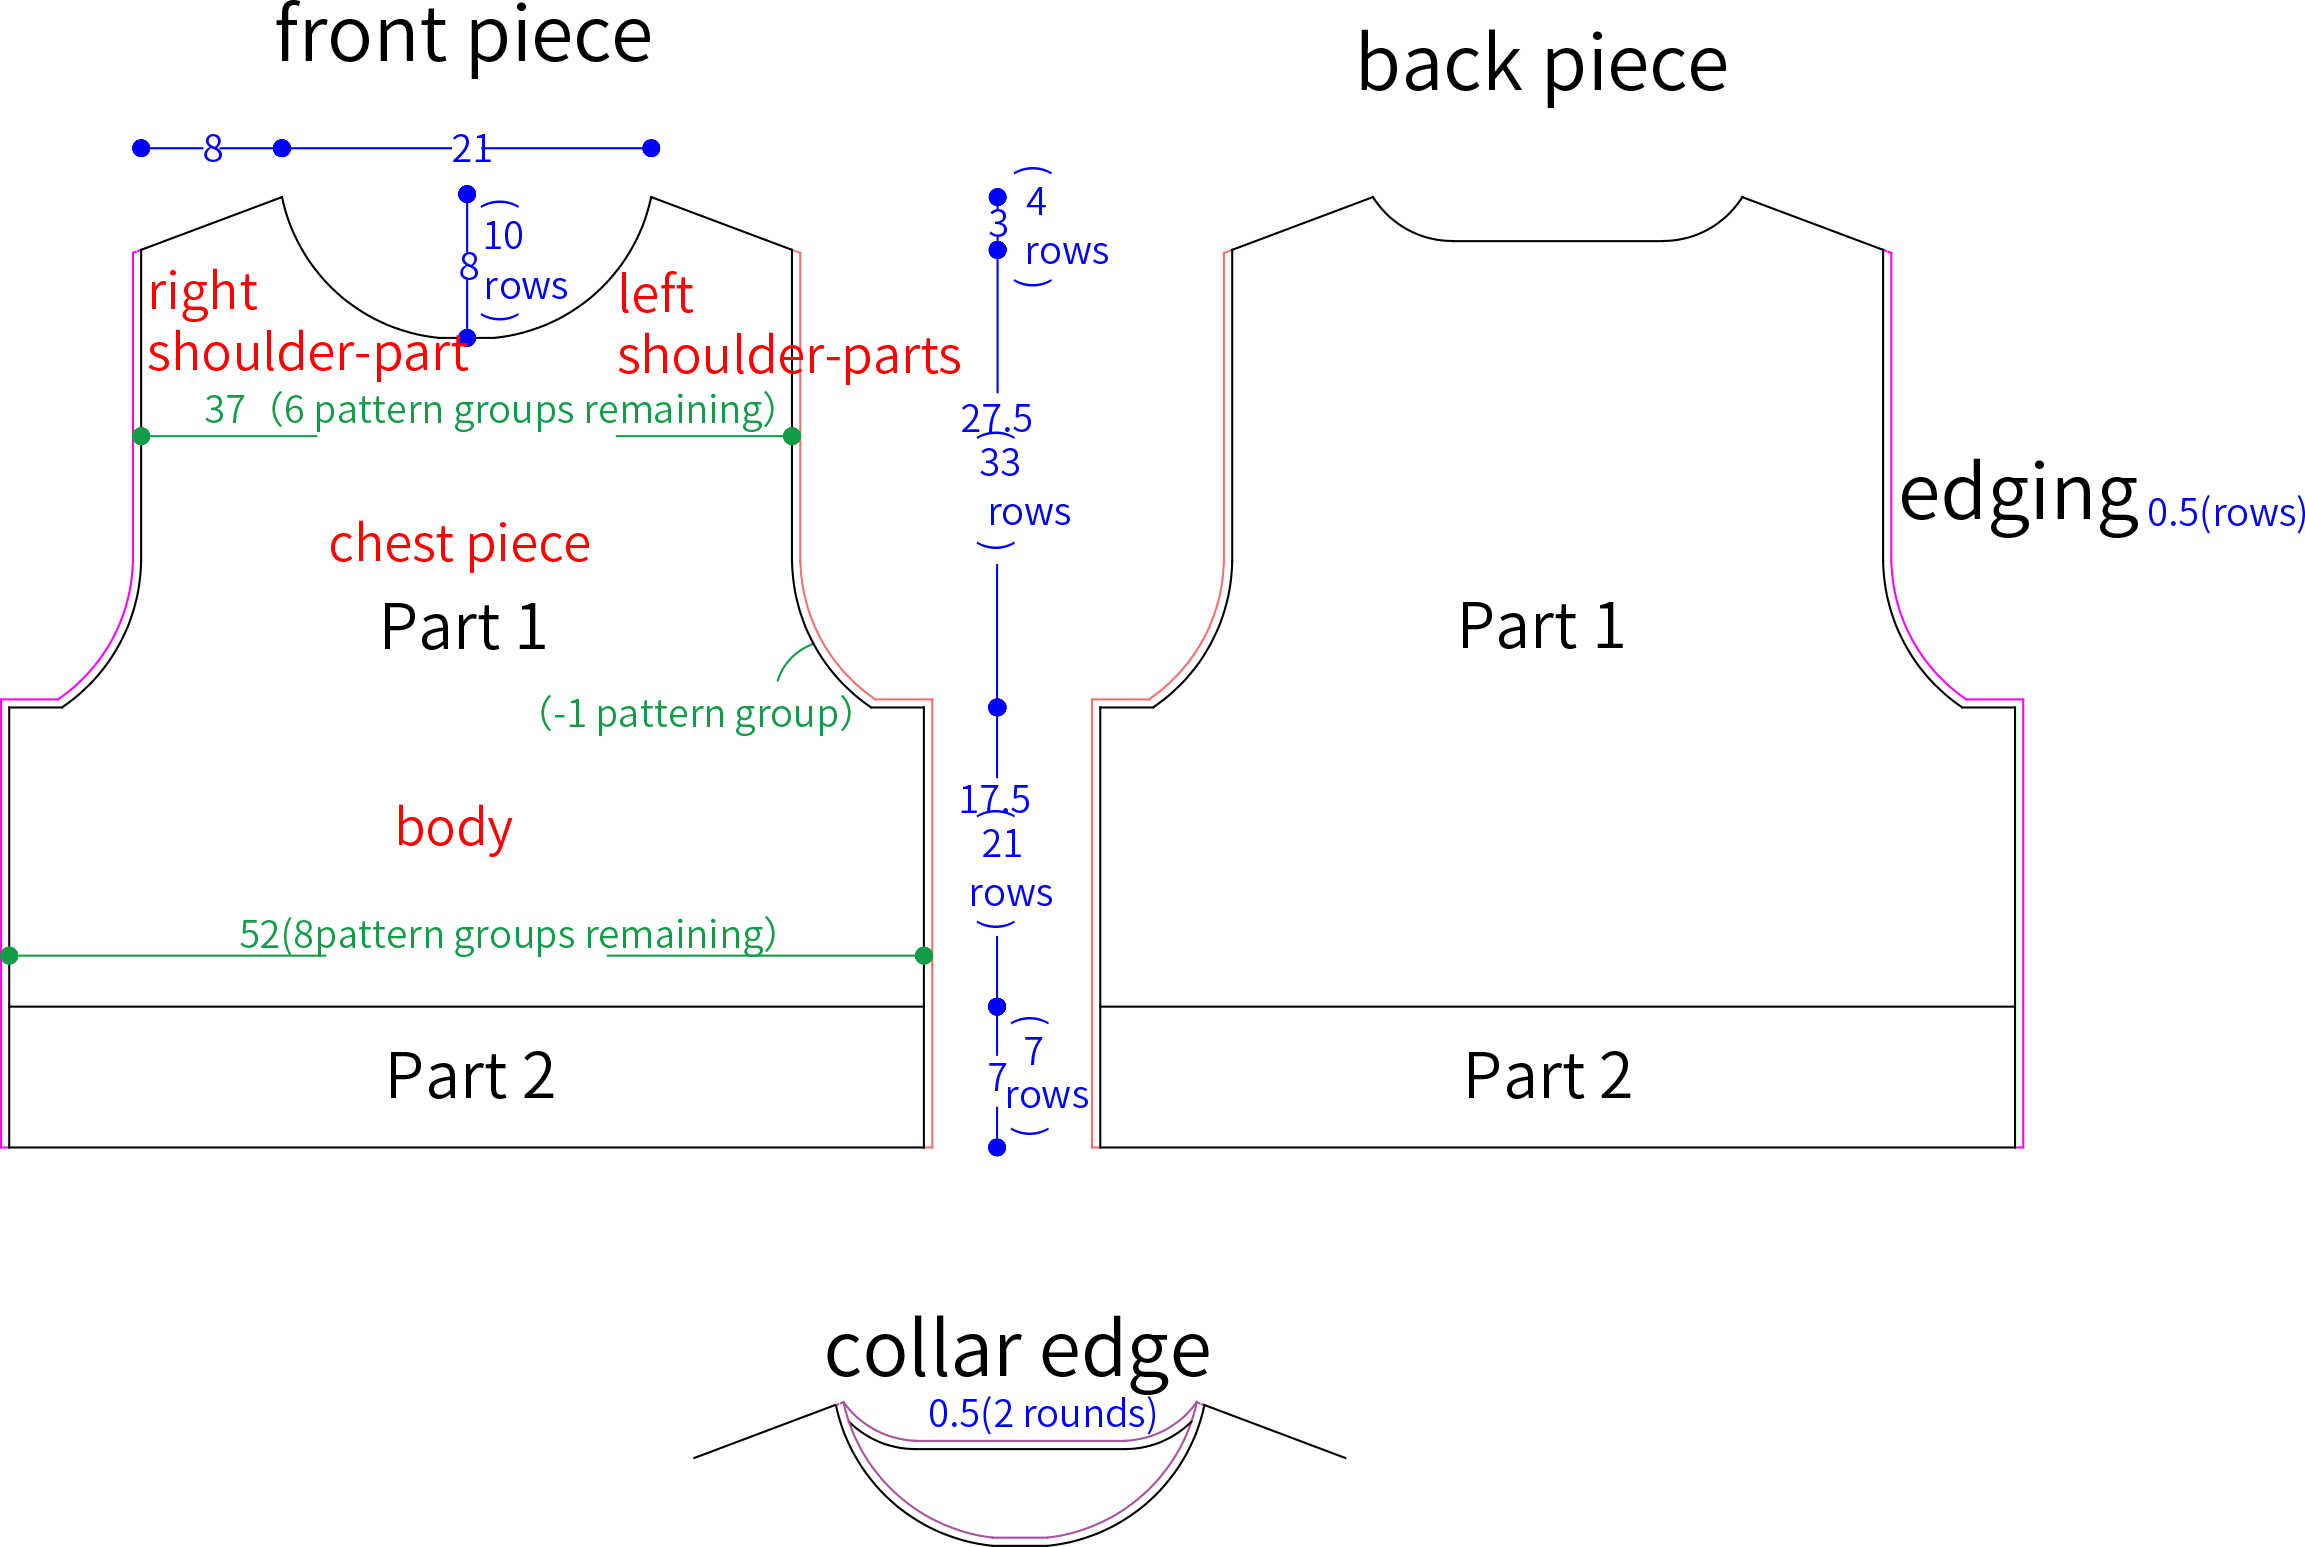
This vest is composed of the front piece, back piece, connection, collar edge, edging, and ties. First, crochet the front and back pieces separately. After completing them, connect the shoulders. Then, pick up stitches around the neckline to crochet the collar edge, and pick up stitches along the sides of the front and back pieces to crochet the border. Finally, make the ties.
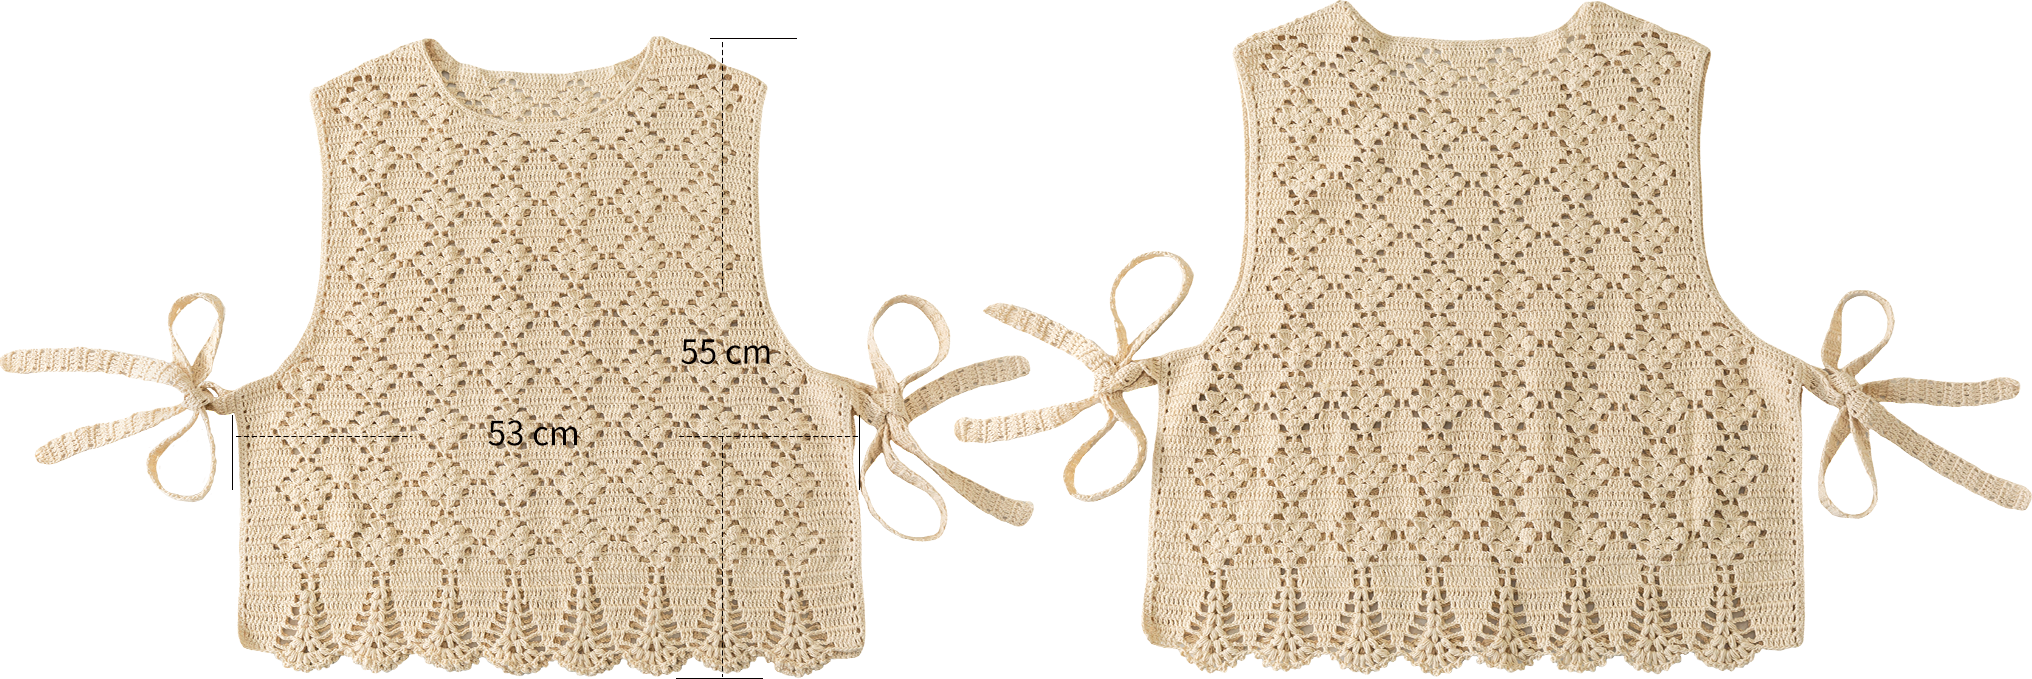
The handcrafted measurements may have an error of 1 to 2 cm.
Due to variations in individual tension, the size of the sample is for reference only.
Materials: Morandi flax Lace yarn
Tools:2.50 mm crochet hook
Chart Key








Note: 1. This pattern is making in Chinese crochet pattern terms, and the stitch name is written using American terminology. All measurements in charts are in cm.


Part 1 Front Piece 00' 50''
It consists of two parts. First, cast on and crochet upwards for part 1A1. After completing it, pick up the stitches from the other side and crochet part 2A2. Part 1 is further divided into three areas: the body, the chest piece, and the shoulder-parts. For specifics, please refer to the video demonstration.
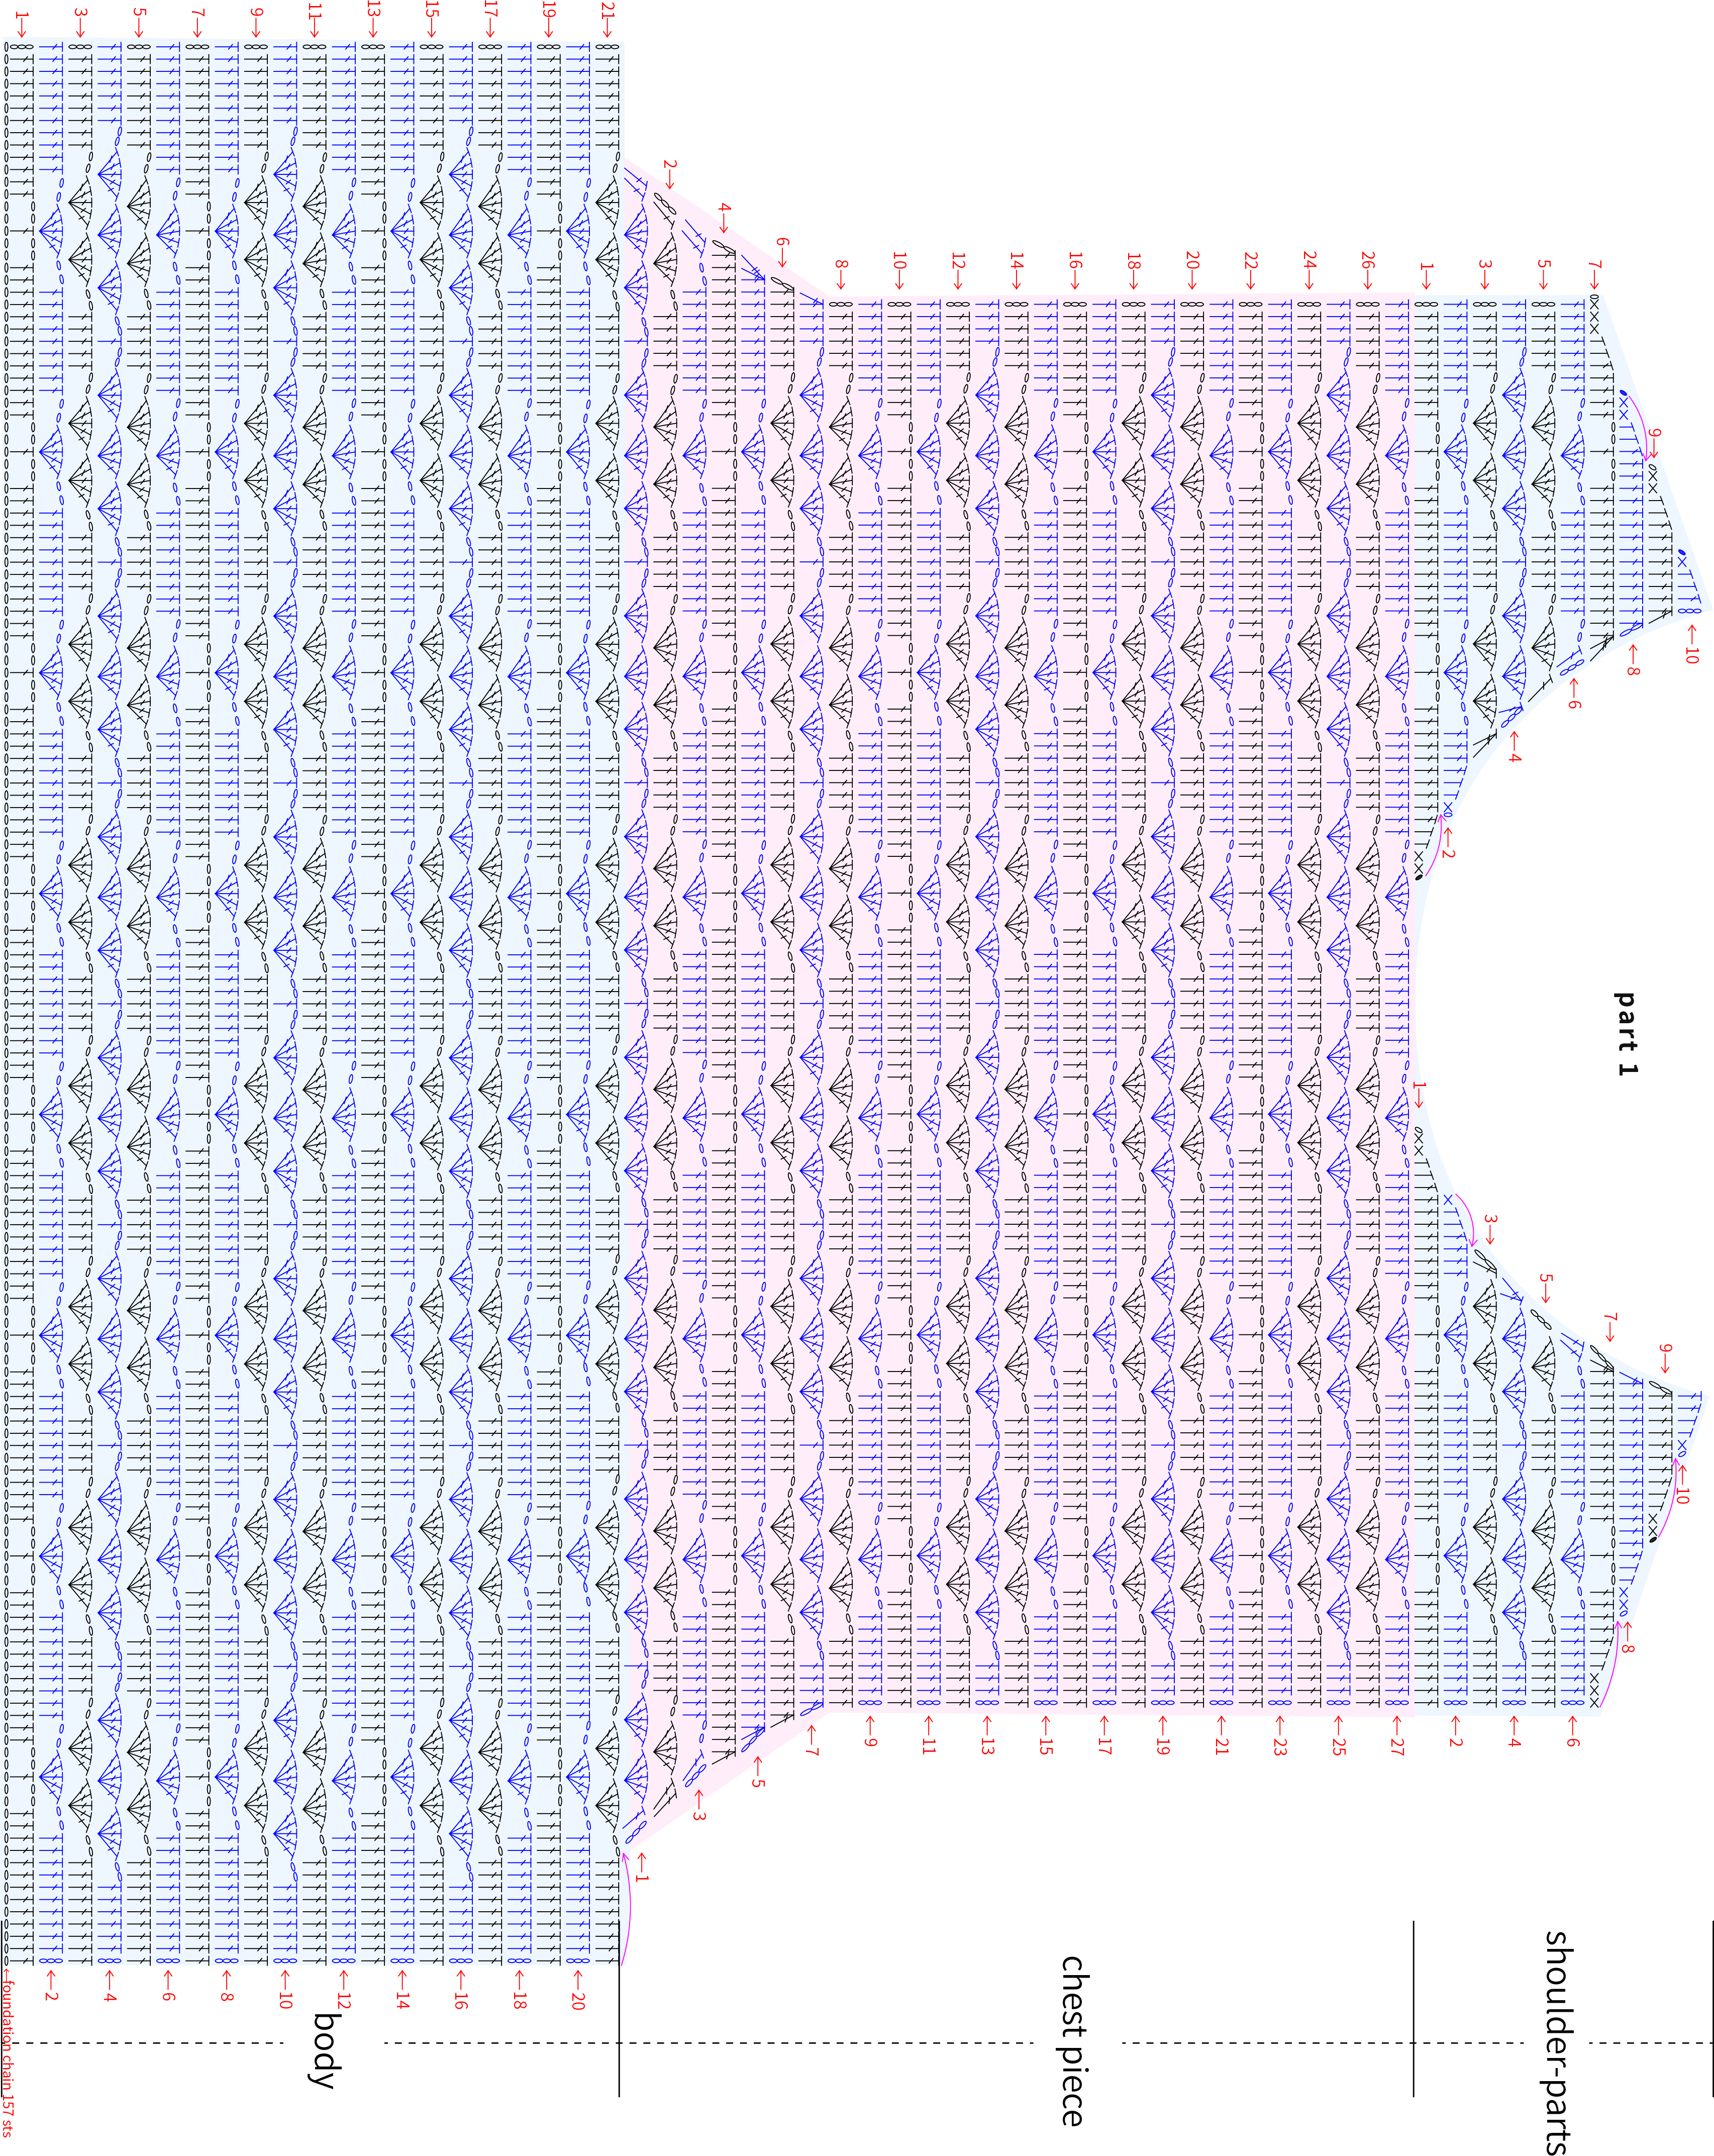
Note: After completing the 7th row, measure the size of rows 2-7. The width should be about 52cm and the height about 5cm. If the size differs significantly, it is recommended to adjust your tension or switch to a different hook size and crochet again.

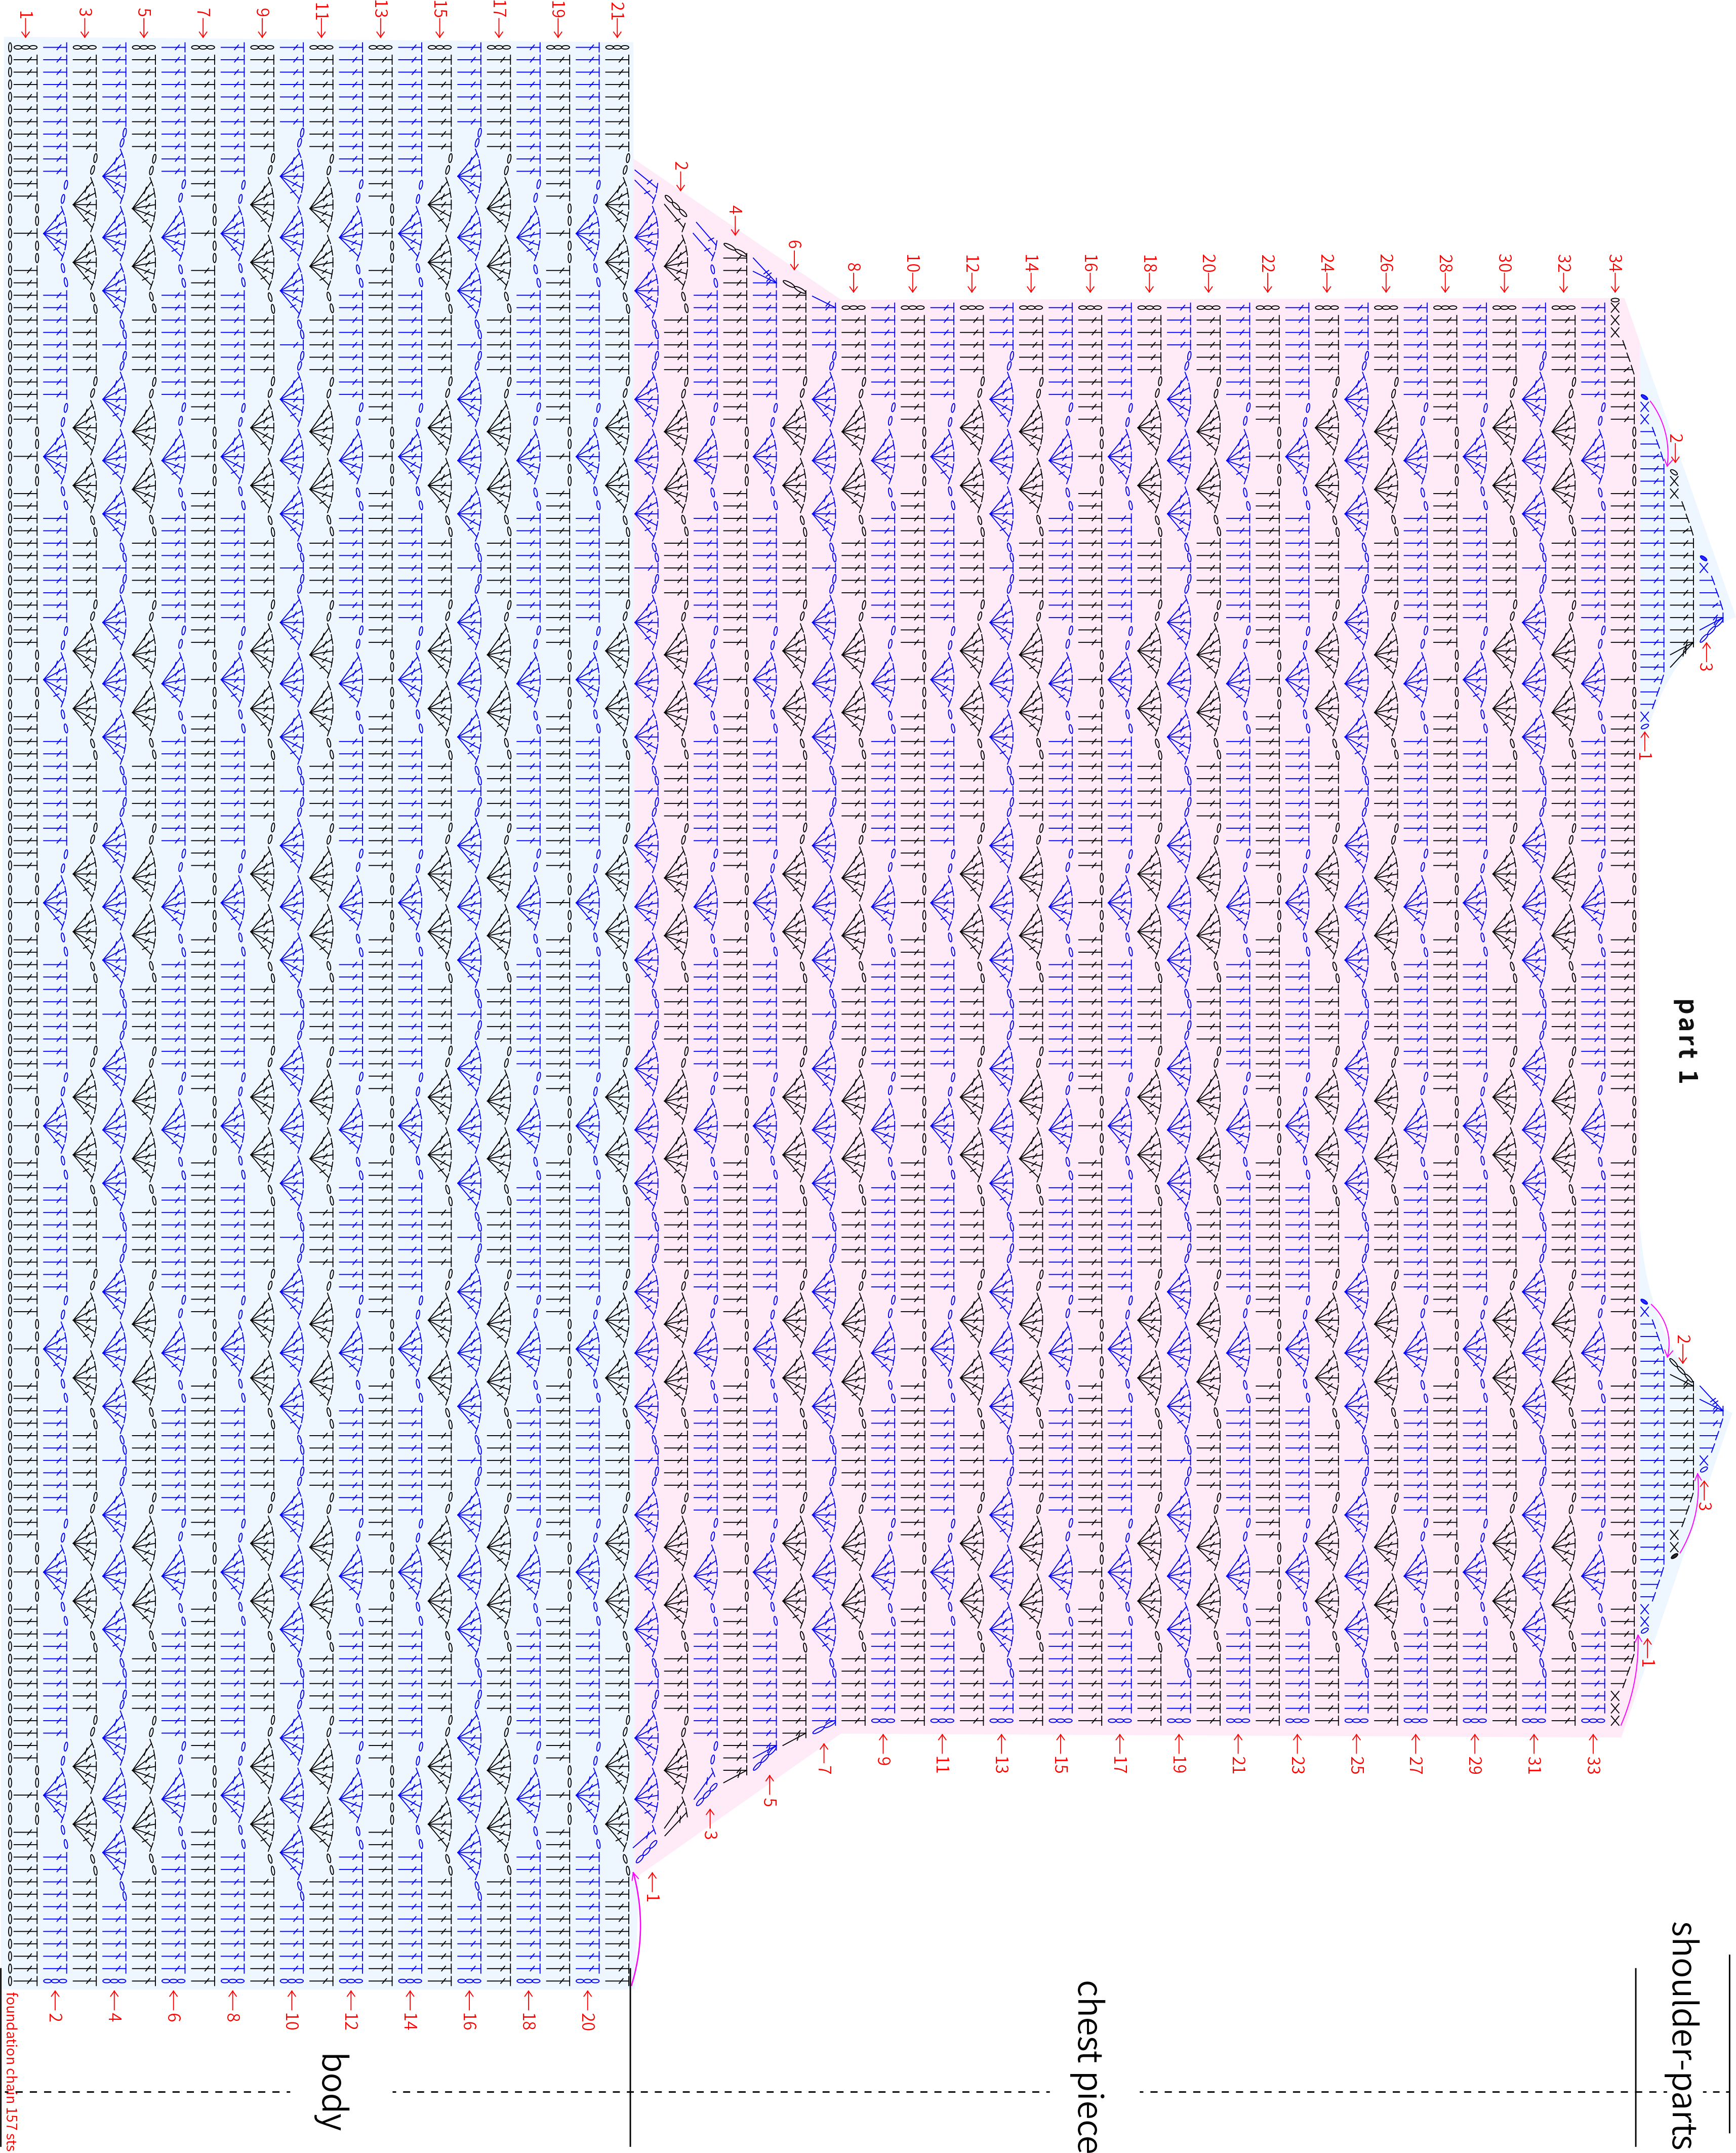
Part 2 Back PieceB 48' 01''

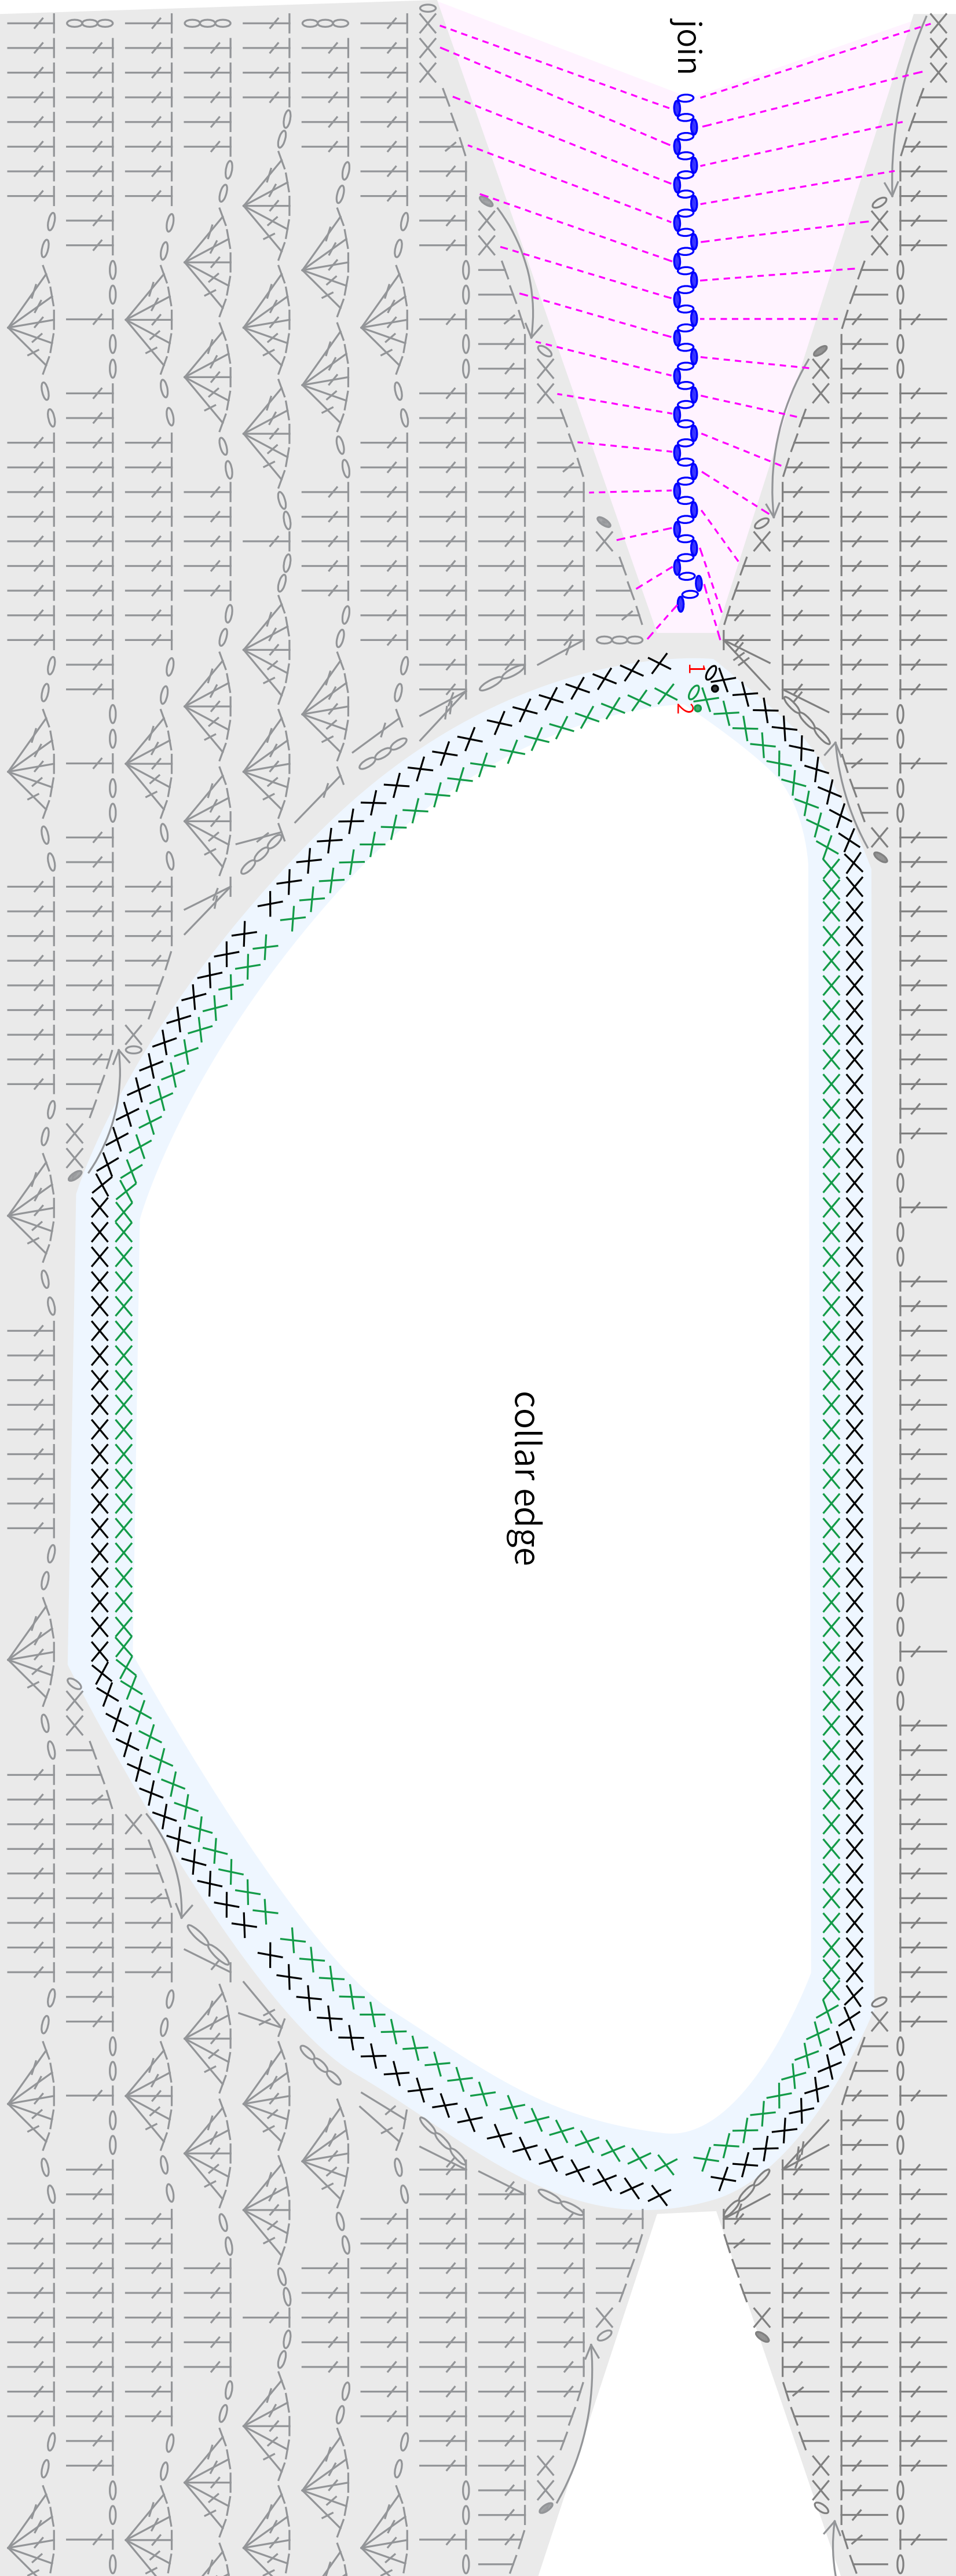
Part 3 JoiningC, Collar EdgeD 48' 32''
First, connect the shoulders of the front and back pieces, then crochet around the neckline in rounds for the collar edge. Please refer to the video demonstration for specifics.
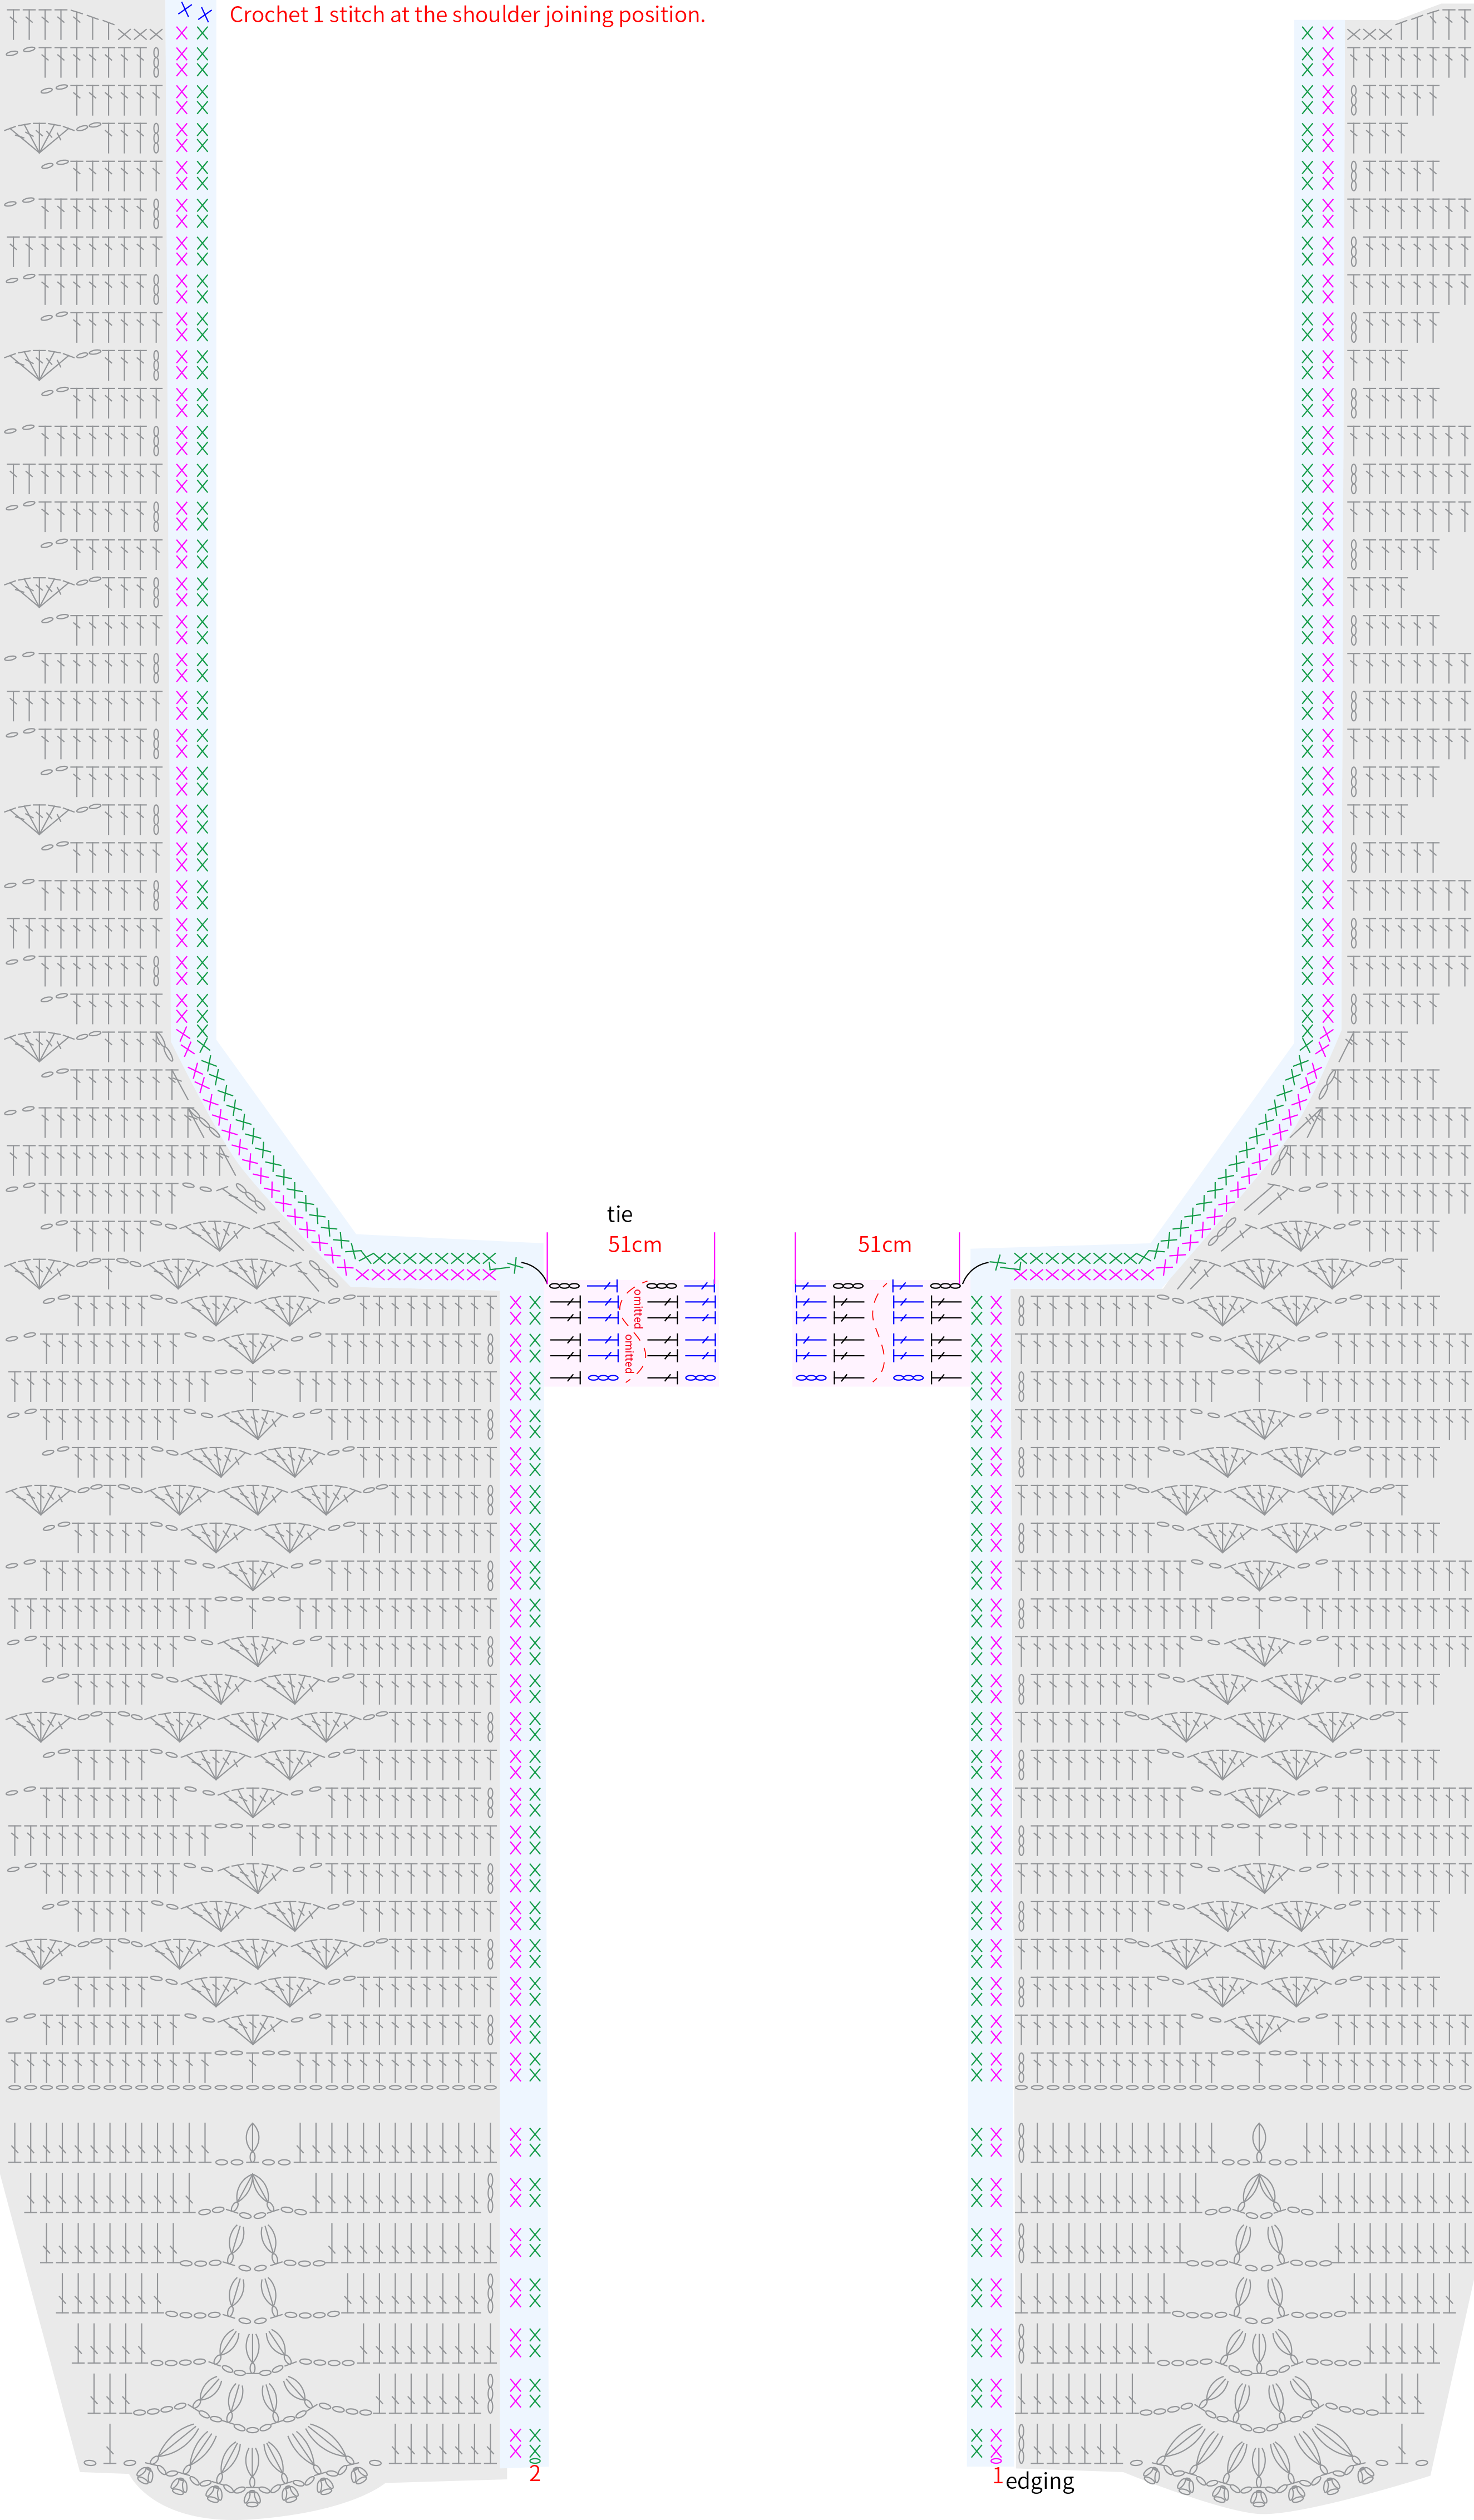
Part 4 EdgingE, Ties F 57' 41''
Crochet the edging along the side seams of the front and back pieces. After completing, pick up and crochet the corresponding position for the tie. Please refer to the video demonstration for details.
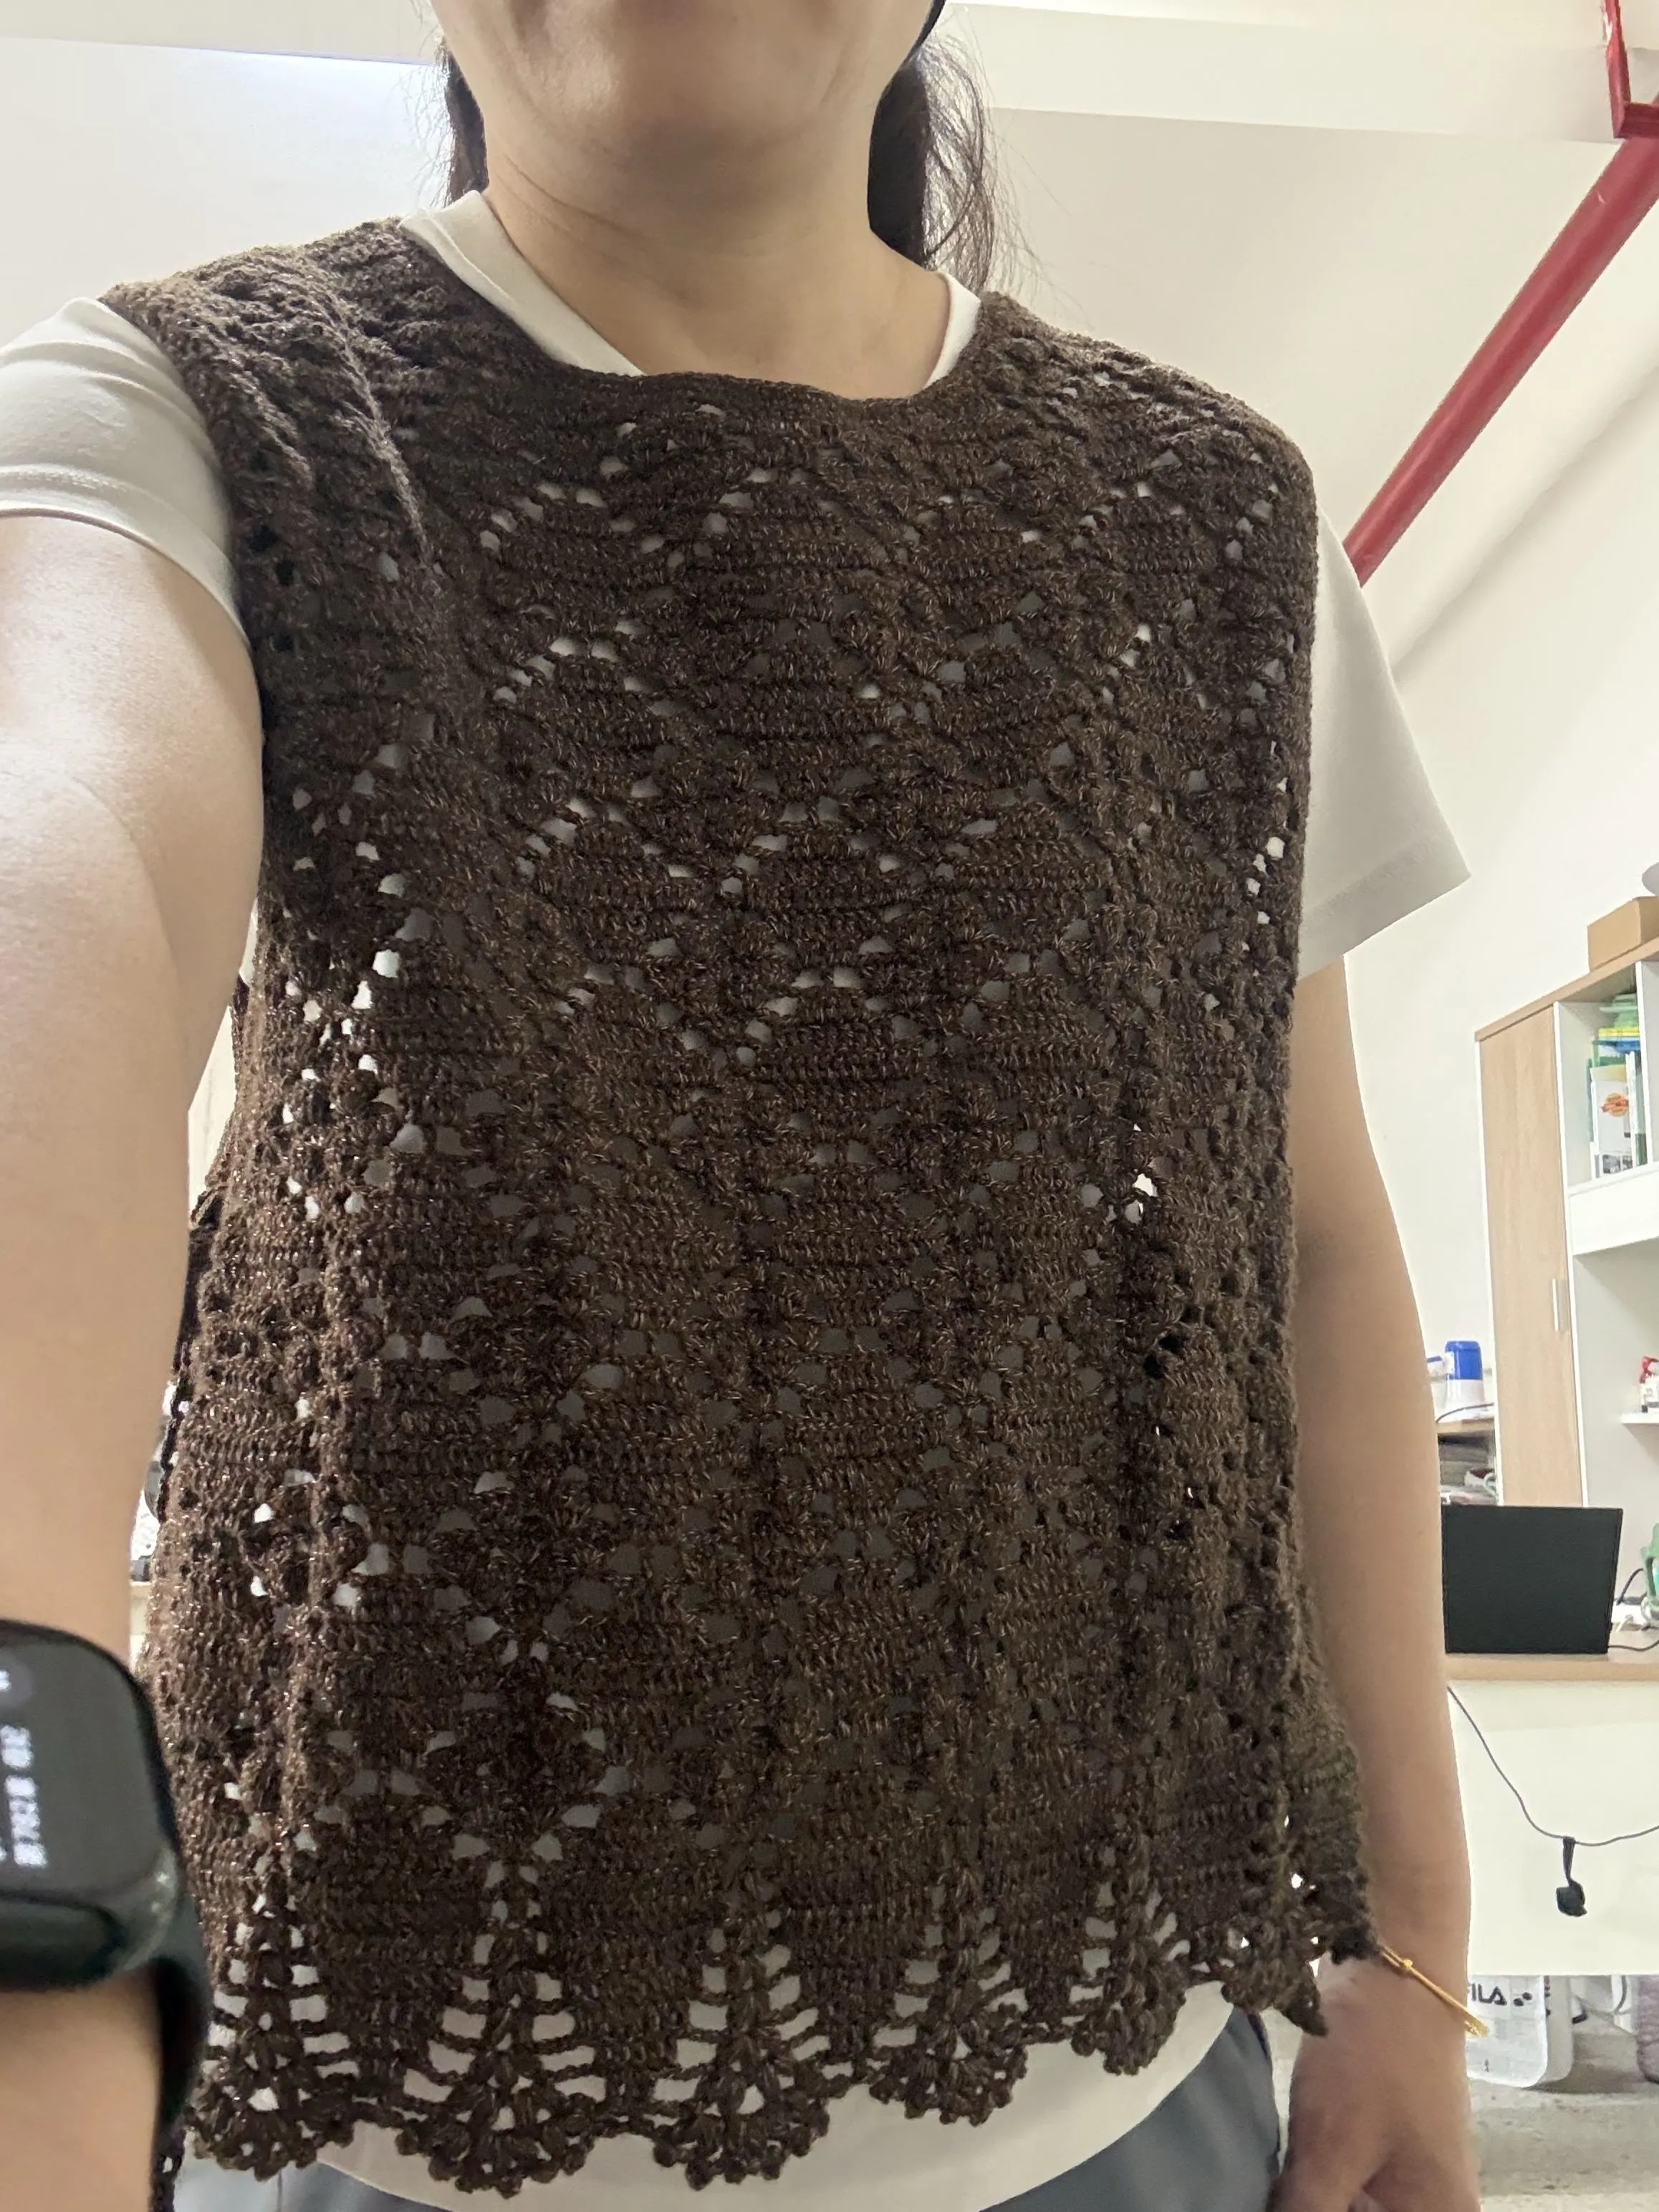
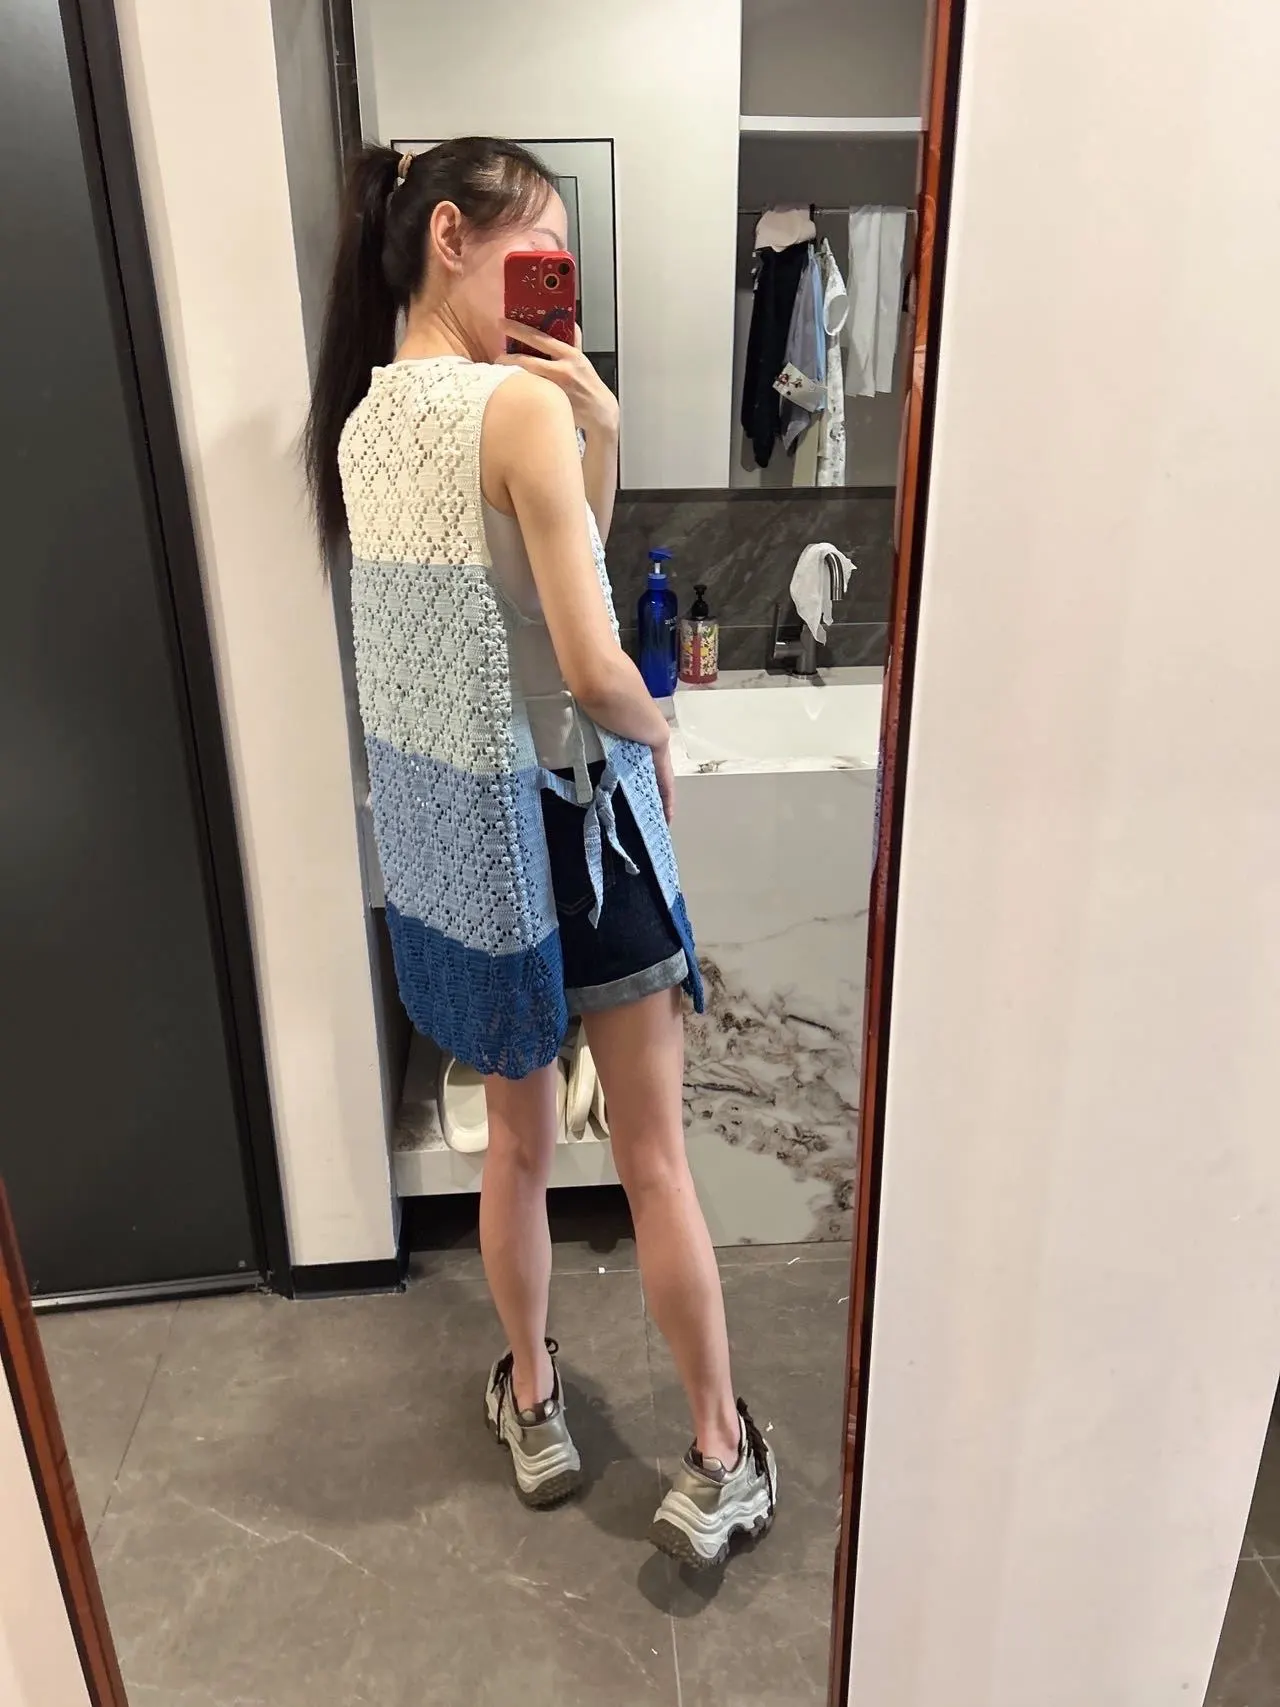
Made by the community