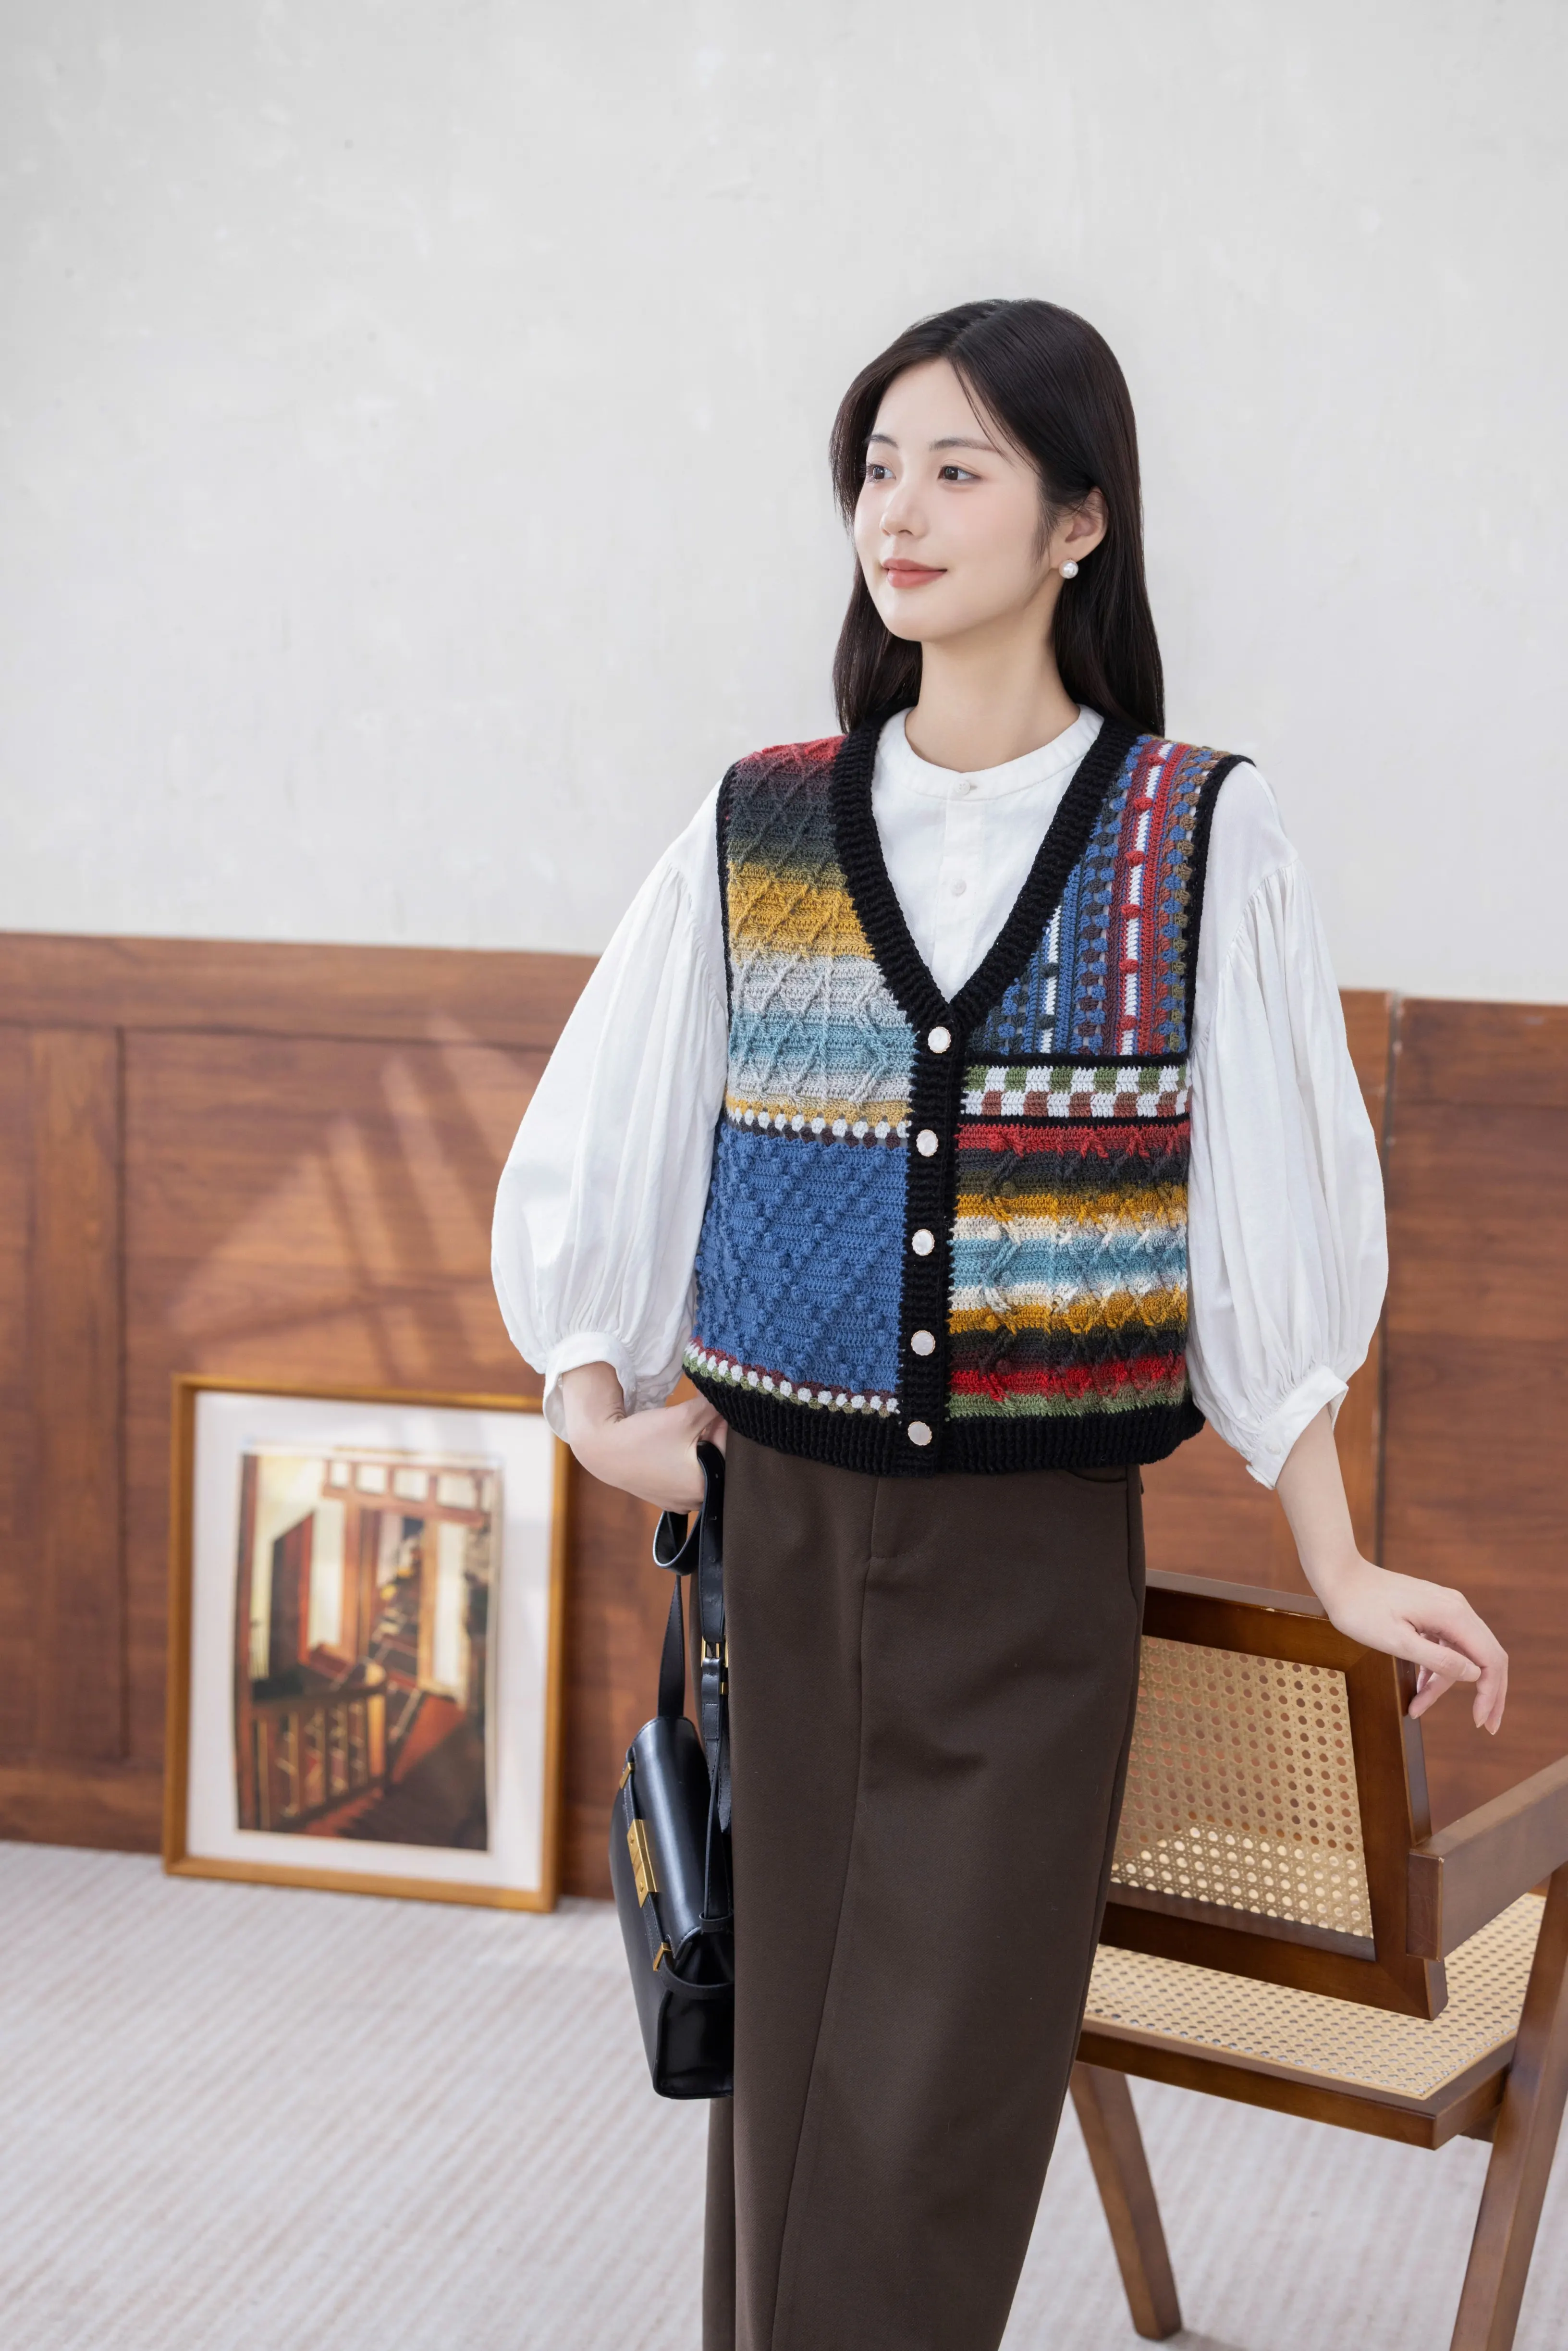
Clothes
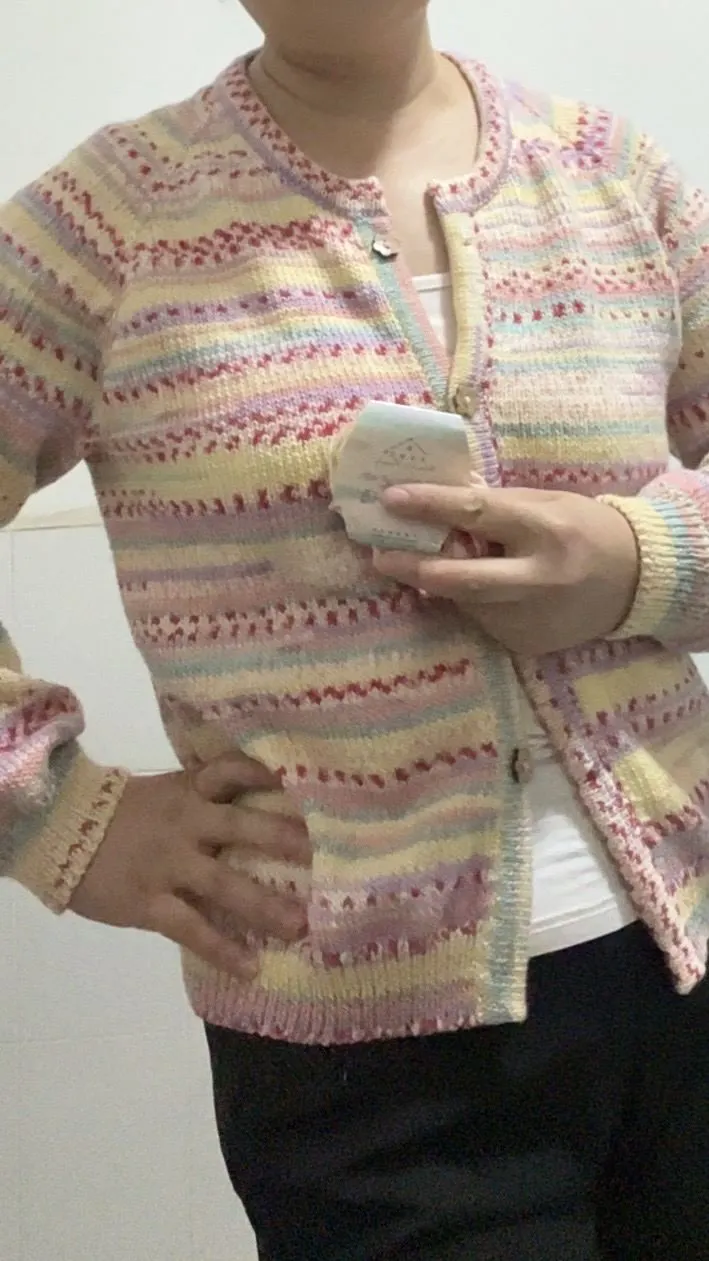
Time Whisper Cardigan
Project preview
See the finished project
Pattern format
Instructions
Watch and follow
Video tutorial
| Style | Yarn | Color |
|---|---|---|
| Small Town Version | Whisper of Time | 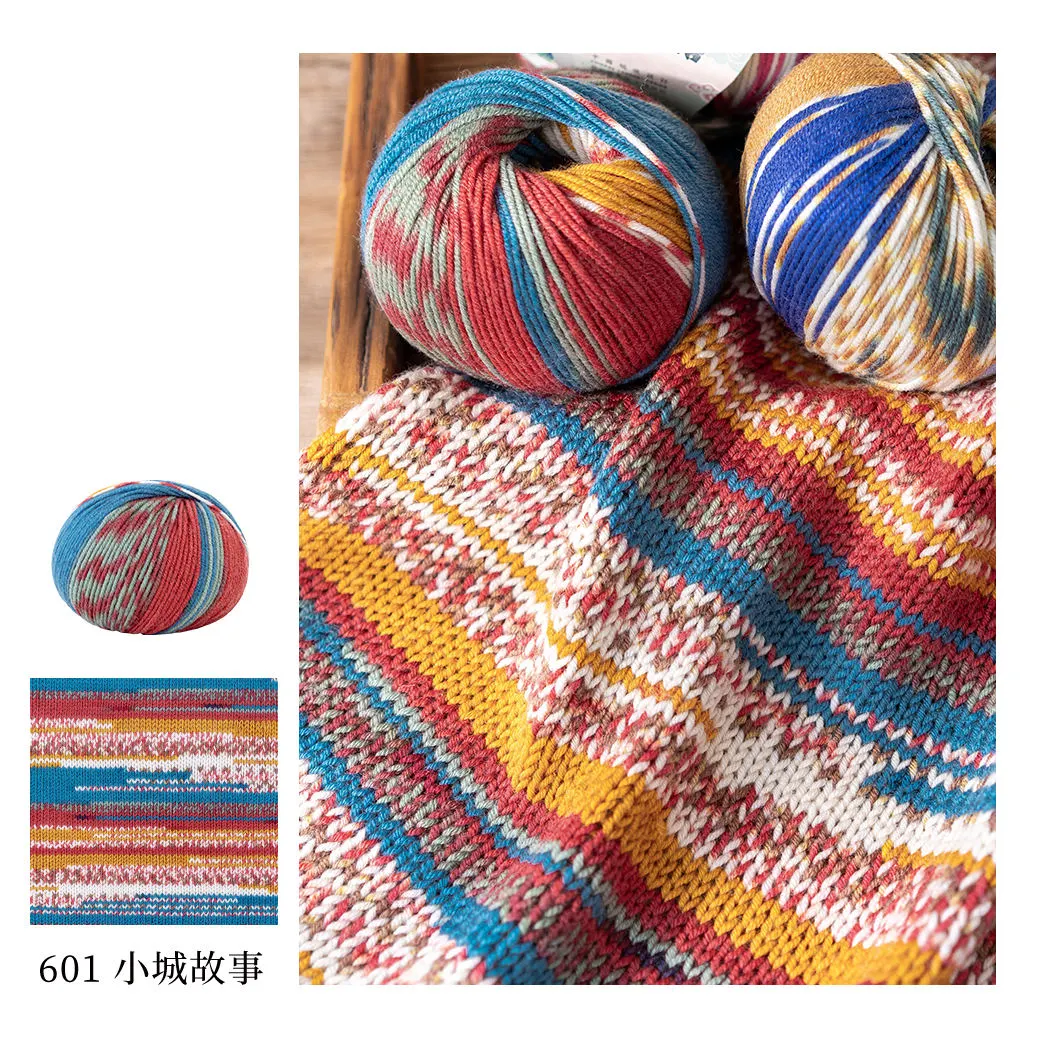 601#Small Town x 11 |
| Starry Wilderness Version | Whisper of Time | 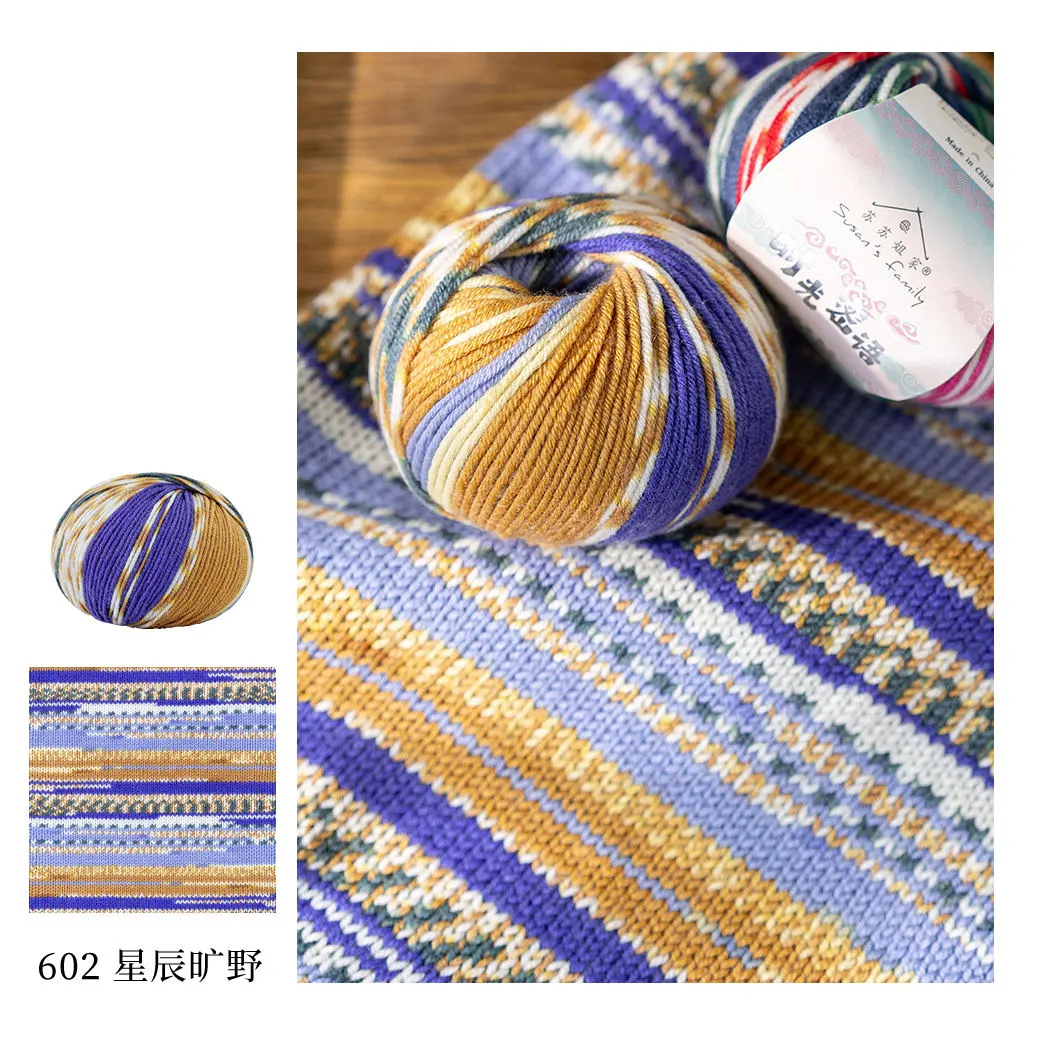 602#Starry Wilderness x 11 |
| Vintage Rose Version | Whisper of Time | 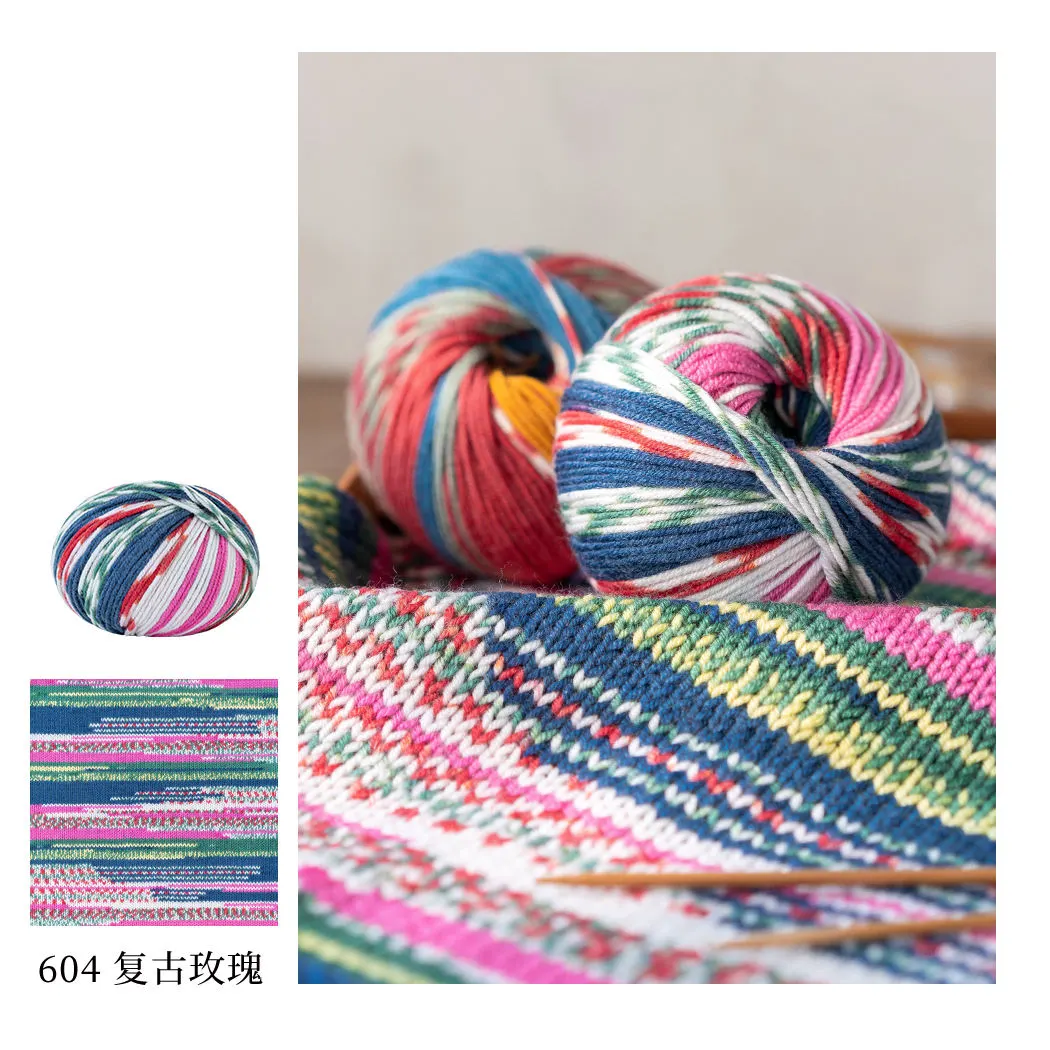 604#Vintage Rose x 11 |
This piece is made up of the main part, sleeves, front band, collar and buttons. You'll knit them separately, one after the other.
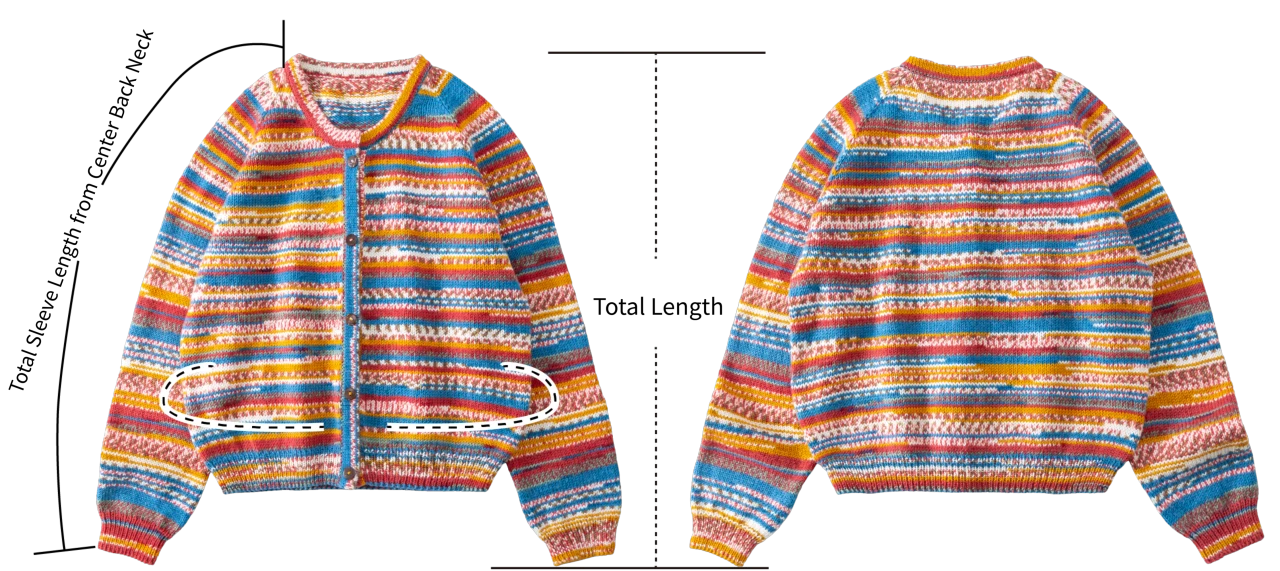
| Unit: cm | Chest Circumference | Total Length | Total Sleeve Length from Center Back Neck |
| Size S | 90.5 | 52 | 64 |
Note: 1, Hand-measured, with a possible error of 1-2 cm. Since everyone's tension varies, the sample size is for reference only.
2, This product is crocheted with variegated yarn. The starting color will affect the final look, so feel free to choose your preferred color section to start with.
Yarn: Whisper of Time
Tools: 8#, 4.00mm Circular Needles and Double Pointed Needles
10#, 3.25mm Circular Needles and Straight Needles
A regular 2.50mm Hook or Susan's Family 2.30mm Hook

Structure Diagram
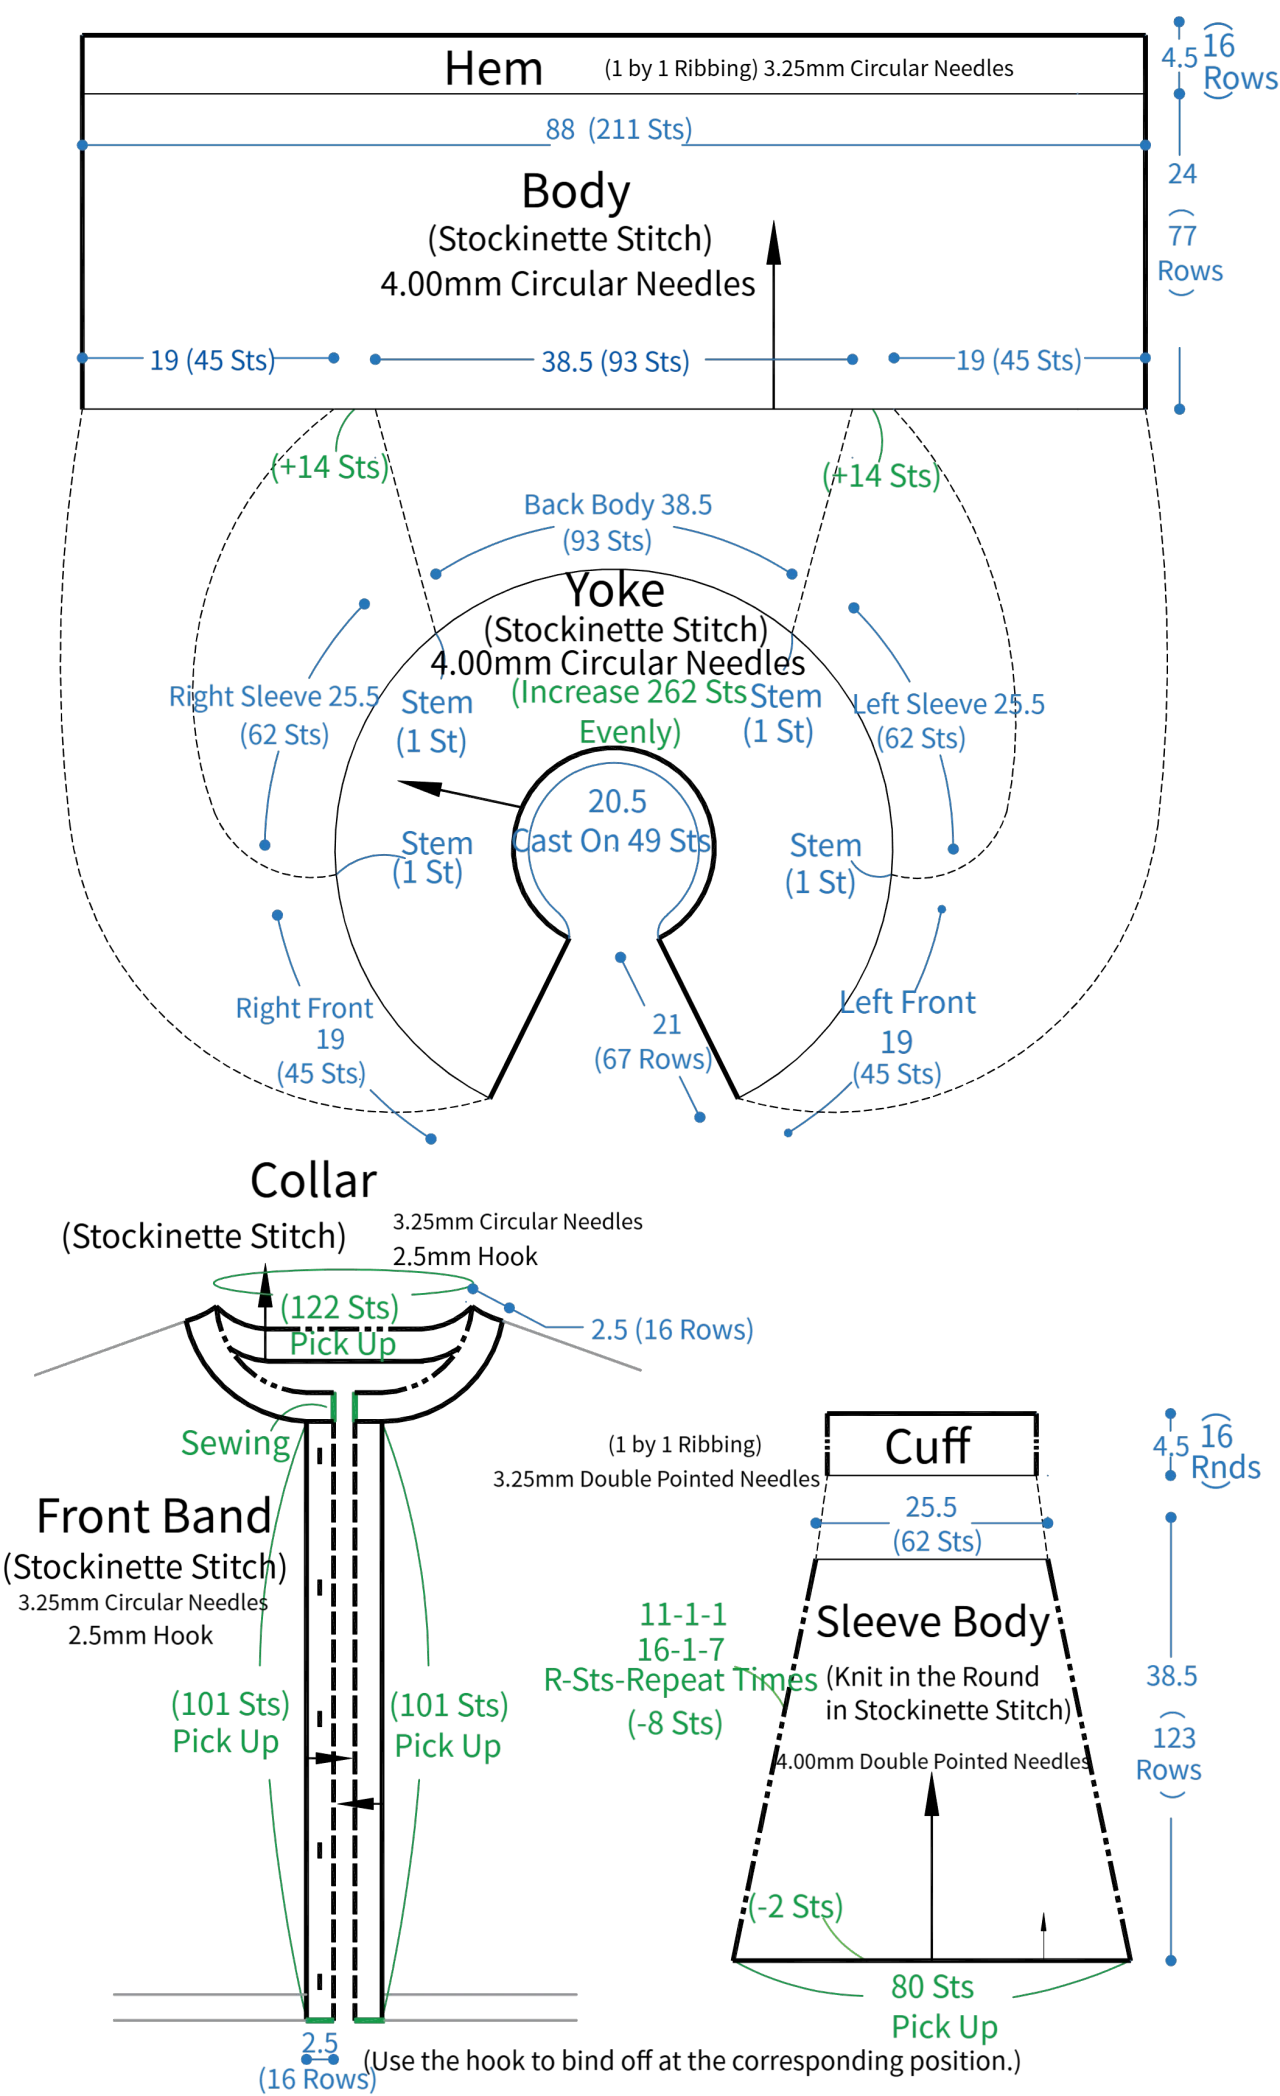
Note: 1. The left and right sides in the chart are based on how you'd actually wear it.
2. When working back and forth, work the opposite stitches on the wrong side compared to what's shown in the chart.
Gauge Swatch
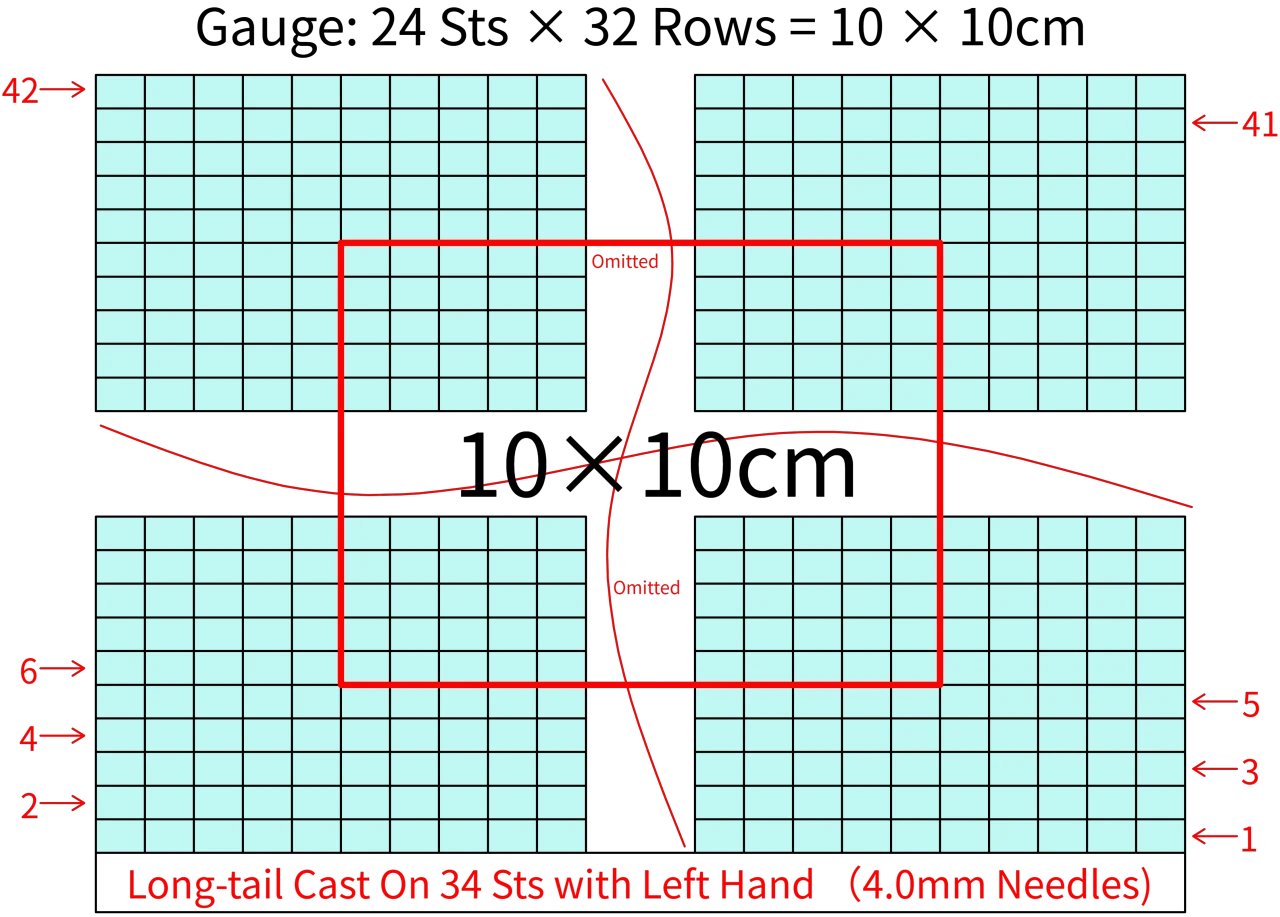
Chart Key





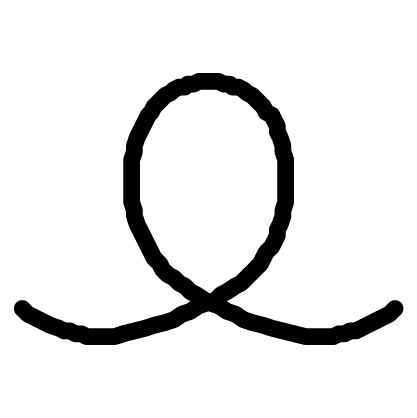
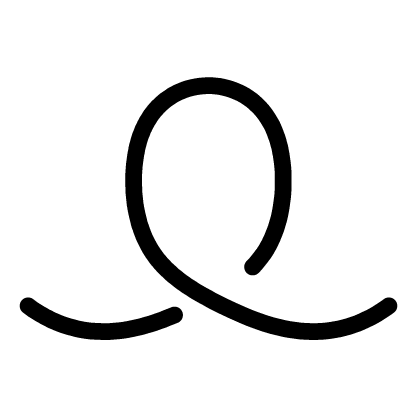
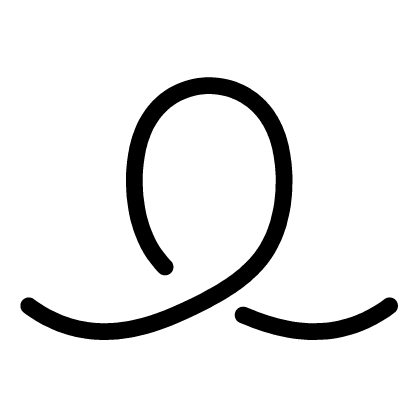


Note:
1. This pattern is making in Chinese crochet pattern terms, and the stitch name is written using American terminology. All measurements in charts are in cm.
2. The left and right in the chart refer to the actual left and right when worn.
3. The chart represent the right side of fabric, so check the key to see how to work a certain symbol on the right side and on the wrong side.
Part 1 Main Part
The main part is divided into the yoke, body, and hem. Knit them in order, and check out the video demonstration for details.
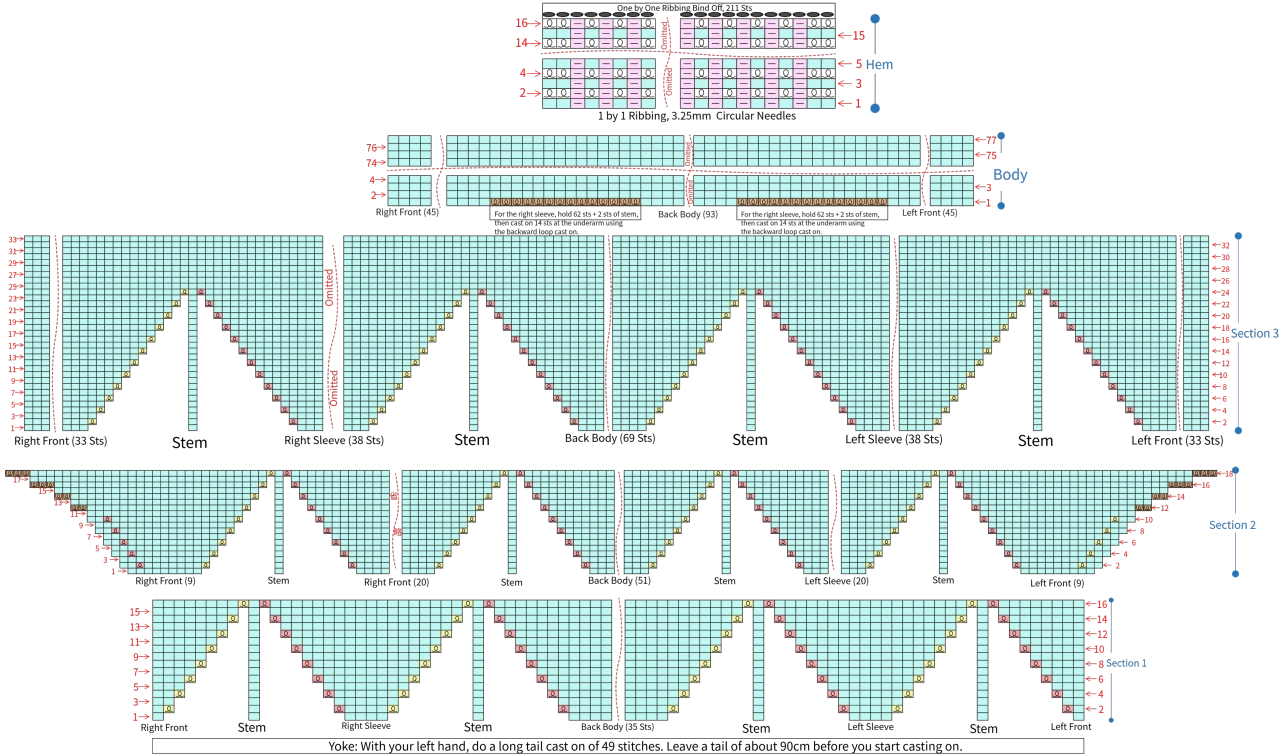
Note: The yarn over method for the knit stitches in the 1 by 1 ribbing at the hem is special. Please check the video demonstration for details.
Part 2 Sleeves × 2
Pick up stitches from the corresponding position on the main part for the sleeves, crochet in rounds counterclockwise, and decrease at the corresponding positions. Please refer to the video demonstration for details.
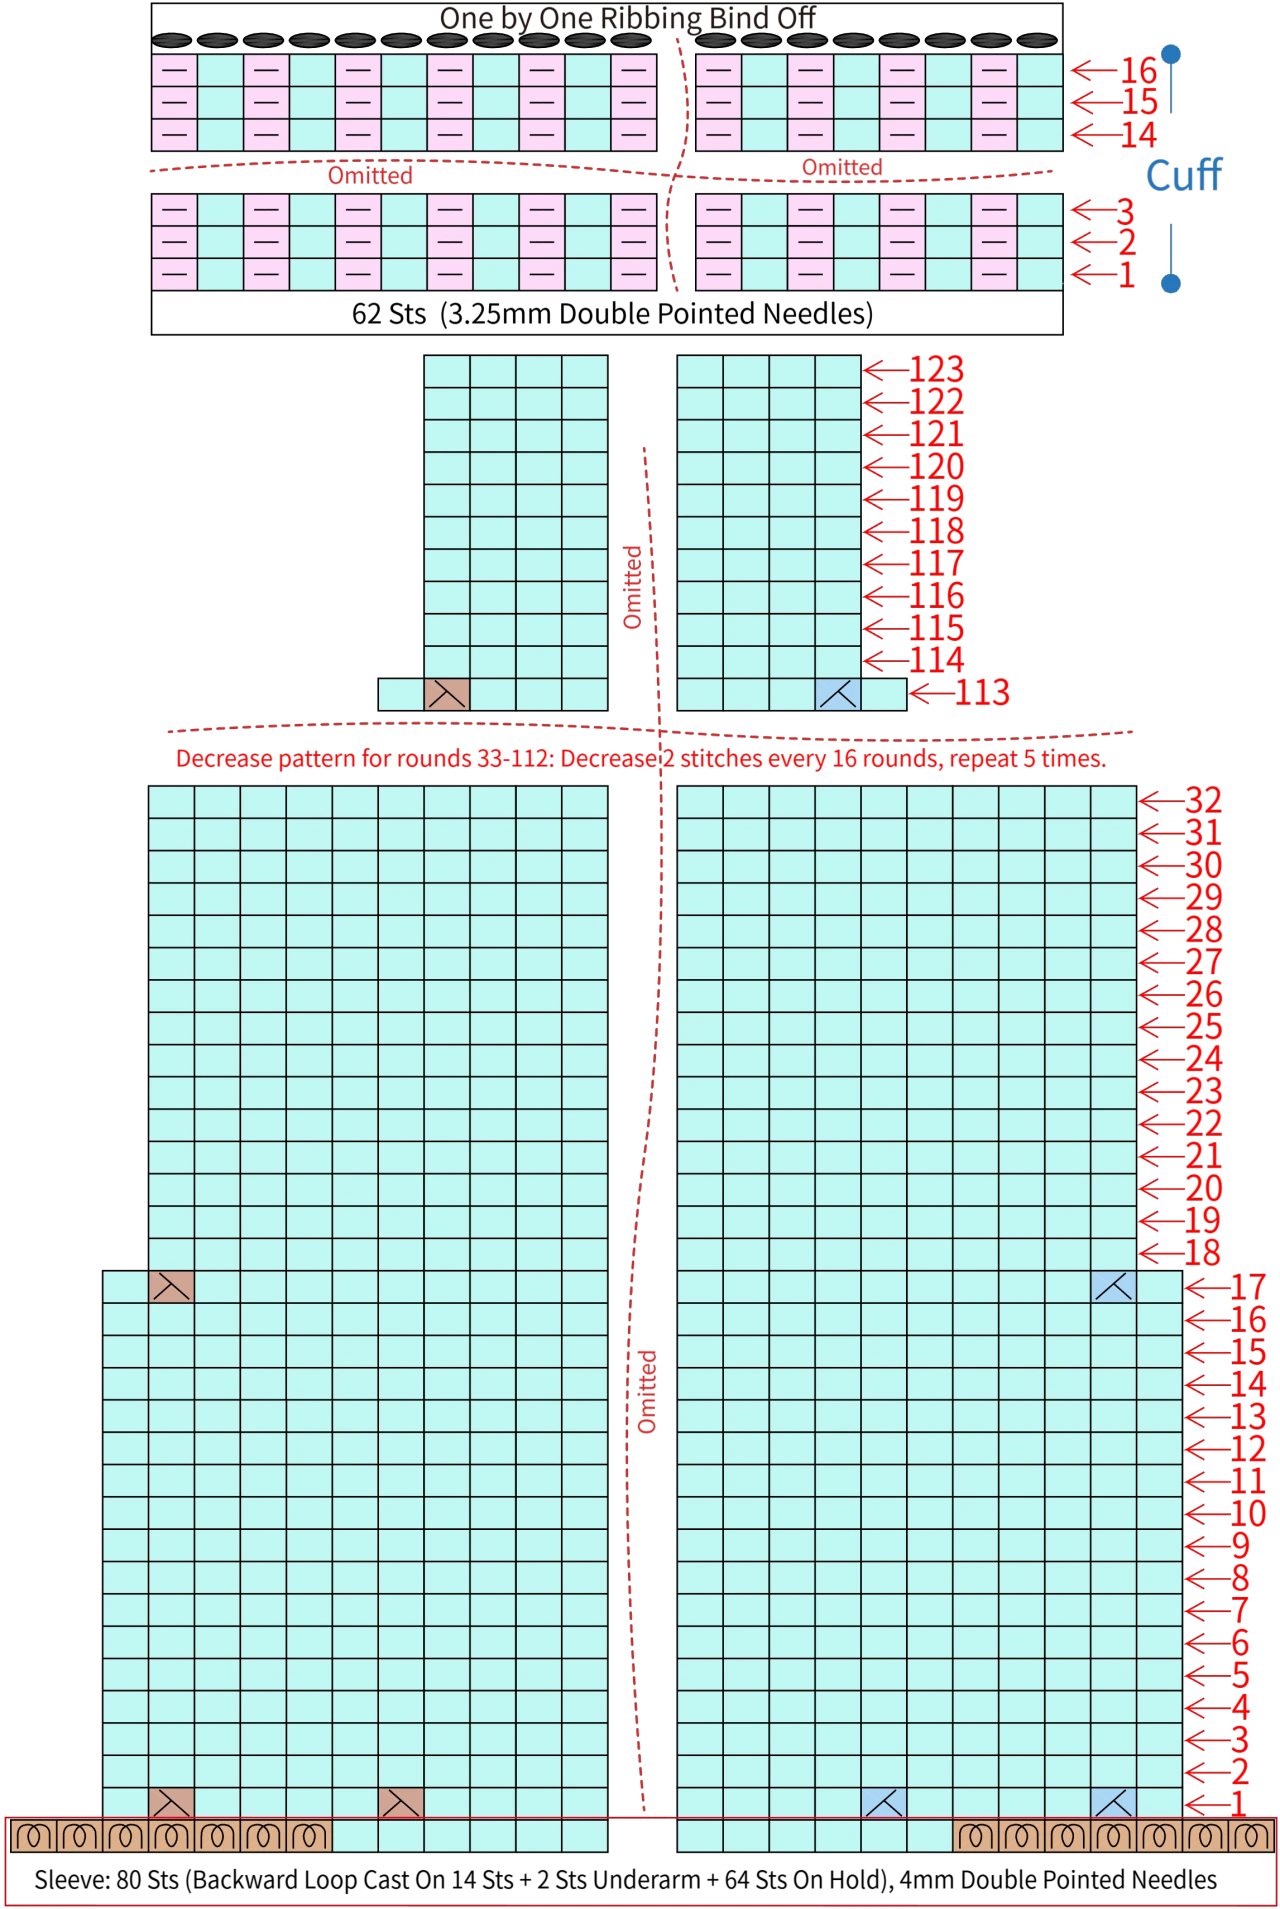
Part 3 Front Band & Collar
The front bands are divided into left and right. Pick up stitches at the corresponding positions, work back and forth, and leave buttonholes on one side. For the collar, work back and forth along the top of the front bands and the neckline. Check out the video for a demo.
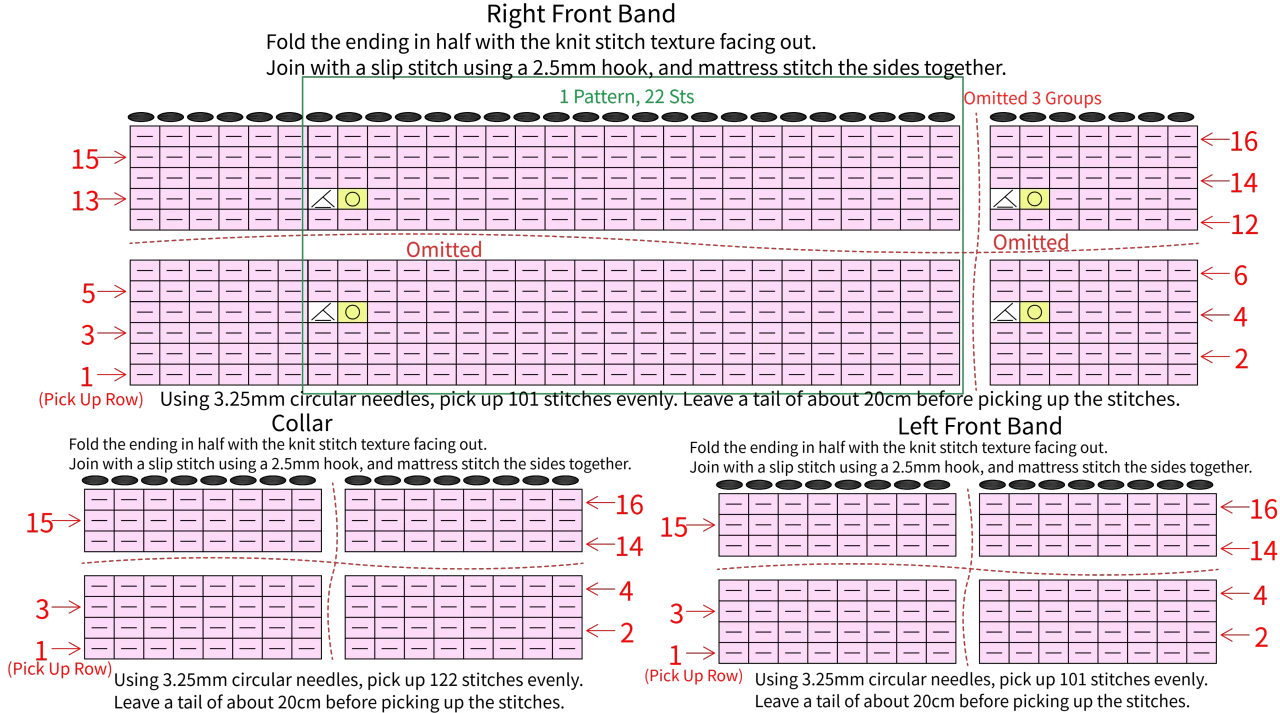
Note: In the chart, the front band and neckline are shown as they appear when you're working on the right side of the main part. After folding and seaming with slip stitches, the knit stitch texture should be facing out.
Part 4 Buttons
There are 5 buttons. Sew them onto the center of the left front band, matching up with the buttonholes. Check out the video for a demonstration.
Made by the community