Clothes
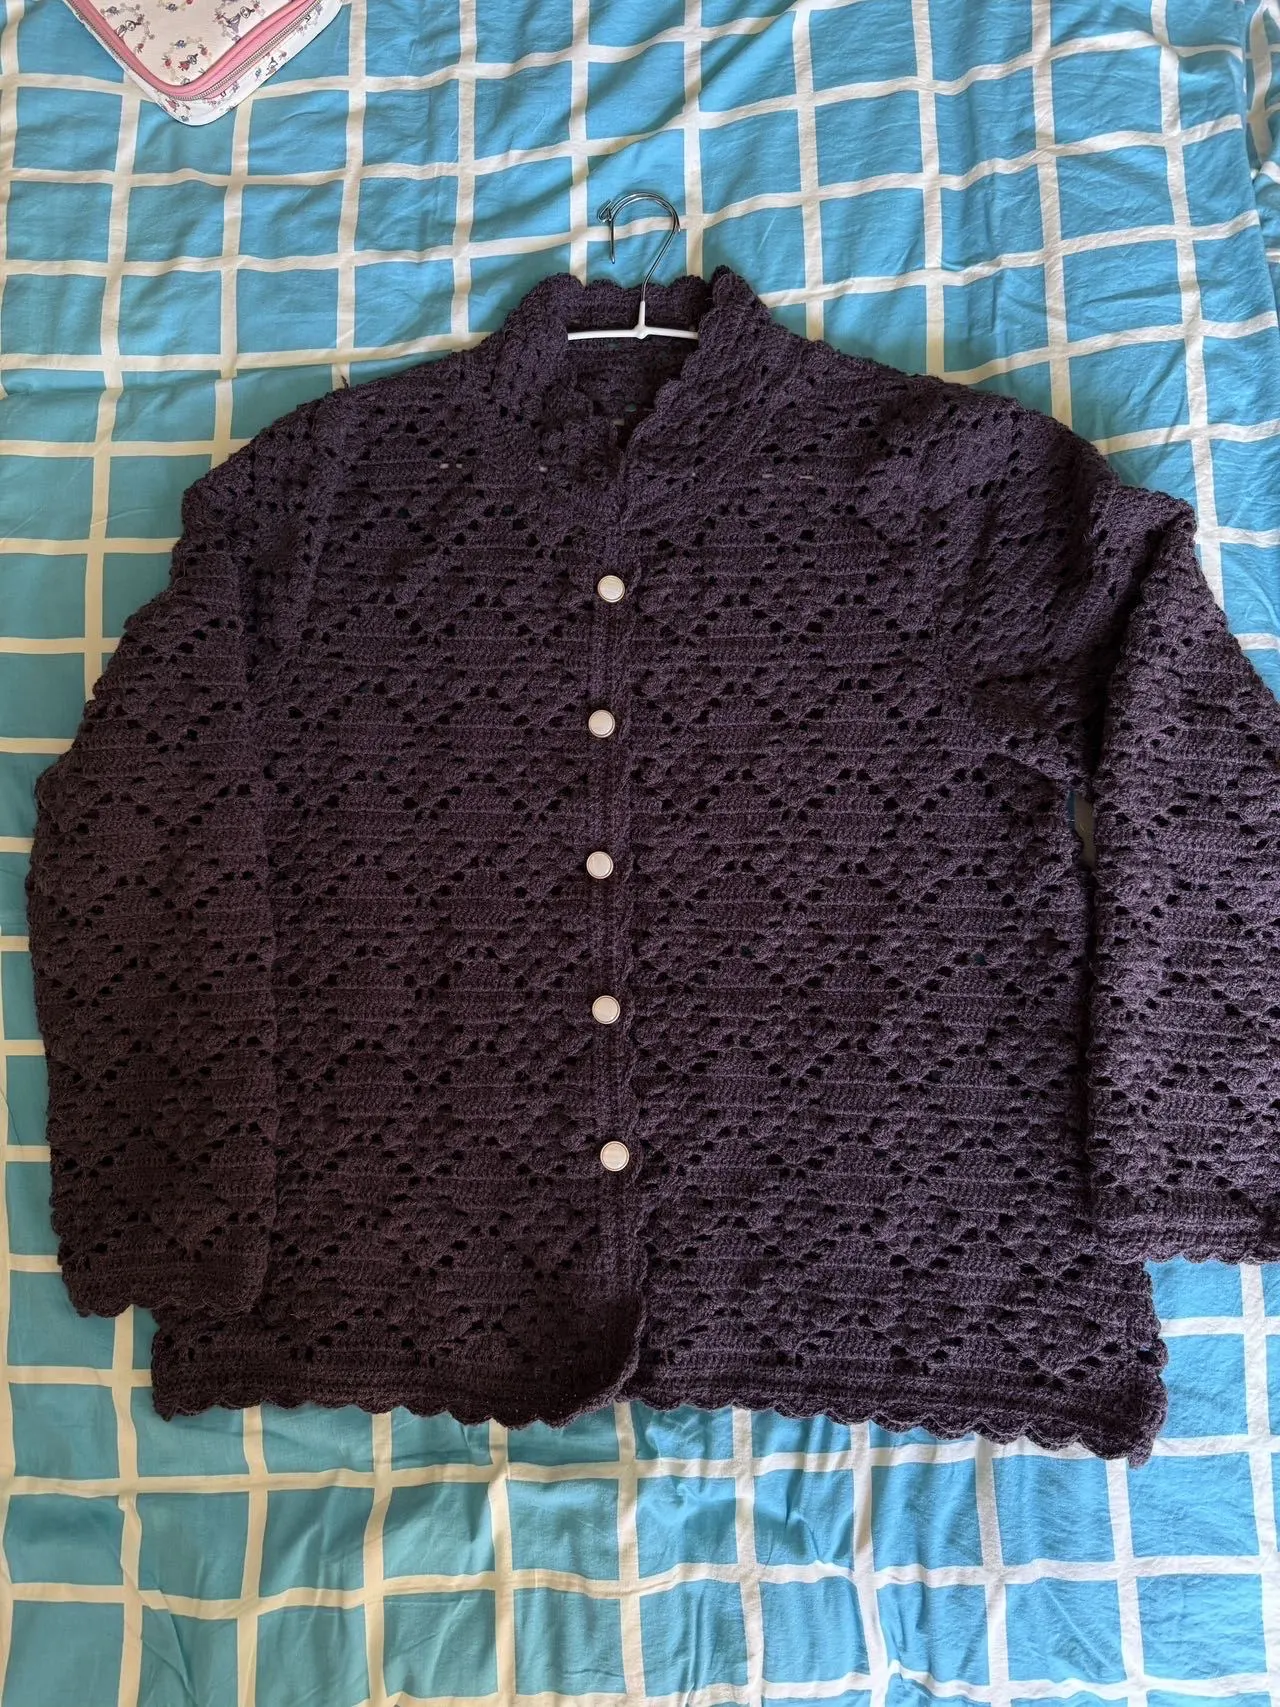
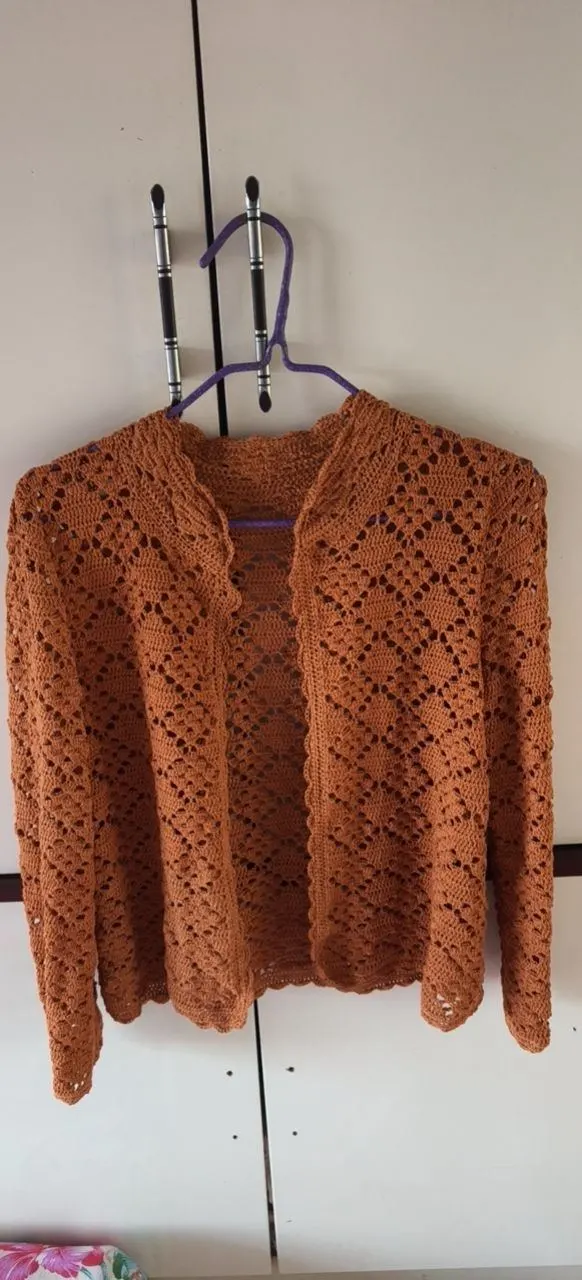
Wistful Willow Cardigan
Project preview
See the finished project
Pattern format
Instructions
Watch and follow
Video tutorial
| Style | Yarn | Color |
|---|---|---|
| Red Ochre - Small size | Morandi 4# |  18#Red Ochre x 12 18#Red Ochre x 12 |
| Antique White - Small size | Morandi 4# | 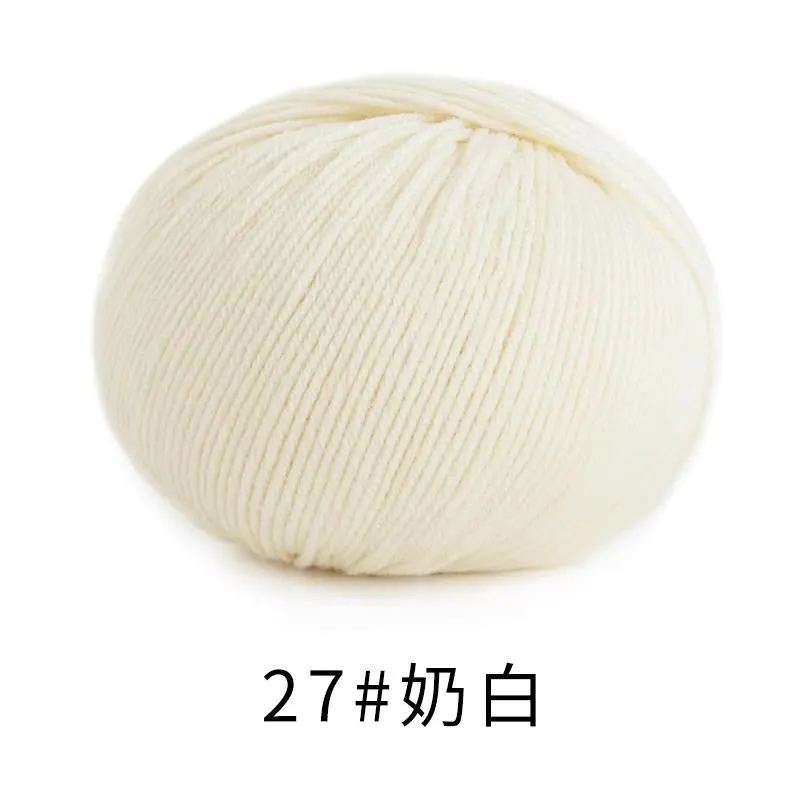 27#Antique White x 12 27#Antique White x 12 |
| Warm Taupe - Small size | Morandi 4# |  29#Warm Taupe x 12 29#Warm Taupe x 12 |
| Placid Blue - Small size | Morandi 4# | 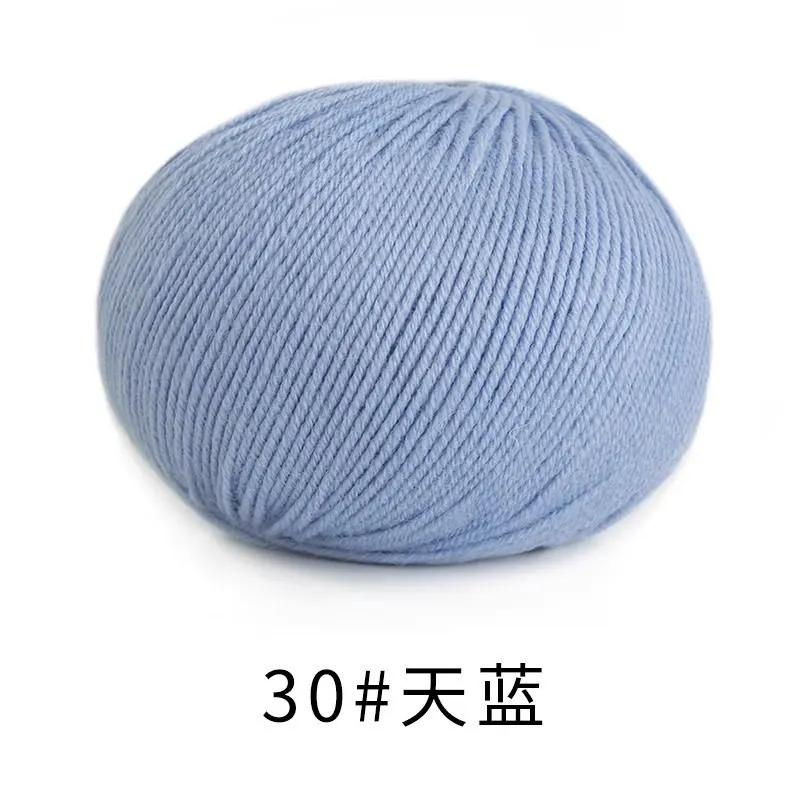 30#Placid Blue x 12 30#Placid Blue x 12 |
This garment consists of the back body, front bodies (left and right), sleeves, joining together, edging, and buttons.
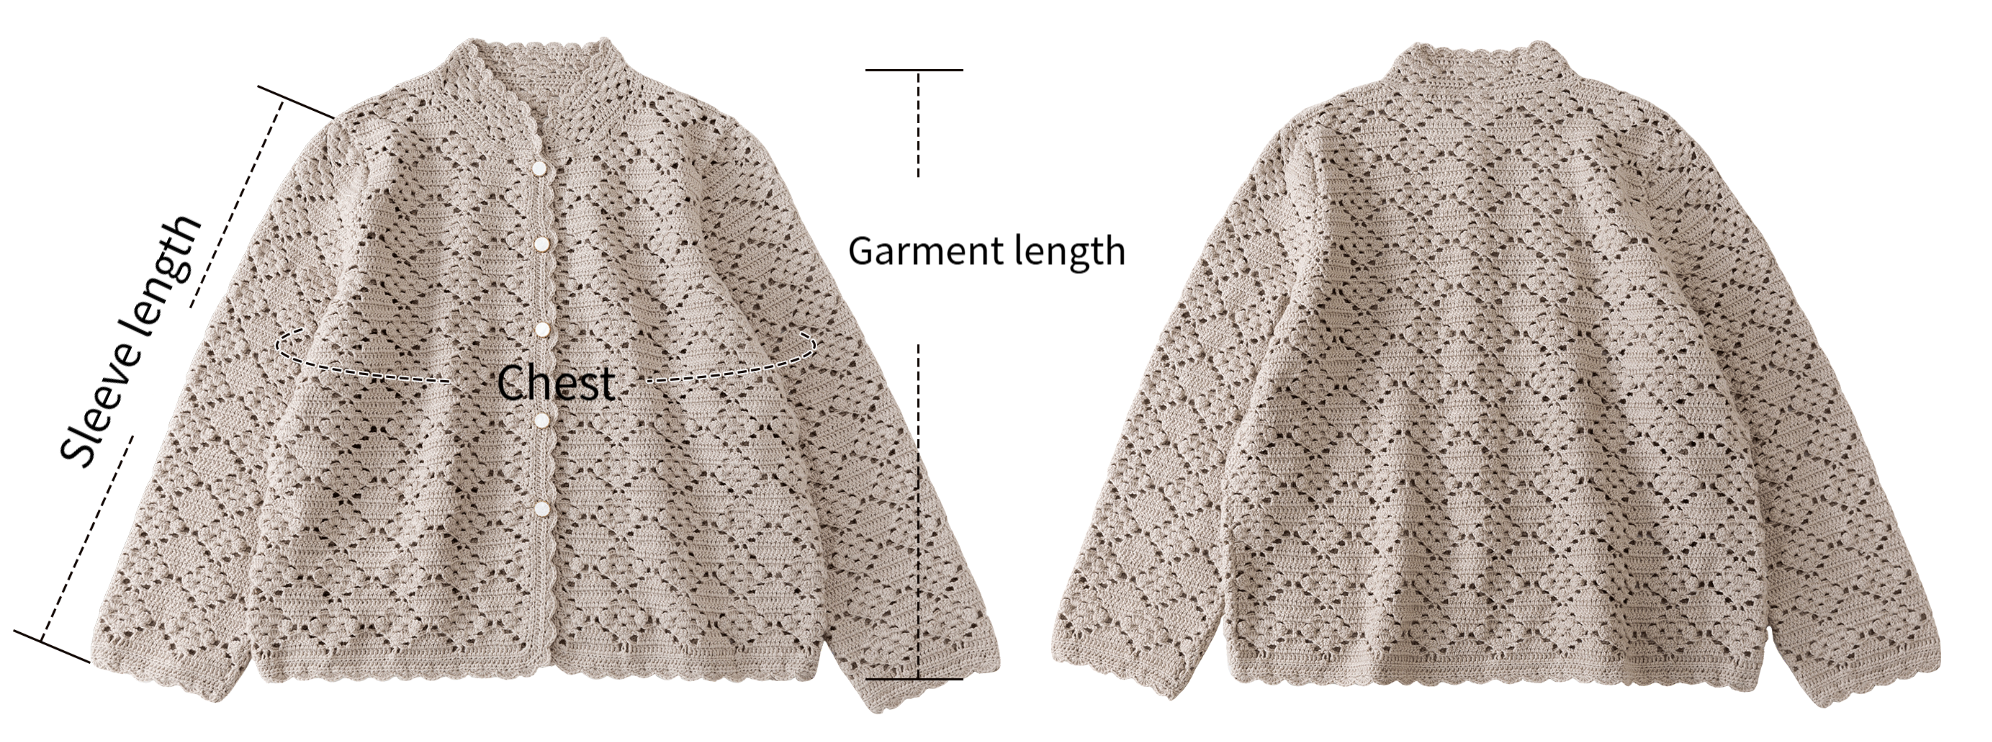
| unit: cm | bust circumference | length of the garment | sleeve length |
| small size | 103.5 | 52 | 53 |
Note: Hand-measured, with a possible error of 1-2 cm. Since everyone's tension varies, the sample size is for reference only.
Yarn: Susu's Morandi 4#.
Tools: 3.00 mm crochet hook.

The tutorial demonstrates with the smallest size as an example; please refer to the corresponding diagrams for other sizes.
Structure Diagram
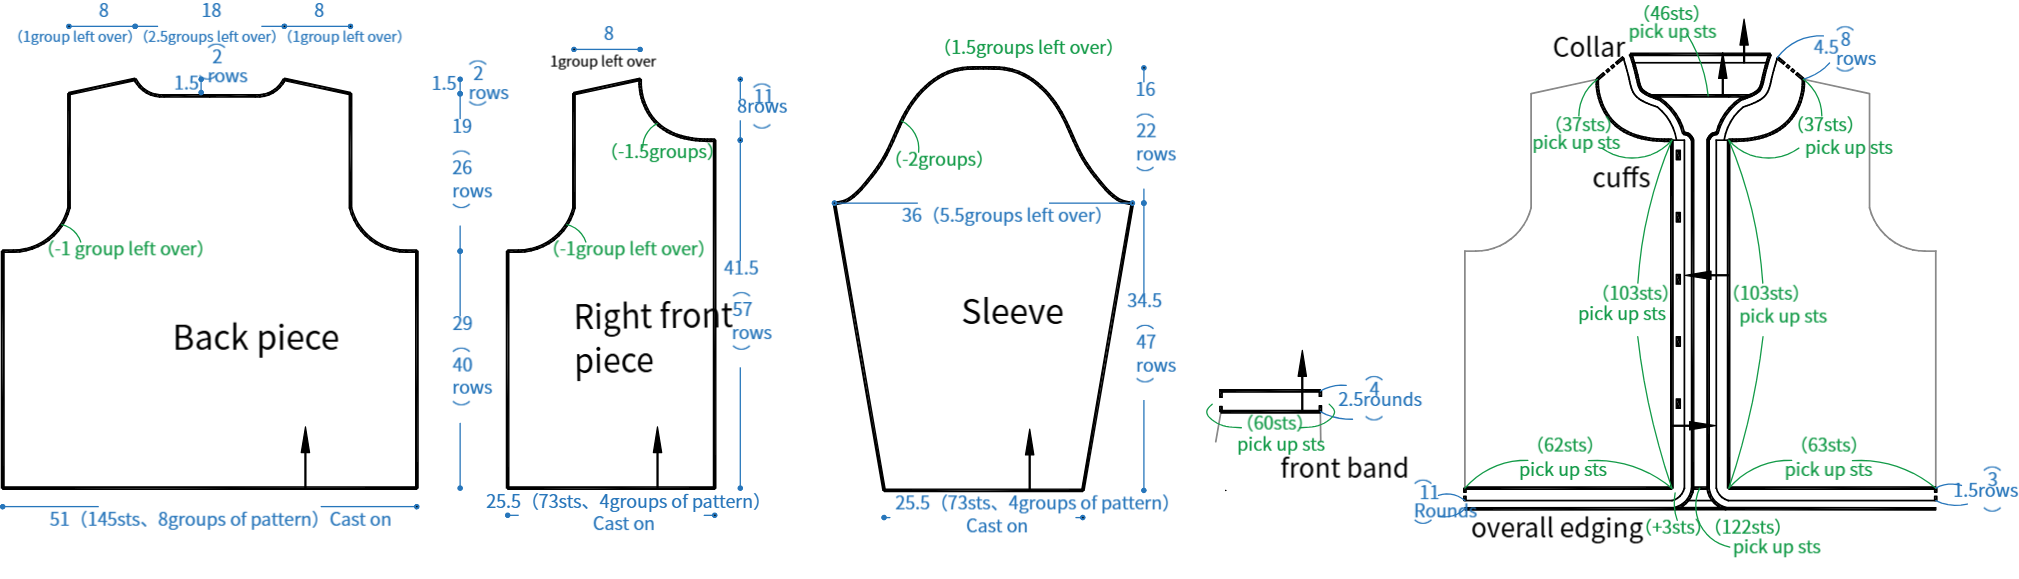
Gauge swatch
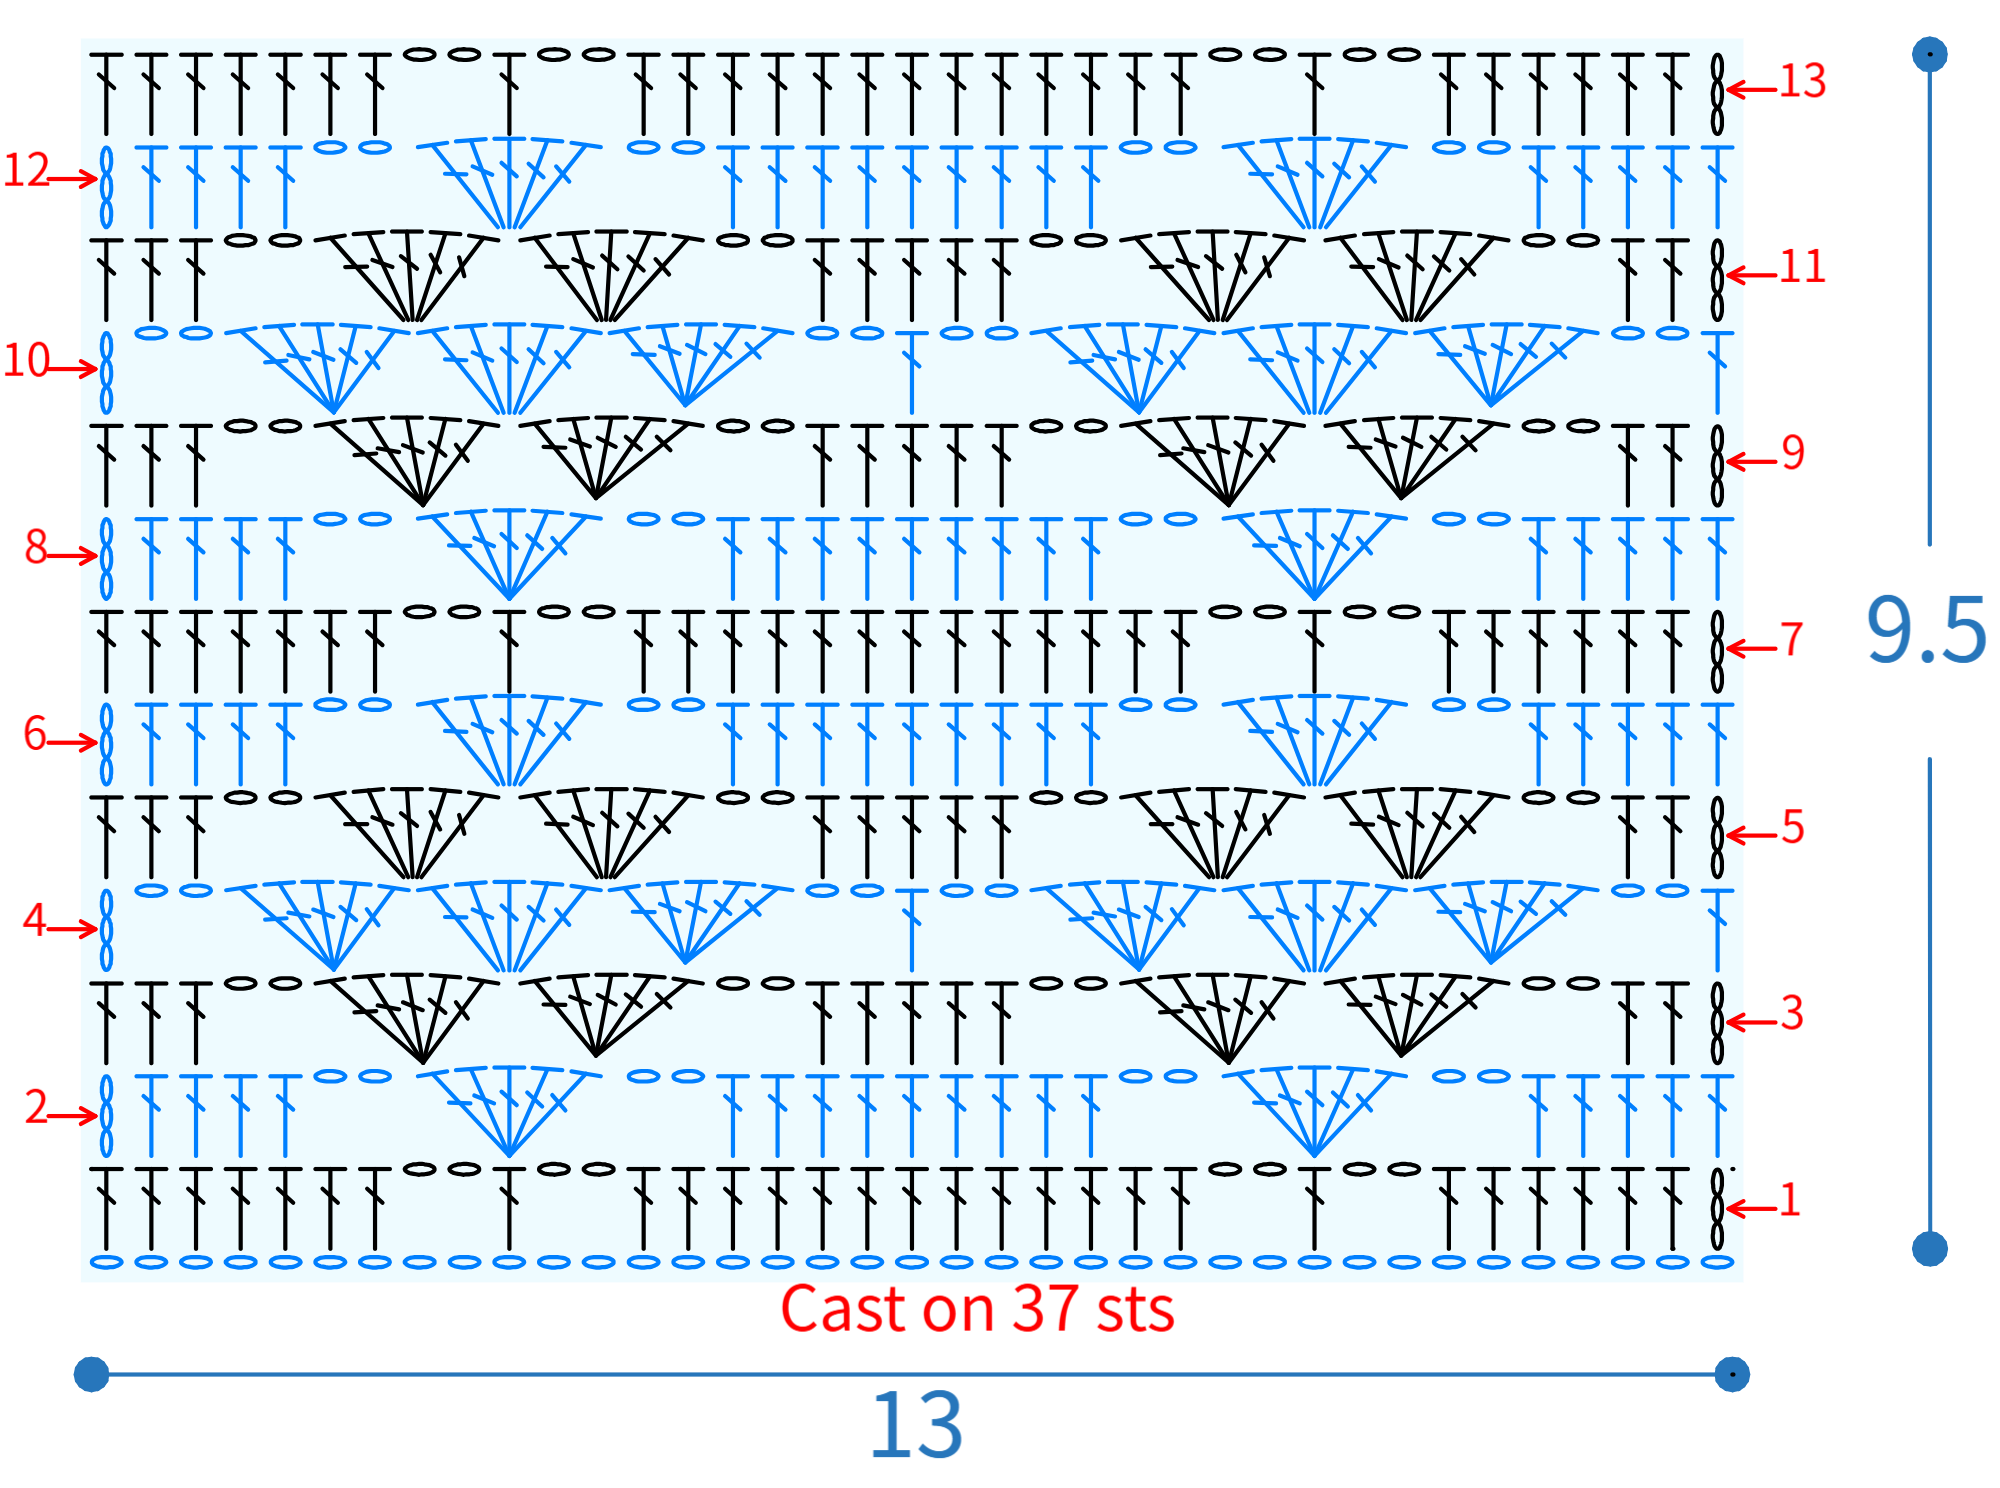
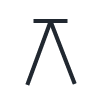
Chart Key











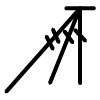
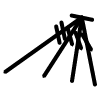
Note:
1. This pattern is making in Chinese crochet pattern terms, and the stitch name is written using American terminology. All measurements in charts are in cm.

PART1 Back Piece A 00' 35''
Back piece starts with foundation chain, working back and forth in rows. Divide into 3 sections: body, chest piece, and shoulder-parts. Please refer to the video demonstration for details.
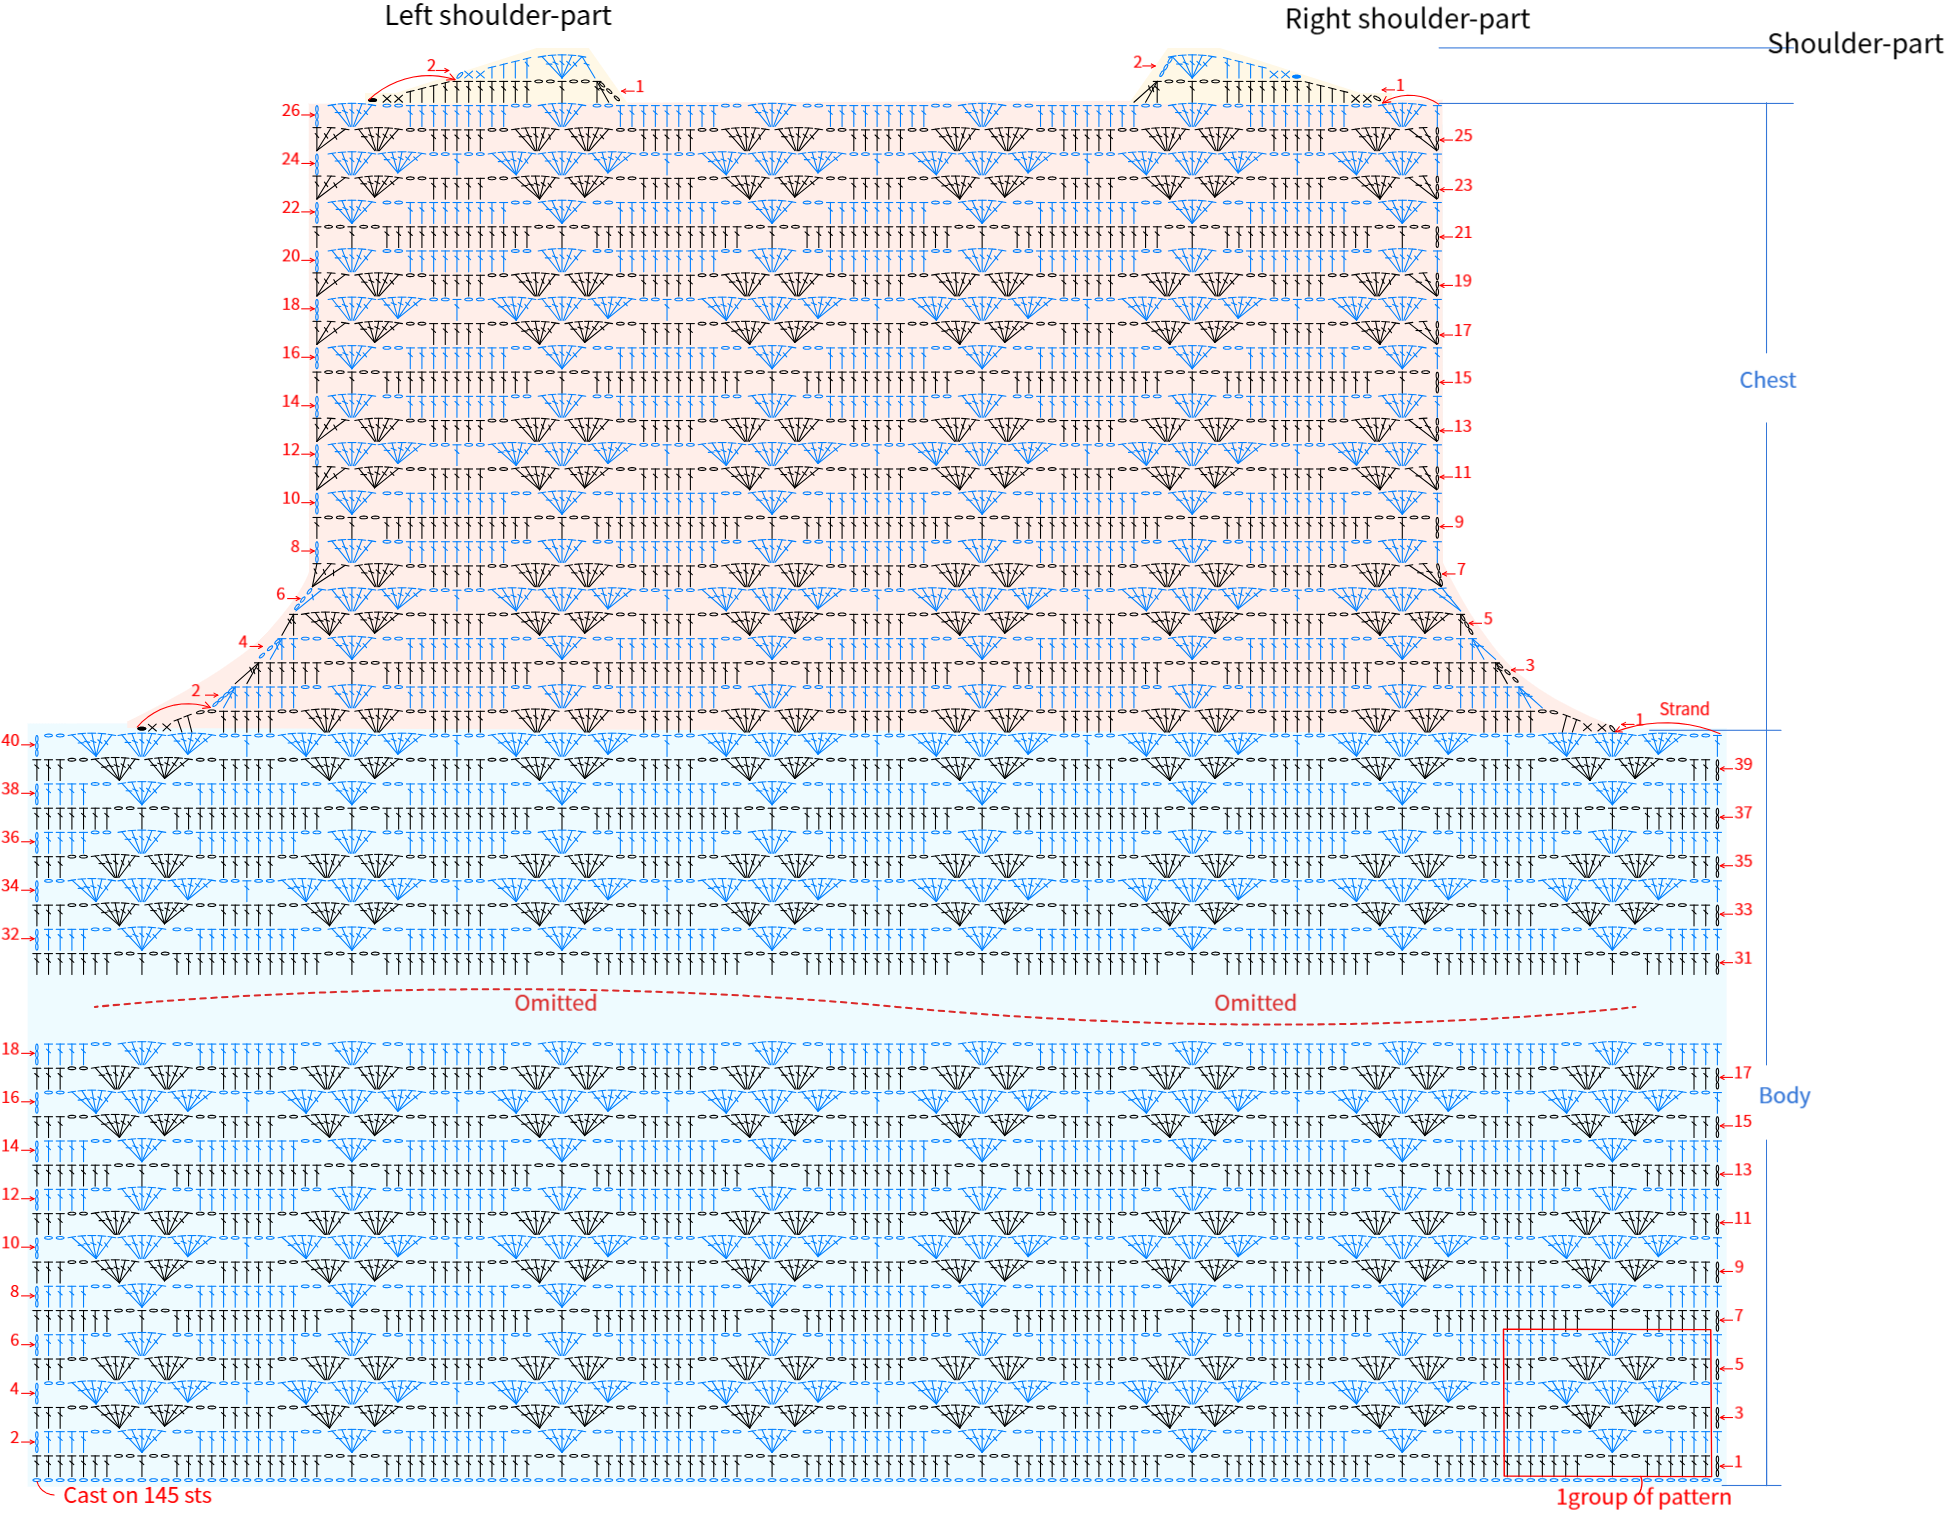
Note: 1. After completing row 7 of the body, measure the width of your piece to match the schematic. The height should be about 5.5 cm. If there's a big difference, adjust your tension and re-crochet to avoid affecting the final size.
2. The "left" and "right" here refer to the left and right sides when the garment is worn.
PART2 Right Front and Left Front B 39' 40''
Both front pieces are worked flat with a chain foundation, back and forth, and each is divided into two sections: the body and the bust. For details, please refer to the video demonstration.
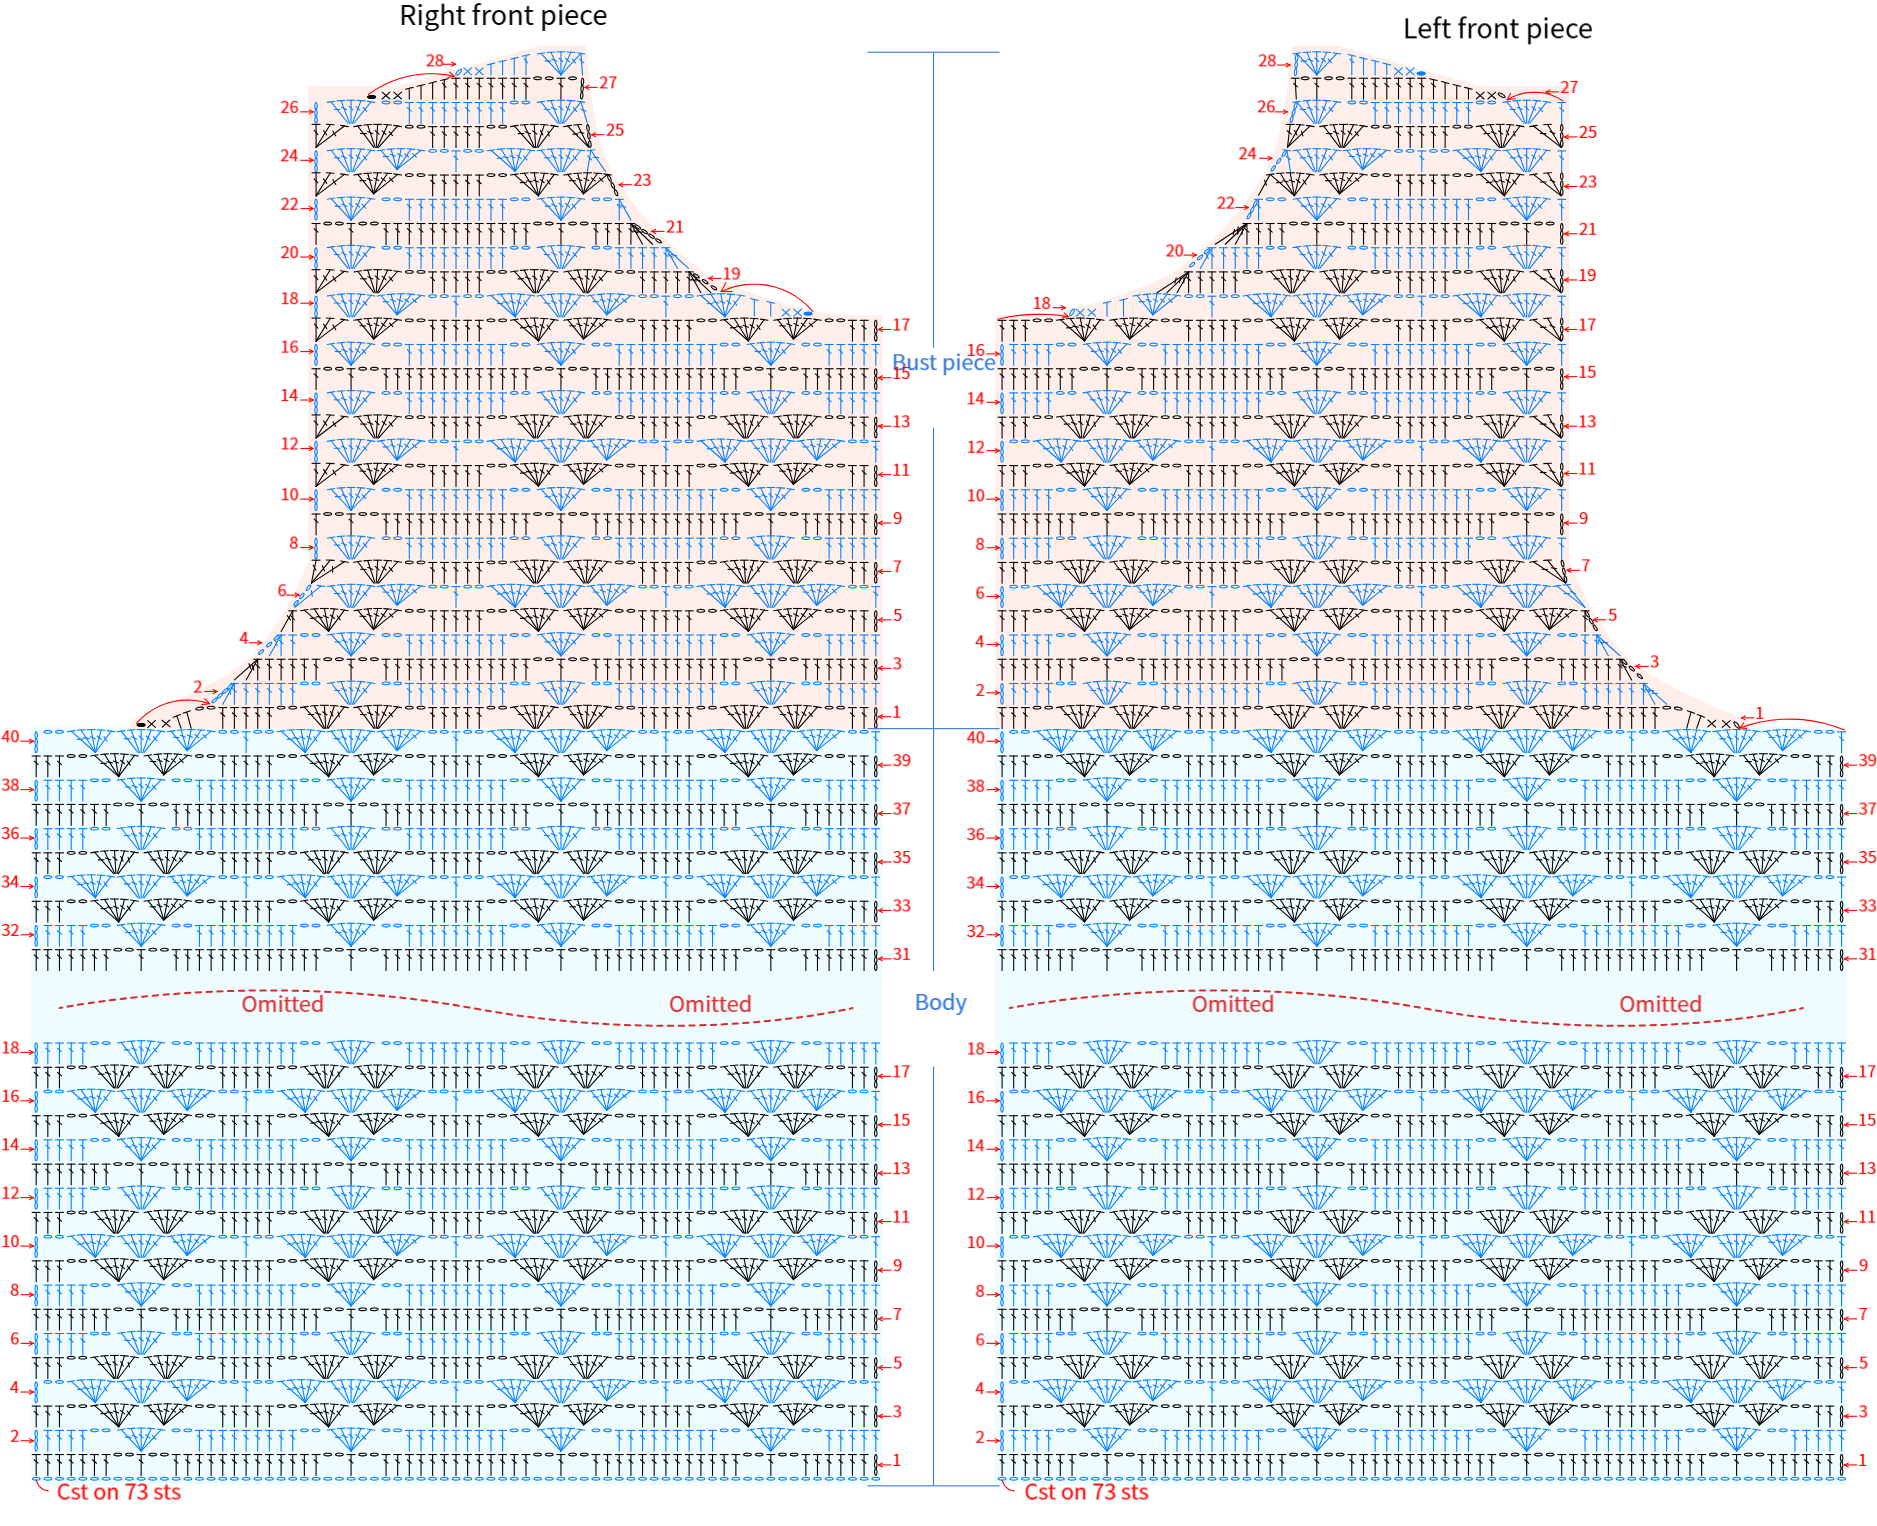
Note: When crocheting the front body, you can compare it with the back body as you work, ensuring that half of it roughly matches the back body.
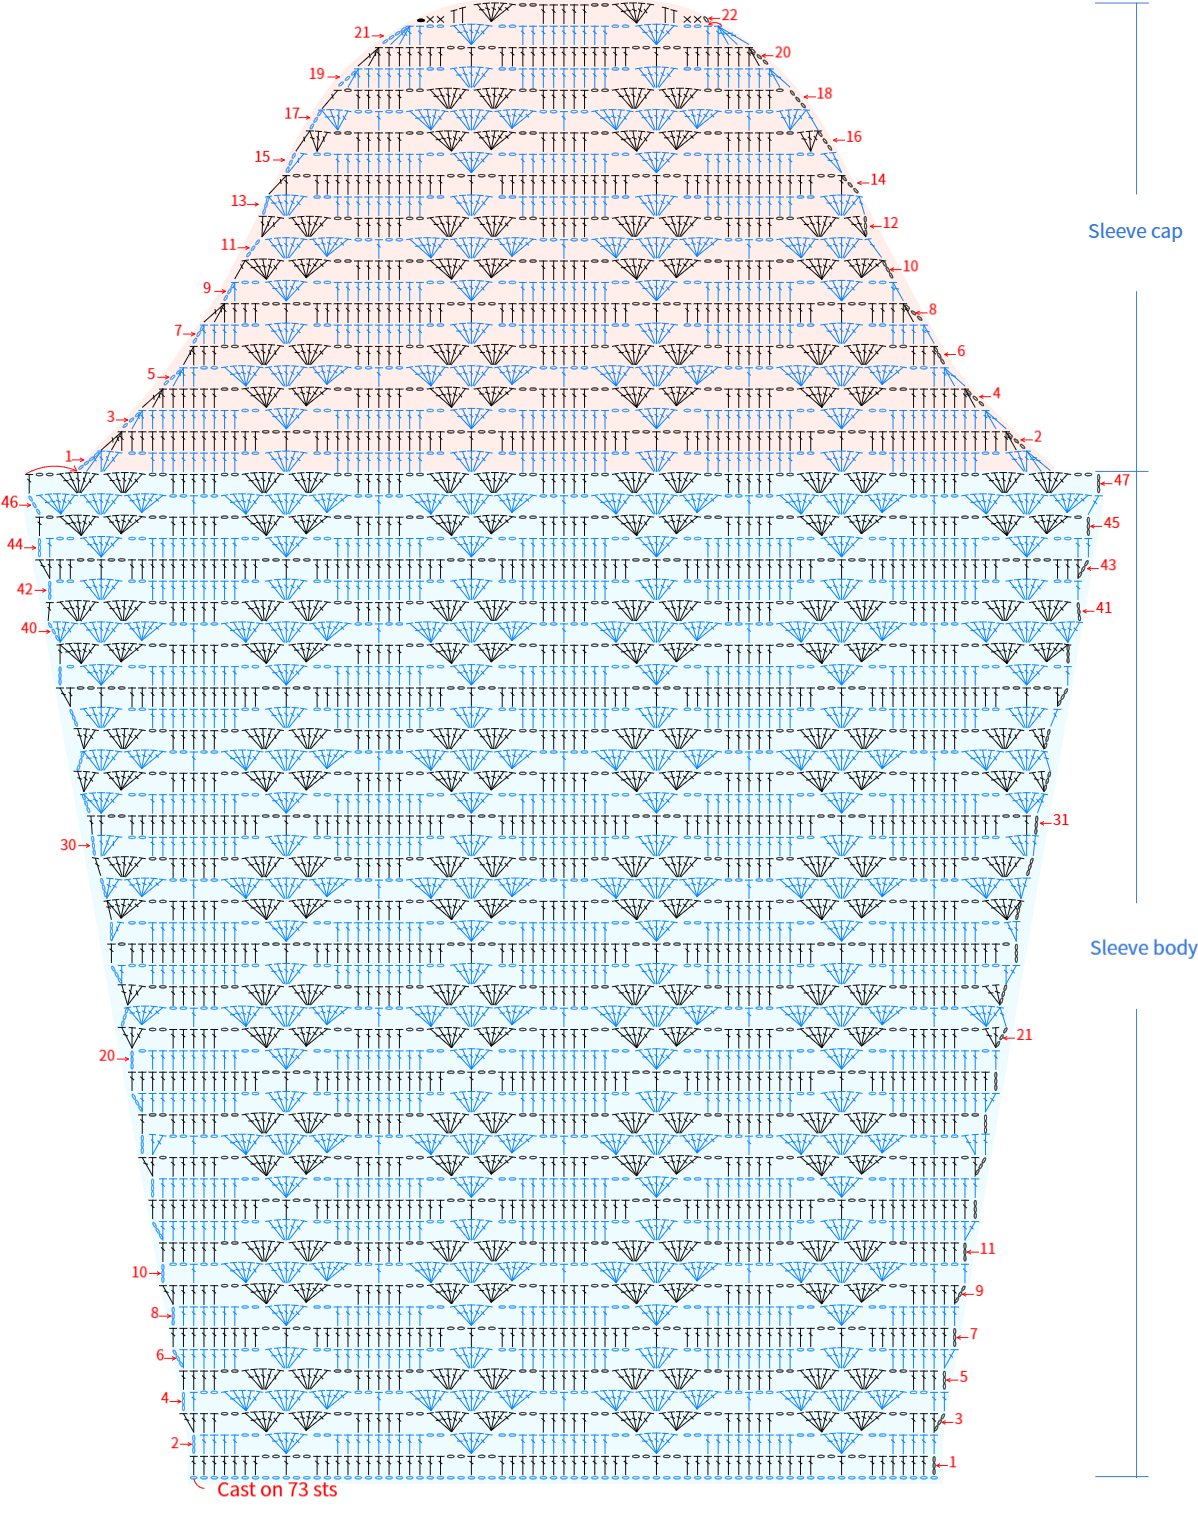
PART3 Sleeves C 43' 15''
The sleeves are started with a chain stitch and worked back and forth, divided into two parts: the sleeve body and the sleeve cap. Please refer to the video demonstration for details.
PART4 Joining Together D 44' 17''
Joining is divided into shoulder joining, body joining, and sleeve joining. Here, we use the method of working through the back loop on the wrong side, simultaneously inserting into the fabric edge, crocheting single stitches with 2-3 chain stitches in between. For details, please refer to the video demonstration.

Note: You can choose the specific joining method according to your own preference, as long as the final seam looks neat and smooth.
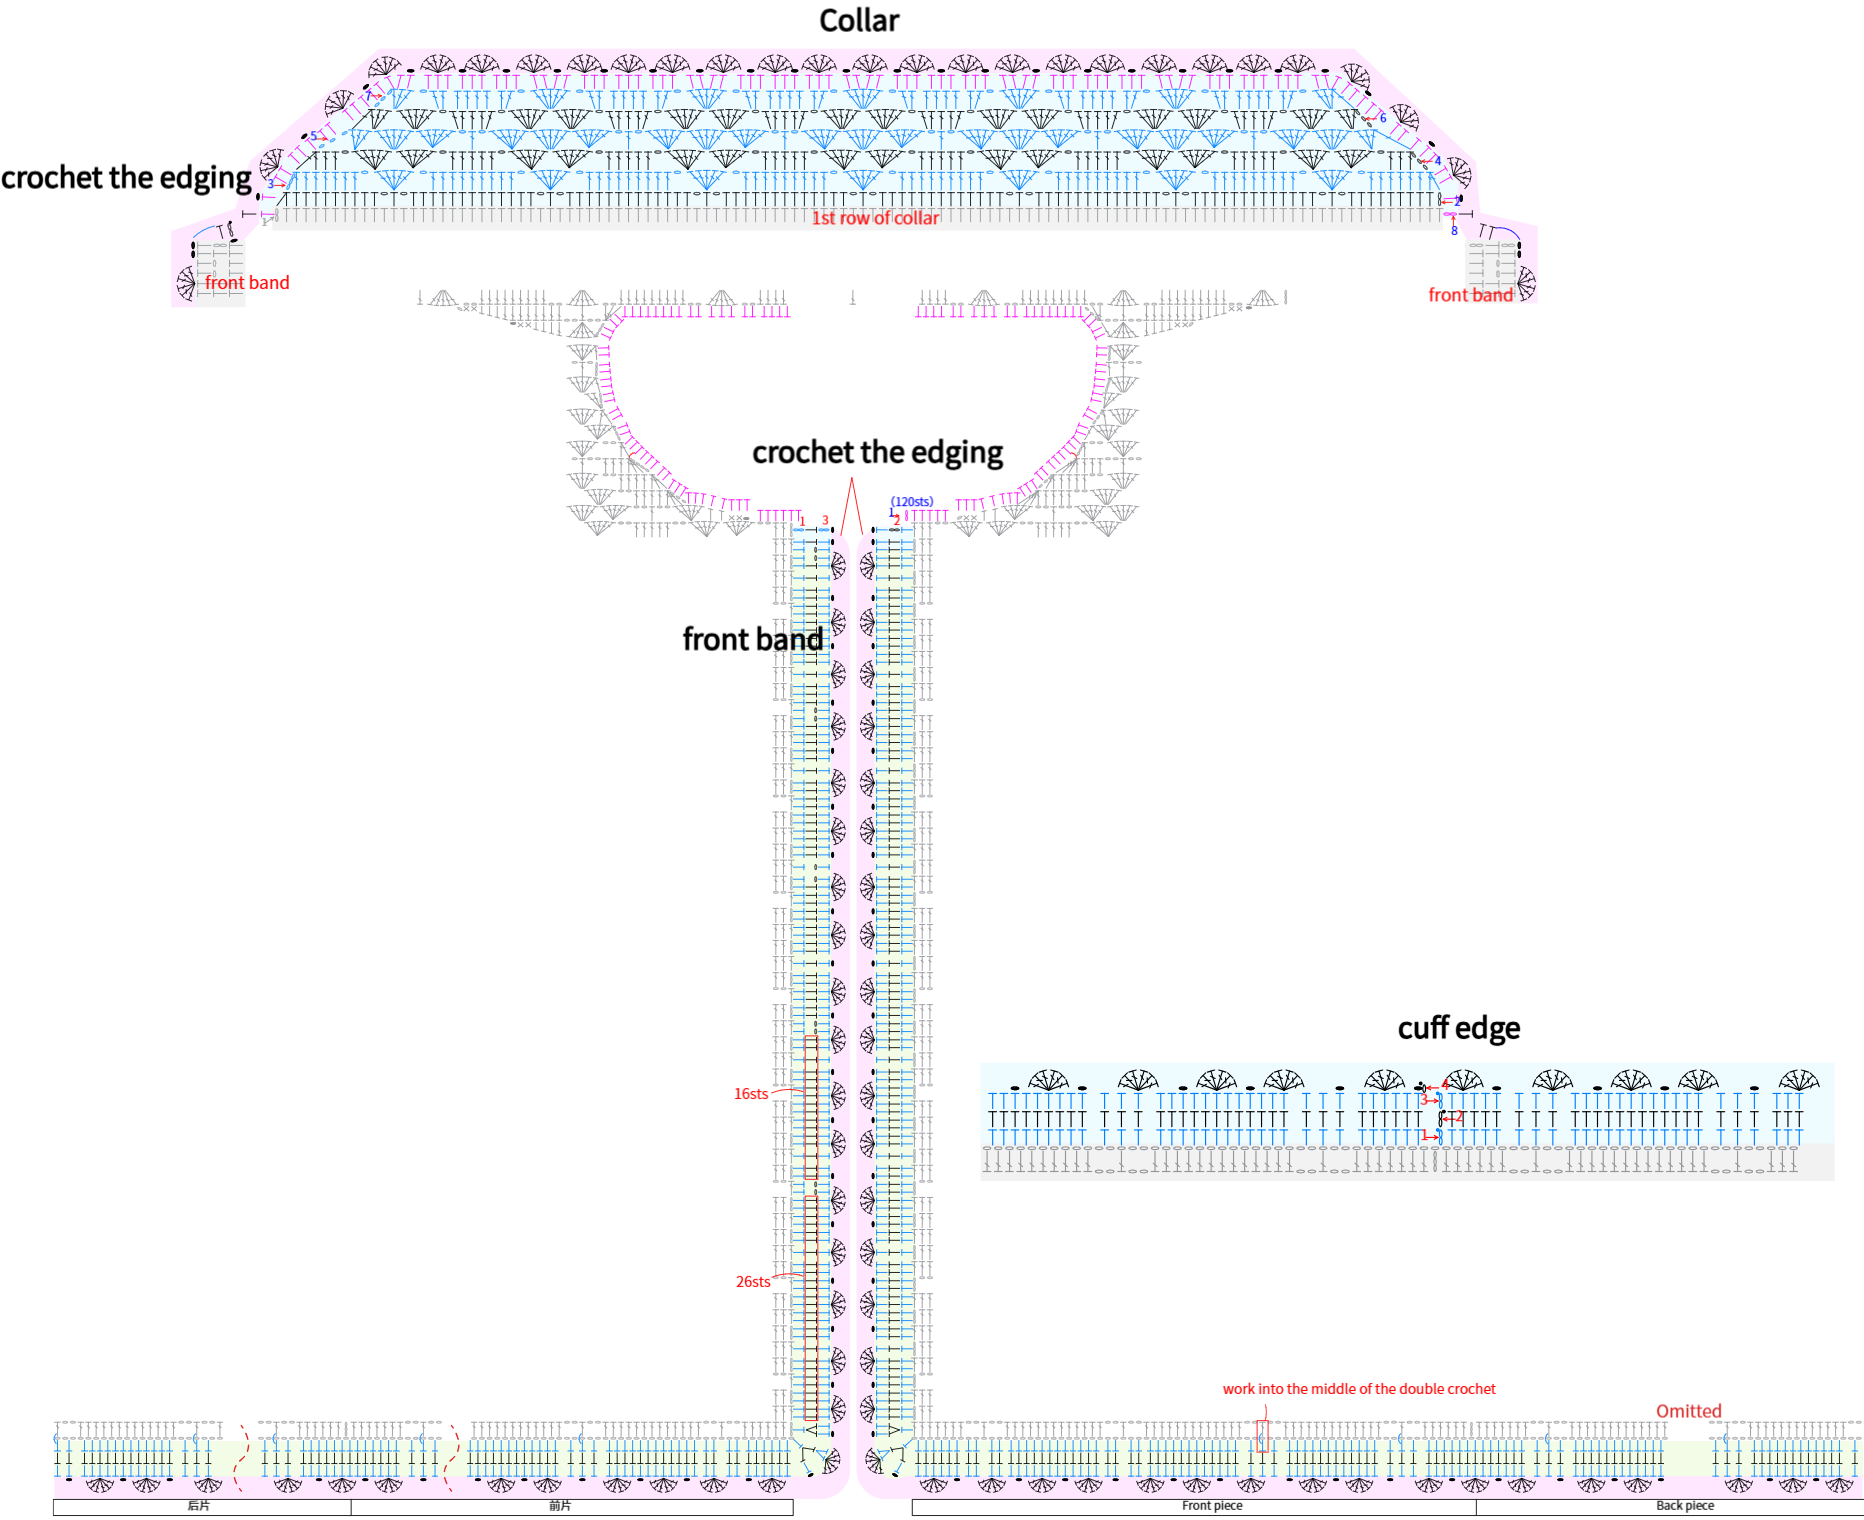
PART5 Crochet the Edging E 53' 18''
The edging is divided into the placket, neckline, overall edging, and sleeve edging. First, work back and forth on the side edges of the front body and the bottom edges of both front and back bodies to crochet the placket. Then, work back and forth around the neckline of the front and back bodies to crochet the neckline edging. Next, work in the round along the edges of the placket and neckline to crochet the overall edging. Finally, work back and forth in the round at the sleeve cast-on edge to crochet the sleeve edging. For details, please refer to the video demonstration.
Note:
1.The first row stitch placement for the placket can be adjusted as needed to ensure the fabric lies flat and looks neat; the buttonhole positions can also be adjusted later.
2. The first row stitch placement for the neckline can be adjusted, but the total stitch count should match the diagram.
3. When crocheting the edging around the whole piece, try to keep the pattern symmetrical on both sides of the placket; you can adjust the stitch intervals as needed while working to ensure overall neatness.
PART6 Buttons F 82' 11''
Finally, on the side of the placket without buttonholes, sew on 5 buttons. Please refer to the video demonstration for details.
Made by the community