Clothes
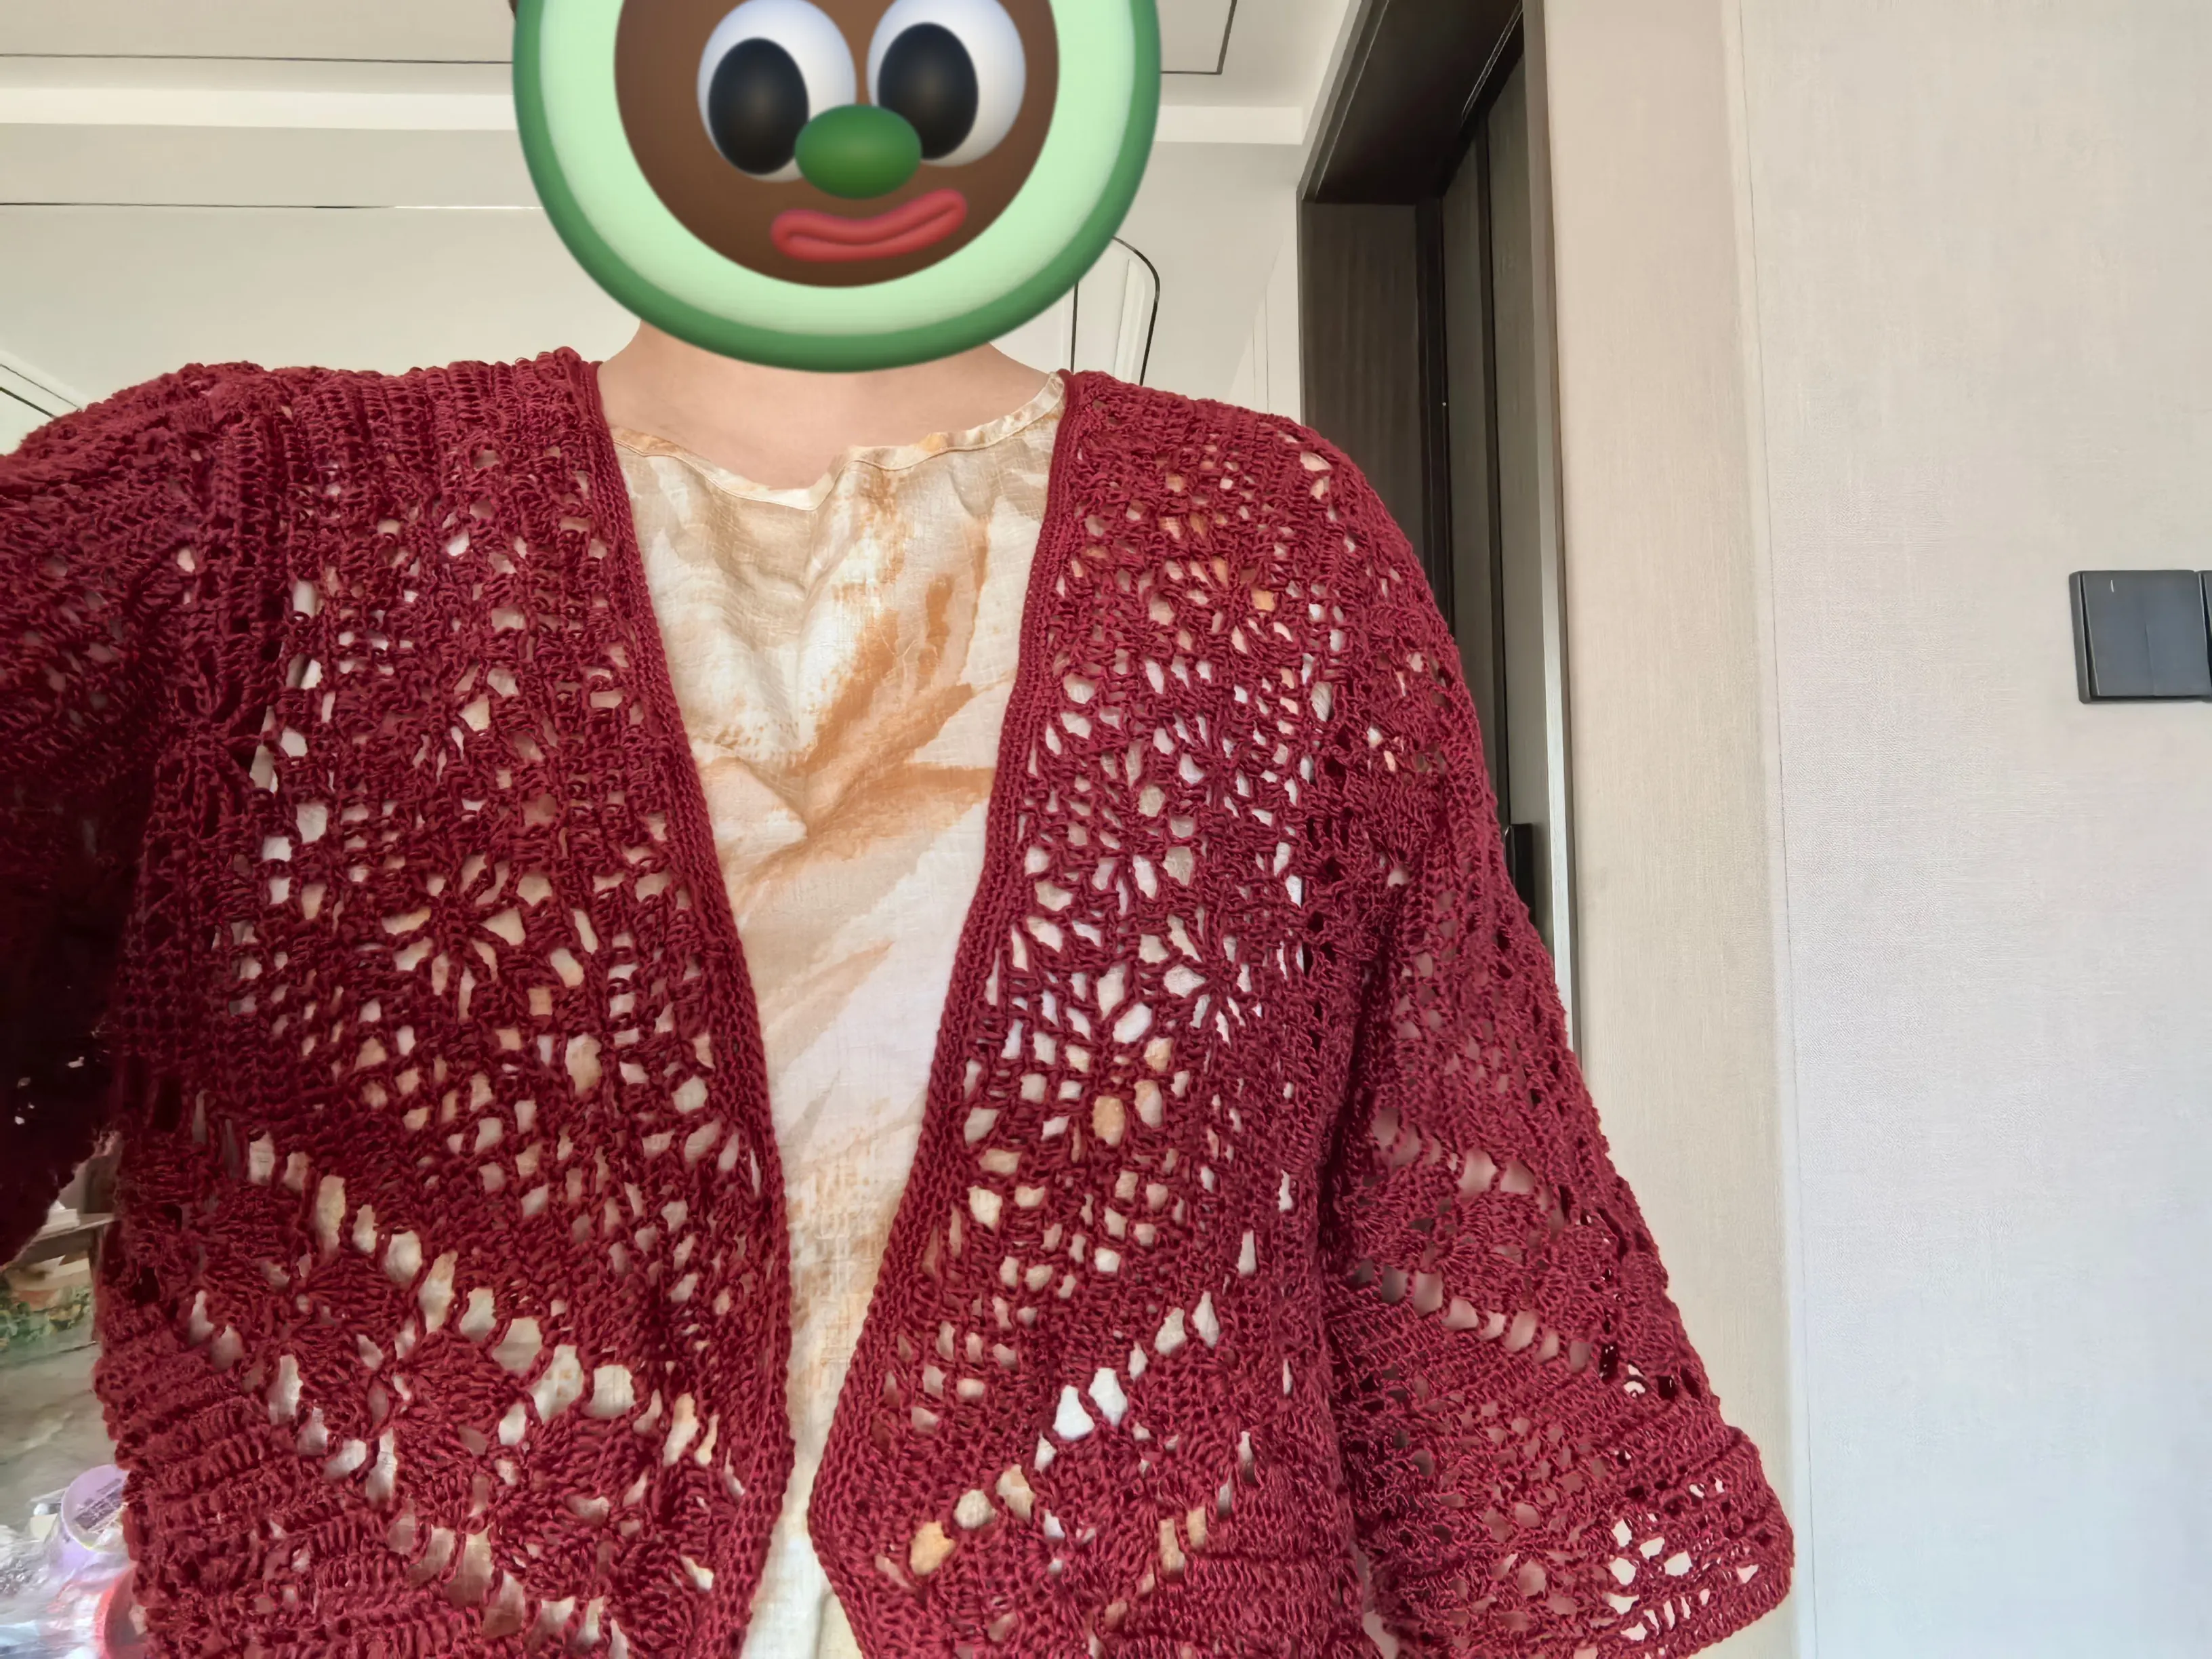
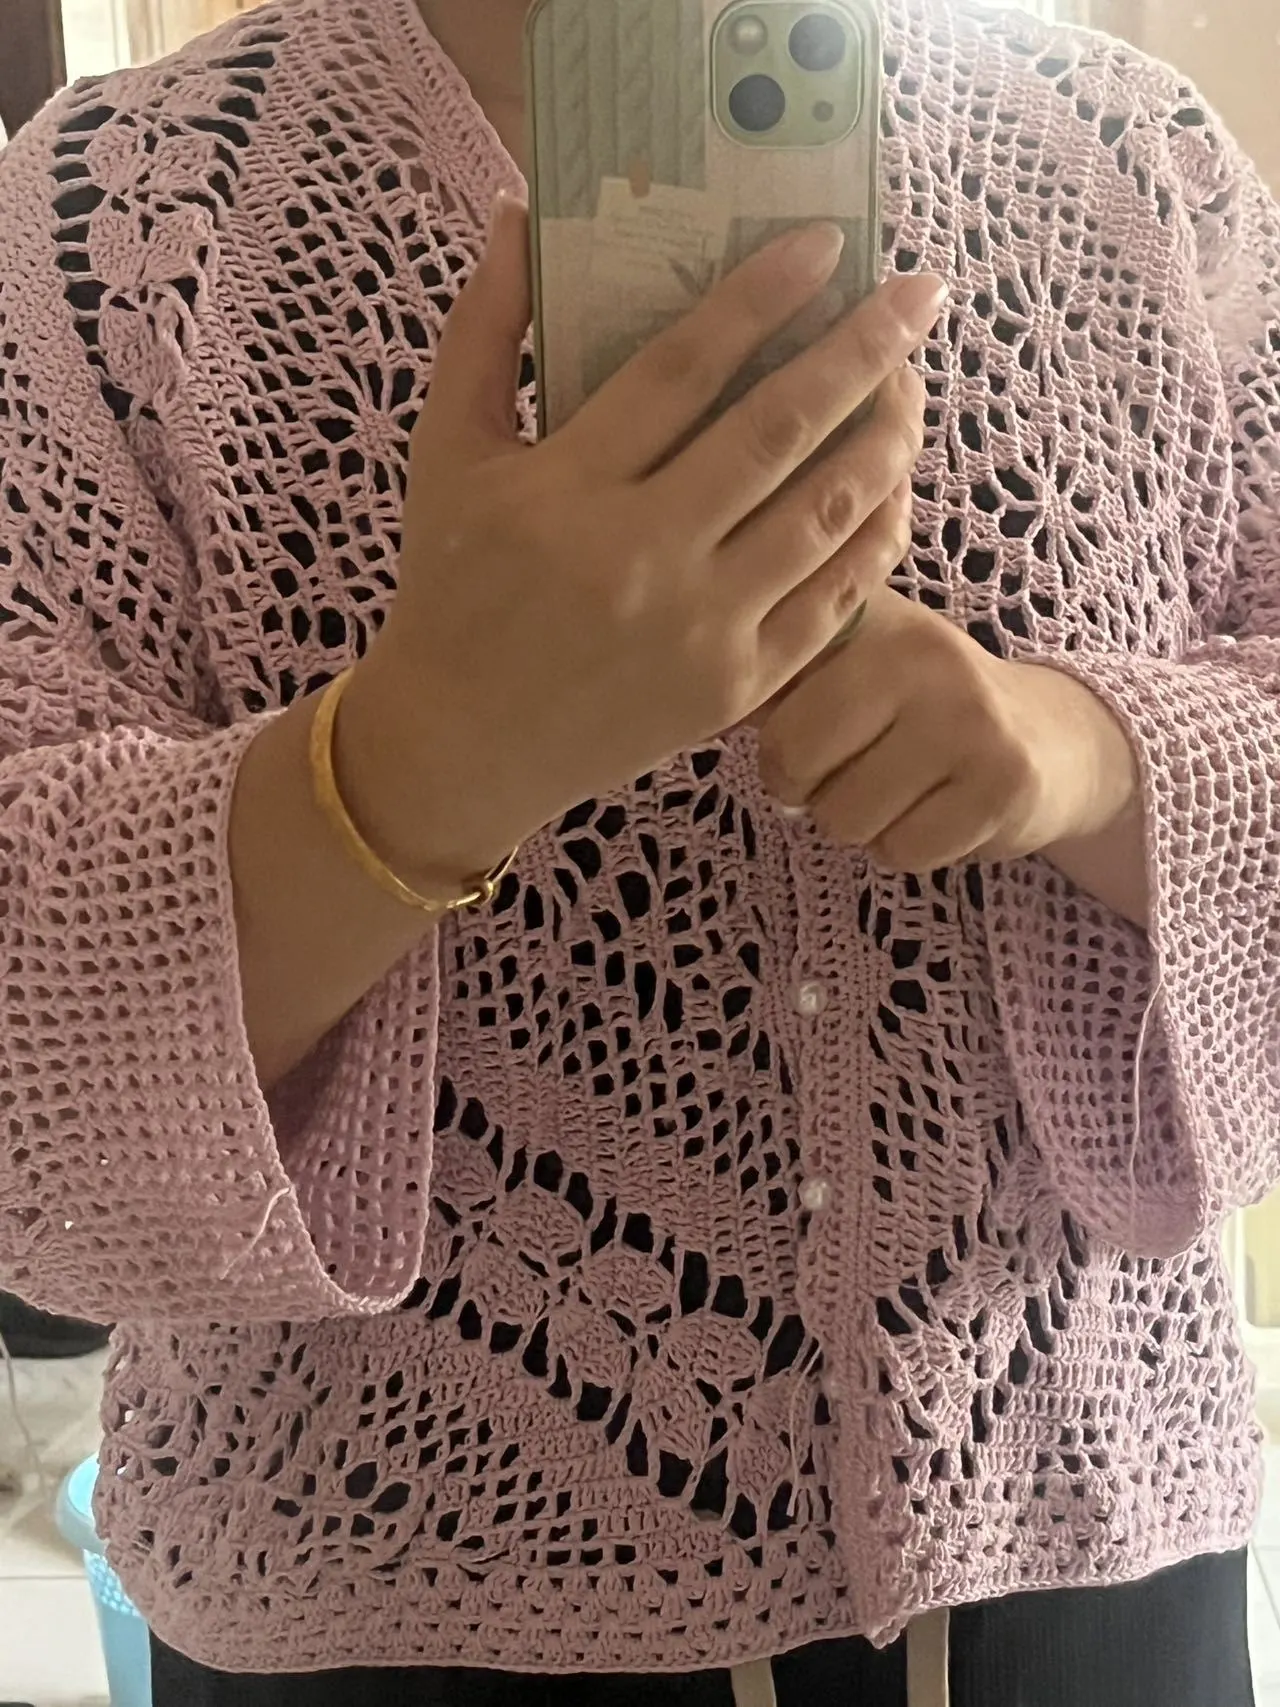
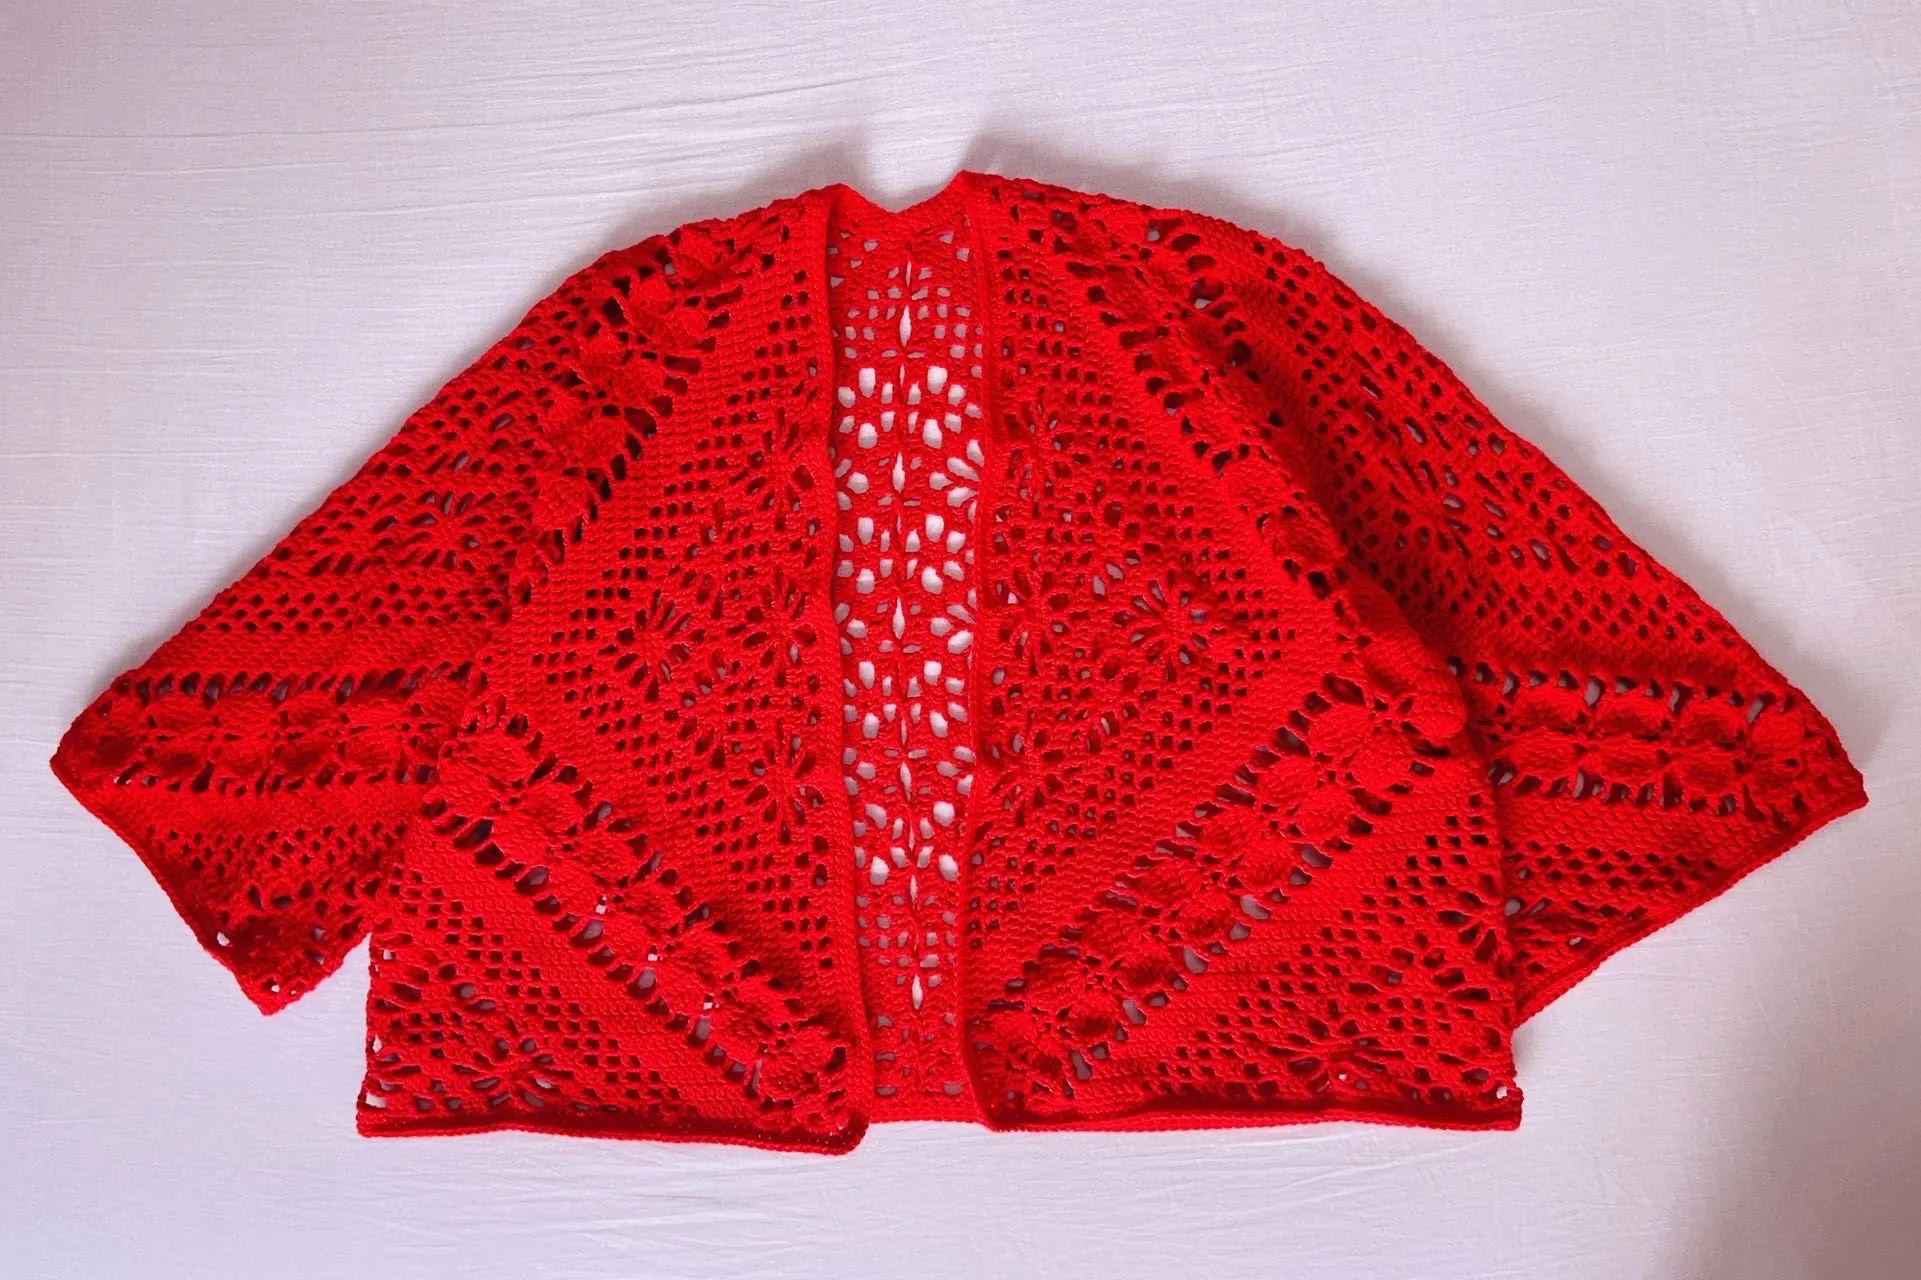
Ziqi Cardigan
Project preview
See the finished project
Pattern format
Instructions
Watch and follow
Video tutorial
| Style | Yarn | Color |
|---|---|---|
| 黑色款 | Combed 3# Lace |  24#Black Beauty x 11 24#Black Beauty x 11 |
| 罗马红 | Combed 3# Lace |  48#Aurora Red x 11 48#Aurora Red x 11 |
| 卡其款 | Combed 3# Lace |  04#New Wheat x 11 04#New Wheat x 11 |
| 空蓝款 | Combed 3# Lace |  43#Blue Moon x 11 43#Blue Moon x 11 |
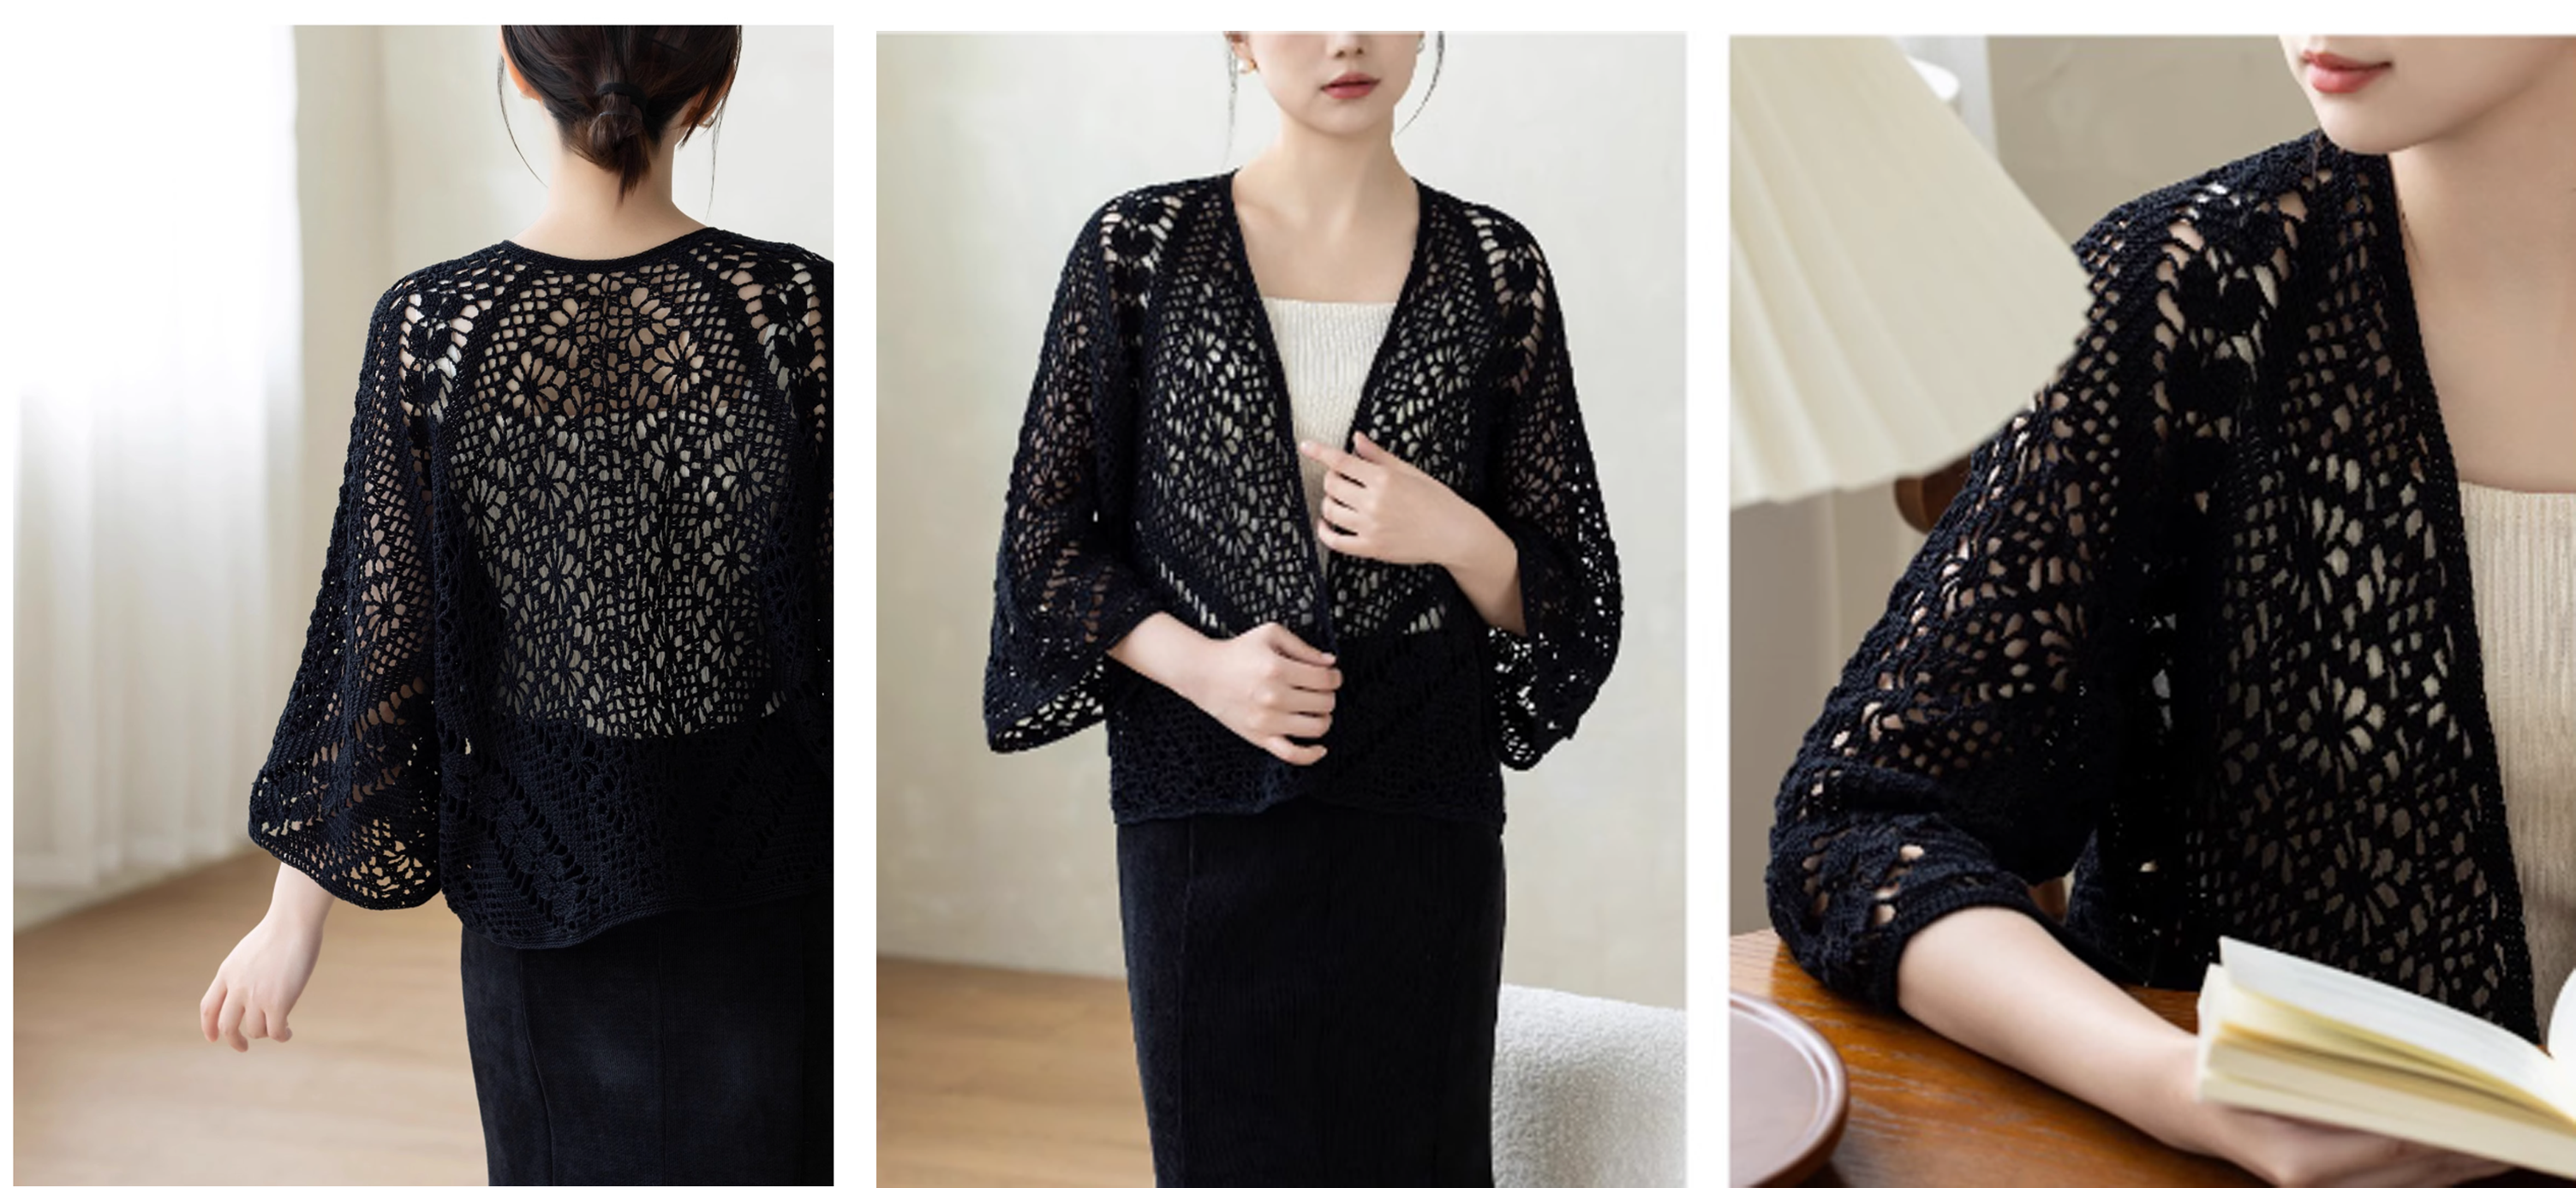
The cardigan includes the left piece, the right piece, and the edging. The working method for the left and right pieces is identical, both divide each piece into three sections and various gussets. First, complete the crocheting and joining of the two pieces, then edging the garment.
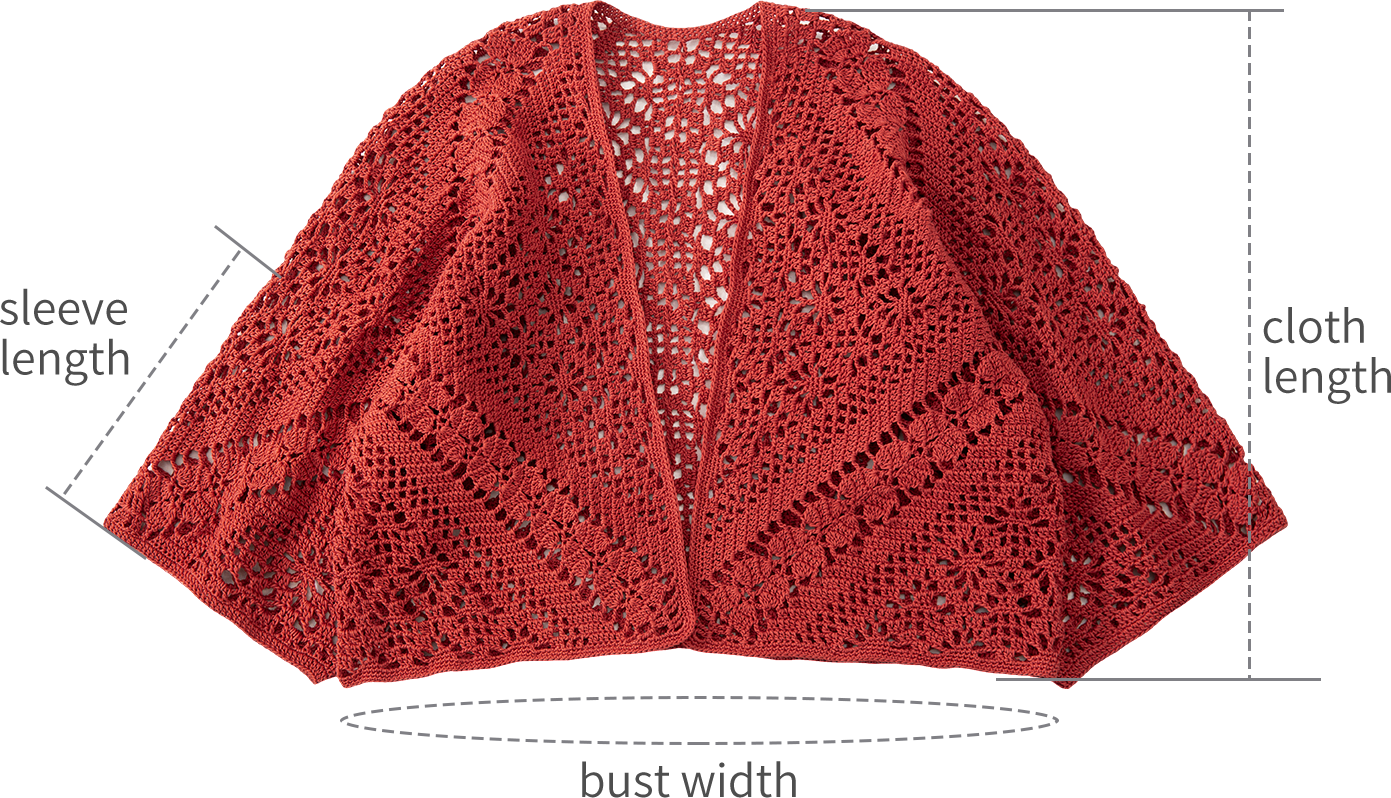

The handcrafted measurements may have an error of 1 to 2 cm. Due to variations in individual tension, the size of the sample is for reference only.
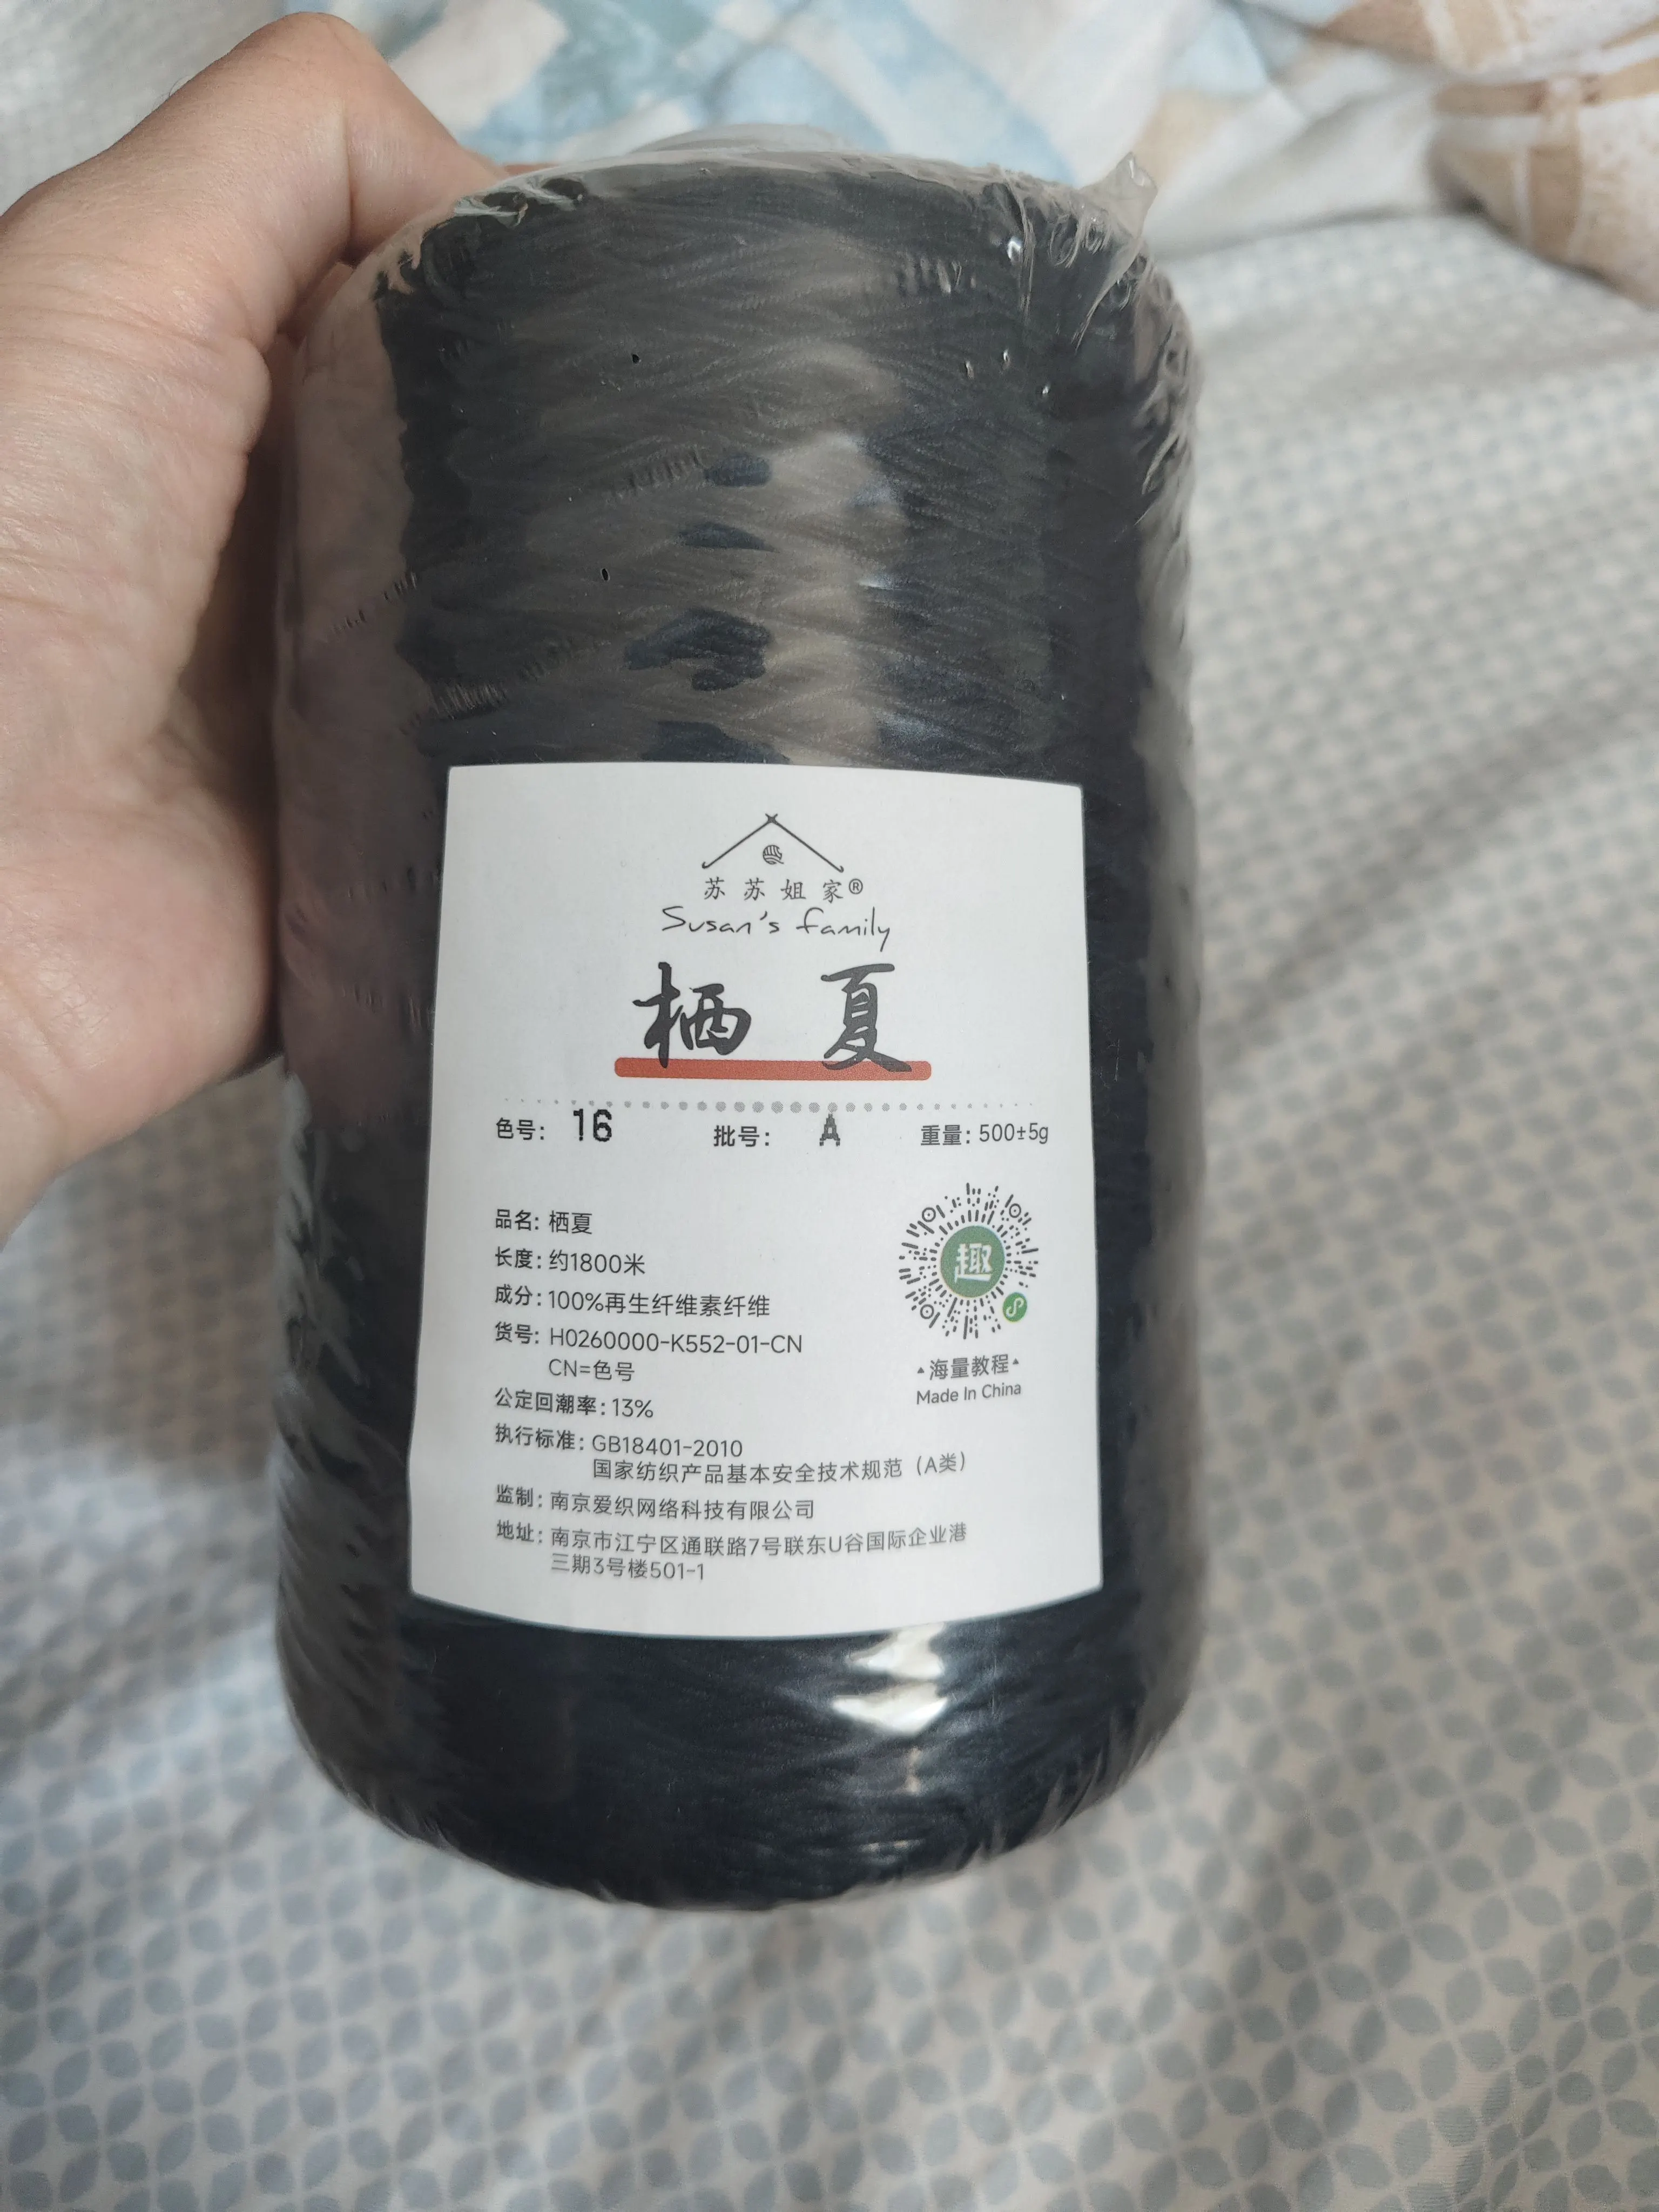
Materials: Susan's Family Combed 3# Lace
Hook: 2.50 mm crochet hook
Garment Structure Diagram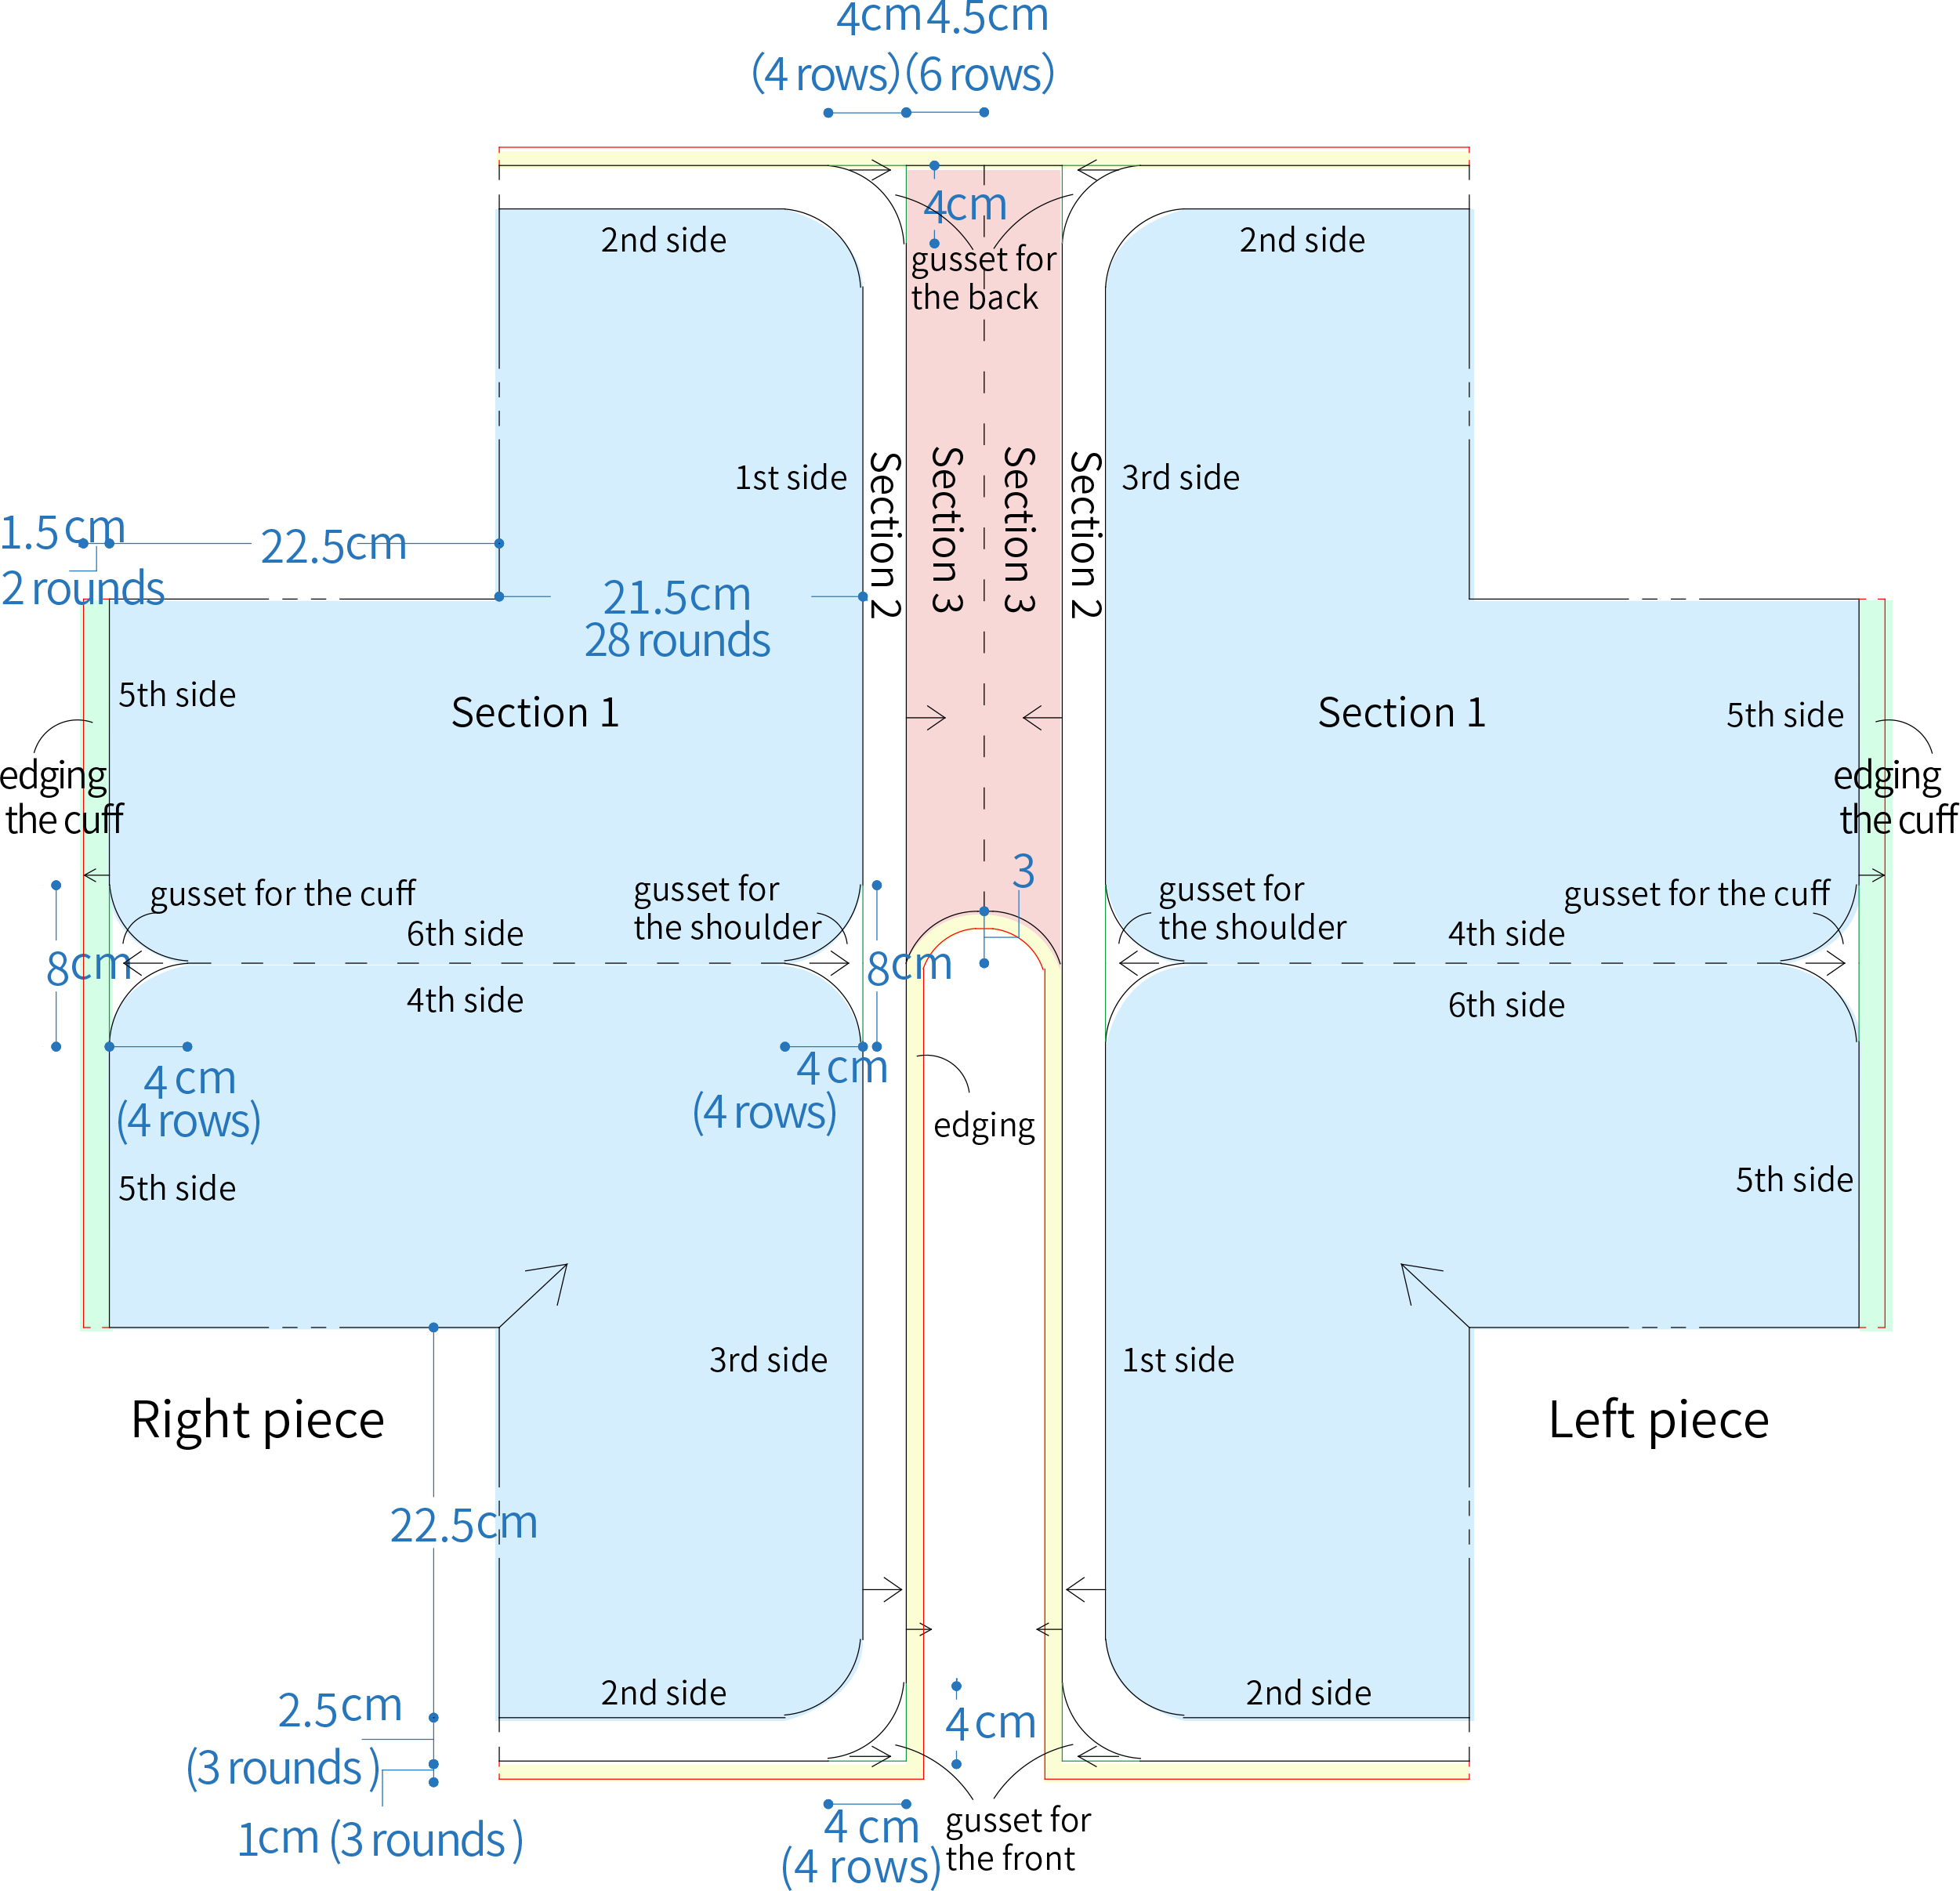
Chart Key









Note: This pattern is making in Chinese crochet pattern terms, and the stitch name is written using American terminology. All measurements in charts are in cm. 
Part 1 Section 1A 00' 30''
Section 1 of the both left and right pieces are same. Both begin with the chain ring, then work in rounds, finally turn into a hexagon as you work. The sixth side need to be joined with the fourth side while crocheting and that forms the sleeves. Please refer to the video demonstration for more details.
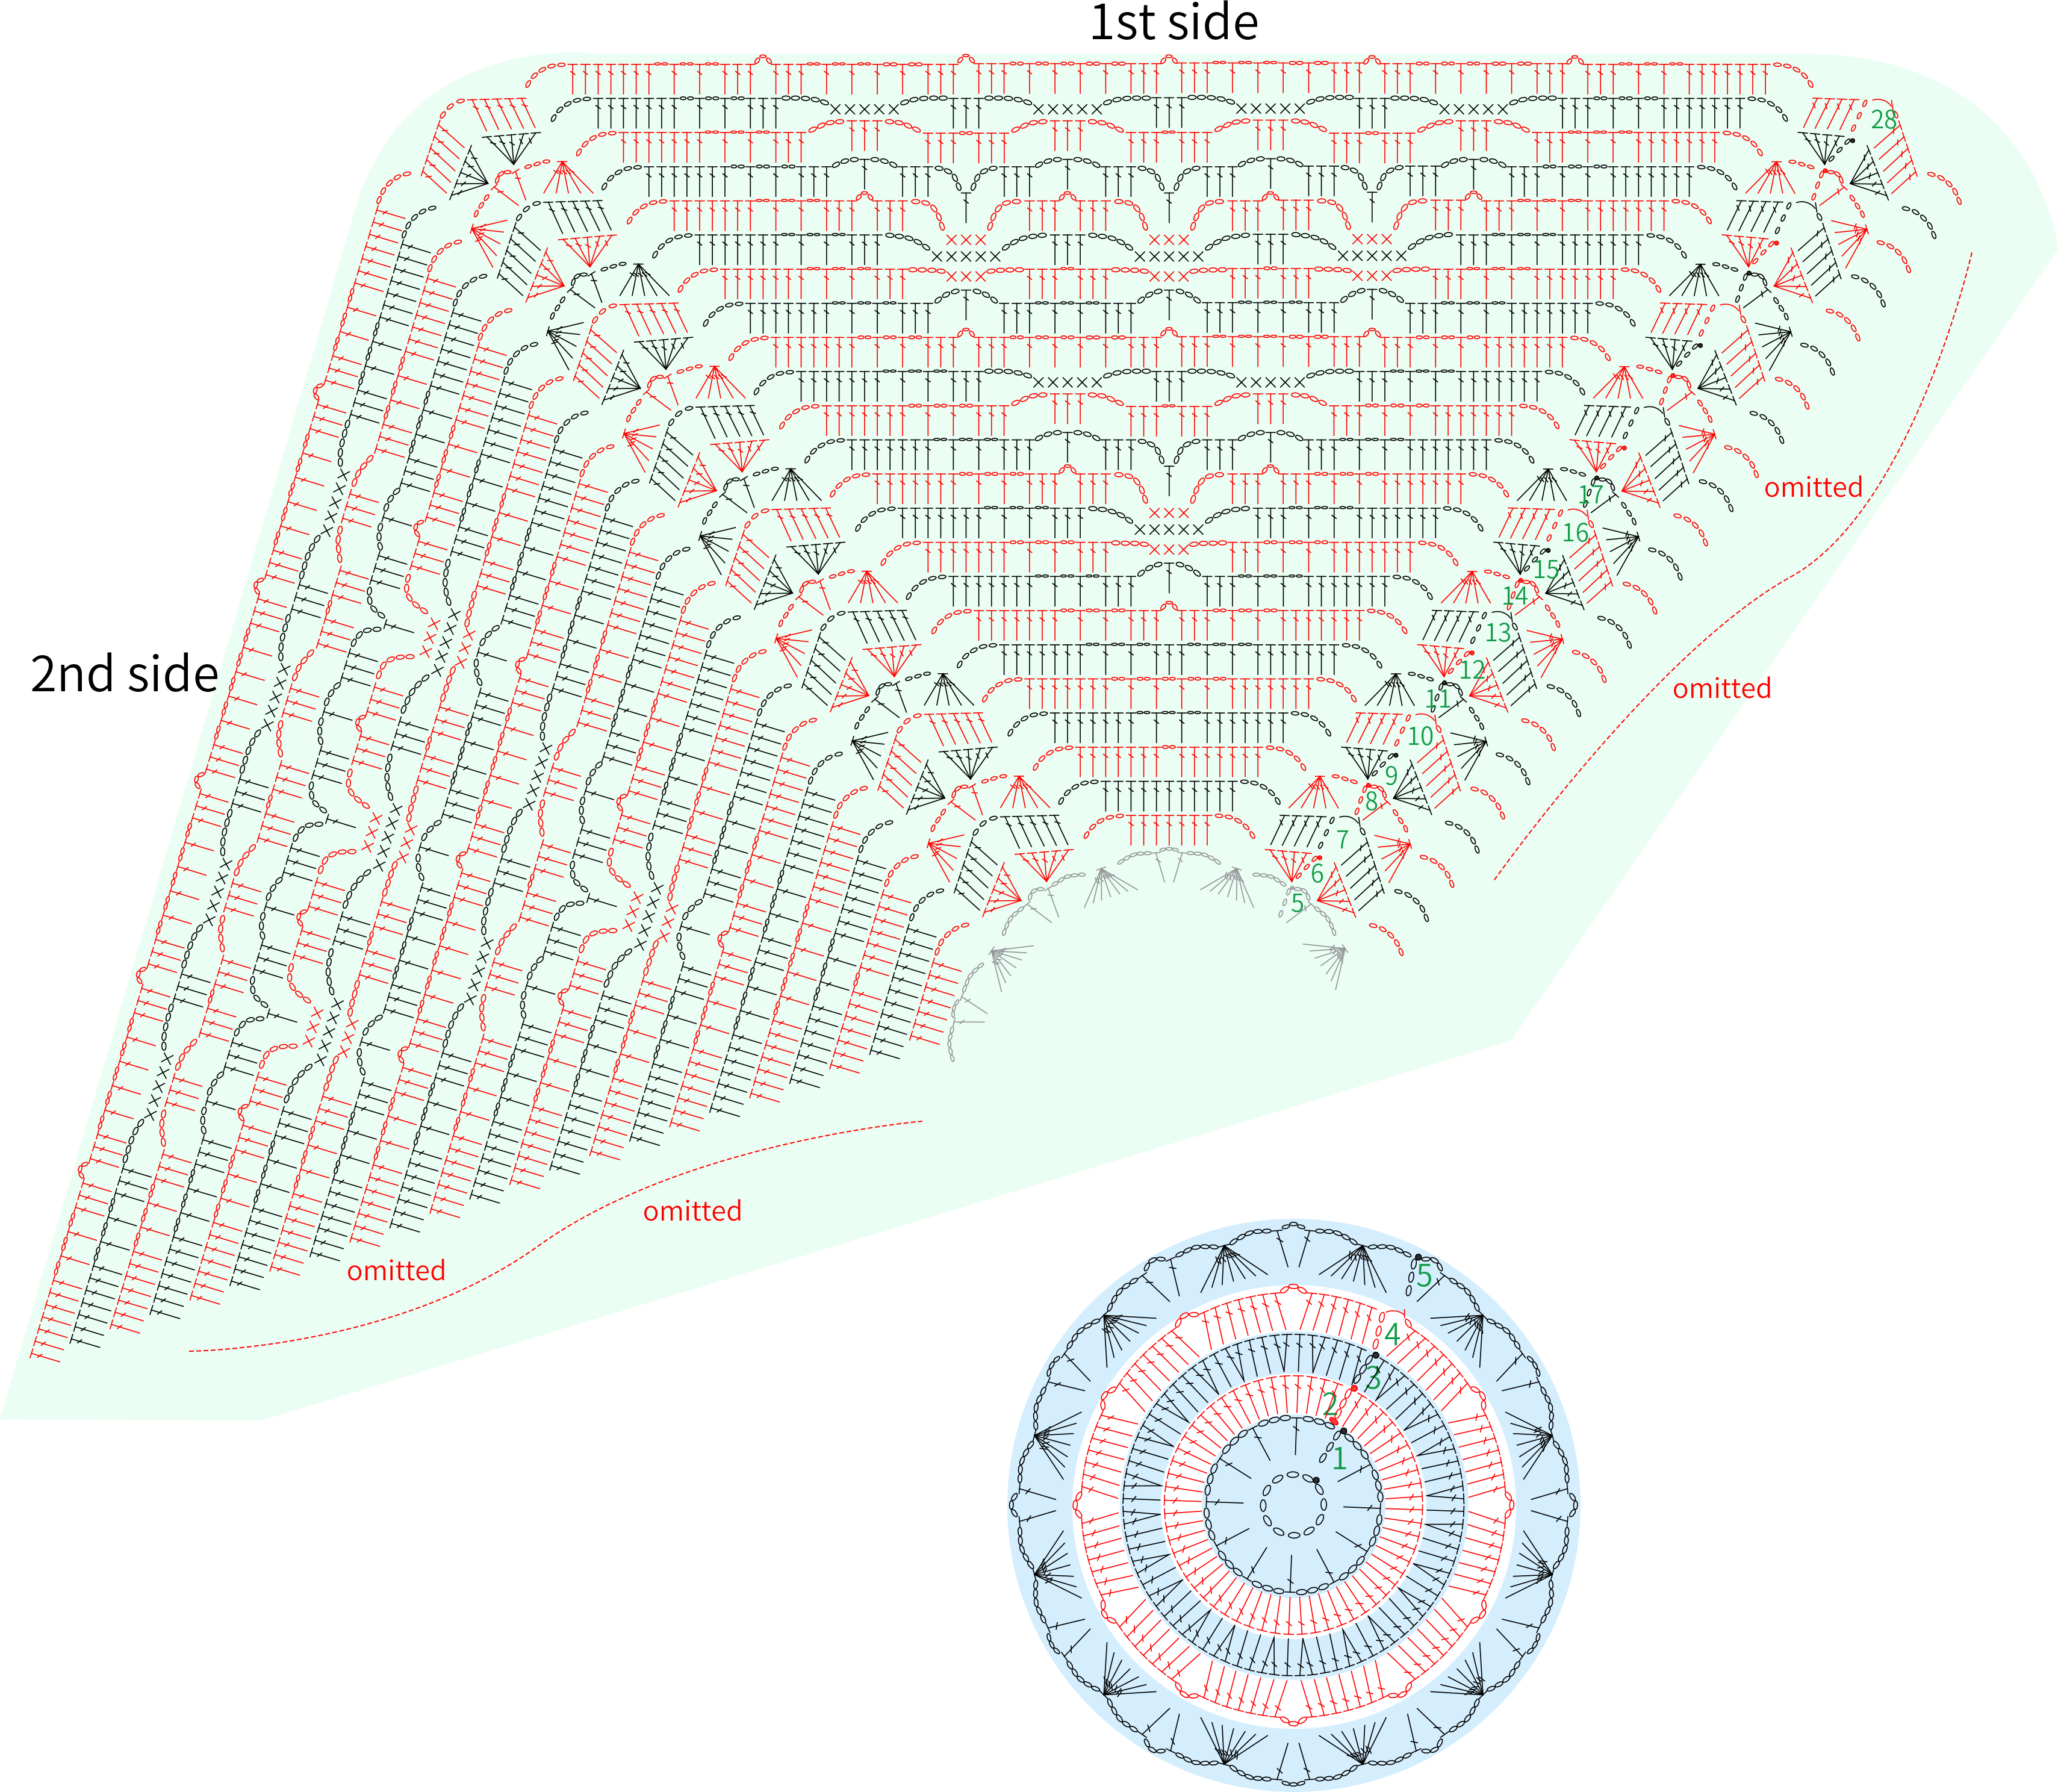
Note:
- All 6 sides are identical.
- On the 28th round, the 6th side needs to be join with the 4th side during working. Refer to the overall pattern chart for the connection position, and check the video demonstration for the specific joining method.
Part 2 Gusset for the shoulder, Section 2, Gussets on both the front and the back, Section 3 and EdgingB 30' 44''
After completing the two Section 1 of both pieces, take one fabric as the right piece, and crochet a Gusset for shoulder at first. Then, crochet the Section 2, followed by the Gussets on both the front and back, and finally work the Section 3. Once this is done, take the other Section 1 fabric as the left piece, and work these same parts as well, then connect it to the right piece. Finally, Edging the cuffs and the entire bodies. Please refer to the video demonstration for details.
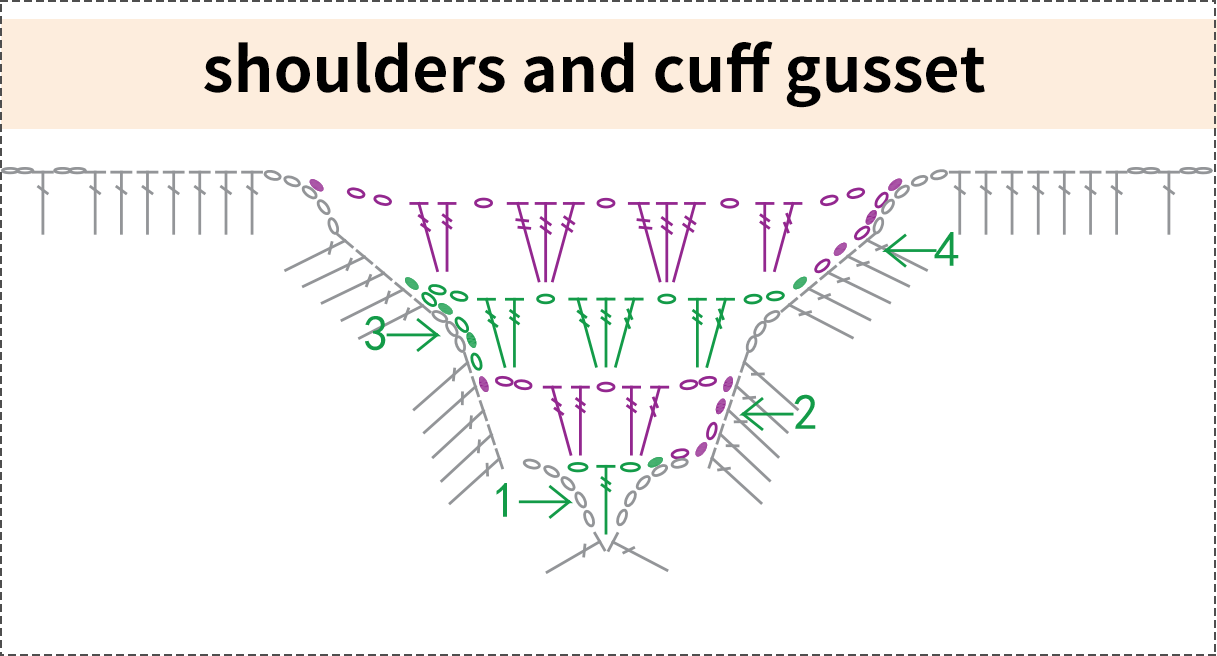
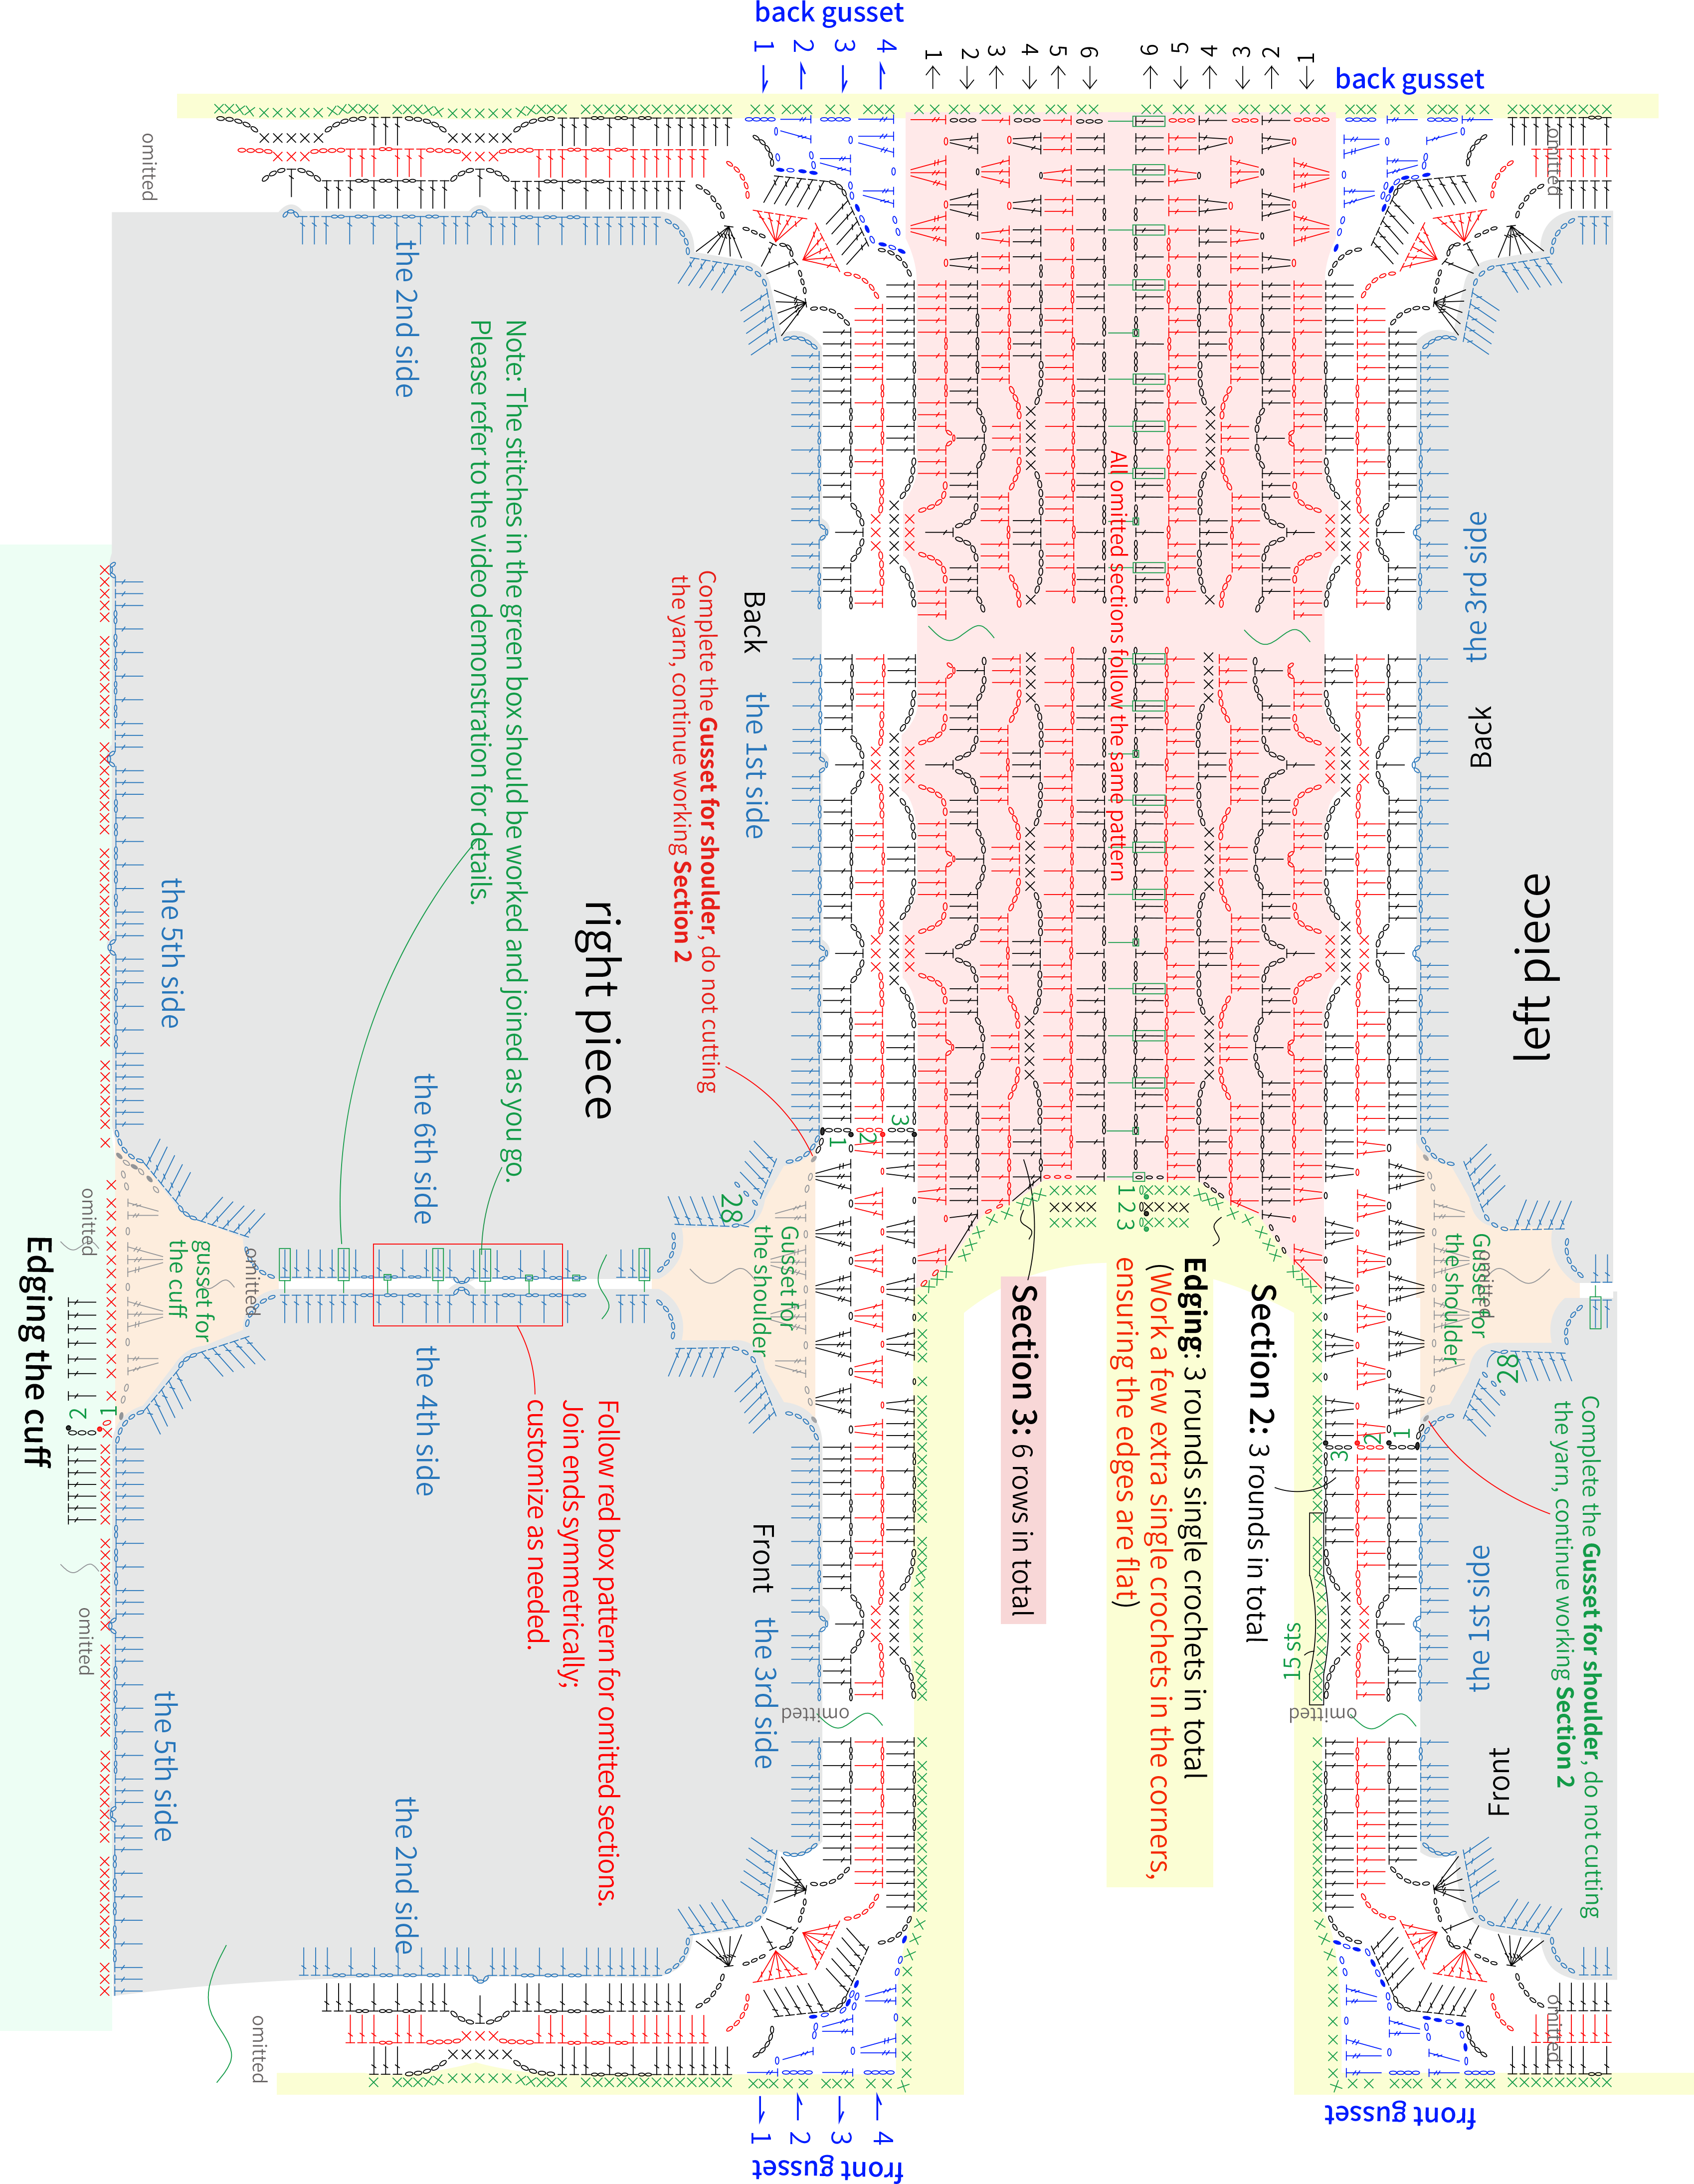
Note:
1, The joining points for the sleeves and the back pieces are for reference only; adjust as desired.
2, Both sleeve cuffs have the same gusset and edging: Work the Gusset first, then continue work the Edging without breaking yarn.
3, For cuff edging round 1, Evenly work 102 sc around the cuff; for round 2, Work dc in each st.
4, For both the overall edging and the sleeve cuffs, the stitch picking in the diagram is for reference. Adjust as needed to ensure a smooth edge.
Made by the community