Clothes
Argyle Vest
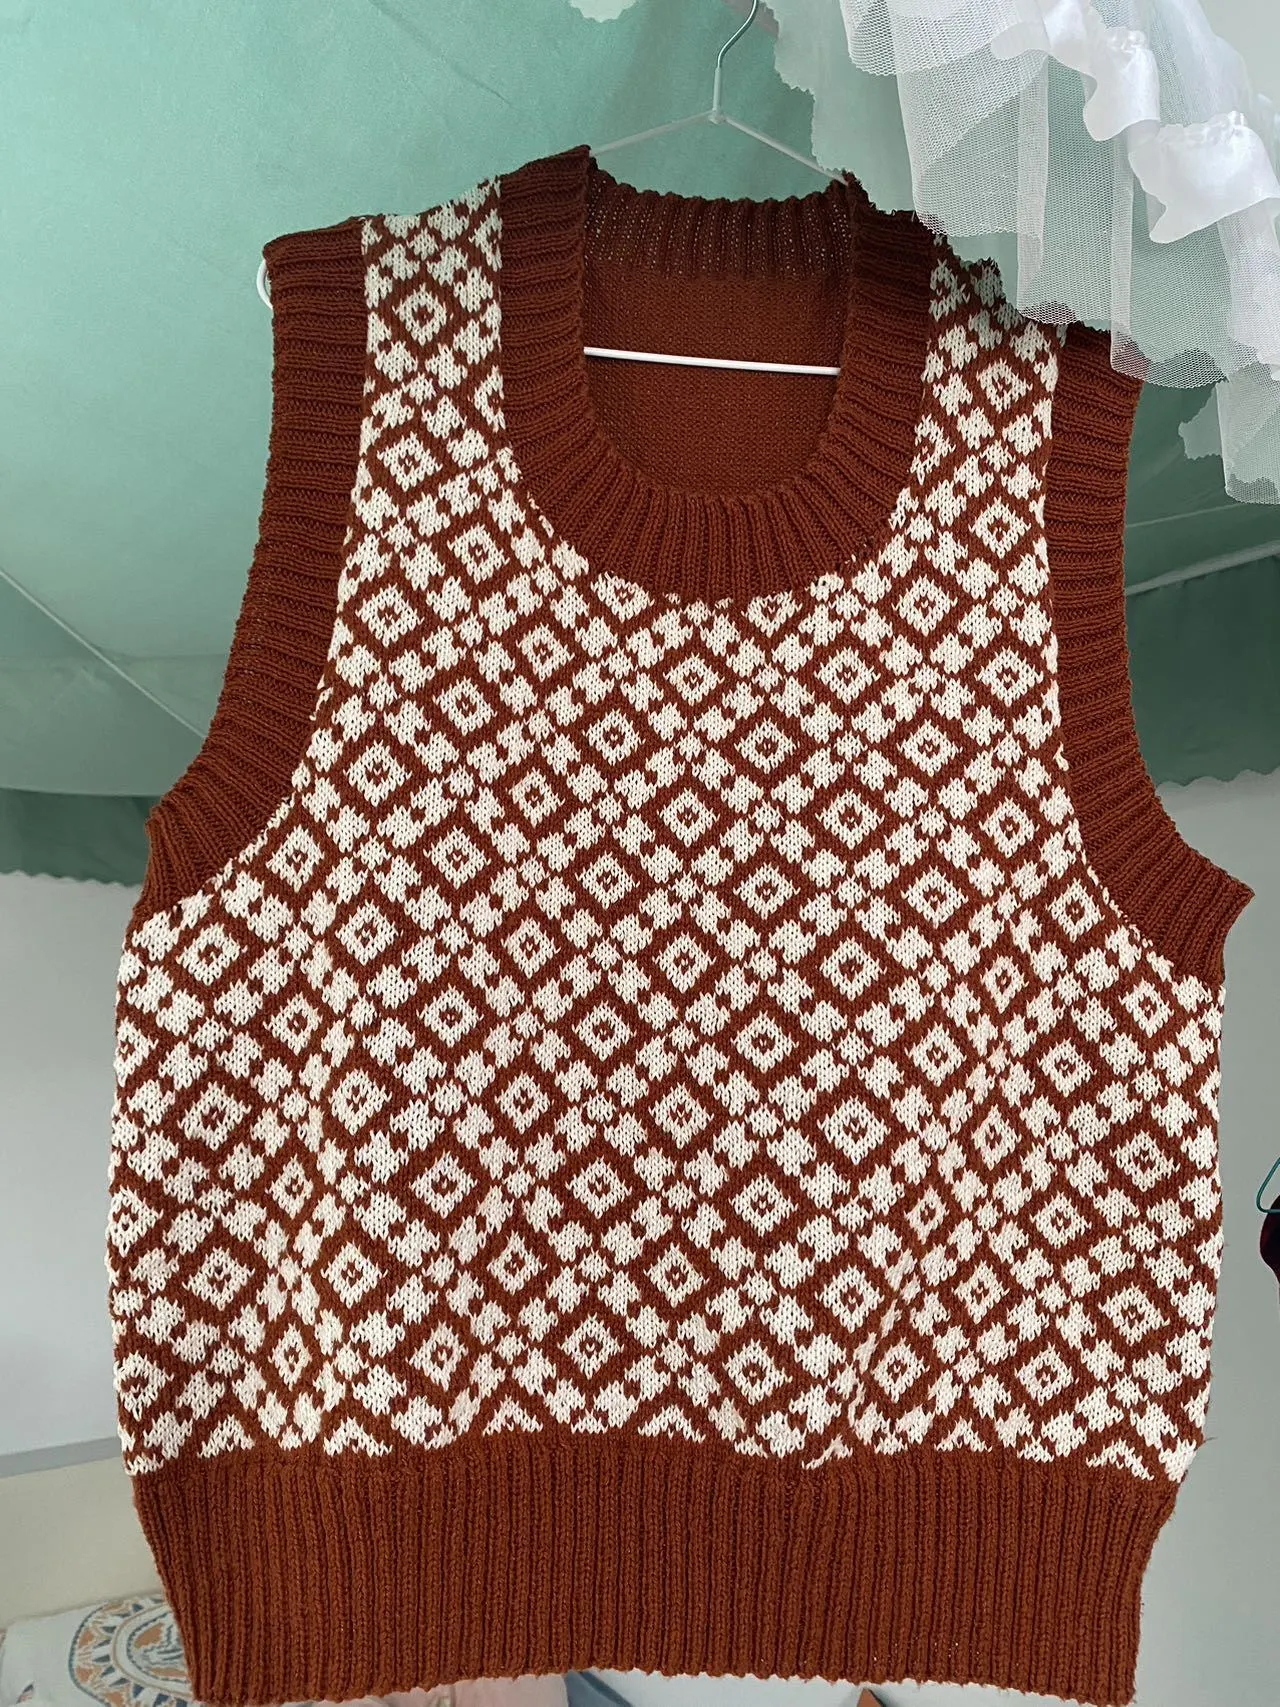
Project preview
See the finished project
Pattern format
Instructions
| Style | Yarn | Color |
|---|---|---|
| Provincial Blue Style | Morandi 4# |  07#Provincial Blue |
| Red Ochre Style | Morandi 4# |  08#Linen |
| Foliage Green Style | Morandi 4# | 08#Linen 23#Foliage Green |
This vest comes in short and long versions. Both consist of a front piece and a back piece. The knitting method for two versions is identical, with only the row count differing. First, knit the front and back pieces. Then, sew them together. Finally, pick up stitches for the armhole ribbing and the collar.
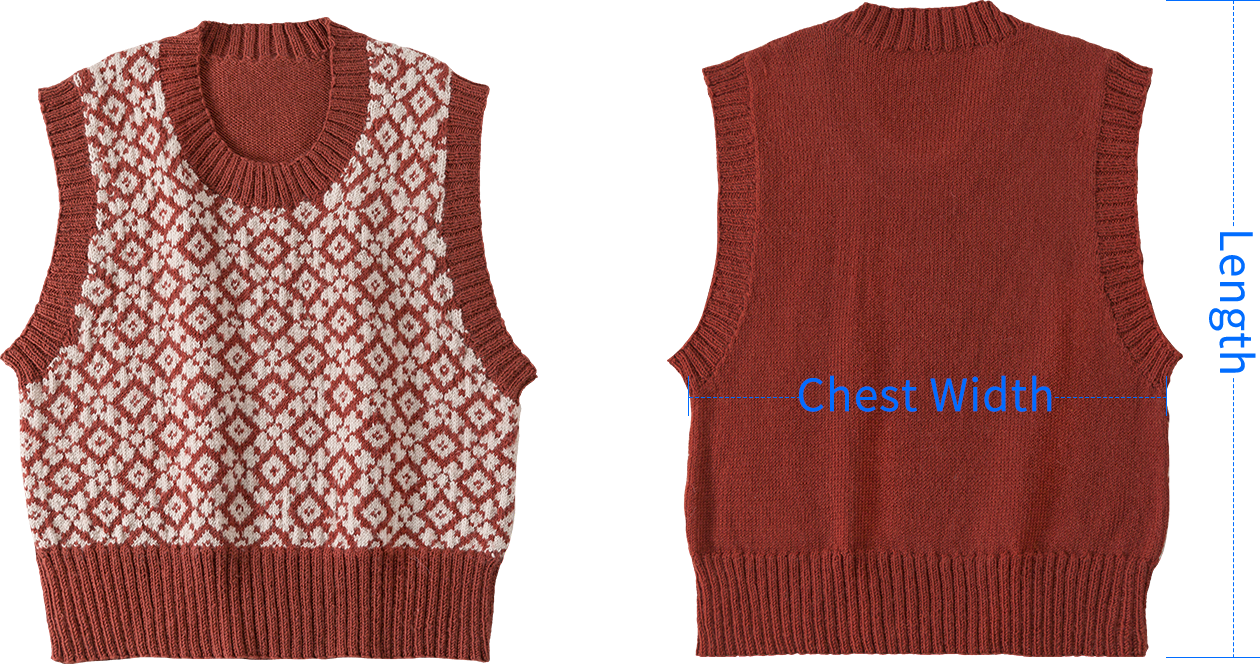
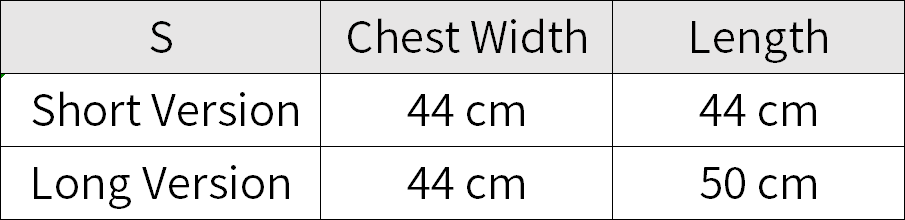
Due to variations in individual tension, the size of the sample is for reference only.
Materials: Susan's Family Morandi 4#
Needles: 3.25 mm circular needle, 3.00 short & circular needles
Gauge Swatch: Jacquard(Front Piece): 10 × 10 cm = 34 sts × 35 rows
Stockinette stitch(Back Piece): 10 × 10 cm = 28 sts × 37 rows

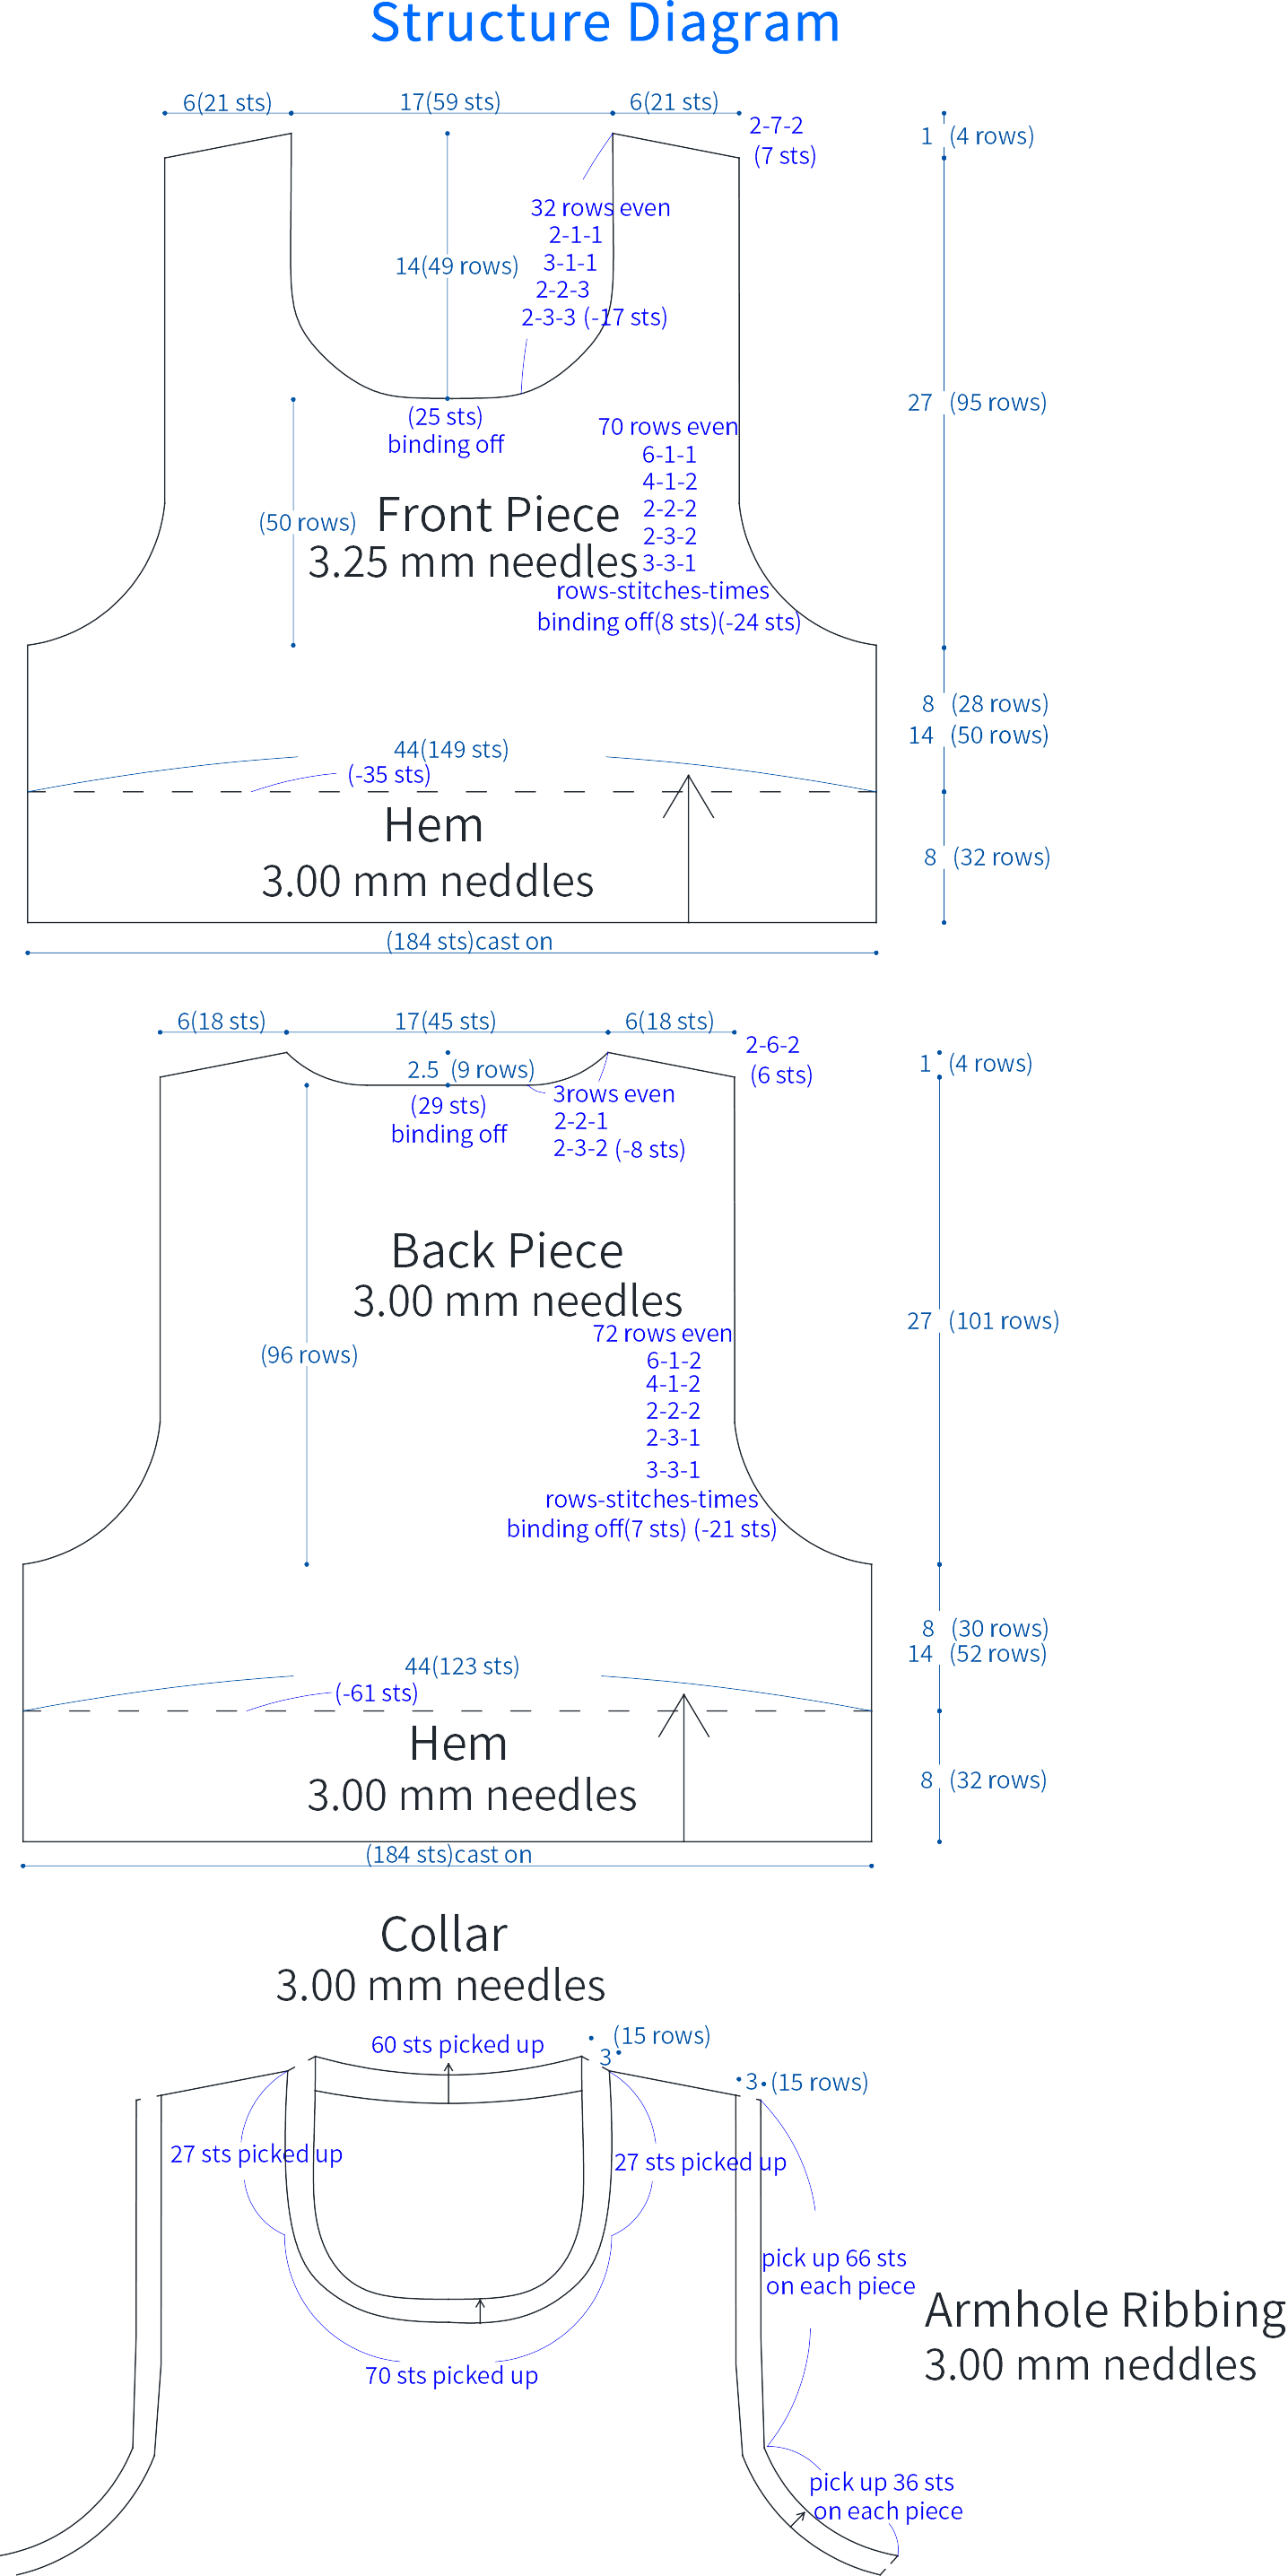
Chart Key



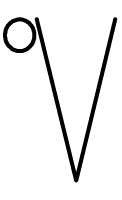
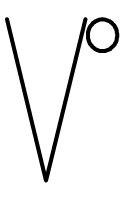
Note:
1. This pattern is making in Chinese crochet pattern terms, and the stitch name is written using American terminology. All measurements in charts are in cm.
2. The chart represent the right side of fabric, so check the key to see how to work a certain symbol on the right side and on the wrong side.
3.The left and right on the charts refer to the actual wearing position.

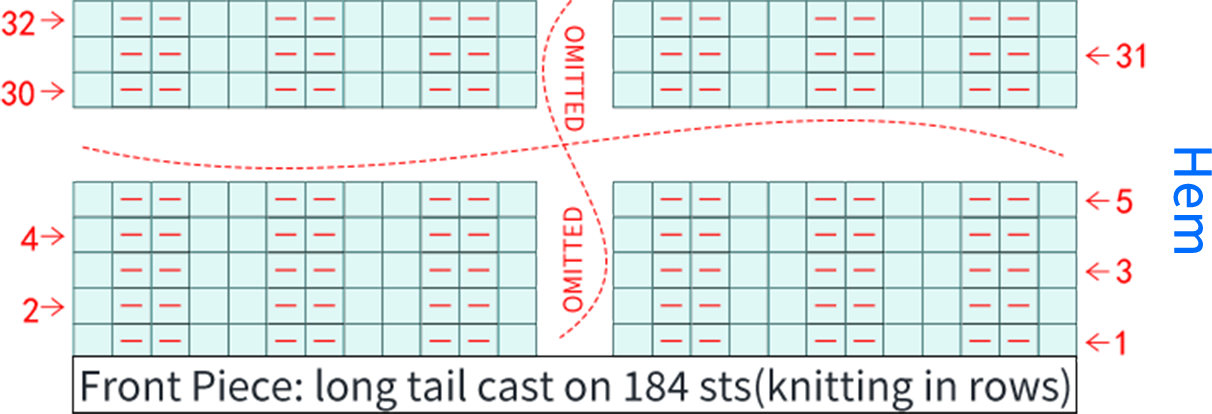
Part 1 Front PieceA
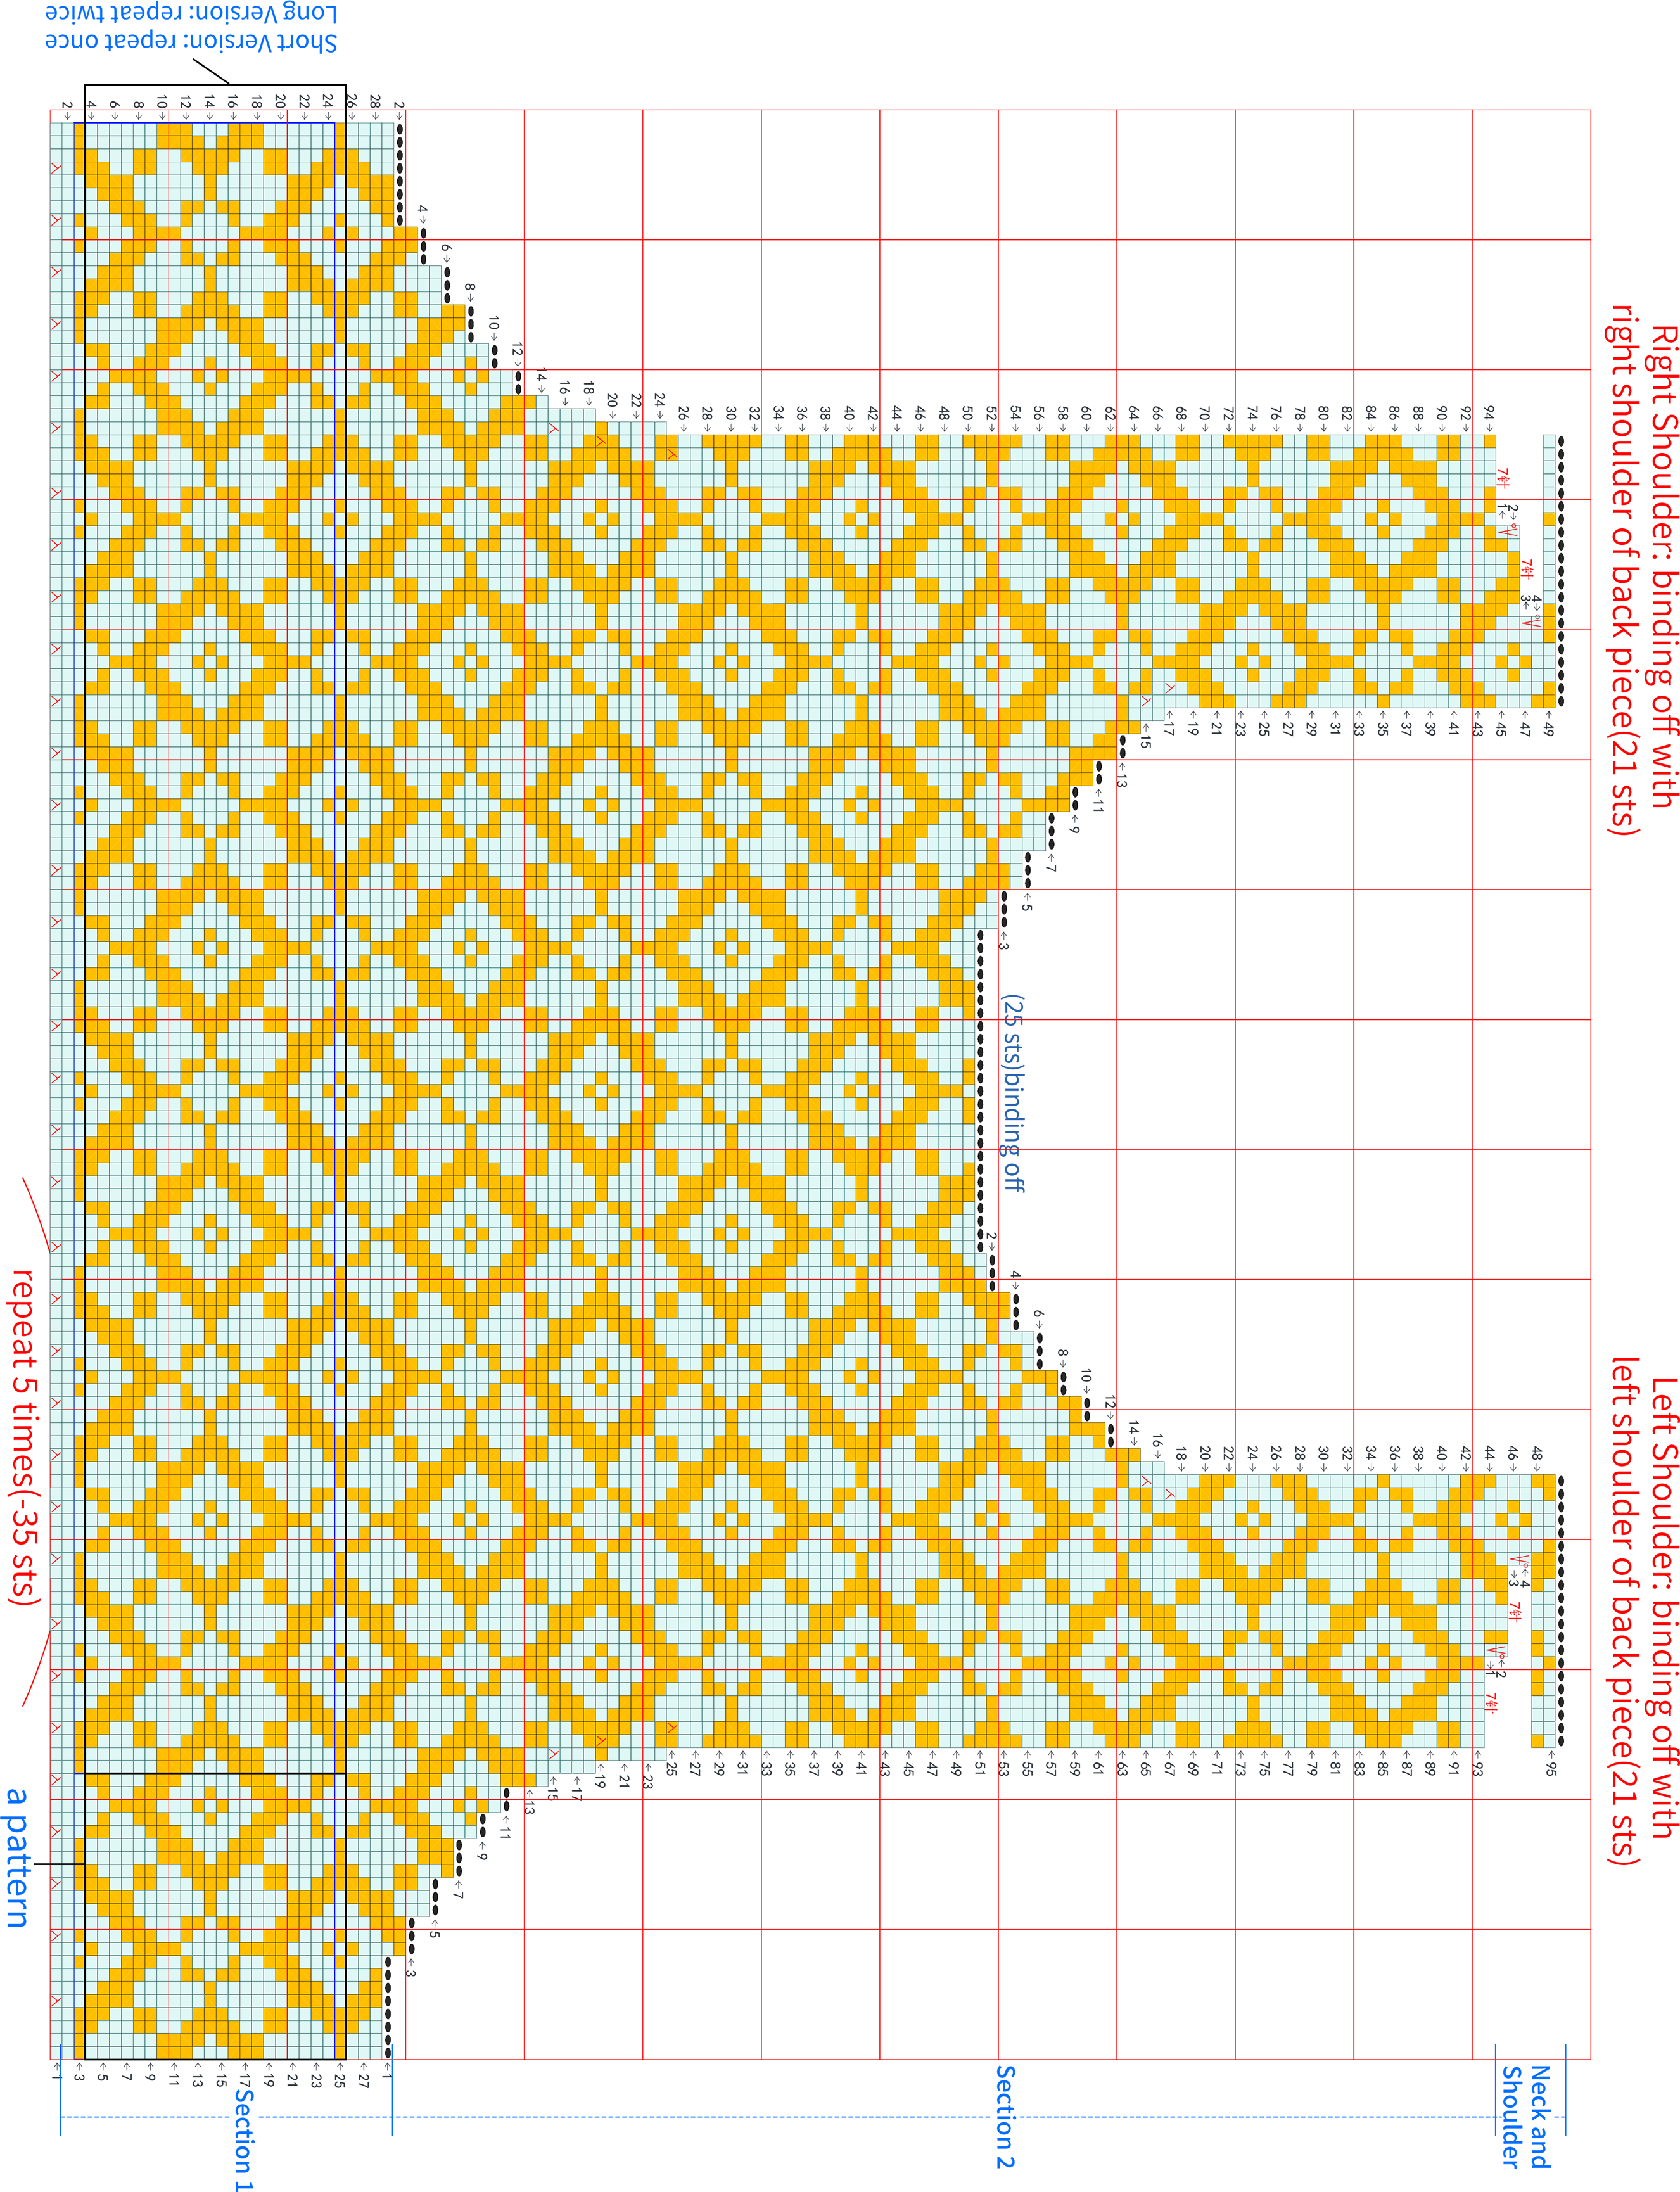
There are 2 schemes for the jacquard pattern of the Front piece. For the rest, knit with Yarn 1.


Part 2 Back PieceB
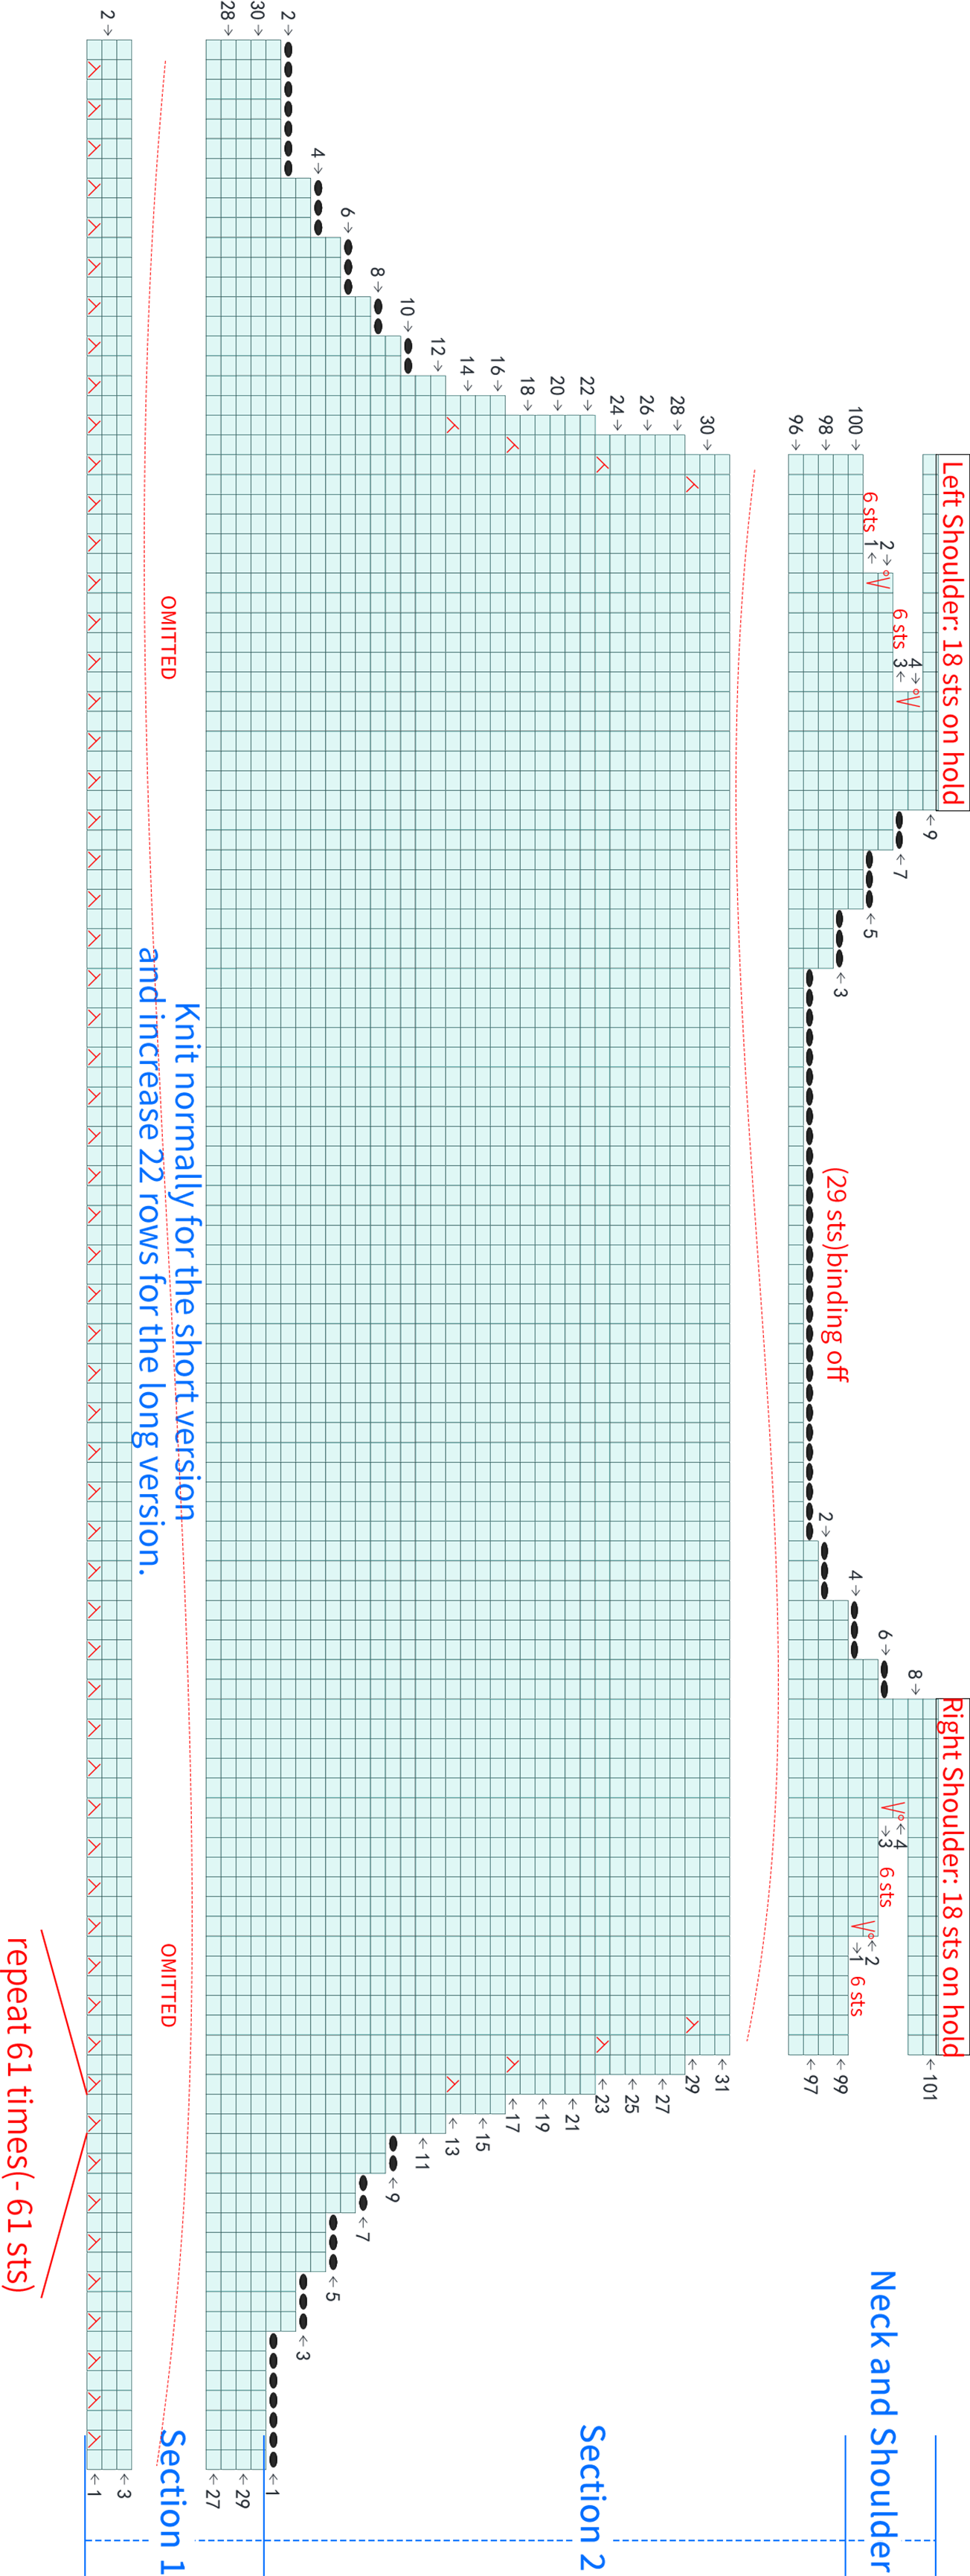
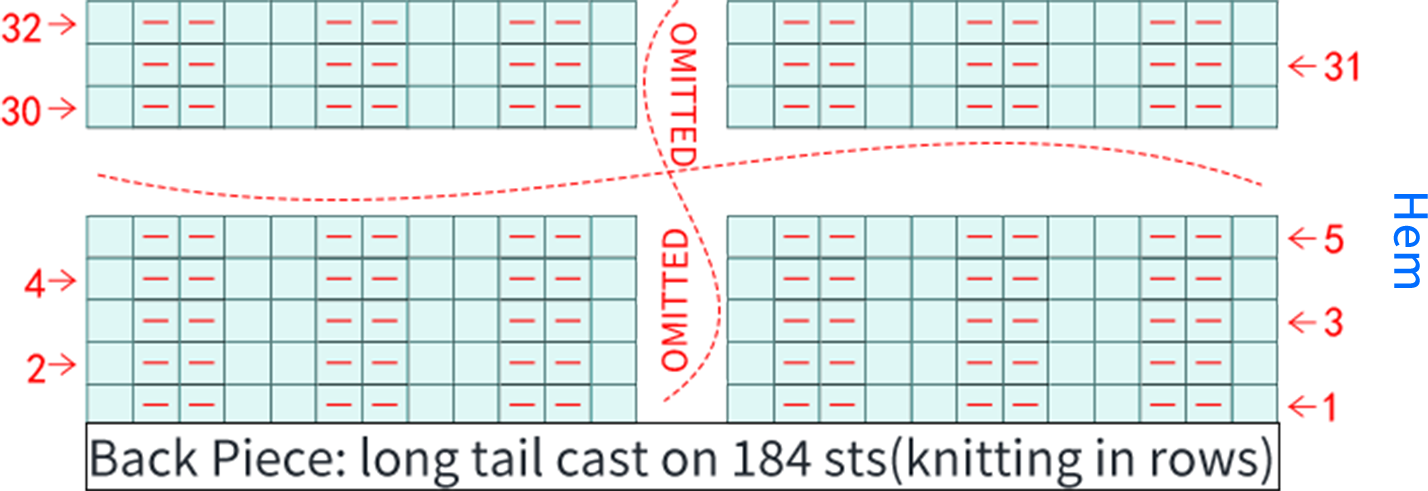
The row count for the back piece is for reference only. You can adjust it according to the desired dimensions.
Part 3 SewingC
After knitting the front and back pieces, sew together the hems and Section 1s.
Part 4 Armhole RibbingD
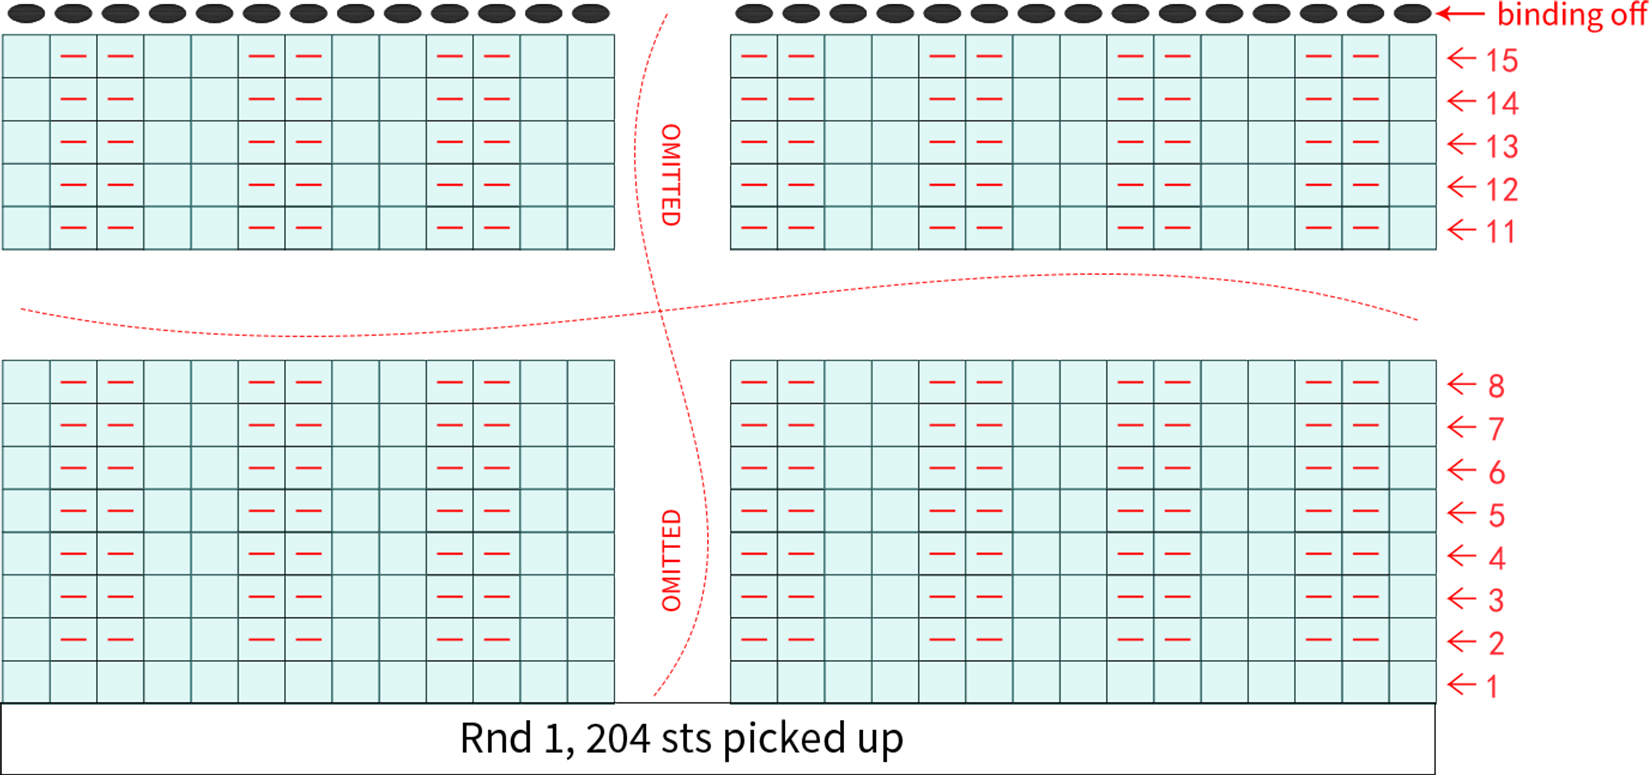
To work the armhole ribbing, pick up stitches around the armhole, then knit in rounds.
Part 5 CollarE
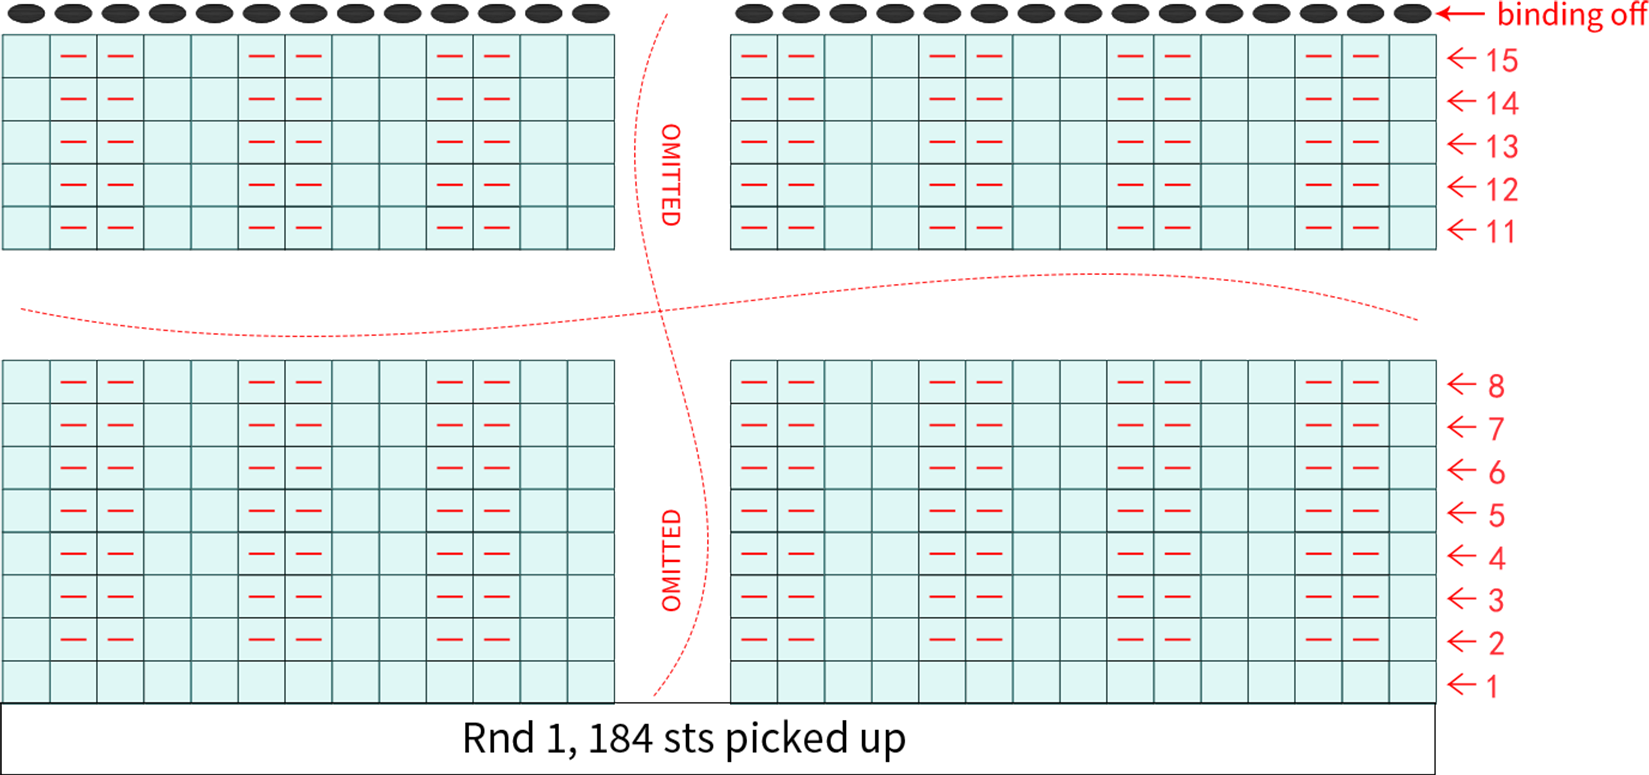
To work the collar, pick up stitches around the neck, then knit in rounds.
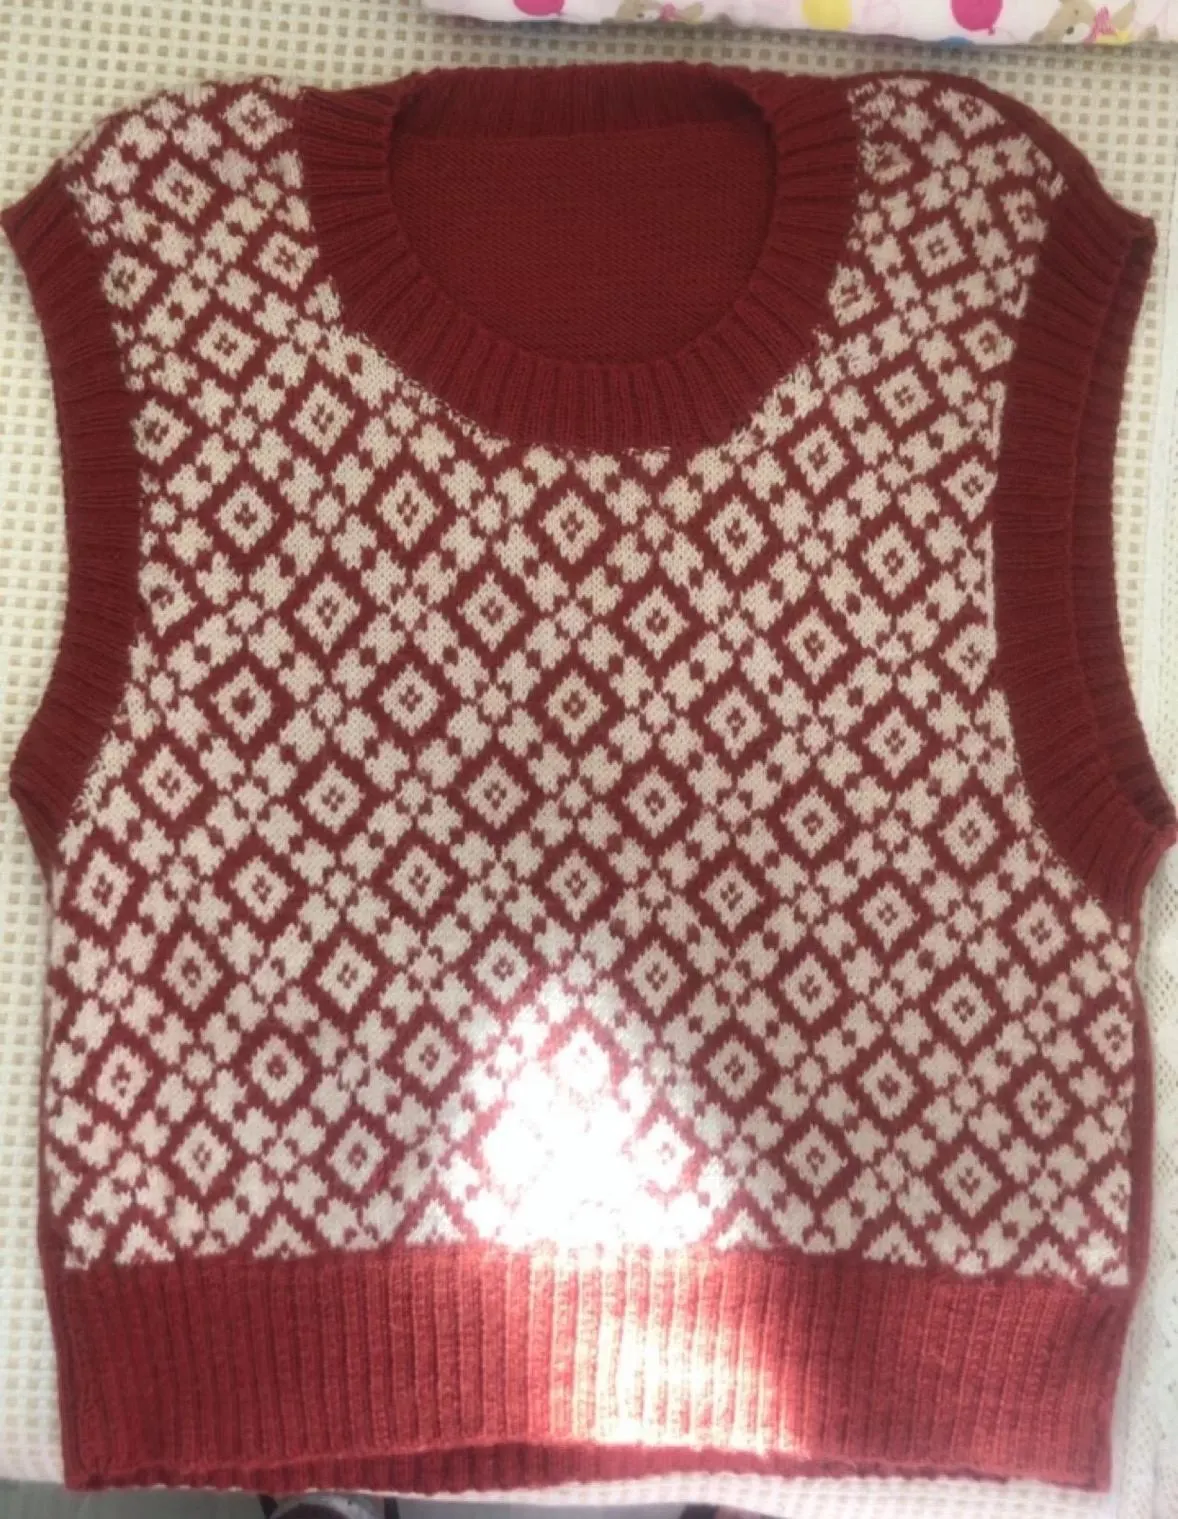
Made by the community