Doll
Cartoon Animal Pendants
Project preview
See the finished project
Pattern format
Instructions
Watch and follow
Video tutorial
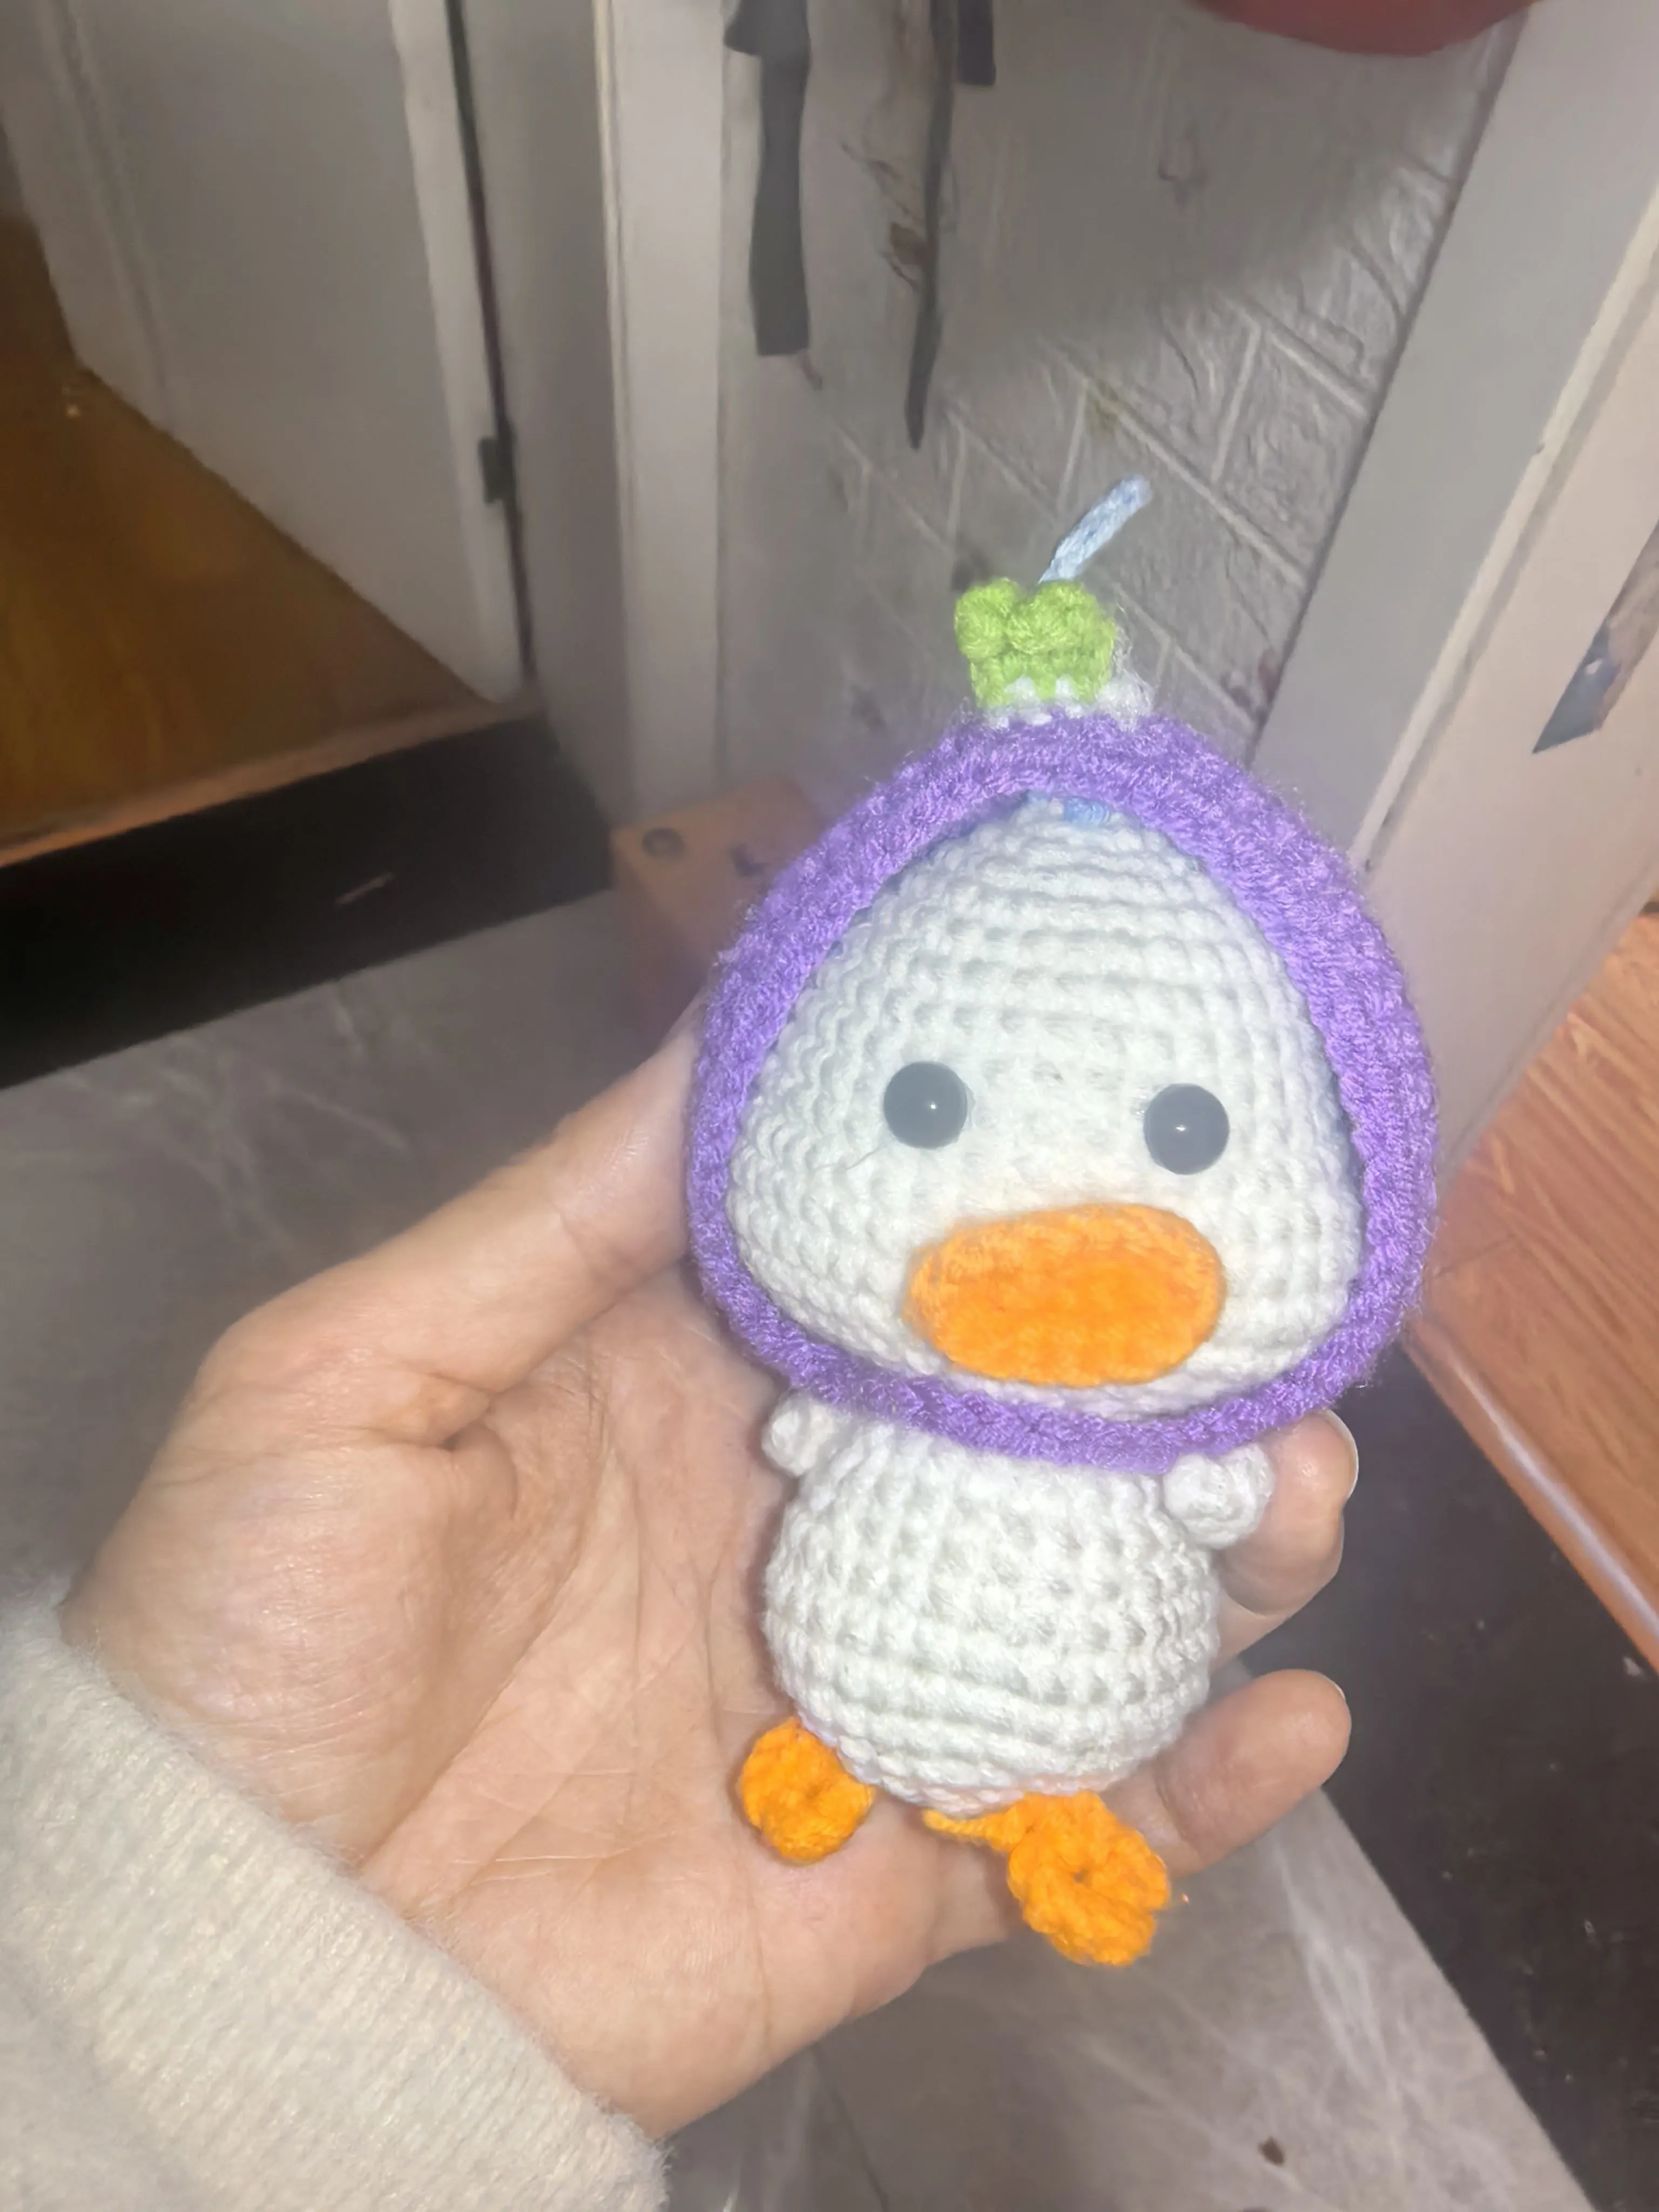
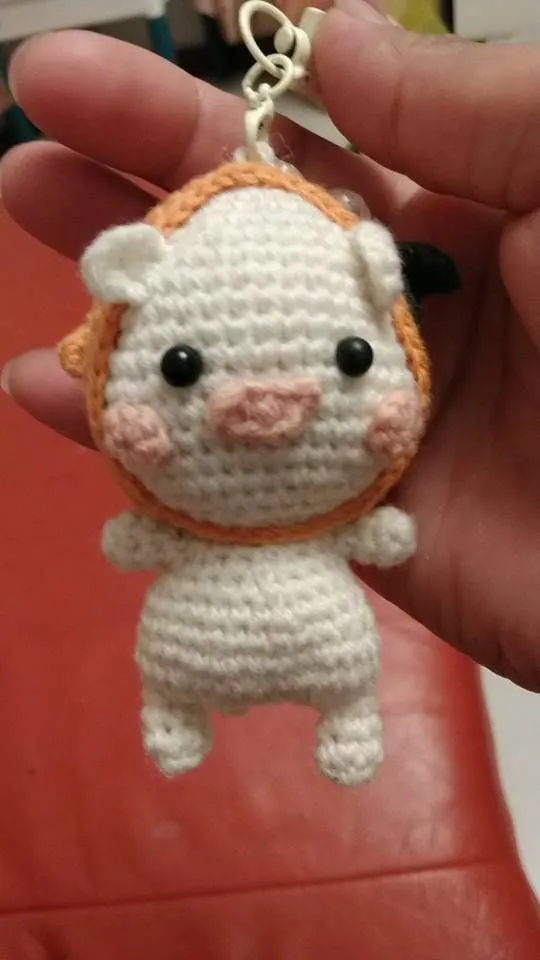
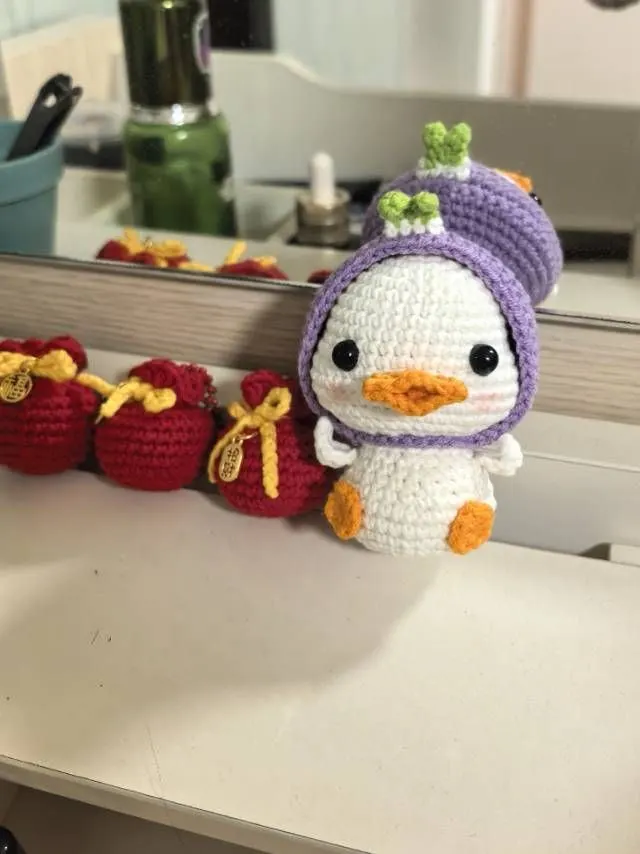
The pendant consists of the main body, the headpiece, facial features, as well as a keyring and tassel attachment. Within that, the main body is made up of the head and the hanging string, the arms, legs, body, and tail. The keyring and tassel are ready-made components. First, we'll crochet and assemble the main body. Then, crochet and secure the headpiece and facial features. Finally, attach the keyring and tassel.
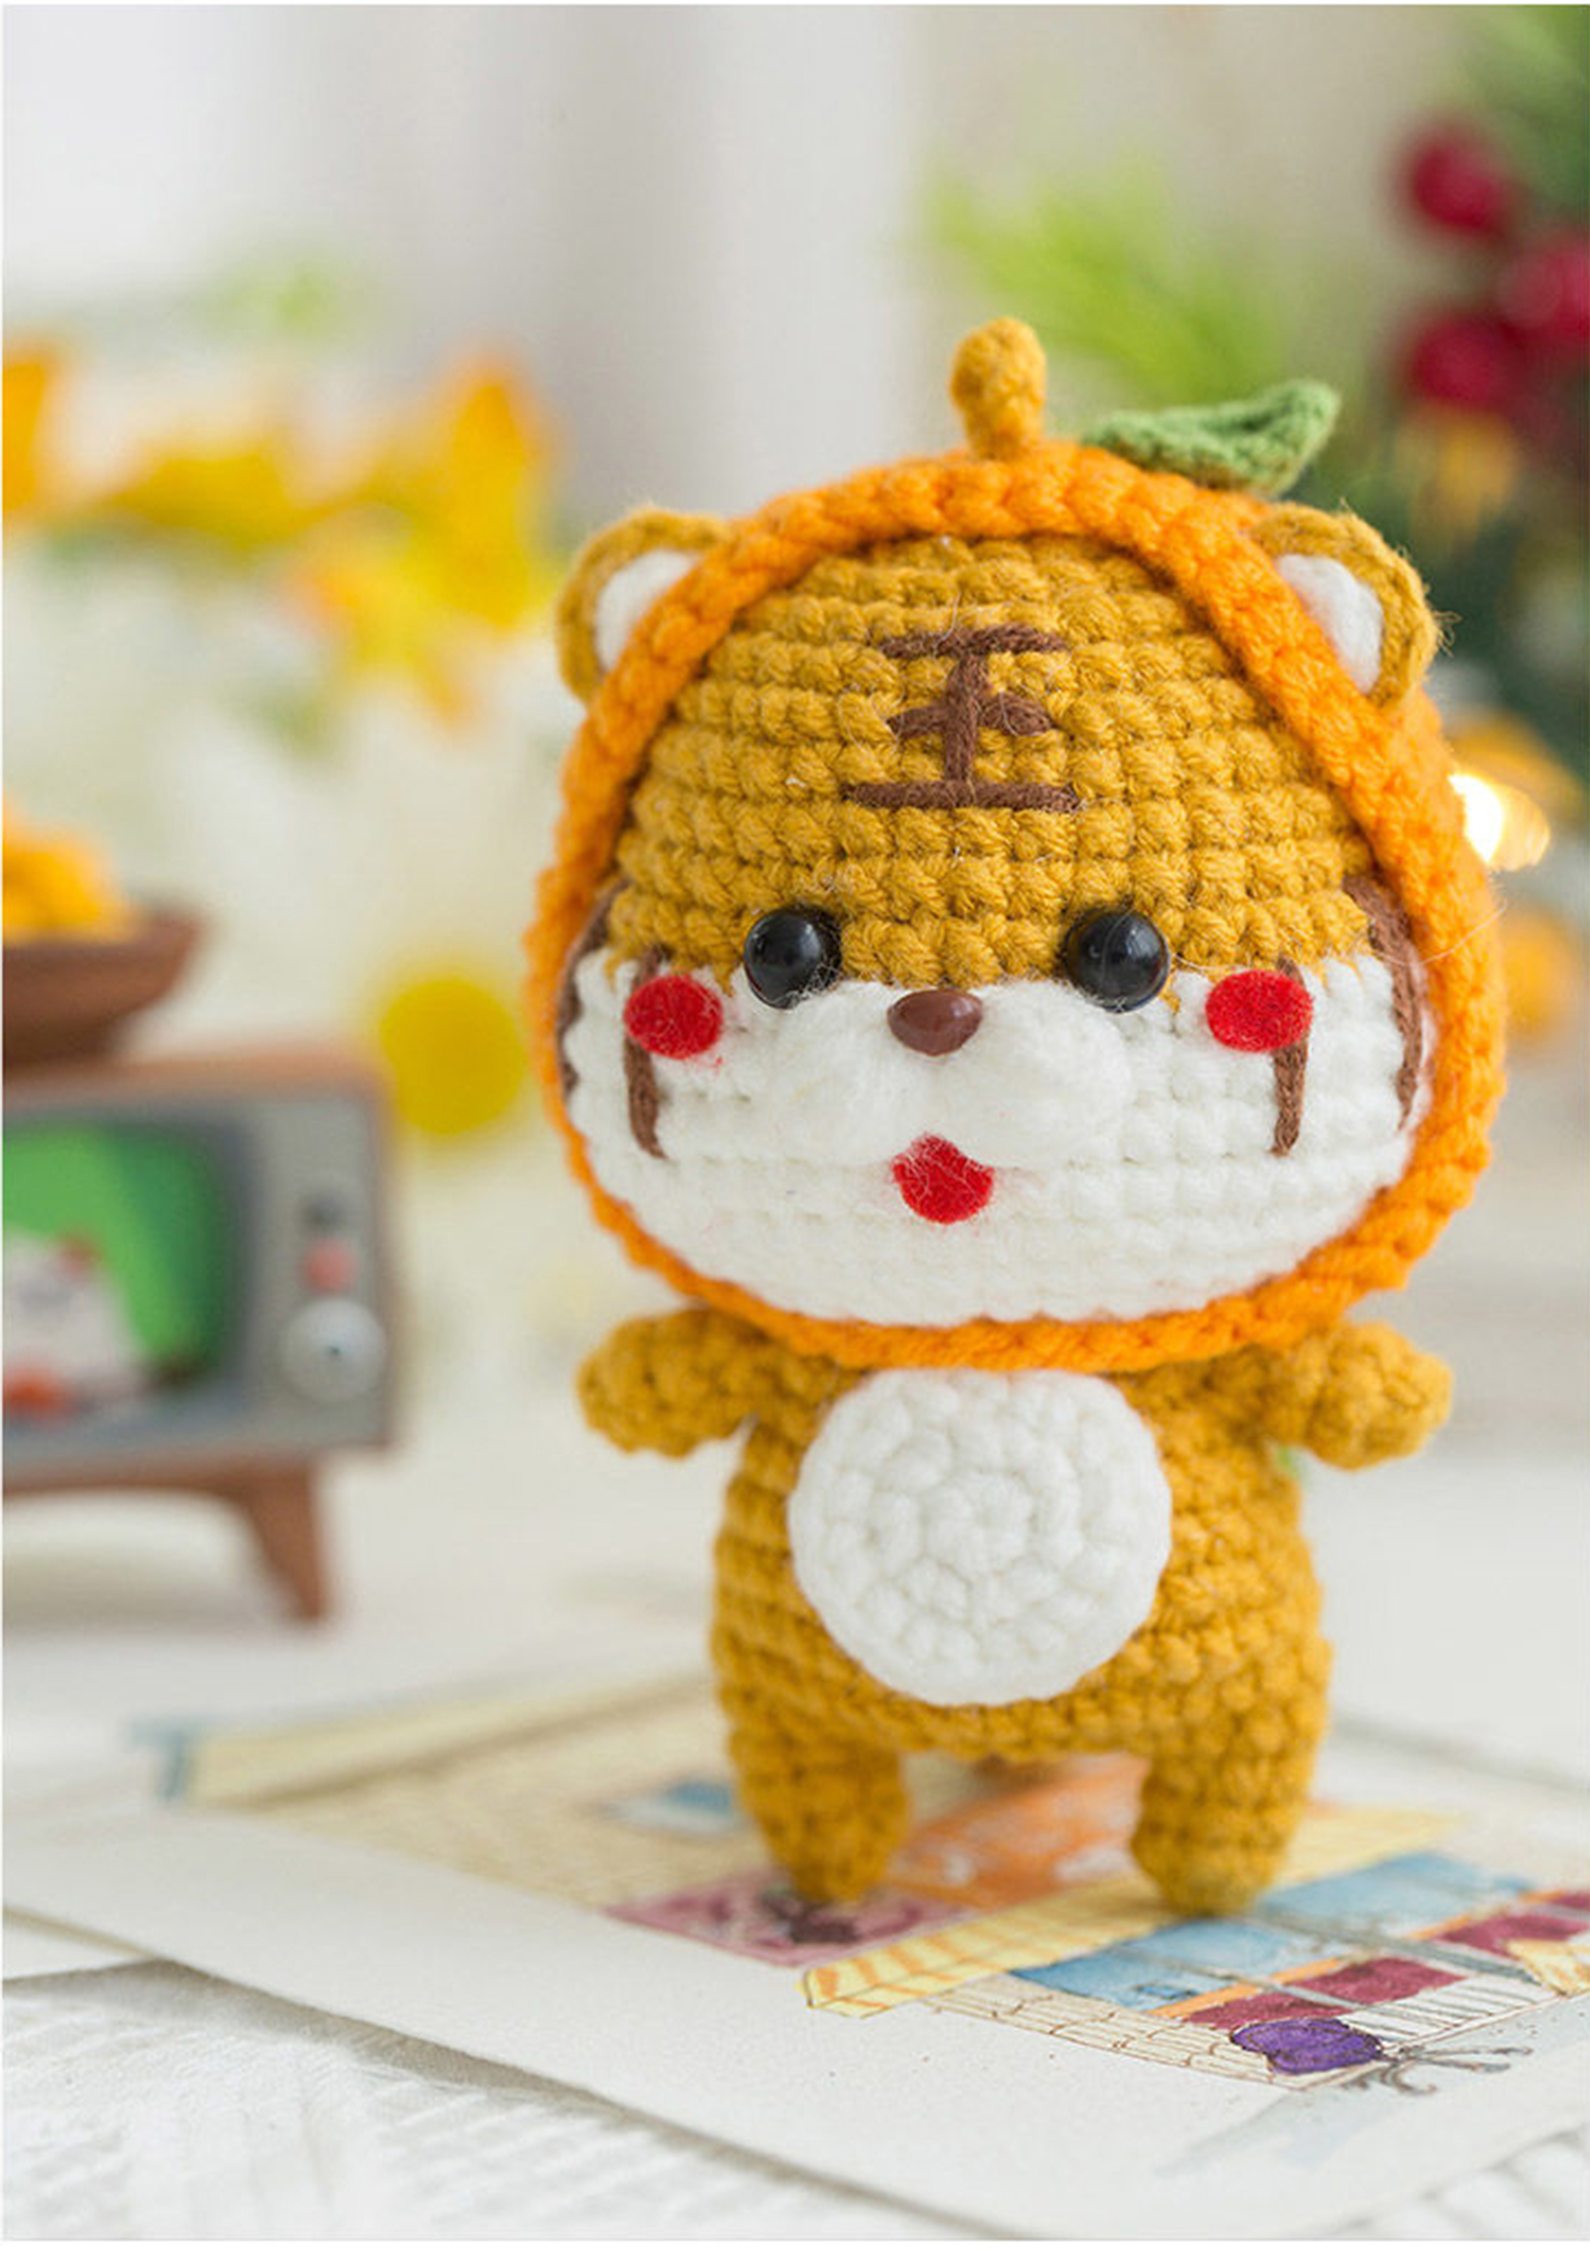
Material: 4-Ply Combed Cotton & Acrylic Fibre Hand Knitting Yarn
Hook: 2.0mm crochet hook
- This pattern is making in Chinese crochet pattern terms, and the stitch name is written using American terminology. All measurements in charts are in cm.
- When crocheting in rounds without further guidance, start each round with a set number of beginning chains and close with a slip stitch. The beginning chain preceding a single crochet and the slip stitch used for joining rounds are not included in the total stitches.
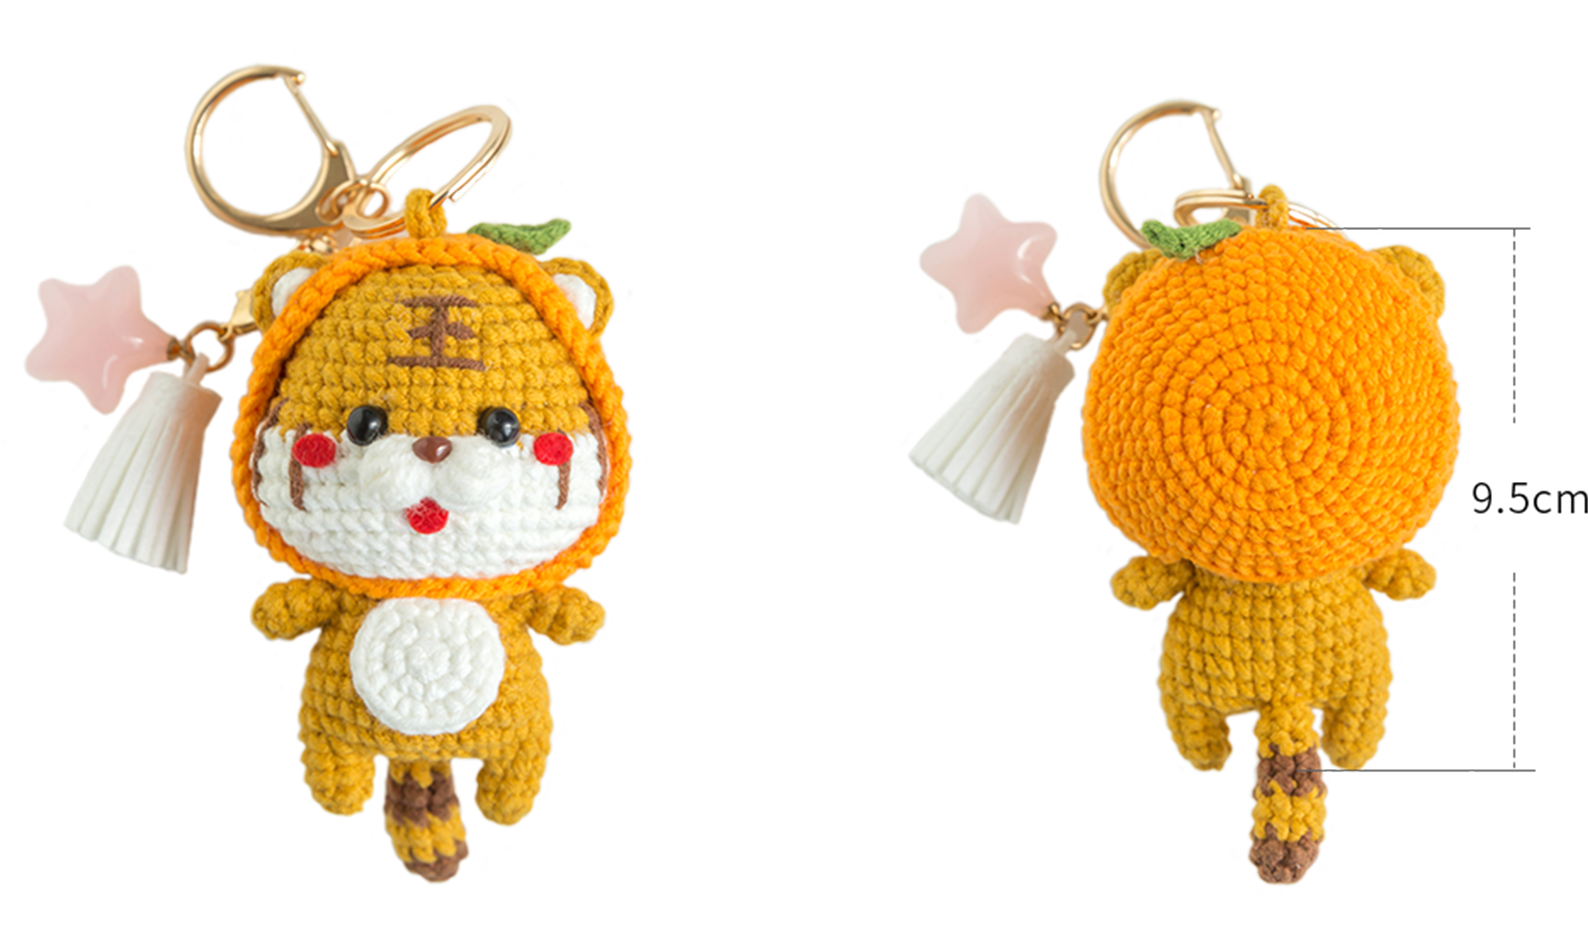
The handcrafted measurements may have an error of 1 to 2cm. Due to variations in individual tension, the size of the sample is for reference only.
ABBREVIATIONS

Part 1 Main body
STEP 1 Head and hanging string A 01' 09''
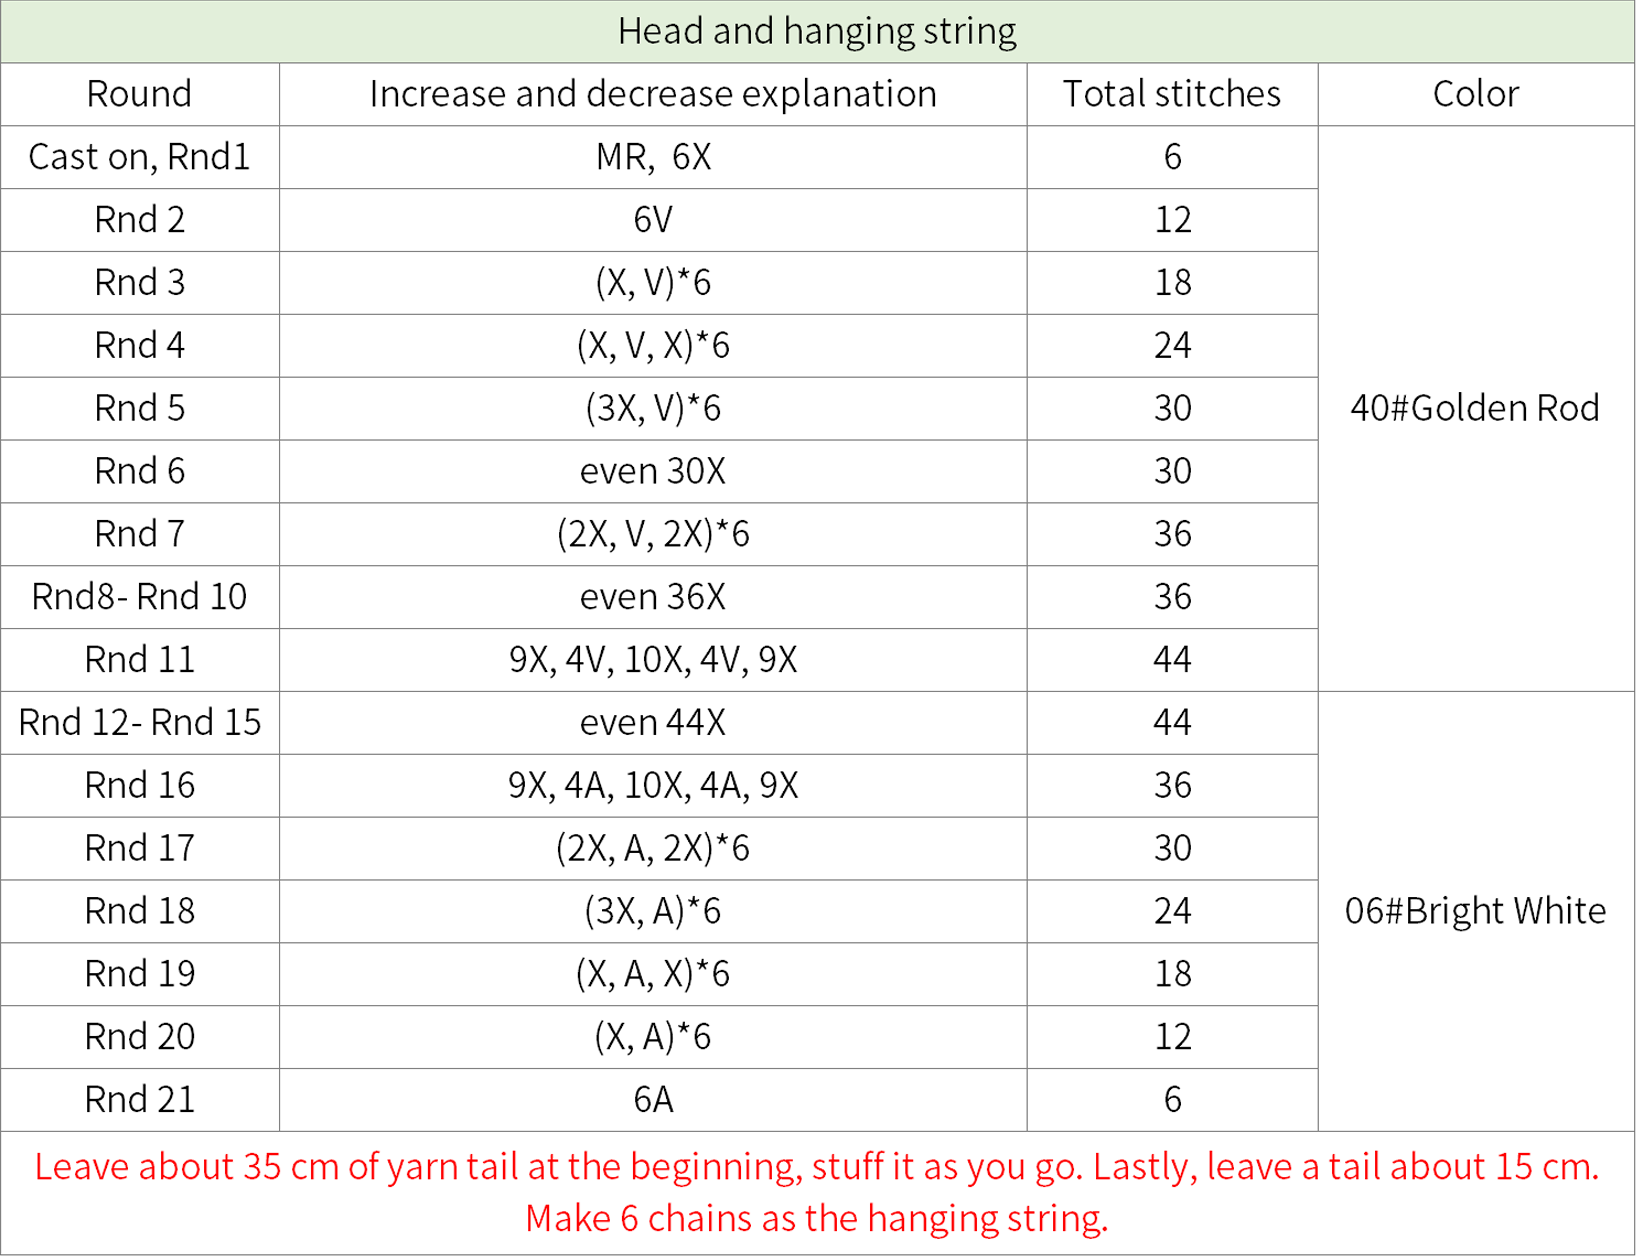
The head is started from a magic ring. Then crochet in rounds counter- clockwise. Once finished the head part, attach and secure the hanging string by crocheting at the top. Please refer to the video demonstration for more details.
STEP 2 Arms B 25' 59''
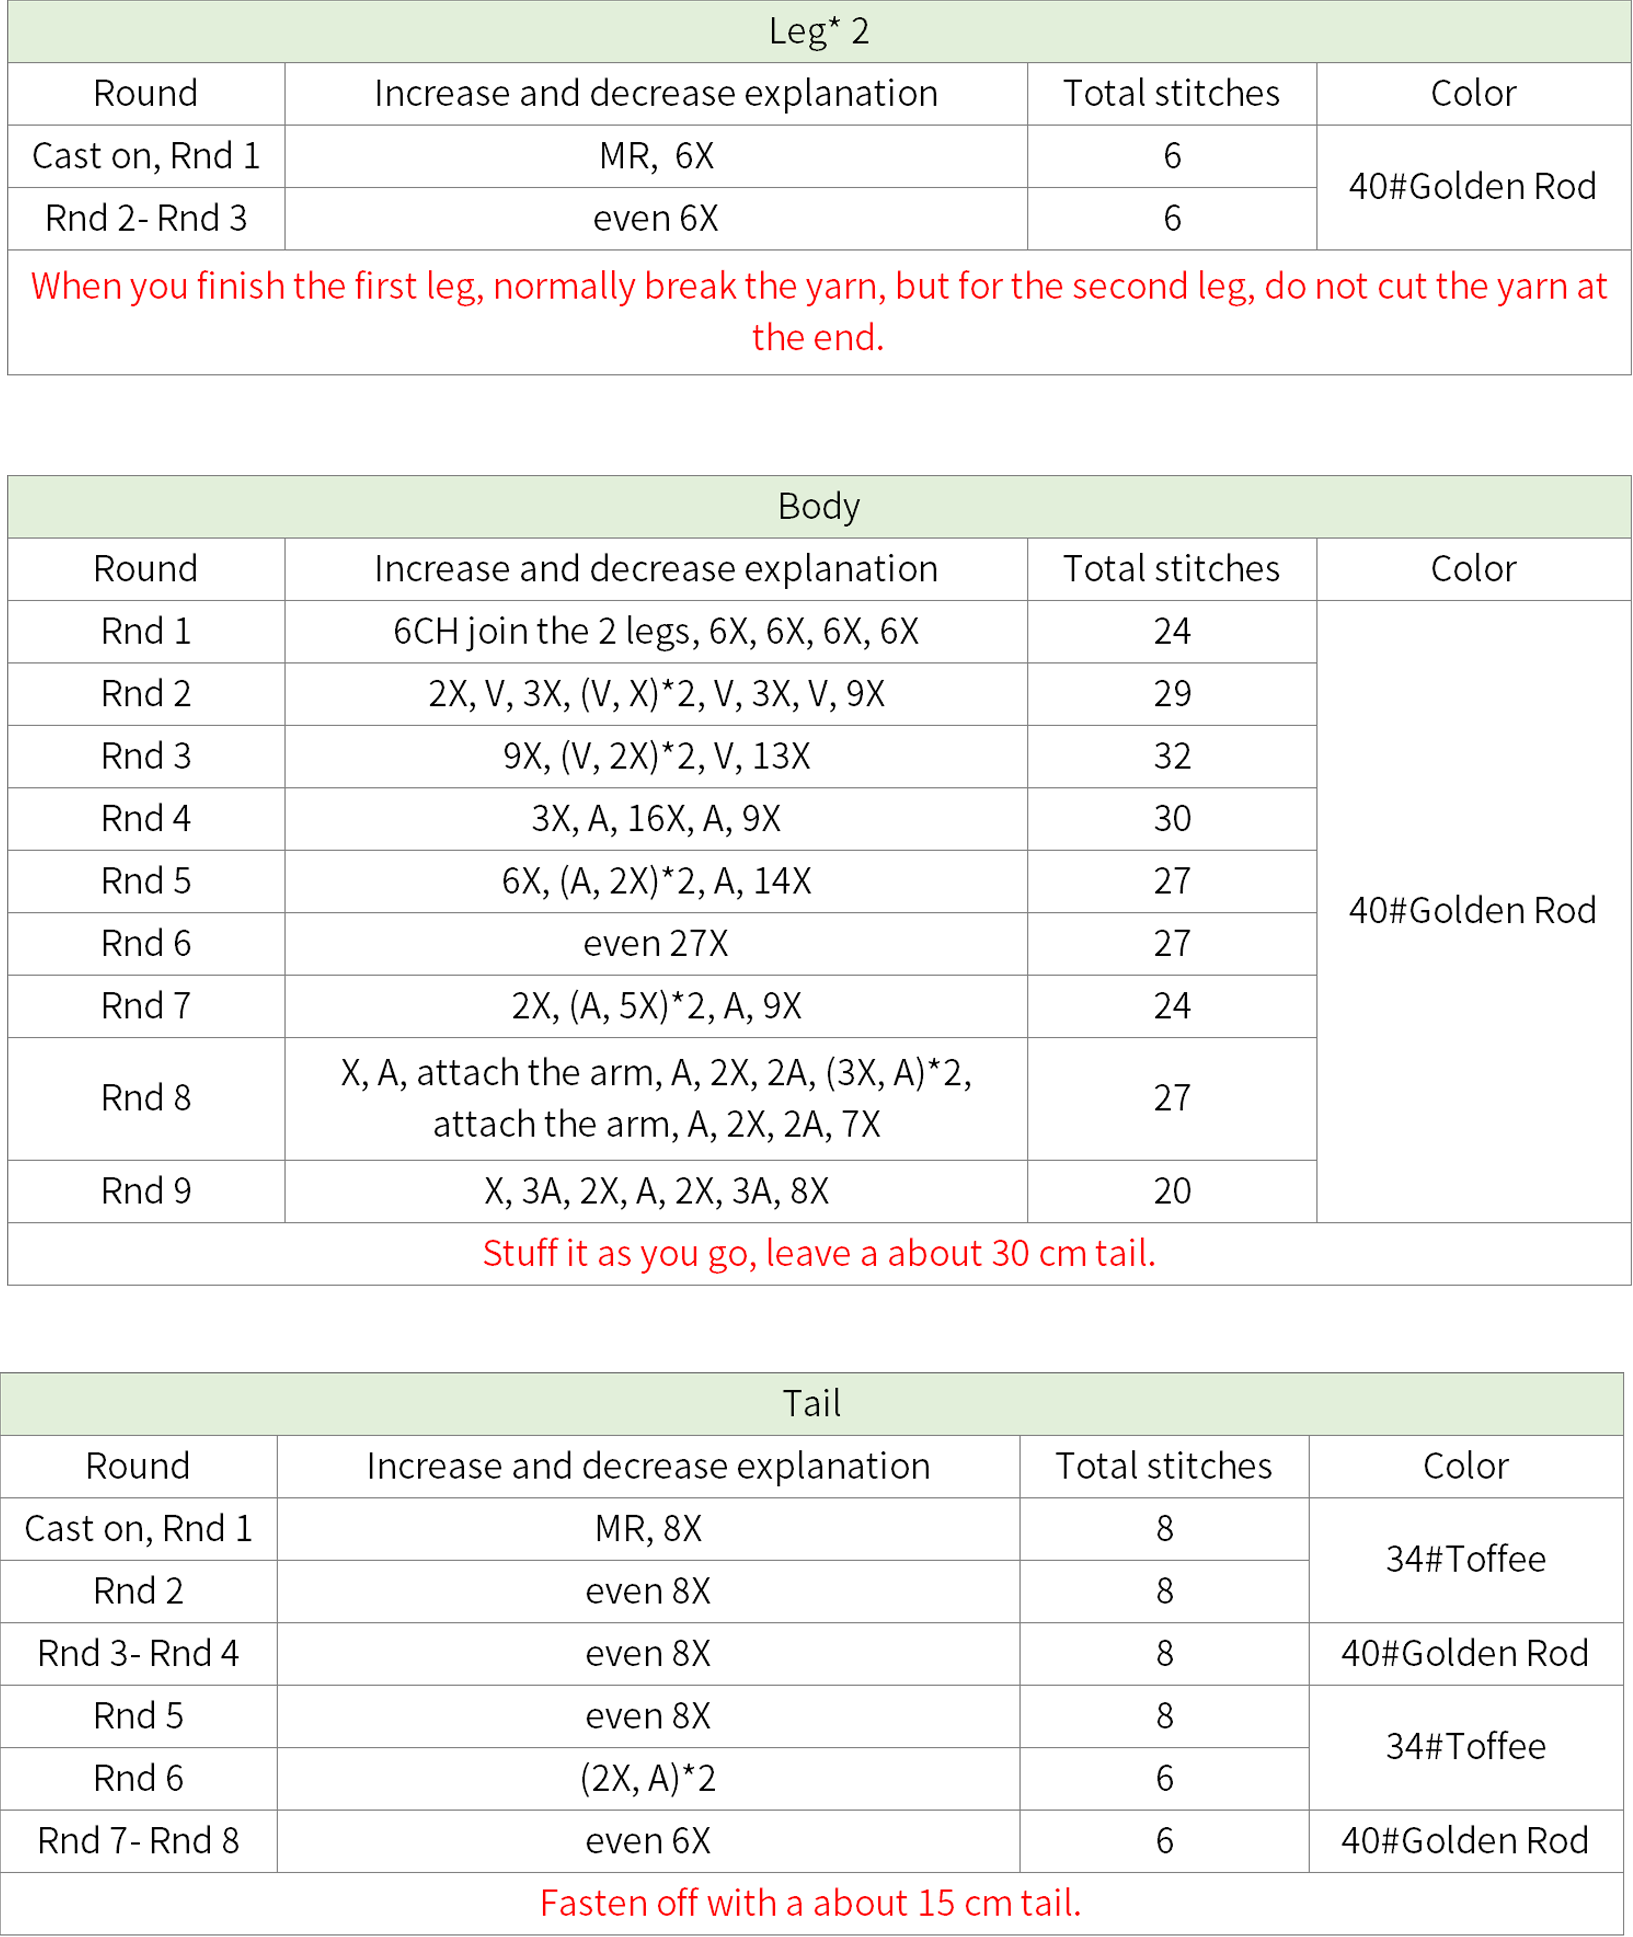
Both arms are worked in the same method. They will all start with a magic ring. Crochet in rounds by working along the ring. Please refer to the video demonstration for more details.

STEP 3 The legs, body and tail C 30' 25''
Both legs C1 are worked in the same way by starting with a magic ring and crochet in rounds. Then join the legs together, and continue crocheting upwards from this base until reach the point where the arms should be attached. Stuff the body C2 as you go along. Once finished, sew the head C3 onto the body. Lastly, crochet and attach the tail C4 . Please refer to the video demonstration for more details.
Part 2 The headpiece D 56' 21''
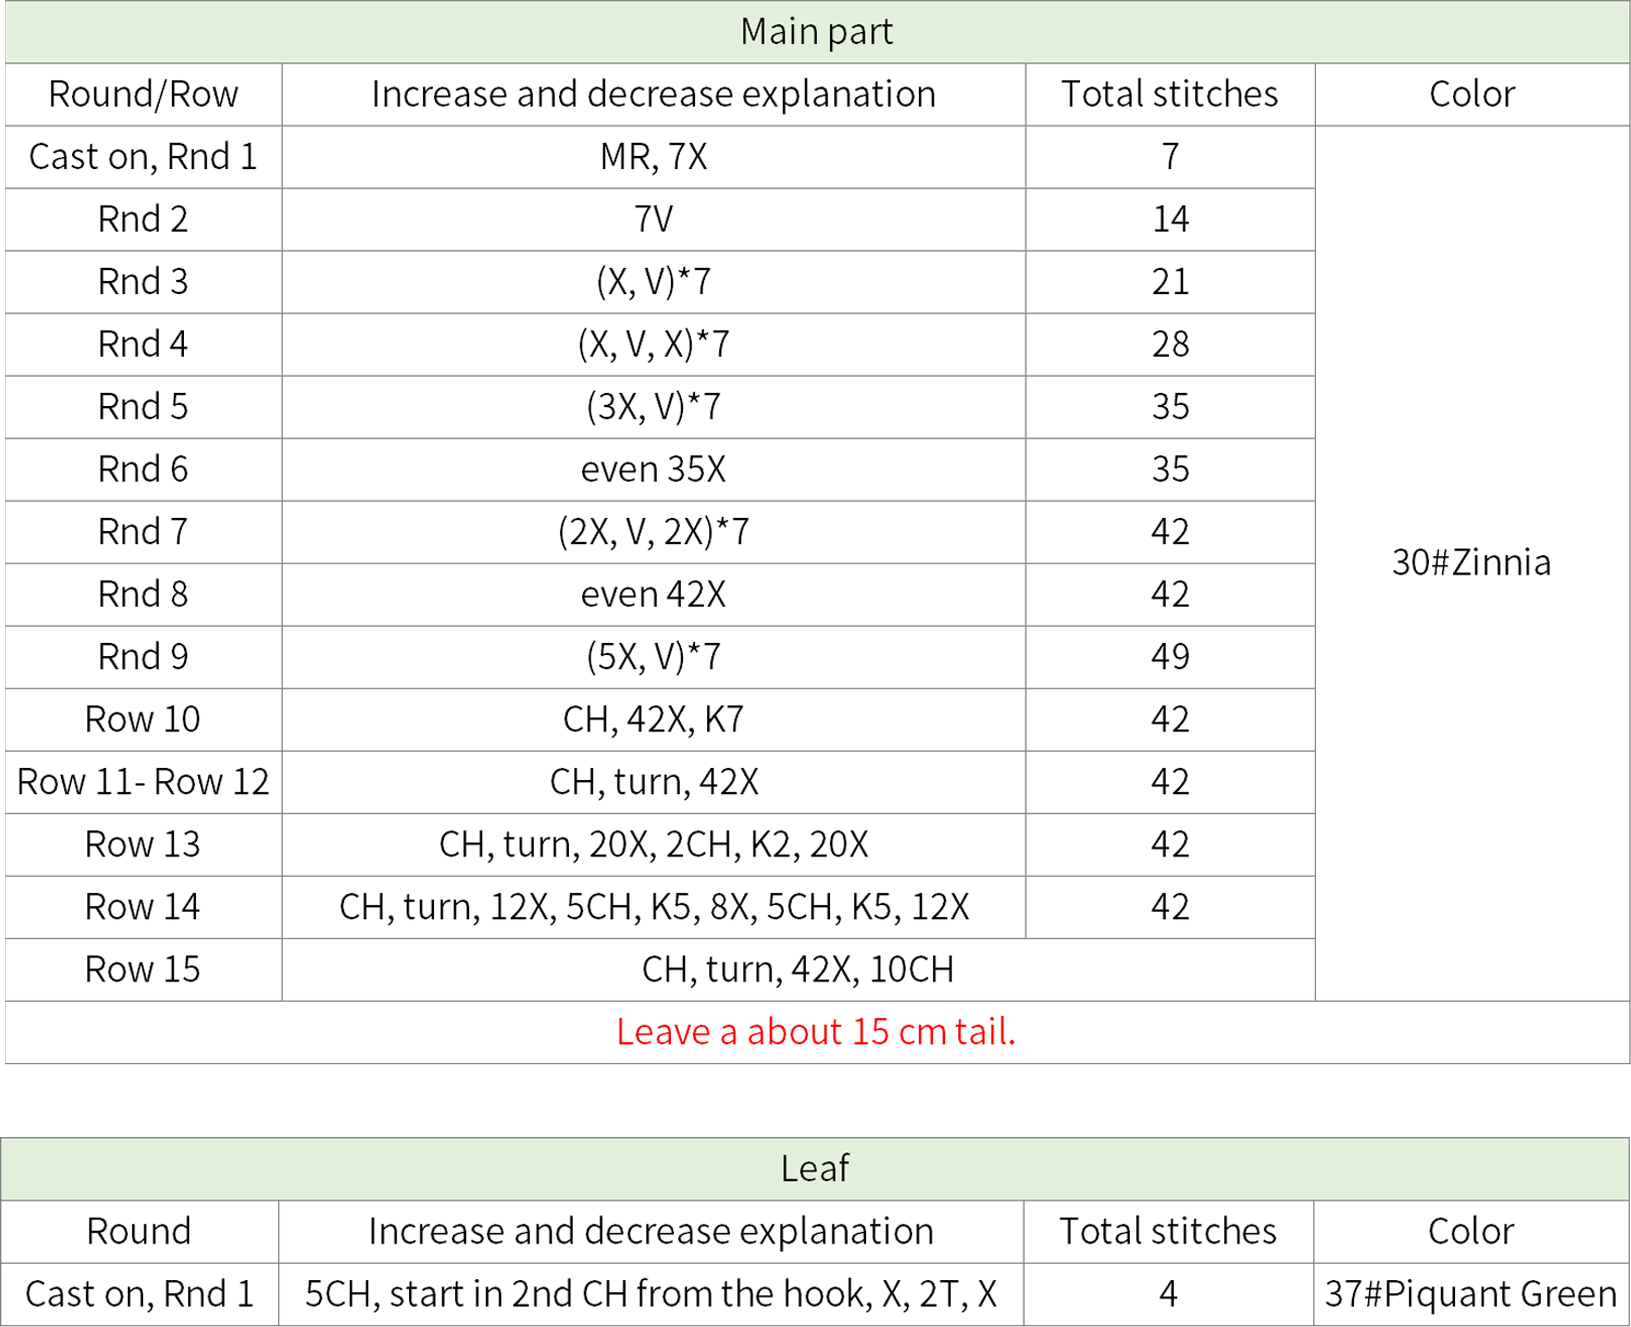
The headpiece consists of the main part D1 and leaves D2 . The main part also starts with a magic ring. Crochet in rounds along it. Then, switch to working in rows.After completing the main part, crochet the leaves and secure it in place.Please refer to the video demonstration for more details.
Part 3 The face featuresE 75' 19''
The face features consists of eyes E1 , the mouth and the nose E2 . Also, the tiger stripes and blush E3 , the ears and the belly E4 . First, attaching the eyes in their proper position. Then, make the mouth and crochet the nose and attach it securely. Once done, fix the tip of the nose in place. Next, embroidery the tiger stripes. And make the blush.Crochet and attach the ears and belly next. Finally, secure the headpiece in place. Please refer to the video demonstration for more details.
The color of tiger stripe:34#Toffee
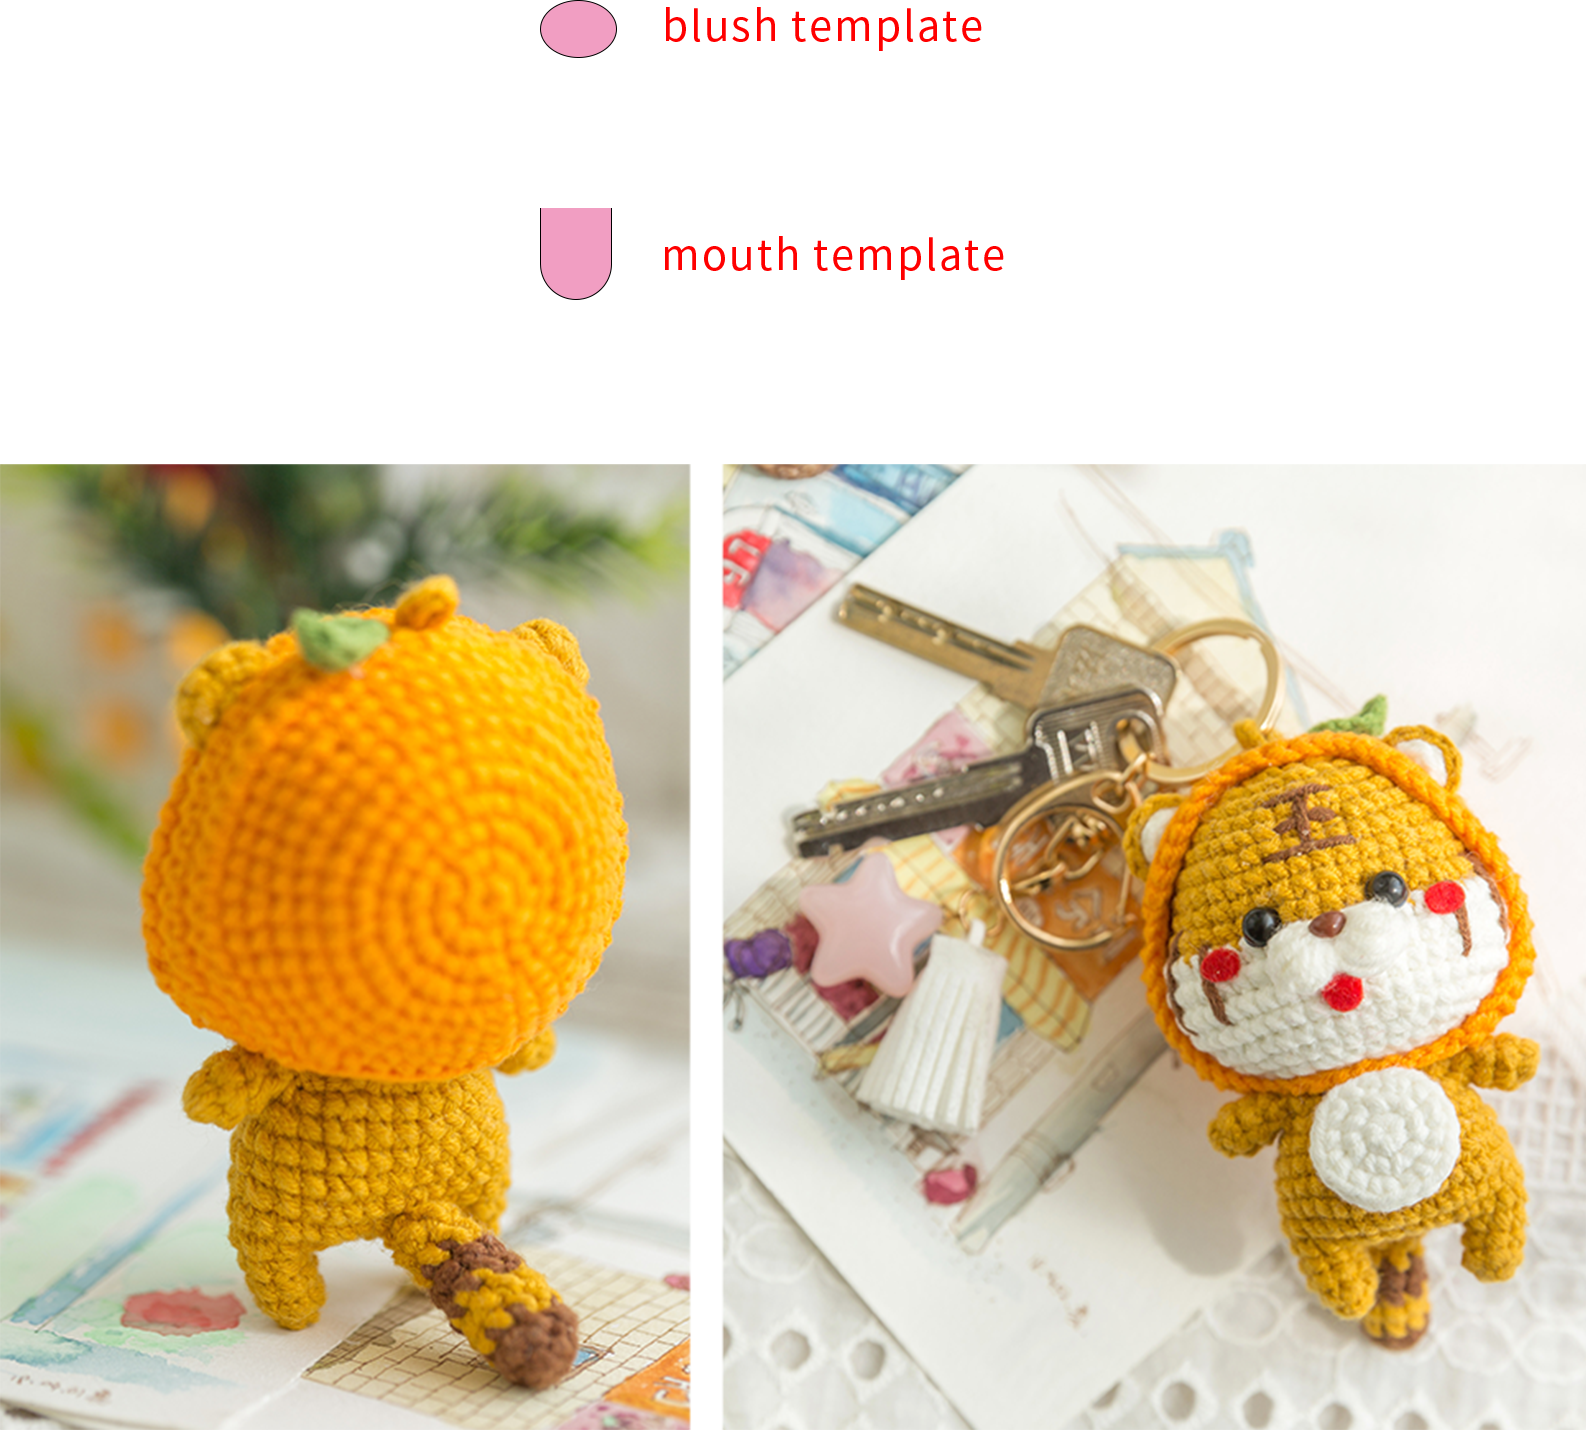
Using the actual size template to make blush and mouse.

Made by the community