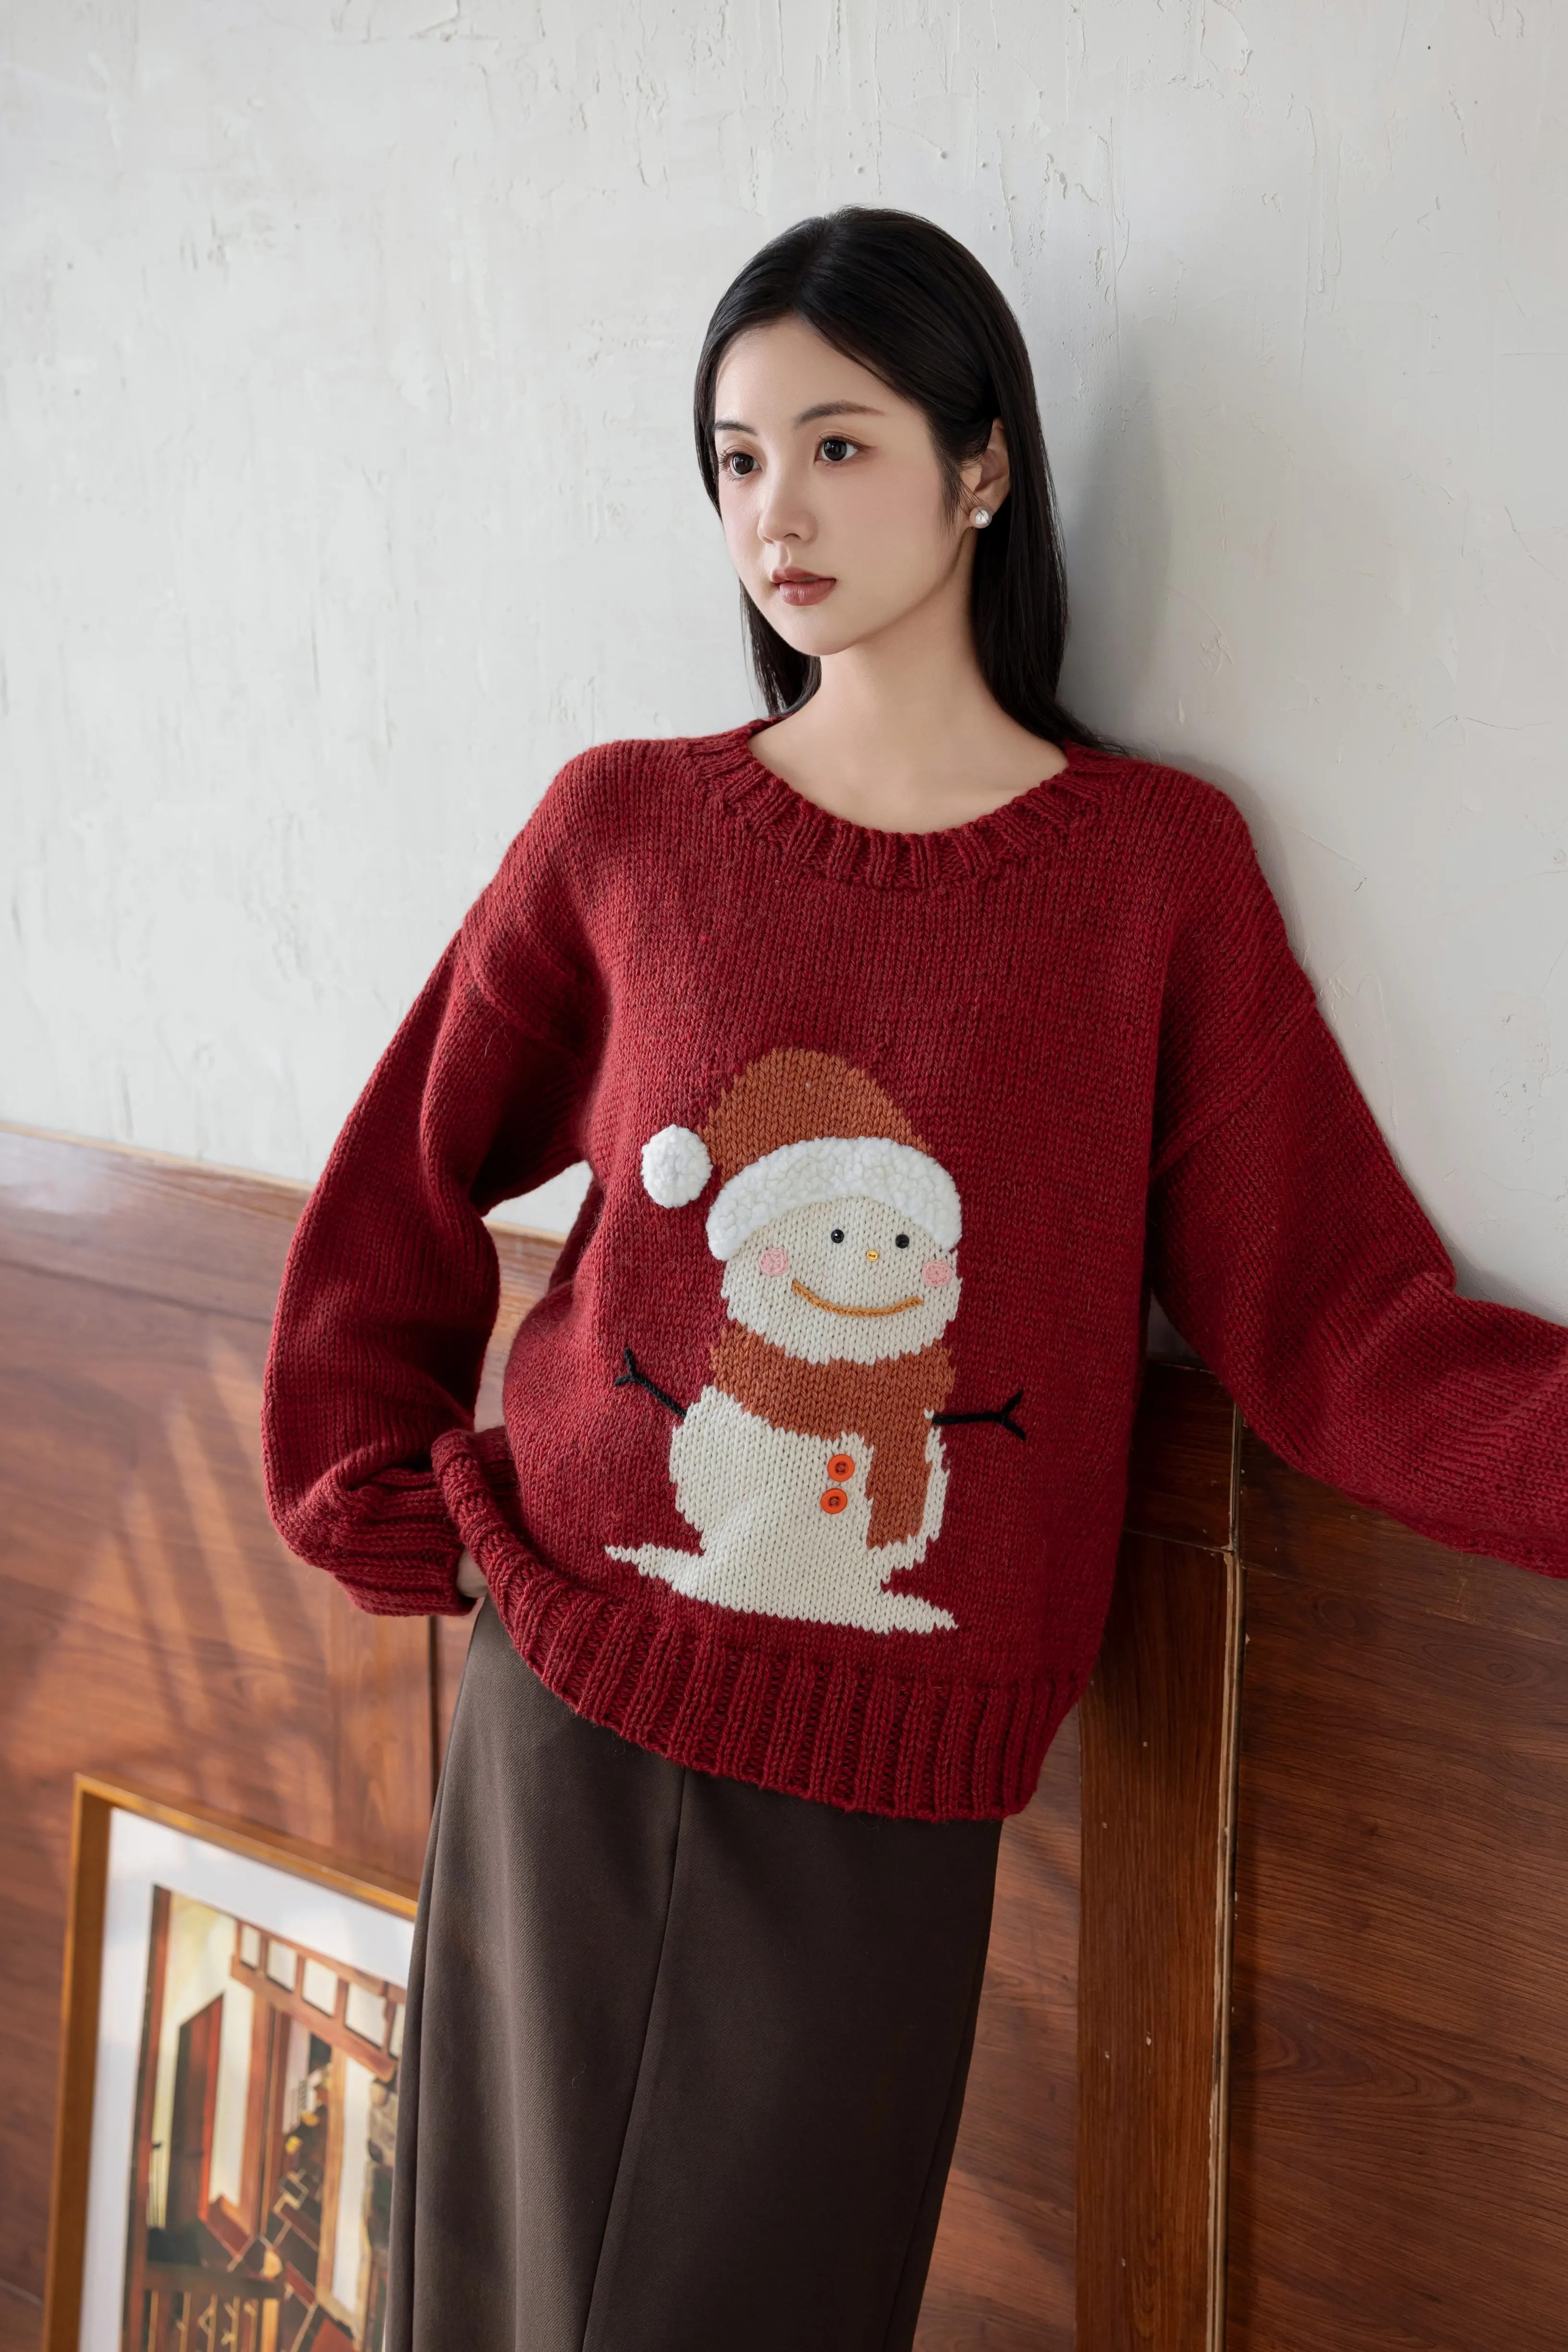
Clothes
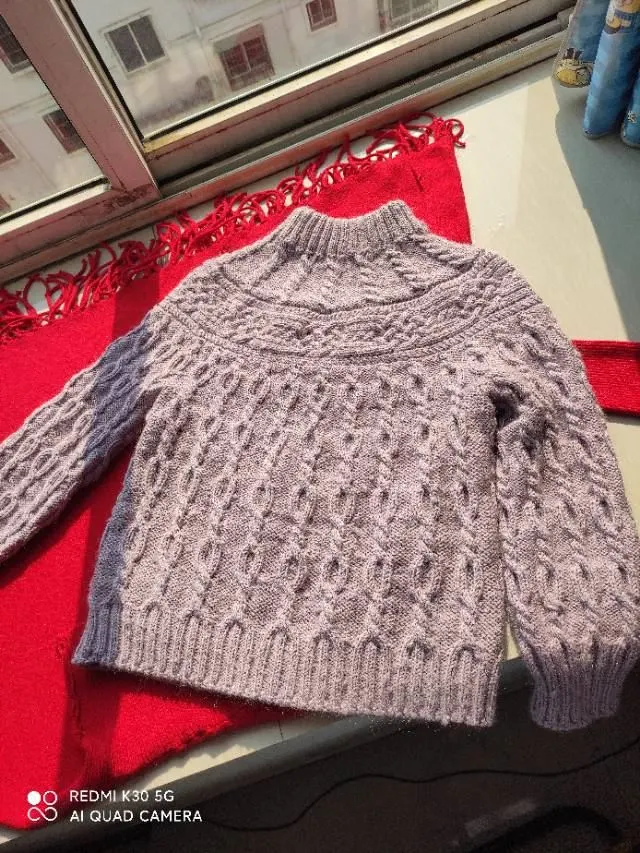
ChangLe Braid Sweater
Project preview
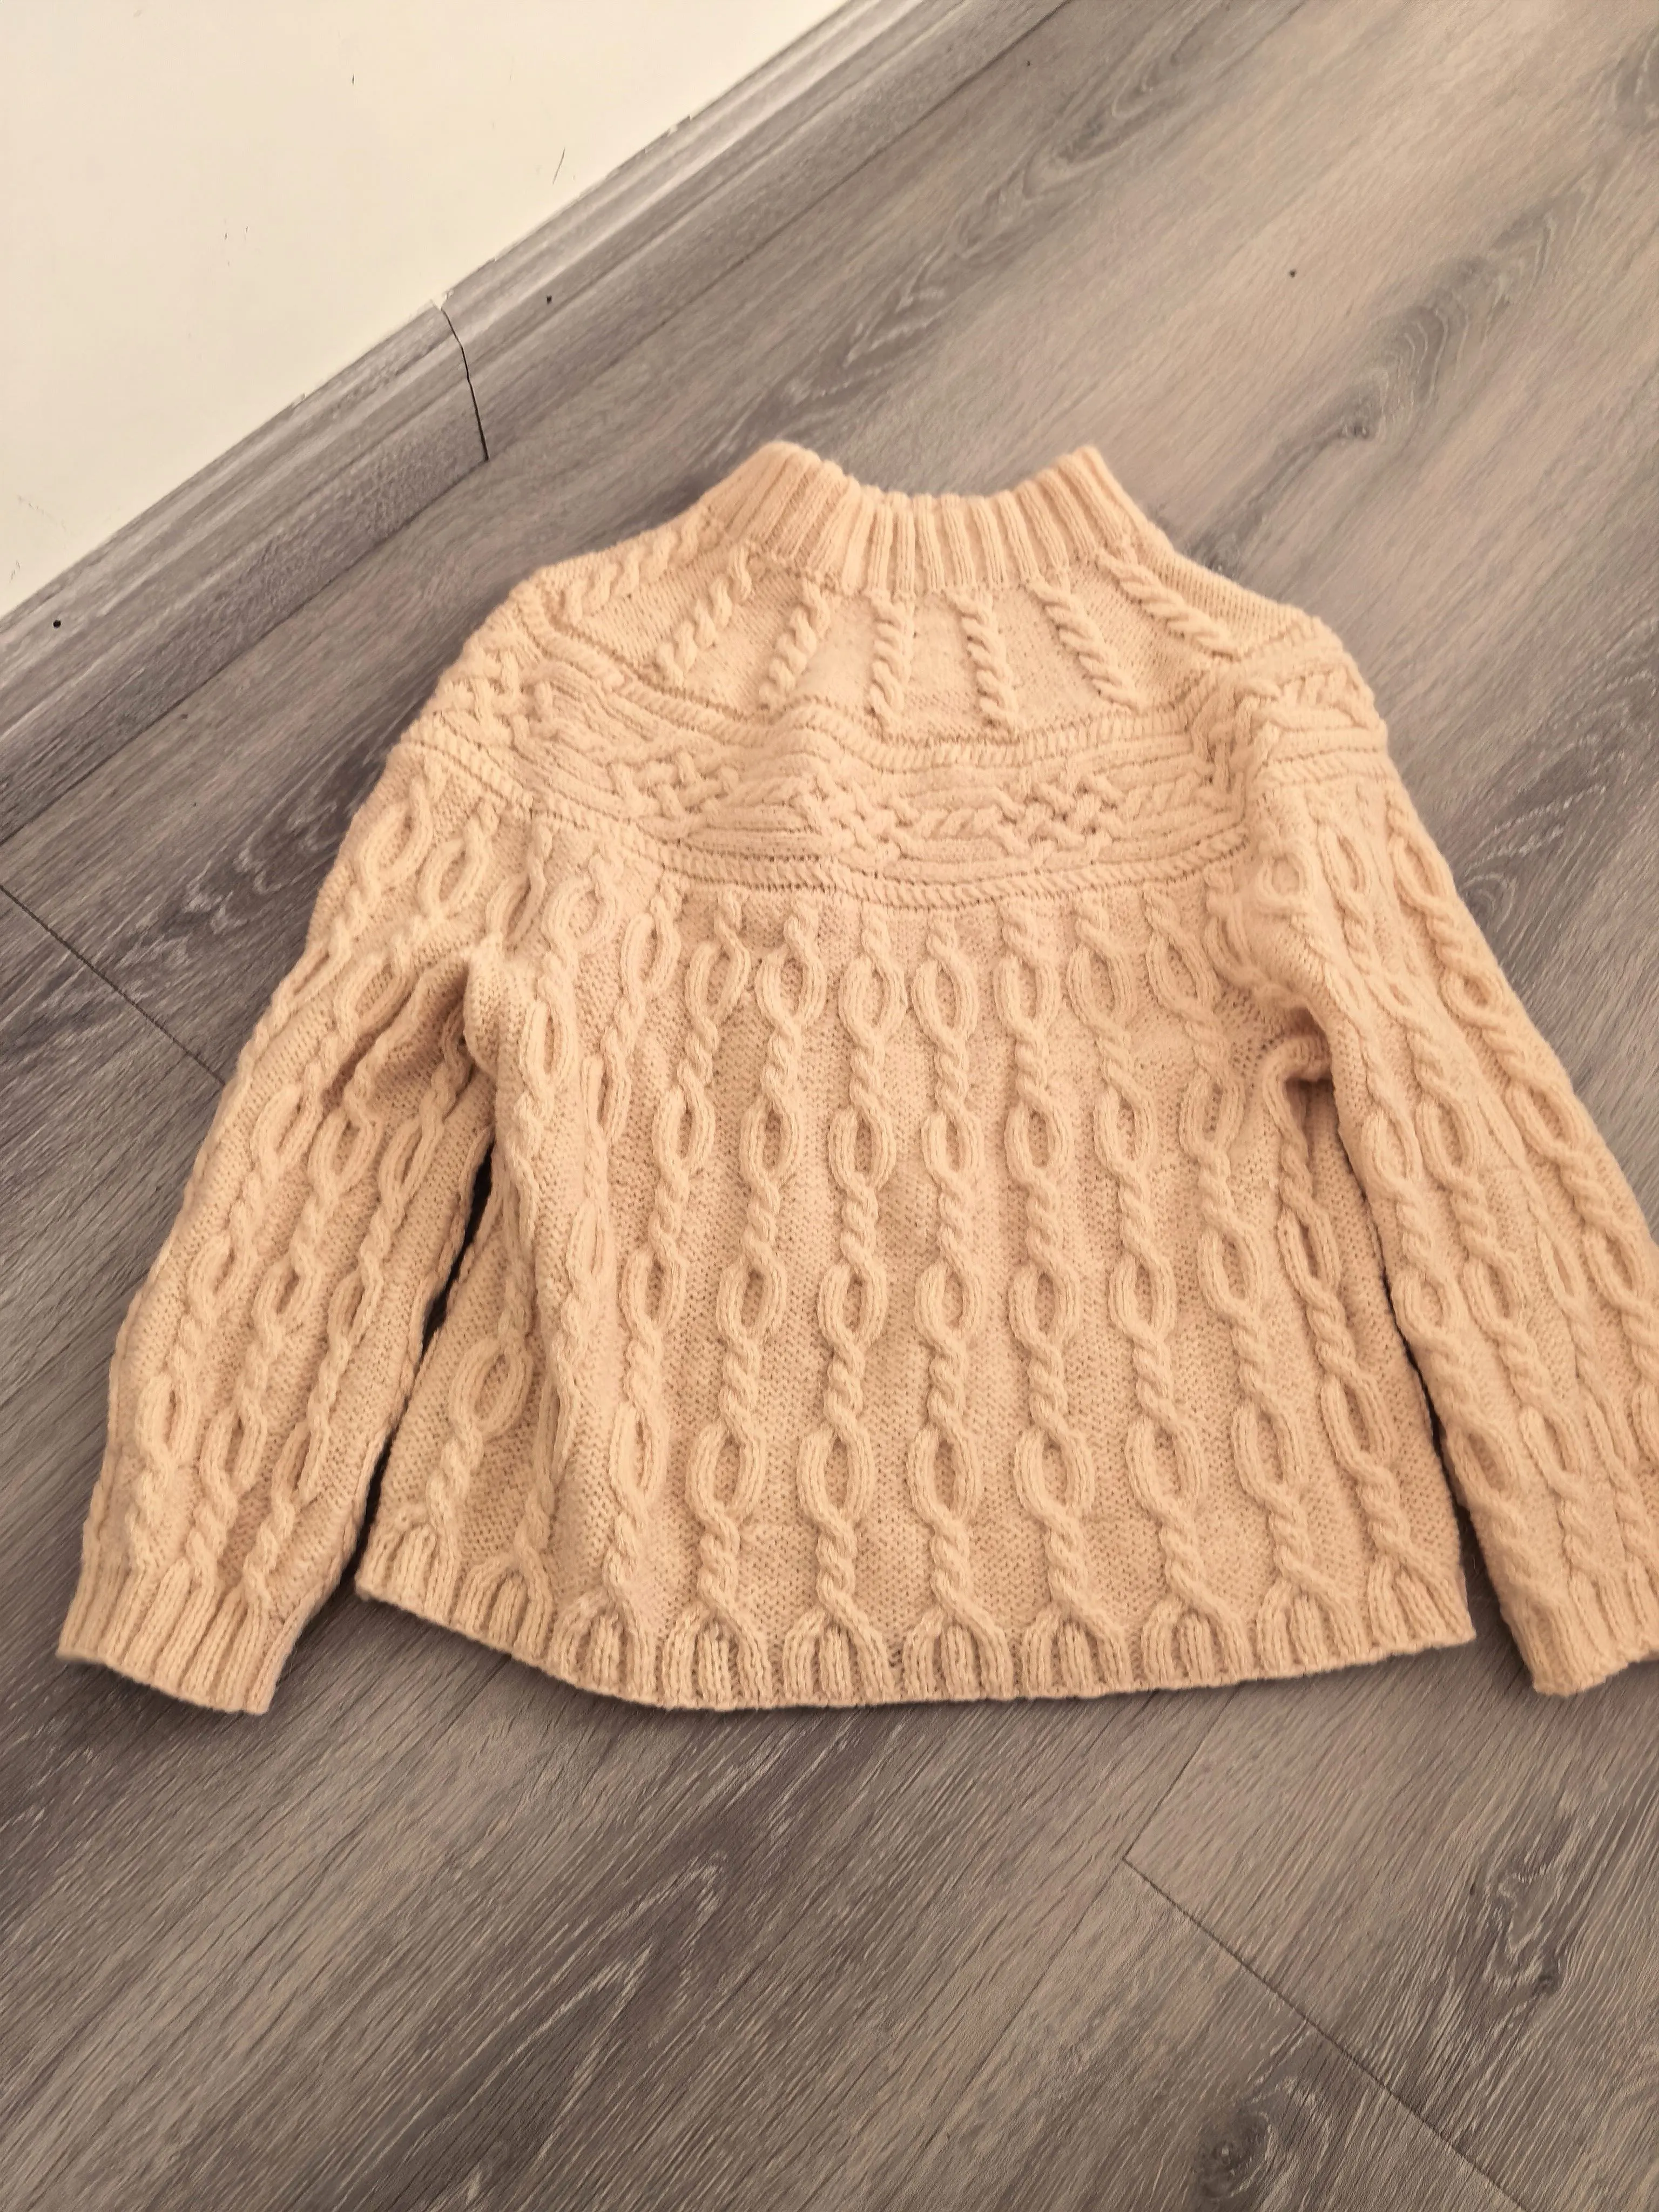
See the finished project
Pattern format
Instructions
Watch and follow
Video tutorial
| Style | Yarn | Color |
|---|---|---|
| Meadow Violet Version | Lamb Wool |  13#Meadow Violet x 8 |
| Aurora Red Version | Lamb Wool |  08#Aurora Red x 8 |
Meadow Violet Version
13#Meadow Violet x 8Aurora Red Version
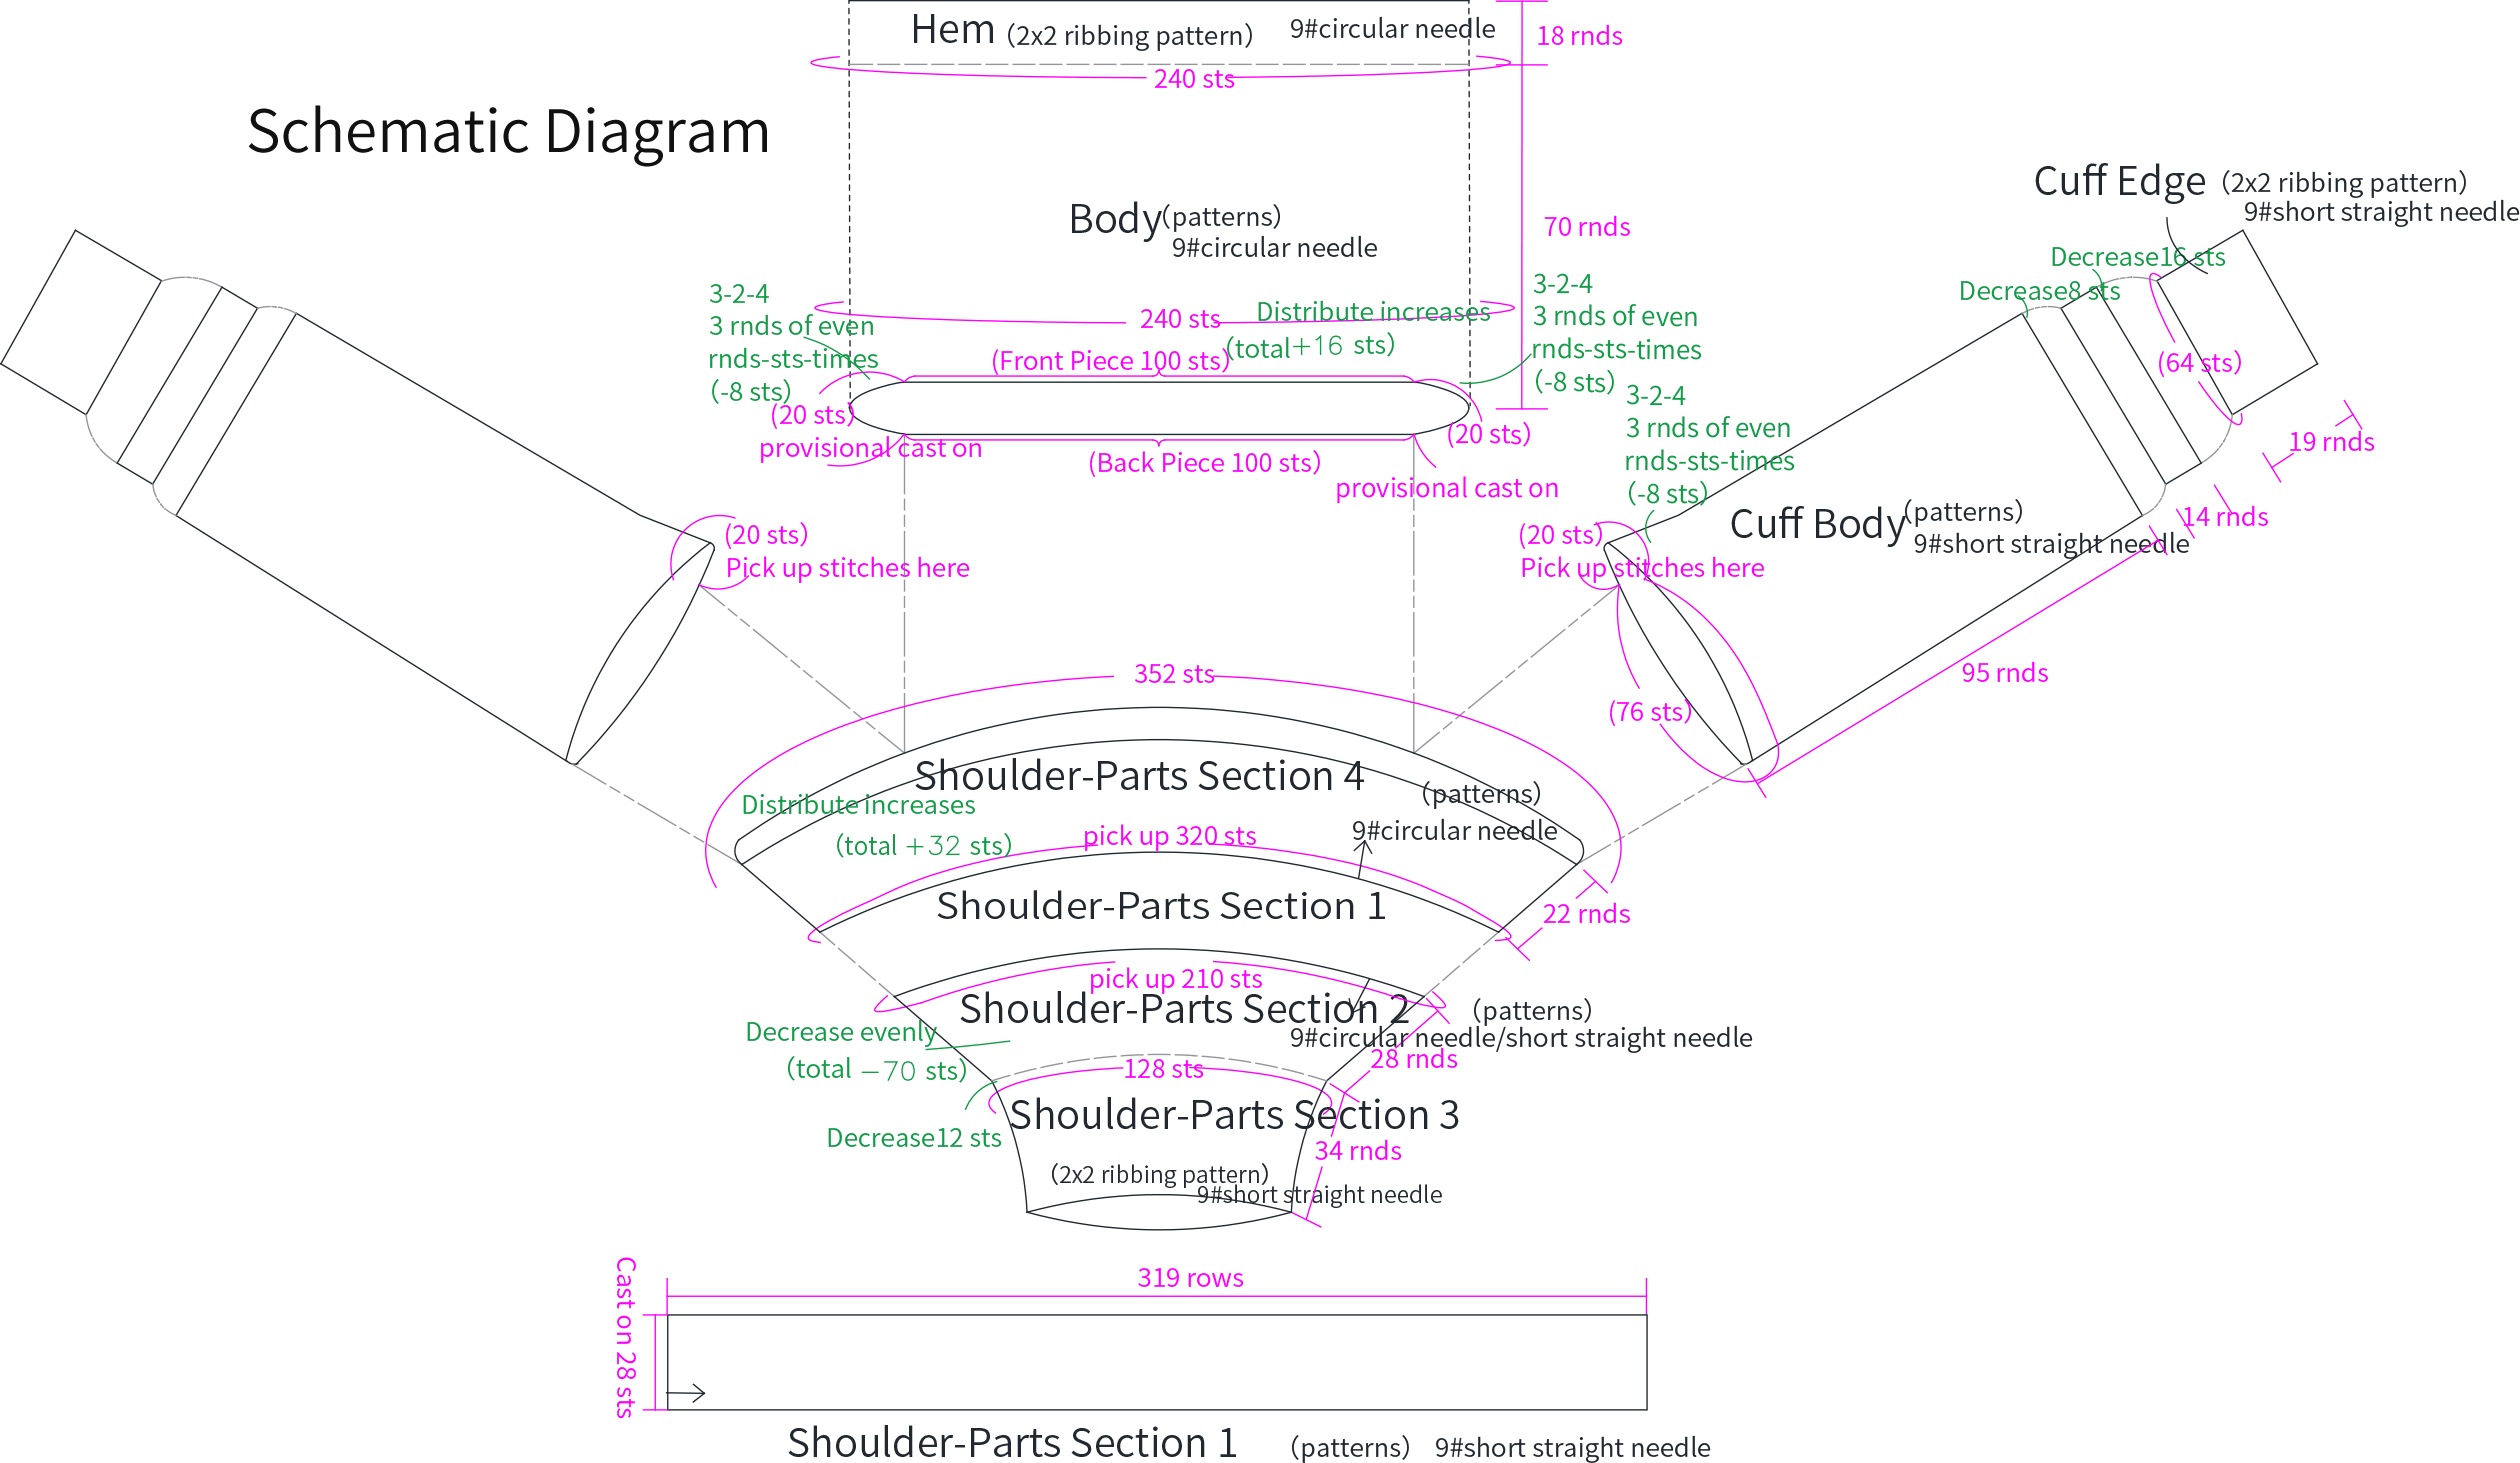
08#Aurora Red x 8This sweater is knit identically for all sizes. It consists of four parts: the shoulder-parts, body, hem, and sleeves. First, knit the middle section of the shoulder-parts. After joining it into a circular shape, pick up stitches and knit upwards for the upper part of the shoulder-parts. Then, pick up stitches on the other side to knit the remaining part.
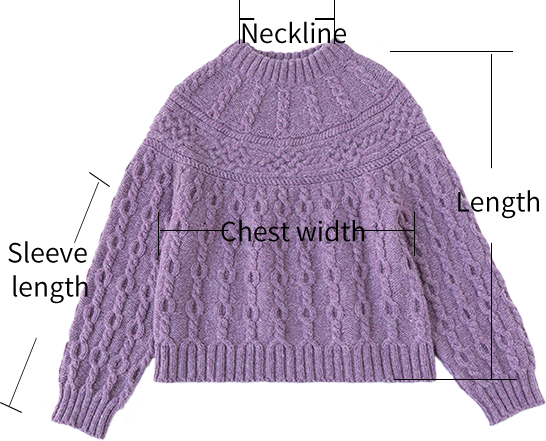
| Chest width | Sleeve length | Length | Neckline |
| 45 cm | 38 cm | 53 cm | 16 cm |
The handcrafted measurements may have an error, the size of the sample is for reference only.
Materials: Lamb Wool(2 strands held together for knitting)
Tool: 9#-3.75 mm circular needle & short straight needle


Chart Key


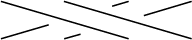
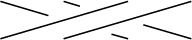
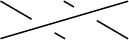
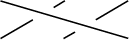
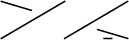
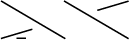


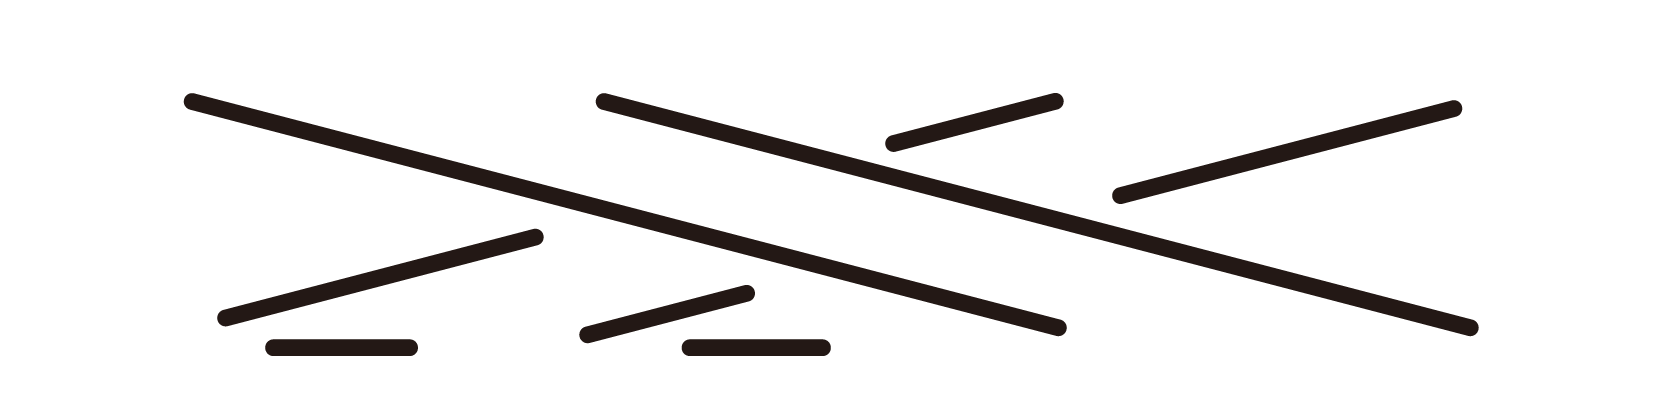
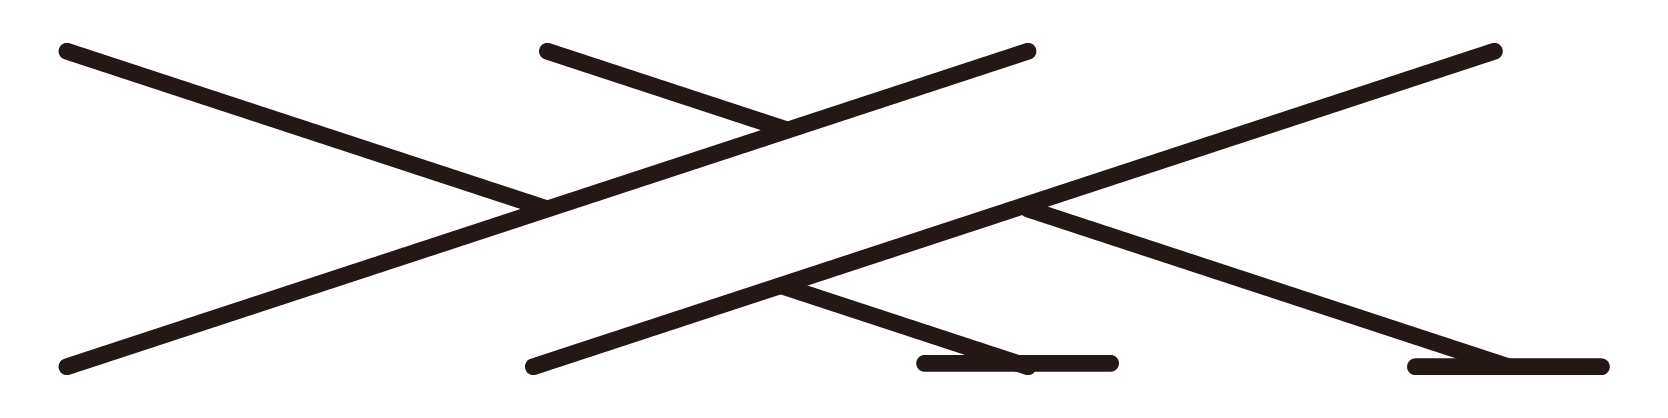

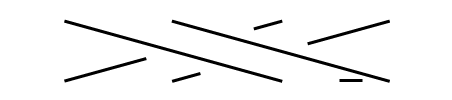
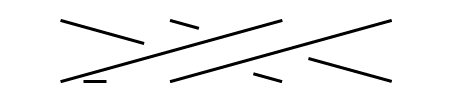
Note:
1. This pattern is making in Chinese crochet pattern terms, and the stitch name is written using American terminology. All measurements in charts are in cm.
2. The left and right on the charts refer to the actual wearing position.
3. The chart represent the right side of fabric, so check the key to see how to work a certain symbol on the right side and on the wrong side.
Part 1 The Shoulder-parts A 01' 09''
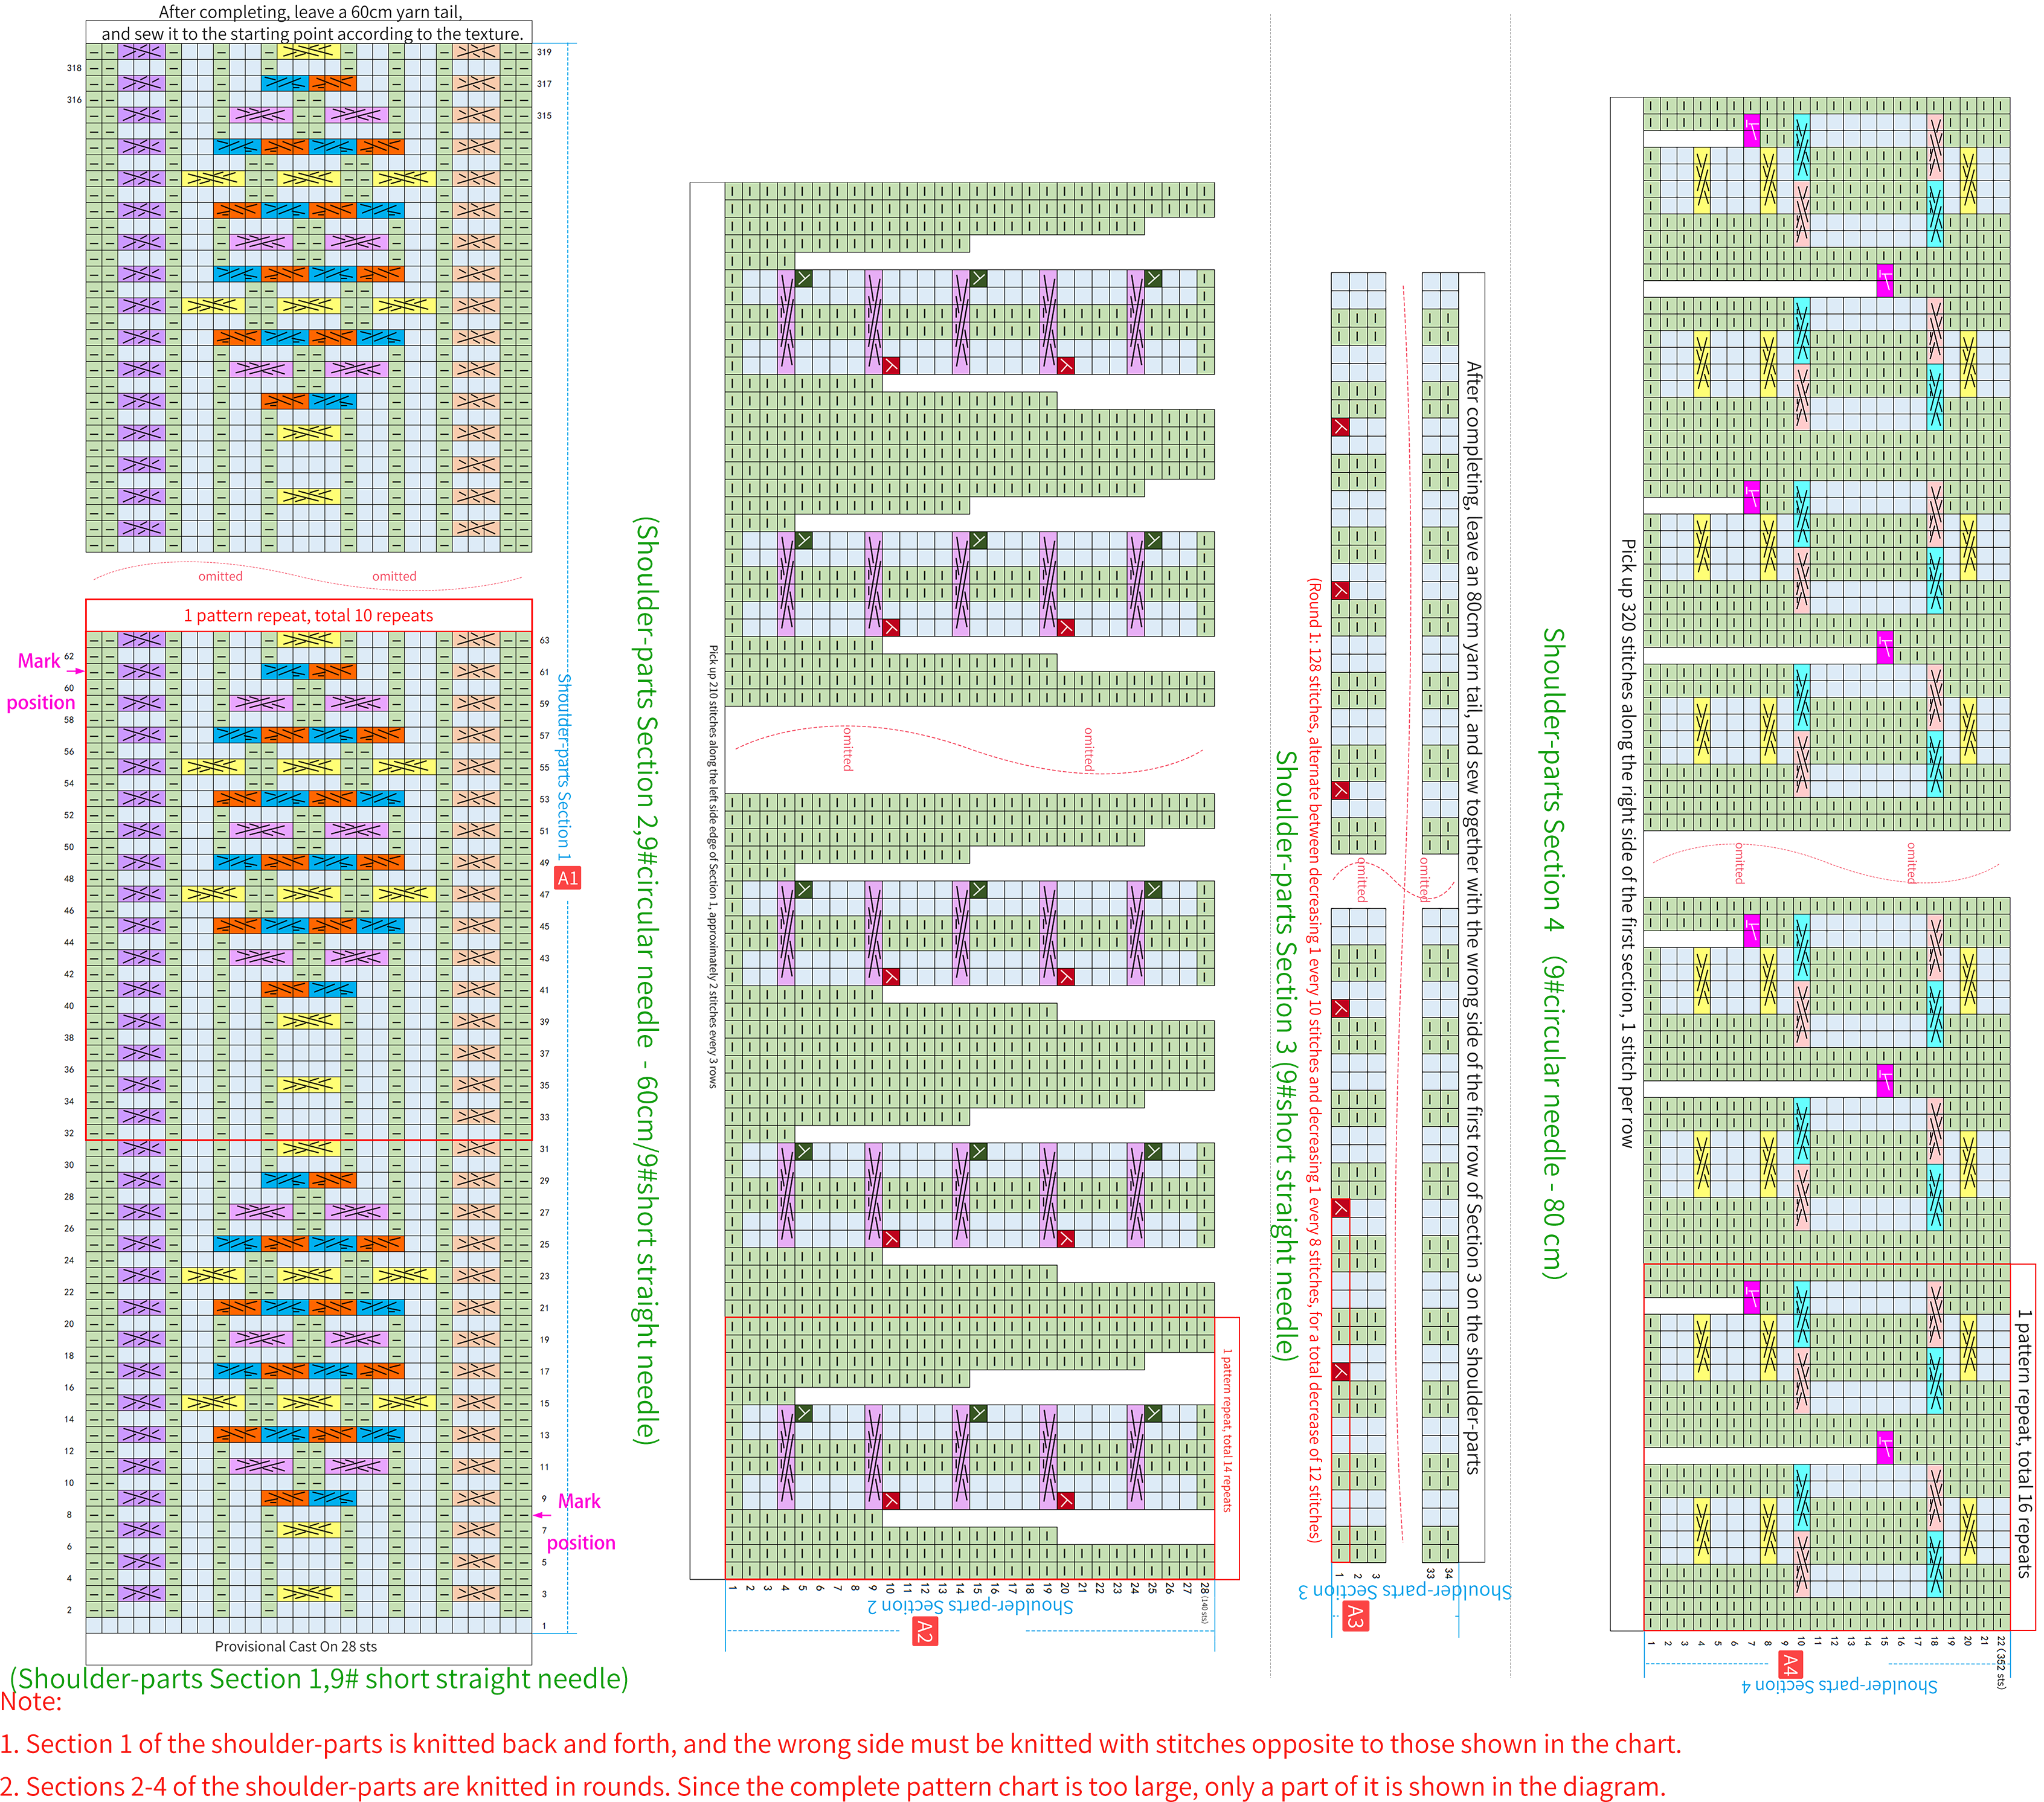
The shoulder-parts are divided into four sections: Section 1 uses the provisional chain cast on method, then change to another yarn and crochet back and forth. After completion, join the beginning and ending to form a loop; for Section 2 and Section 3, pick up stitches from the side of Section 1 and continue knitting upwards sequentially. After completion, sew together the neck part; Section 4 involves picking up stitches from the other side of Section 1 and continuing to crochet. Please refer to the video demonstration for more details.
Part 2 Body and Hem(9#circular needle - 60 cm) 70' 42''
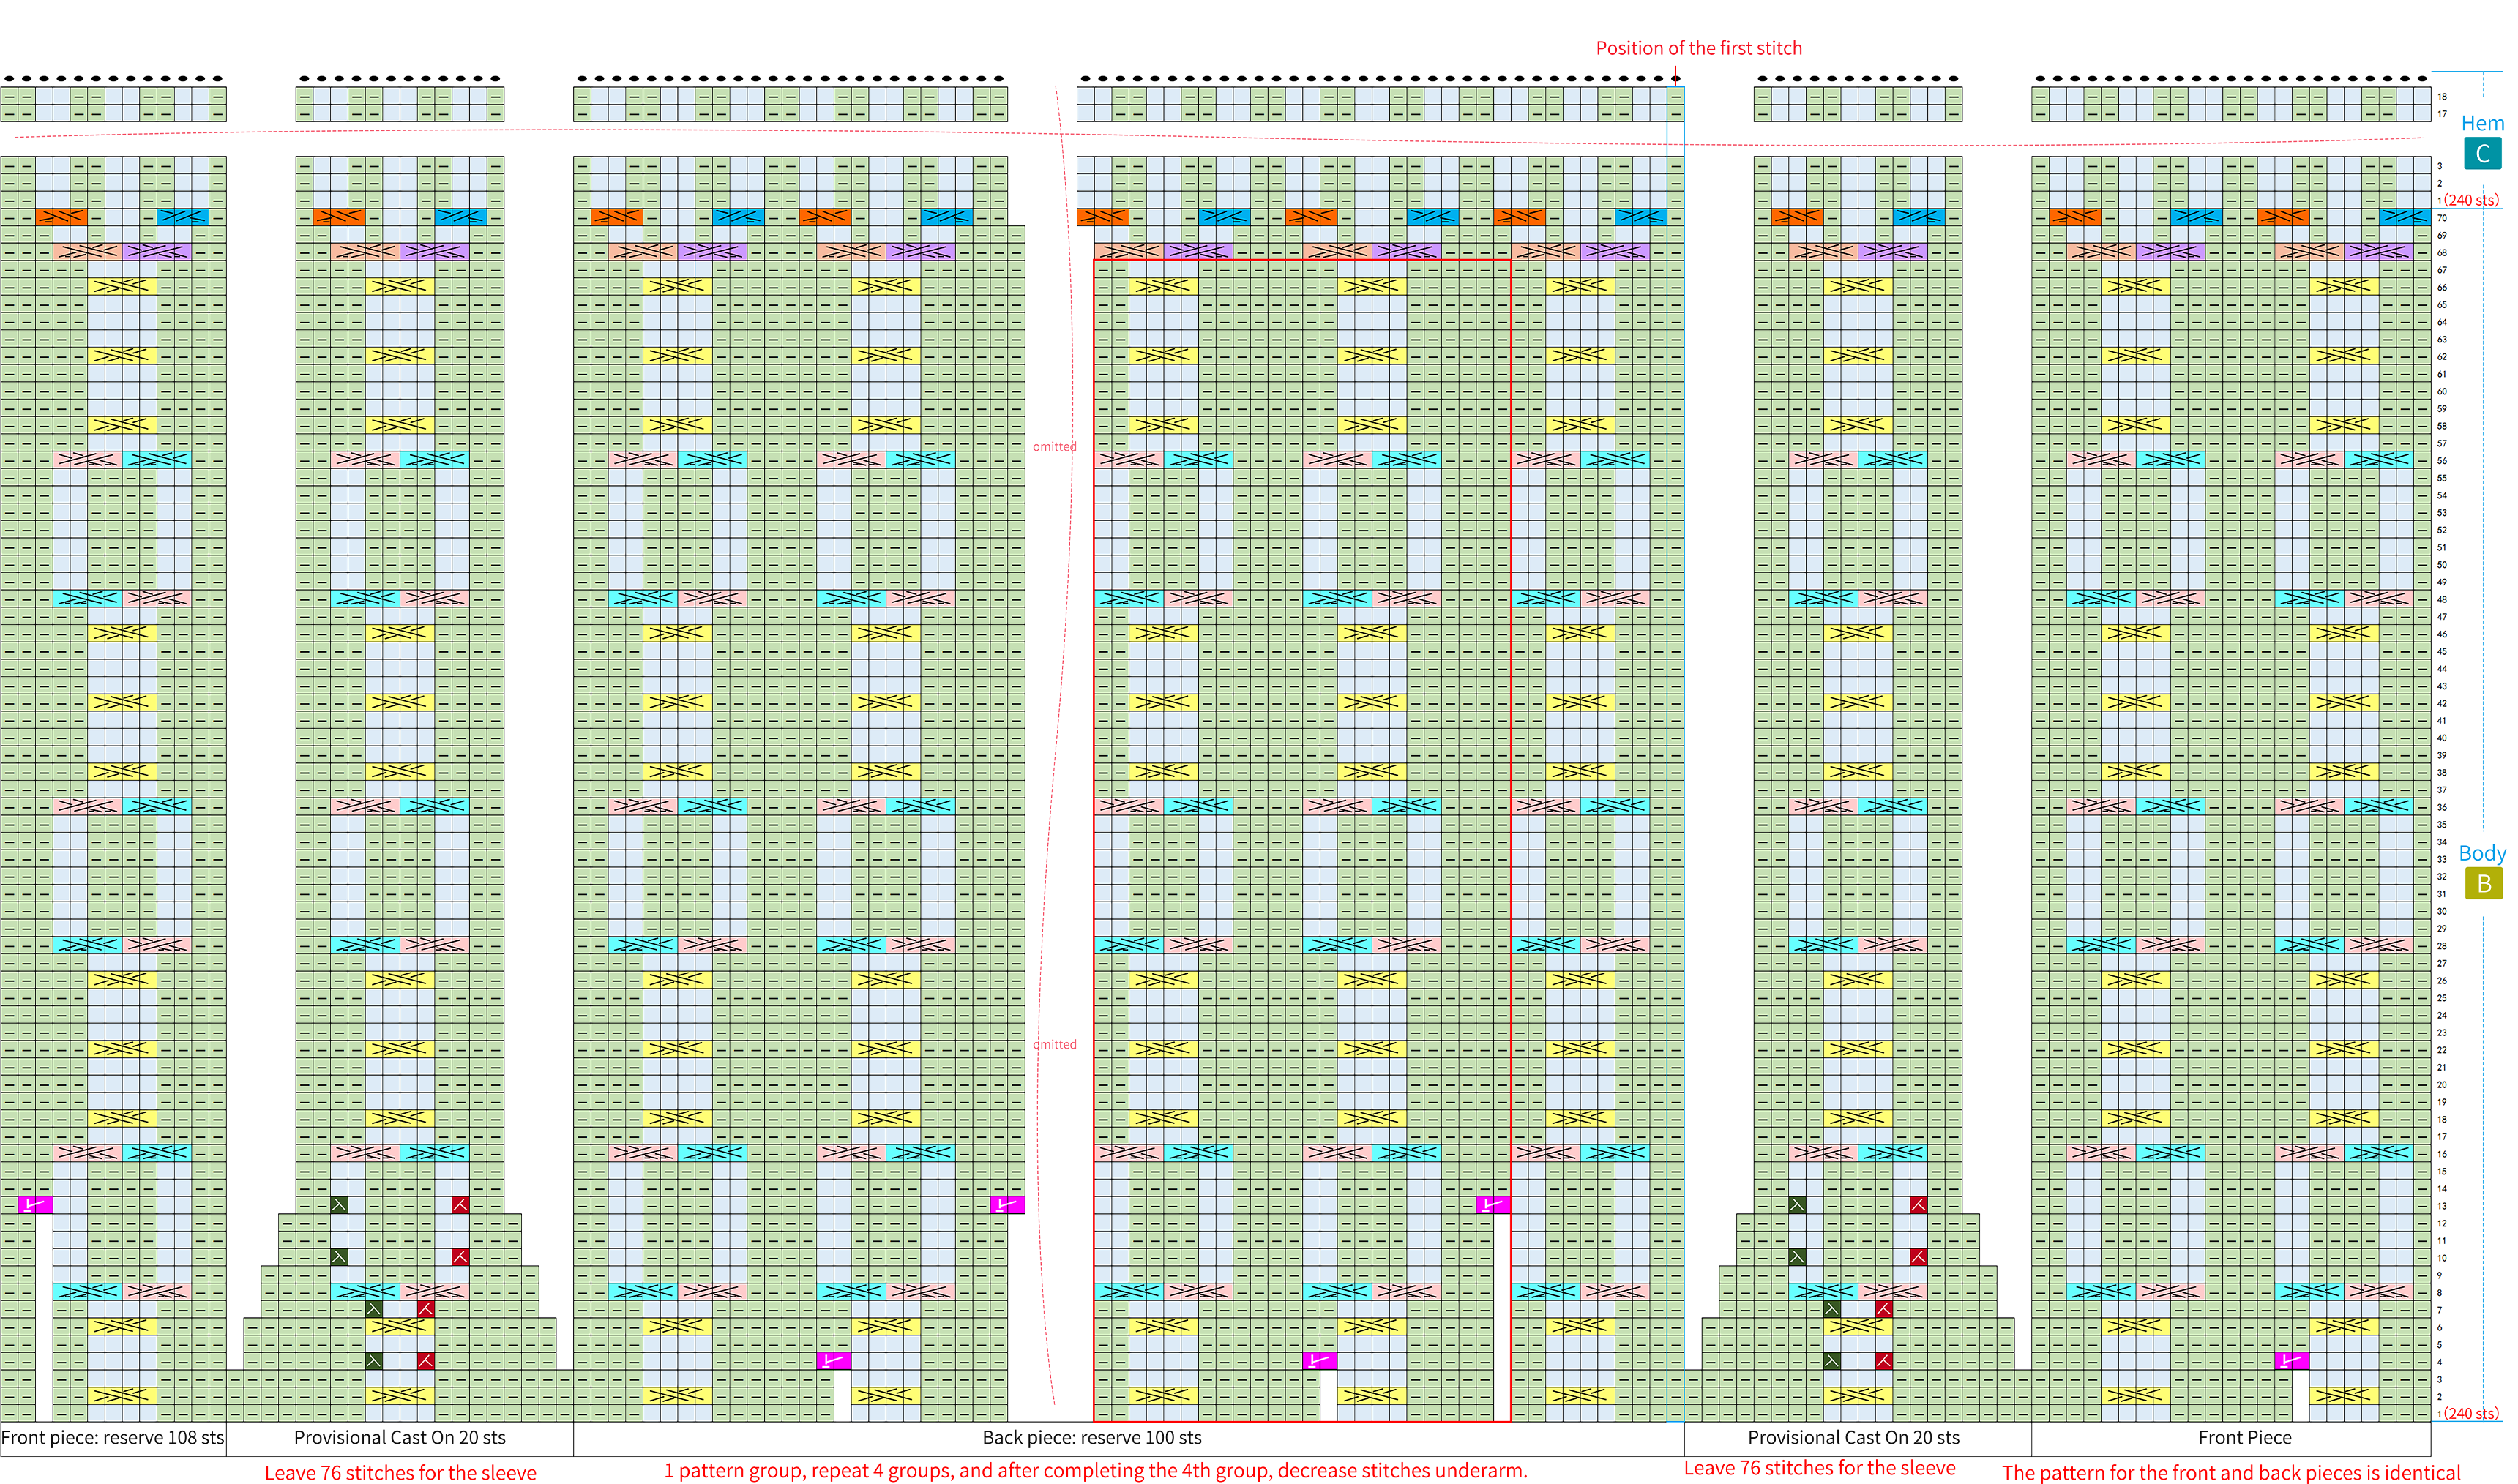
Before starting the body, divide it into front and back pieces and sleeves. Then, connect the front and back pieces and knit in rounds with the corresponding stitch pattern. After completing the body, work on the hem. Please refer to the video demonstration for more details.
Part 3 Sleeves D(9# short straight needle) 86' 45''
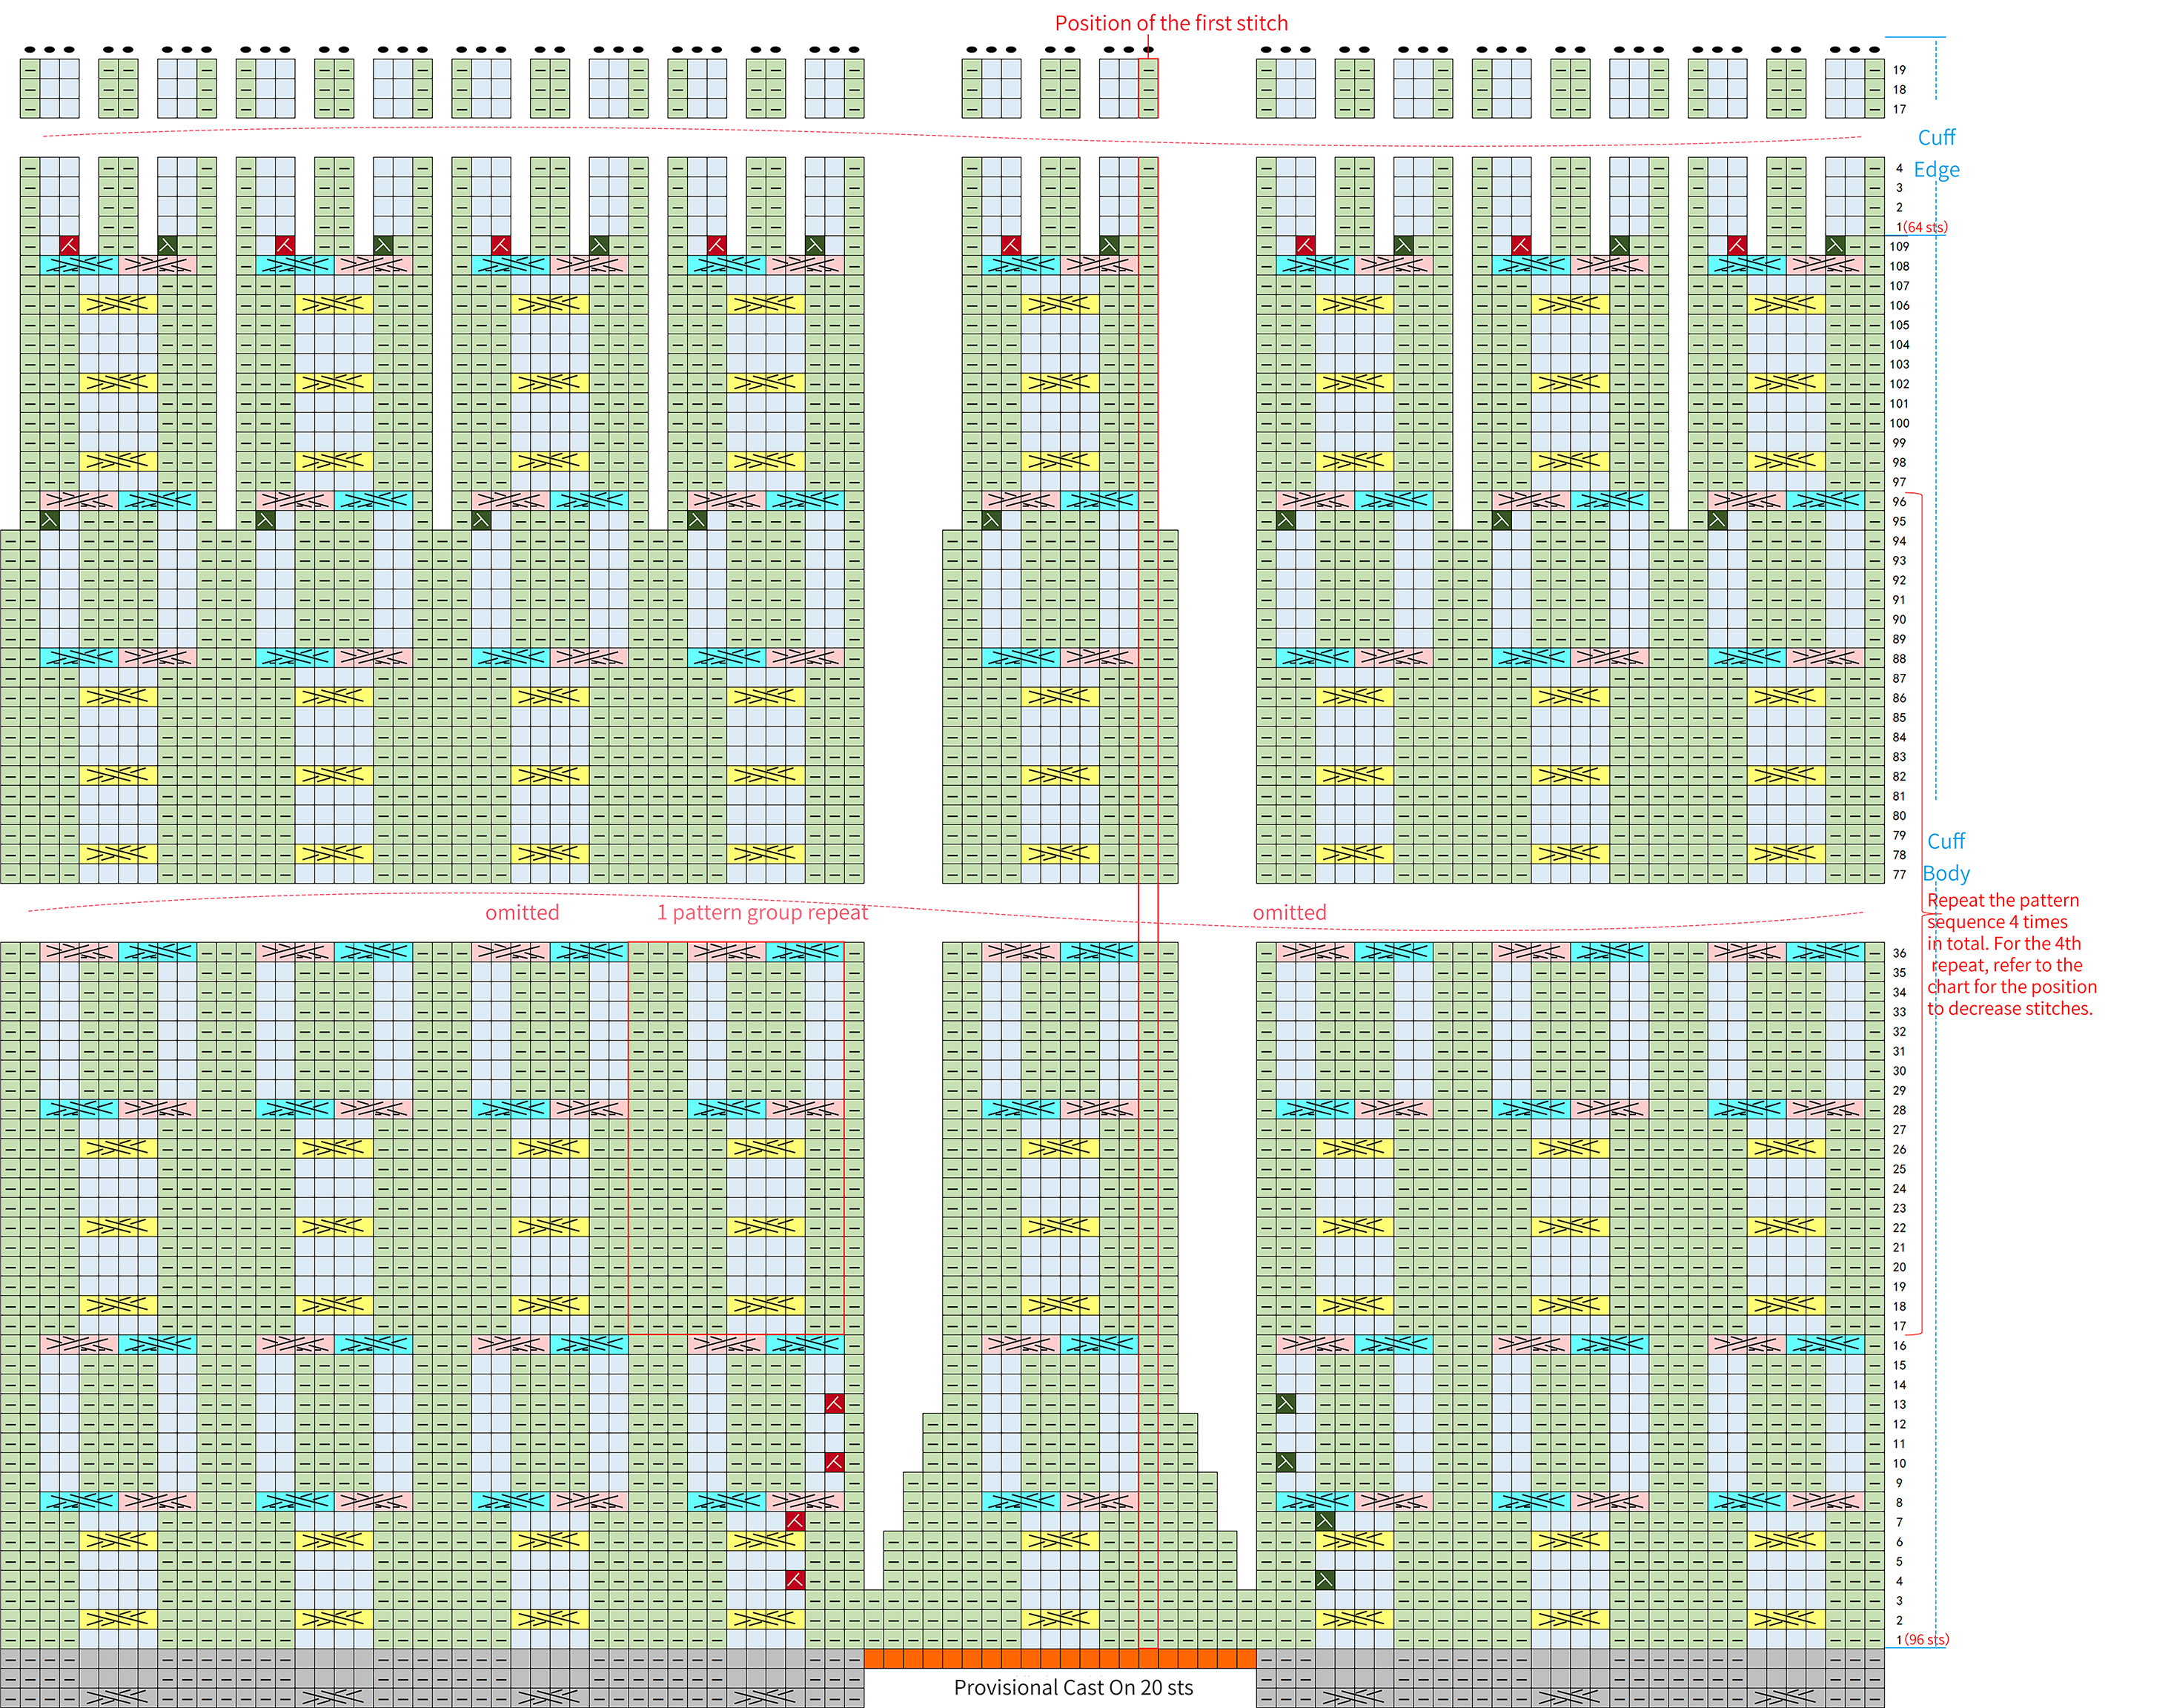
Pick up stitches along the cuff section and knit in rounds. The method for both the left and right sleeves is identical. The sleeve is divided into the sleeve body and the sleeve cuff. The sleeve body is knitted with the corresponding pattern, and decreases are needed during the process. The sleeve cuff is knitted with a 2 by 2 ribbing pattern to match the texture. Please refer to the video demonstration for more details.
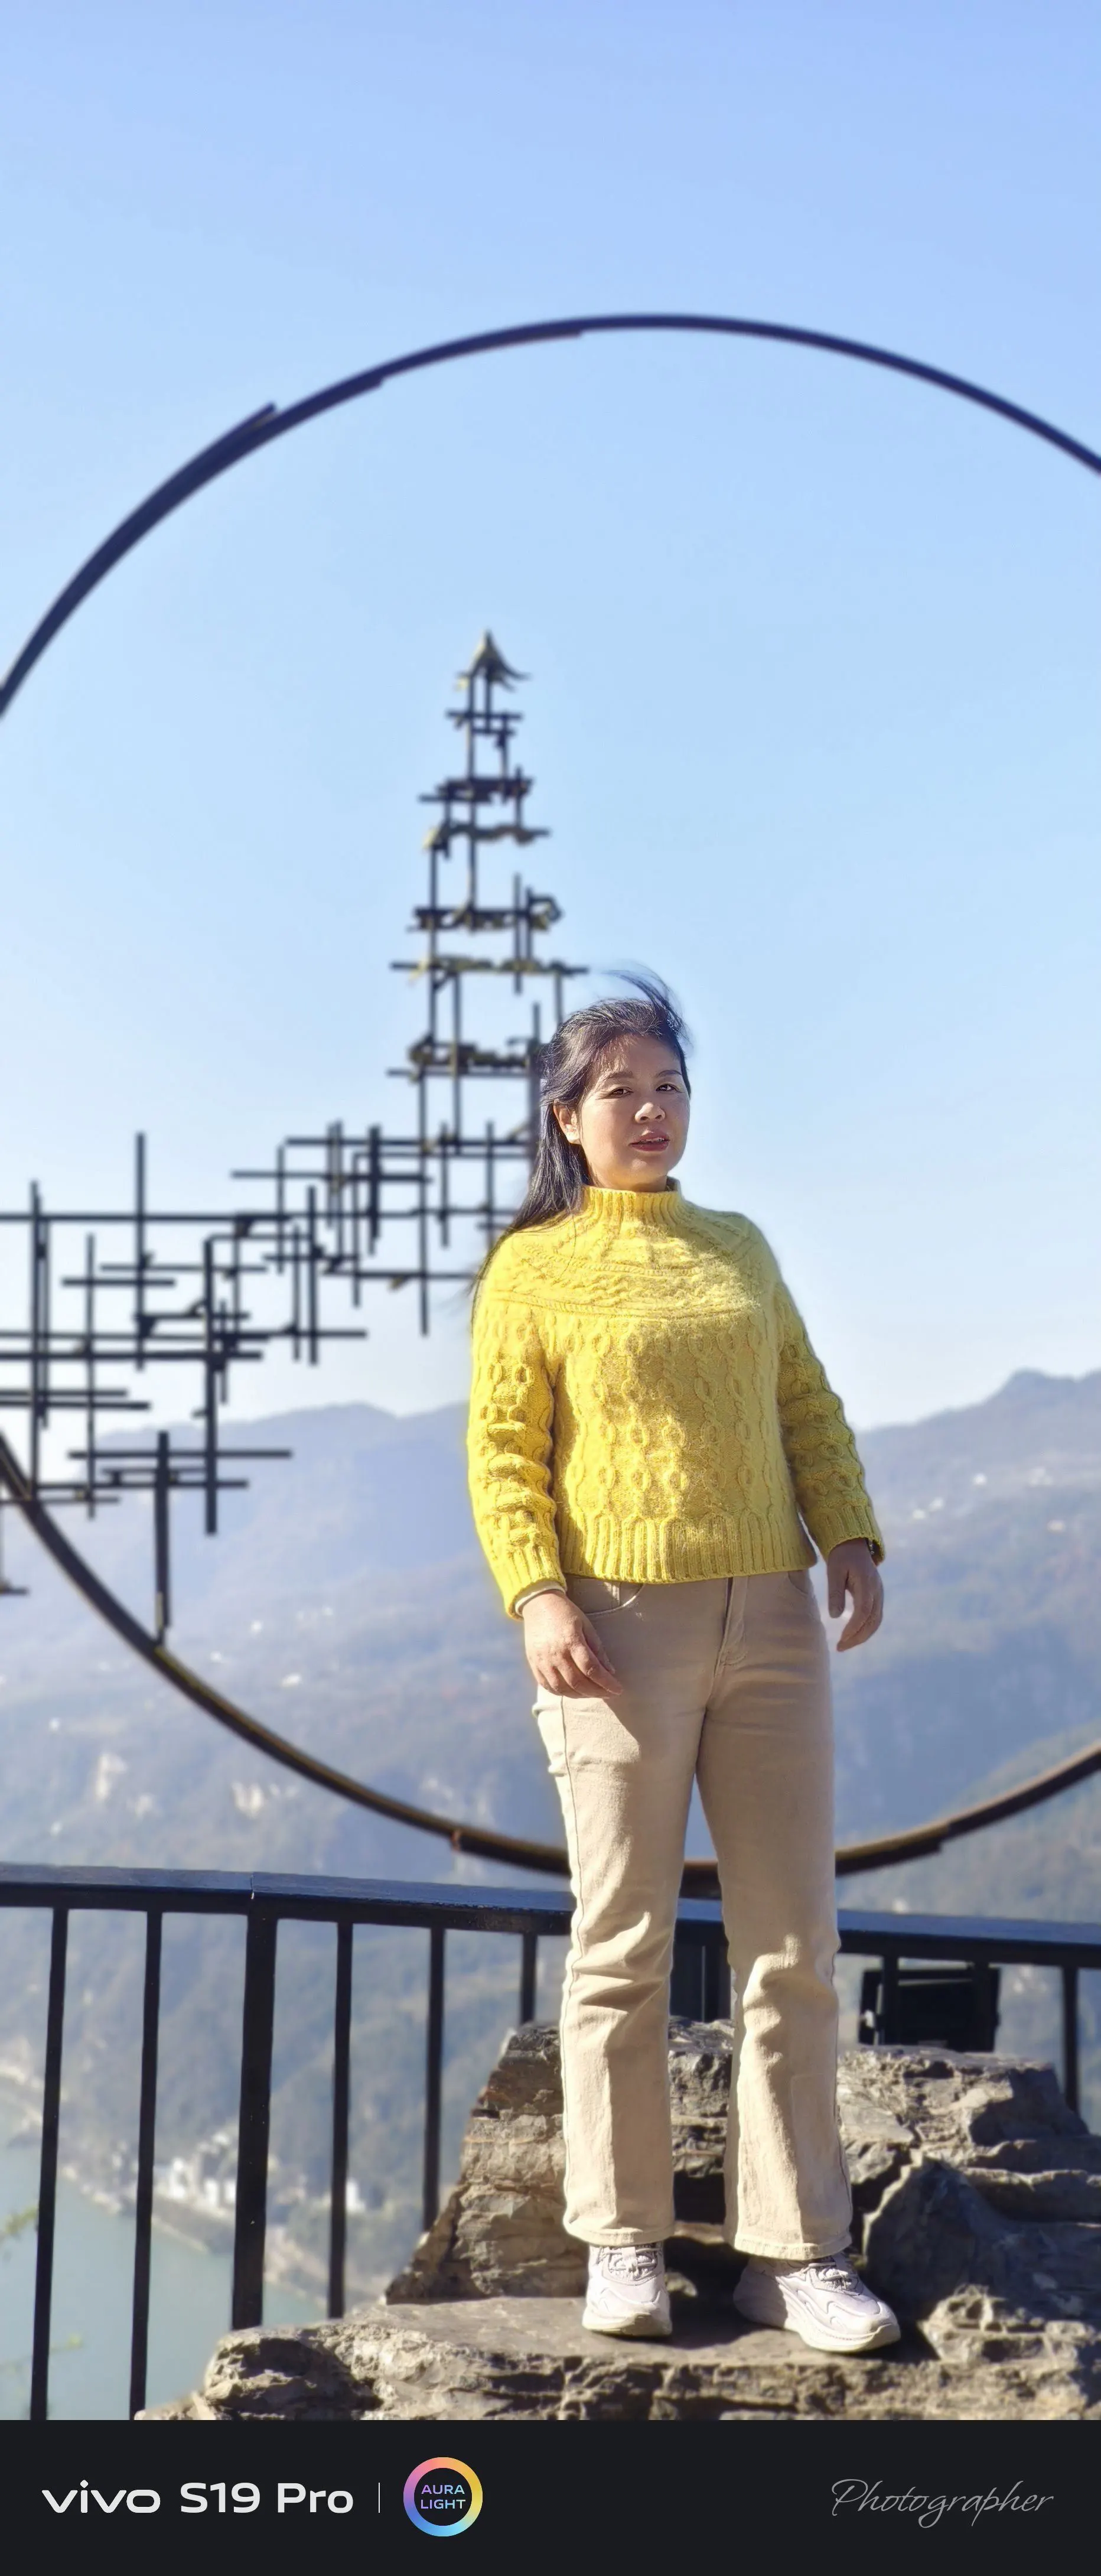
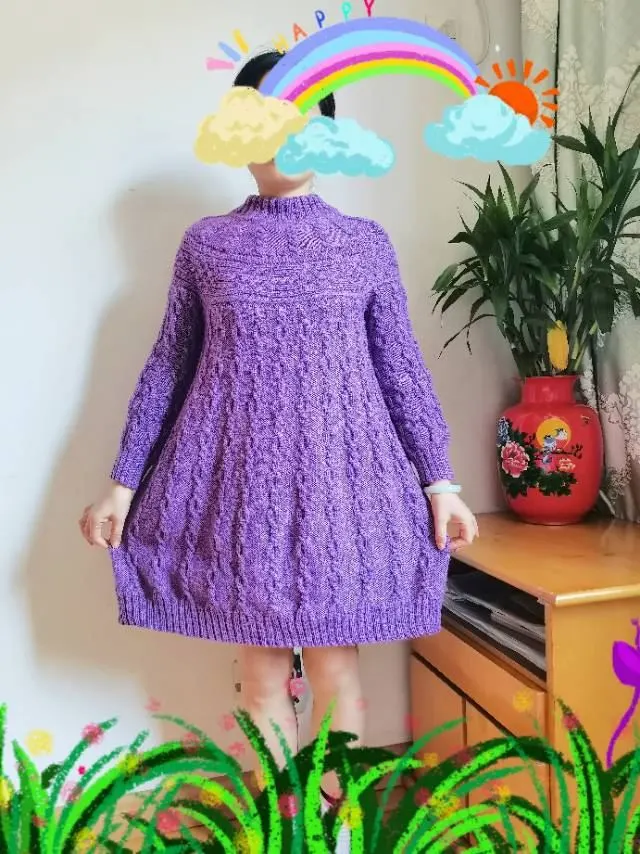
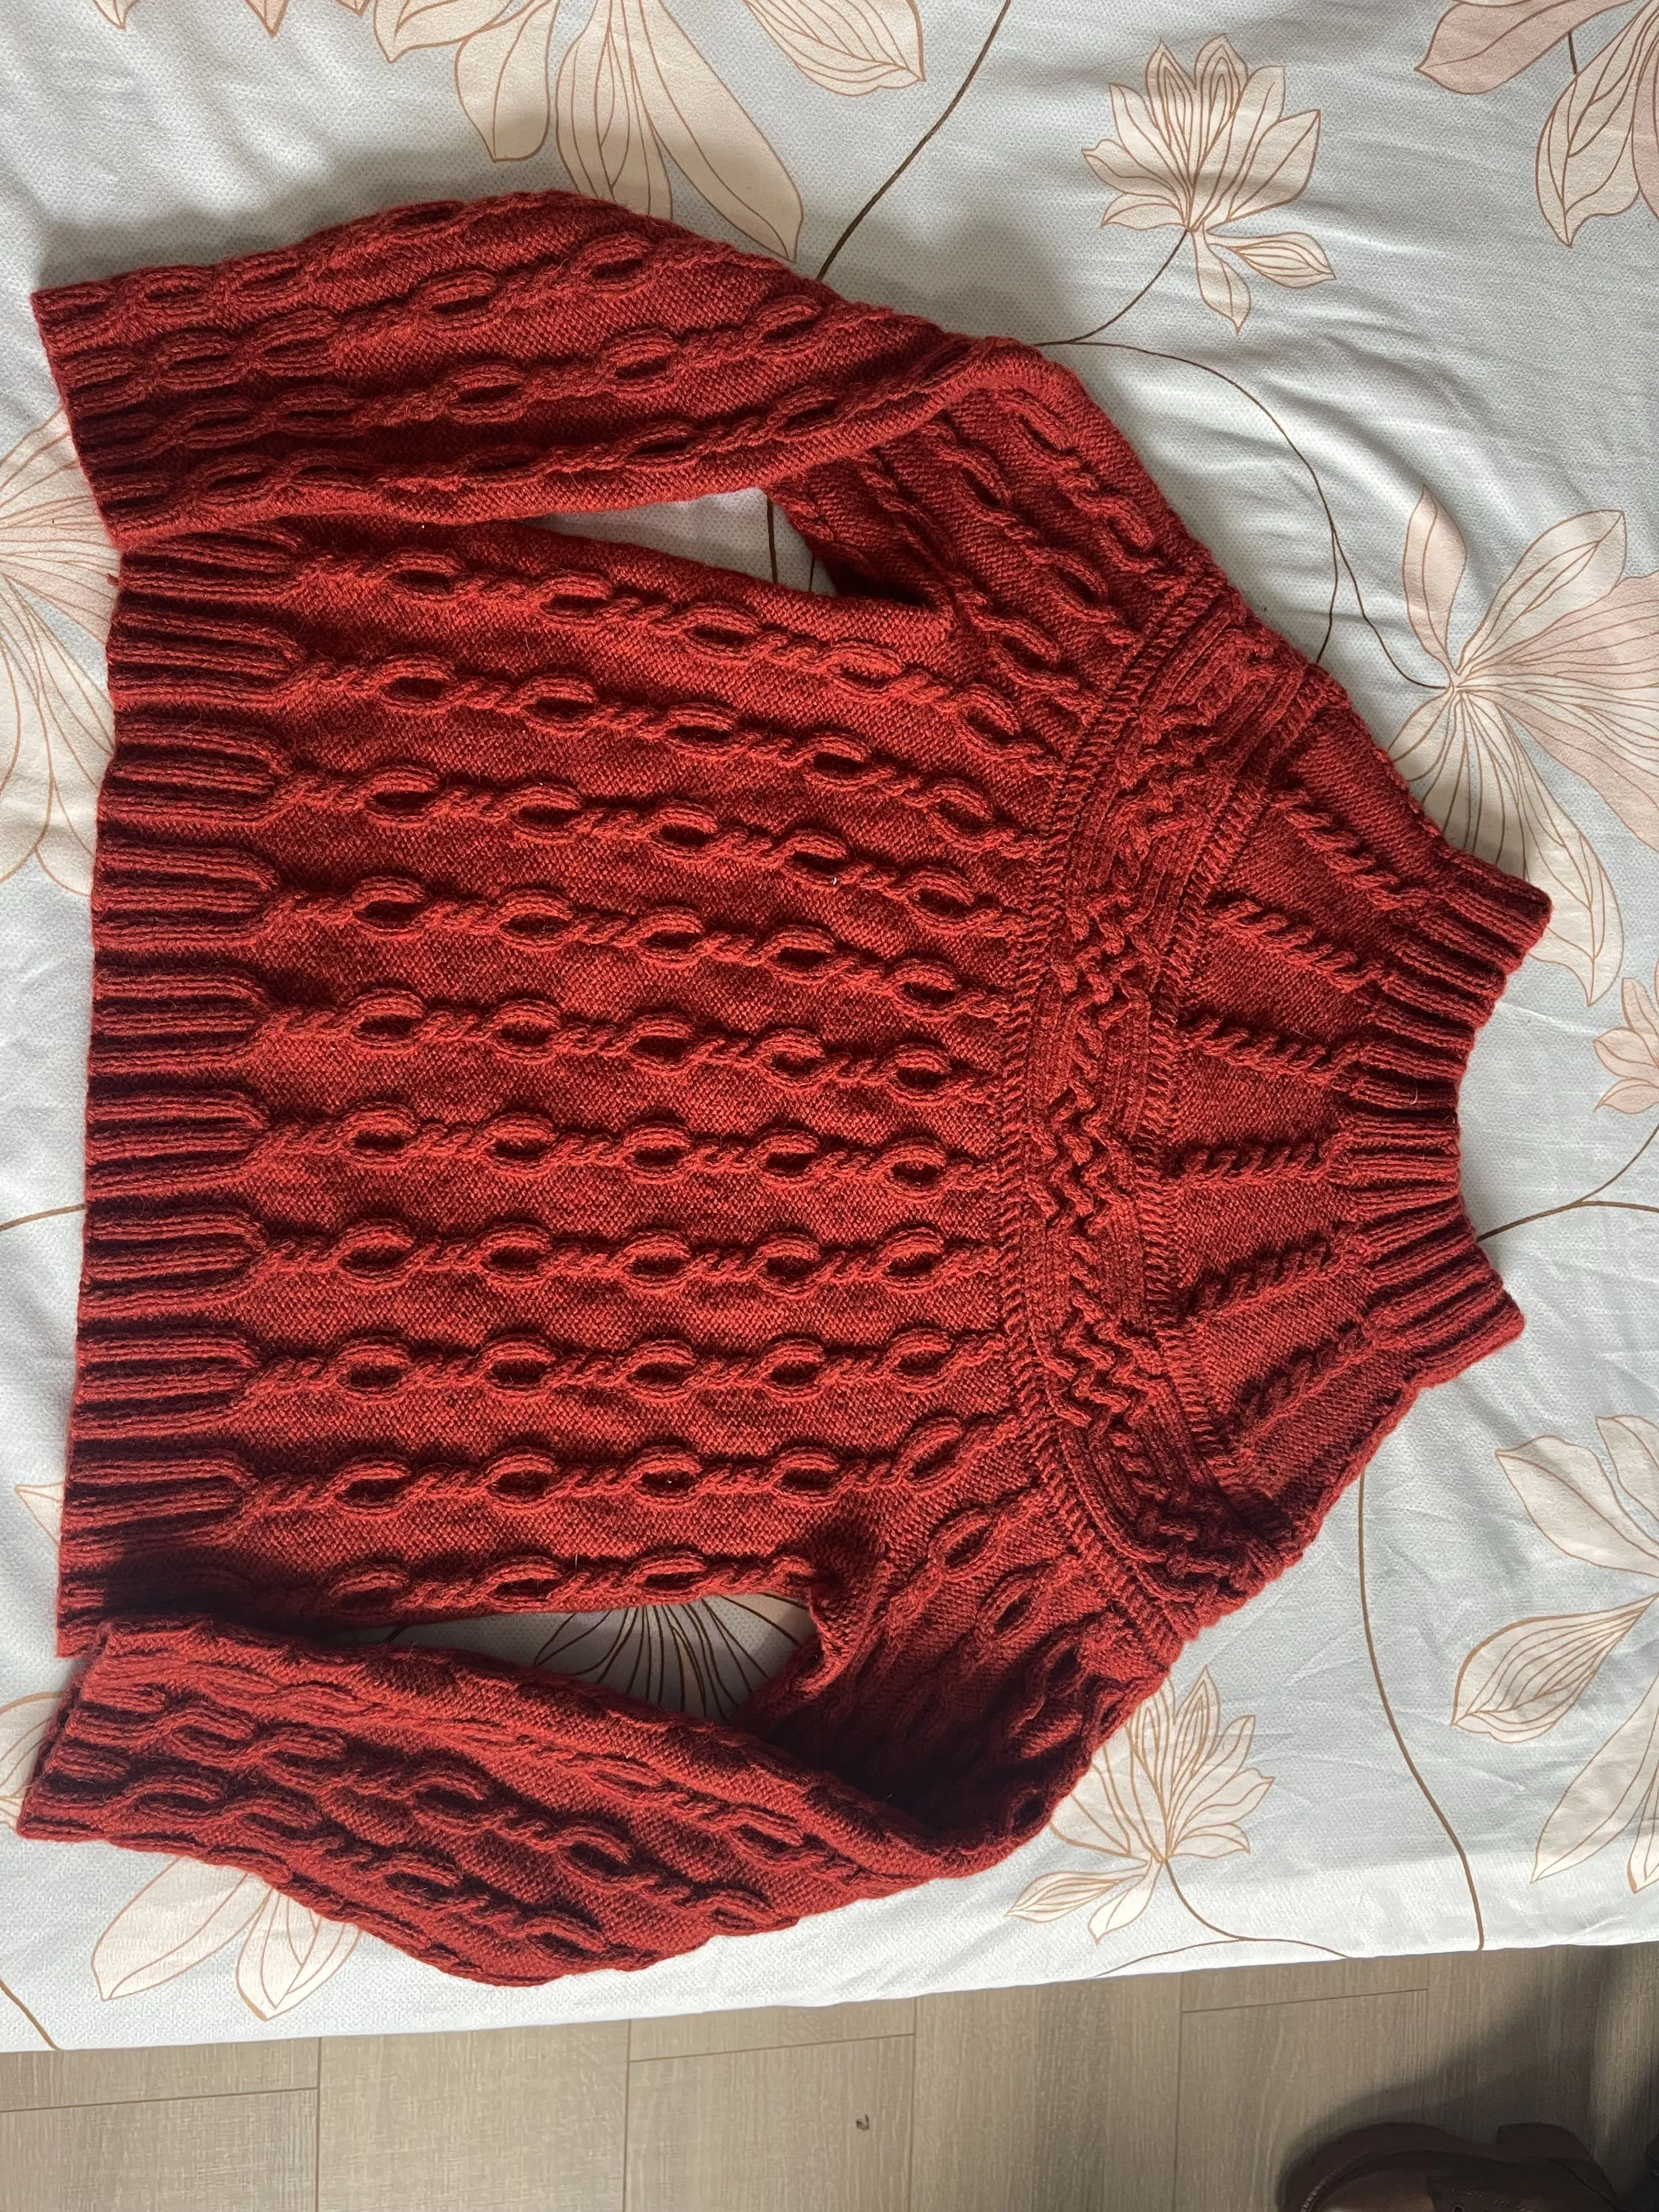
Made by the community