Home / Container
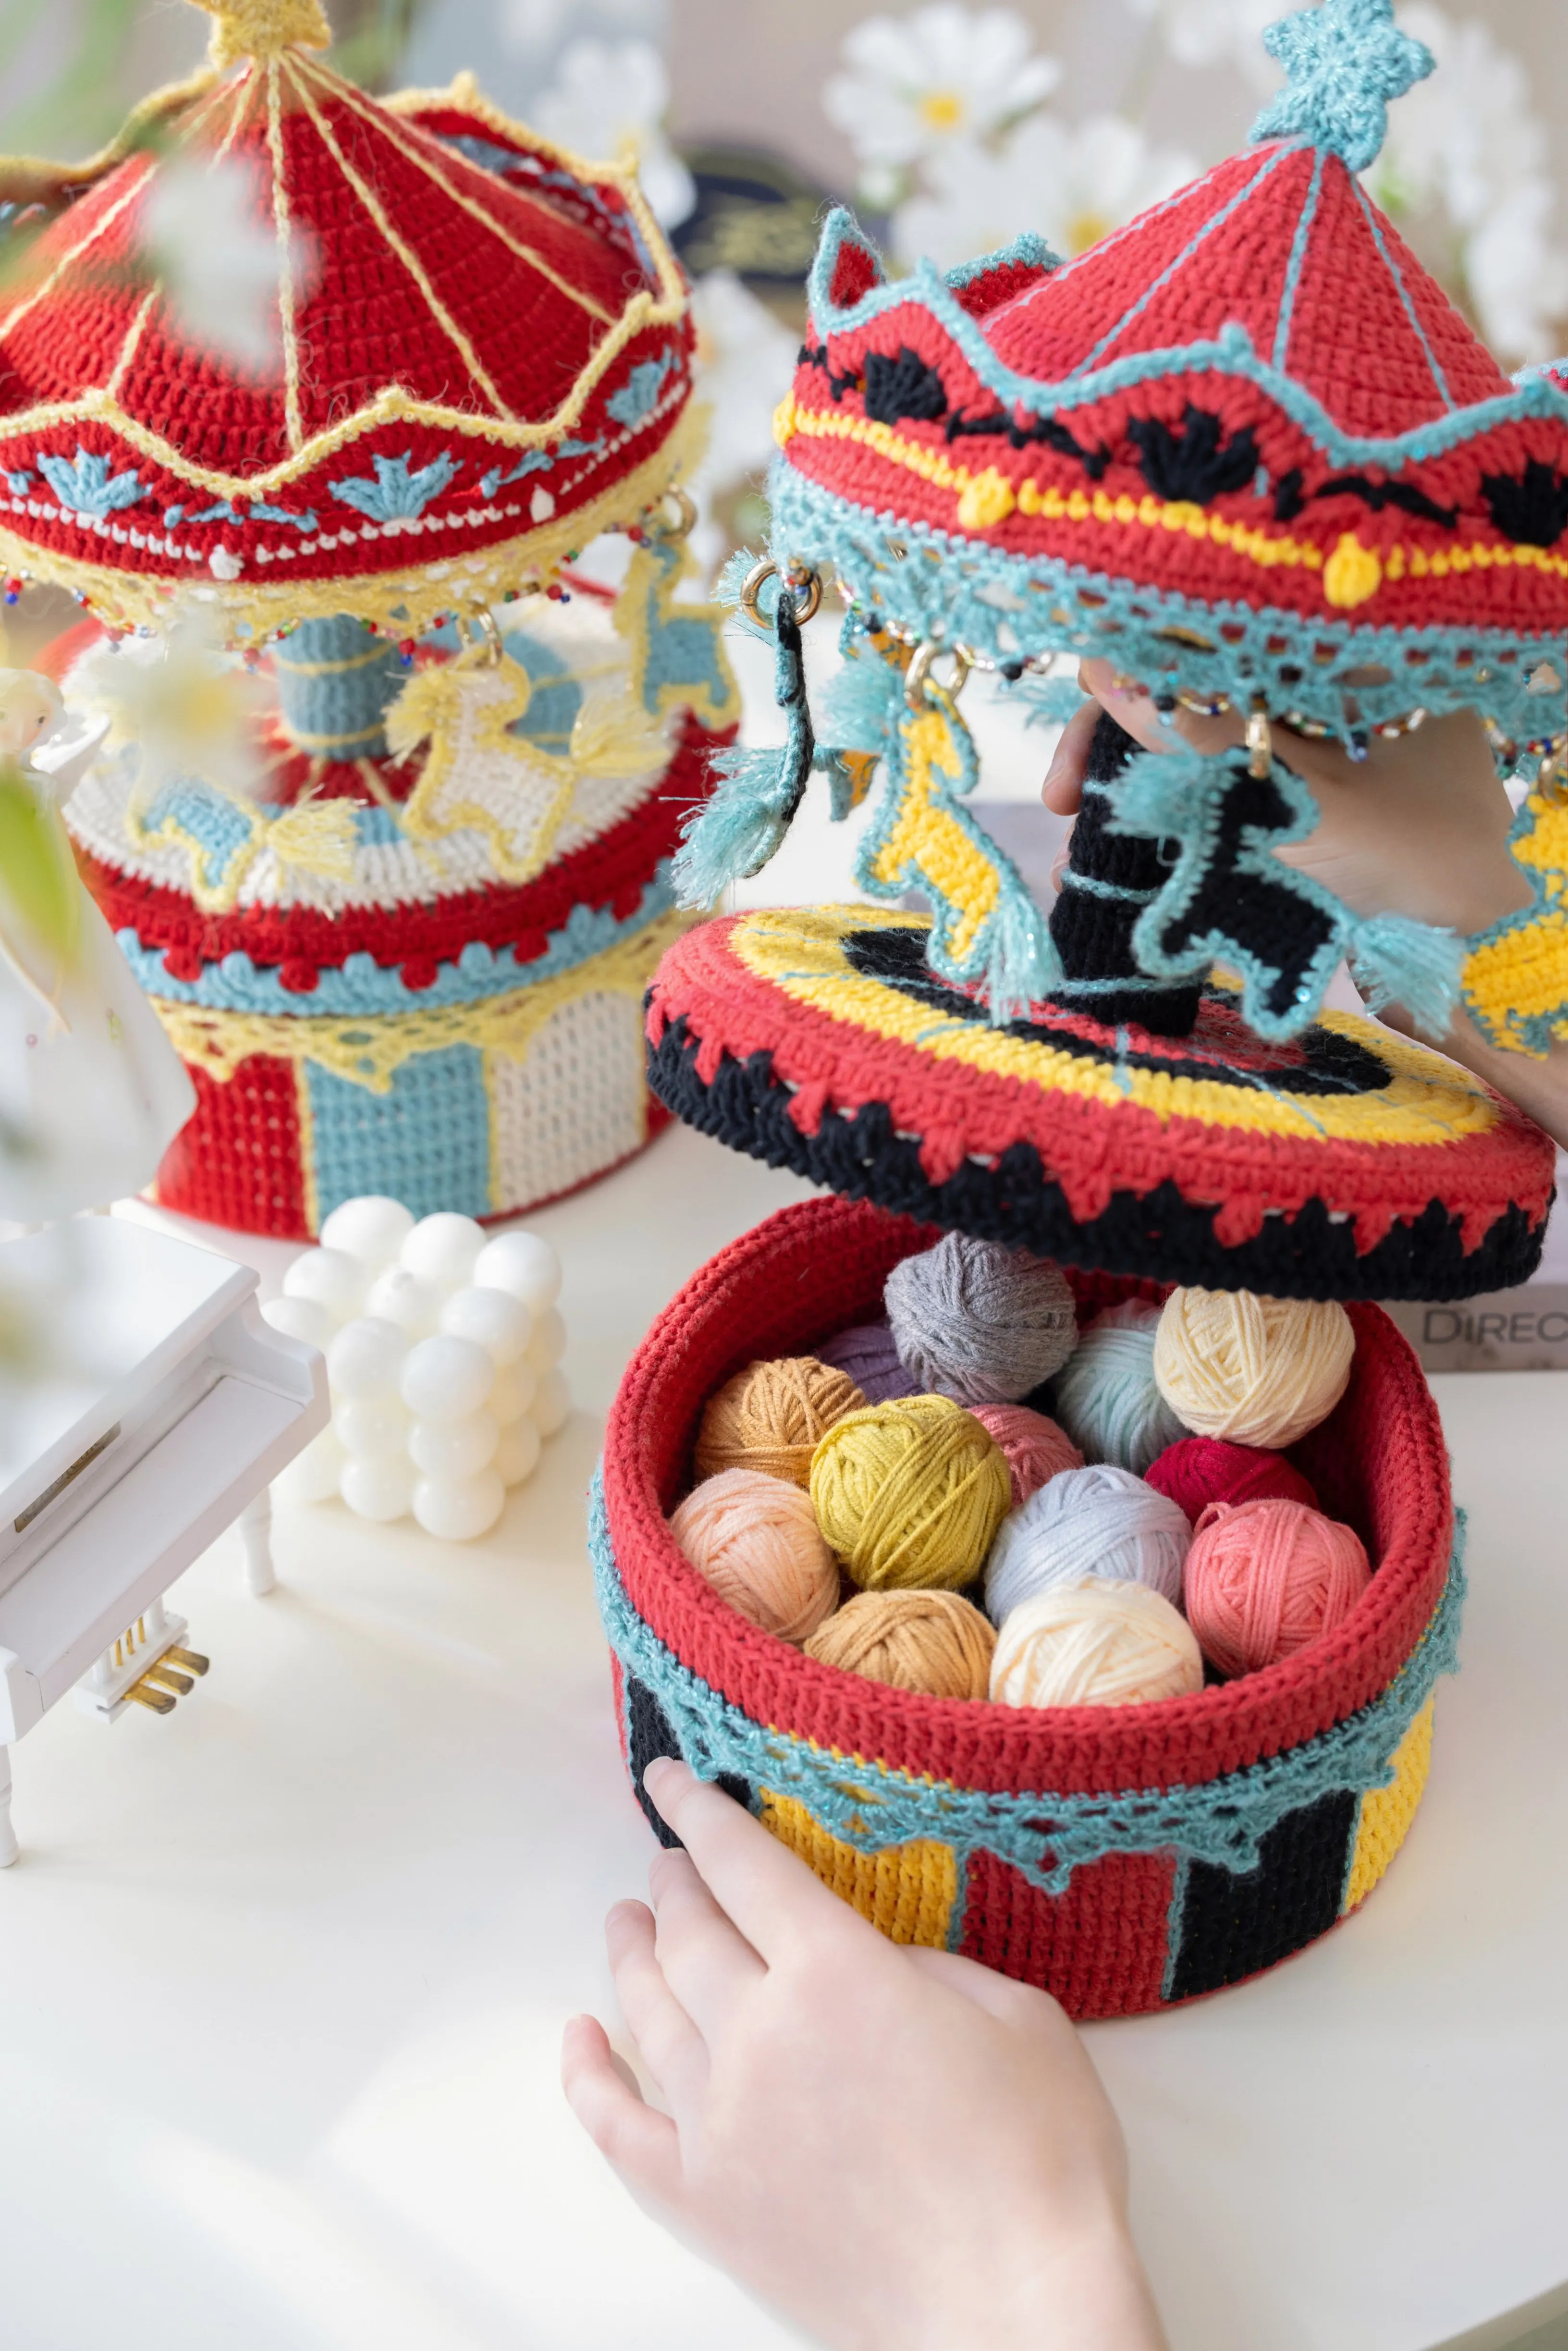
Christmas Fir Jewelry Tree
Project preview
See the finished project
Pattern format
Instructions
| Style | Yarn | Color |
|---|---|---|
| Christmas Fir Jewelry Tree | 4-Ply Combed Cotton & Acrylic Fibre Hand Knitting Yarn | 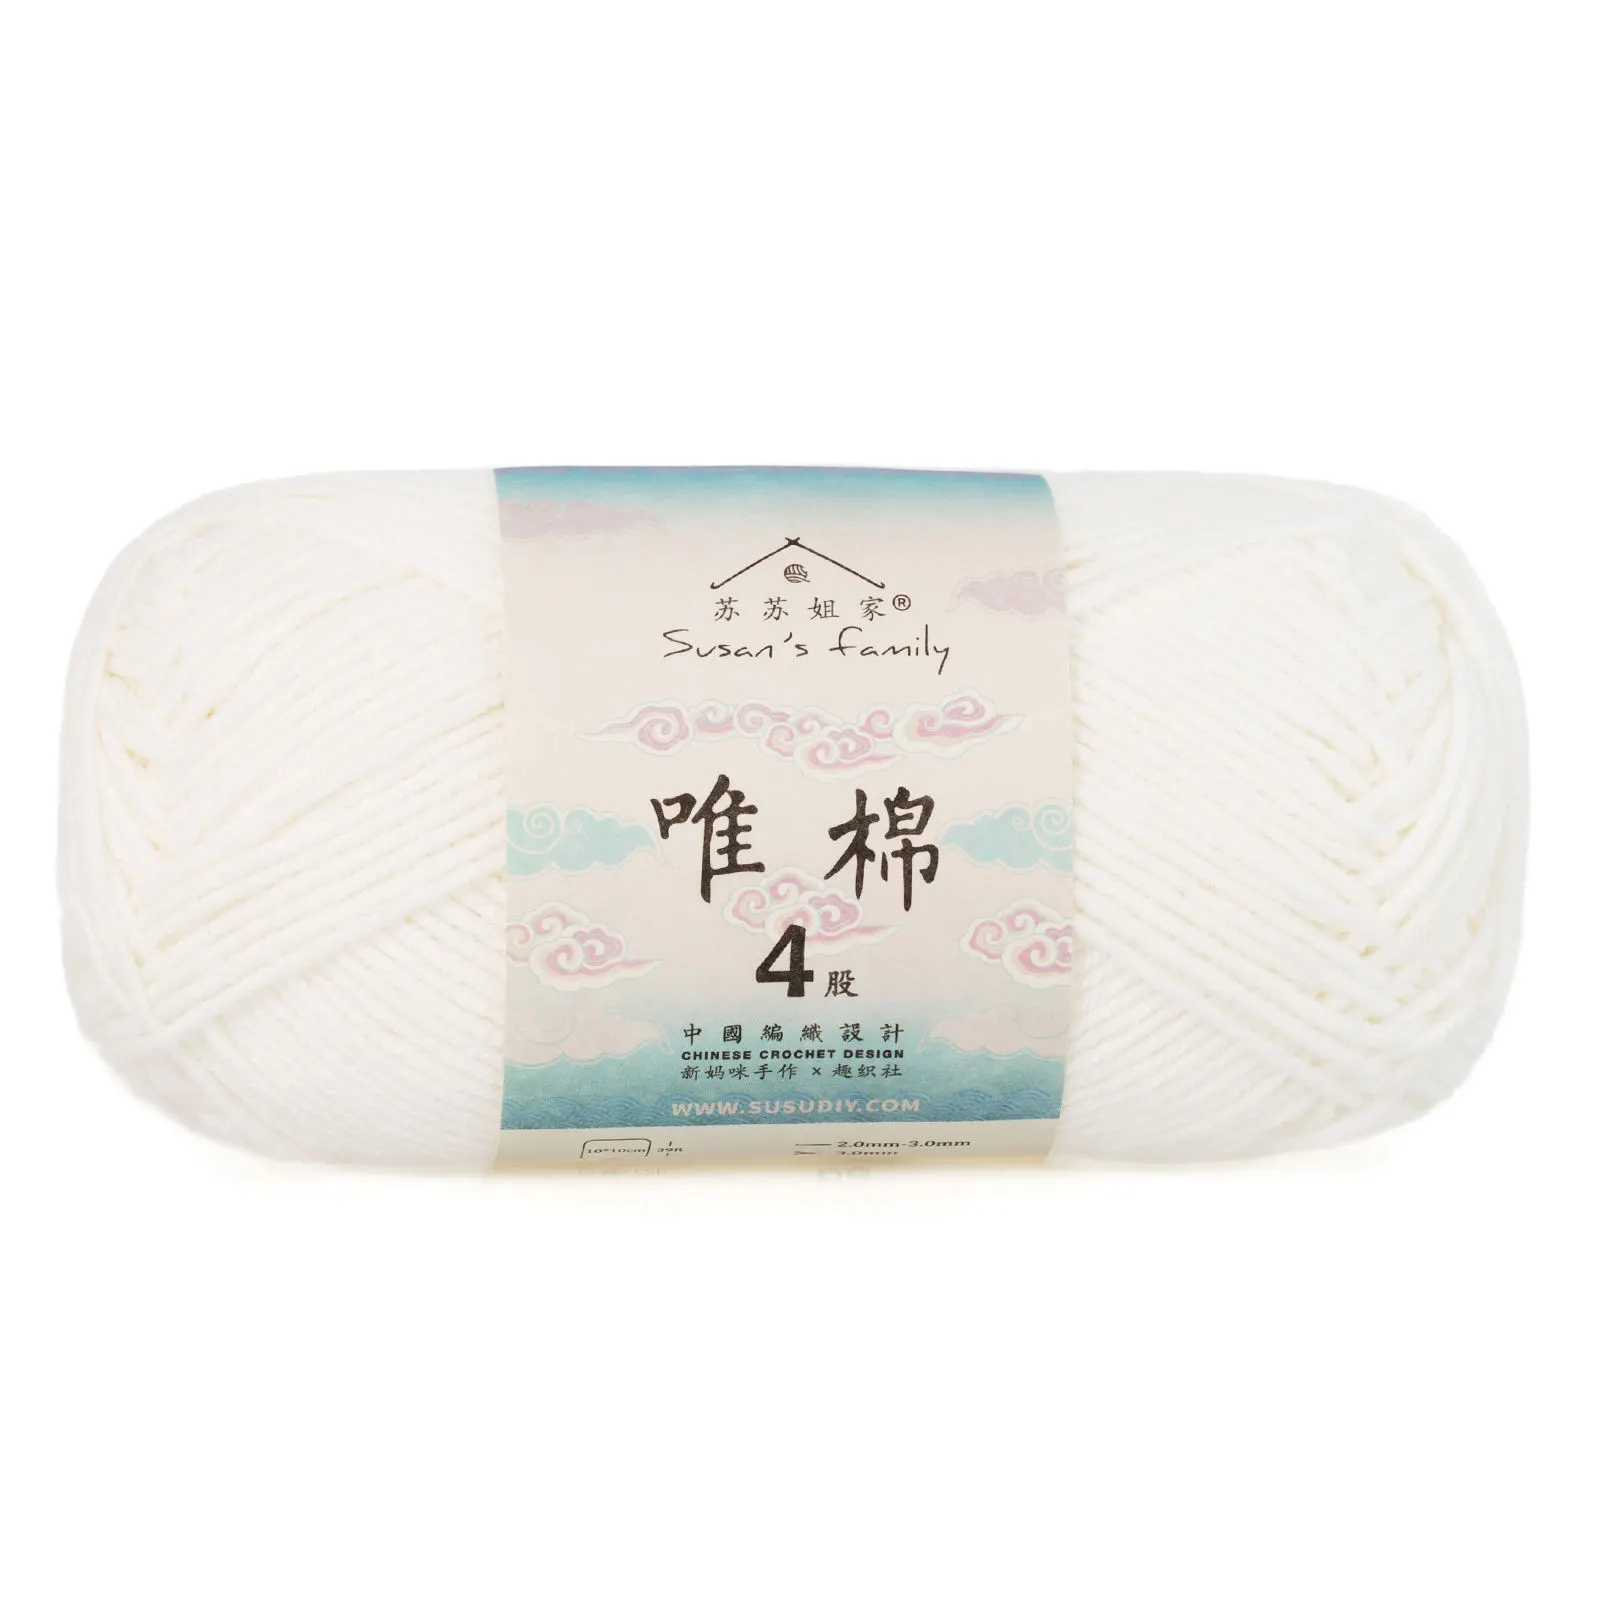 06#Bright White x 1 06#Bright White x 1 09#Aspen Gold x 1 09#Aspen Gold x 1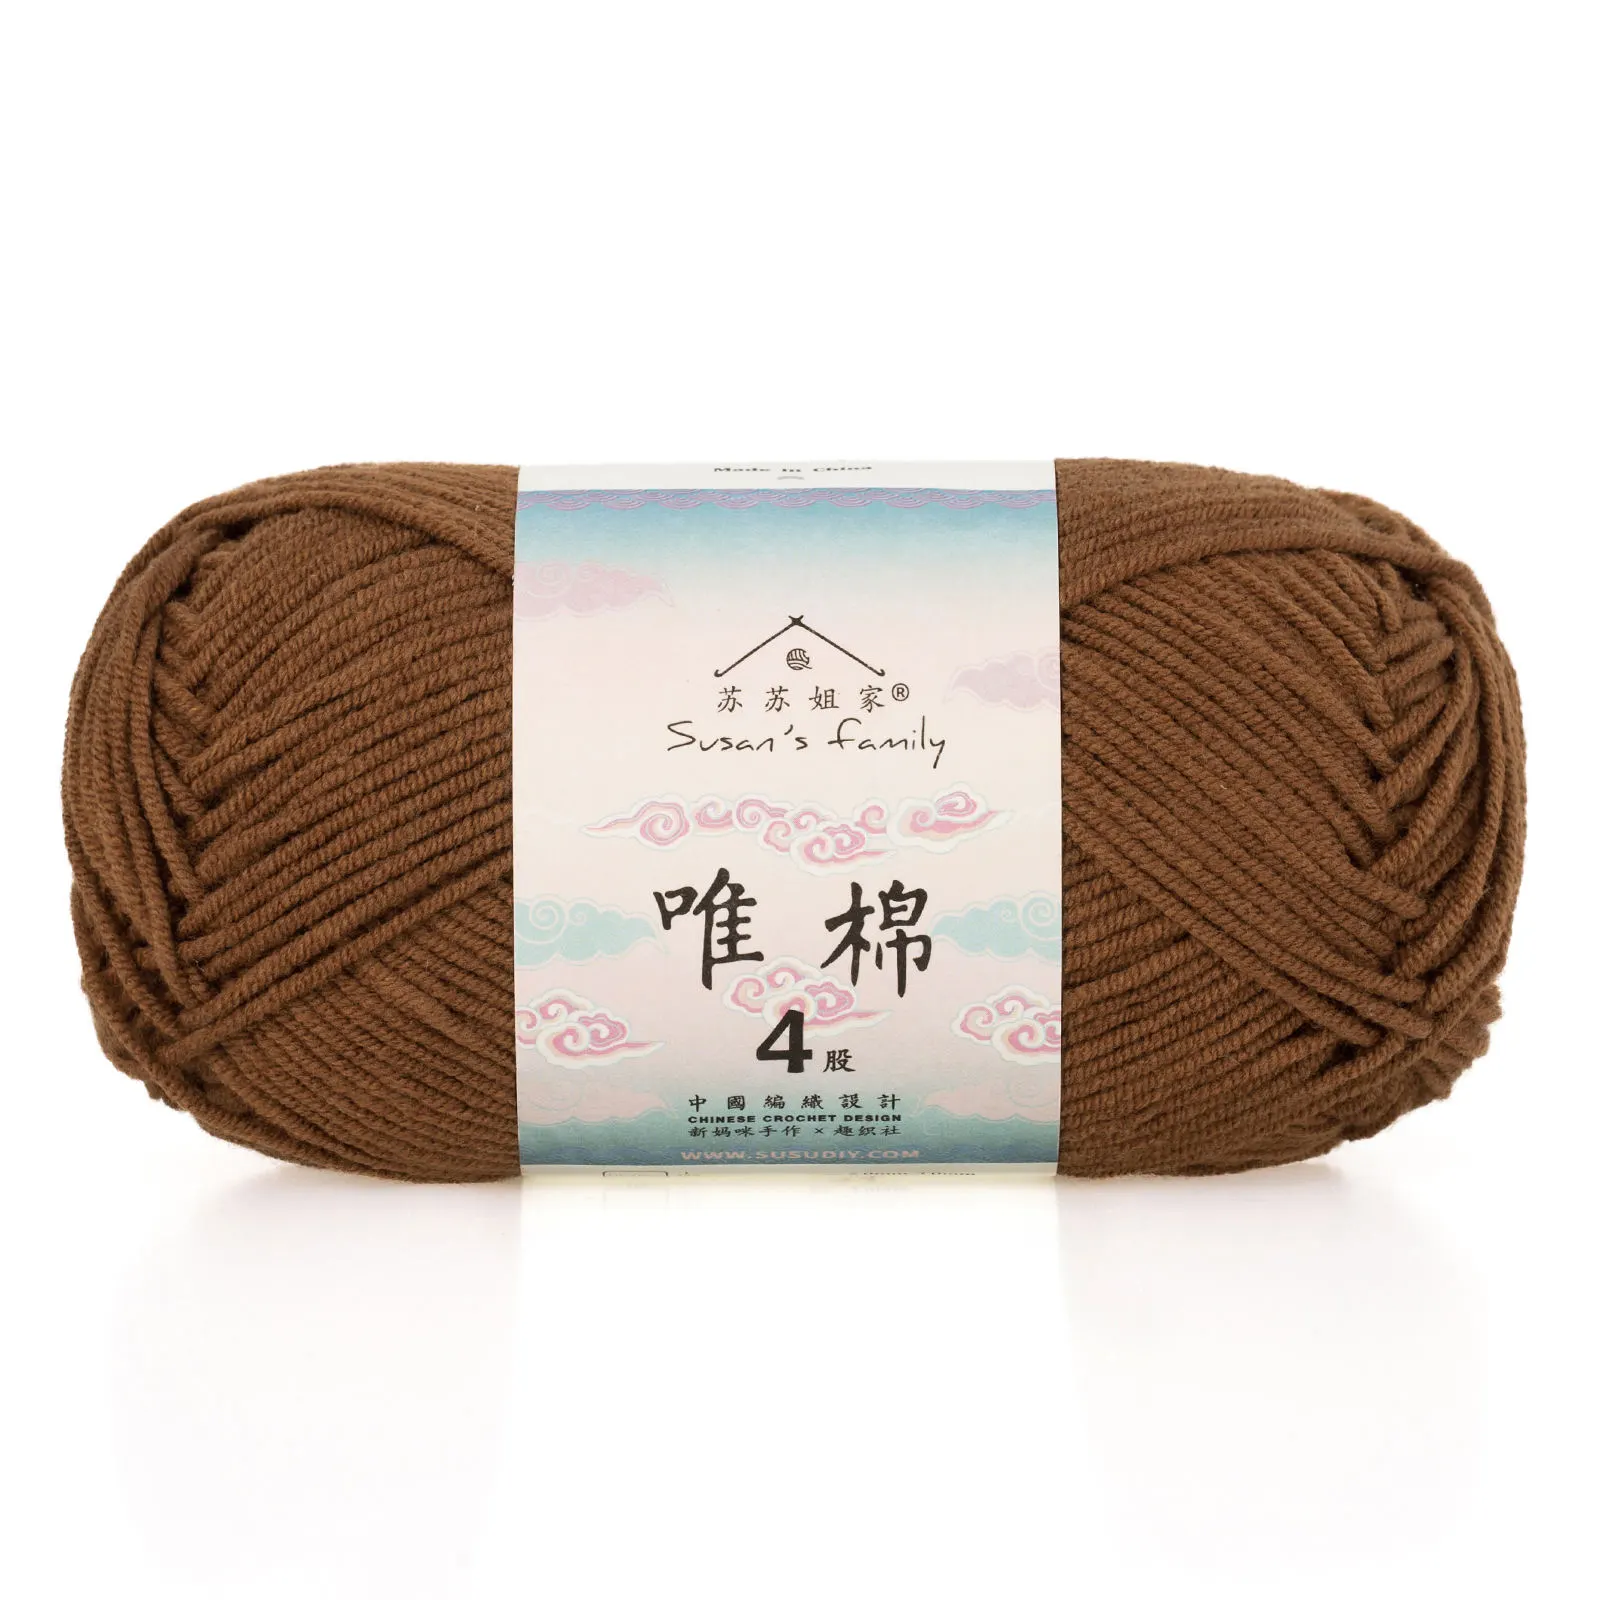 34#Toffee x 2 34#Toffee x 2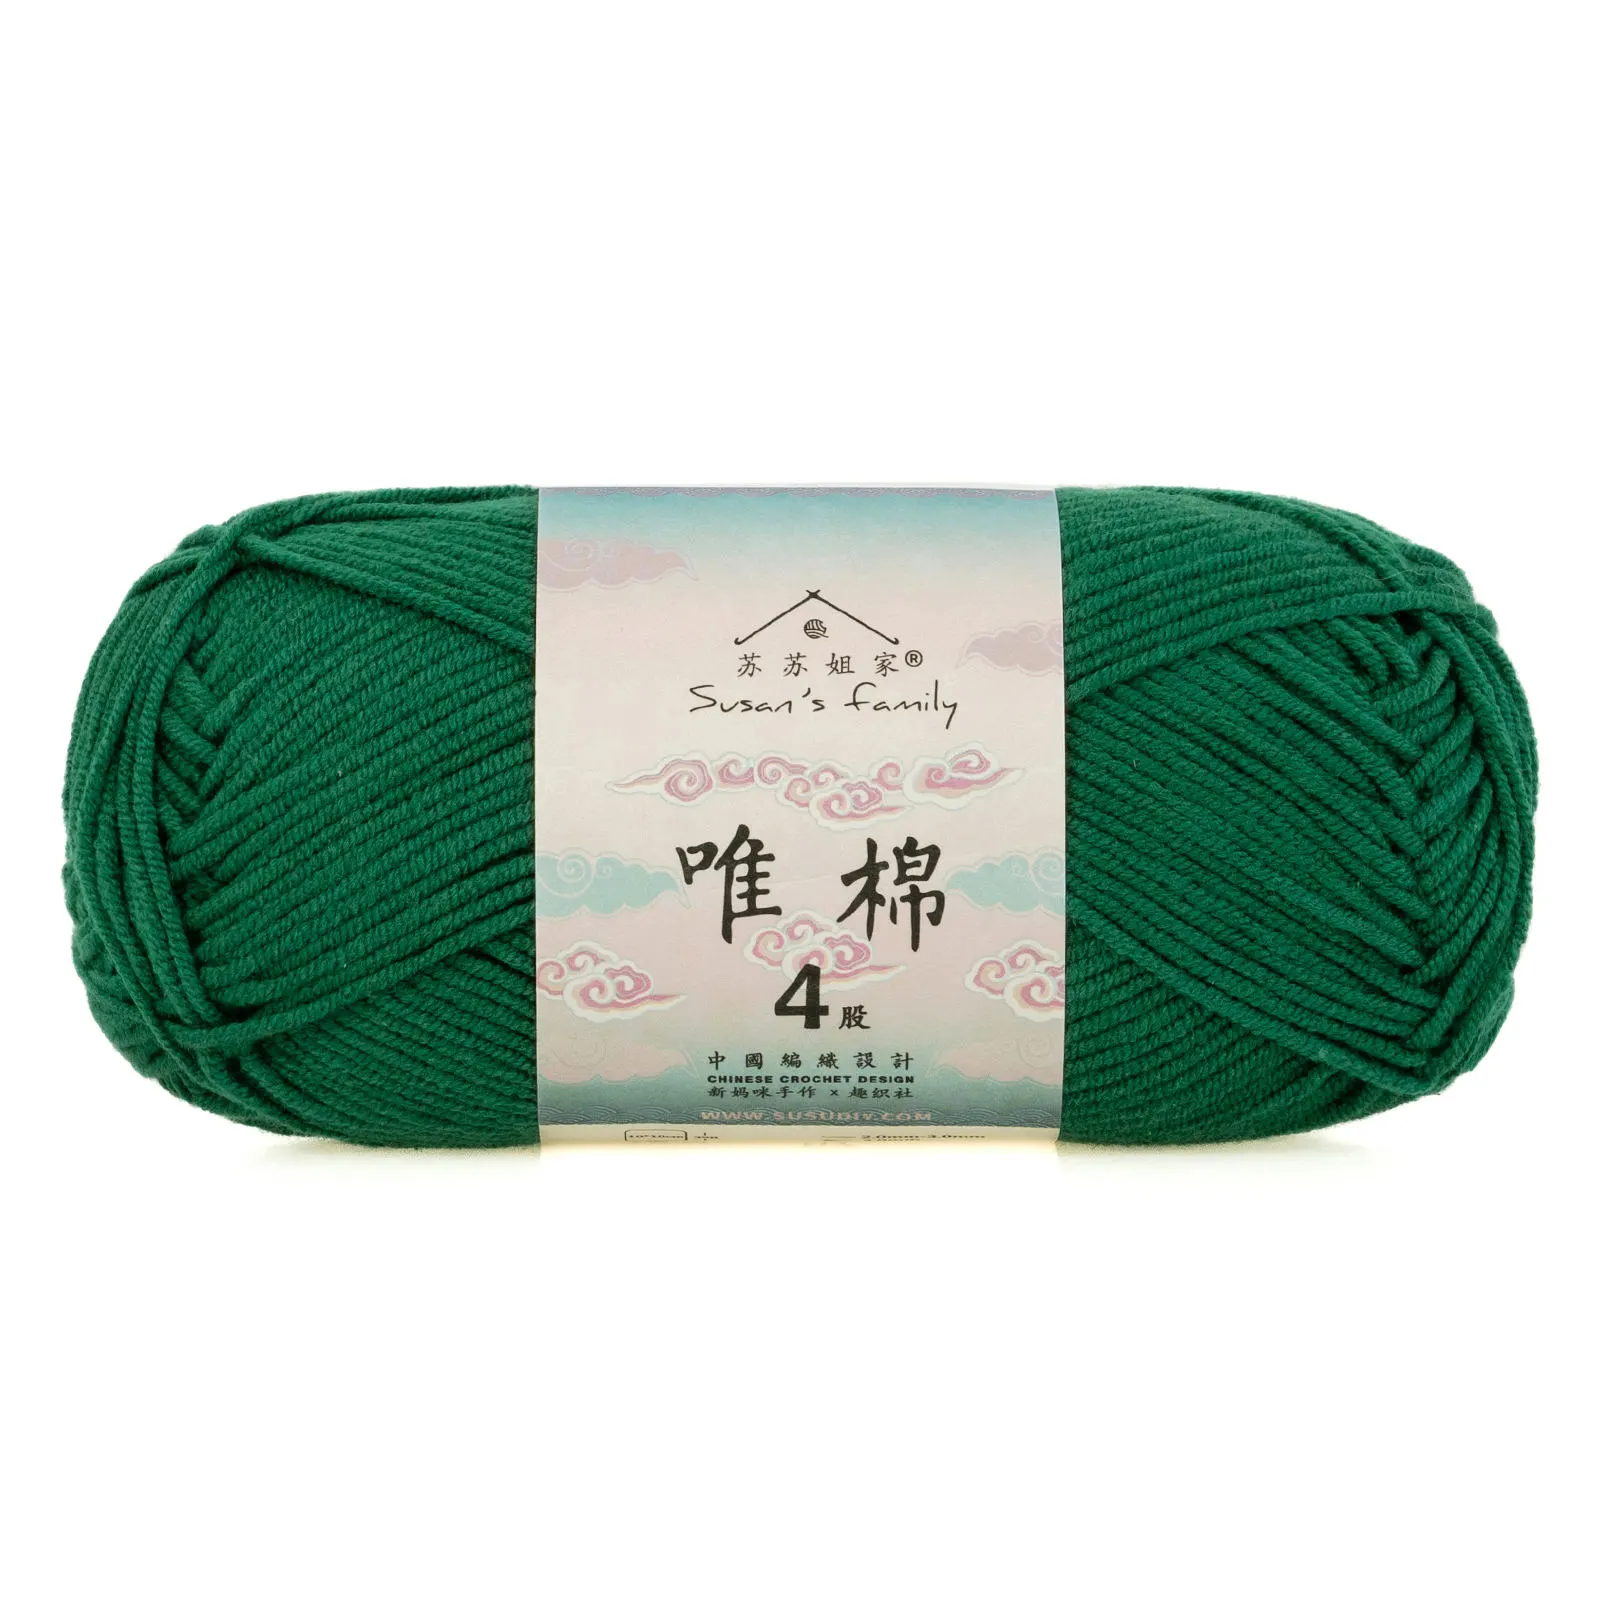 41#Foliage Green x 2 41#Foliage Green x 2 51#High Risk Red x 1 51#High Risk Red x 1 |
| Golden thread | 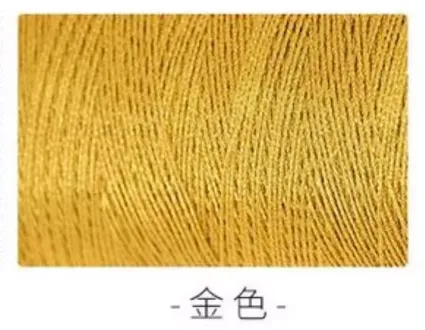 Gold x 1 Gold x 1 |
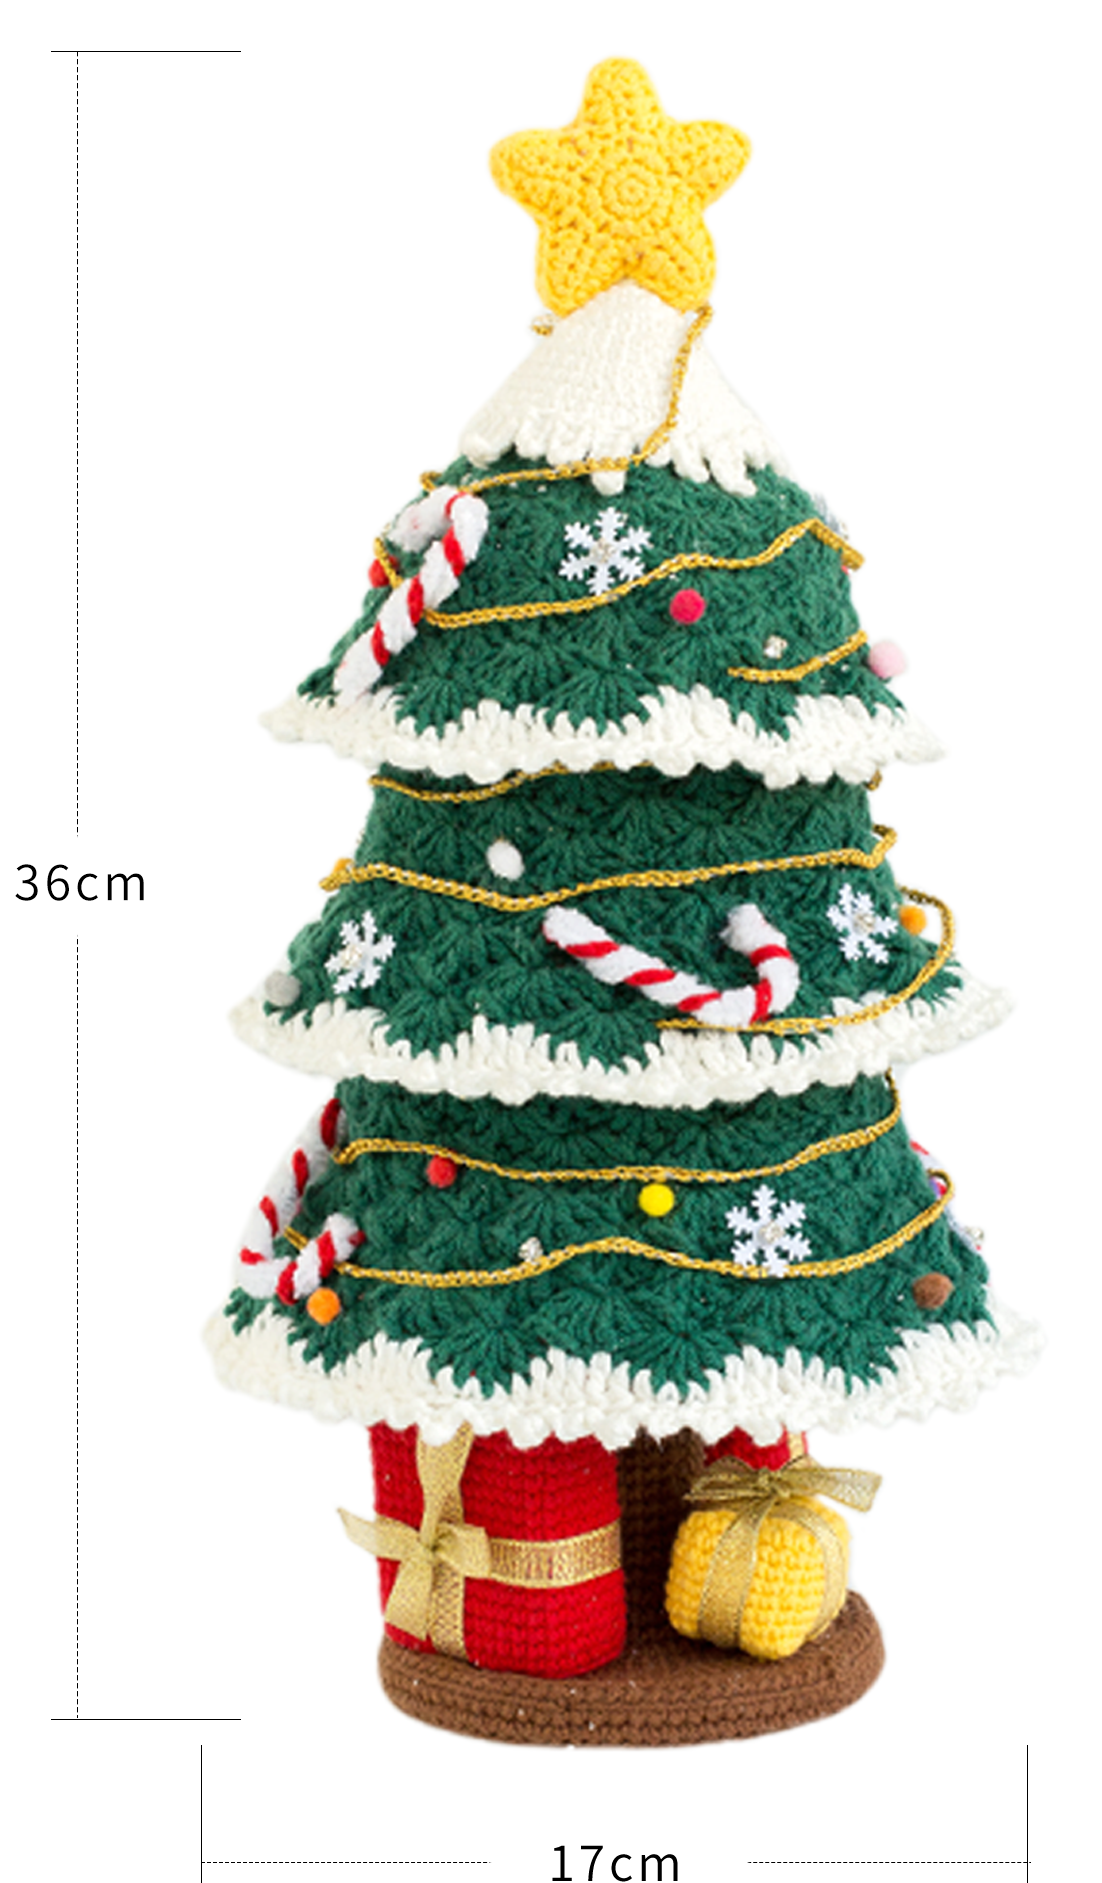
The handcrafted measurements may have an error of 1 to 2 cm.
Due to variations in individual tension, the size of the sample is for reference only.
Materials: 4-Ply Combed Cotton & Acrylic Fibre Hand Knitting Yarn
Hook: 5# hook or 2.00 mm crochet hook

ABBREVIATIONS
Chart Key







Note:
1. This pattern is making in Chinese crochet pattern terms, and the stitch name is written using American terminology. All measurements in charts are in cm.
2. Working in joined round
When crocheting in rounds without further guidance, working in closed rounds, start each round with a set number of beginning chains and close with a slip stitch. The beginning chain preceding a single crochet and the slip stitch used for joining rounds are not included in the total stitches.
Part1 Trunk, Leaves, and Lights
Step1 Section 1 A1and Section 2 of the trunkA2 01' 06''
Section 1 of the trunk is worked using the magic ring method, crocheting in rounds. Section 2 is joined and crocheted onto Section 1. Please refer to the video demonstration for details.
| Trunk Section 1 (34#Toffee) | ||
| R | Stitch Instructions | Total Stitches |
| R1 | MR, 6X | 6 |
| R2 | 6V | 12 |
| R3 | (X, V)*6 | 18 |
| R4 | (X, V, X)*6 | 24 |
| R5 | (V, 3X)*6 | 30 |
| R6 | (2X, V, 2X)*6 | 36 |
| R7 | (5X, V)*6 | 42 |
| R8 | (3X, V, 3X)*6 | 48 |
| R9 | (7X, V)*6 | 54 |
| R10 | (4X, V, 4X)*6 | 60 |
| R11 | (9X, V)*6 | 66 |
| R12 | BLO, even 66X | |
| R13-R19 | even 66X | |
| R20 | even 66S | |
| R21 | work on R19 BLO: even 66X | |
| R22-R27 | even 66X | |
| Trunk Section 2 (34#Toffee) | ||
| R | Stitch Instructions | Total Stitches |
| R1 | In Section 1, R11, work in back FLO: 66X | 66 |
| R2-R31 | even 66X | |
| After completion, separately work a round of slip stitches at the bottom of Section 1 and at the stitch position of the 14th round in Section 2. | ||
Step2 The first layer A3 and the second layer of the leafA4 28' 12''
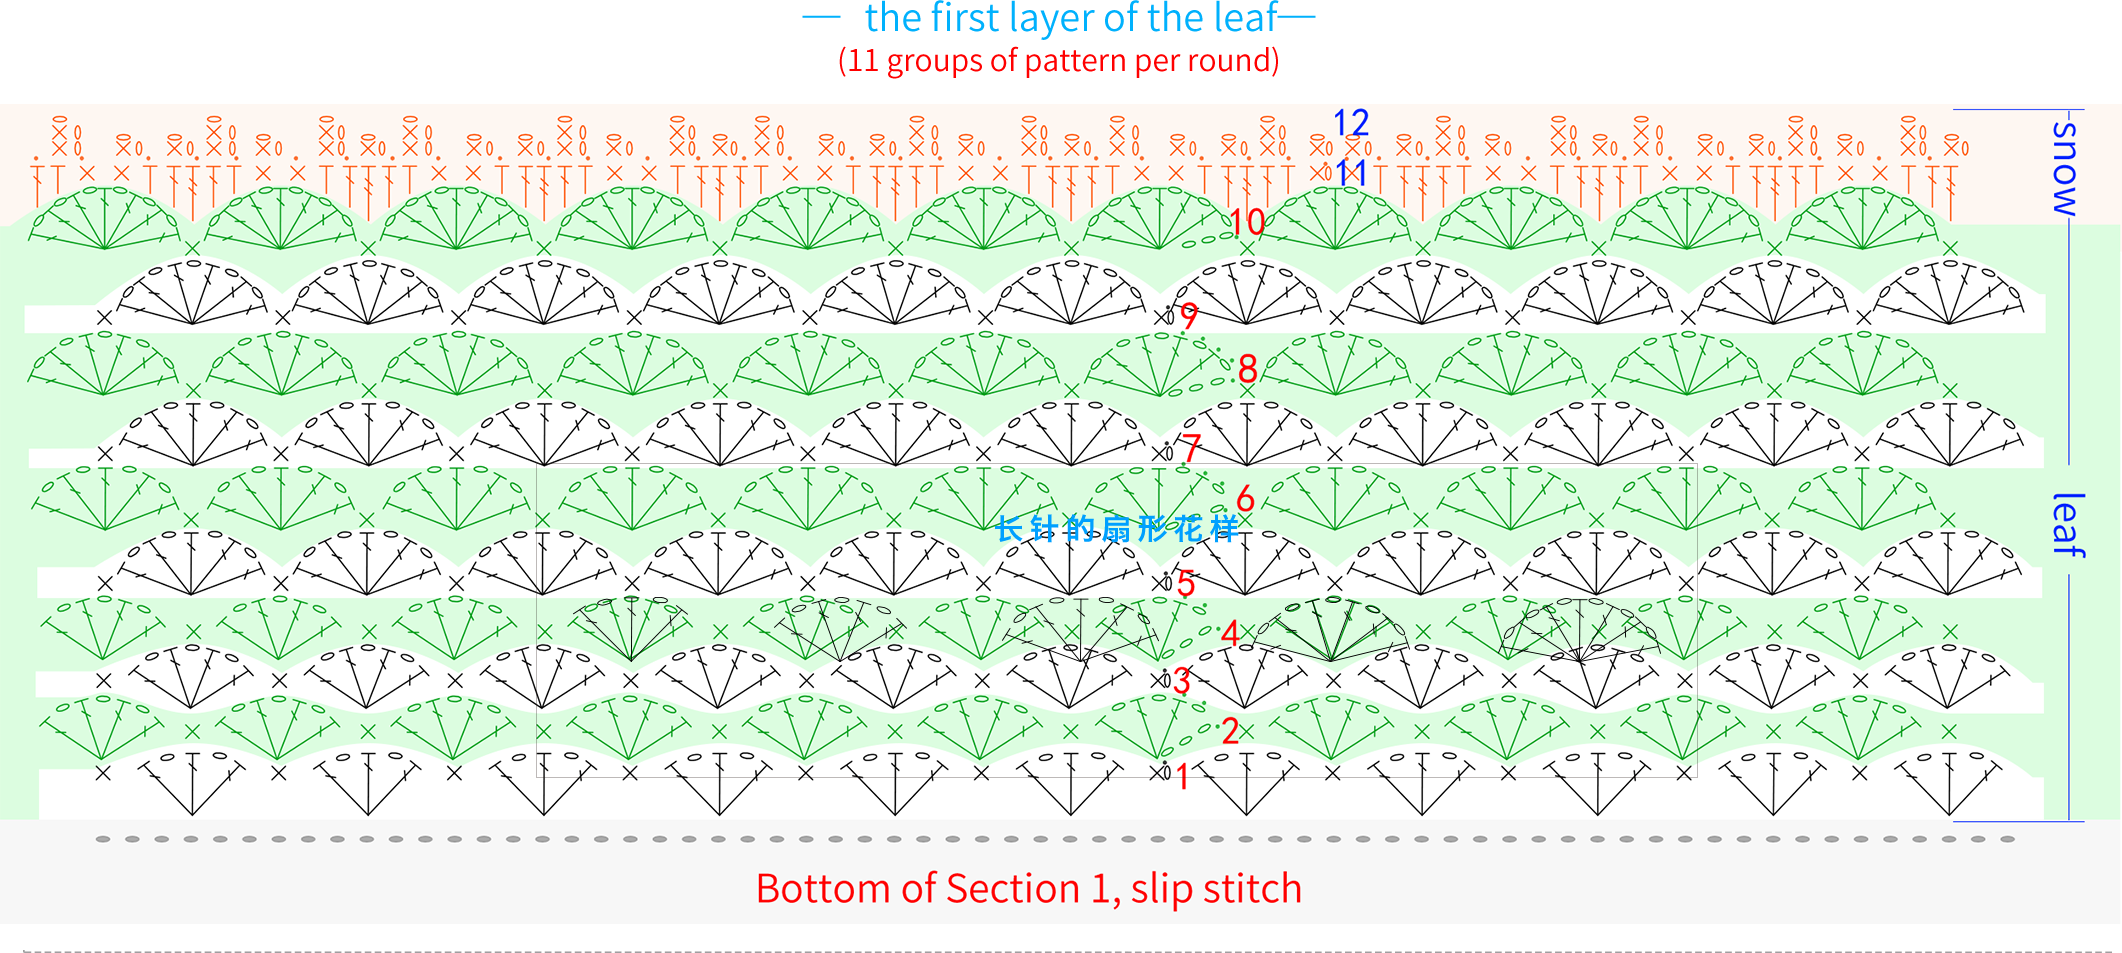
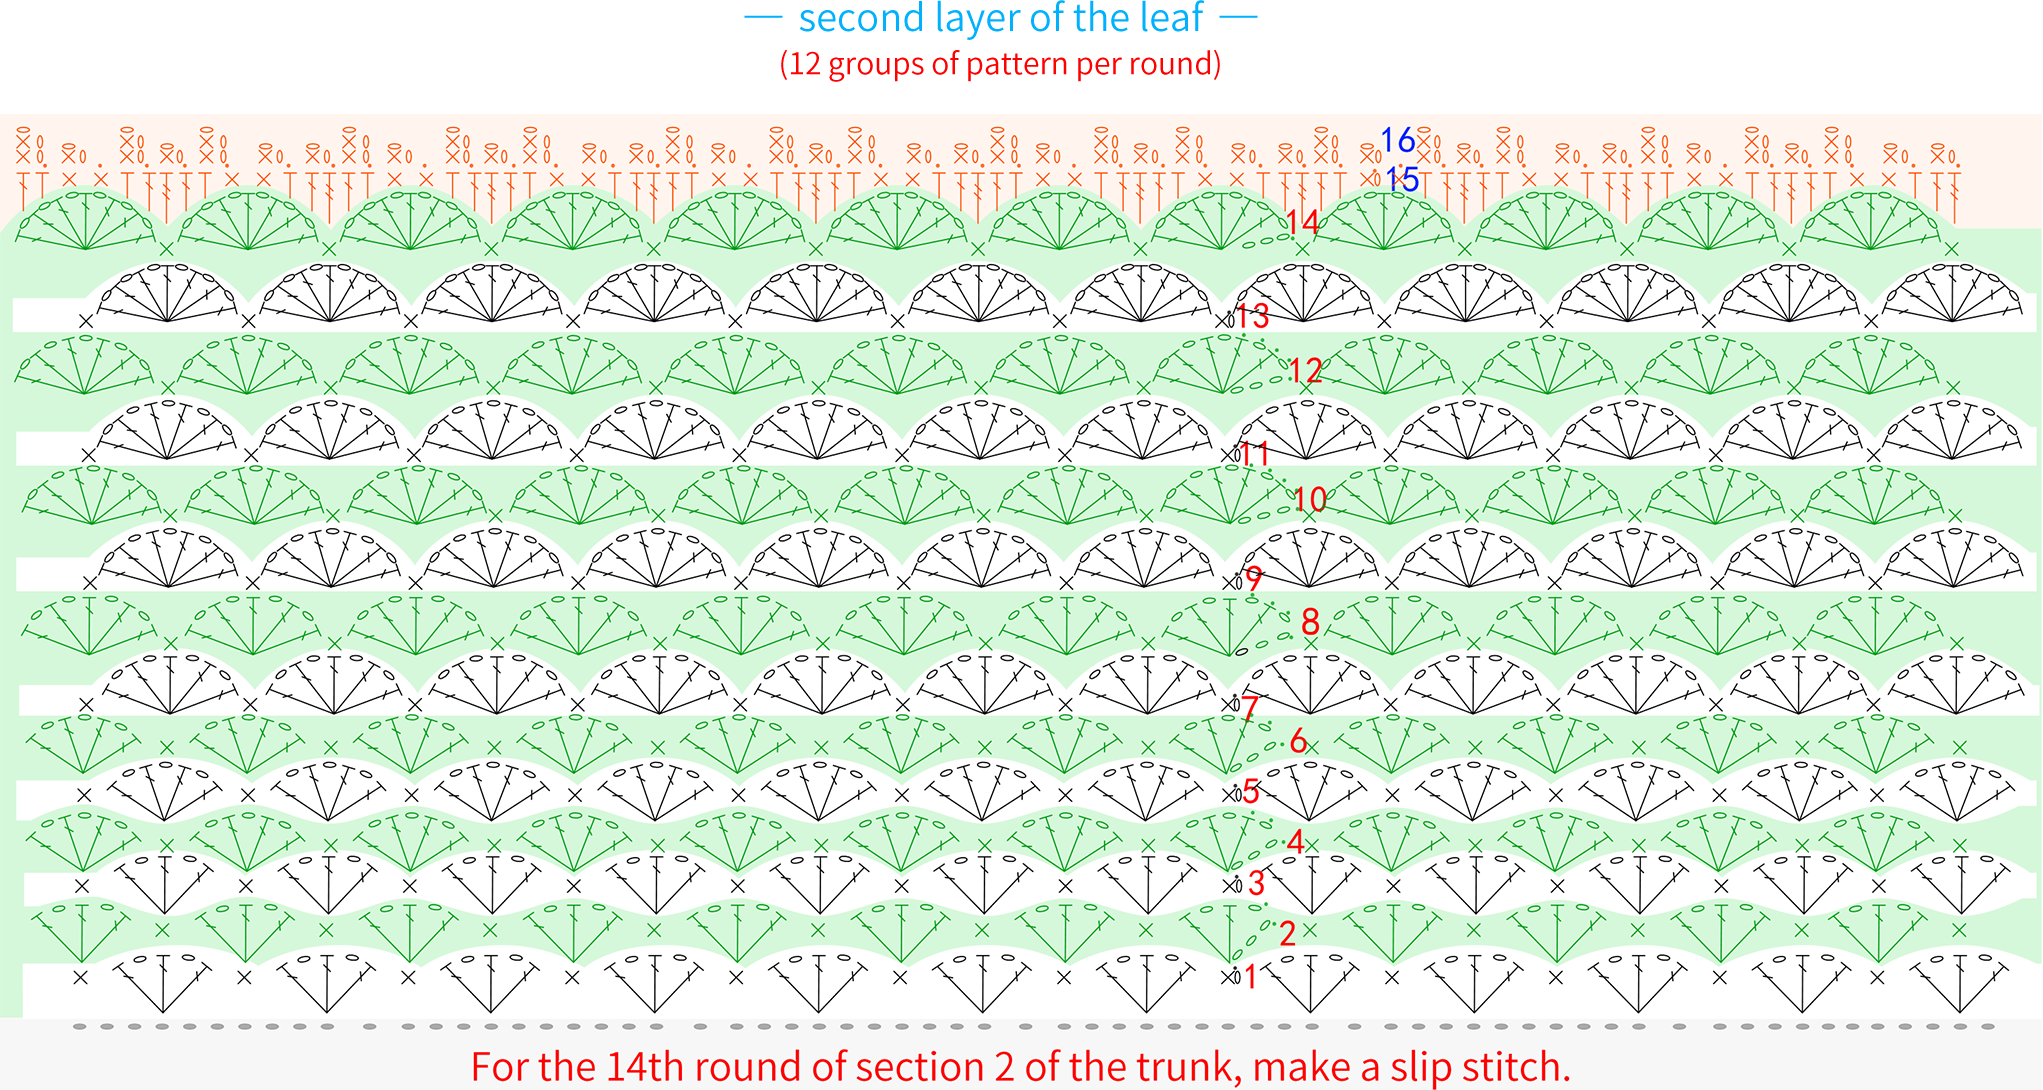
Note: The fan pattern may vary in each round, refer to the chart for specific crocheting.
Step3 Remaining trunk A5Section 3 A6Section 4 A7 Section 5 A8Assemble the trunk 47' 50''
Section 3 of the trunk starts with a magic ring method, then crocheting in rounds; Section 4 joins the yarn at the starting point of Section 3 and continues to crochet; Section 5 starts with a magic ring and crochets in rounds. After everything is completed, assemble the support frame, sew together all sections, and stuff. Please refer to the video demonstration for specifics.
| Trunk Section 3 (34#Toffee) | ||
| R | Stitch Instructions | Total Stitches |
| Cast on,R1 | 24CH,Join with a slip stitch to the first stitch,24X | 24 |
| R2-R16 | even 24X | 24 |
| R17 | (3X, V)*6 | 30 |
| R18 | even 30X | 30 |
| R19 | (2X, V, 2X)*6 | 36 |
| R20 | even 36X | 36 |
| R21 | (5X, V)*6 | 42 |
| R22 | (2X, V, 4X)*6 | 48 |
| R23 | (7X, V)*6 | 54 |
| R24 | (6X, V, 2X)*6 | 60 |
| R25 | (9X, V)*6 | 66 |
| R26 | (4X, V, 6X)*6 | 72 |
| R27 | (11X, V)*6 | 78 |
| R28 | (6X, V, 6X)*6 | 84 |
| Leave a tail of about 60cm. | ||
| Trunk Section 4 (34#Toffee) | ||
| R | Stitch Instructions | Total Stitches |
| R1 | Work the starting stitch in the starting point of Section 3,(3X,V)*6 | 30 |
| R2 | (2X, V, 2X)*6 | 36 |
| R3 | (5X, V)*6 | 42 |
| R4 | (2X, V, 4X)*6 | 48 |
| R5 | (7X, V)*6 | 54 |
| R6 | (6X, V, 2X)*6 | 60 |
| R7 | (9X, V)*6 | 66 |
| Leave a tail of about 60cm. | ||
| Trunk Section 5 (34#Toffee) | ||
| R | Stitch Instructions | Total Stitches |
| Cast on,R1 | MR, 6X | 6 |
| R2 | 6V | 12 |
| R3 | (X, V)*6 | 18 |
| R4 | (X, V, X)*6 | 24 |
| R5 | (V, 3X)*6 | 30 |
| R6 | (2X, V, 2X)*6 | 36 |
| R7 | (5X, V)*6 | 42 |
| R8 | (2X, V, 4X)*6 | 48 |
| R9 | (7X, V)*6 | 54 |
| R10 | (6X, V, 2X)*6 | 60 |
| R11 | (9X, V)*6 | 66 |
| R12 | (4X, V, 6X)*6 | 72 |
| R13 | (11X, V)*6 | 78 |
| R14 | (6X, V, 6X)*6 | 84 |
| R15 | BLO, even 84X | |
| R16 | even 84X | |
Note:
1. After completing the first round, the 20th round, and the last round of Section 3, you need to fit them with the support frame separately. Please refer to the video demonstration for details.
2. If the number of rounds for increasing stitches in the last part of Section 3 of the trunk has been adjusted, the increase rounds in Section 5 also need to be adjusted correspondingly, so that the stitch counts of the two sections match in the end.
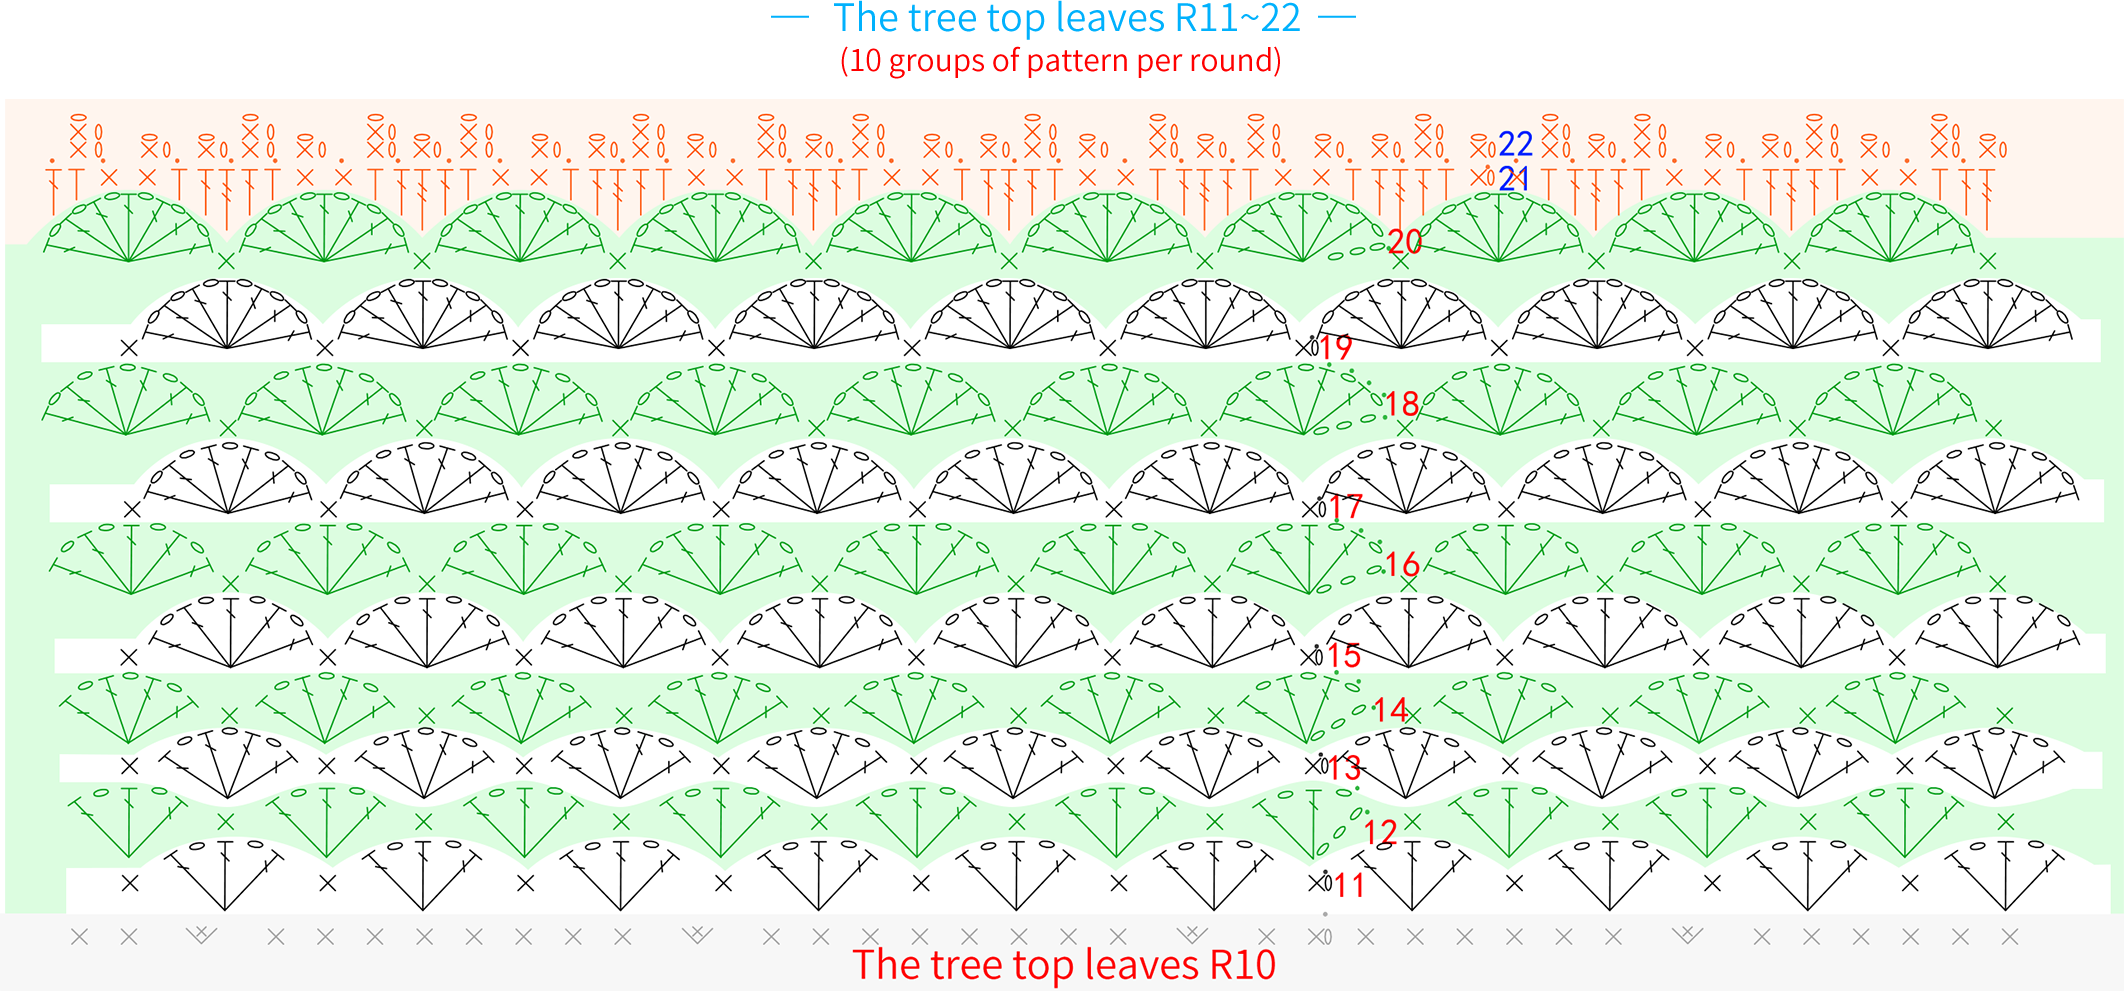
Step4 The treetop leaves and snowB 60' 12''
Work the tree top's leaves and snow separately using the magic ring method, crocheting in rounds. After completion, sew together and secure. Please refer to the video demonstration for specifics.
| Treetop leaves | |||
| R | Stitch Instructions | Total Stitches | Color |
| Cast on,R1 | MR, 5X | 5 | 41#Foliage Green |
| R2 | (V, X)*2, V | 8 | |
| R3 | (X, V)*4 | 12 | |
| R4 | (X, V, X)*4 | 16 | |
| R5 | (3X, V)*4 | 20 | |
| R6 | (2X, V, 2X)*4 | 24 | |
| R7 | (5X, V)*4 | 28 | |
| R8 | (4X, V, 2X)*4 | 32 | |
| R9 | (7X, V)*4 | 36 | |
| R10 | (2X, V, 6X)*4 | 40 | |
| R11-R20 | refer to the chart | ||
| R21-R22 | refer to the chart | 06#Bright White | |
| Snow on the treetops (06#Bright White) | ||
| R | Stitch Instructions | Total Stitches |
| Cast on,R1 | MR, 5X | 5 |
| R2 | (V, X)*2, V | 8 |
| R3 | (X, V)*4 | 12 |
| R4 | (X, V, X)*4 | 16 |
| R5 | (3X, V)*4 | 20 |
| R6 | (2X, V, 2X)*4 | 24 |
| R7 | (5X, V)*4 | 28 |
| R8 | (4X, V, 2X)*4 | 32 |
| R9 | (7X, V)*4 | 36 |
| R10 | (2X, V, 6X)*4 | 40 |
| R11 | (9X, V)*4 | 44 |
| R12 | refer to the chart | |
| Leave a tail of about 30cm. | ||

Step5 Battery box cover and string light decorationB2 63' 42''
The box cover is divided into two parts: the base and the body. The base is worked with a foundation chain and crocheted back and forth. The body is crocheted in rounds on top of the base. After completing the box cover, add decorations and a string of lights (gold thread). Please refer to the video demonstration for specifics.
| Battery box cover(51#High Risk Red) | |||
| Section | R | Stitch Instructions | Total Stitches |
| Bottom | Cast on,R1 | 15CH, Dao2, 14X | 14 |
| R2-R4 | CH, turn, 14X | ||
| Top | R1 | CH, turn, V, 12X, V, 4X, V, 12X, V, 4X, S | 40 |
| R2 | BLO, even 40X | ||
| R3-Proper Height | even 40X | ||
| For every round of the battery box cover, start with a beginning chain and finish with a slip stitch. | |||
Part2 Decoration
The decorations on the Christmas tree include stars, gifts, candy canes, pom-poms, snowflakes, and hand-sewn rhinestones.
Step1 StarC1 85' 39''
The star is made up of 2 identical star motifs. First, crochet each motif separately, then connect them and add stuffing. Finally, sew it onto the corresponding position. Please refer to the video demonstration for specifics.
| Star*2 (09#Aspen Gold) | ||
| R | Stitch Instructions | Total Stitches |
| Cast on,R1 | MR, 5X | 5 |
| R2 | 5V | 10 |
| R3 | (X, 5CH, Dao2, 4X, V)*5 | - |
| R4 | (2T, 2X, 2CH, 2X, 2T, X)*5, S | - |
| R1-R3 start with a beginning chain and finish with a slip stitch, from R4 start without making a beginning chain. | ||
| Note: After completion, fasten off normally on one piece and don’t cut the yarn on the other. Join the two pieces with a slip stitch and stuff. Finally, leave a 15cm tail for sewing. | ||
Step2 GiftC2 97' 28''
The gifts include one small gift and one large gift. Both involve crocheting a gift fabric piece, then stuffing and sewing it closed, and adding ribbon decorations attached to the corresponding position. Please refer to the video demonstration for specifics.
| Small Gift (09#Aspen Gold) | |||
| Section | R | Stitch Instructions | Total Stitches |
| Bottom | Cast on,R1 | 8CH, Dao2, 7X | 7 |
| R2-R7 | CH, turn, 7X | ||
| Top | R1 | CH, turn, 7X, 7X, 7X, 7X, S | 28 |
| R2-R7 | even 28X | 28 | |
| Lid | R1-R7 | CH, 7X | 7 |
| R2-R7 | CH, turn, 7X | ||
| At the beginning of every round for the box body, start with a turning chain and end with a slip stitch. After completion, leave a 50cm yarn tail for sewing and stuffing. | |||
| Big Gift (51#High Risk Red) | |||
| Section | R | Stitch Instructions | Total Stitches |
| Bottom | Cast on,R1 | 11CH, Dao2, 10X | 10 |
| R2-R10 | CH, turn, 10X | ||
| Top | R1 | CH, turn, 10X, 10X, 10X, 10X, S | 40 |
| R2-R10 | even 40X | ||
| Lid | R1-R7 | CH, 10X | 10 |
| R2-R10 | CH, turn, 10X | ||
| At the beginning of every round for the box body, start with a turning chain and end with a slip stitch. After completion, leave a 60cm yarn tail for sewing and stuffing. | |||
Step3 Remaining decorationsC3 104' 37''
Make and attach the candy cane (51#High Risk Red), then sew on the snowflake and the tapestry needle (06#Bright White, remove one strand), finally glue on the pom-poms. Please refer to the video demonstration for specifics.
Note: Start with a 10cm yarn tail for the candy cane's foundation chain, make 28 chain stitches, and leave a 15cm yarn tail at the end.
Made by the community