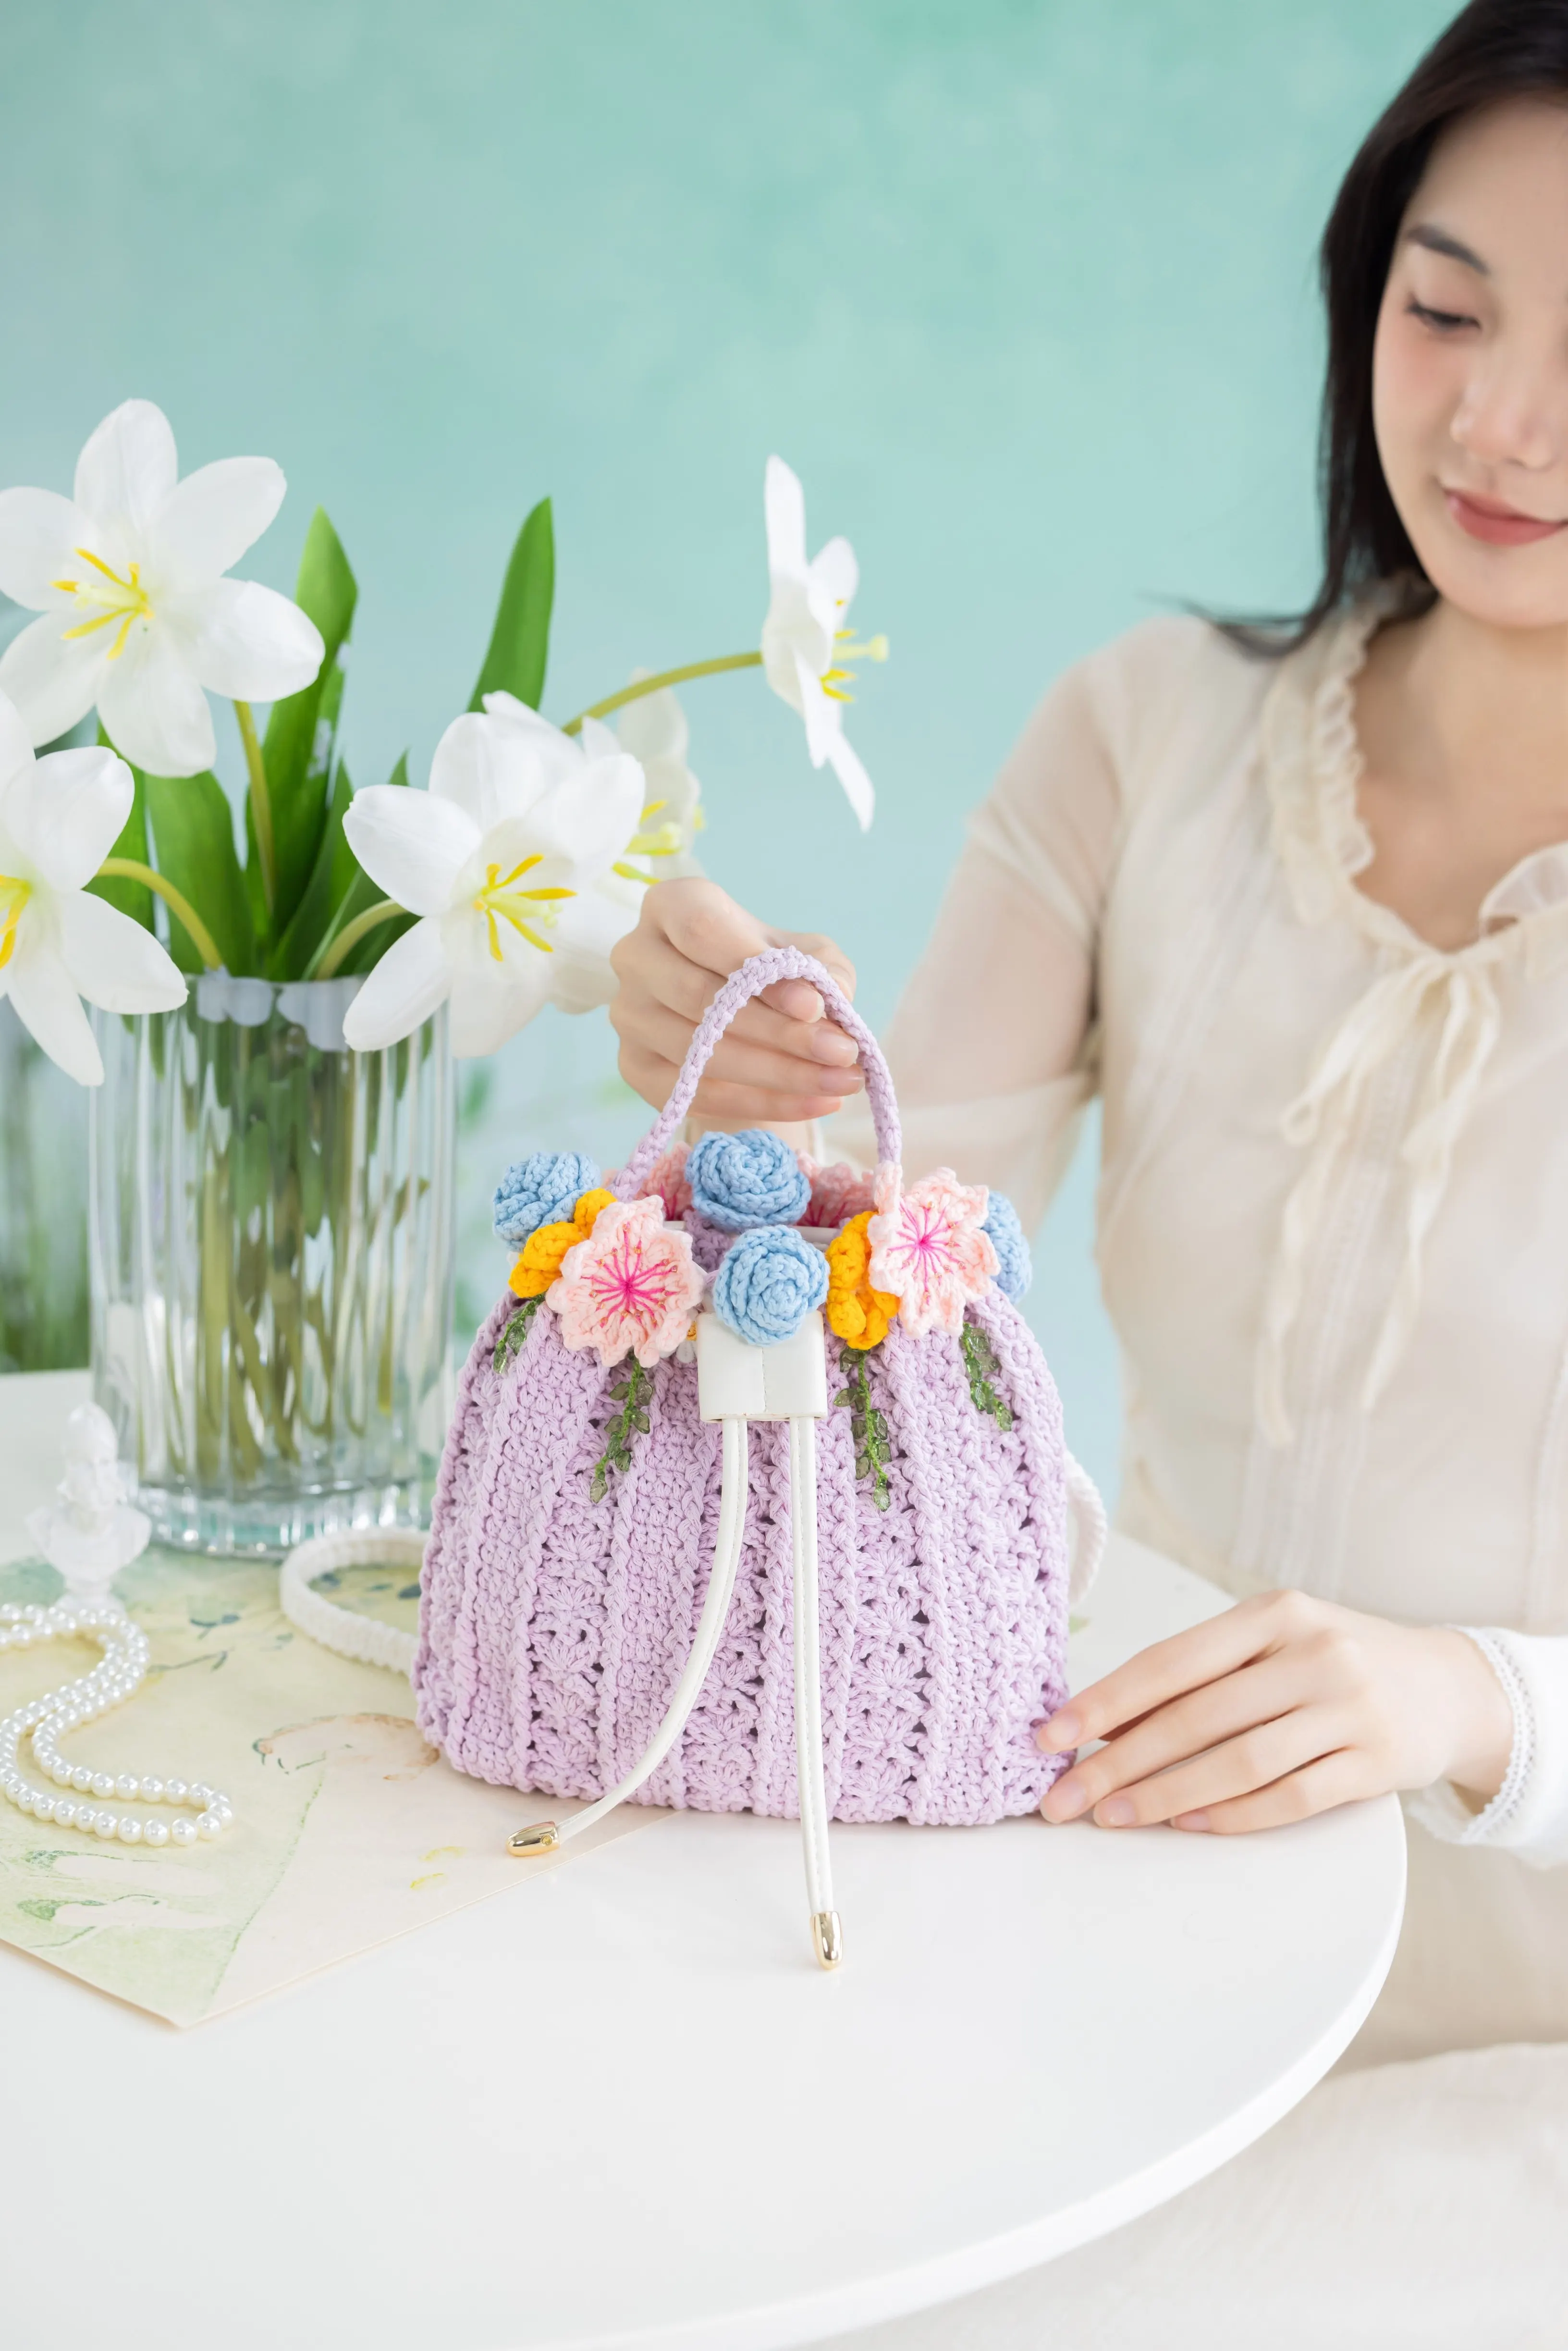
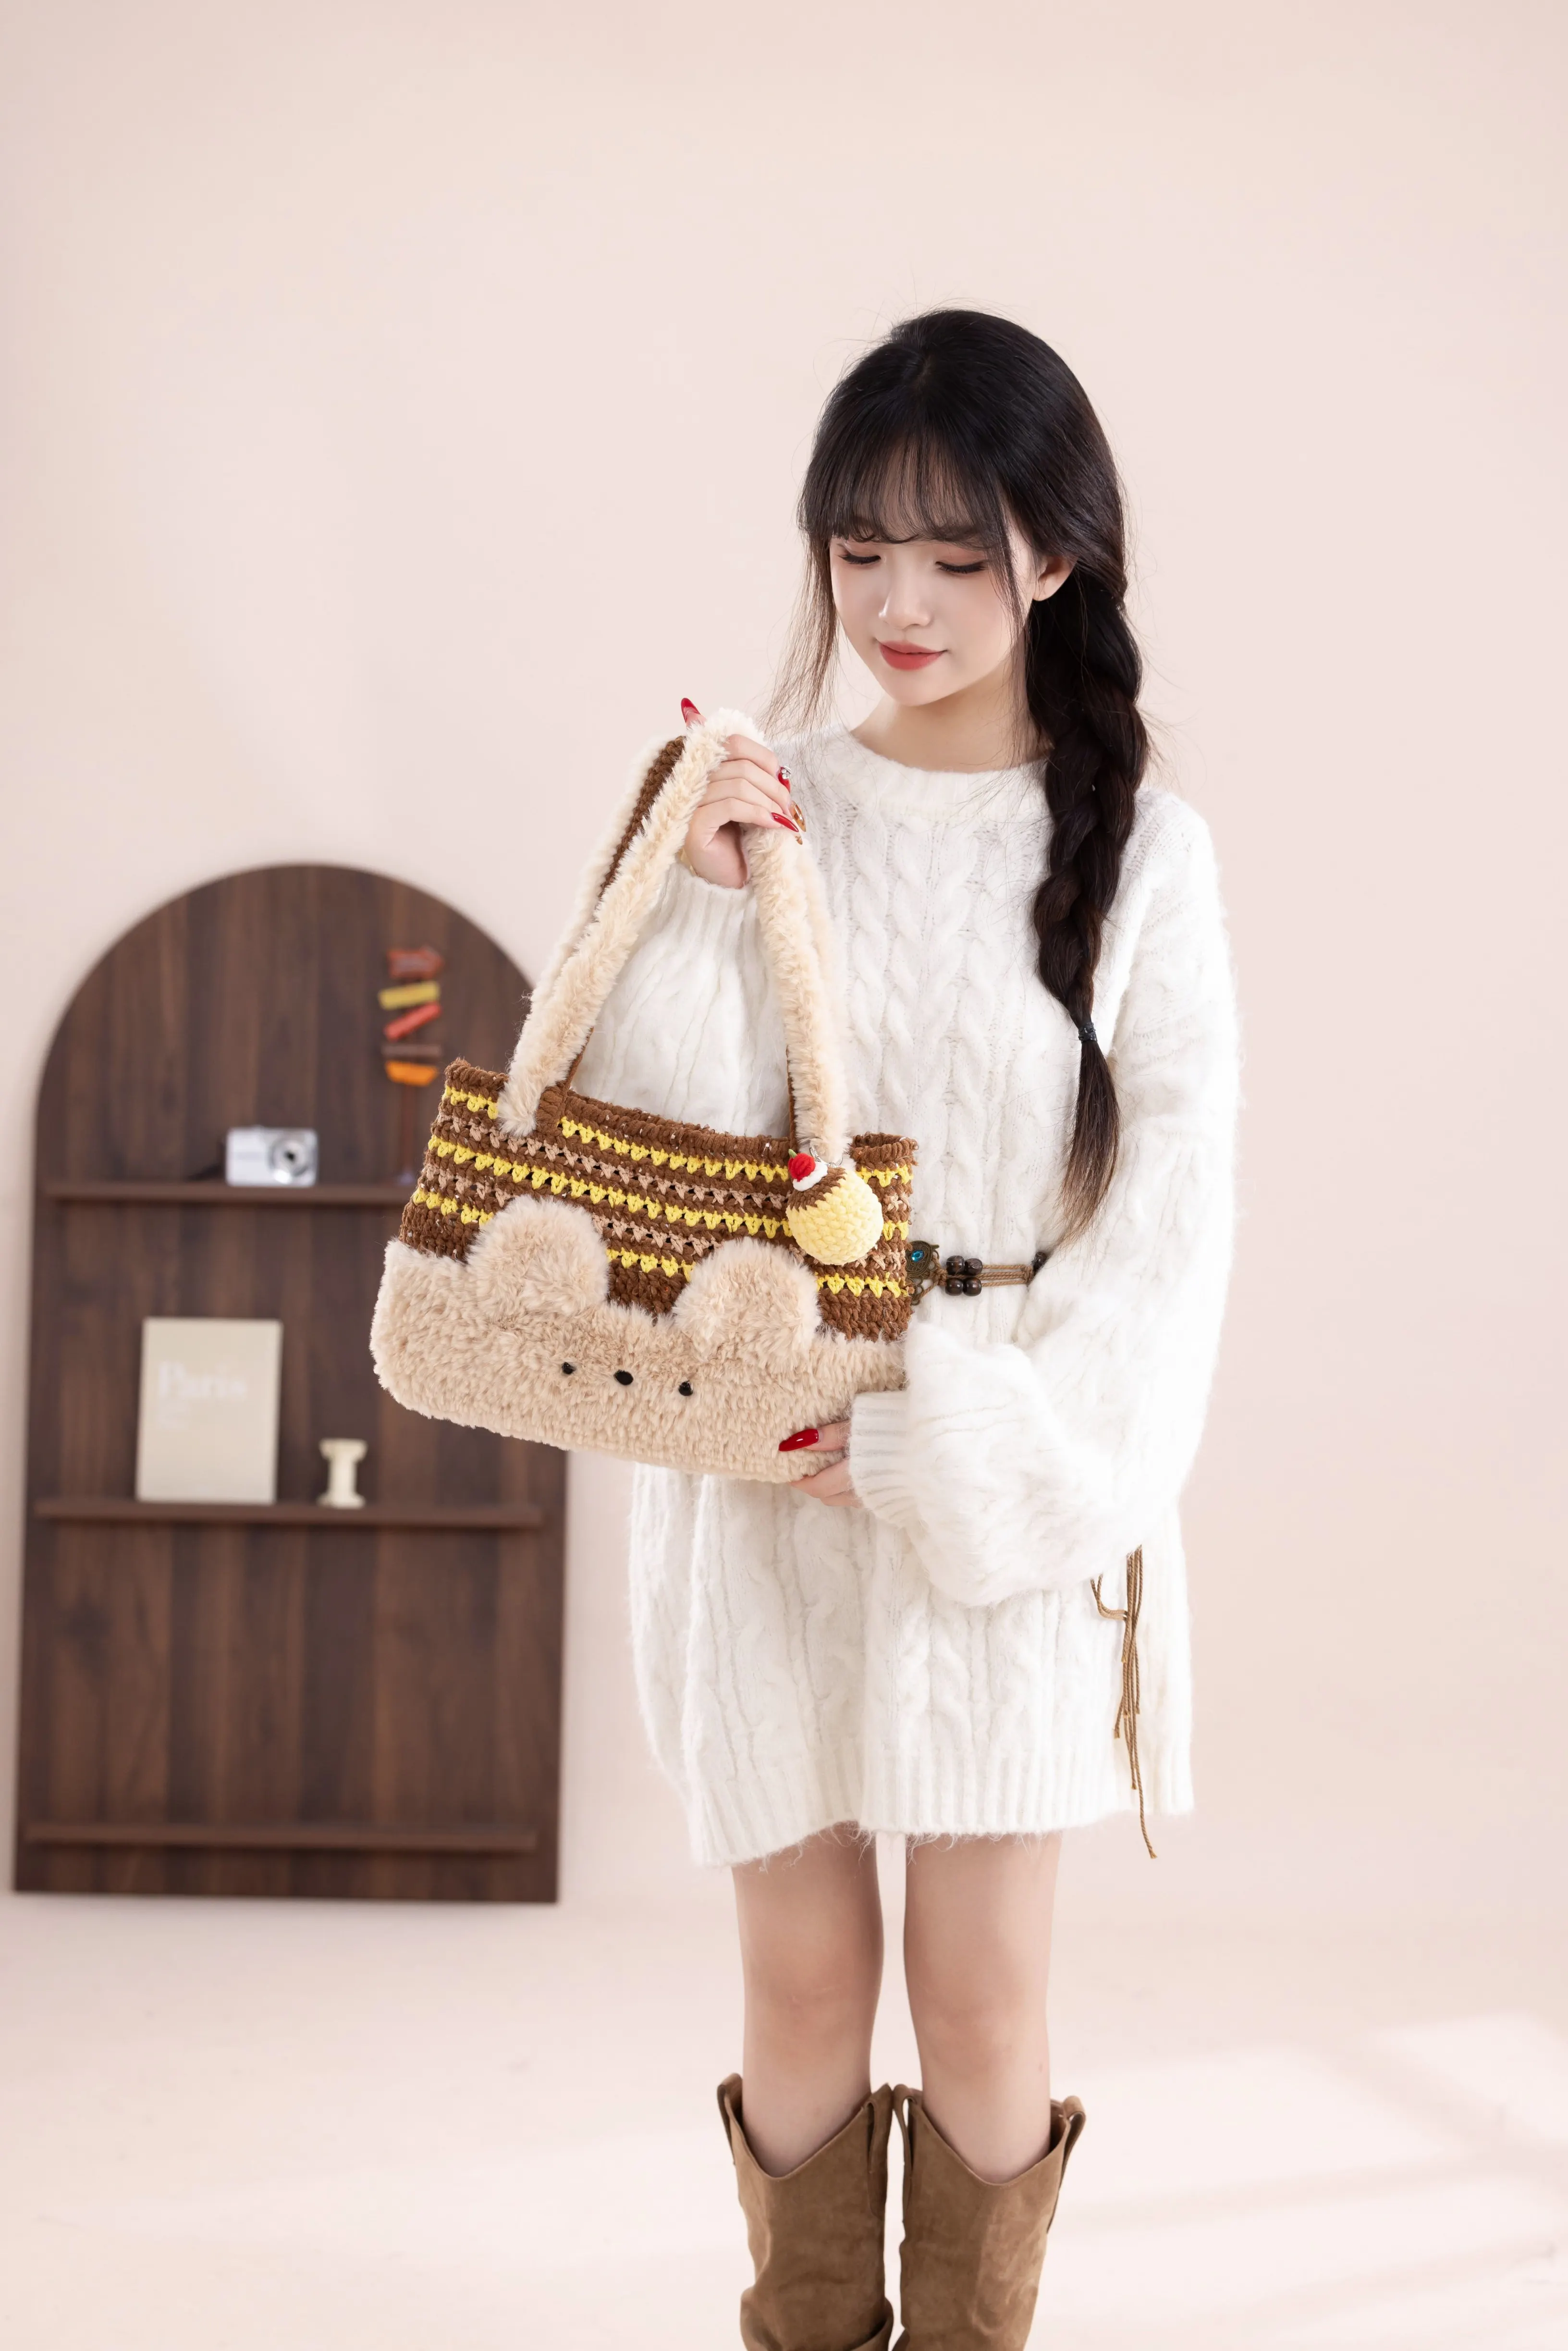
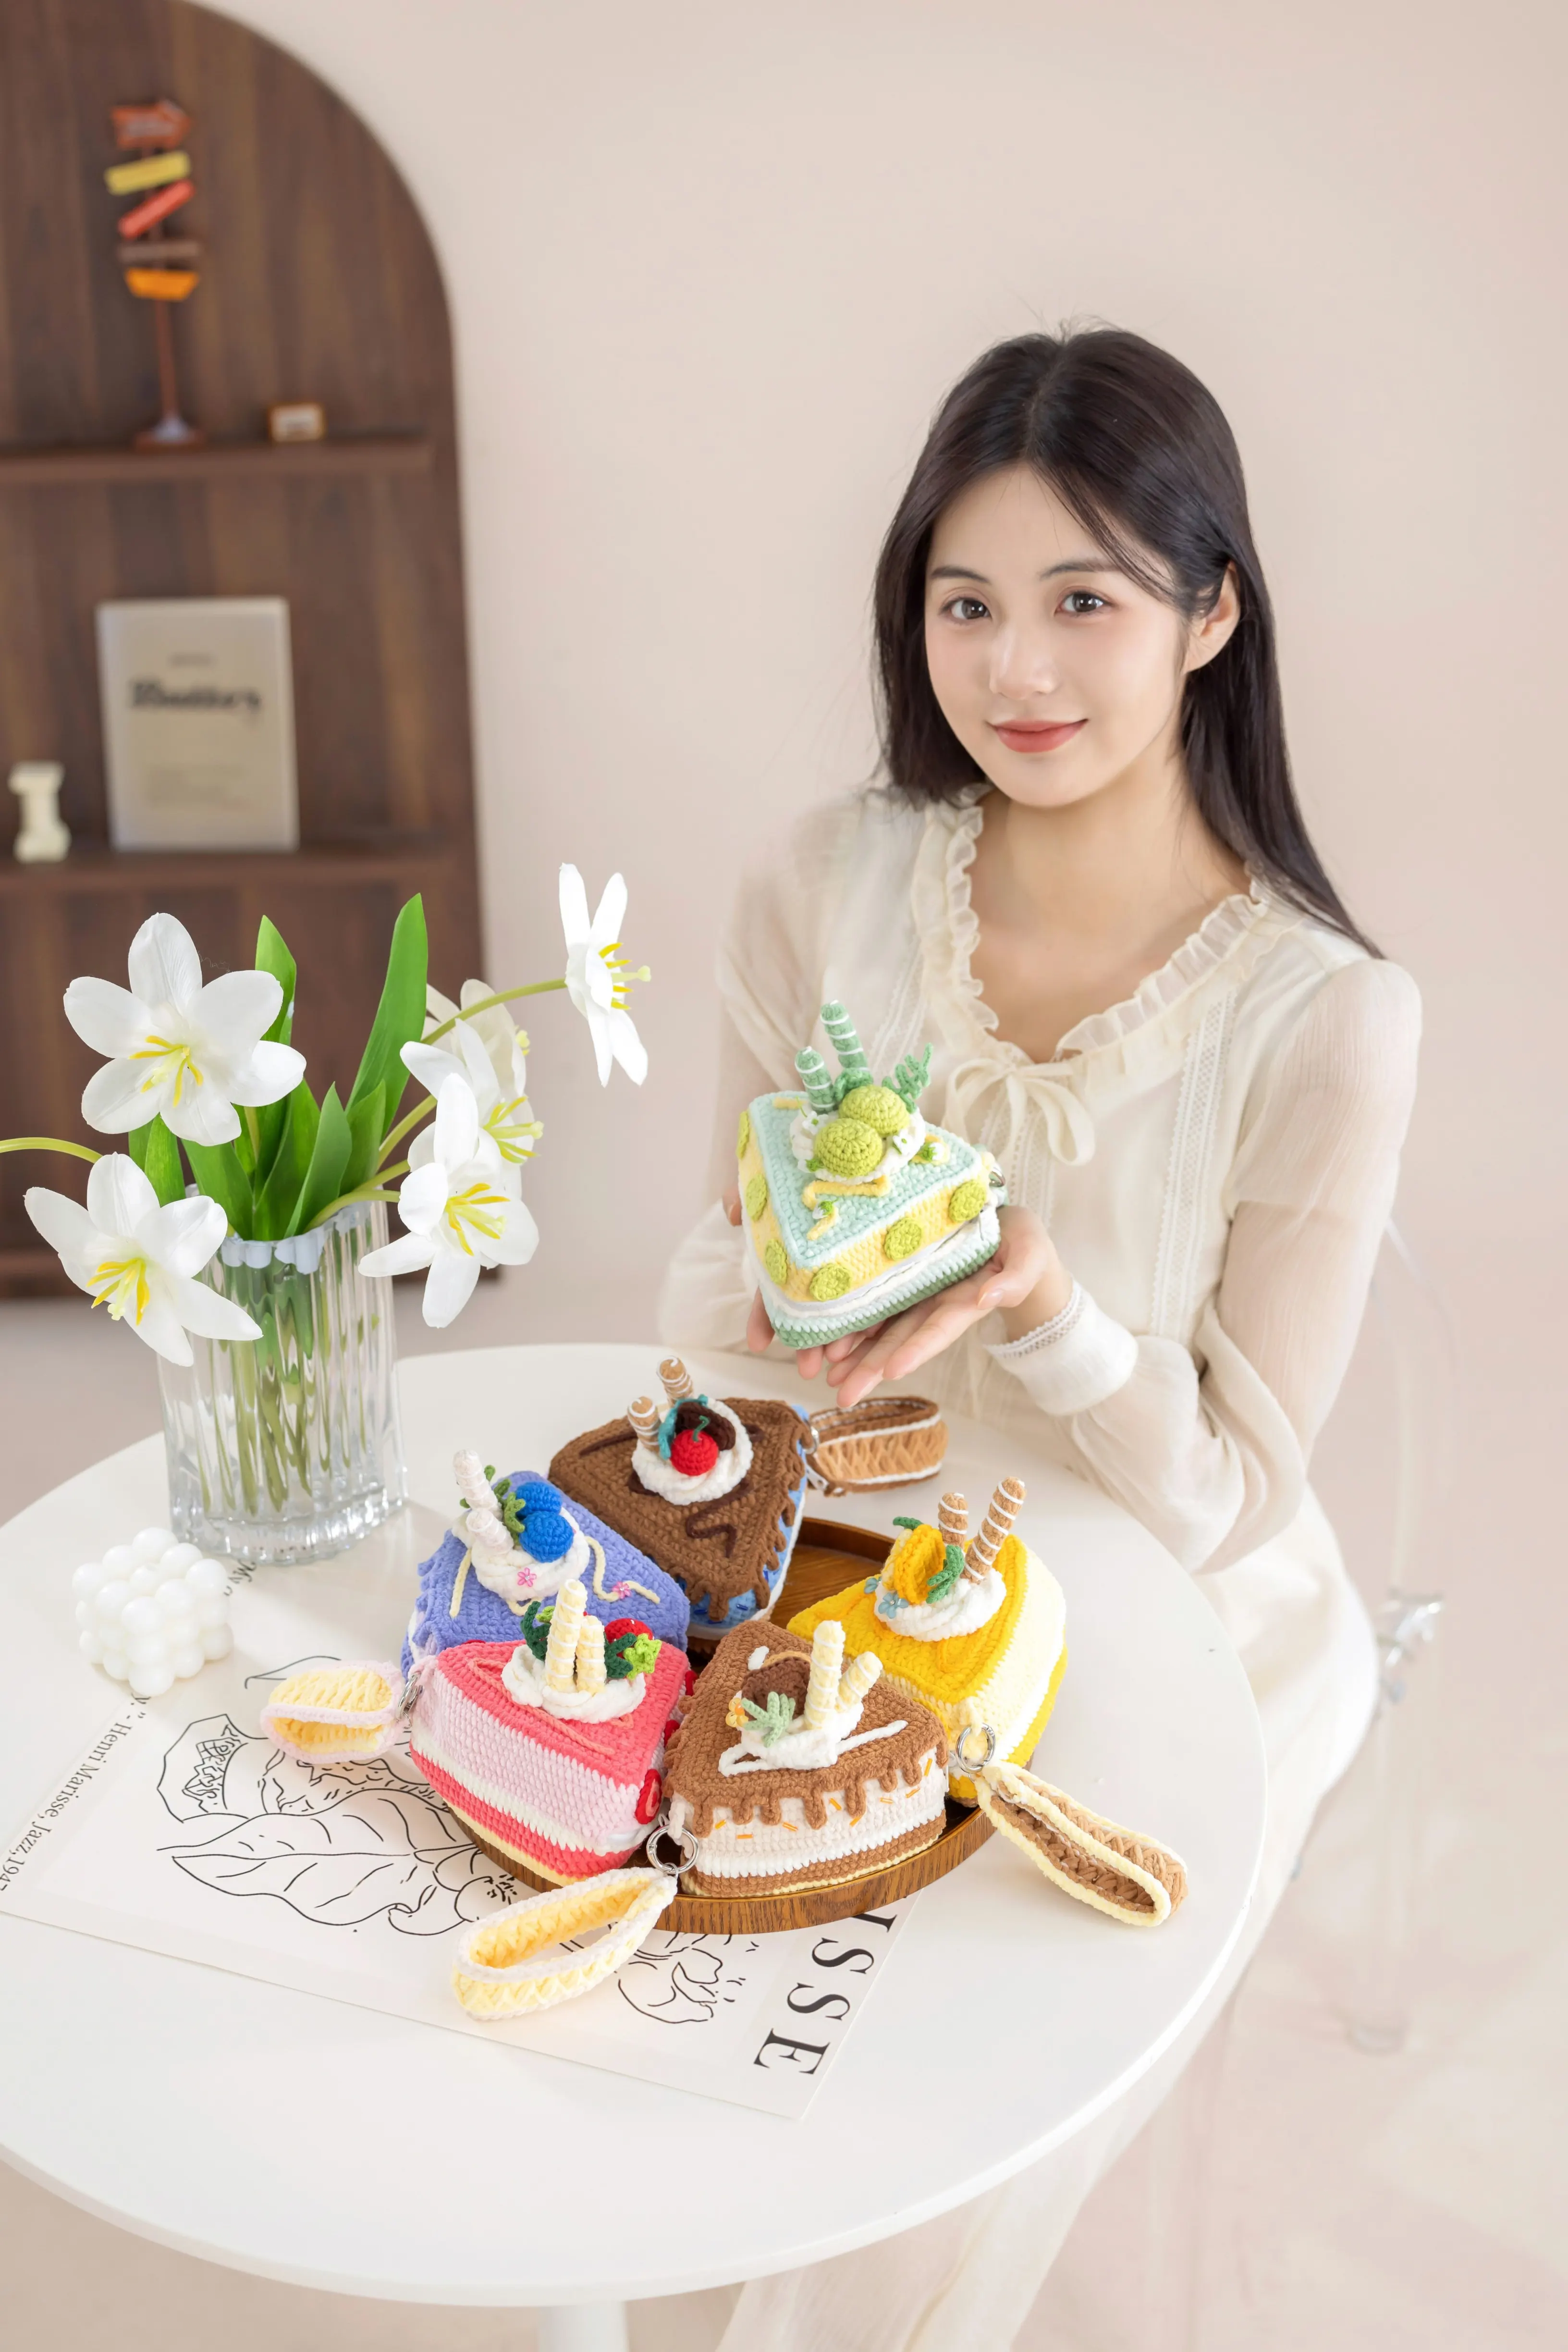
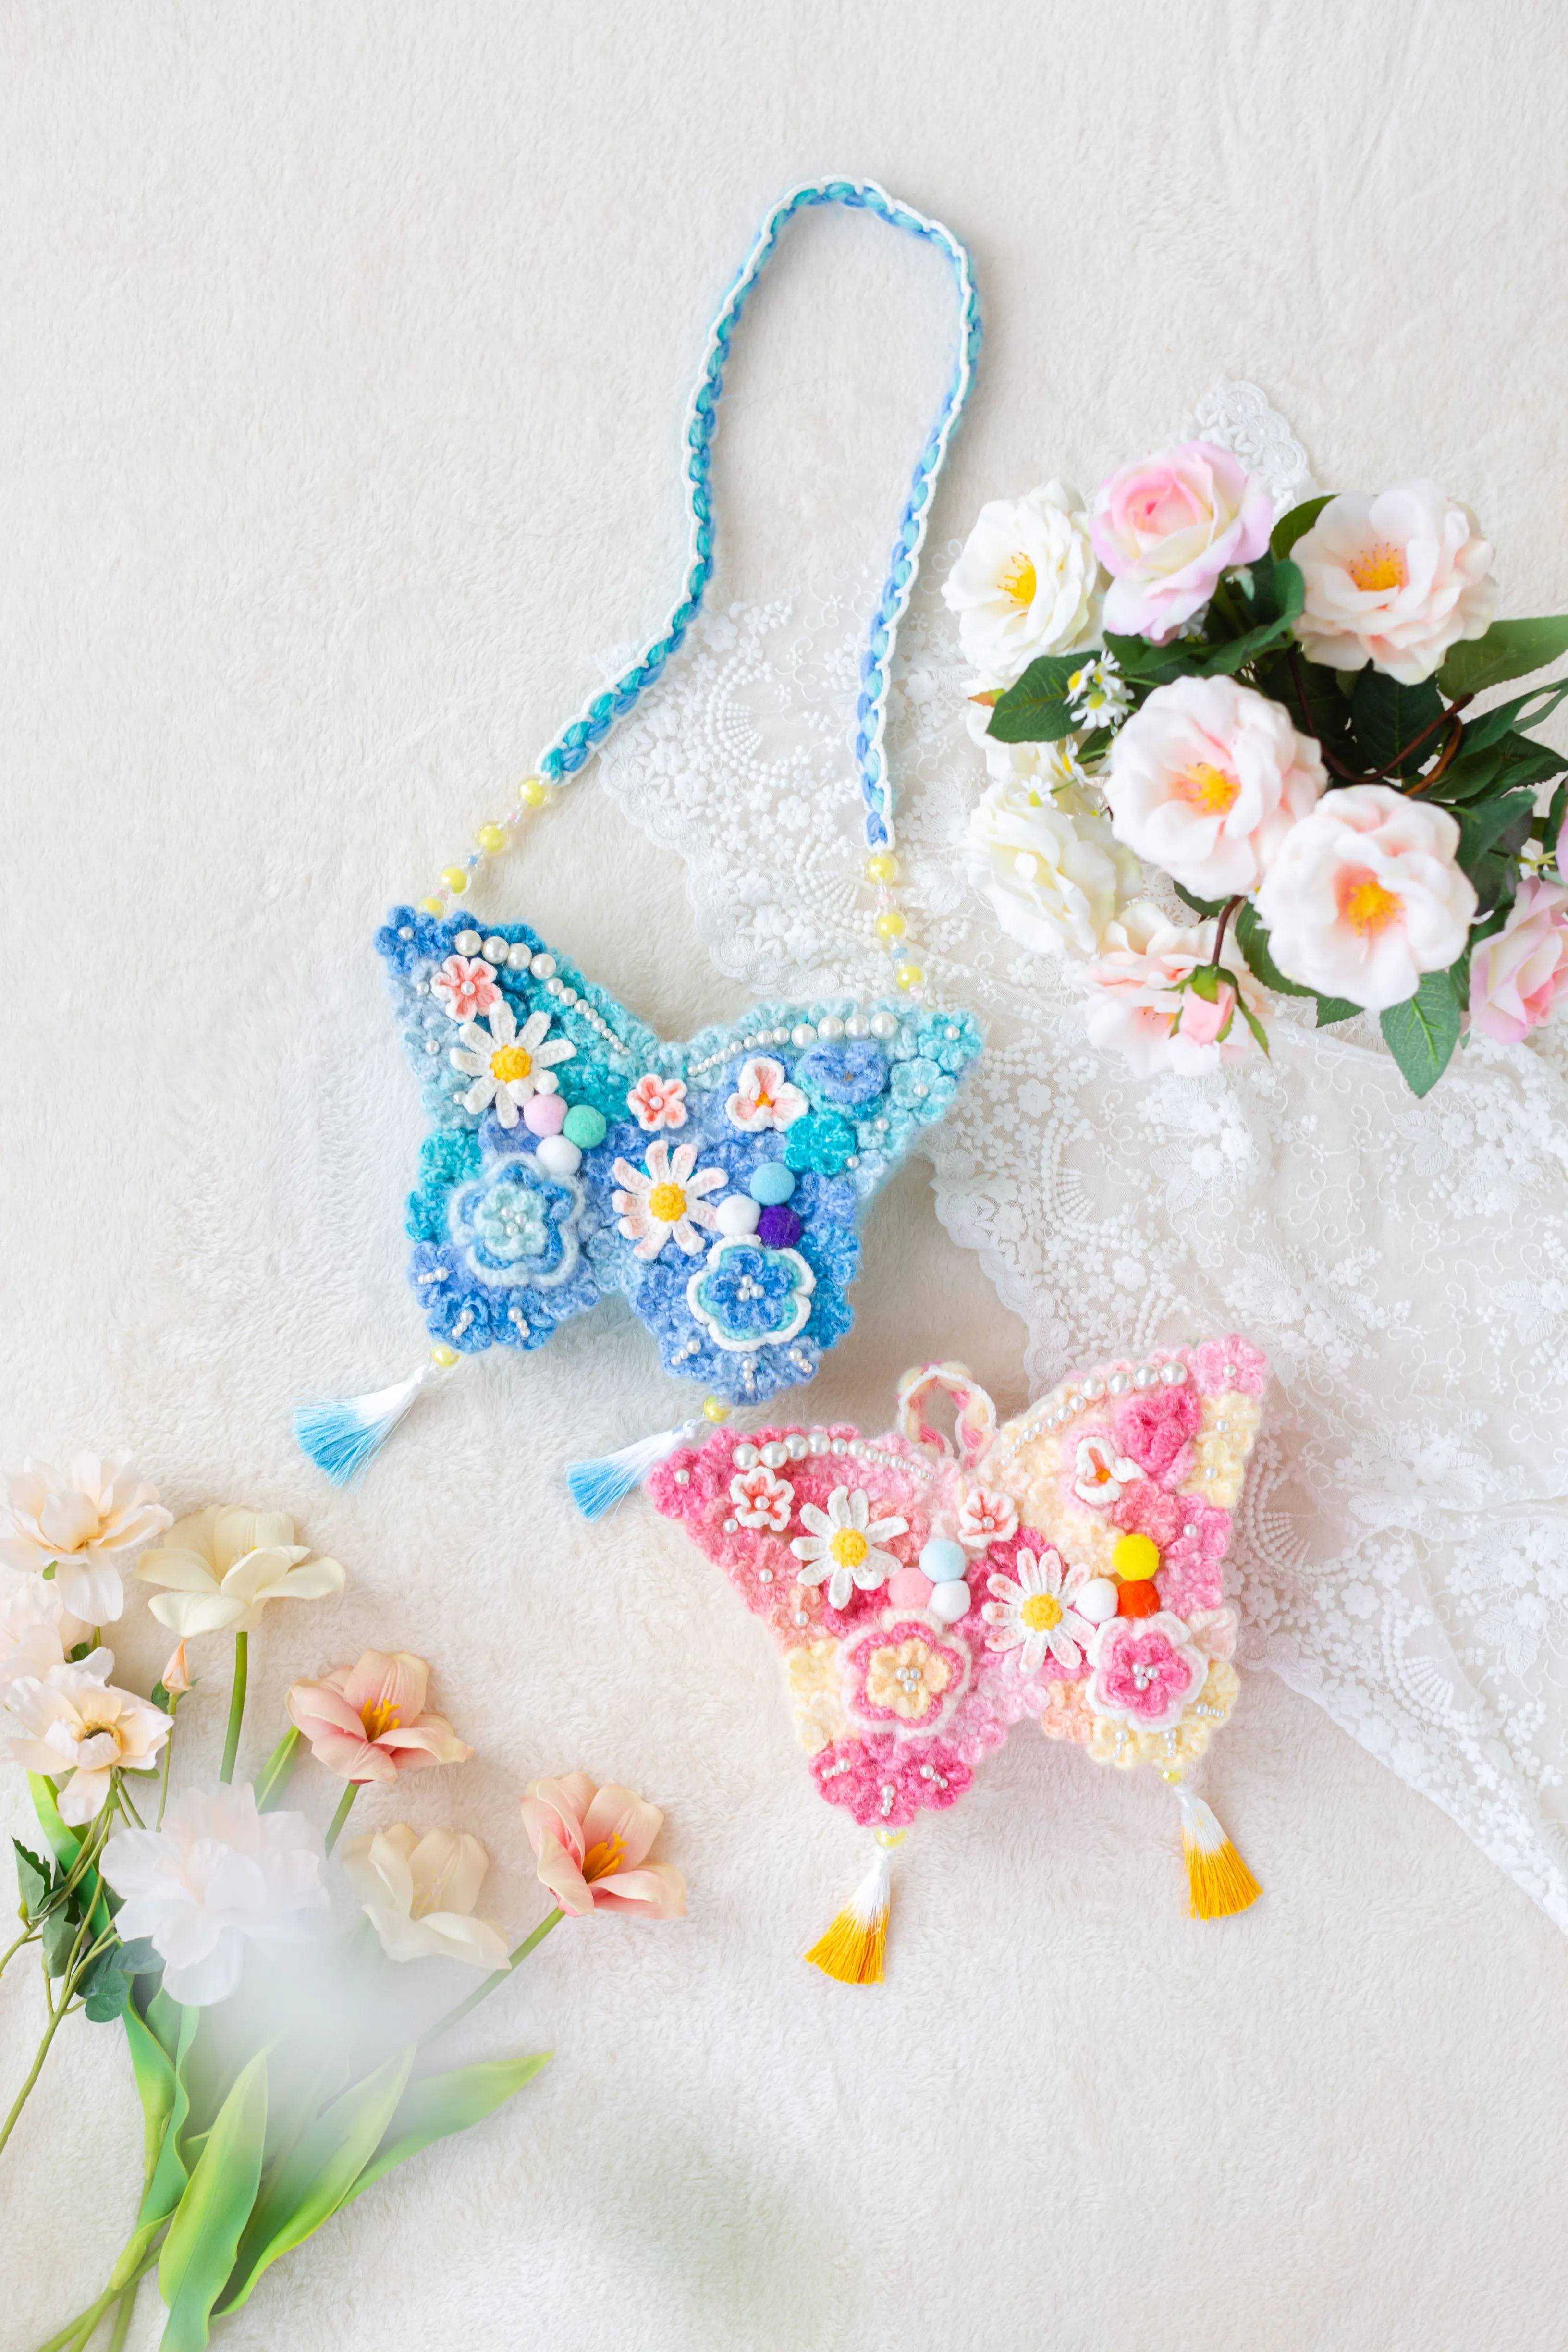
Bag
Cute Rabbit Hanfu Bag
Project preview
See the finished project
Pattern format
Instructions
Watch and follow
Video tutorial
| Style | Yarn | Color |
|---|---|---|
| Calamus Style | Impression Misty Feather |  23#Green Tea x 1 23#Green Tea x 1 25#Whisper White x 1 25#Whisper White x 1 |
| Bay Laurel Style | Impression Misty Feather |  08#Mauve Mist x 125#Whisper White x 1 08#Mauve Mist x 125#Whisper White x 1 |
| Peony Style | Impression Misty Feather |  18#Tigerlily x 125#Whisper White x 1 18#Tigerlily x 125#Whisper White x 1 |
This product includes 2 parts: the main part and accessories. Complete the making of the main part first, then make the accessories. There are 3 styles in total. The making method of the main part is identical for each style, while the accessories are slightly different.
Instructions: When crocheting the top and bottom parts of the main part, keep the right side facing out. The beginning chain for the single crochet doesn't count as 1 stitch. After completing all parts, use it with the wrong side facing out.
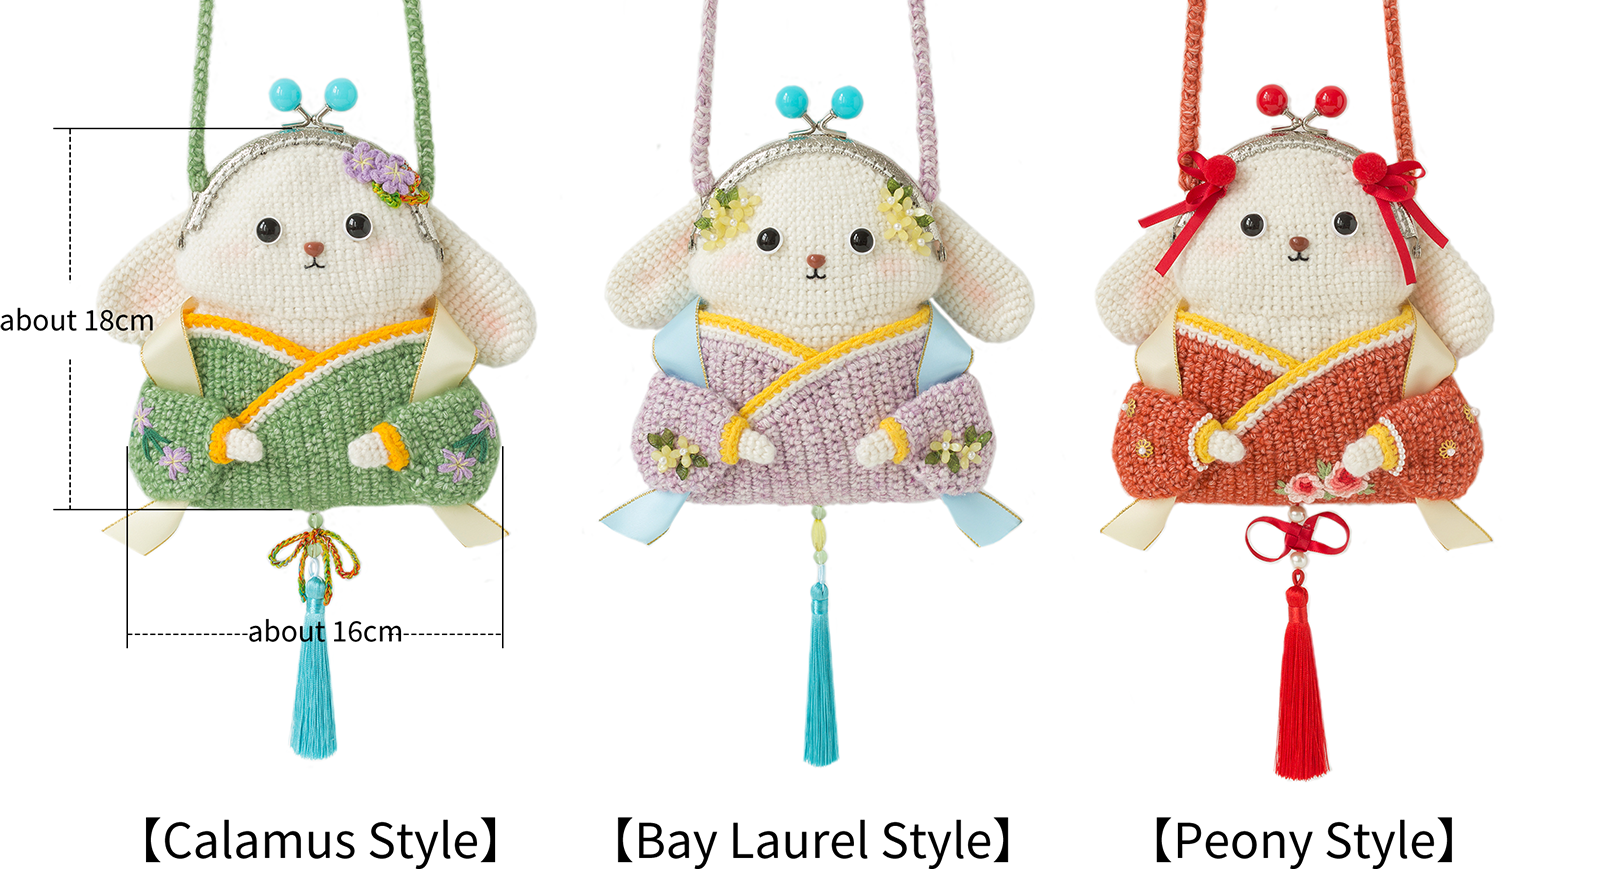
Due to variations in individual tension, the size of the sample is for reference only.
Materials: Impression Misty Feather & 4-Ply Combed Cotton & Acrylic Fibre Hand Knitting Yarn
Crochet Hook: 3.00 mm Crochet Hook

ABBREVIATIONS
Chart Key



Note:
This pattern is making in Chinese crochet pattern terms, and the stitch name is written using American terminology. All measurements in charts are in cm.

Part 1 Main PartA
The main part includes the lower part and upper part, ears, arms, a metal frame, and straps. Complete the crocheted parts first, and then sew them together at last.
Step 1 Lower PartA1 & Upper PartA2 00' 50'' (Part1)
The main part of the lower section will begin with the foundation chain, working in rounds following the foundation chain to form a loop. For the upper part, there's no need to break the yarn, just crochet directly. For more details, please refer to the video demonstration.
| Main Part | ||||
| Part | Round | Stitch Instructions | Total Stitches | Color |
| Lower Part | Cast on & R1 | 32CH, dao 2, 30X, W, 29X, V | 64 | Impression Misty Feather 25#Whisper White |
| R2 | V, 29X, 3V, 29X, 2V | 70 | ||
| R3 | even 70X | 70 | ||
| R4 | X, V, 29X, 3(X, V), 29X, 2(X, V) | 76 | ||
| R5-R6 | even 76X | 76 | ||
| R7 | X, A, 29X, 3(X, A), 29X, 2(X, A) | 70 | ||
| R8-R10 | even 70X | 70 | ||
| R11 | A, X, A, 27X, (A, X)*2, A, 27X, A, X | 64 | ||
| R12-R14 | even 64X | 64 | ||
| R15 | X, A, 24X, (A, X)*2, A, 24X, A, X, A | 58 | ||
| R16-R17 | even 58X | 58 | ||
| R18 | A, X, A, 21X, A, (X, A)*2, 21X, A, X | 52 | ||
| R19 | even 52X | 52 | ||
| R20 | A, 20X, 3A, 20X, 2A | 46 | ||
| R21 | turn, 23S, 3S, S, 3S, S, 6S, S, 3S, S, 3S, S For the specific insertion position, please refer to the video demonstration. |
46 | ||
| Upper Part | Round | Stitch Instructions | Total Stitches | |
| R1 | turn, 2V, 2X, V, 14X, V, 2X, 3V, 20X, V | 54 | ||
| R2 | 2V, (3X, V)*2, 10X, V, 3X, V, 3X, 2V, 24X | 62 | ||
| R3-R6 | even 62X | 62 | ||
| R7 | 2A, (3X, A)*2, 10X, A, 3X, A, 3X, 2A, 24X | 54 | ||
| R8 | 3S, 24X, 3S, 24X | 54 | ||
| R9 | Carry the yarn across and draw the yarn through at the first single crochet of R8, CH, A, 20X, A | 22 | ||
| R10 | CH, 22X | 22 | ||
| R11 | CH, A, 18X, A | 20 | ||
| R12 | CH, A, 16X, A | 18 | ||
| R13 | CH, A, 14X, A | 16 | ||
| R14 | CH, A, 12X, A | 14 | ||
| R15 | CH, A, 10X, A | 12 | ||
| R16 | CH, 2A, 4T, 2A | 8 | ||
| R17-R18 | Work 2 rows of single crochet along the outer edge of the piece. Please refer to the video demonstration for details. | / | ||
| For the other half, join the yarn in the 8th round and crochet using the same method as rows 9-18. You can refer to the video demonstration. | ||||
Step 2 Ear & ArmA3 50' 51'' (Part1)
All of them are crocheted in rounds using the magic ring method. Please refer to the video demonstration for details.
| Ear*2 | |||
| Round | Stitch Instructions | Total Stitches | Color |
| Cast on & R1 | magic ring, 6X | 6 | Impression Misty Feather 25#Whisper White |
| R2 | 6V | 12 | |
| R3 | (X, V)*6 | 18 | |
| R4 | even 18X | 18 | |
| R5 | (X, V, X)*6 | 24 | |
| R6 | even 24X | 24 | |
| R7 | (X, A, X)*6 | 18 | |
| R8-R13 | even 18X | 18 | |
| R14 | (2X, A, 2X)*3 | 15 | |
| R15—R19 | even 15X | 15 | |
| R20 | (3X, A)*3 | 12 | |
| R21—R23 | even 12X | 12 | |
| R24 | (X, A)*4 | 8 | |
| Note: Leave a 30cm yarn tail before breaking the yarn. | |||
| Arm*2 | |||
| Round | Stitch Instructions | Total Stitches | Color |
| Cast on & R1 | magic ring, 6X | 6 | Impression Misty Feather 25#Whisper White |
| R2—R6 | 6X | 6 | |
Step 3 Metal Frame AttachmentA4 & StrapA5 & SewingA6 55' 37'' (Part1)
Sew the metal frame above the head, with the strap formed by crocheting the Shrimp Stitch. Sew everything together after completing all the crocheted parts of the main part. Please refer to the video demonstration for specifics.
Note: 1. The strap length is about 110cm, and can also be adjusted according to preference.
2. Leave a 15cm tail for sewing at both the beginning and ending of the strap.
3. Metal frame sewing yarn: 2 strands of sewing thread.
| Color Scheme for Straps | ||
| Calamus Style | Bay Laurel Style | Peony Style |
| Impression Misty Feather 23#Green Tea |
Impression Misty Feather 18#Tigerlily |
Impression Misty Feather 08#Mauve Mist |
Part 2 AccessoriesB
The accessories include facial features, garments, top head decorations, bottom decorations, and ribbons.
Step 1 Facial FeaturesB1 10' 38'' (Part2)
Metal frame sewing yarn: 1 strand of 21#Black Beauty from 4-Ply Combed Cotton & Acrylic Fibre Hand Knitting Yarn
Note: The extra post of the nose needs to be cut off before sticking.
Step 2 GarmentsB2 16' 07'' (Part2)
All 3 garments are divided into the main body, edging, and sleeves. The calamus style also includes an embroidery section, while the peony style includes embroidery and garment decorations. The bay laurel style includes garment decorations. Please refer to the video demonstration for specifics.
| Garments | |||||
| Main body of garments | |||||
| Row | Stitch Instructions | Total Stitches | Calamus Style | Bay Laurel Style | Peony Style |
| Cast on & R1 | 2CH, dao 1, X | 1 | Impression Misty Feather 23#Green Tea |
Impression Misty Feather 18#Tigerlily |
Impression Misty Feather 08#Mauve Mist |
| R2 | CH, turn, V | 2 | |||
| R3 | CH, turn, V, X | 3 | |||
| R4 | CH, turn, 2X, V | 4 | |||
| R5 | CH, turn, V, 3X | 5 | |||
| R6 | CH, turn, 4X, V | 6 | |||
| R7 | CH, turn, V, 5X | 7 | |||
| R8 | CH, turn, 6X, V | 8 | |||
| R9 | CH, turn, V, 7X | 9 | |||
| R10 | CH, turn, 8X, V | 10 | |||
| R11 | CH, turn, V, 9X | 11 | |||
| R12 | CH, turn, even 11X | 11 | |||
| R13 | CH, turn, V, 10X | 12 | |||
| R14 | CH, turn, even 12X | 12 | |||
| R15 | CH, turn, V, 11X | 13 | |||
| R16 | CH, turn, even 13X | 13 | |||
| R17 | CH, turn, V, 12X | 14 | |||
| R18 | CH, turn, even 14X | 14 | |||
| R19 | CH, turn, V, 13X | 15 | |||
| R20 | CH, turn, even 15X | 15 | |||
| R21 | CH, turn, V, 14X | 16 | |||
| R22—R29 | CH, turn, even 16X | 16 | |||
| R30 | CH, turn, X, 11CH, skip 11X, 4X | / | |||
| R31 | CH, turn, 4X, 11X (work in the chains), X | 16 | |||
| R32—R60 | CH, turn, even 16X | 16 | |||
| R61 | CH, turn, 4X, 11CH, skip 11X, X | / | |||
| R62 | CH, turn, X, 11X (work in the chains), 4X | 16 | |||
| R63—R69 | CH, turn, even 16X | 16 | |||
| R70 | CH, turn, 14X, A | 15 | |||
| R71 | CH, turn, even 15X | 15 | |||
| R72 | CH, turn, 13X, A | 14 | |||
| R73 | CH, turn, even 14X | 14 | |||
| R74 | CH, turn, 12X, A | 13 | |||
| R75 | CH, turn, even 13X | 13 | |||
| R76 | CH, turn, 11X, A | 12 | |||
| R77 | CH, turn, even 12X | 12 | |||
| R78 | CH, turn, 10X, A | 11 | |||
| R79 | CH, turn, even 11X | 11 | |||
| R80 | CH, turn, 9X, A | 10 | |||
| R81 | CH, turn, A, 8X | 9 | |||
| R82 | CH, turn, 7X, A | 8 | |||
| R83 | CH, turn, A, 6X | 7 | |||
| R84 | CH, turn, 5X, A | 6 | |||
| R85 | CH, turn, A, 4X | 5 | |||
| R86 | CH, turn, 3X, A | 4 | |||
| R87 | CH, turn, A, 2X | 3 | |||
| R88 | CH, turn, X, A | 2 | |||
| R89 | CH, turn, A | 1 | |||
| Edging | First, crochet 1 round of single crochets along the edge of the main part. Decrease stitches at the cuffs. The exact number of stitches is not required, just keep it flat. Refer to the video demonstration for specifics. | Impression Misty Feather 23#Green Tea |
Impression Misty Feather 18#Tigerlily |
Impression Misty Feather 08#Mauve Mist |
|
| Edging for Front Band | Row 1: Work single crochets as usual. Refer to the video demonstration for specifics. | Impression Misty Feather 25#Whisper White | |||
| For the 2nd row, work the single crochets through the back loops only, refer to the video demonstration for specifics. | 4-Ply Combed Cotton & Acrylic Fibre Hand Knitting Yarn 60#Lemon Chrome |
4-Ply Combed Cotton & Acrylic Fibre Hand Knitting Yarn 09#Aspen Gold |
|||
Note: Each sleeve is divided into 2 sections. Section 1 is made up of fabric 1 and fabric 2. After completing it, pick up stitches and crochet Section 2. Please refer to the video demonstration for details.
Calamus Style
Step 3 Head Decorations B3 66' 14'' (Part2)
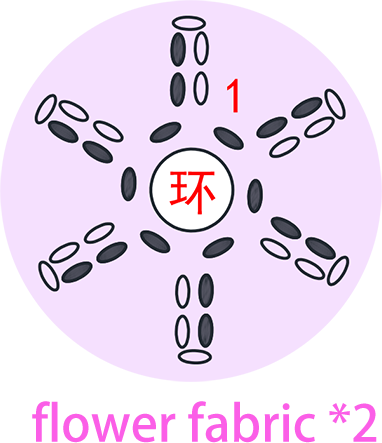
The head decoration is made up of flowers and colored ropes. The flowers are divided into flower fabrics and flower decorations. After crocheting is finished, sew them onto the head. Please refer to the video demonstration for specifics.
Note: Using a rainbow thread about 1.2 meters, fold it neatly into 5 strands, and crochet chains. The length of the chain rope should be about 20 centimeters, then make a bow.
Yarn of flower fabric: 08#Sheer Lilac from 4-Ply Combed Cotton & Acrylic Fibre Hand Knitting Yarn
Yarn of flower decoration: one strand of 16#Lemonade from 4-Ply Combed Cotton & Acrylic Fibre Hand Knitting Yarn
Step 4 Bottom Decorations B4 76' 13'' (Part2)
The bottom decorations are fixed on the garment, consisting of glass beads, colored ropes, and tassels. Please refer to the video demonstration for details.
Bay Laurel Style
Step 3 Head Decorations B3 & Bottom Decorations B4 60' 23'' (Part2)
The head decorations are made up of flowers and leaves, with flowers including acrylic flowers and small pearls. Sew them onto the corresponding positions. The bottom decorations consist of glass beads, transparent flat beads, and tassels. Please refer to the video demonstration for specifics.
Peony Style
Step 3 Head Decorations B3 87' 36''
The head decorations consist of ribbons and pom-poms. Please refer to the video demonstration for details.
Note: The length of one side of the ribbon is about 40 centimeters.
Step 4 Bottom Decorations B4 90' 30''
The bottom decorations are fixed on the garment. They consist of large pearls, ribbons, and tassels. Please refer to the video demonstration for specifics.
Note: The ribbon length is approximately 50 to 60 centimeters.
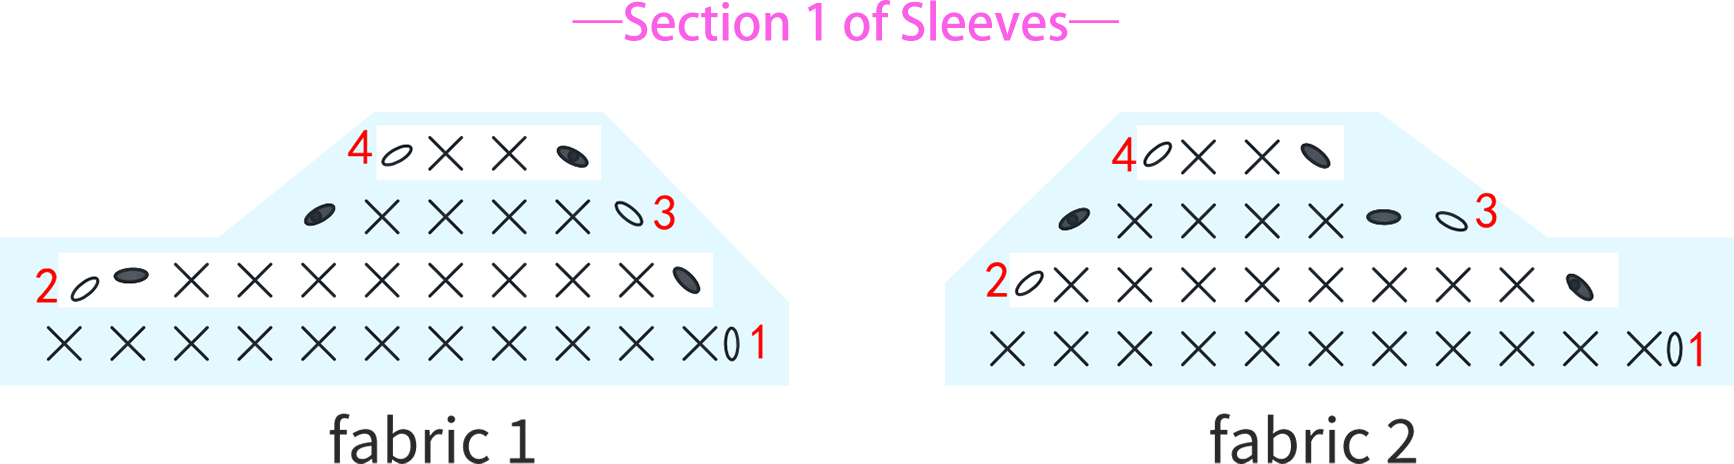
| Color Schemes for Section 1 of Sleeves | ||
| Calamus Style | Bay Laurel Style | Peony Style |
| Impression Misty Feather 23#Green Tea |
Impression Misty Feather 18#Tigerlily |
Impression Misty Feather 08#Mauve Mist |
| Section 2 of Sleeves *2 | |||||
| Round | Stitch Instructions | Total Stitches | Calamus Style | Bay Laurel Style | Peony Style |
| R1 | Pick up 11X separately along the edges of fabric 1 and fabric 2, 11X | 22 | Impression Misty Feather 23#Green Tea |
Impression Misty Feather 18#Tigerlily |
Impression Misty Feather 08#Mauve Mist |
| R2—R8 | even 22X | 22 | |||
| R9 | A, 18X, A | 20 | |||
| R10 | 2A, 12X, 2A | 16 | |||
| R11 | 2A, 3X, A, 3X, 2A | 11 | |||
| R12 | BLO, even 11X | 11 | 4-Ply Combed Cotton & Acrylic Fibre Hand Knitting Yarn 60#Lemon Chrome |
4-Ply Combed Cotton & Acrylic Fibre Hand Knitting Yarn 09#Aspen Gold |
|
| Note: Leave a 20cm yarn tail before breaking the yarn. | |||||
【Calamus Style】
Yarn for clothing flower embroidery: 4-Ply Combed Cotton & Acrylic Fibre Hand Knitting Yarn
2 strands of 08#Sheer Lilac, 1 strand of 16#Lemonade
Yarn for clothing base embroidery: 4-Ply Combed Cotton & Acrylic Fibre Hand Knitting Yarn
1 strand of 41#Foliage Green
【Peony Style】
Yarn for clothing leaf embroidery: 4-Ply Combed Cotton & Acrylic Fibre Hand Knitting Yarn
2 strands of 25#Fair Green
Yarn for clothing flower embroidery:
Note: For the 4th round of the flower, use two needles together for embroidery. There are no specific requirements for the embroidery shape, and the number of rounds, petals and so on, can be adjusted according to your preference.
| Large flowers embroidery (using 1 strand of 4-Ply Combed Cotton & Acrylic Fibre Hand Knitting Yarn) |
|||
| Section | Number of yarn over loops | Number of petals | Color |
| Flower center | 6、7、7 | 3 | 51#High Risk Red |
| R1 | 8 | 5 | 51#High Risk Red |
| R2 | 6 | 12#Shell Pink | |
| R3 | 4+3 | 12#Shell Pink + 49#Pearl | |
| R4 | 6 | 49#Pearl | |
| Small flowers embroidery (using 1 strand of 4-Ply Combed Cotton & Acrylic Fibre Hand Knitting Yarn) |
|||
| Section | Number of yarn over loops | Number of petals | Color |
| Flower center | 6、7、7 | 3 | 51#High Risk Red |
| R1 | 8 | 5 | 12#Shell Pink |
| R2 | 2+2 | 12#Shell Pink + 49#Pearl | |
| R3 | 6 | 49#Pearl | |
Made by the community