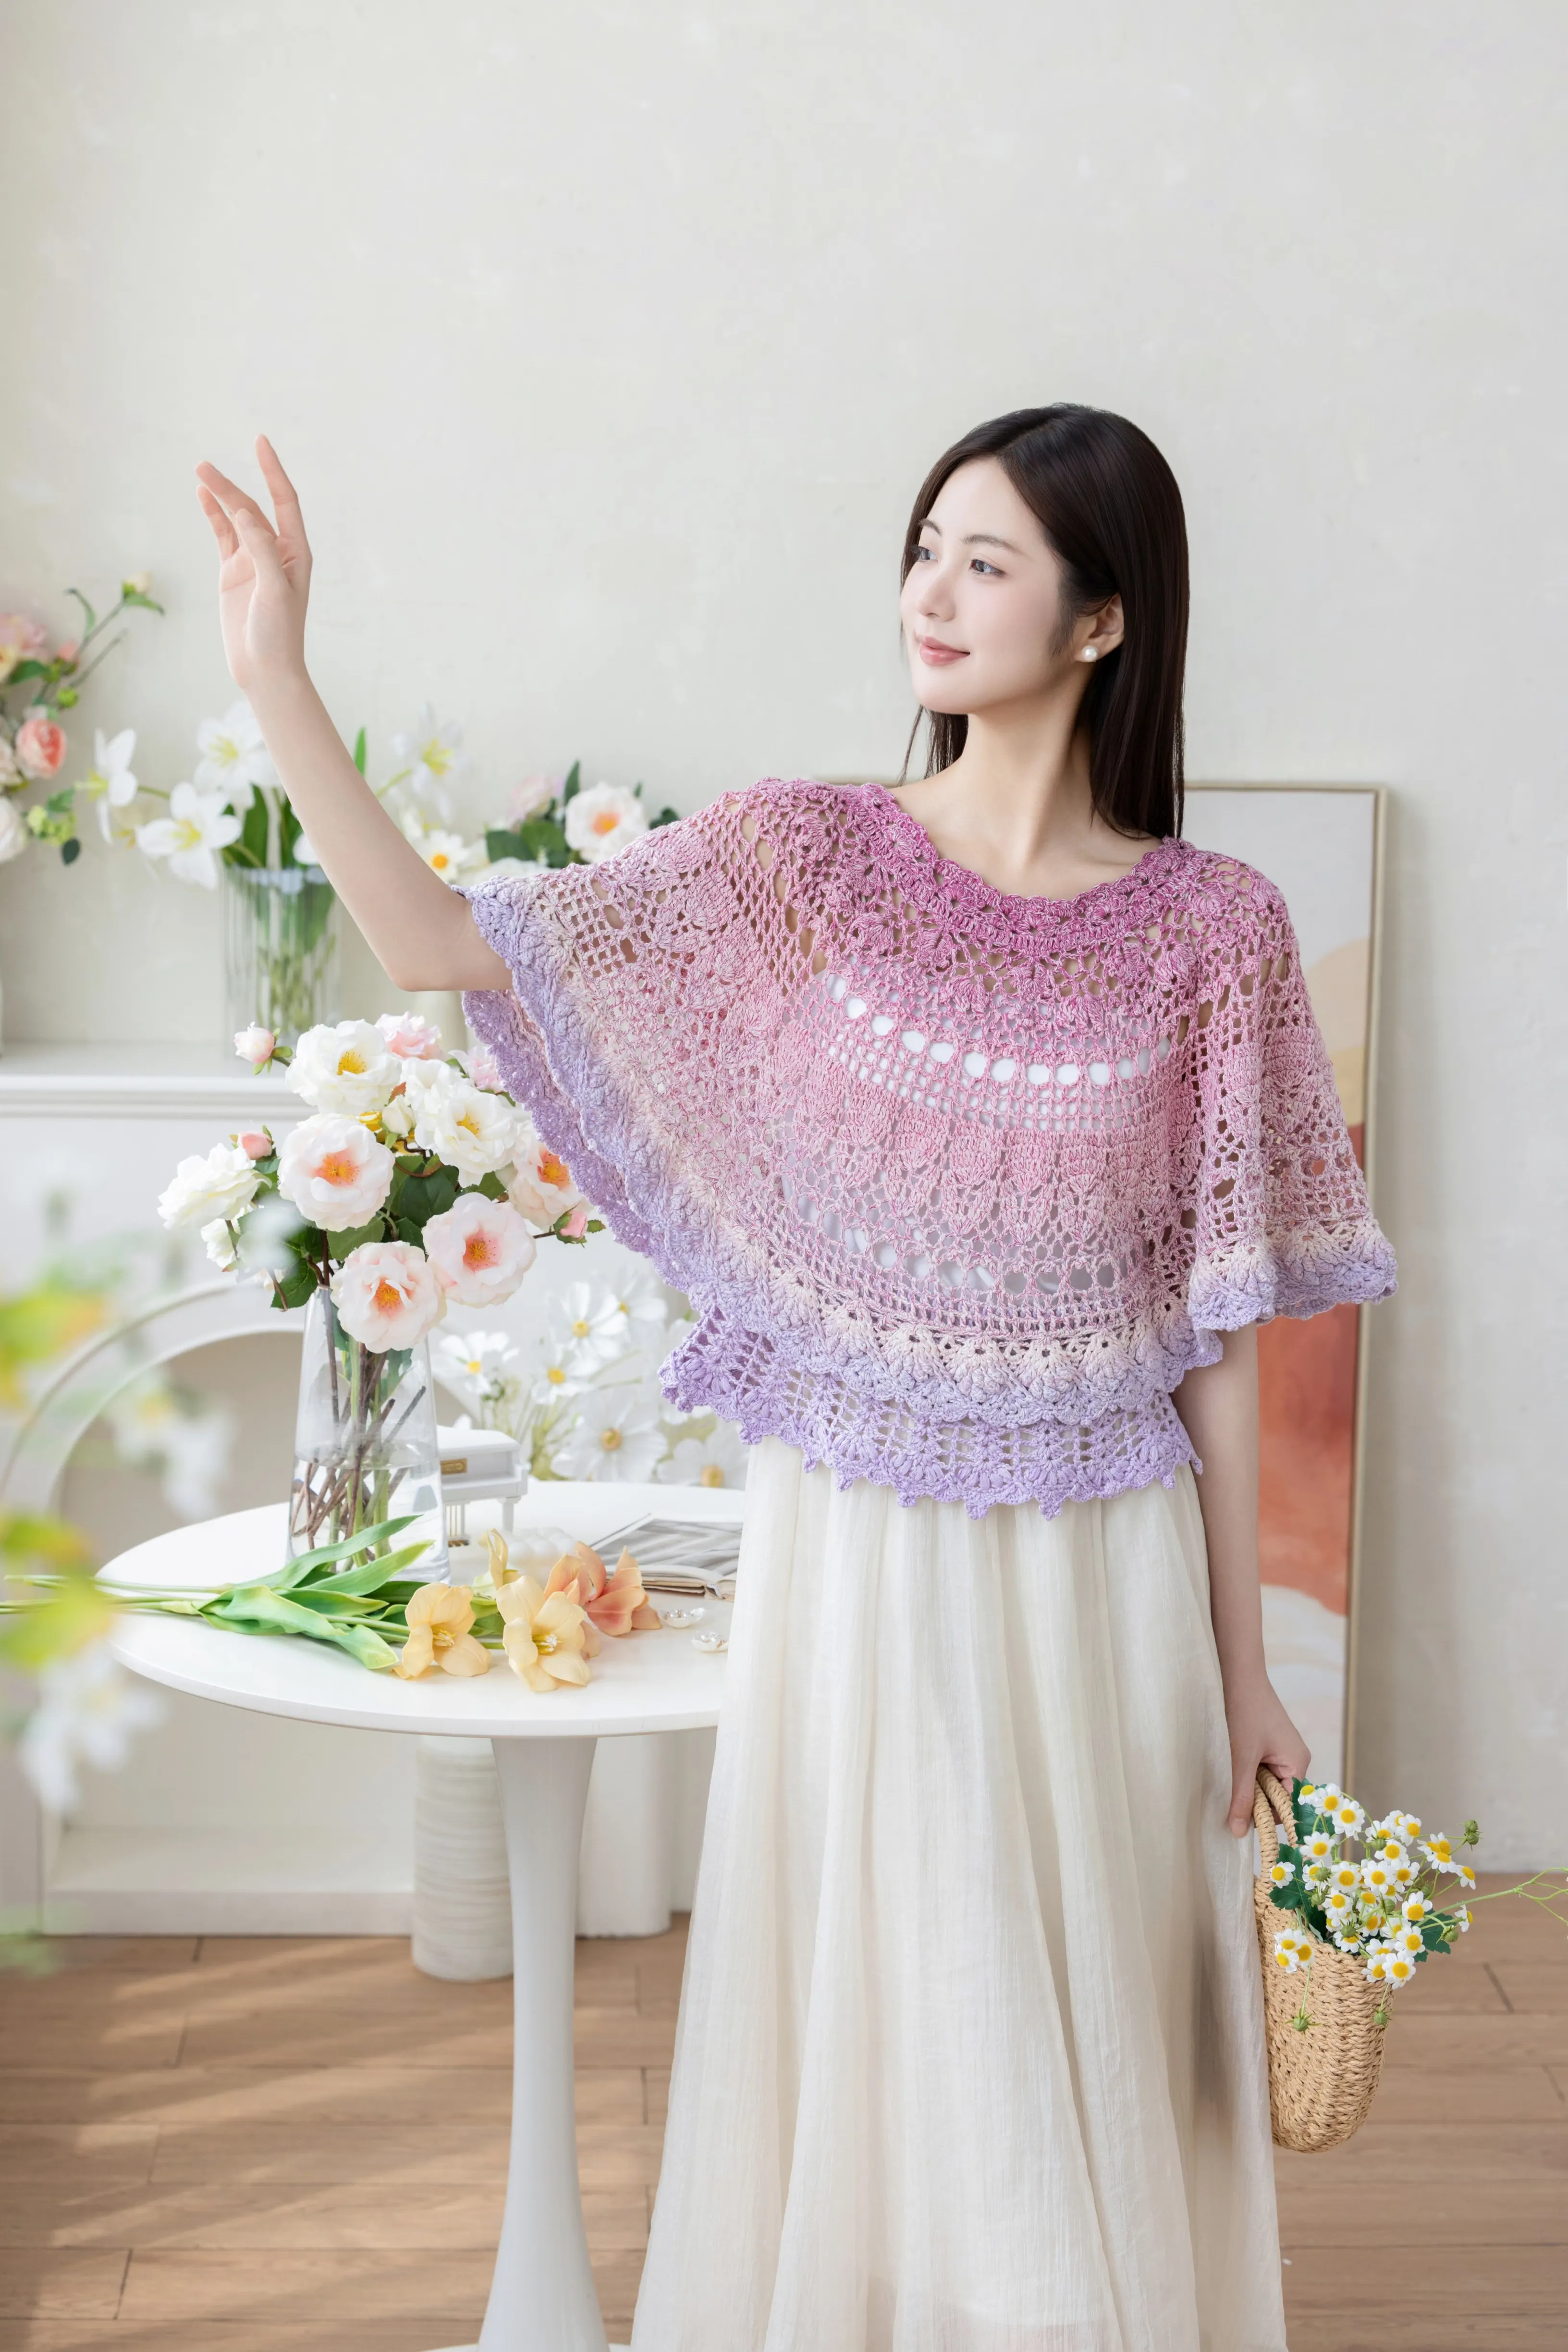
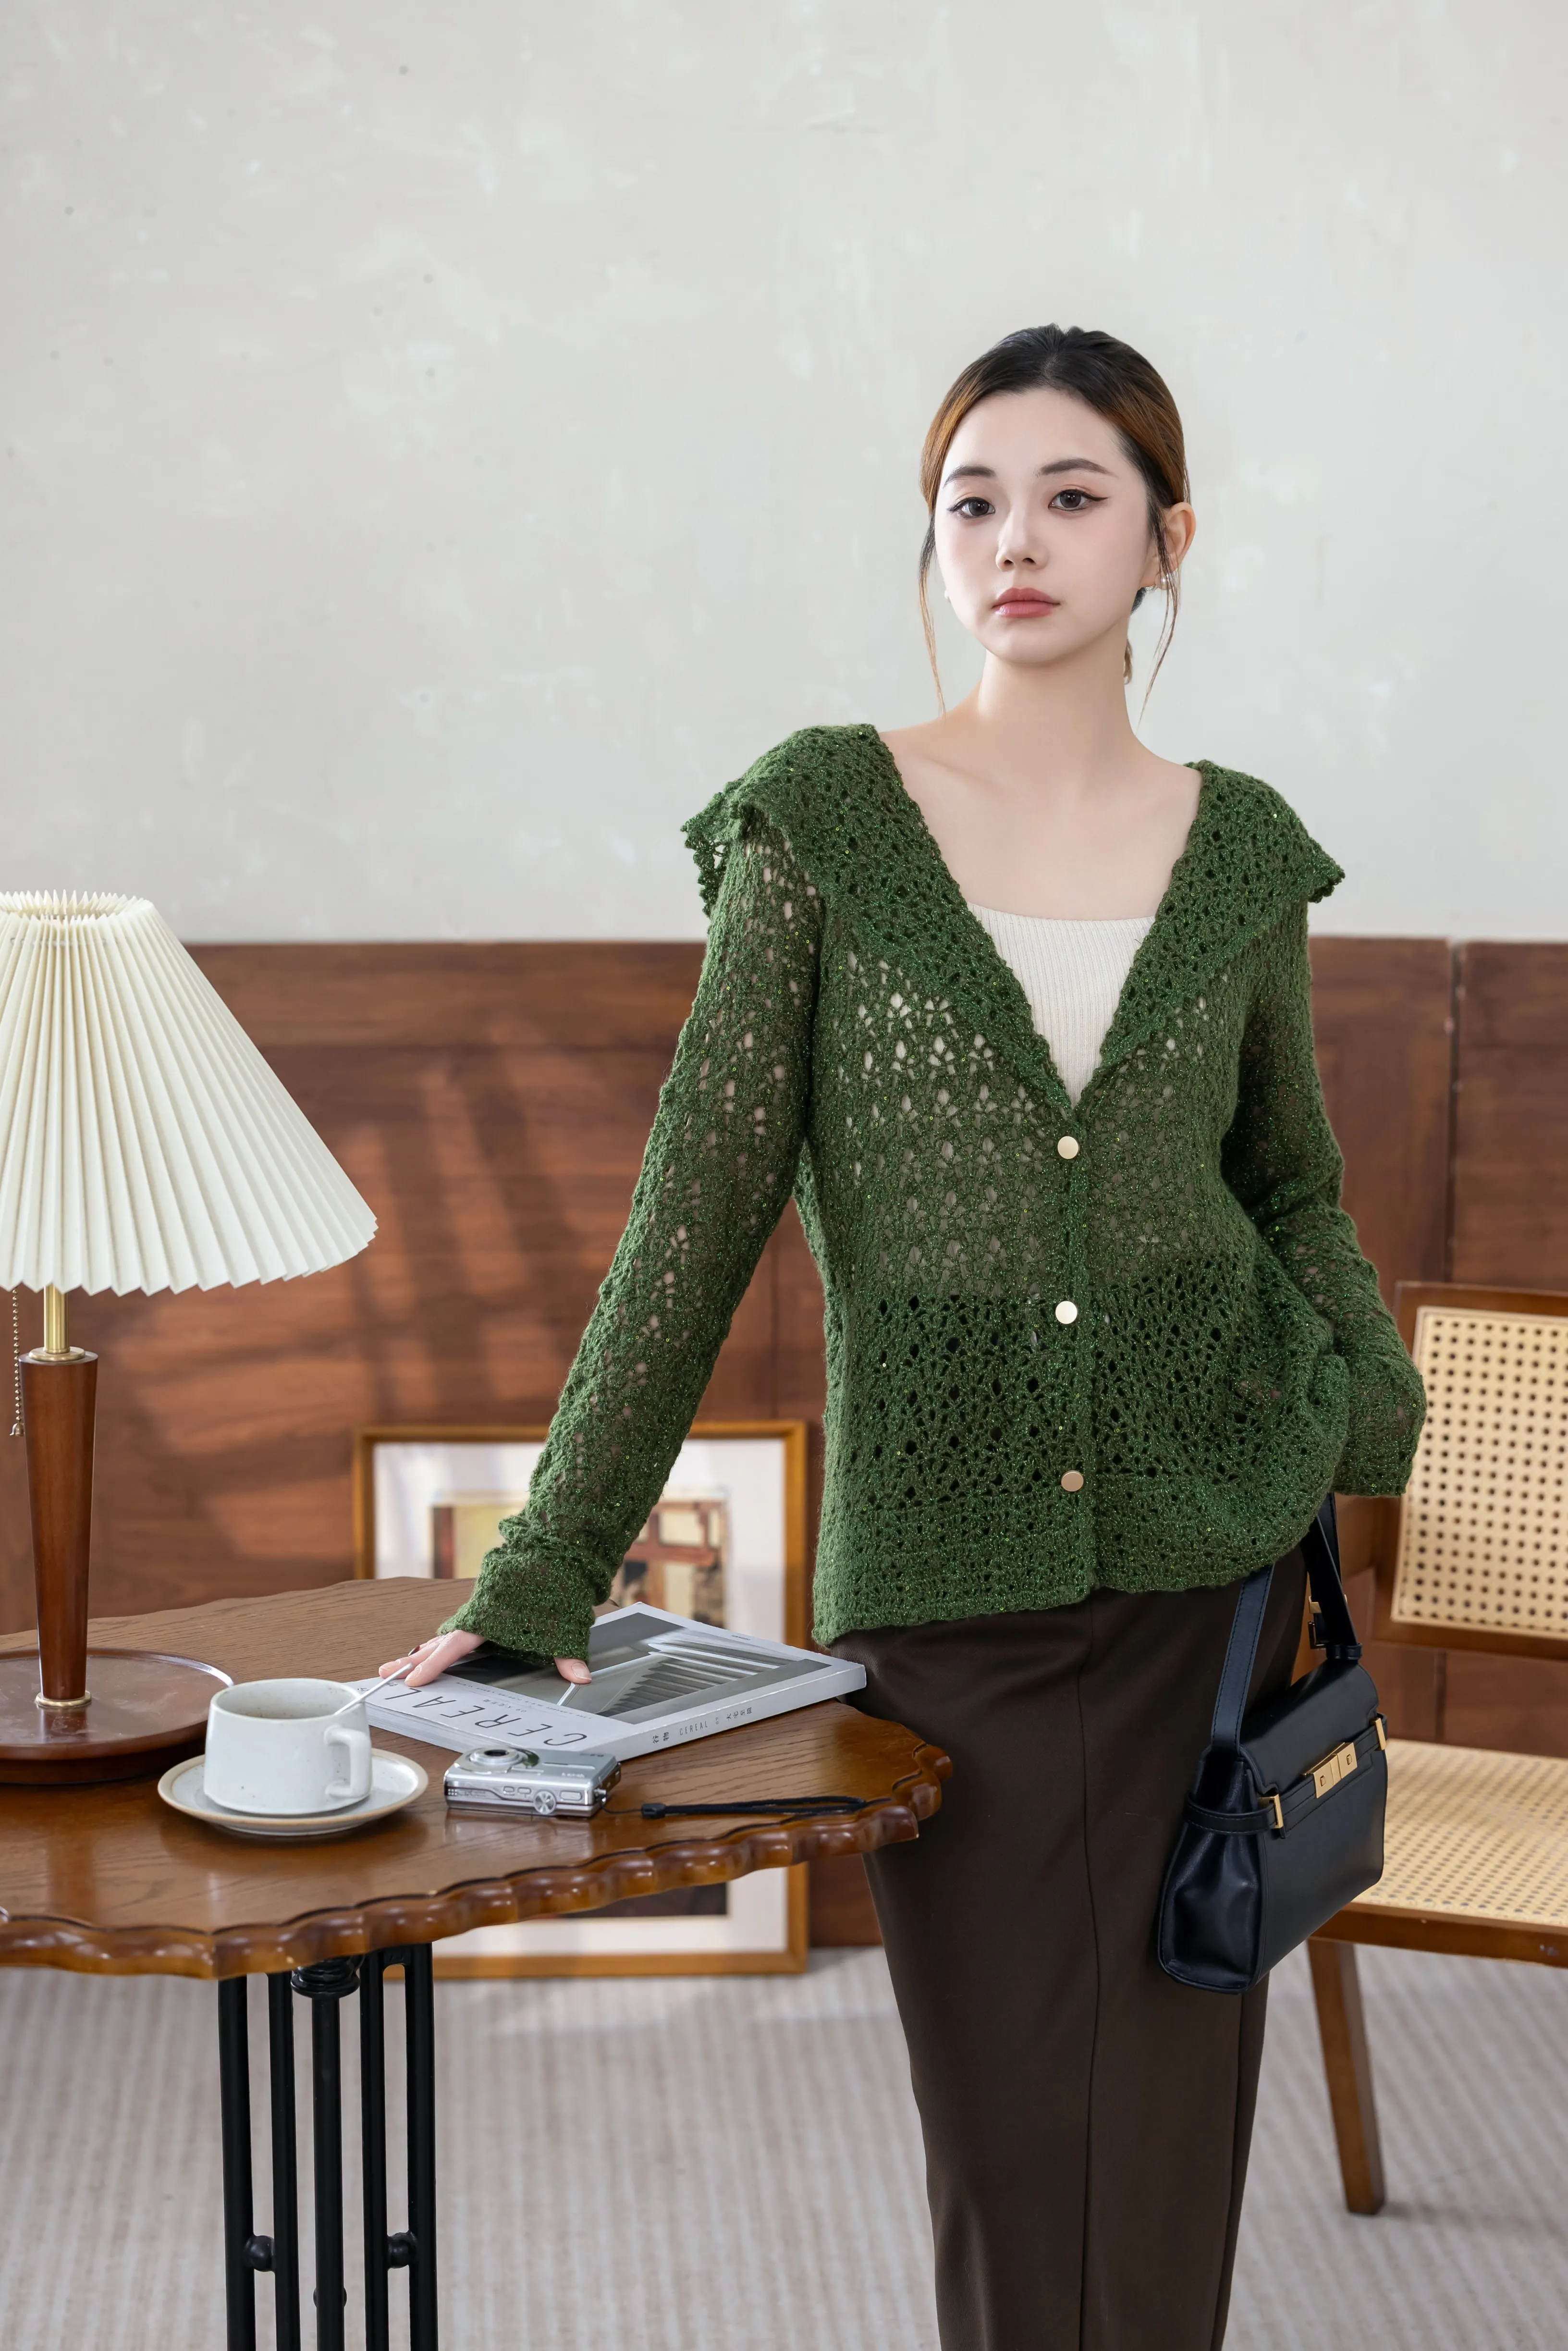
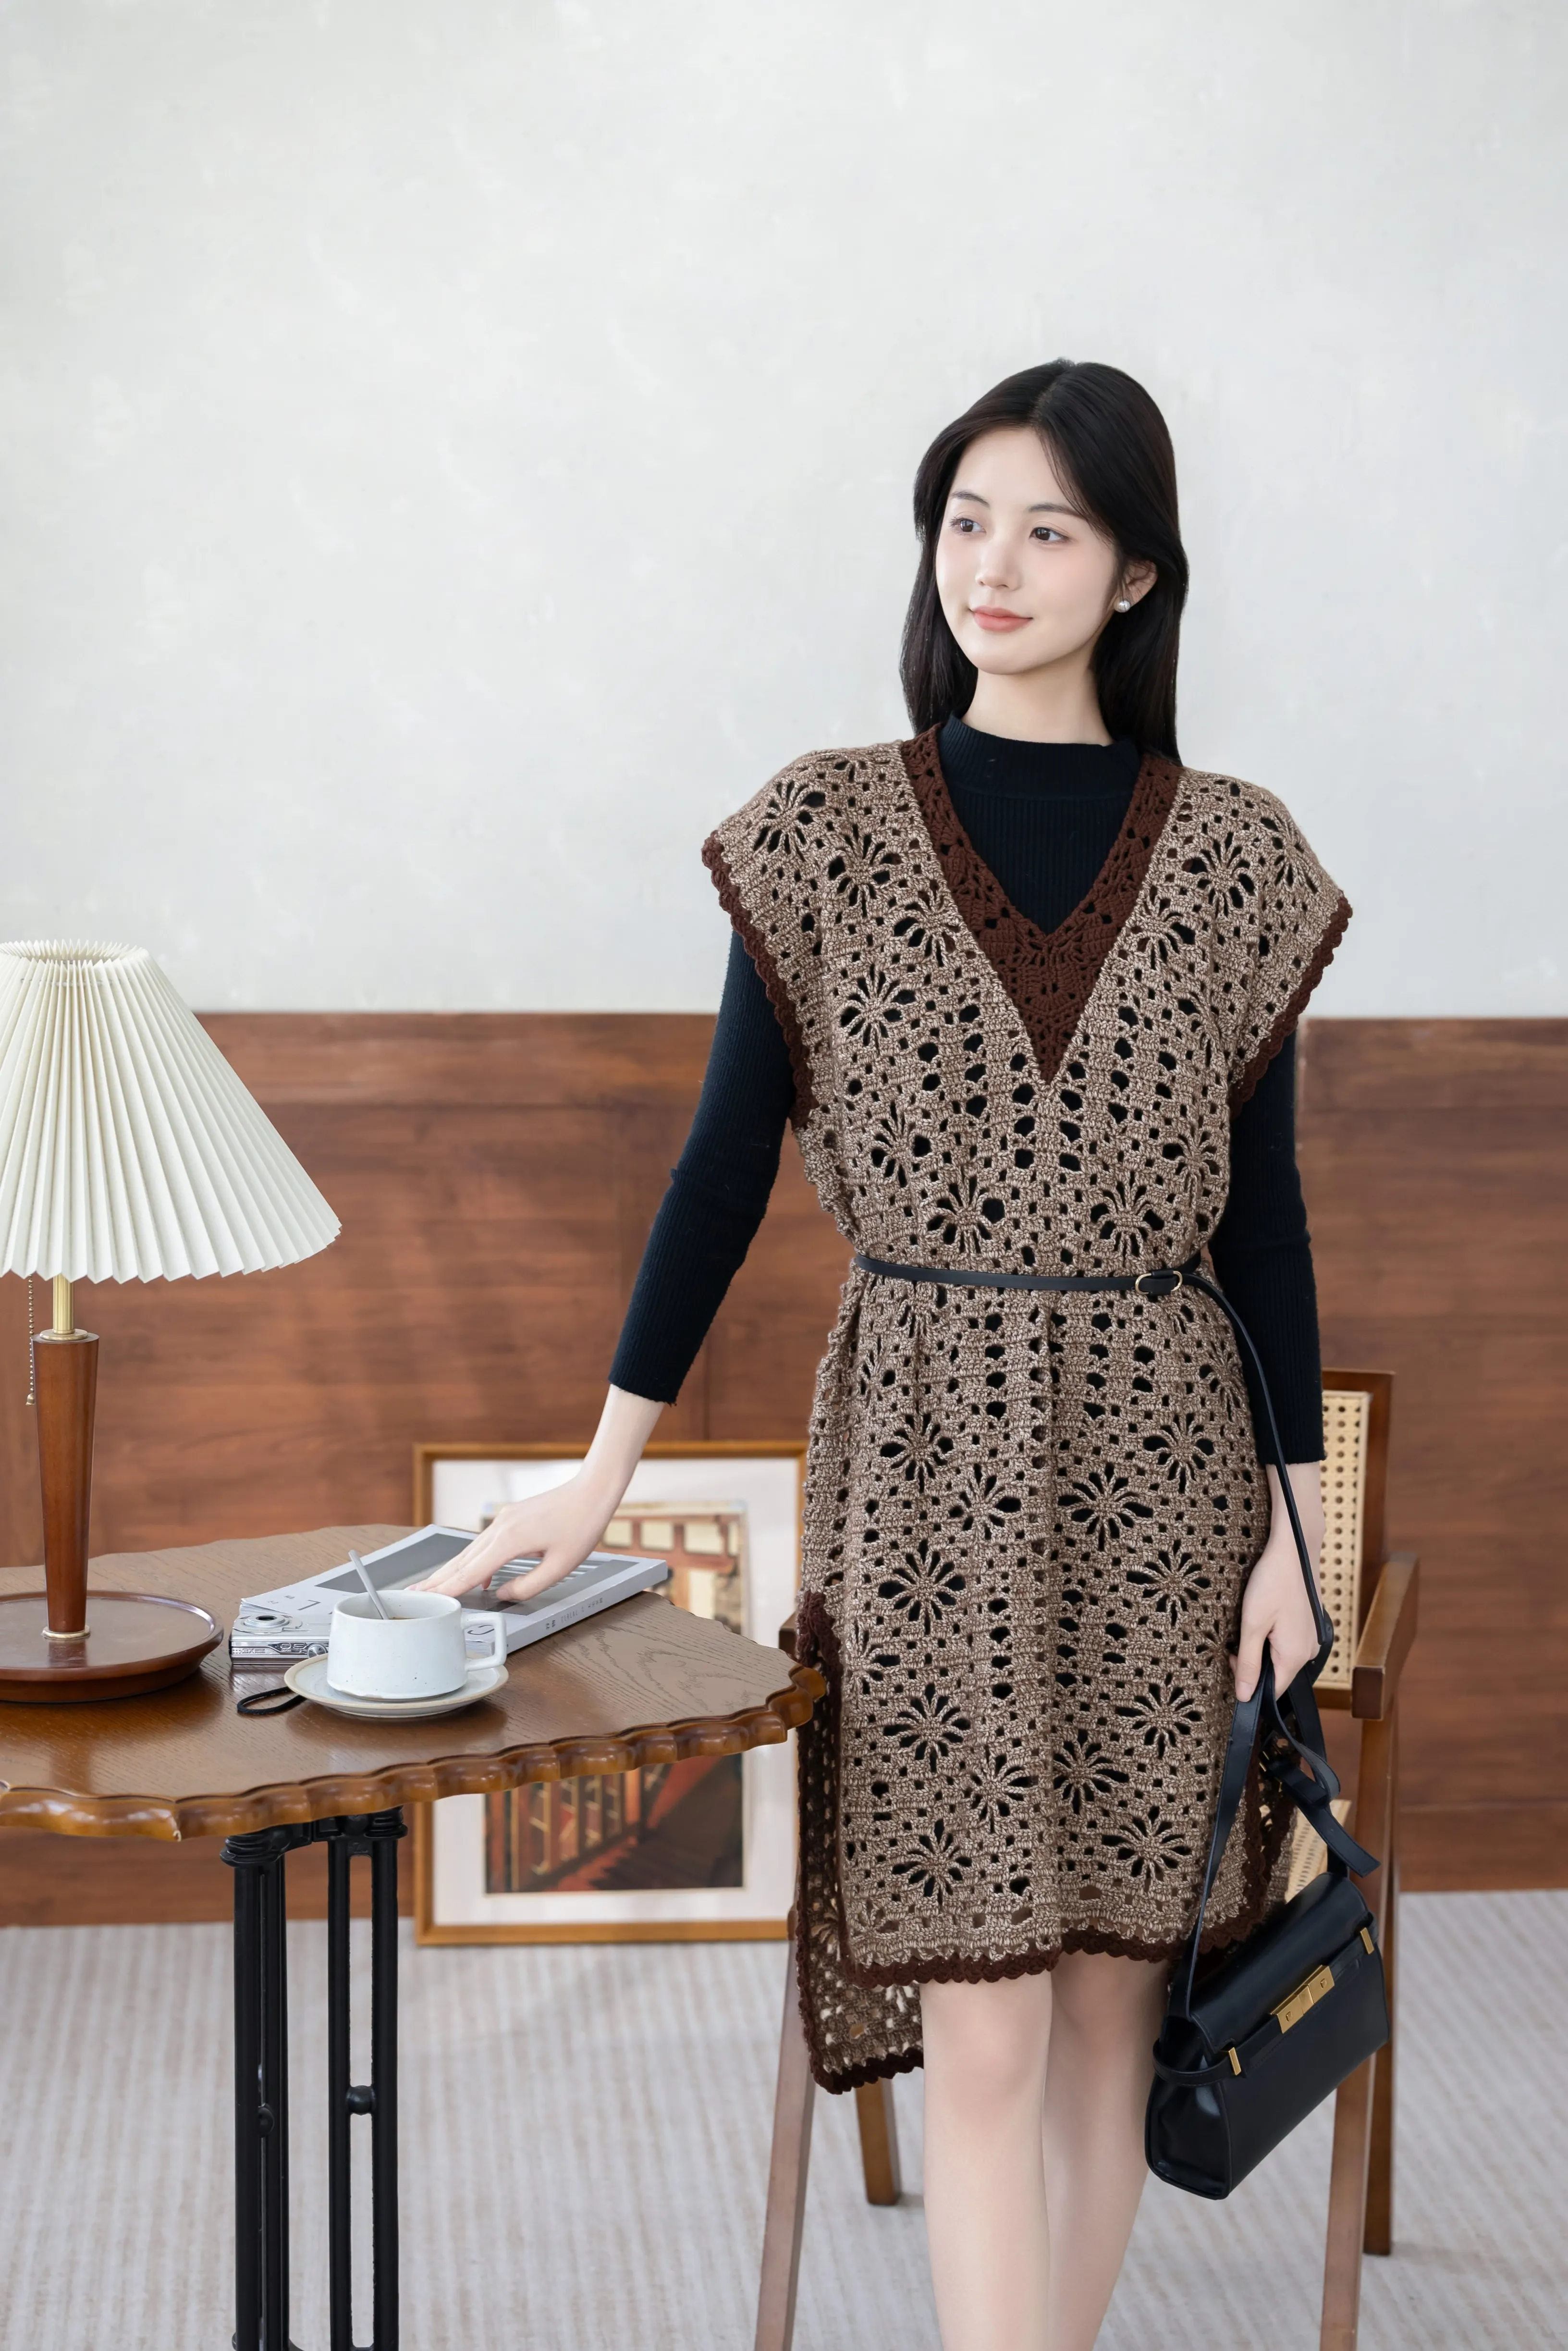
Clothes
Flame Diamond
Project preview
See the finished project
Pattern format
Instructions
Watch and follow
Video tutorial
| Style | Yarn | Color |
|---|---|---|
| Ember Sky Version | Sudden Impression |  10#Ember Sky x 6 10#Ember Sky x 6 |
| Fortune Mocha Version | Sudden Impression |  08#Fortune Mocha x 6 08#Fortune Mocha x 6 |
| Maple Haze Version | Sudden Impression |  07#Maple Haze x 6 07#Maple Haze x 6 |
This top is made up of the main part and the edging. You'll crochet the main part first, then add the edging around the edges.
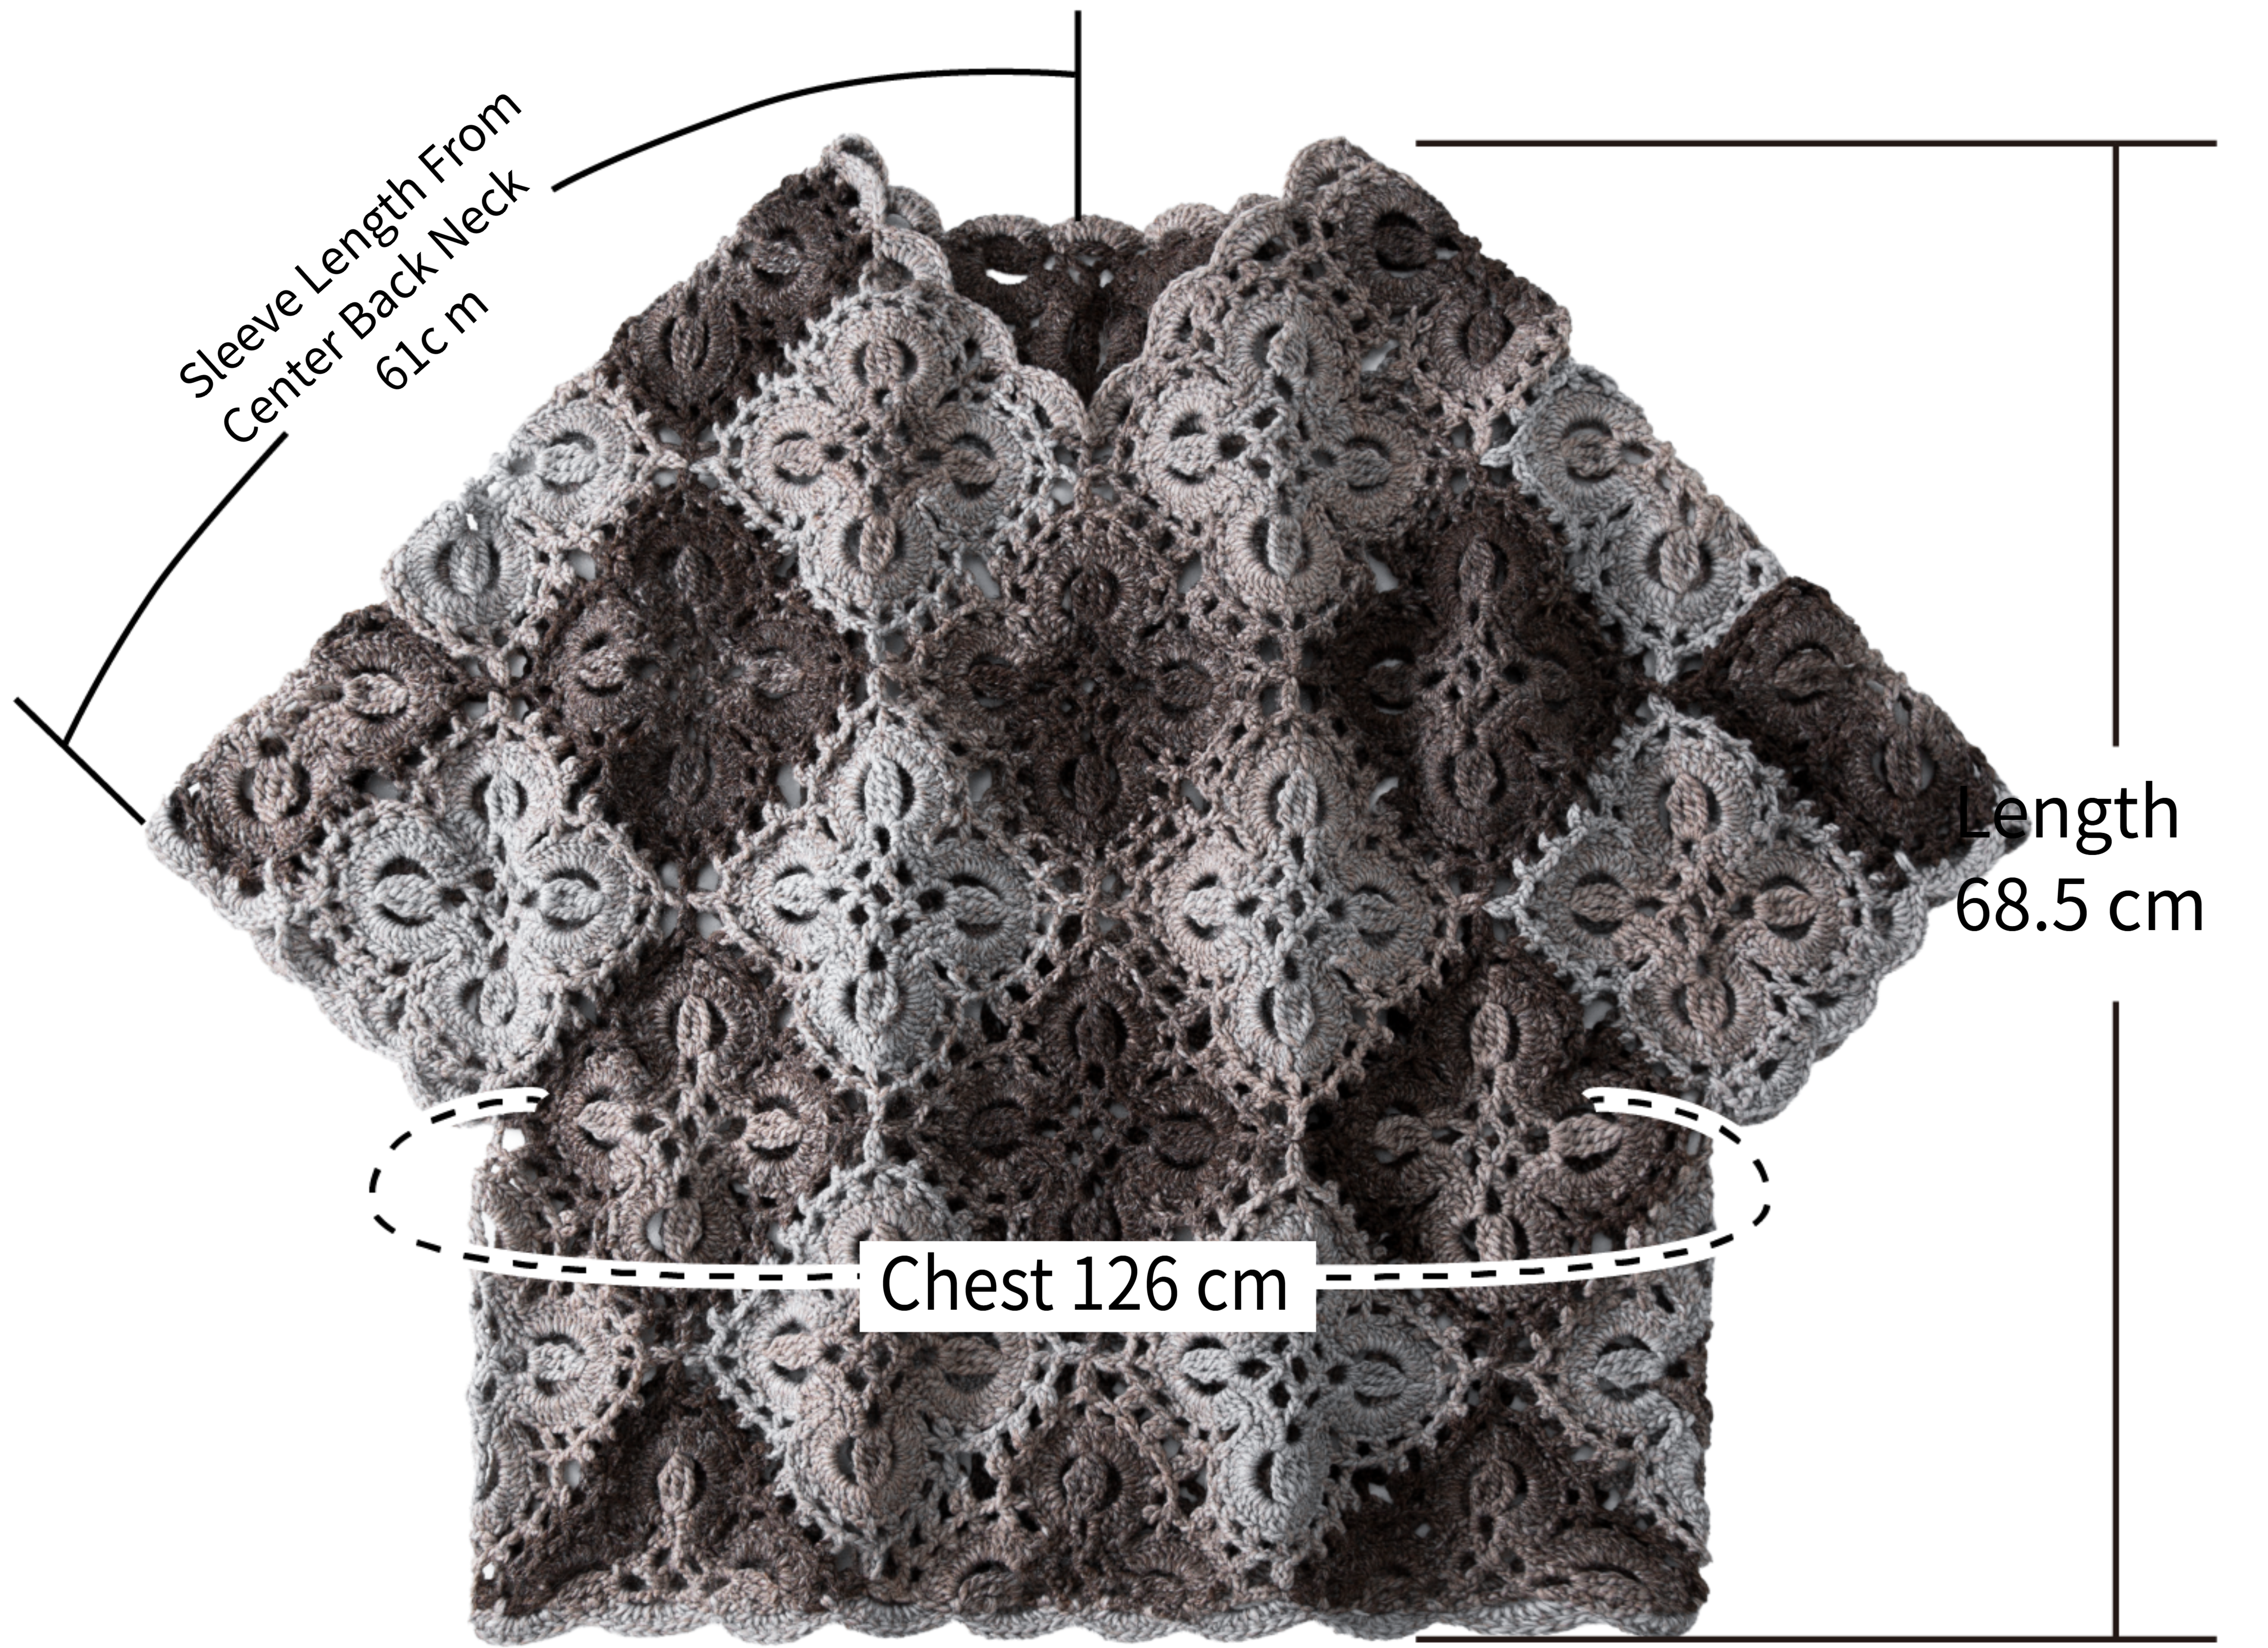
Note: Measurements are taken by hand, so there might be a 1-2 cm error.Since everyone’s tension varies, the sample size is just for reference.
Yarn : Sudden Impression. Tool : 4.0 mm hook.
Note: This project uses variegated yarn, which has sections of different shades. When crocheting, try to alternate the motifs with different colors. The chart shows the order starting from the darker sections. But feel free to pick your favorite color sections or arrange the colors however you like!

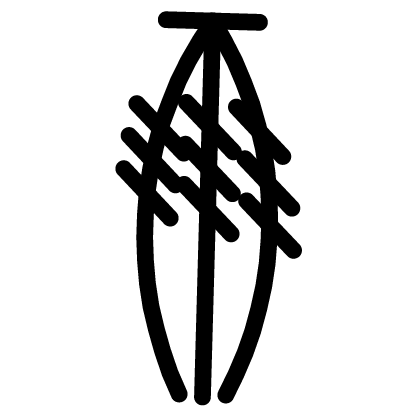
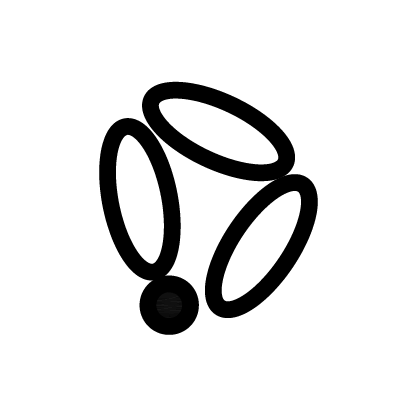
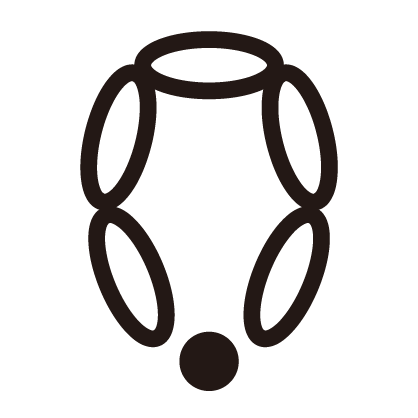
Chart Key








Note:
1. This pattern is making in Chinese crochet pattern terms, and the stitch name is written using American terminology. All measurements in charts are in cm.

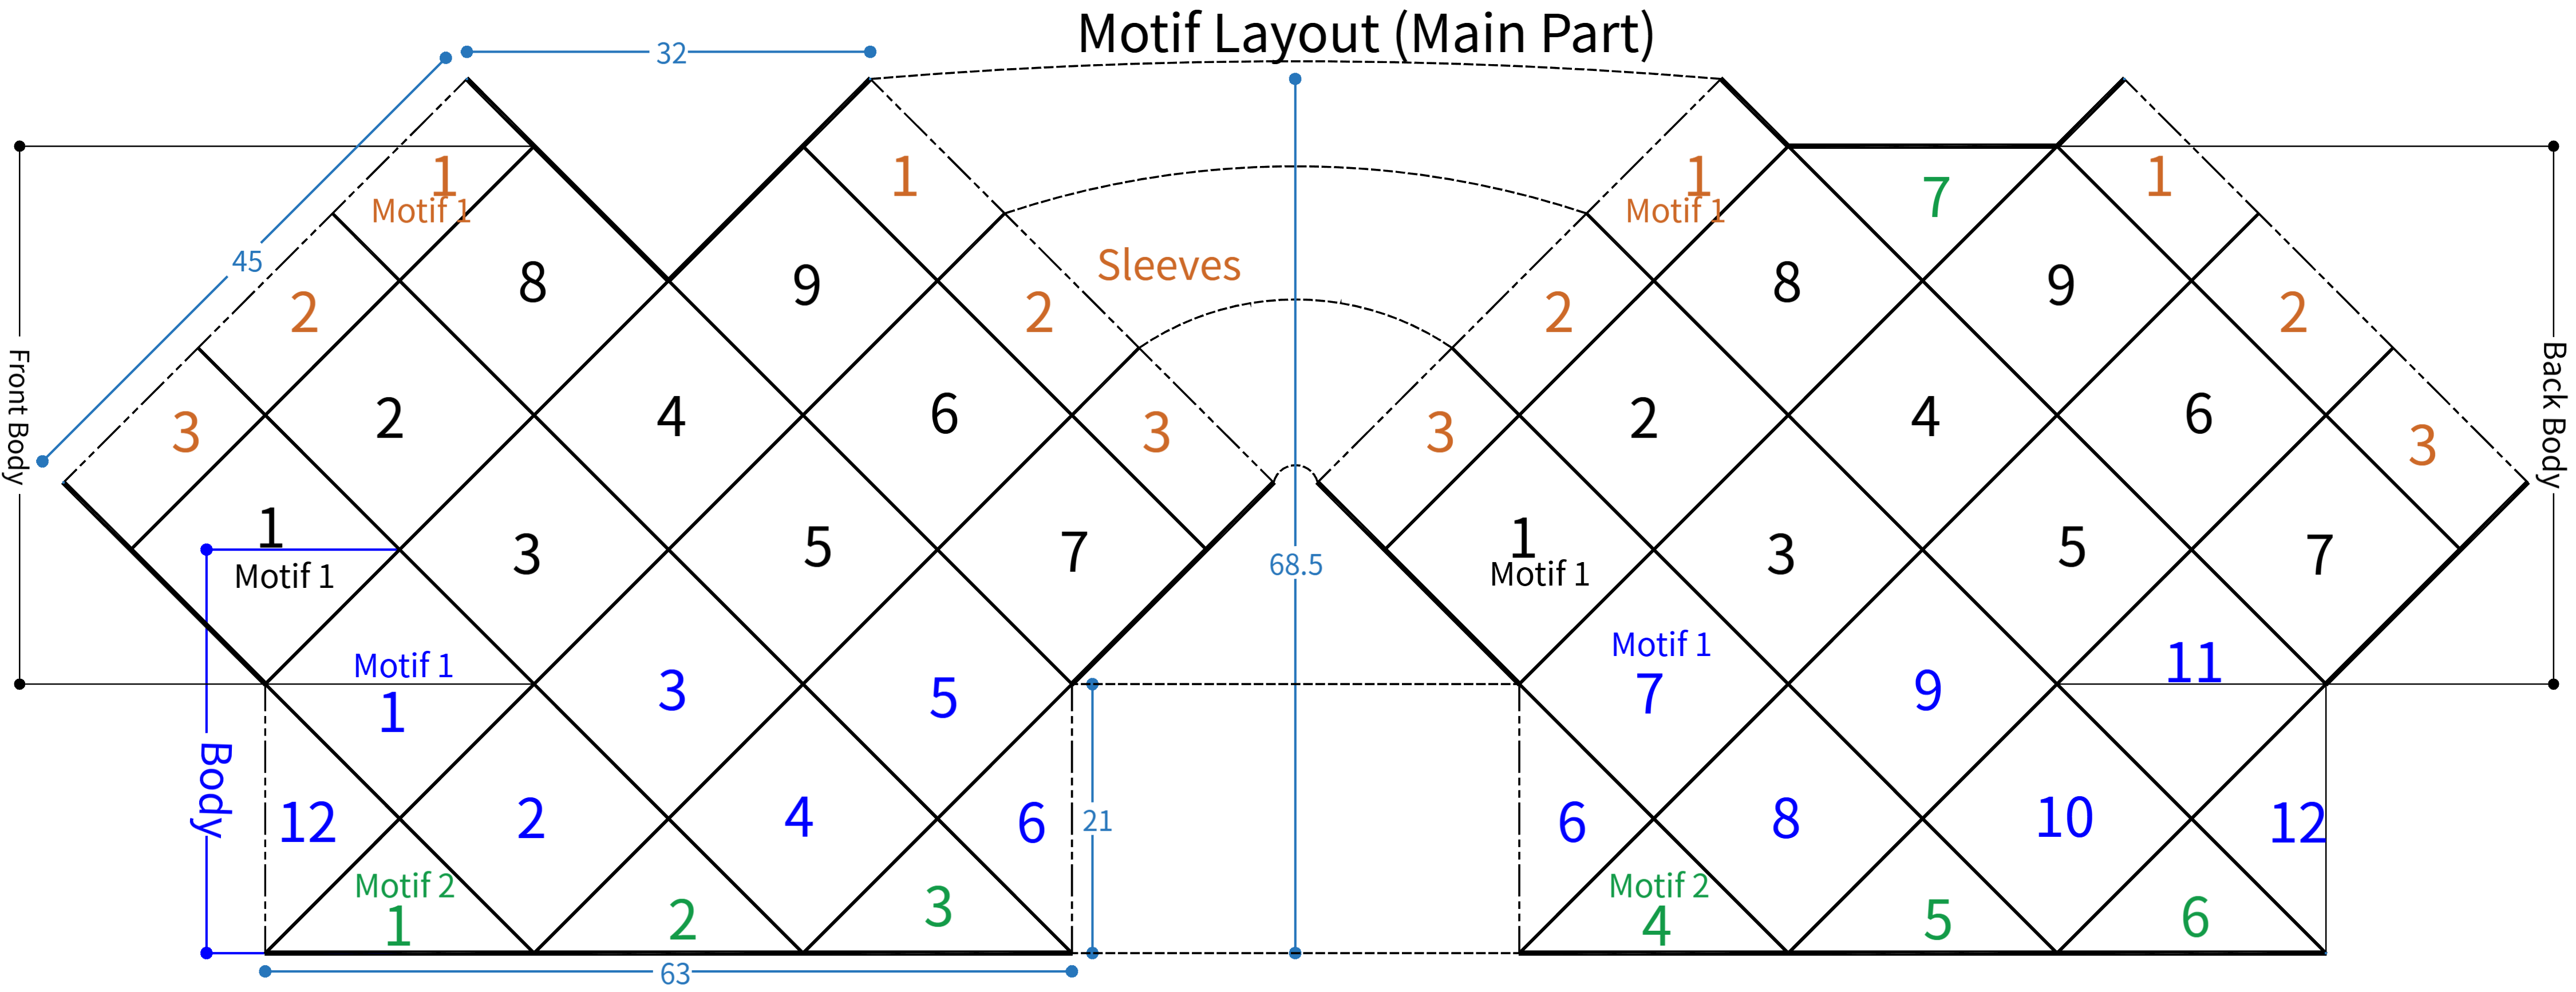
Schematic Diagram
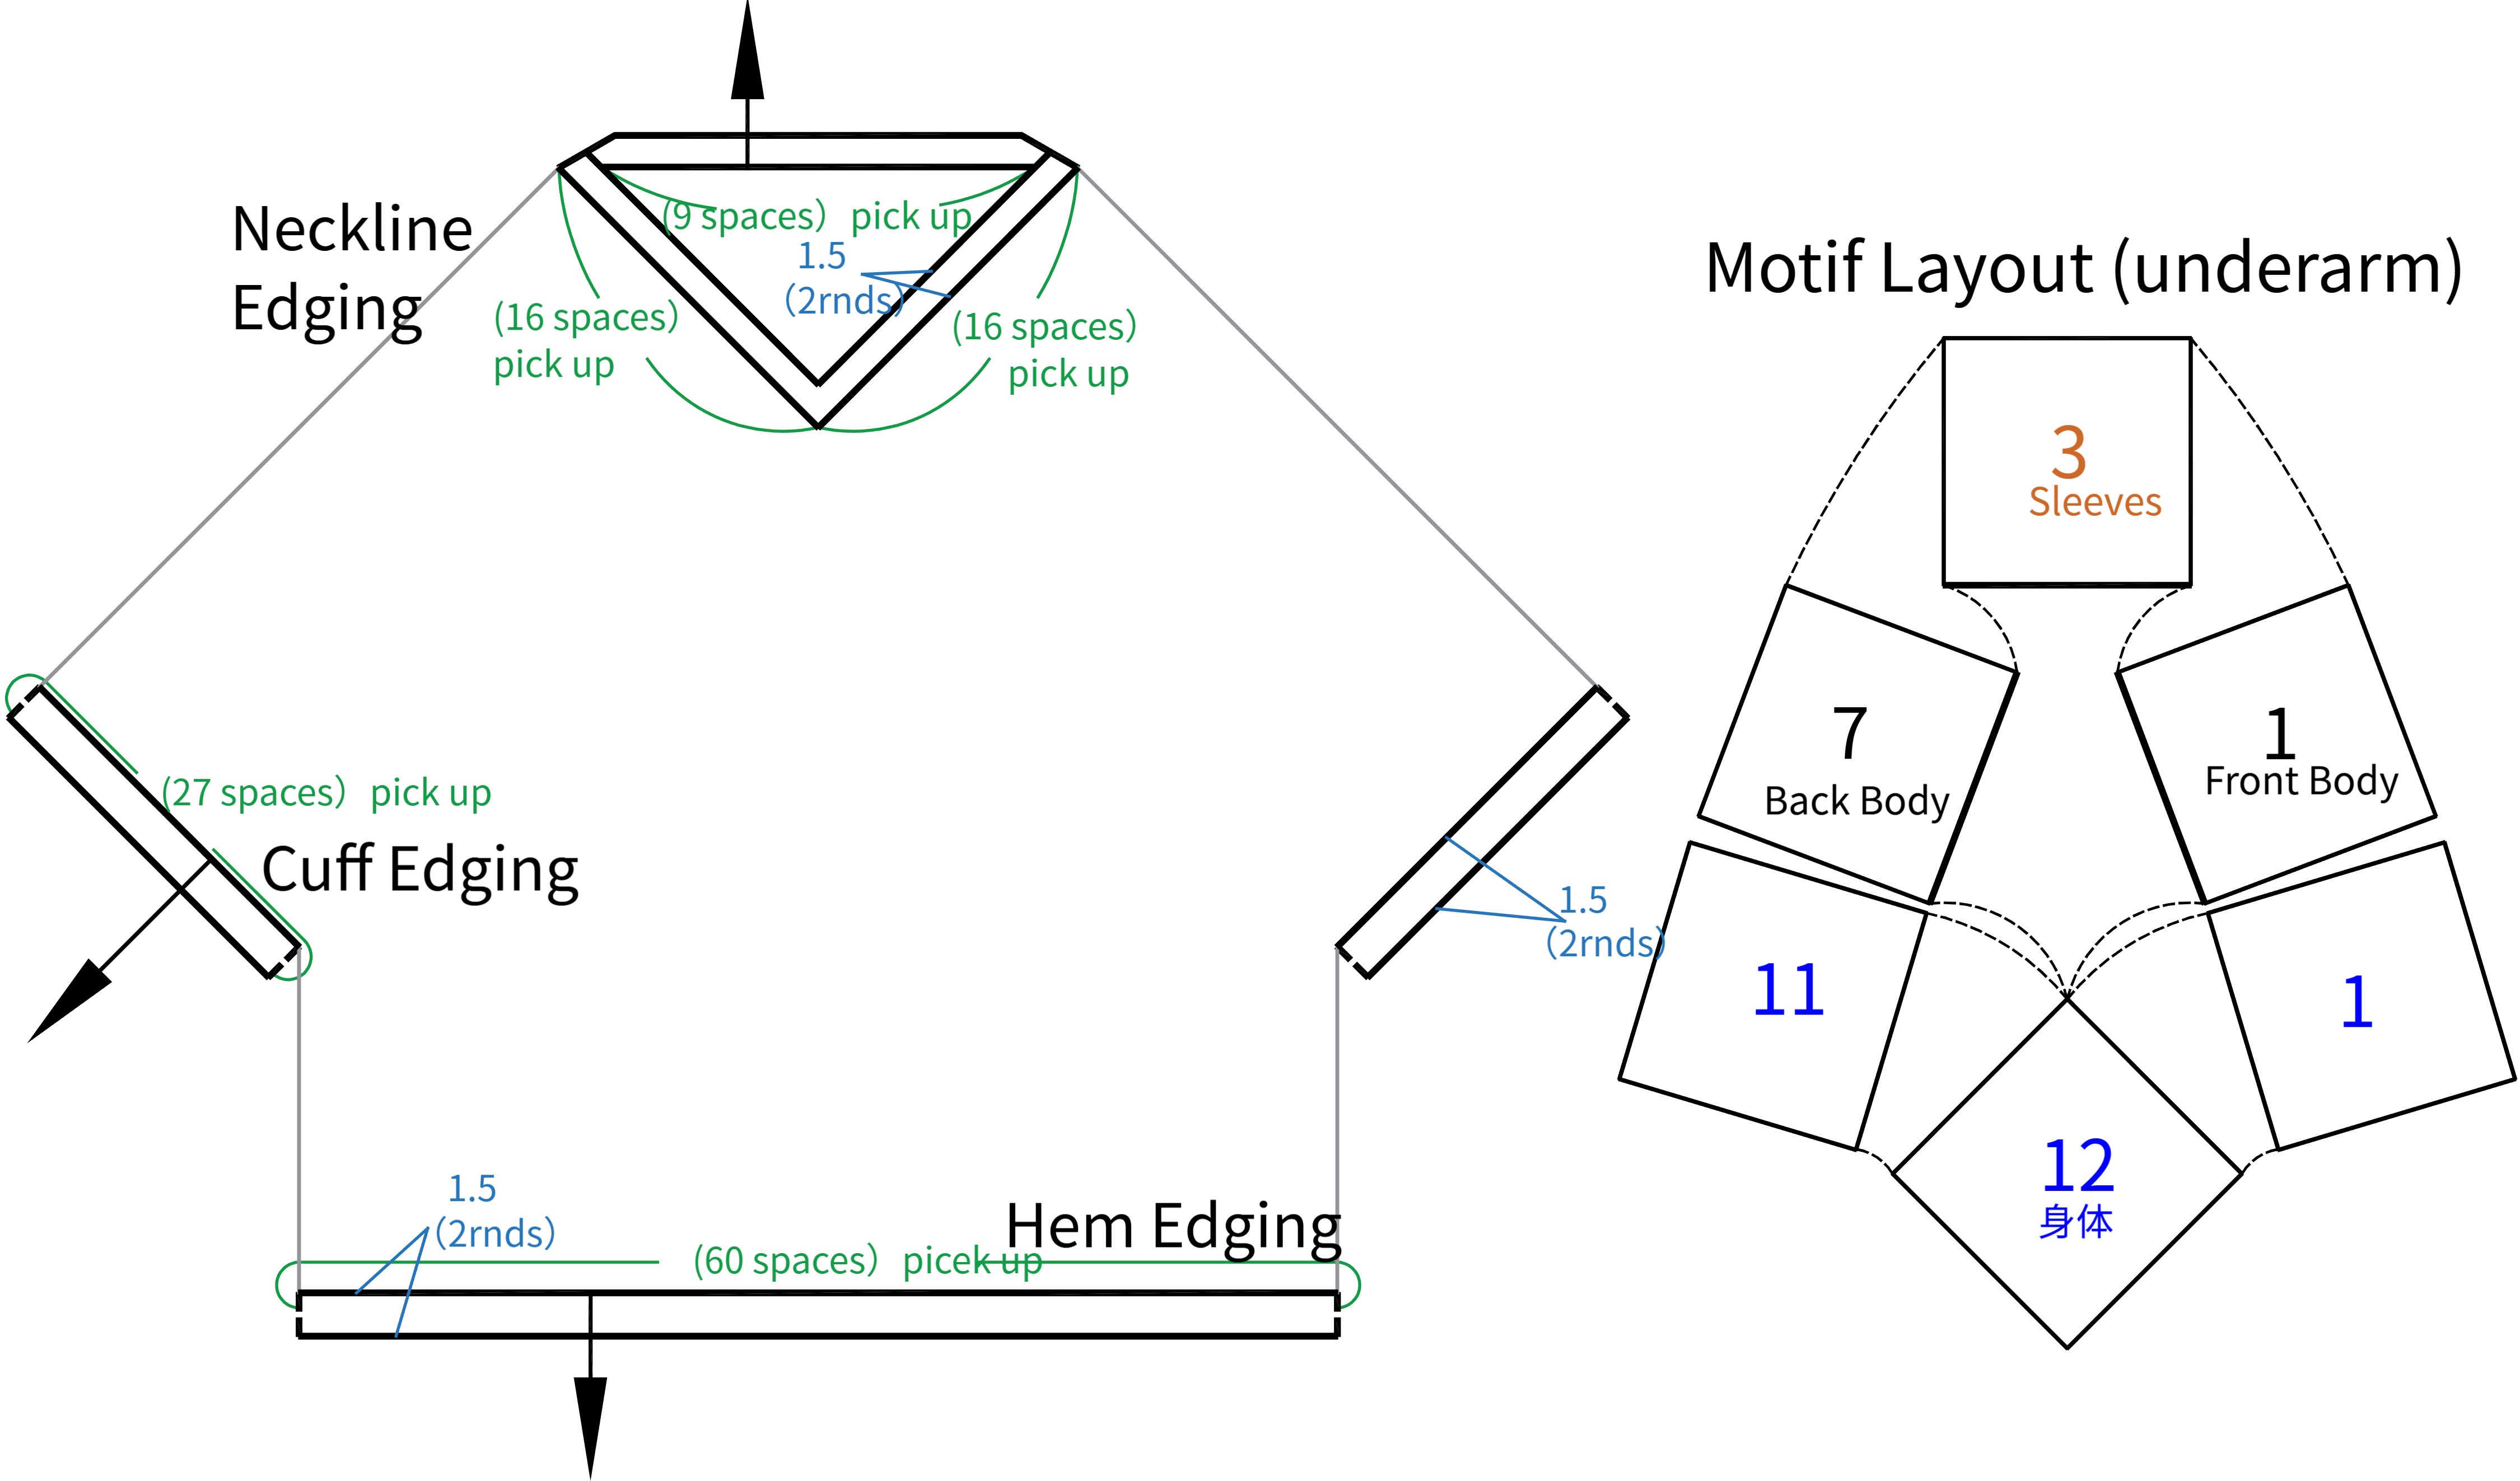
Part 1 The Main Part A
The main part is made up of Motif 1 A1 and Motif 2 A2. Check the diagram and crochet the two motifs in order.
Step 1 Motif 1 ×36 A1 01' 06''
Motif 1 is divided into four sections: the body, front body, back body, and sleeves. Start with a magic ring using chain stitches, and crochet each part in order. Except for the very first Motif 1 of the body, all other Motif 1s should be joined as you crochet the final round. Please refer to the video demonstration for more details.
Motif 1
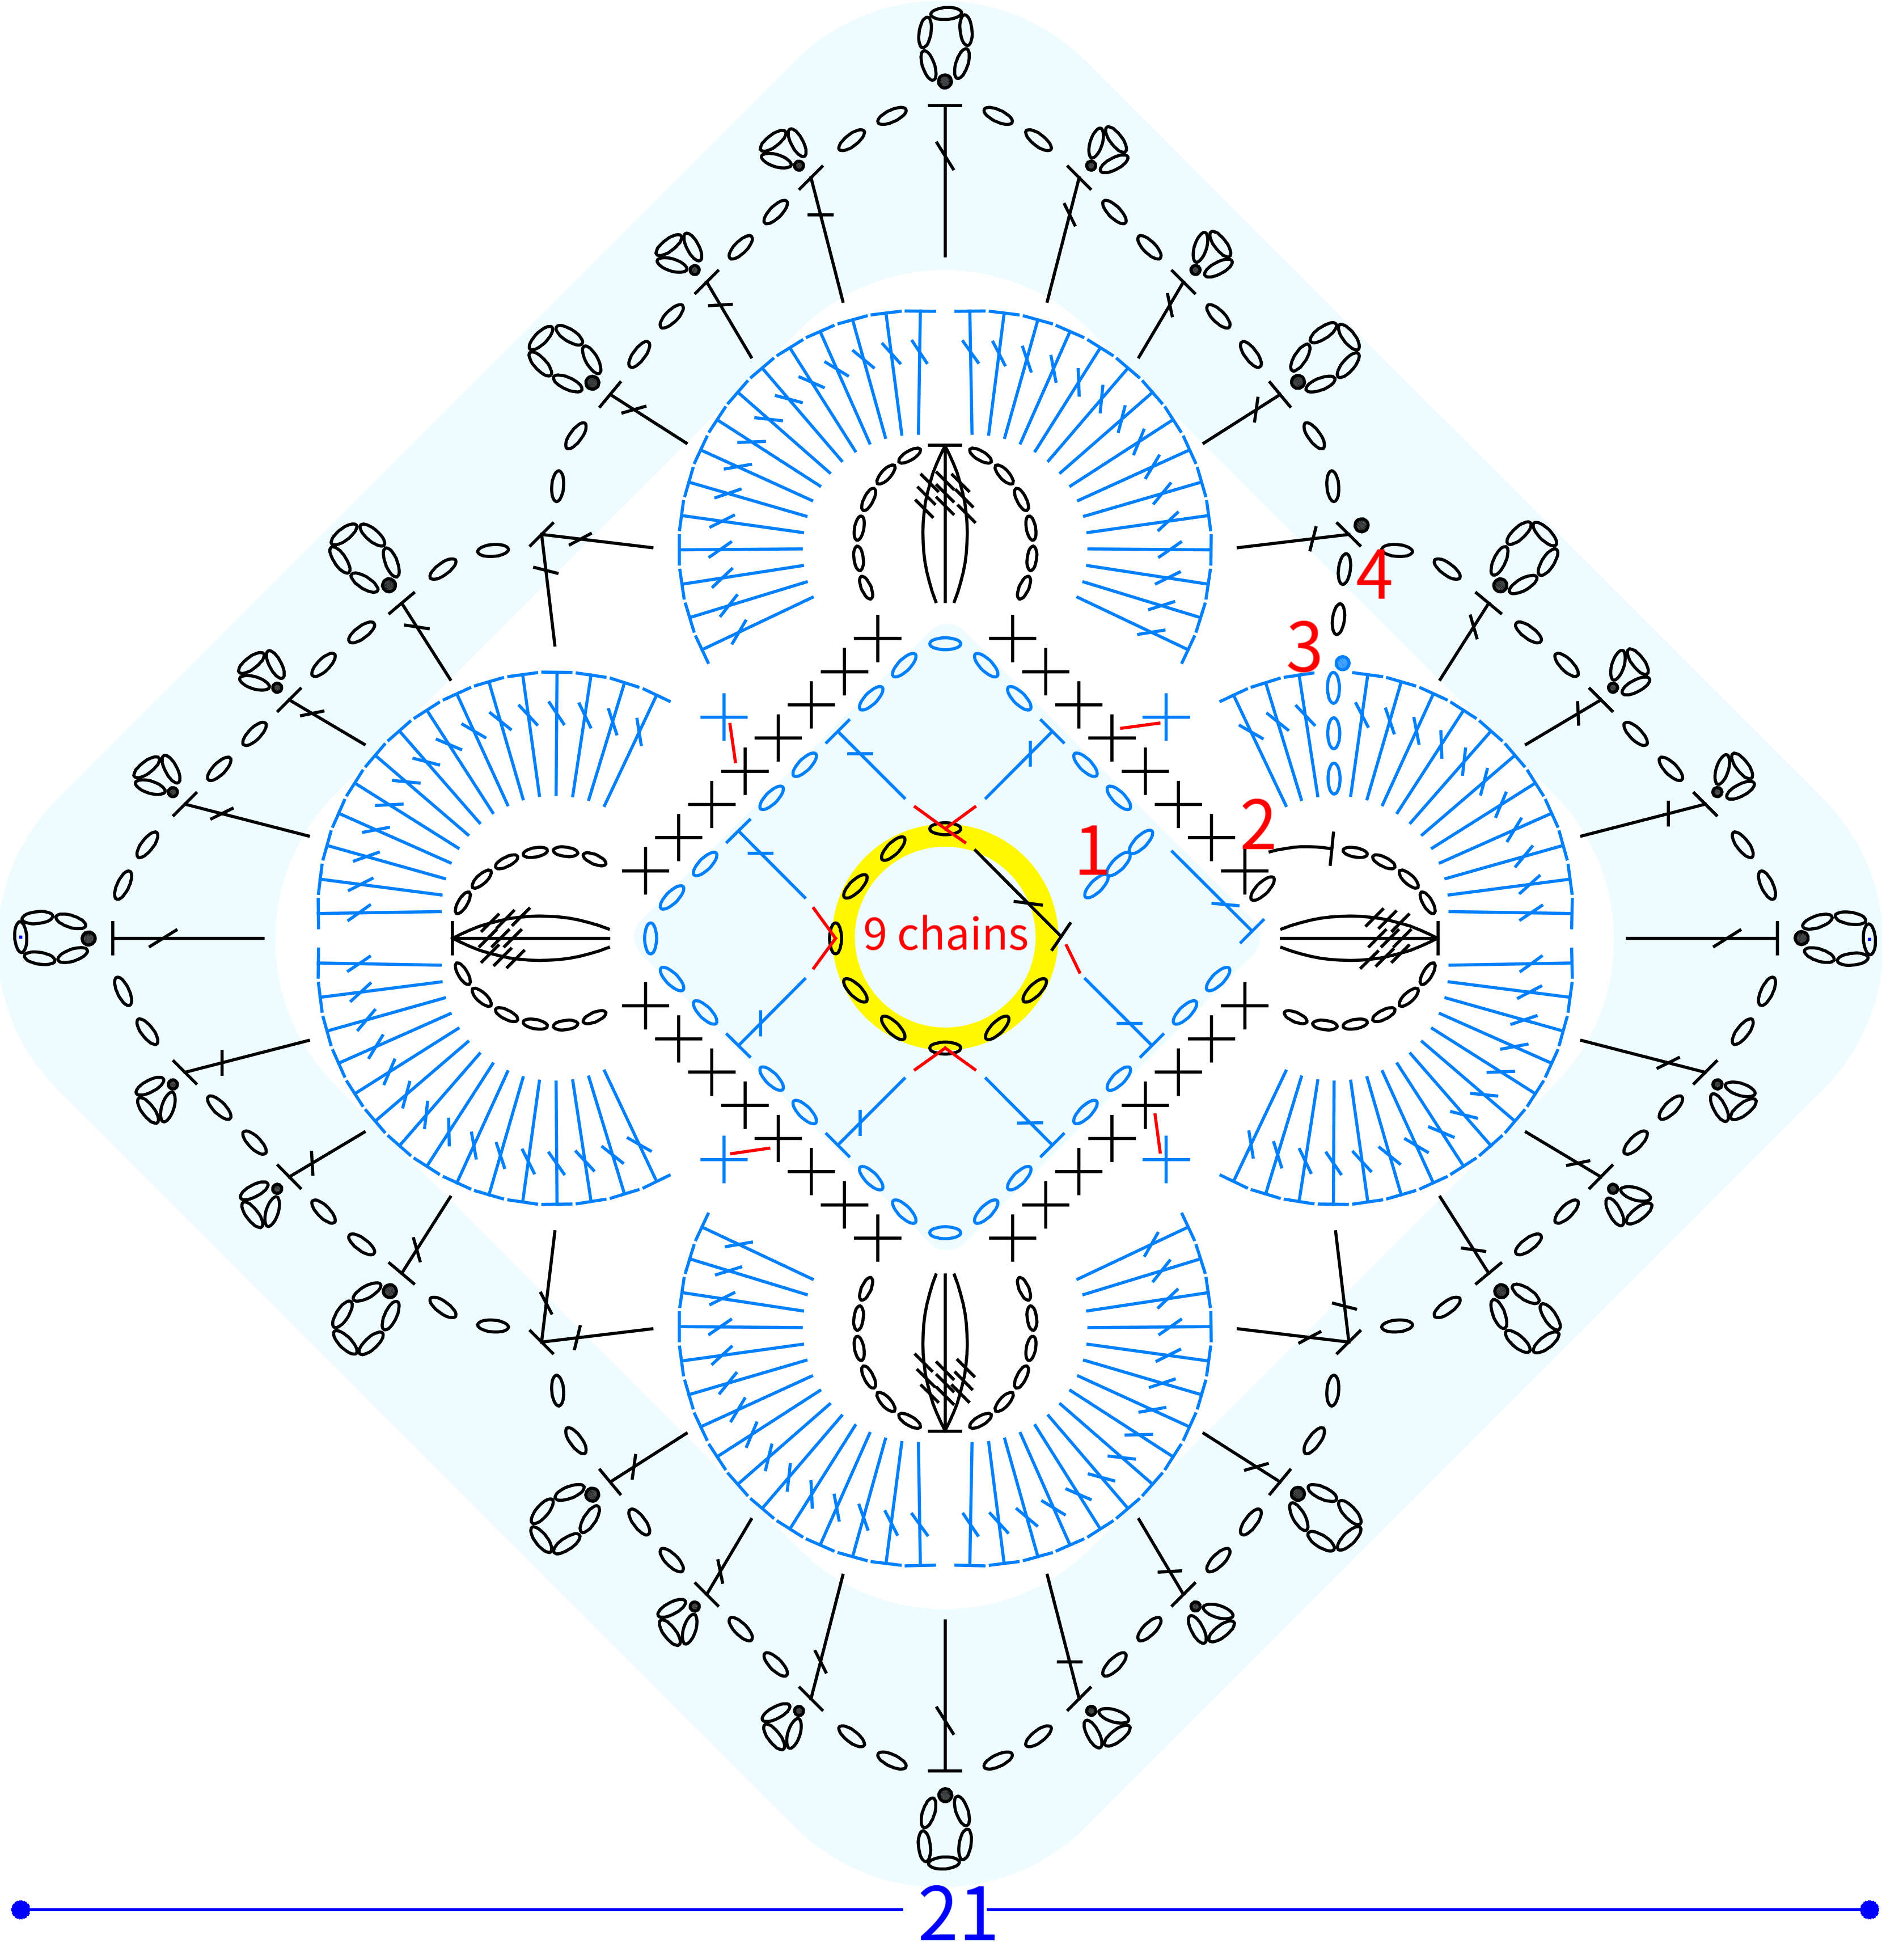
Note: After finishing the first motif, it’s a good idea to measure it first. If the size looks about right, keep crocheting. Starting from the second motif, check its size against the previous one after you’ve completed round 3. Once you’re sure it matches, go ahead and continue.
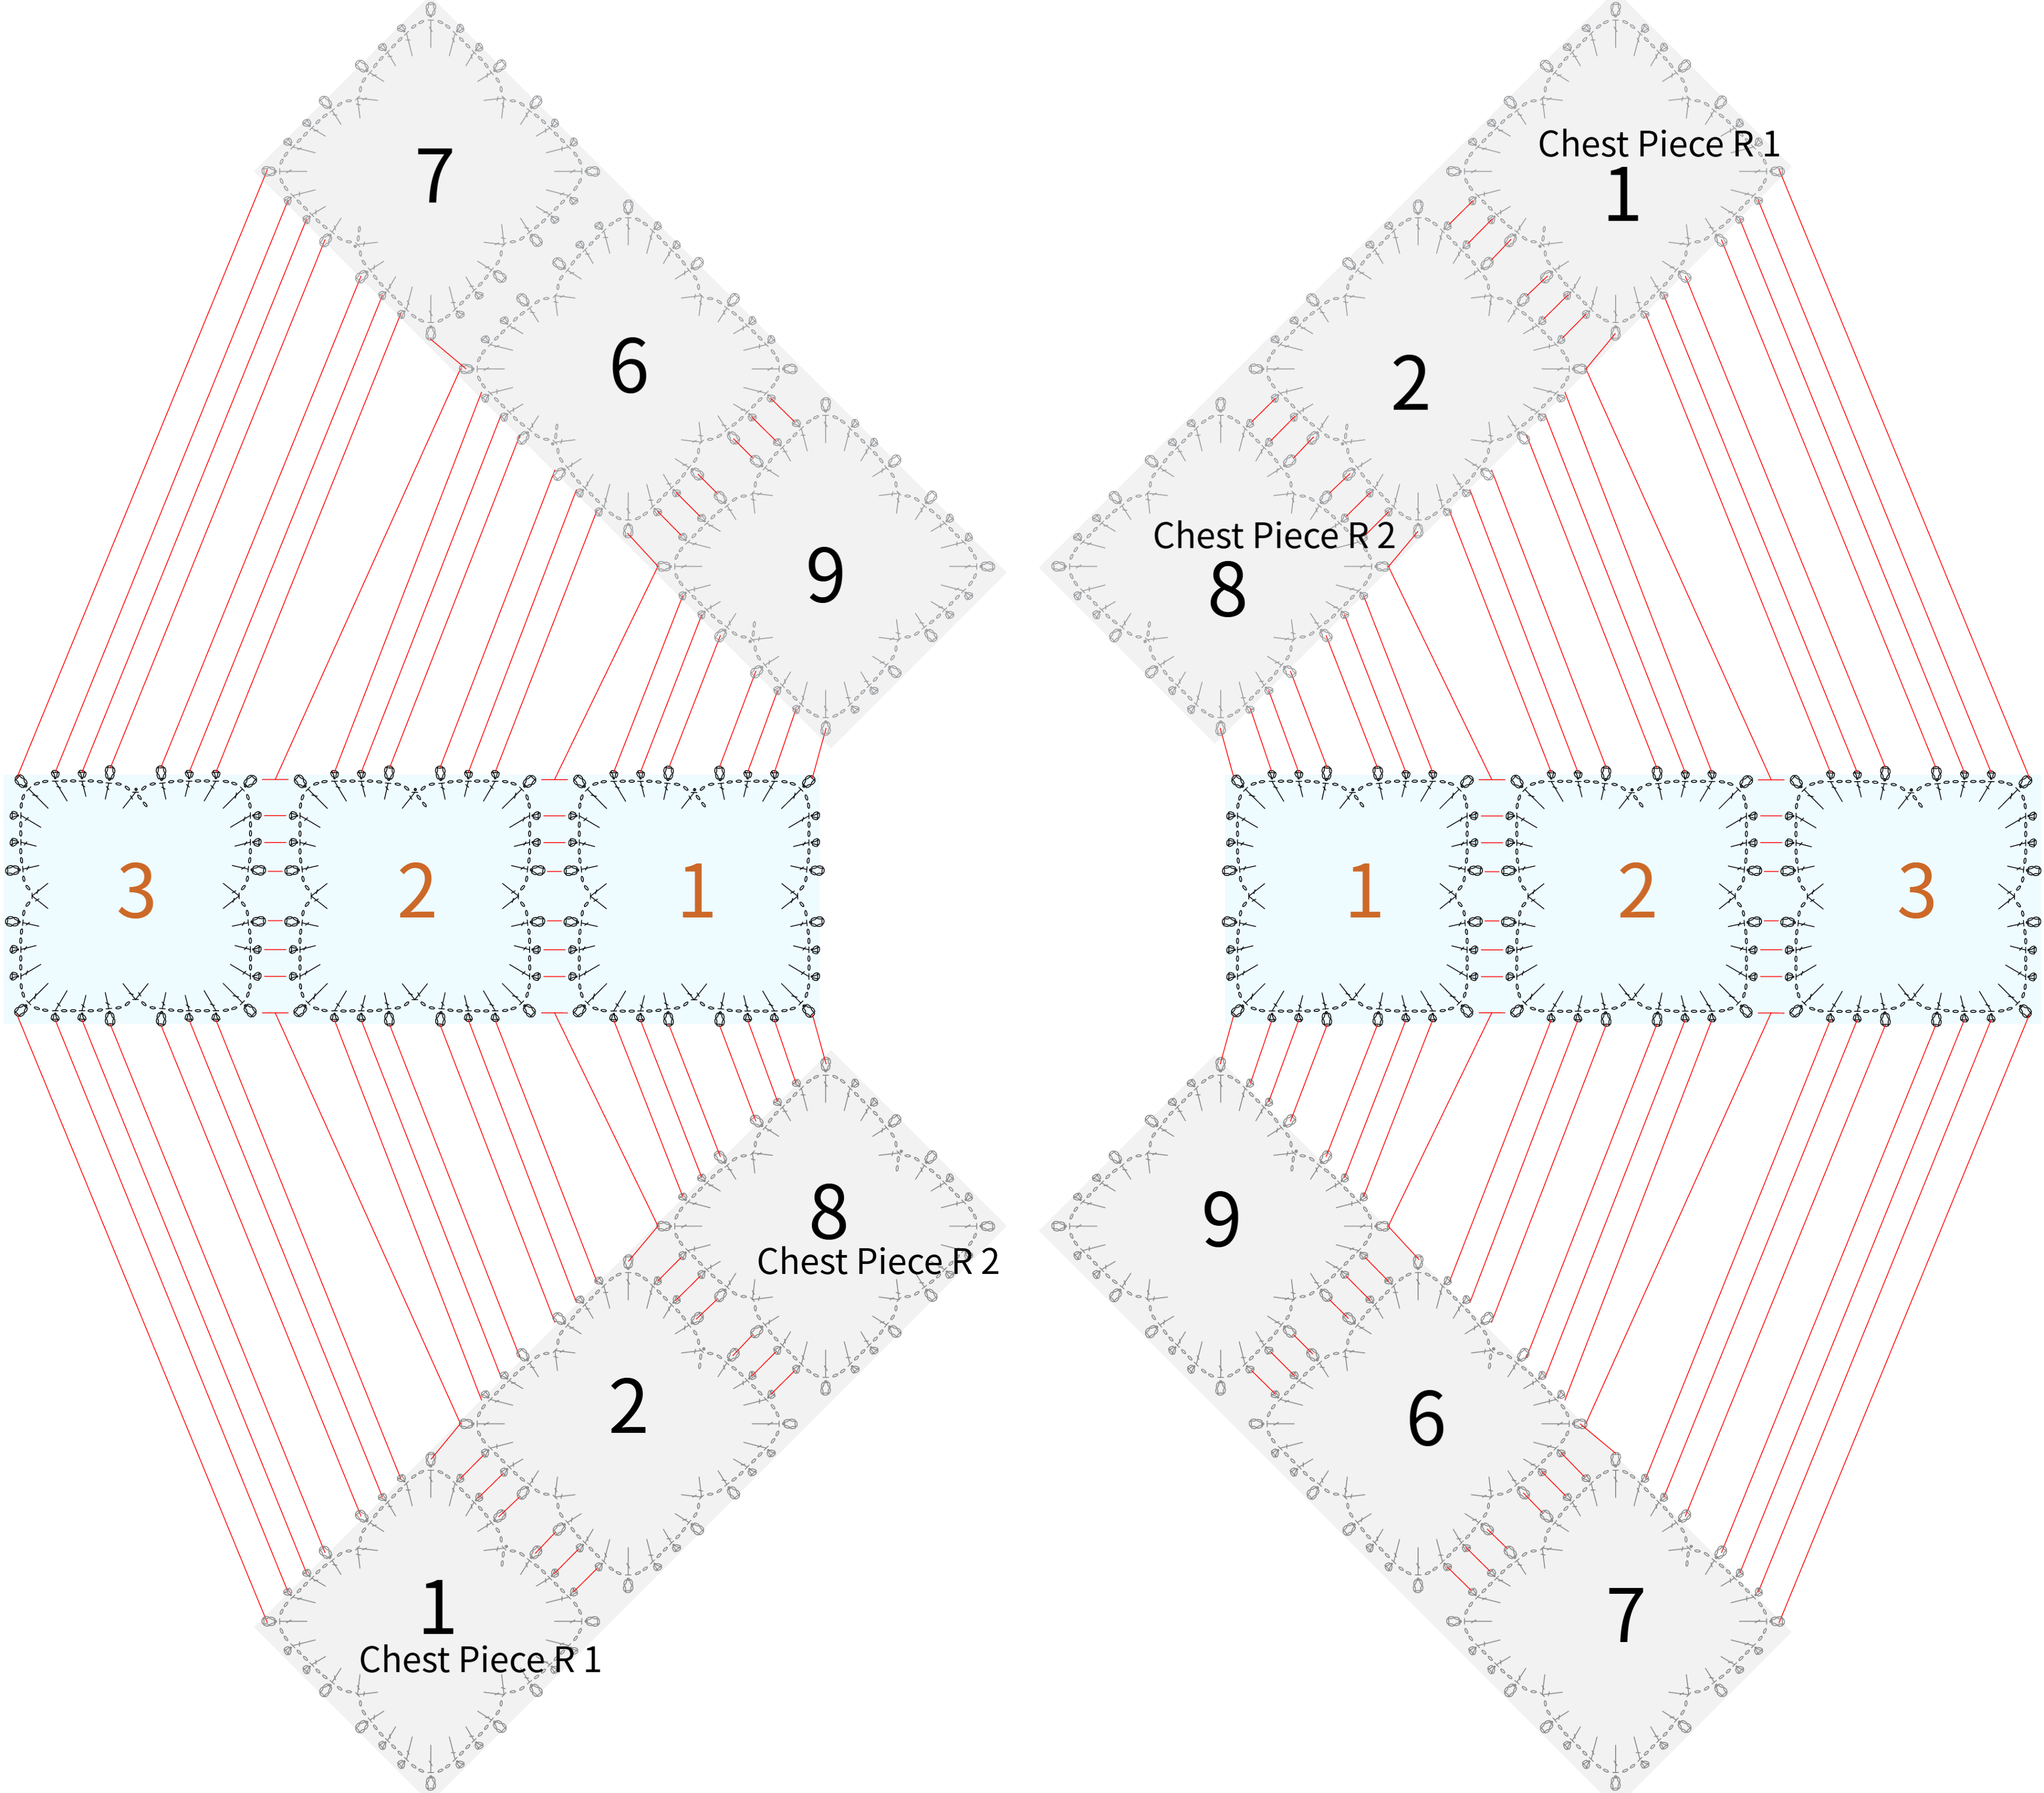
Body Assembly Diagram
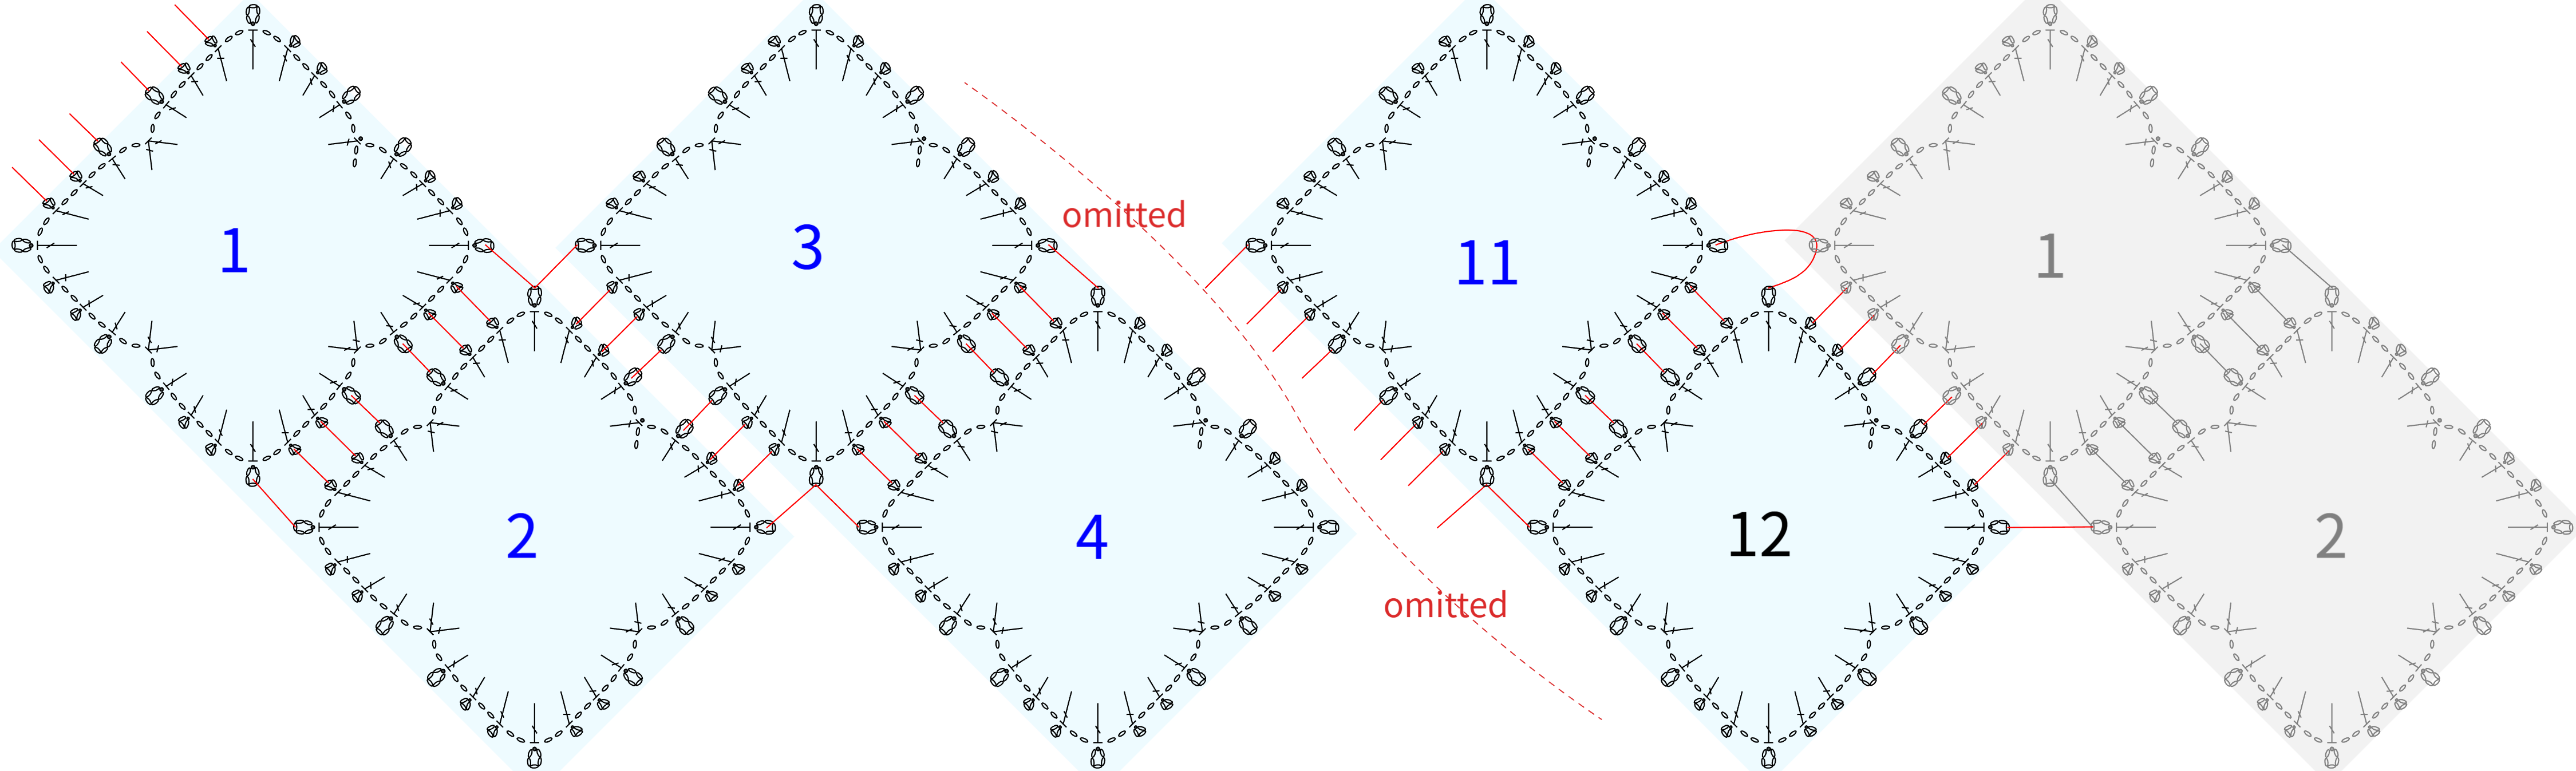
Note: The chart only shows how to join the pieces. For the exact number of motifs and where to place them, please check the assembly diagram.
Diagram for Joining the Chest Pieces
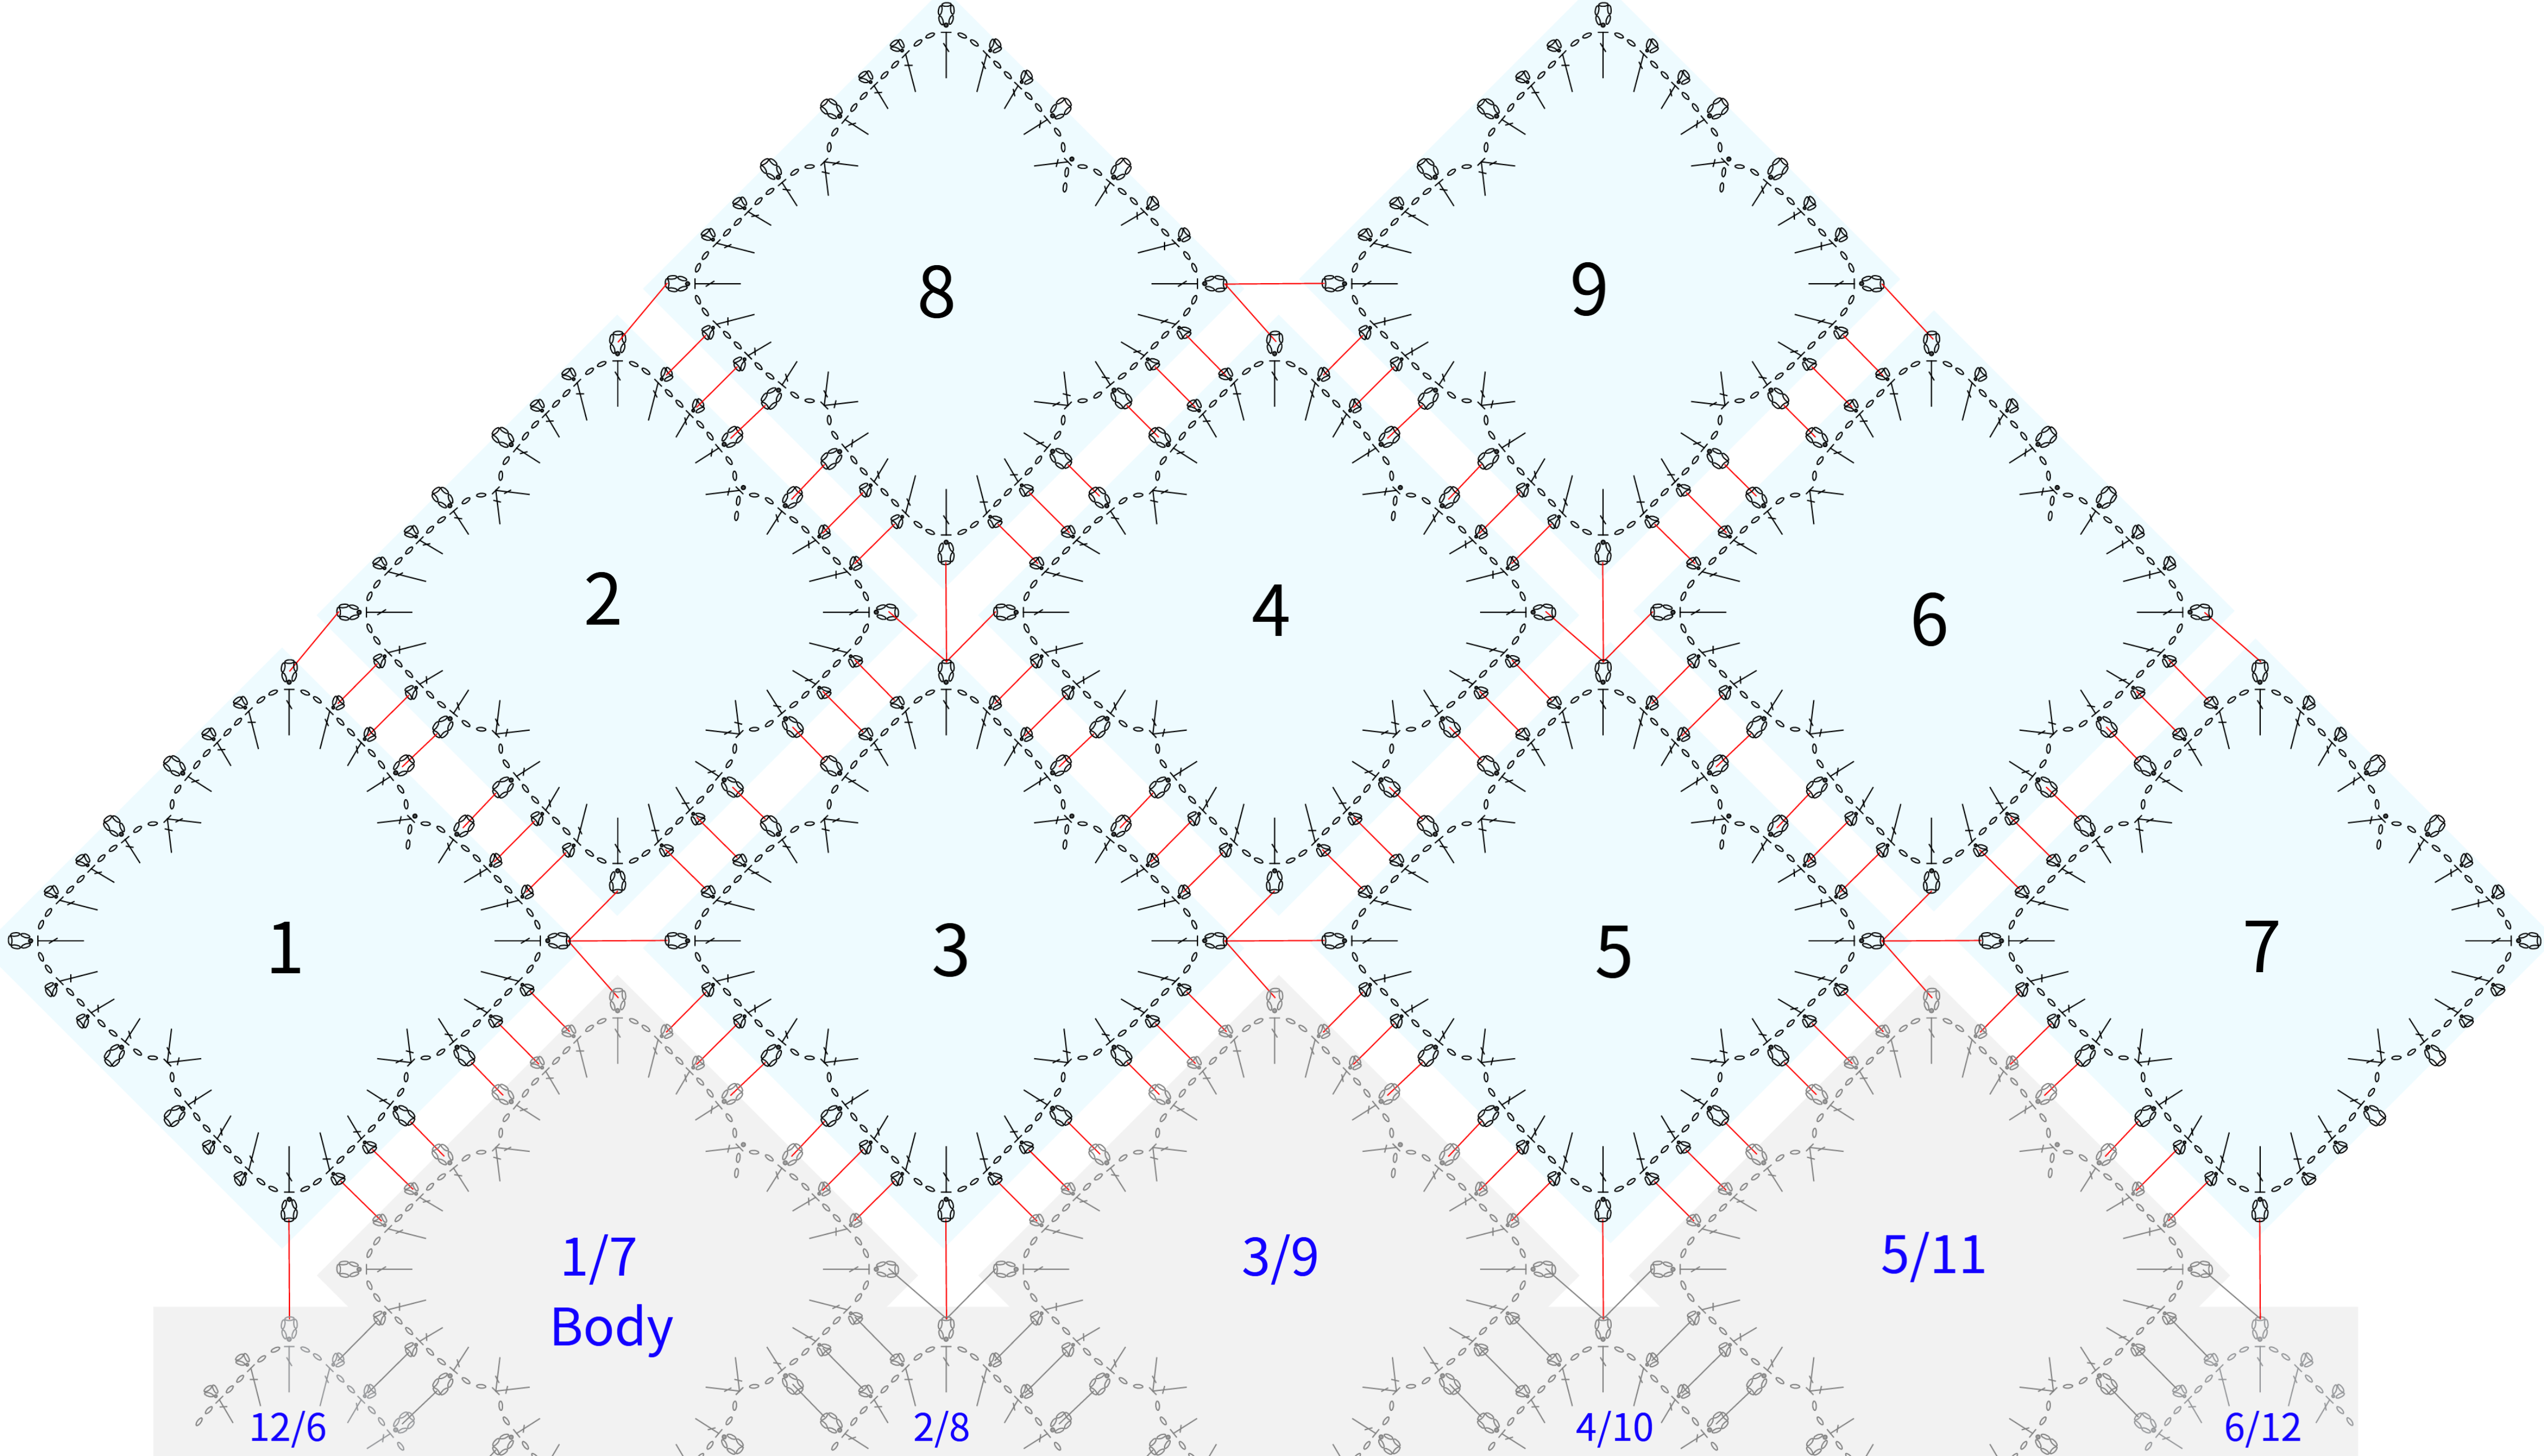
Note: The front and back bodies are crocheted using the same method and color pattern.
Sleeve Assembly Diagram
Step 2 Motif 2 x 7 A2 42' 29''
Motif 2 goes on the lower body and the neckline. Start with a magic ring using chain stitches, then crochet and join them in order. Please refer to the video demonstration for more details.
Motif 2
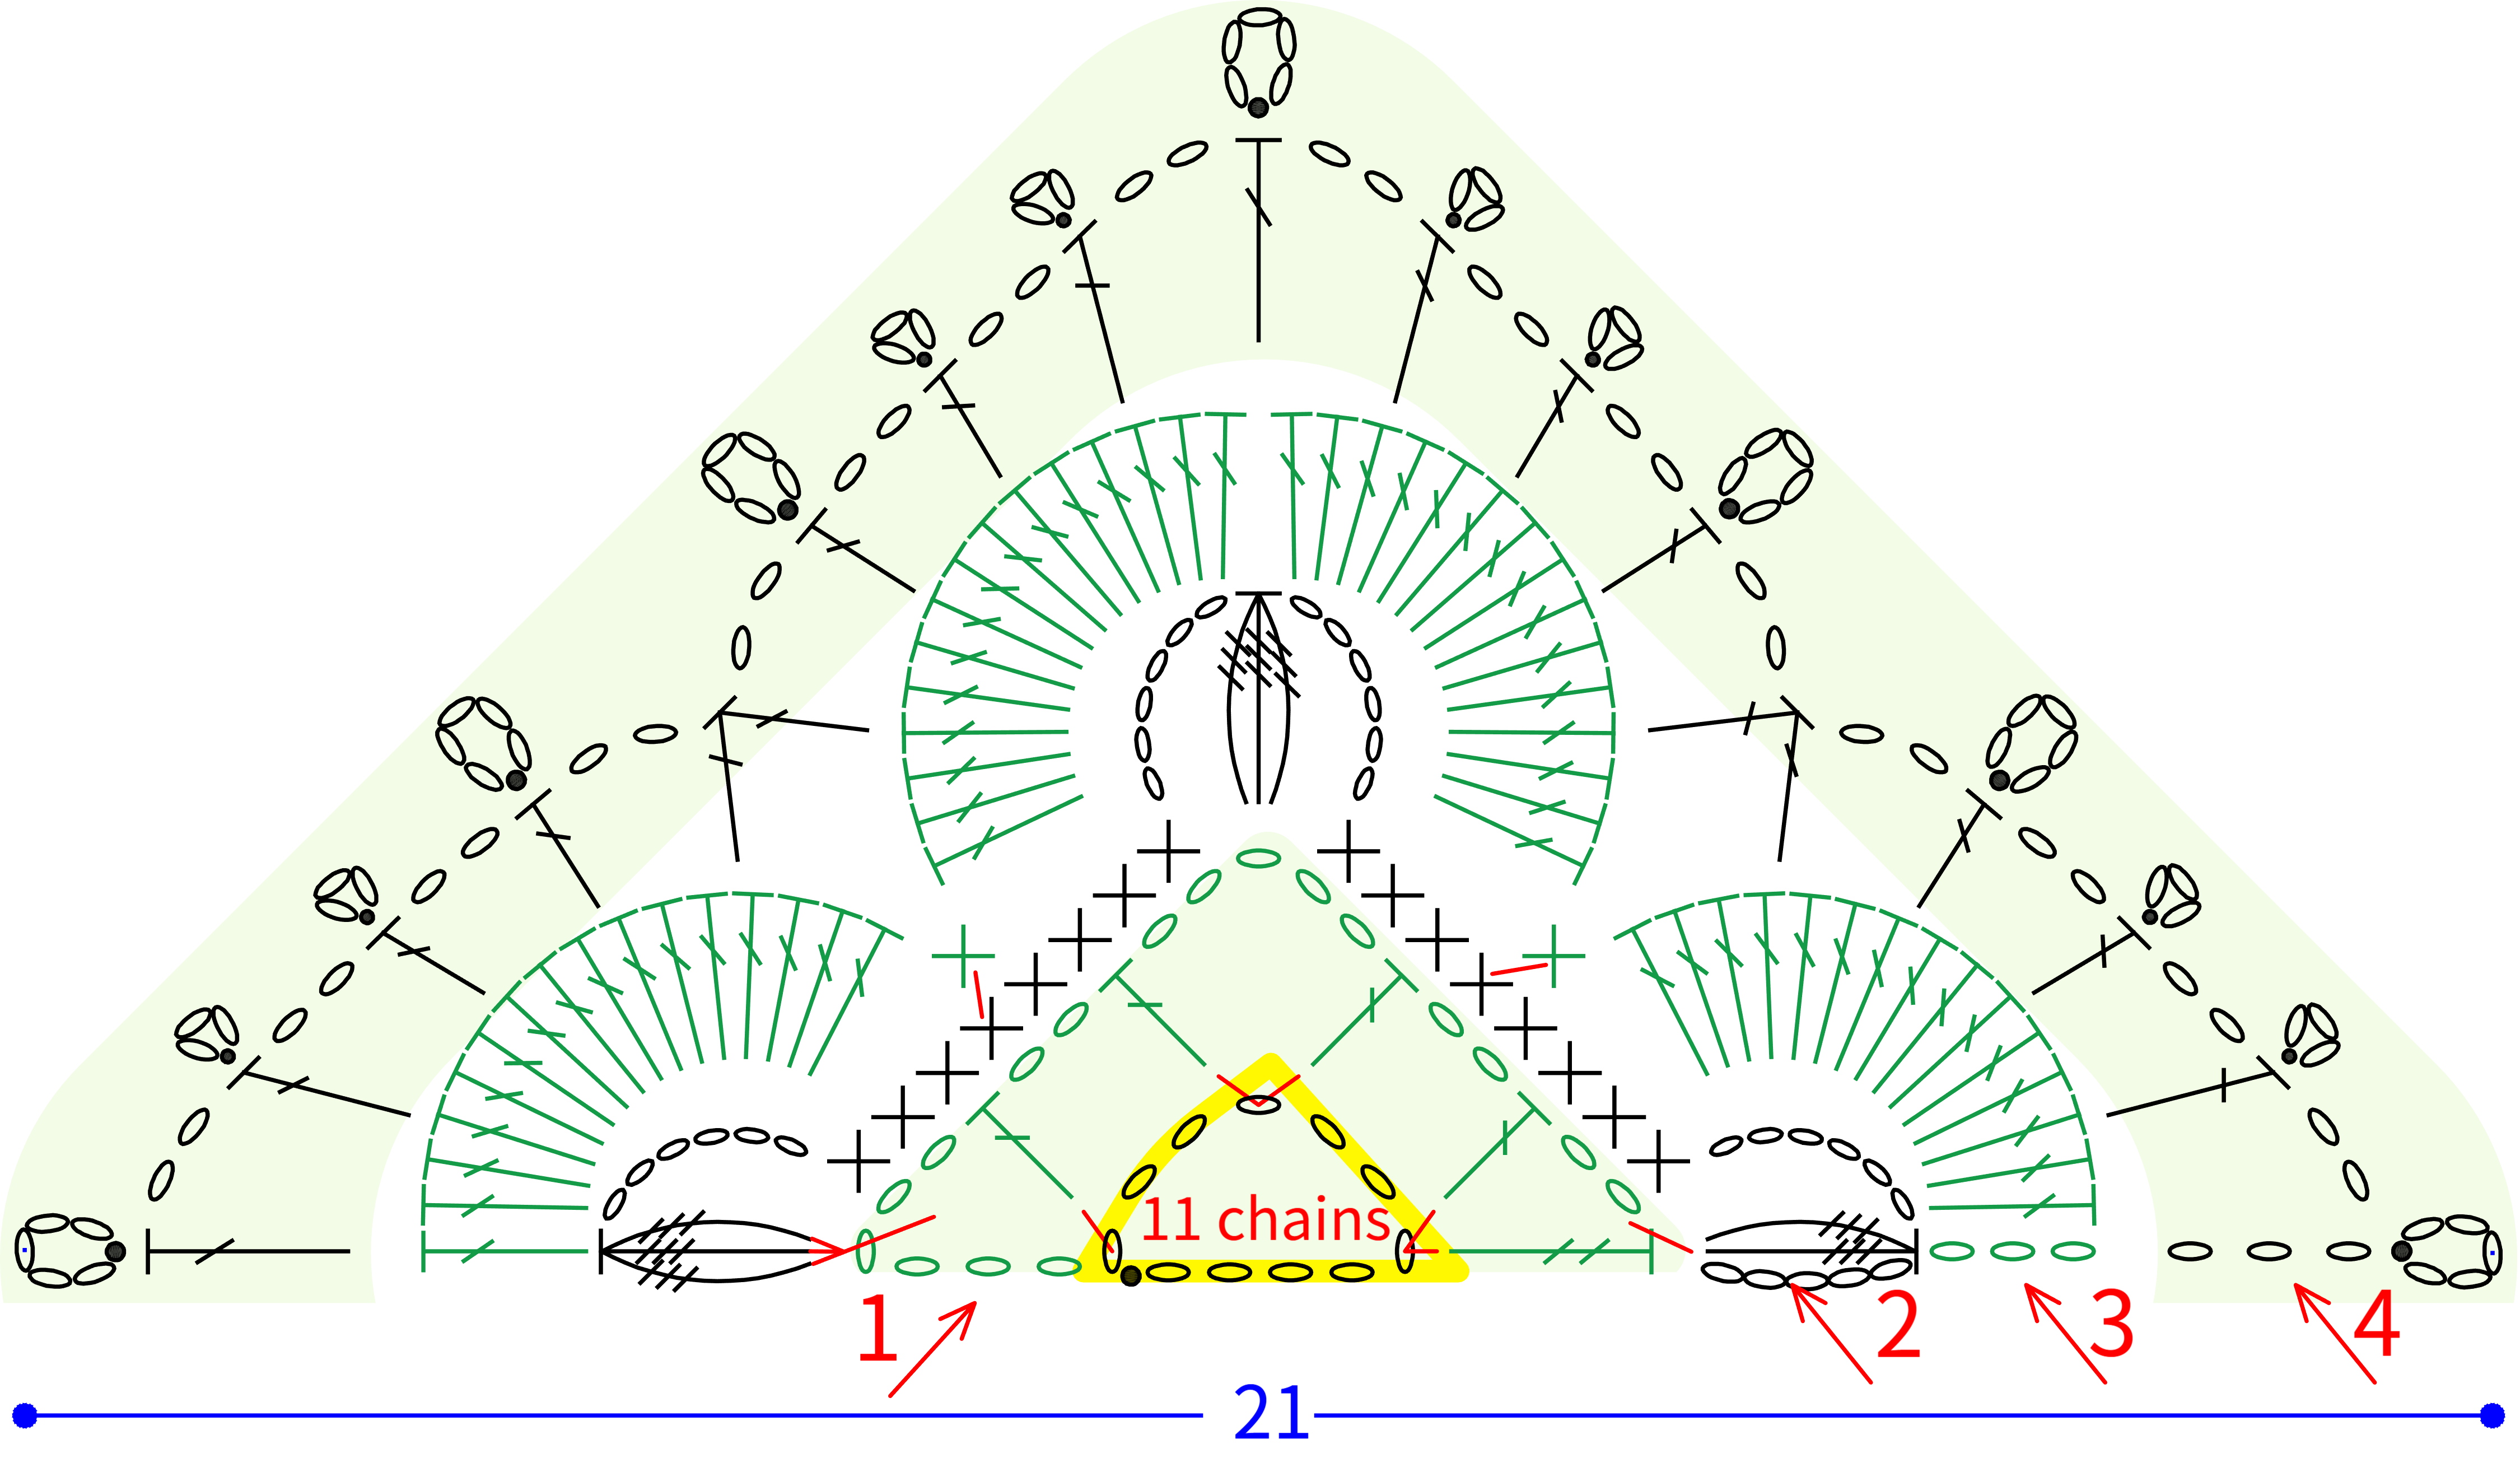
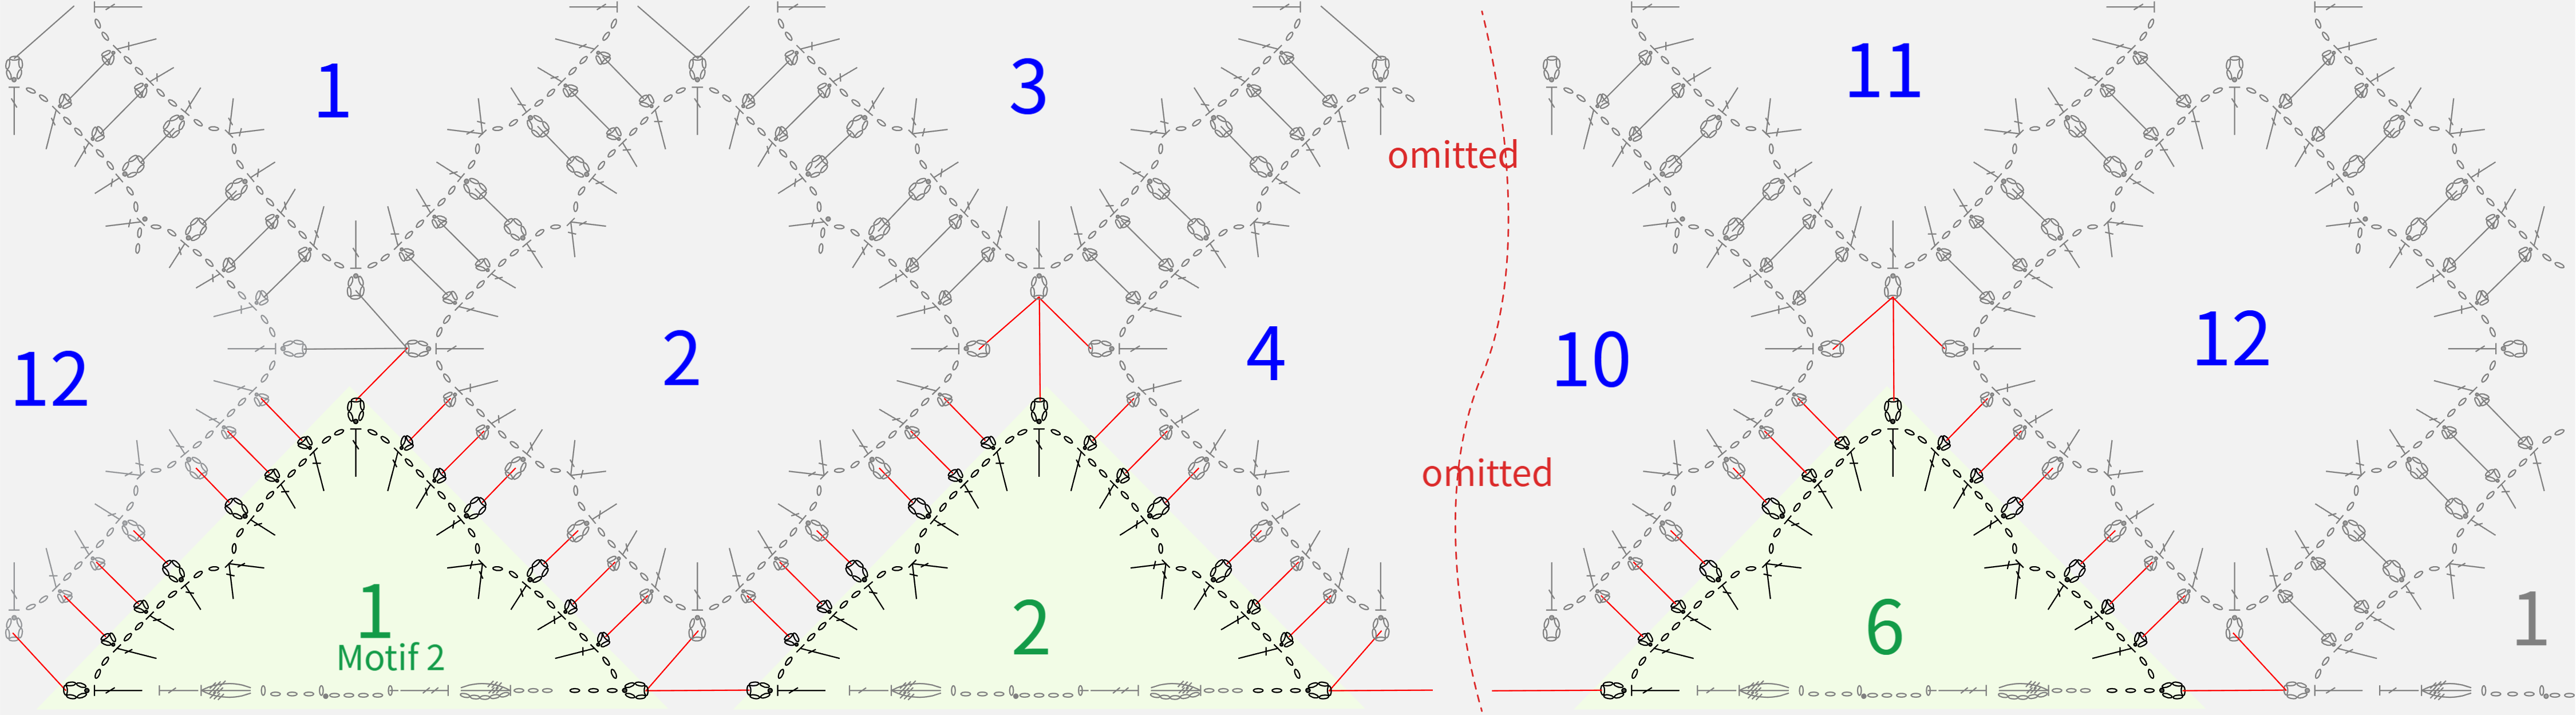
Diagram For Joining The Lower Part of The Body
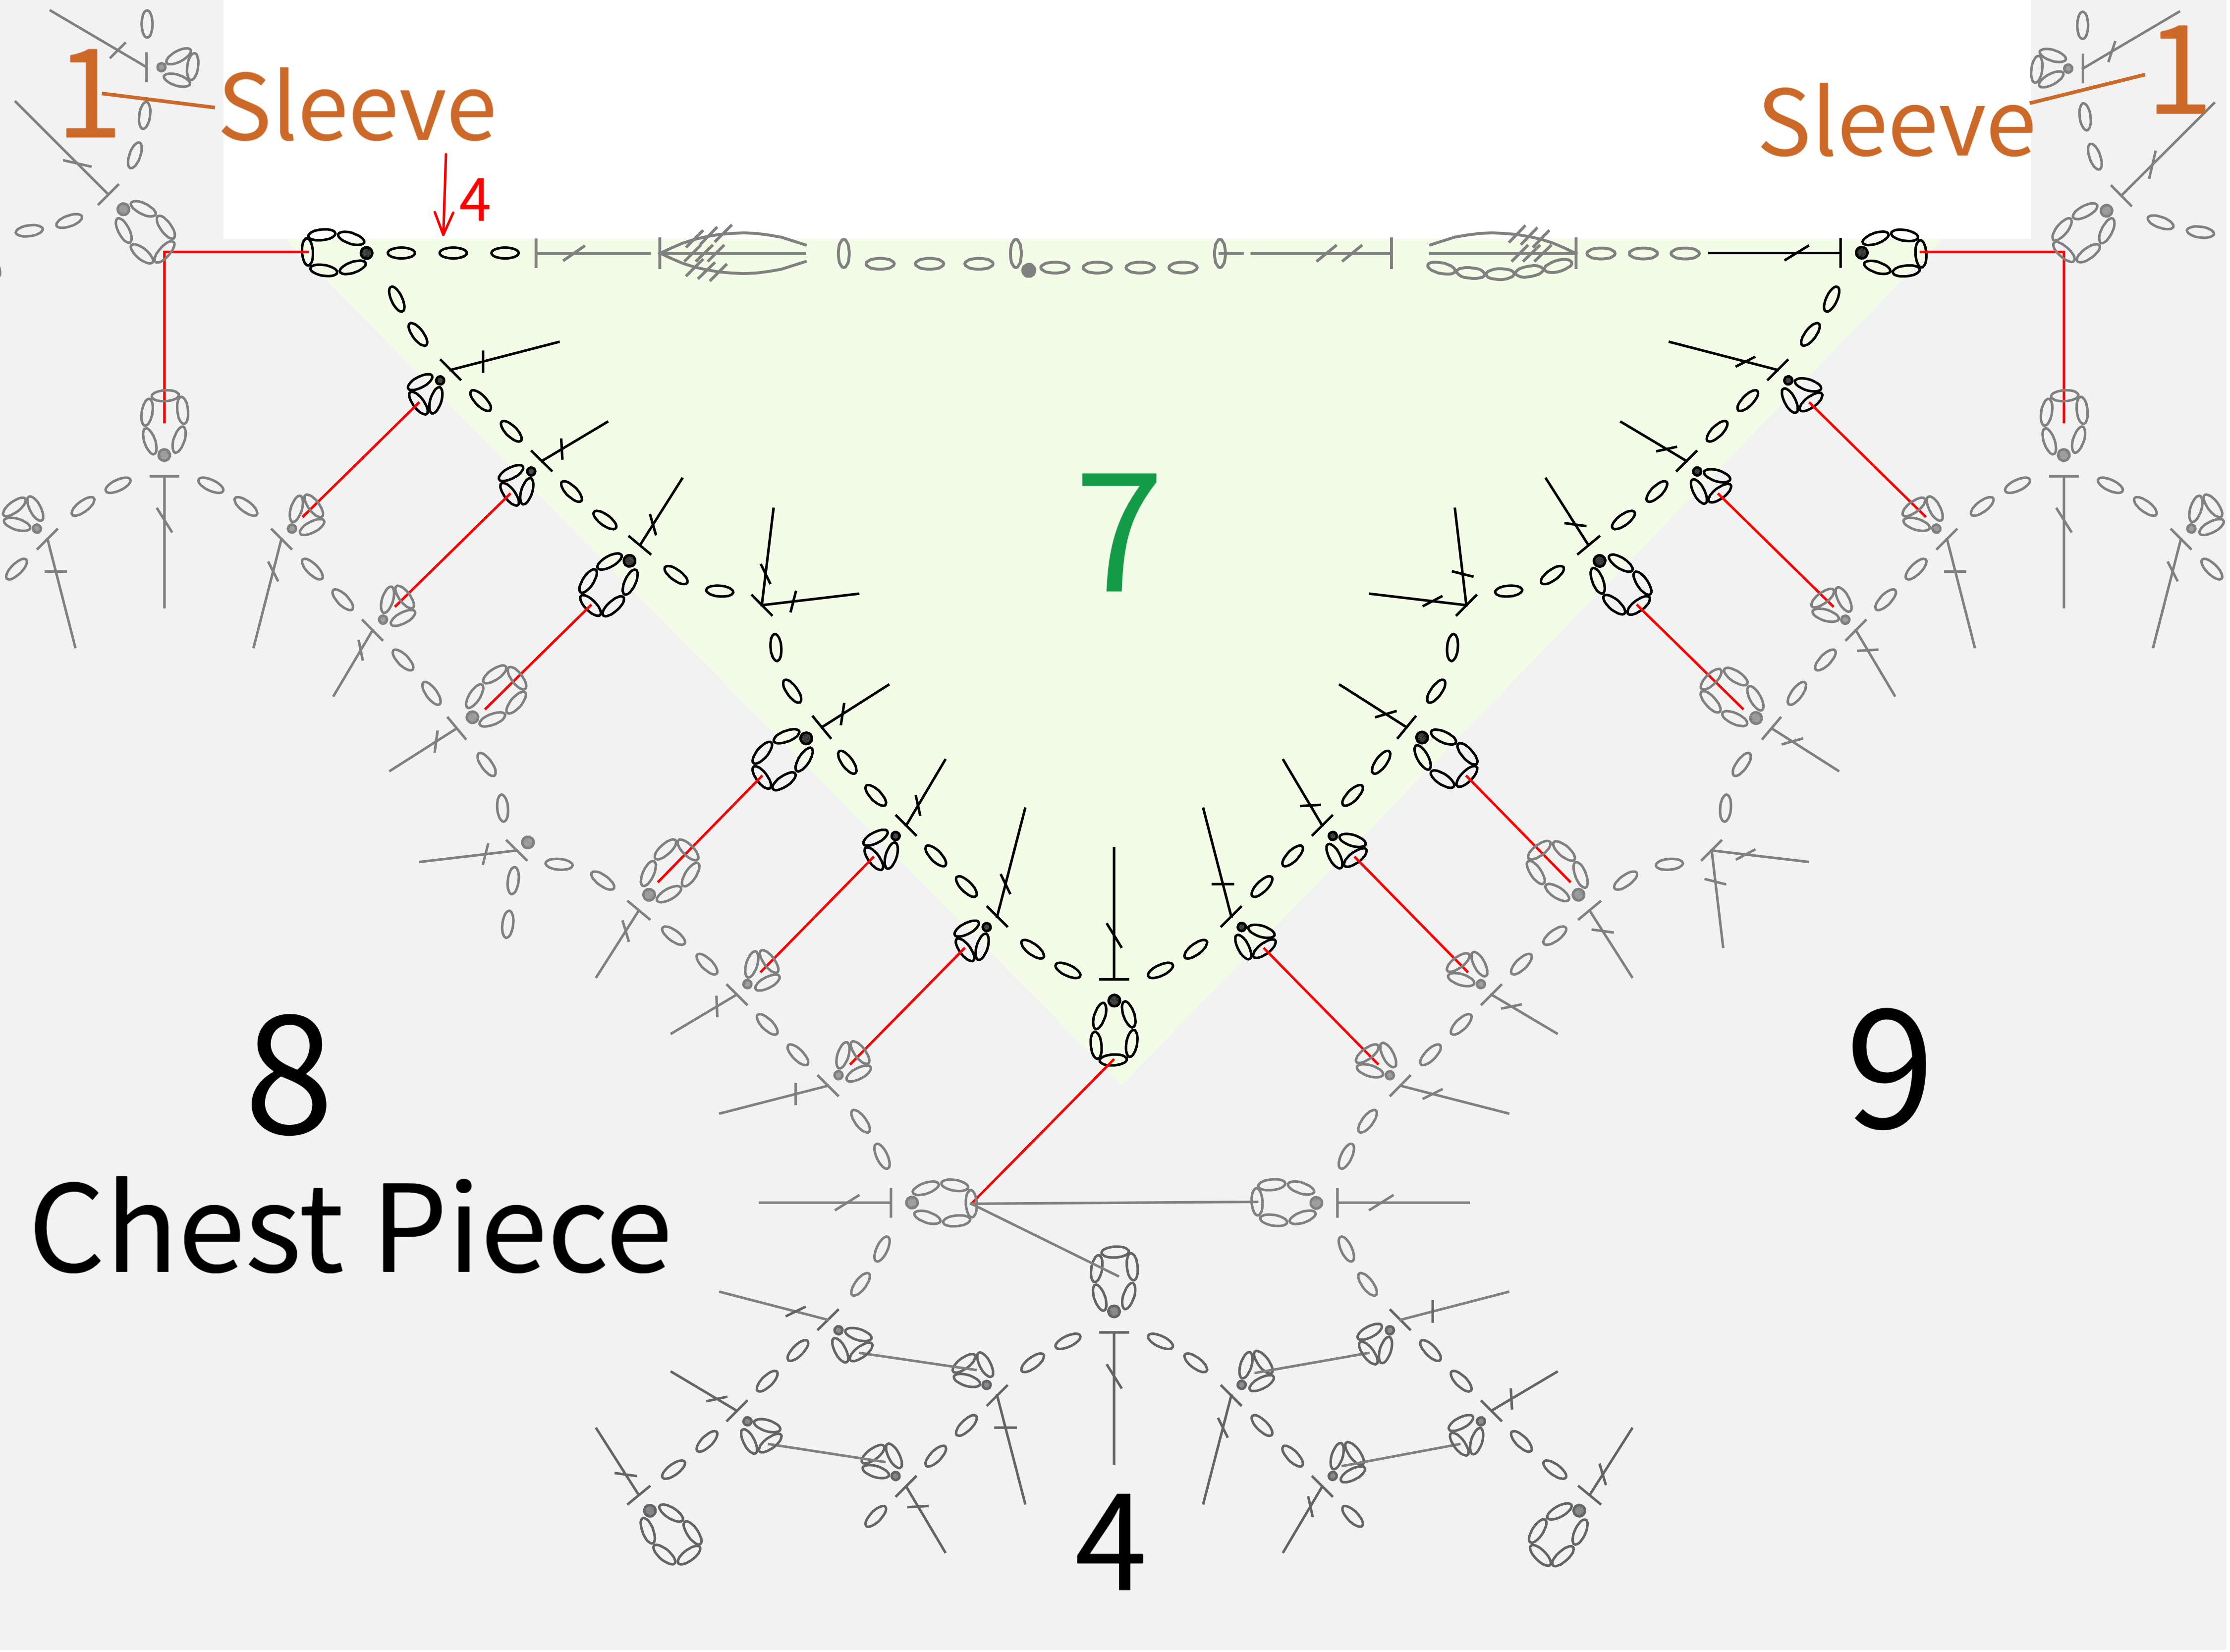
Neckline Joining Diagram
Part 2 Crochet the Edging B 56' 36''
The edging consists of the cuff edging, hem edging, and neckline edging. Join the yarn at the corresponding spots and crochet around counter-clockwise for each part. Please refer to the video demonstration for more details.
Cuff Edging

Hem Edging

Round 1 of The Neckline Edging
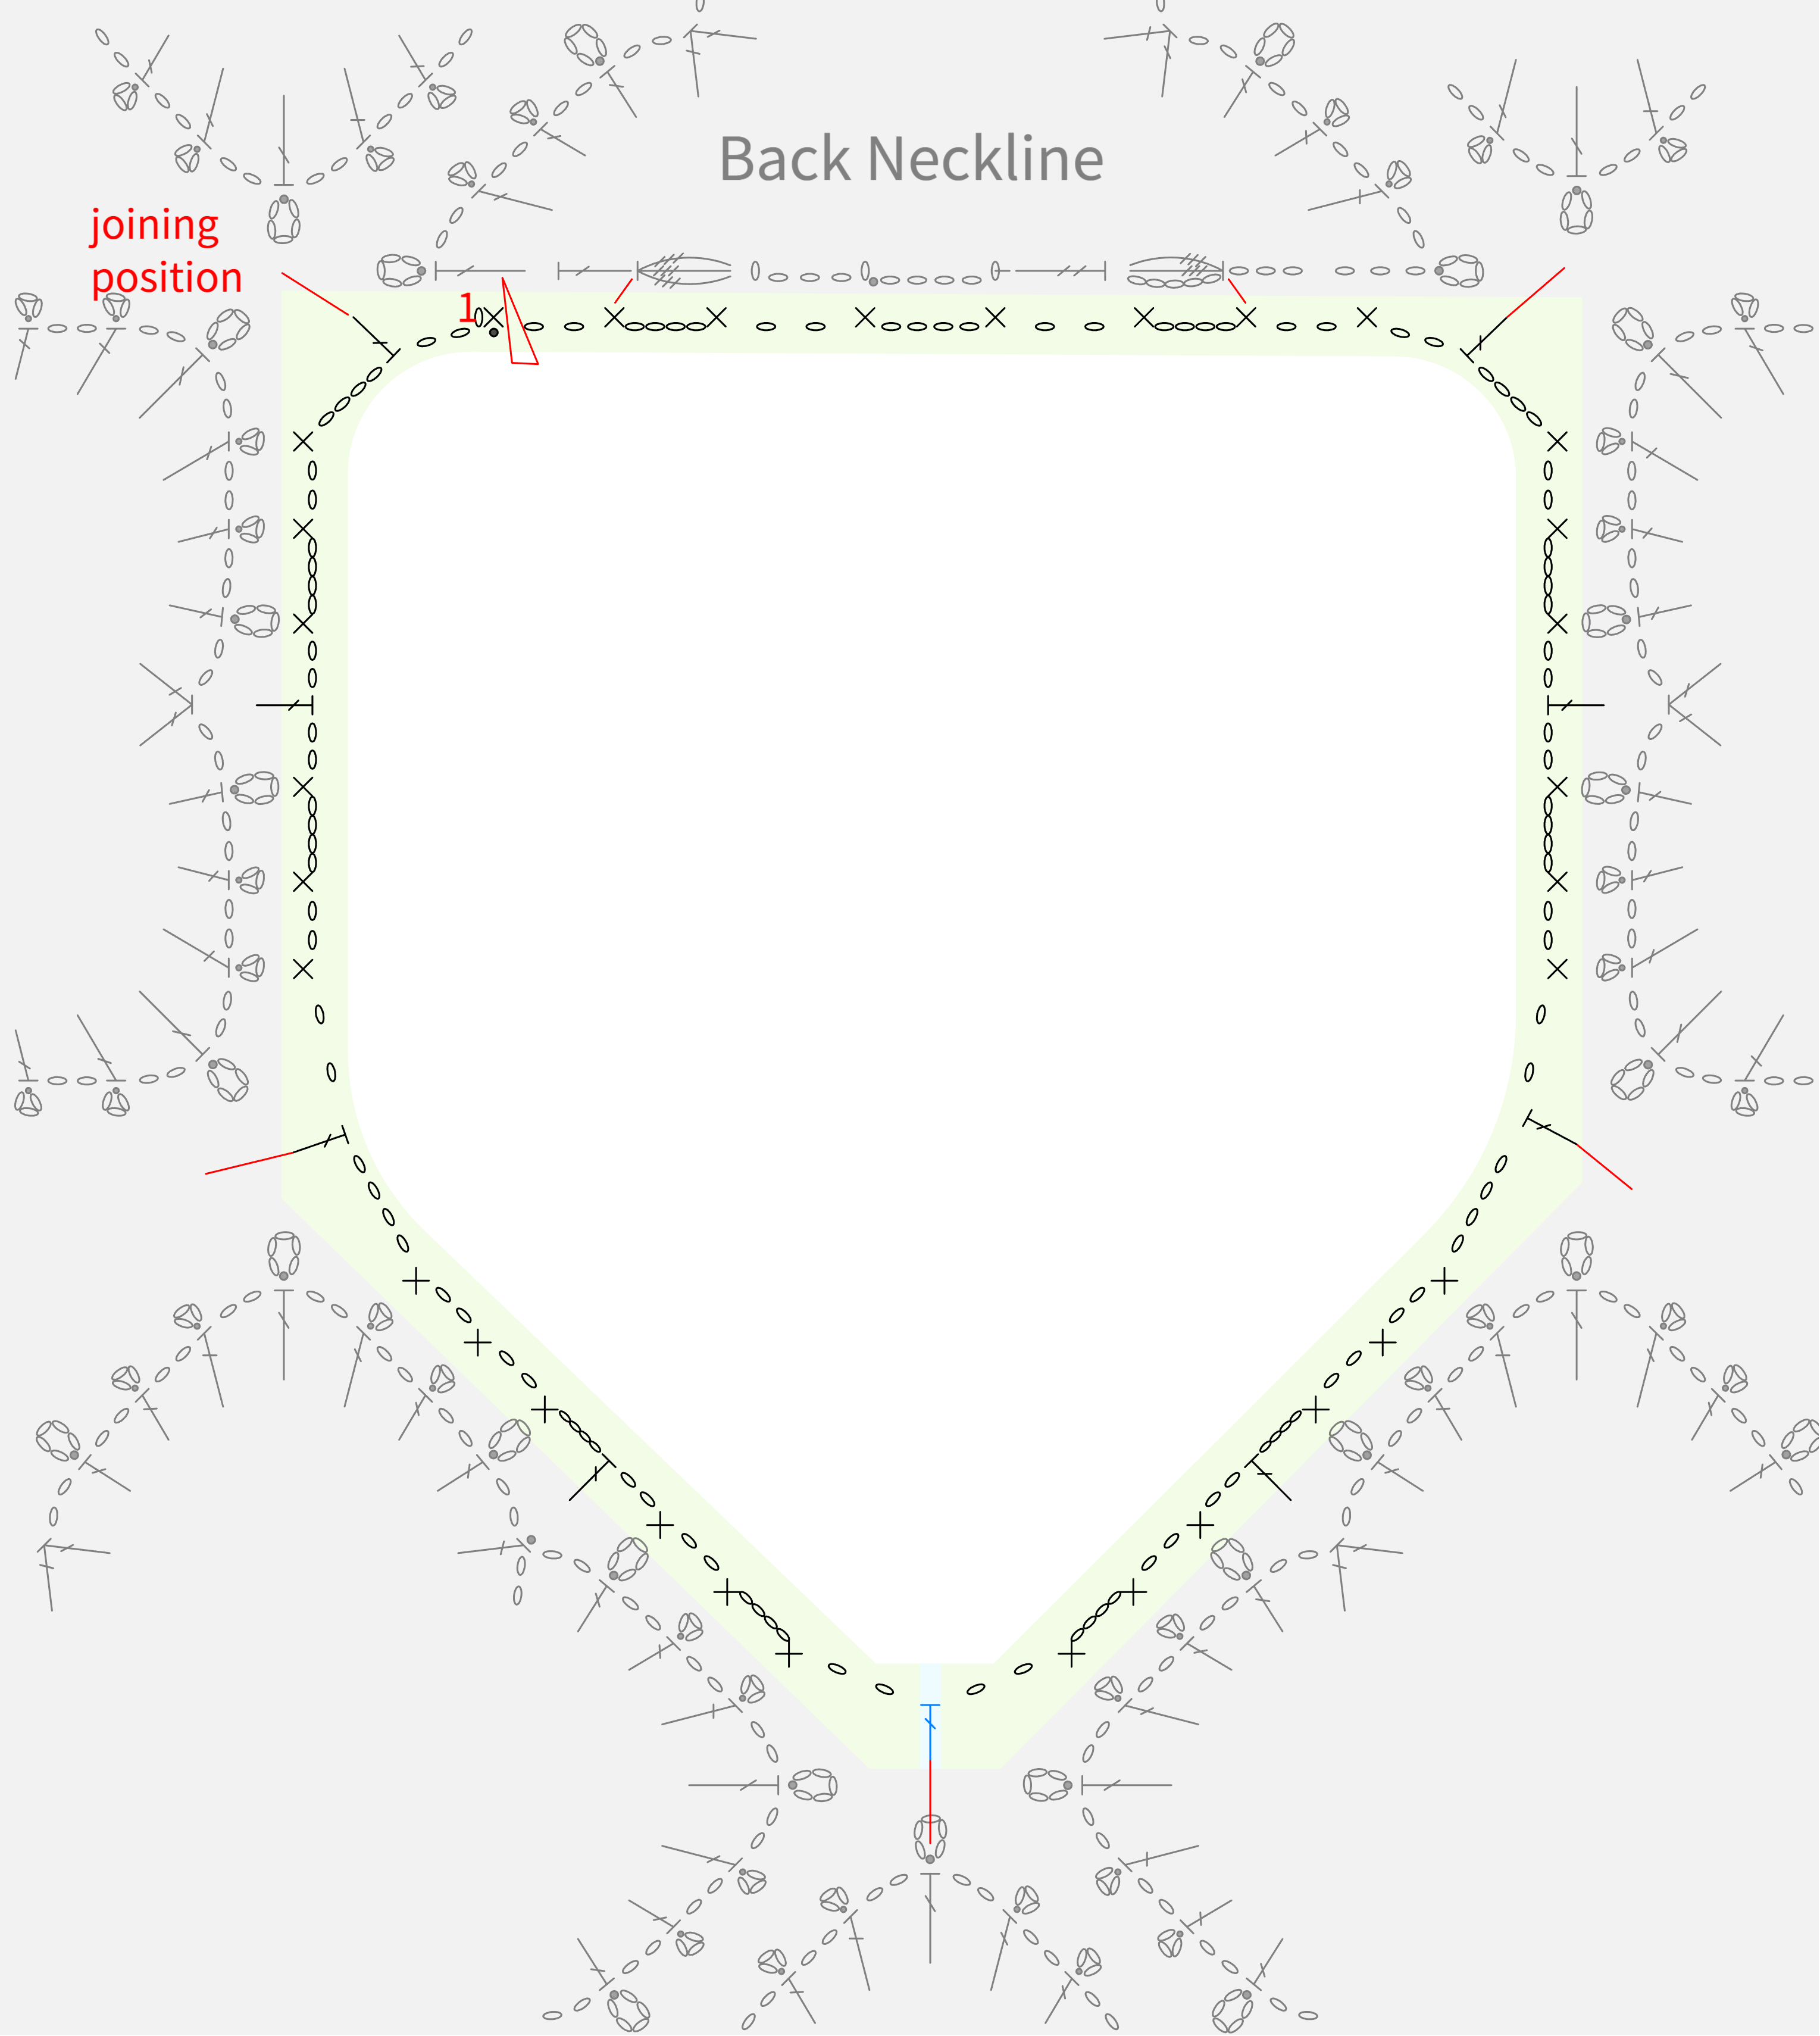
Round 2 of The Neckline Edging