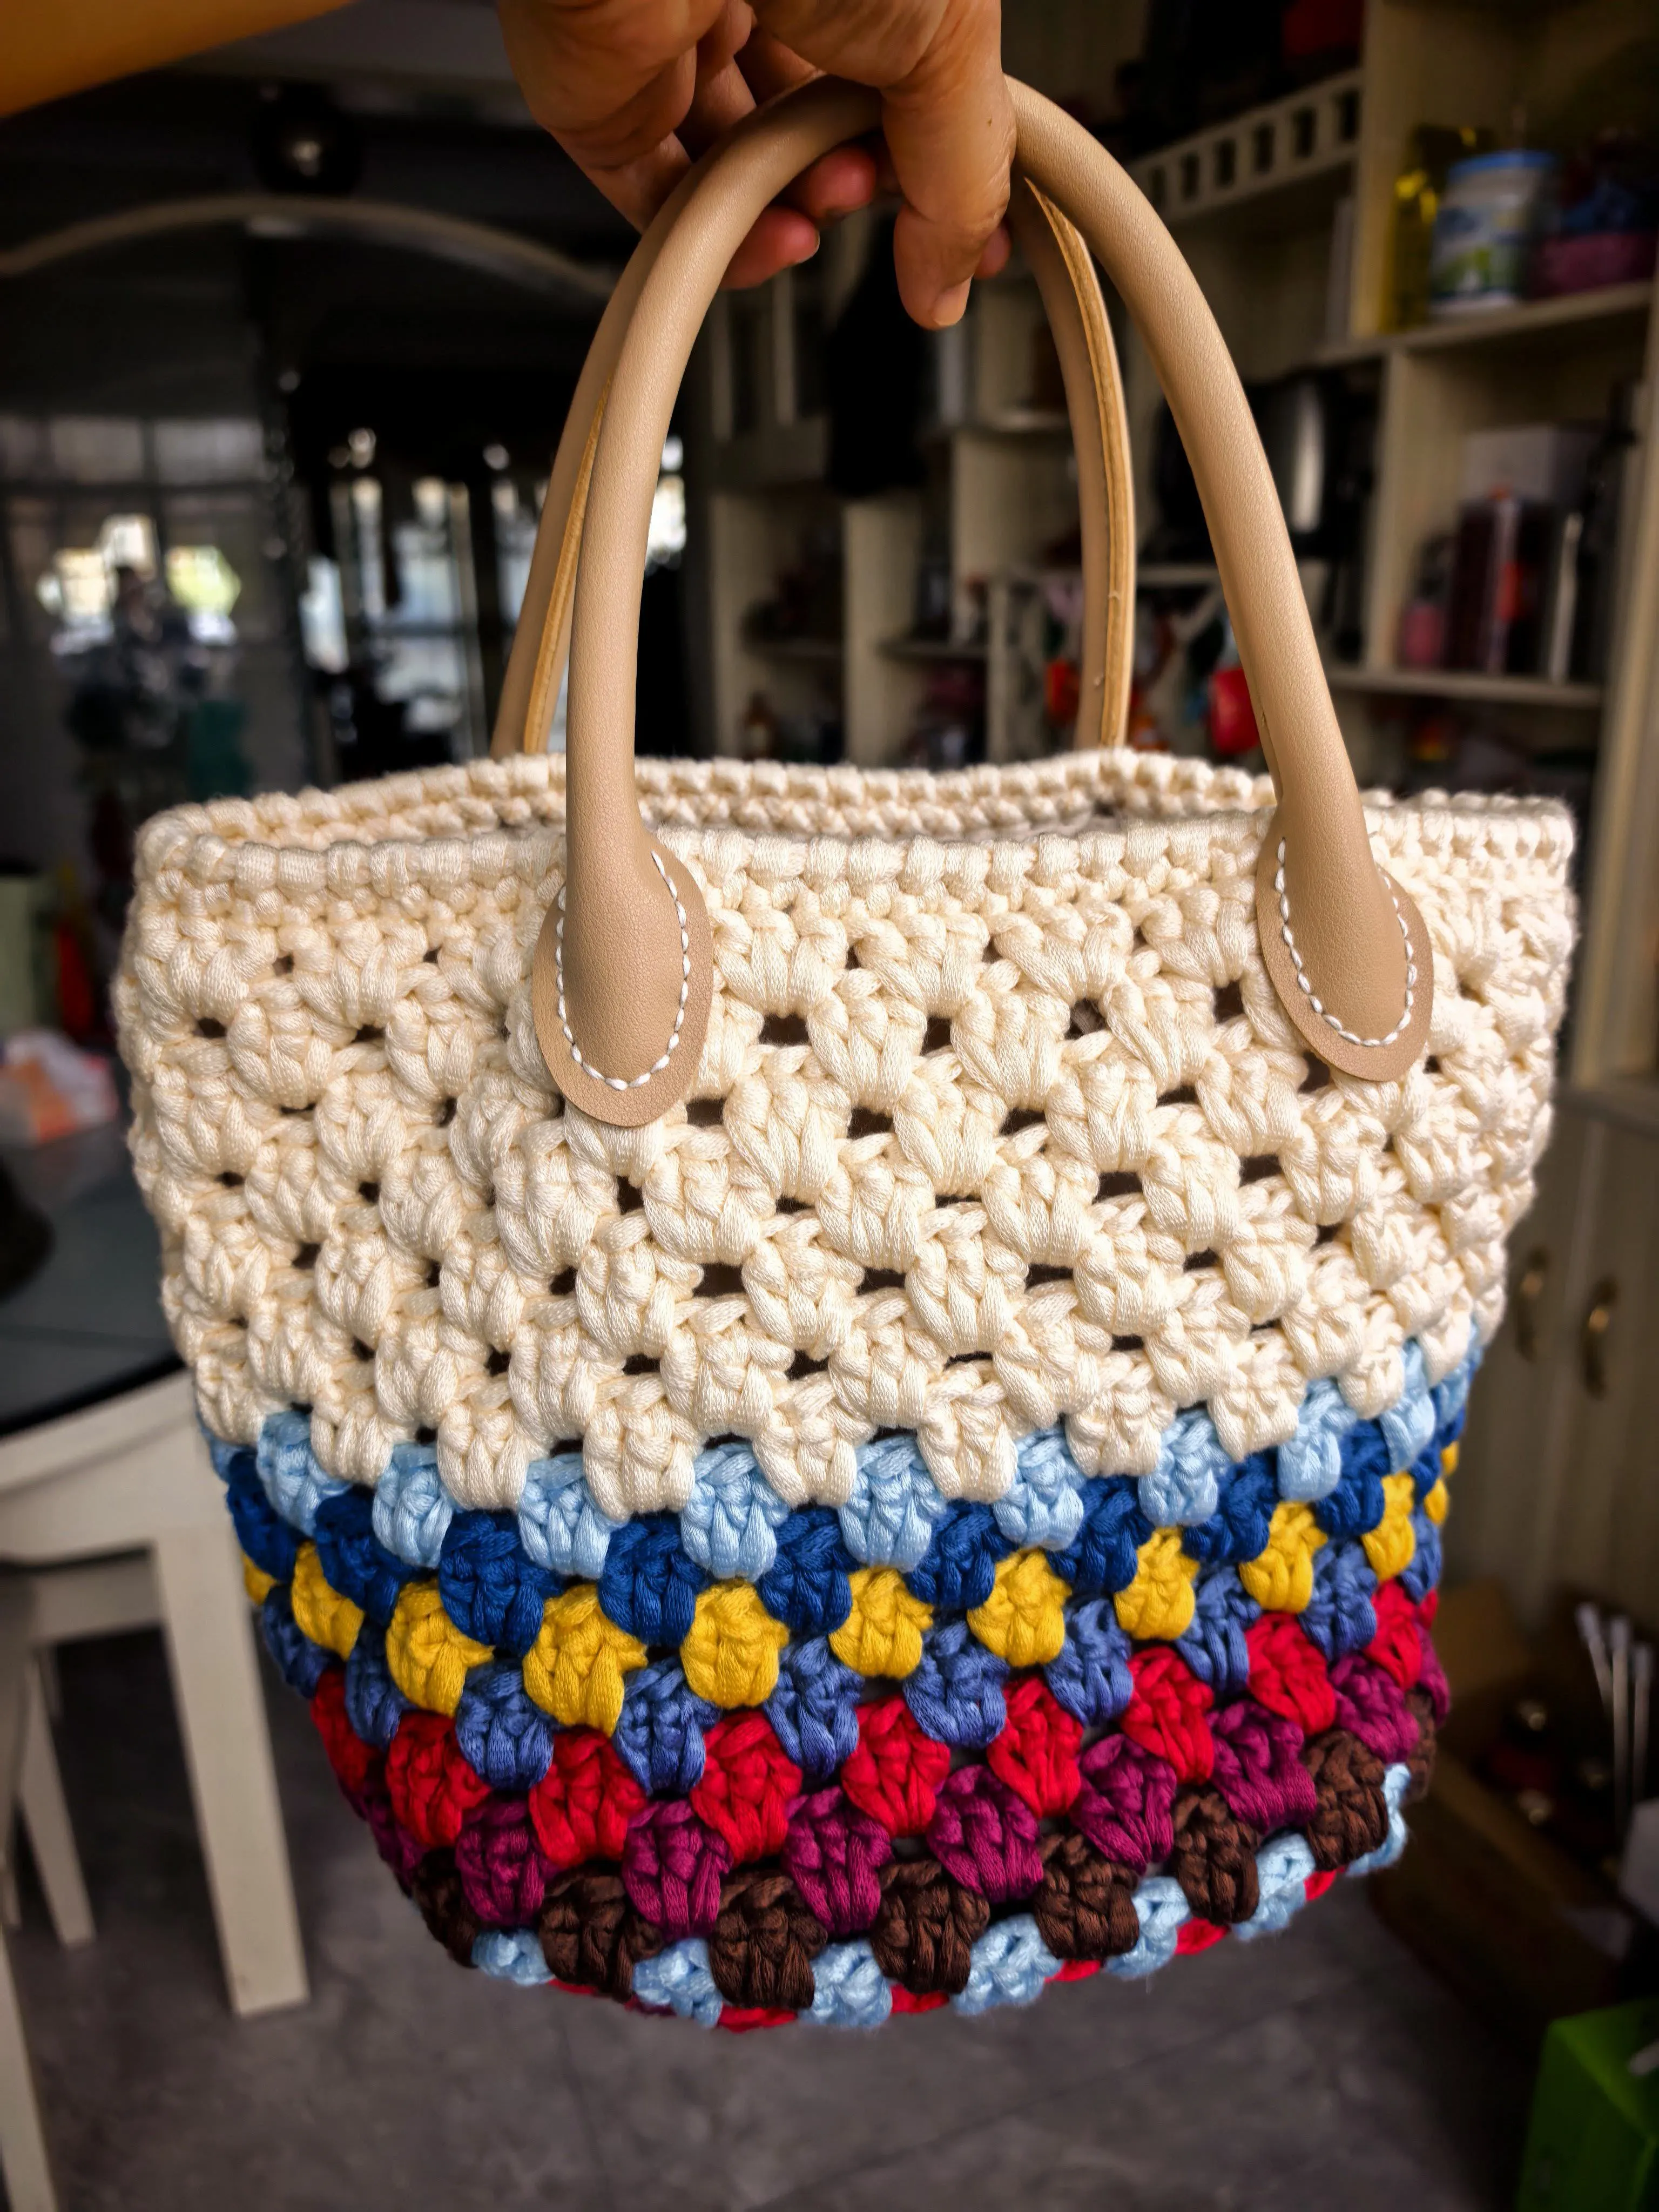
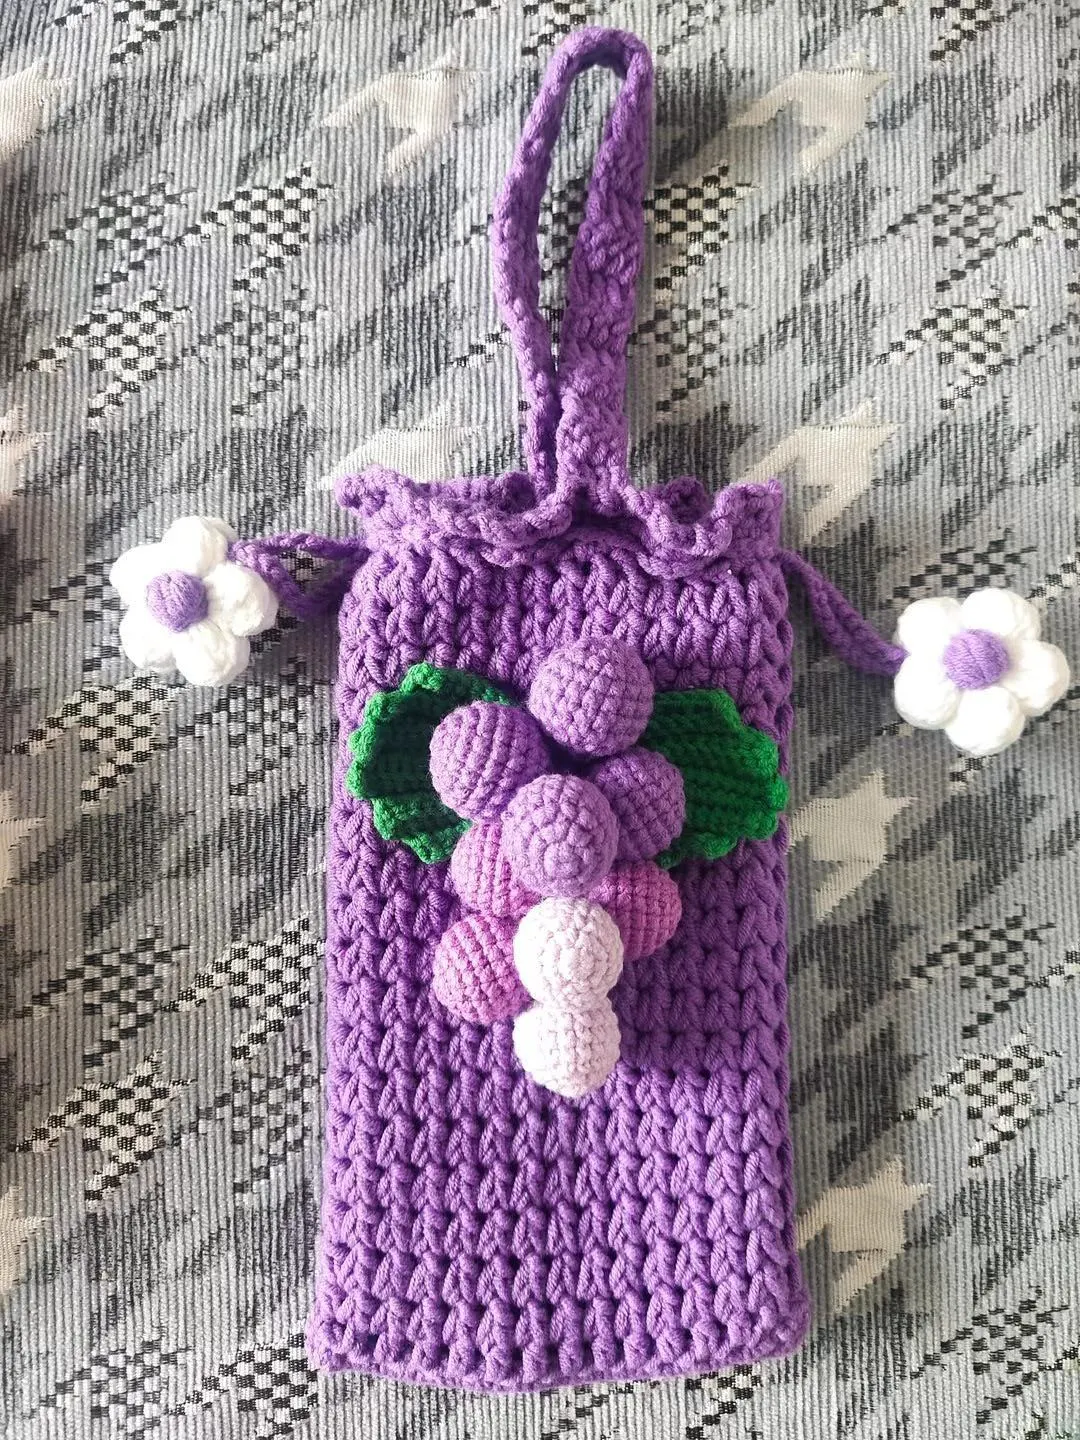
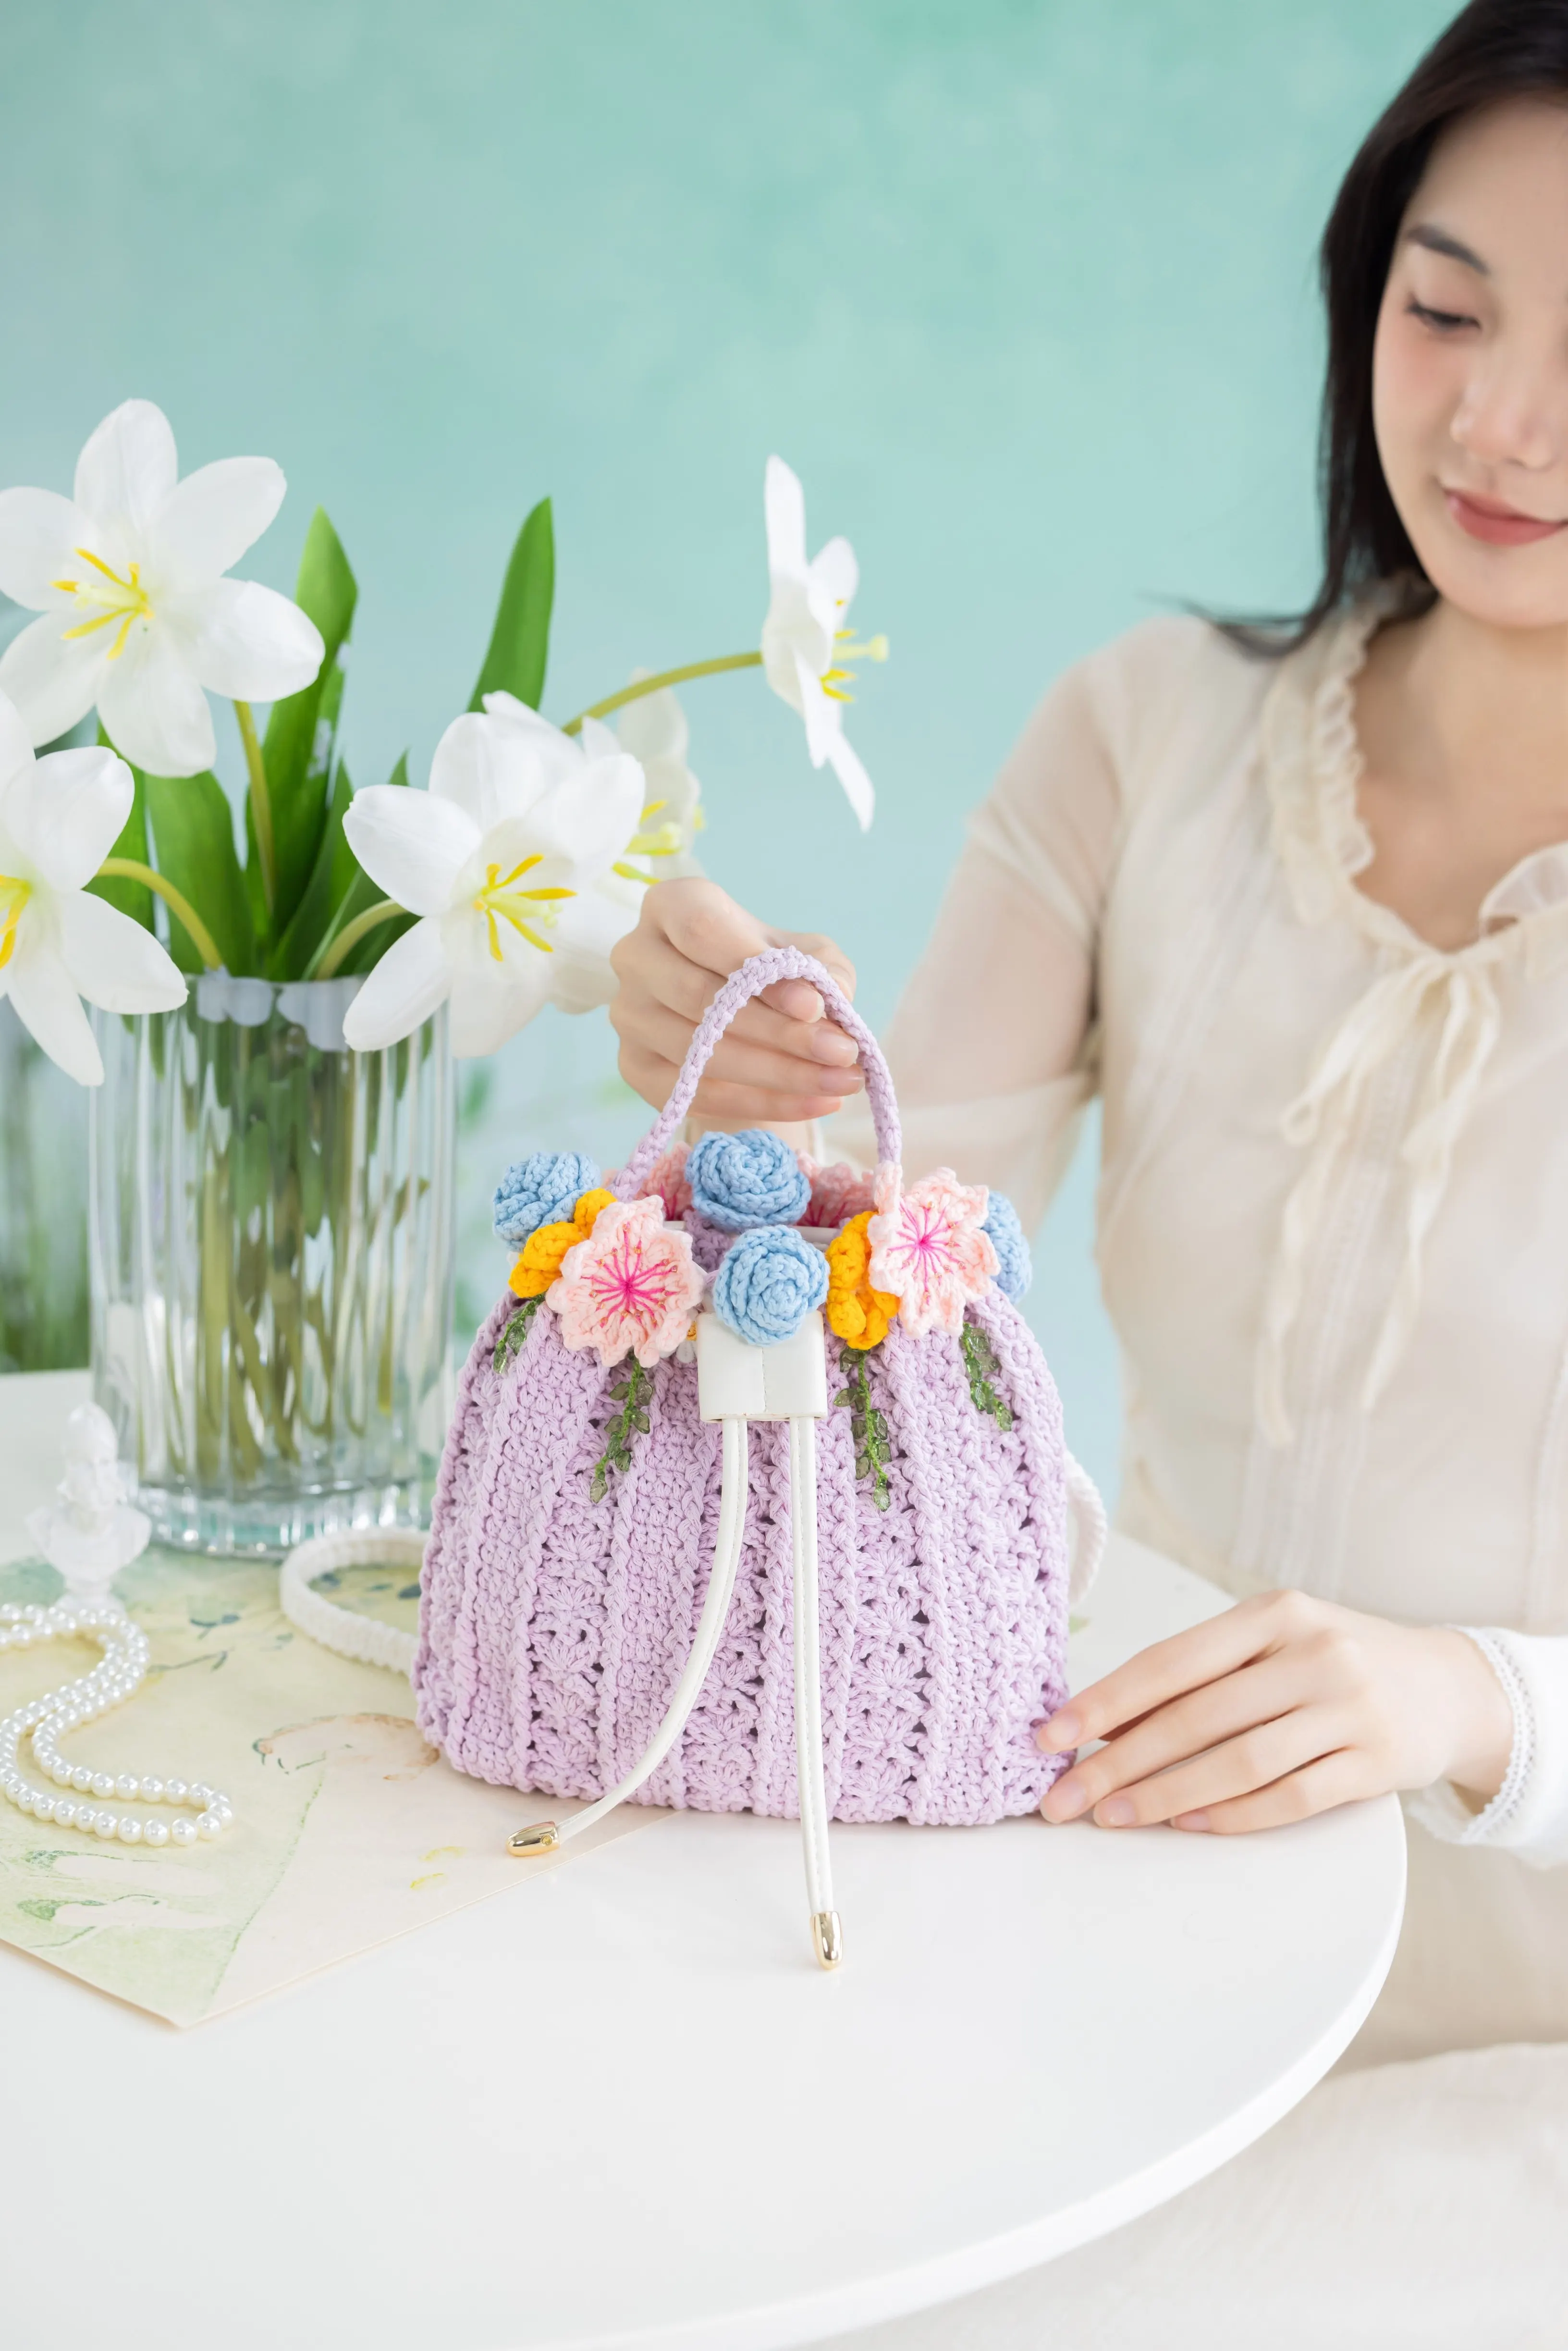
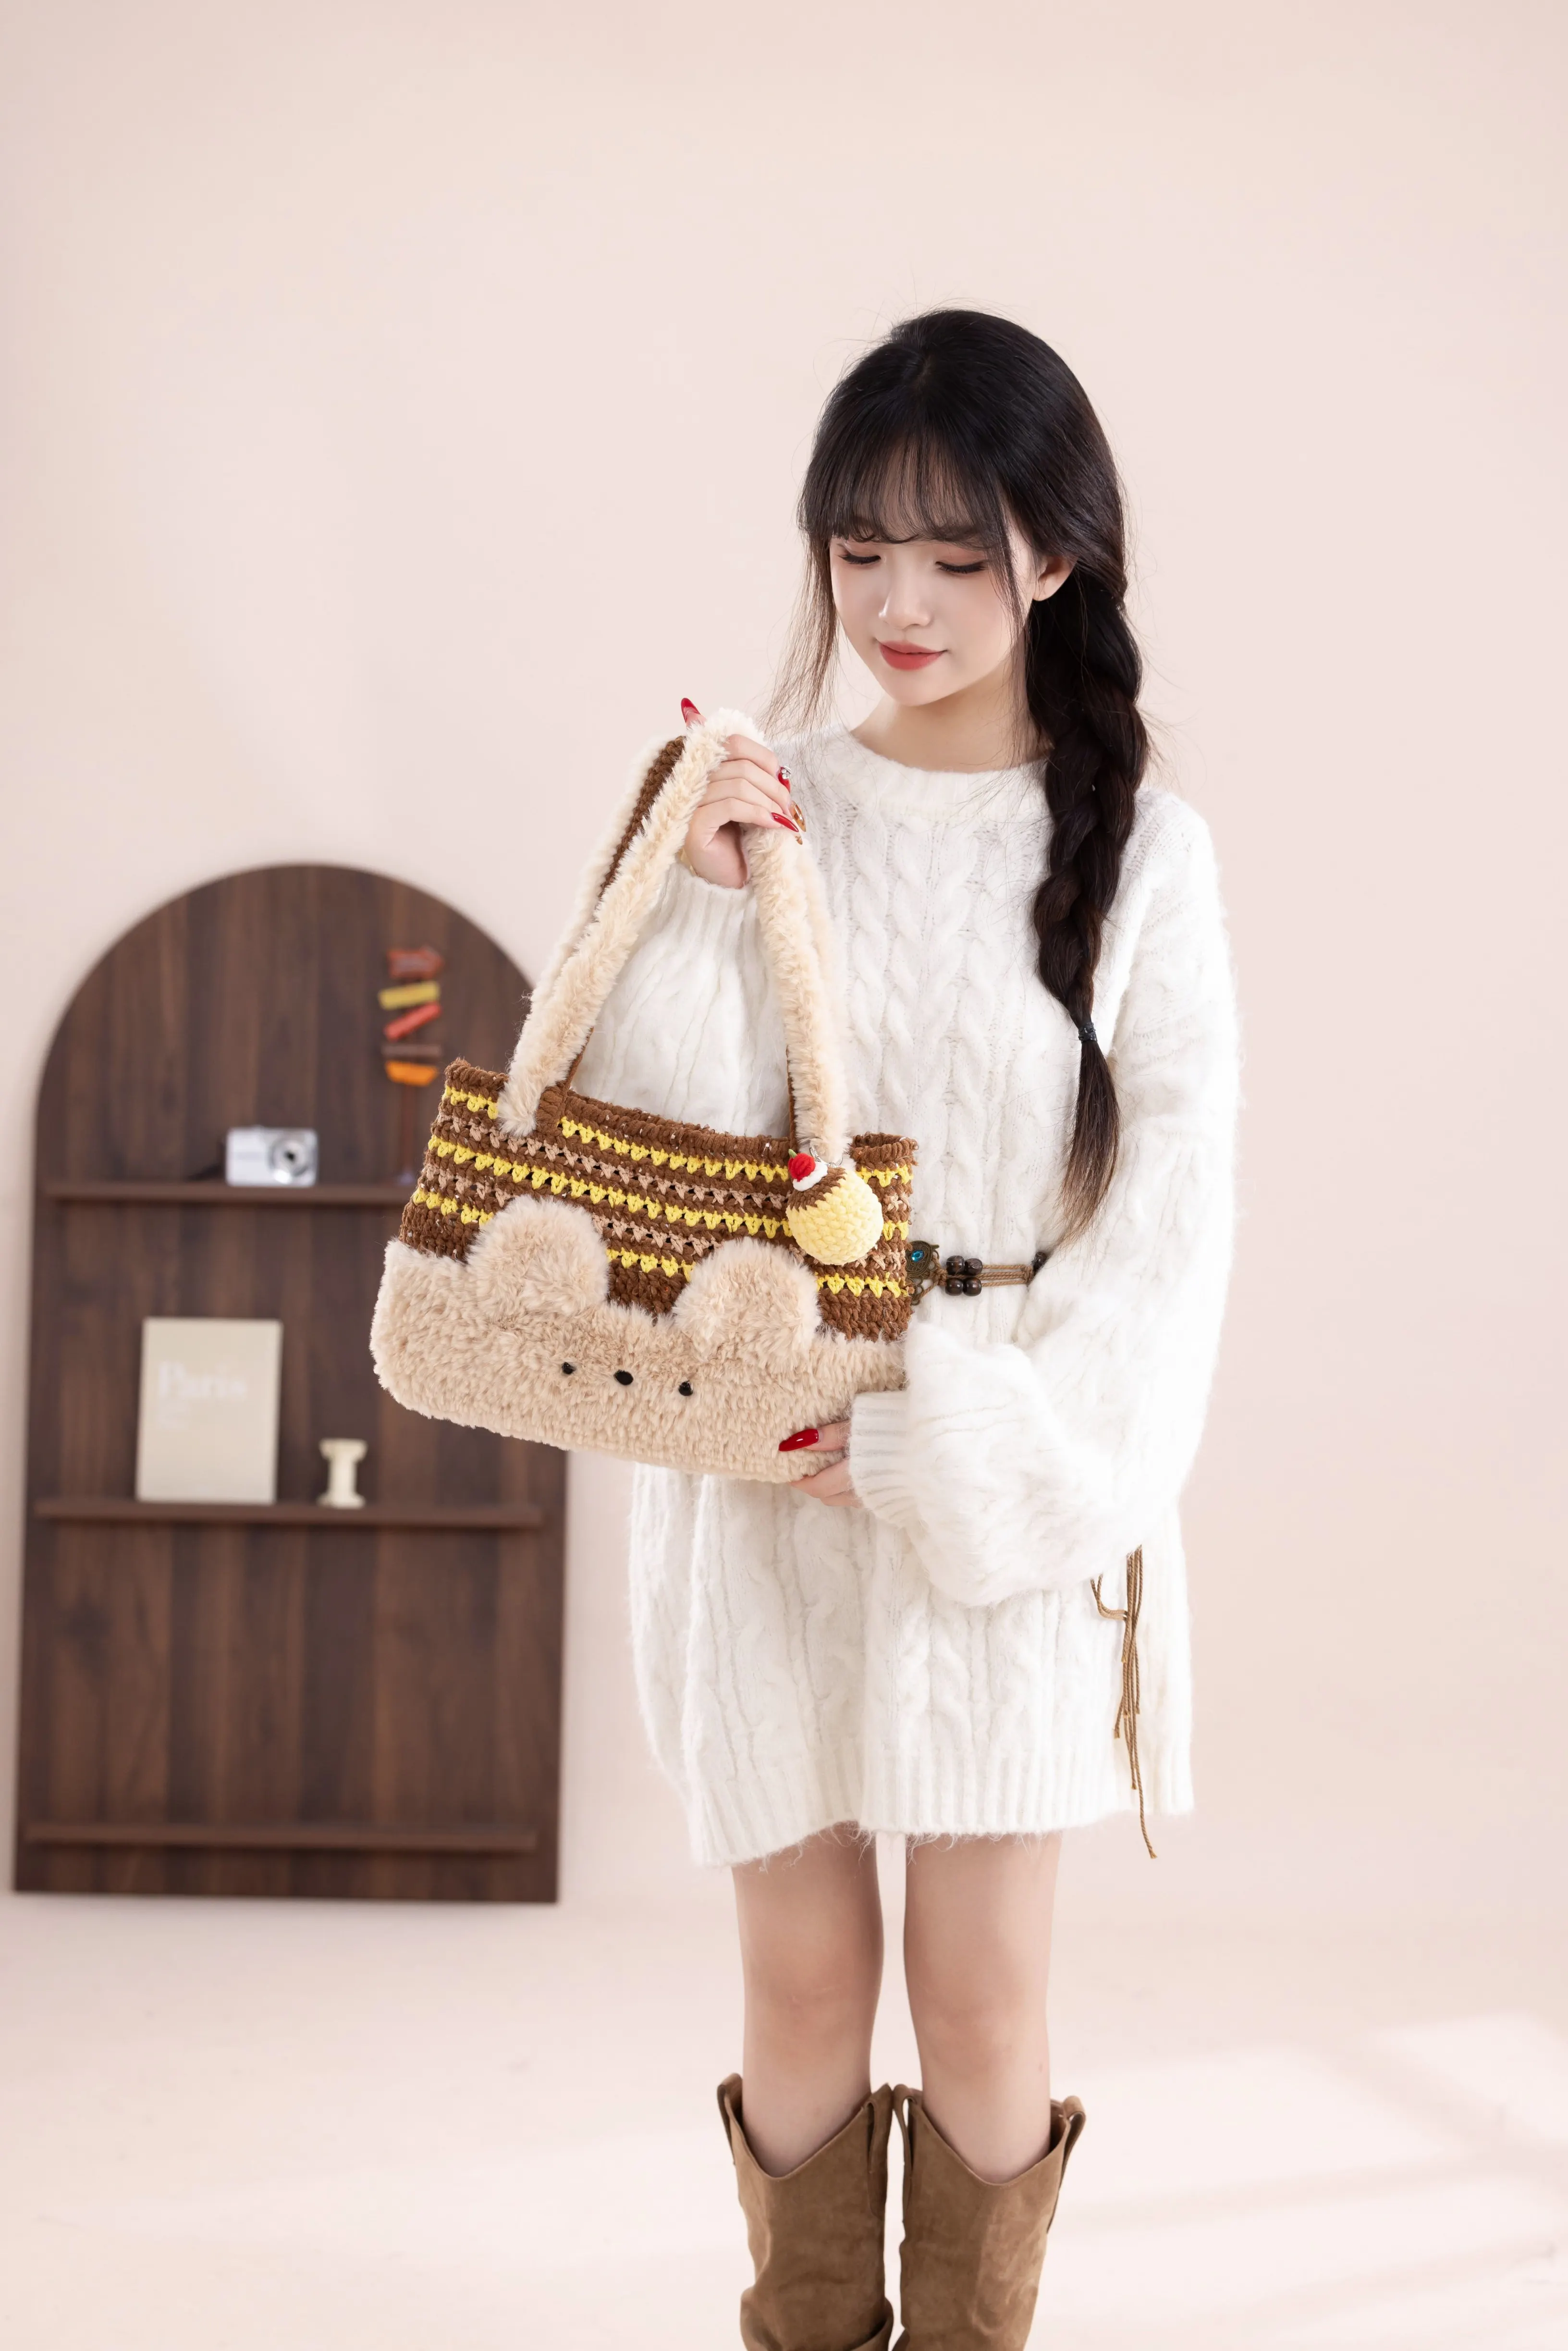
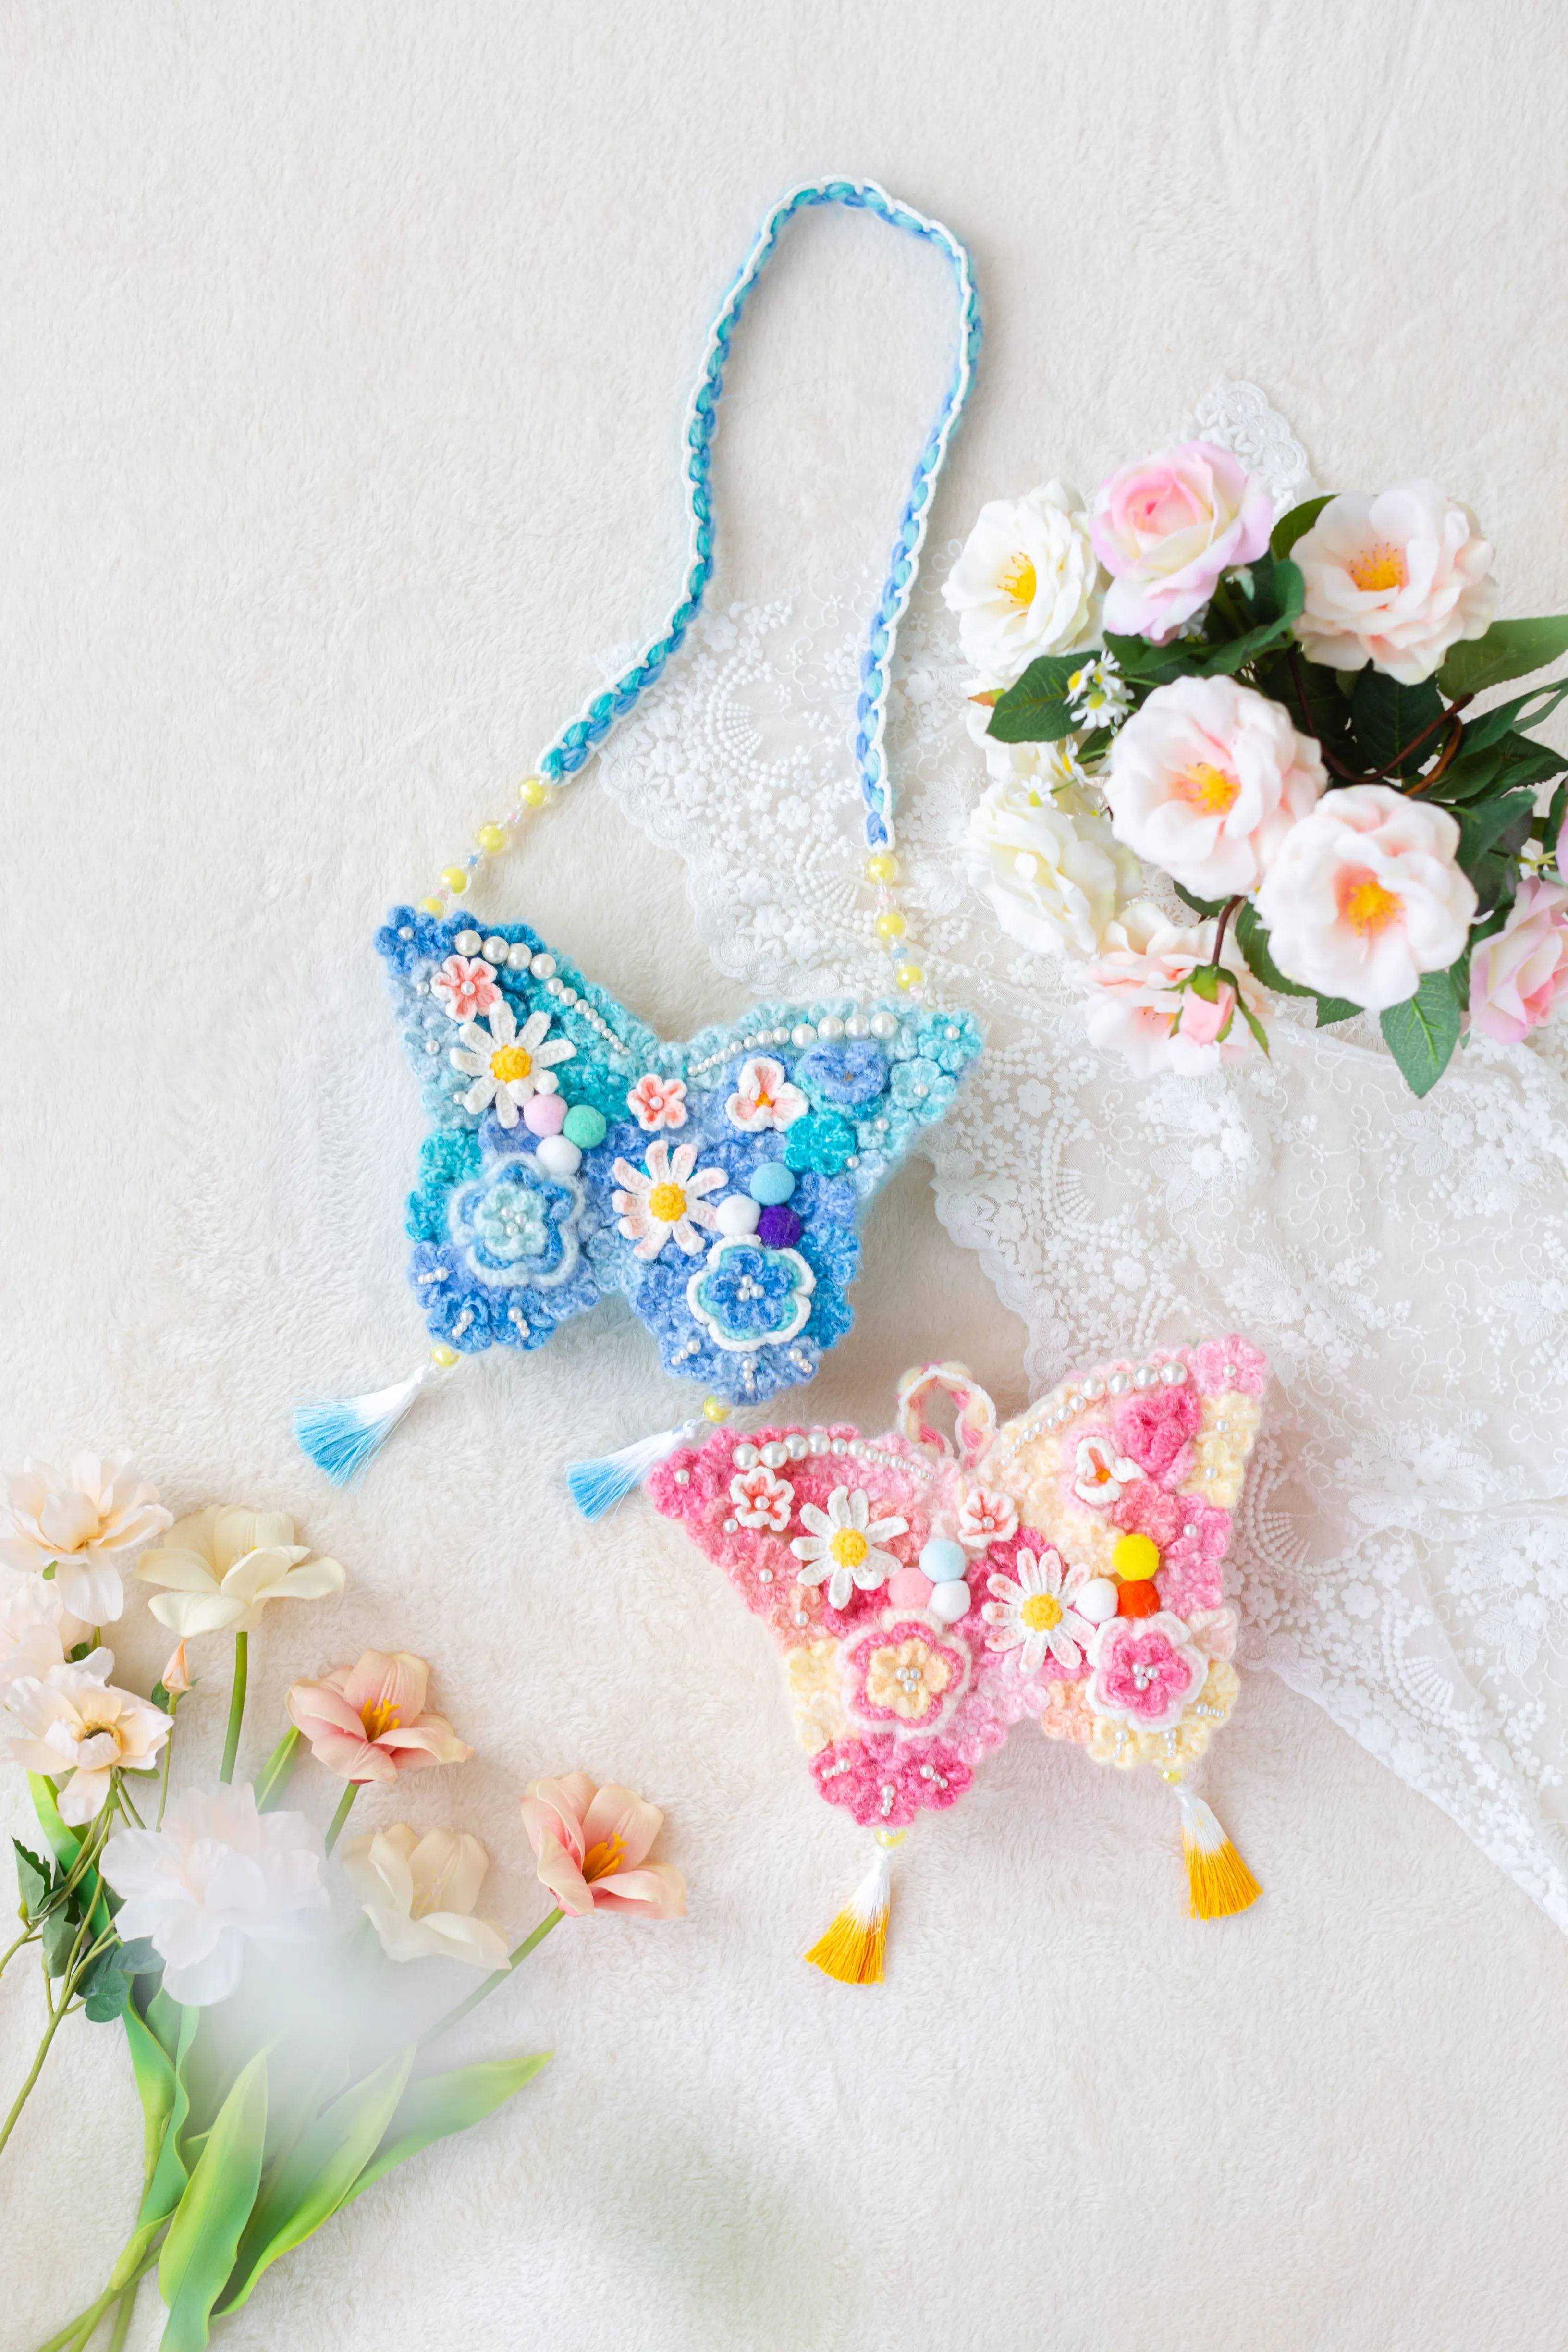
Bag
Gewu Organ-shaped File Bag
Project preview
See the finished project
Pattern format
Instructions
Watch and follow
Video tutorial
| Style | Yarn | Color |
|---|---|---|
| Bleached Sand Version | Combed 3# Lace |  03#Bleached Sand x 2 03#Bleached Sand x 2 |
| Combed 5# Lace |  02# Bleached Sand x 1 02# Bleached Sand x 1 | |
| Sheer Pink Version | Combed 3# Lace | 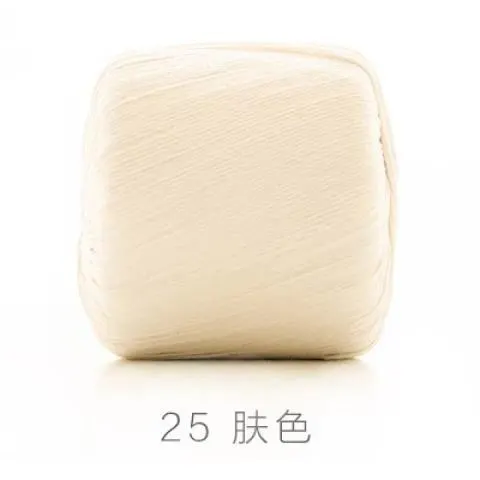 25#Sheer Pink x 2 25#Sheer Pink x 2 |
| Combed 5# Lace |  03# Sheer Pink x 1 03# Sheer Pink x 1 | |
| Caramel Cafe Version | Combed 3# Lace |  45#Caramel Cafe x 2 45#Caramel Cafe x 2 |
| Combed 5# Lace |  21#Caramel Cafe x 1 21#Caramel Cafe x 1 |
This bag consists of the base, the body, the side gussets and decorations. From bottom to top of the bag, we'll work the base, followed by the body and the side gussets. Once completed, we'll assemble them. Lastly, we'll create and attach the decorations.
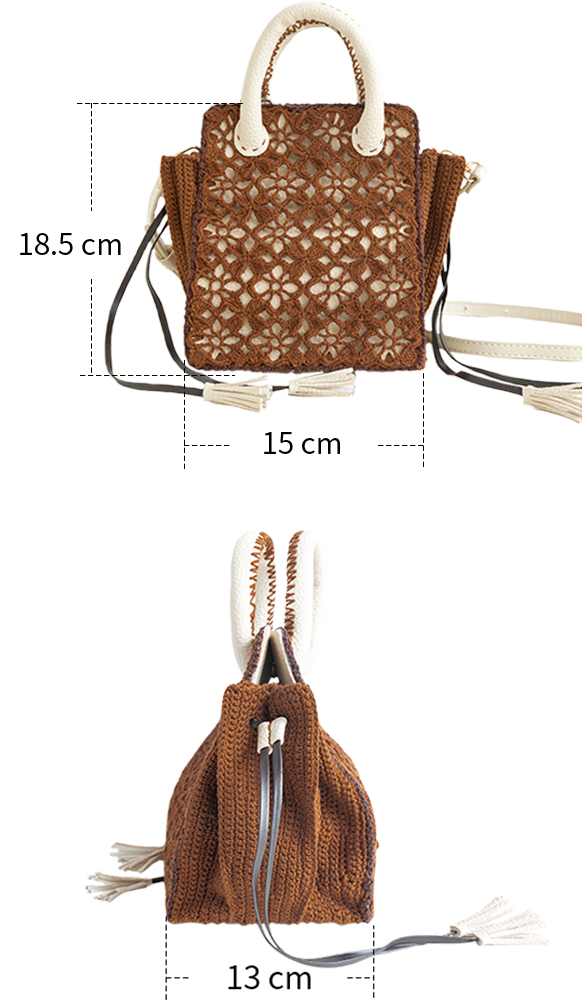
Due to variations in individual tension, the size of the sample is for reference only.
Materials & Hook: Combed 3# Lace (2.0mm crochet hook) & Combed 5# Lace (1.5mm crochet hook)
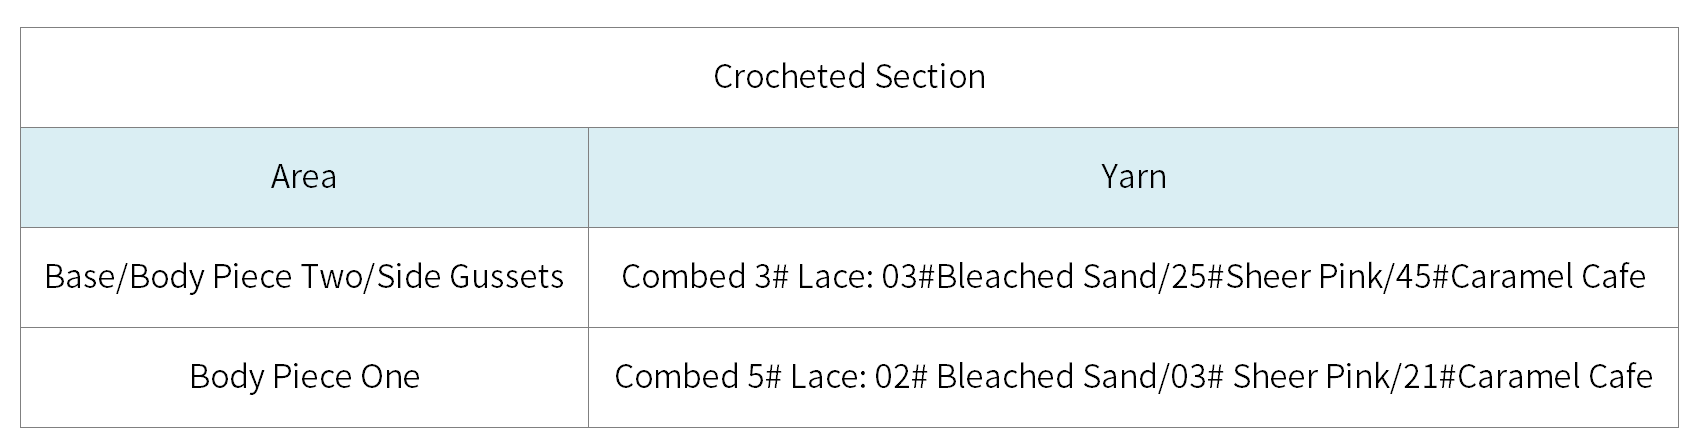
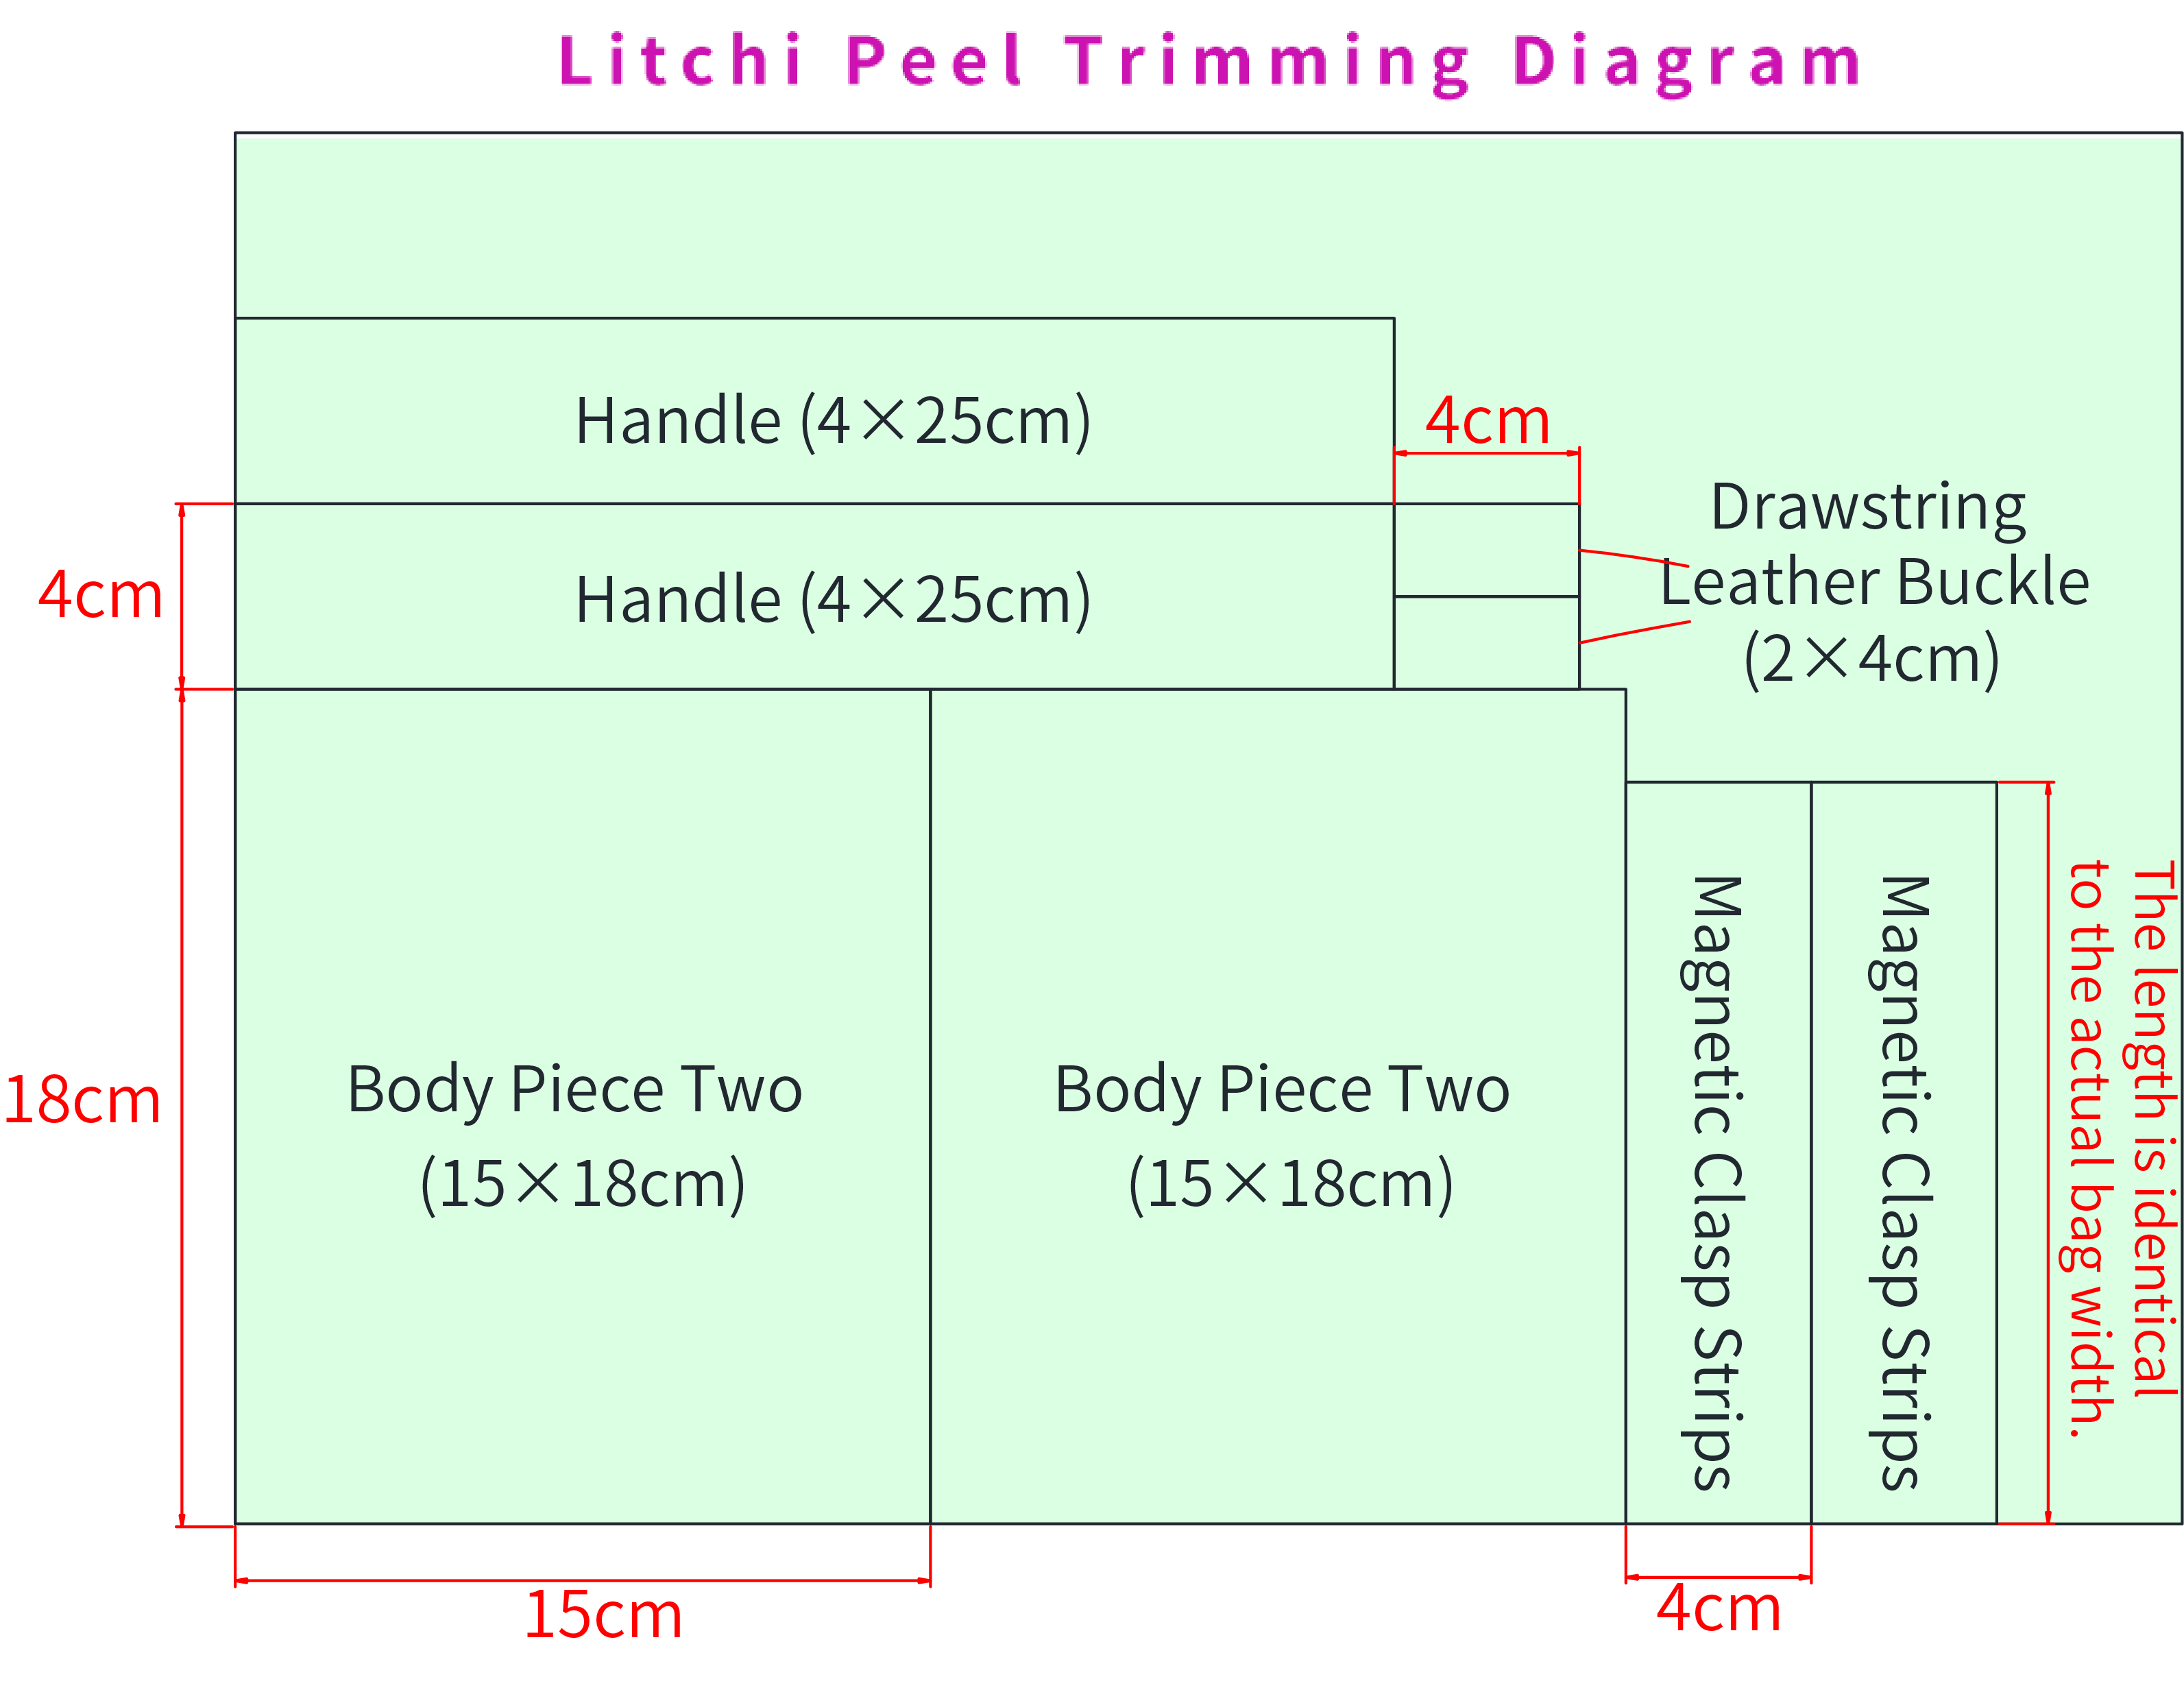

Chart Key






Note: This pattern is making in Chinese crochet pattern terms, and the stitch name is written using American terminology. All measurements in charts are in cm. 
Part 1 BaseA 00' 50''
Join the yarn on the finished leather bag bottom and work 1 round counterclockwise. Please refer to the video demonstration for specifics.
Part 2 BodyB 09' 25''
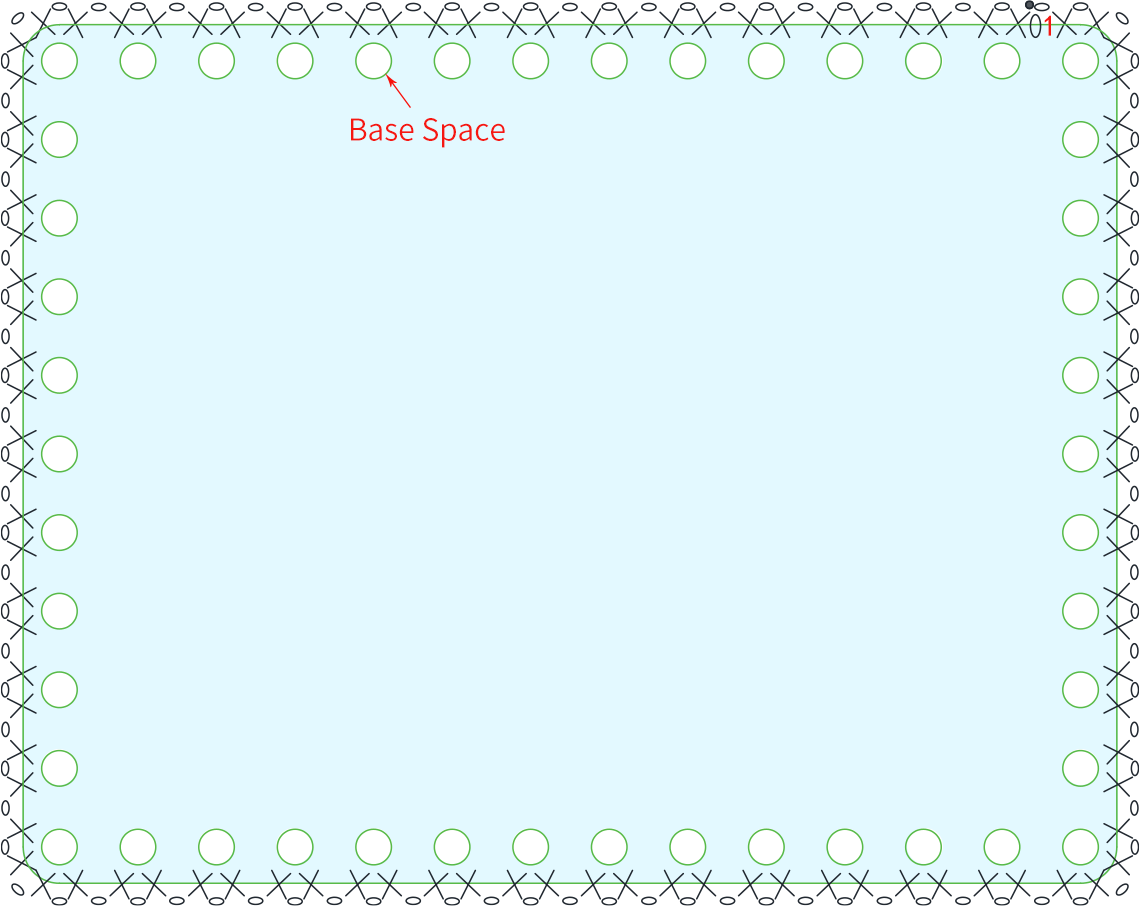
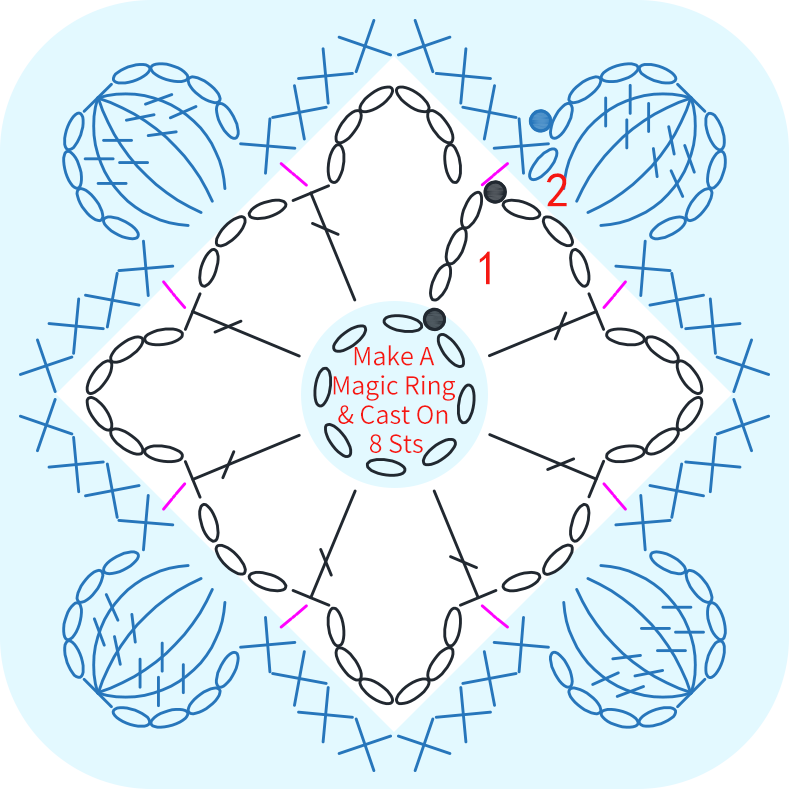
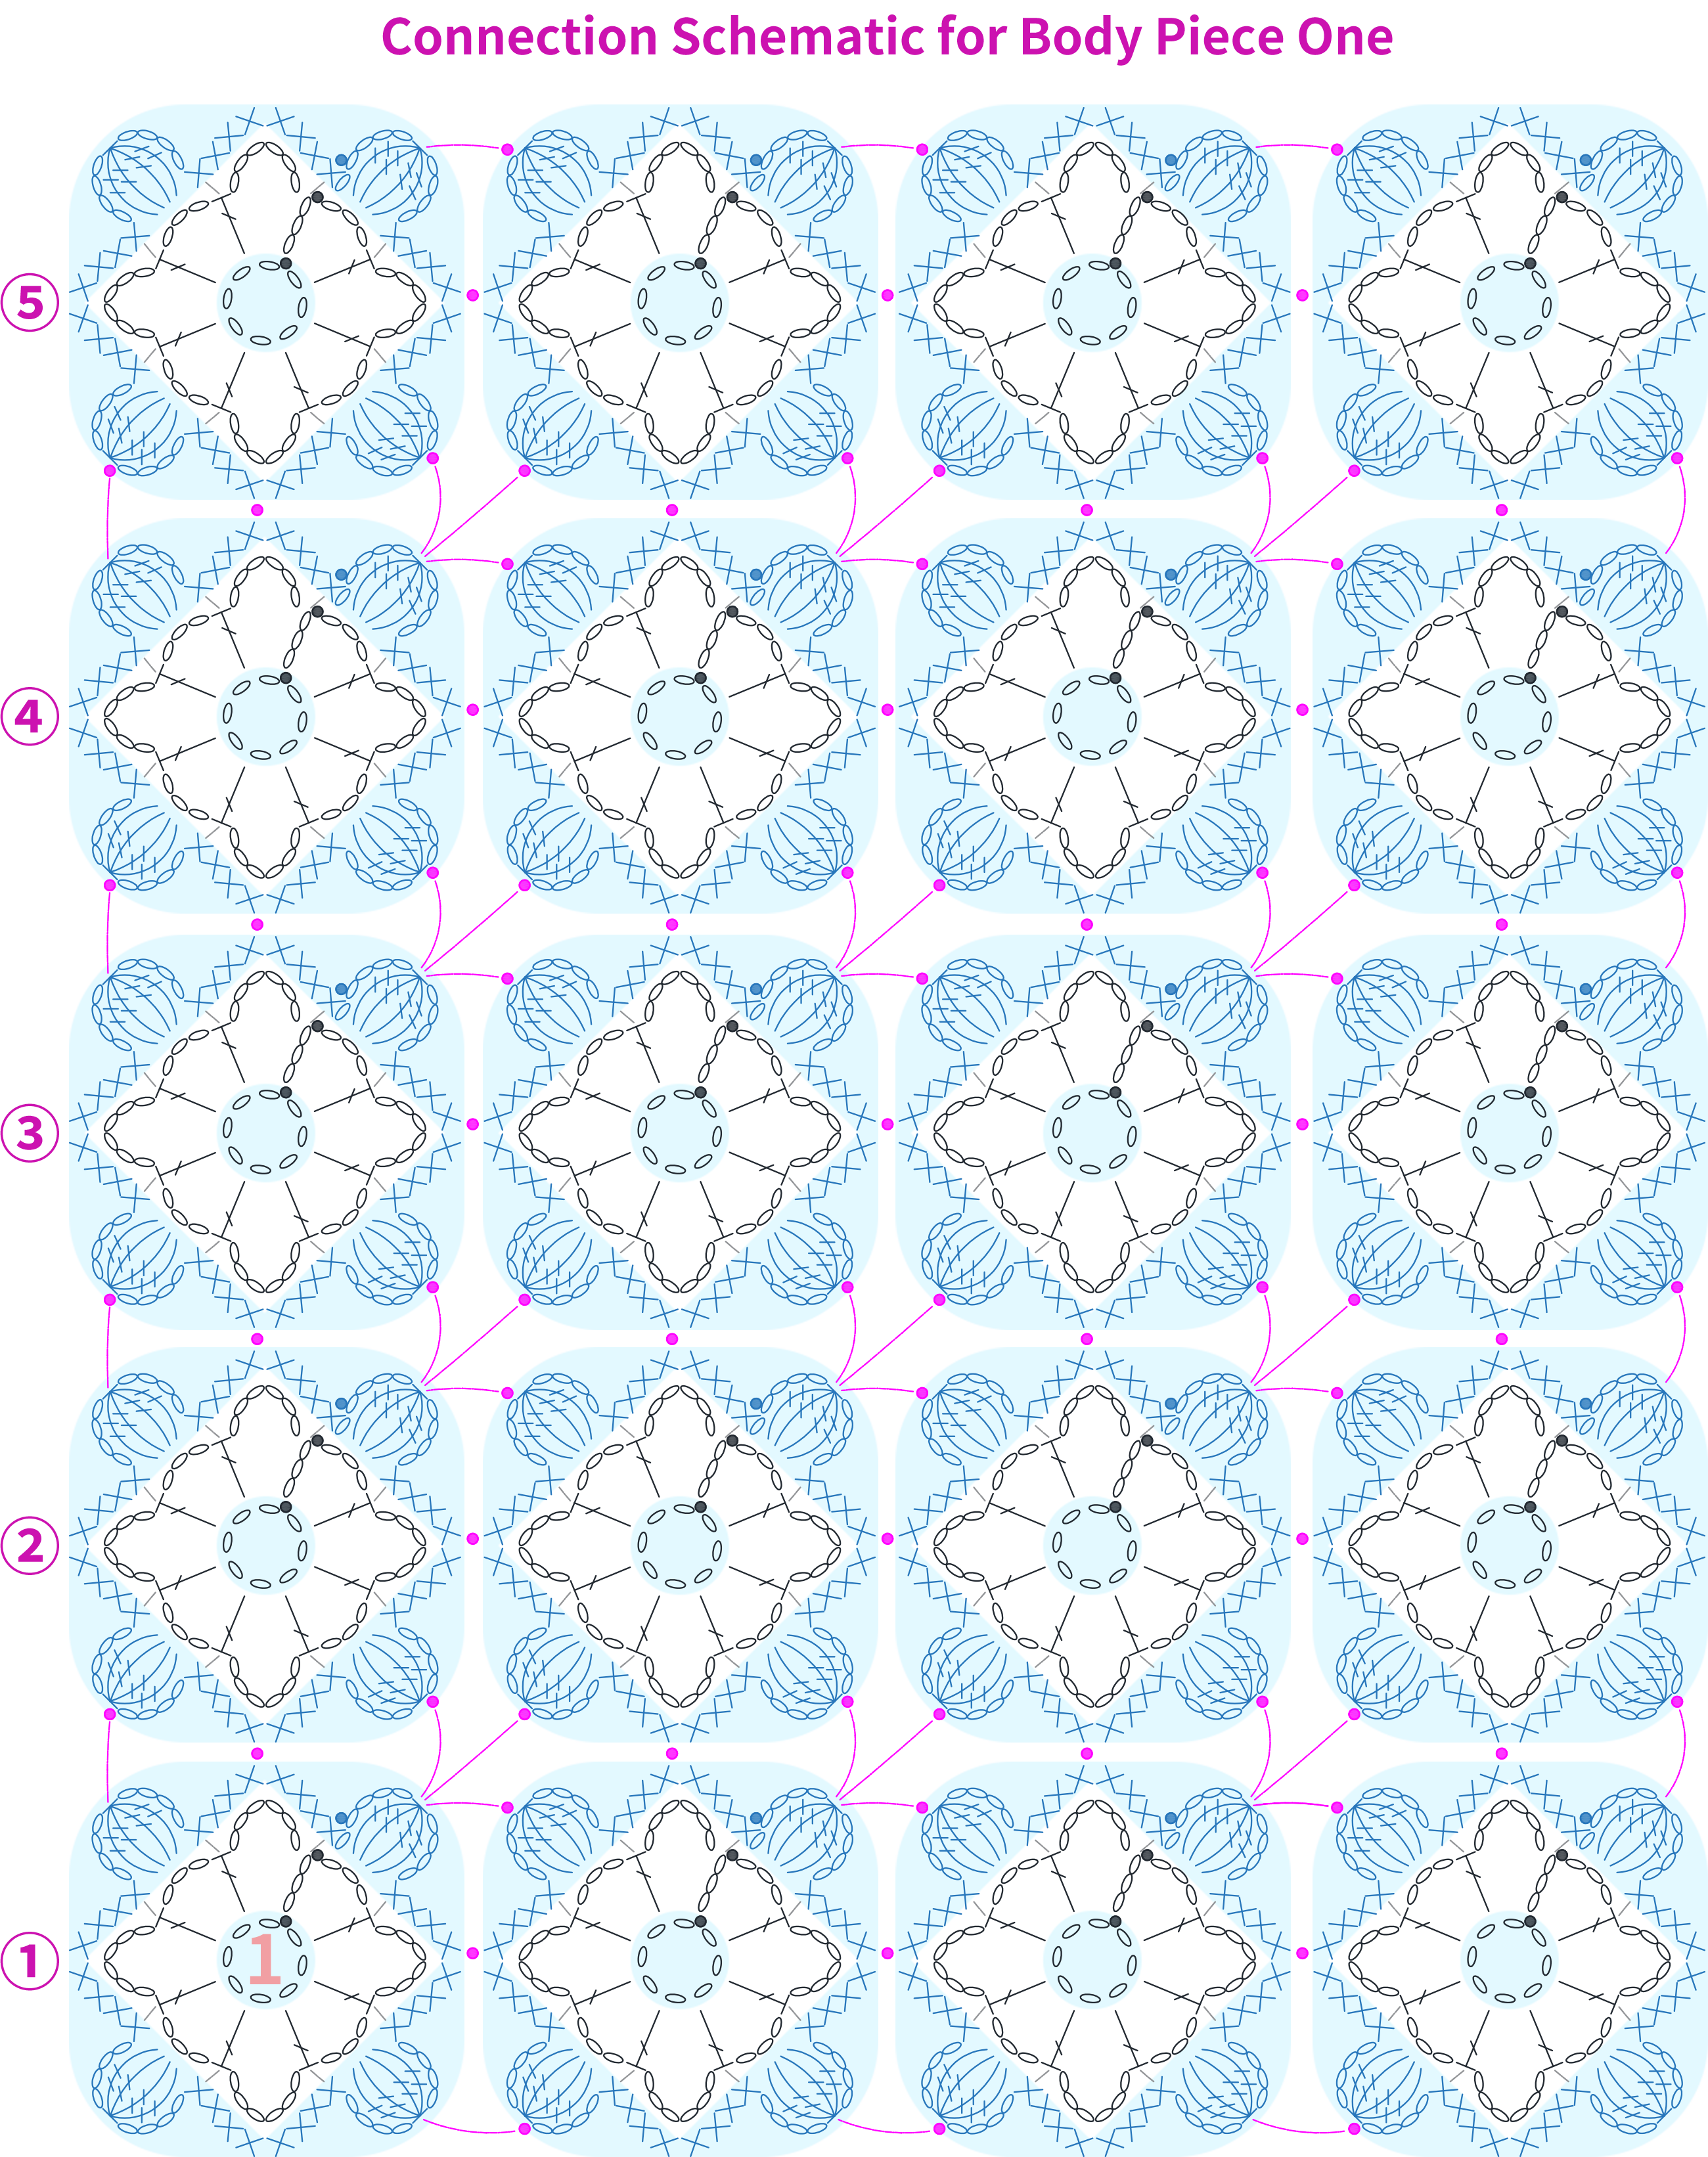
The bag body has two sides, each side composed of Piece OneB1 and Piece TwoB2, with the pieces made separately. Piece One is crocheted using a crochet hook, while Piece Two requires first cutting the litchi peel (size: 15×18cm), then punching holes in the leather and crocheting 1 round edge. Please refer to the video demonstration for specifics.
Part 3 Side GussetsC 46' 25''
There are two of them, worked the same way. Each side edge consists of the main part and slip stitch decorations. First, crochet the main part, and once it's completed, pick up and work the slip stitch decorations in the corresponding positions. Please refer to the video demonstration for specifics.
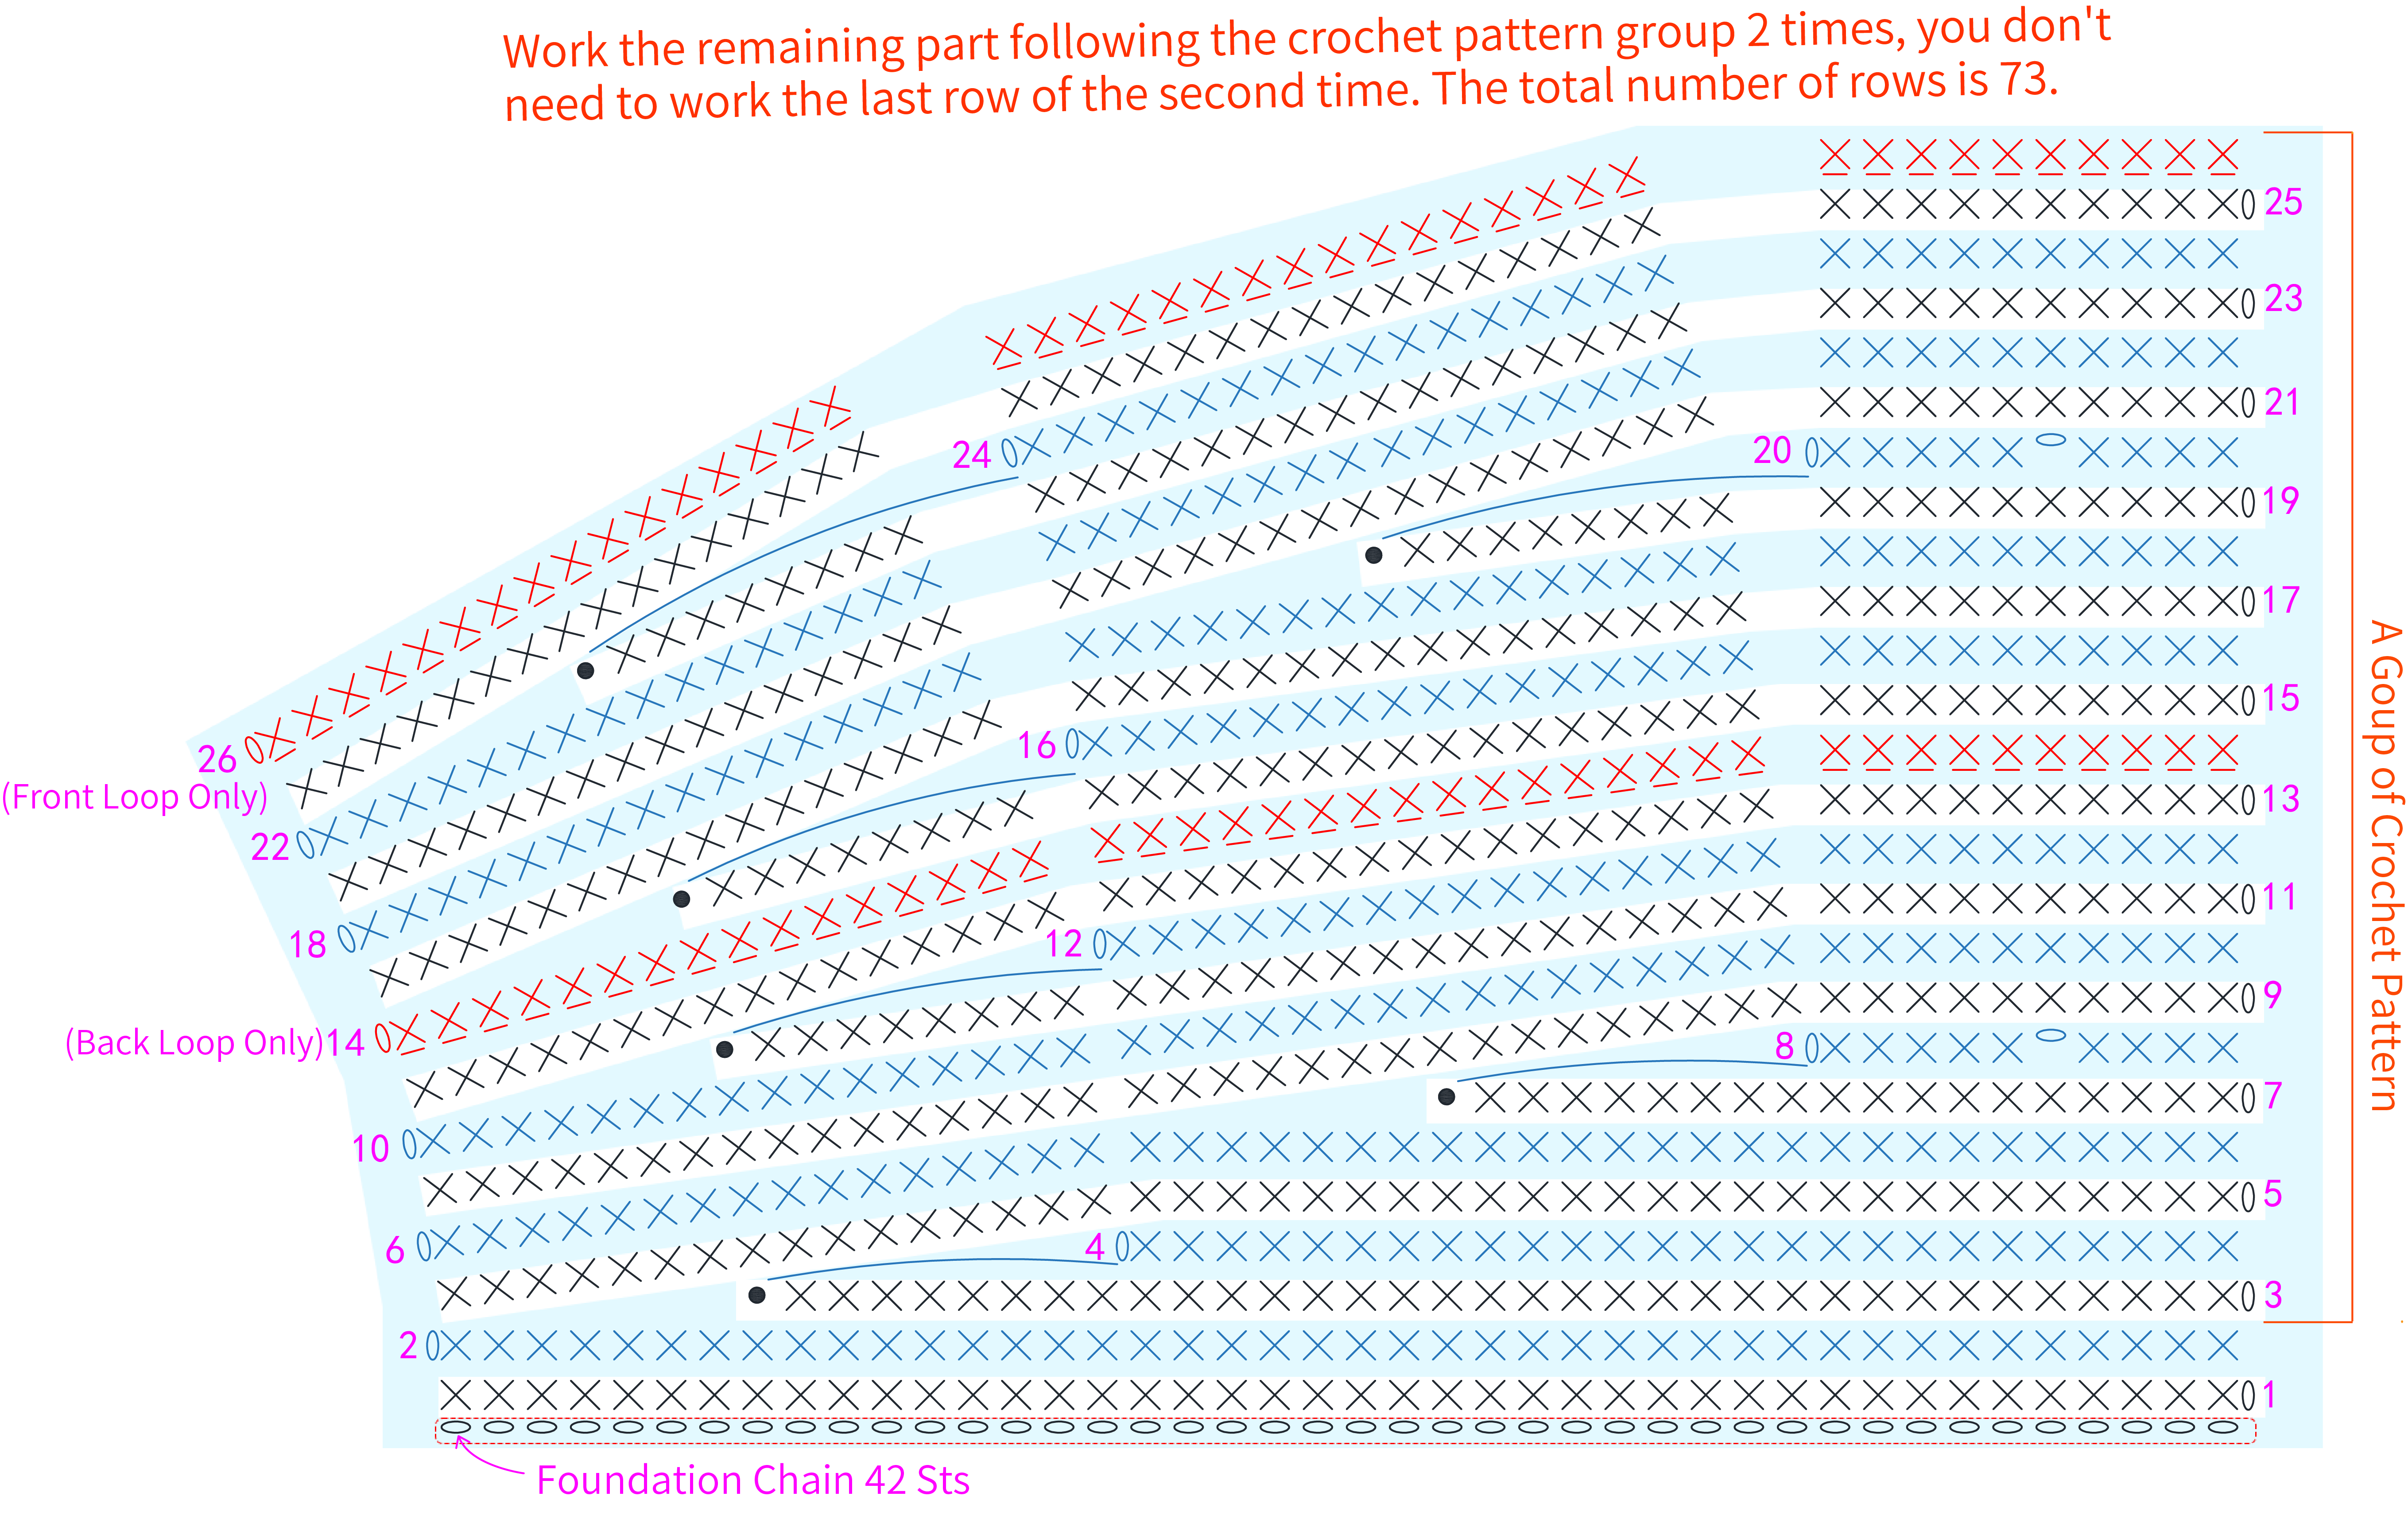
Part 4 AssemblyD & DecrationsE 63' 44''
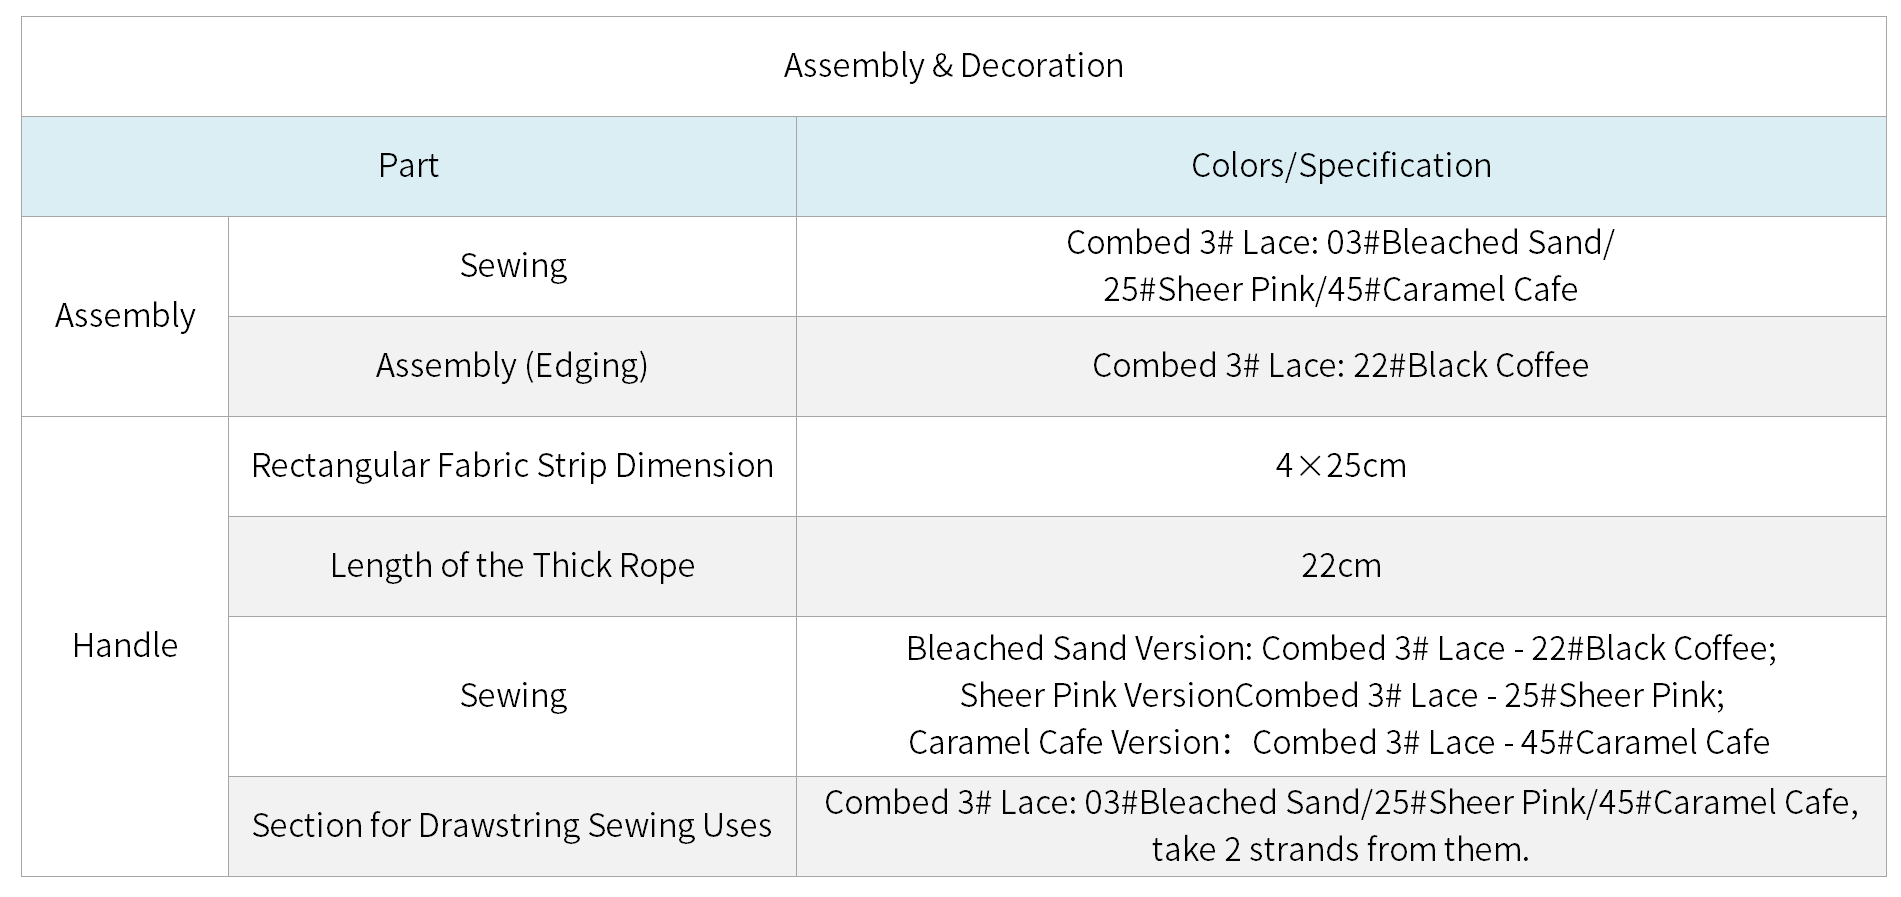
First, assemble the base, body, and side gussets. Start by sewing together the corresponding areasD1 of these three parts. Then, crochet 1 round along the edge of the bodyD2. After completing this, make and attach the handleE1, drawstringE2, magnetic clasps stripE3, and other decorations. Finally, install the strap according to your preference. Please refer to the video demonstration for specifics.

Made by the community