Clothes
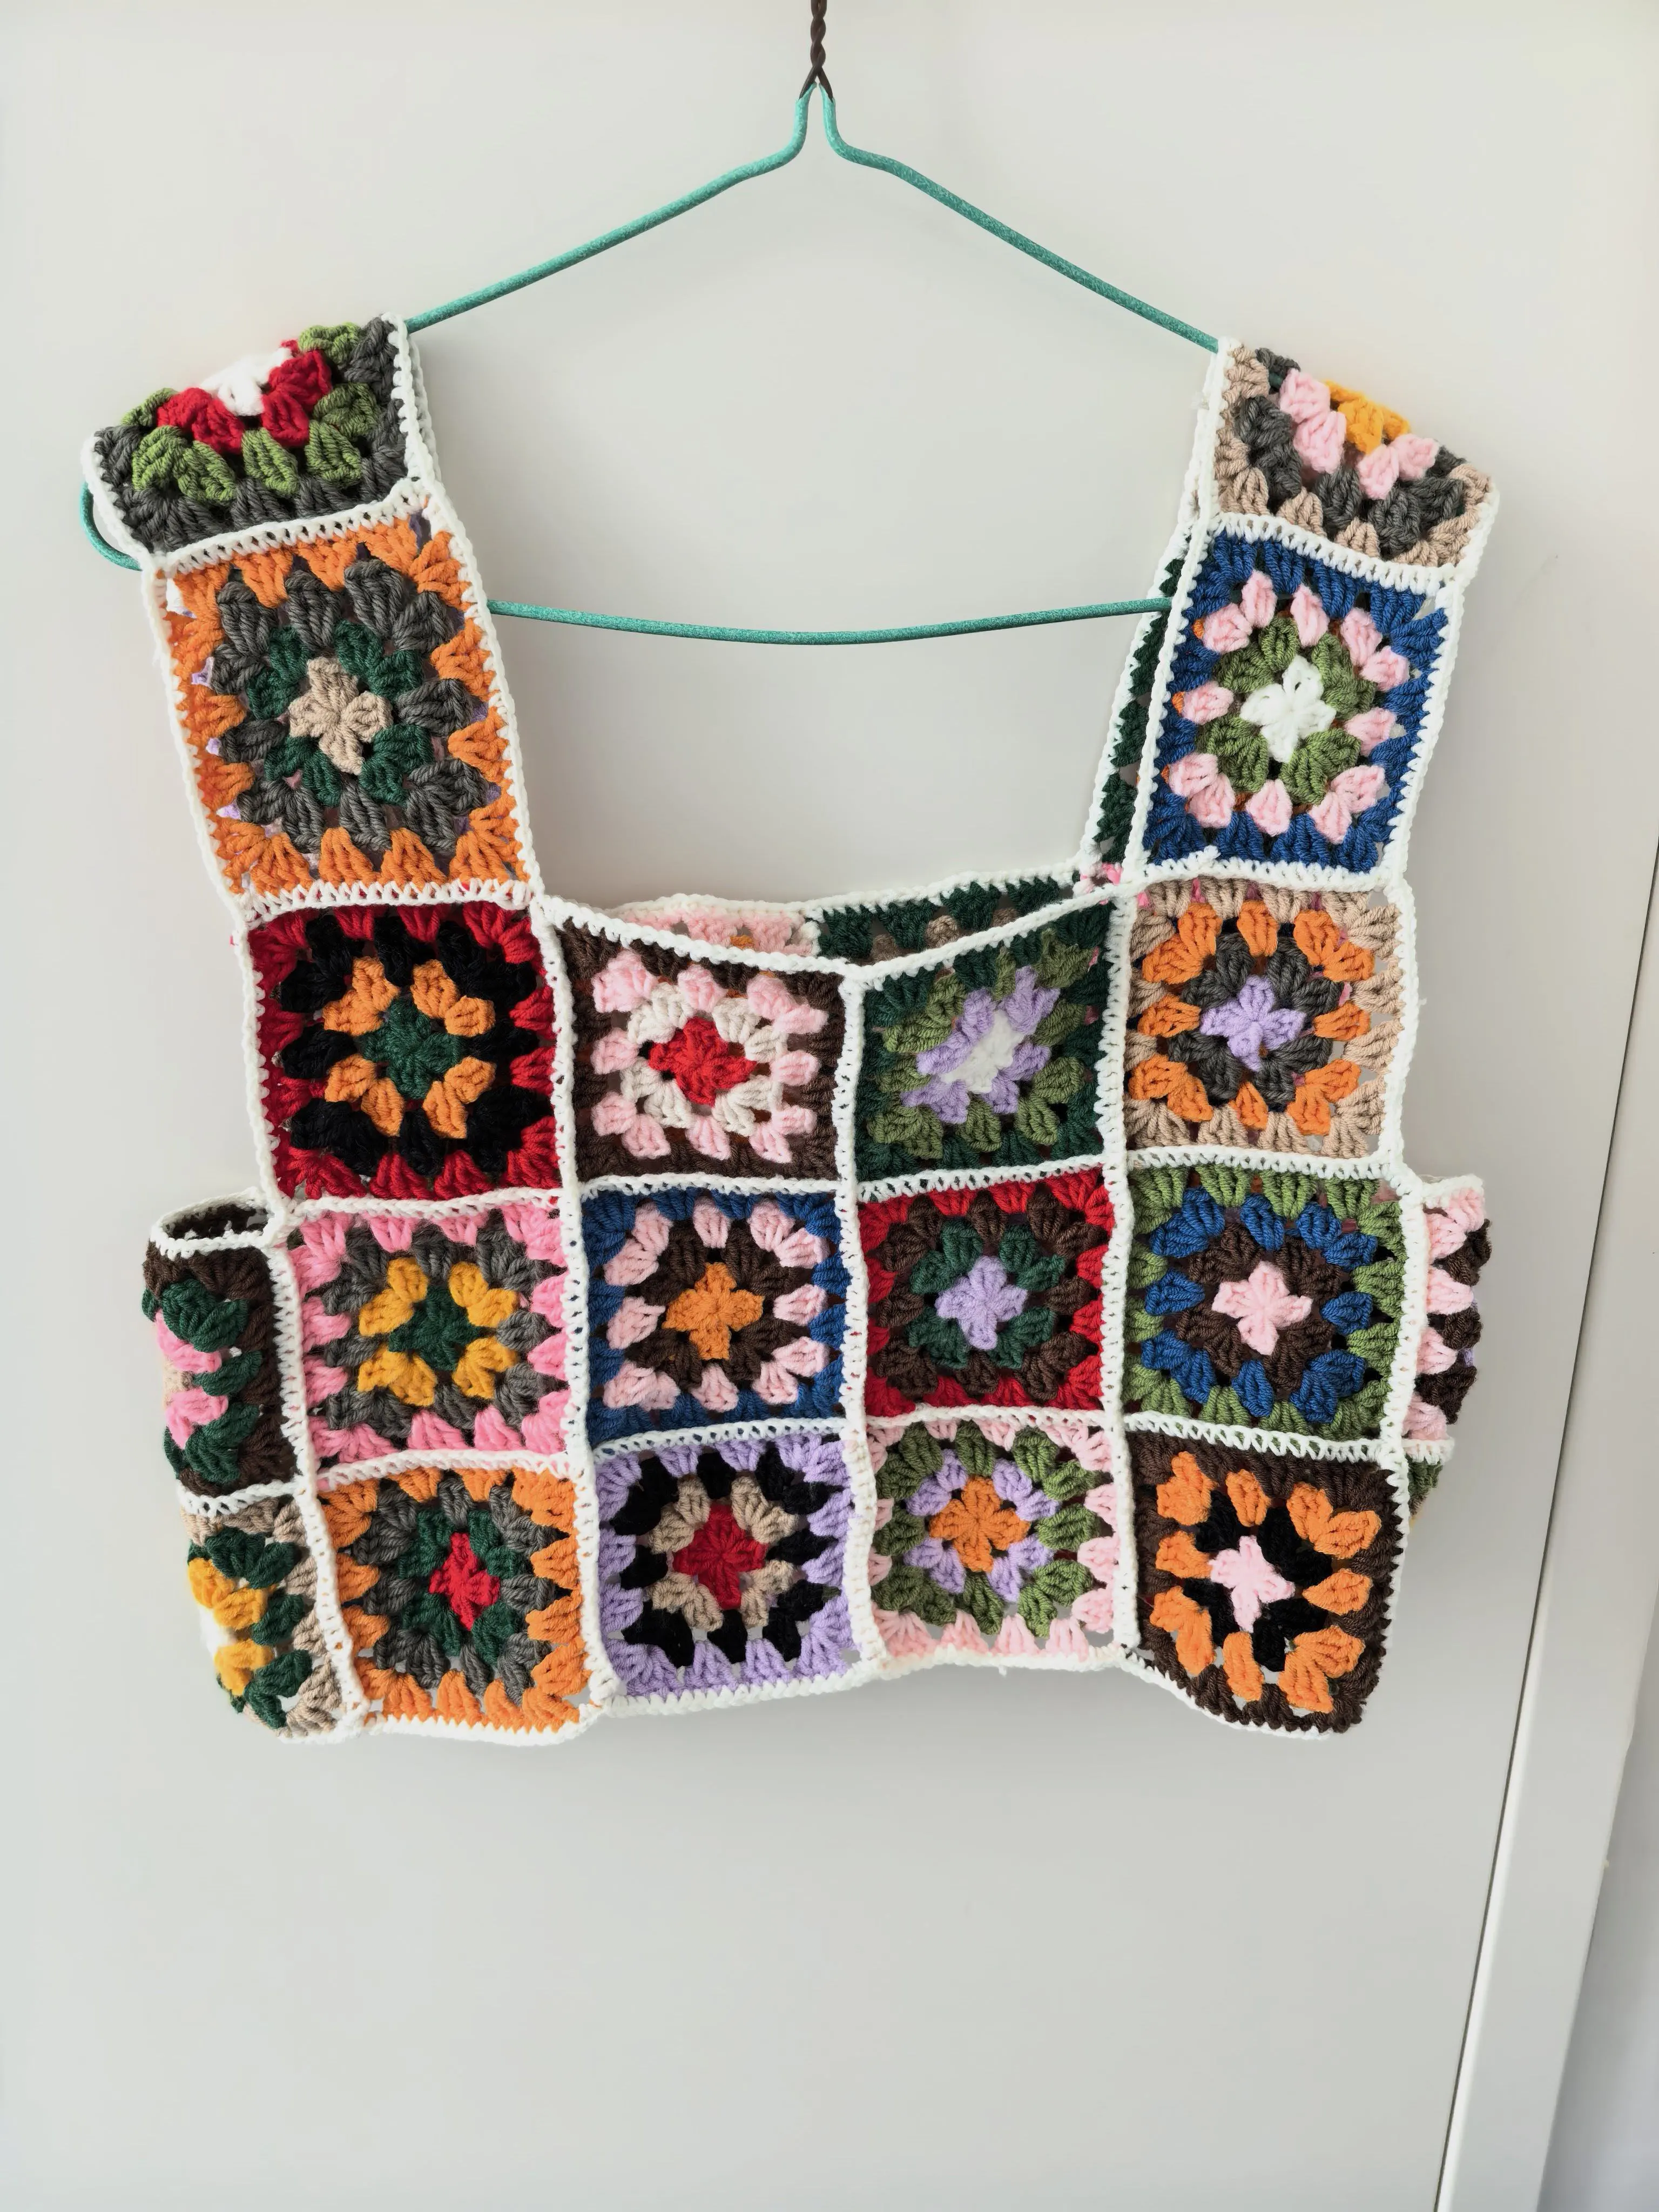
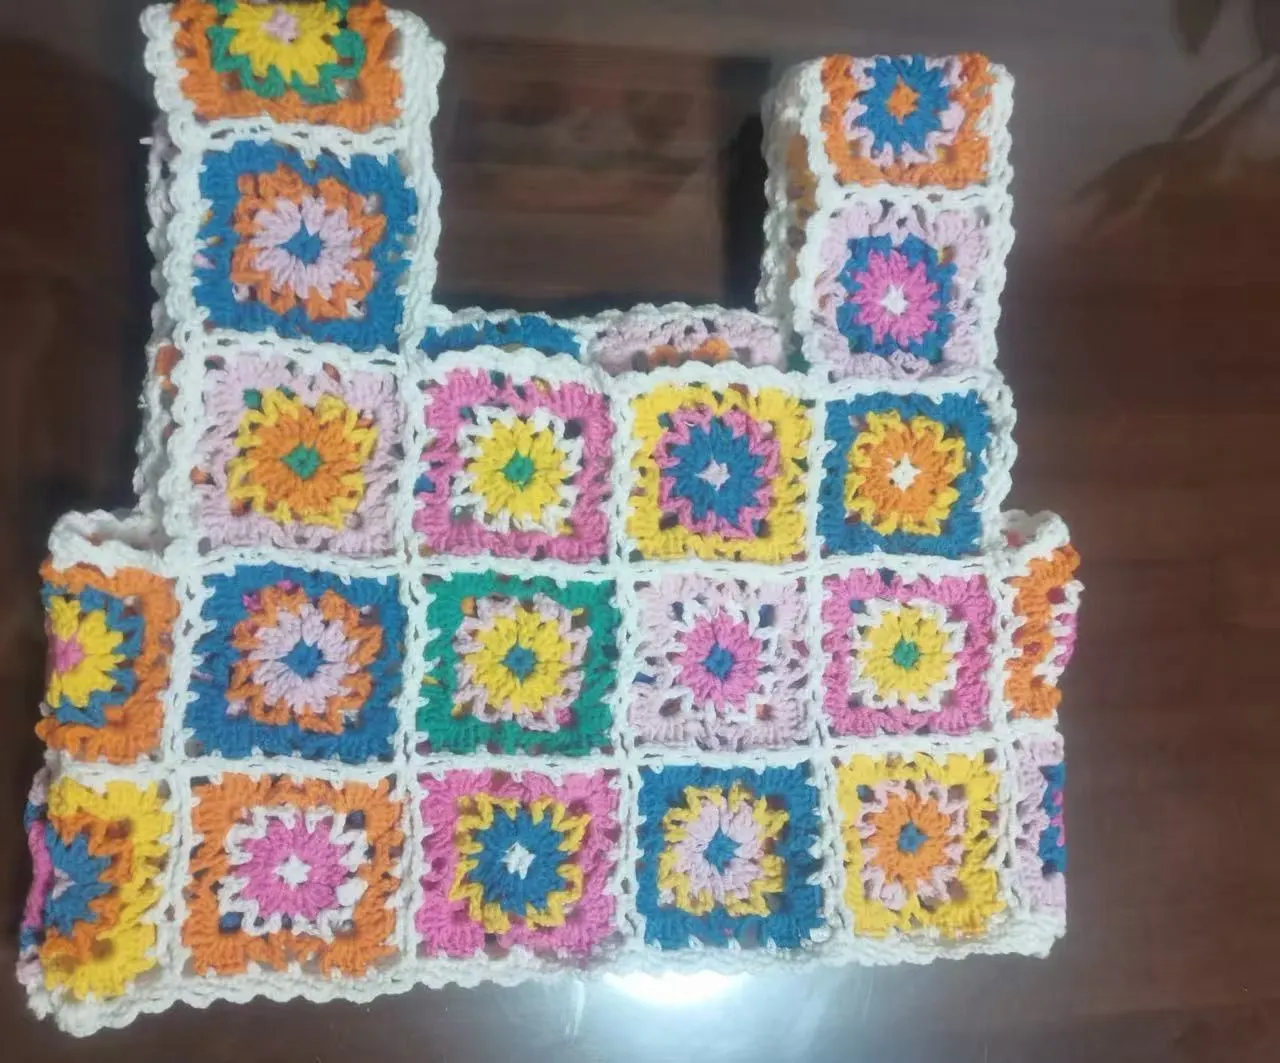
Granny Square Vest
Project preview
See the finished project
Pattern format
Instructions
Watch and follow
Video tutorial
| Style | Yarn | Color |
|---|---|---|
| Blue Style | 4-Ply Combed Cotton & Acrylic Fibre Hand Knitting Yarn |  09#Aspen Gold x 1 09#Aspen Gold x 1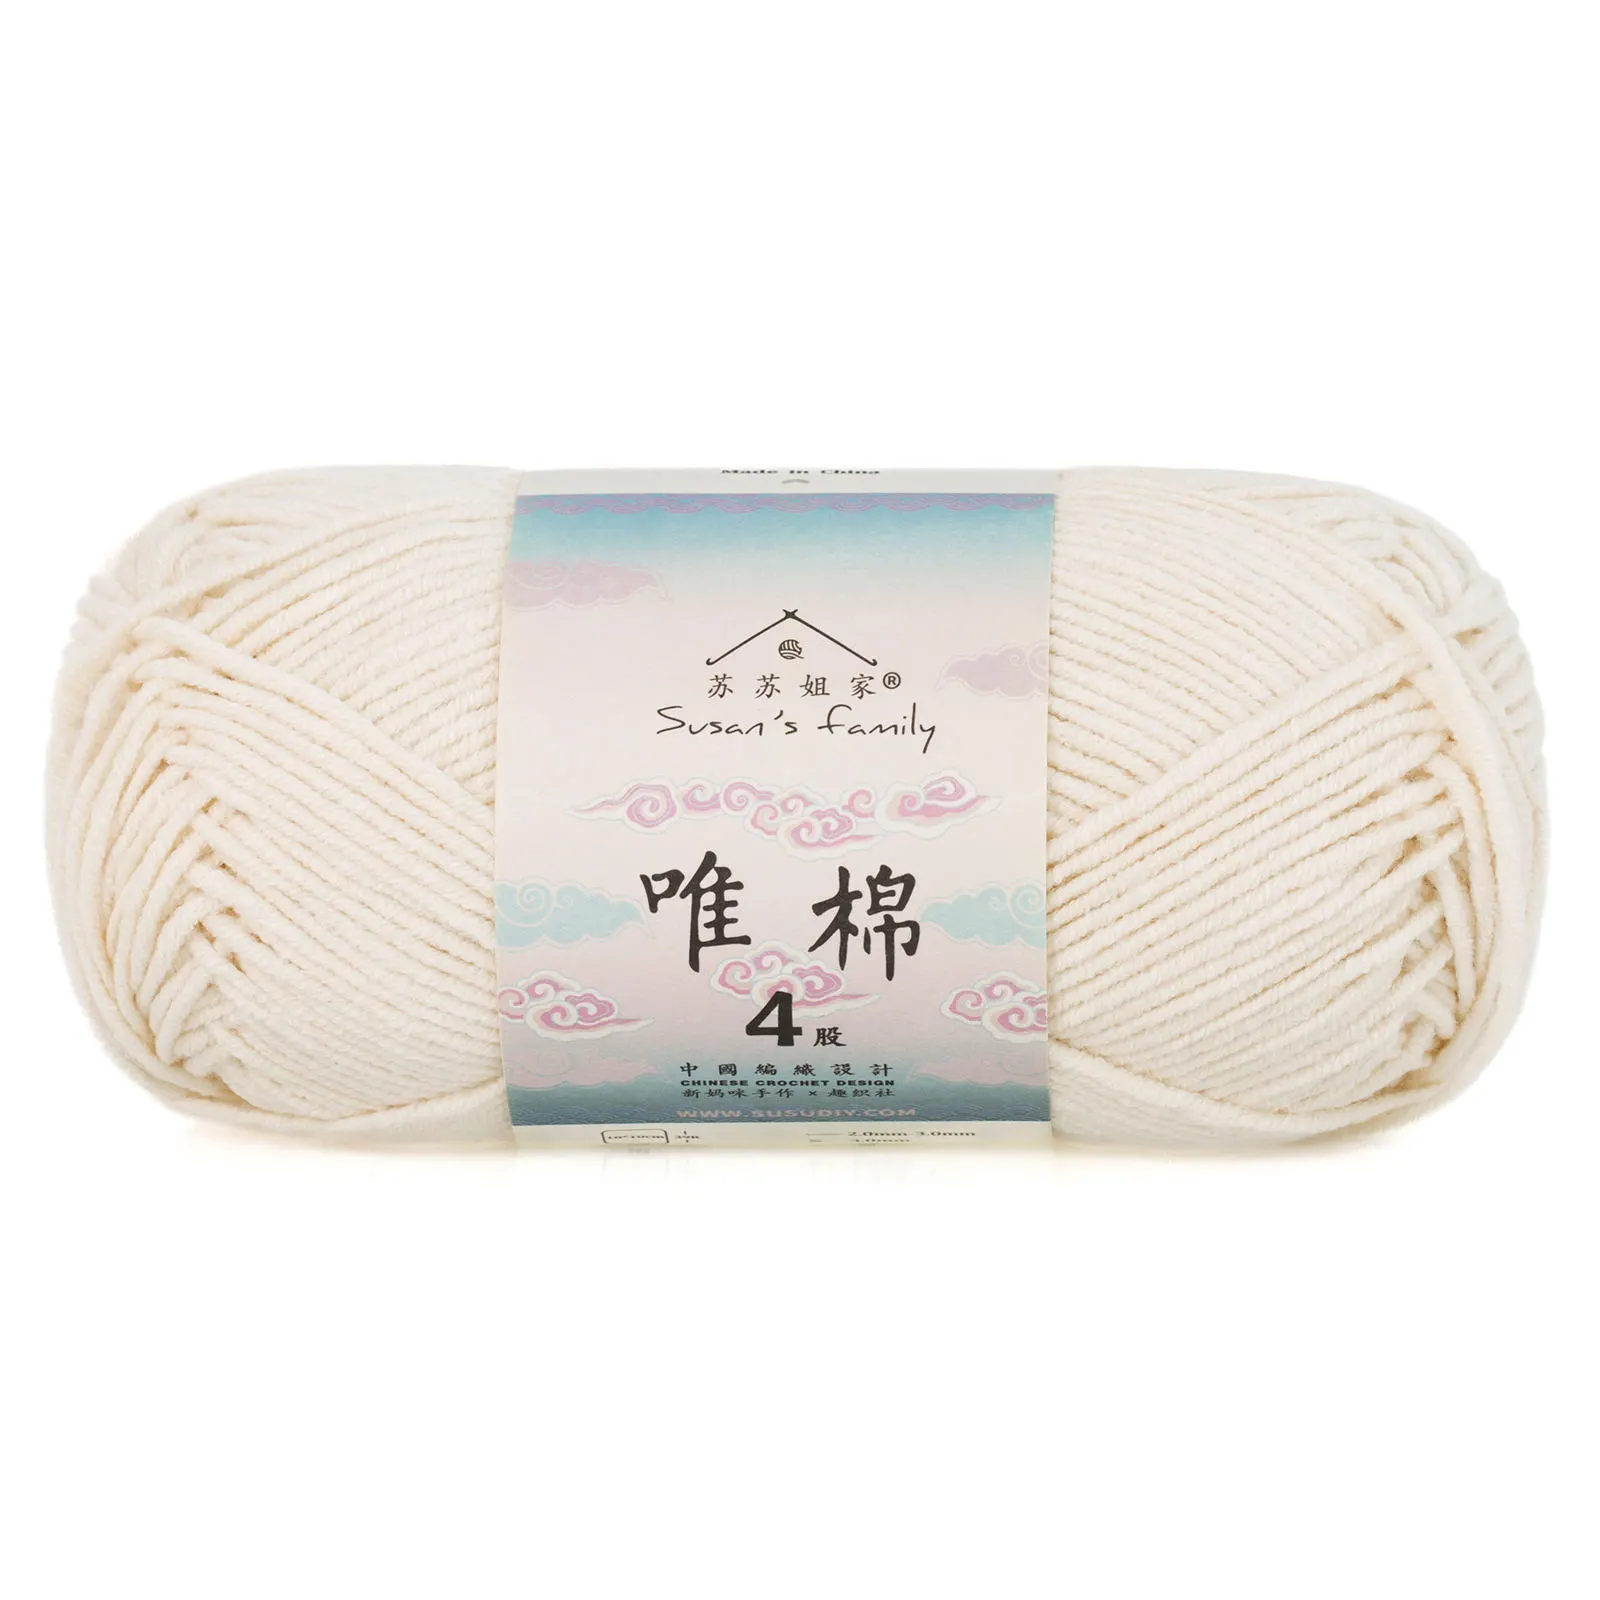 19#Whisper White x 1 19#Whisper White x 1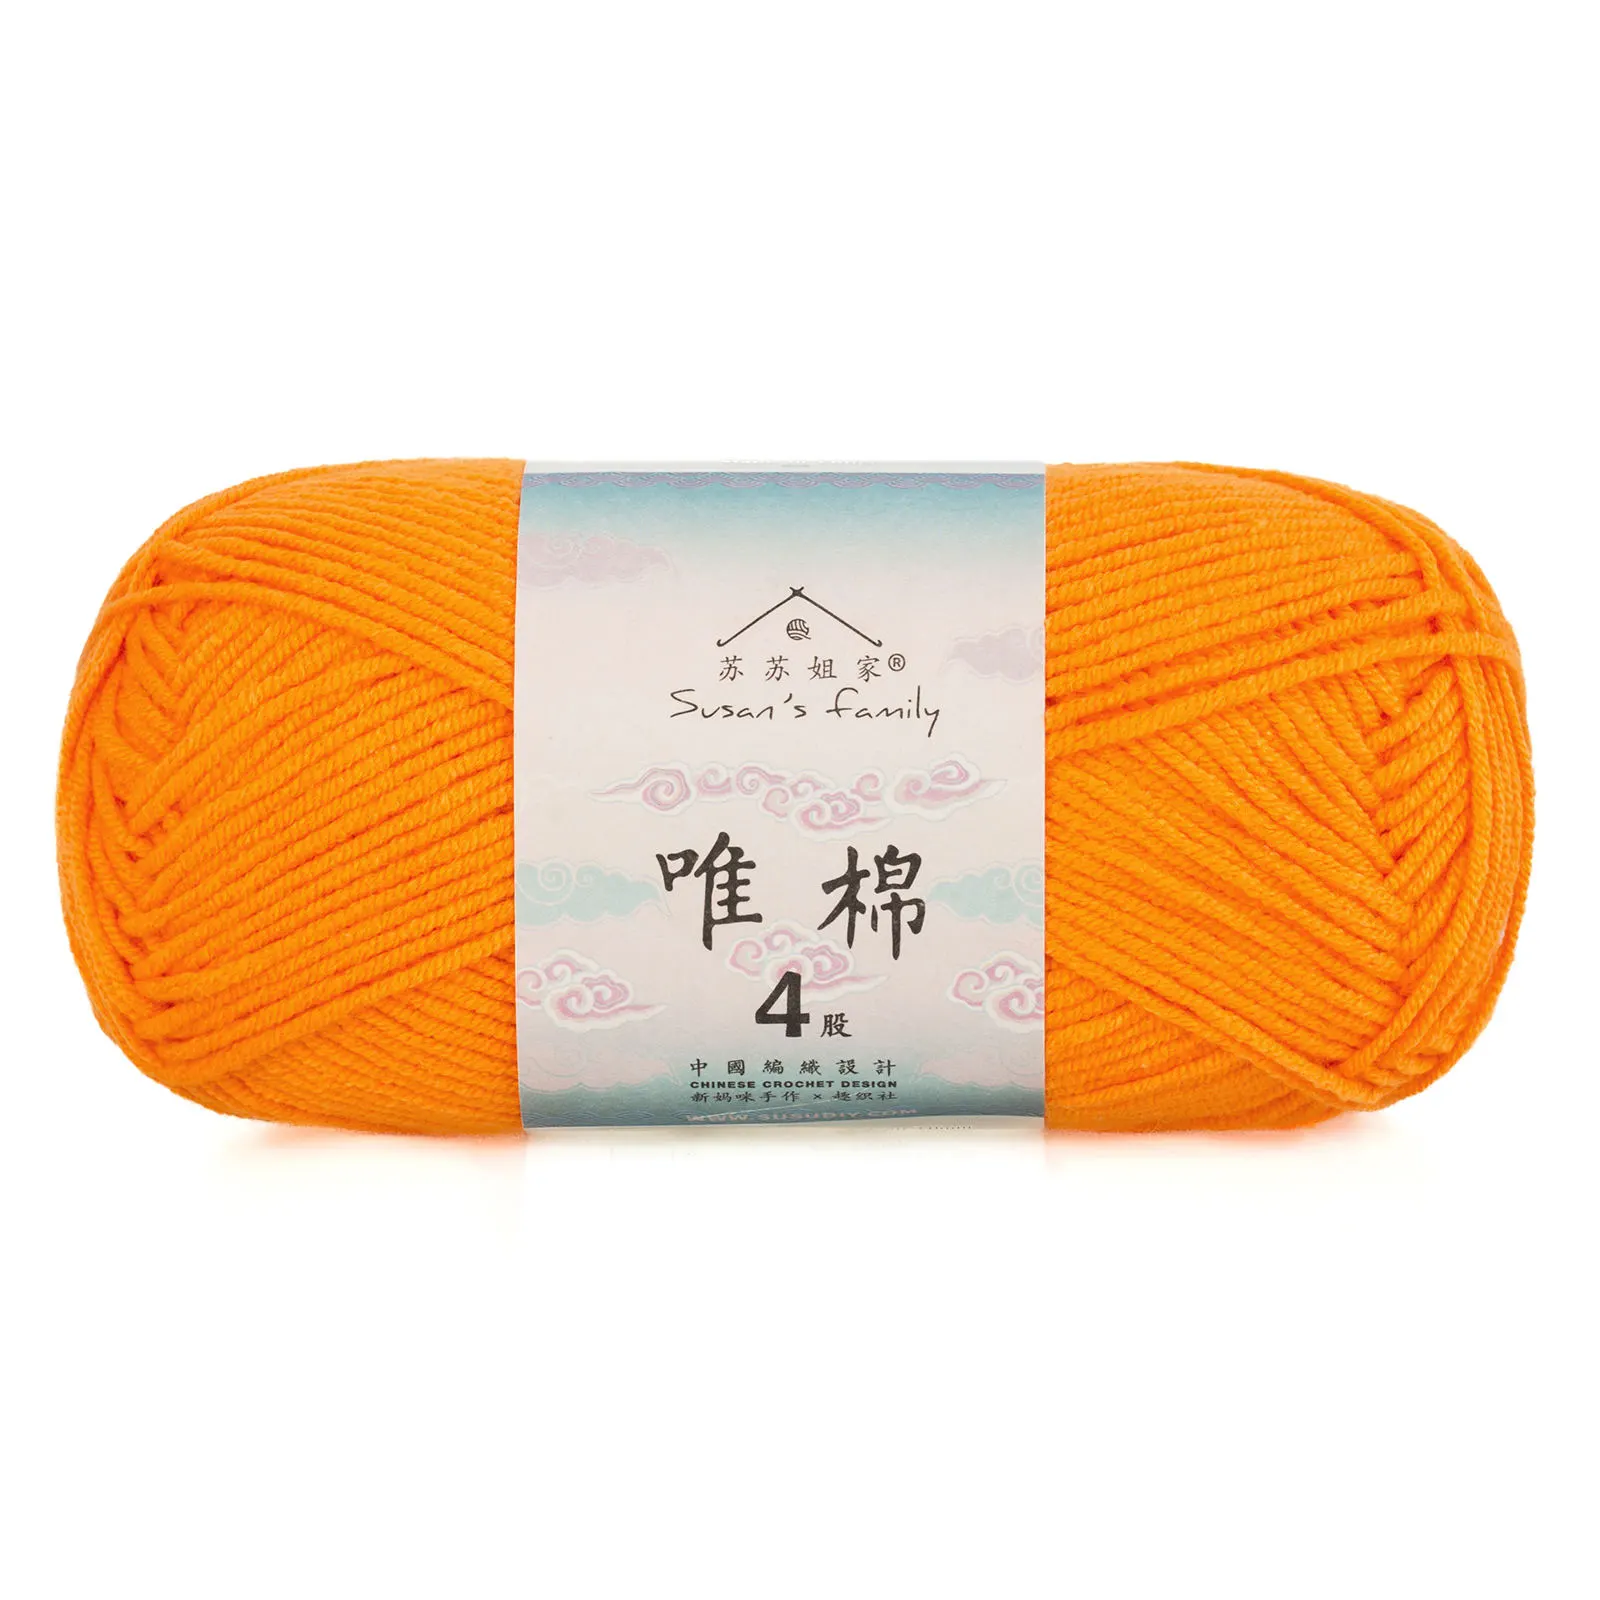 30#Zinnia x 1 30#Zinnia x 1 42#Blue Moon x 1 42#Blue Moon x 1 44#Blue Ashes x 2 44#Blue Ashes x 2 45#Orangeade x 1 45#Orangeade x 1 47#Blue Radiance x 1 47#Blue Radiance x 1 |
| White Style | 4-Ply Combed Cotton & Acrylic Fibre Hand Knitting Yarn | 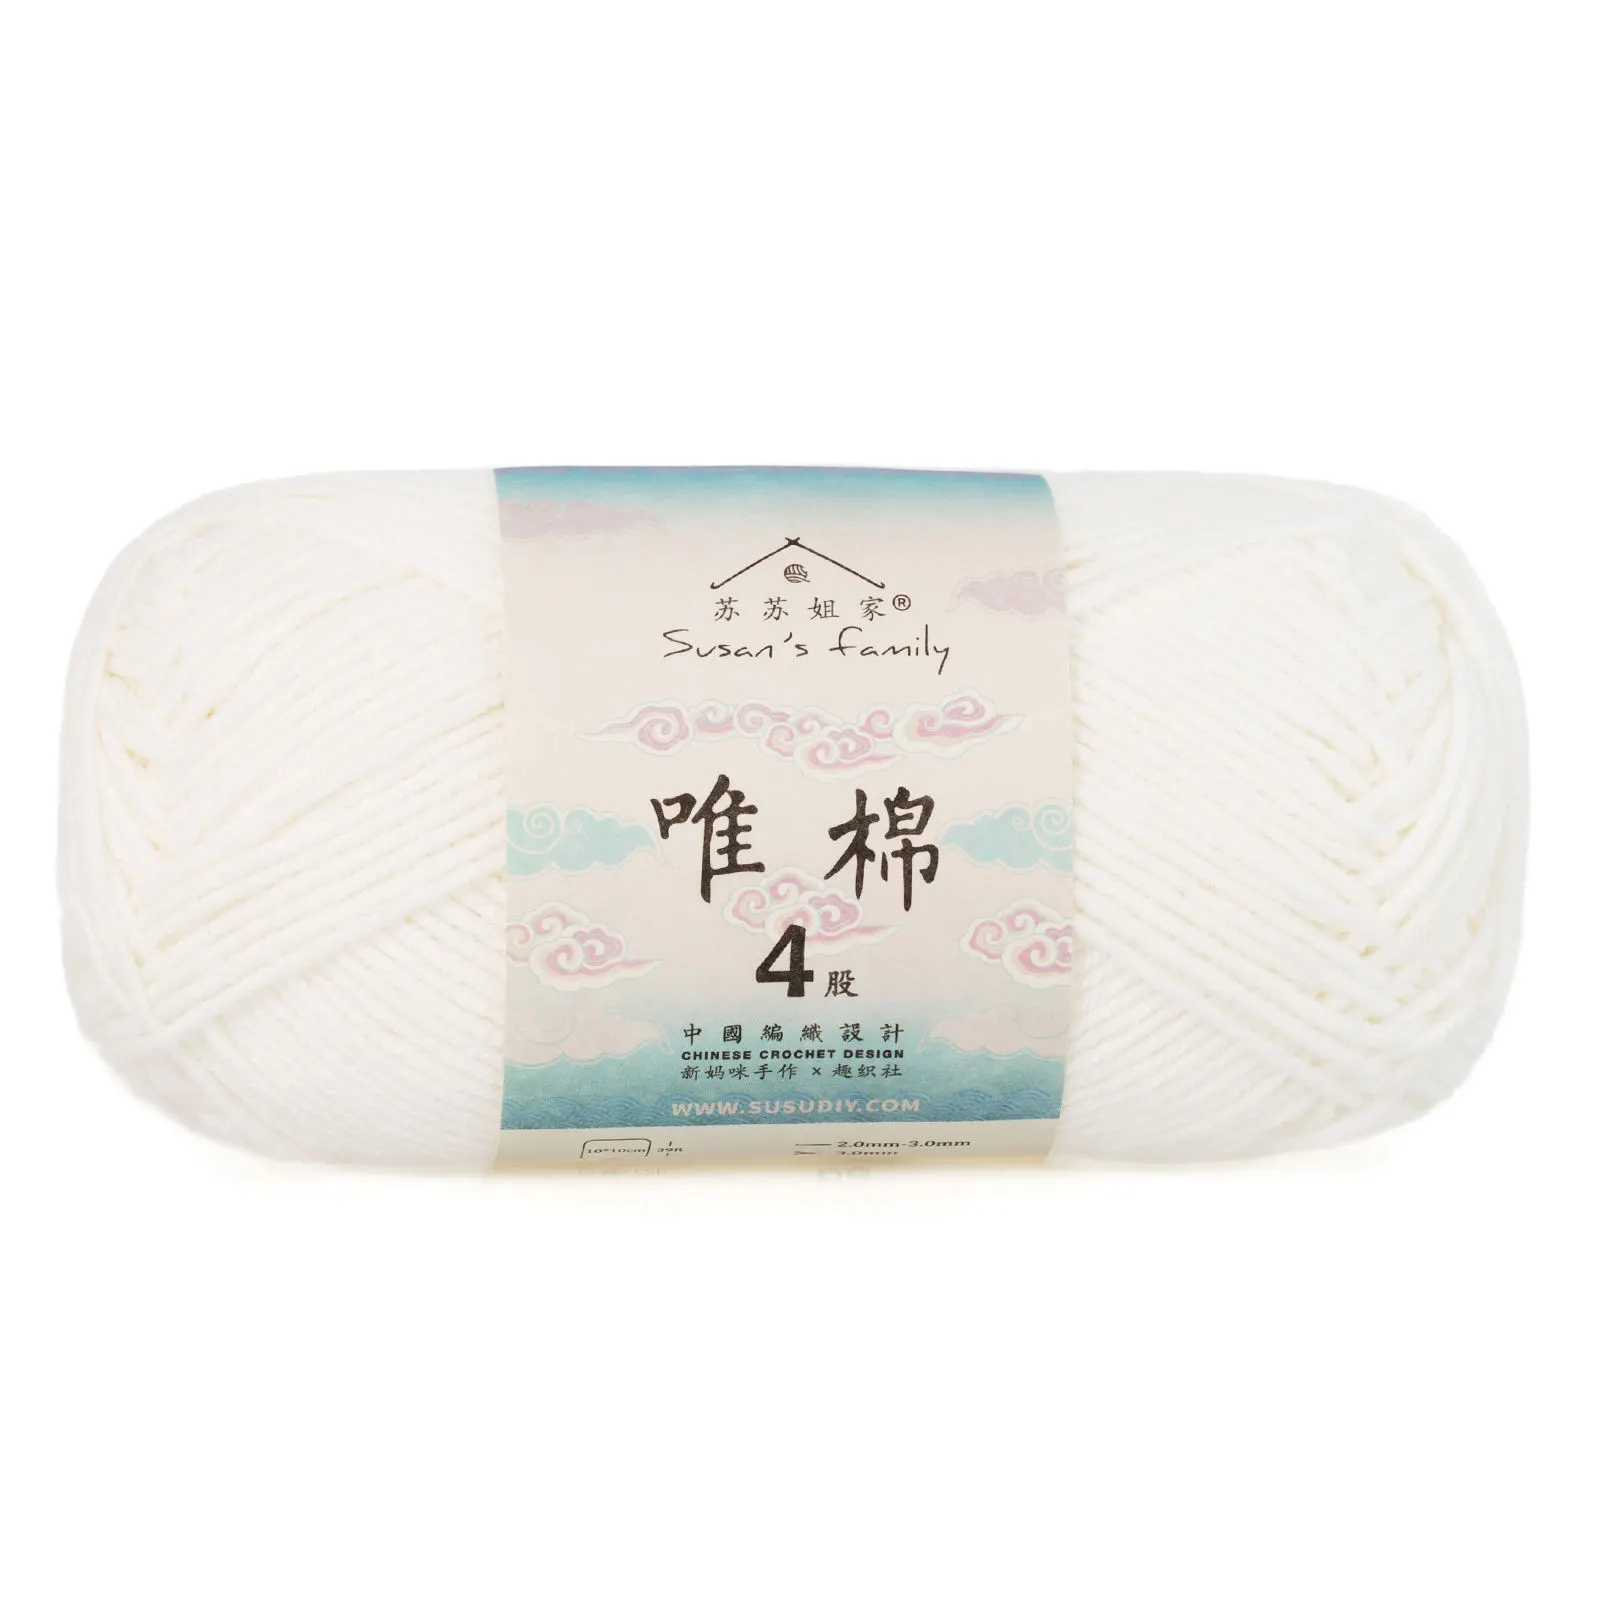 06#Bright White x 209#Aspen Gold x 1 06#Bright White x 209#Aspen Gold x 1 10#Chalk Pink x 130#Zinnia x 1 10#Chalk Pink x 130#Zinnia x 1 38#Pink Carnation x 142#Blue Moon x 1 38#Pink Carnation x 142#Blue Moon x 1 59#Spectra Green x 1 59#Spectra Green x 1 |
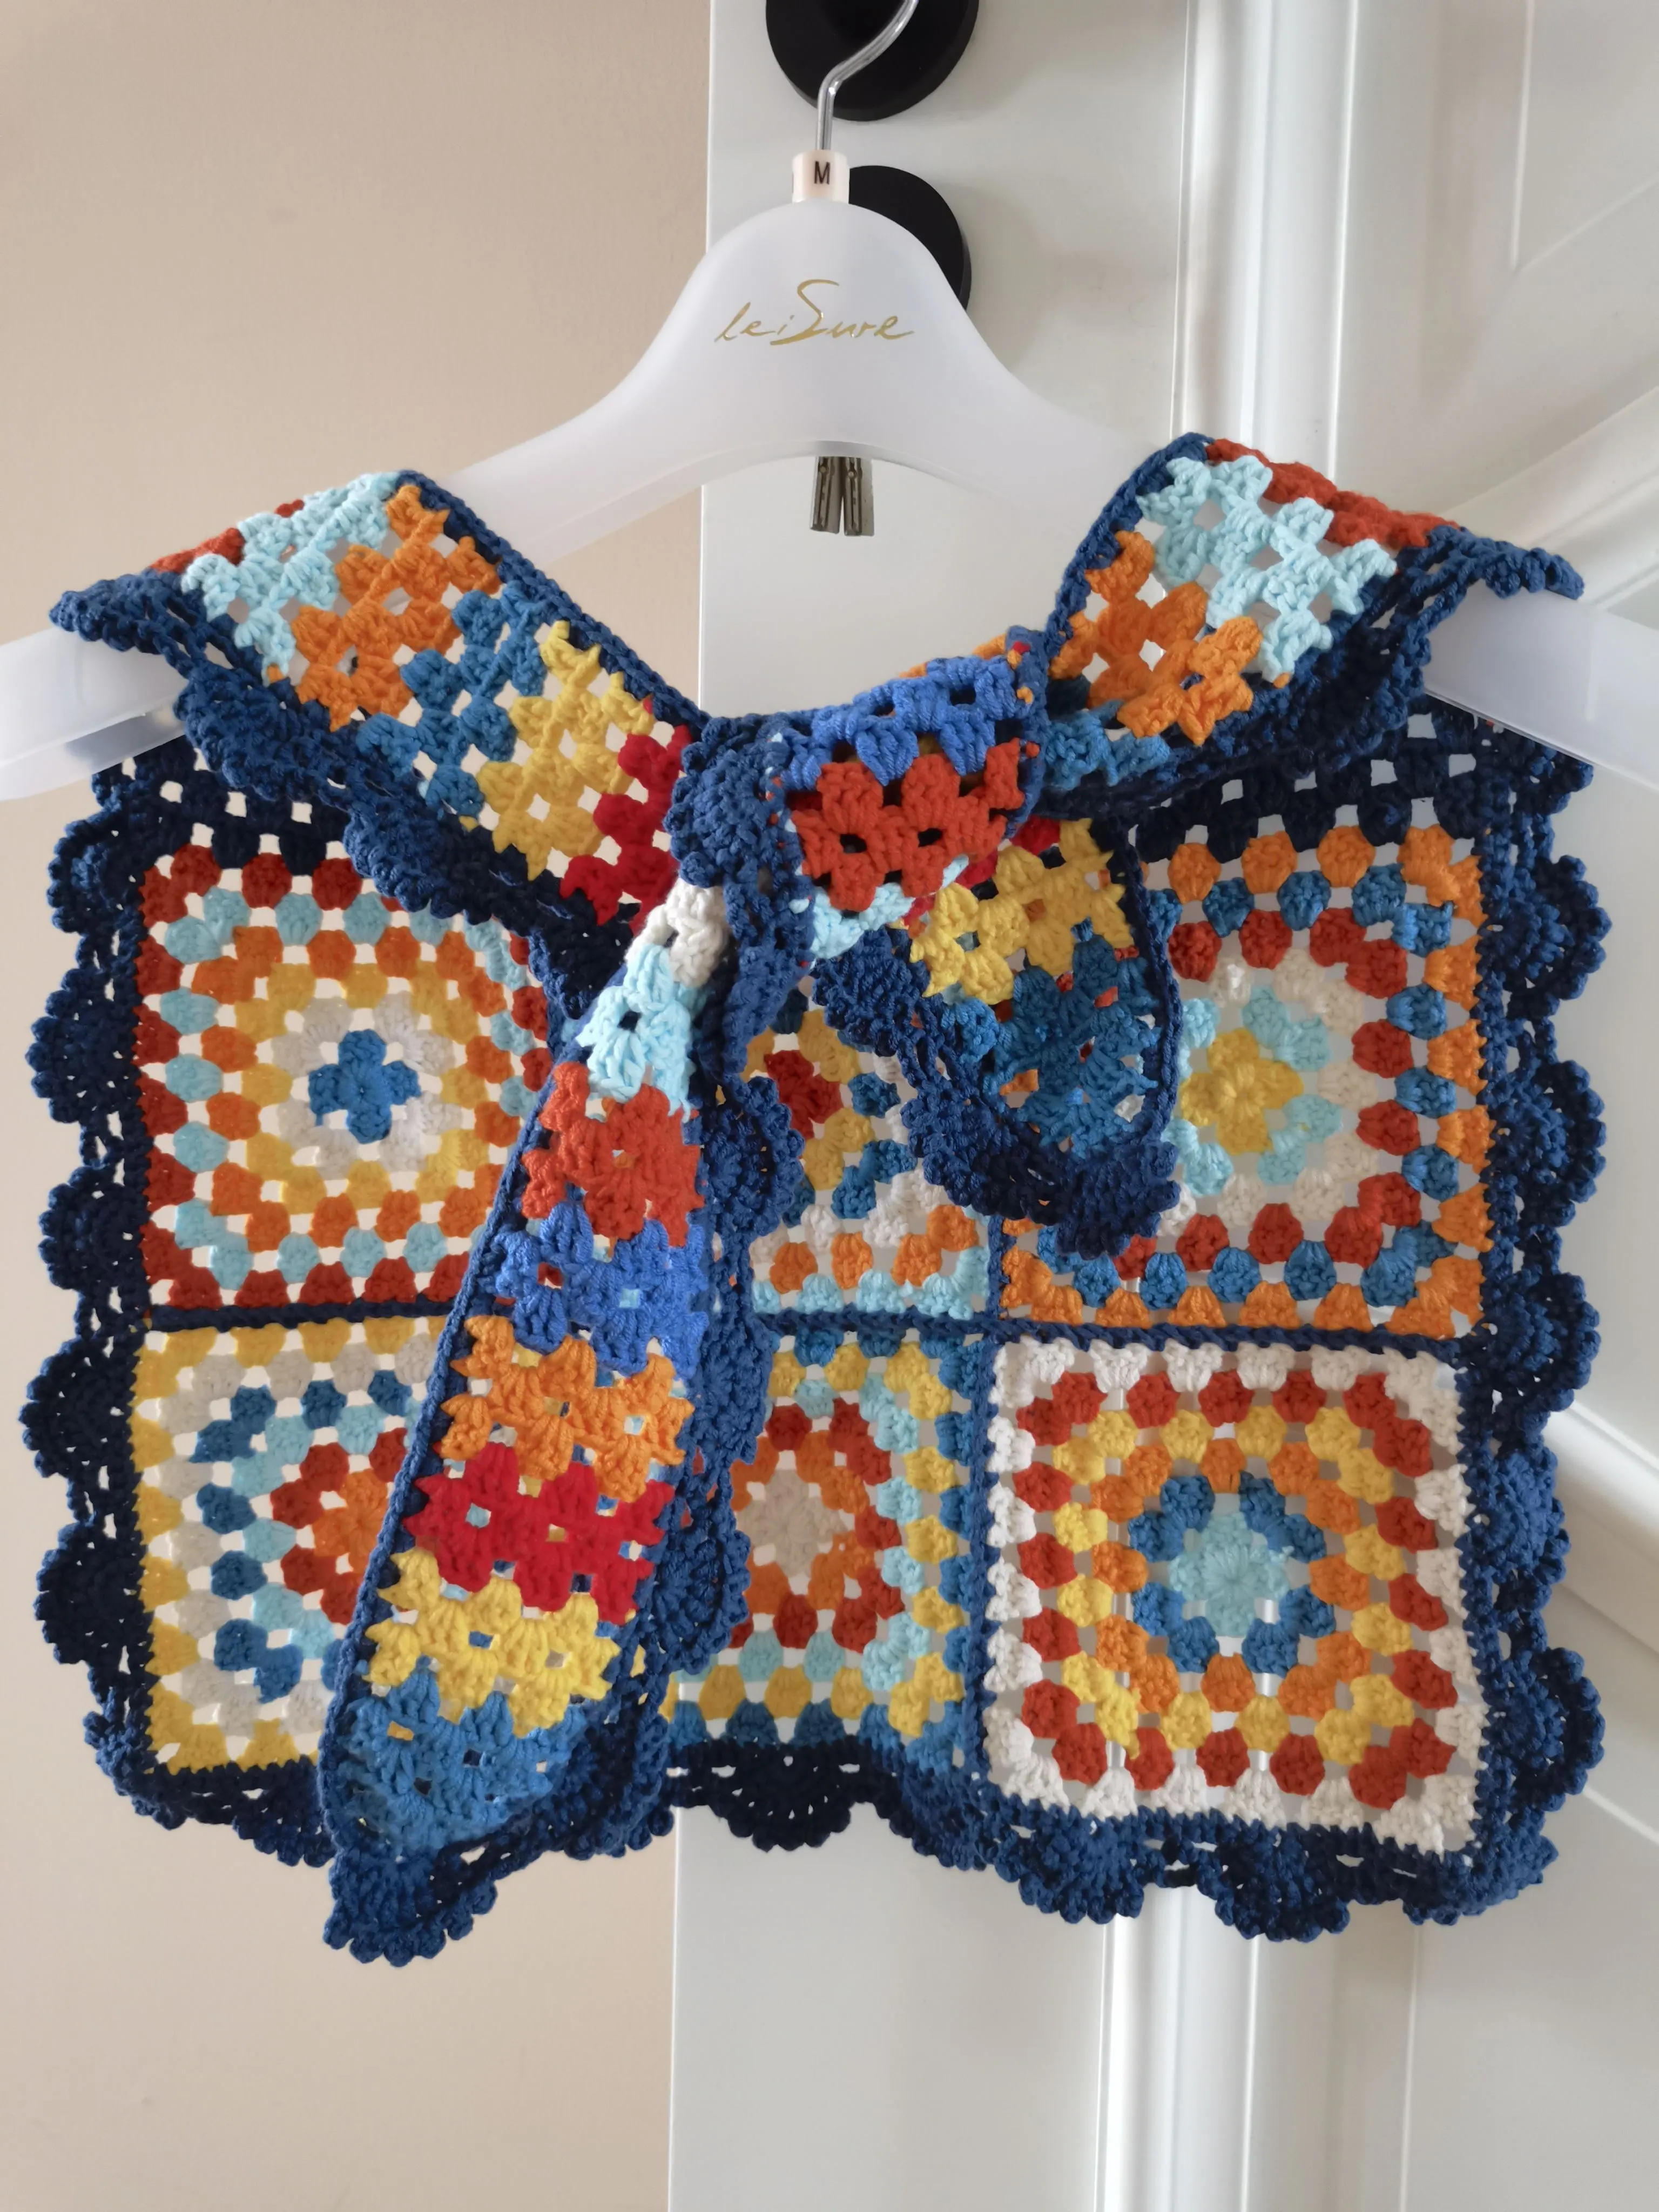
Blue Style
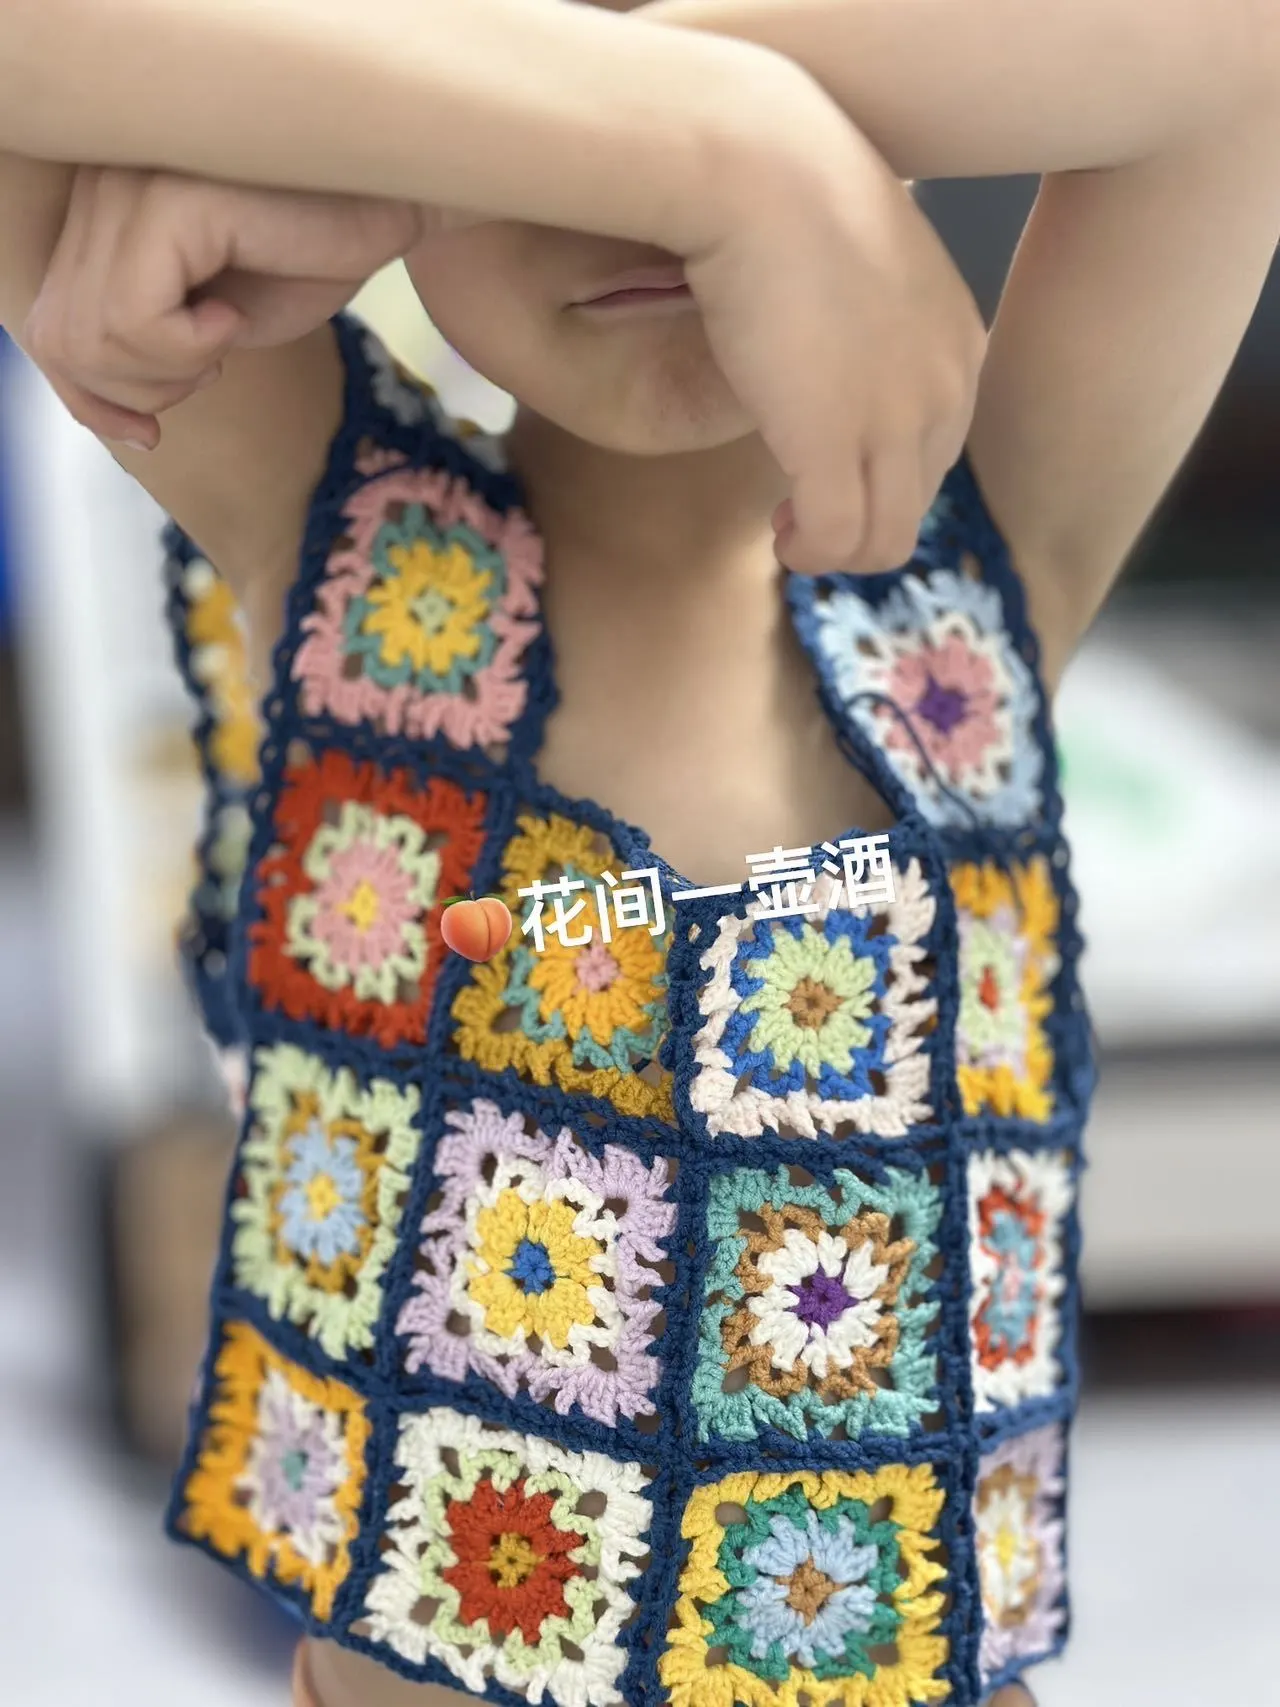
White Style
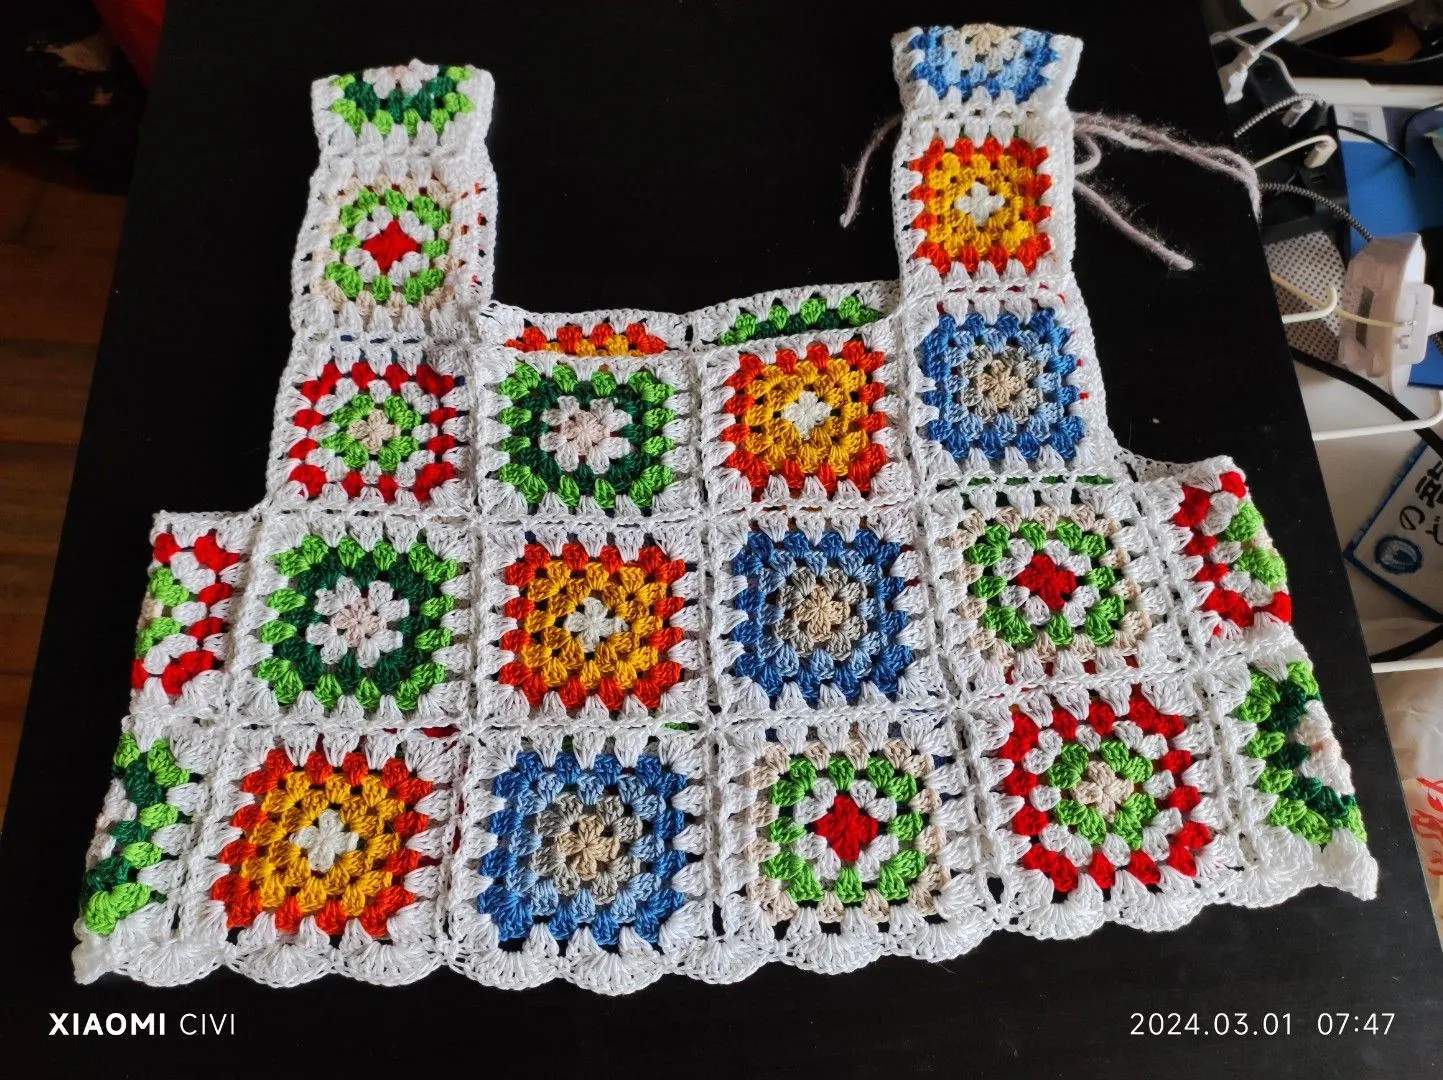
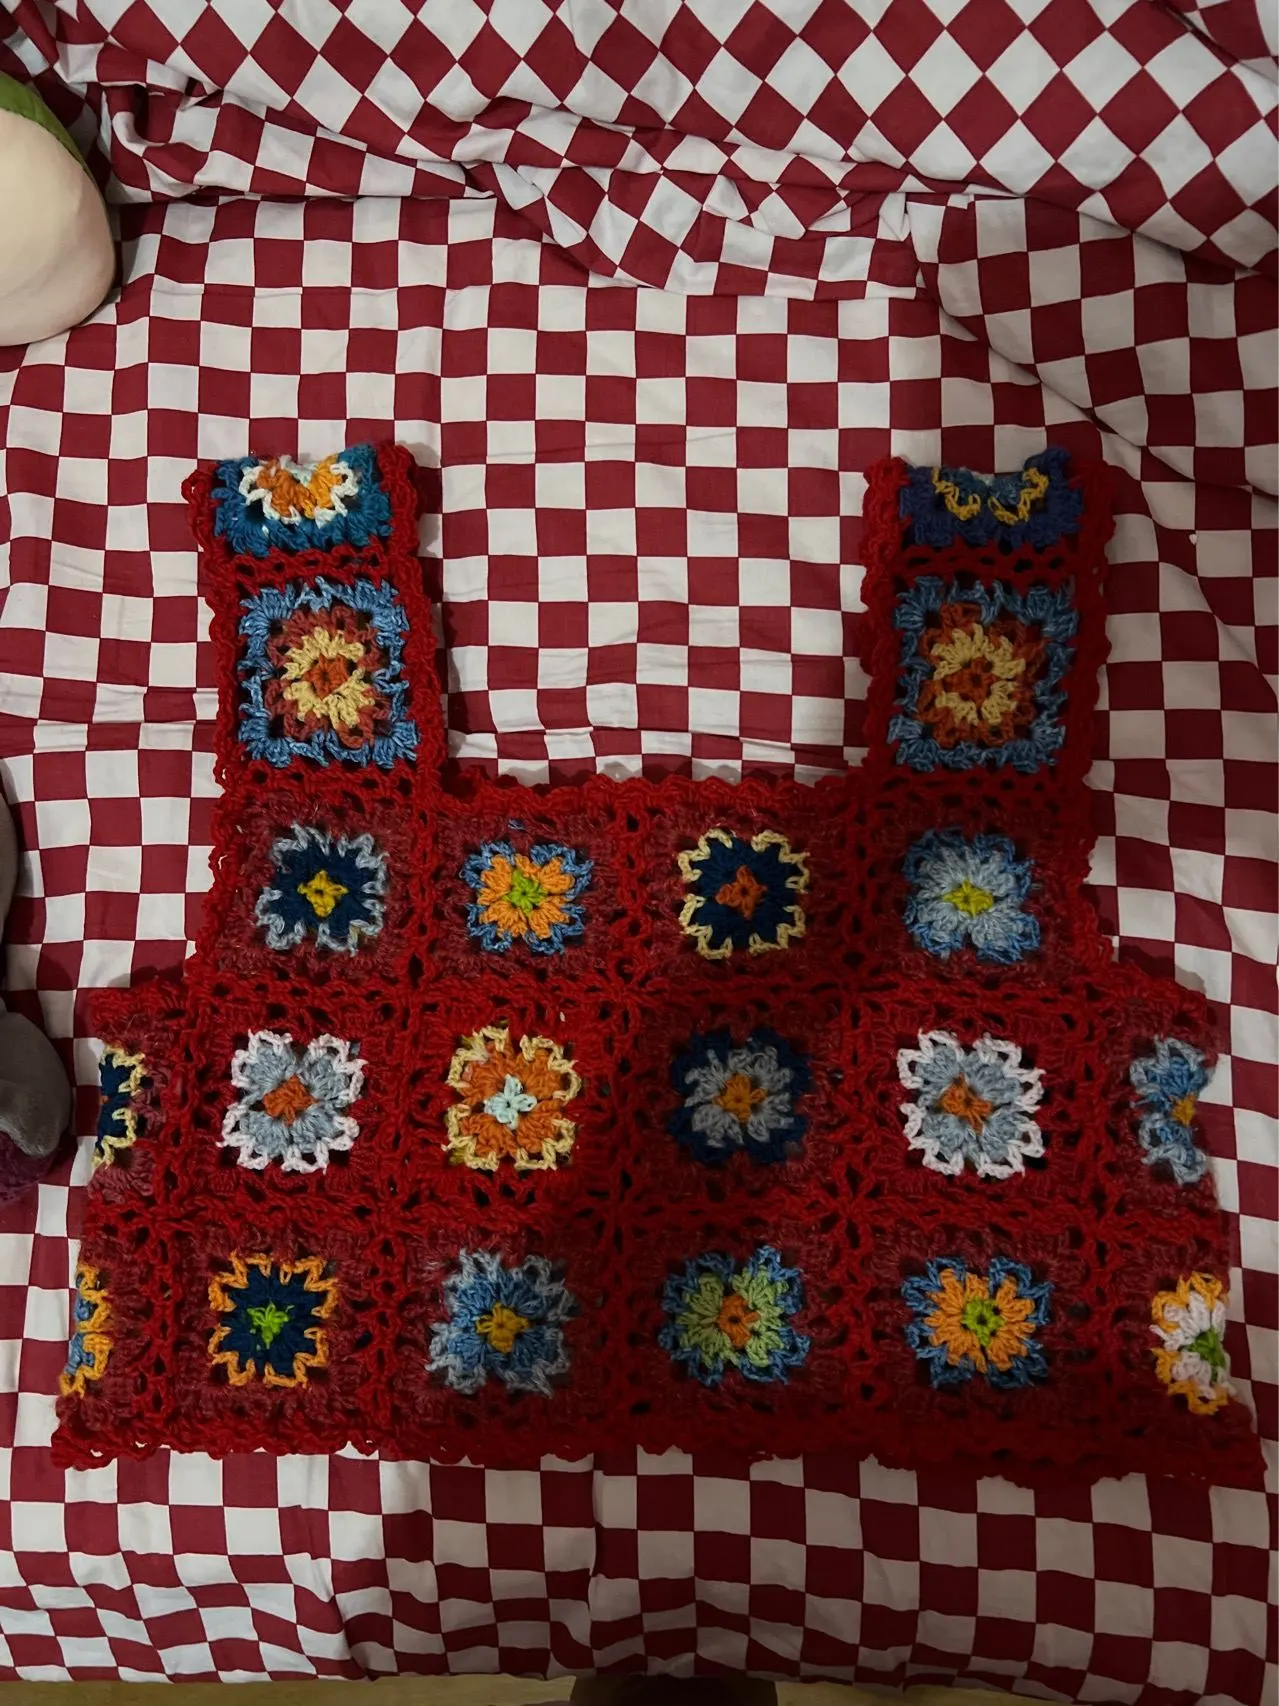
This vest is divided into the main body and the edging. The main body is made by joining together single motifs, and then edging is crocheted at the corresponding positions after completion.
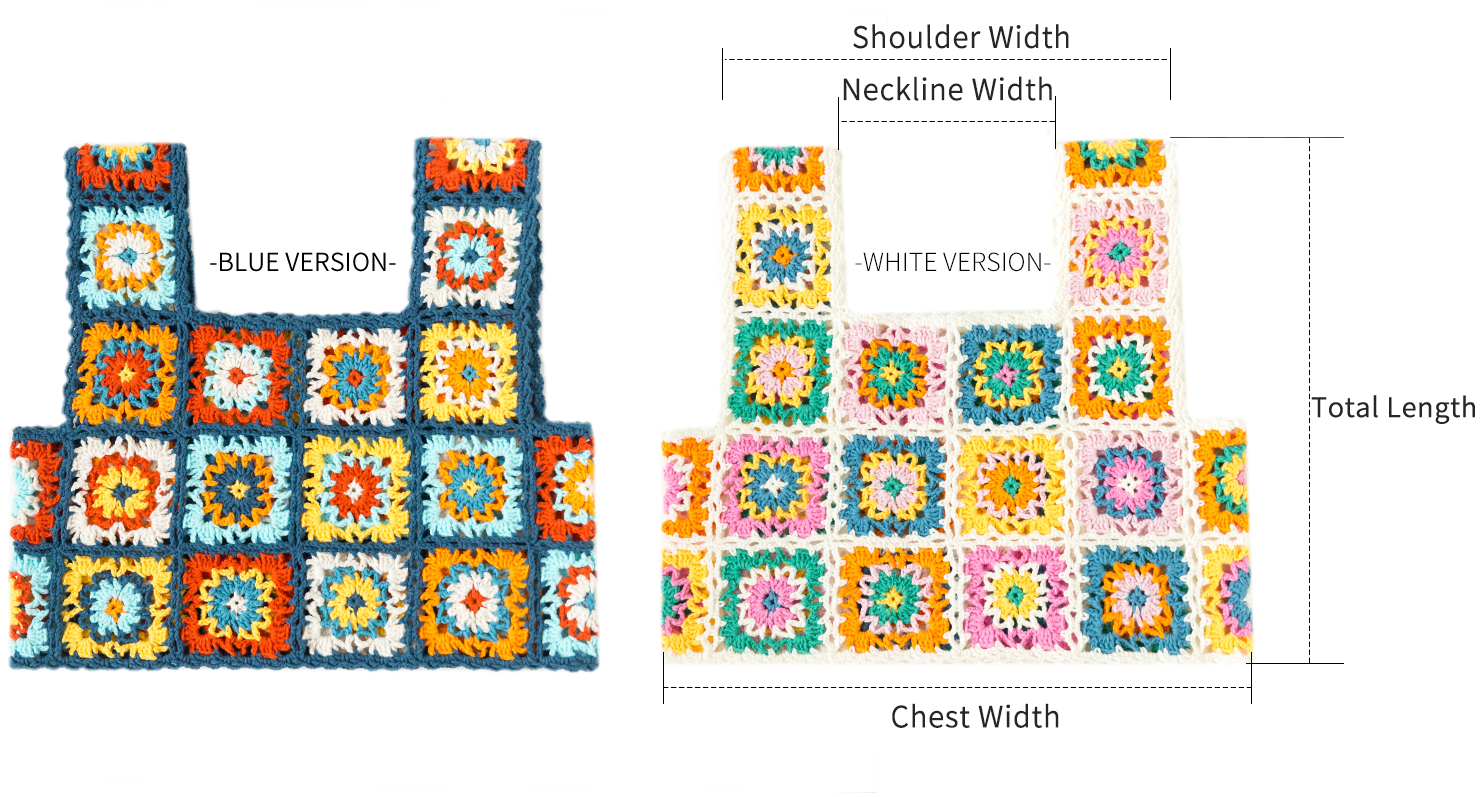
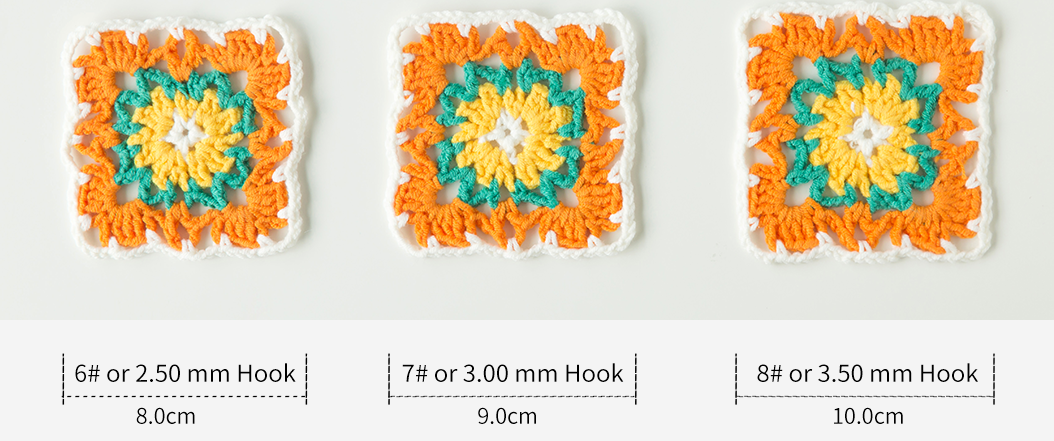
| Hook Size | Total Length (cm) | Shoulder Width | Chest Width | Neckline Width |
| 6# | 36 | 32 | 40 | 14 |
| 7# | 40 | 36 | 45 | 16 |
| 8# | 44 | 40 | 50 | 18 |
The handcrafted measurements may have an error, the size of the sample is for reference only.
Materials: 4-Ply Combed Cotton & Acrylic Fibre Hand Knitting Yarn
Tool: You can choose according to the size of the garment you need.
For the white/blue version, the main color yarn is 06#Bright White / 44#Blue Ashes respectively, the rest are contrasting color yarns.





Note:
1. This pattern is making in Chinese crochet pattern terms, and the stitch name is written using American terminology. All measurements in charts are in cm.
Part 1 Main Body
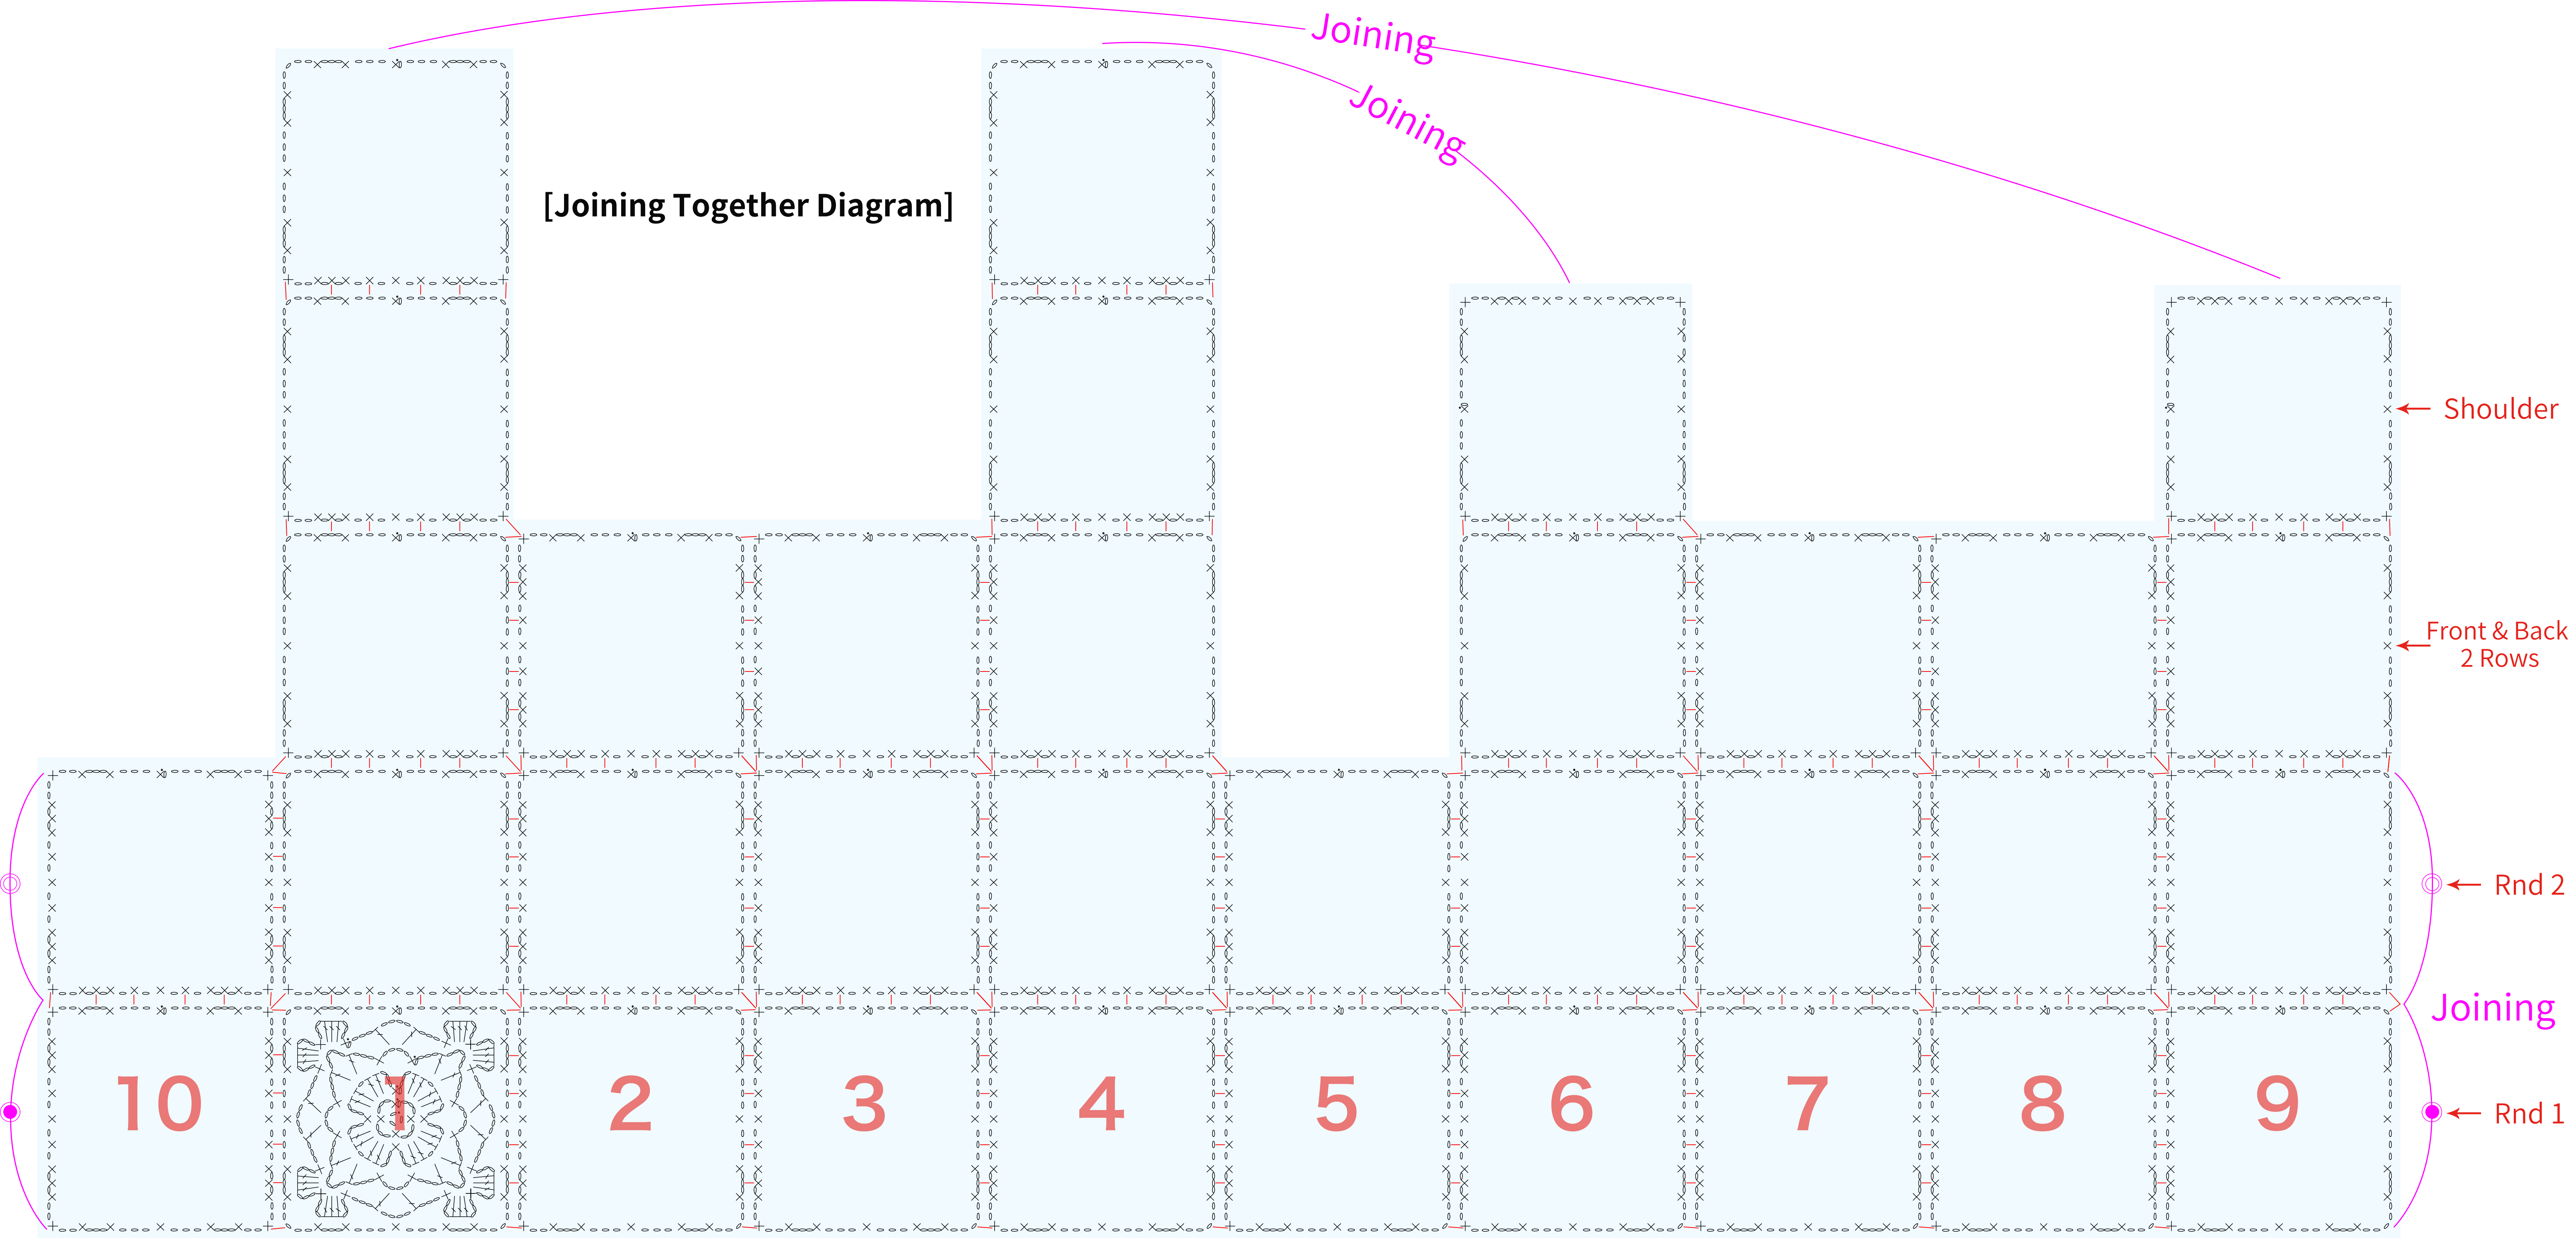
There is only one type of motif for the main body. You need to crochet a complete motif first, and then for the remaining motifs, you need to "crochet and join as you go" while working on the last round, attaching them to the already completed motifs.
Step 1 Single Motif A1 01' 11''
The single motif starts with a chain ring method, then crochets outward in rounds counterclockwise. Each round of the motif requires a color change. Please refer to the video demonstration for details.
Note: ① Except for the last round which uses the main color yarn, the other rounds of each motif can be in random colors. Just make sure overall that each color is used approximately evenly. For better appearance, avoid using the main color on the fourth round. A small amount of main color may be used on the first three rounds, but ensure there's enough left for joining and edging.
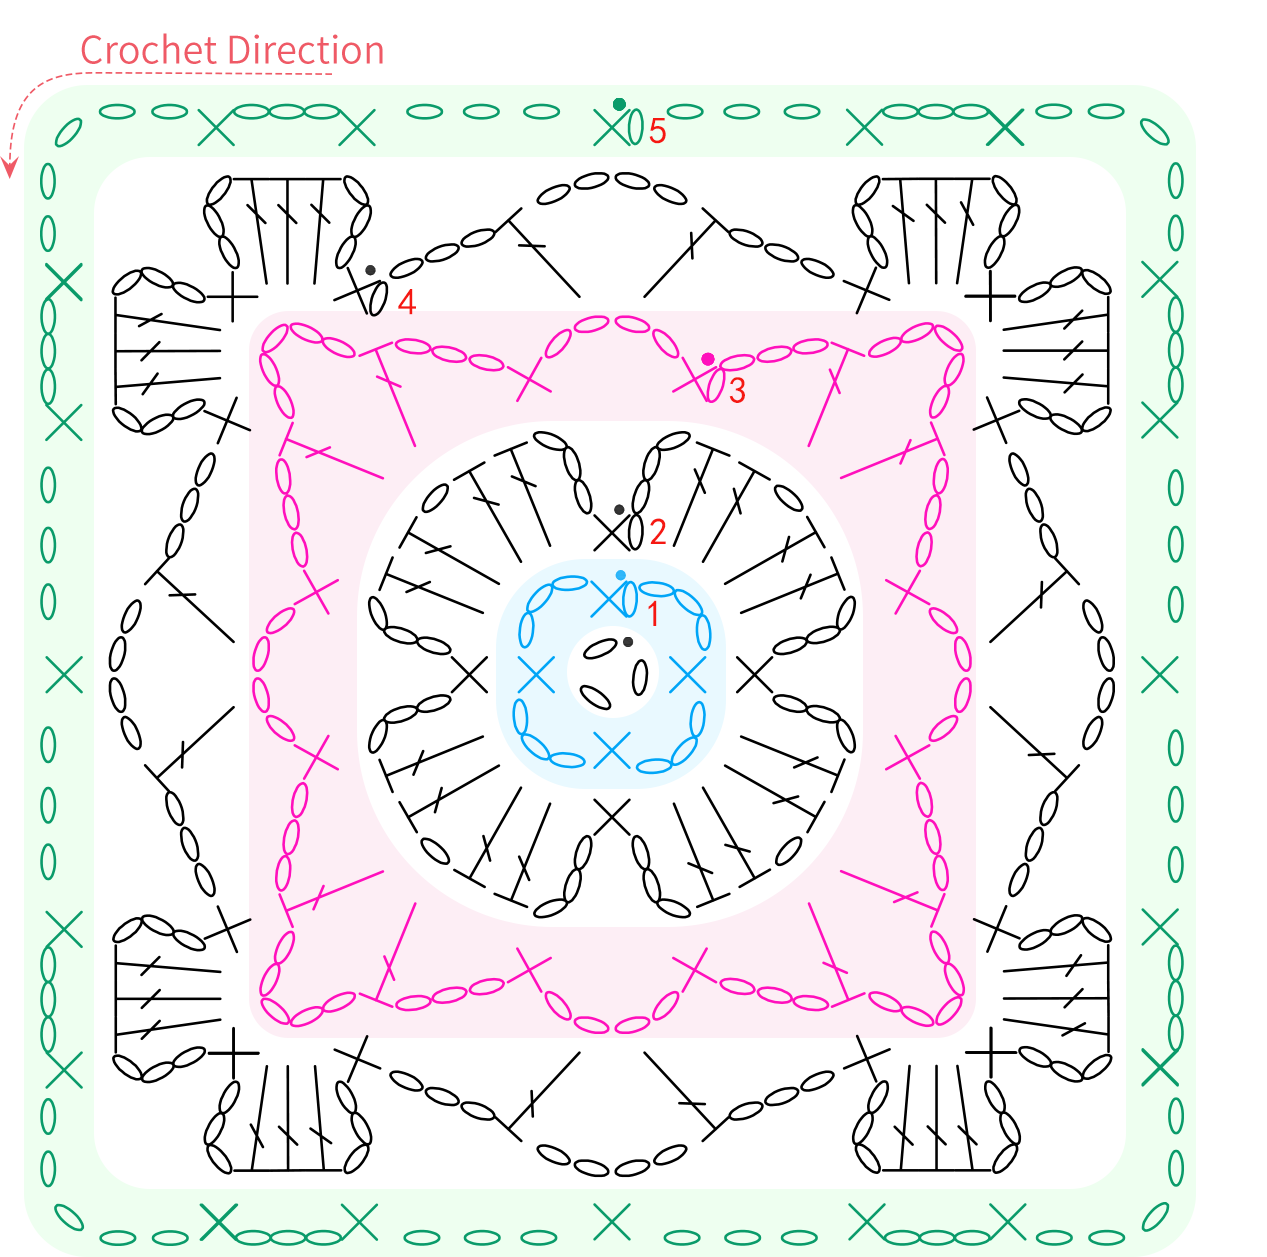
Step 2 Joining A2 31' 31''
Joining together from bottom-up, first complete the first round, then continue joining the second round upwards. After that, divide into front and back to join 2 rows, and finally attach the shoulder positions. You can also choose the joining order based on your preference. For details, please refer to the video demonstration.
Part 2 Edging B (Main Color Yarn) 49' 50''
After joining the main pieces together, shape the neckline, 2 cuffs and the hem. Crochet the edging around these 4 areas using the same technique. For details, please refer to the video demonstration.
Made by the community