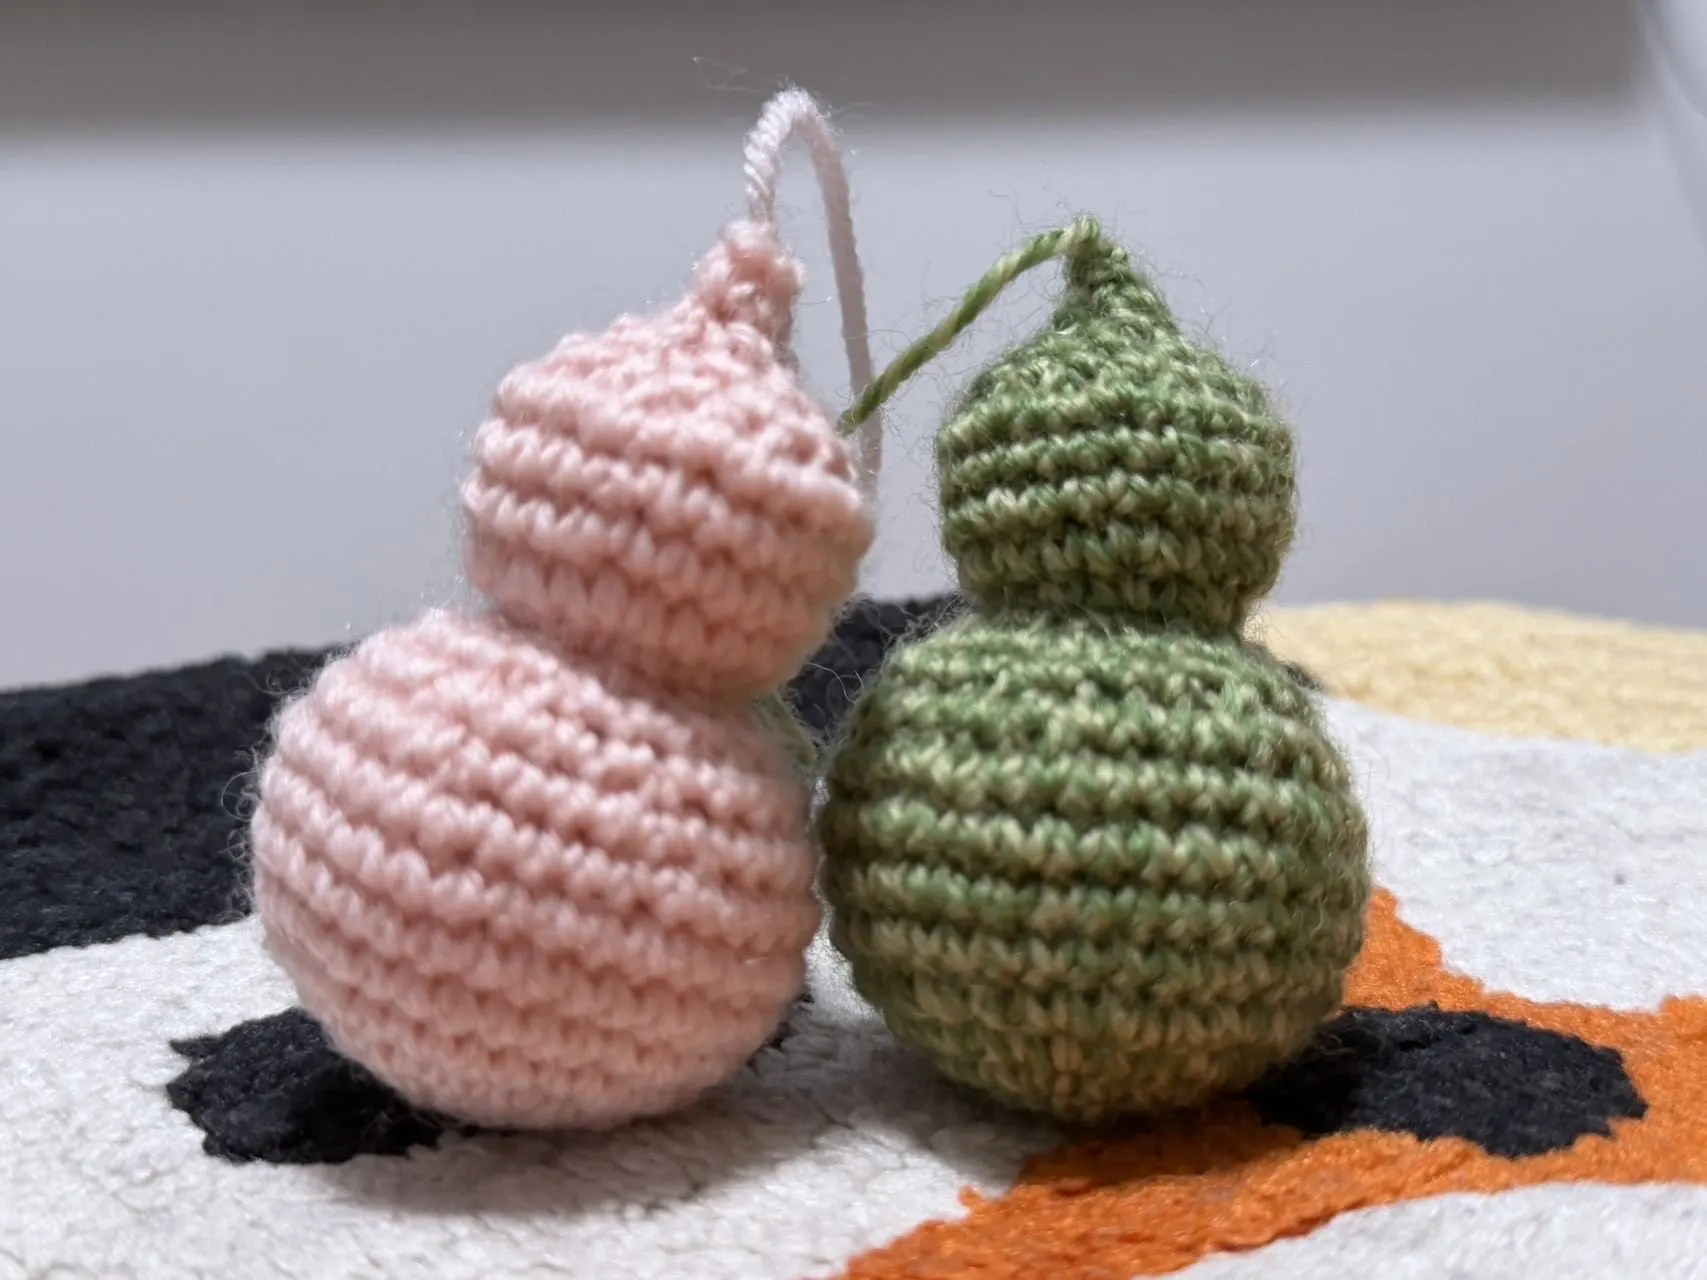
Accessories / Ornament
Hulu Hanging Ornament
Project preview
See the finished project
Pattern format
Instructions
Watch and follow
Video tutorial
This product consists of the main part,the decorative rope,the hanging string,and the tassel.
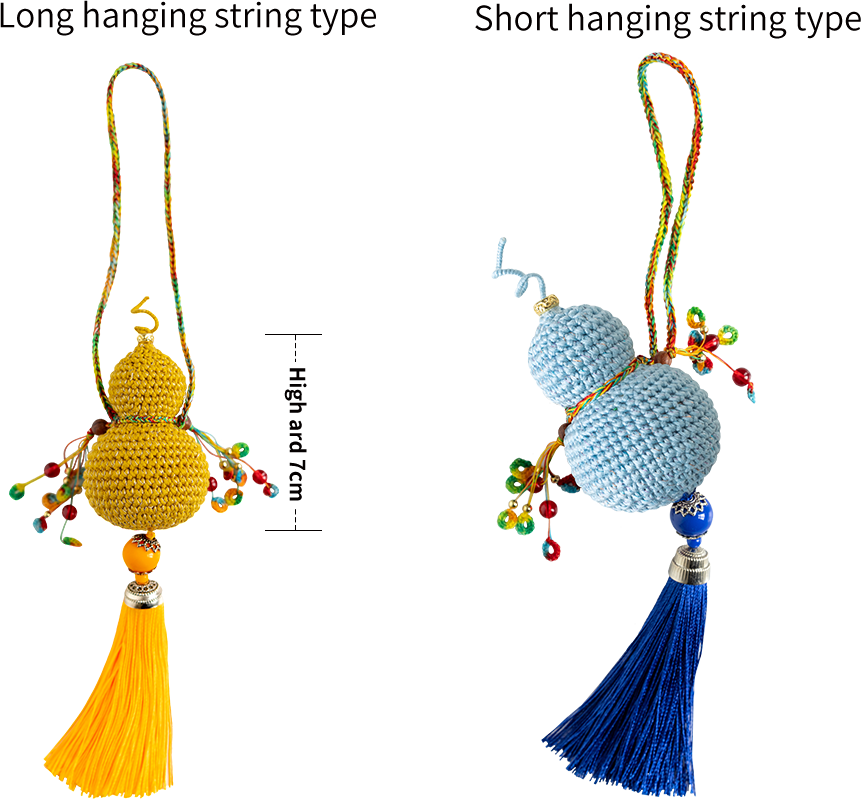
The handcrafted measurements may have an error of 1 to 2 cm. Due to variations in individual tension, the size of the sample is for reference only.
Materials: Susan's Family Combed 3# Lace & Gem Twist
Hook: Susan's Family 2.00 mm crochet hook or nomal 2.00 mm crochet hook

ABBREVIATIONS
RRound
V2 single crochets into the same stitch
Ainvisible single crochet decrease
XX stitch single crochet
MRadjustable magic ring
Note:
1. When crocheting in spirals, you don't need to make a turning chain at the beginning or finish with a slip stitch at the end.
2. This product is made using X stitch single crochet.

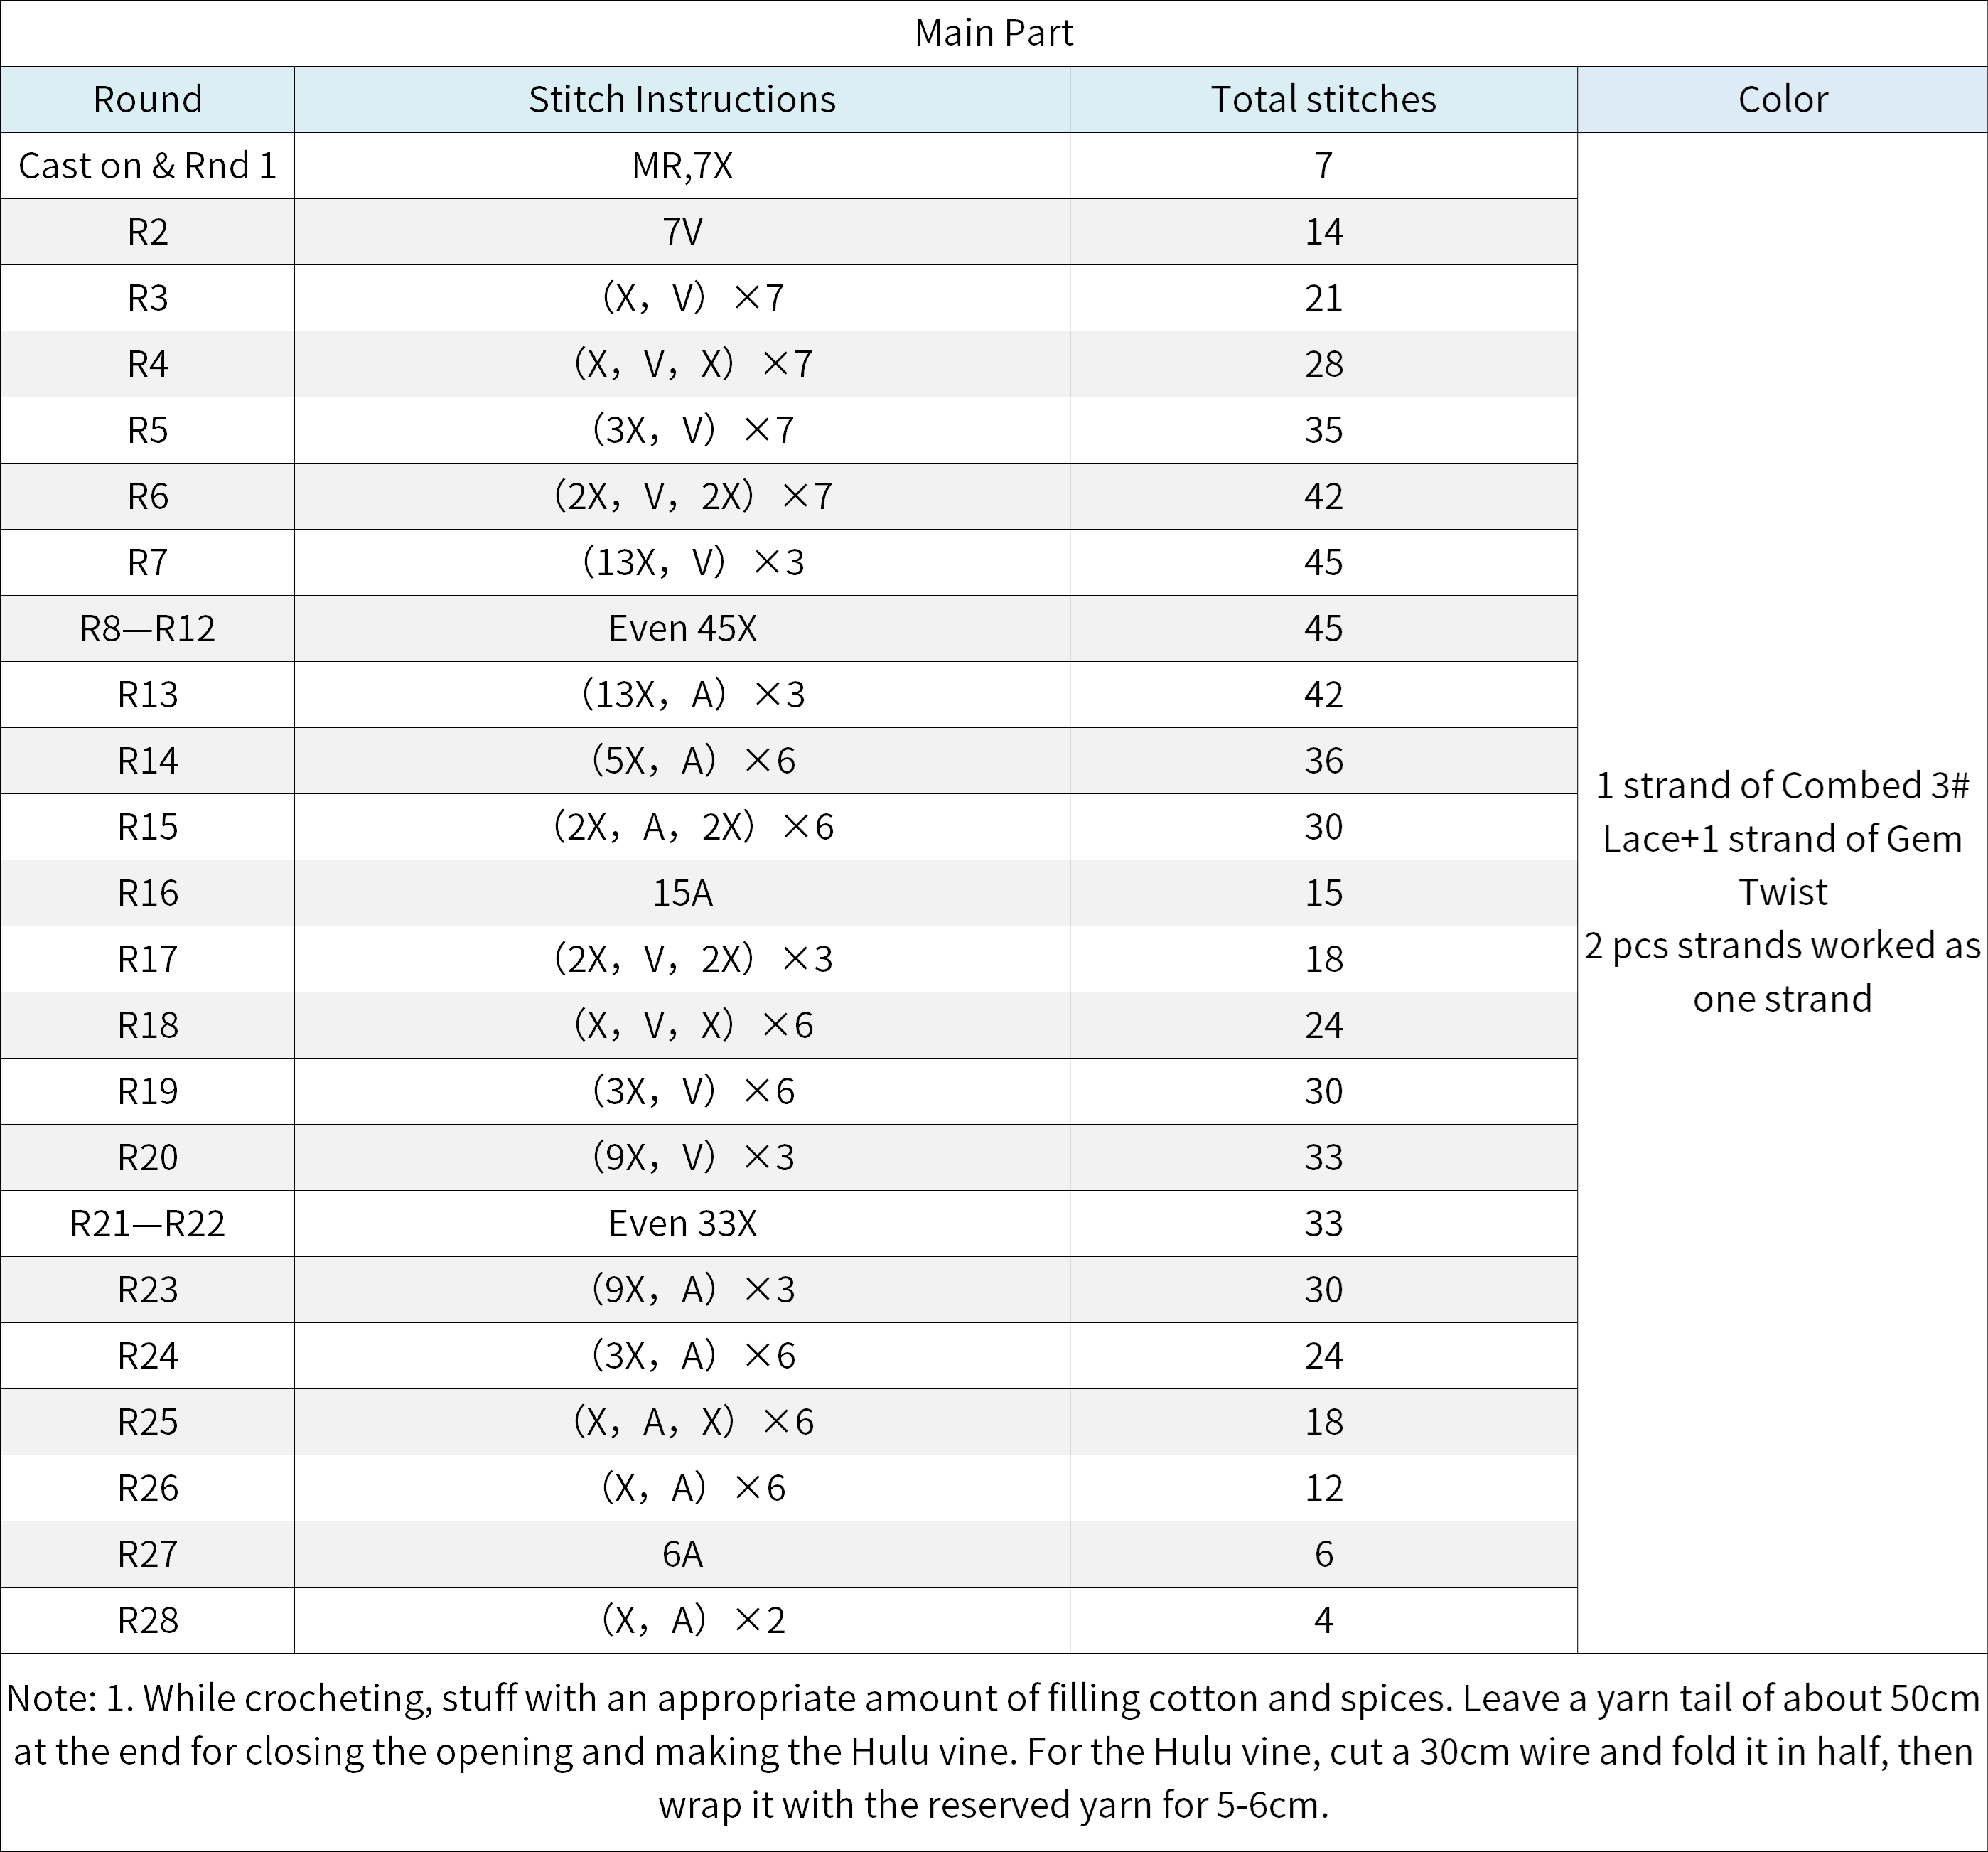
Part 1 Main bodyA 00' 33''
We'll use the magic ring method.Then, we'll work in spirals, crocheting counterclockwise around the starting point.After completing the main part,we'll make the Hulu vine.Please refer to the video demonstration for more details.
Part 2 Decorative CordB 41' 14''
It consists of two parts: the small circular crochet pieces and the accessories,start by crocheting the small circular crochet pieces,after completing it attach the accessories,then start braiding,finally install them on the main body.Please refer to the video demonstration for more details.

Part 3 Hanging LoopC 63' 21''
The hanging loop (Rainbow Yarn) is used the hanging string method to crochet chain stitches.string, cut 4 strands of yarn at 300cm each and crochet to about 24cm in length; for the long hanging string, cut 4 strands at 370cm or even a bit longer, and crochet to about 30cm in length. All should be worked as one strand when crocheting. Finally, choose whichever hanging string you prefer to attach. The length of the hanging string can also be adjusted according to personal preference. Please refer to the video demonstration for more detail.
Part 4 TasselsD 71' 58''
Tassel is pre-maded, sew it onto the first round of the main part directly.Please refer to the video demonstration for more detail.
Made by the community