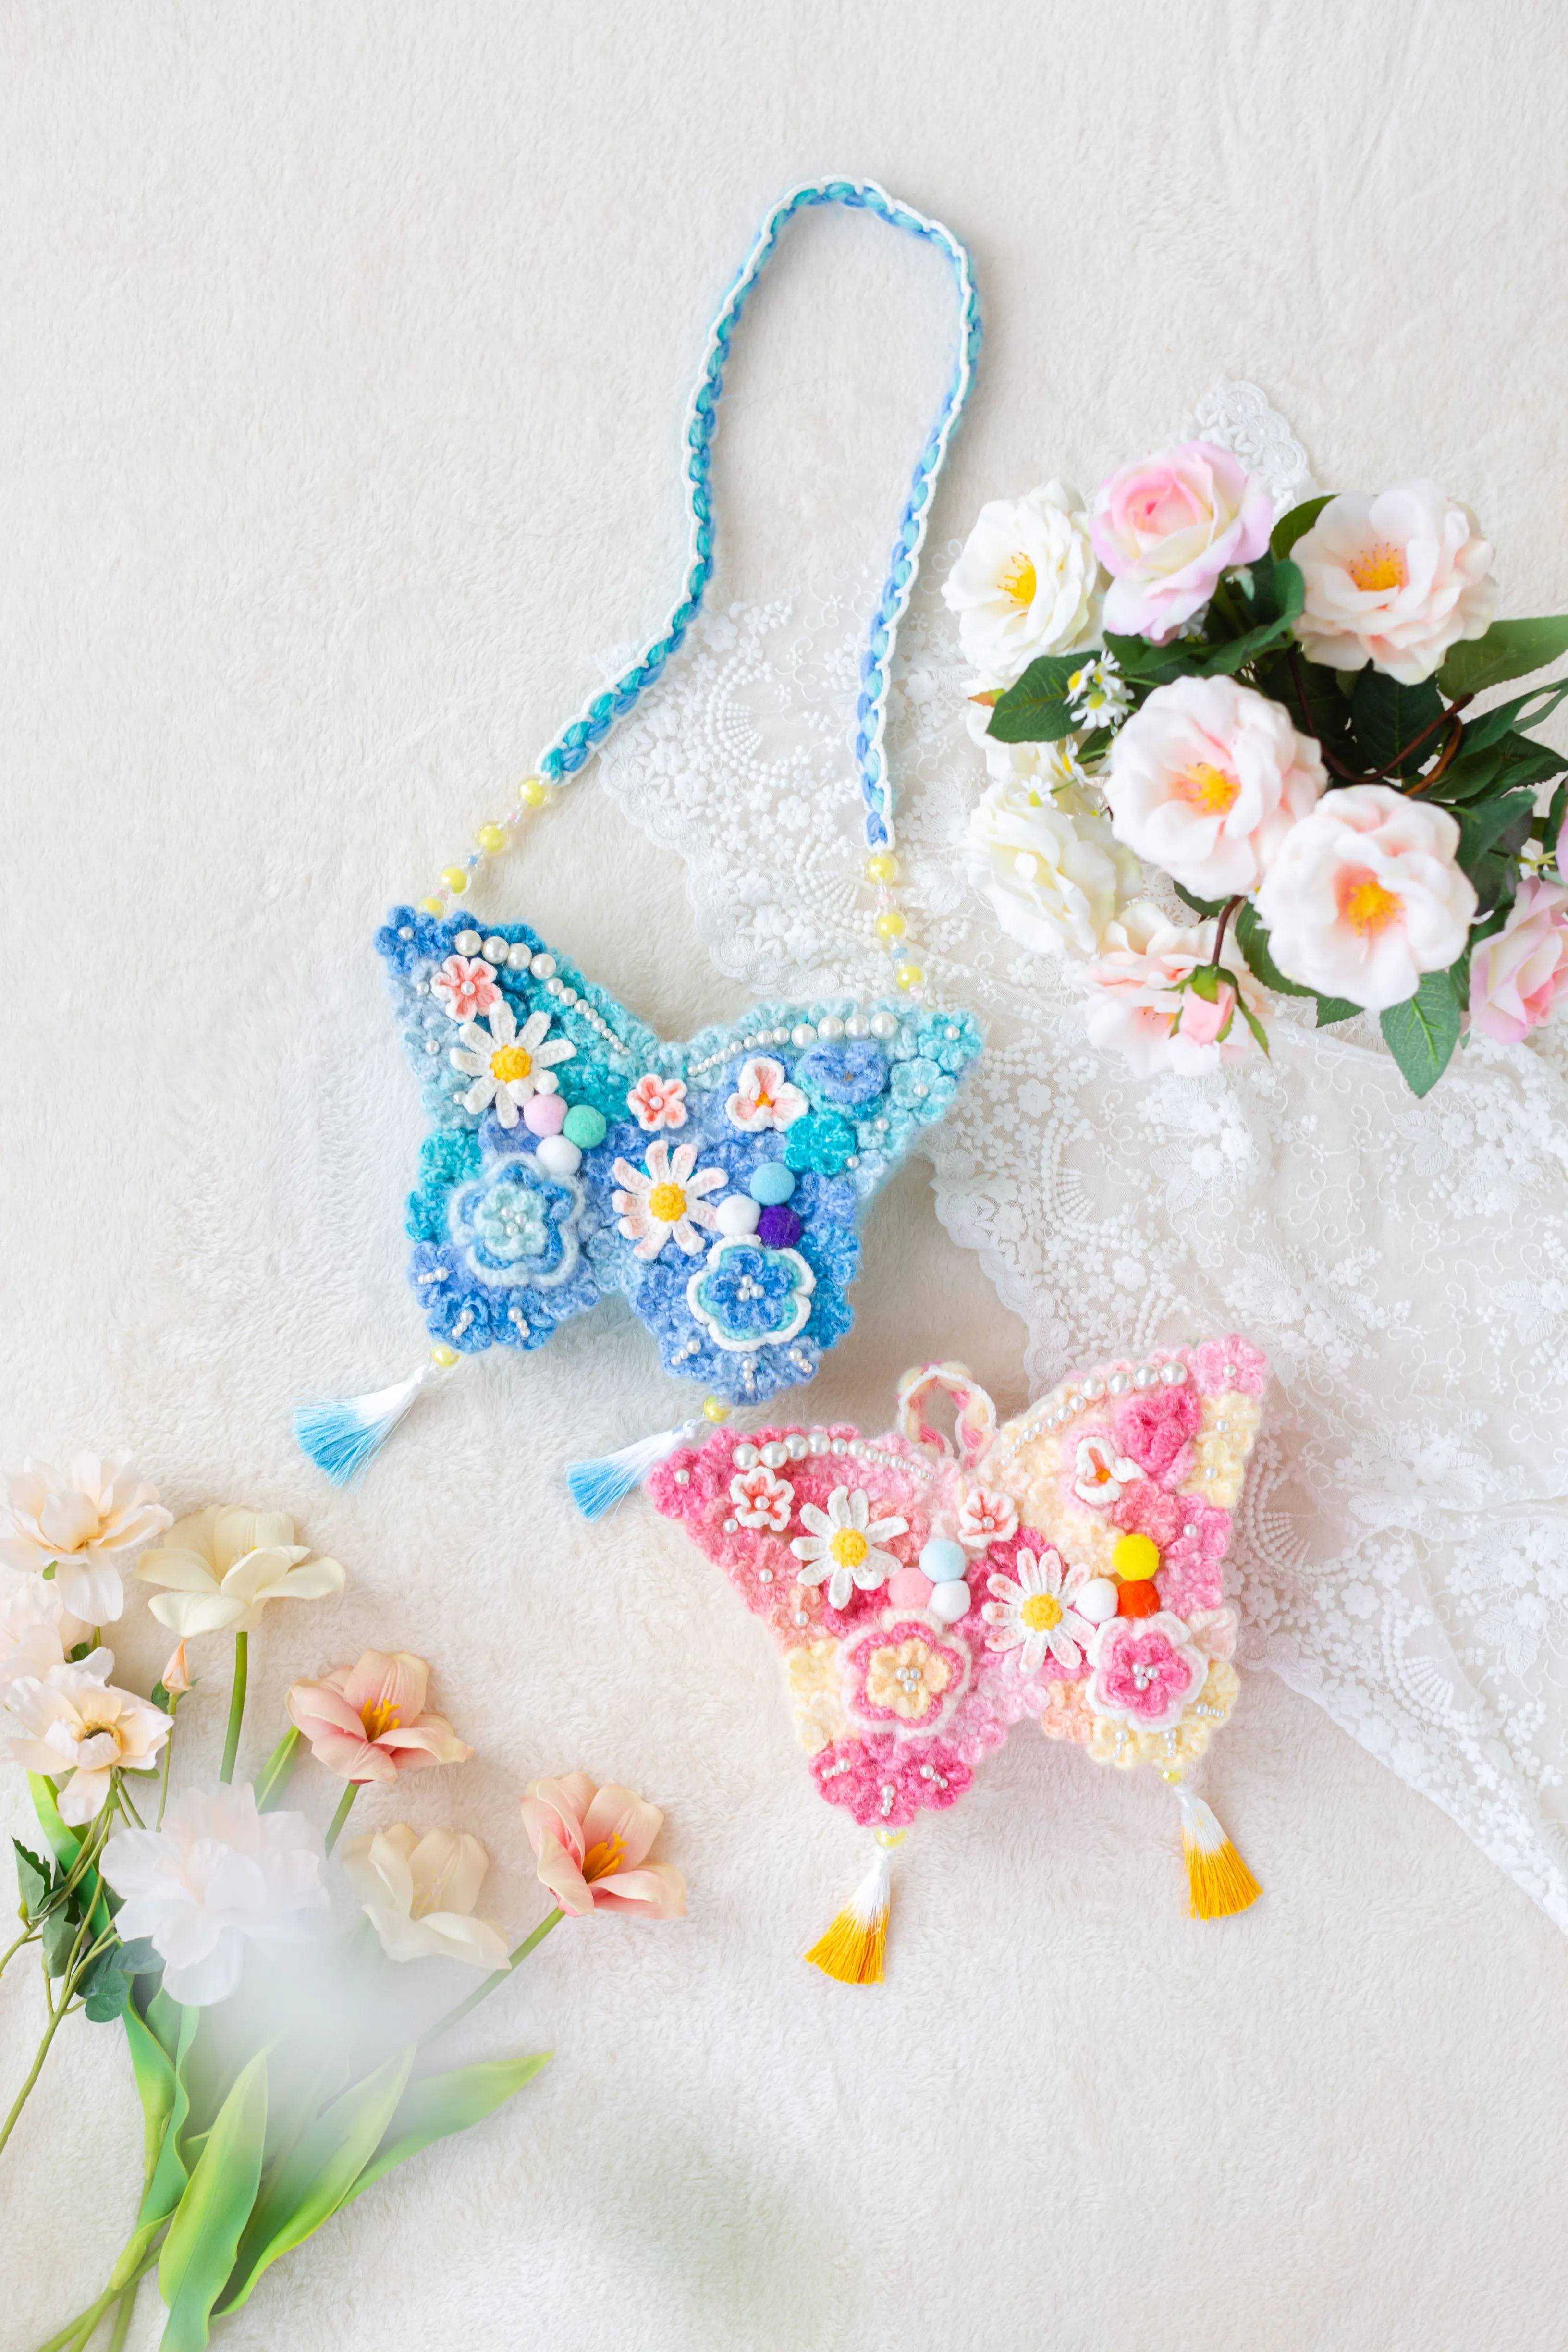
Bag
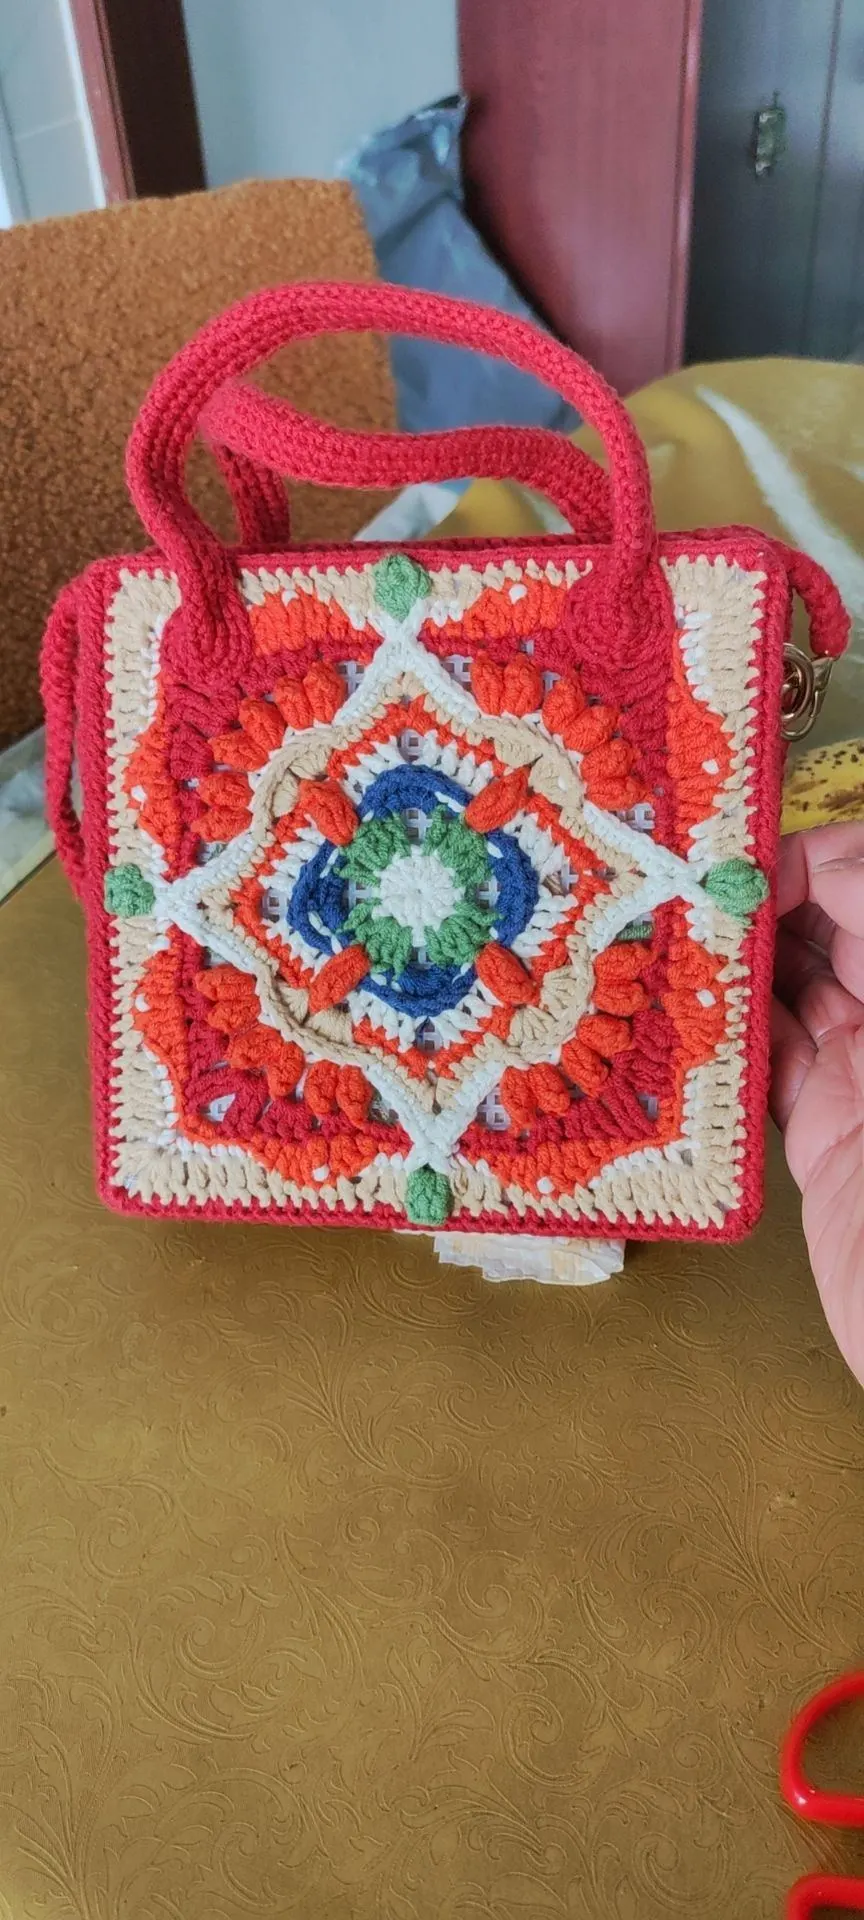
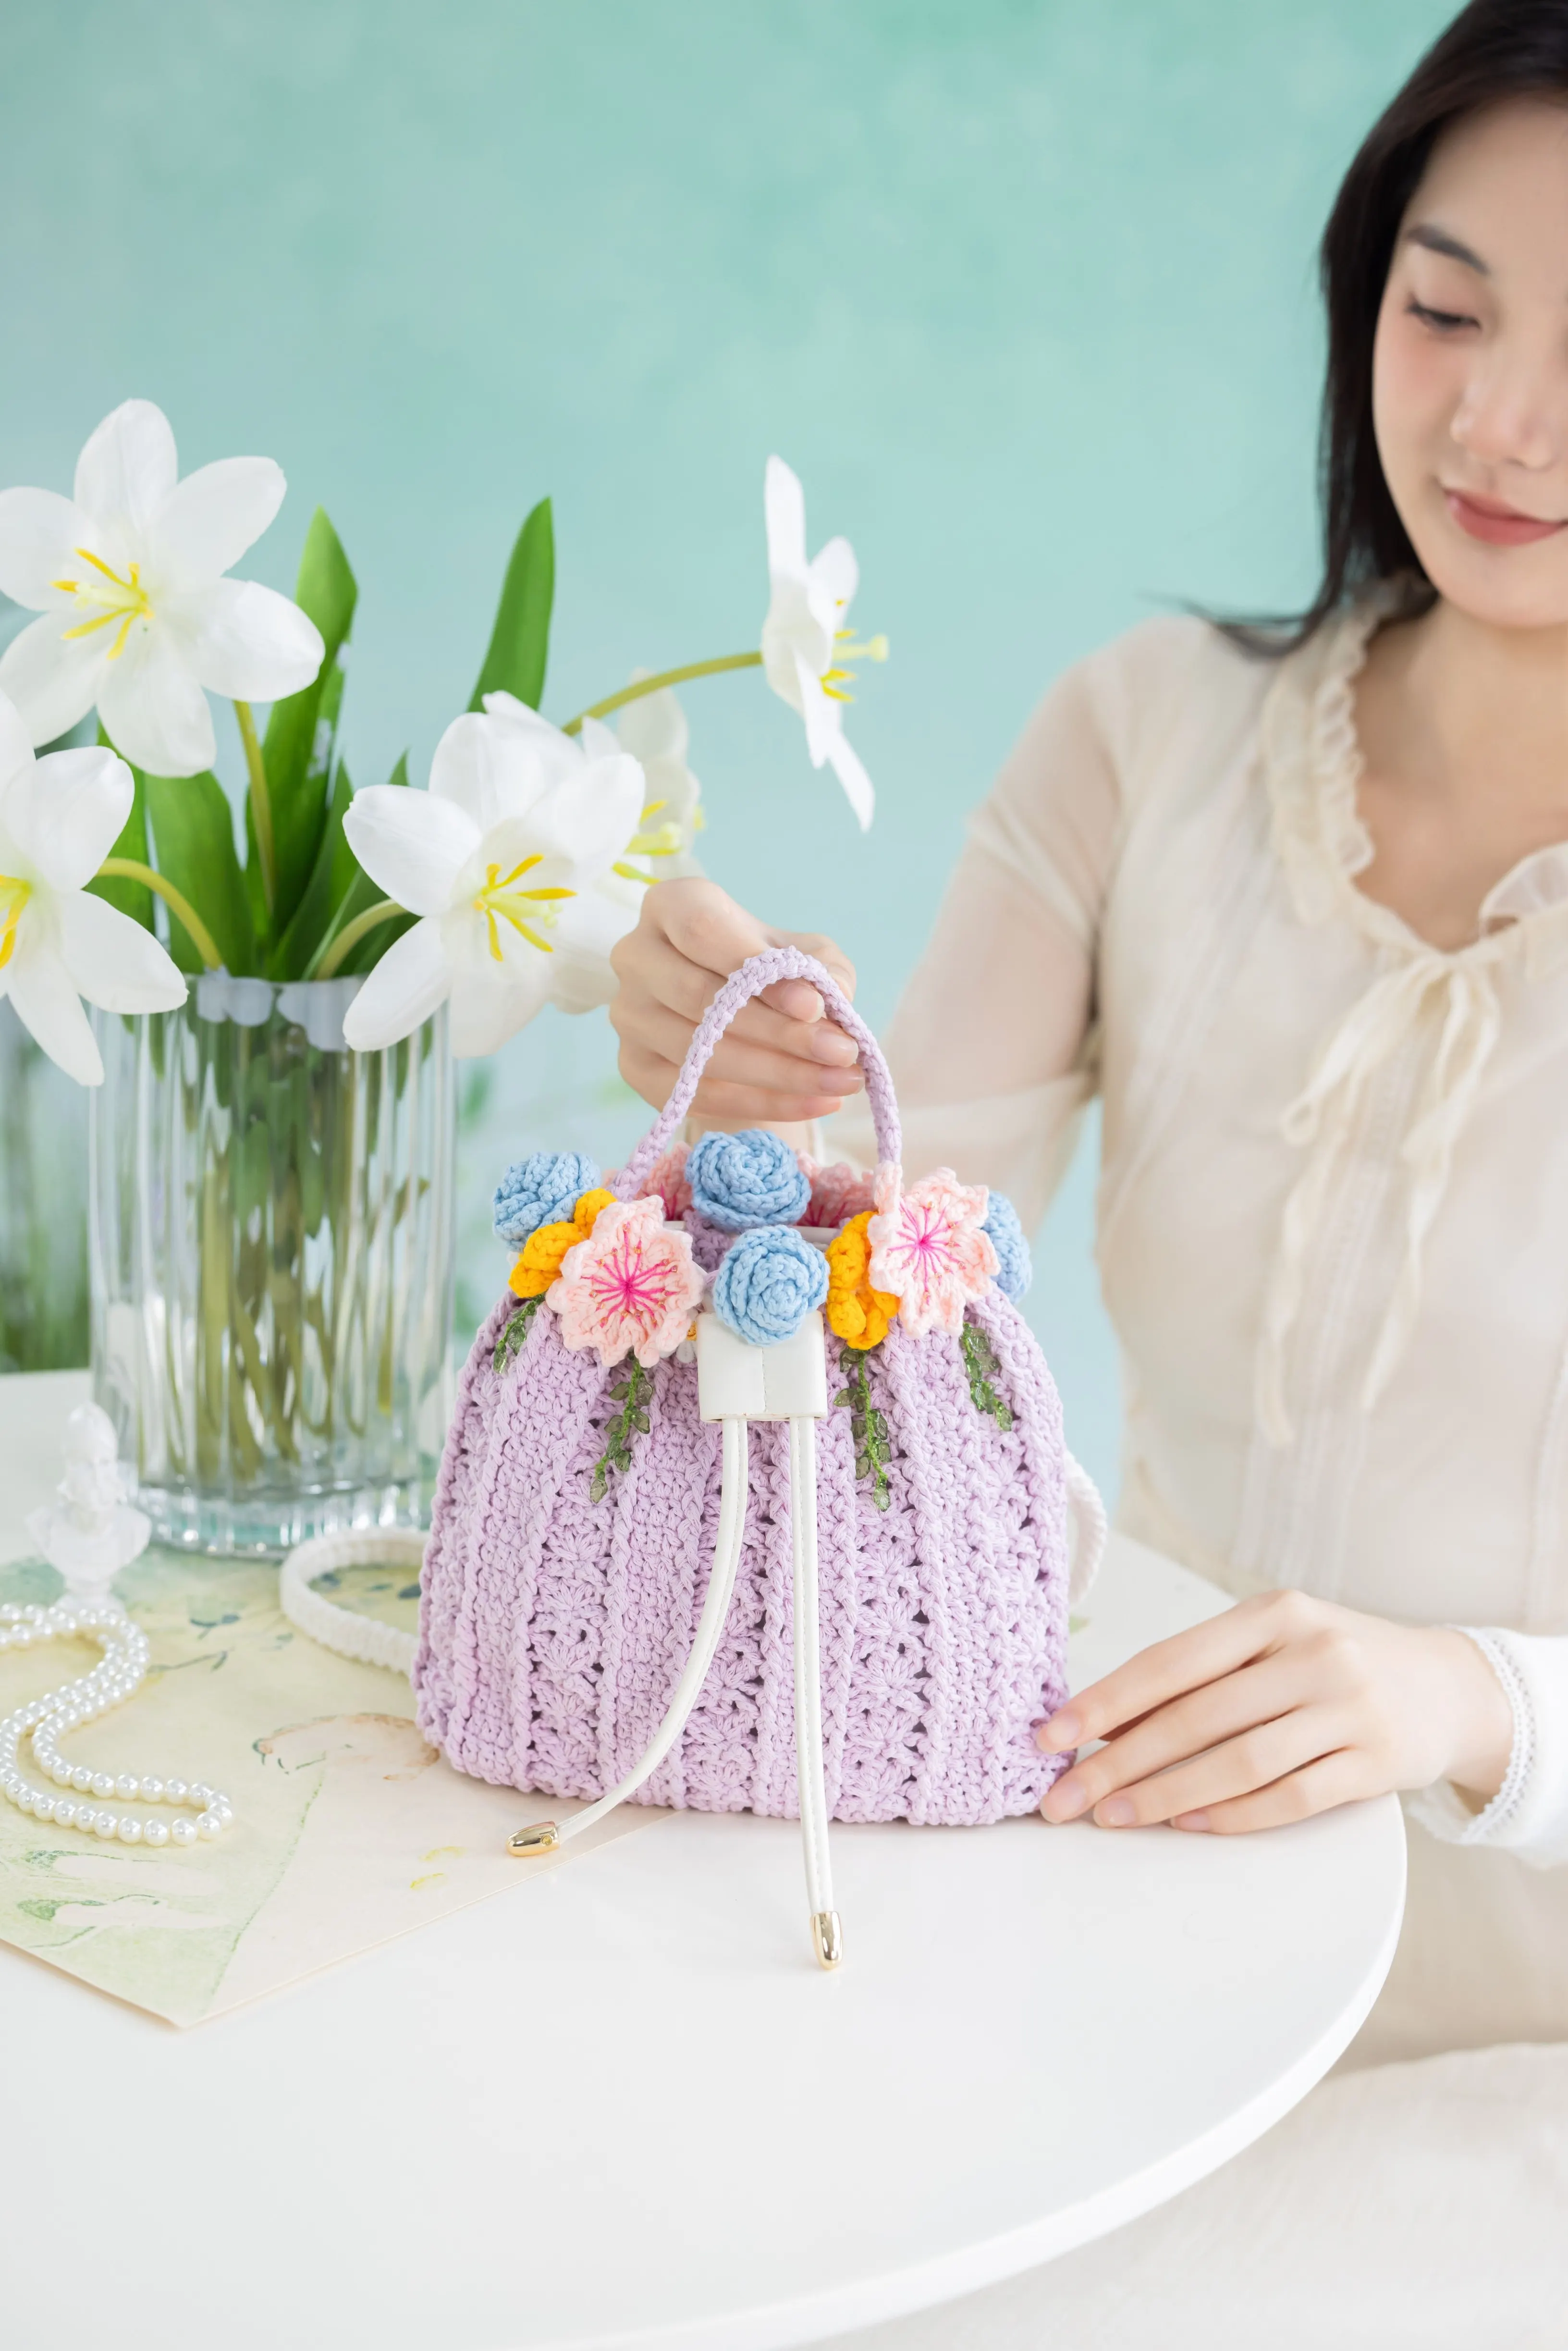
Lotus Ruyi Bag
Project preview
See the finished project
Pattern format
Instructions
Watch and follow
Video tutorial
| Style | Yarn | Color |
|---|---|---|
| Blue Moon | 4-Ply Combed Cotton & Acrylic Fibre Hand Knitting Yarn |  09#Aspen Gold x 1 09#Aspen Gold x 1 42#Blue Moon x 3 42#Blue Moon x 3 |
| Toffee | 4-Ply Combed Cotton & Acrylic Fibre Hand Knitting Yarn | 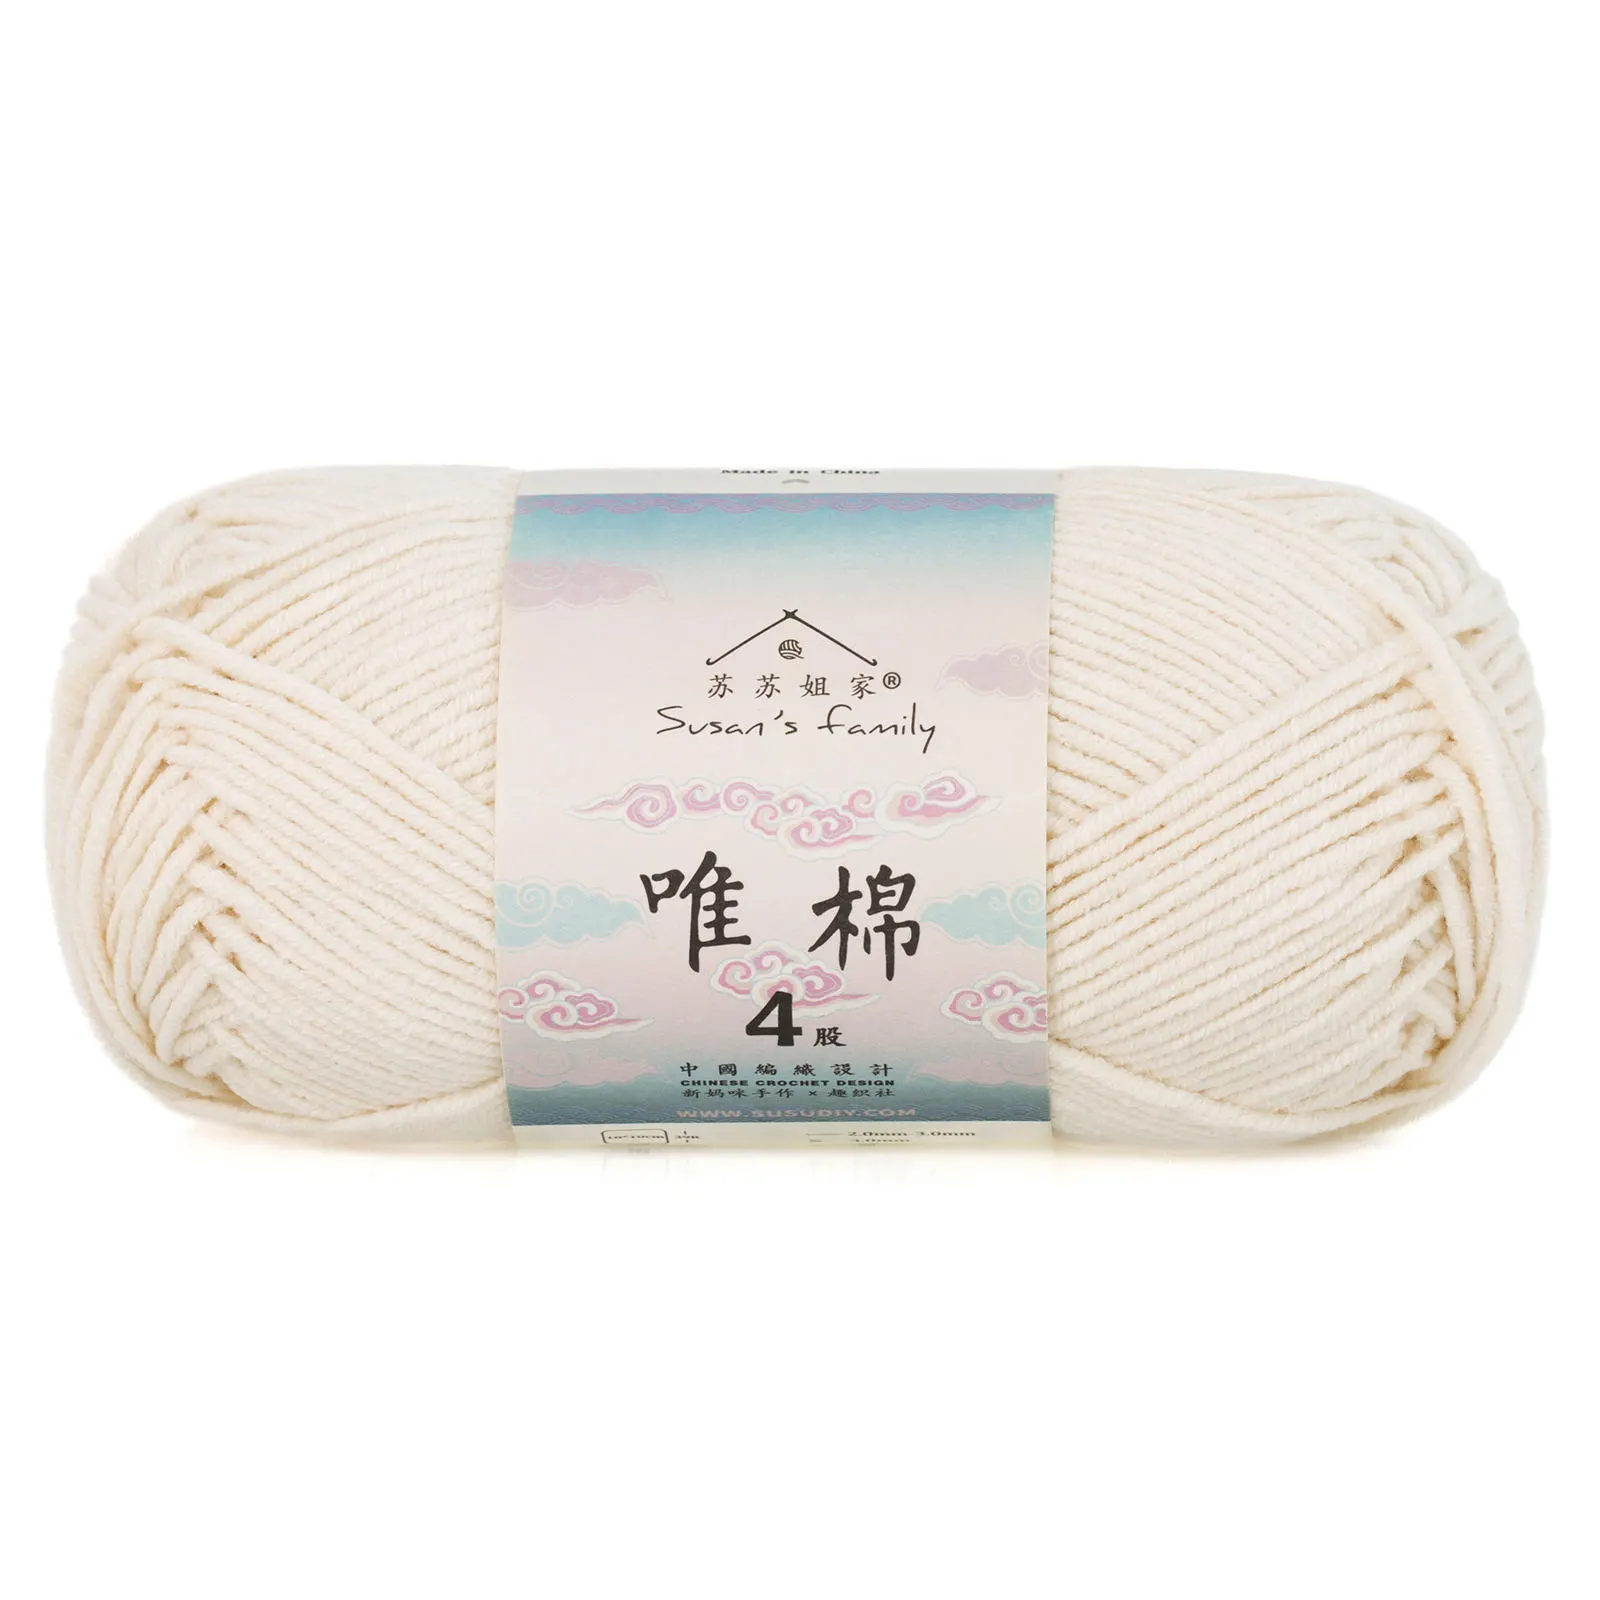 19#Whisper White x 1 19#Whisper White x 1 40#Golden Rod x 1 40#Golden Rod x 1 |
This bag is divided into two main parts: motifs and assembly.
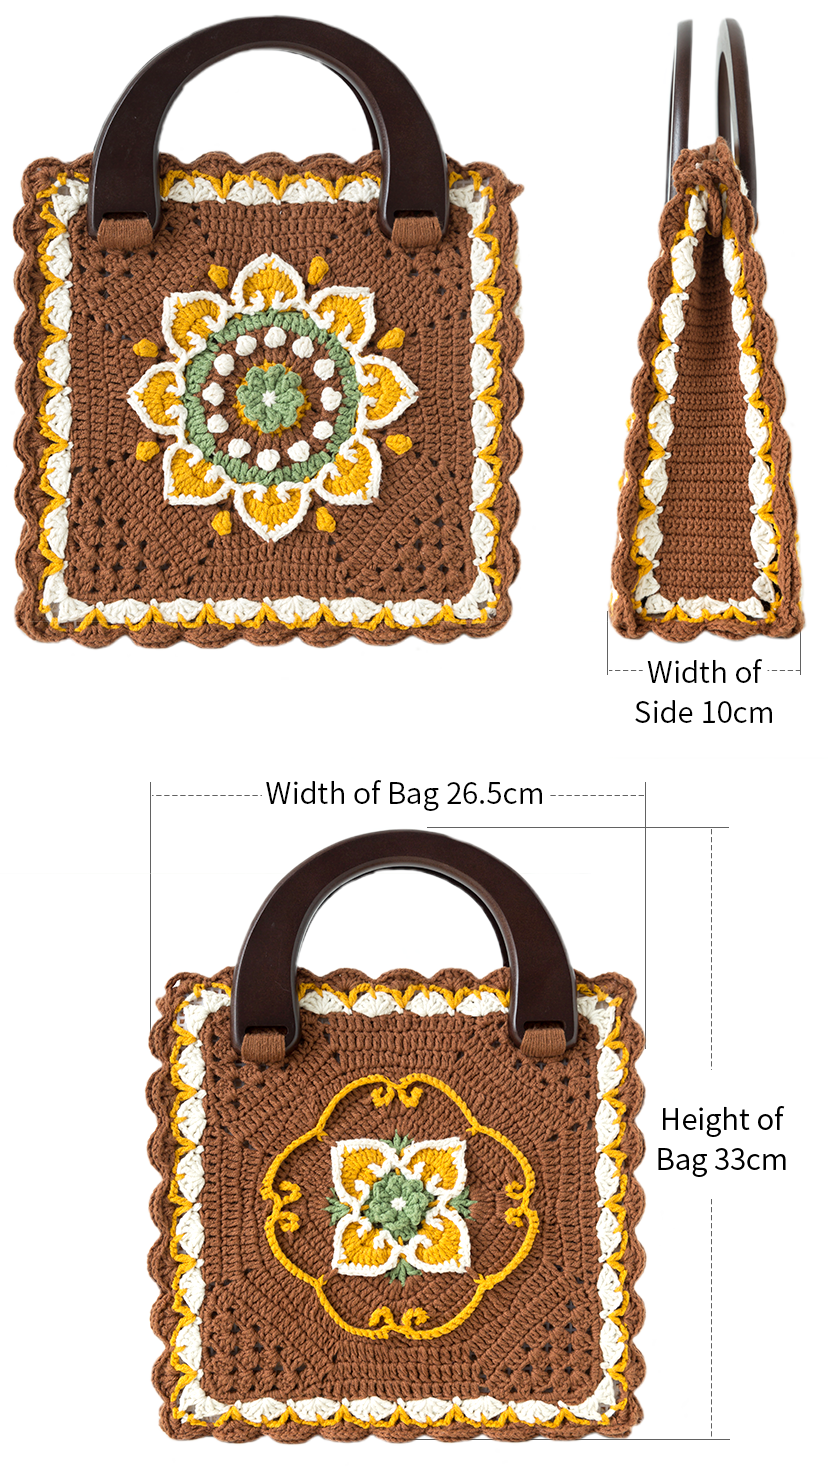
The handcrafted measurements may have an error of 1 to 2 cm.
Due to variations in individual tension, the size of the sample is for reference only.
Materials: 4-Ply Combed Cotton & Acrylic Fibre Hand Knitting Yarn
Tools:3.00 mm Crochet Hook
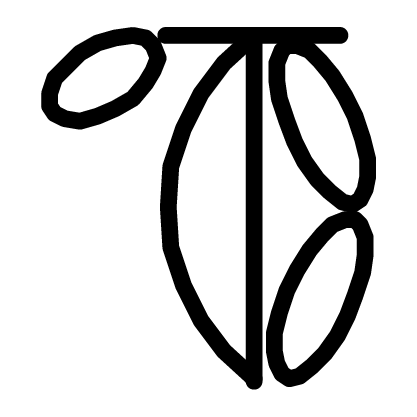
Chart Key














 =
=

Note: 1. This pattern is making in Chinese crochet pattern terms, and the stitch name is written using American terminology. All measurements in charts are in cm.

Part 1 Motifs A
There are three kinds of motifs: front piece, back body, and sides.
Step 1 Front Piece A1 00' 54'' (Part1)
The front piece uses the magic ring method to start. First, crochet in rounds counterclockwise, then work a corner triangle. After completing it, continue crocheting in rounds. Finally, add small petals. During the crocheting process, you need to switch colors. For more details, please refer to the video demonstration.
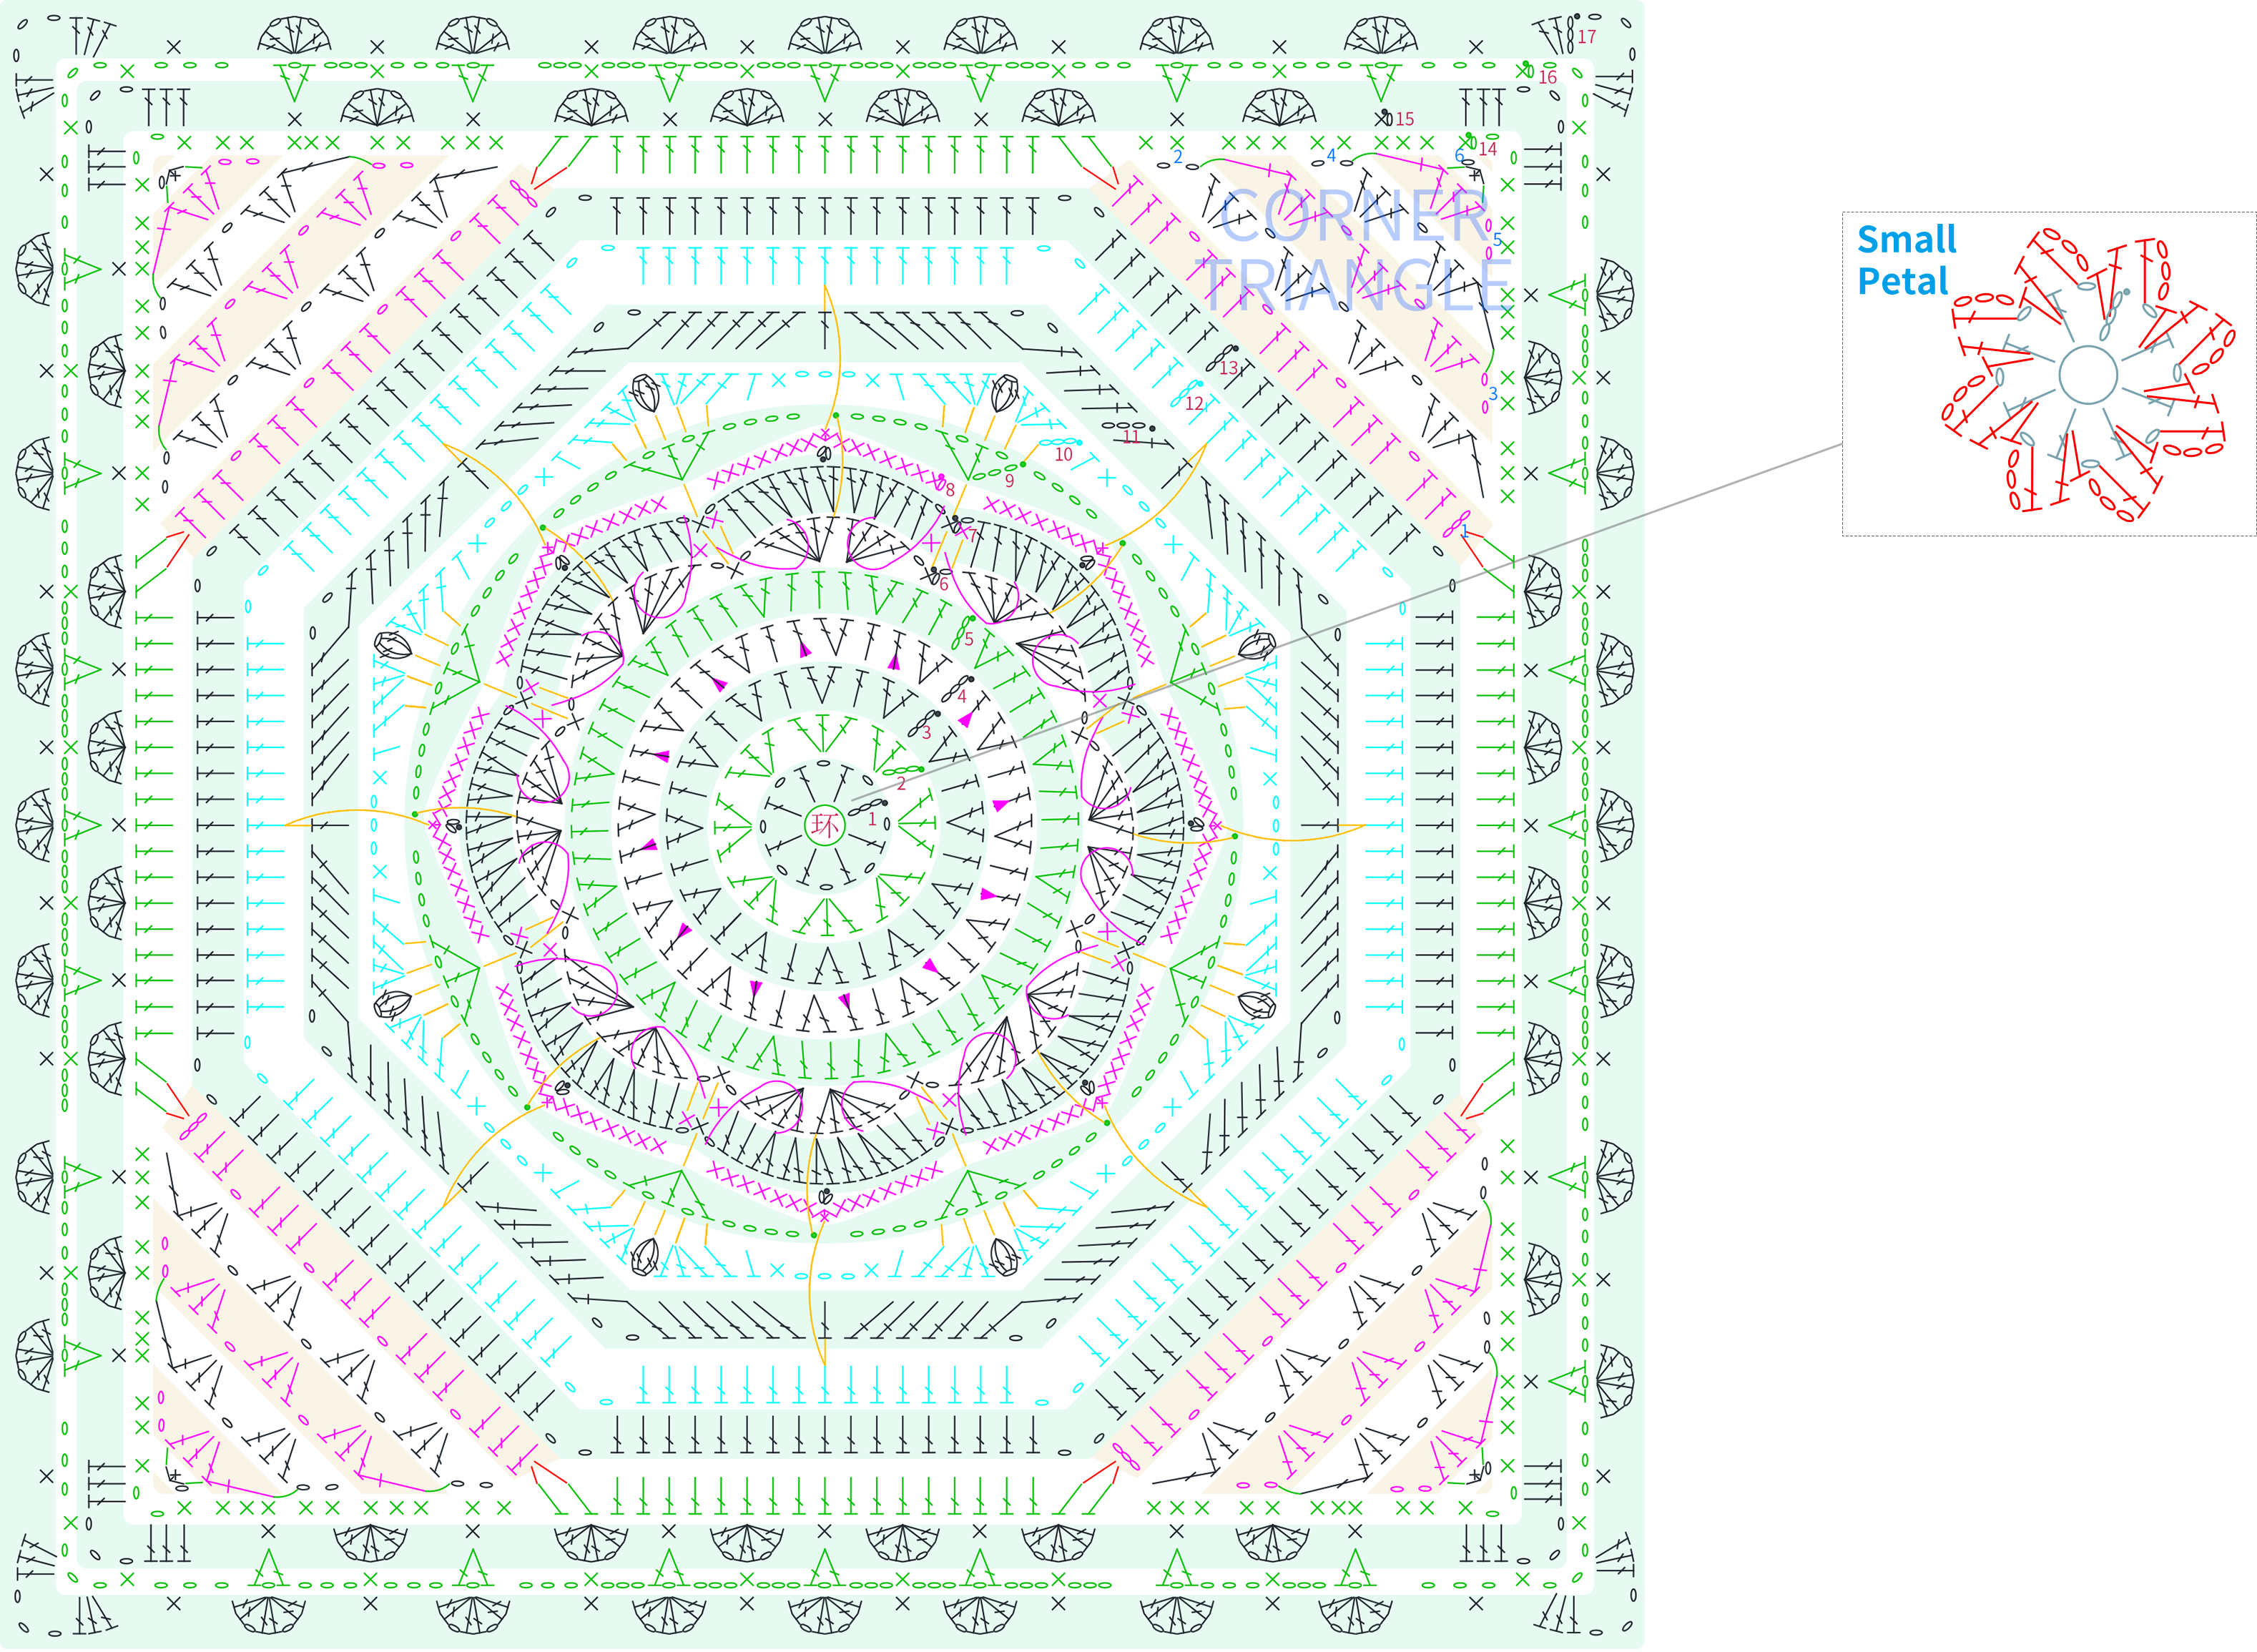
Note:
① When crocheting the double crochet with a puff, first crochet the puff in the front loop only, then work the double crochet in the corresponding back loop and bring the puff loop together;
② For the curve in round 8, pick up stitches in the corresponding position. Please refer to the video demonstration for specific technique;
③ In round 9, slip stitch into the small horizontal bar on the wrong side of the middle double crochet of the fan pattern in round 6;
④ After completing the second-to-last round, you can measure the fabric's size and compare it with the grid plate size (approximately 23.5cm x 23.5cm). The size should not exceed the grid plate to avoid insufficient space when assembling. If exceeded, you can adjust your tension and re-crochet the last few rounds. If the size is much smaller than the grid plate and still doesn't reach the grid plate size after tightening, trim the grid plate according to the actual situation when sewing it later;
⑤ Leave about 1.3m of yarn tail for sewing.
| Front Piece | Blue Moon Version | Toffee Version |
| Rnd 1 | 09#Aspen Gold | 19#Whisper White |
| Rnd 2 | 06#Bright White | 40#Golden Rod |
| Rnd 3 | 42#Blue Moon | 34#Toffee |
| Rnd 4 | 42#Blue Moon + 09#Aspen Gold (Puff) |
34#Toffee + 19#Whisper White (Puff) |
| Rnd 5 | 45#Orangeade | 32#Aspen Green |
| Rnd 6-7 | 06#Bright White | 40#Golden Rod |
| Rnd 8 | 09#Aspen Gold | 19#Whisper White |
| Rnd 9 | 42#Blue Moon | 34#Toffee |
| Rnd 10 | 42#Blue Moon + 06#Bright White (Popcorn) |
34#Toffee + 40#Golden Rod (Popcorn) |
| Rnd 11-13 | 42#Blue Moon | 34#Toffee |
| Corner Triangle | ||
| Rnd 14 | ||
| Rnd 15 | 09#Aspen Gold | 19#Whisper White |
| Rnd 16 | 06#Bright White | 40#Golden Rod |
| Rnd 17 | 42#Blue Moon | 34#Toffee |
| Small Petal | 45#Orangeade | 32#Aspen Green |
Step 2 Back Piece A2 00' 11'' (Part2)
The back piece starts with a magic ring, first crochet in rounds counterclockwise outward, then work a corner triangle, after completing it, continue crocheting in rounds, finally add small petals. Switch colors while crocheting. For details, please refer to the video demonstration.
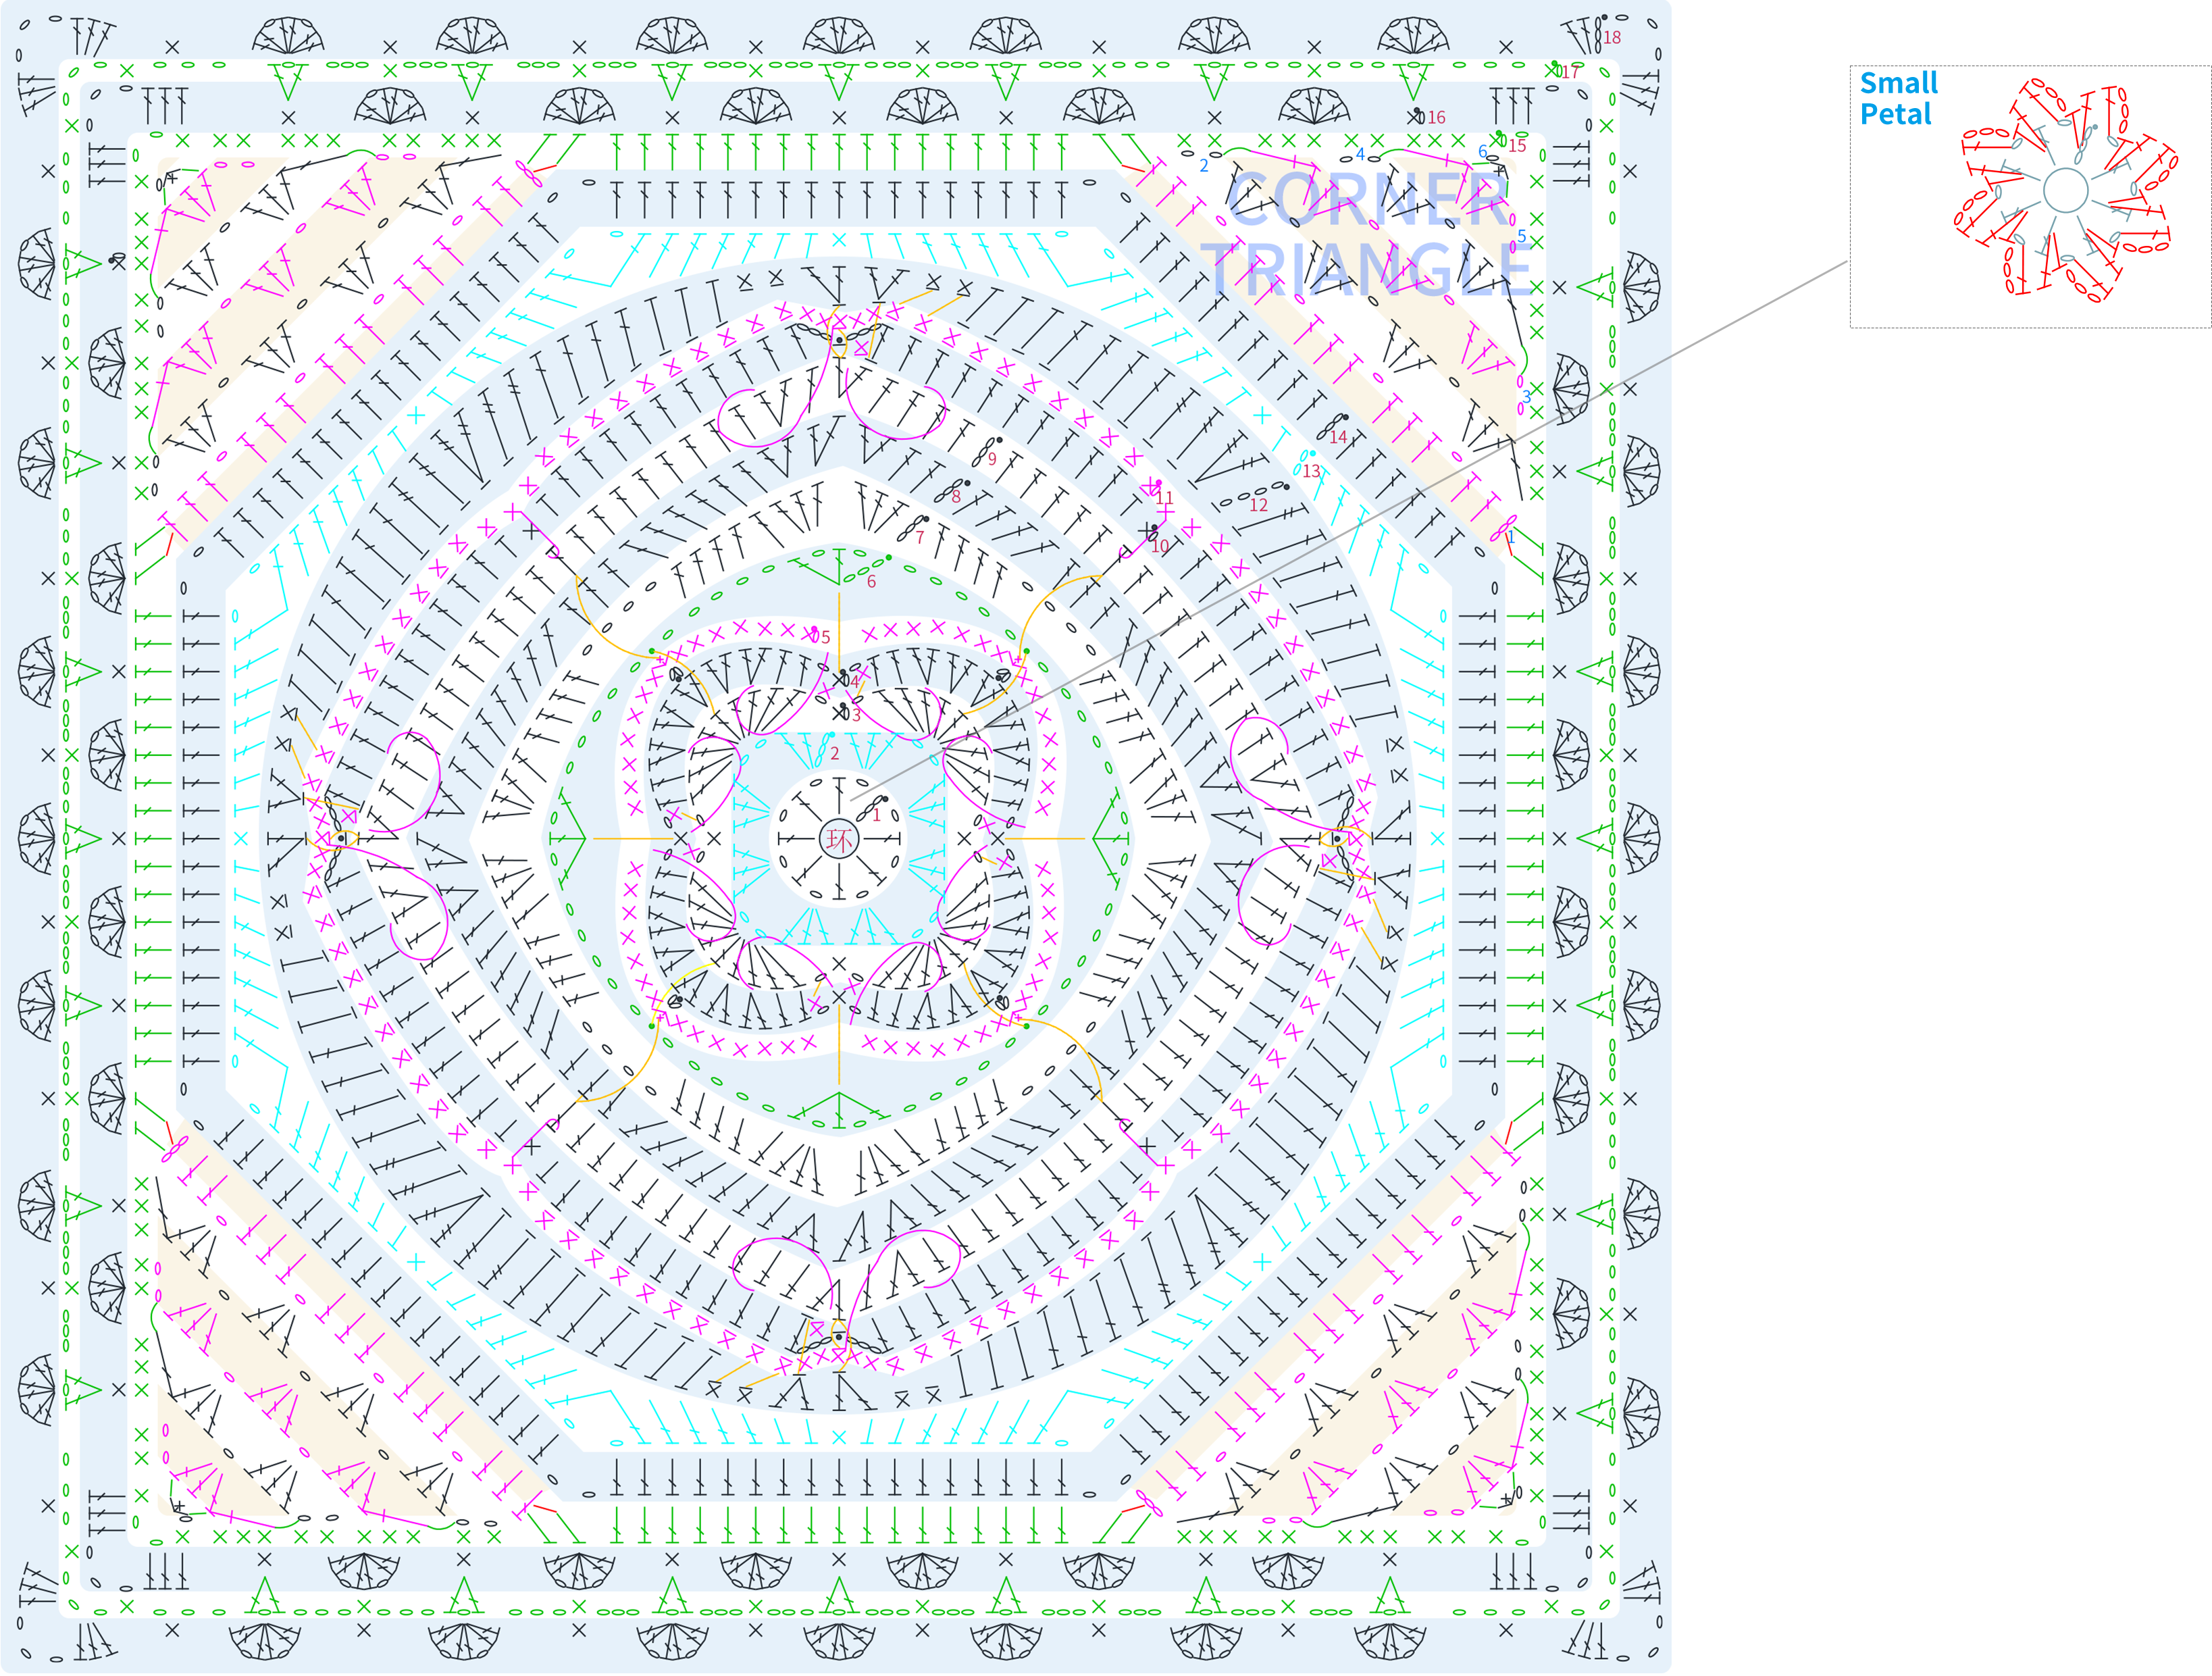
Note:
① The curves of the 5th and 11th rounds need to be crocheted in the corresponding positions, please refer to the video demonstration for specific crochet techniques;
② In the 6th round, slip stitch into the small horizontal bar on the back of the middle 1 dc of the fan pattern from the 3rd round;
③ After completing the second-to-last round, measure the dimensions, which should be identical to the dimensions of the second-to-last round of the front piece;
④ Leave a yarn tail of about 1.3m at the end for sewing.
| Back Piece | Blue Moon Version | Toffee Version |
| Rnd 1 | 09#Aspen Gold | 19#Whisper White |
| Rnd 2 | 45#Orangeade | 32#Aspen Green |
| Rnd 3-4 | 06#Bright White | 40#Golden Rod |
| Rnd 5 | 09#Aspen Gold | 19#Whisper White |
| Rnd 6 | 45#Orangeade | 32#Aspen Green |
| Rnd 7-10 | 42#Blue Moon | 34#Toffee |
| Rnd 11 | 06#Bright White | 40#Golden Rod |
| Rnd 12-14 | 42#Blue Moon | 34#Toffee |
| Corner Triangle | ||
| Rnd 15 | ||
| Rnd 16 | 09#Aspen Gold | 19#Whisper White |
| Rnd 17 | 06#Bright White | 40#Golden Rod |
| Rnd 18 | 42#Blue Moon | 34#Toffee |
| Small Petal | 45#Orangeade | 32#Aspen Green |
Step 3 Sides A3 34' 41'' (Part2)
There are 3 pieces on the sides, all starting with a foundation chain. First, crochet back and forth to create the central motif, then work in rounds to crochet the border. Please refer to the video demonstration for details.
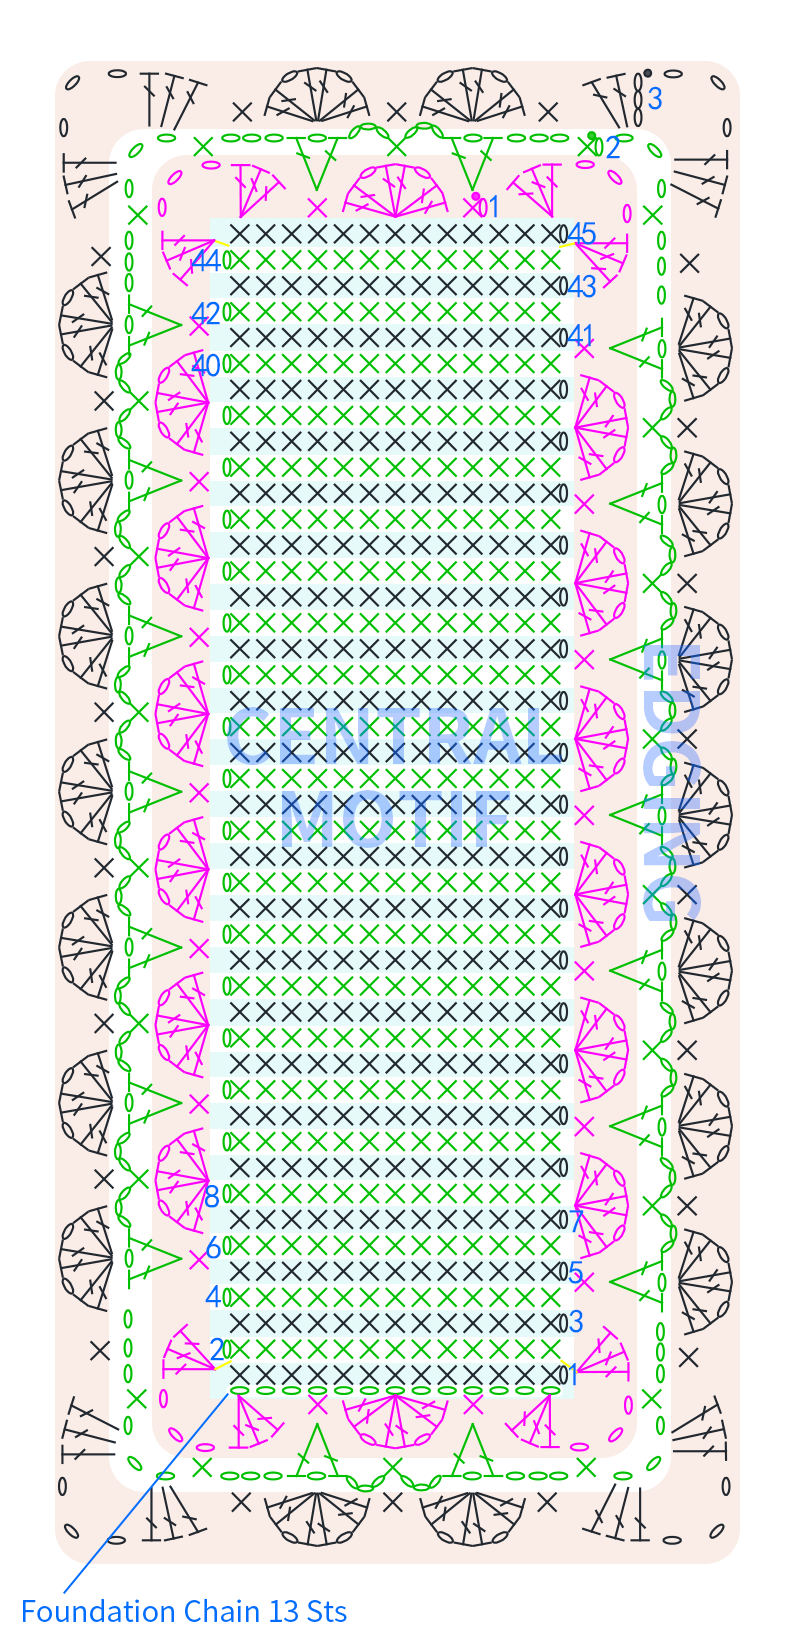
Note:
1. After completing the second-to-last round of the edging, compare it with the grid board size (approximately 23.5cm x 8cm) and handle it the same way as the front piece.
2. Leave a yarn tail of about 1.2m at the end for sewing together.
| Side × 3 Pcs | Blue Moon Version | Toffee Version |
| Central Motif | 42#Blue Moon | 34#Toffee |
| Edging Rnd 1 | 09#Aspen Gold | 19#Whisper White |
| Edging Rnd 2 | 06#Bright White | 40#Golden Rod |
| Edging Rnd 3 | 42#Blue Moon | 34#Toffee |
Part 2 Assembly B 43' 13'' (Part2)
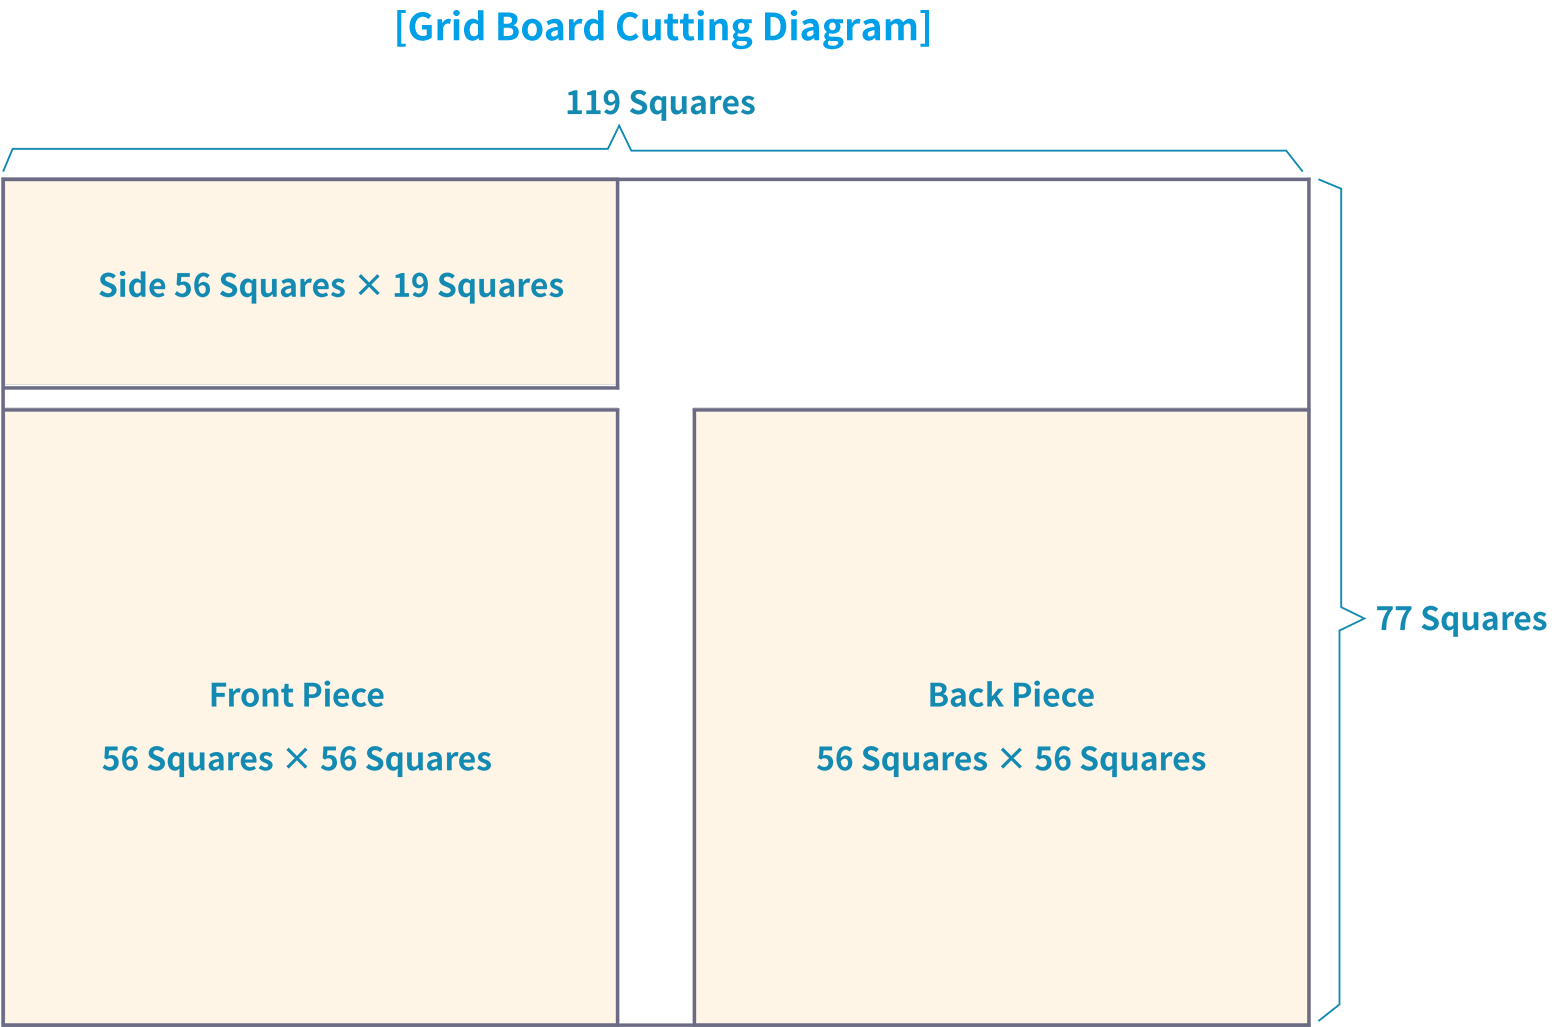
The assembly is divided into several parts: cutting of the grid board and lining fabric B1, sewing of the grid board B2, securing of the handles B3, sewing of the lining fabric B4, overall sewing B5, and magnetic clasps B6. Please refer to the video demonstration for details.
Made by the community