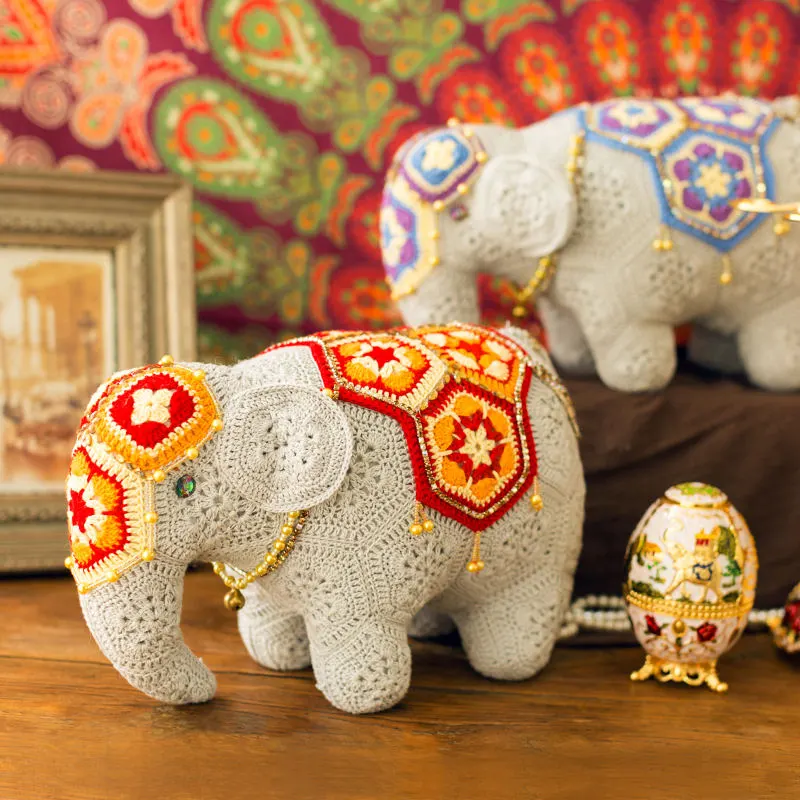
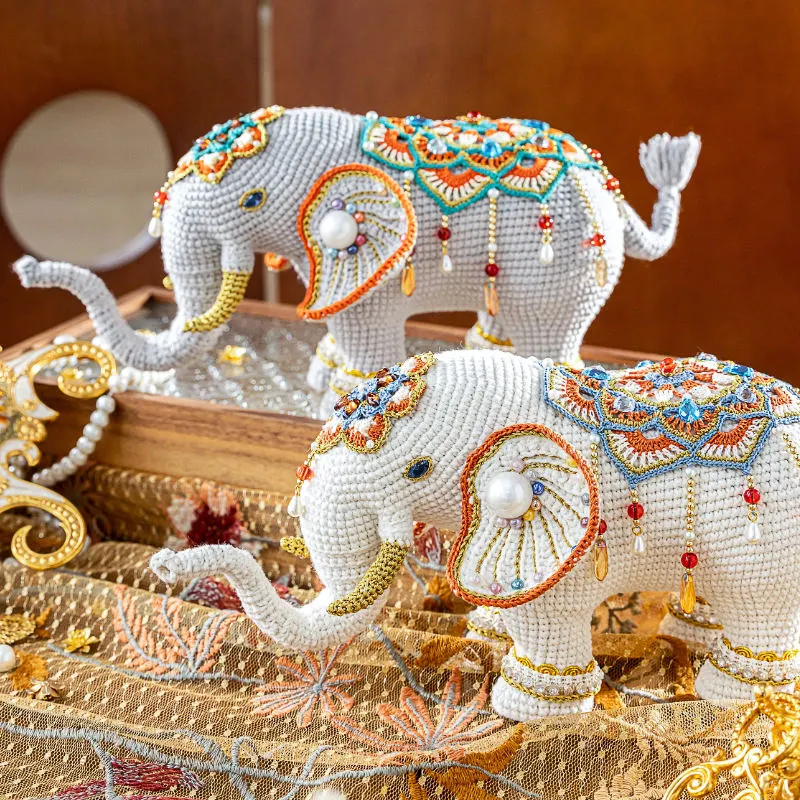
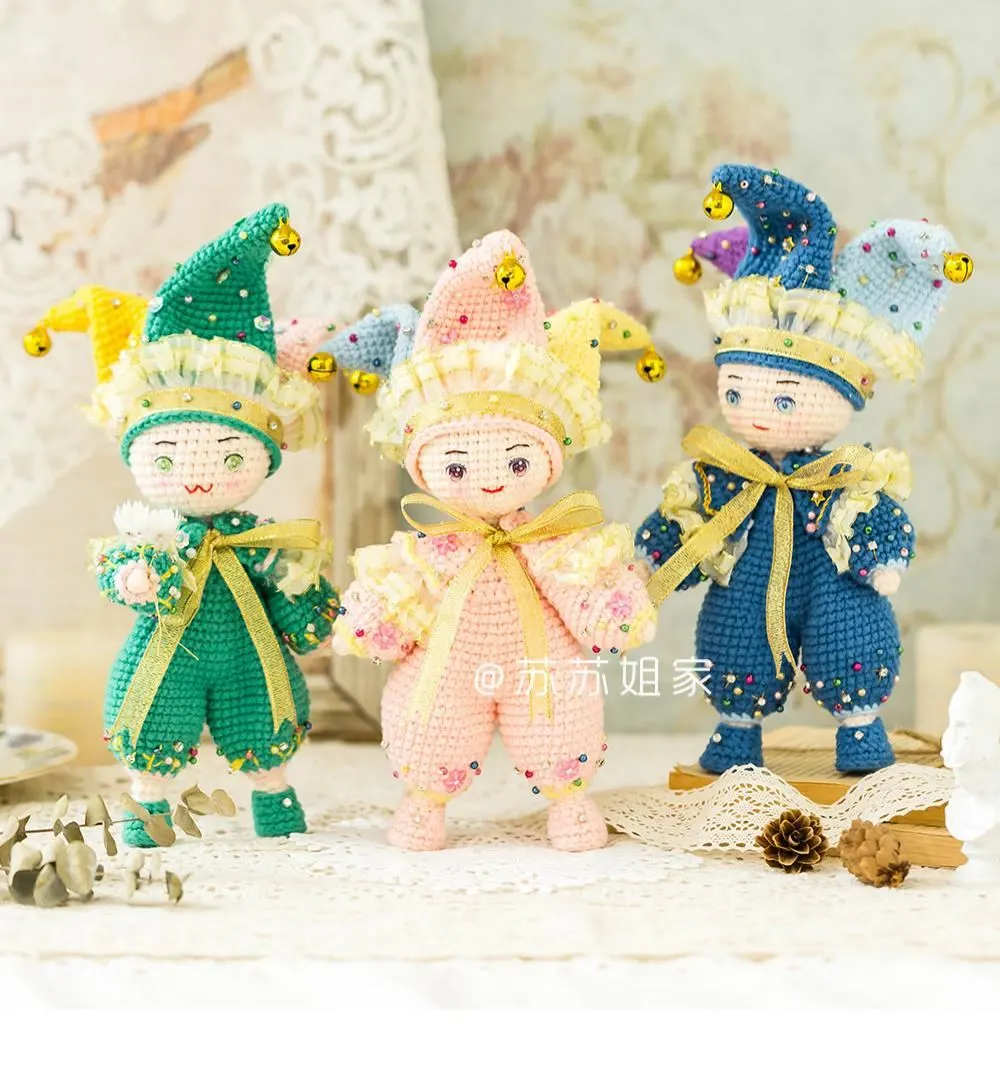
Doll
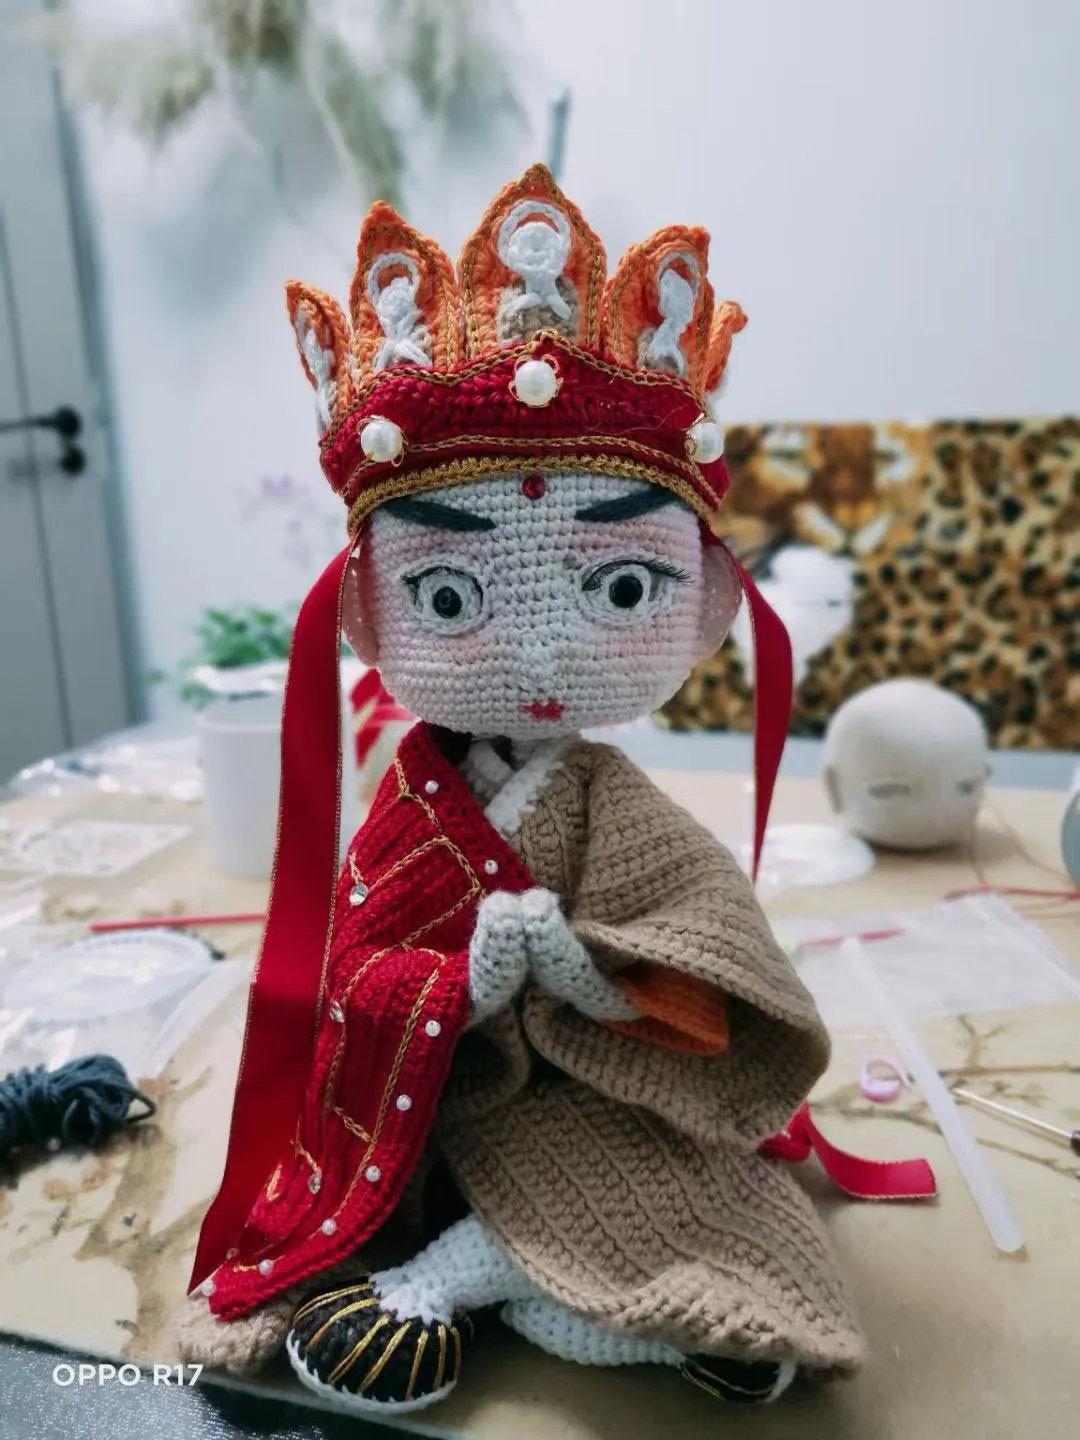
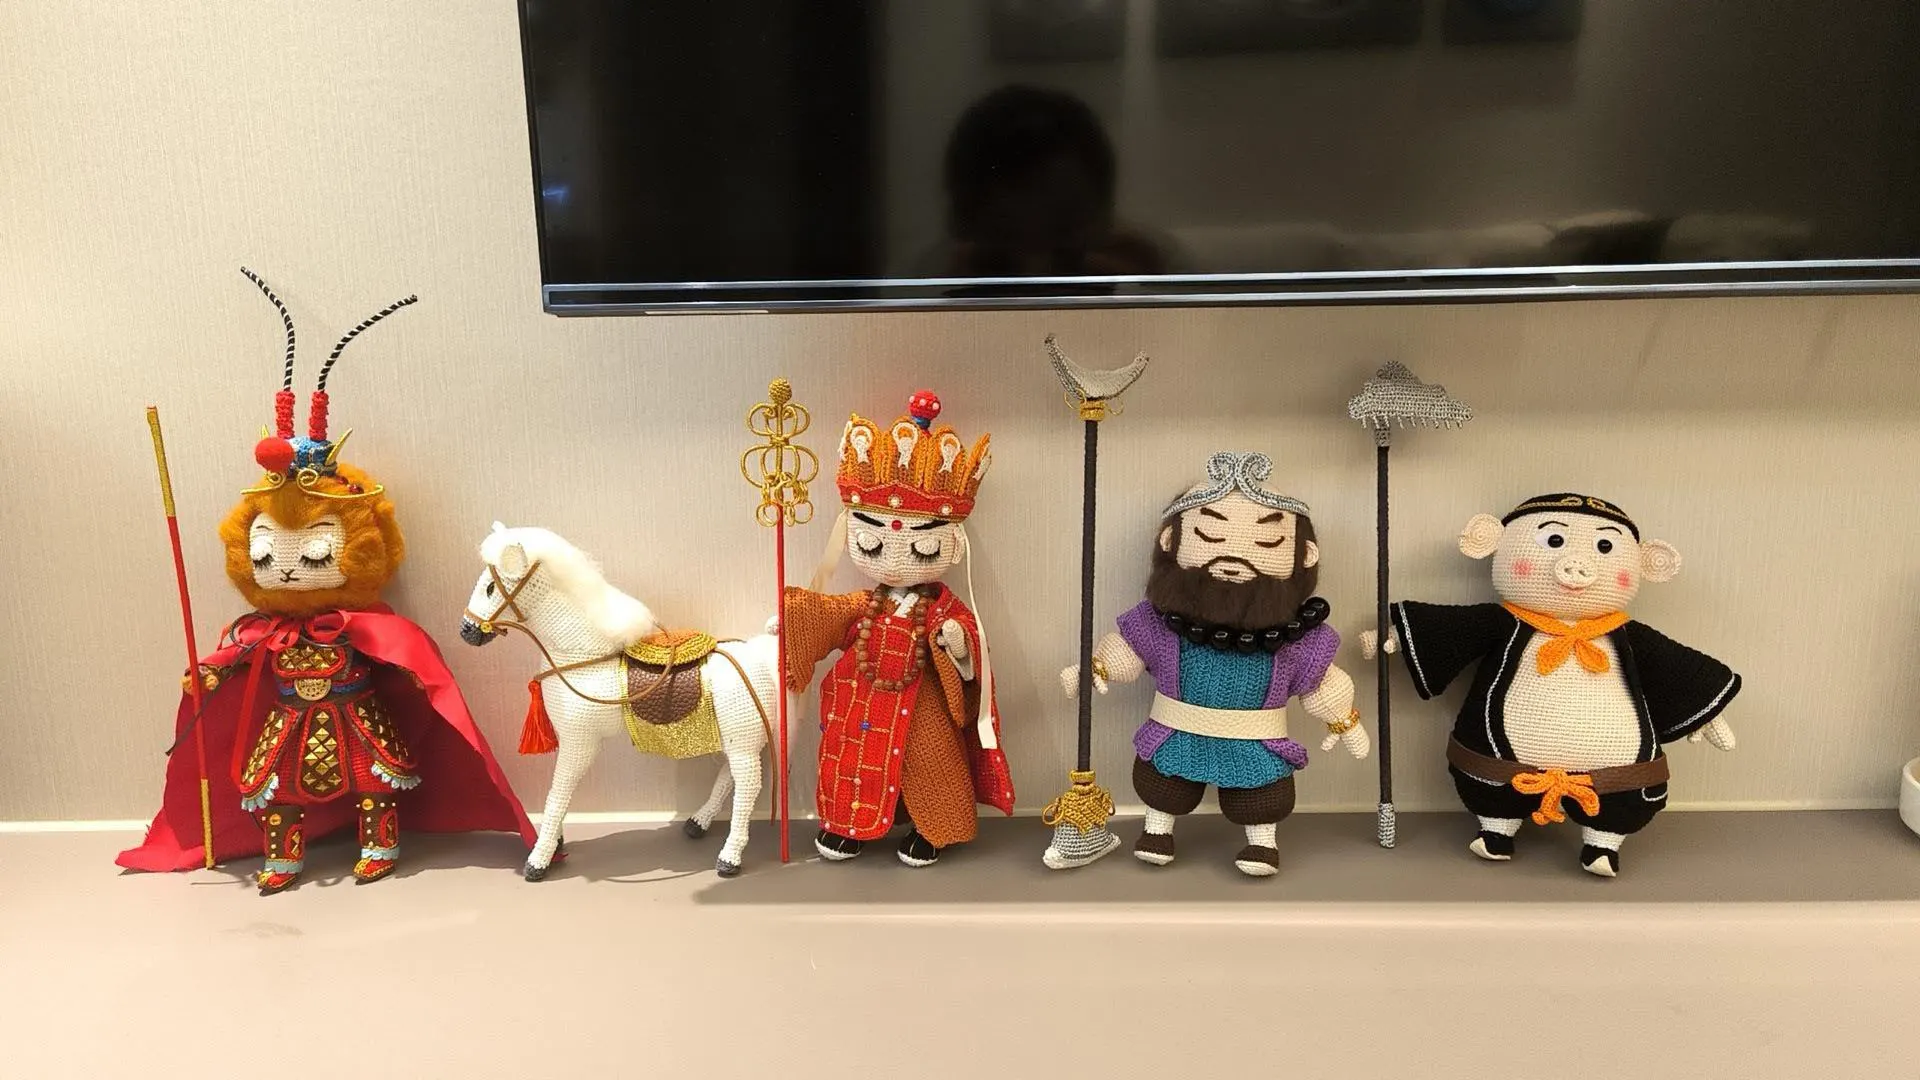
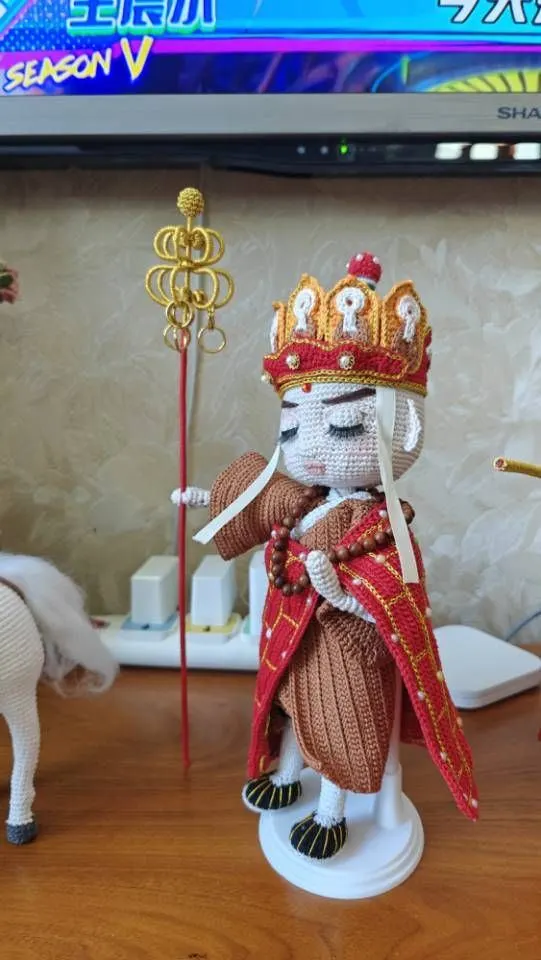
Monk Tang
Project preview
See the finished project
Pattern format
Instructions
Watch and follow
Video tutorial
| Style | Yarn | Color |
|---|---|---|
| Style #1 | Combed 3# Lace | 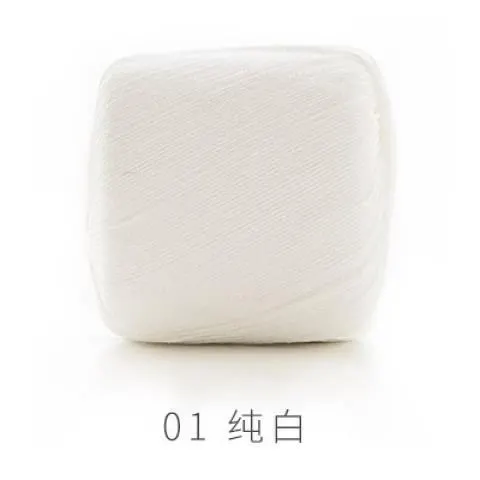 01#Brilliant White x 1 01#Brilliant White x 1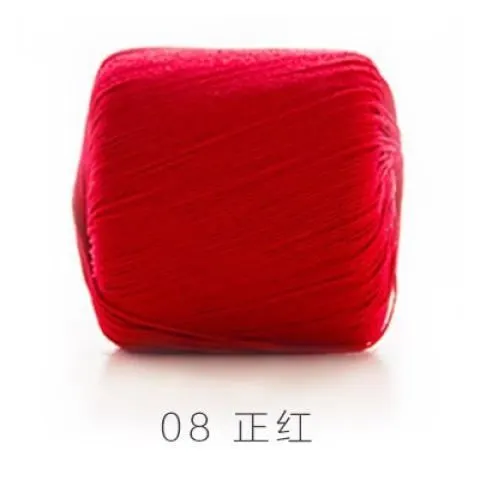 08#High Risk Red x 2 08#High Risk Red x 2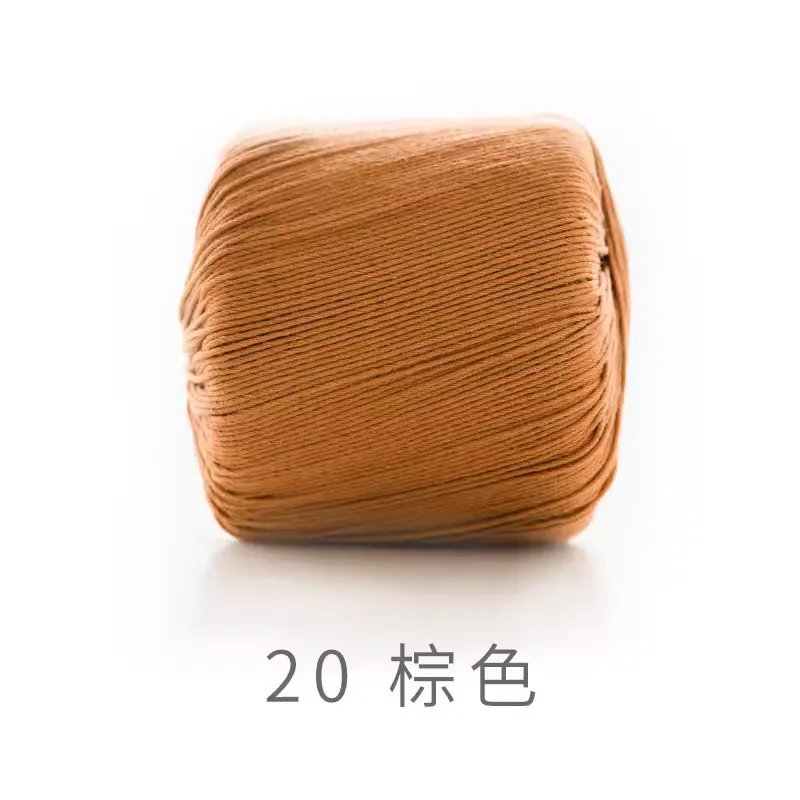 20#Peach Caramel x 2 20#Peach Caramel x 2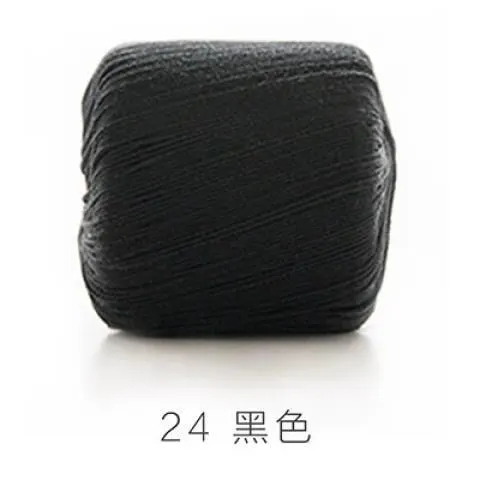 24#Black Beauty x 1 24#Black Beauty x 1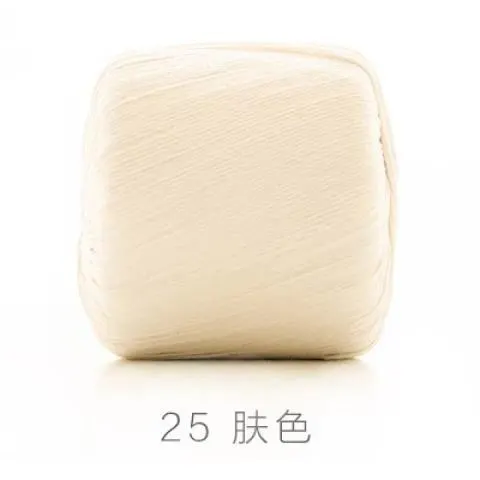 25#Sheer Pink x 1 25#Sheer Pink x 1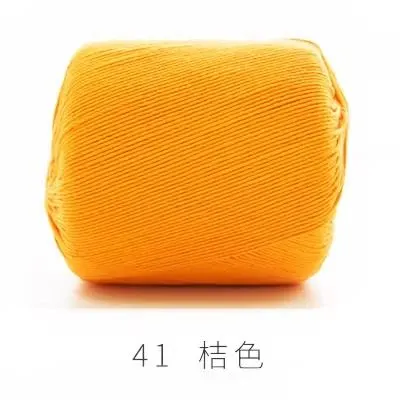 41#Blazing Orange x 1 41#Blazing Orange x 1 |
| 4-Ply Combed Cotton & Acrylic Fibre Hand Knitting Yarn |  22#Viridis 22#Viridis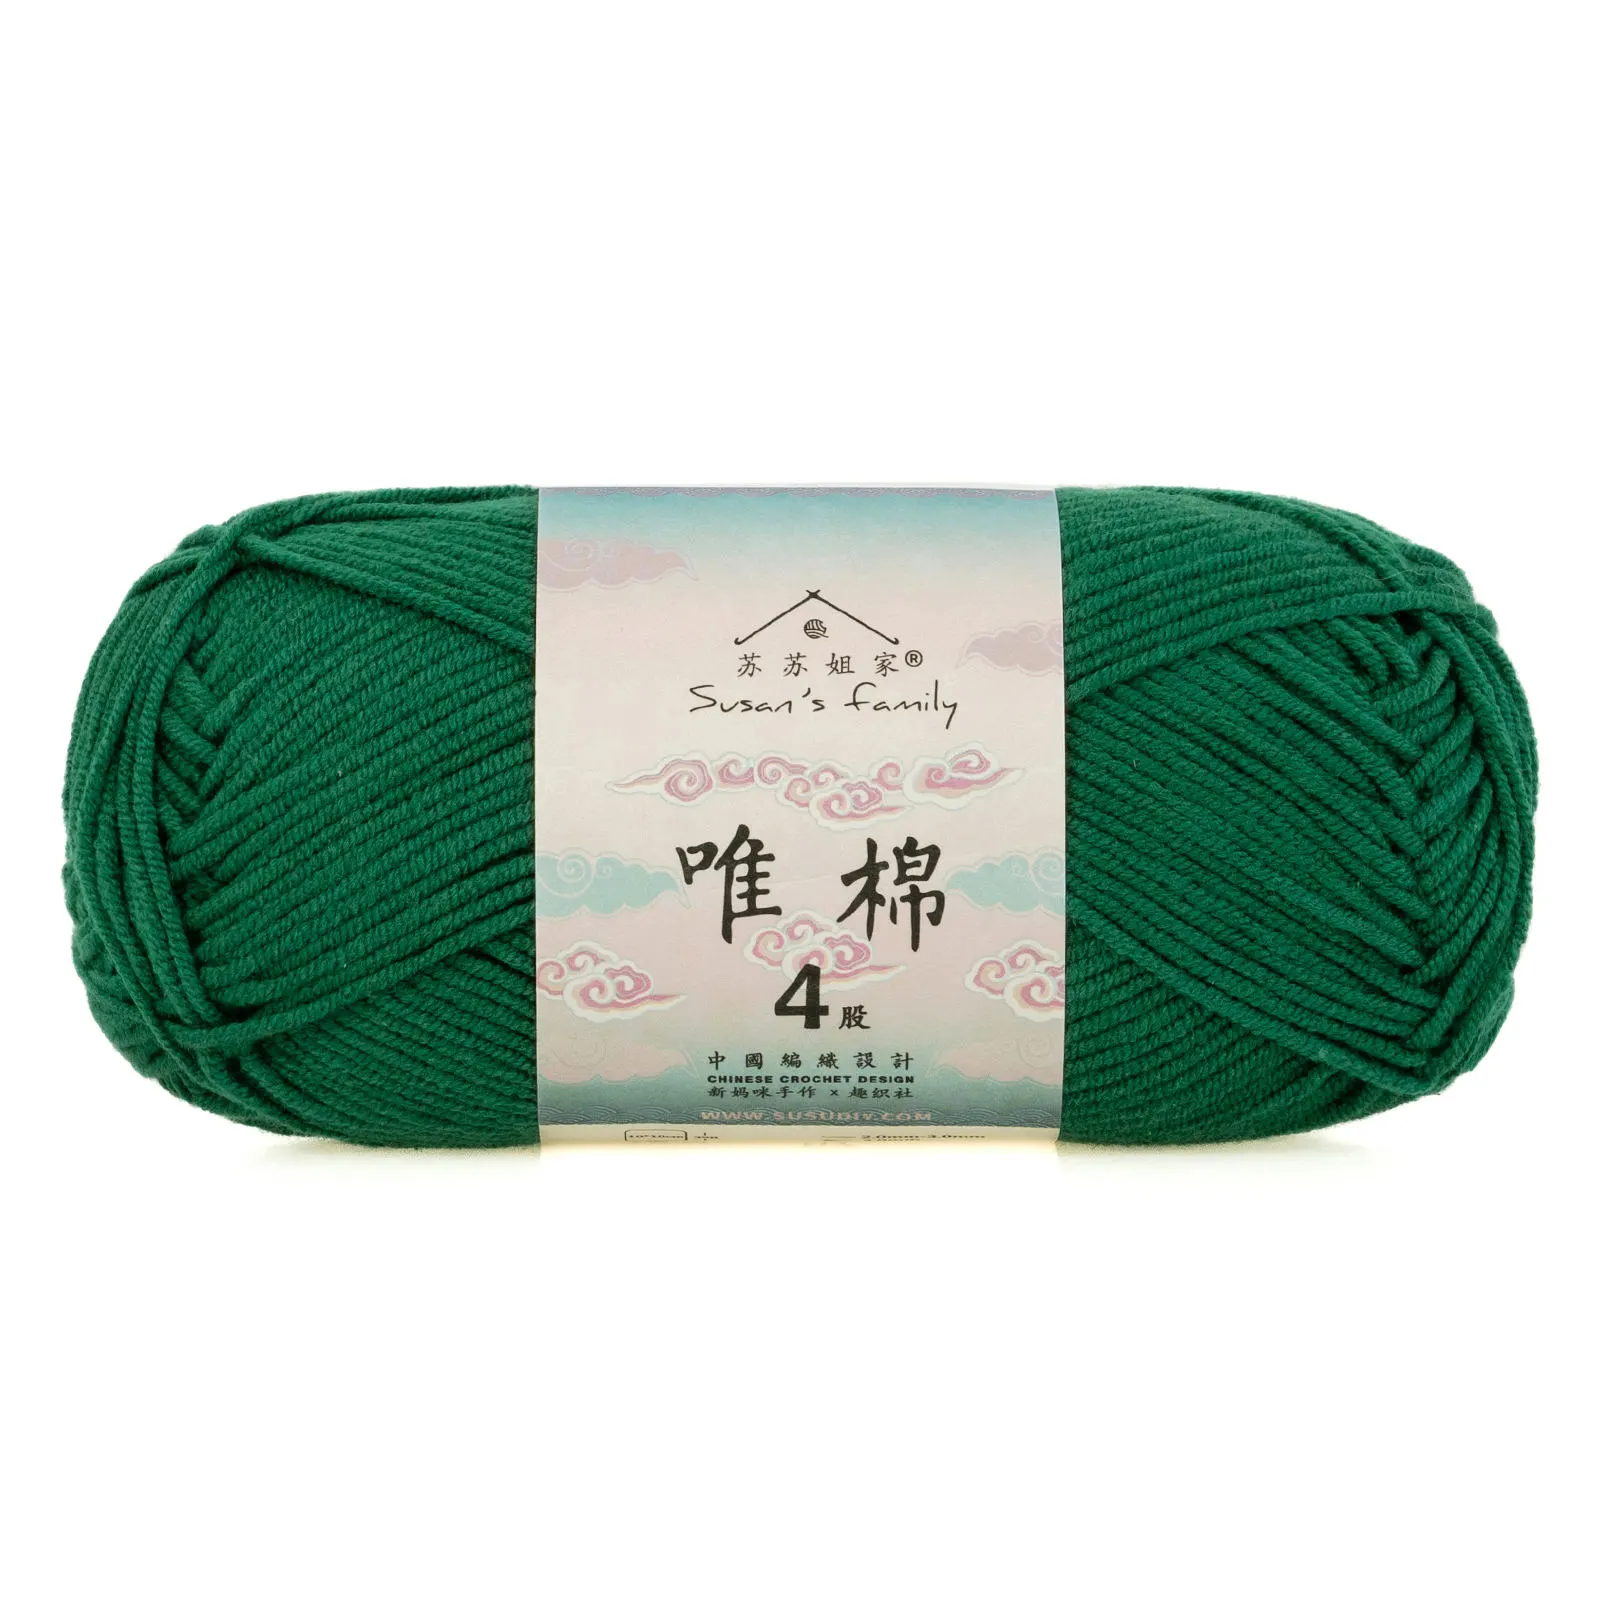 41#Foliage Green 41#Foliage Green |
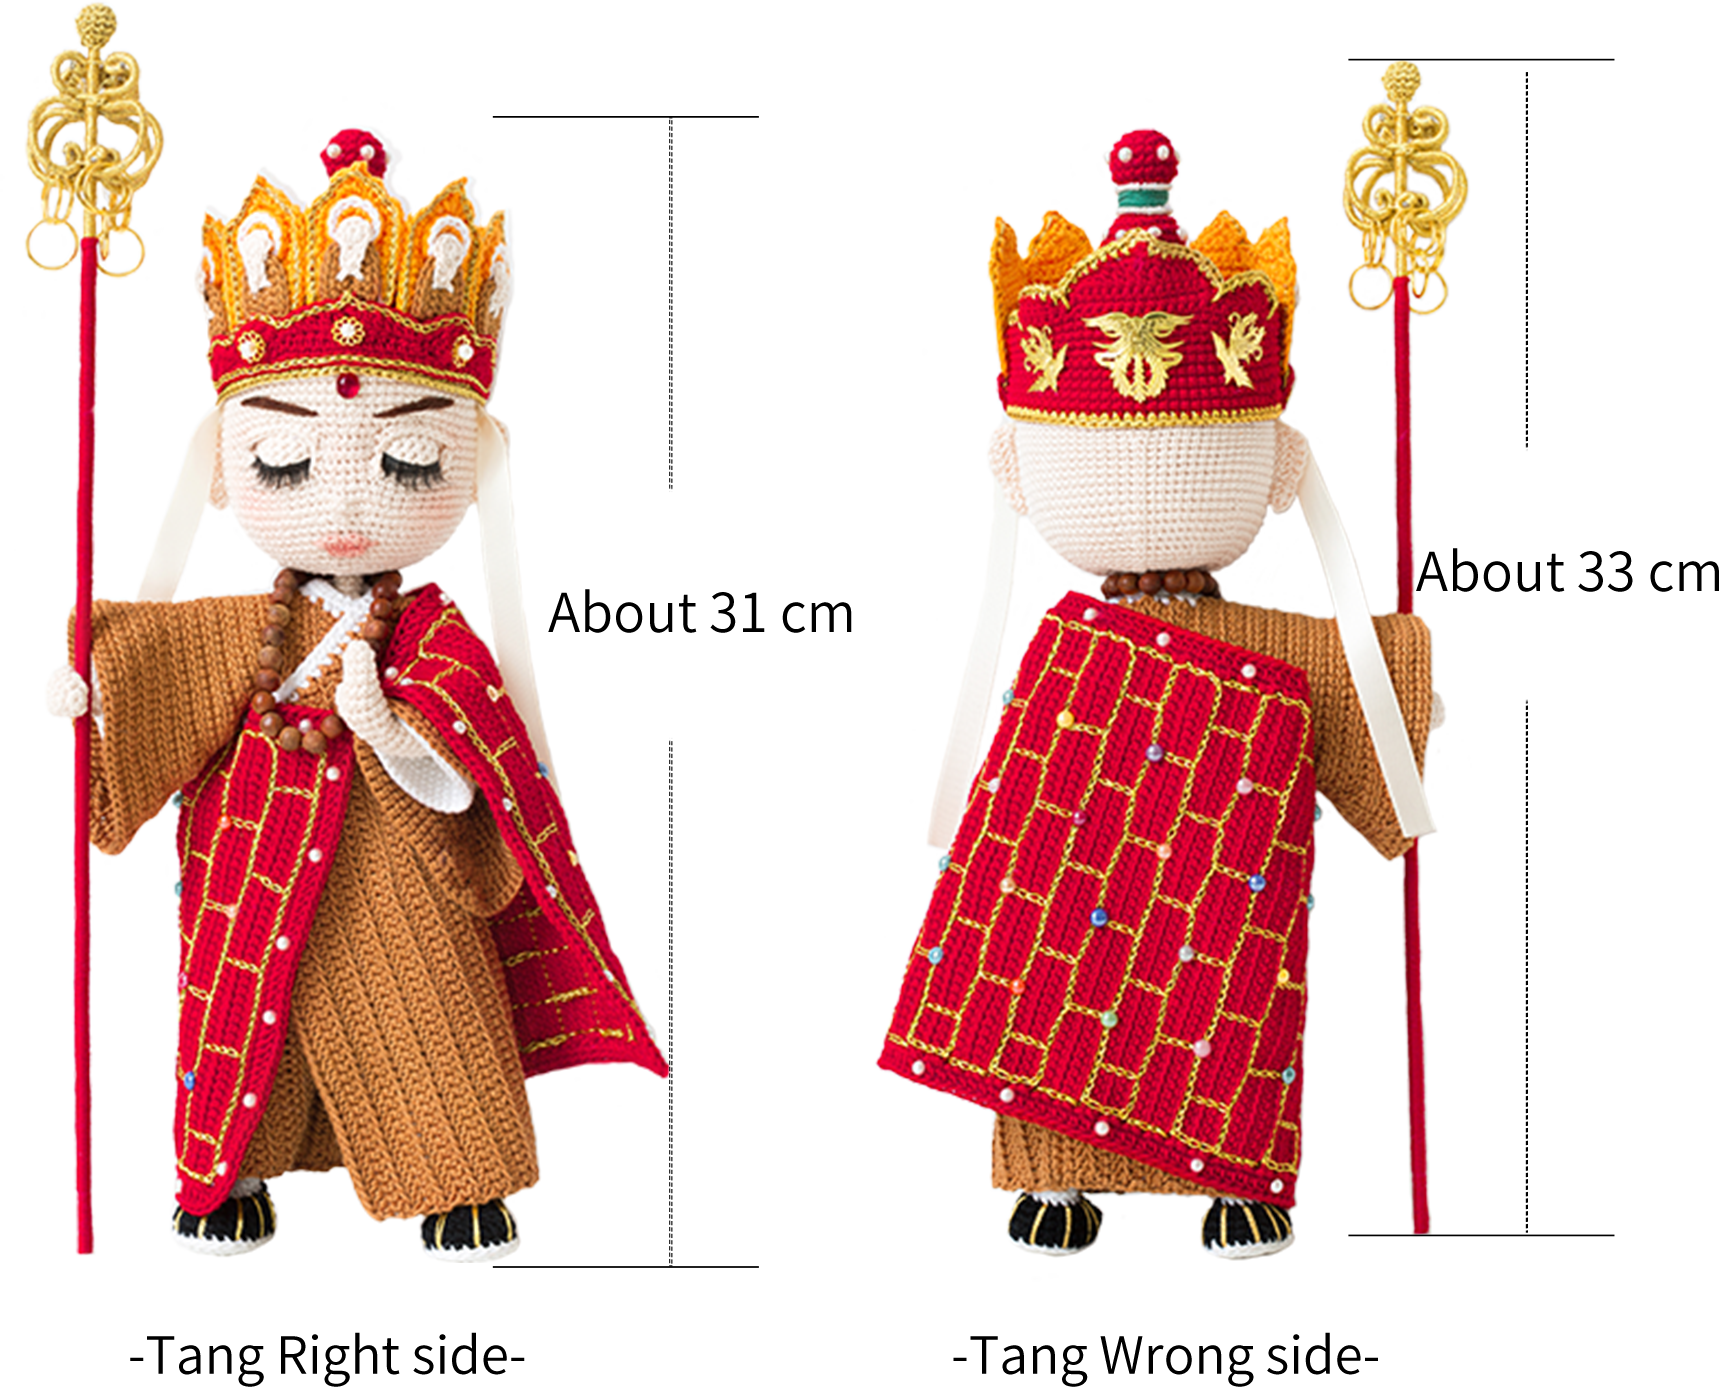
The handcrafted measurements may have an error, the size of the sample is for reference only.
Materials: Susan's Family Combed 3# Lace
Hook: 1.75 mm crochet hook
ABBREVIATIONS
Note:1. This pattern is making in Chinese crochet pattern terms, and the stitch name is written using American terminology. All measurements in charts are in cm.
2. Working in joined round: When crocheting in rounds without further guidance, working in closed rounds, start each round with a set number of beginning chains and close with a slip stitch. The beginning chain preceding a single crochet and the slip stitch used for joining rounds are not included in the total stitches.
Note: ① The left and right in the chart refer to the toy's own left and right.
② Since small beads cannot have consistent hole diameters, if you encounter a situation where the hole is too small to thread, you can use a bead pin to make it.


Part 1 Main partA
The main part includes: arms, legs, body, head, and facial features.
Step 1 ArmsA1 00' 55'' (Part 1)
The arm includes the thumb, forearm, and sleeve. First, crochet the thumb separately, then join the thumb while crocheting the forearm. The sleeve is crocheted by picking up the remaining half loops on the arm. Please refer to the video demonstration for more details.
| Arms * 2 | ||||
| Part | Rounds | Stitch Instructions | Total Stitches | Color |
| Thumb | Cast on-R1 | MR, 5X | 5 | 25#Sheer Pink |
| R2-R3 | even 5X | 5 | ||
| Note: After completing, leave a 15cm yarn tail for sewing the thumb. | ||||
| Forearm | Cast on-R1 | MR, 6X | 6 | 25#Sheer Pink |
| R2 | (X, V, X) *2 | 8 | ||
| R3 | even 8X | 8 | ||
| R4 | (3X, V) *2 | 10 | ||
| R5-R7 | even 10X | 10 | ||
| R8 | X, Join the thumb. 2X, (K3, K3), 6X | 9 | ||
| R9 | 5X, A, 2X | 8 | ||
| R10 | even 8X | 8 | ||
| R11 | (3X, V) *2 | 10 | ||
| R12-R25 | even 10X | 10 | ||
| R26 | even 10X | 10 | 01#Brilliant White | |
| R27 | (BLO) even 10X | 10 | ||
| Note: Add a small amount of stuffing to the palm in R8. After completion, leave a 15 cm yarn tail for sewing underarm. | ||||
| Sleeve | R1 | (Join yarn in the front loop of R26 and crochet.) even 10X | 10 | 01#Brilliant White |
| R2 | even 10X | 10 | ||
| R3 | (2X, V, 2X) *2 | 12 | ||
| R4 | even 12X | 12 | ||
| R5 | (3X, V) *3 | 15 | ||
| R6 | even 15X | 15 | ||
| R7 | (2X, V, 2X) *3 | 18 | ||
| R8 | even 18X | 18 | ||
| R9 | (5X, V) *3 | 21 | ||
| R10 | even 21X | 21 | ||
| R11 | (3X, V, 3X) *3 | 24 | ||
| R12 | even 24X | 24 | ||
| R13 | (7X, V) *3 | 27 | ||
| R14 | even 27X | 27 | ||
| R15 | (4X, V, 4X) *3 | 30 | ||
| R16-R18 | even 30X | 30 | ||
Step 2 LegsA2 24' 31'' (Part 1)
The leg portion includes the shoes, calves, and pant legs. Start with the foundation chain to crochet in rounds. Color changes are required during the crocheting process, and stuffing as well as shaping wires need to be added. Finally, decorate the shoe upper with gold thread. Please refer to the video demonstration for more details.
| Legs * 2 | ||||
| Part | Rounds | Stitch Instructions | Total Stitches | Color |
| Shoes | Cast on-R1 | 6CH, Dao2, 4X, W, 3X, V | 12 | 01#Brilliant White |
| R2 | V, 3X, 3V, 3X, 2V | 18 | ||
| R3 | X, V, 2X, T, 6FV, T, 3X, V, X, V | 27 | ||
| R4 | turn, 27S | 27 | ||
| R5 | turn, even 27X | 27 | 24#Black Beauty | |
| R6 | 5X, T, (F, FA) *2, (FA, F) *2, T, 8X | 23 | ||
| R7 | 4X, (X, A, X) *3, 7X | 20 | ||
| R8 | 4X, (X, A, X) *2, 8X | 18 | ||
| Note: The shoes need to have stiff paper pieces added. | ||||
| Calves | R1 | (BLO) X, (X, K) *2, 2FA, (K, X) *2, 5X | 12 | 01#Brilliant White |
| R2 | 3X, A, 7X | 11 | ||
| R3 | even 11X | 11 | ||
| R4 | 3X, V, 7X | 12 | ||
| R5-R6 | even 12X | 12 | ||
| R7 | 10X, V, X | 13 | ||
| R8-R9 | even 13X | 13 | ||
| R10 | 3X, V, 9X | 14 | ||
| R11-R12 | even 14X | 14 | ||
| R13 | 12X, V, X | 15 | ||
| R14-R16 | even 15X | 15 | ||
| Pant legs | R1 | (FLO) 15V | 30 | 24#Black Beauty |
| R2 | even 30X | 30 | ||
| R3 | (9X, V) *3 | 33 | ||
| R4-R8 | even 33X | 33 | ||
| R9 | (9X, A) *3 | 30 | ||
| R10-R15 | even 30X | 30 | ||
| R16 | (4X, A, 4X) *3 | 27 | ||
| R17-R21 | even 27X | 27 | ||
| Note: While edging, add stuffing and an about 150cm shaping wire. Break the yarn for the first leg. For the other leg, continue crocheting without breaking the yarn. | ||||
Step 3 BodyA3 56' 26'' (Part 1)
Join the two legs together and continue crocheting upwards along the two legs. During the process, join the arms, and you need to add stuffing and shaping wire while crocheting. Please refer to the video demonstration for more details.
| Body | |||
| Rounds | Stitch Instructions | Total Stitches | Color |
| R1 | 2X, CH, (Join with the 18th stitch of the other leg) 27X, X, 25X | 56 | 24#Black Beauty |
| R2 | (6X, A, 6X) *4 | 52 | |
| R3 | (11X, A) *4 | 48 | |
| R4 | (5X, A, 5X) *4 | 44 | |
| R5 | (9X, A) *4 | 40 | |
| R6-R7 | even 40X | 40 | |
| R8-R20 | even 40X | 40 | 01#Brilliant White |
| R21 | 13X, (Join with the 2nd stitch of the arm last round) 10X, 20X, (Join with the 2nd stitch of the arm last round) 10X, 7X | 60 | |
| R22 | (4X, A, 4X) *6 | 54 | |
| R23 | (7X, A) *6 | 48 | |
| R24 | (2X, A, 2X) *8 | 40 | |
| R25 | (3X, A) *8 | 32 | |
| R26 | (X, A, X) *8 | 24 | |
| R27 | (X, A) *8 | 16 | |
| R28 | 8A | 8 | 25#Sheer Pink |
| R29-R38 | even 8X | 8 | |
| Note: Add shaping wire of about 44 cm to the arms in R23. | |||
Step 4 HeadA4 00' 12'' (Part 2)
The head is started with a magic ring and crocheted in rounds. Stuffing needs to be added during the process. Please refer to the video demonstration for more details.
| Head | |||
| Rounds | Stitch Instructions | Total Stitches | Color |
| Cast on-R1 | MR, 6X | 6 | 25#Sheer Pink |
| R2 | 6V | 12 | |
| R3 | (X, V) *6 | 18 | |
| R4 | (X, V, X) *6 | 24 | |
| R5 | (3X, V) *6 | 30 | |
| R6 | (2X, V, 2X) *6 | 36 | |
| R7 | (5X, V) *6 | 42 | |
| R8 | (3X, V, 3X) *6 | 48 | |
| R9 | (7X, V) *6 | 54 | |
| R10 | (4X, V, 4X) *6 | 60 | |
| R11 | (9X, V) *6 | 66 | |
| R12 | (5X, V, 5X) *6 | 72 | |
| R13 | (11X, V) *6 | 78 | |
| R14-R21 | even 78X | 78 | |
| R22 | (37X, A) *2 | 76 | |
| R23 | 26X, K4, BLO【12F】, K4, 6X, K4, BLO【12F】, K4, 26X | 82 | |
| R24-R25 | even 82X | 82 | |
| R26 | 26X, 3CH, Double crochet 12 stitches together, 3CH, 6X, 3CH, Double crochet 12 stitches together, 3CH, 26X | 72 | |
| R27 | 26X, 3X, BLO X, 3X, 6X, 3X, BLO X, 3X, 26X | 72 | |
| R28 | 32X, A, X, 【X, FLO X】, 【FLO X, X】, X, A, 32X | 72 | |
| R29 | 35X, 【X, FLO X】, 【FLO X, X】, 35X | 74 | |
| R30 | 10X, A, 11X, (X, V) *4, 12X, (V, X) *4, 11X, A, 10X | 80 | |
| R31 | 19X, A, 14X, A, X, single crochet 4 stitches together, X, A, 14X, A, 19X | 73 | |
| R32 | 20X, (X, A, X) *3, 9X, (X, A, X) *3, 20X | 67 | |
| R33 | (A, 9X) *3, X, (9X, A) *3 | 61 | |
| R34 | even 61X | 61 | |
| R35 | (5X, A) *4, 5X, (A, 5X) *4 | 53 | |
| R36 | (3X, A, 3X) *3, 5X, (3X, A, 3X) *3 | 47 | |
| R37 | (5X, A) *3, 2X, W, 2X, (A, 5X) *3 | 43 | |
| R38 | (A, 3X) *4, 3X, (3X, A) *4 | 35 | |
| R39 | (3X, A) *3, X, M, X, (A, 3X) *3 | 27 | |
| R40 | (X, A) *9 | 18 | |
| R41 | (X, A) *6 | 12 | |
| R42—R43 | even 12X | 12 | |
| Note: 【】represents crocheting in the same stitch. Add stuffing while crocheting . | |||
Step 5 Facial featuresA5 22' 24'' (Part 2)
Facial features include: eye sockets, ears, lips, eyeballs, and eyebrows. The eye sockets are crocheted by picking up strands on the head, the lips need to be crocheted with separated strands, then sew on the eyebrows and add blush and eyeshadow. Please refer to the video demonstration for more details.
| Facial features | ||||
| Part | Stitch Instructions | Color | ||
| Left eye socket | Outer lower corner of the eye cast on 8X, S, 11X, S | 25#Sheer Pink | ||
| Right eye socket | Outer upper corner of the eye cast on 12X, S, 8X | |||
| Note: The eye socket is crocheted by picking up threads on the head. After completion, the eye socket needs to be tightened by pulling the yarn. For specific crochet methods, refer to the video. | ||||
| Left ear | 9CH,Dao3, 2T, X, 3F【FV, 3CH, S】 | 25#Sheer Pink | ||
| Right ear | 10CH, Dao4, FV, 3F, X, T, 【T, 2CH, S】 | |||
| Note: 【】represents crocheting in the same stitch. After completion, leave a 15cm yarn tail for sewing. | ||||
| Upper lip | (Divide into 5 strands and work with 3 strands in the middle) CH, X, T, CH, S, CH, T, X, S | 34#Pink Sand | ||
| Lower lip | (Divide into 5 strands and work with 3 strands in the middle) CH, 4X, S | |||
| Note: You need to separate the strands for crocheting, and refer to the video for the specific crochet method. | ||||
| Eye balls * 2 | Cast on-R1 | 5CH, Dao2, 3X, W, 2X, V | 10 | 25#Sheer Pink |
| R2 | (4X, V) *2 | 12 | ||
| R3 | even 12X | 12 | ||
| R4 | 4X, A, 4X, A | 10 | 25#Sheer Pink+ 01#Brilliant White | |
| Note: The wrong side of the fabric faces out. For Row 4, use the decrease method as shown in the video. After completion, do not close the opening and make decorations. | ||||
Part 2 ClothesB
Step 1 Main partB1&CollarB2 00' 12'' (Part 3)
The main part is divided into four sections, all of which are worked back and forth using the front loop only. After completing the main part, sew together both sides. The collar is worked back and forth by picking up strands from the top of the main part. Please refer to the video demonstration for more details.
| Clothes | ||||
| Part | Rounds | Stitch Instructions | Total Stitches | Color |
| Main part Section 1 (Left front piece) | Cast on-R1 | 115CH, Dao2, 114X | 114 | 20#Peach Caramel |
| R2 | 2CH, turn, 37T, 38X, 38T | 114 | ||
| R3 | CH, turn, 114X | 114 | ||
| R4 | 2CH, turn, 29T, 54X, 30T | 114 | ||
| R5 | CH, turn, 55X | 55 | ||
| R6 | CH, turn, (K, X) *2, 13X, 38T | 53 | ||
| R7 | CH, turn, even 53X | 53 | ||
| R8 | CH, turn, (K, X) *2, 19X, 30T | 51 | ||
| R9 | CH, turn, even 51X | 51 | ||
| R10 | CH, turn, (K, X) *2, 9X, 38T | 49 | ||
| R11 | CH, turn, even 49X | 49 | ||
| R12 | CH, turn, (K, X) *2, 15X, 30T | 47 | ||
| R13 | CH, turn, even 47X | 47 | ||
| R14 | CH, turn, (K, X) *2, 5X, 38T | 45 | ||
| R15 | CH, turn, even 45X | 45 | ||
| R16 | CH, turn, (K, X) *2, 11X, 30T | 43 | ||
| Main part Section 2 (Back piece) | R1 | (Join yarn at the 55th stitch of R4 in Section 1) 55X | 55 | |
| R2 | 2CH, turn, 37T, 17X | 55 | ||
| R3 | CH, turn, 55X | 55 | ||
| R4 | 2CH, turn, 29T, 25X | 55 | ||
| R5 | CH, turn, 55X | 55 | ||
| R6 | 2CH, turn, 37T, 17X | 55 | ||
| R7 | CH, turn, 55X | 55 | ||
| R8 | 2CH, turn, 29T, 25X, 60CH | 115 | ||
| R9 | turn, Dao2, 59X, 55X | 114 | ||
| R10 | 2CH, turn, 37T, 38X, 38T | 114 | ||
| R11 | CH, turn, even 114X | 114 | ||
| R12 | 2CH, turn, 29T, 54X, 30T | 114 | ||
| Main part Section 3 (Right front piece) | R1 | (Join yarn in the last chain of R8 from the Section 2) 55X | 55 | |
| R2 | CH, turn, (K, X) *2, 51X | 53 | ||
| R3 | CH, turn, even 53X | 53 | ||
| R4 | CH, turn, (K, X) *2, 49X | 51 | ||
| Main part Section 4 | Crochet 45X on both sides of the front and back pieces (refer to the video demonstration for specifics) | 45 | ||
| Note: After completing, leave a 25cm yarn tail for sewing the side seam, about whip stitching 18 sts. | ||||
| Collar | R1 | Pick up and crochet around the neckline. 34X | 34 | 01#Brilliant White |
| R2 | CH, turn, 15X, K, 8X, K, 9X | 32 | ||
Step 2 SleevesB3 24' 41'' (Part 3)
The sleeves are crocheted in rounds by picking up strands at the positions where holes are left on both sides of the main part. Please refer to the video demonstration for more details.
| Sleeves * 2 | |||
| Rounds | Stitch Instructions | Total Stitches | Color |
| R1 | (Start from the middle slightly towards the left side of the underarm) 2X, 24X, 2X | 28 | 20#Peach Caramel |
| R2 | (BLO) 2V, 24X, 2V | 32 | |
| R3 | even 32X | 32 | |
| R4 | (BLO) 【2CH, T】, TV, T, 26X, T, 2TV | 36 | |
| R5 | even 36X | 36 | |
| R6 | (BLO) even 36X | 36 | |
| R7 | even 36X | 36 | |
| R8 | (BLO) 【2CH, T】, TV, T, 30X, T, 2TV | 40 | |
| R9 | even 40X | 40 | |
| R10 | (BLO) even 40X | 40 | |
| R11 | (7X, V) *5 | 45 | |
| R12 | (BLO) 【2CH, T】, TV, T, 39X, T, 2TV | 49 | |
| R13 | even 49x | 49 | |
| R14 | (BLO) (3X, V, 3X) *7 | 56 | |
| R15 | even 56X | 56 | |
| R16 | (BLO) 【2CH, T】, TV, T, 50X, T, 2TV | 60 | |
| R17 | even 60X | 60 | |
| Note: 【】represents crocheting in the same stitch. | |||
Part 3 KasayaC 30' 07'' (Part 3)
The kasaya includes: the main part, the edging, and decorations. The main part starts with a foundation chain and is worked back and forth in front loops only. Then crochet the edging in rounds around the main part. Once the edging is finished, proceed to make the decorations. Please refer to the video demonstration for more details.
| Kasaya | ||||
| Part | Rounds | Stitch Instructions | Total Stitches | Color |
| Main part | Cast on-R1 | 47CH, Dao2, 46X | 46 | 08#High Risk Red |
| R2-R60 | CH, turn, even 46X | 46 | ||
| Edging | R1 | CH, turn, 45X, V, 59X, V, 45X, V, 59X, V | 216 | |
| R2 | 45T, 2TV, 59T, 2TV, 45T, 2TV, 59T, 2TV | 224 | ||
| Buttonhole | 5CH, S | |||
| Note: After completing the crocheted section, use gold thread to slip stitch the pattern and add decorations. | ||||
Part 4 HatD 50' 17'' (Part 3)
The hat includes: the main part, assembly, and decorations. Make the main part first, then assemble all parts after it's done, and finally make the surface decorations. Please refer to the video demonstration for more details.
| Hat | ||||
| Part | Rounds | Stitch Instructions | Total Stitches | Color |
| Part 1 | Cast on-R1 | MR, 6X | 6 | 08#High Risk Red |
| R2 | 6V | 12 | ||
| R3 | (X, V) *6 | 18 | ||
| R4 | (X, V, X) *6 | 24 | ||
| R5 | (3X, V) *6 | 30 | ||
| R6 | (2X, V, 2X) *6 | 36 | ||
| R7 | (5X, V) *6 | 42 | ||
| R8 | (3X, V, 3X) *6 | 48 | ||
| R9 | (7X, V) *6 | 54 | ||
| R10 | (4X, V, 4X) *6 | 60 | ||
| R11 | (9X, V) *6 | 66 | ||
| R12 | (5X, V, 5X) *6 | 72 | ||
| R13 | (11X, V) *6 | 78 | ||
| R14-R15 | even 78X | 78 | ||
| R16 | (BLO) even 78X | 78 | ||
| R17-R21 | even 78X | 78 | ||
| R22 | even 78X | 78 | Two strands gold thread | |
| Part 2 | R1 | (Work in the front loop of R15 of Section 1) even 78X | 78 | 08#High Risk Red |
| R2 | even 78X | 78 | ||
| R3 | even 30X | 30 | ||
| R4 | CH, turn, K, even 28X, S, Cut the yarn. | 29 | ||
| R5 | (Crochet in the 8th stitch from the end of R4) even 14X | 14 | ||
| R6 | CH, turn, K, even 12X, S, Cut the yarn. | 13 | ||
| R7 | (Crochet in the 1st stitch of R2) X, 【X, T】, 5T, X, S, V, 【X, T】, 3T, 2F, 3CH, Dao3, X, 2F, 3T, 【T, X】, V, S, X, 5T, 【T, X】, X, S, 48X | |||
| R8 | Edging 1 round, refer to the video demonstration for specifics. | Two strands gold thread | ||
| Note: 【】represents crocheting in the same stitch. | ||||
| Part 3 | Cast on-R1 | MR, 6X | 6 | 08#High Risk Red |
| R2 | 6V | 12 | ||
| R3 | (X, V) *6 | 18 | ||
| R4-R6 | even 18X | 18 | ||
| R7 | 9A | 9 | ||
| R8-R10 | even 9X | 9 | ||
| R11 | 9V | 18 | ||
| R12 | (X, V, X) *6 | 24 | ||
| R13-R15 | even 24X | 24 | ||
| R16 | (X, A) *8 | 16 | ||
| R17 | (7CH, Dao3, 5T, K, S) *8 | |||
| Note: After completion, leave a 20cm yarn tail for sewing and adding stuffing. | ||||
| Part 4 * 5 | Cast on-R1 | 6CH, Dao2, 5X | 5 | 41#Blazing Orange |
| R2-R5 | CH, turn, even 5X | 5 | ||
| R6 | CH, turn, 2X, V, 2X | 6 | ||
| R7-R9 | CH, turn, even 6X | 6 | ||
| R10 | CH, turn, K, 4X, S | 5 | ||
| R11 | CH, turn, K, 2X, S | 3 | ||
| R12 | CH, turn, K, X | 1 | ||
| Edging | (Crochet around the thin wire starting from the first chain stitch of R1.) 4X, V, 8X, TW, S, TV,【F, ch2-picot, F】, TV, S, TW, 9X | |||
| Note: Work a round of slip stitches with a single strand of gold thread around the edge for decoration. Refer to the video demonstration for the crocheting technique of edging. | ||||
| Decoration 1-R1 | MR, 6X | 6 | 41#Blazing Orange | |
| Decoration 1-R2 | 6V | 12 | ||
| Note: Use 01#Brilliant White yarn to crochet a round of slip stitches around the edge as decoration. | ||||
| Decoration 2-R1 | MR, 7X | 7 | 25#Sheer Pink | |
| Decoration 2-R2 | 3CH, Dao2, 2X, S | |||
| Decoration 3-R1 | 7CH, Dao2, 5X, W, 5X | 13 | 20#Peach Caramel | |
| Decoration 3-R2 | CH, turn, 6X, V, 6X | 14 | ||
| Note: After completion, assemble all parts together. Use 25#Sheer Pink yarn to sew the decorations, refer to the video demonstration for details. | ||||
| Part 5 | Cast on-R1 | 38CH, Dao2, 37X | 37 | 08#High Risk Red |
| R2 | CH, turn, K, FV, S, K, 【4T】, K, S, K2, 【6F】, K2, X, 3T, 5F, 3T, X, K2, 【6F】, K2, S, K, 【4T】, K, S, FV, S | 42 | ||
| R3 | CH, turn, 2X, S, 4X, S, 6X, S, 3T, 3F, ch2-picot, 2F, 3T, S, 6X, S, 4X, S, 2X.S | 43 | ||
| Note: Work a round of slip stitches with a single strand of gold thread around the edge for decoration. | ||||
Part 5 Wand and Prayer beadsE 100' 22'' (Part 3)
First, cut a 33 cm length of thick wire for the wand. Then, wrap about 6 cm of gold thread around one end of the wire. Next, use red lace yarn to wrap the remaining length of the wire. Then wrap the shaping wire with gold thread to create the top shape of the wand. Finally, make the decorations. For the prayer beads, separate the lace yarn into 3 small strands, thread on 27 wooden beads, and tie a knot to secure them in place. Please refer to the video demonstration for more details.
| Wand ball | |||
| Rounds | Stitch Instructions | Total Stitches | Color |
| Cast on-R1 | MR, 6X | 6 | One strand gold thread |
| R2 | 6V | 12 | |
| R3-R5 | even 12X | 12 | |
| R6 | 6A | 6 | |
| Note: Add stuffing. Leave a 15cm yarn tail for closing the opening. | |||
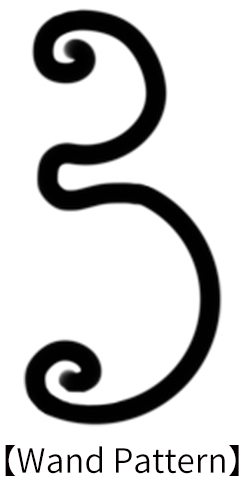
Made by the community