Clothes
Myriad
Project preview
See the finished project
Pattern format
Instructions
Watch and follow
Video tutorial
| Style | Yarn | Color |
|---|---|---|
| Green Tea-Small Size | Morandi 4# |  20#Green Tea x 13 20#Green Tea x 13 |
| Placid Blue-Small Size | Morandi 4# | 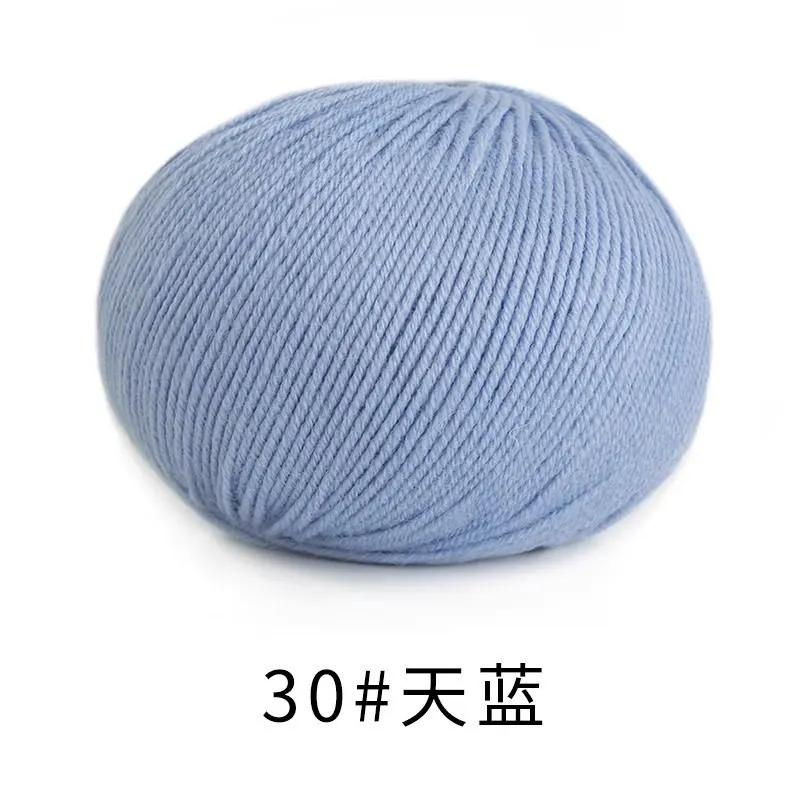 30#Placid Blue x 13 30#Placid Blue x 13 |
| Whisper White - Small Size | Morandi 4# |  01#Whisper White x 13 01#Whisper White x 13 |
| Lavender Mist - Small Size | Morandi 4# |  11#Lavender Mist x 13 11#Lavender Mist x 13 |
| Antique White - Small Size | Morandi 4# | 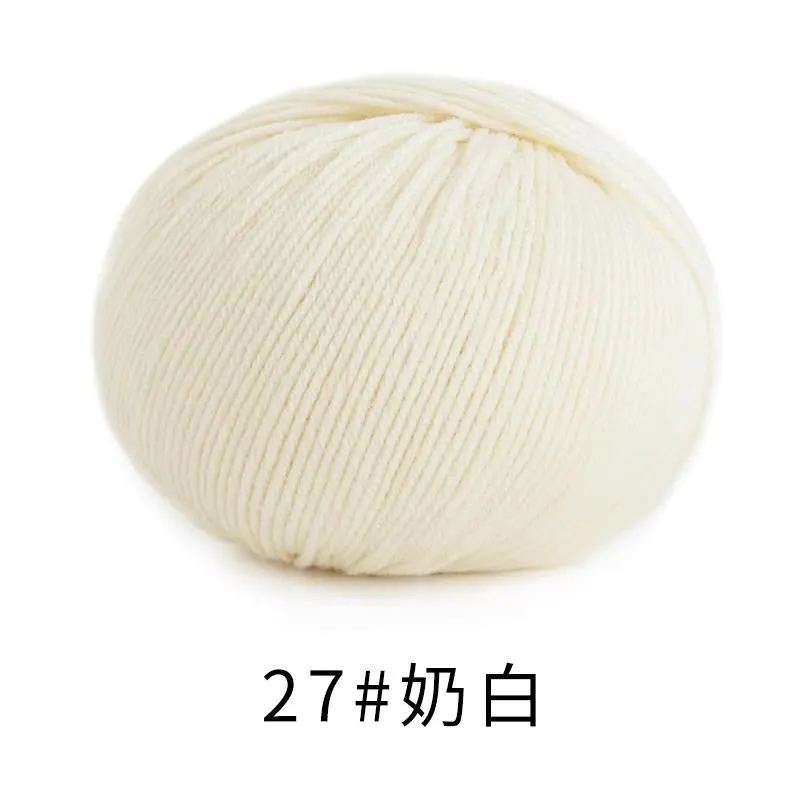 27#Antique White x 13 27#Antique White x 13 |
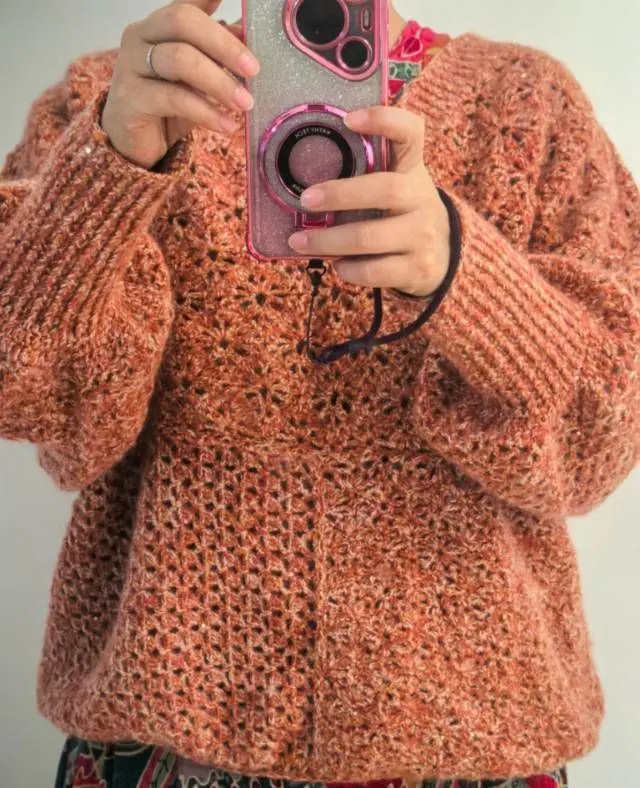
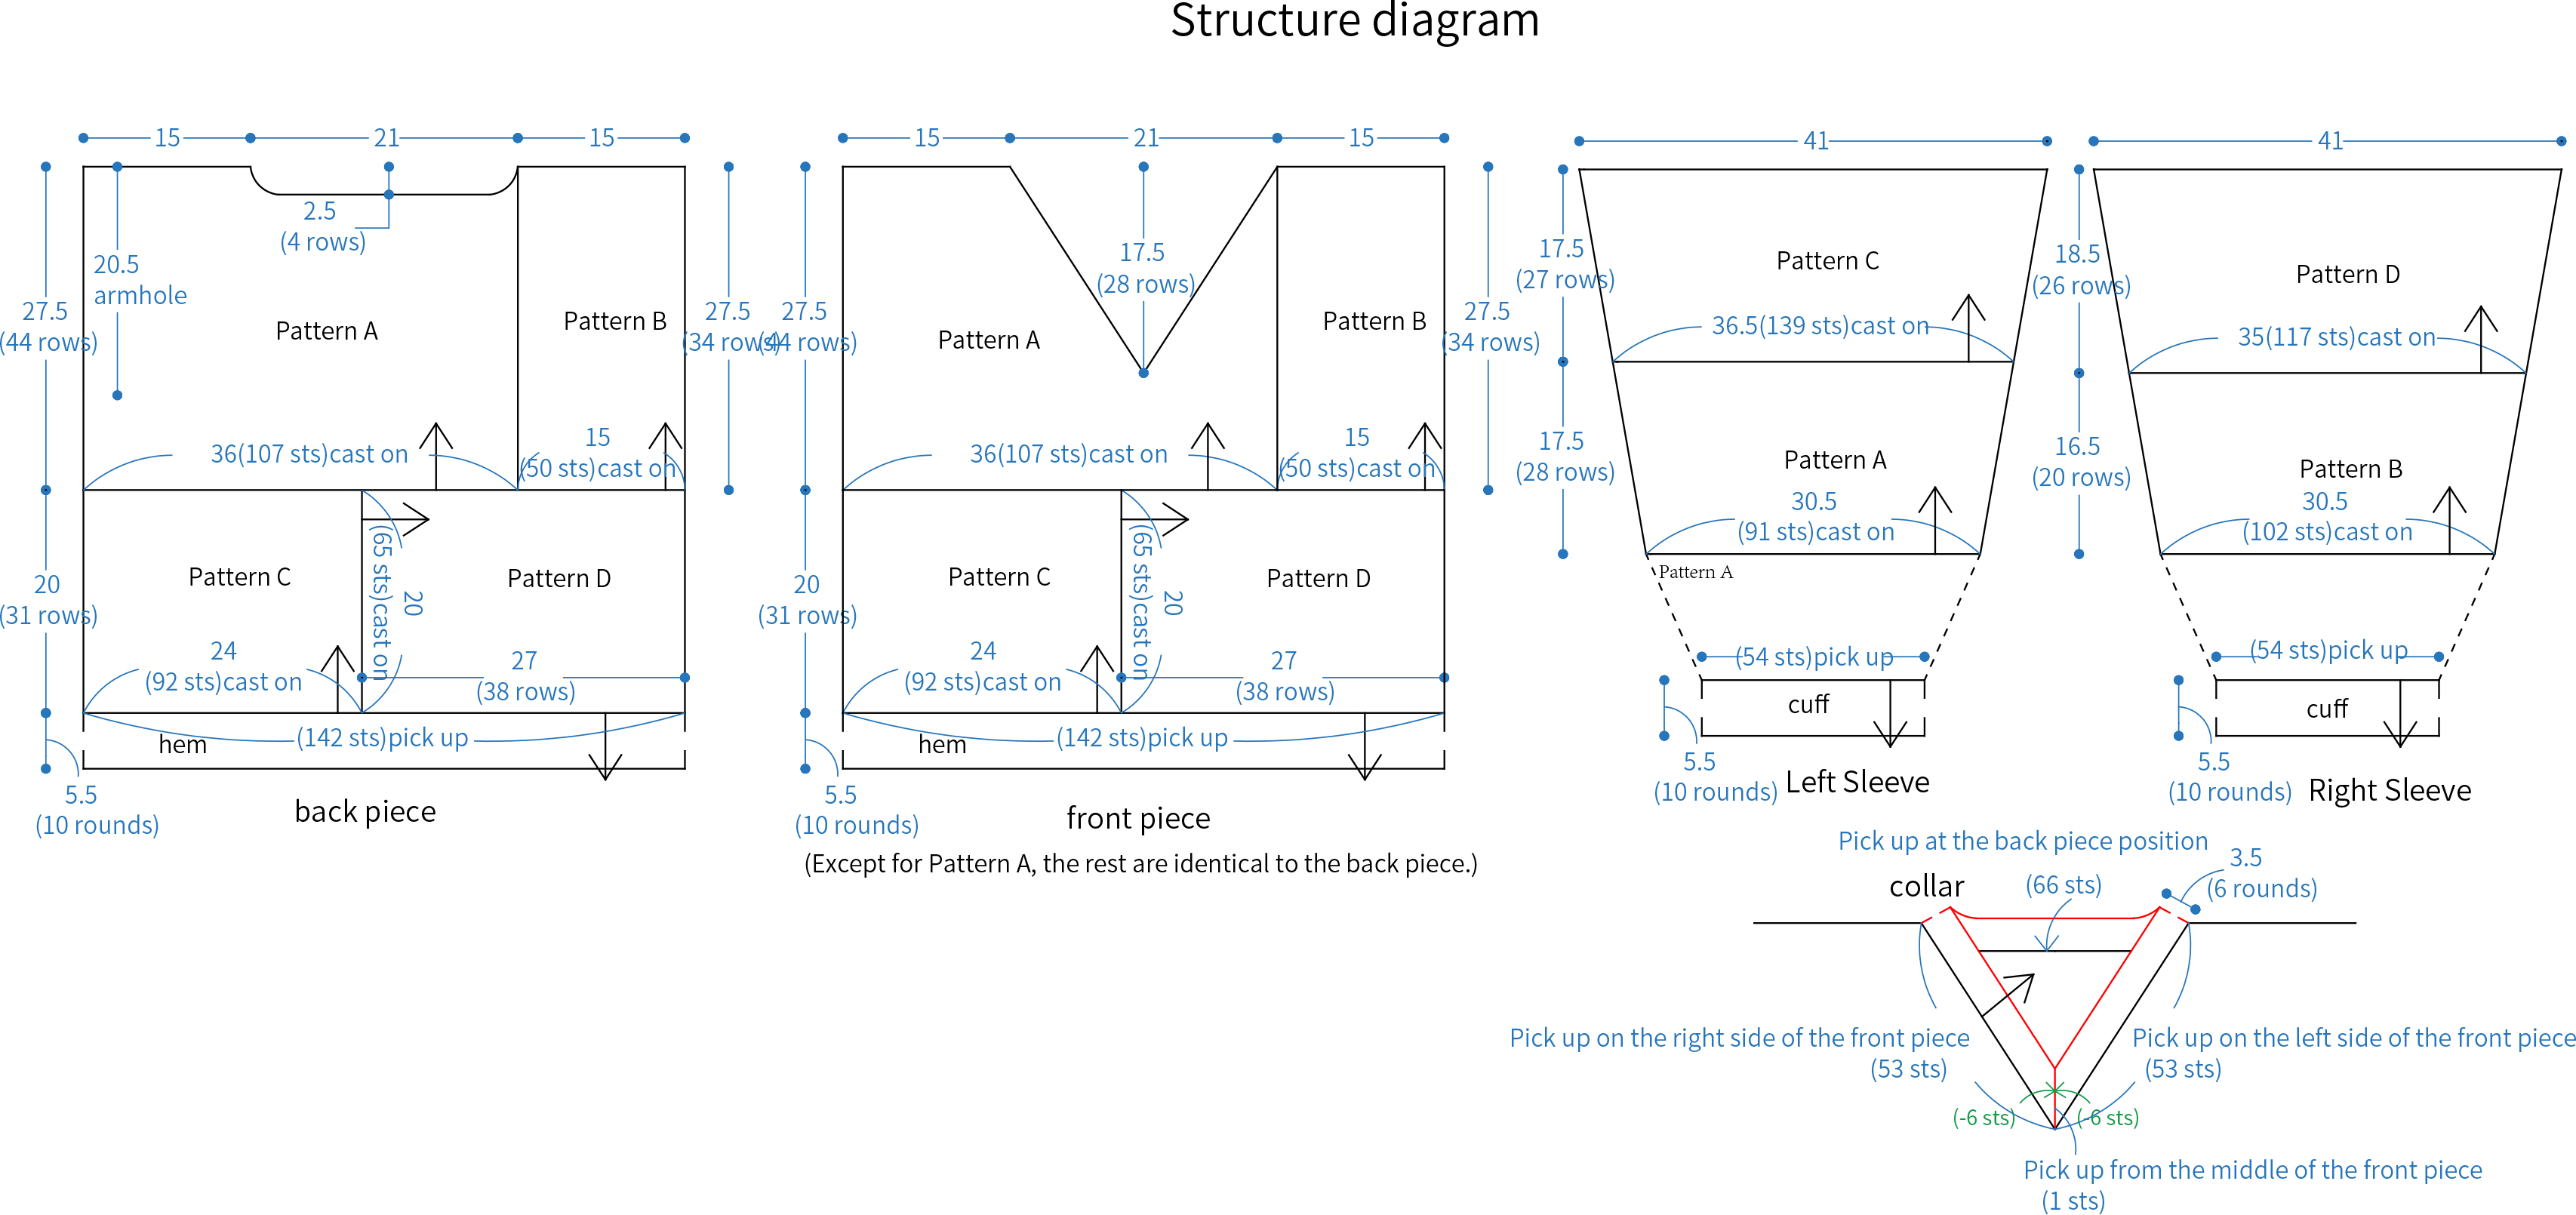
This garment includes the front and back pieces, sleeves, hem, and collar. First, complete the crocheting and joining together of the front and back pieces and sleeves, then crochet the hem, and finally crochet the collar.
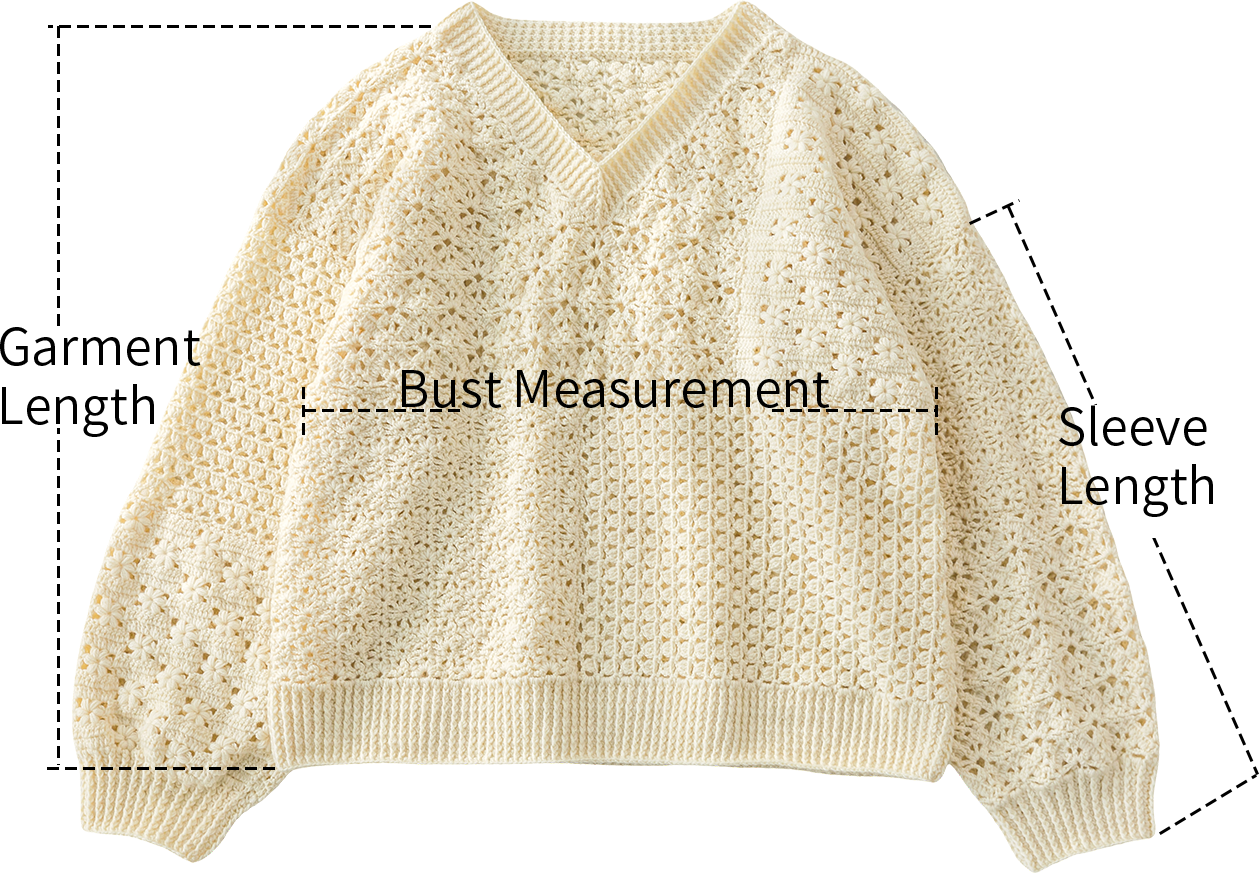
| Size | Bust Measurement | Garment Length | Sleeve Length |
| Small Size | 51cm | 53cm | 40.5cm |
The handcrafted measurements may have an error of 1 to 2 cm.
Due to variations in individual tension, the size of the sample is for reference only.
Materials: Morandi 4#
Tools:2.50 mm Crochet Hook
Chart Key










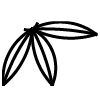
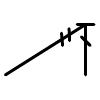
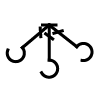
Note: 1. This pattern is making in Chinese crochet pattern terms, and the stitch name is written using American terminology. All measurements in charts are in cm.


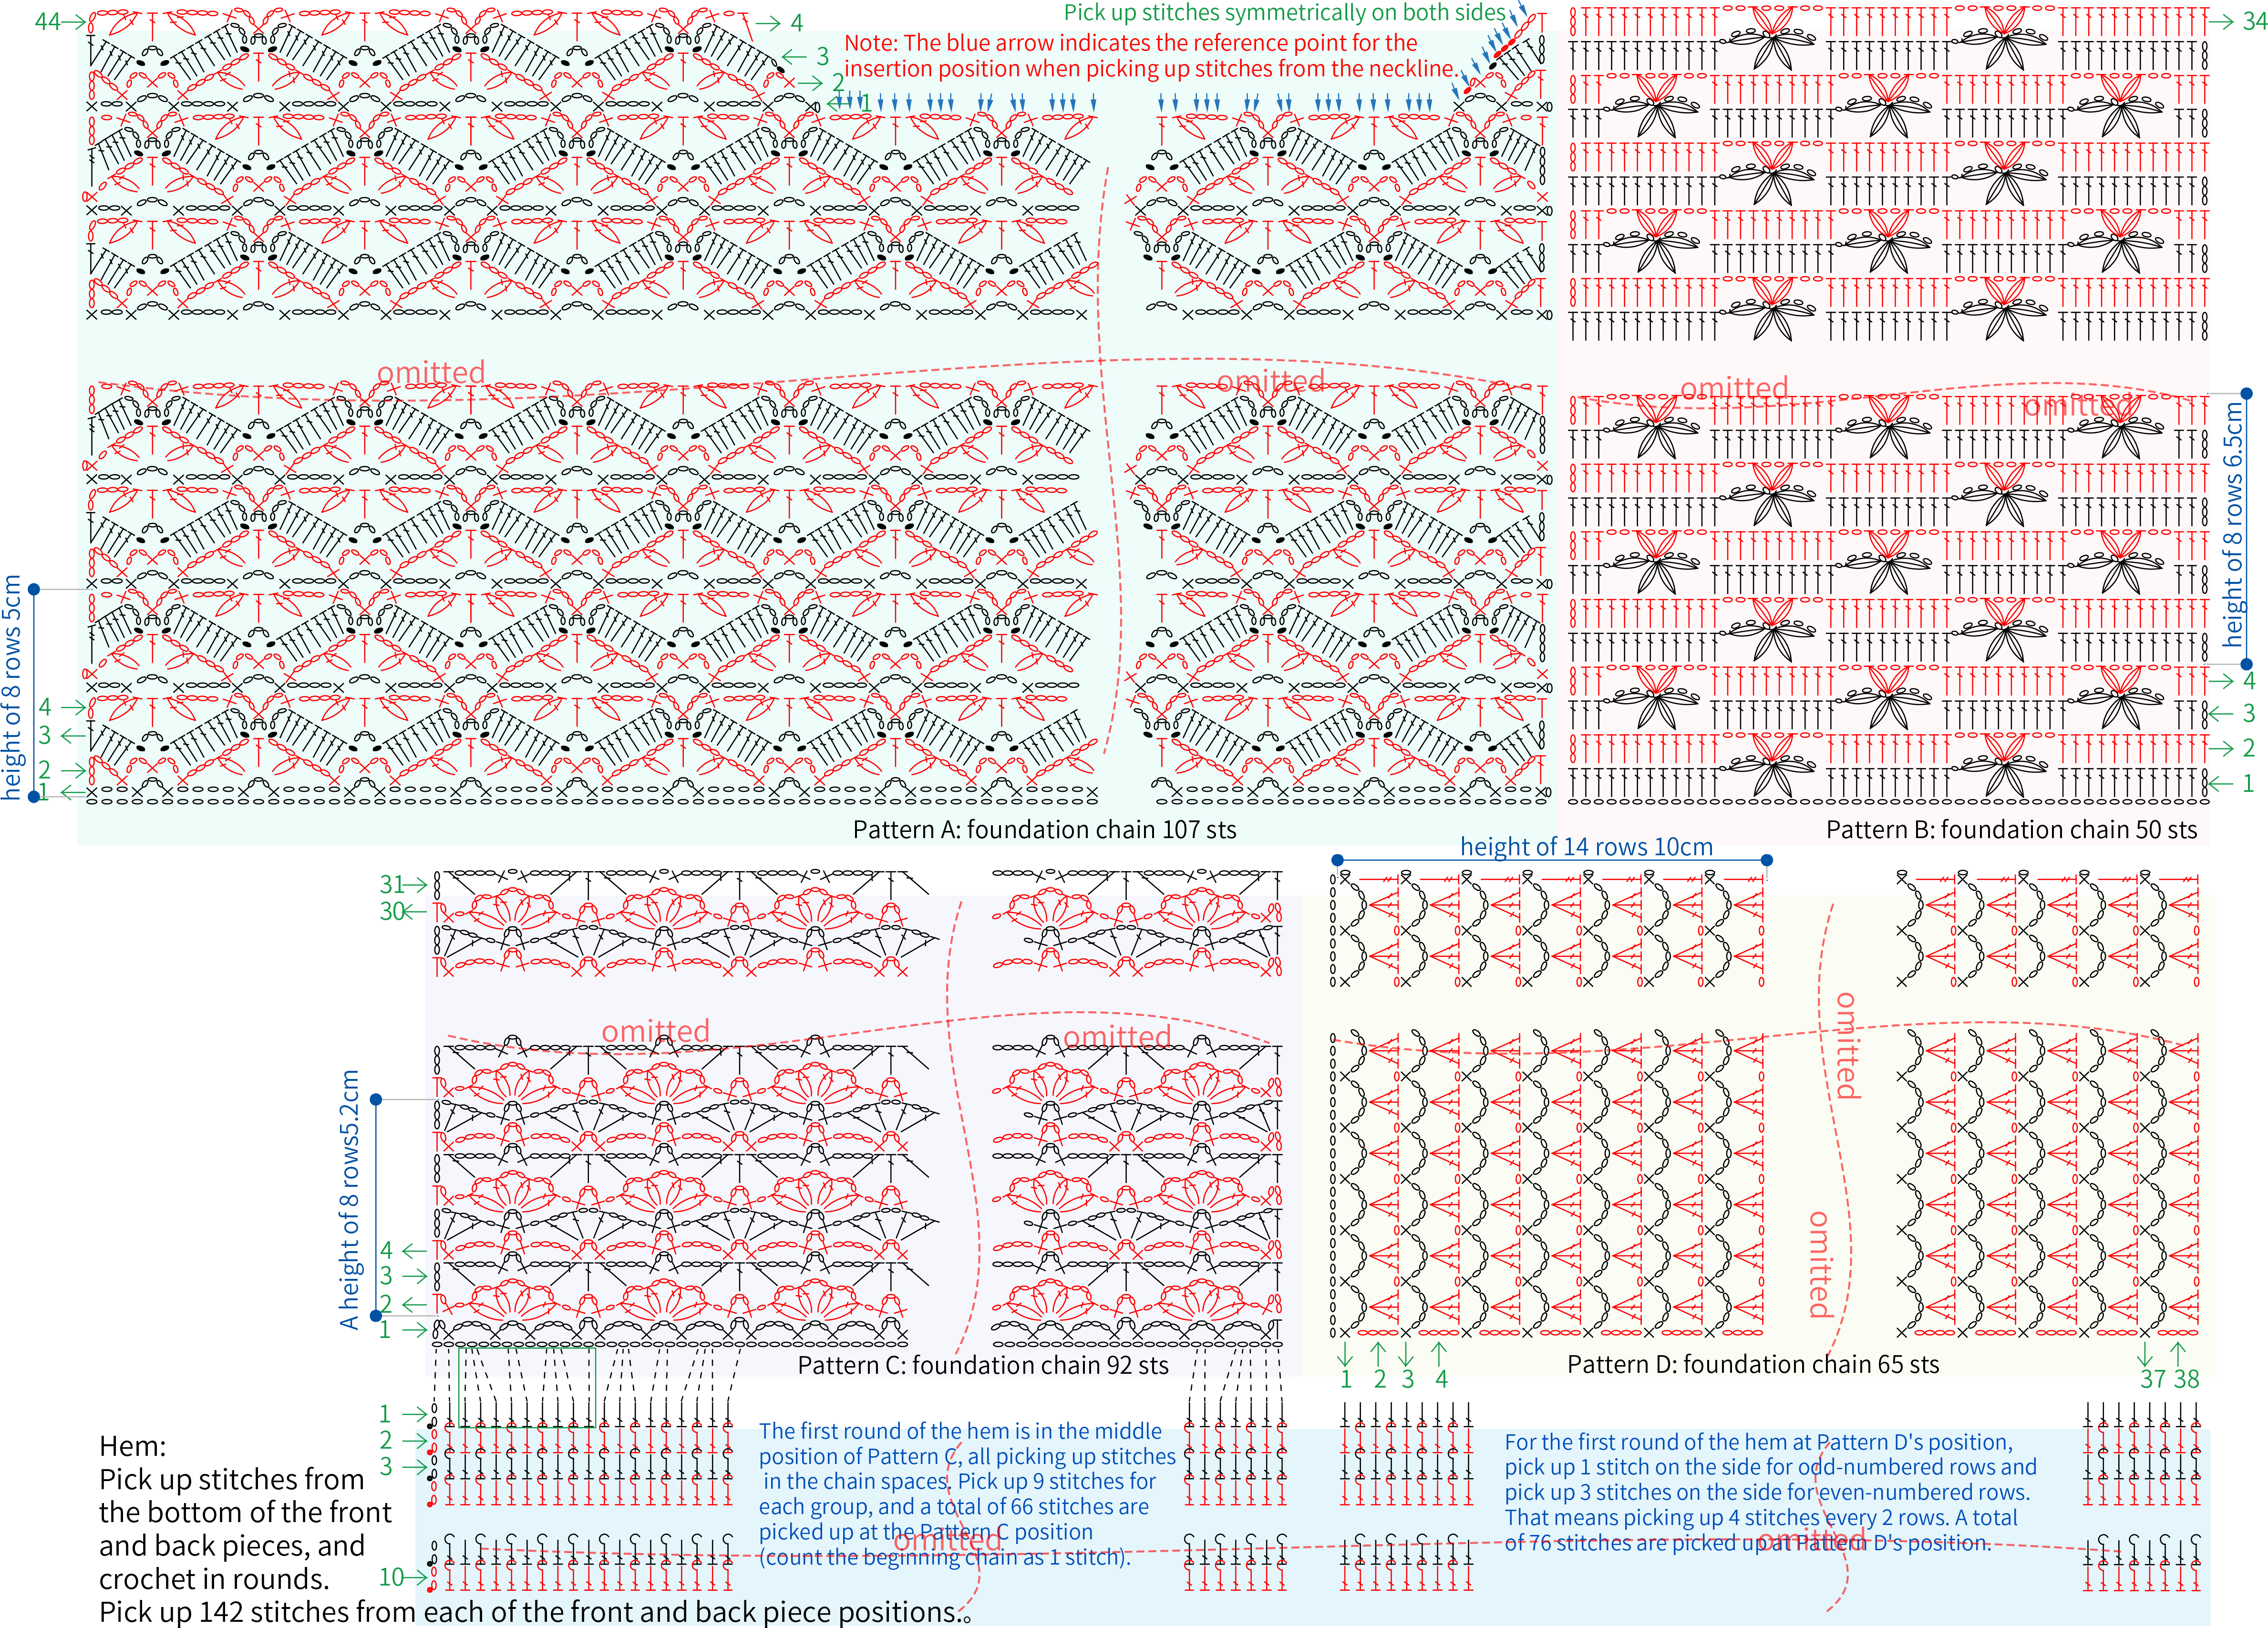
Part 1 Back Piece A 00' 47''
The back piece is made by joining together four different patterns, which are named Pattern A, Pattern B, Pattern C, and Pattern D. Each pattern is crocheted separately and then joined together after completion. The hem and neckline will be picked up and crocheted later, so you can ignore them for now. Please refer to the video demonstration for more details.
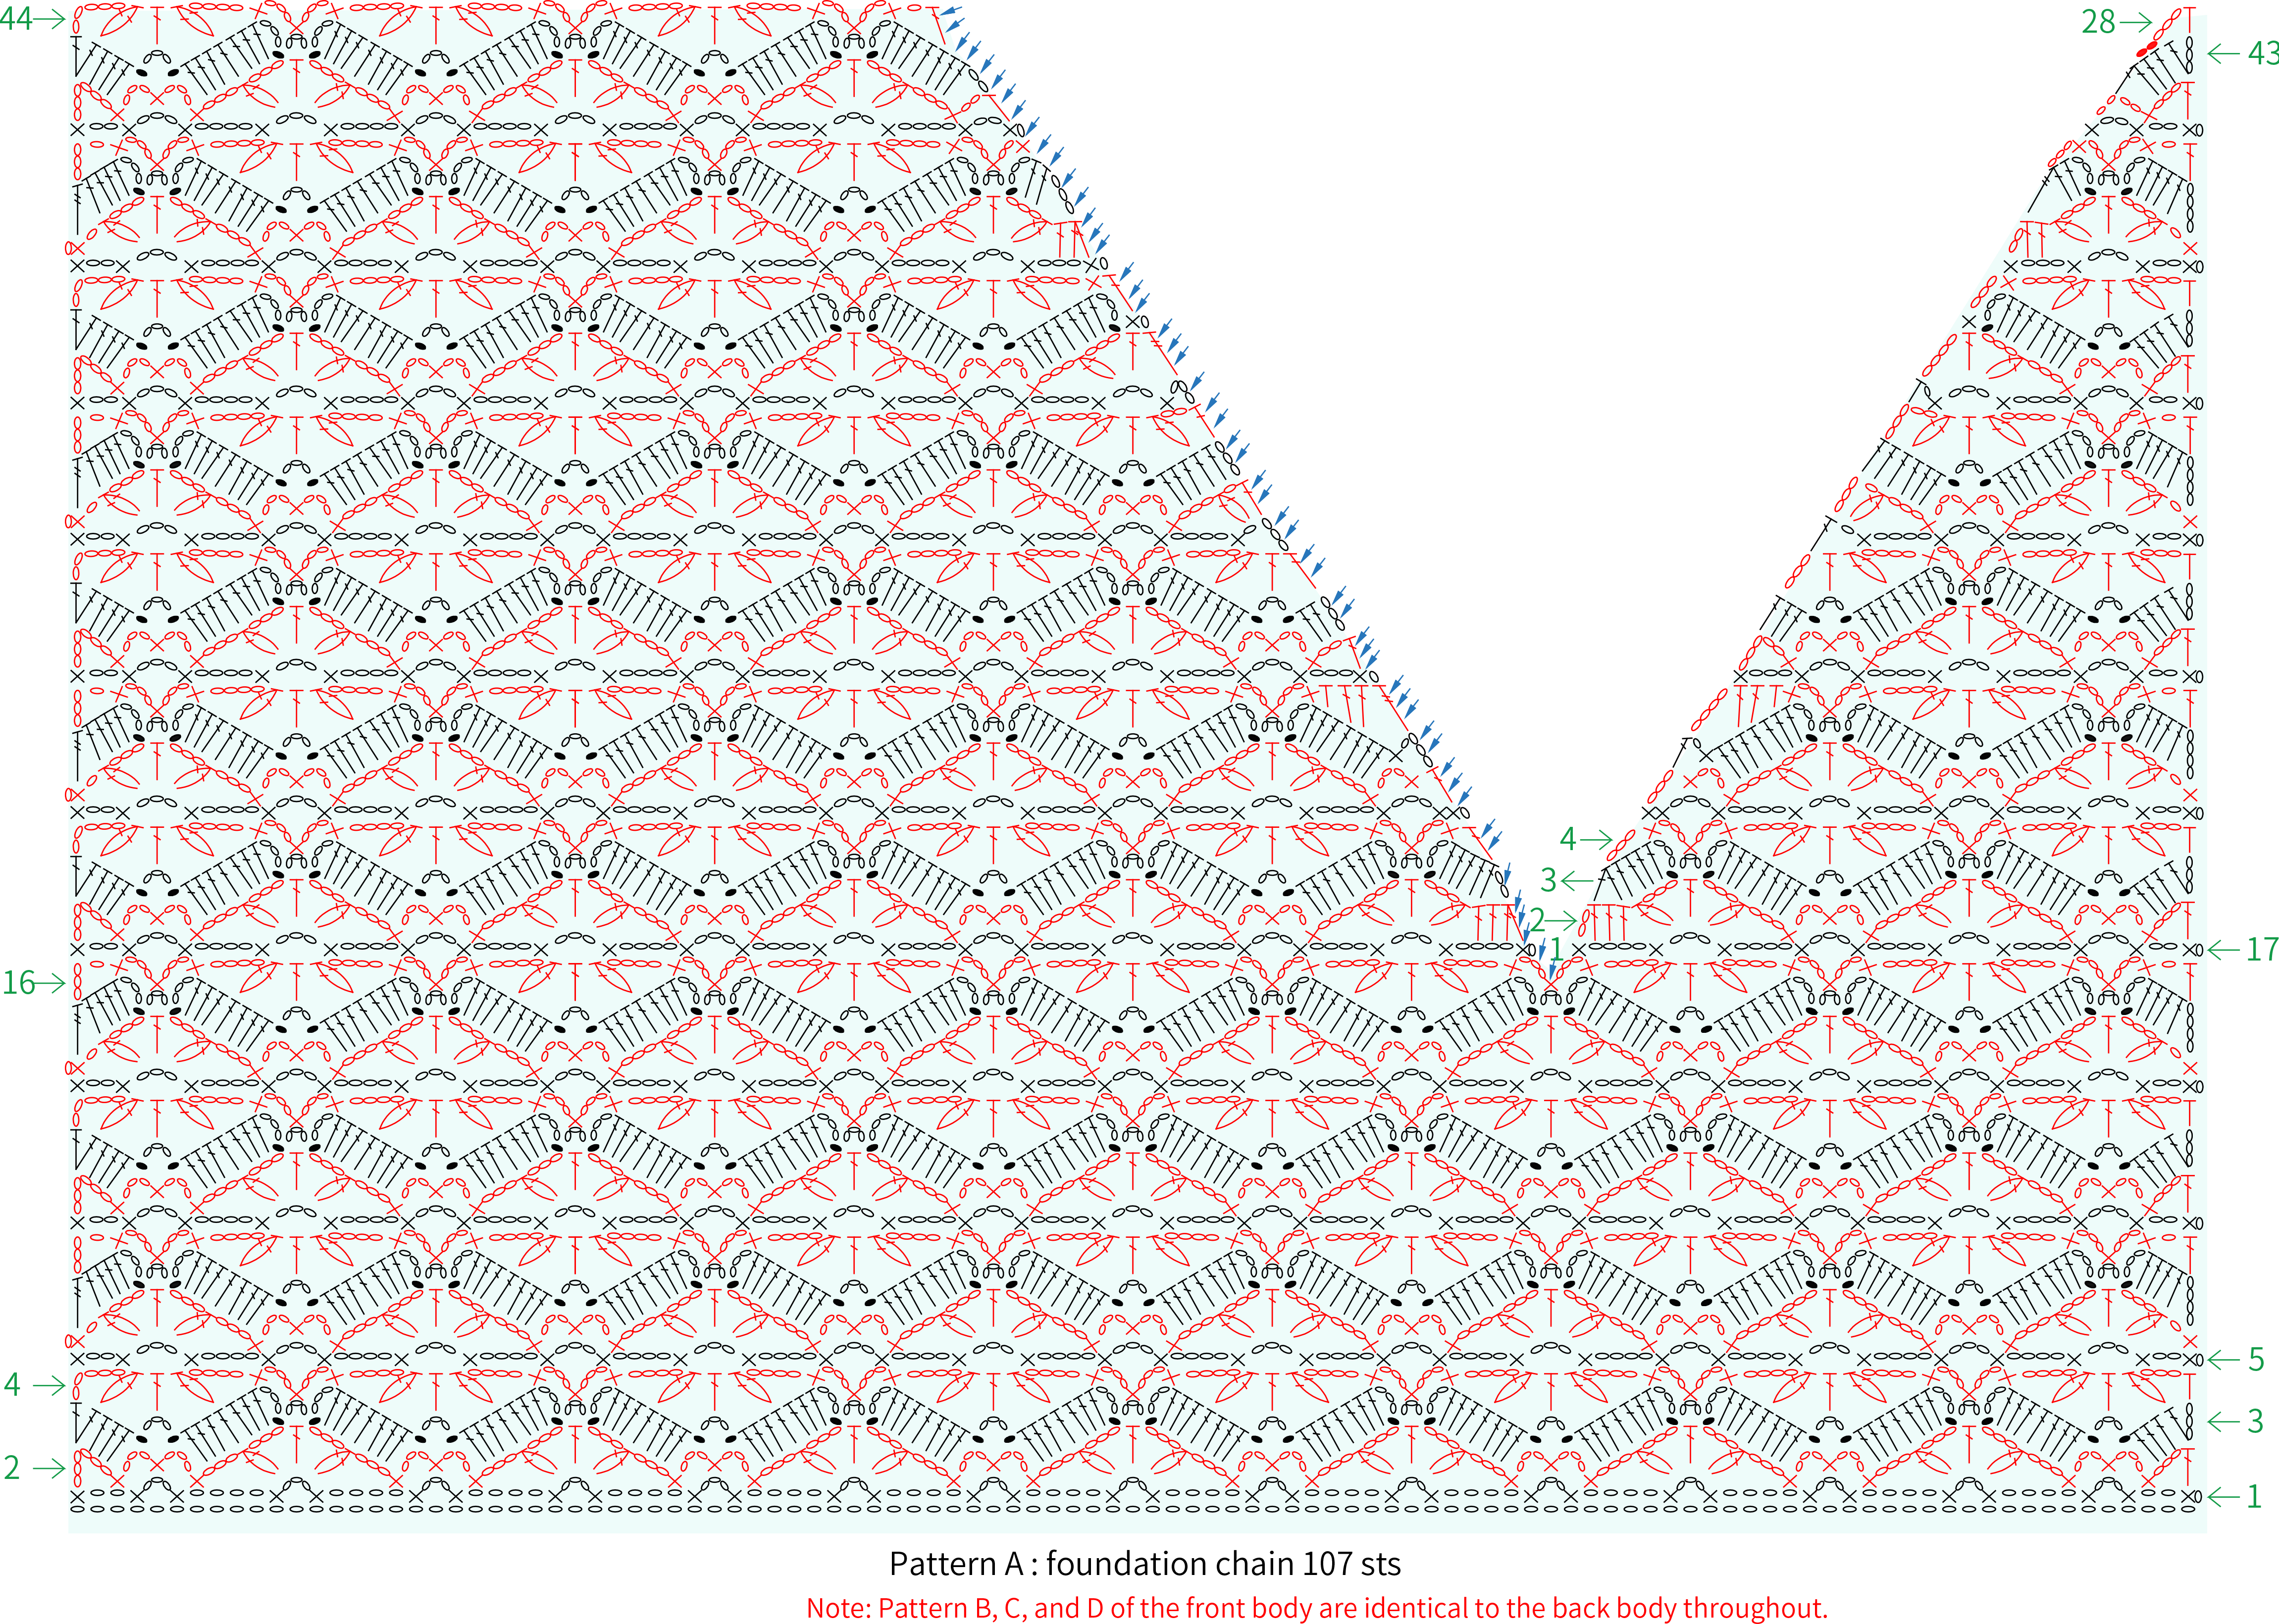
Part 2 Front PieceB 74' 15''
The front piece is also crocheted by first working four patterns separately, and then joining them together.
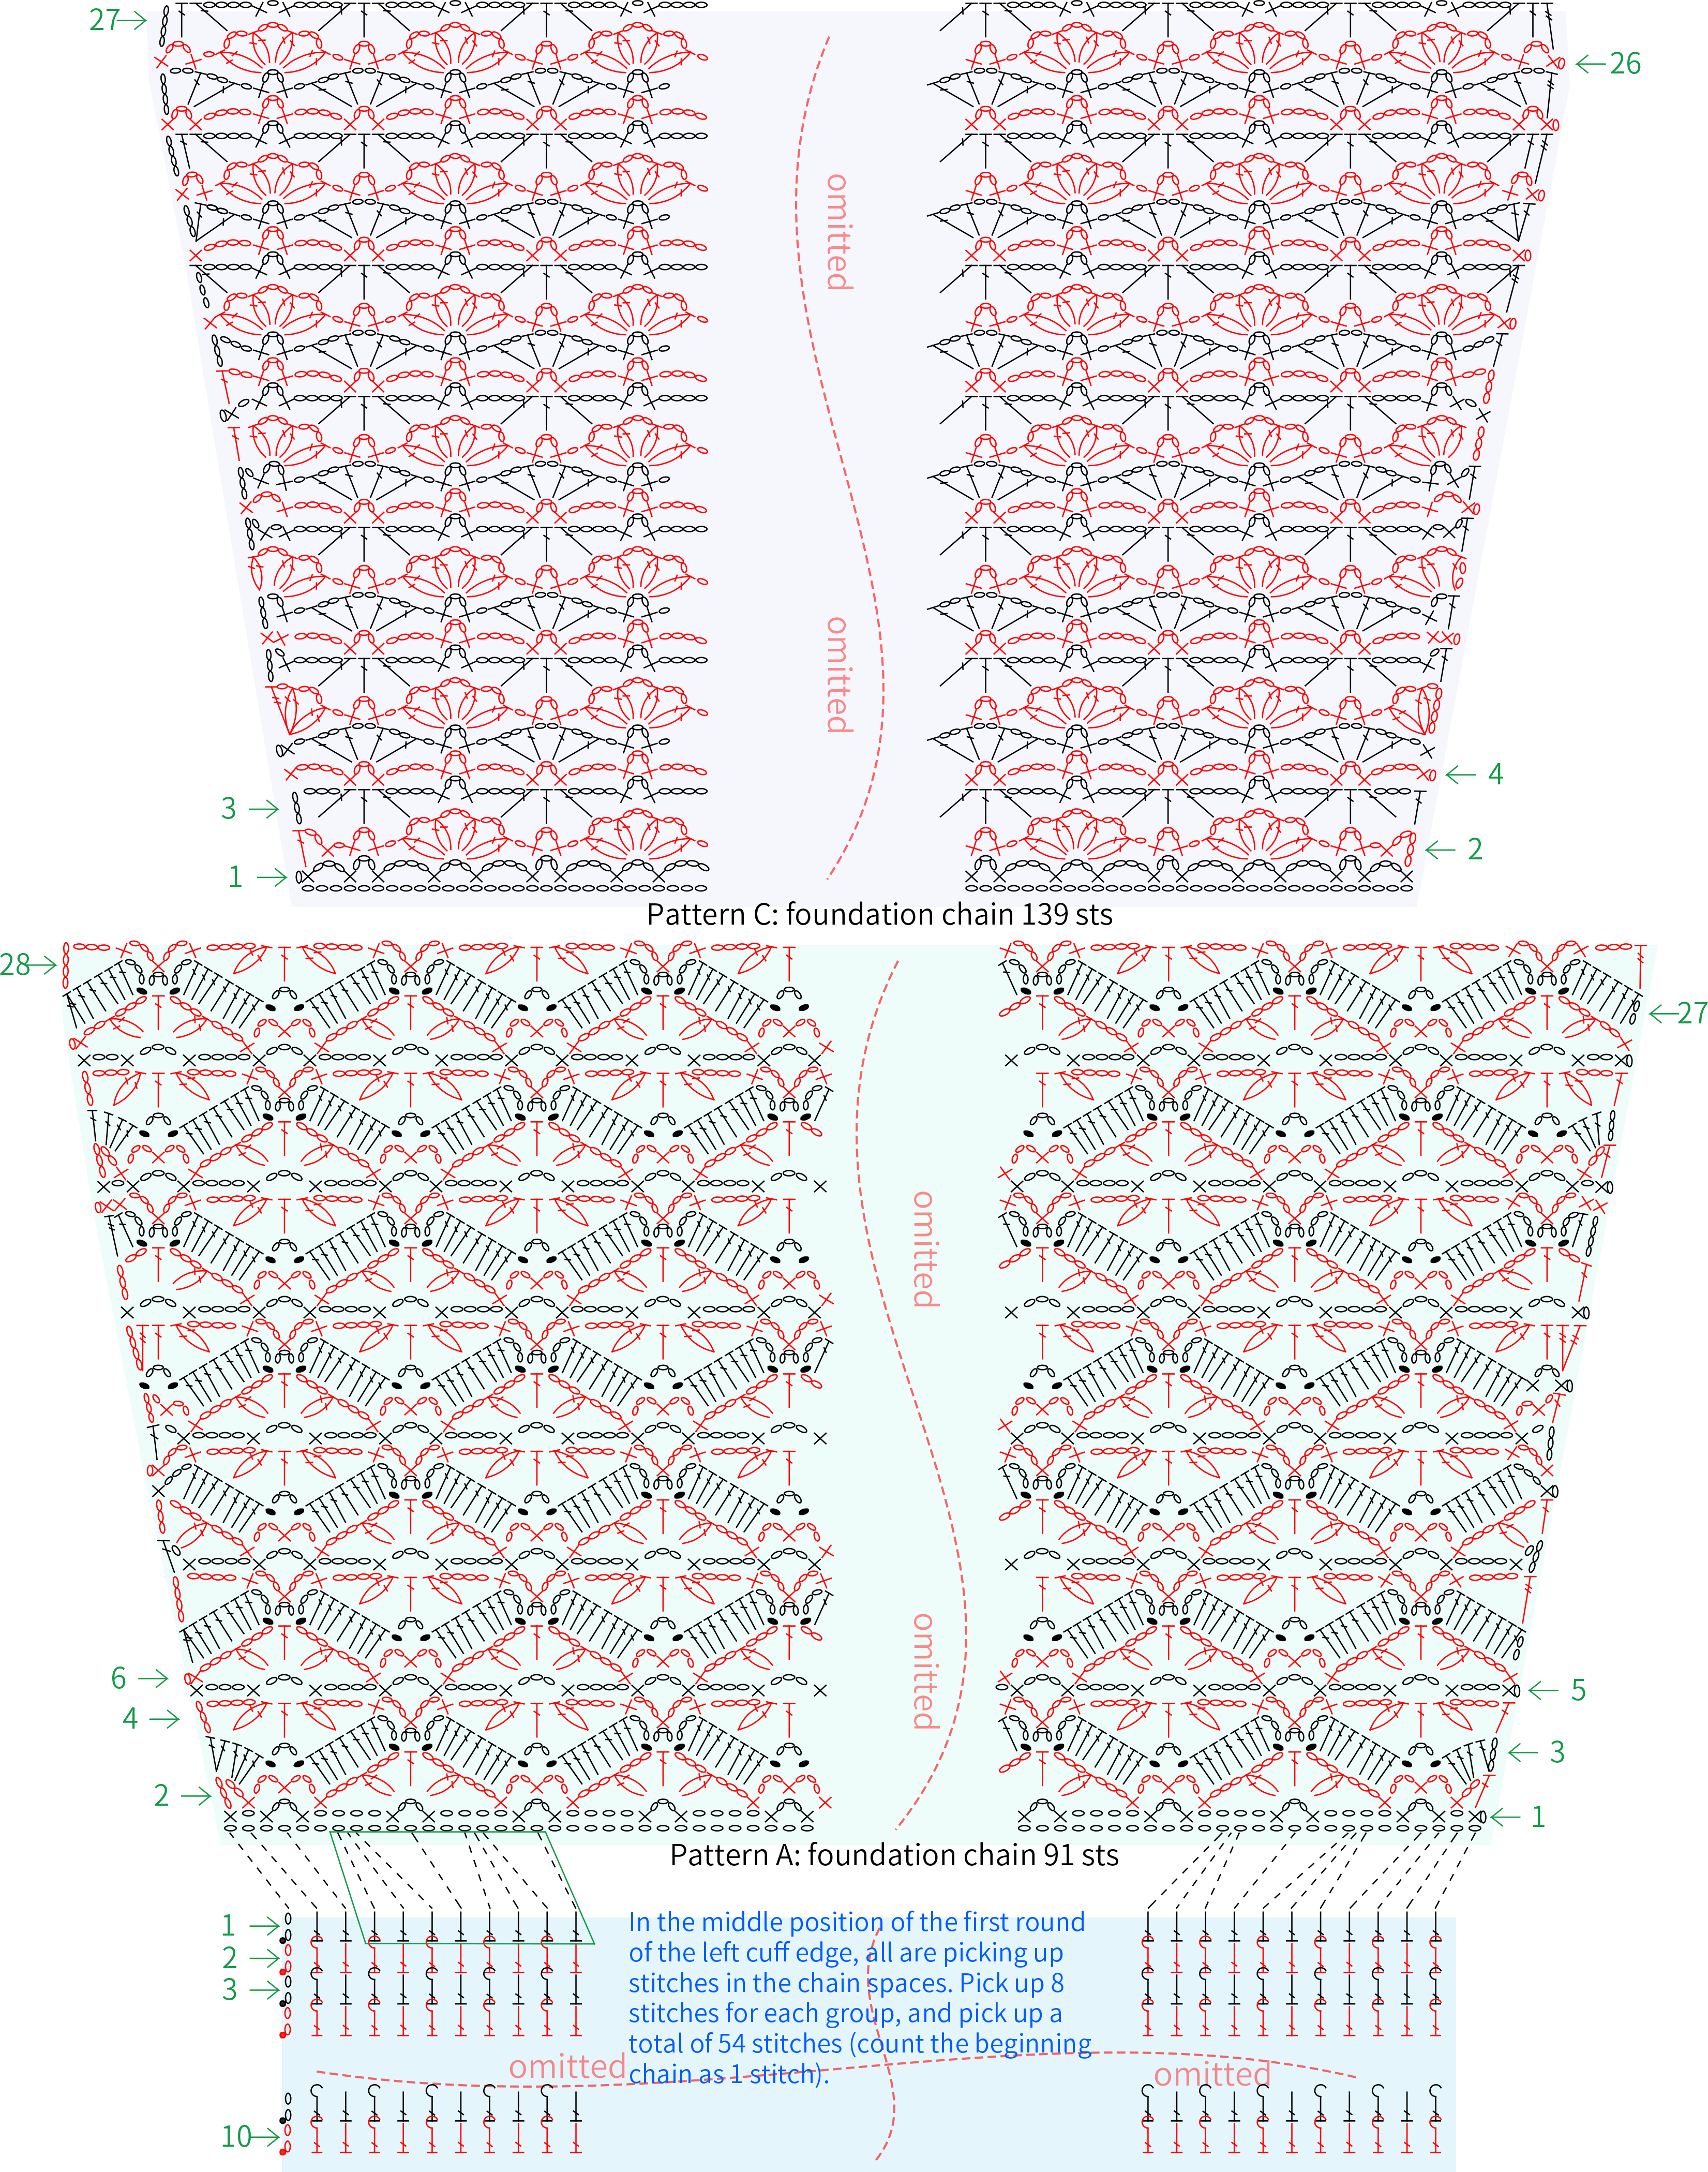
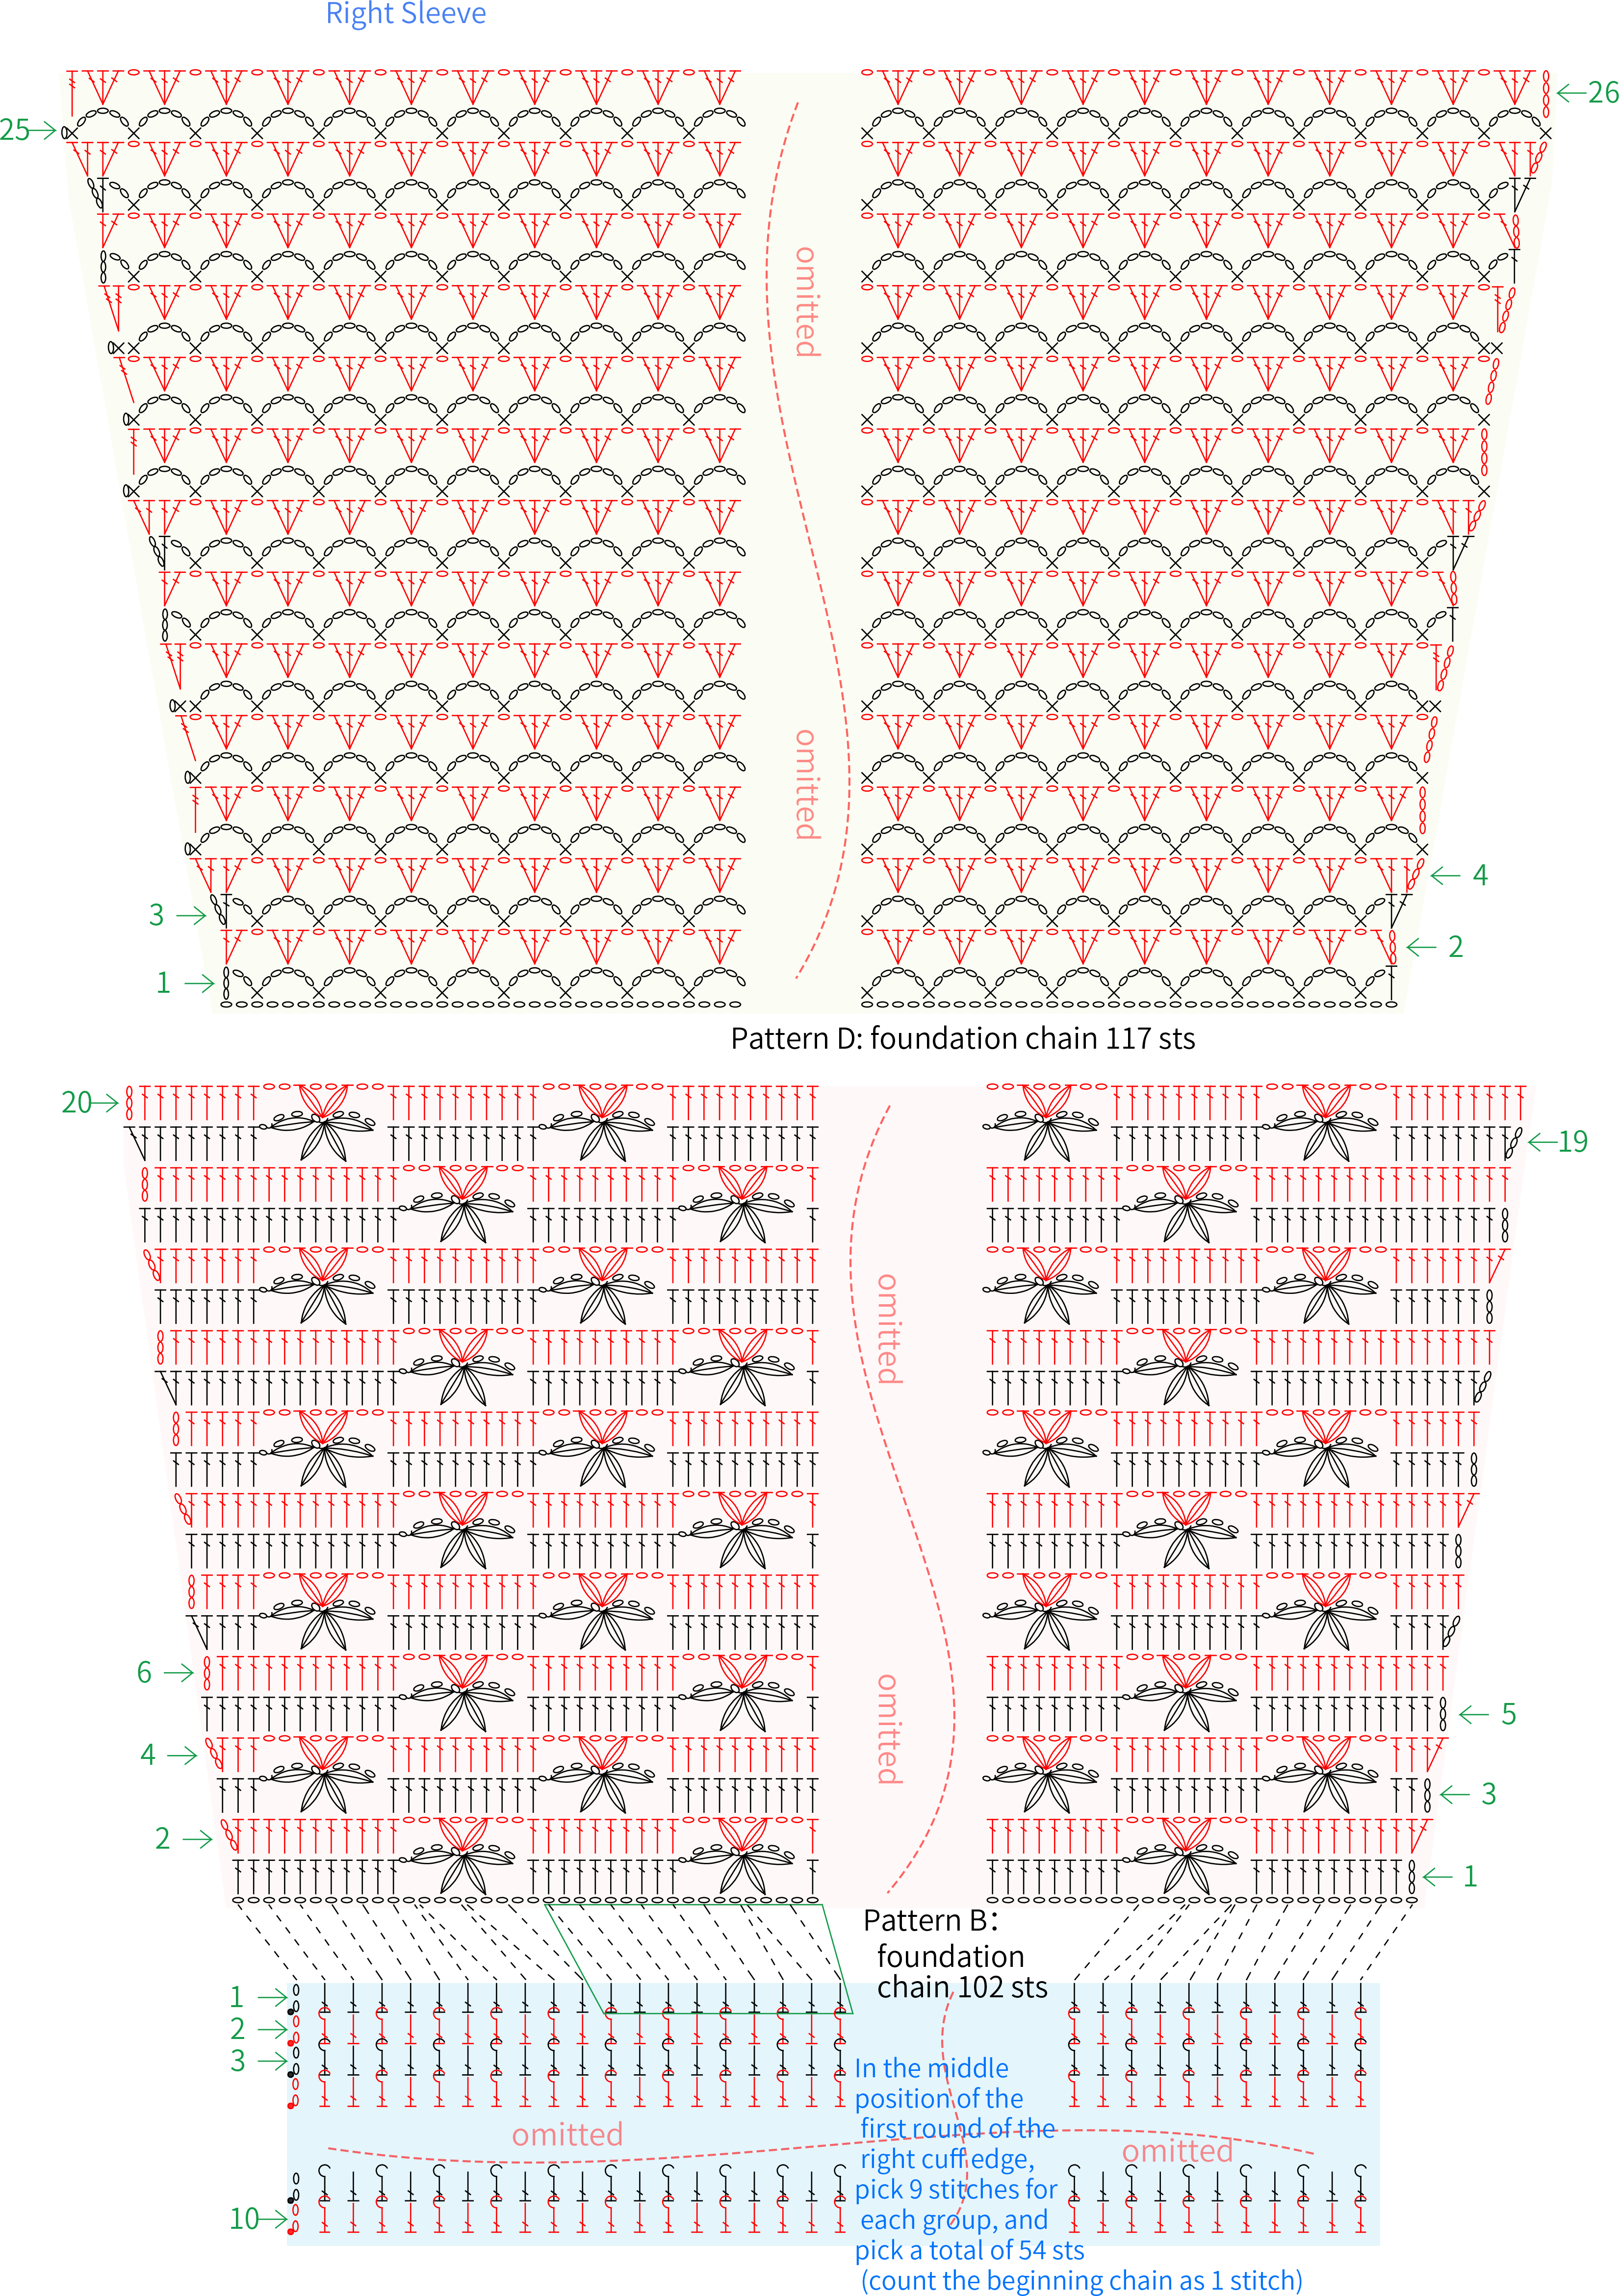
Part 3 SleeveC 76' 57''
The sleeve is divided into the sleeve body and the cuff. The patterns of the sleeve bodies for both sleeves are different. The left sleeve consists of Pattern A and Pattern C, while the right sleeve consists of Pattern B and Pattern D. All sleeve body patterns are crocheted flat, then joined together after completion and attached to form a tube. Finally, the cuffs are crocheted in rounds.
Part 4 Joining and HemsD 84' 00''
First, join together the shoulders of the front and back pieces, then leave the armhole position and attach the side edges of the front and back pieces. Next, connect the sleeves to the armhole position, and finally crochet the hem in rounds. Please refer to the video demonstration for more details.
Note: Please refer to the chart below the back piece for the hem.
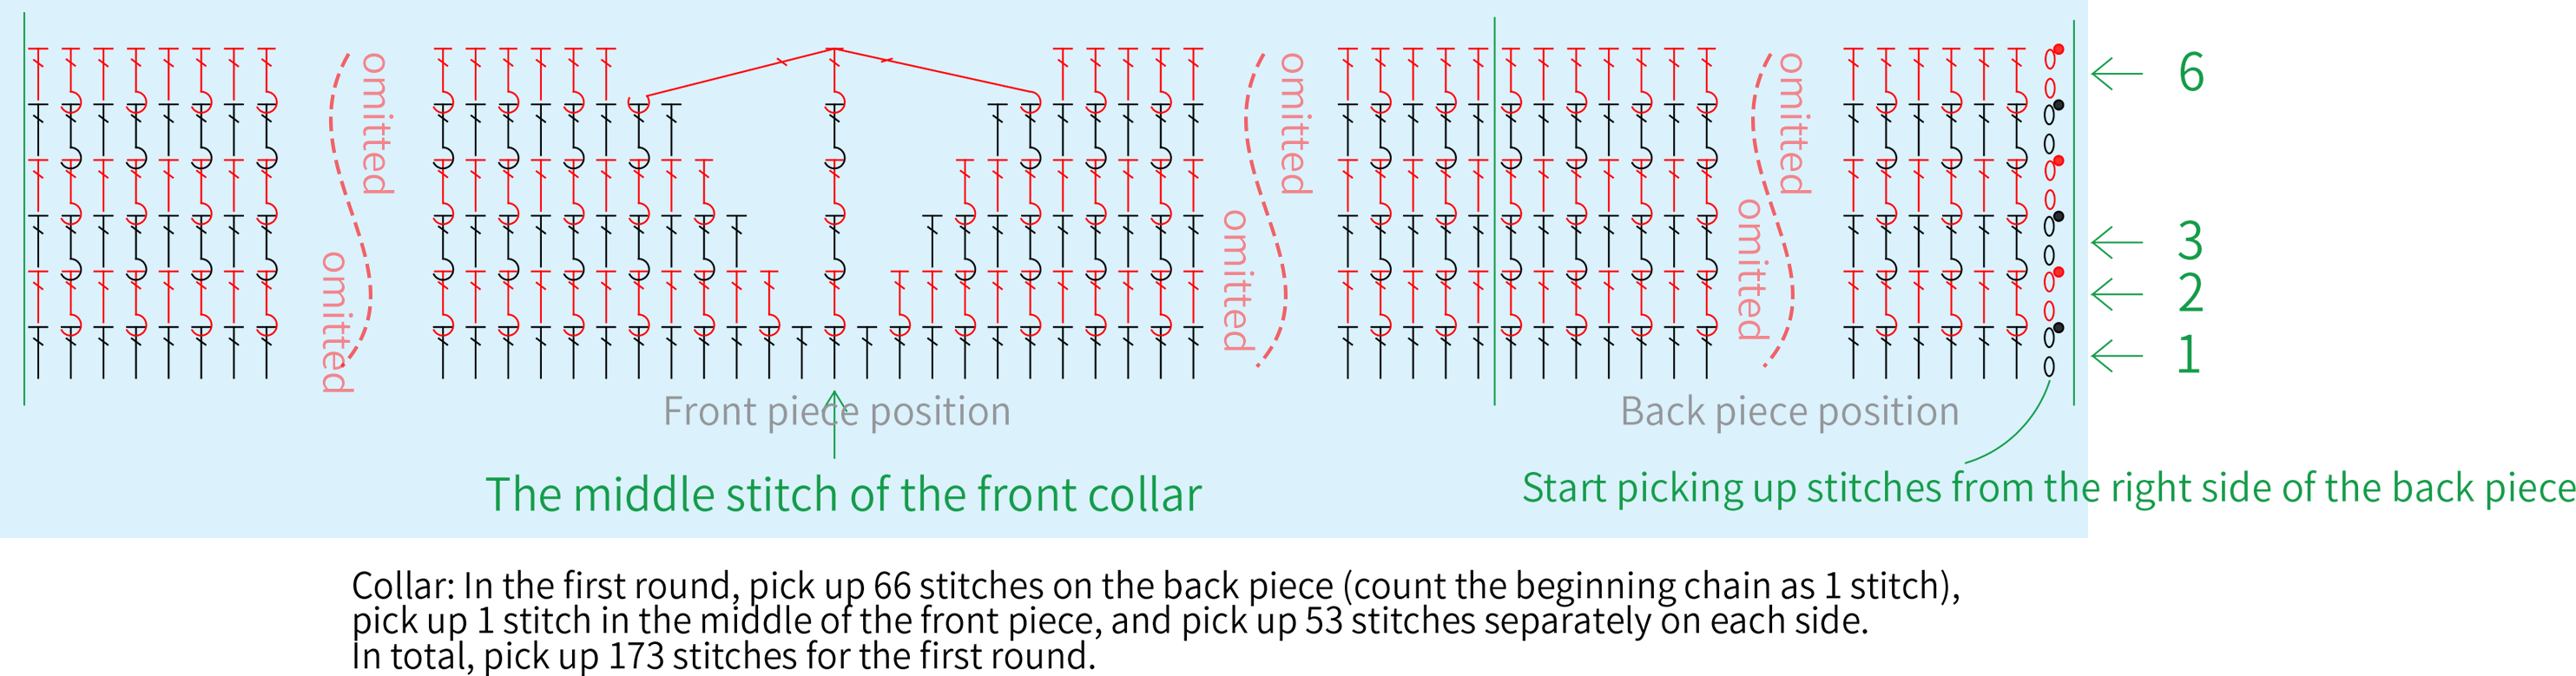
Part 5 CollarE 85' 16''
After completing the hem, pick up stitches along the neckline to crochet the collar. The first round can start picking up stitches from the back piece position, and the insertion point refers to the blue arrows on the pattern chart of the front and back pieces. Please refer to the video demonstration for more details.
Made by the community